


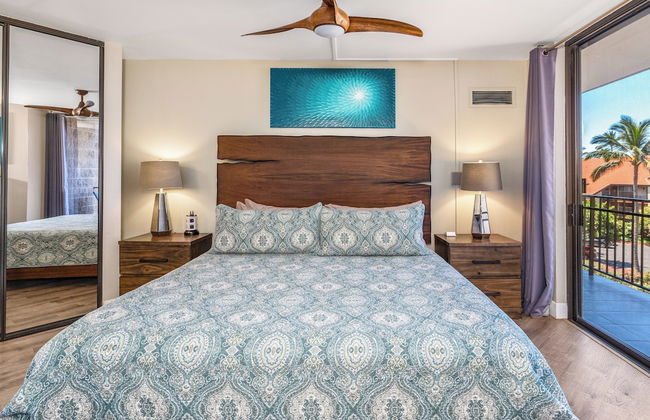


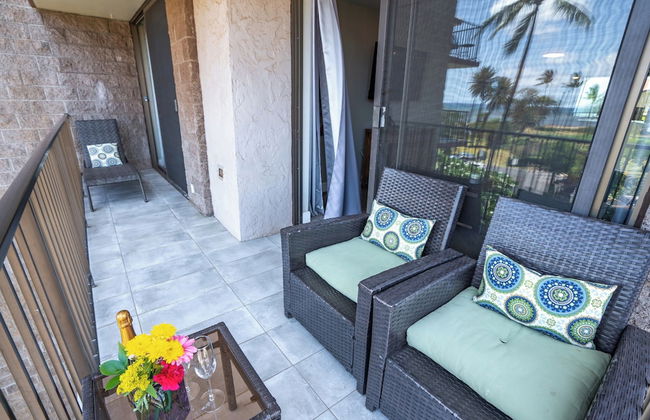


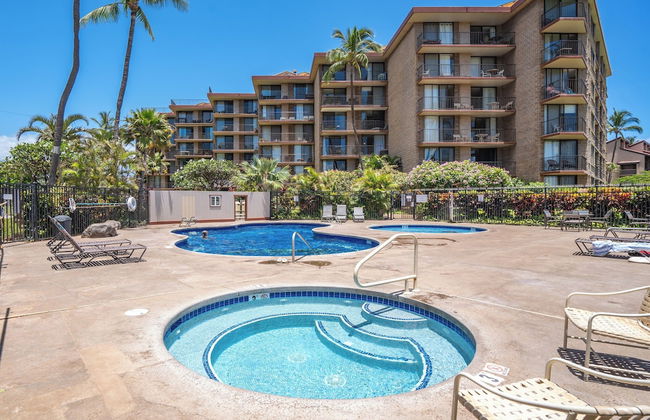


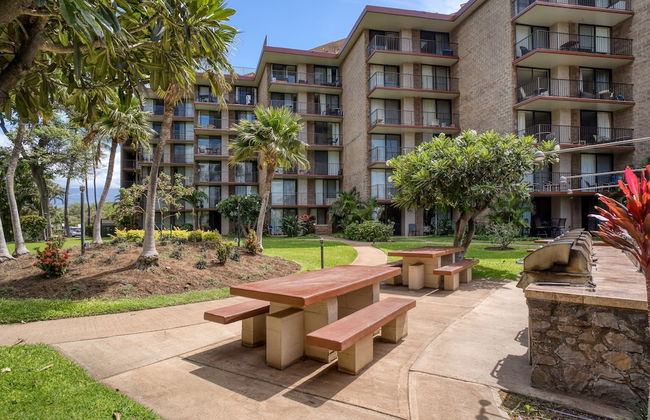


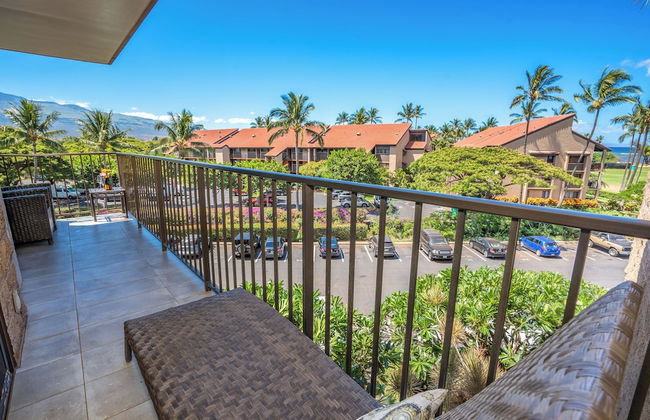

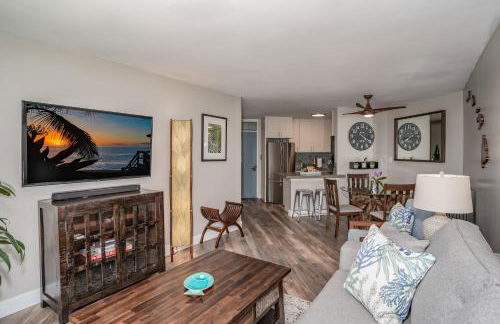
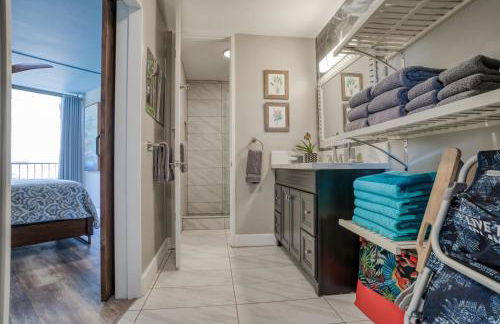
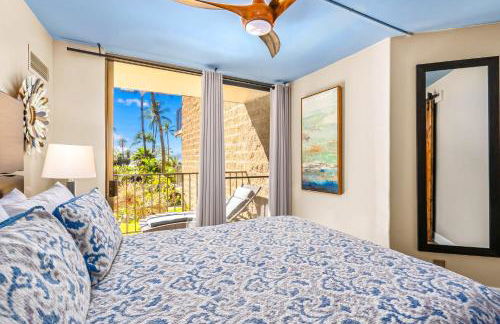
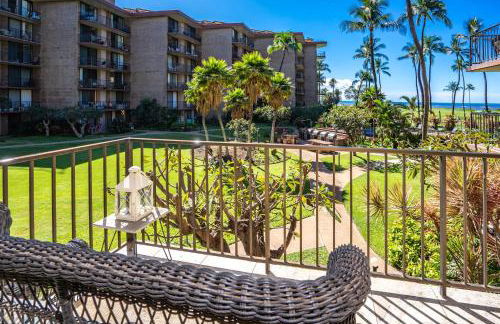
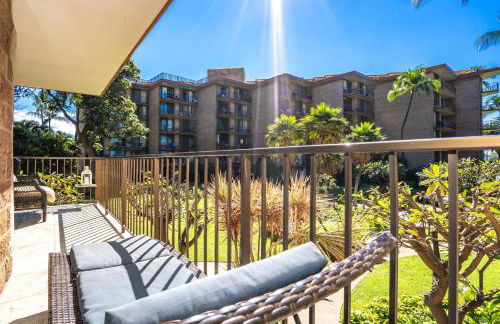
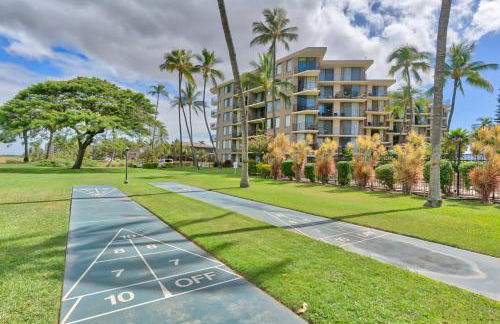
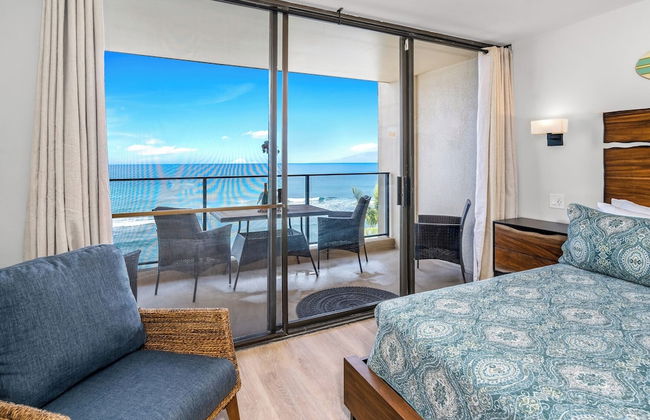
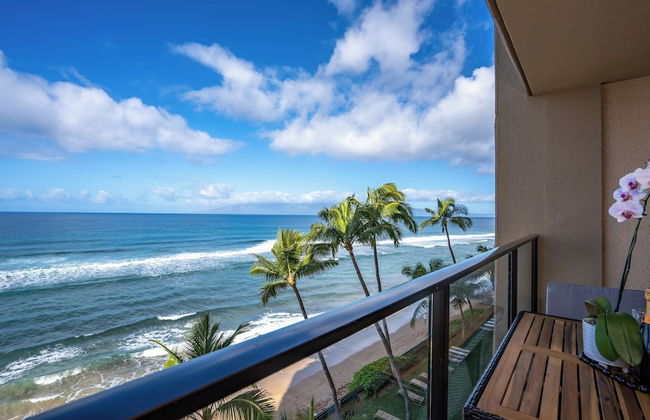
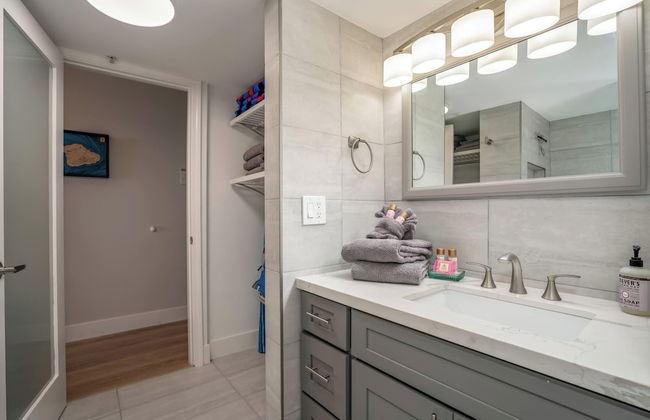
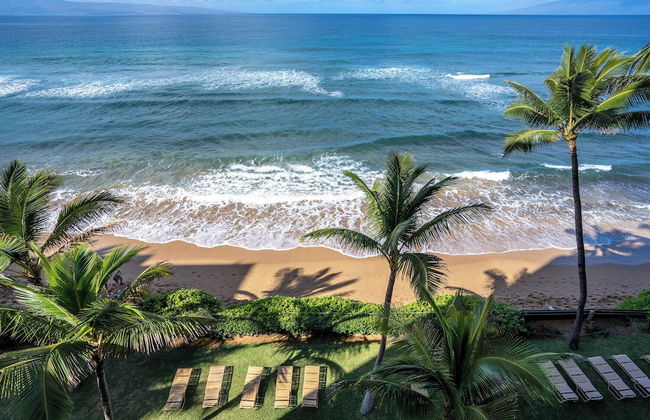
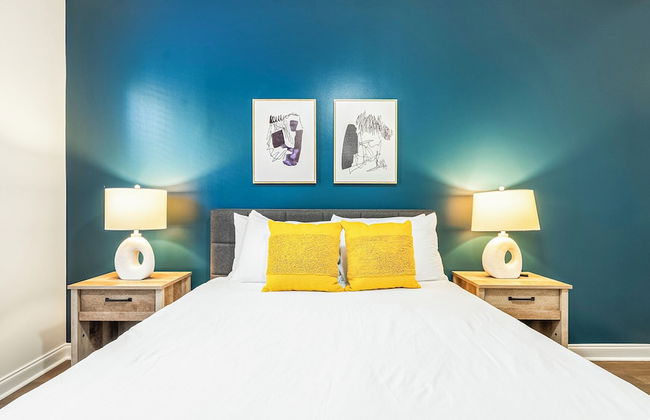
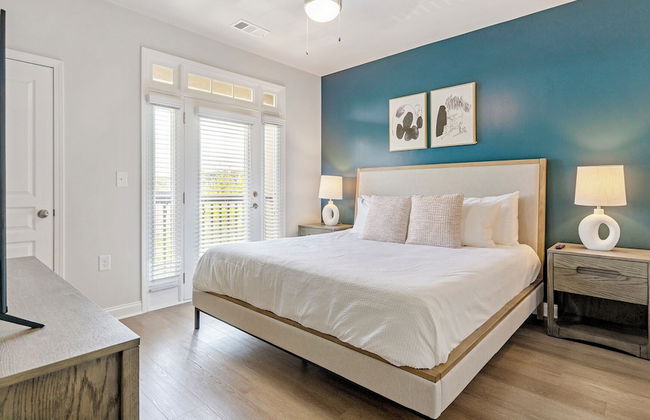
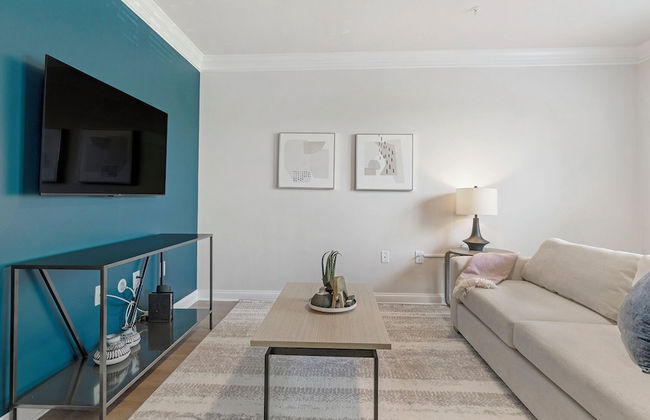
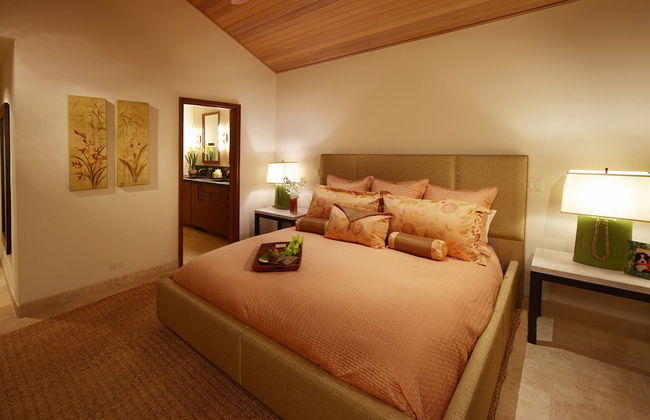
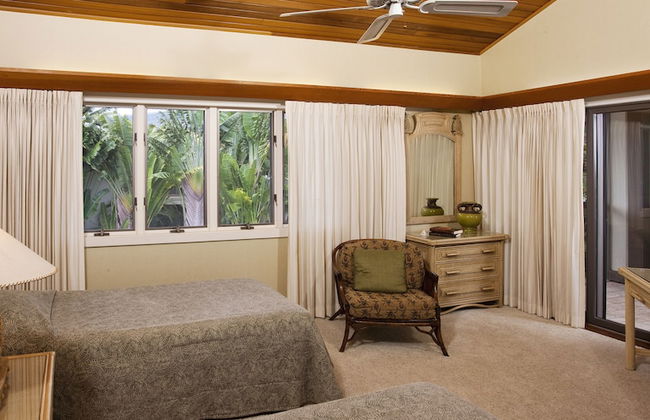
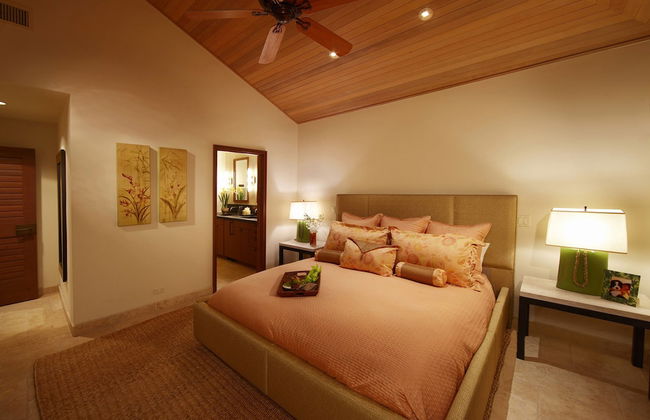
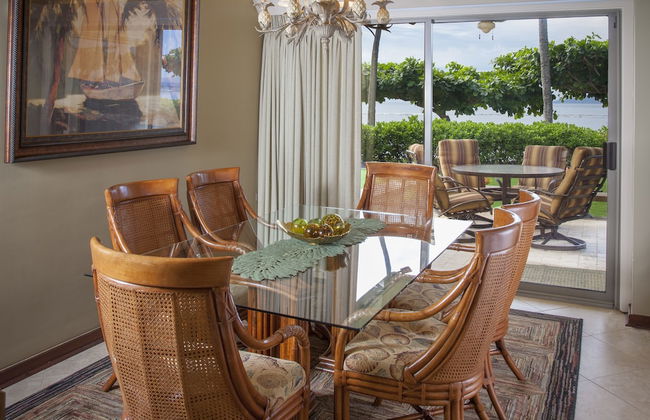
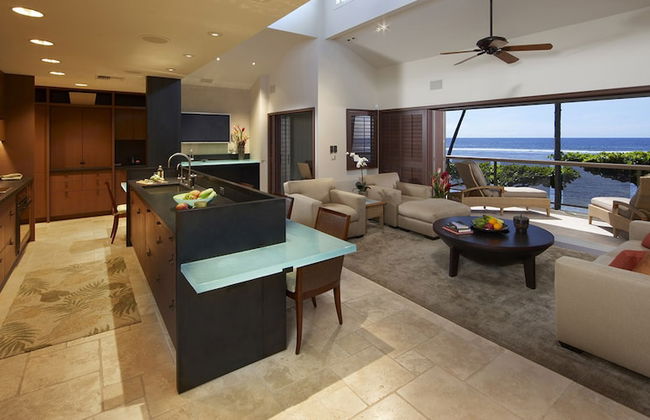
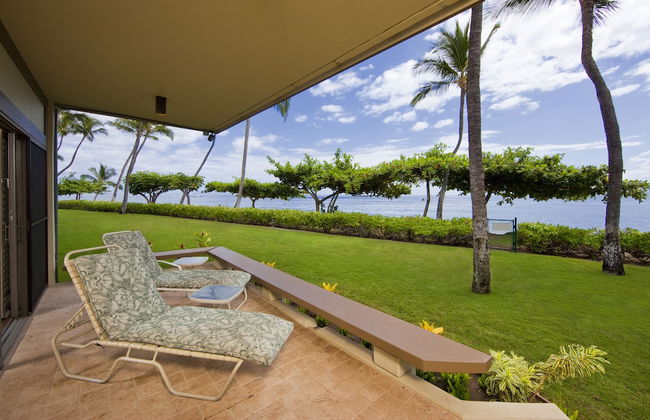
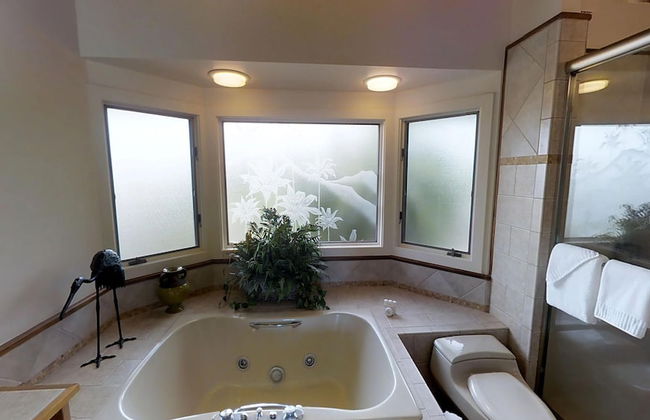
Sunny and Soothing Oceanfront Vistas
Kihei - Kihei - 2.3 km dal centro
- 65 M2
- 1 camera
- 4 persone
- Aria condizionata
- Riscaldamento
- Terrazza
- Piscina
- Parcheggio
- Ascensore
- Giardino
- Tv
- Barbecue
- Lino da bagno
- Lino da letto


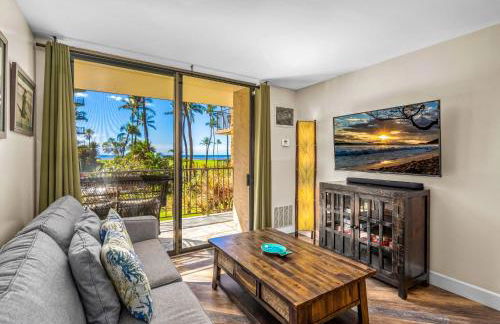


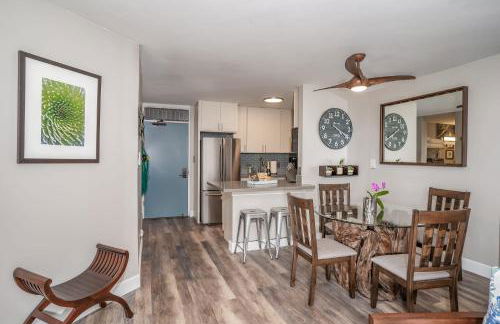


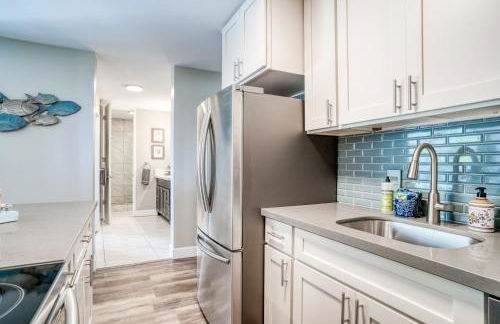


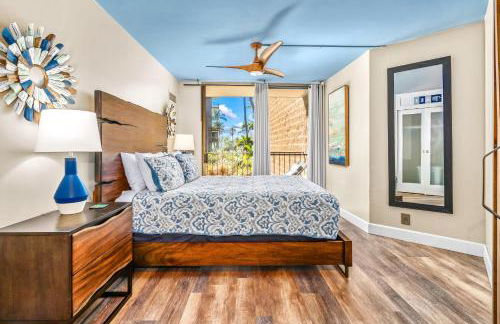


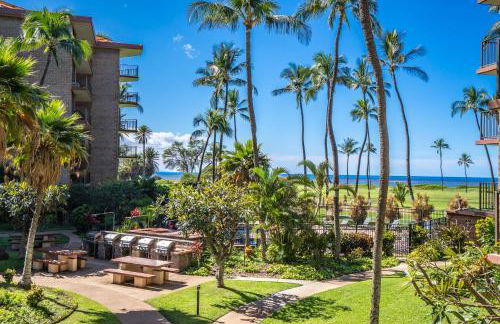


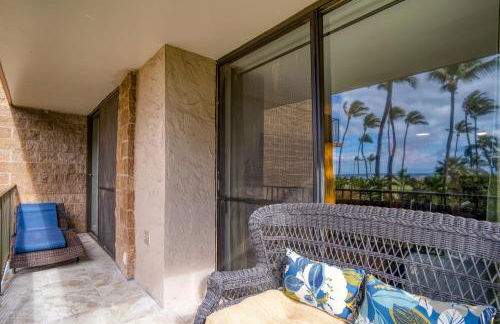


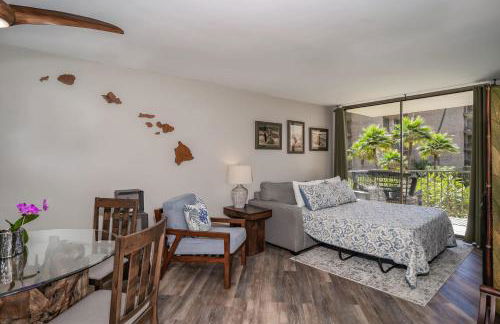


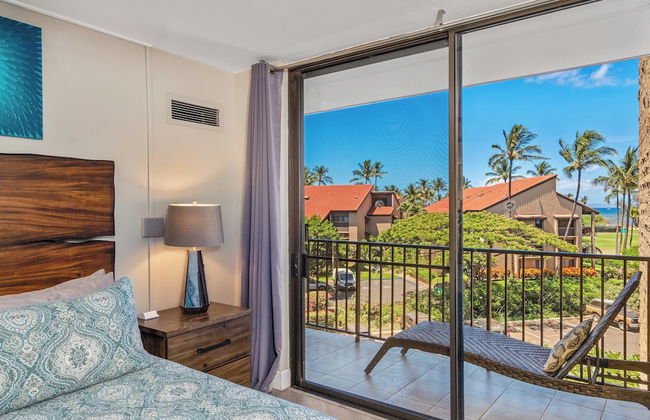
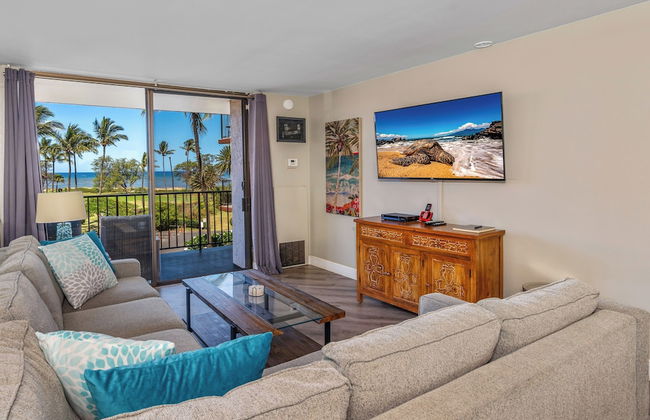
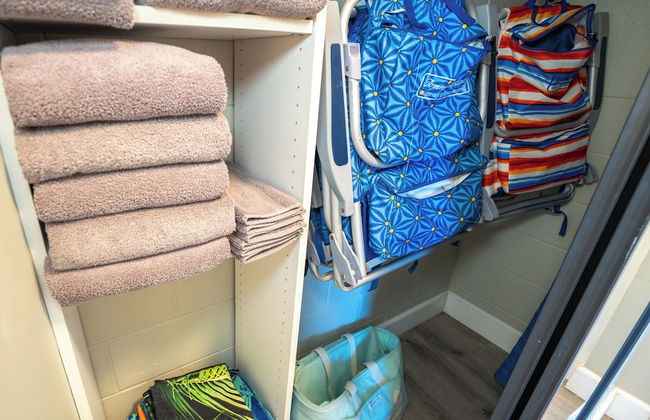
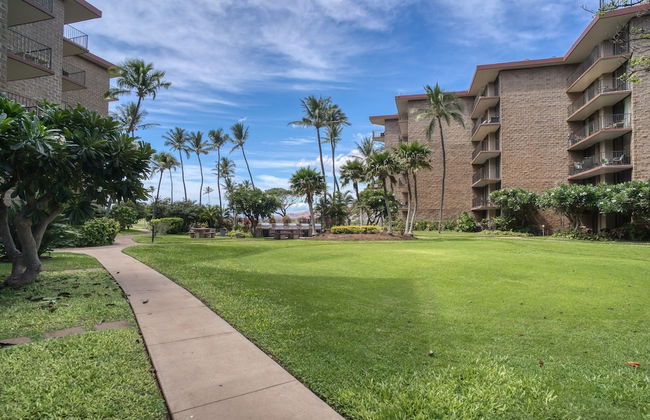
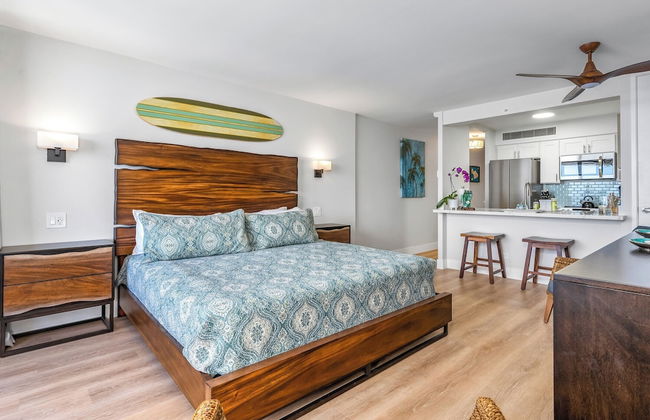
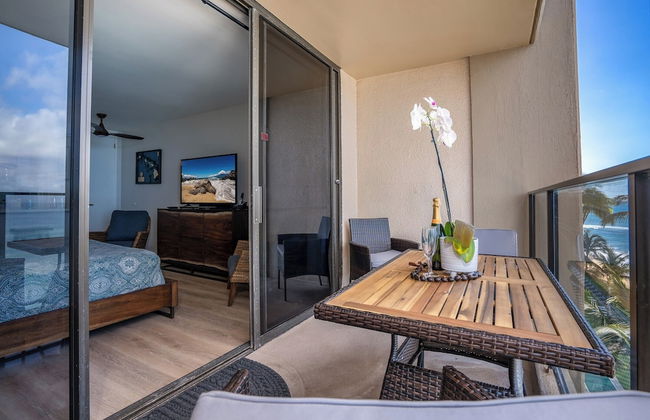
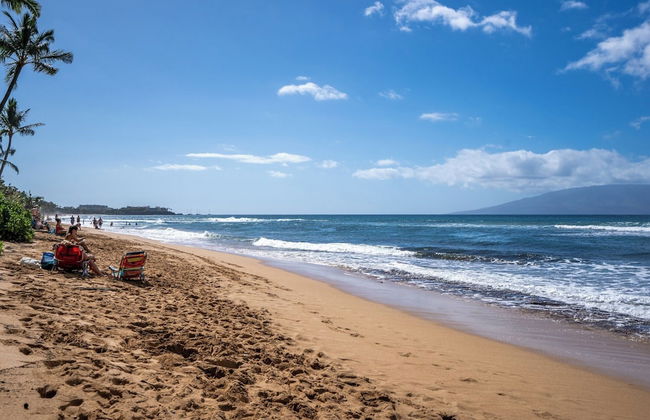
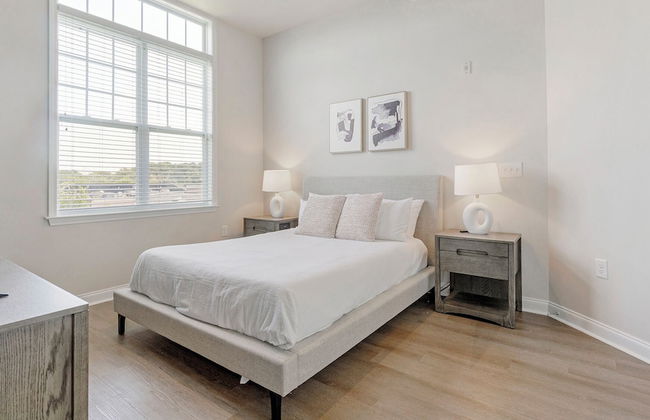
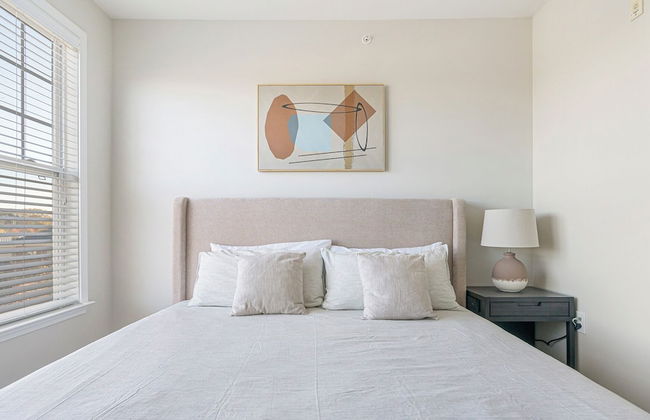
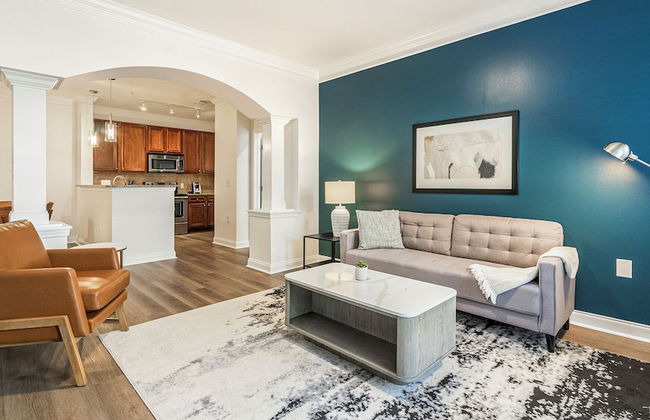
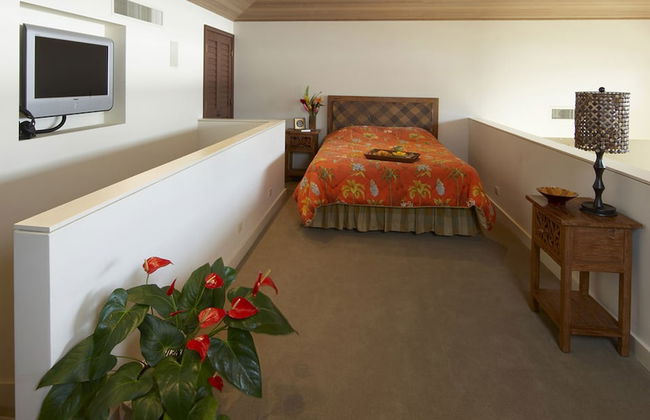
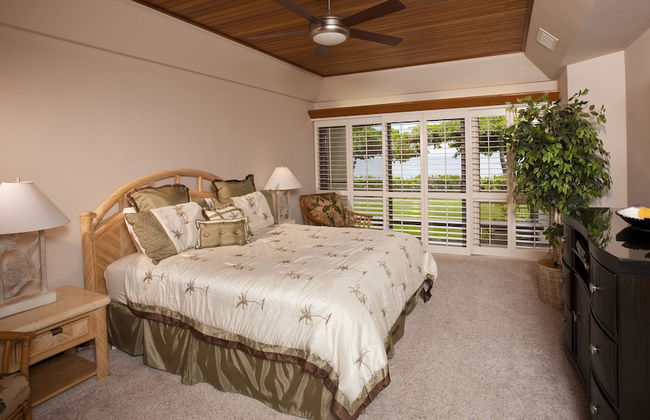
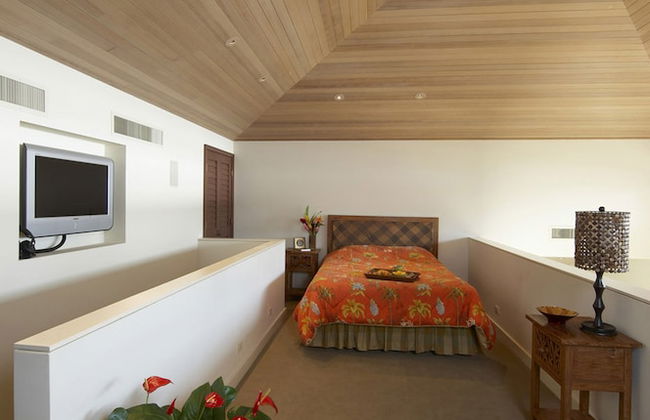
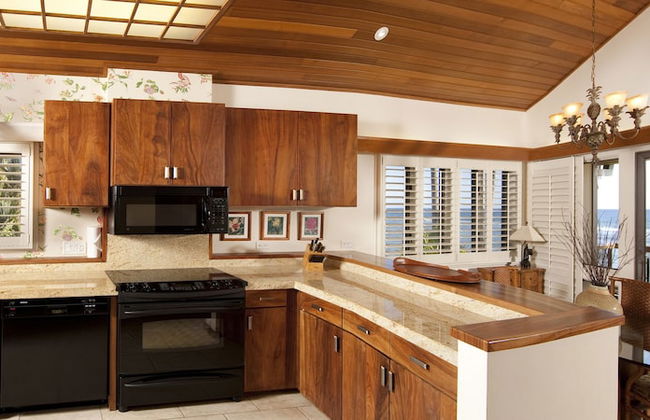
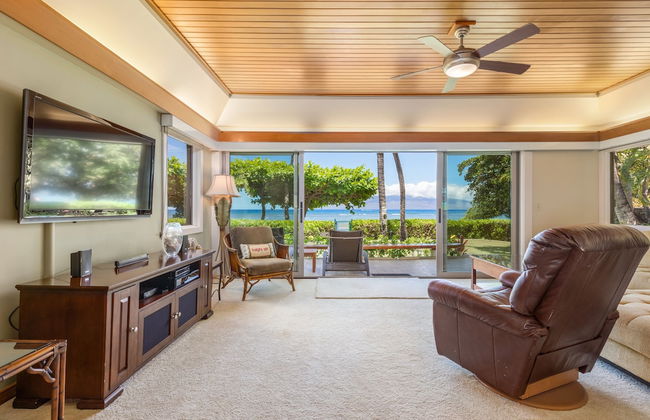
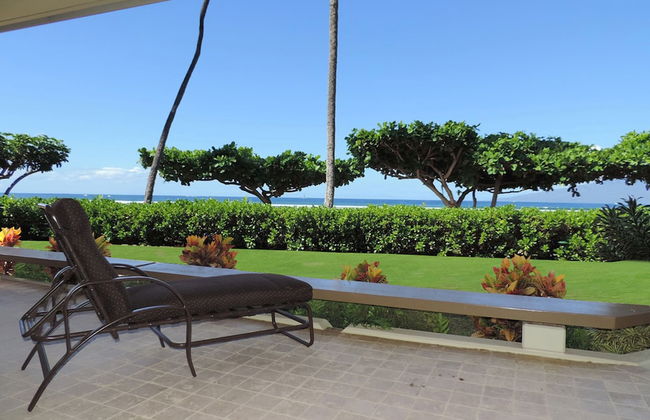
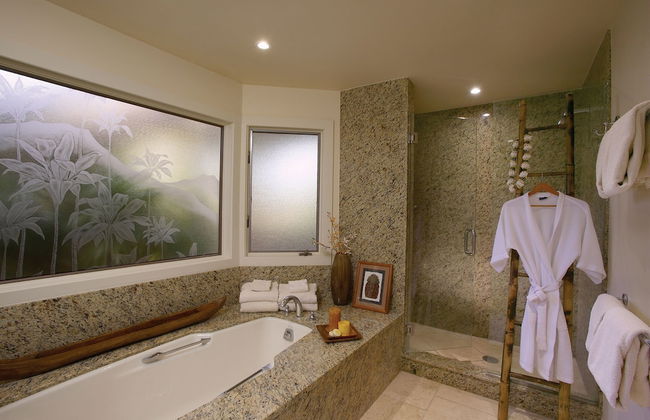
Sea-rene & Tropical Vistas
Kihei - Kihei - 2.1 km dal centro
- 59 M2
- 6 persone
- Aria condizionata
- Riscaldamento
- Terrazza
- Piscina
- Parcheggio
- Ascensore
- Balcone
- Giardino
- Tv
- Barbecue
- Lino da bagno
- Lino da letto

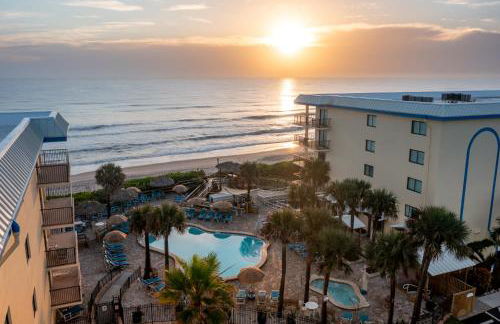

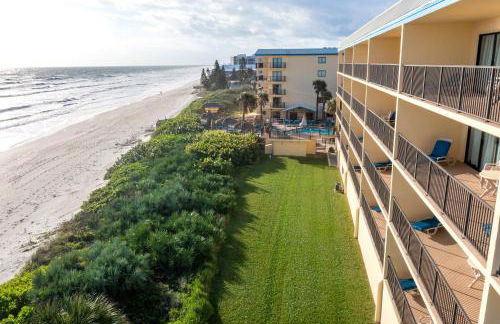


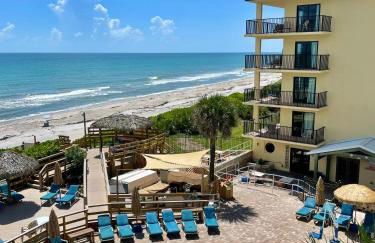


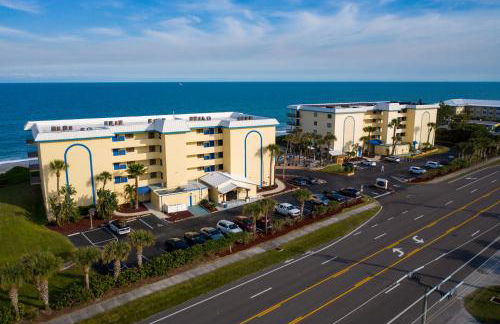


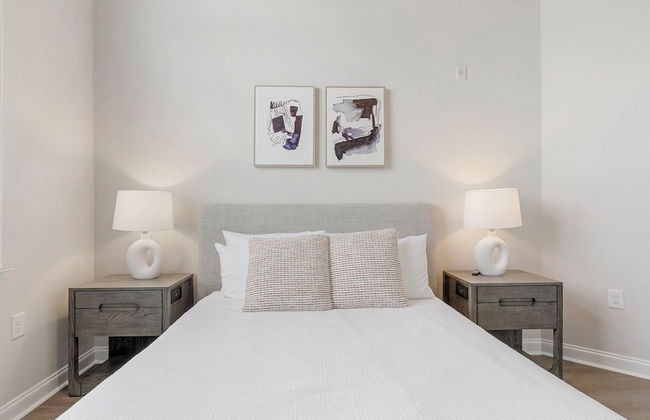
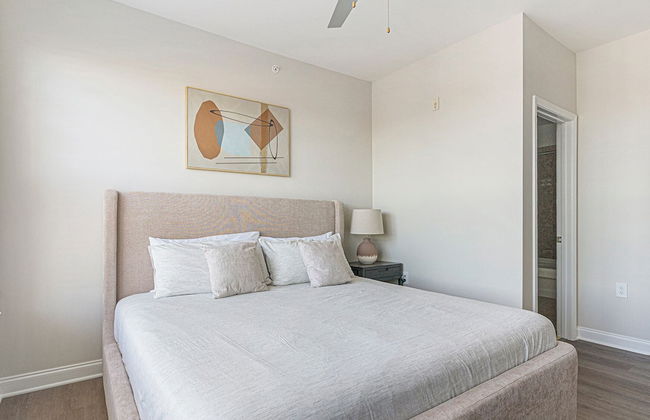
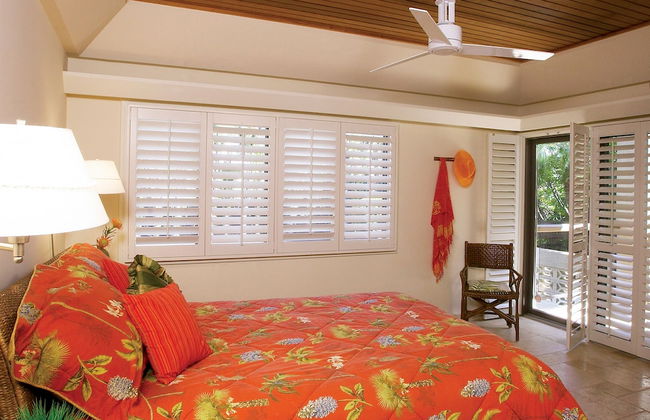
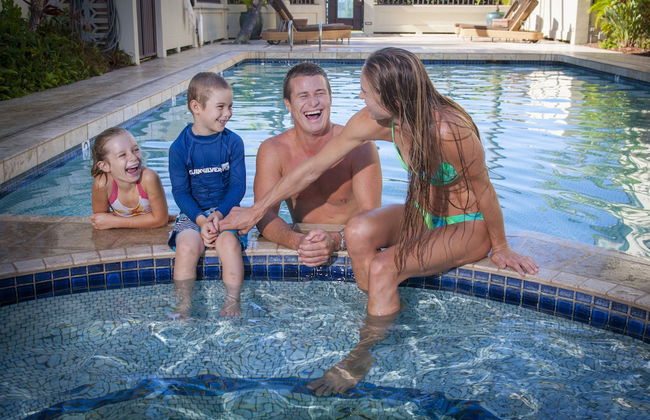
Las Olas Beach Club of Satellite Beach
Satellite Beach
- 130 M2
- 2 camere
- 6 persone
- Aria condizionata
- Riscaldamento
- Terrazza
- Piscina
- Parcheggio
- Ascensore
- Balcone
- Giardino
- Tv
- Lavatrice
- Barbecue
- Lino da bagno
- Lino da letto


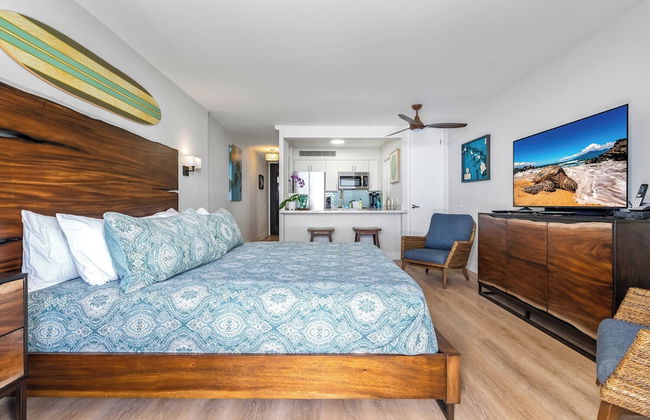


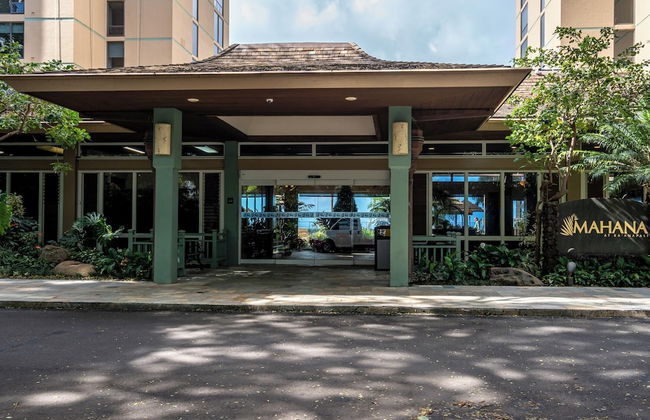


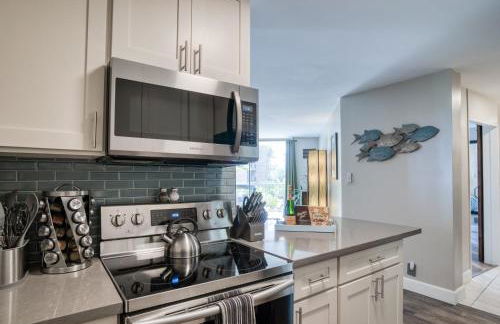
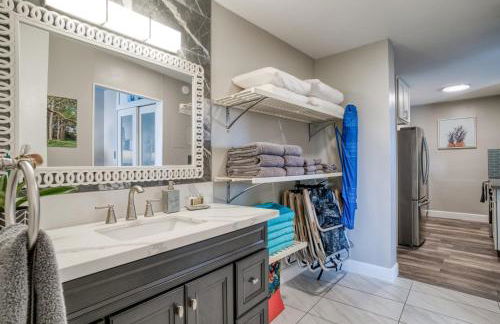
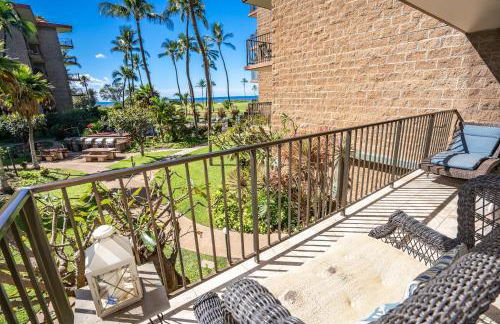
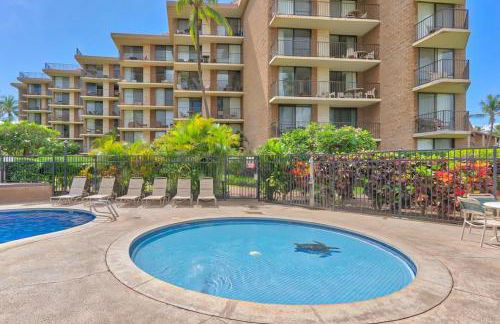
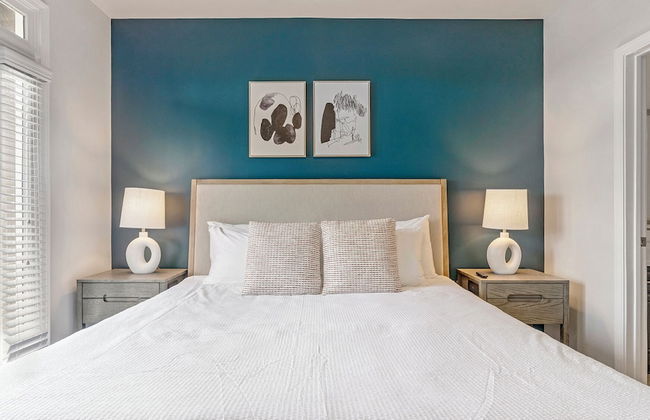
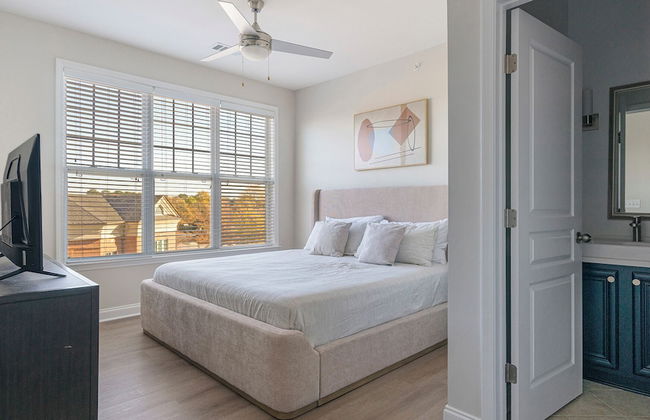
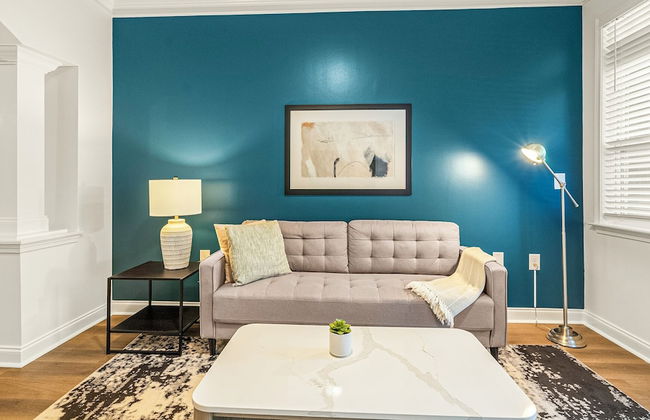
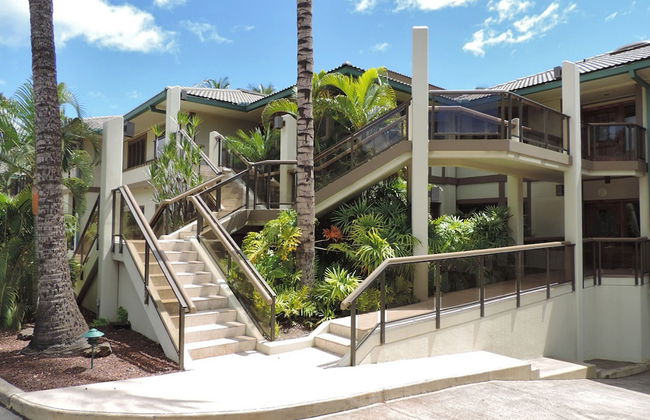
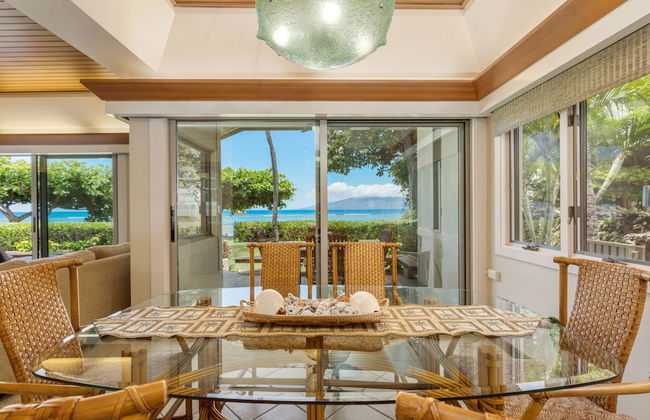
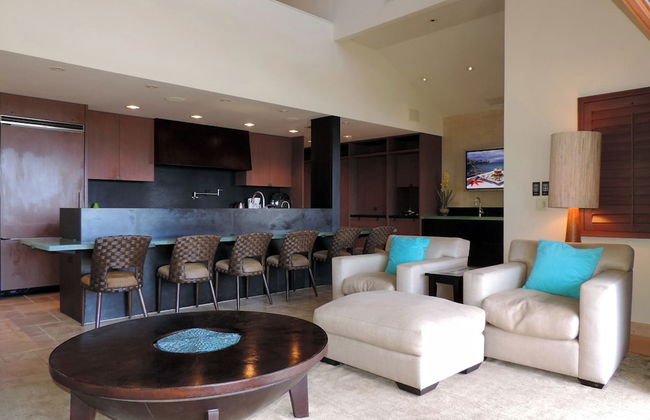
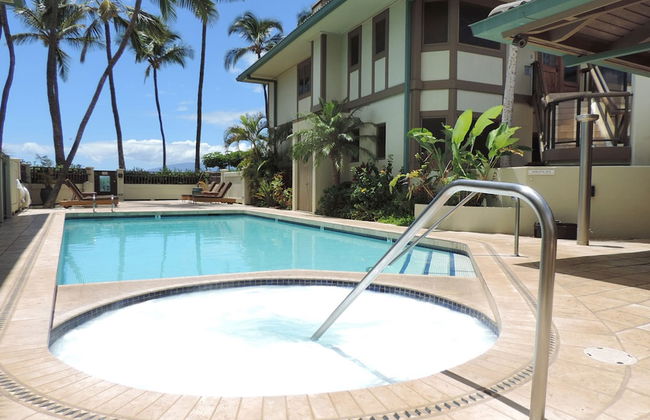
Boutique Oceanfront Kaanapali Vistas
Lahaina - Napili-Honokowai - 7.2 km dal centro
- 37 M2
- 2 persone
- Aria condizionata
- Riscaldamento
- Terrazza
- Piscina
- Parcheggio
- Ascensore
- Giardino
- Tv
- Lavatrice
- Barbecue
- Lino da bagno
- Lino da letto


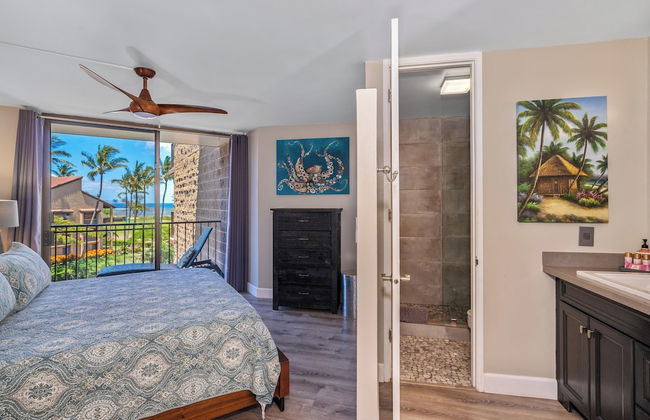
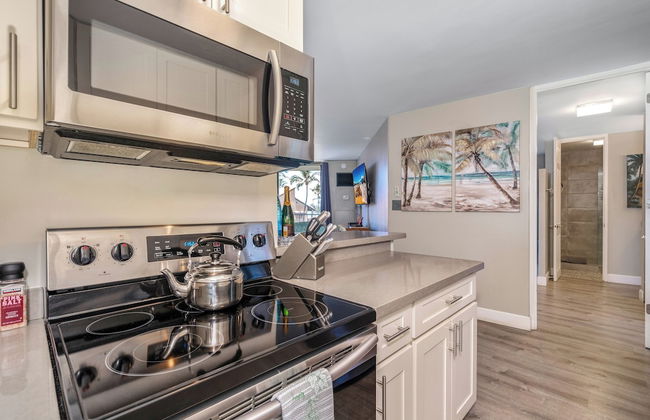
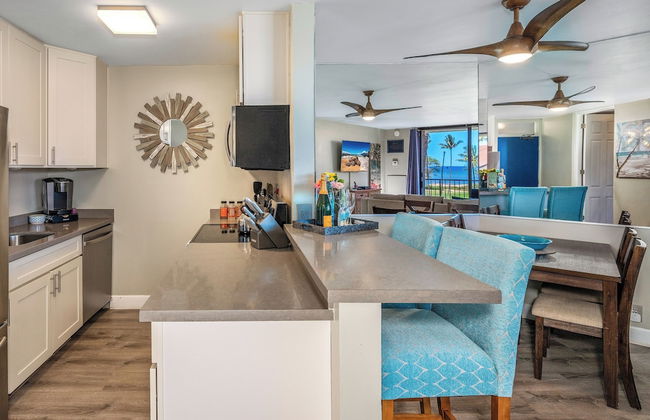
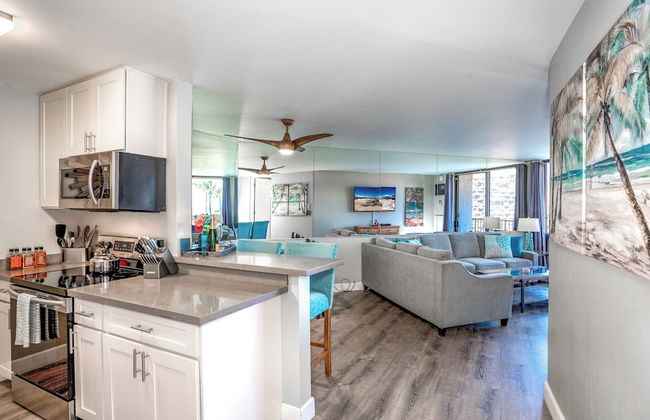
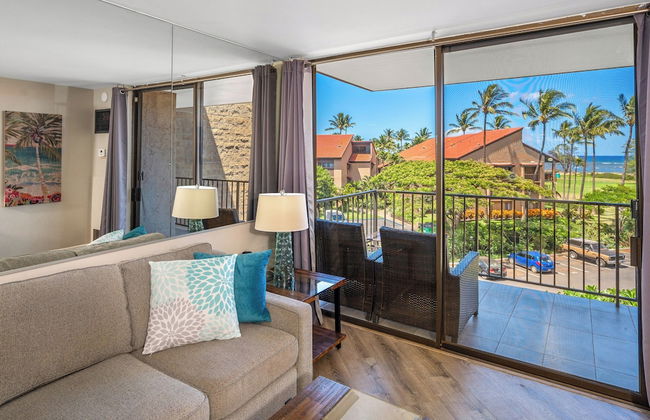
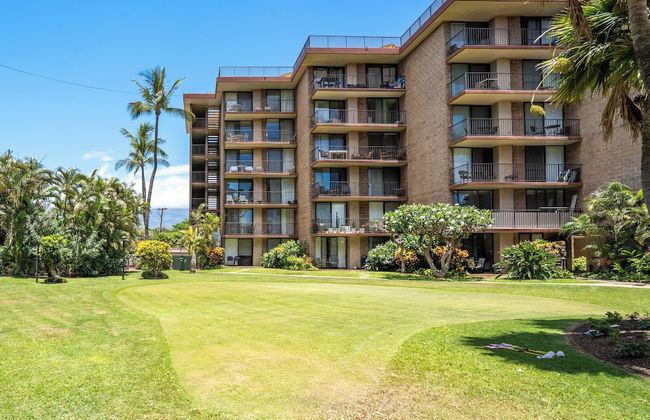
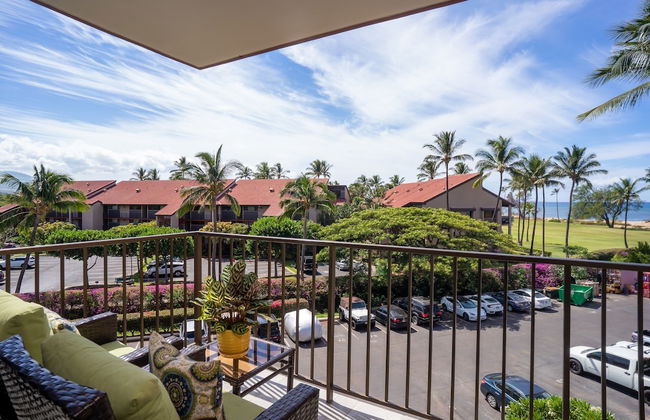
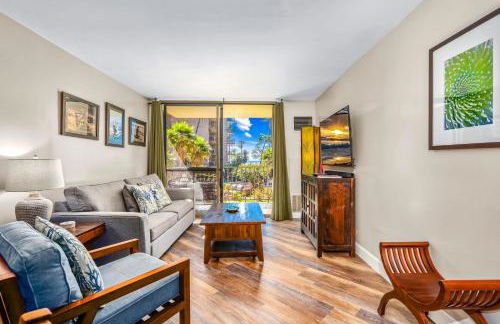
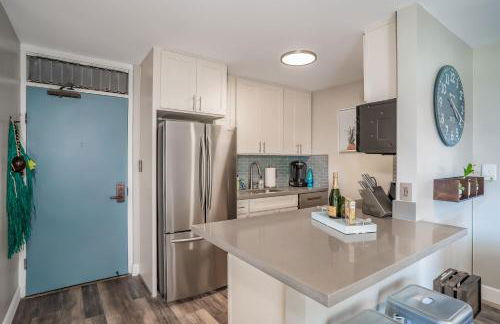
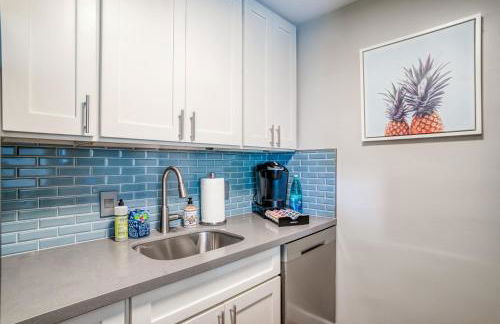
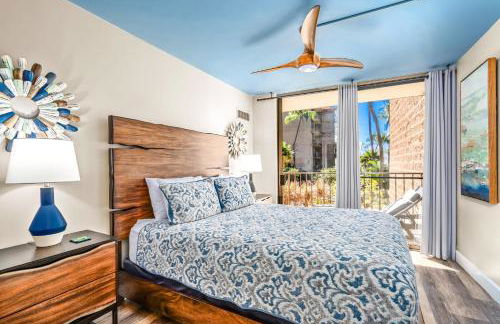
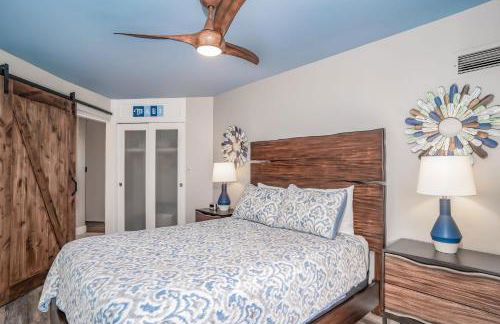
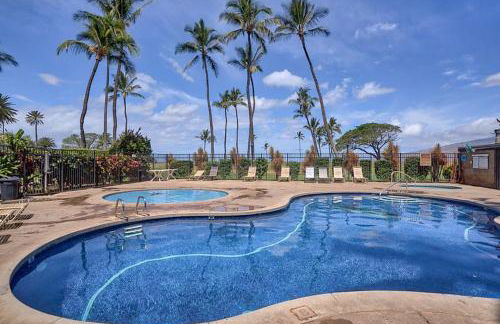
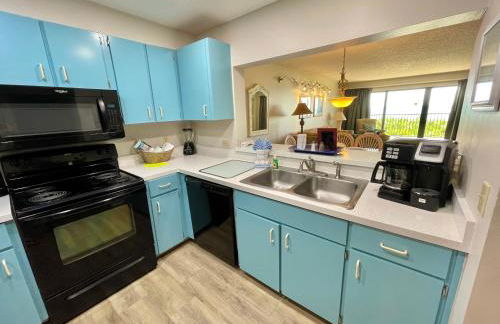
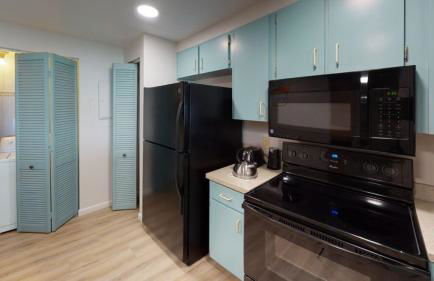
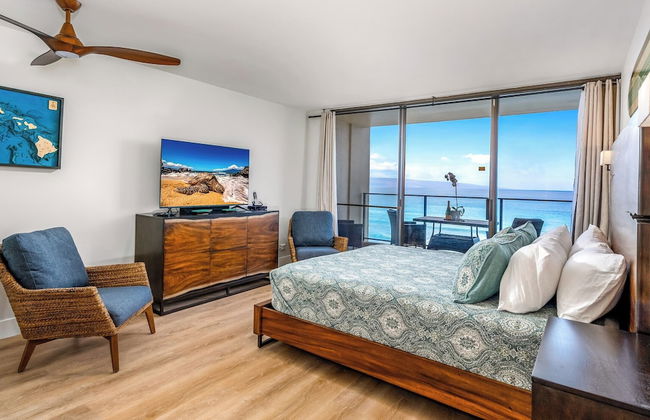
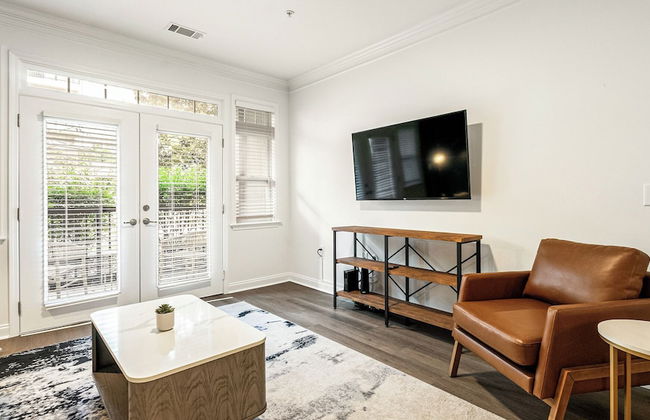
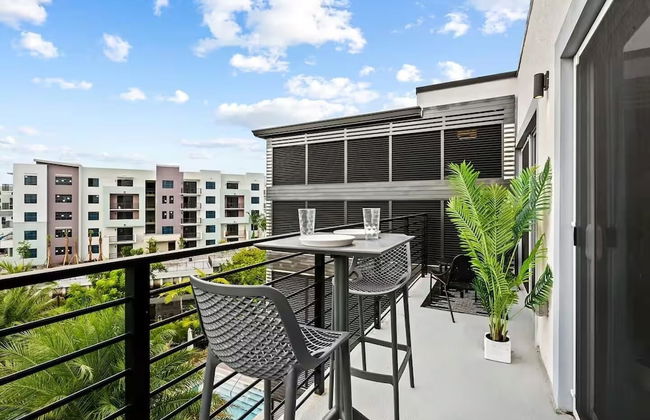
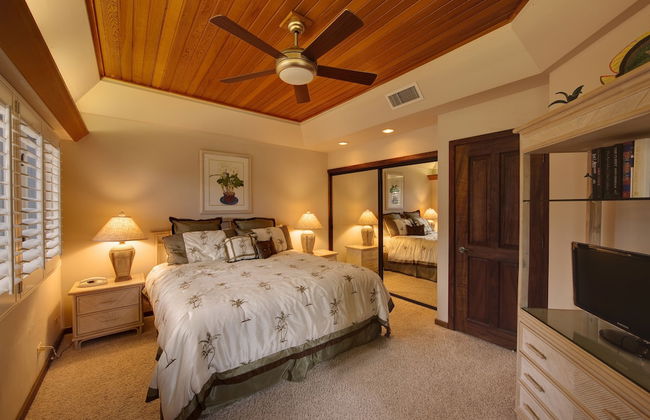
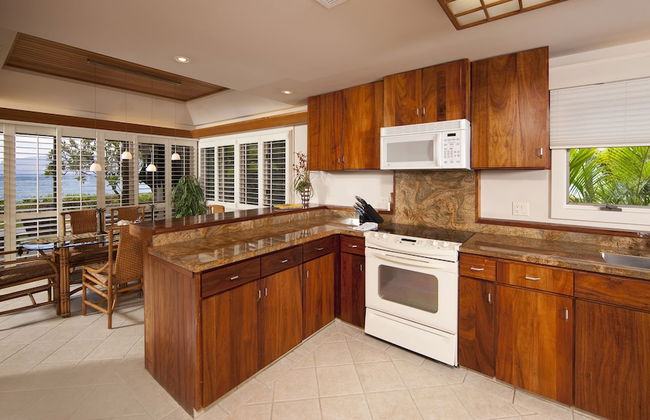
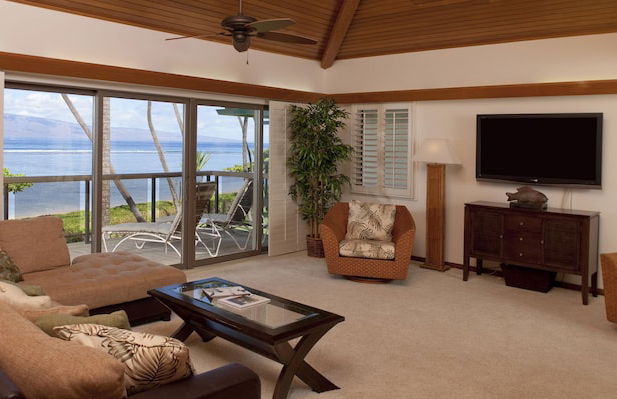
Modern & Polished Oceanfront Vistas
Kihei - Kihei - 2.1 km dal centro
- 56 M2
- 1 camera
- 4 persone
- Aria condizionata
- Riscaldamento
- Terrazza
- Piscina
- Parcheggio
- Ascensore
- Balcone
- Giardino
- Tv
- Lavatrice
- Barbecue
- Lino da bagno
- Lino da letto


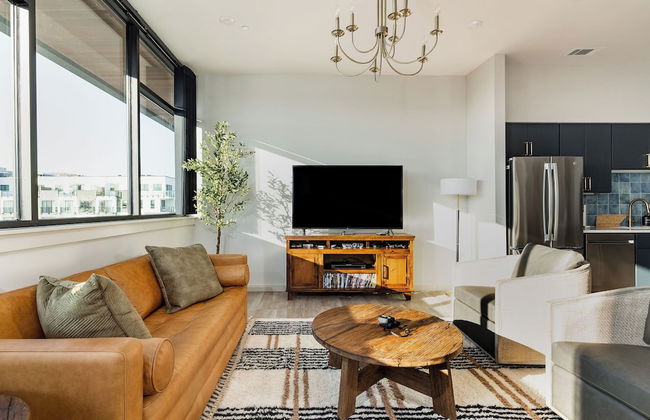


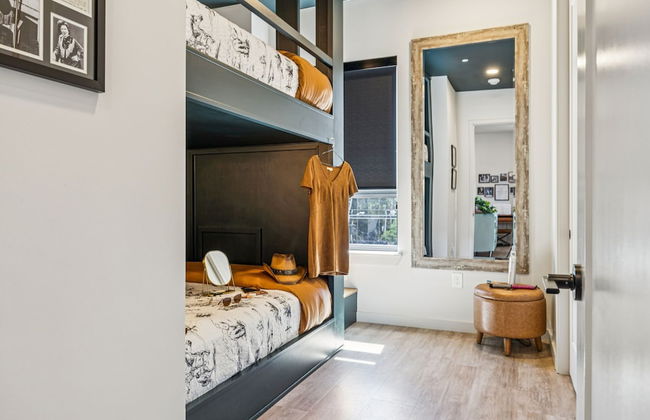

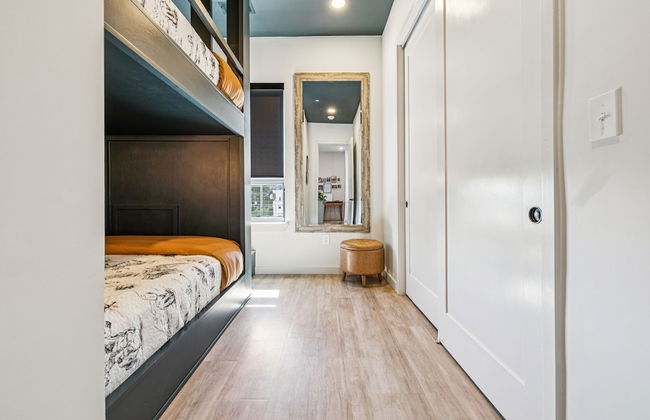


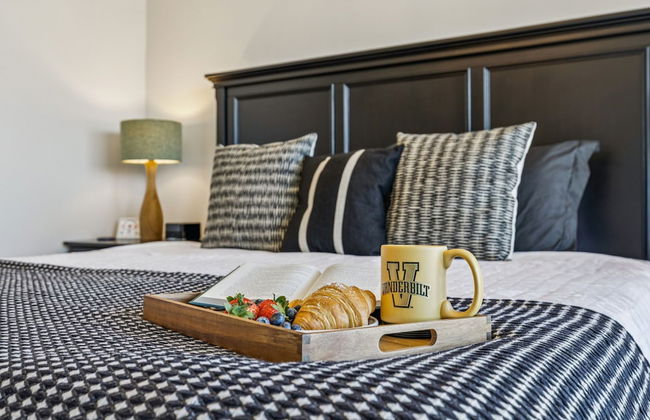


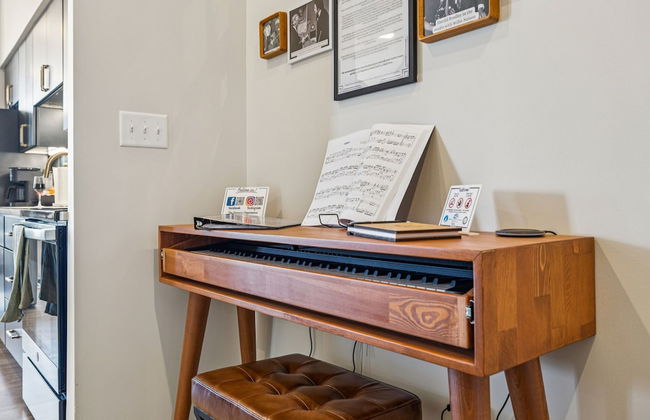


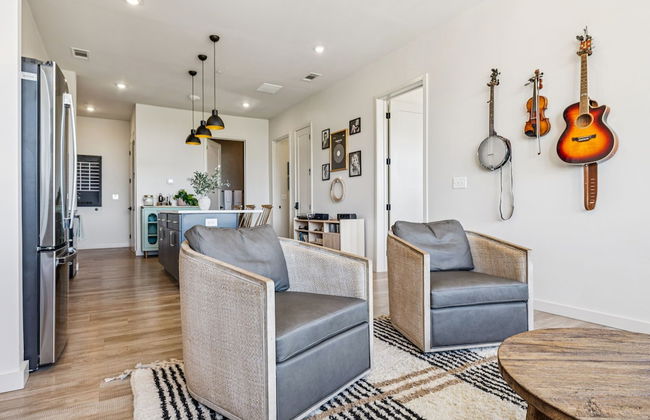


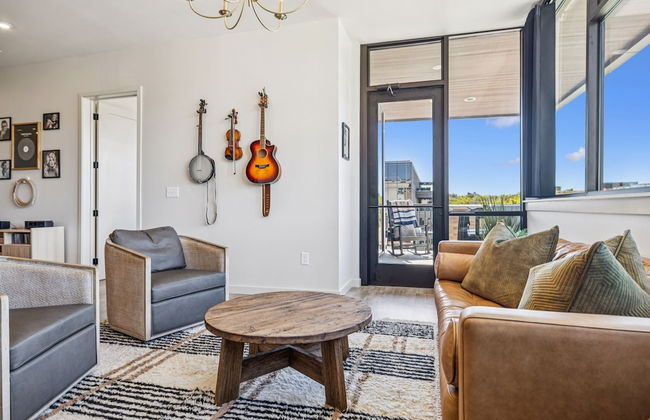

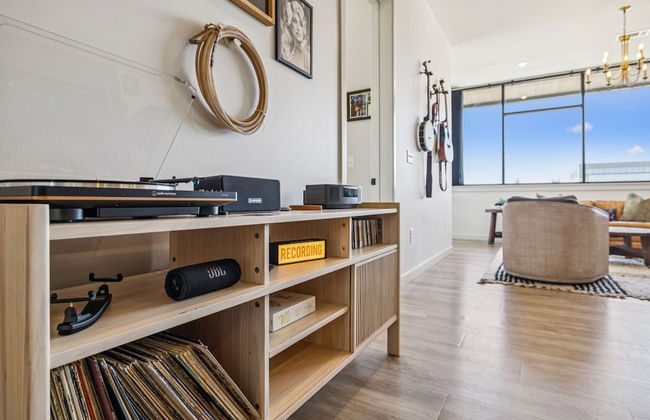

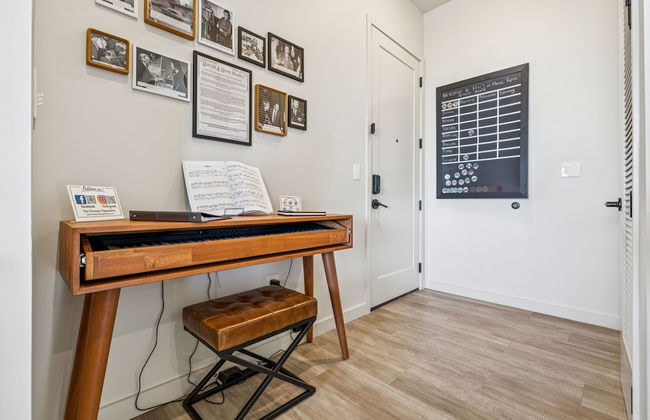


H&O on Music Row
Nashville - Edgehill - 2.3 km dal centro
- 94 M2
- 2 camere
- 8 persone
- Aria condizionata
- Riscaldamento
- Terrazza
- Piscina
- Parcheggio
- Ascensore
- Balcone
- Tv
- Lavatrice
- Barbecue
- Lino da bagno
- Lino da letto


Hotel Perle
Nuova Orleans - Central Business District - 510 m dal centro
- 185 M2
- 7 camere
- 14 persone
- Aria condizionata
- Riscaldamento
- Terrazza
- Piscina
- Parcheggio
- Ascensore
- Giardino
- Tv
- Lavatrice
- Lino da bagno
- Lino da letto


Sea Spray Condo
Hampton
- 557 M2
- 4 persone
- Aria condizionata
- Riscaldamento
- Terrazza
- Parcheggio
- Ascensore
- Balcone
- Tv
- Lavatrice
- Lino da bagno
- Lino da letto


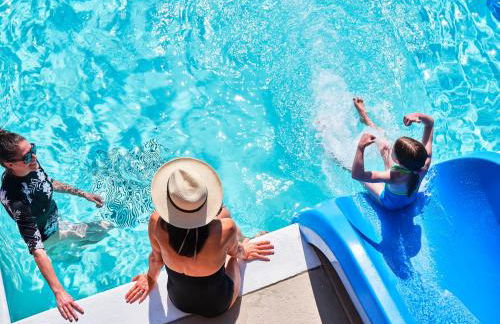
Hill Country Casitas
Dripping Springs
- 539 M2
- 2 camere
- 44 persone
- Cucinino
- Aria condizionata
- Riscaldamento
- Terrazza
- Piscina
- Parcheggio
- Balcone
- Giardino
- Tv
- Lavatrice
- Barbecue
- Lino da bagno
- Lino da letto


The Inn On Siesta Key
Sarasota - Sarasota Beach - 7.3 km dal centro
- 102 M2
- 8 persone
- Aria condizionata
- Riscaldamento
- Terrazza
- Piscina
- Parcheggio
- Balcone
- Giardino
- Tv
- Barbecue
- Lino da bagno
- Lino da letto


McGregor and Main Luxury Lofts
Hill City
- 242 M2
- 4 camere
- 12 persone
- Cucinino
- Aria condizionata
- Riscaldamento
- Terrazza
- Parcheggio
- Ascensore
- Giardino
- Tv
- Lino da bagno


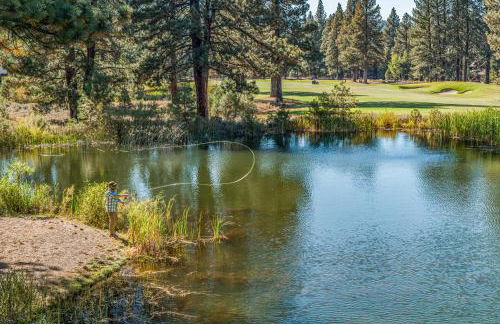


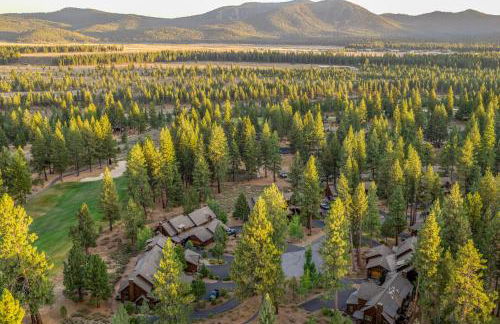


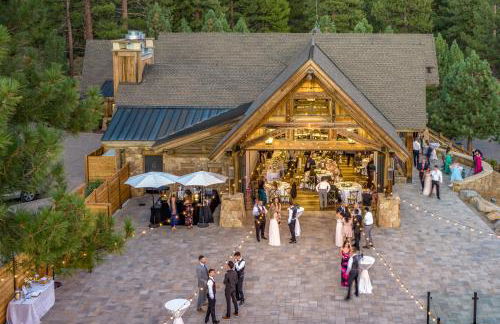

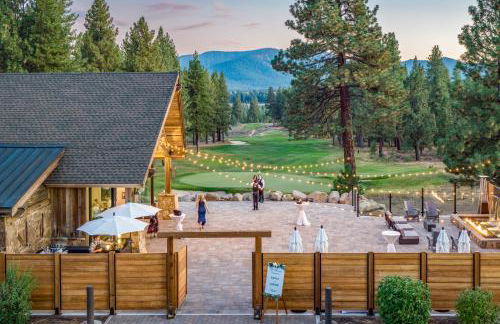


The Cottages, Summer Escape - Golf, Pool & Family Fun - 3-Bedroom
Truckee - 5.7 km dal centro
- 171 M2
- 3 camere
- 8 persone
- Aria condizionata
- Riscaldamento
- Terrazza
- Piscina
- Parcheggio
- Balcone
- Giardino
- Tv
- Lavatrice
- Focolare
- Barbecue
- Lino da bagno
- Lino da letto
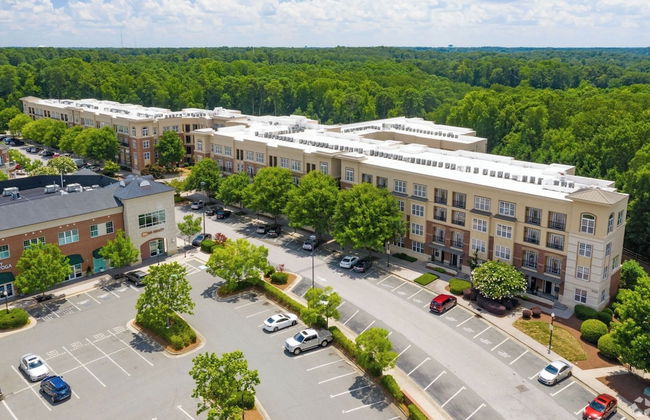
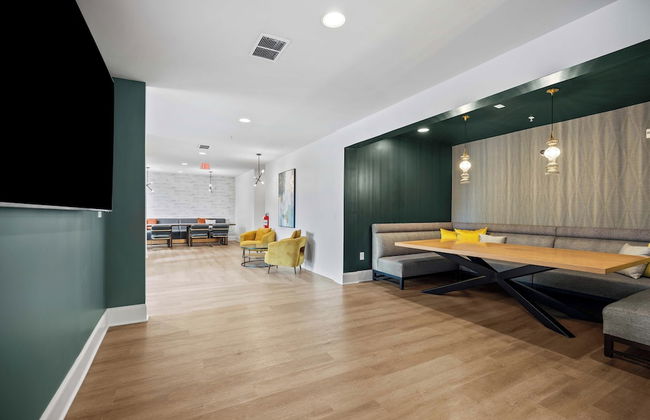
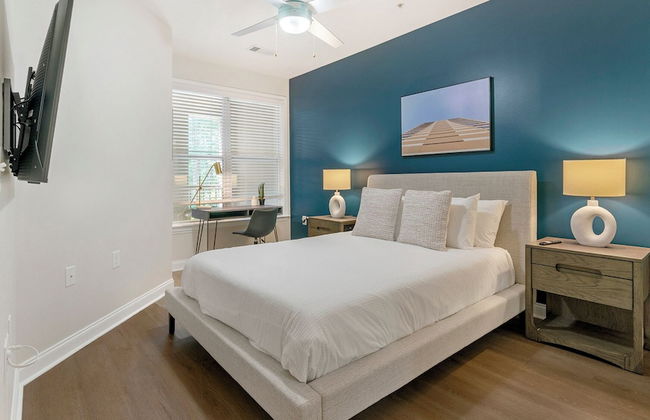
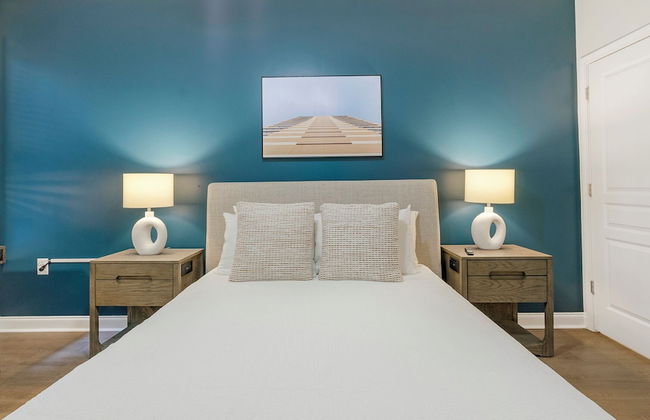
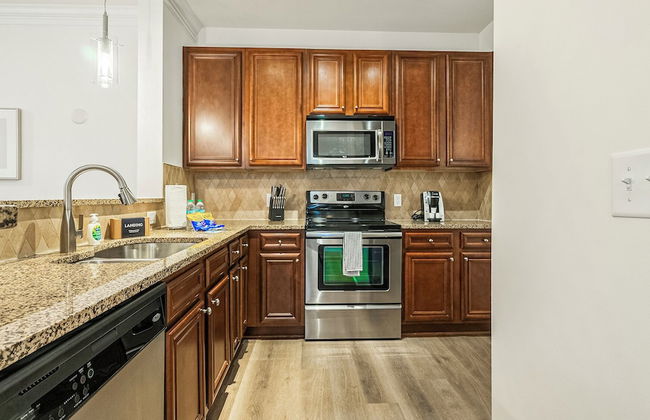
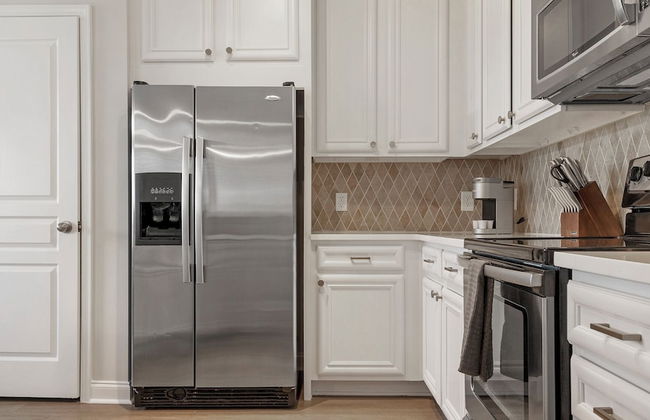


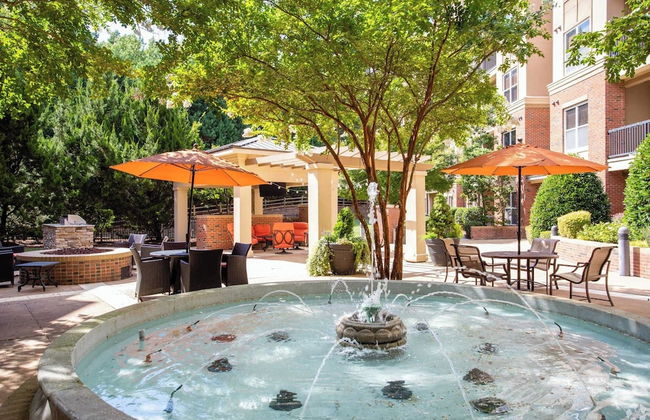

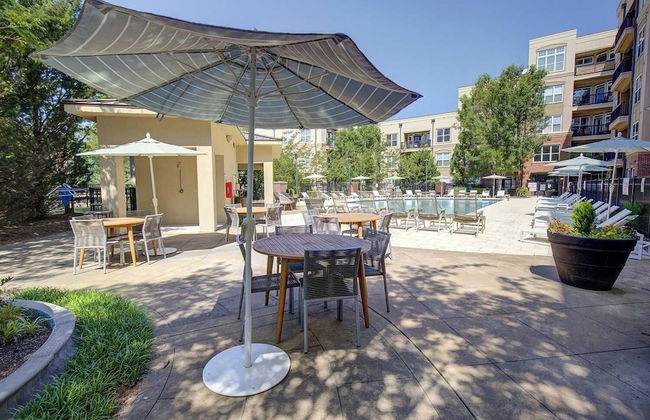
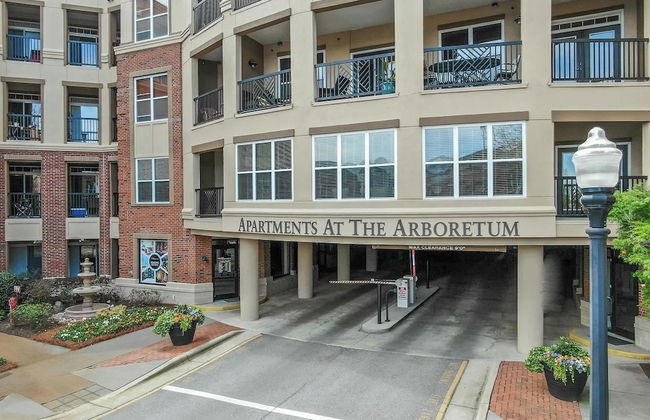

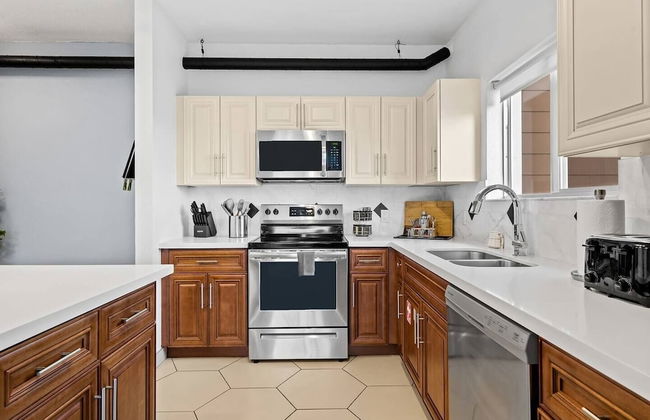
Cary Apartments by Landing
Cary - The Arboretum - 3.7 km dal centro
- 108 M2
- 4 persone
- Aria condizionata
- Riscaldamento
- Piscina
- Parcheggio
- Ascensore
- Tv
- Lavatrice
- Focolare
- Barbecue
- Lino da bagno
- Lino da letto


Y.O. Ranch Headquarters
Mountain Home
- 204 M2
- 8 persone
- Aria condizionata
- Riscaldamento
- Terrazza
- Piscina
- Parcheggio
- Giardino
- Tv
- Focolare
- Barbecue
- Lino da bagno
- Lino da letto


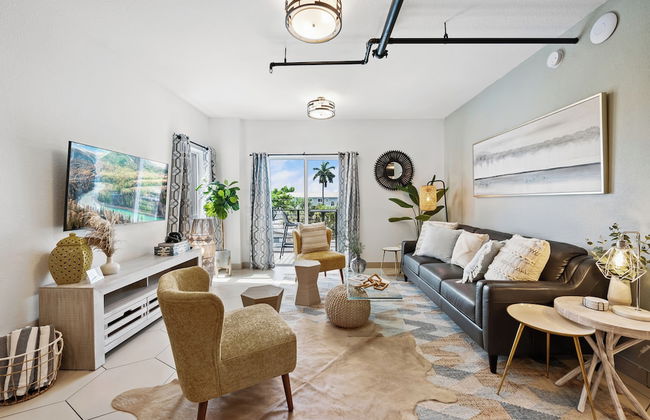
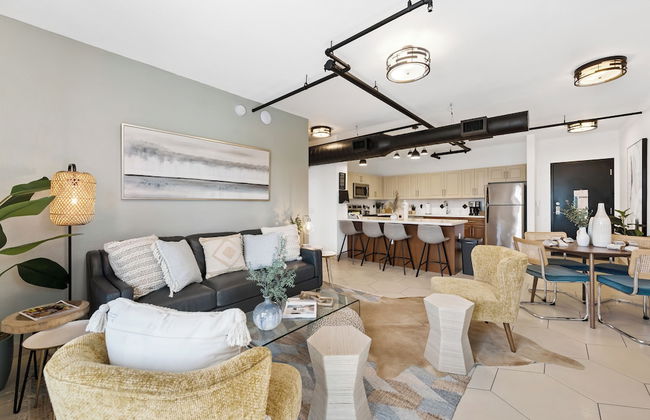
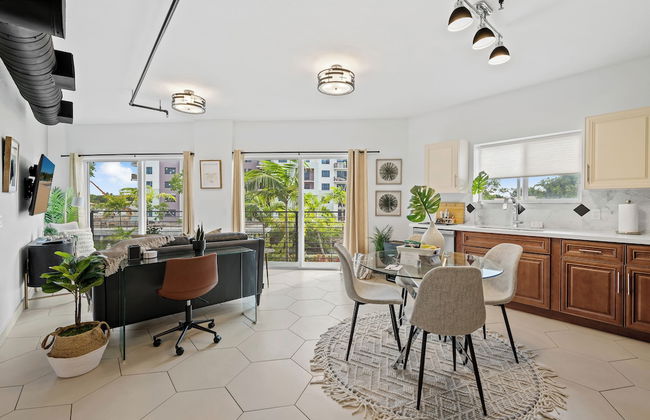


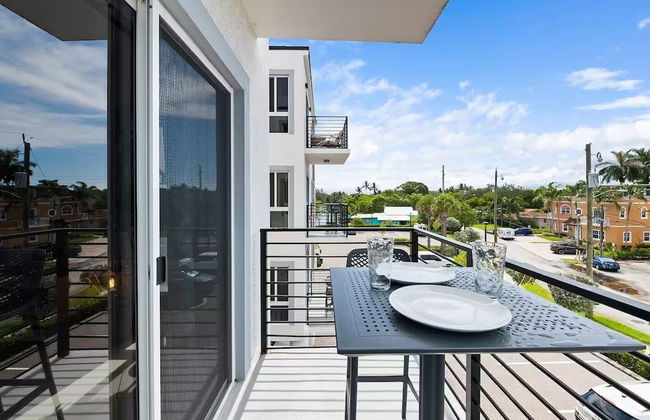

Wilton River Suites (Adults Only)
Fort Lauderdale - 4 km dal centro
- 107 M2
- 4 persone
- Aria condizionata
- Riscaldamento
- Piscina
- Parcheggio
- Ascensore
- Balcone
- Giardino
- Tv
- Lavatrice
- Barbecue
- Lino da bagno
- Lino da letto


Puunoa - CoralTree Residence Collection
Lahaina - Lahaina - 330 m dal centro
- 8 persone
- Aria condizionata
- Riscaldamento
- Terrazza
- Piscina
- Parcheggio
- Tv
- Lavatrice
- Barbecue
- Lino da bagno
- Lino da letto


Vista Cay Commons by OVH360
Orlando - 13.5 km dal centro
- 130 M2
- 6 persone
- Aria condizionata
- Riscaldamento
- Piscina
- Parcheggio
- Ascensore
- Balcone
- Tv
- Lavatrice
- Lino da bagno
- Lino da letto


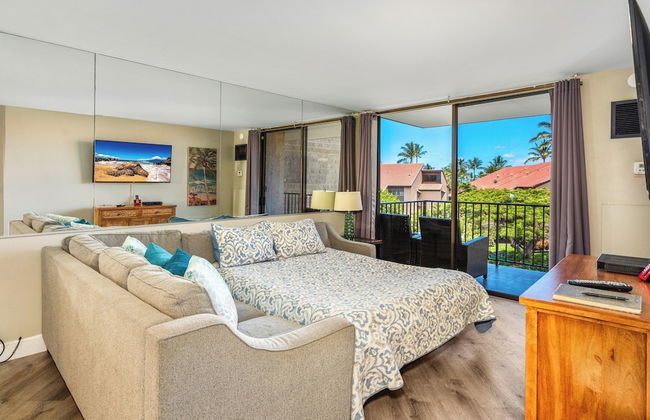
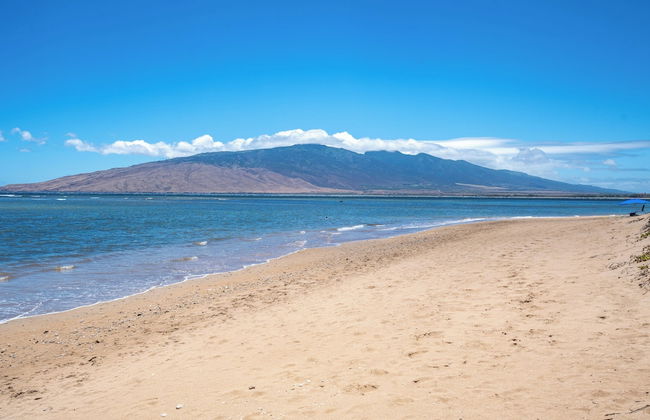
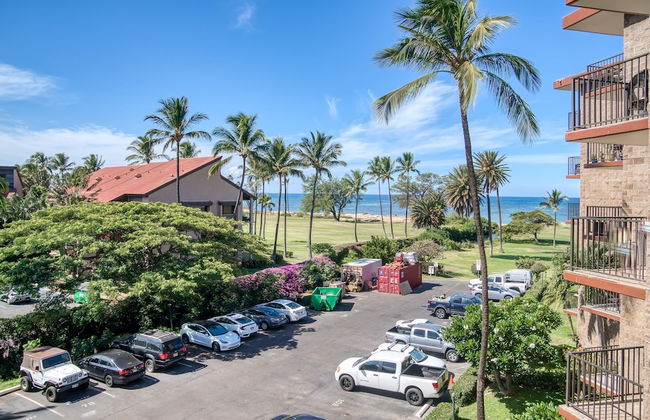
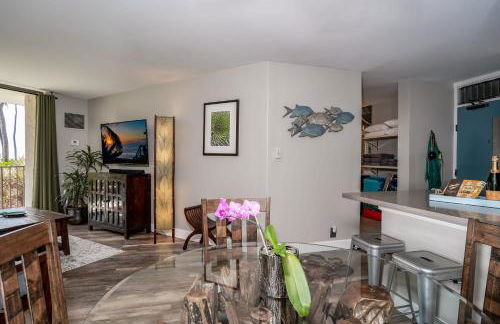
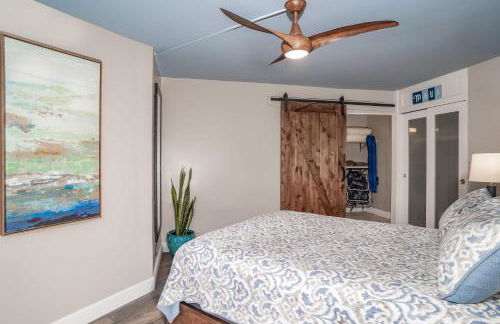
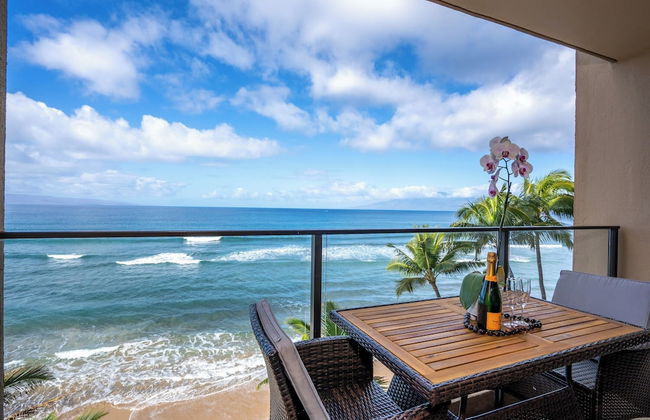
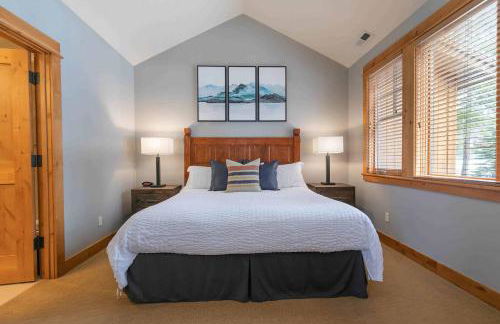
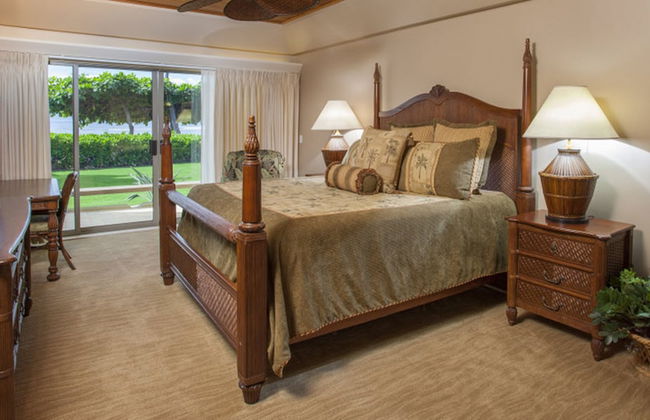
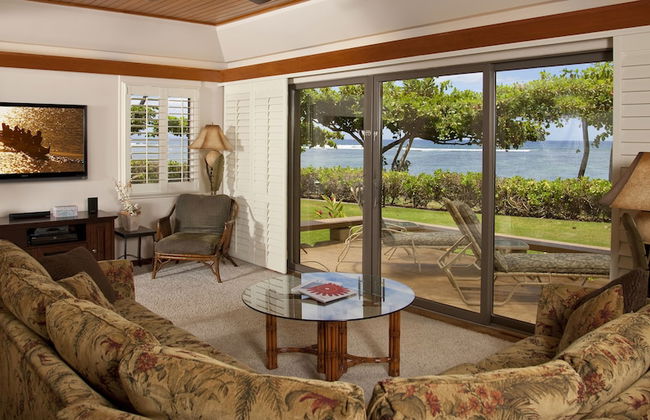
Calming Coastal Vistas
Kihei - Kihei - 2.1 km dal centro
- 46 M2
- 1 camera
- 4 persone
- Aria condizionata
- Riscaldamento
- Piscina
- Parcheggio
- Ascensore
- Balcone
- Giardino
- Tv
- Lavatrice
- Barbecue
- Lino da bagno
- Lino da letto

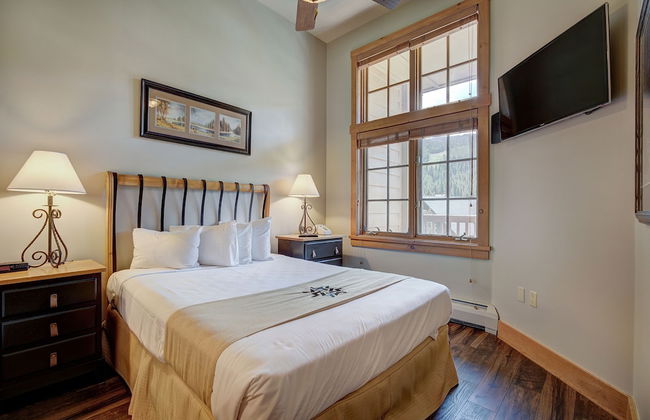
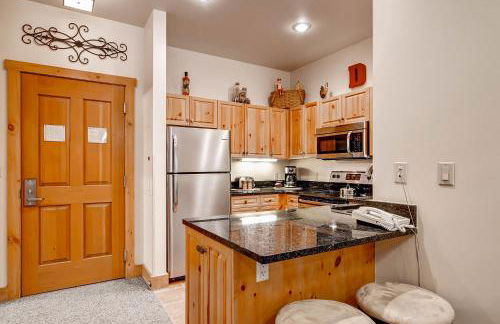

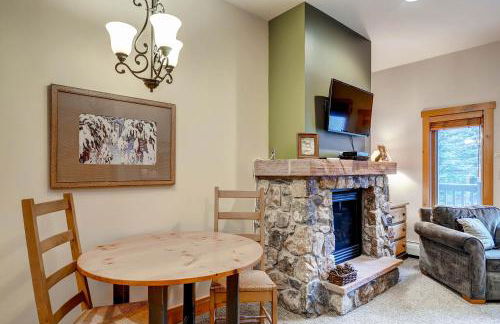
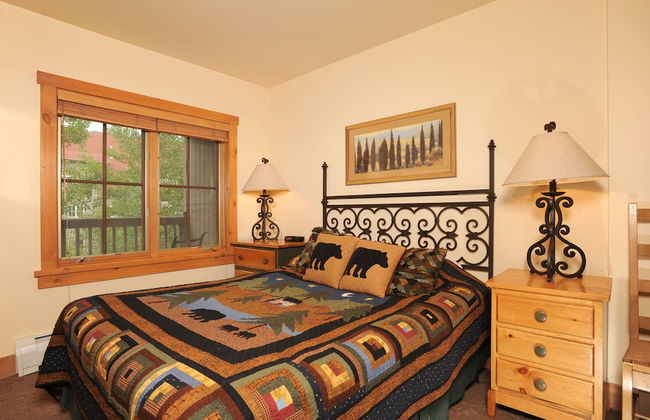

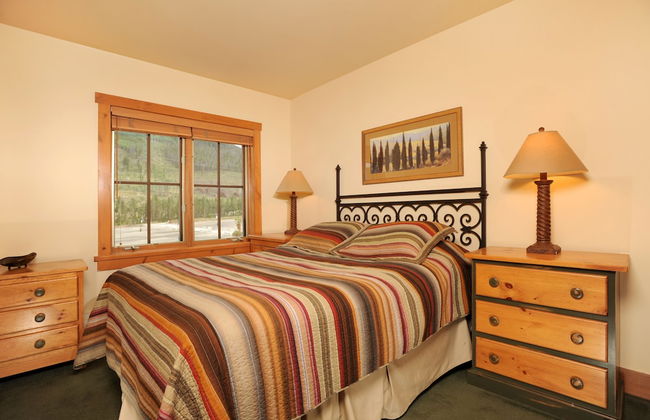
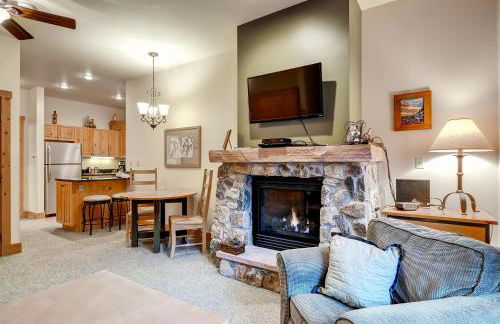
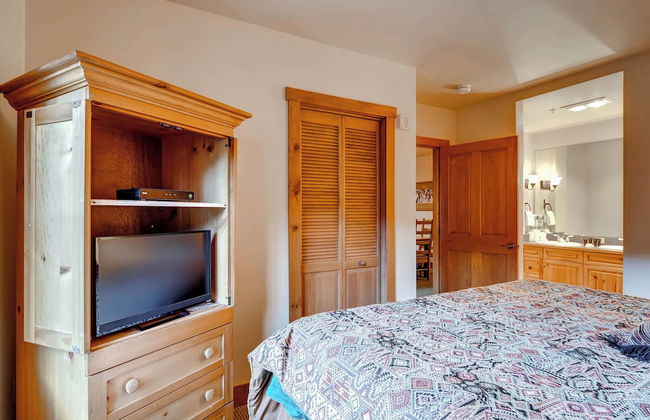
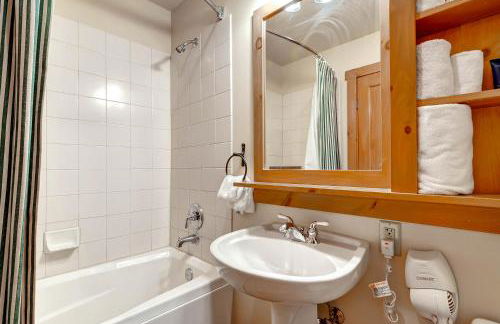
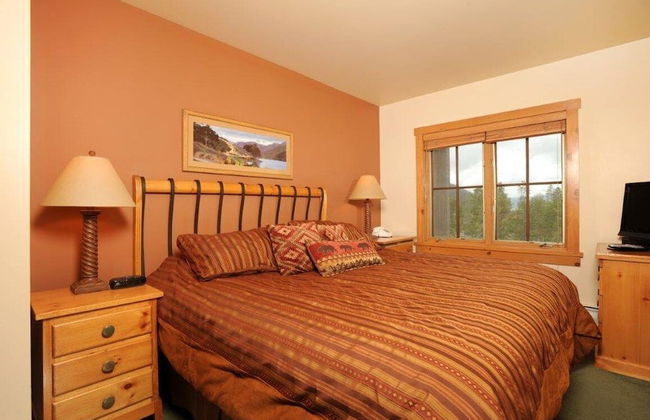
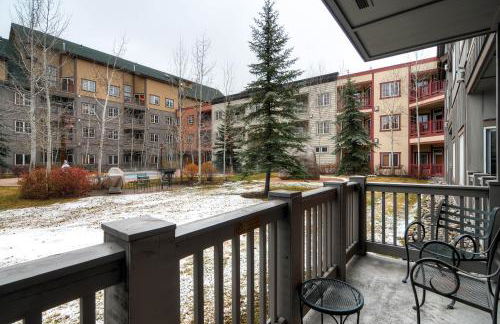
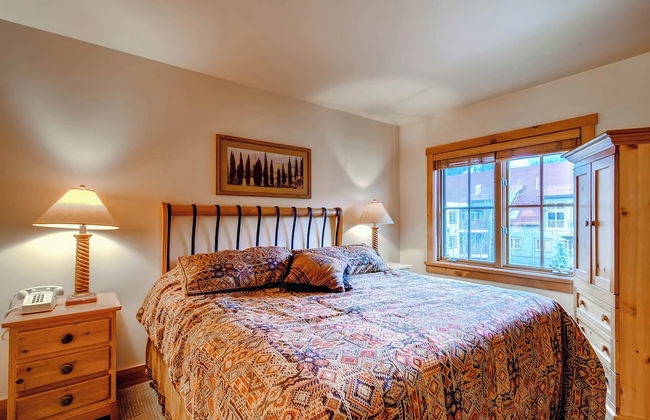

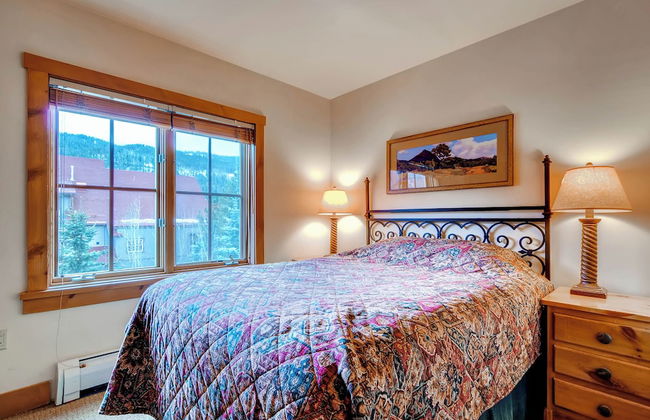

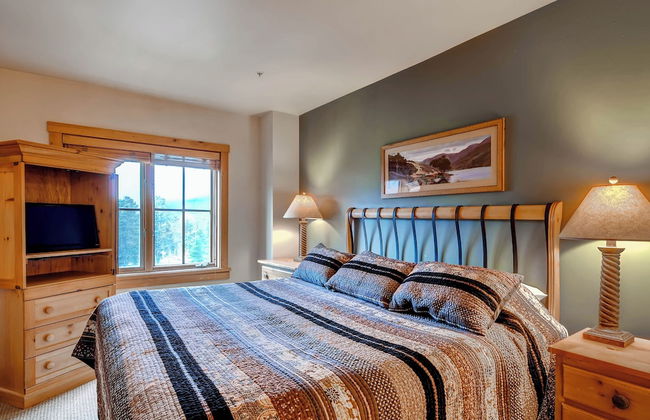
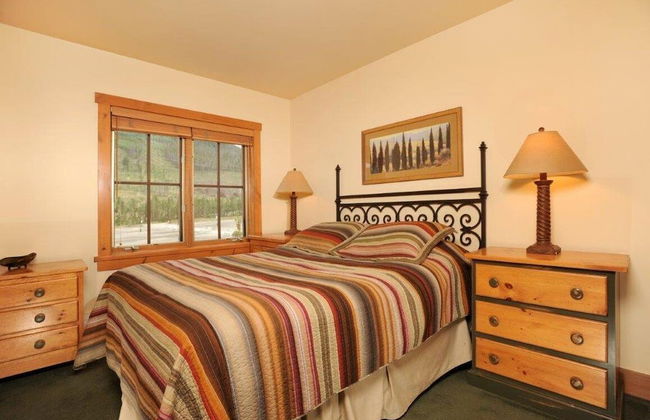


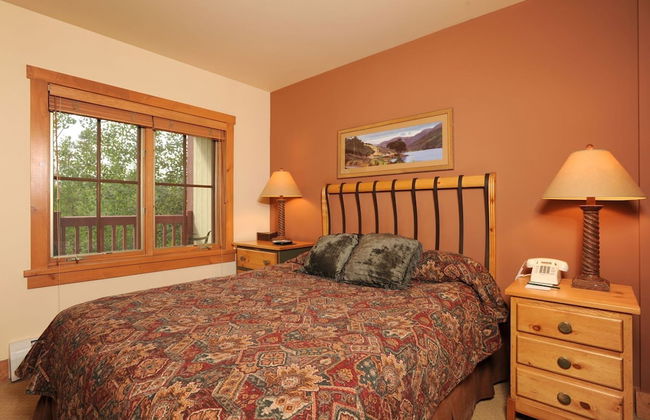
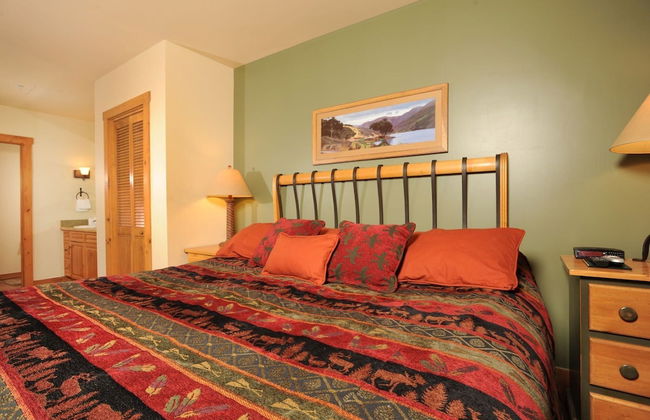
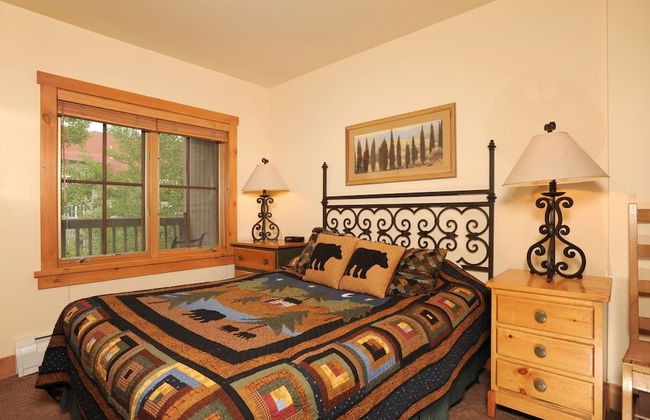

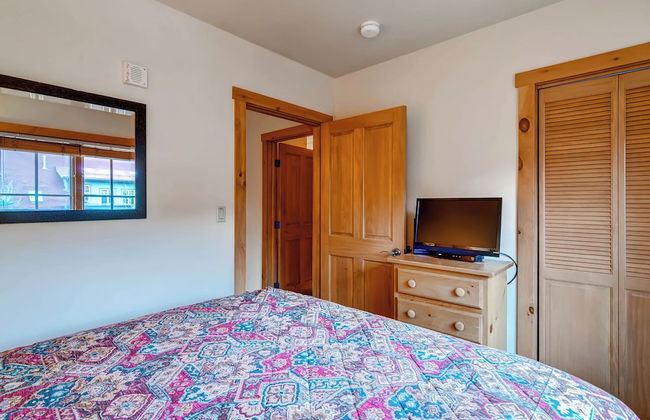

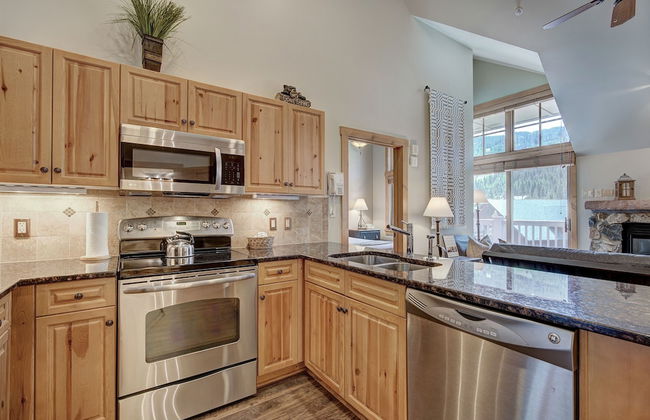


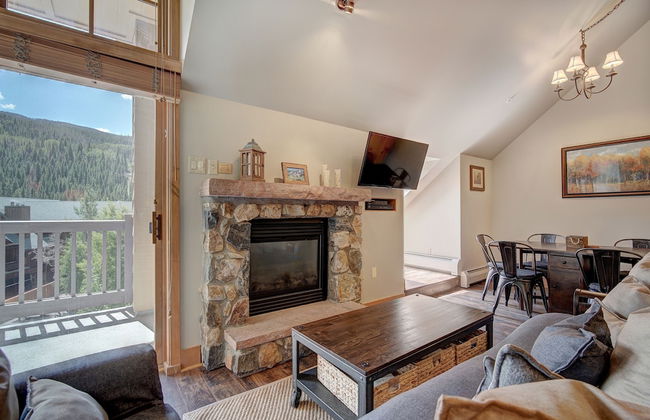
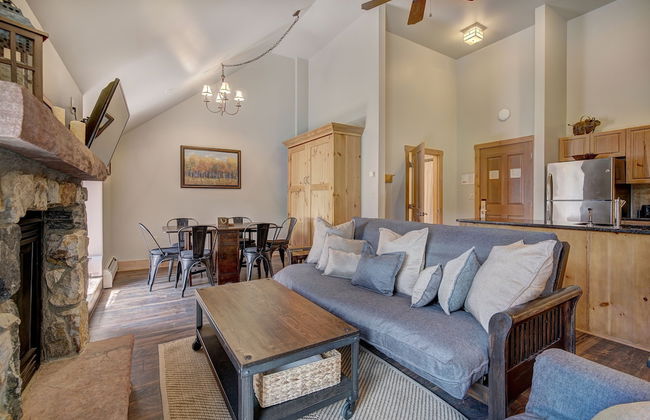


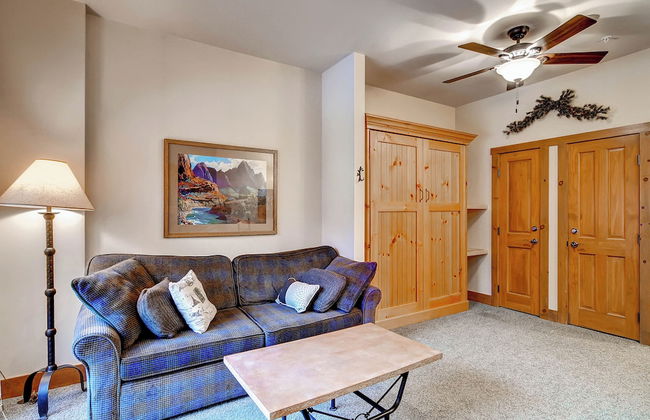
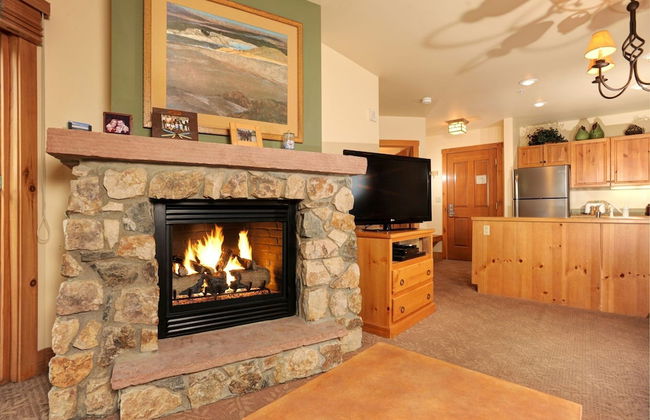
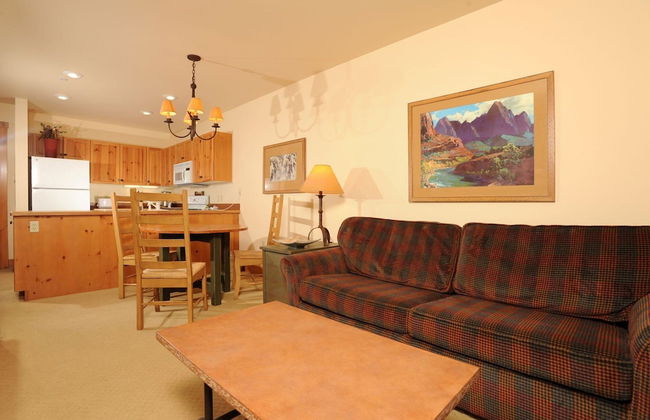
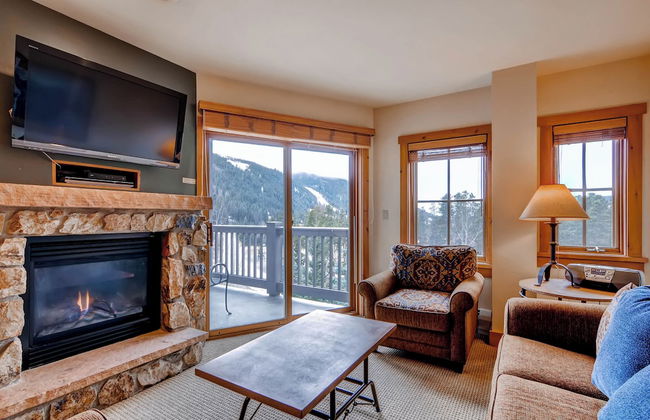
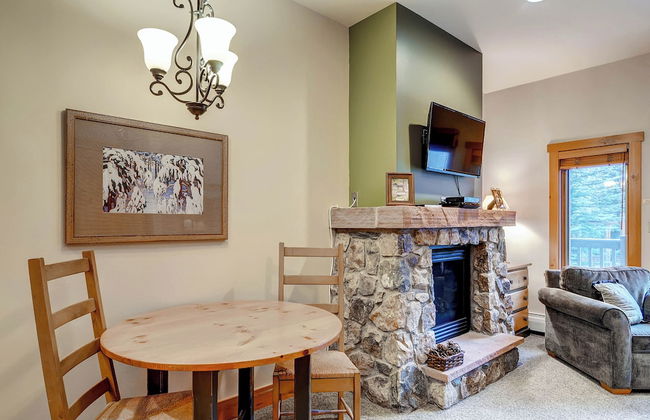

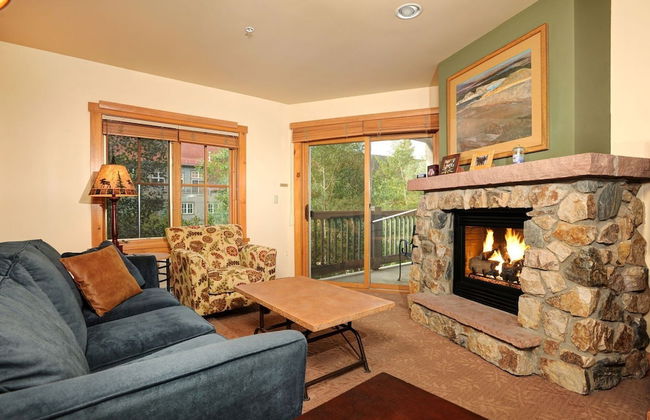


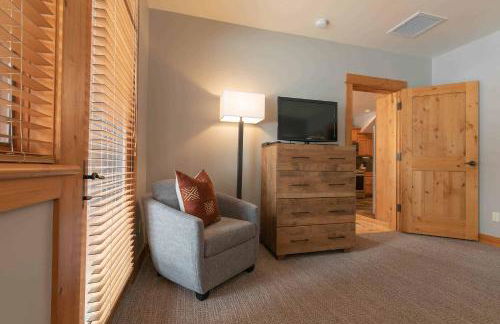
Expedition Station Condos by Vail Resorts
Dillon - 3.9 km da Keystone
- 41 M2
- 1 camera
- 8 persone
- Riscaldamento
- Terrazza
- Piscina
- Parcheggio
- Ascensore
- Tv
- Focolare
- Barbecue
- Lino da bagno
- Lino da letto


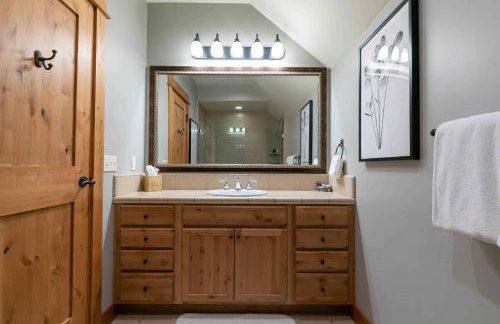
Timbers Kauai Ocean Club & Residences
Lihue - Lihue - 2.6 km dal centro
- 8 persone
- Aria condizionata
- Terrazza
- Piscina
- Parcheggio
- Ascensore
- Giardino
- Tv
- Lavatrice
- Barbecue
- Lino da bagno
- Lino da letto
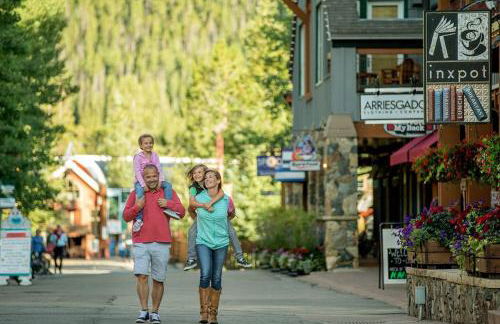
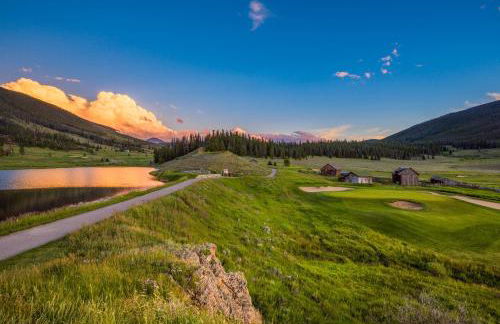
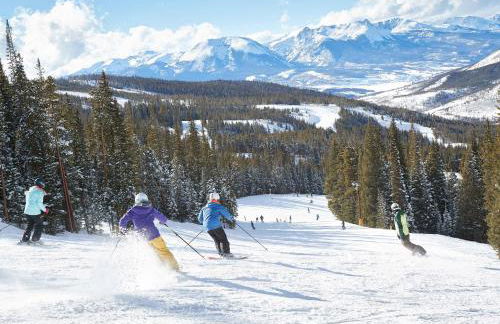
Lasciati trasportare dallo stile nordamericano e godi della costa delle grandi città e dei piccoli paesi che fanno parte degli Stati Uniti. Questo territorio è pieno di meraviglie che incanteranno il turista, come gli alti edifici di New York, i monumenti della capitale , la città cinematografica di Los Ángeles, il Golden Gate di San Francisco e all'interno, i picchi più alti delle montagne rocciose del Colorado. Tutto questo e molto di più offre questo paese, sempre disposto a sorprendere il visitatore.