
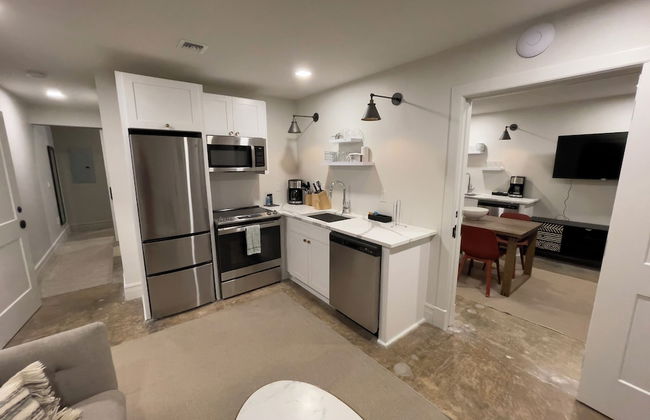
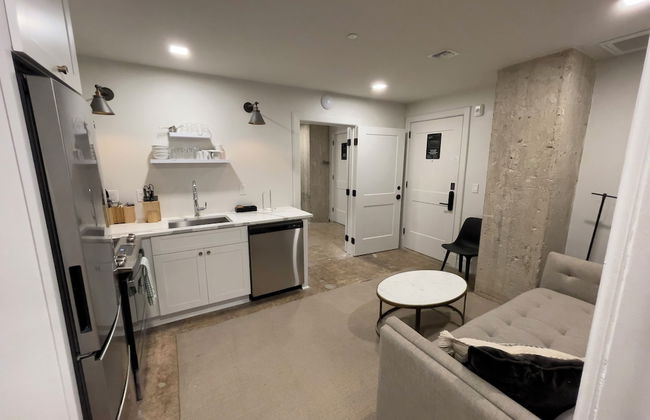
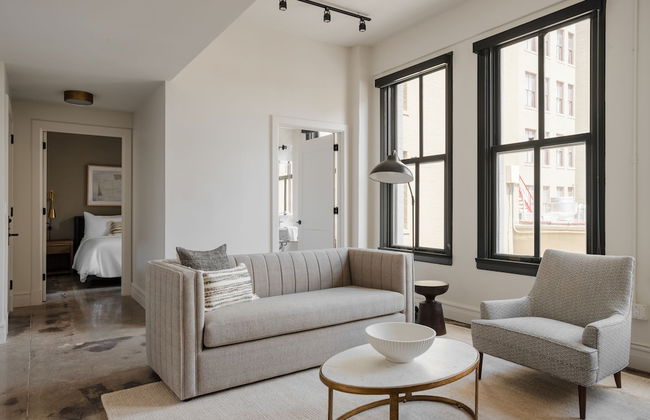
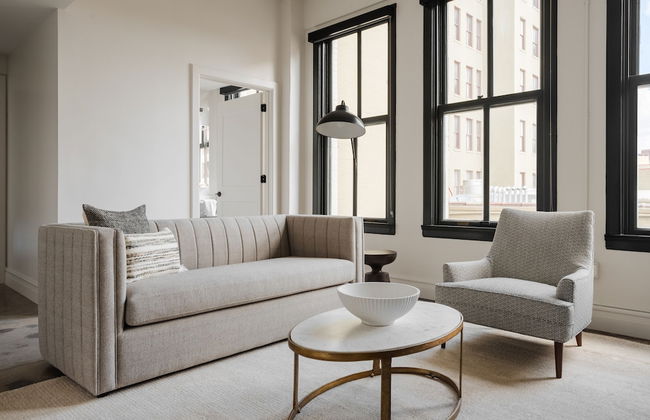
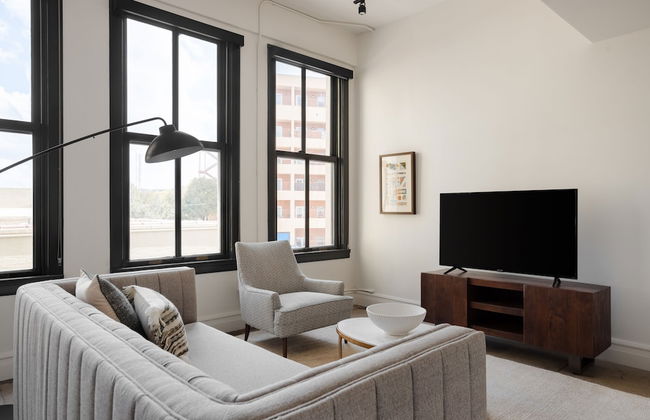
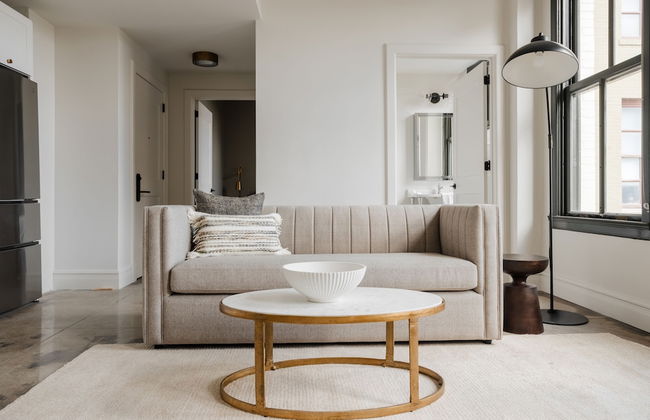
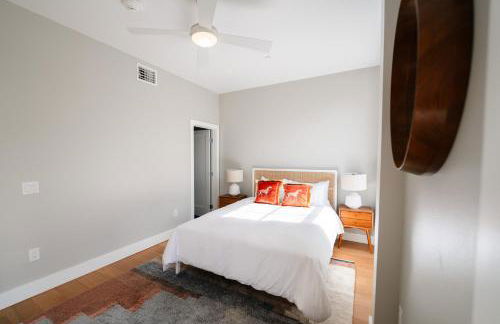
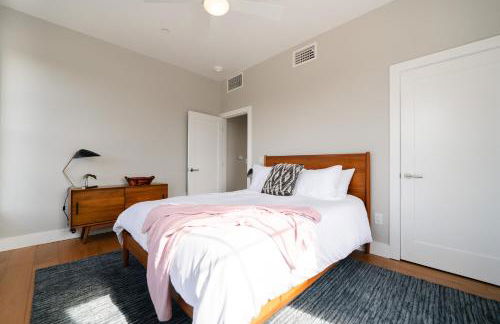
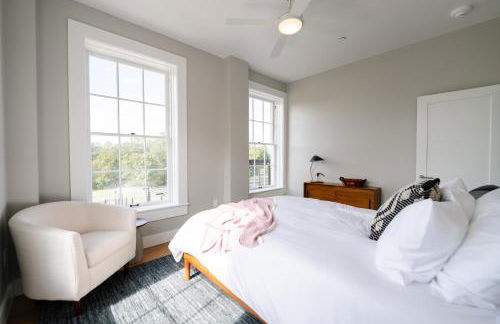
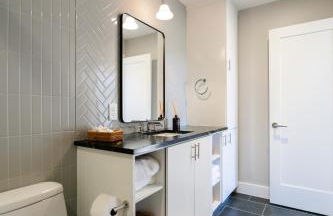
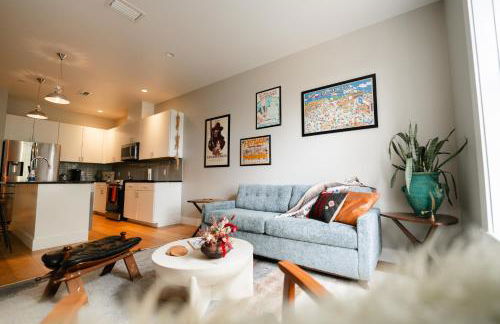
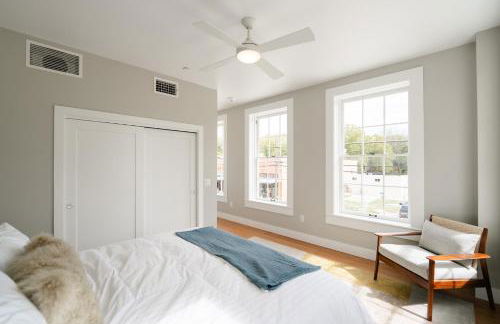
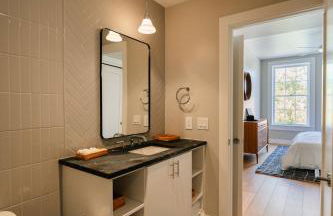
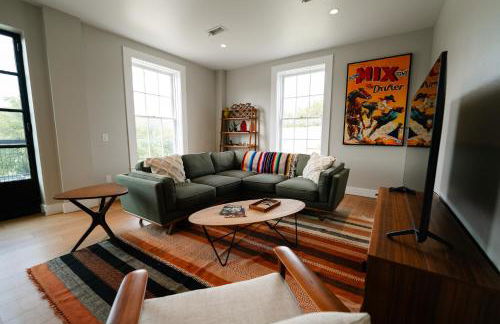
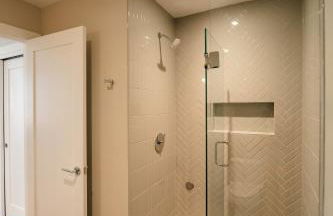
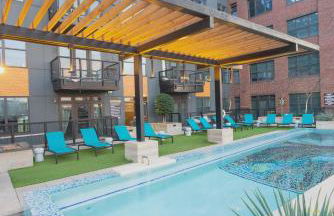
15456 Appartamenti a Texas


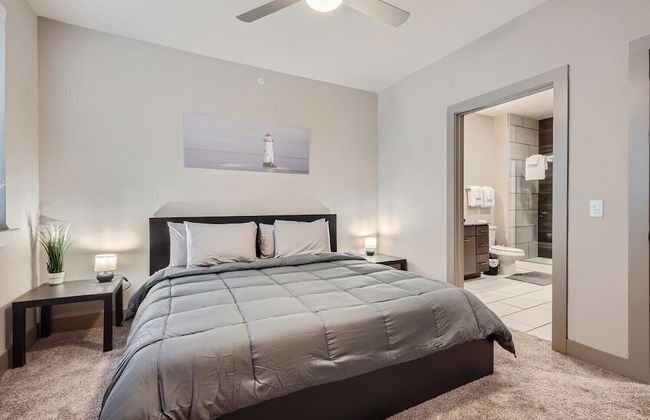
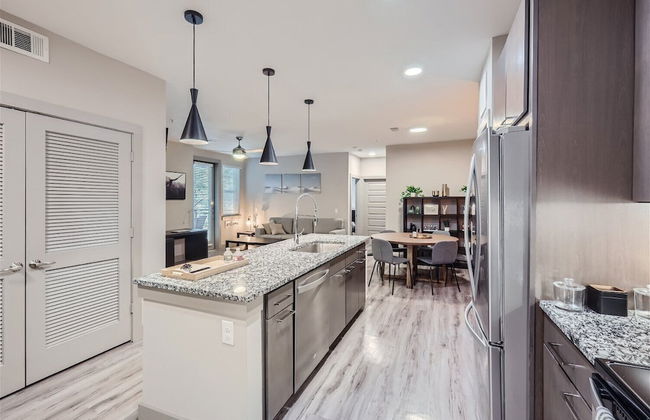
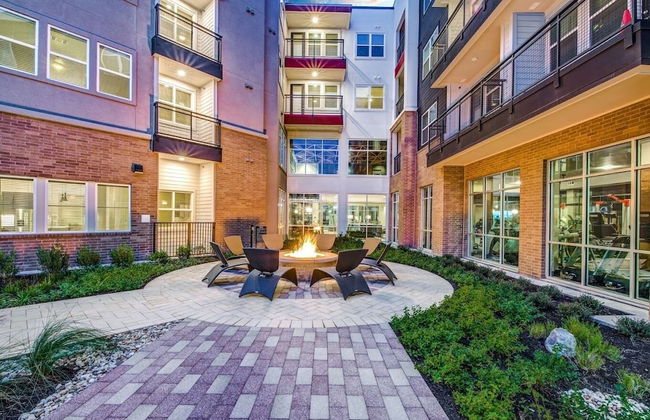
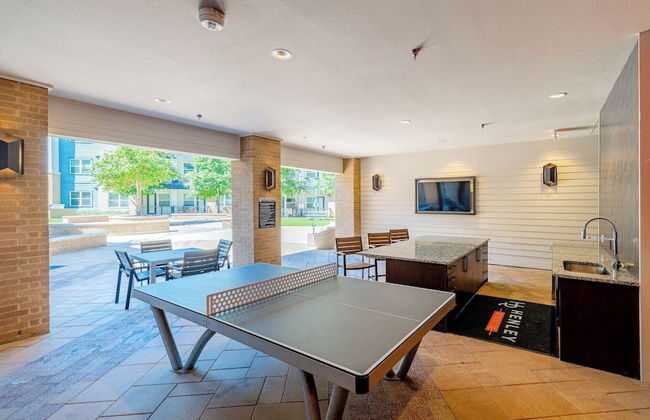
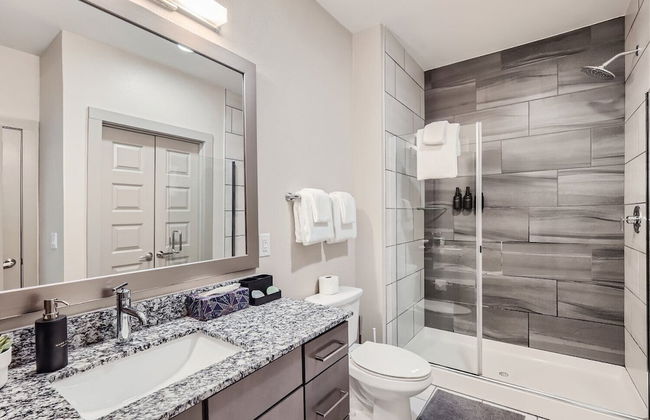
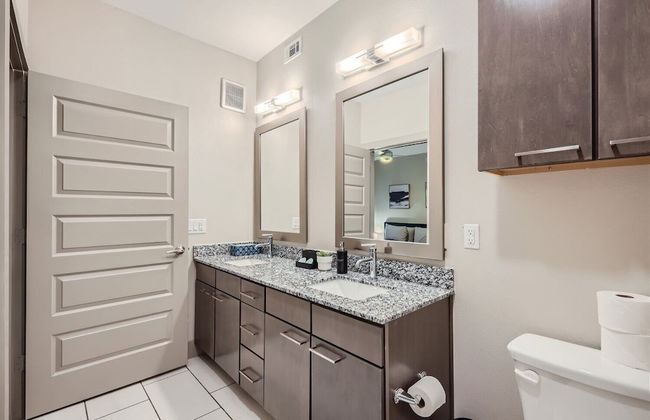
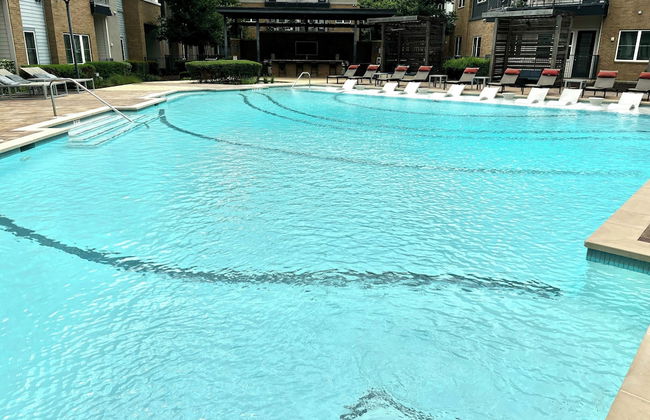
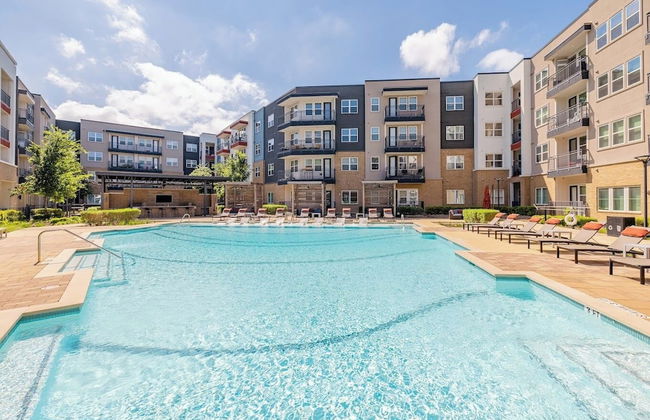
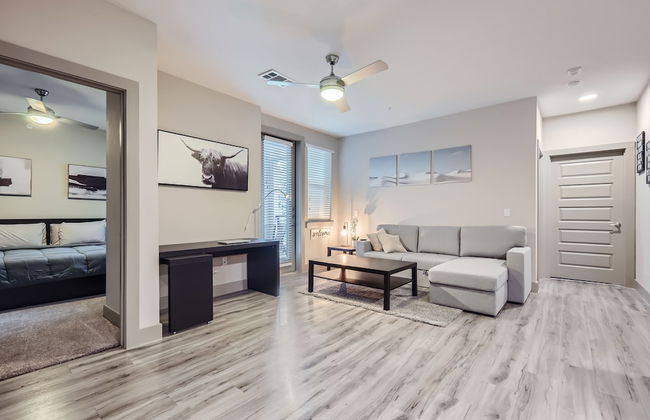
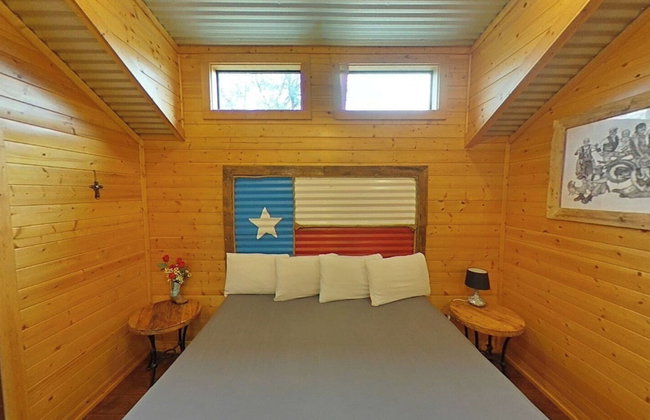
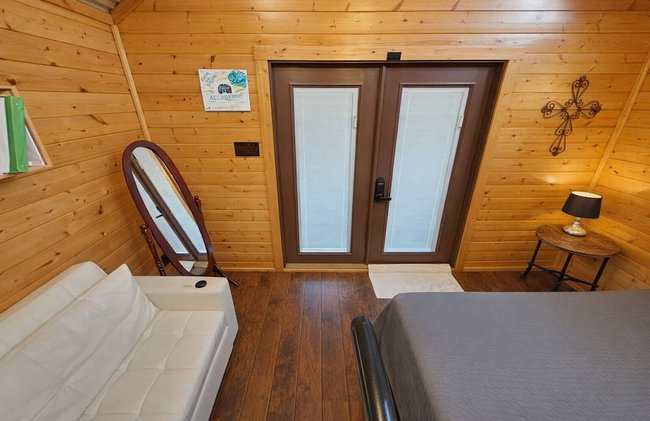
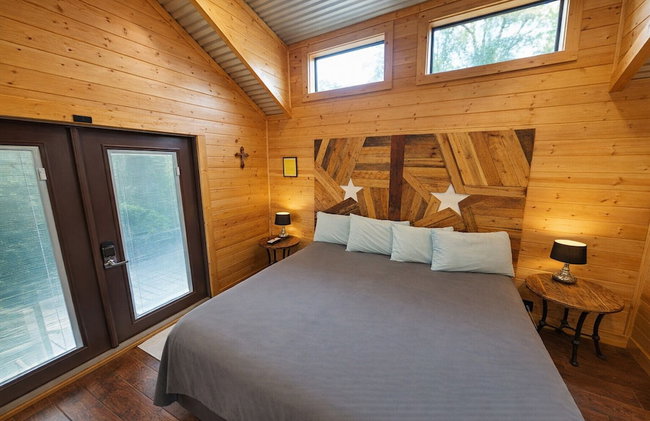
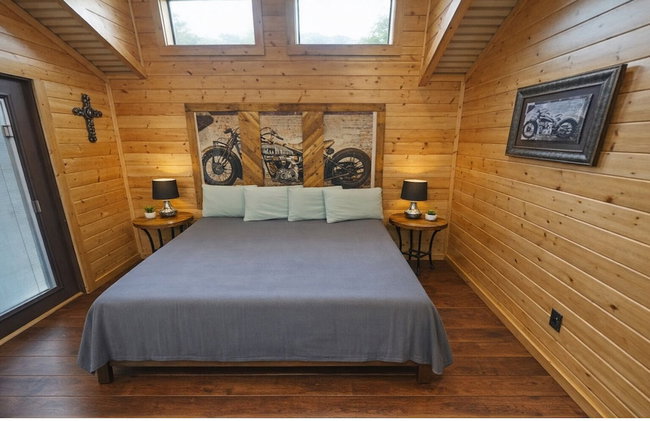
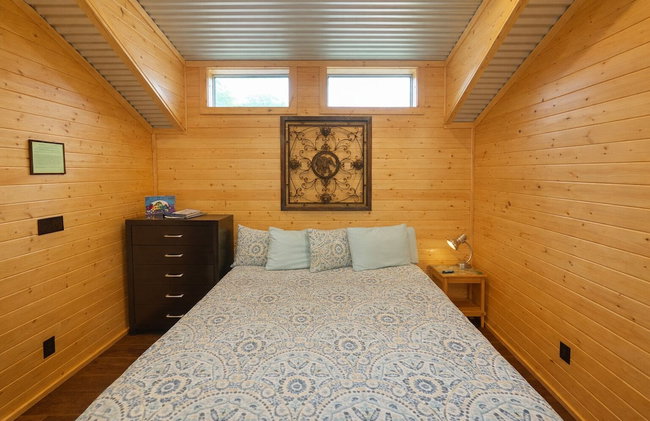
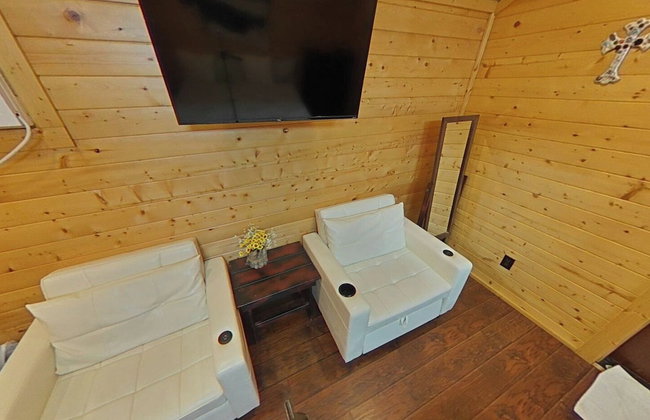
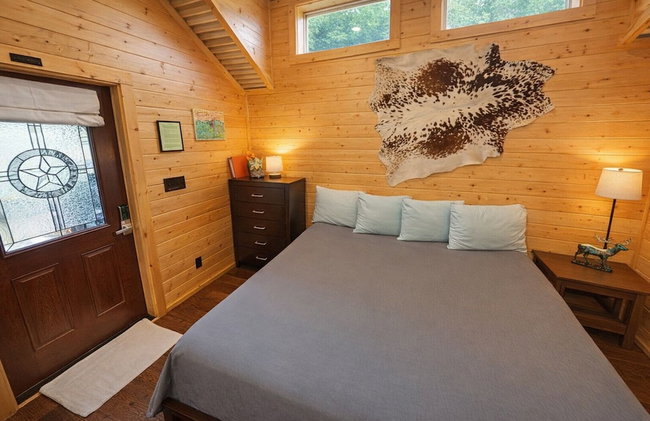
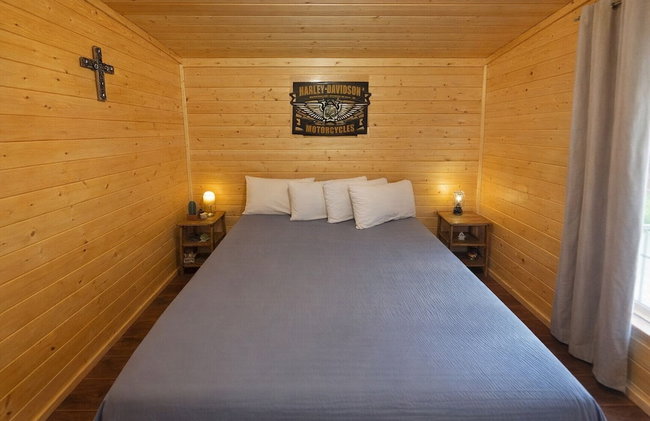
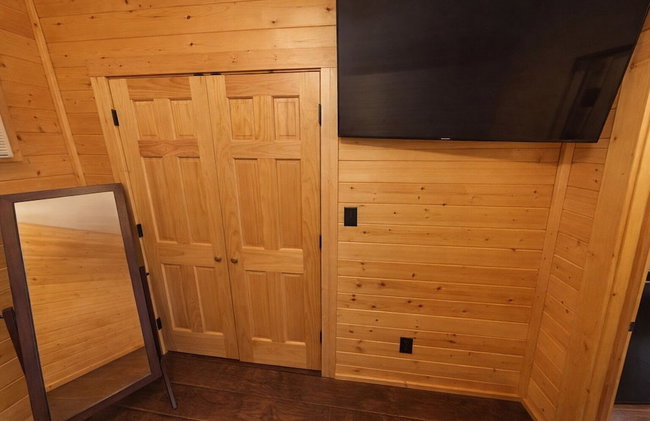
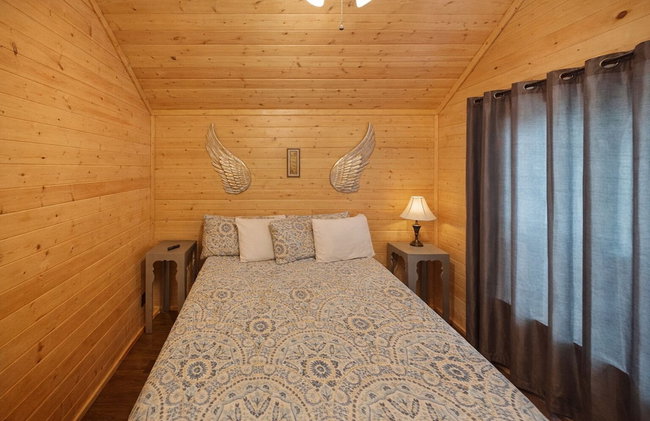
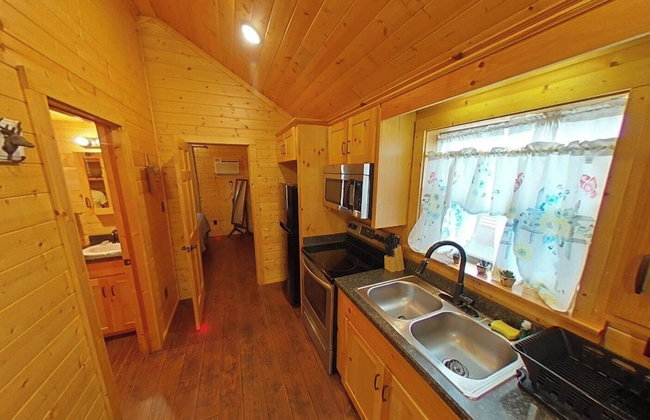
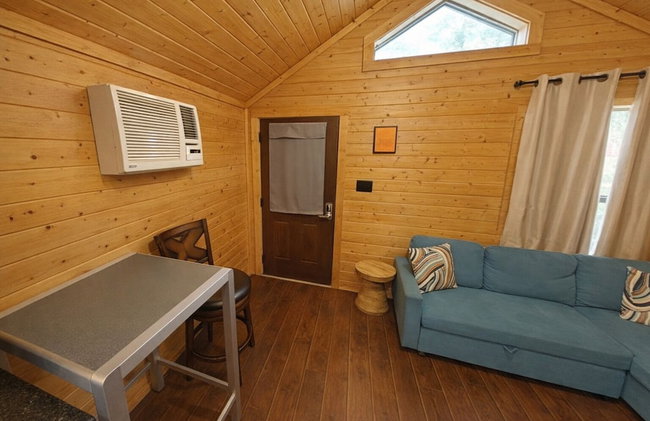
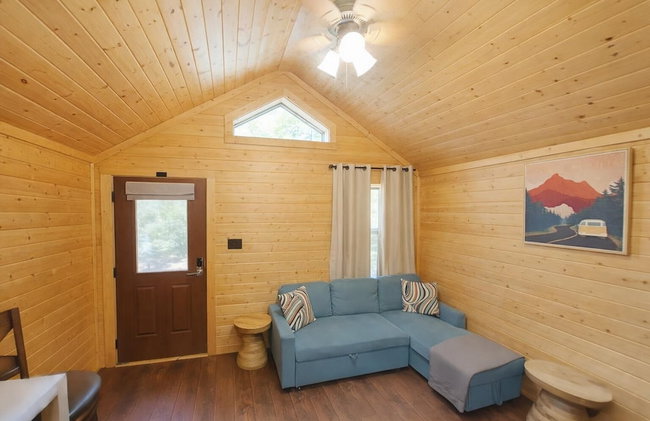
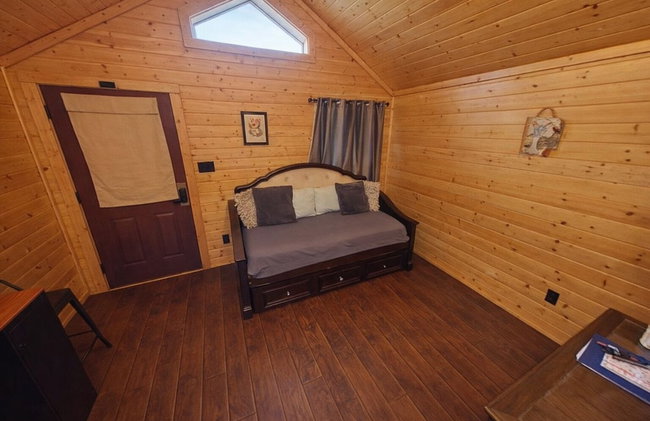
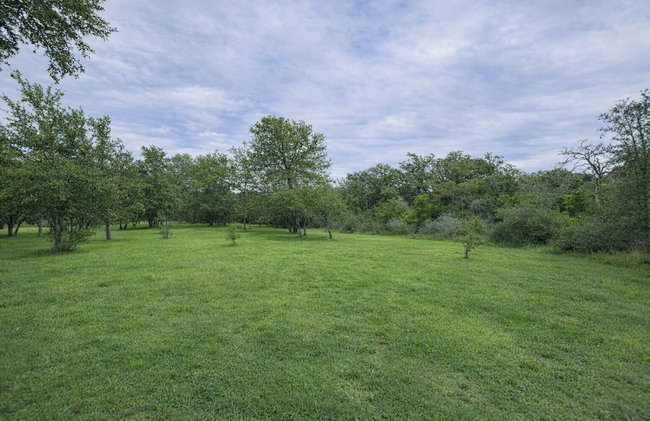
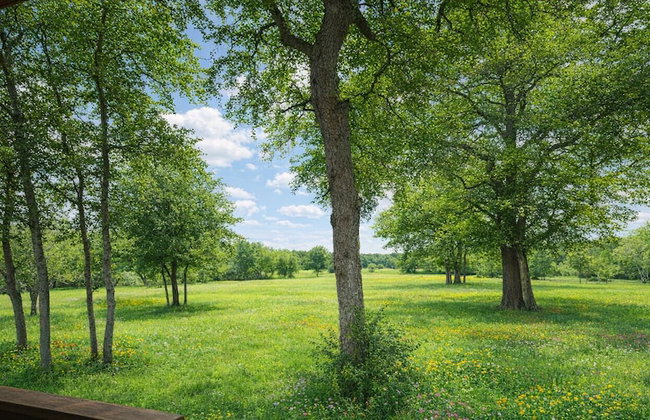
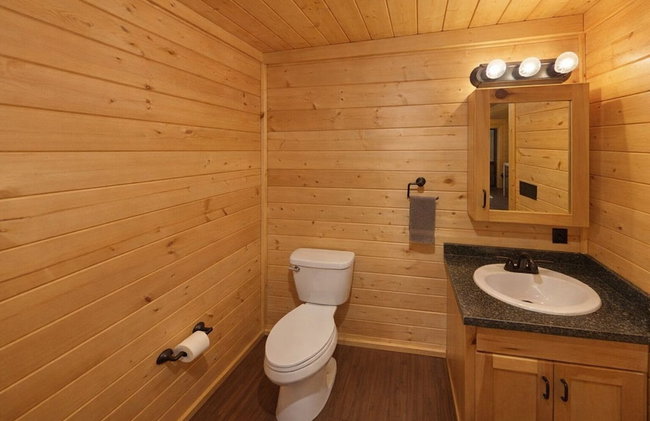
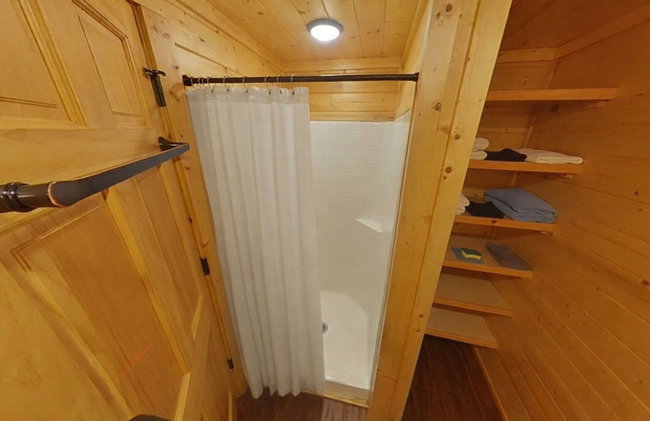
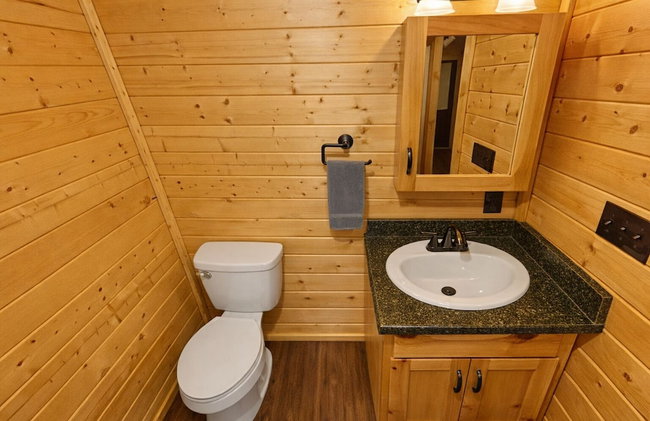
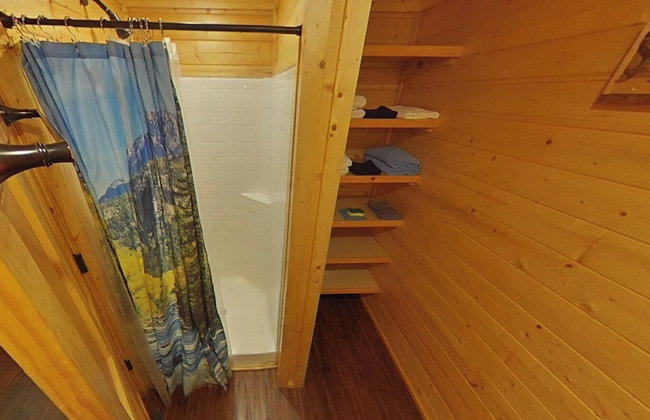
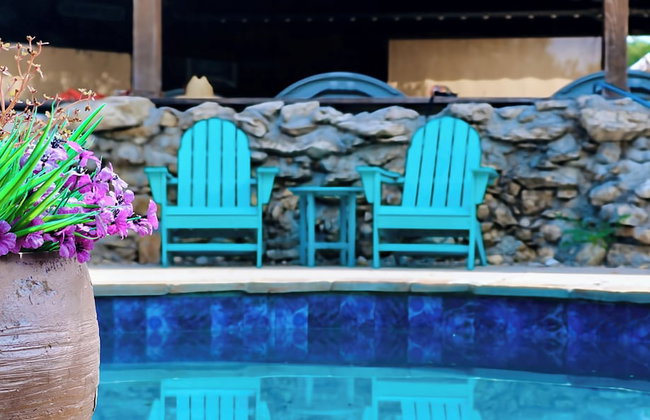
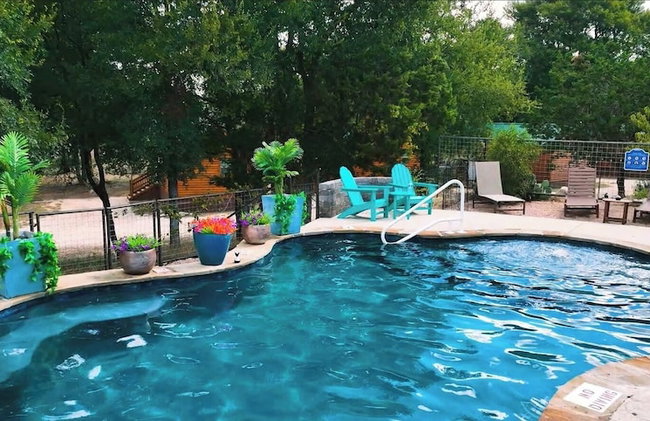
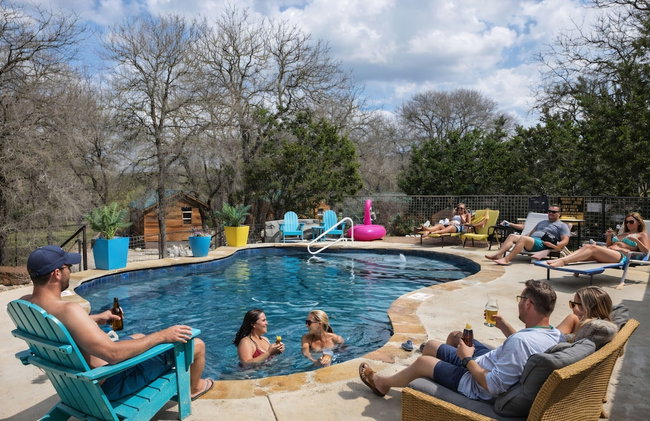
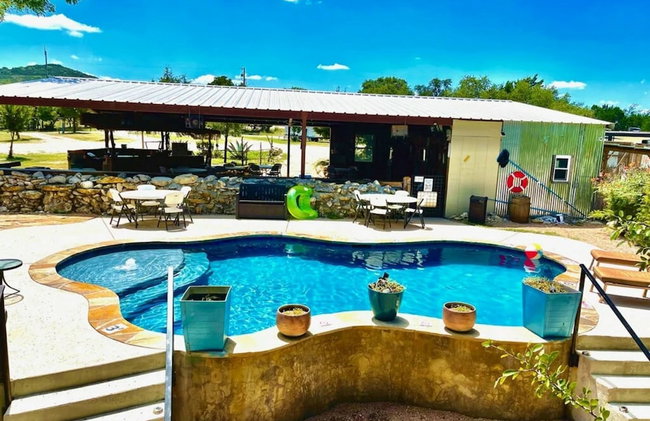
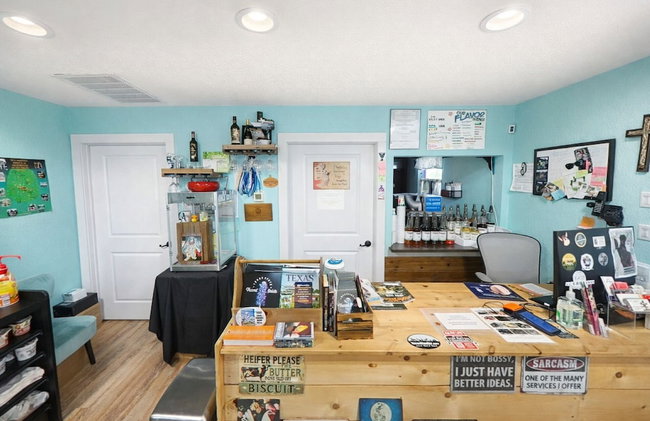
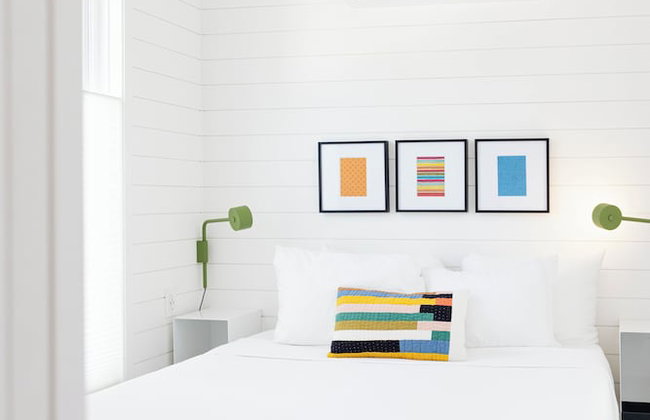
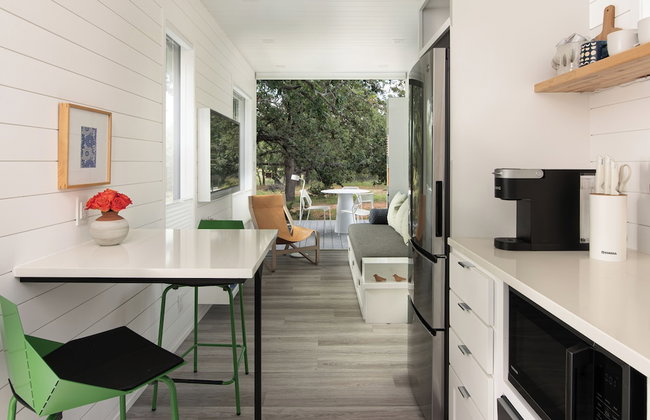
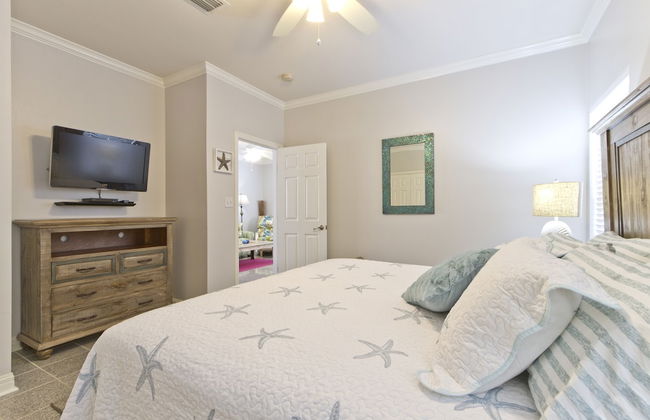
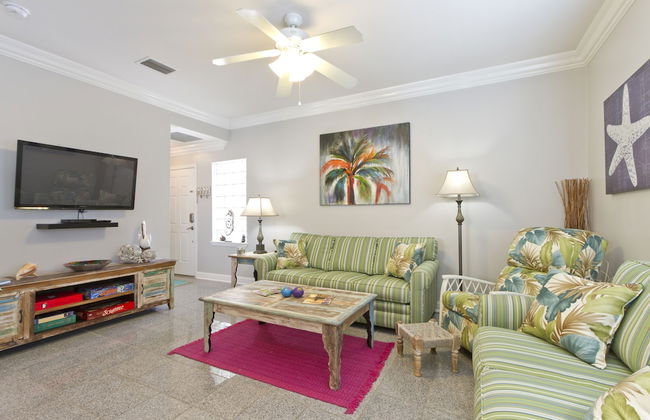
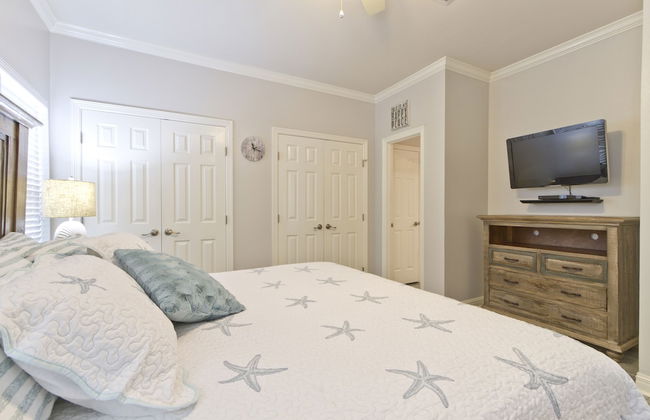
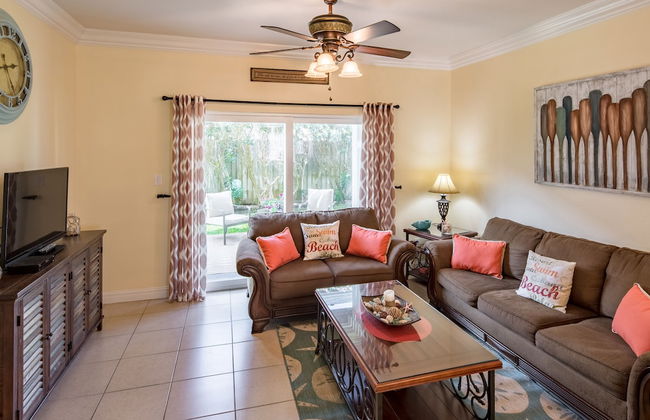
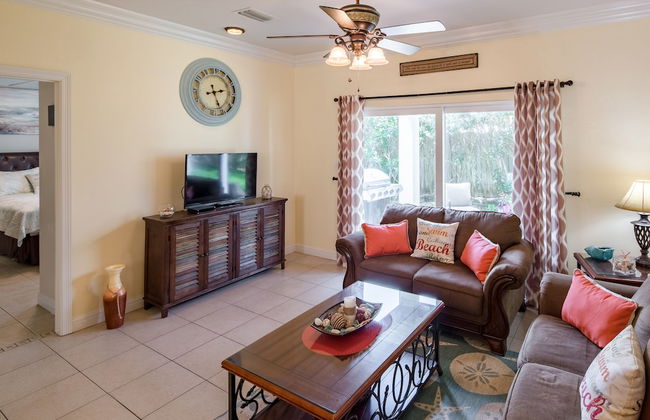
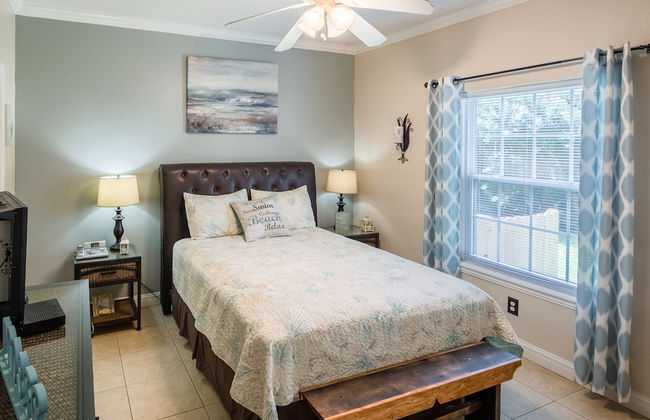
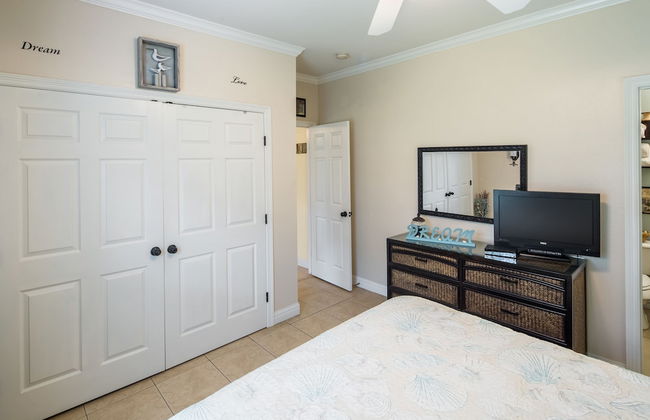
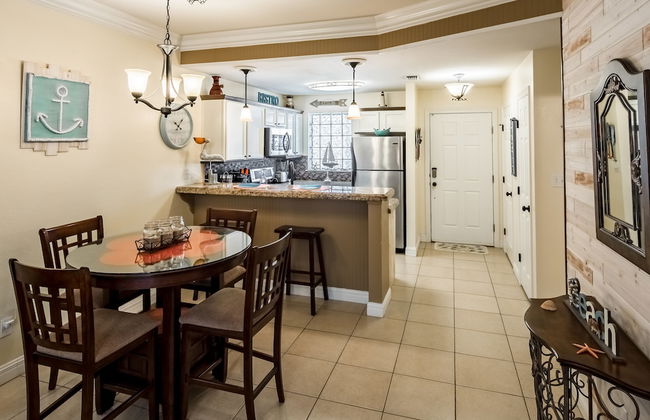
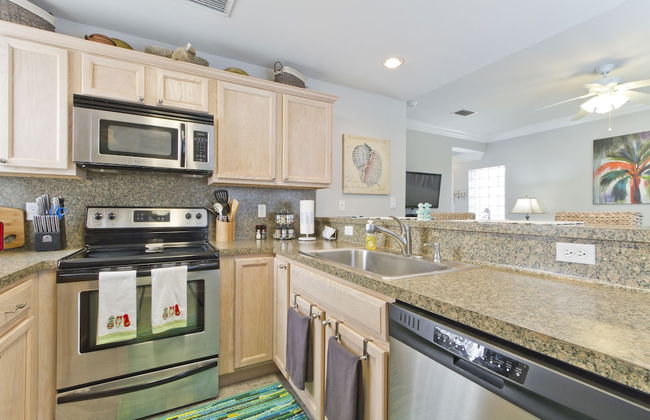
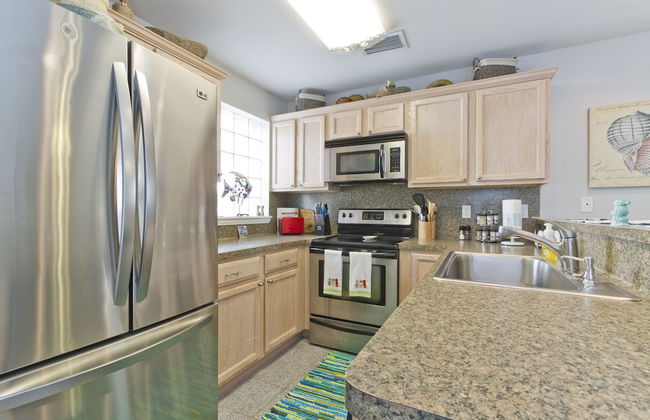
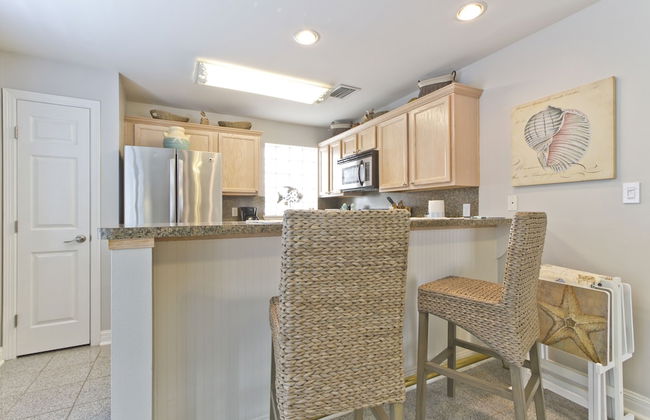
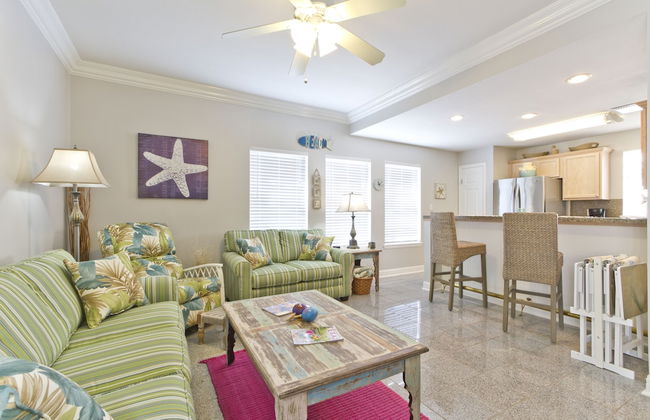
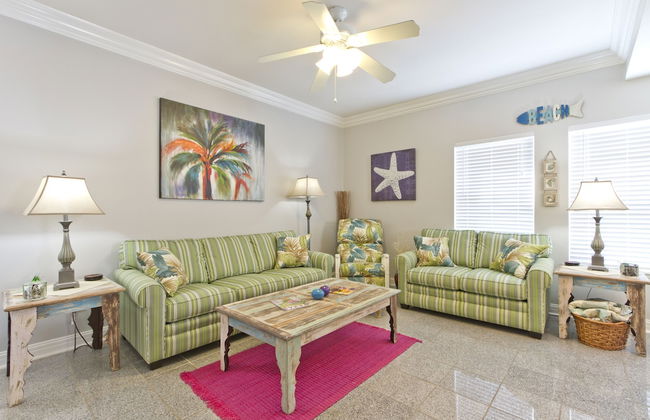
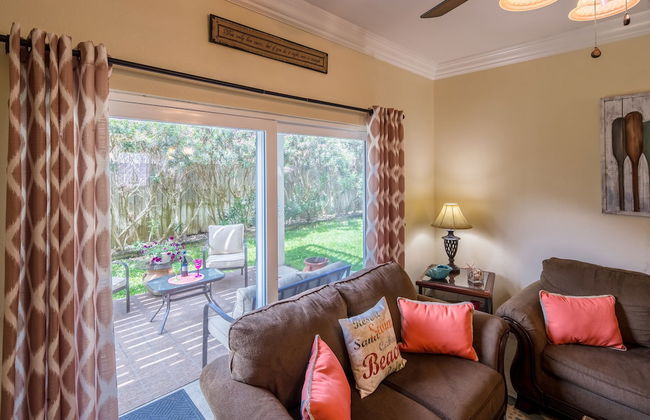
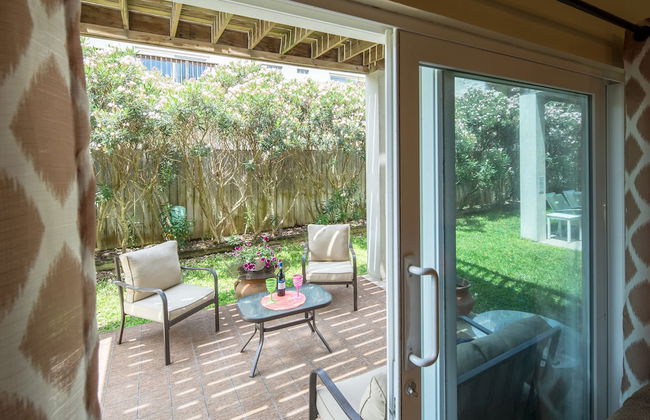
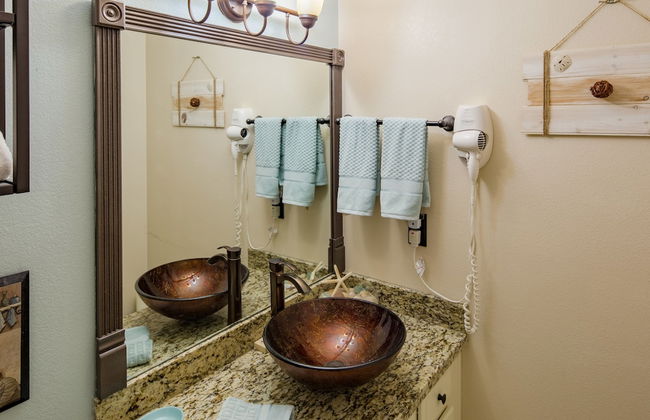
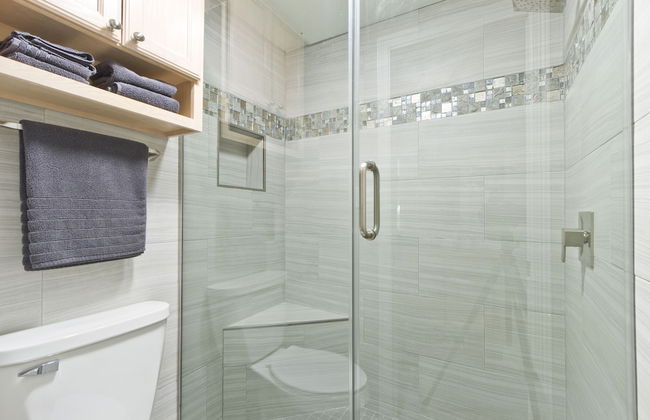
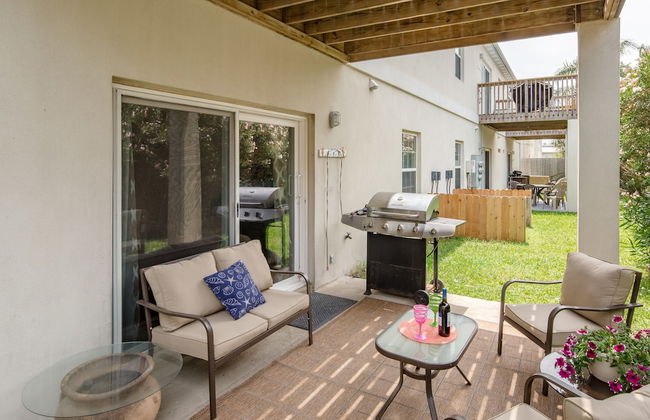
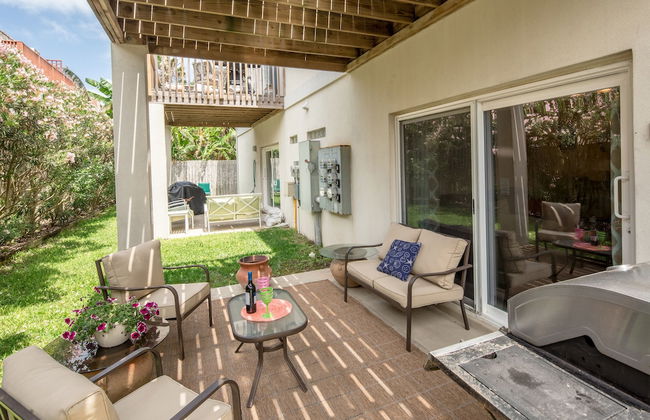
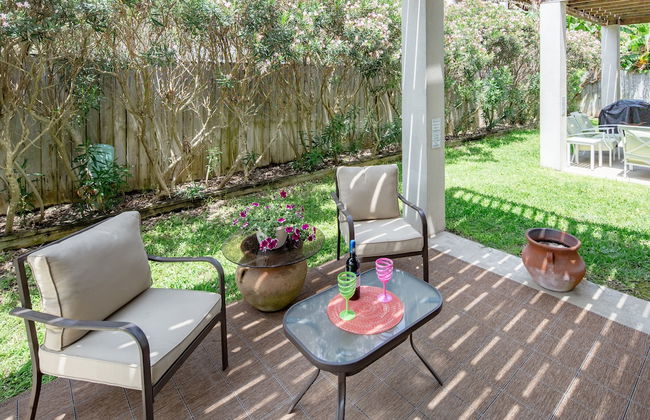
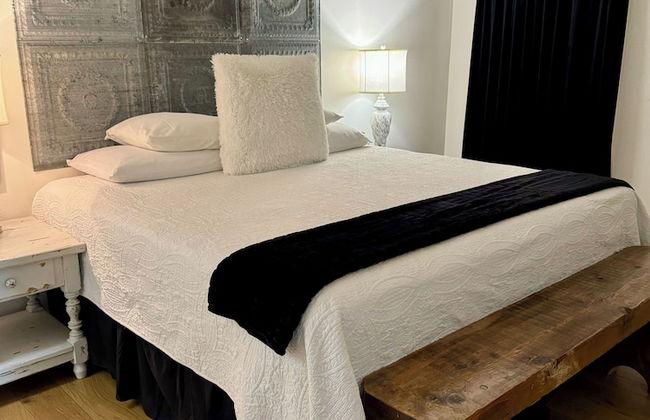
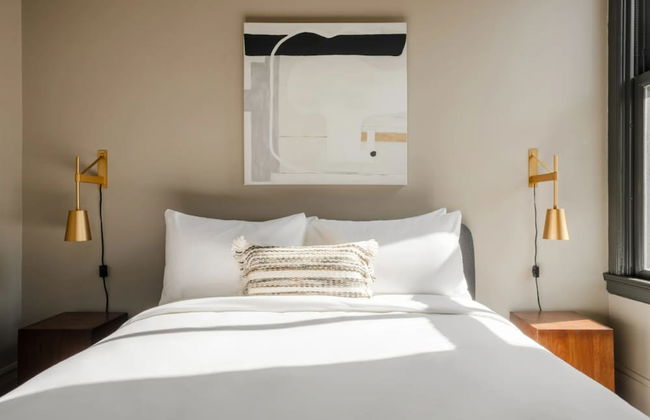
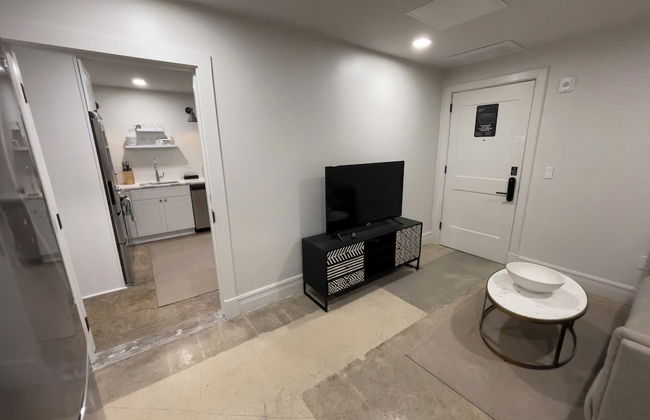
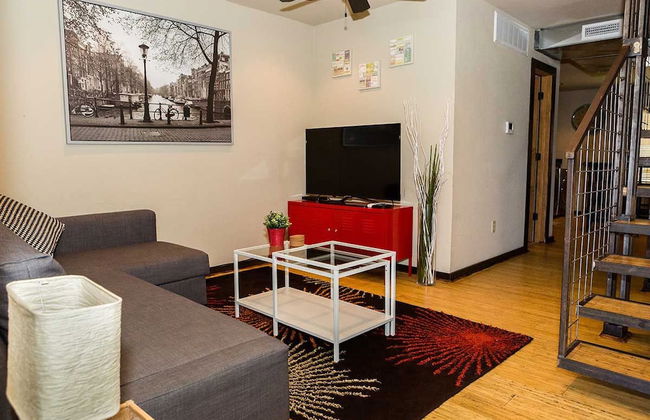
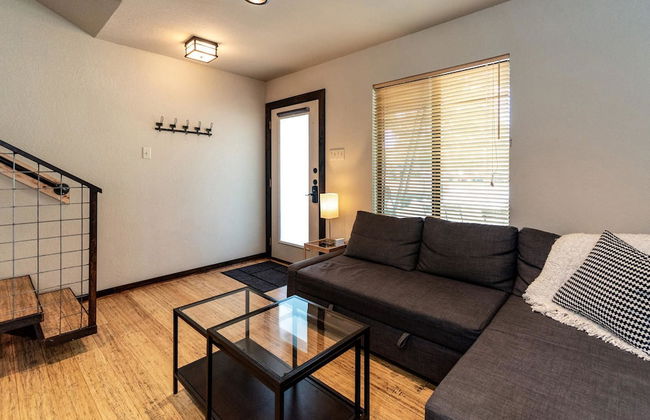
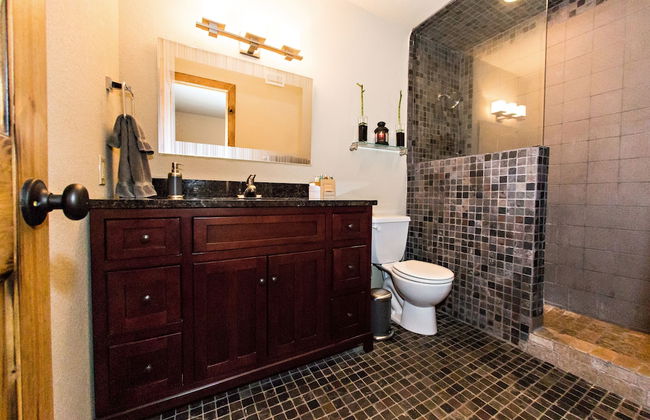
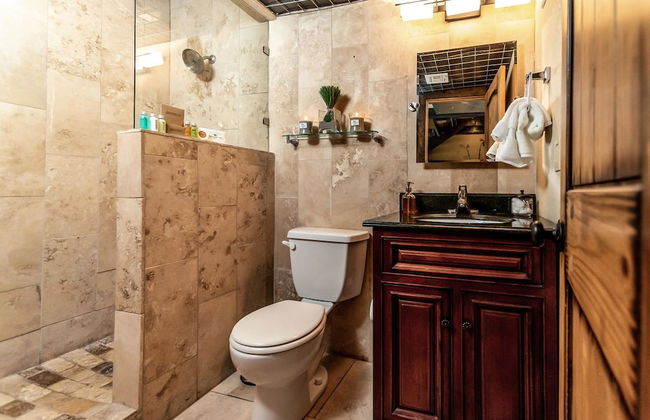
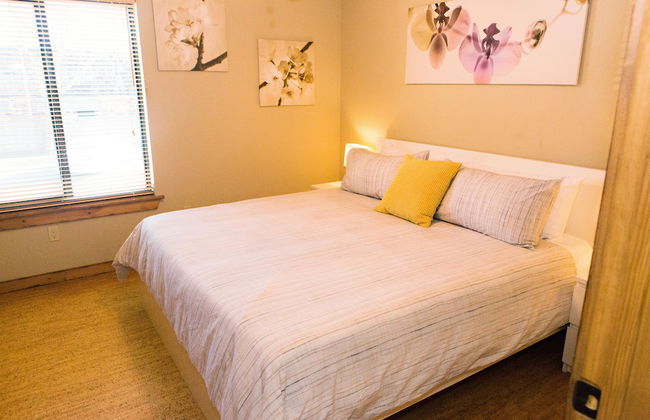
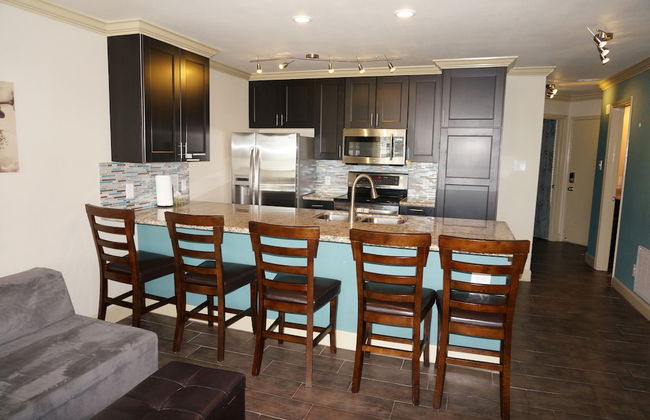
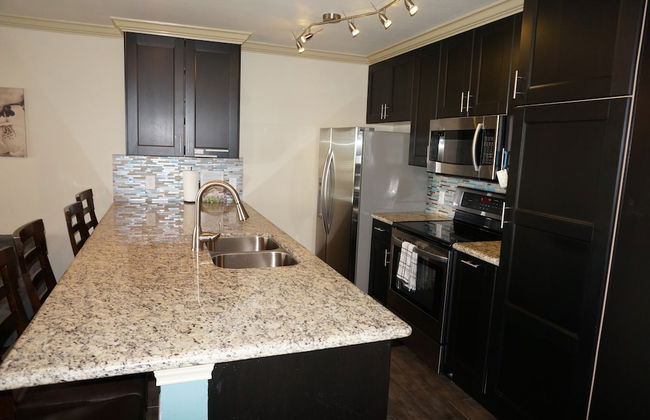
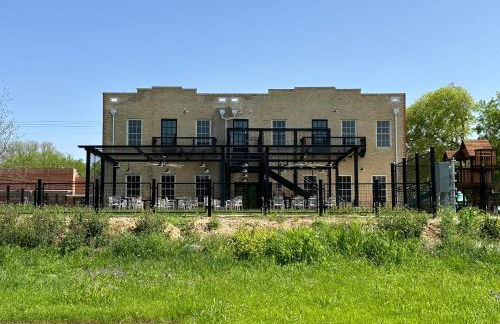
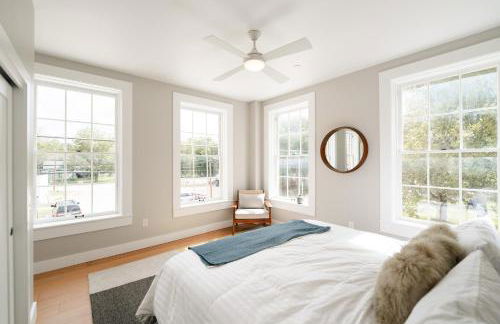
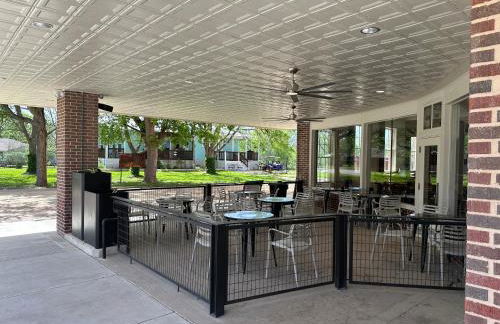
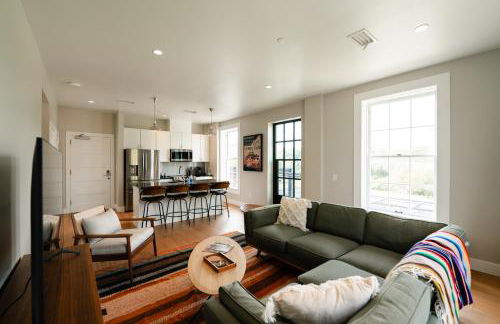
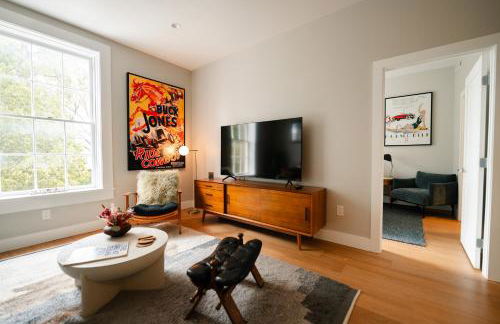
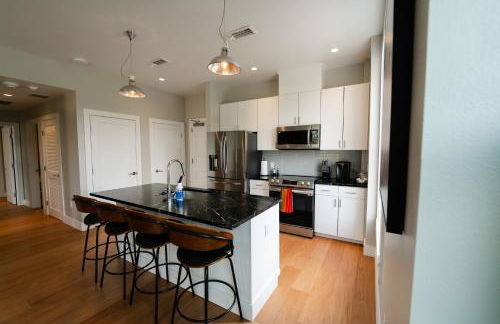
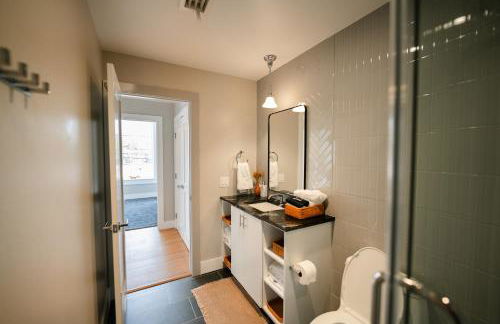
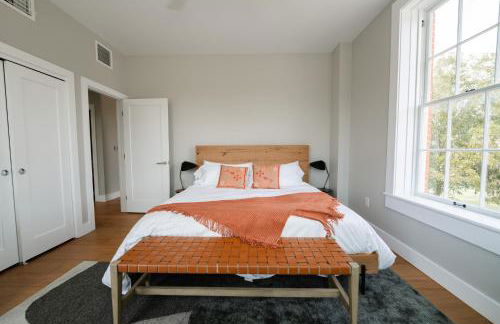
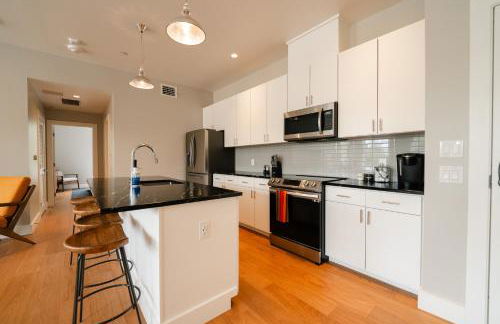
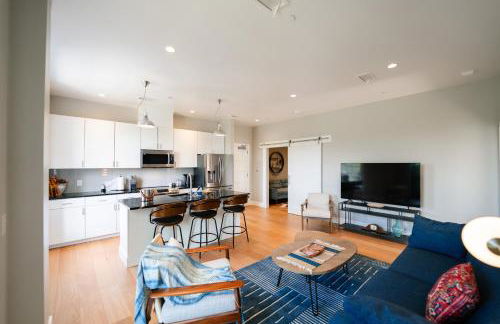
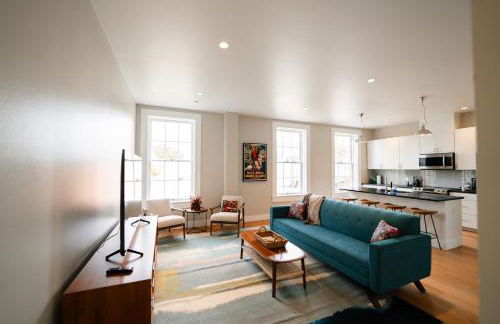
Hill Country Casitas
Dripping Springs
- 539 M2
- 2 camere
- 44 persone
- Cucinino
- Aria condizionata
- Riscaldamento
- Terrazza
- Piscina
- Parcheggio
- Balcone
- Giardino
- Tv
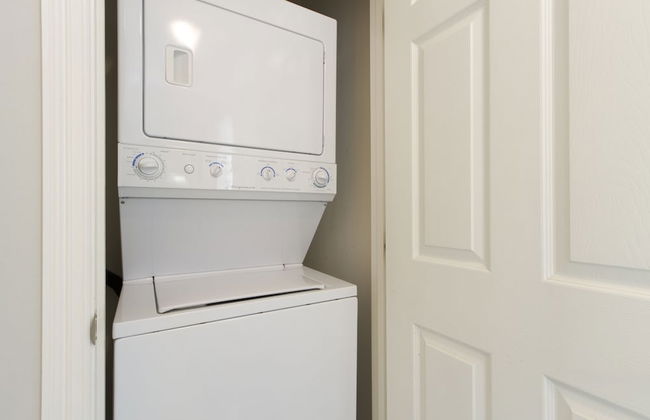
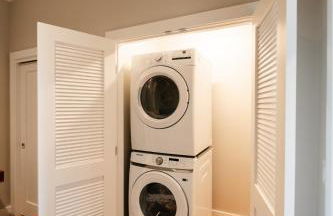
- Lavatrice
- Barbecue
- Lino da bagno
- Lino da letto
38 recensioni


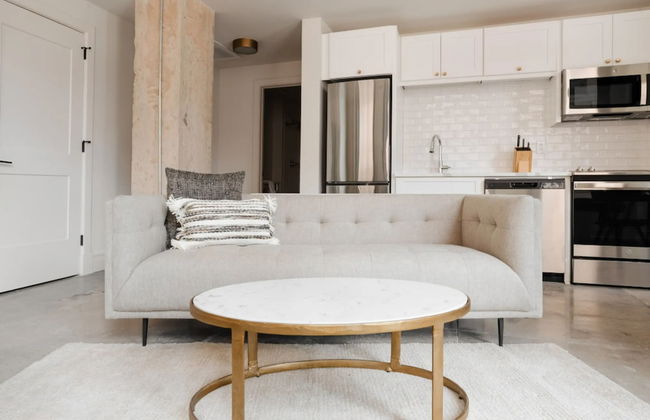
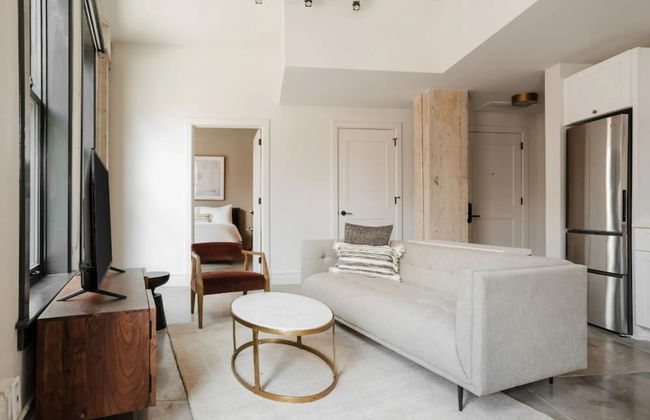
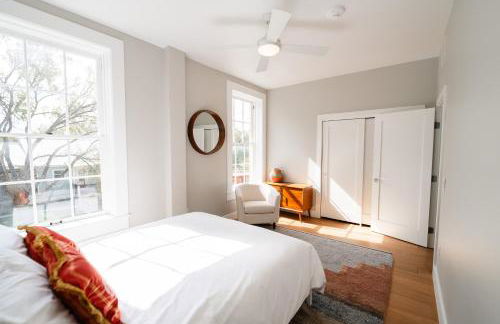
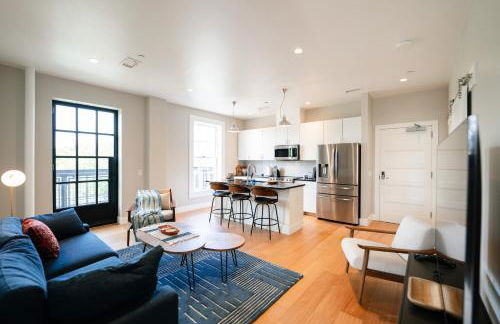
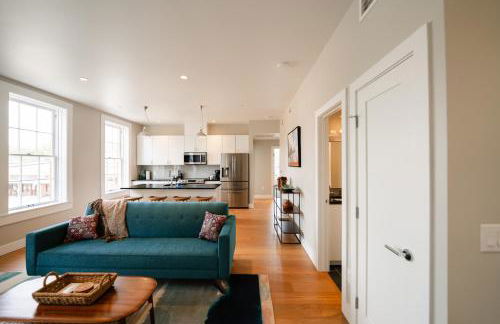
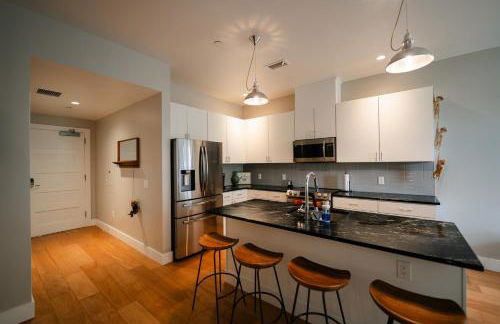
Best stay in Austin
Austin - Montropolis - 5.4 km dal centro
- 111 M2
- 6 persone
- Aria condizionata
- Riscaldamento
- Terrazza
- Piscina
- Parcheggio
- Ascensore
- Giardino
- Tv
- Lavatrice
- Barbecue
- Lino da bagno
- Lino da letto
24 recensioni


Pelican Pathway by Ryson Vacation Rentals
Galveston - Grand Beach - 5.5 km dal centro
- 91 M2
- 1 camera
- 4 persone
- Aria condizionata
- Riscaldamento
- Piscina
- Parcheggio
- Ascensore
- Balcone
- Tv
- Lino da bagno
17 recensioni


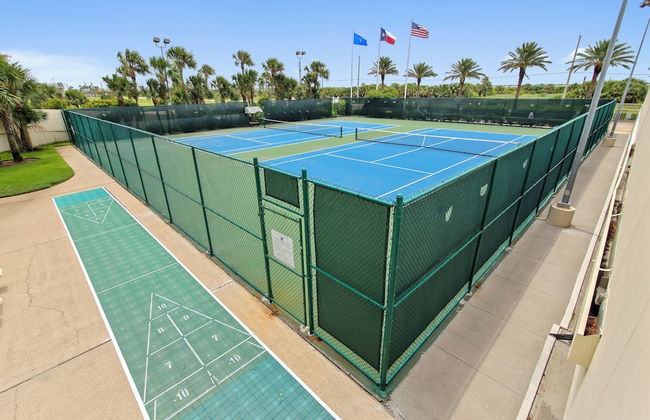
Y.O. Ranch Headquarters
Mountain Home
- 204 M2
- 8 persone
- Aria condizionata
- Riscaldamento
- Terrazza
- Piscina
- Parcheggio
- Giardino
- Tv
- Focolare
- Barbecue
- Lino da bagno
- Lino da letto
40 recensioni
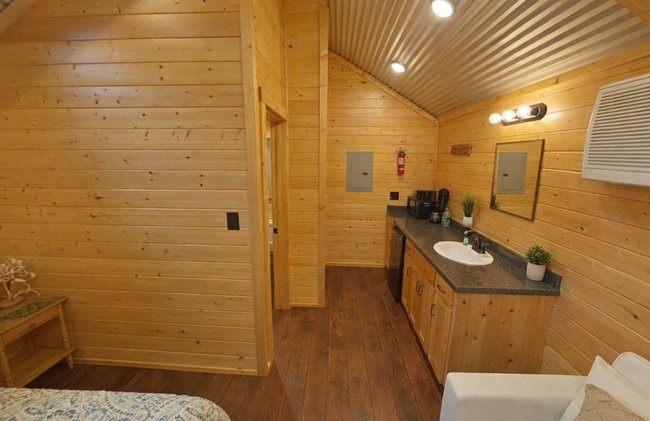


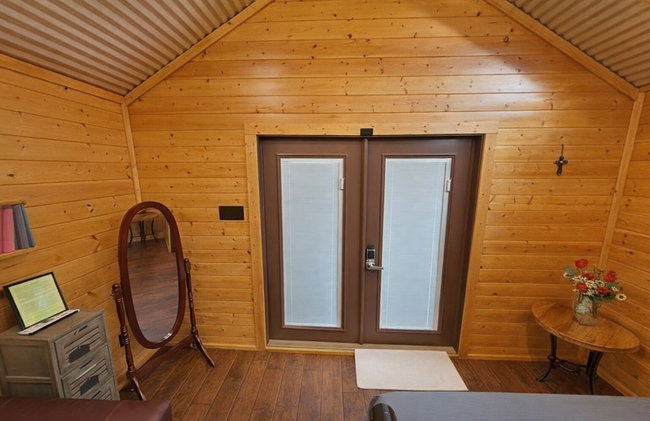


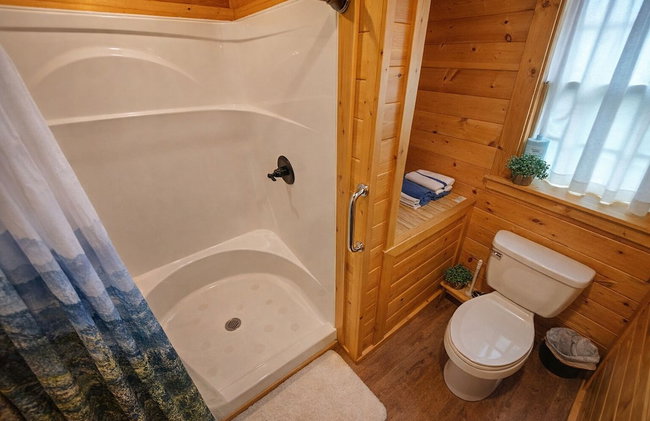
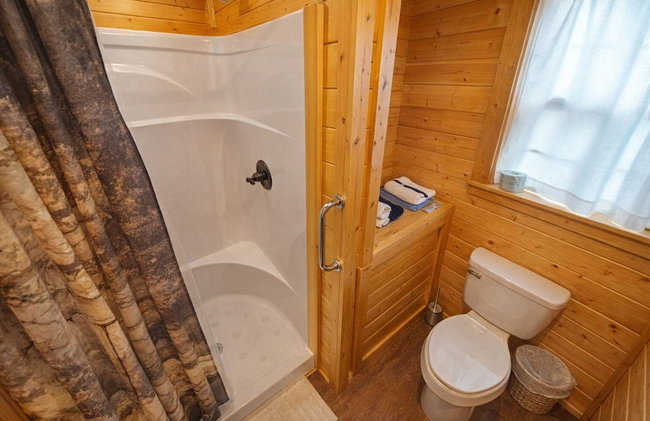
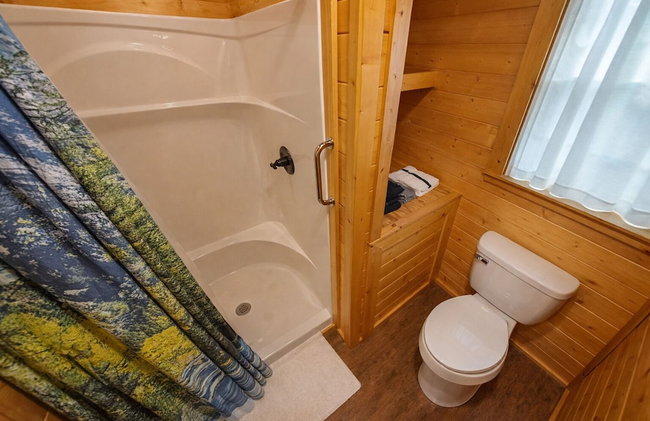


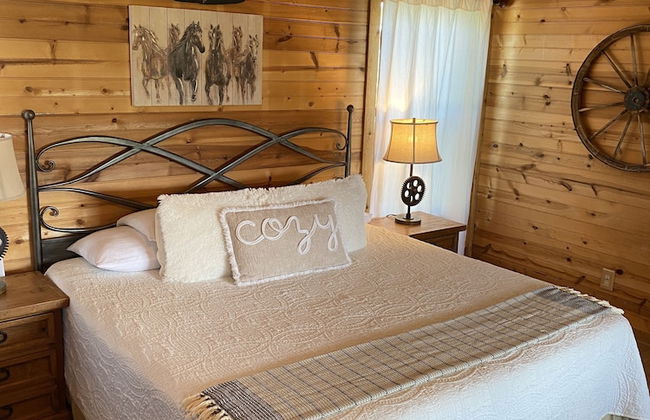
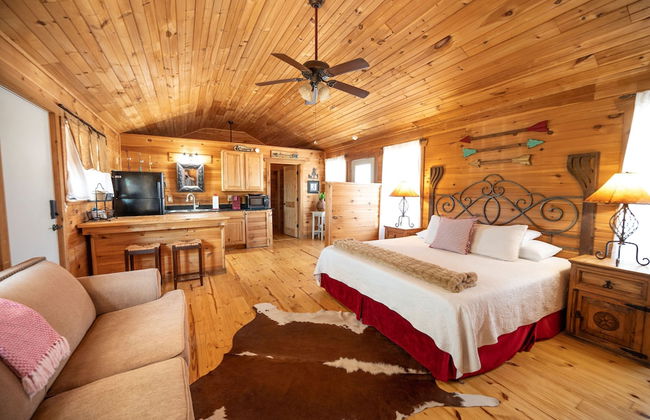
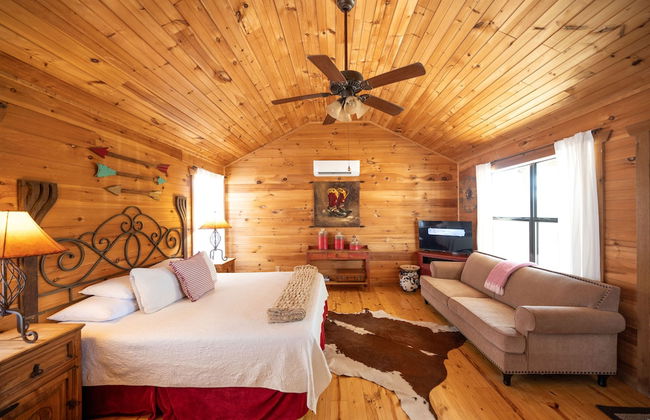
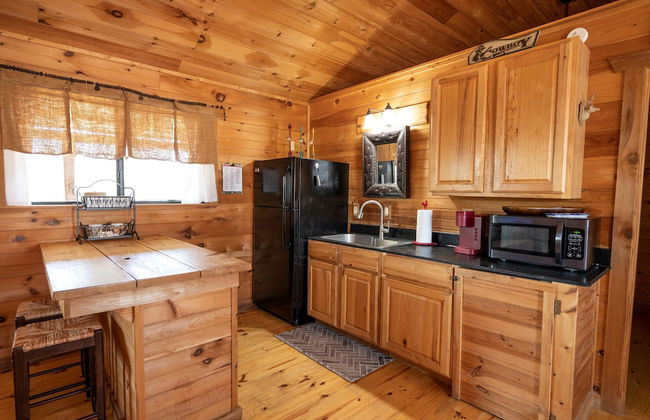
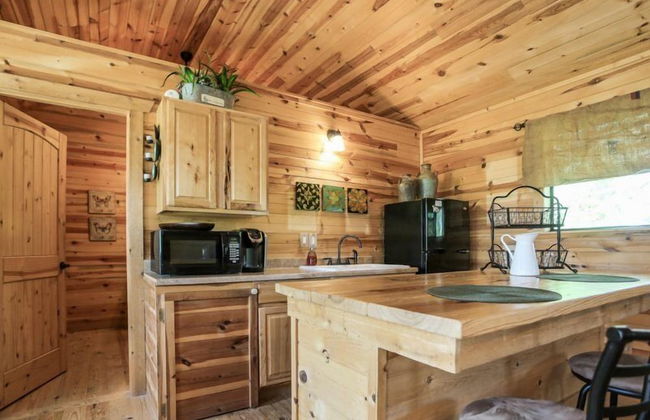
Log Cabin for Family Glamping Vacation near San Antonio
Pipe Creek
- 46 M2
- 4 persone
- Aria condizionata
- Riscaldamento
- Terrazza
- Piscina
- Parcheggio
- Giardino
- Tv
- Focolare
- Barbecue
- Lino da bagno
- Lino da letto
86 recensioni


Hotel ZaZa Dallas
Dallas - Oak Lawn - 1.4 km dal centro
- 43 M2
- 4 persone
- Cucinino
- Aria condizionata
- Riscaldamento
- Terrazza
- Piscina
- Parcheggio
- Ascensore
- Balcone
- Tv
- Lino da bagno
- Lino da letto
1826 recensioni


Treetop River Cabins
Center Point
- 6 persone
- Aria condizionata
- Riscaldamento
- Terrazza
- Parcheggio
- Tv
- Focolare
- Barbecue
- Lino da bagno
- Lino da letto
15 recensioni


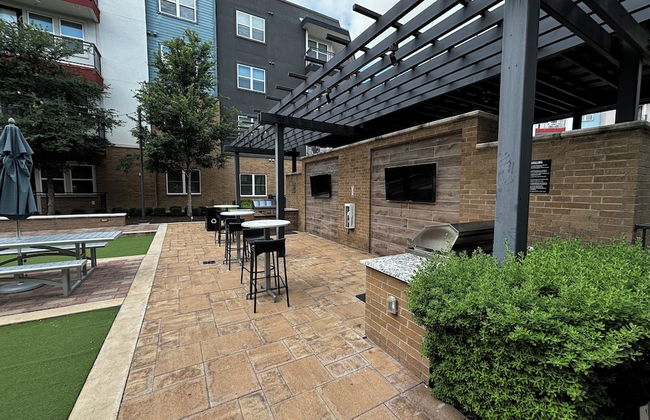
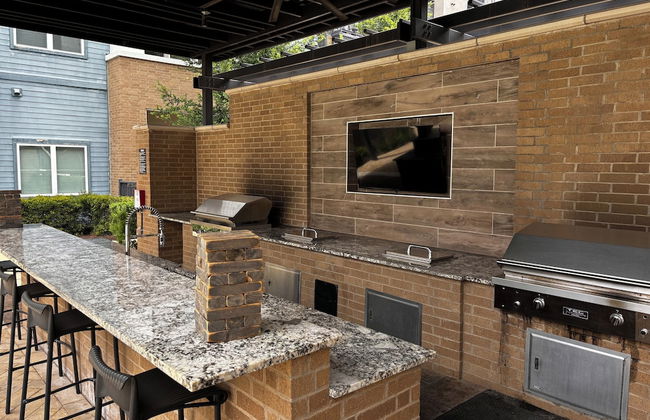
ParcBlu
Fredericksburg - 3.7 km dal centro
- 3 persone
- Cucinino
- Aria condizionata
- Riscaldamento
- Piscina
- Parcheggio
- Giardino
- Tv
- Focolare
- Barbecue
- Lino da bagno
- Lino da letto
28 recensioni


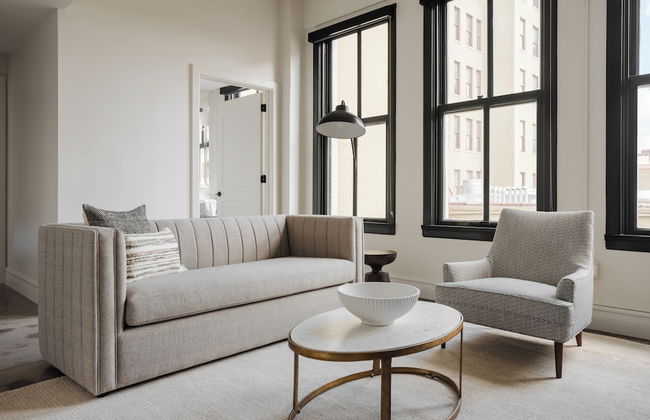
Austin Condo Hotel
Austin - South River City - 810 m dal centro
- 119 M2
- 8 persone
- Aria condizionata
- Riscaldamento
- Terrazza
- Piscina
- Parcheggio
- Ascensore
- Balcone
- Tv
- Lavatrice
- Focolare
- Lino da bagno
- Lino da letto
536 recensioni


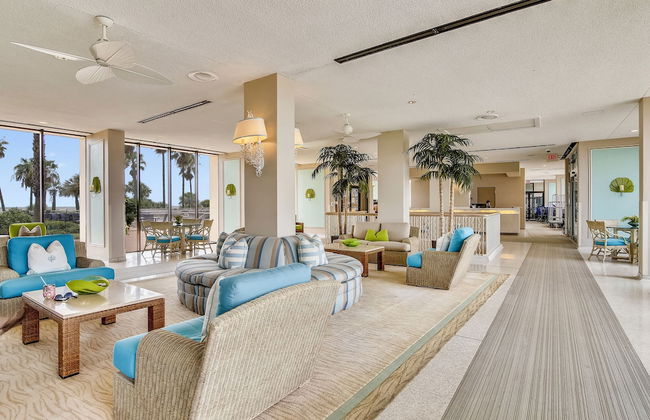
Rain Dancer by South Padre Condo Rentals
South Padre Island
- 84 M2
- 6 persone
- Aria condizionata
- Riscaldamento
- Piscina
- Parcheggio
- Balcone
- Tv
- Lavatrice
- Lino da bagno
- Lino da letto
45 recensioni


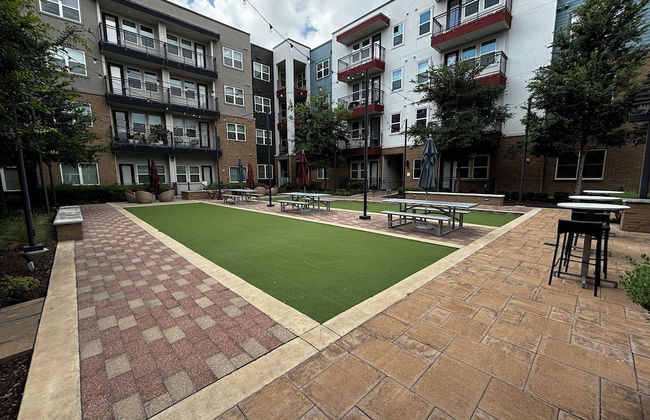
City on a Hill at Spring Creek
Fredericksburg - 15.1 km dal centro
- 84 M2
- 3 persone
- Aria condizionata
- Riscaldamento
- Terrazza
- Parcheggio
- Balcone
- Giardino
- Tv
- Focolare
- Barbecue
- Lino da bagno
- Lino da letto
234 recensioni


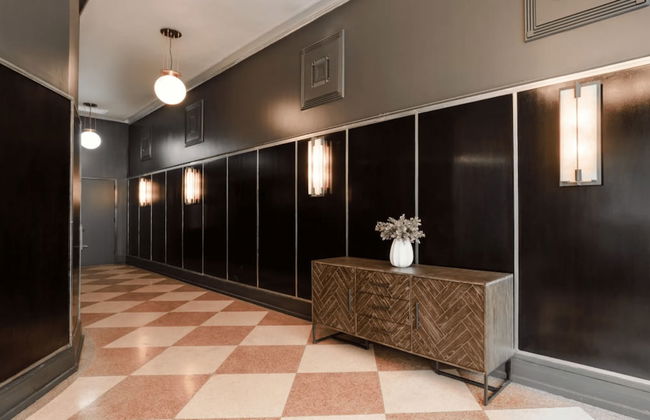

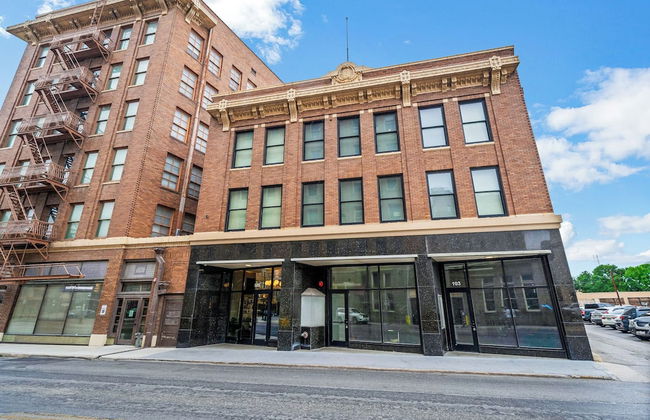
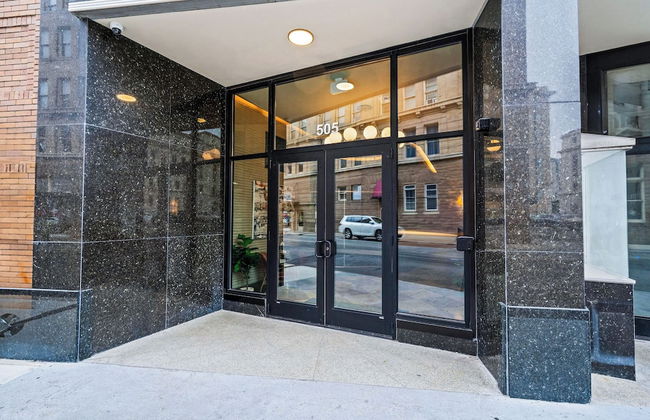
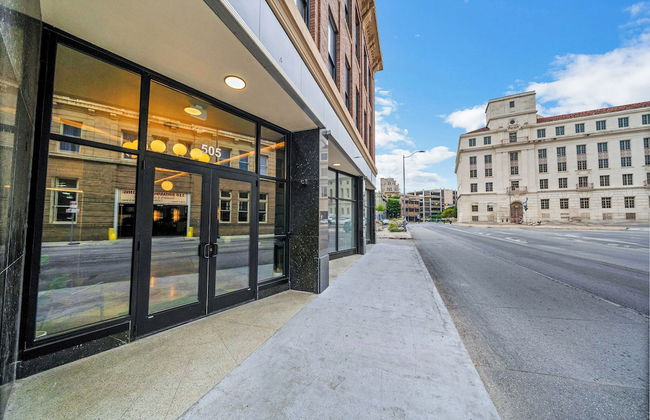


La Luz
San Antonio - Downtown - 300 m dal centro
- 139 M2
- 4 camere
- 8 persone
- Aria condizionata
- Riscaldamento
- Ascensore
- Tv
- Lavatrice
- Lino da bagno
- Lino da letto
56 recensioni


1700 South 2nd
Waco - Baylor - 4 km dal centro
- 37 M2
- 2 camere
- 4 persone
- Aria condizionata
- Riscaldamento
- Terrazza
- Parcheggio
- Giardino
- Tv
- Lavatrice
- Barbecue
- Lino da bagno
- Lino da letto
483 recensioni


Galveston Beach Condos
Galveston - 6.8 km dal centro
- 74 M2
- 8 persone
- Aria condizionata
- Riscaldamento
- Piscina
- Parcheggio
- Ascensore
- Balcone
- Giardino
- Tv
- Barbecue
- Lino da bagno
- Lino da letto
238 recensioni


Lively Beach
Corpus Christi - Padre Island - 27.4 km dal centro
- 98 M2
- 10 persone
- Aria condizionata
- Riscaldamento
- Terrazza
- Piscina
- Parcheggio
- Giardino
- Tv
- Lino da bagno
- Lino da letto
802 recensioni


Starlight Horizon
Canyon Lake
- 130 M2
- 8 persone
- Aria condizionata
- Riscaldamento
- Terrazza
- Piscina
- Parcheggio
- Balcone
- Tv
- Lavatrice
- Focolare
- Barbecue
- Lino da bagno
- Lino da letto
28 recensioni


Western 1924 Luxury Lofts
Martindale
- 75 M2
- 2 camere
- 5 persone
- Aria condizionata
- Riscaldamento
- Parcheggio
- Tv
- Lavatrice
- Barbecue
- Lino da bagno
- Lino da letto
20 recensioni


Gulfview by South Padre Condo Rentals
South Padre Island
- 4 persone
- Aria condizionata
- Riscaldamento
- Terrazza
- Piscina
- Parcheggio
- Ascensore
- Balcone
- Tv
- Lavatrice
- Barbecue
- Lino da bagno
10 recensioni


Downtown Dallas with Balcony, Pool, Rooftop Terrace, Gym, Queen Bed, King Sleeper Sofa, 2 Twin Sleeper Chairs, 65" TV, Secured Parking Garage, and FREE EV POWER
Dallas - Deep Ellum - 920 m dal centro
- 77 M2
- 1 camera
- 6 persone
- Aria condizionata
- Terrazza
- Piscina
- Parcheggio
- Ascensore
- Giardino
10 recensioni


Placemakr Austin Downtown, Apartments by Hilton
Austin - Downtown Austin - 280 m dal centro
- 79 M2
- 4 persone
- Aria condizionata
- Riscaldamento
- Terrazza
- Piscina
- Parcheggio
- Ascensore
- Balcone
- Tv
- Lavatrice
- Focolare
- Barbecue
- Lino da bagno
- Lino da letto
680 recensioni