
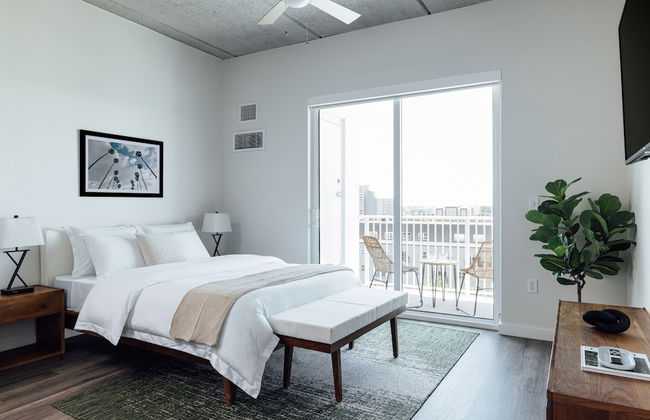
43038 Appartamenti a Florida


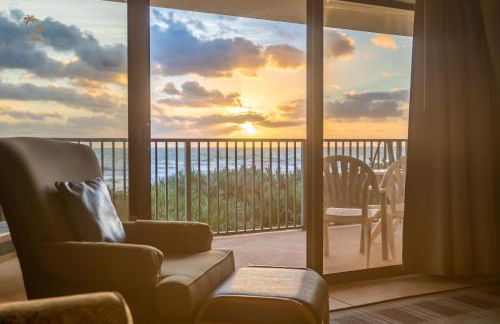


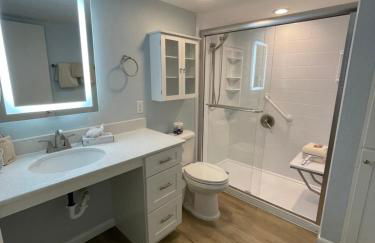

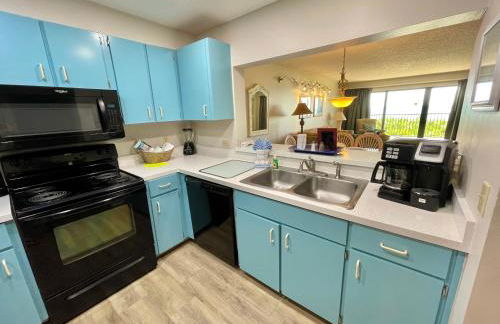

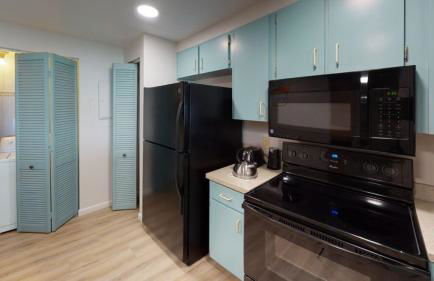


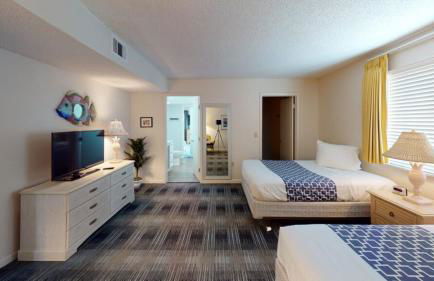

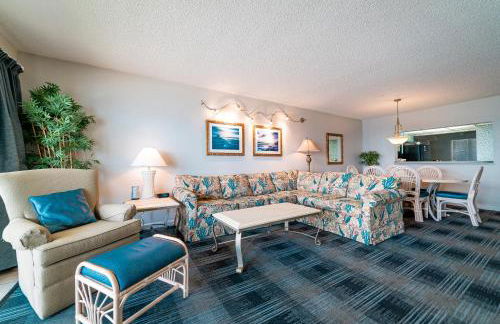

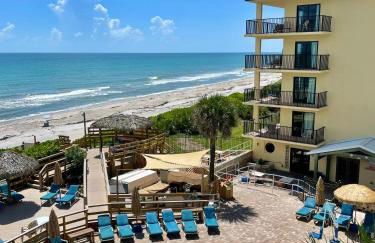


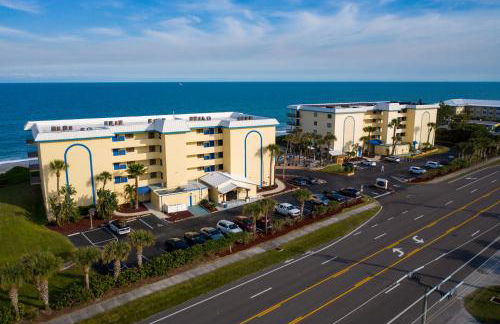


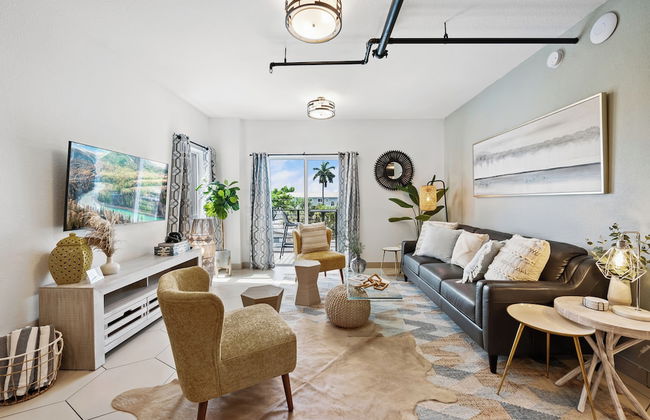
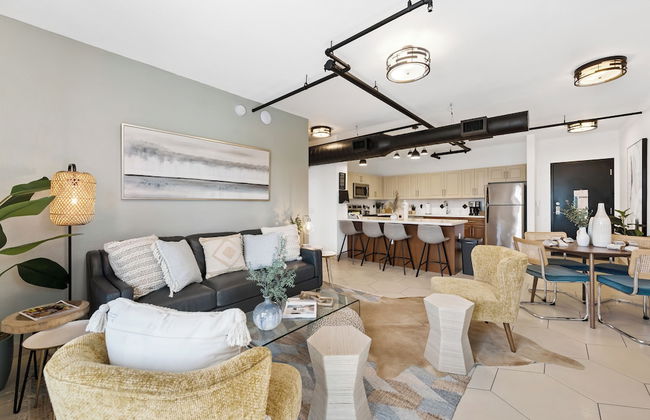
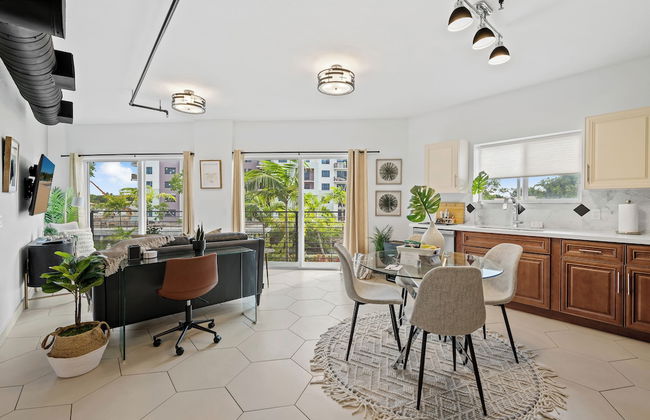
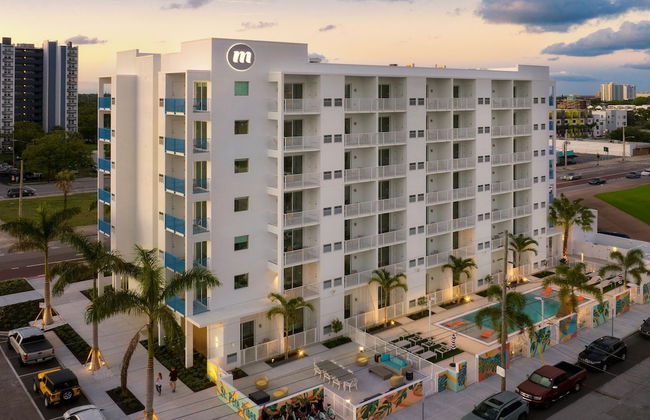
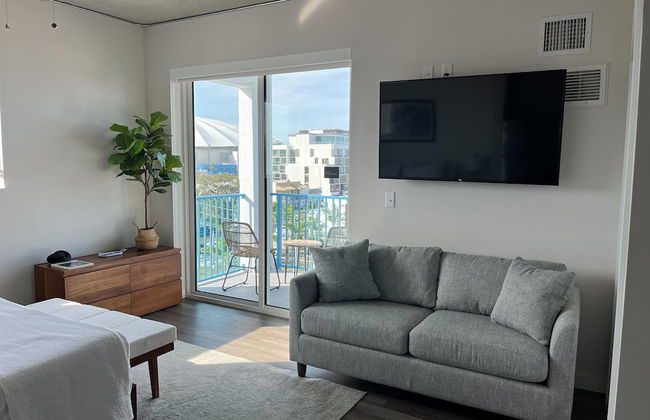
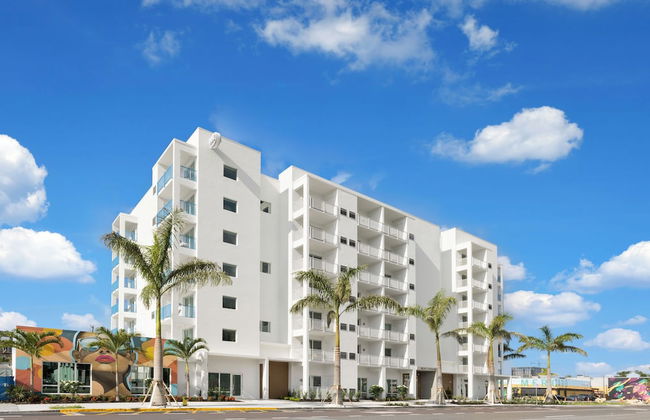
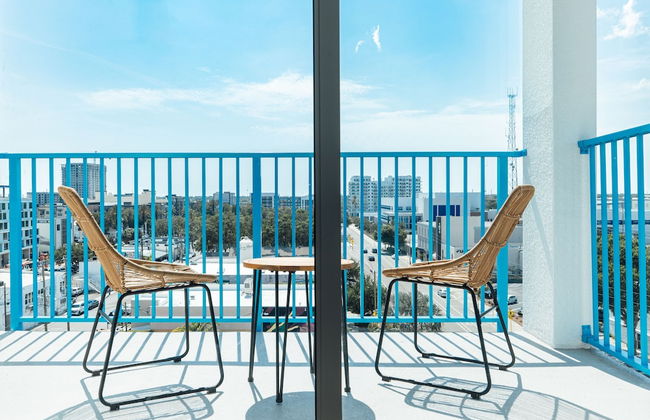
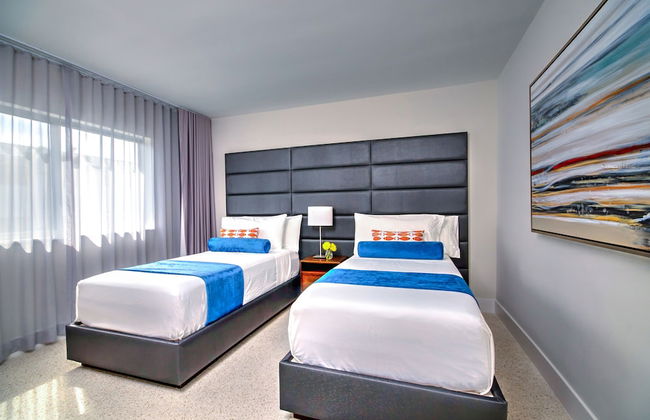
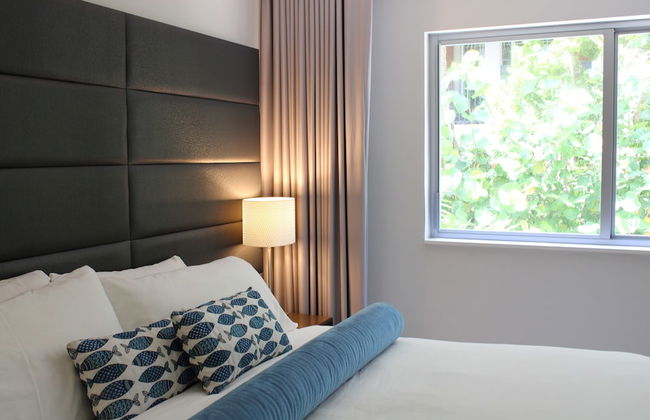
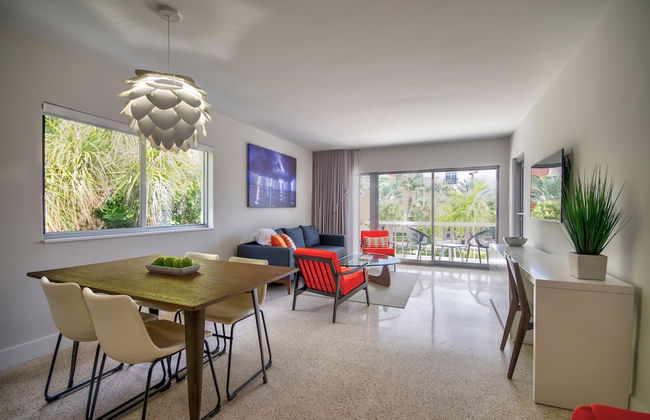
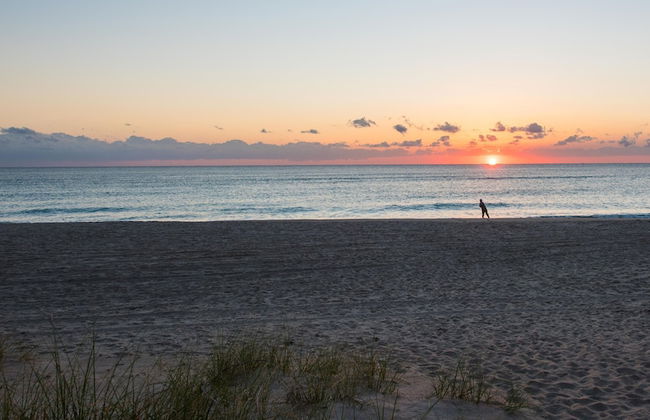
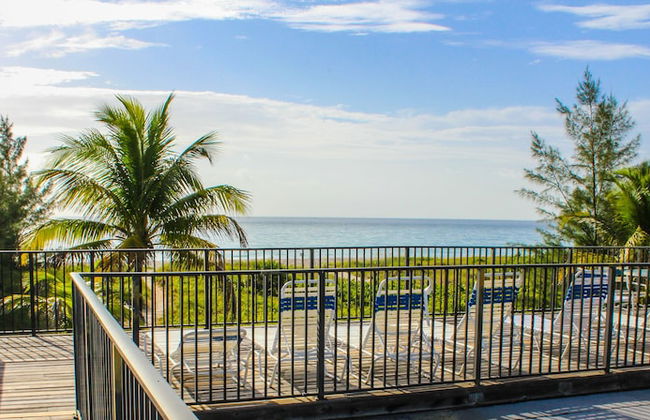
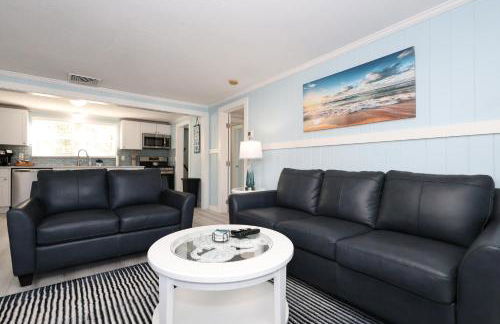
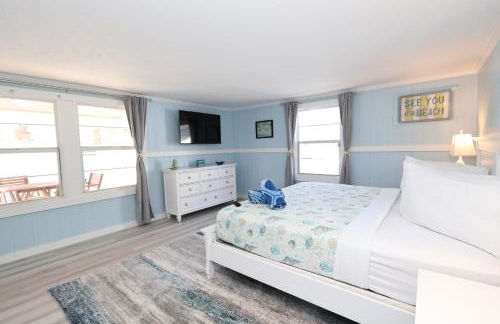
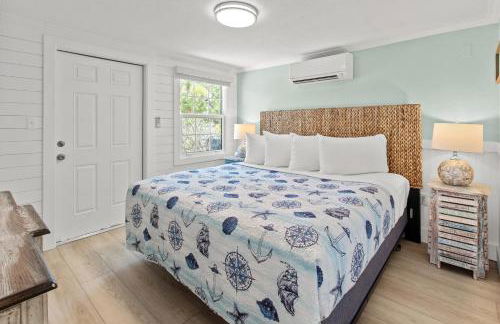
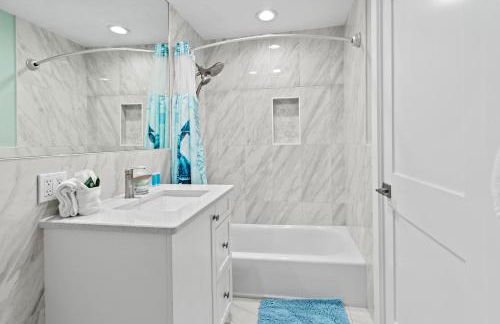
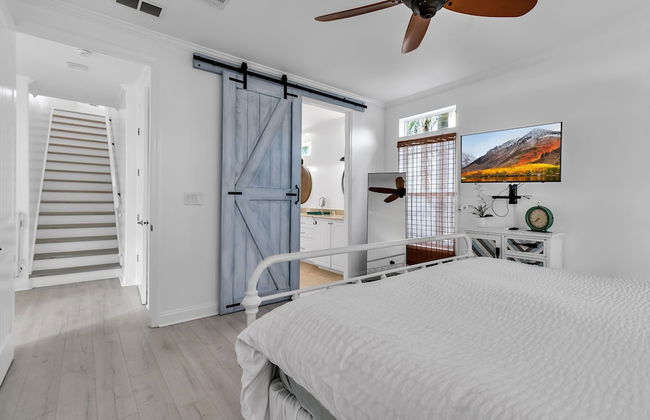
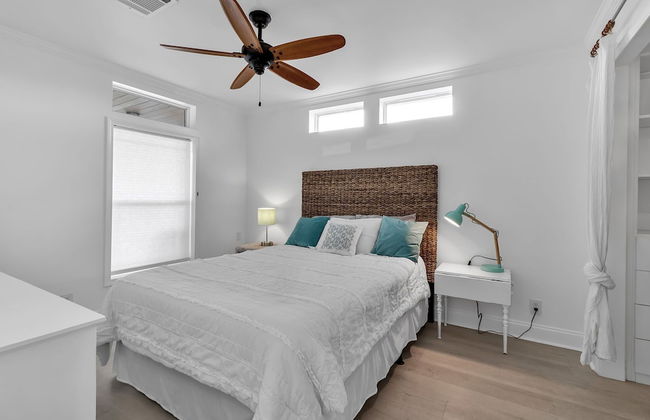
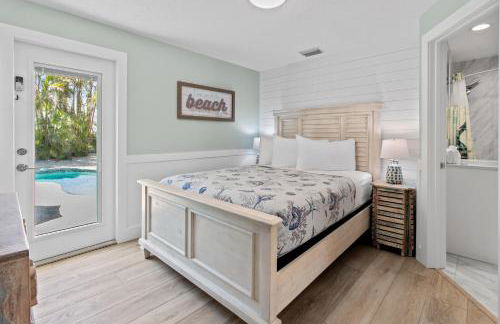
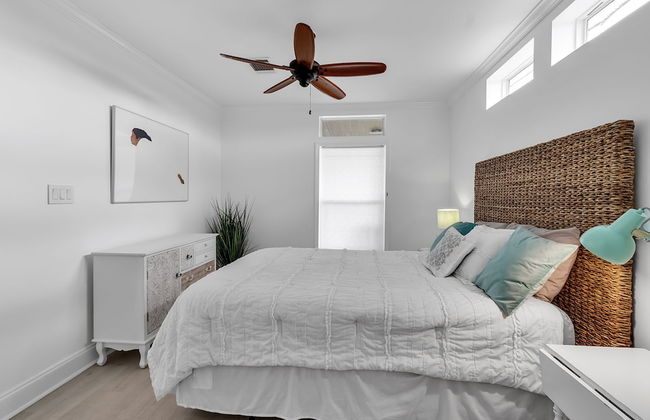
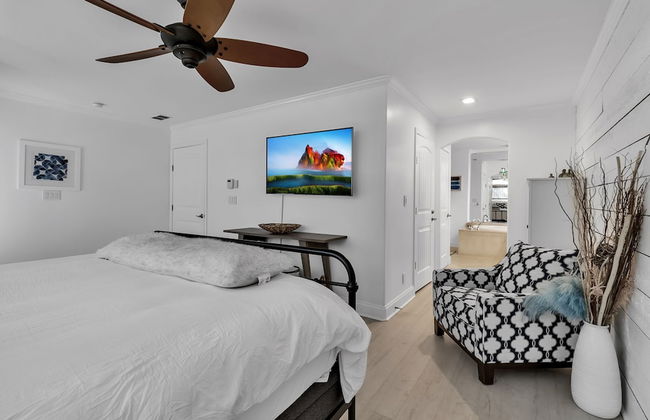
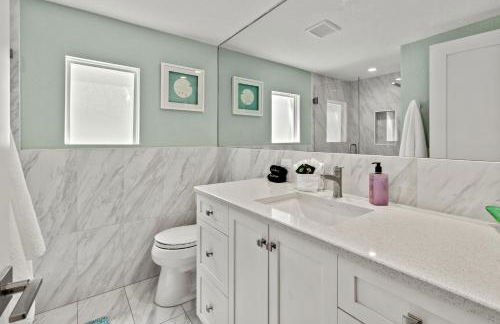
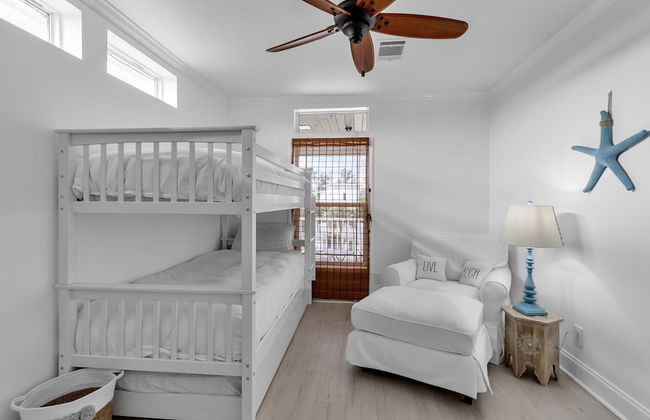
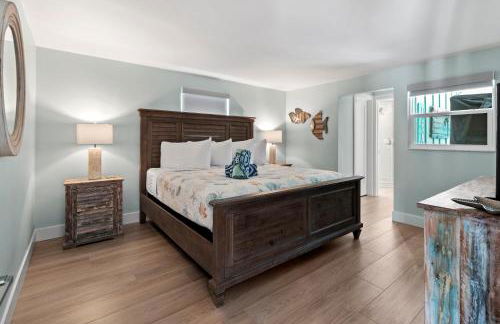
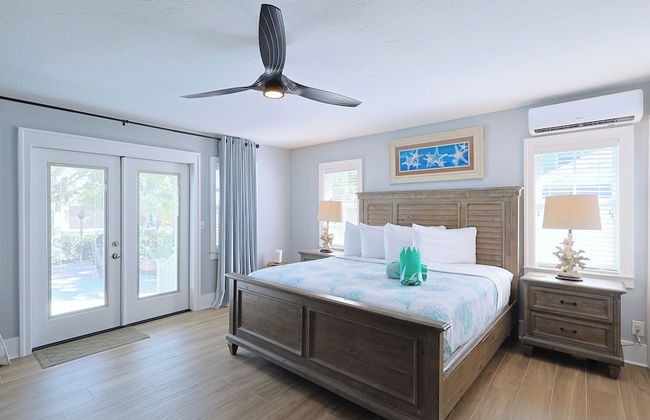
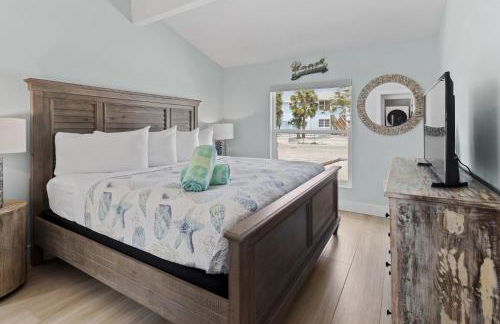
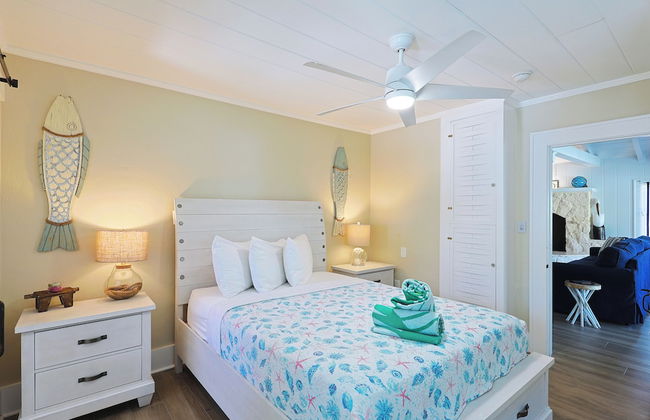
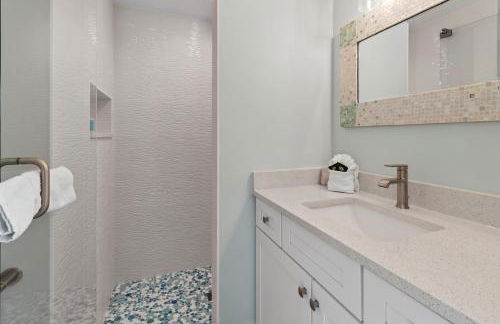
Las Olas Beach Club of Satellite Beach
Satellite Beach
- 130 M2
- 2 camere
- 6 persone
- Aria condizionata
- Riscaldamento
- Terrazza
- Piscina
- Parcheggio
- Ascensore
- Balcone
- Giardino
- Tv
- Lavatrice
- Barbecue
- Lino da bagno
- Lino da letto
28 recensioni


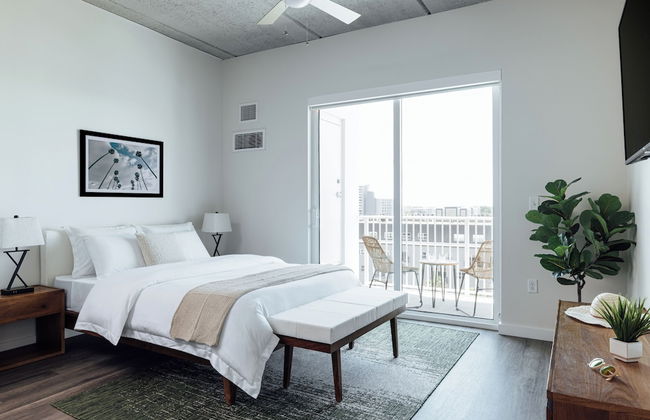
Vista Cay Commons by OVH360
Orlando - 13.5 km dal centro
- 130 M2
- 6 persone
- Aria condizionata
- Riscaldamento
- Piscina
- Parcheggio
- Ascensore
- Balcone
- Tv
- Lavatrice
- Lino da bagno
- Lino da letto
49 recensioni


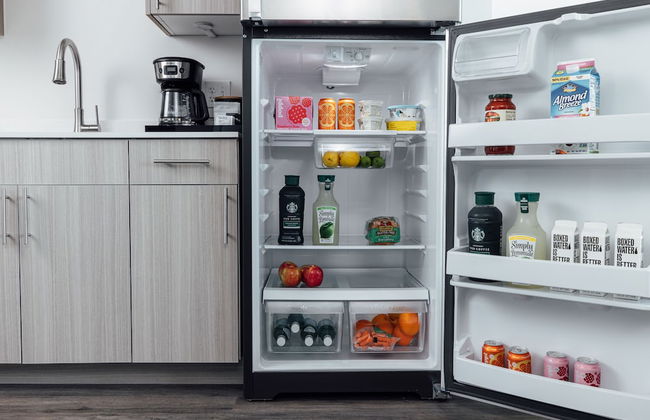
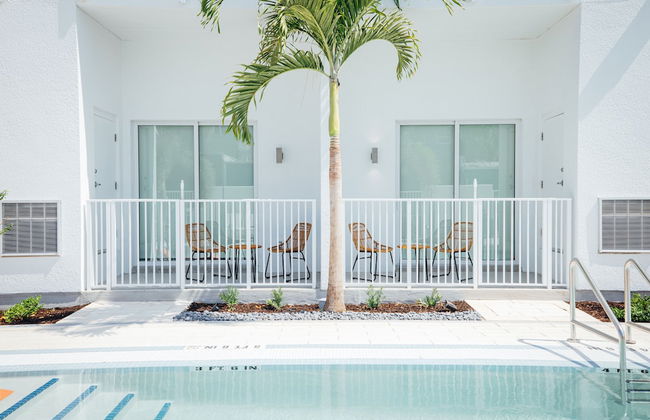
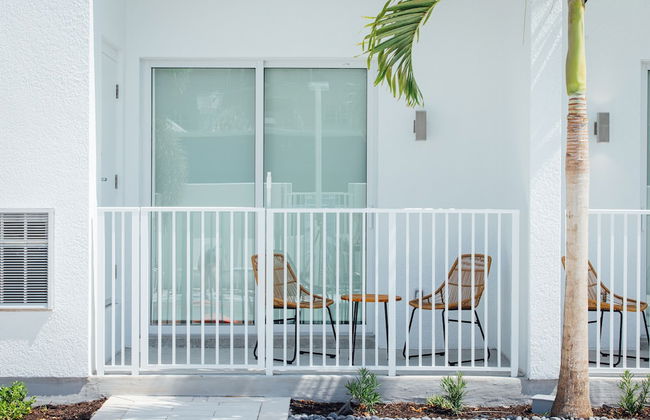
Wilton River Suites (Adults Only)
Fort Lauderdale - 4 km dal centro
- 107 M2
- 4 persone
- Aria condizionata
- Riscaldamento
- Piscina
- Parcheggio
- Ascensore
- Balcone
- Giardino
- Tv
- Lavatrice
- Barbecue
- Lino da bagno
- Lino da letto
20 recensioni


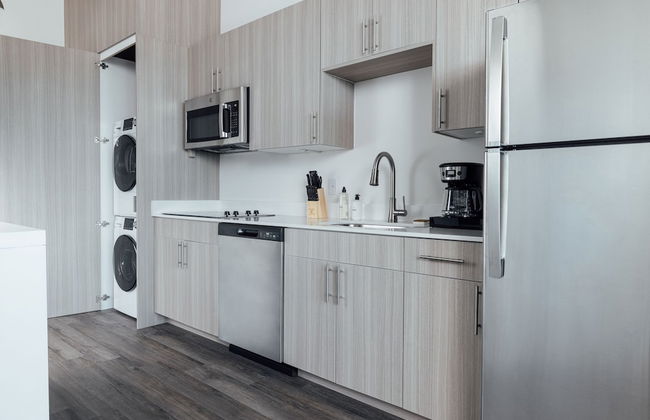
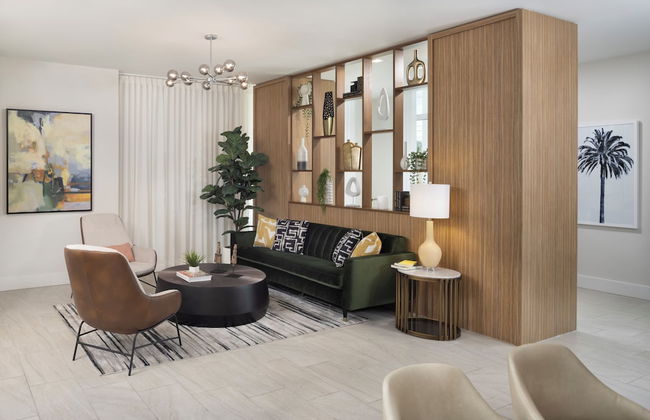
Suites at SLS LUX Brickell managed by CE
Miami - 17.7 km dal centro
- 65 M2
- 6 persone
- Cucinino
- Aria condizionata
- Terrazza
- Piscina
- Parcheggio
- Ascensore
- Balcone
- Giardino
- Tv
- Lavatrice
- Lino da bagno
- Lino da letto
55 recensioni


The Inn On Siesta Key
Sarasota - Sarasota Beach - 7.3 km dal centro
- 102 M2
- 8 persone
- Aria condizionata
- Riscaldamento
- Terrazza
- Piscina
- Parcheggio
- Balcone
- Giardino
- Tv
- Barbecue
- Lino da bagno
- Lino da letto
175 recensioni


Sabine Yacht & Racquet by Southern Vacation Rentals
Gulf Breeze - Villa Sabine
- 120 M2
- 2 camere
- 6 persone
- Aria condizionata
- Riscaldamento
- Piscina
- Parcheggio
- Ascensore
- Balcone
- Tv
- Lavatrice
- Lino da bagno
- Lino da letto
24 recensioni


Ocean's Reach Condominiums
Sanibel - 1.2 km dal centro
- 92 M2
- 6 persone
- Aria condizionata
- Terrazza
- Piscina
- Parcheggio
- Ascensore
- Giardino
- Tv
- Lavatrice
- Barbecue
- Lino da bagno
- Lino da letto
103 recensioni


The Berkley, Orlando
Kissimmee - 22 km dal centro
- 197 M2
- 10 persone
- Aria condizionata
- Riscaldamento
- Terrazza
- Piscina
- Parcheggio
- Ascensore
- Tv
- Lavatrice
- Barbecue
- Lino da bagno
- Lino da letto
1757 recensioni


Atlantic Terrace
Daytona - Ocean View Halifax Estates - 8.9 km dal centro
- 131 M2
- 6 persone
- Aria condizionata
- Riscaldamento
- Terrazza
- Piscina
- Parcheggio
- Ascensore
- Balcone
- Tv
- Lavatrice
- Barbecue
- Lino da bagno
- Lino da letto
134 recensioni


Mint House St. Petersburg Downtown by Kasa
St Petersburg - 550 m dal centro
- 32 M2
- 4 persone
- Cucinino
- Aria condizionata
- Riscaldamento
- Terrazza
- Piscina
- Parcheggio
- Ascensore
- Tv
- Lavatrice
- Focolare
- Barbecue
- Lino da bagno
- Lino da letto
606 recensioni


Vistalmar Beach Resort
Deerfield Beach - 1.8 km dal centro
- 6 persone
- Aria condizionata
- Riscaldamento
- Terrazza
- Piscina
- Parcheggio
- Ascensore
- Balcone
- Tv
- Barbecue
- Lino da bagno
- Lino da letto
262 recensioni


The Elmar Boutique Hotel
Lauderdale-by-the-Sea
- 46 M2
- 3 persone
- Cucinino
- Aria condizionata
- Riscaldamento
- Piscina
- Parcheggio
- Tv
- Lino da bagno
- Lino da letto
52 recensioni


The Islands of Islamorada
Islamorada
- 10 persone
- Aria condizionata
- Riscaldamento
- Piscina
- Parcheggio
- Ascensore
- Balcone
- Giardino
- Tv
- Focolare
- Barbecue
- Lino da bagno
- Lino da letto
61 recensioni


Sand Dune Shores
West Palm Beach - Sand Dune Shores Resort - 7.1 km dal centro
- 68 M2
- 6 persone
- Aria condizionata
- Riscaldamento
- Terrazza
- Piscina
- Parcheggio
- Tv
- Barbecue
- Lino da bagno
- Lino da letto
92 recensioni


Siesta Key Island Rentals
Sarasota - Sarasota Beach - 7.4 km dal centro
- 167 M2
- 4 camere
- 10 persone
- Aria condizionata
- Riscaldamento
- Terrazza
- Piscina
- Parcheggio
- Balcone
- Giardino
- Tv
- Lavatrice
- Barbecue
- Lino da bagno
- Lino da letto
30 recensioni


Tropical Villas of Venice Beach
Venice - Al centro
- 6 persone
- Cucinino
- Aria condizionata
- Riscaldamento
- Terrazza
- Piscina
- Parcheggio
- Giardino
- Tv
- Lavatrice
- Barbecue
- Lino da bagno
- Lino da letto
230 recensioni


Wonderful 4Bd w Pool Close to Disney at Storeylake 2669
Kissimmee - 5.2 km dal centro
- 212 M2
- 4 camere
- 12 persone
- Aria condizionata
- Riscaldamento
- Piscina
- Parcheggio
- Balcone
- Giardino
- Tv
- Lavatrice
- Lino da bagno
- Lino da letto
26 recensioni


Estrella del Mar
Panama City - 11.2 km dal centro
- 101 M2
- 2 camere
- 6 persone
- Aria condizionata
- Riscaldamento
- Terrazza
- Parcheggio
- Giardino
- Barbecue
10 recensioni


BeachTrail Lodging
Indian Rocks Beach - Independence Square
- 56 M2
- 2 camere
- 4 persone
- Aria condizionata
- Riscaldamento
- Terrazza
- Parcheggio
- Balcone
- Giardino
- Tv
- Lavatrice
- Lino da bagno
- Lino da letto
94 recensioni


Near Theme Parks! Gorgeous 3 BR Town Home, Splash Park, Pool, Lake, And More!
Kissimmee - 6.3 km dal centro
- 139 M2
- 7 persone
- Aria condizionata
- Riscaldamento
- Piscina
- Parcheggio
- Balcone
- Tv
- Lavatrice
- Barbecue
- Lino da bagno
- Lino da letto
11 recensioni