
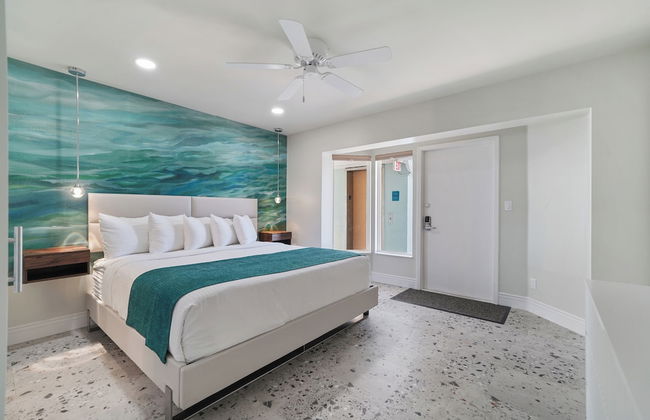
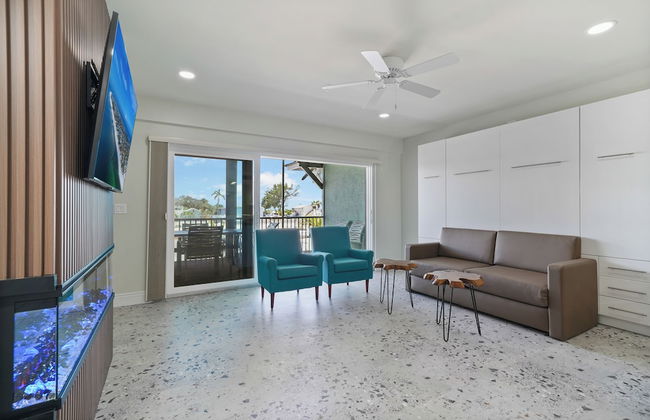
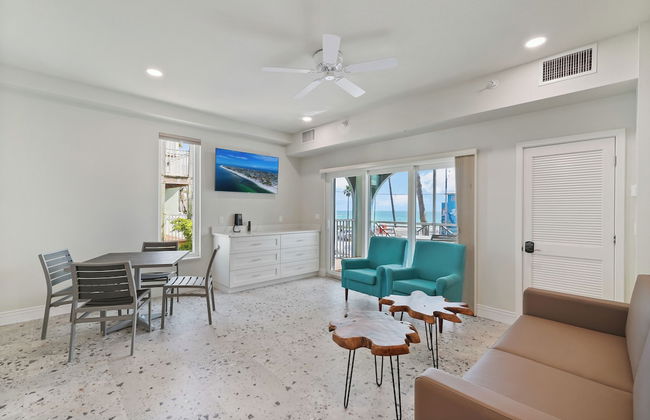
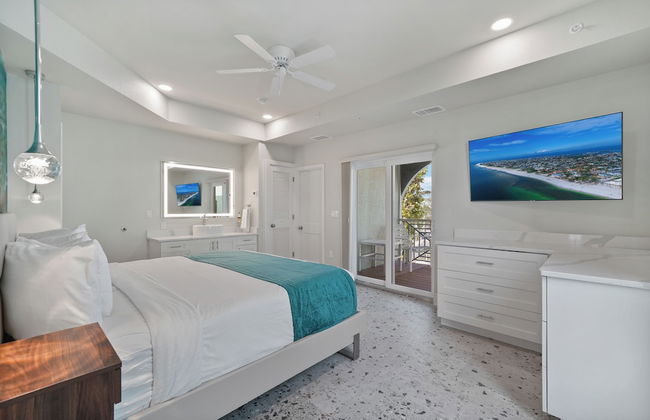
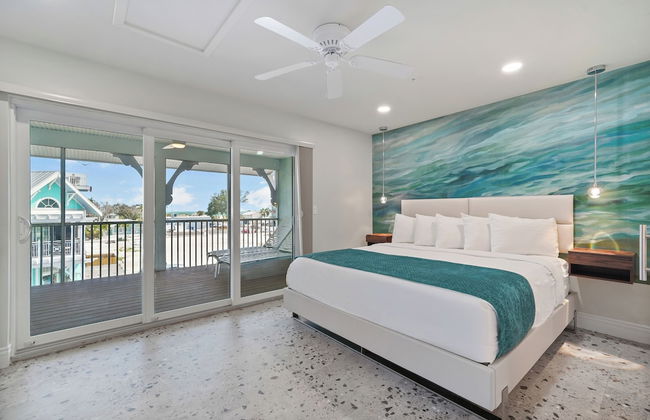
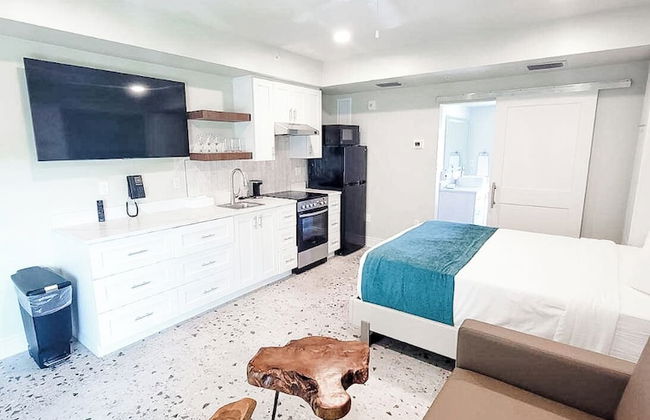
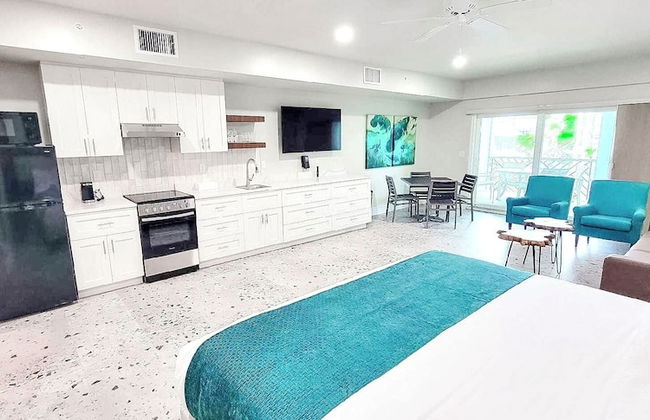
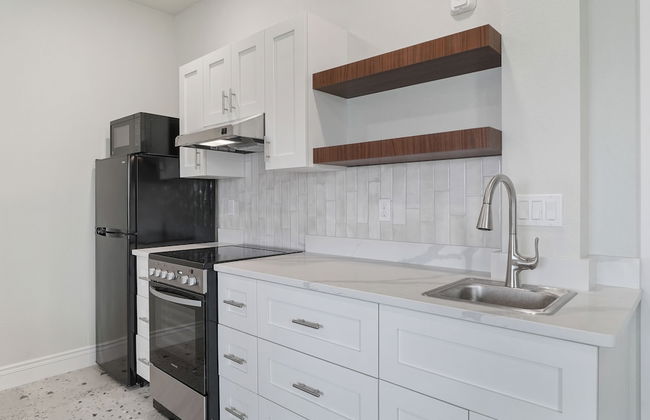
2256 Appartamenti a Manatee


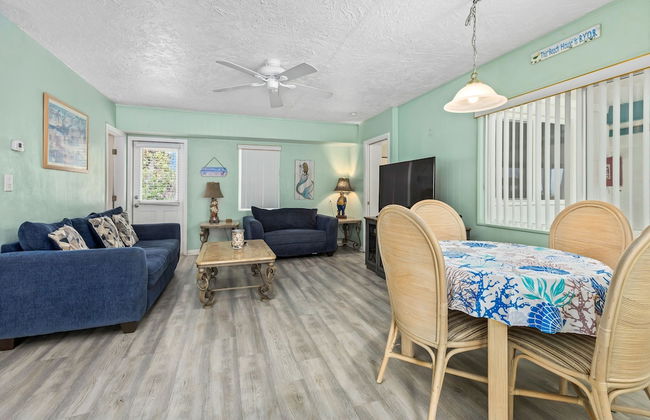

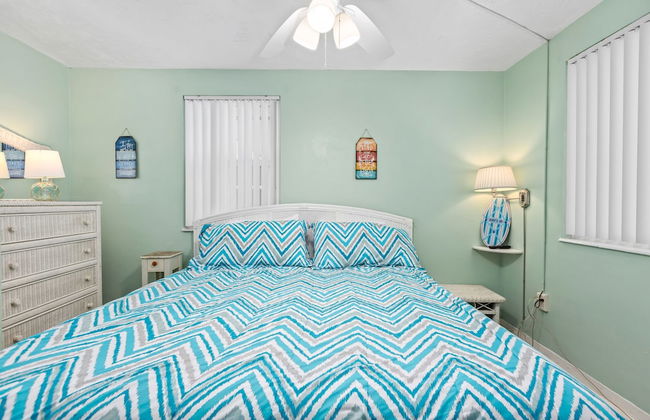

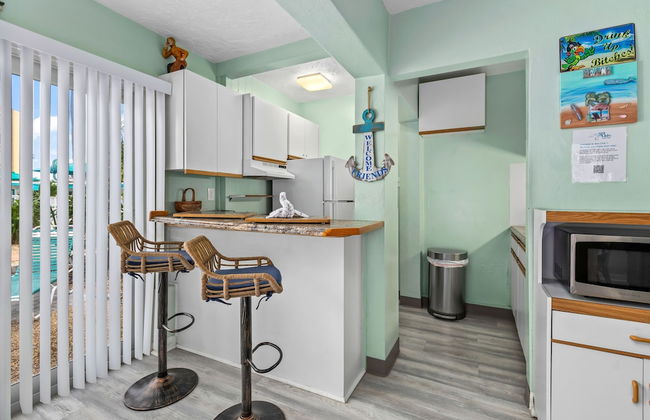


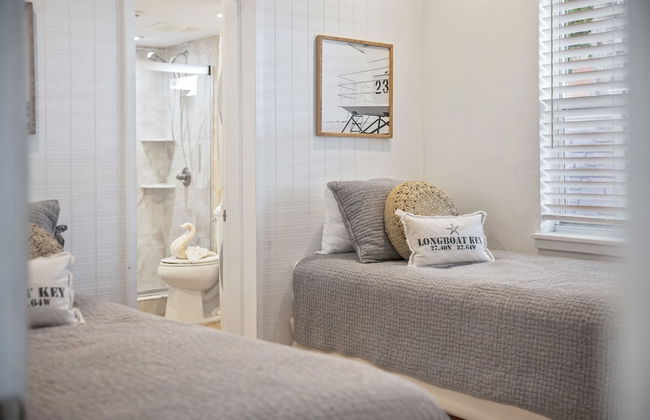

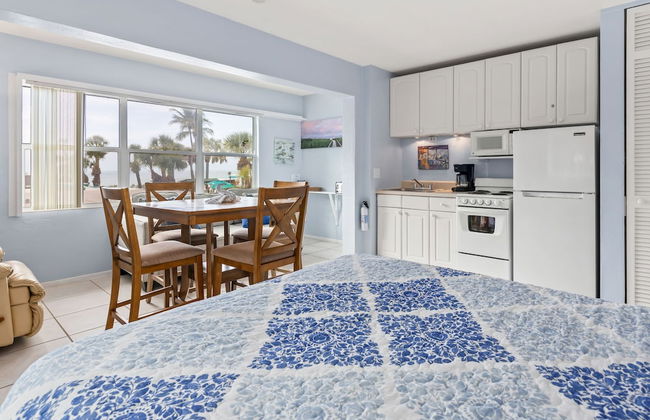

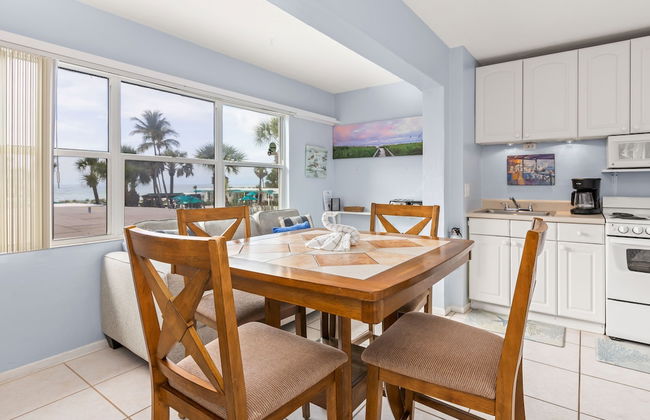

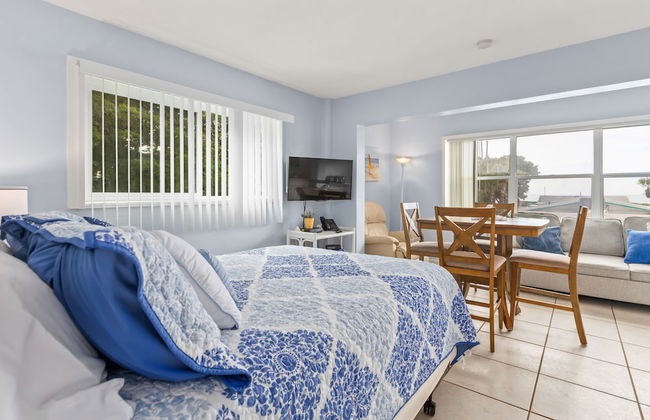


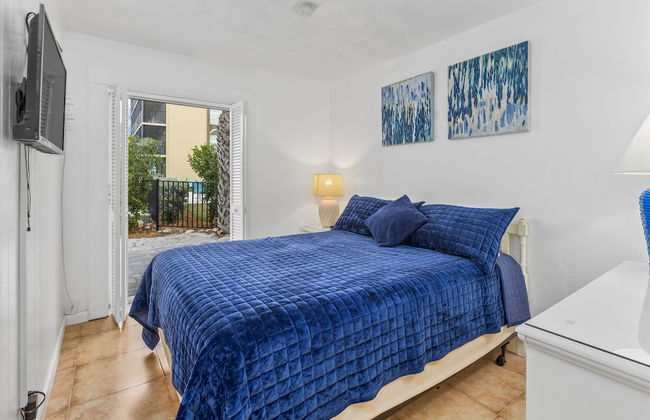

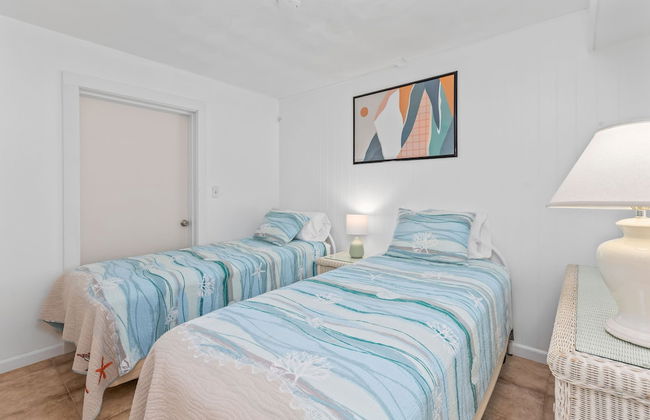

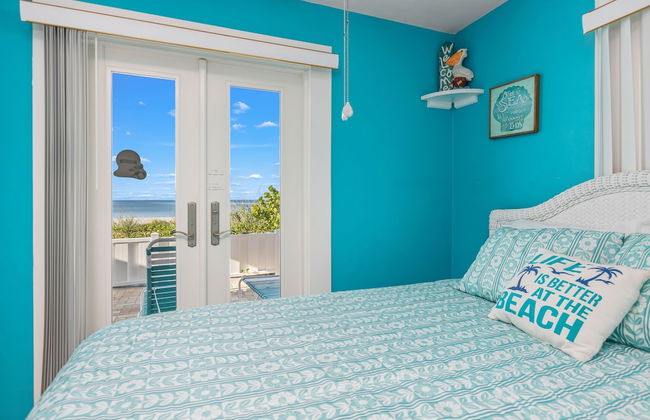

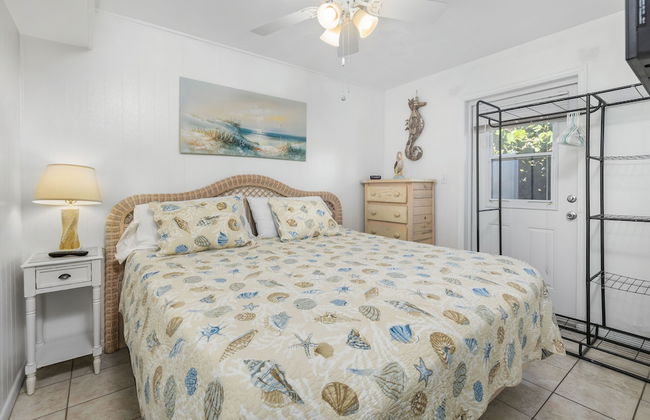

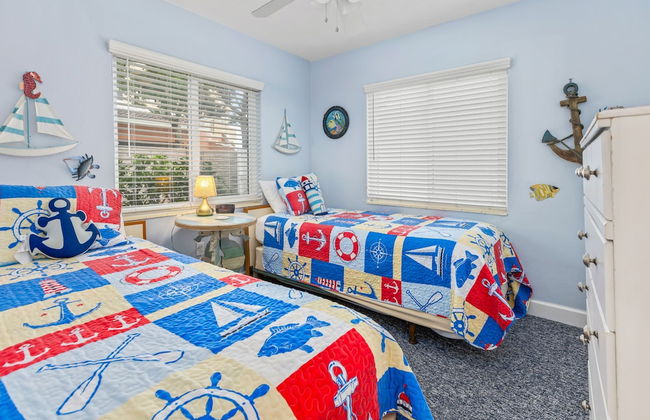


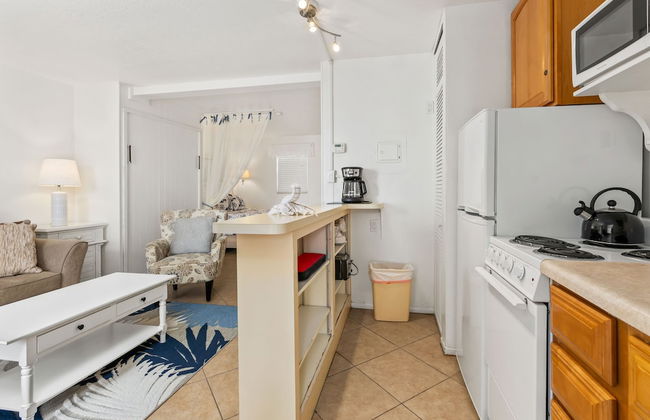


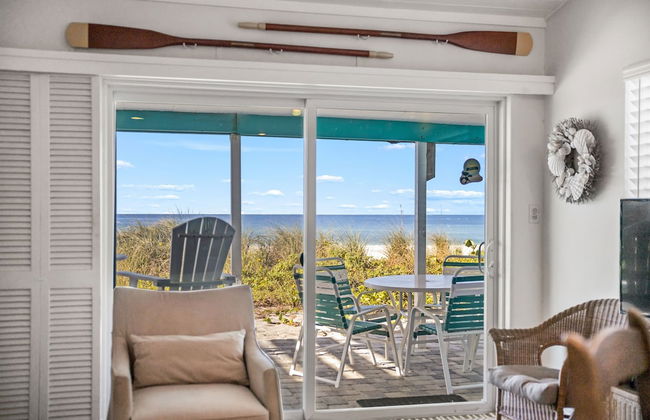

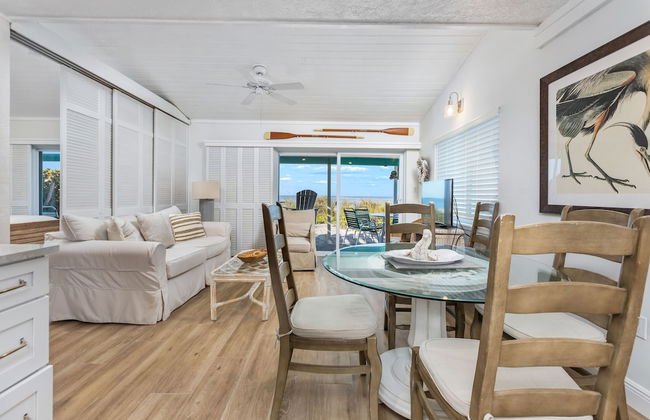

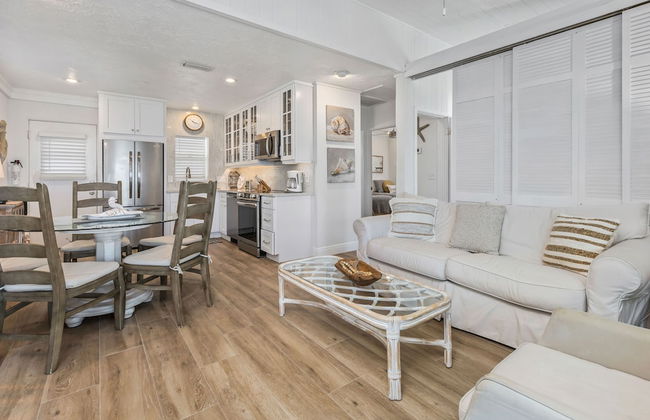

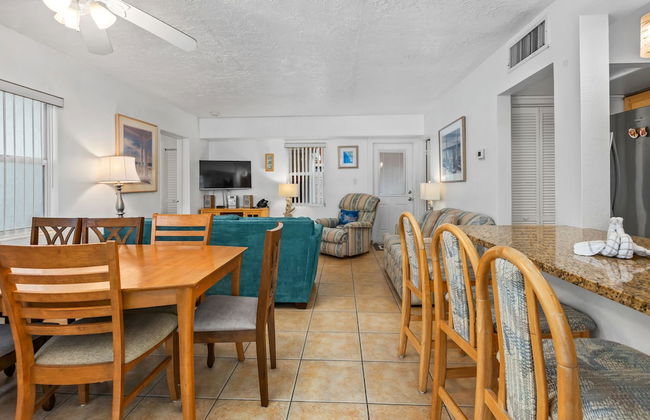

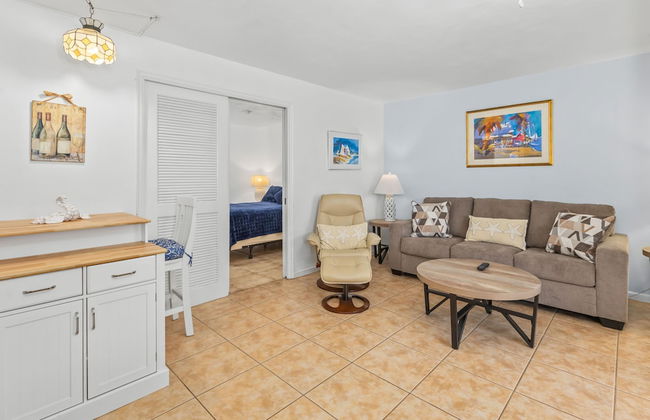


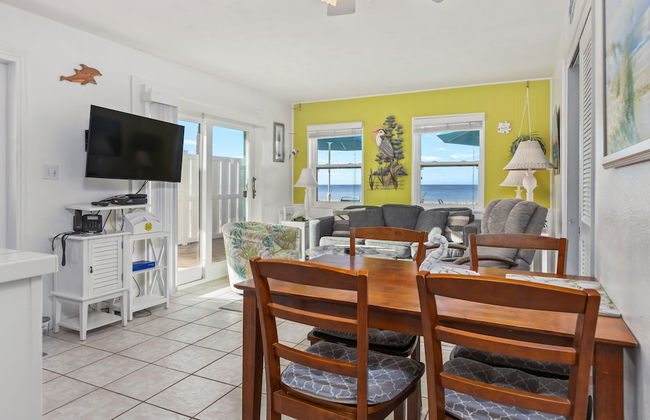

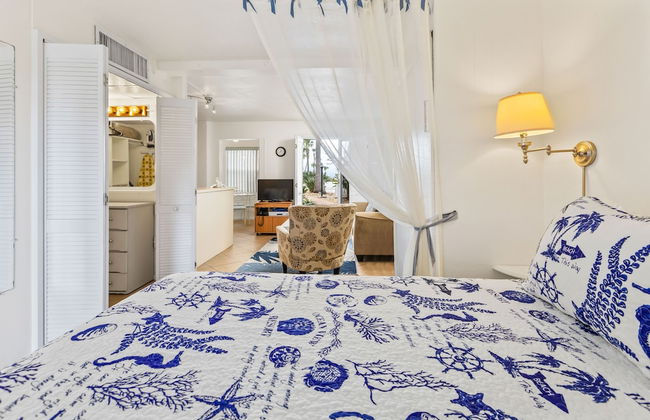

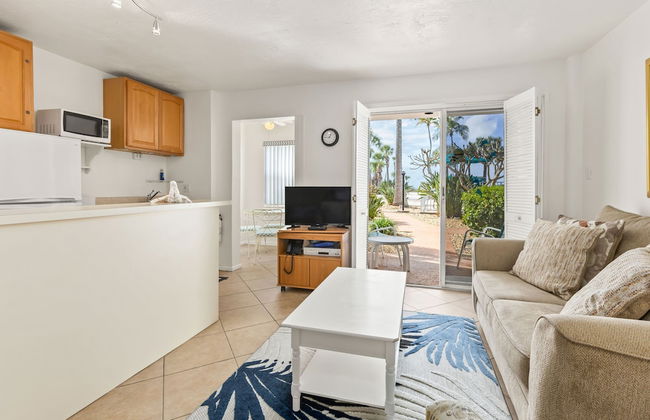


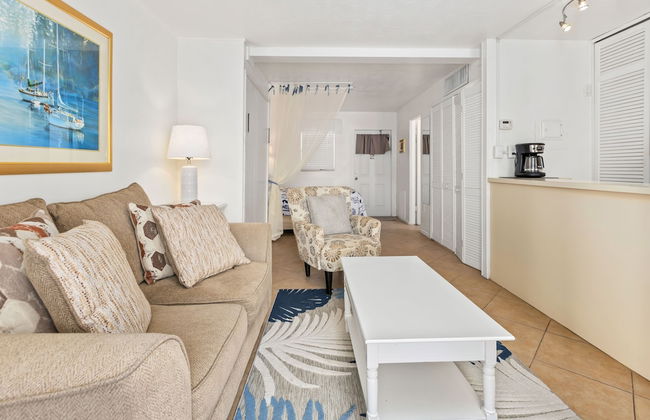


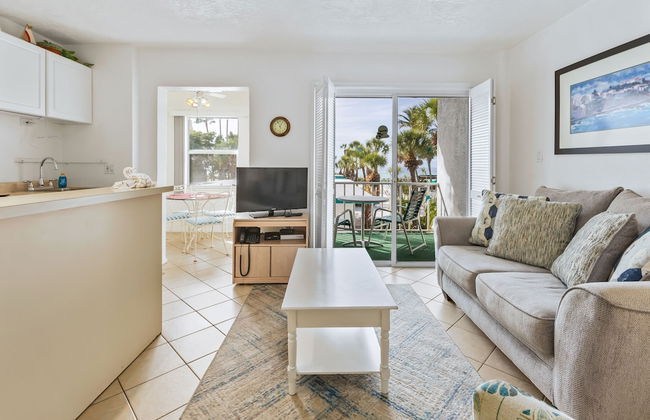

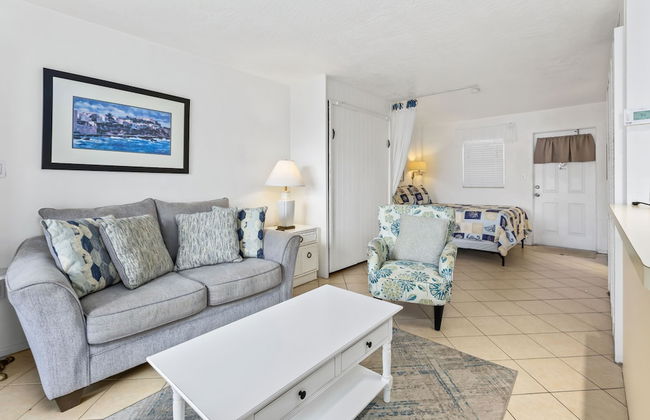


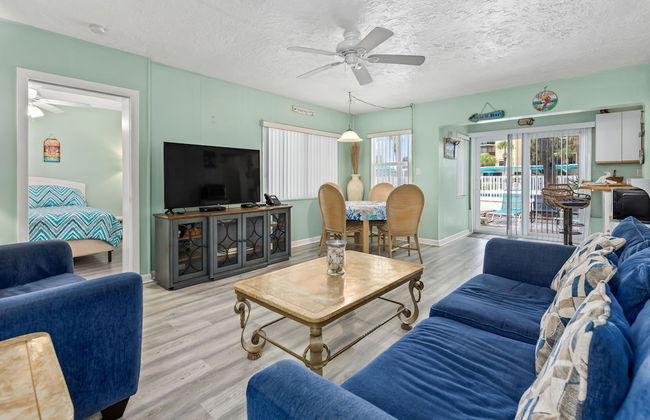

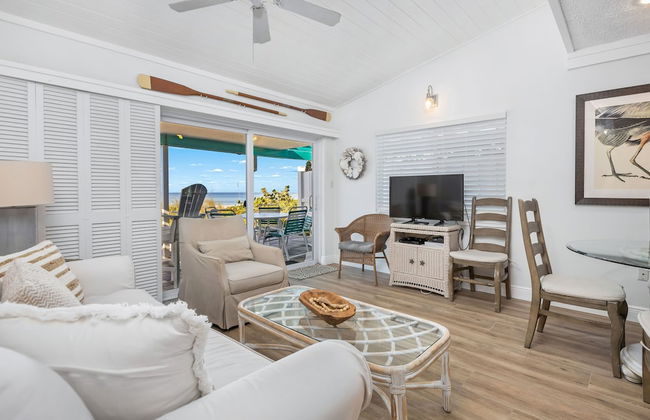


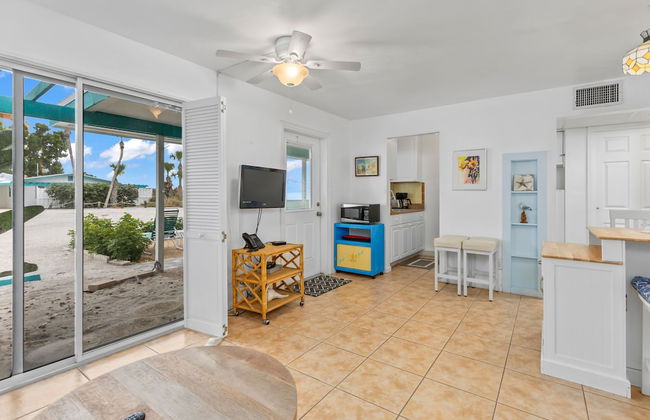


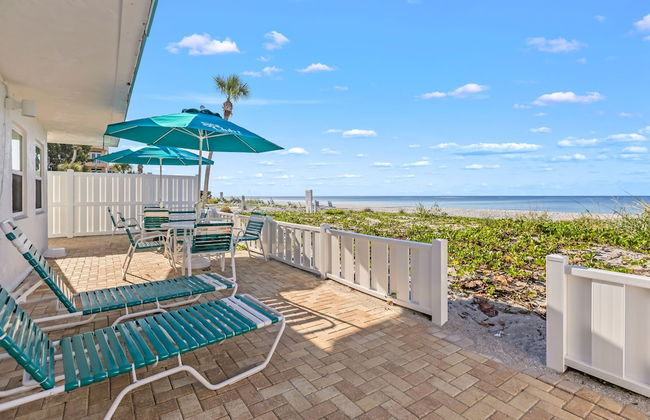


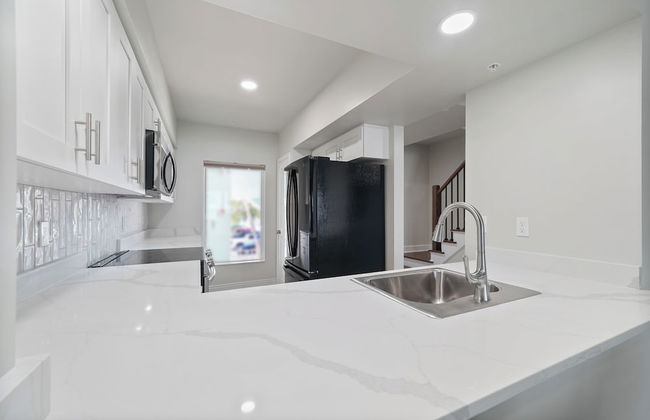
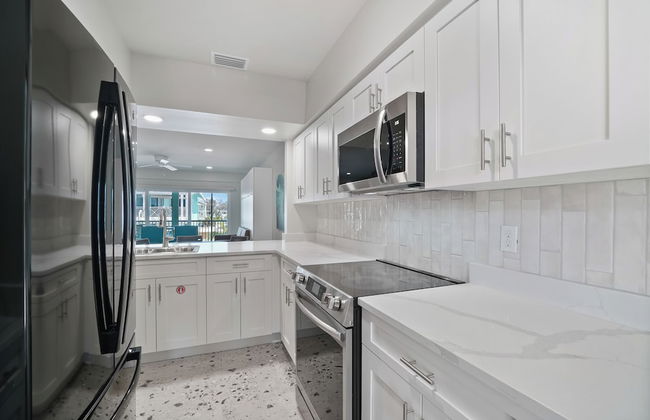
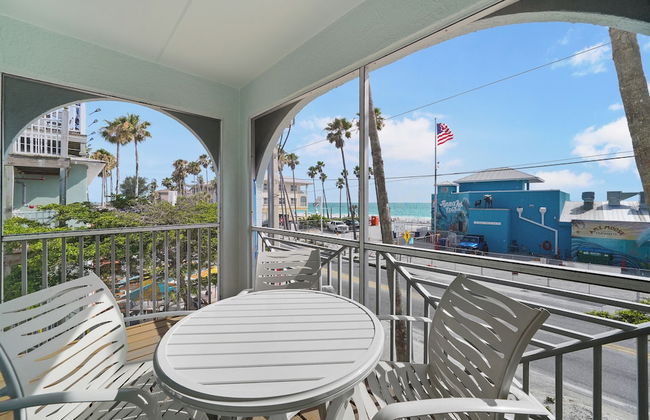
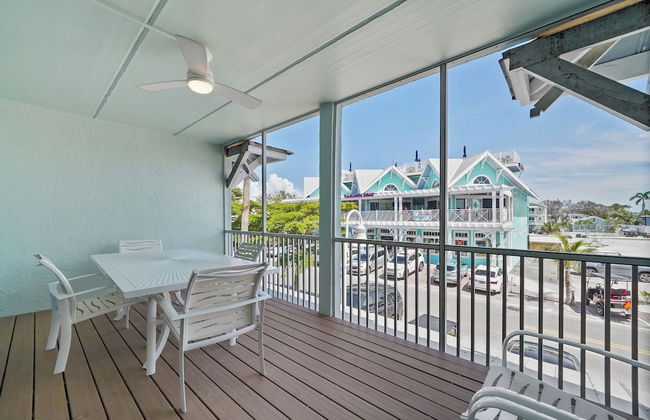
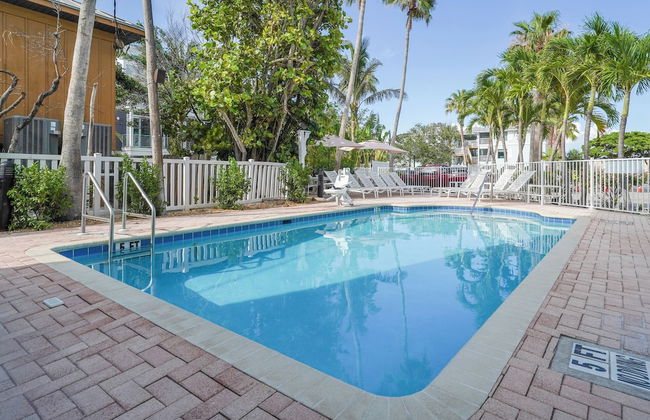
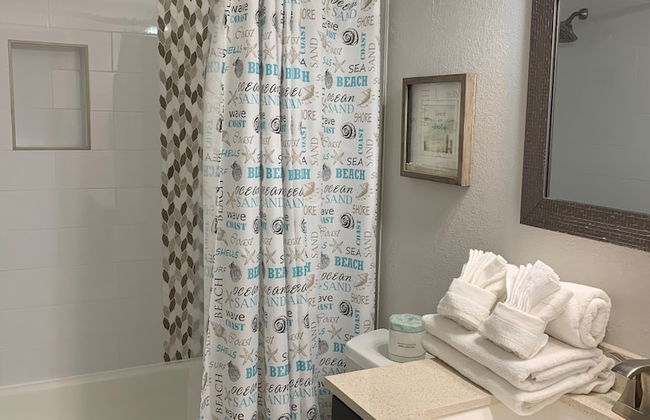
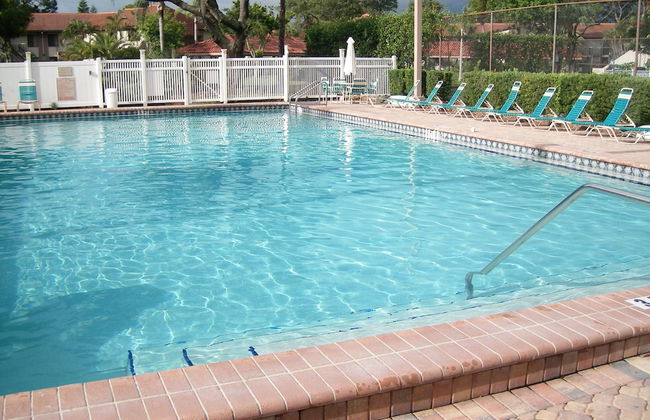
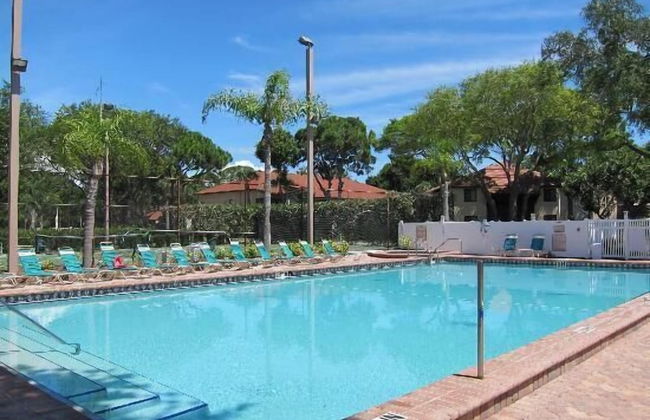
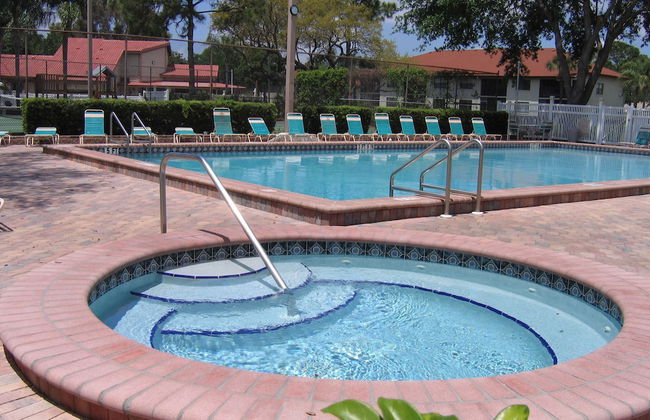
Sea Club I Beach Resort
Longboat Key - 2.2 km dal centro
- 54 M2
- 2 camere
- 4 persone
- Aria condizionata
- Riscaldamento
- Terrazza
- Piscina
- Parcheggio
- Balcone
- Giardino
- Tv
- Barbecue
- Lino da bagno
- Lino da letto
306 recensioni


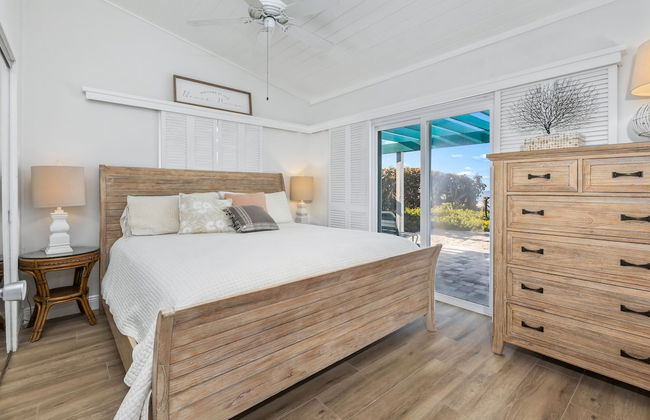
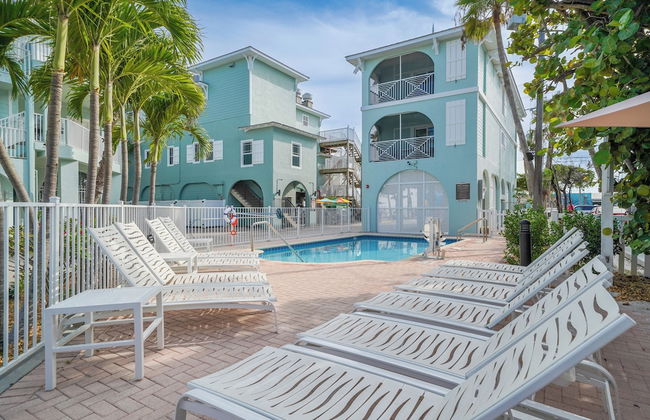
The Beach Club at Anna Maria by RVA
Bradenton Beach
- 80 M2
- 8 persone
- Aria condizionata
- Riscaldamento
- Terrazza
- Piscina
- Parcheggio
- Tv
- Lavatrice
- Lino da bagno
488 recensioni


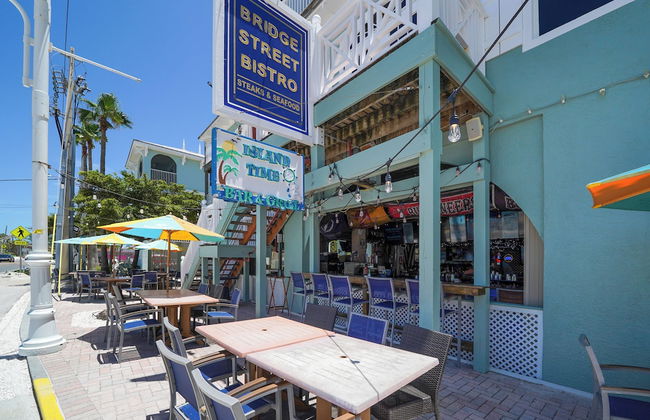
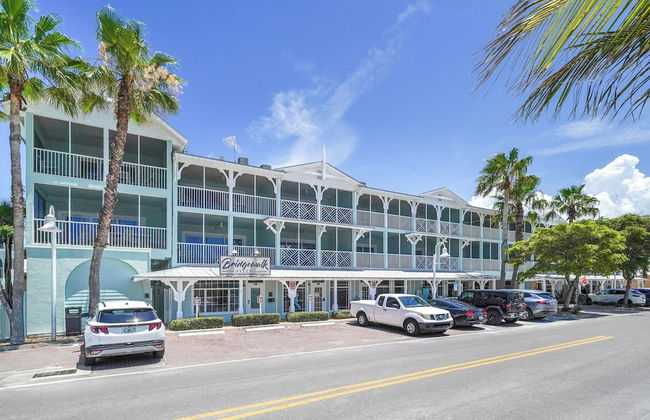
Bridgewalk Resort
Bradenton Beach
- 149 M2
- 6 persone
- Aria condizionata
- Riscaldamento
- Piscina
- Parcheggio
- Tv
- Lavatrice
- Focolare
- Lino da bagno
- Lino da letto
719 recensioni
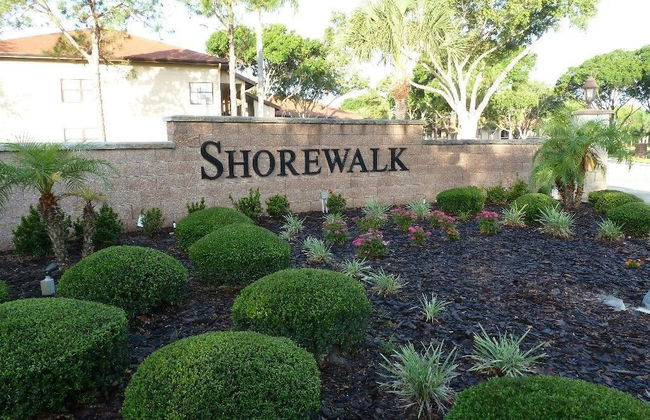


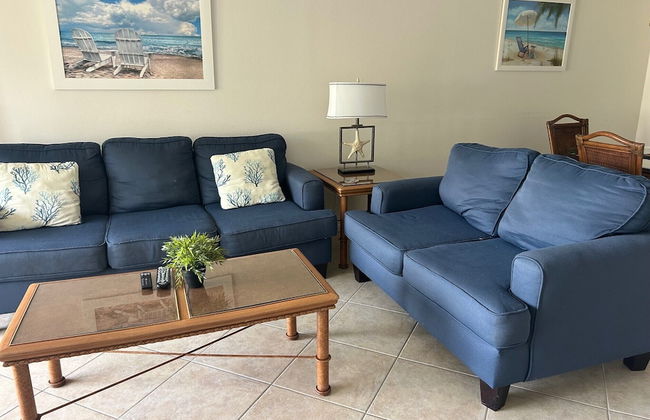


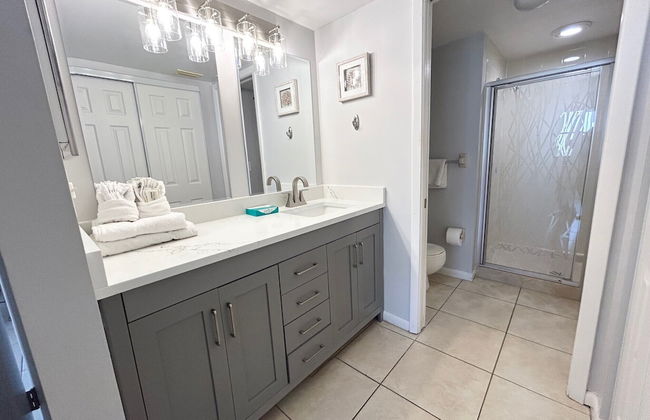


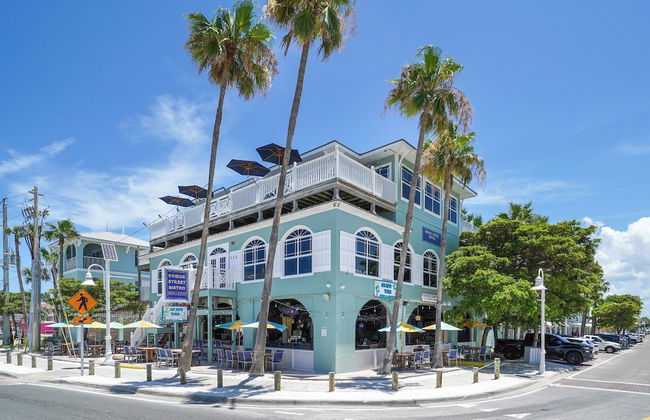
Shorewalk Vacation Villas
Bradenton - 4.4 km dal centro
- 116 M2
- 5 persone
- Aria condizionata
- Riscaldamento
- Terrazza
- Piscina
- Parcheggio
- Giardino
- Tv
- Lavatrice
- Barbecue
- Lino da bagno
- Lino da letto
706 recensioni


Coquina Beach Club 109
Bradenton Beach
- 42 M2
- 2 persone
- Aria condizionata
- Riscaldamento
- Terrazza
- Piscina
- Parcheggio
- Giardino
14 recensioni


Tradewinds Beach Resort
Bradenton Beach
- 6 persone
- Aria condizionata
- Piscina
- Parcheggio
- Tv
- Barbecue
- Lino da bagno
- Lino da letto
375 recensioni


Pelican Post at Anna Maria Island Inn
Bradenton Beach
- 6 persone
- Aria condizionata
- Riscaldamento
- Piscina
- Parcheggio
- Giardino
- Tv
- Lino da bagno
- Lino da letto
269 recensioni


Haley's at The Anna Maria Island Inn
Bradenton Beach
- 20 M2
- 4 persone
- Aria condizionata
- Riscaldamento
- Terrazza
- Piscina
- Parcheggio
- Giardino
- Tv
- Lino da bagno
- Lino da letto
373 recensioni


Remodeled 4BR Pool Home/IMG Golf View/Near Beaches
Bradenton - 6.8 km dal centro
- 325 M2
- 4 camere
- 16 persone
- Aria condizionata
- Piscina
- Parcheggio
- Giardino
- Barbecue
12 recensioni


Paradise Heated Pool Home Near IMG and Siesta Key Beach
Bradenton - 9.2 km dal centro
- 158 M2
- 3 camere
- 6 persone
- Aria condizionata
- Riscaldamento
- Terrazza
- Piscina
- Parcheggio
- Giardino
- Barbecue
10 recensioni


Bayview Pointe - Luxury home with heated pool! Near Anna Maria isle!
Cortez - Cortez
- 156 M2
- 3 camere
- 10 persone
- Aria condizionata
- Riscaldamento
- Piscina
- Parcheggio
- Ascensore
- Giardino
20 recensioni


NEW Renovated luxury home with private heated pool, game room Near Anna Maria Island and IMG
Bradenton - 5 km dal centro
- 180 M2
- 4 camere
- 10 persone
- Aria condizionata
- Terrazza
- Piscina
- Parcheggio
- Giardino
7 recensioni


MyCataleya Beautiful Florida Condo (Bradenton)
Bradenton - 4.6 km dal centro
- 100 M2
- 2 camere
- 4 persone
- Aria condizionata
- Riscaldamento
- Terrazza
- Piscina
- Parcheggio
- Giardino
- Barbecue
35 recensioni


Waterview Oasis Retreat, minutes to Anna Maria Island and IMG
Bradenton - 4.5 km dal centro
- 109 M2
- 2 camere
- 6 persone
- Aria condizionata
- Riscaldamento
- Terrazza
- Piscina
- Parcheggio
- Giardino
16 recensioni


Vera’s vacation
Bradenton - 4.9 km dal centro
- 125 M2
- 3 camere
- 7 persone
- Aria condizionata
- Riscaldamento
- Terrazza
- Piscina
- Parcheggio
- Giardino
- Barbecue
37 recensioni


Sarasota Charm
Sarasota - 6.7 km dal centro
- 161 M2
- 3 camere
- 6 persone
- Aria condizionata
- Parcheggio
- Giardino
32 recensioni


Bamboo Apartments
Holmes Beach
- 51 M2
- 1 camera
- 4 persone
- Aria condizionata
- Riscaldamento
- Terrazza
- Parcheggio
- Giardino
- Barbecue
17 recensioni


Bradenton Escape with Private Heated Pool
Bradenton - 6.2 km dal centro
- 125 M2
- 2 camere
- 8 persone
- Aria condizionata
- Terrazza
- Piscina
- Parcheggio
- Giardino
40 recensioni


Near Beaches & IMG Academy, Mins to Downtown Oasis Villa Retreat
Bradenton - 3.5 km dal centro
- 130 M2
- 2 camere
- 4 persone
- Aria condizionata
- Piscina
- Parcheggio
24 recensioni


Cheerful Pelican on Anna Maria Island
Bradenton Beach
- 100 M2
- 2 camere
- 6 persone
- Aria condizionata
- Riscaldamento
- Terrazza
- Piscina
- Parcheggio
- Giardino
- Barbecue
13 recensioni