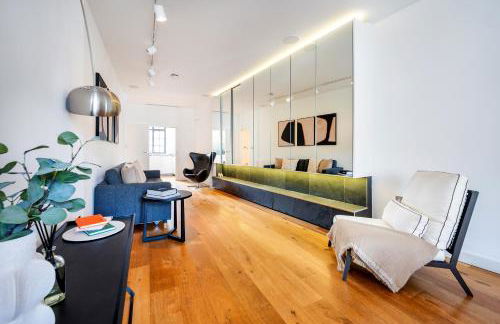
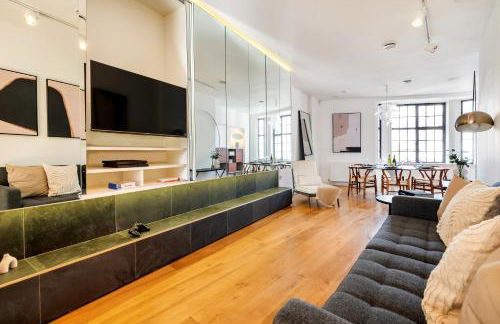
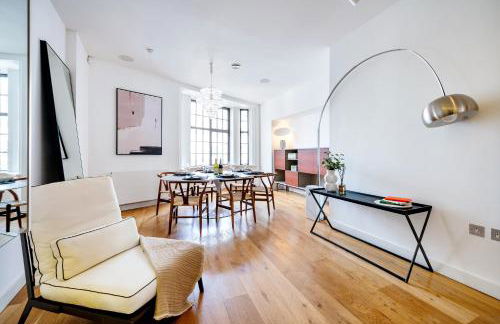
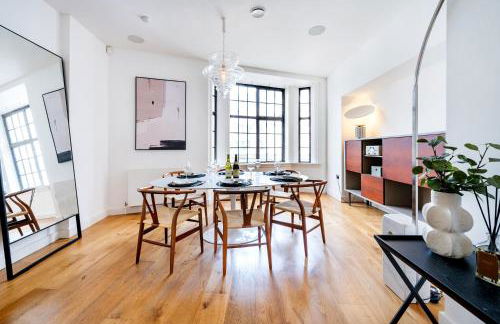
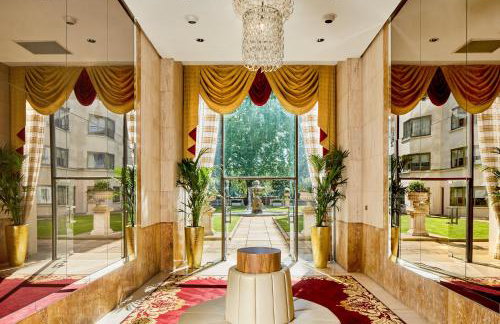
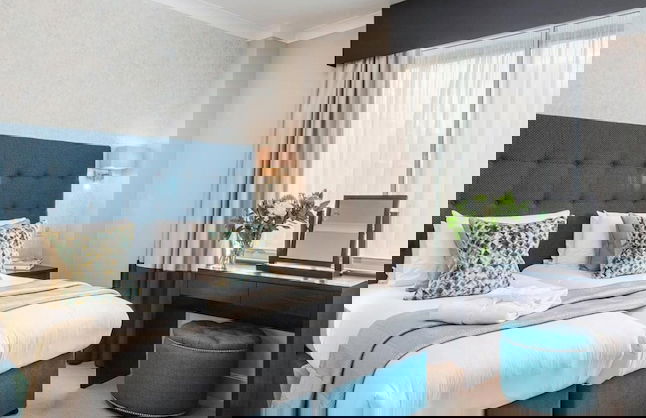
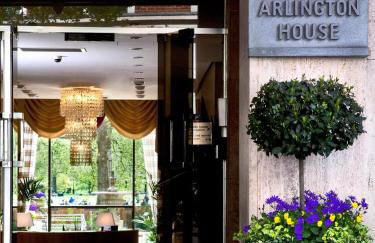
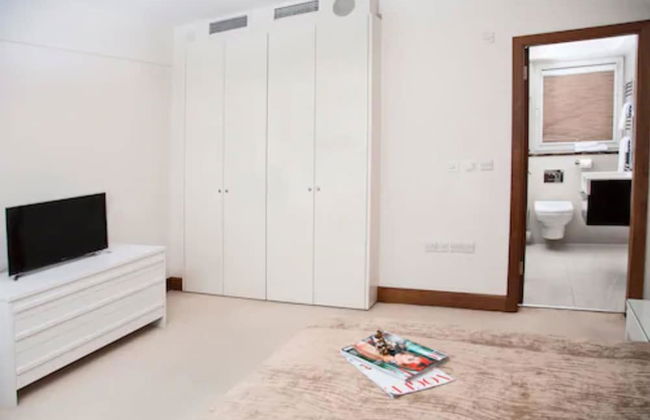
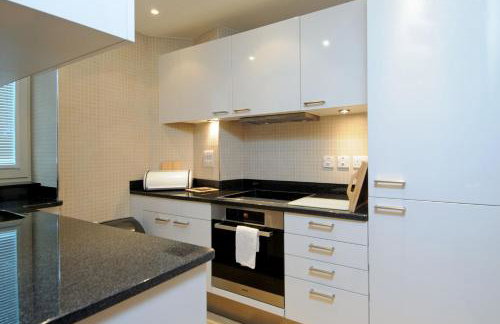
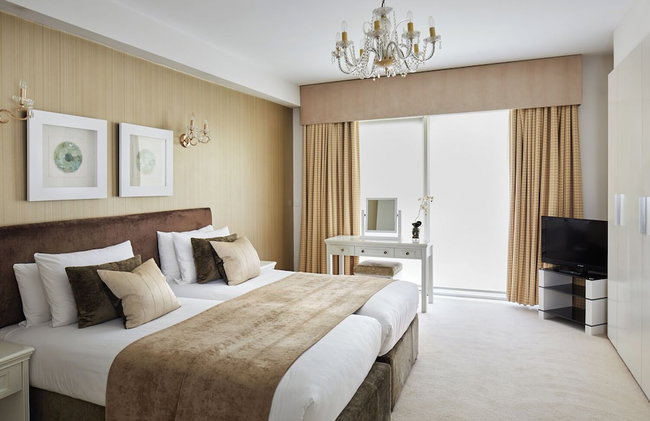
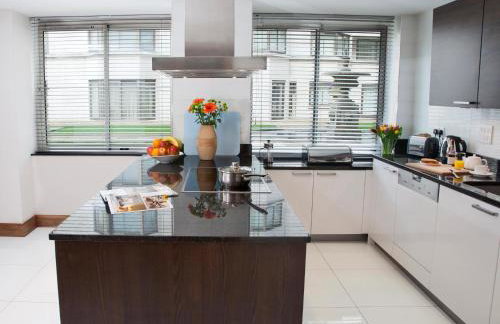
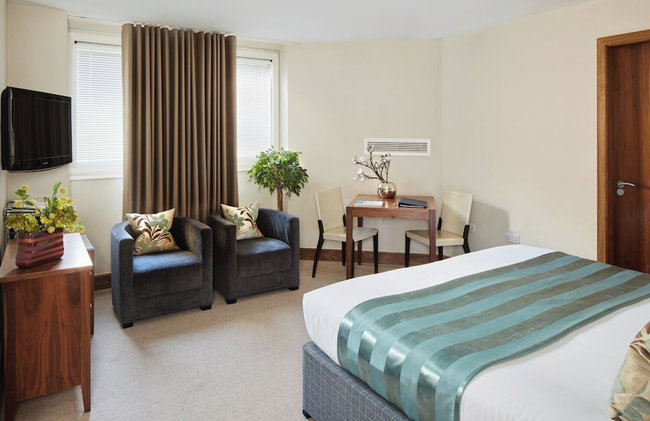
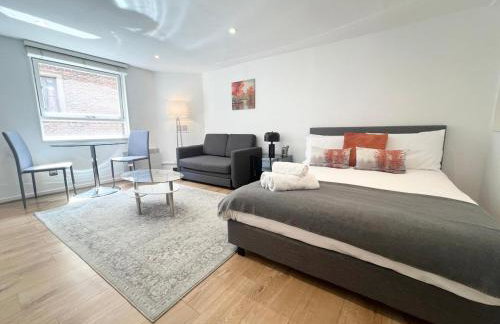
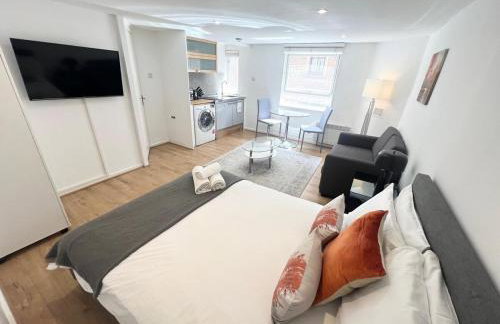
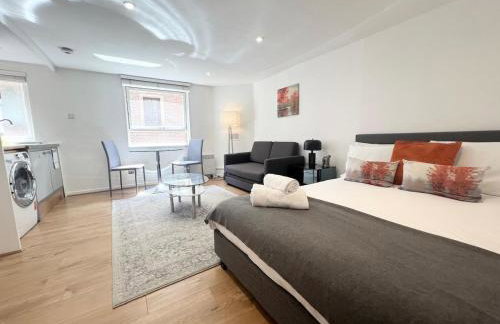
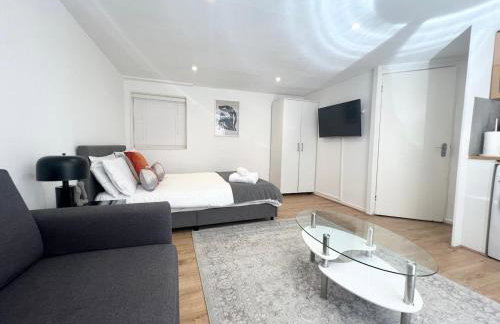
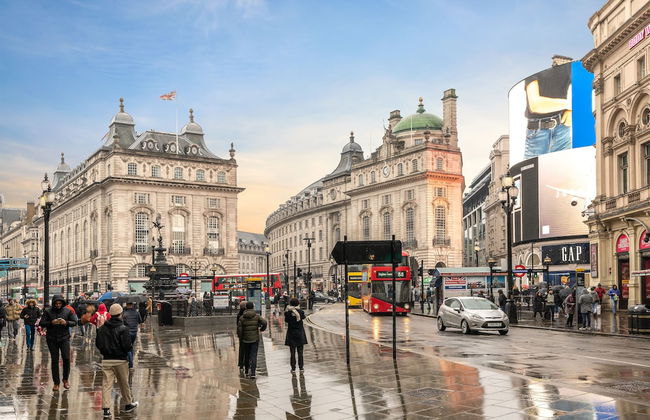
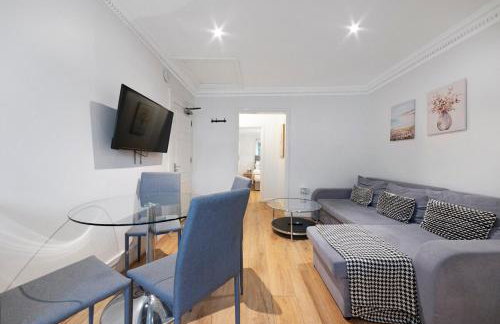
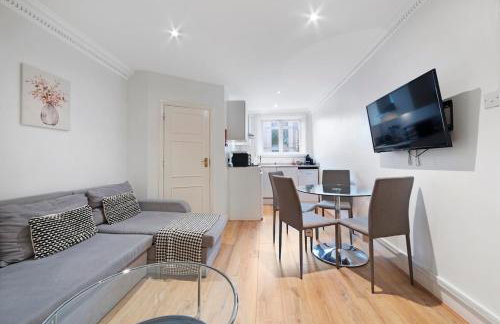
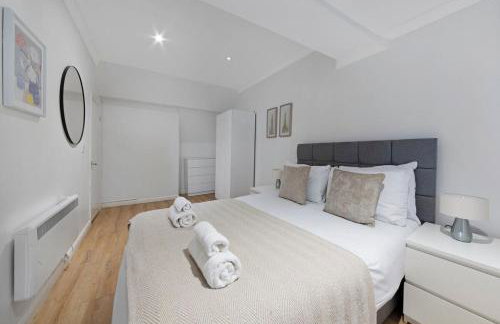
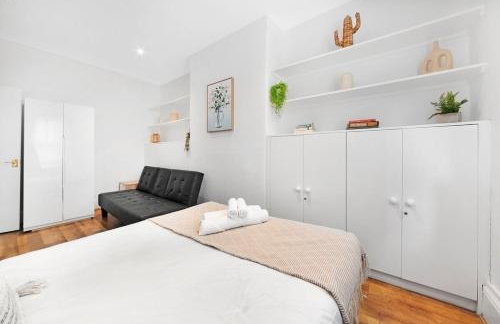
36 Appartamenti a St James's
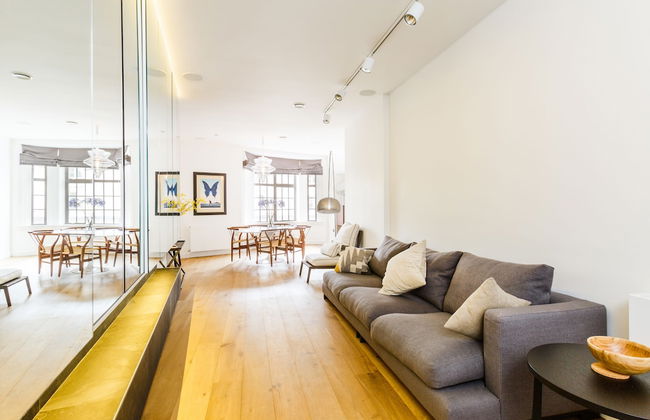
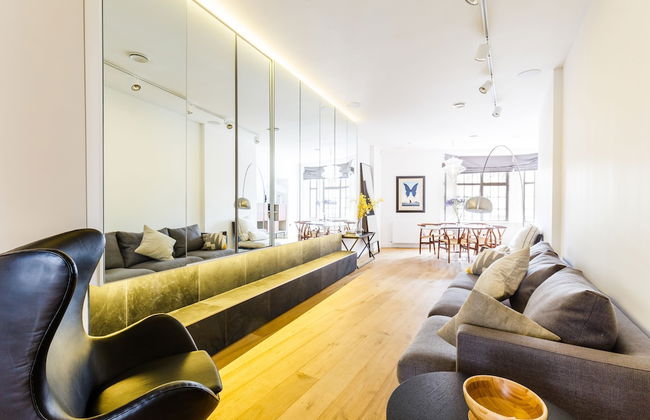
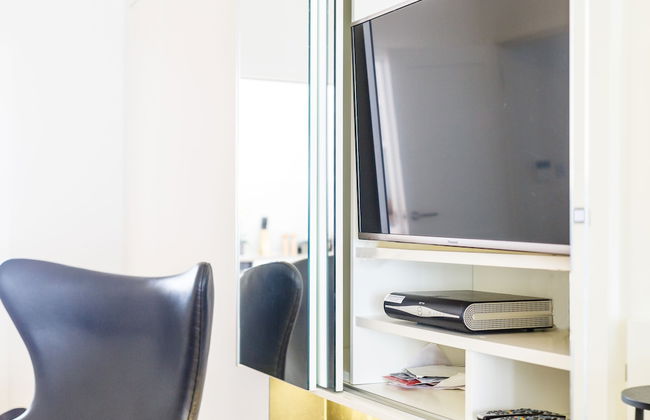
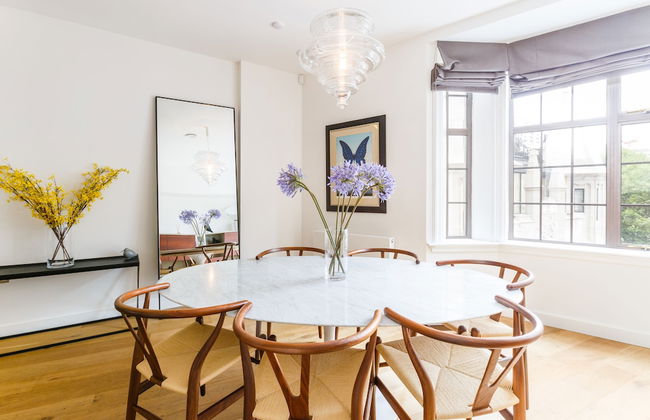
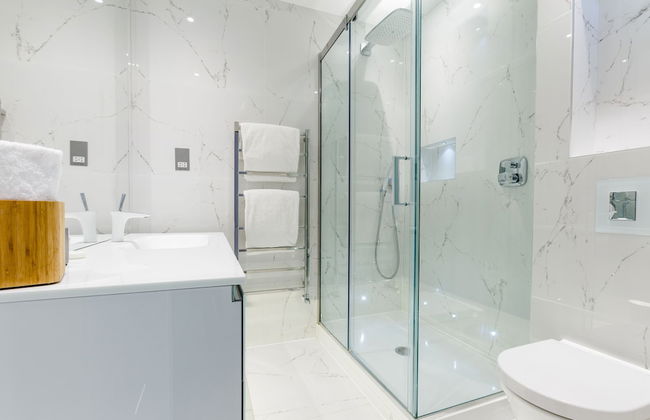
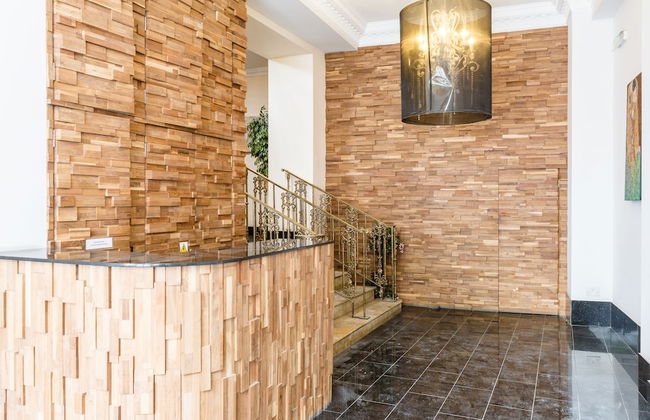
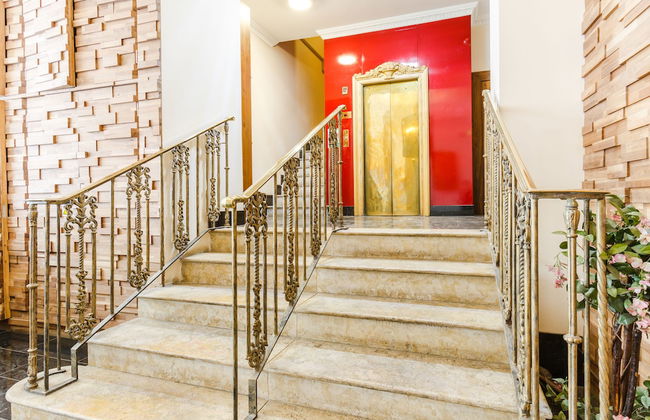
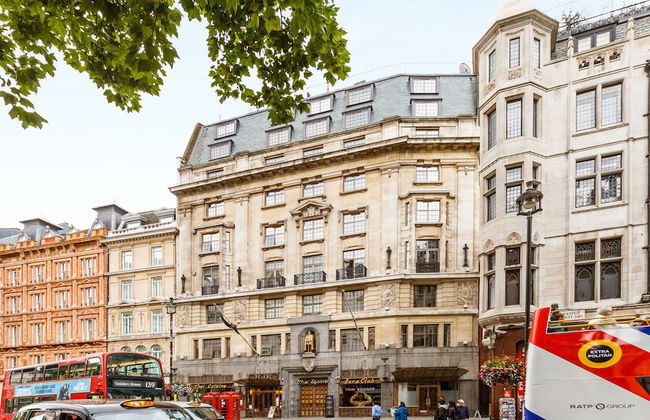
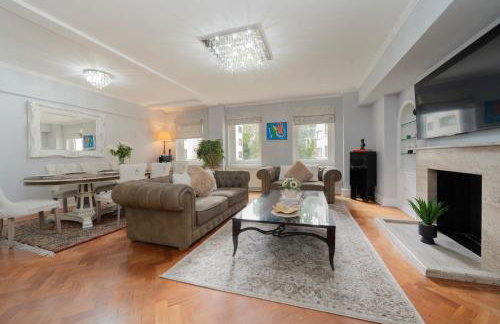
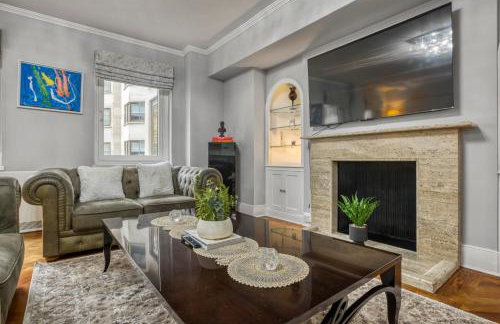
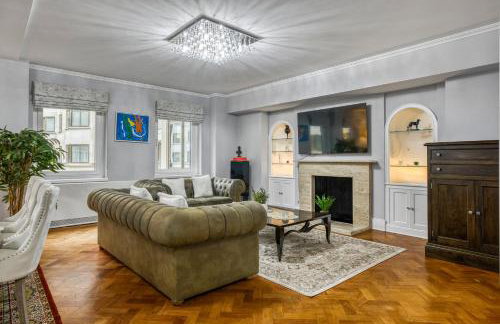
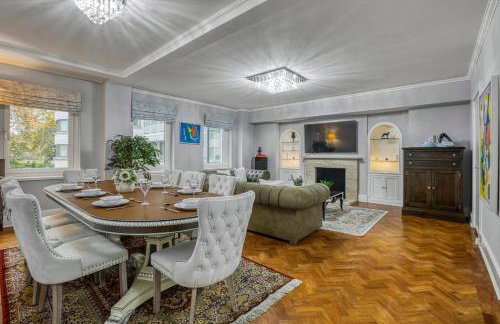
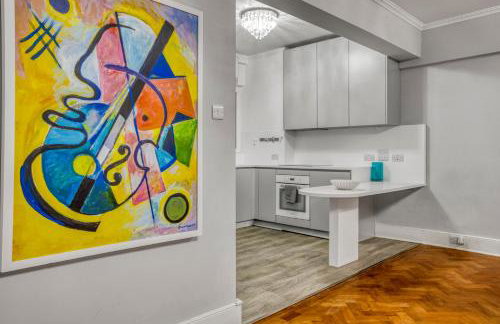
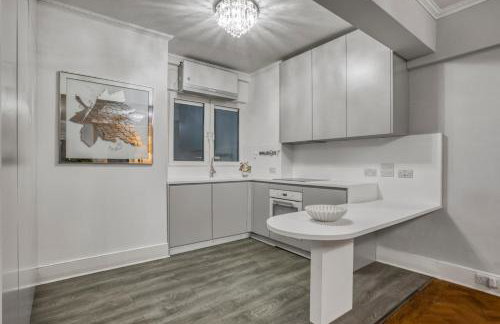
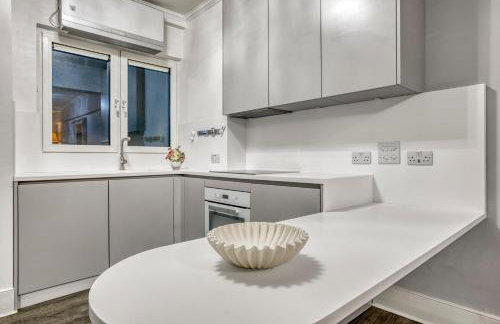
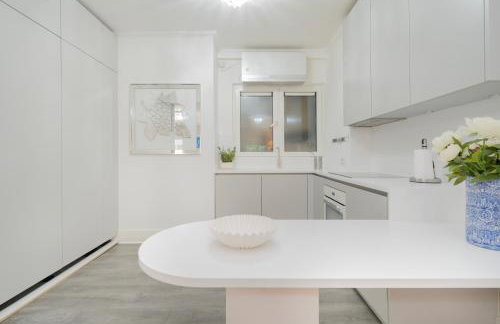
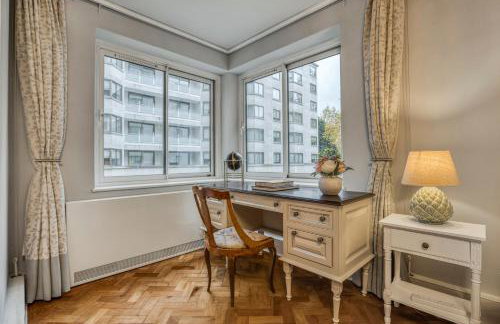
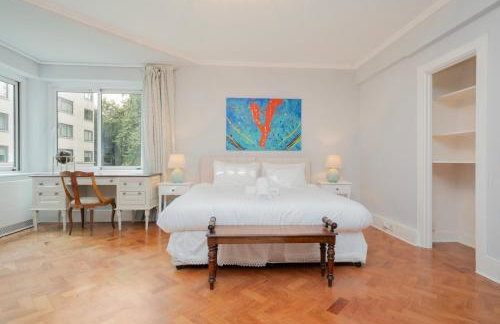
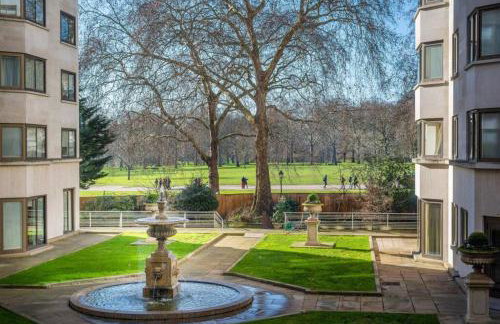
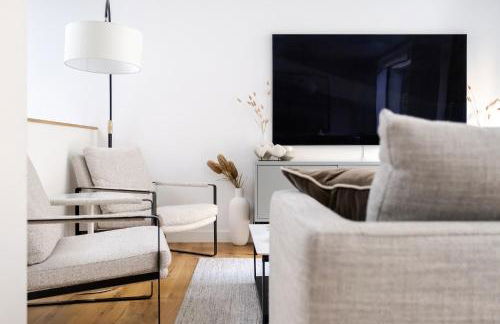
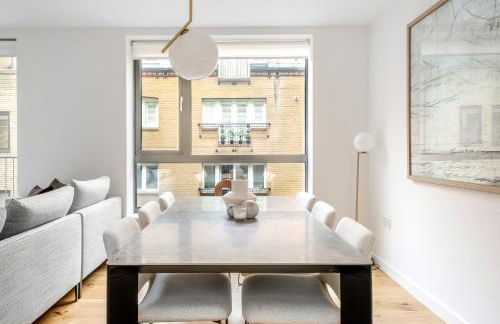
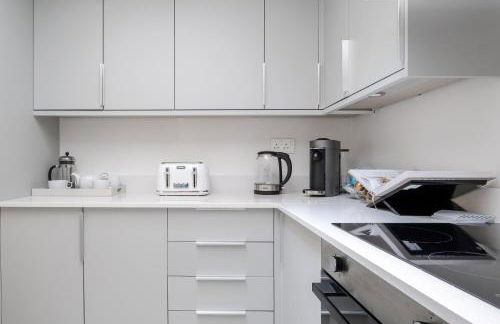
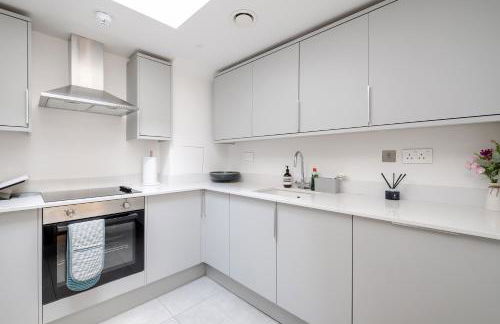
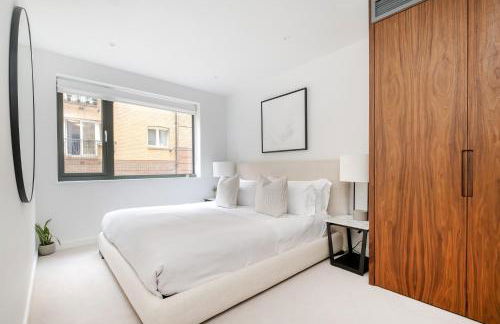
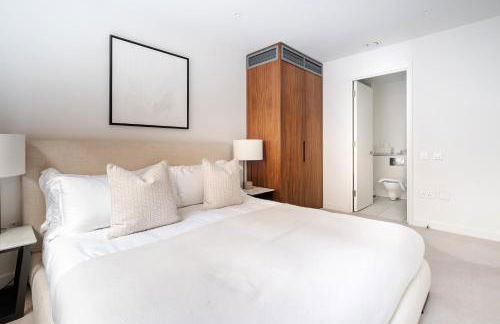
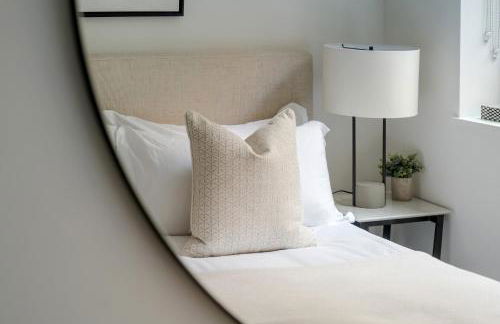
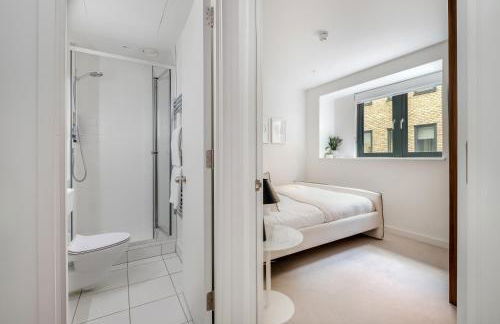
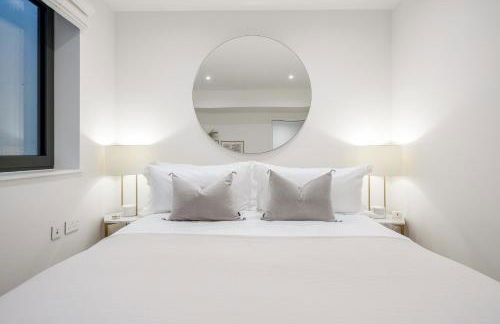
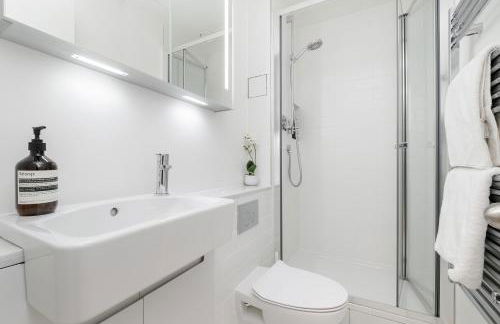
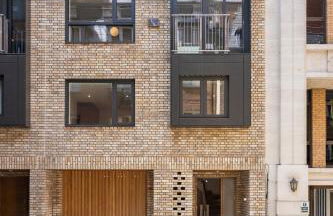
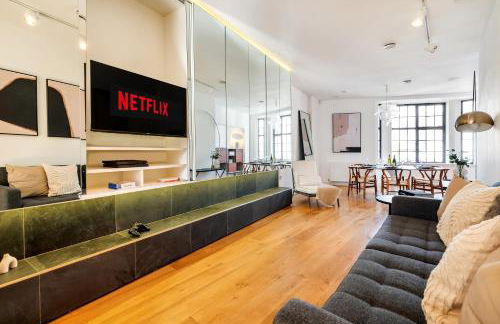
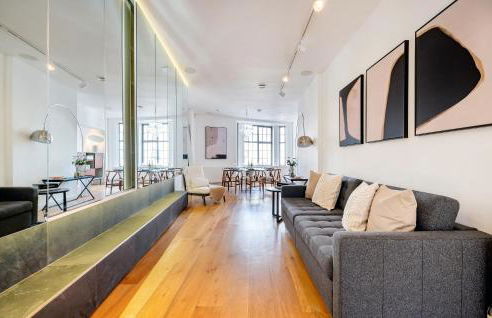
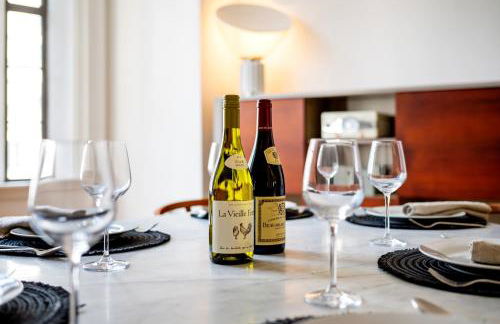
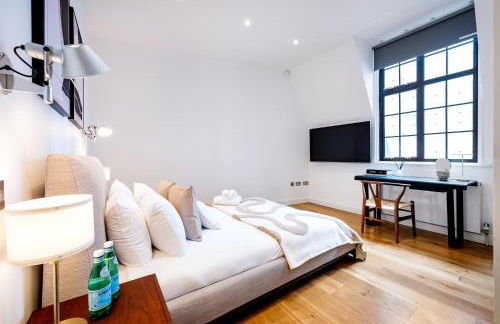
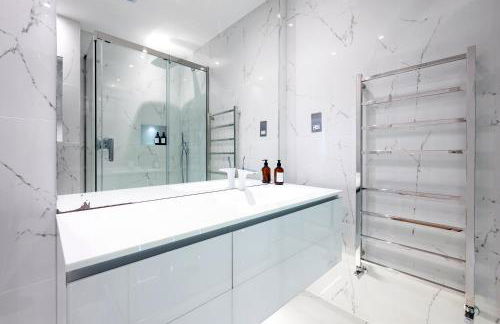
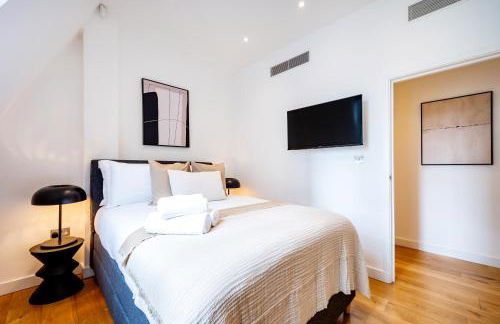
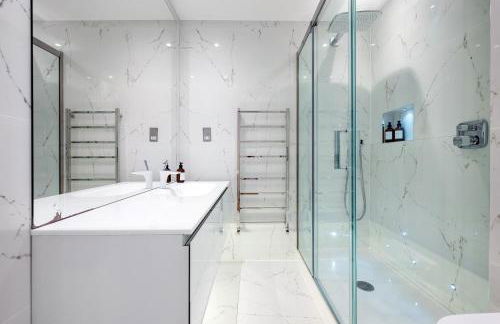
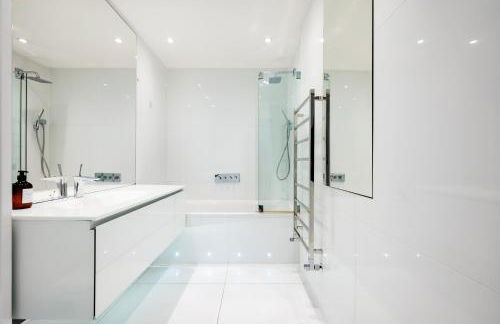
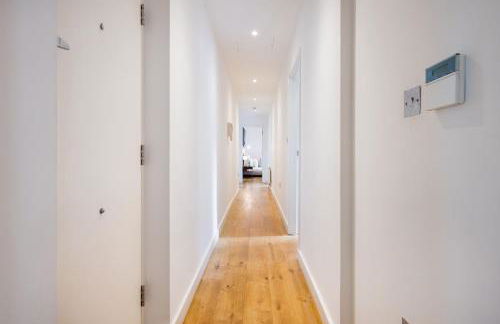
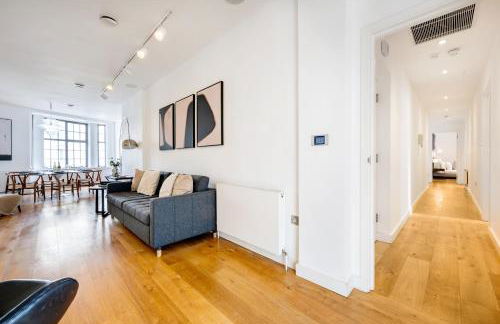
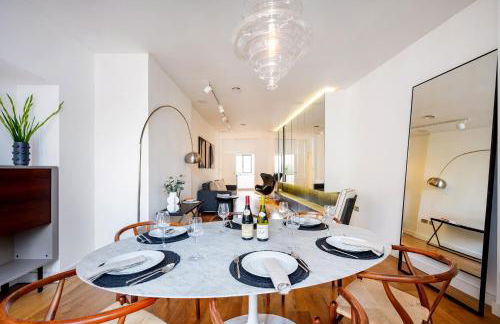
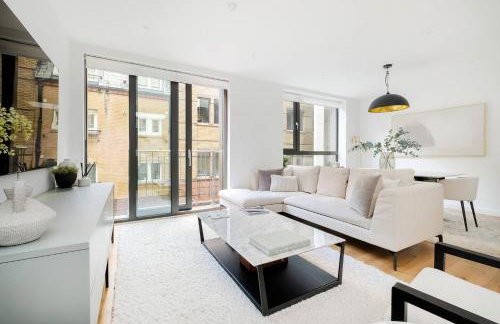
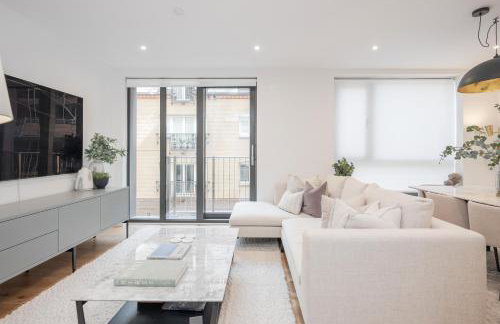
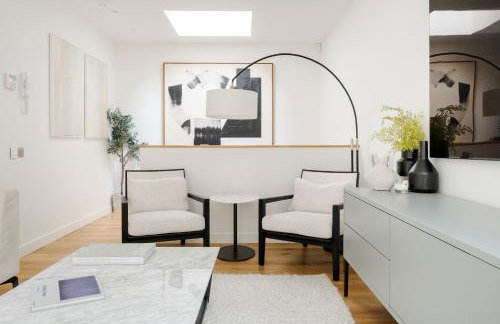
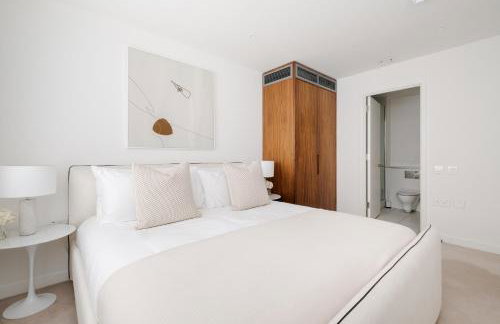
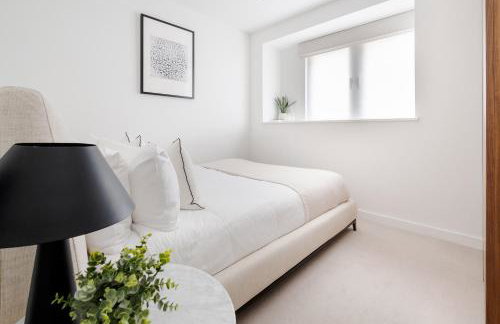
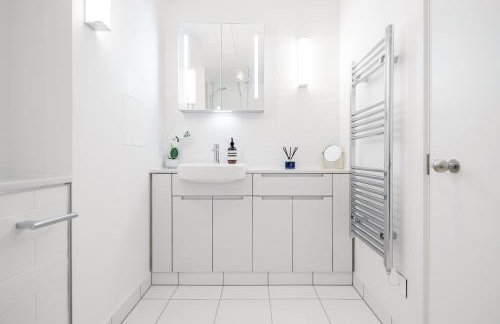
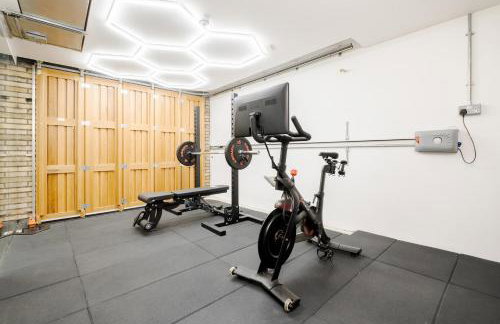
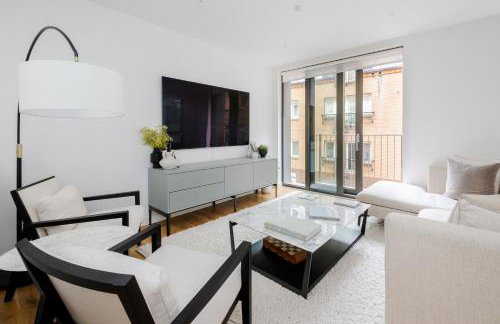
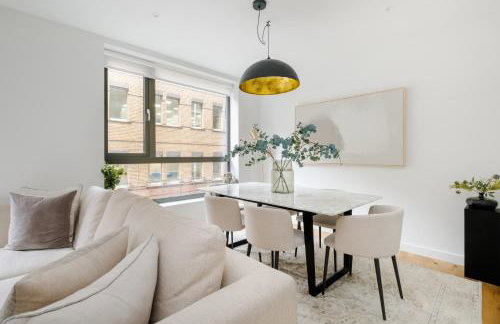
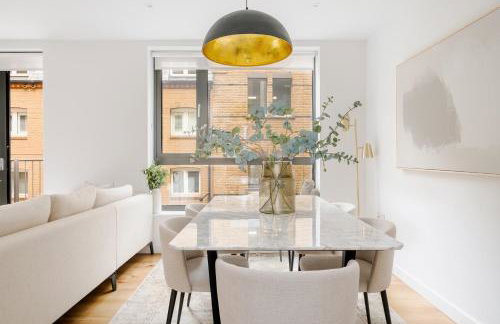
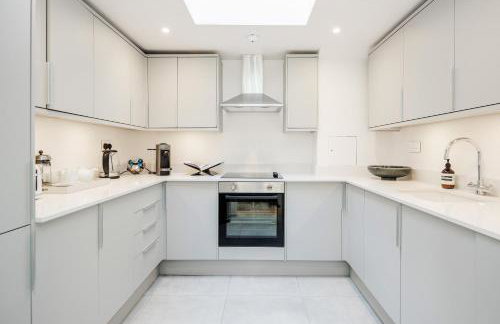
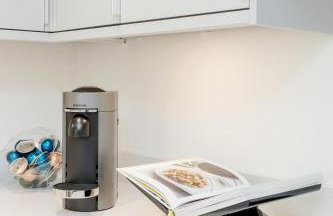
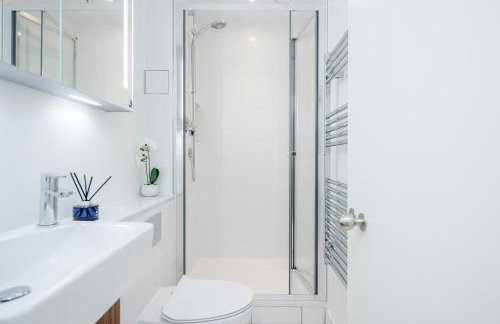
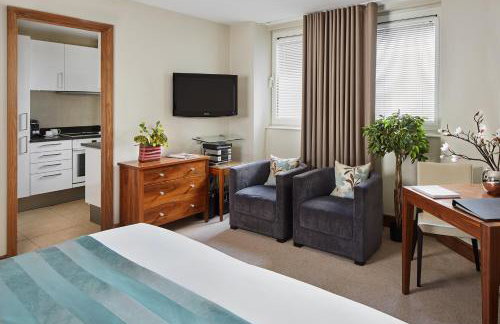
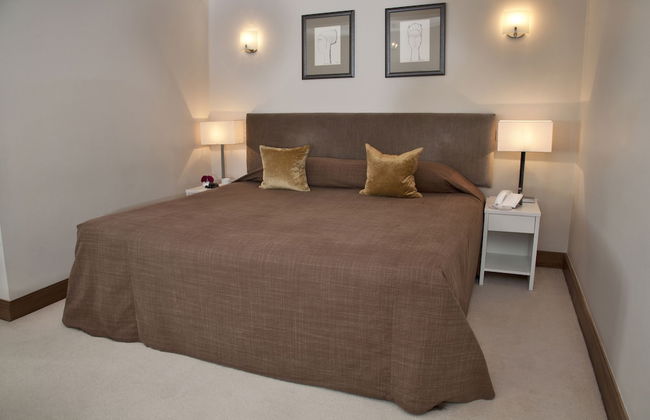
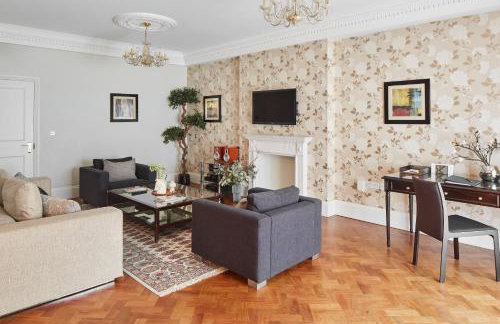
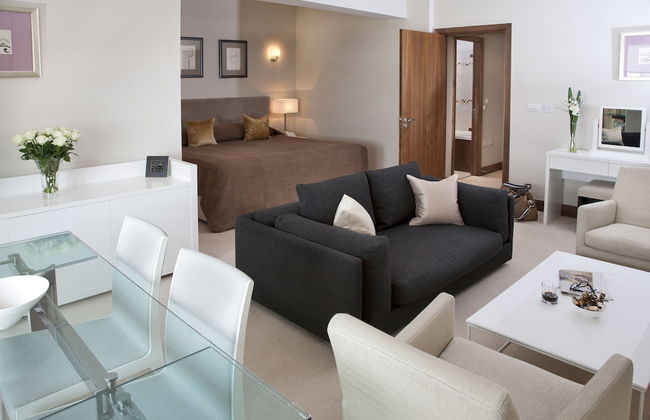
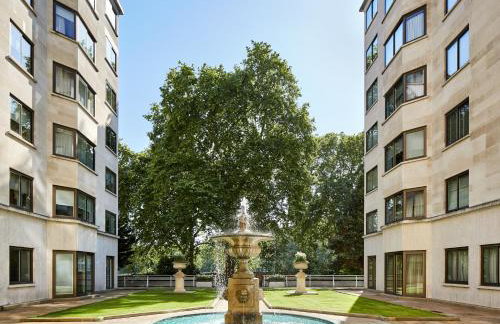
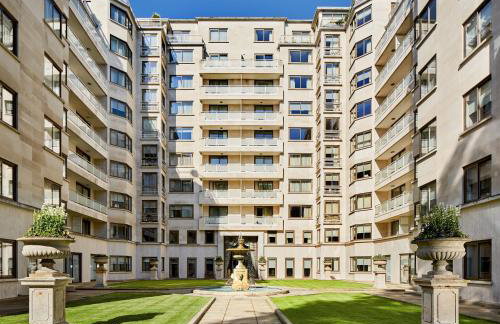
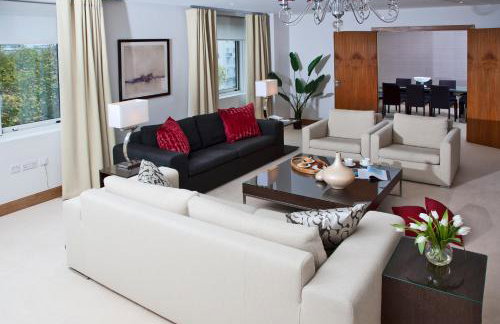
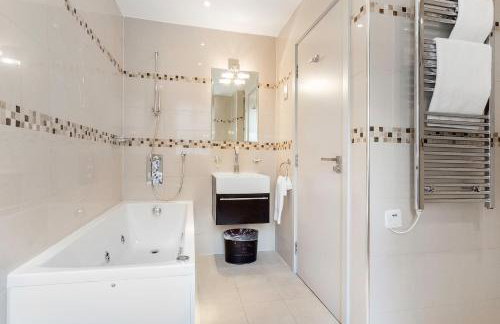
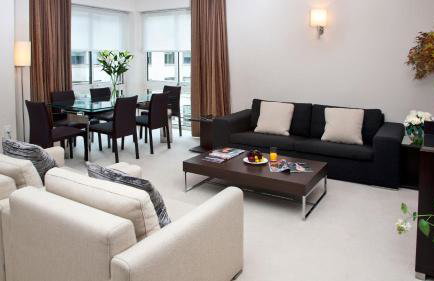
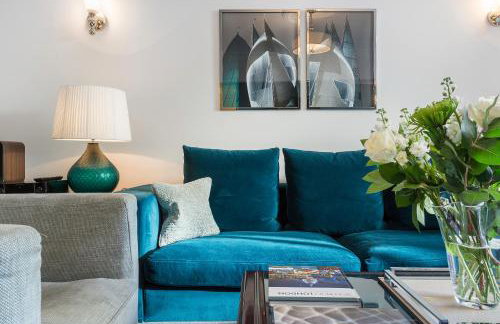
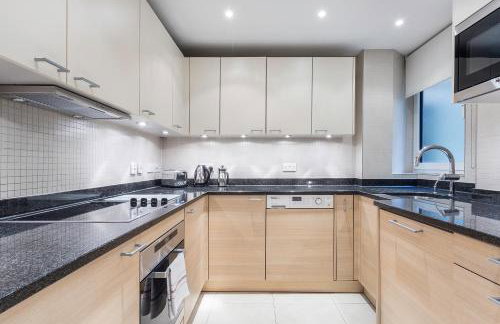
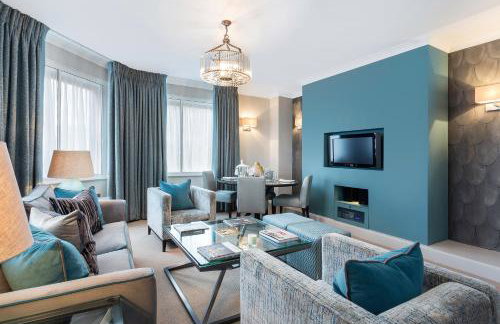
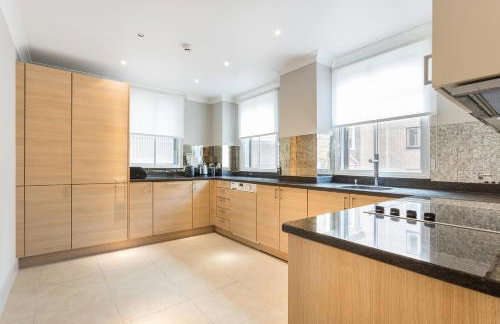
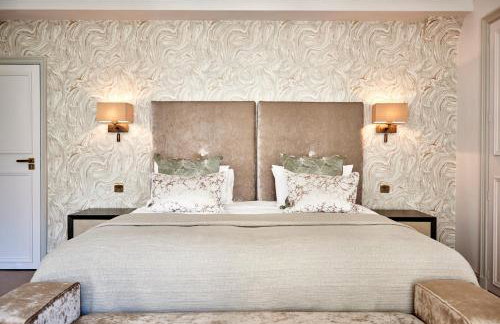
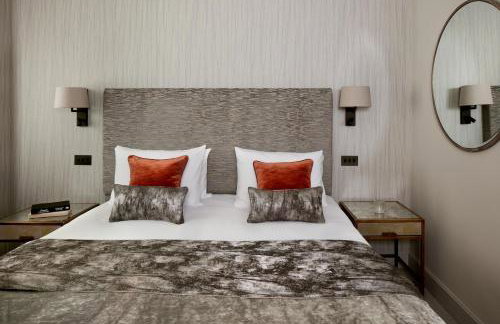
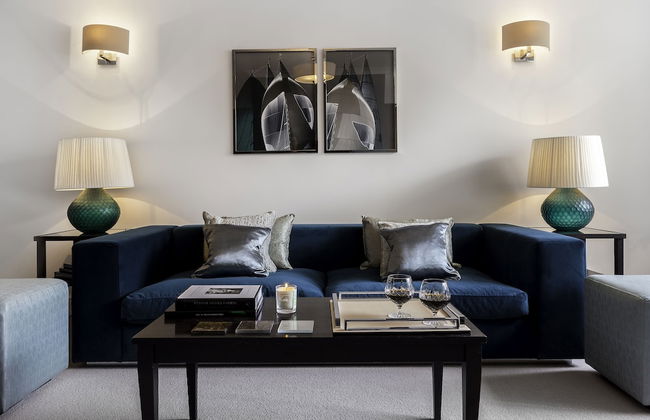
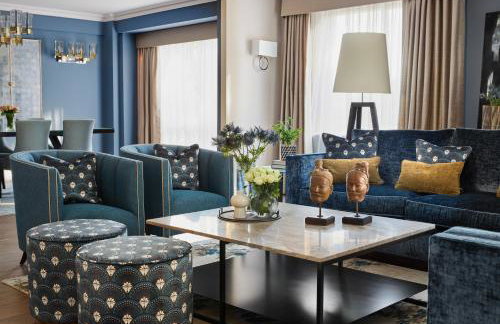
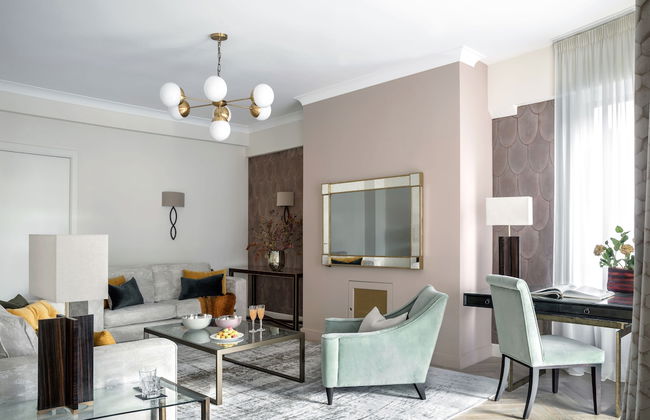
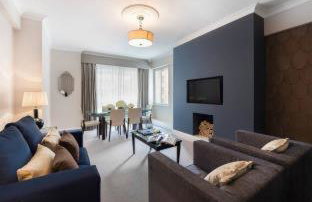
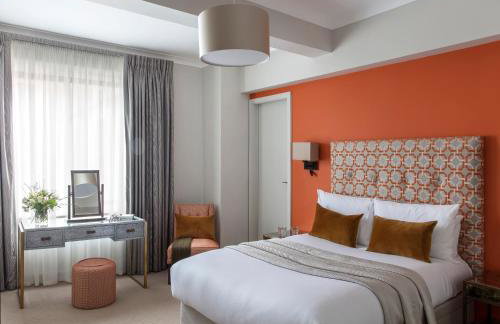
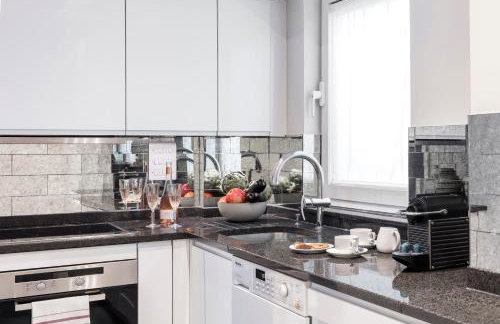
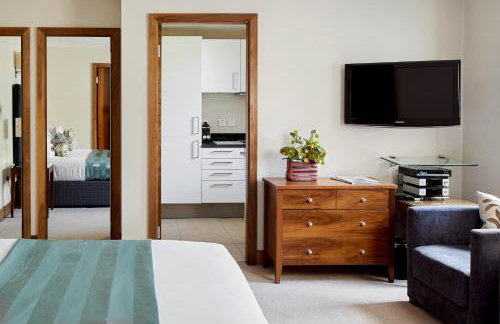
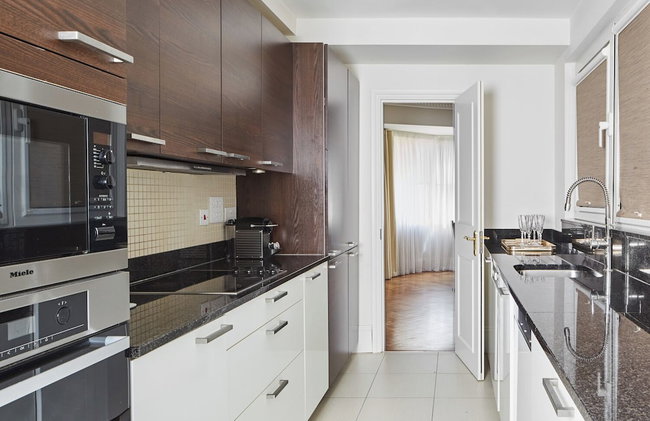
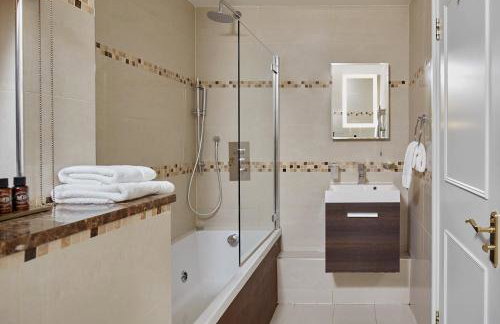
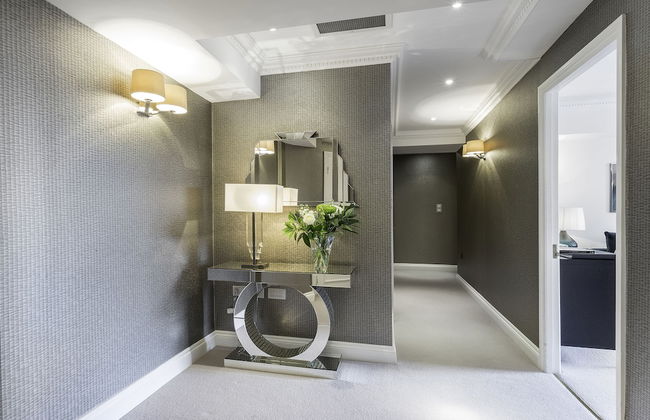
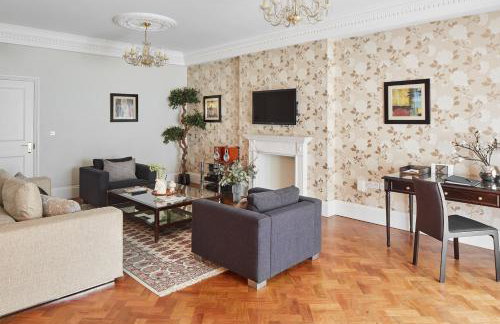
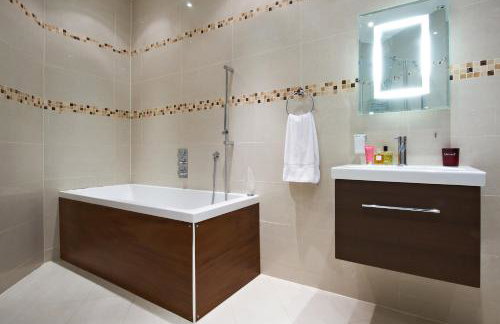
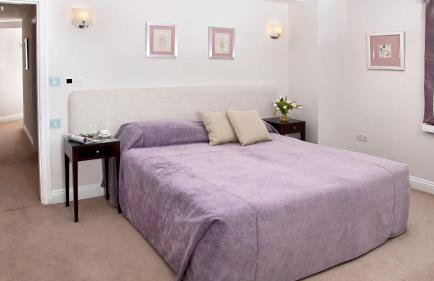
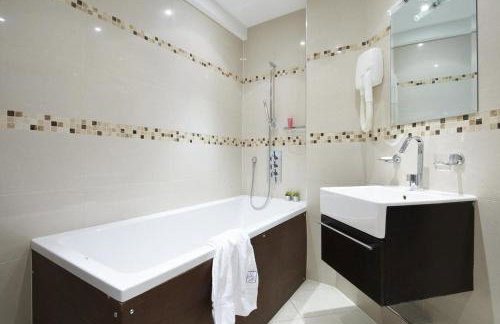
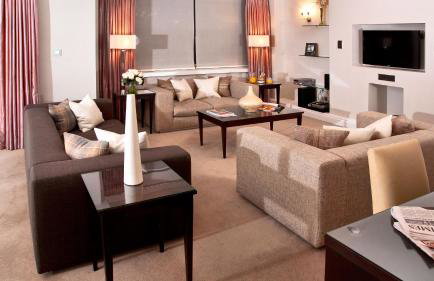
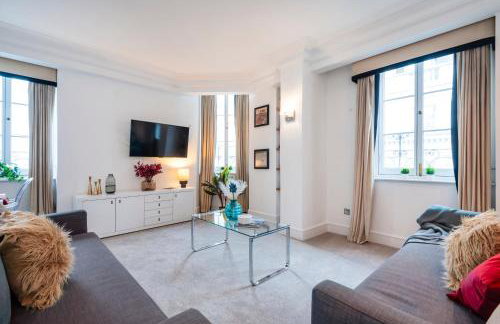
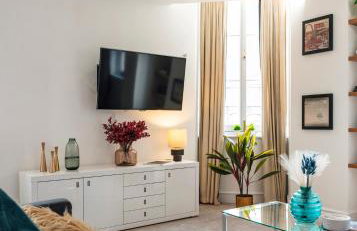
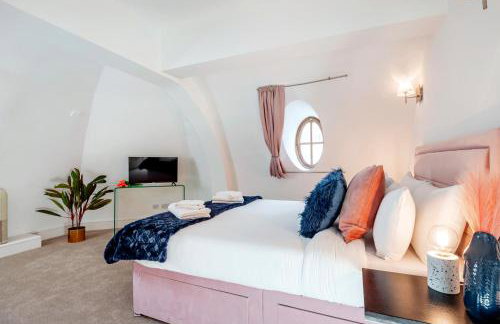
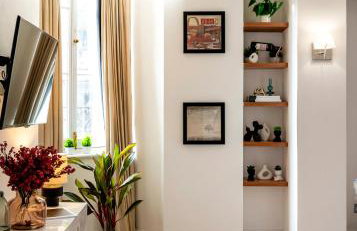
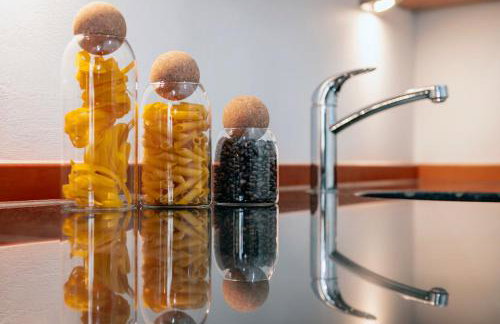
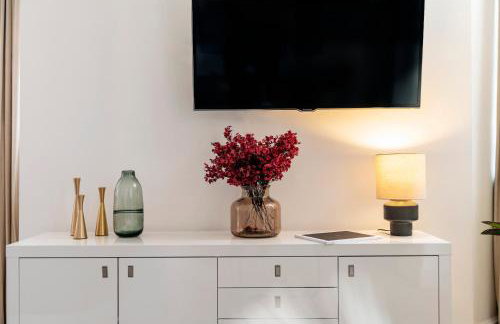
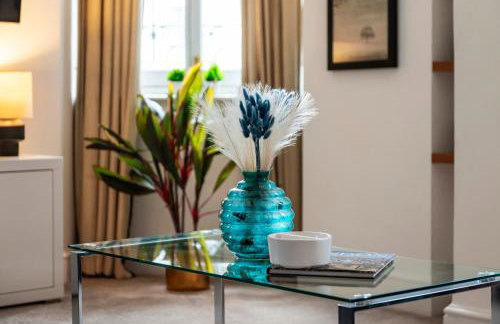
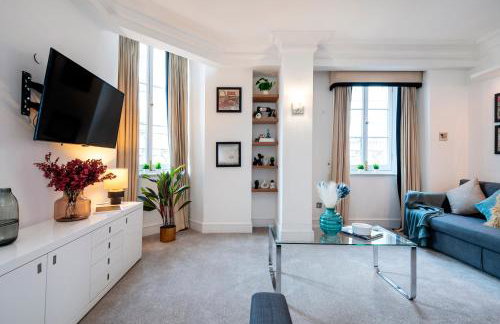
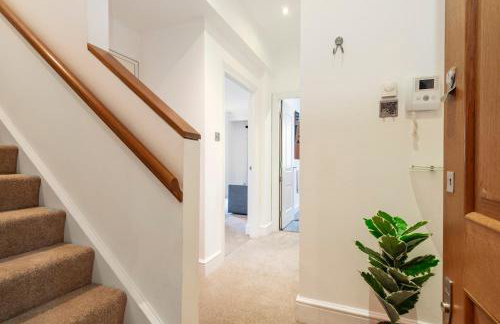
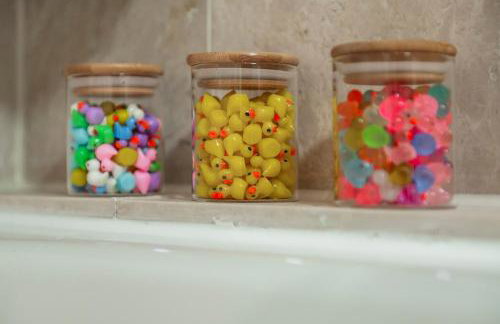
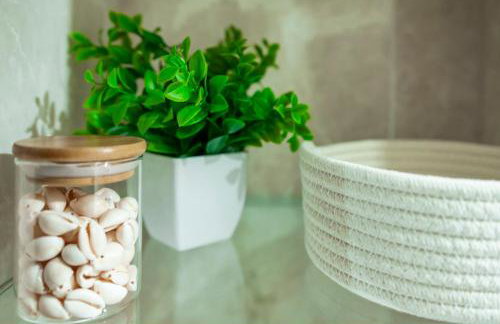
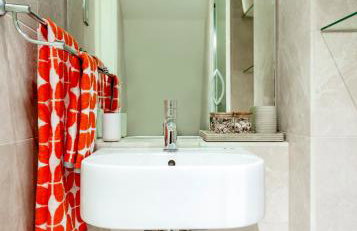
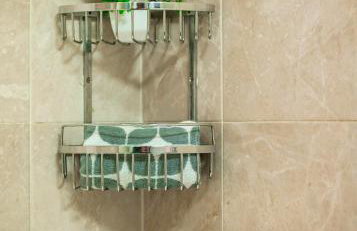
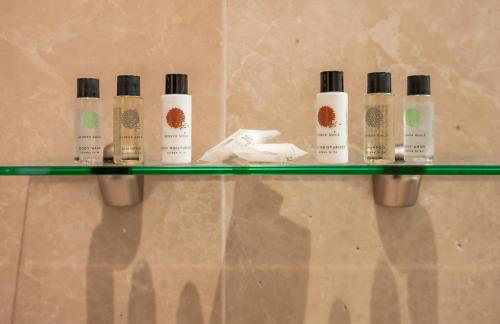
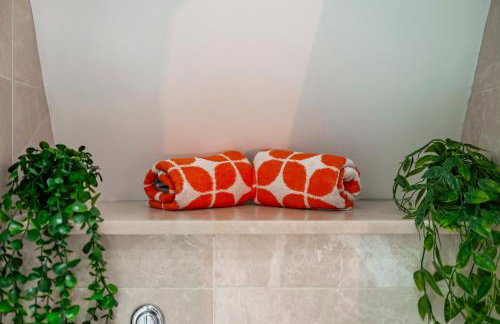
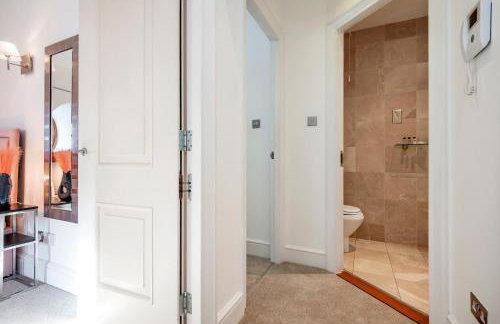
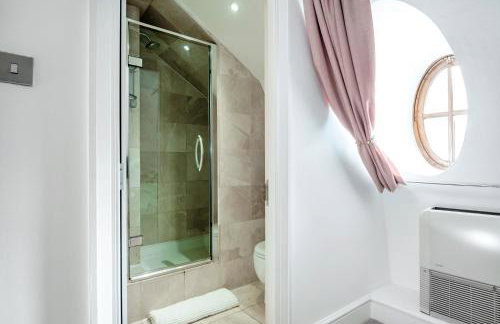
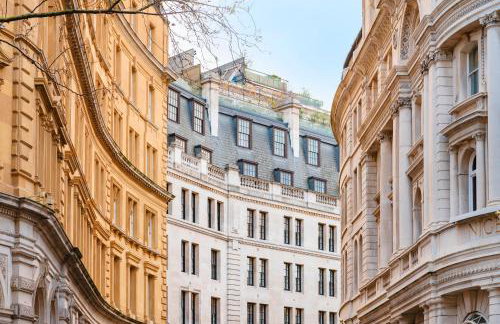
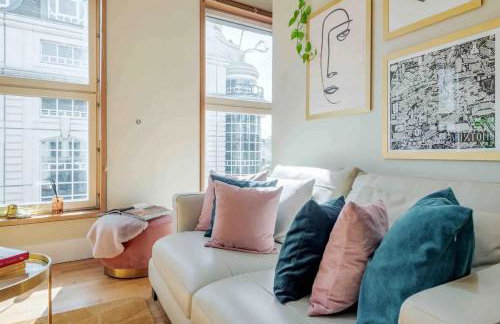
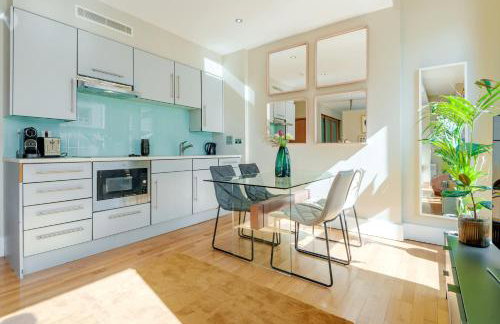
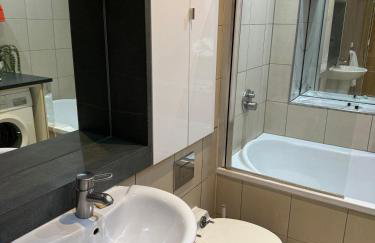
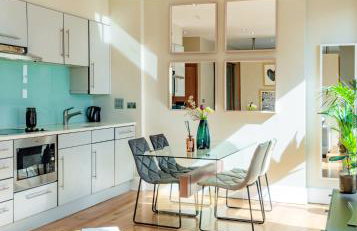
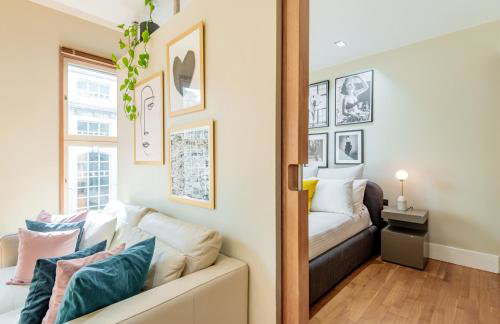
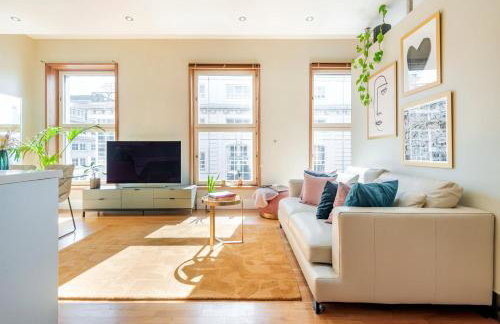
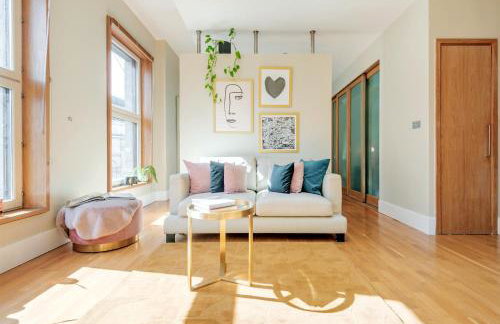
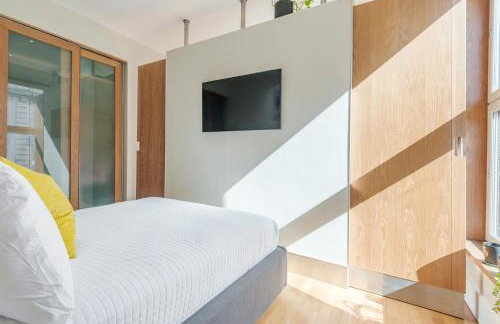
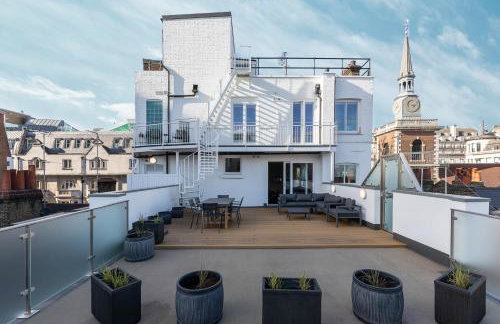
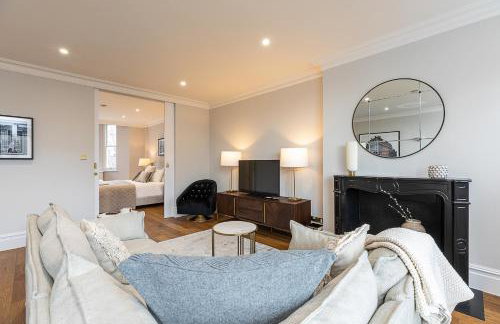
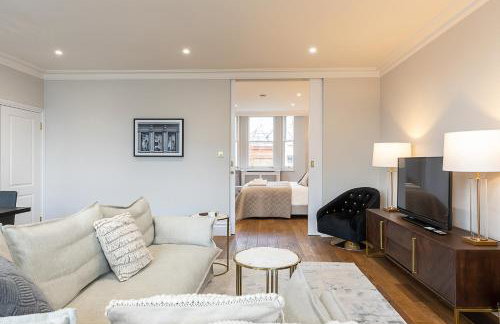
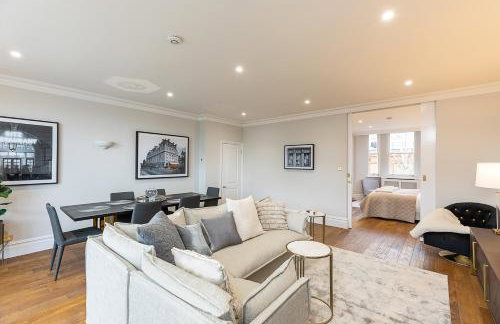
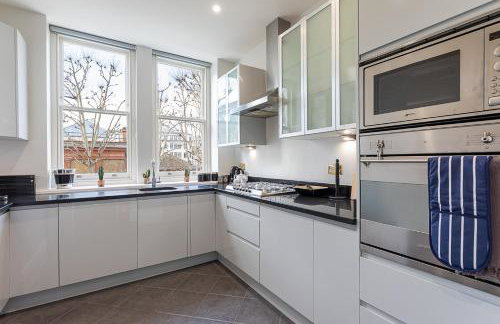
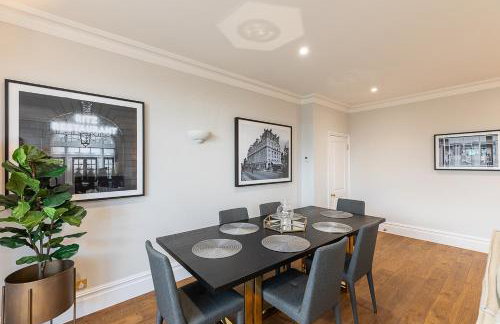
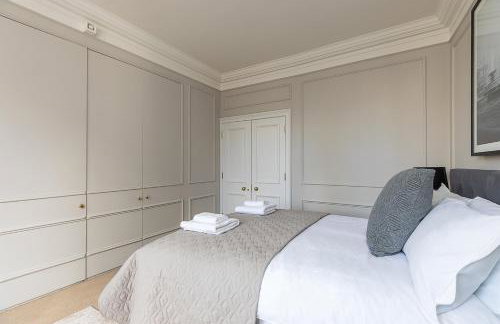
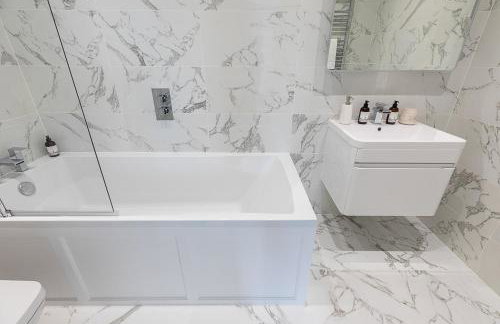
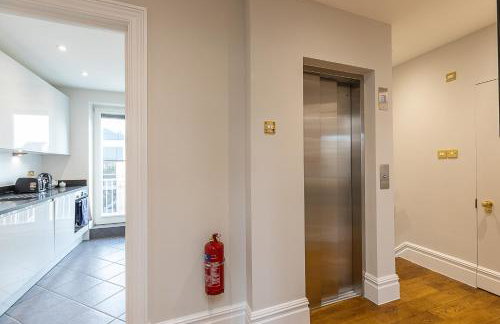
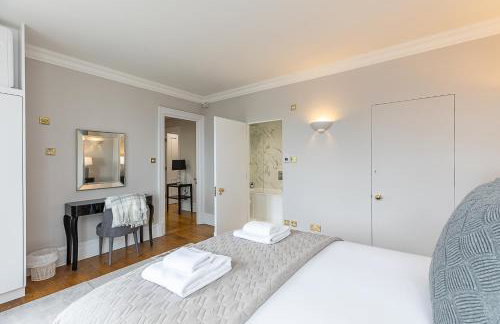
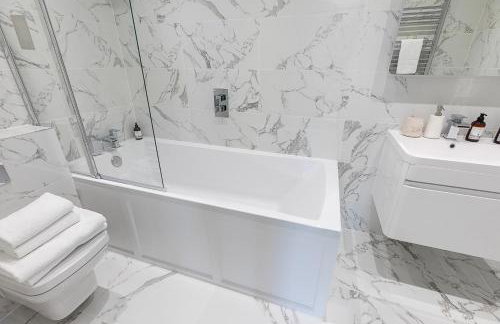
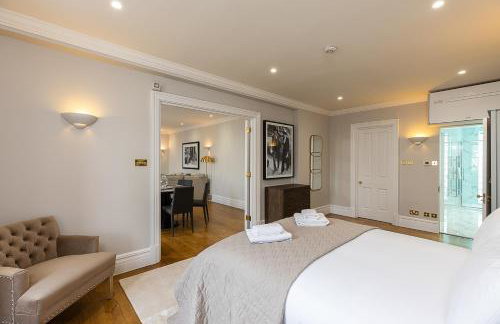
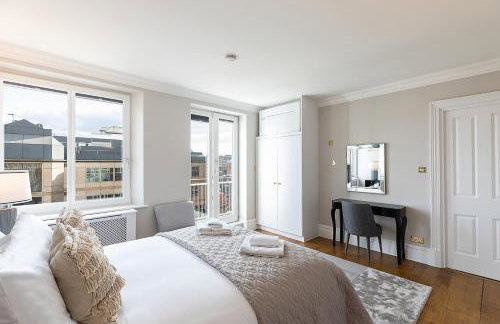
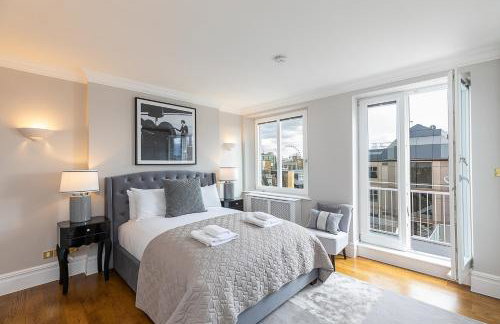
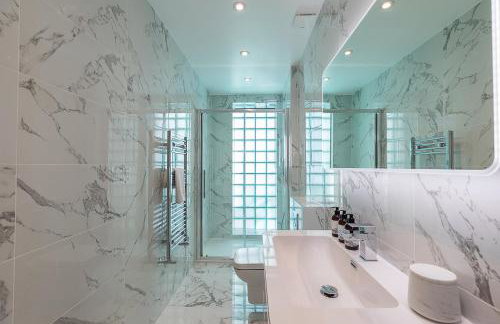
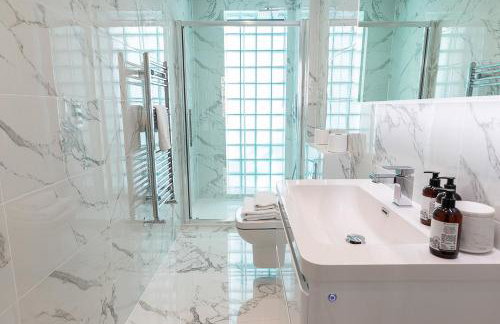
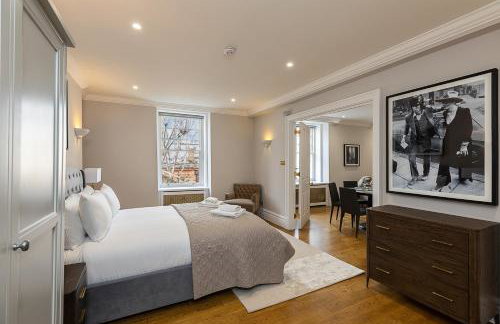
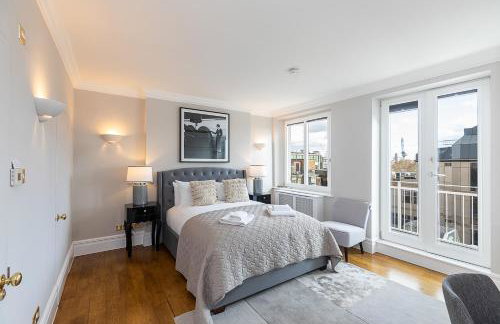
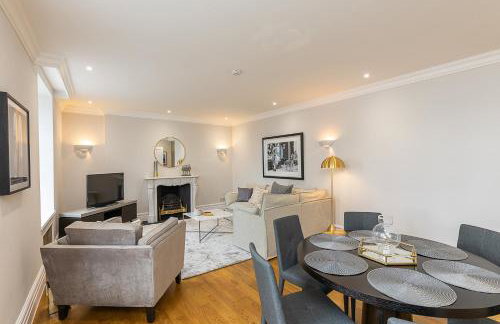
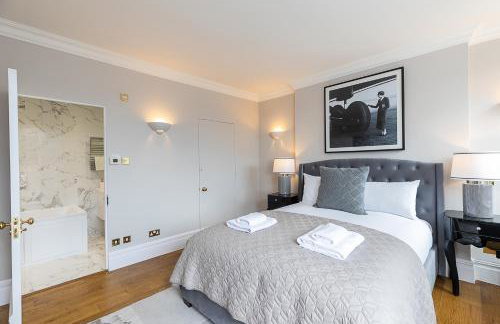
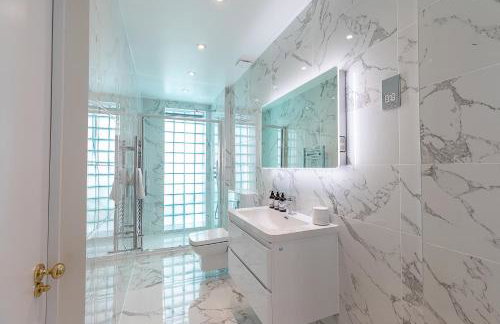
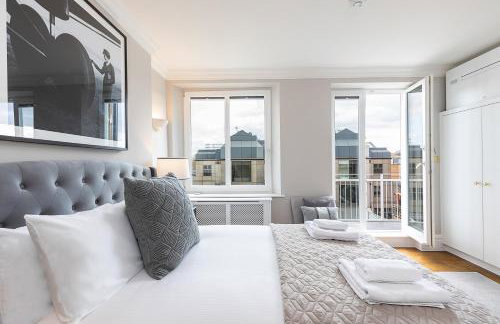
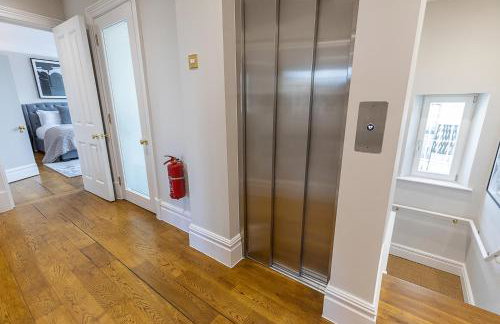
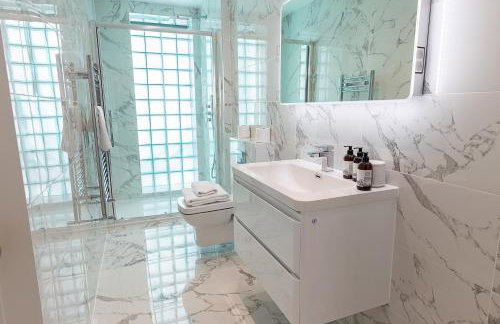
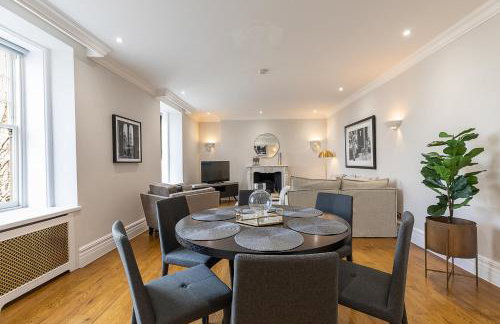
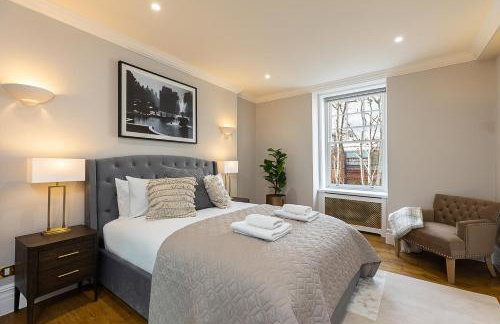
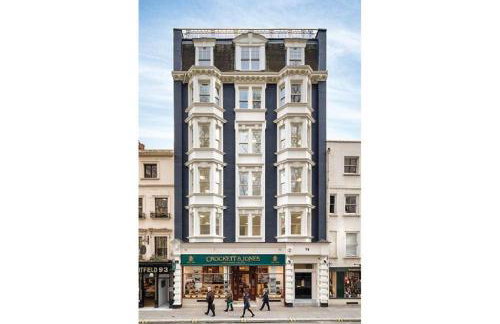
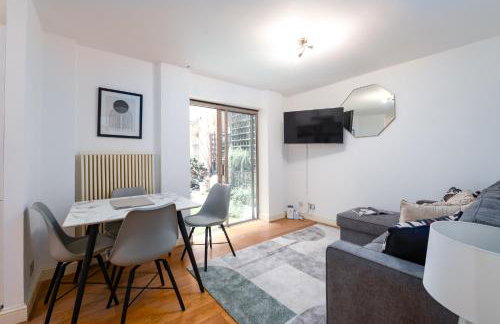
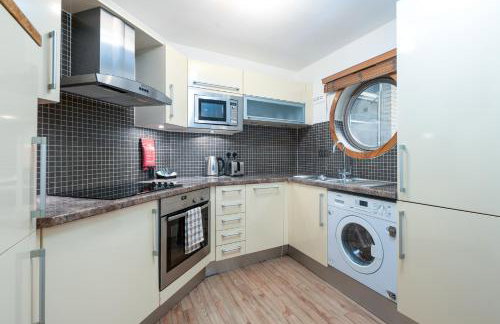
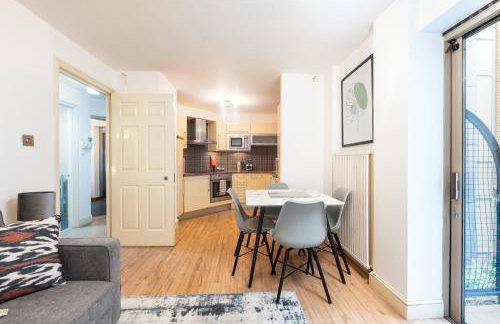
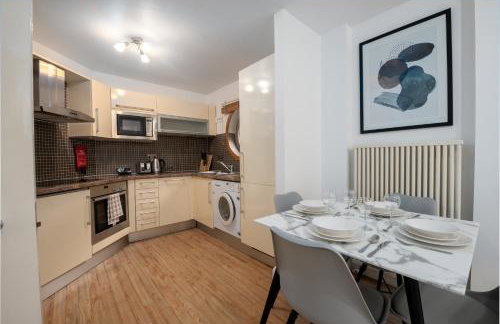
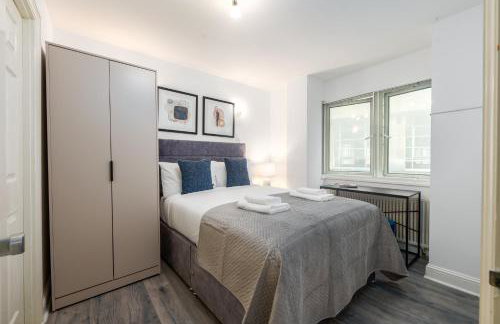
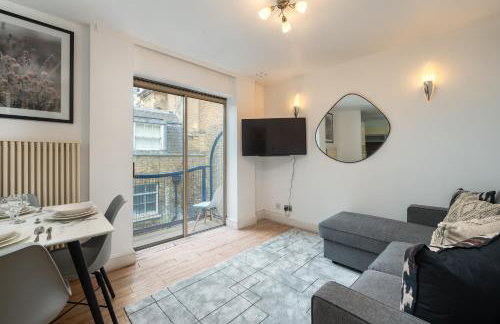
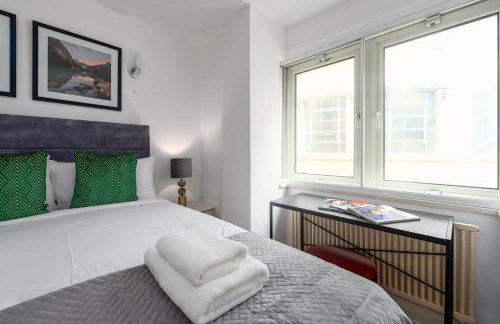
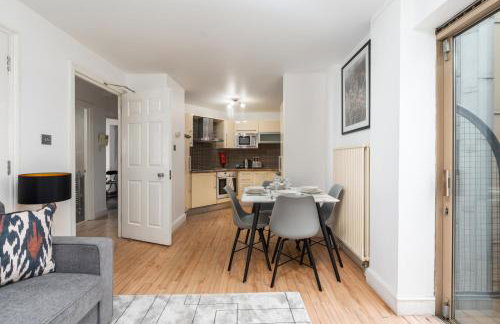
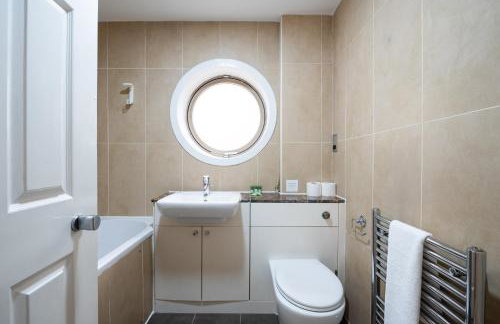
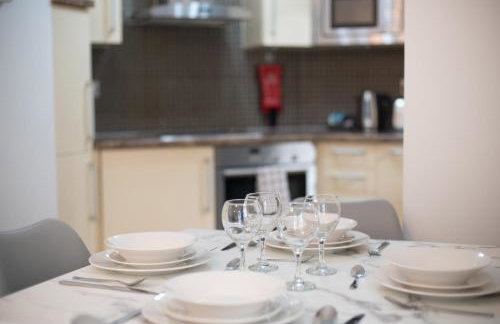
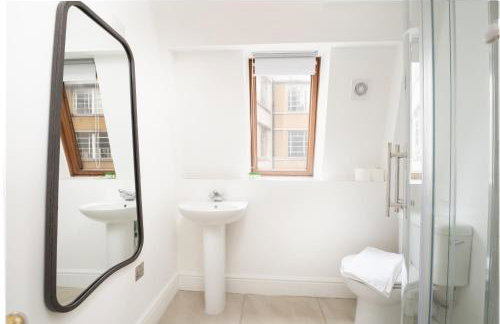
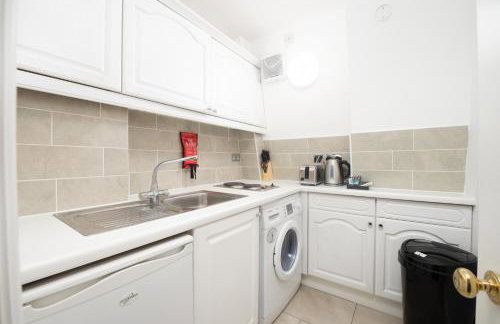
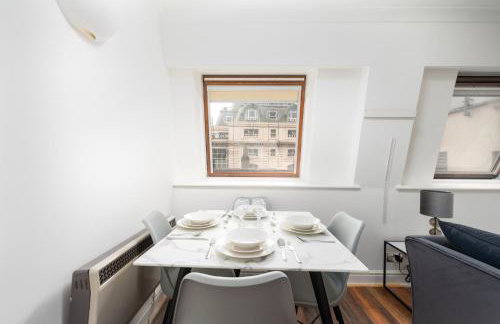
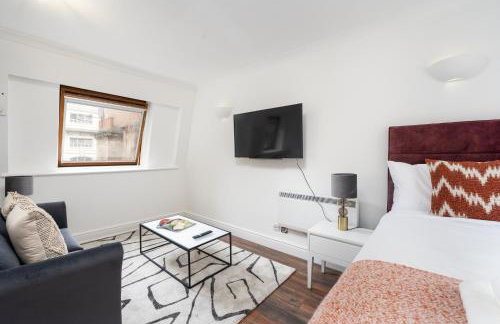
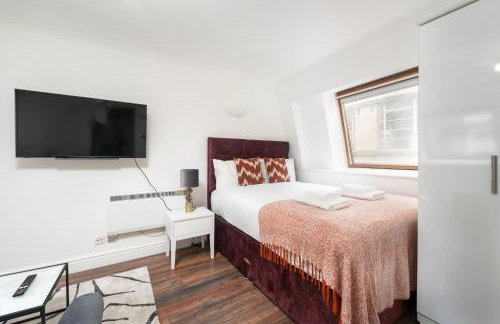
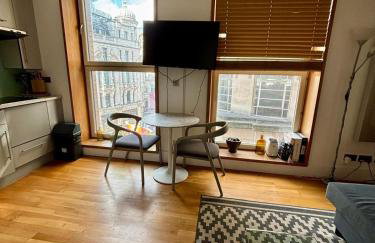
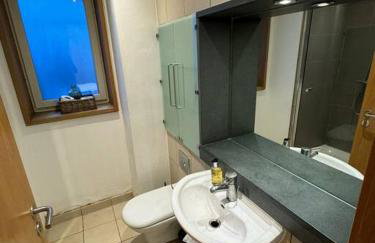
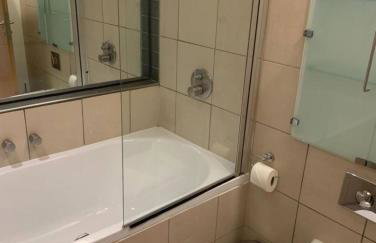
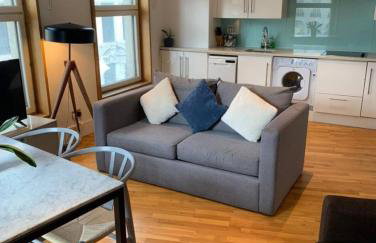
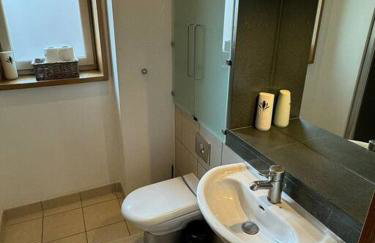
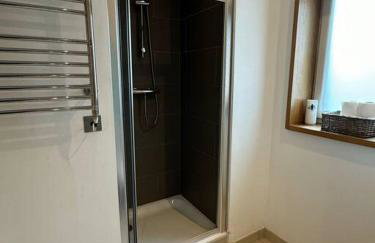
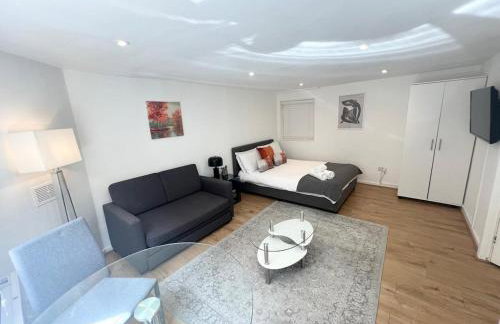
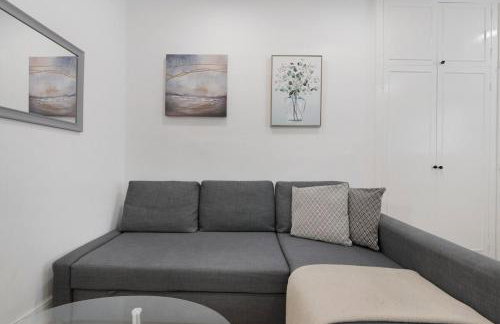
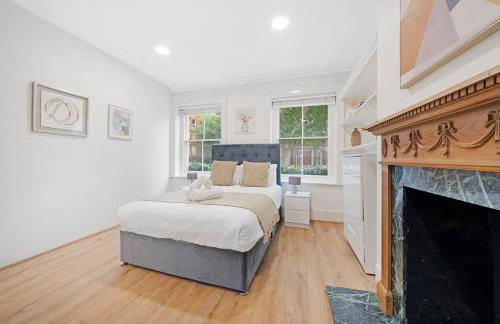
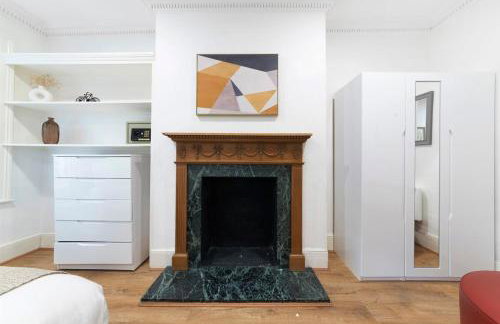
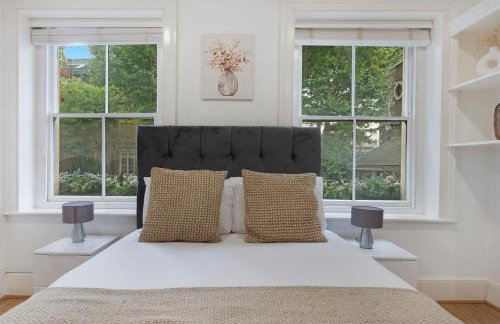
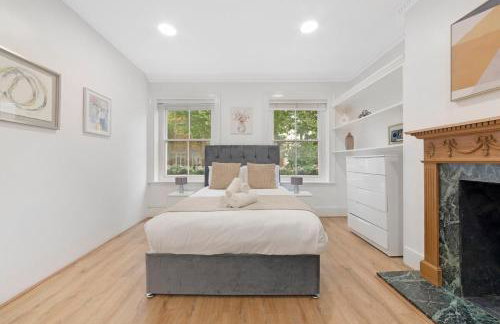
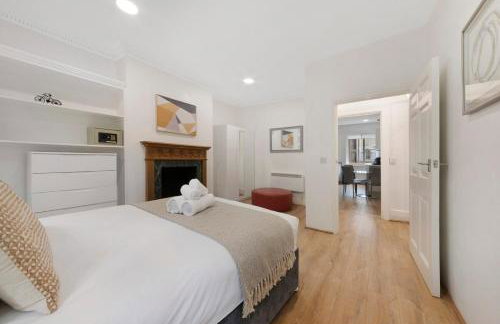
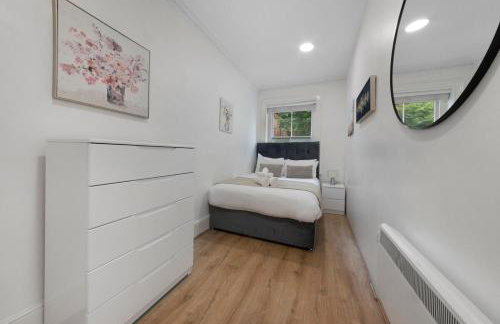
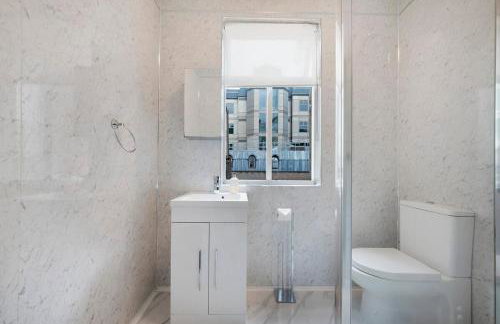
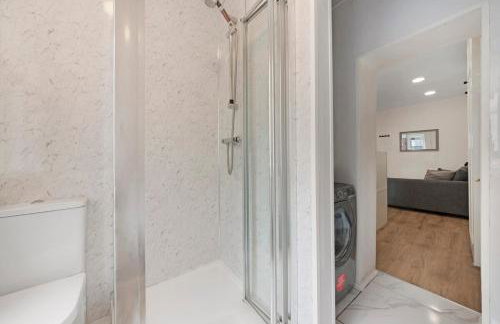
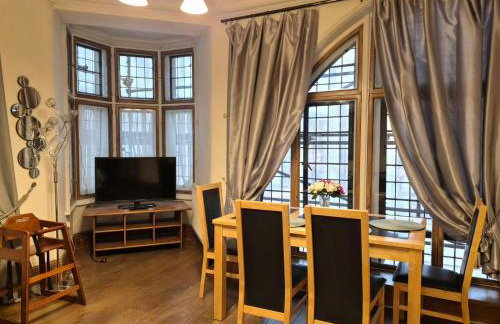
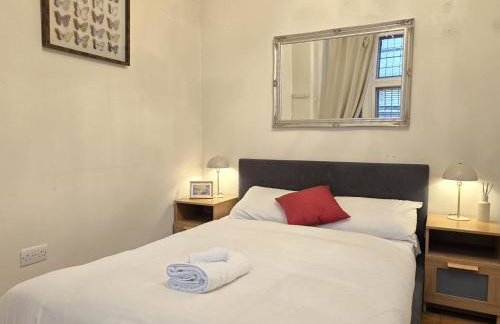
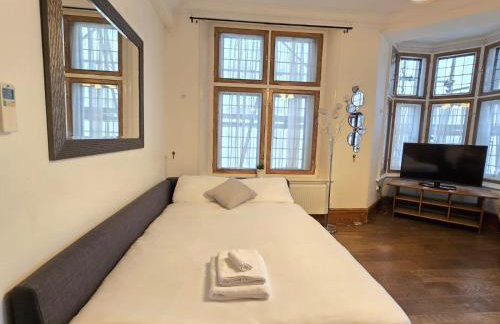
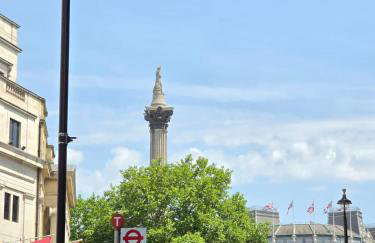
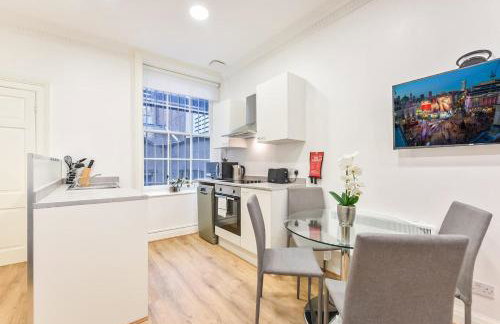
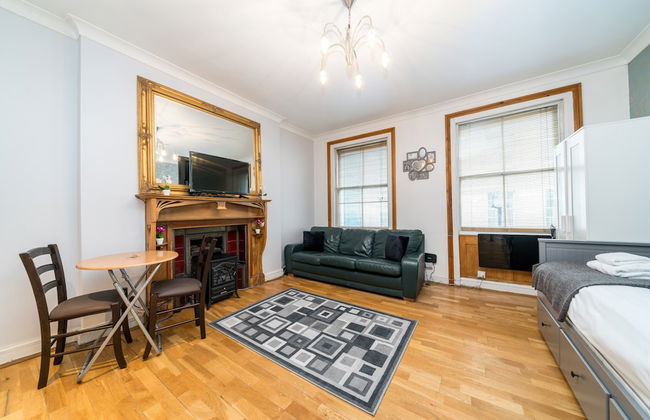
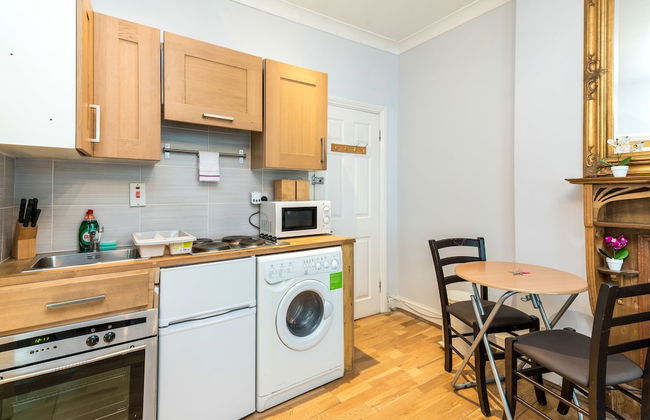
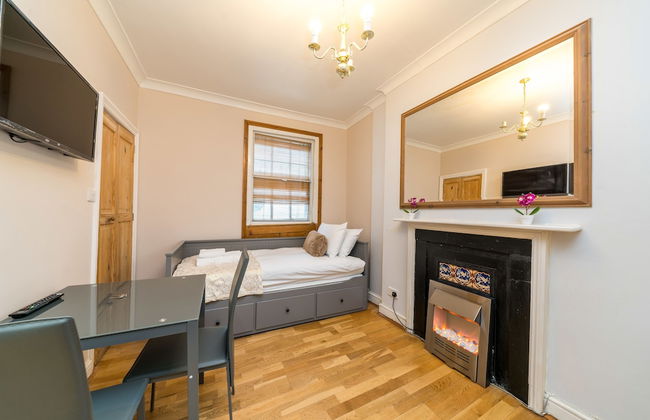
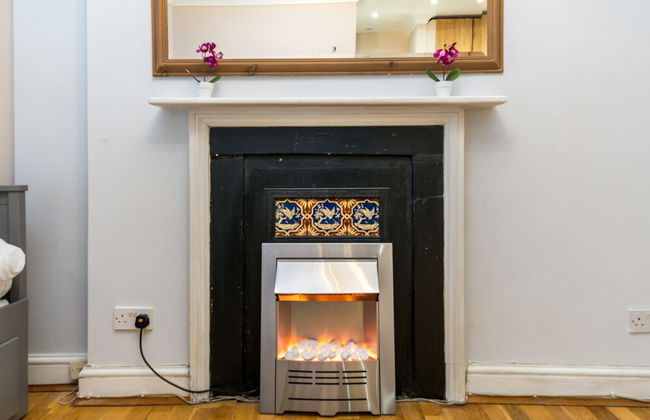
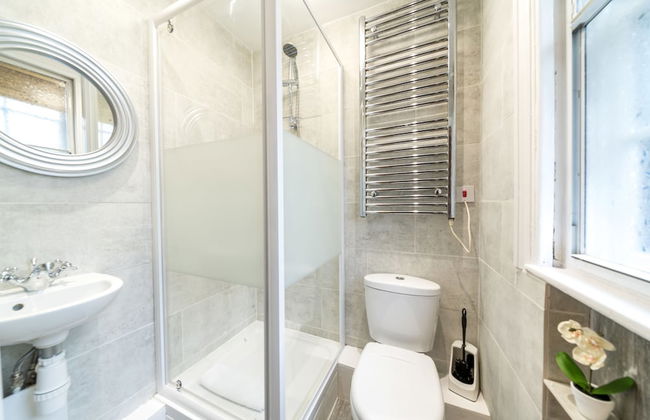
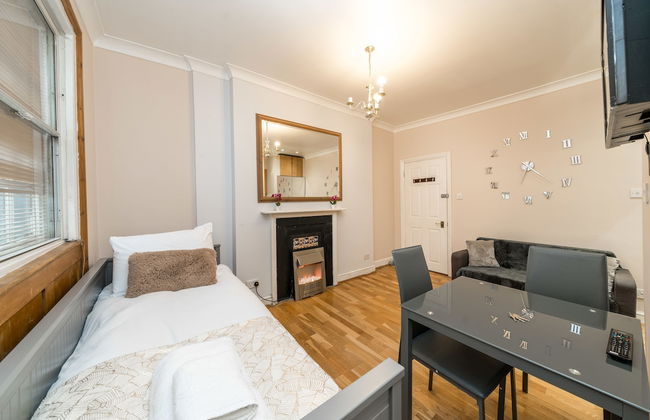
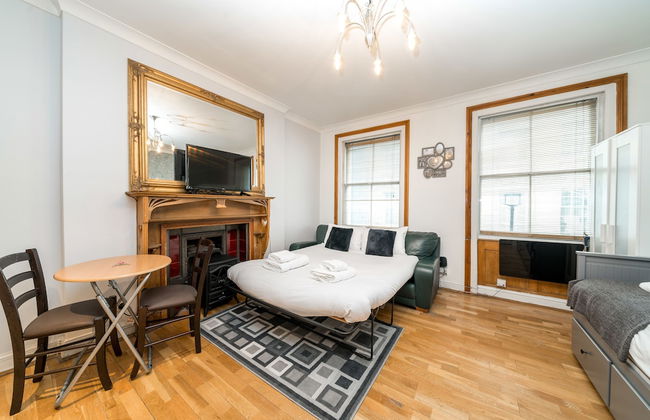
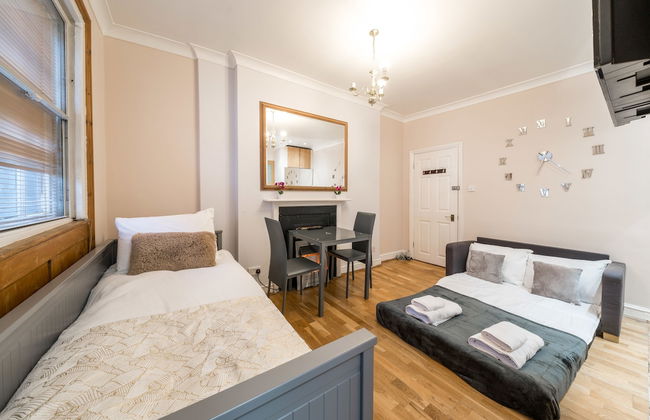
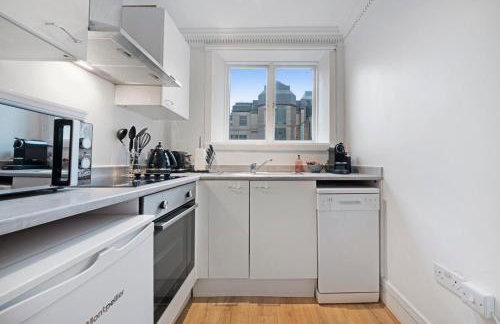
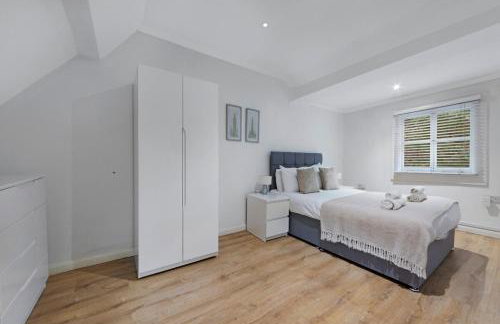
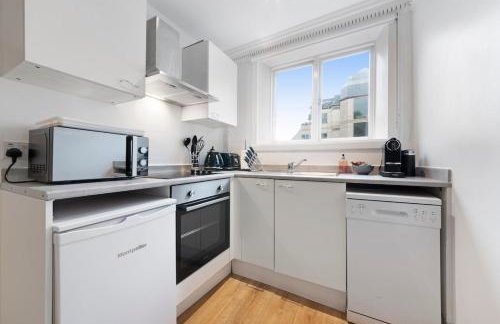
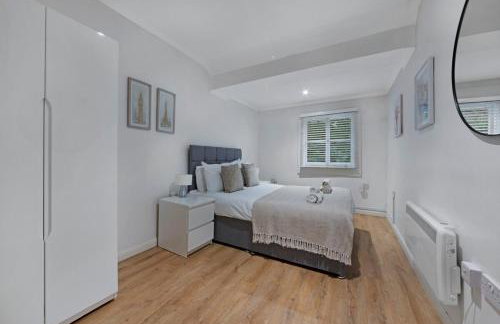
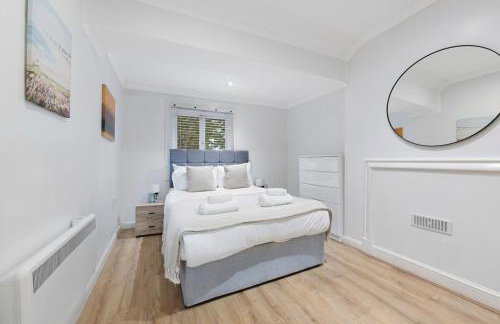
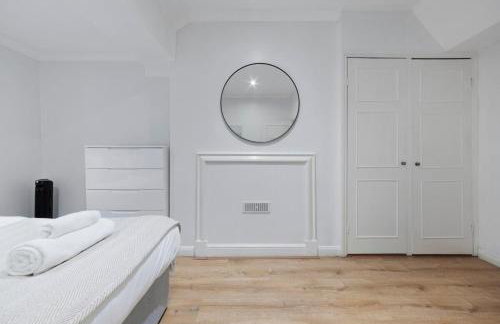
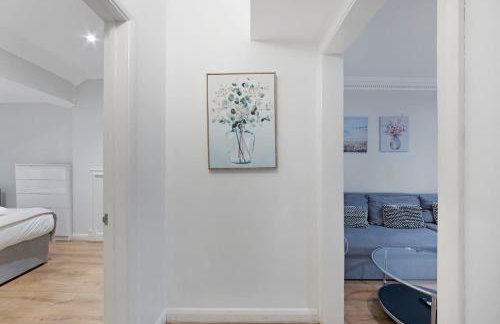
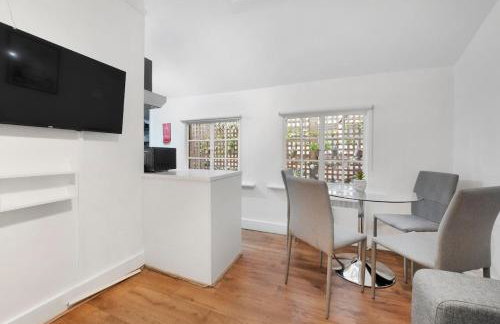
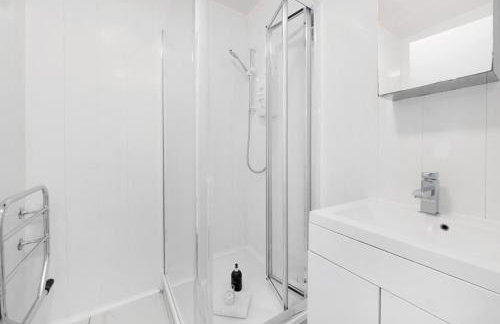
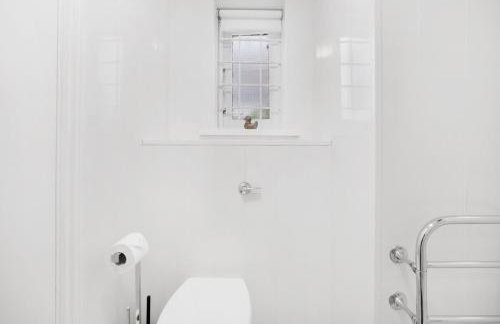
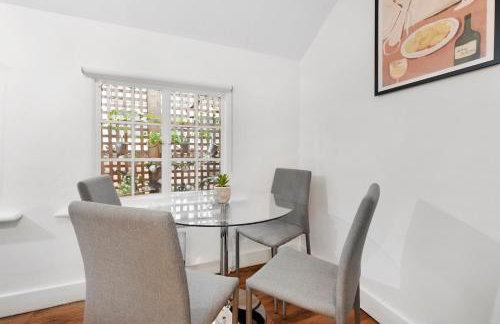
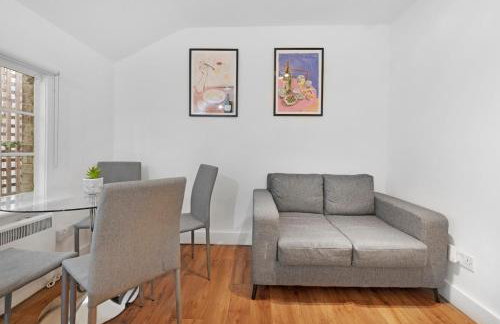
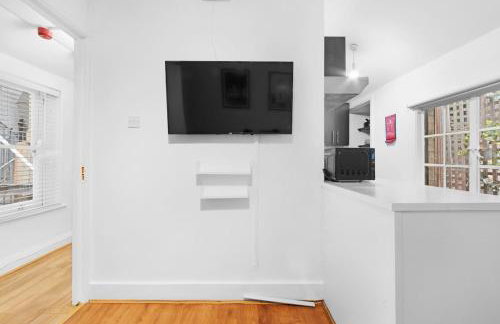
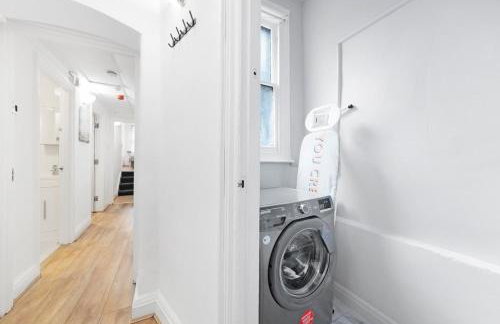
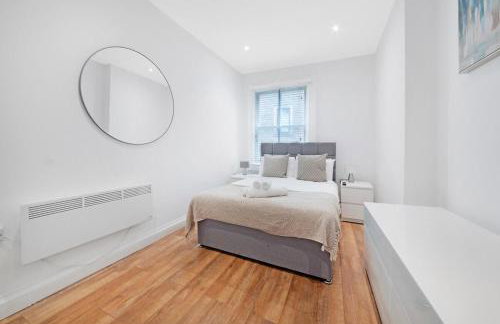
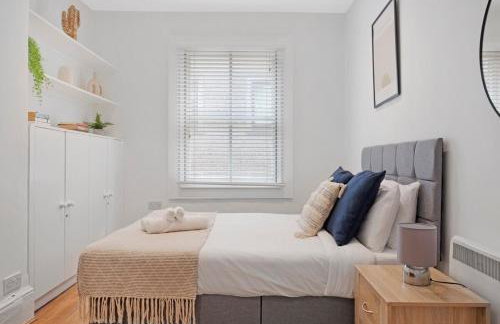
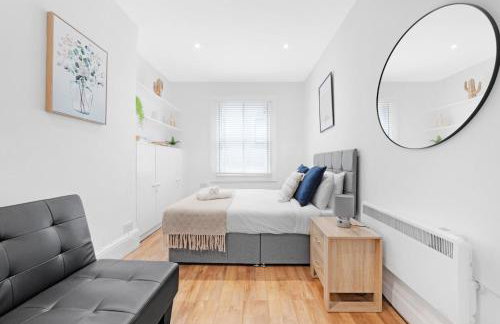
Cockspur Street - Foto 1
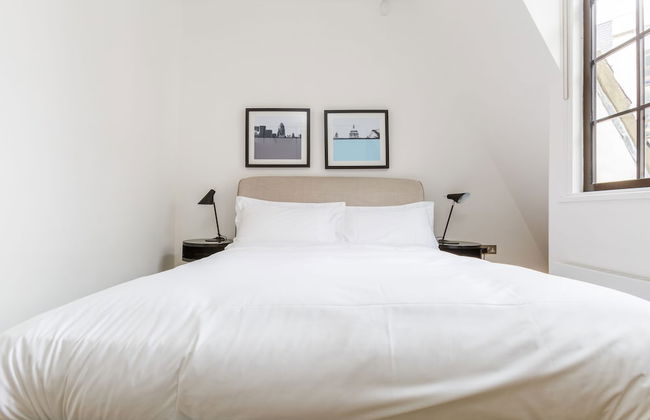
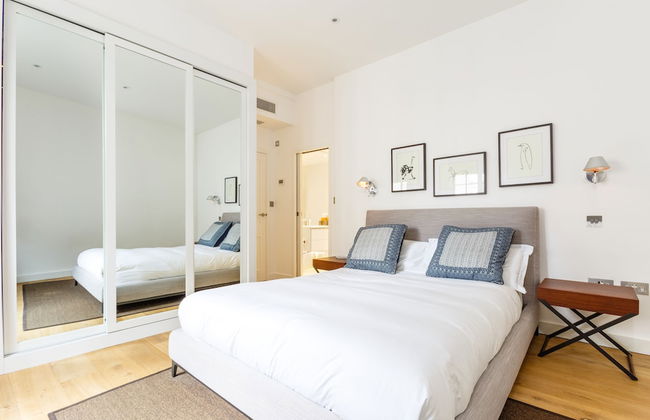
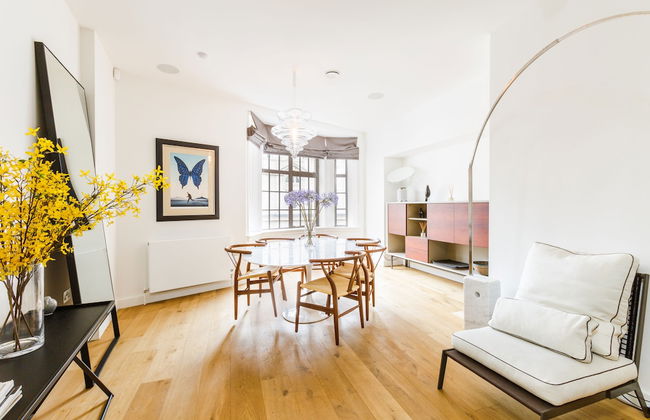
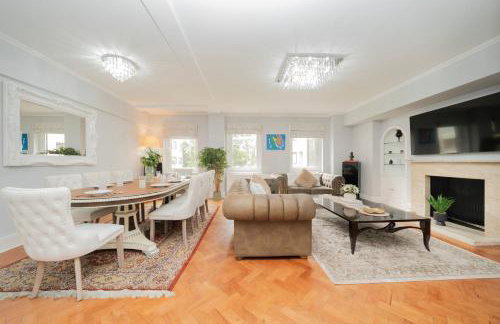
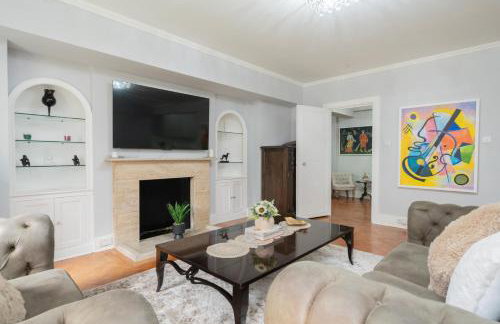
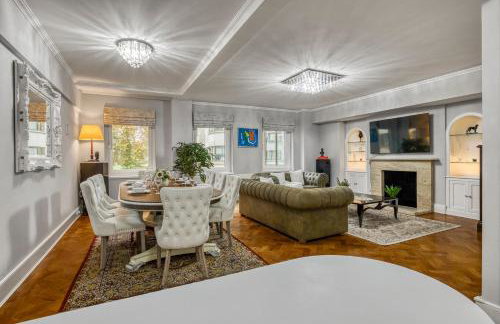
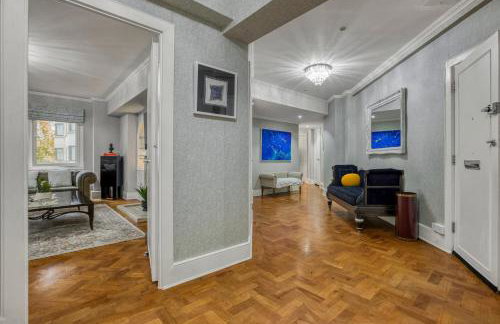
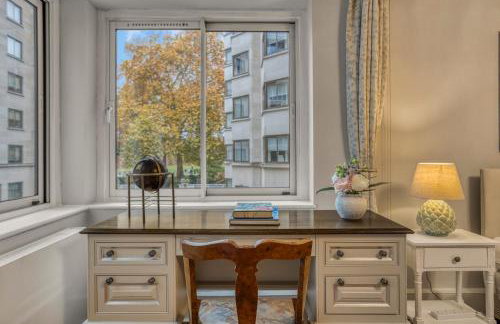
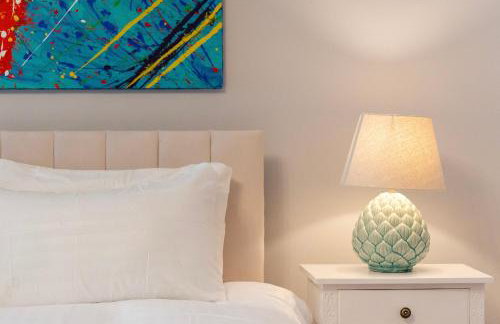
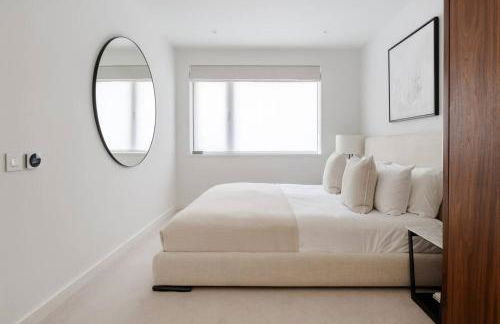
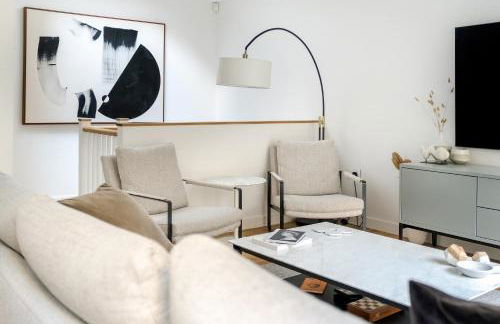
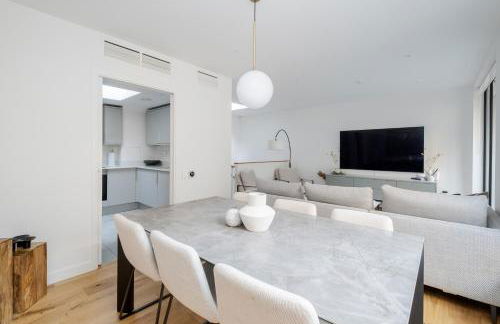
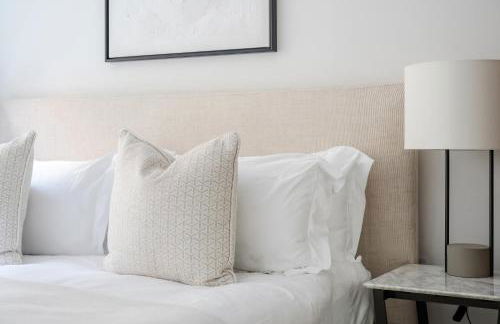
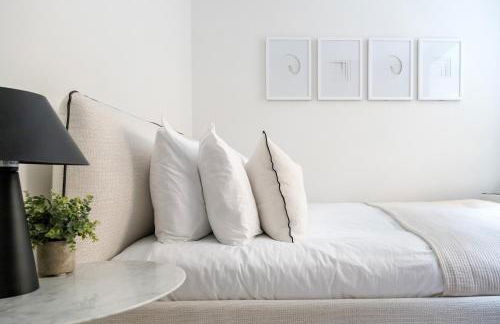
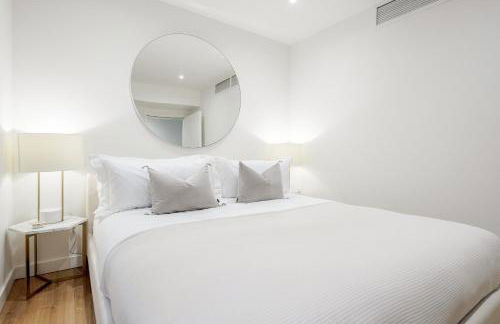
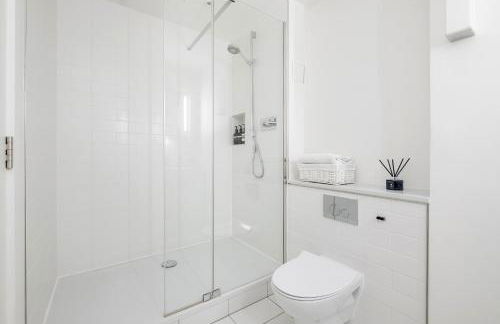
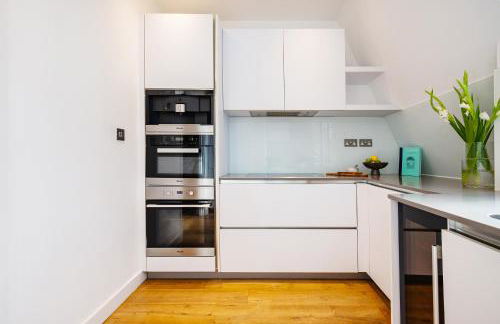
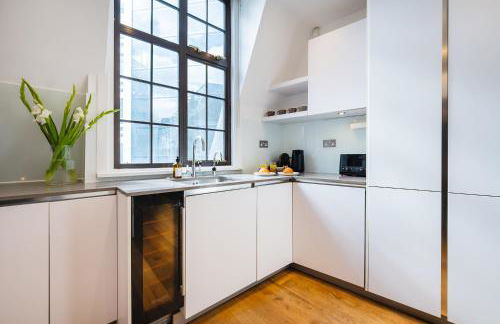
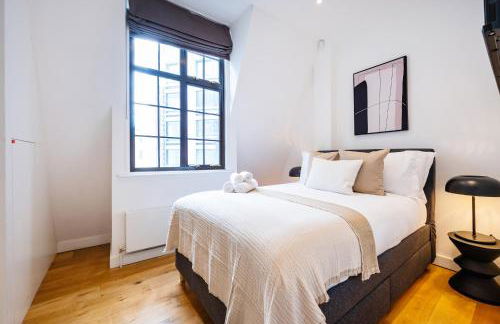
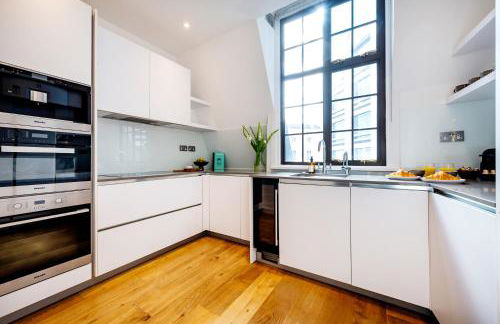
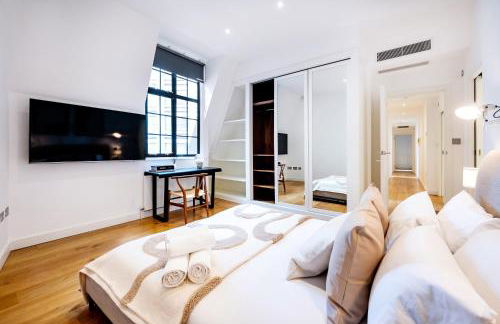
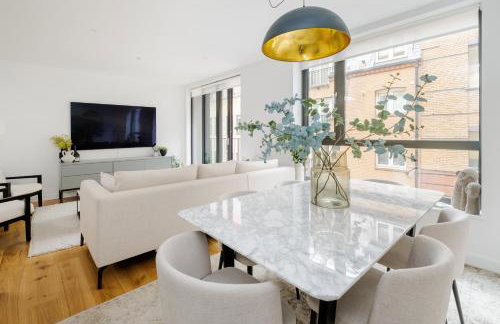
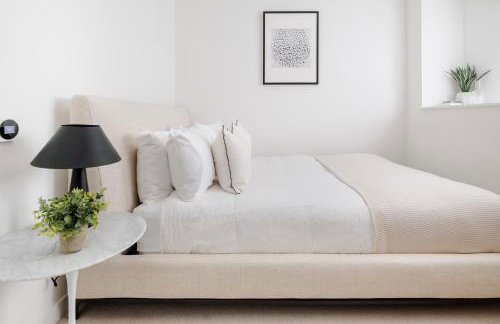
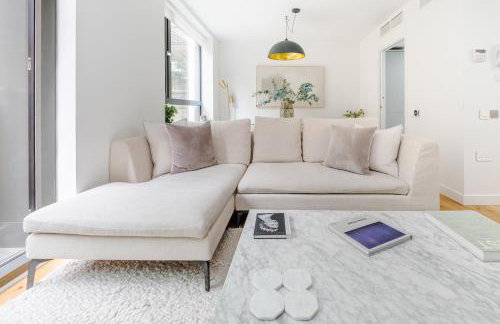
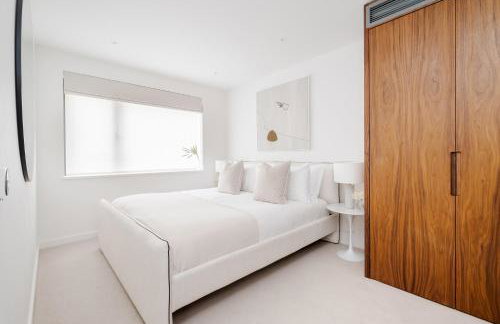
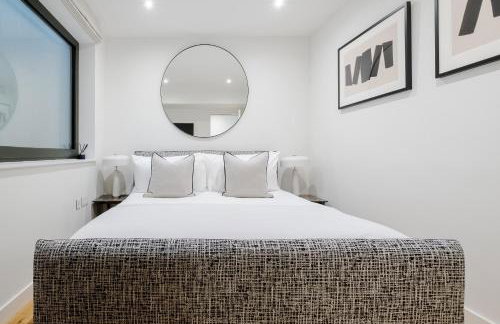
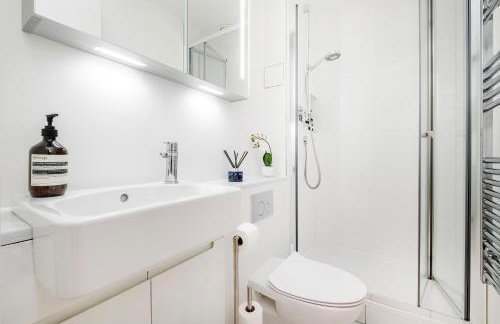
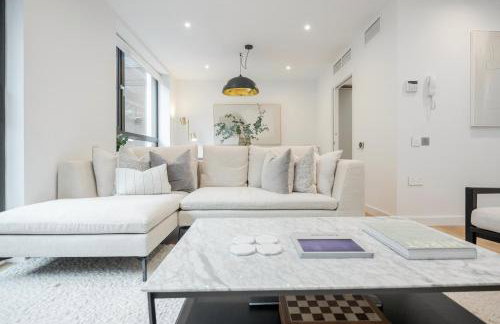
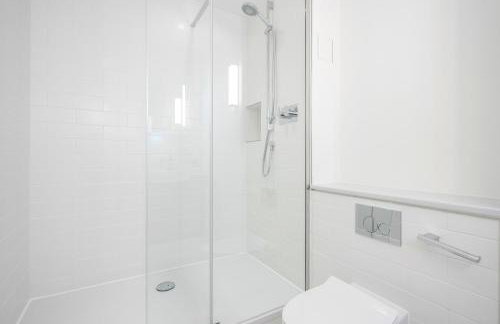
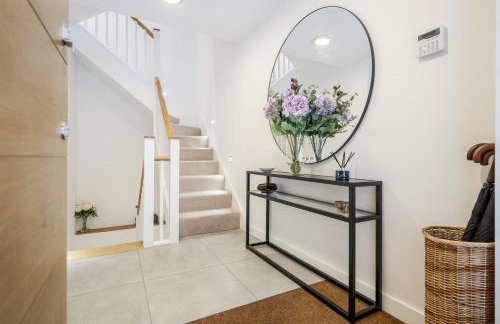
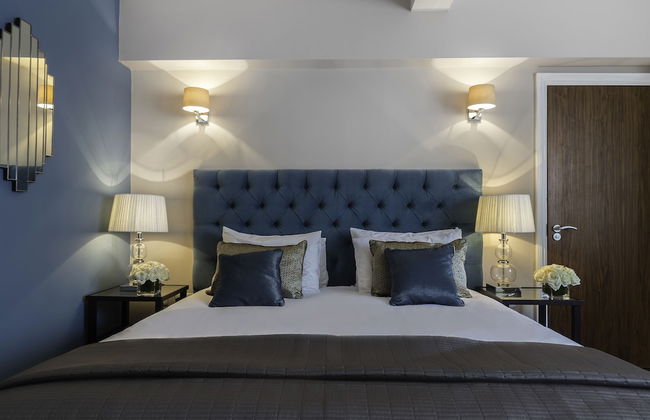
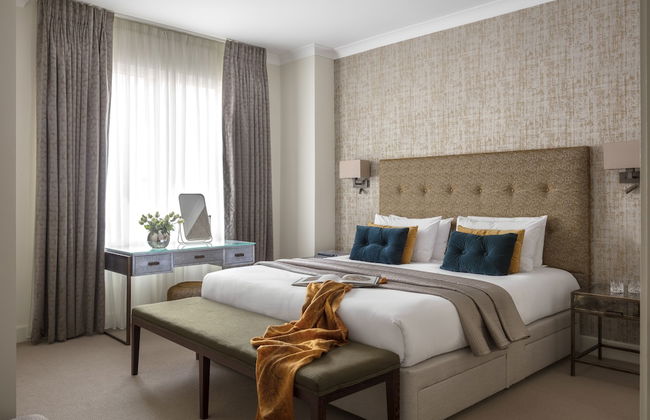
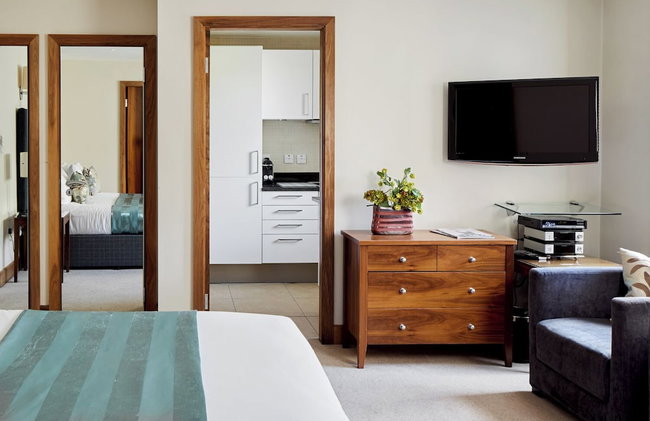
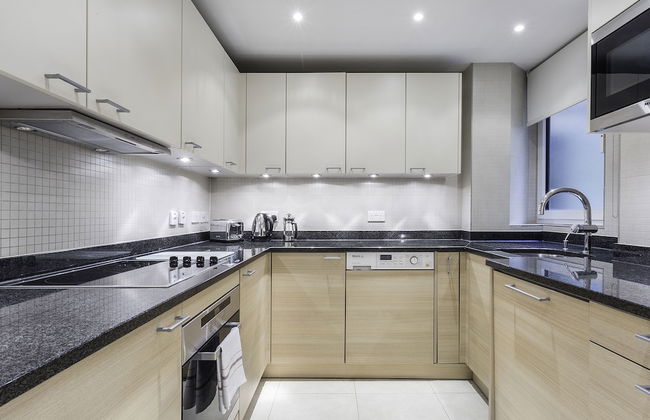
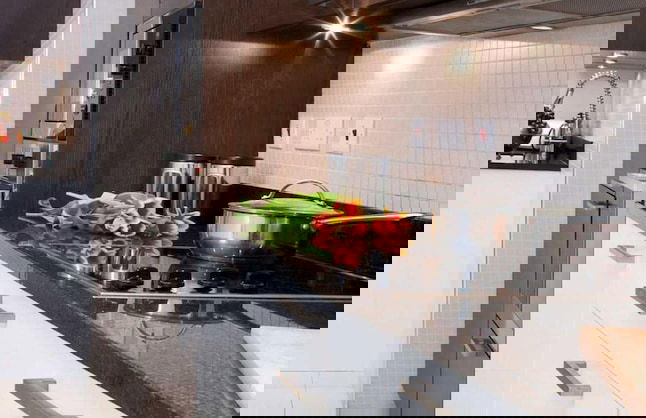
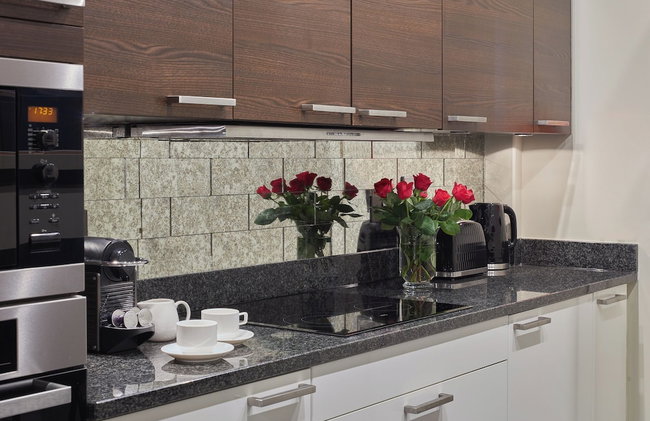
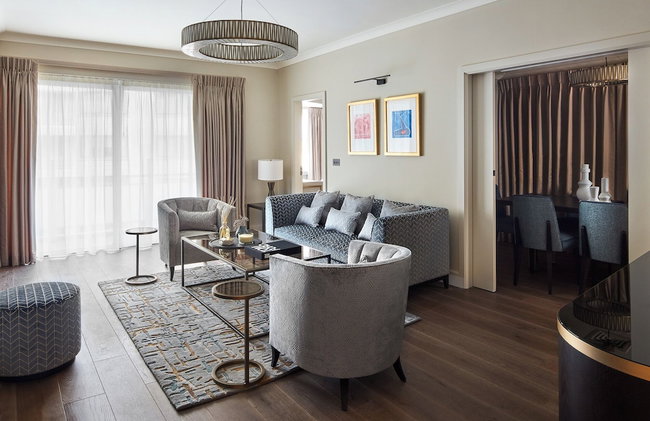
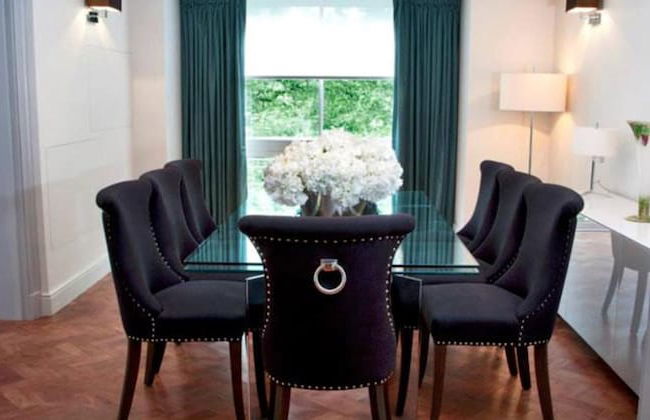
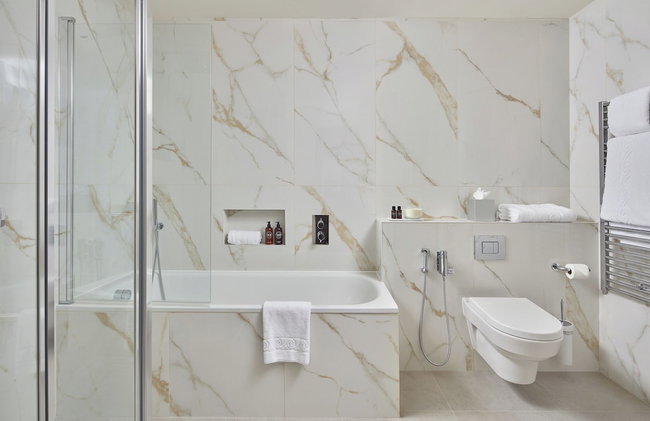
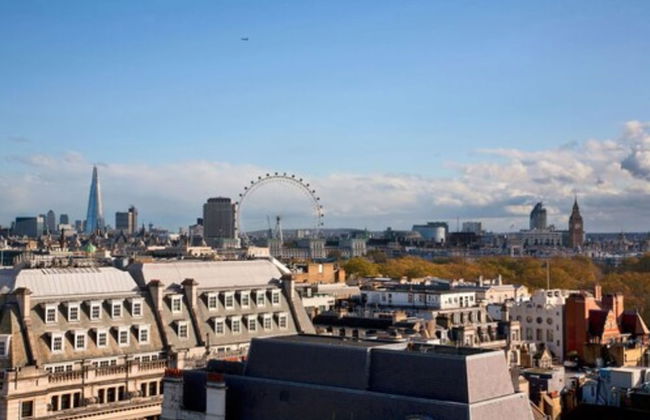
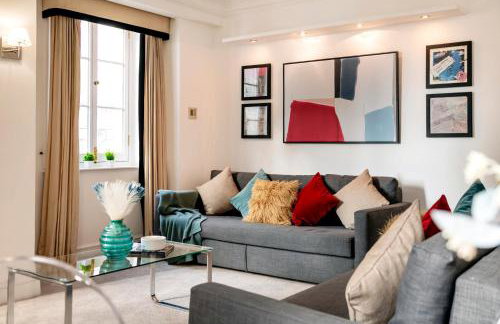
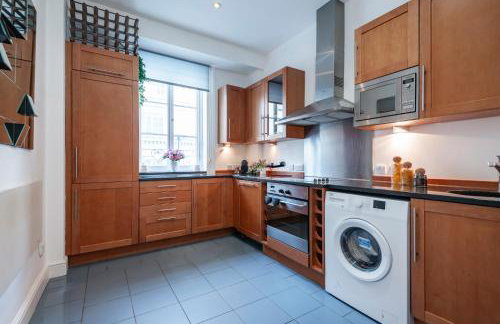
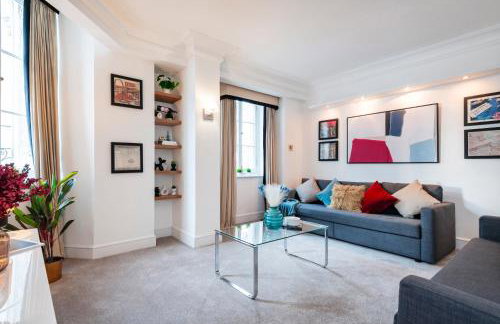
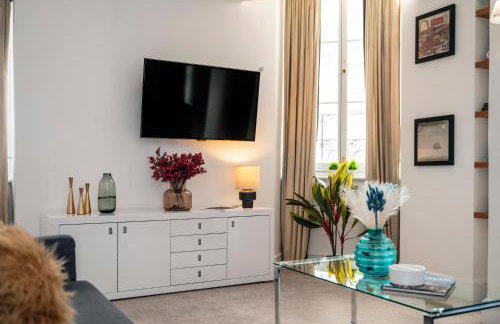
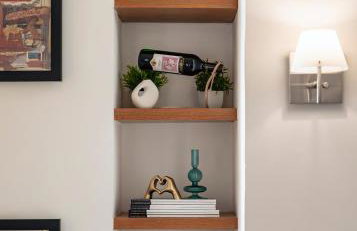
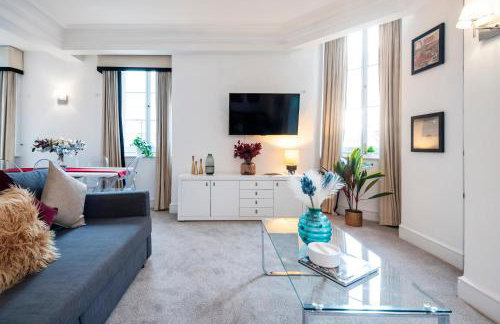
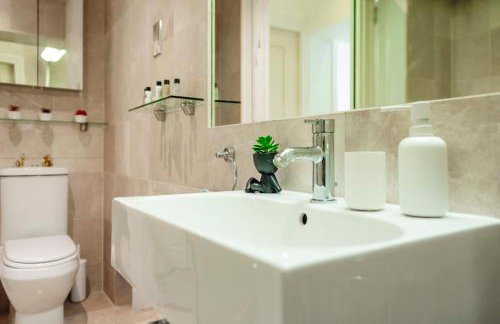
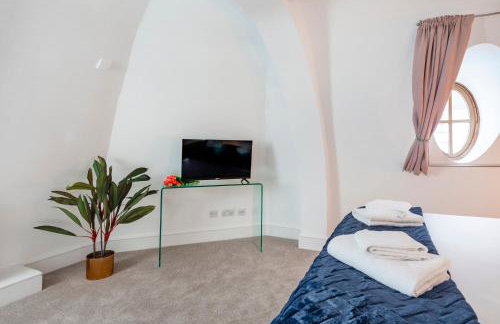
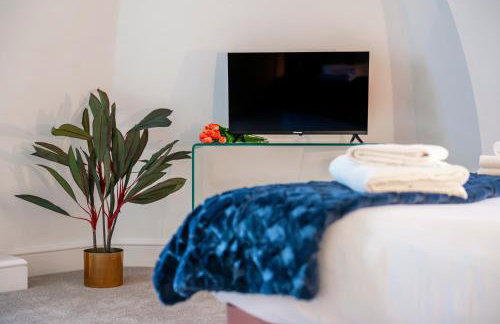
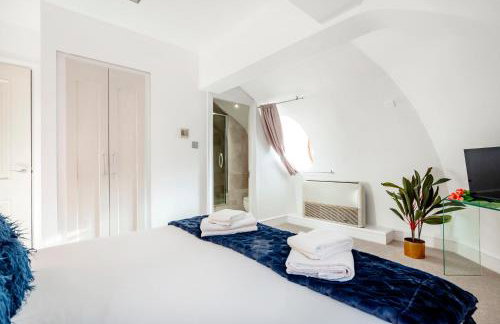
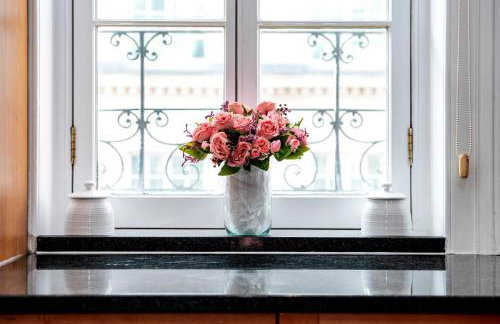
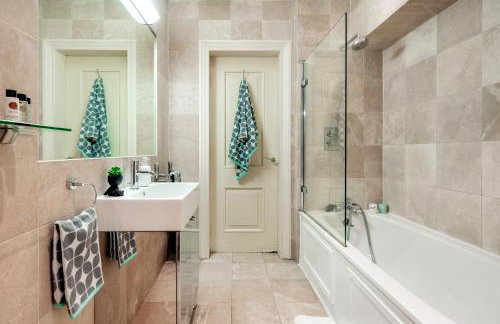
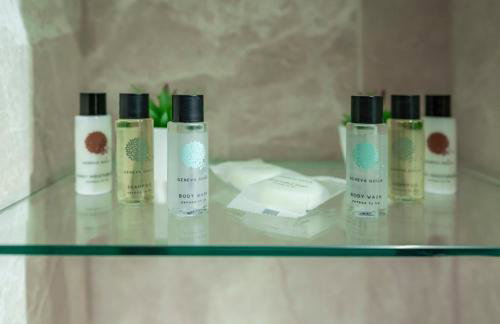
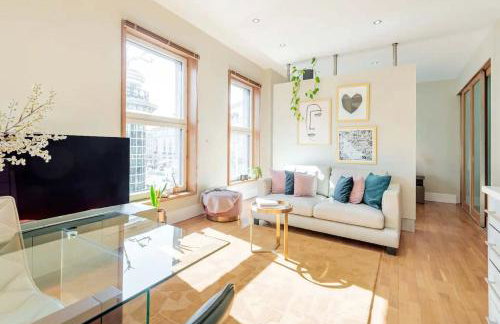
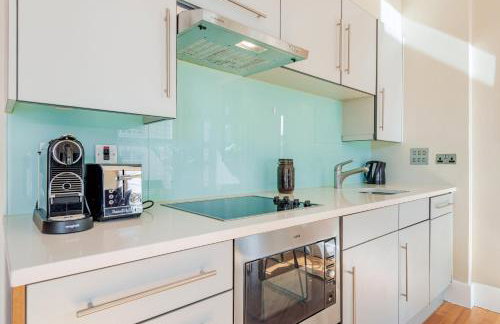
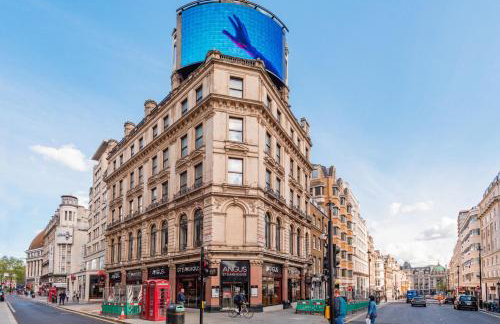
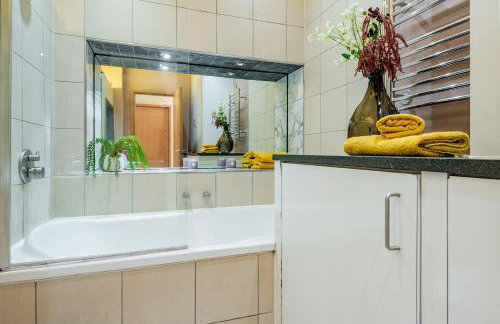
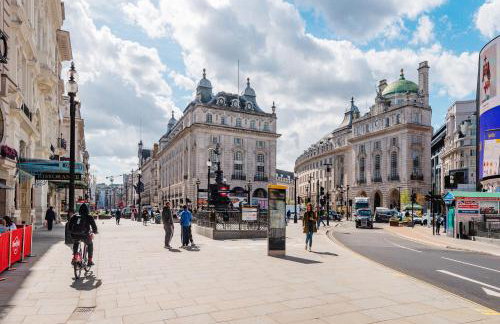
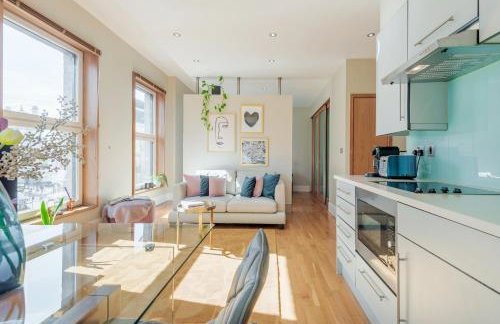
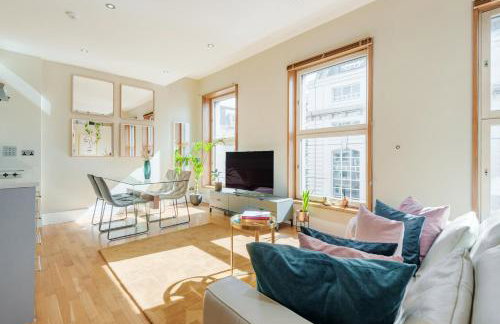
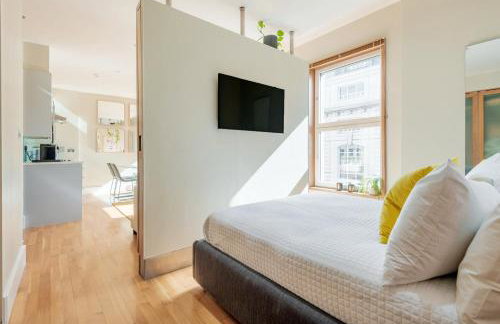
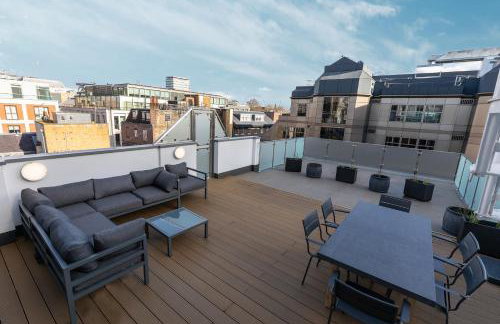
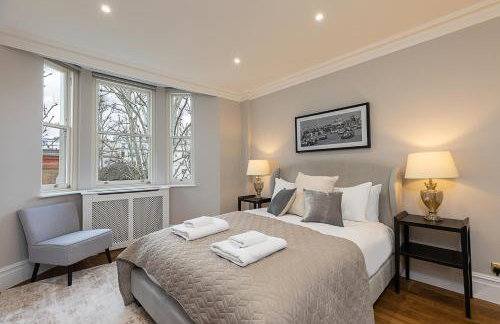
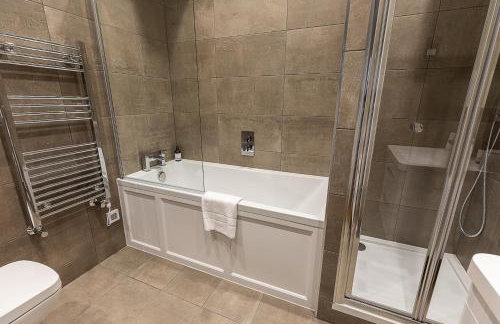
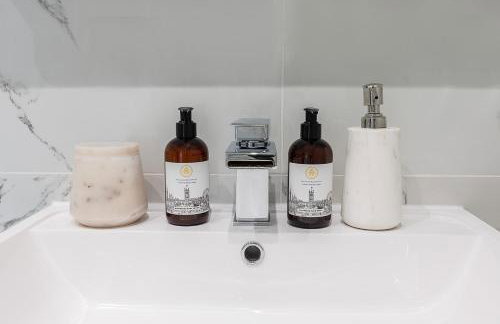
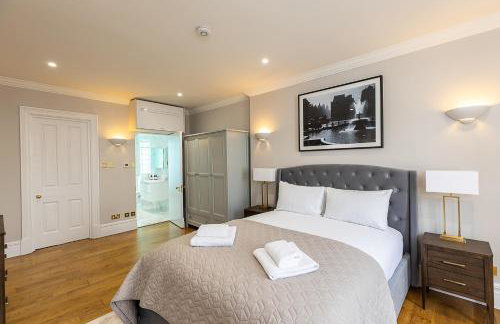
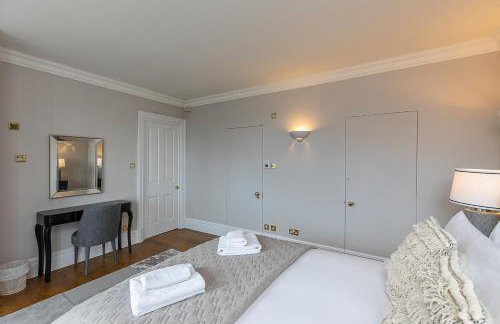
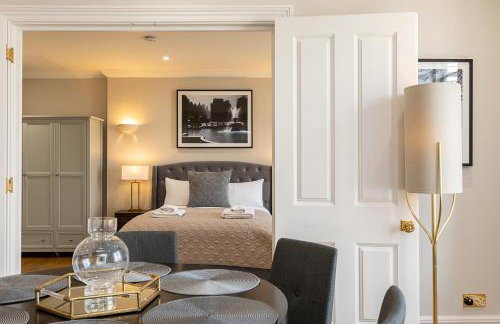
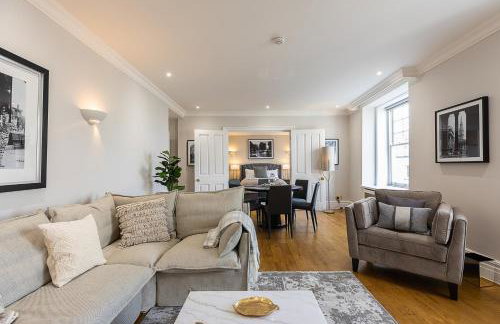
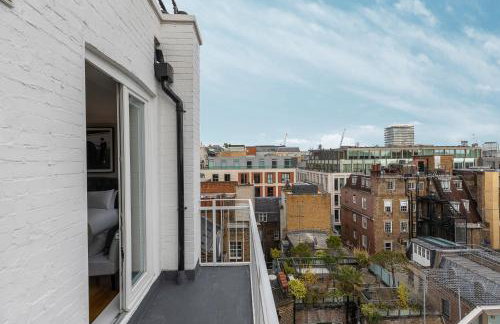
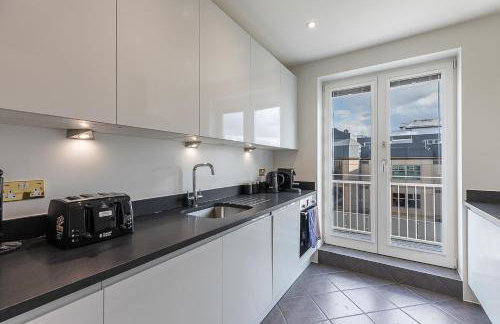
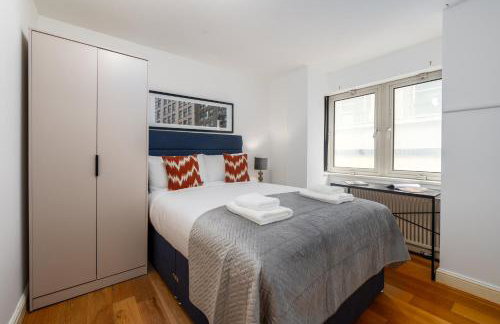
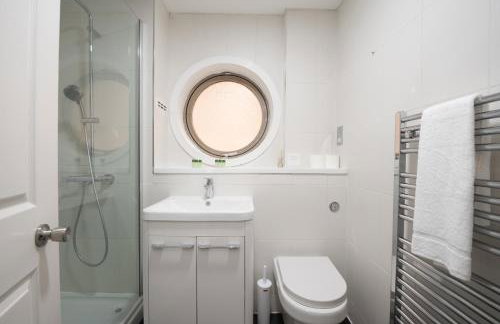
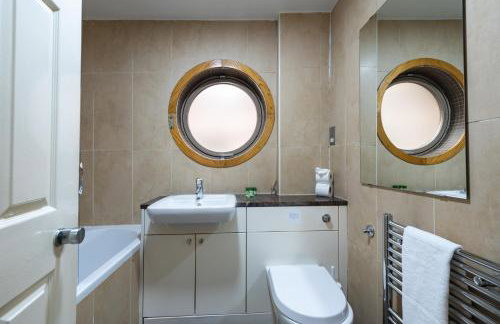
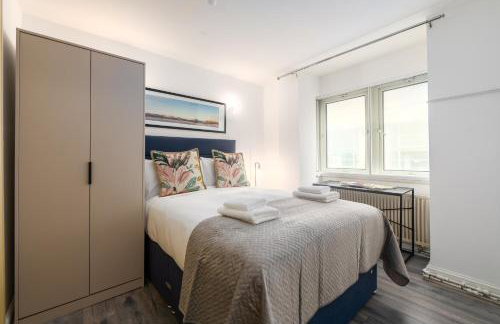
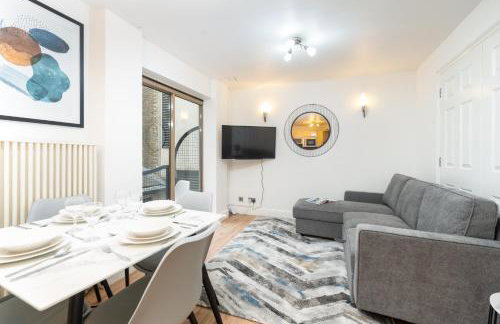
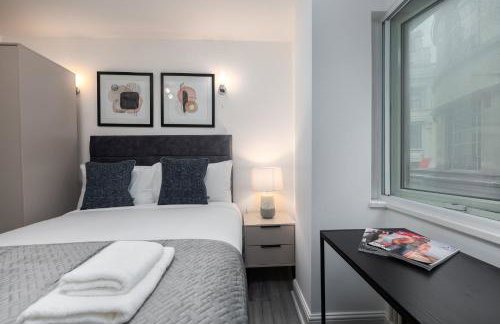
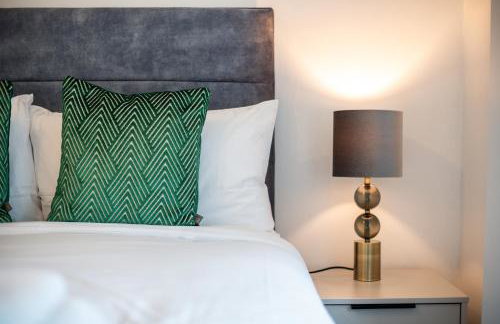
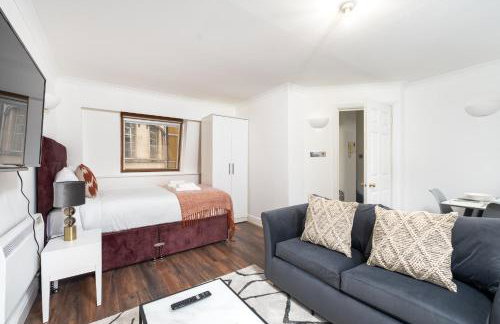
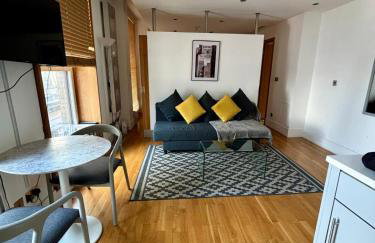
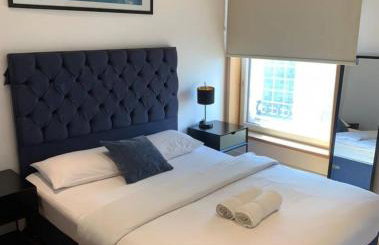
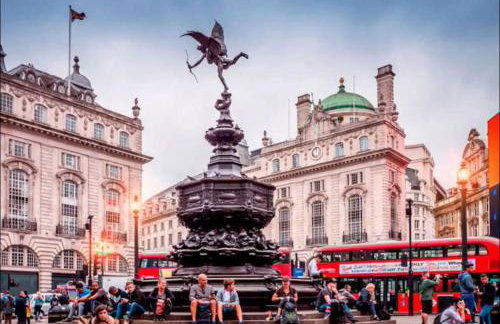
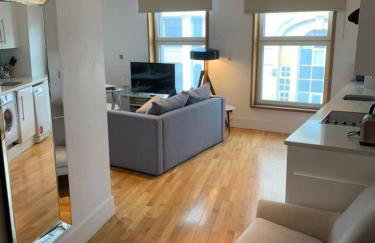
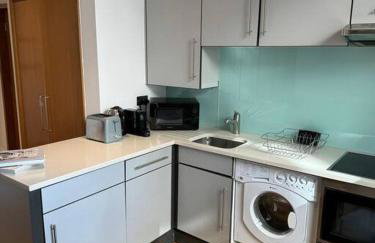
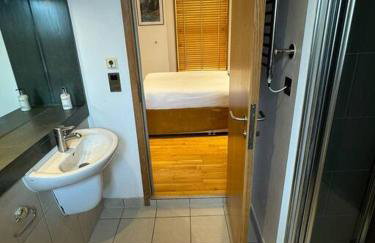
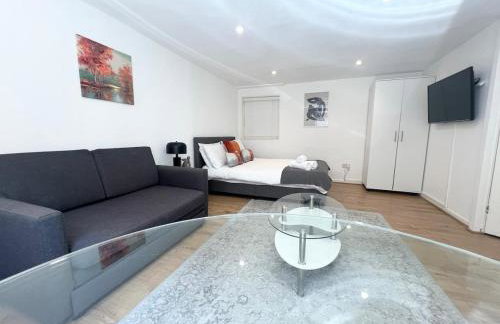
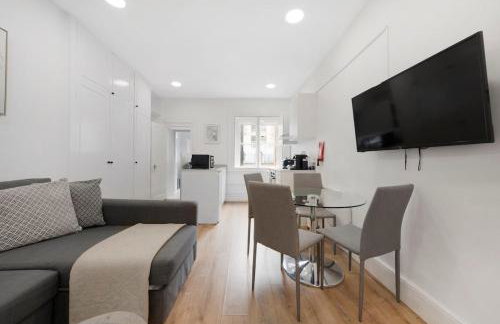
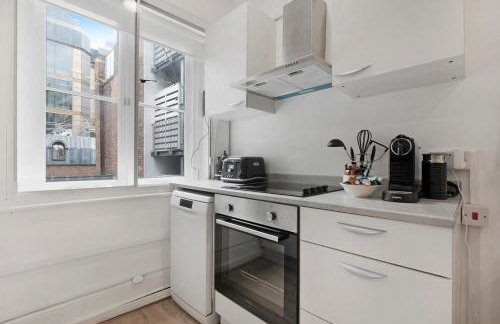
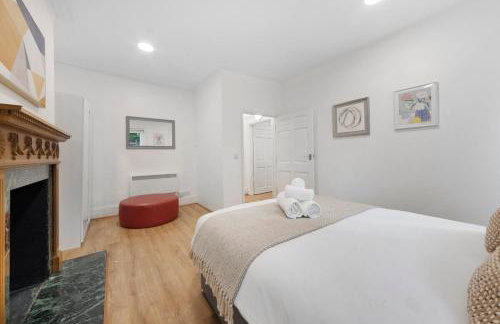
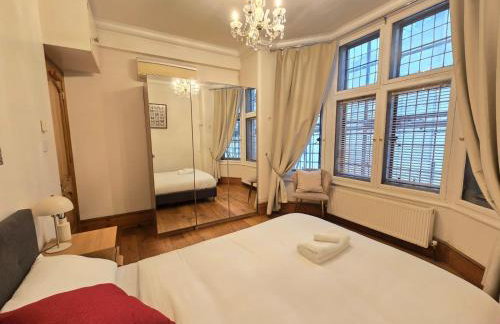
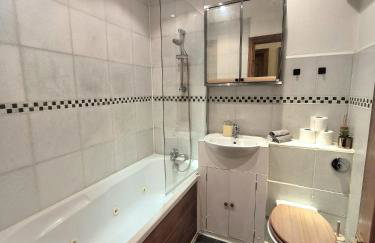
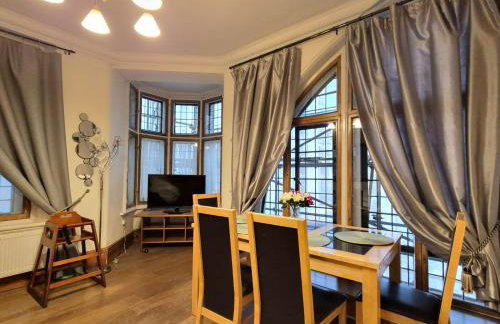
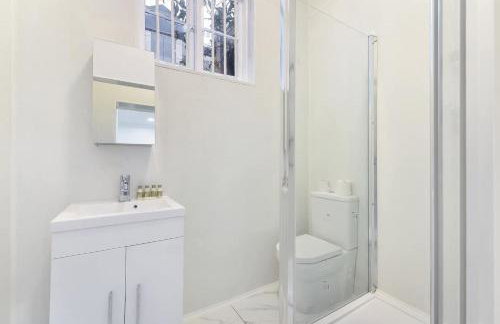
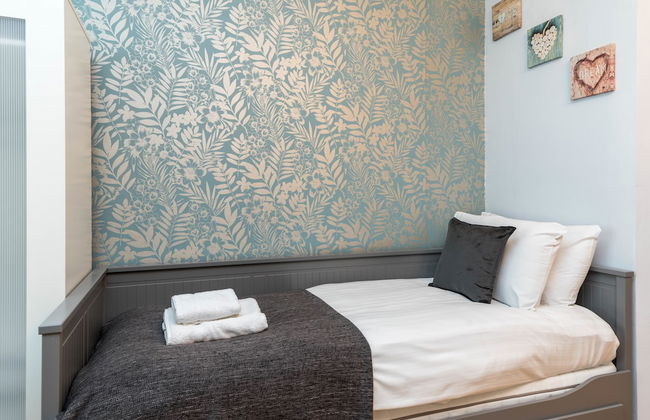
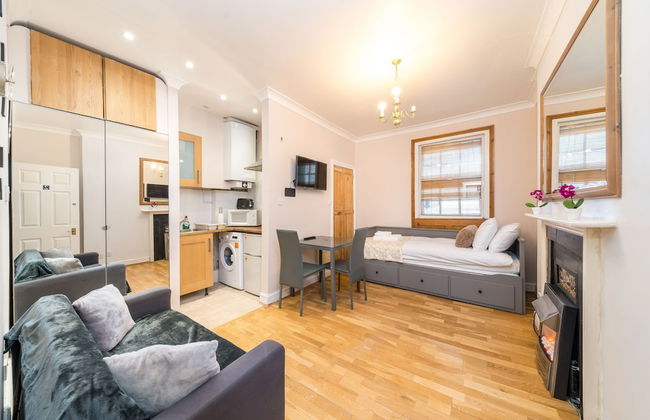
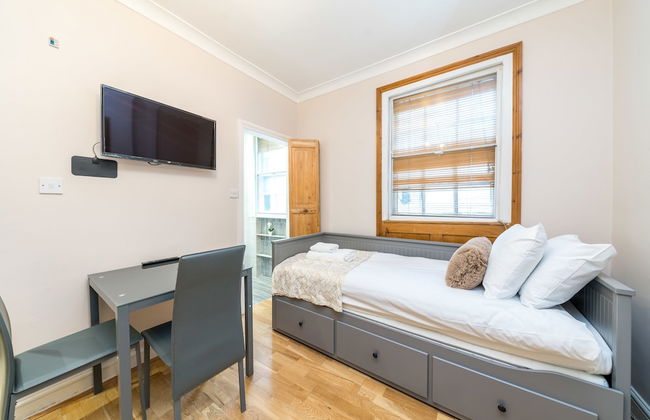
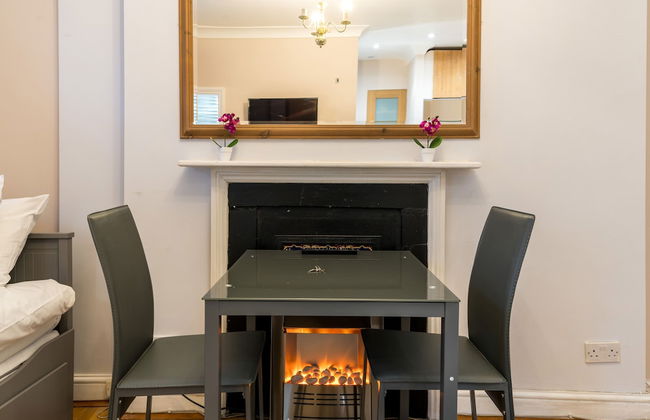
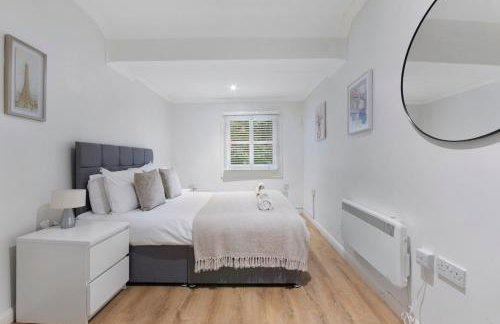
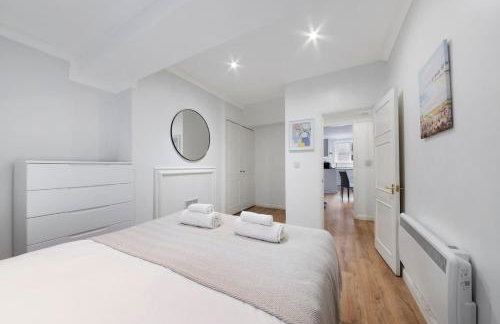
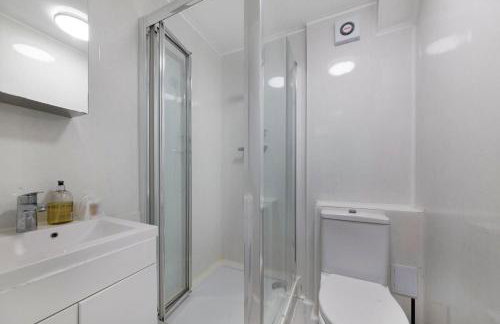
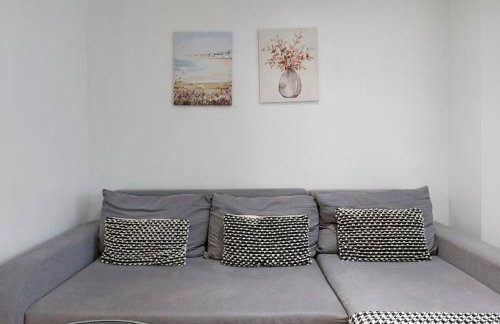
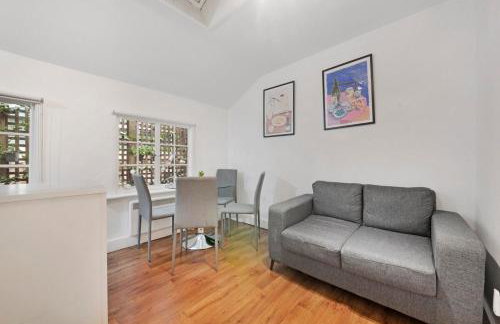
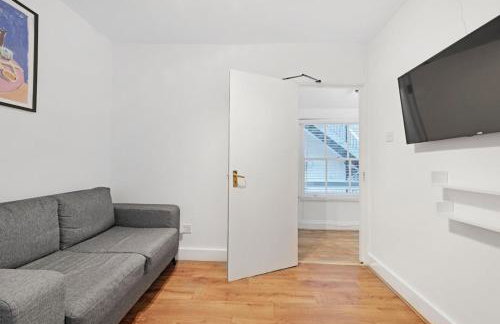
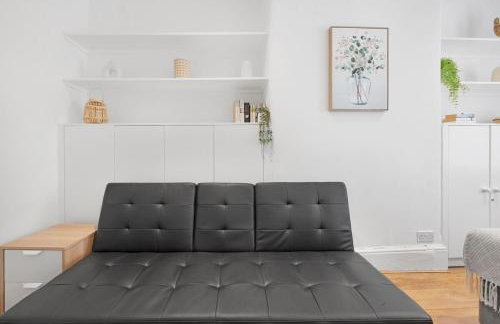
Cockspur Street - Foto 2
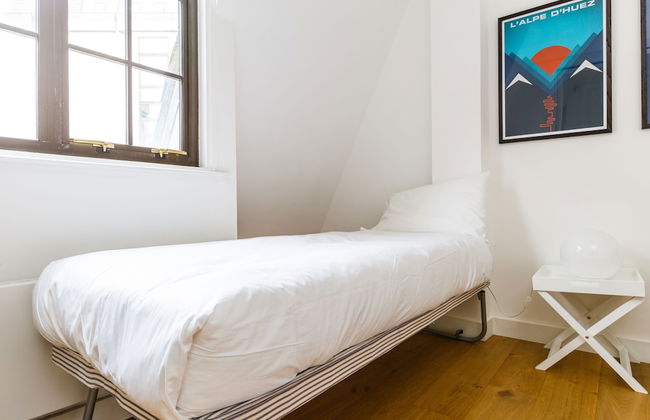
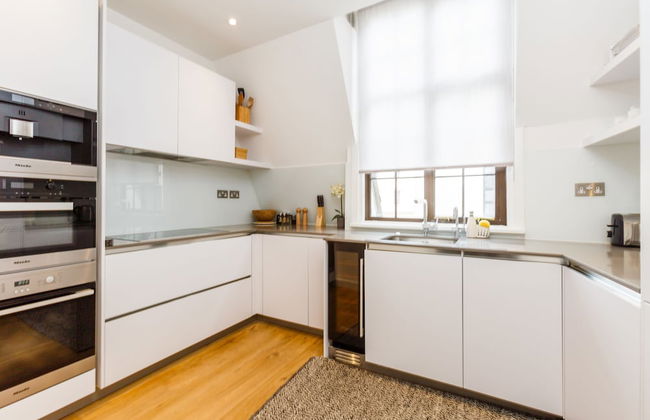
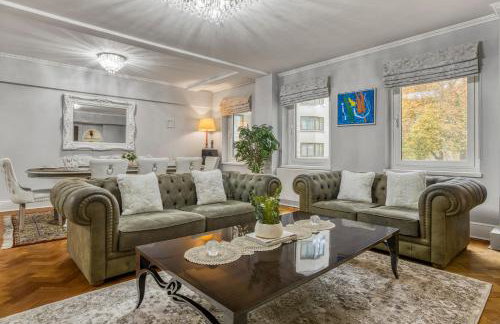
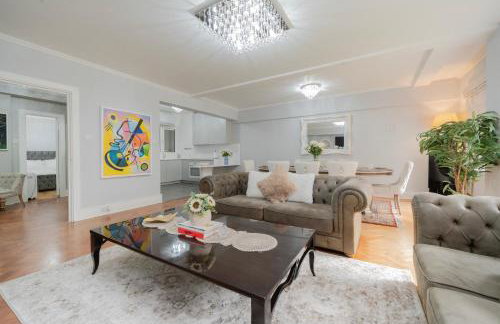
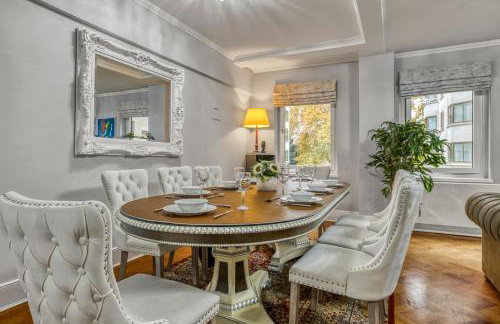
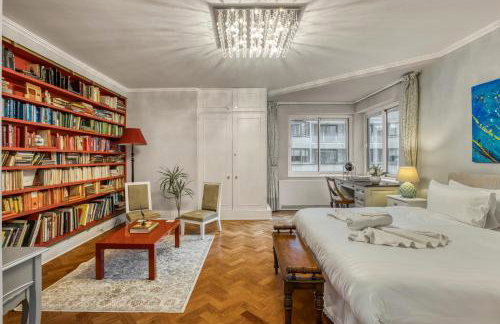
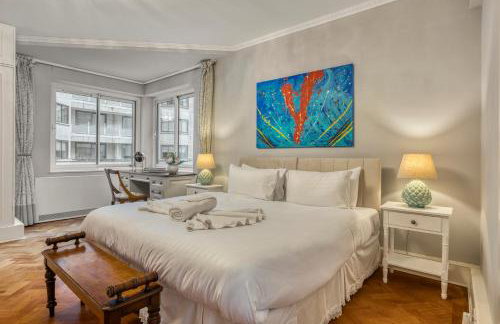
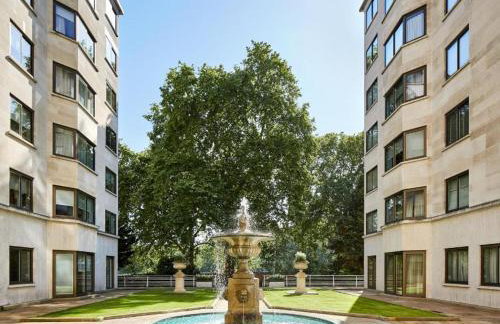
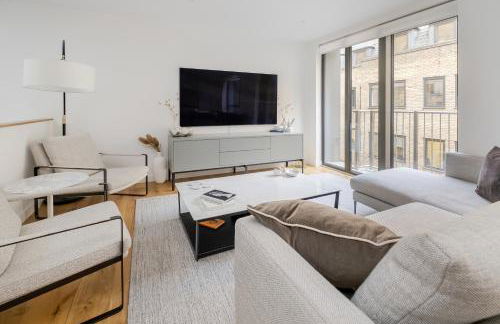
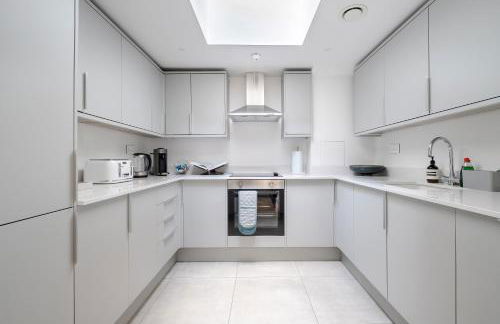
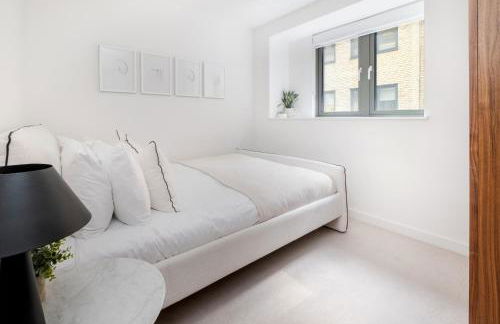
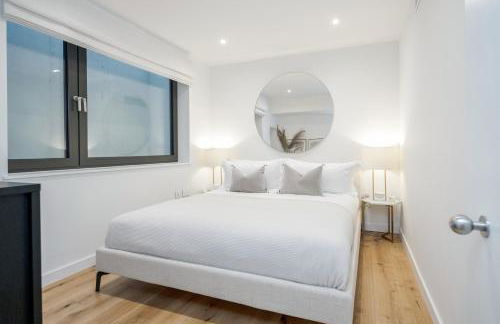
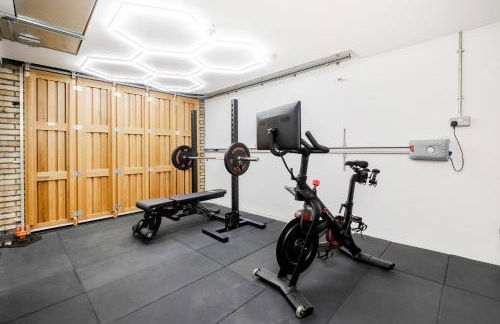
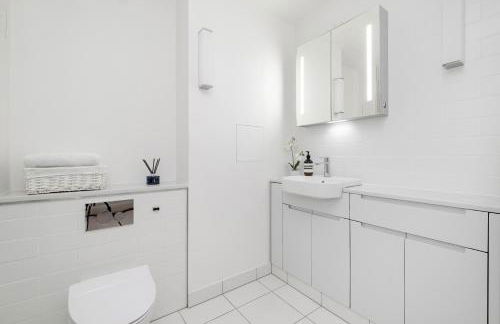
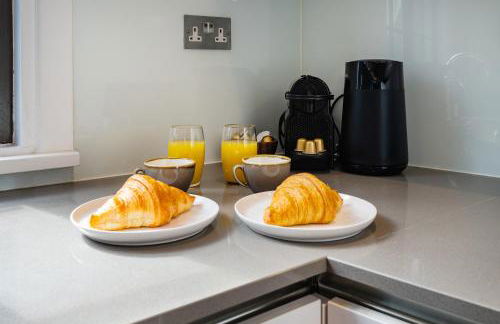
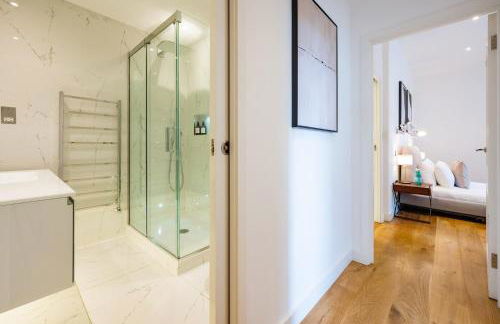
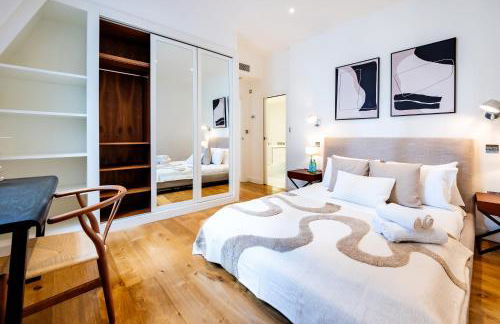
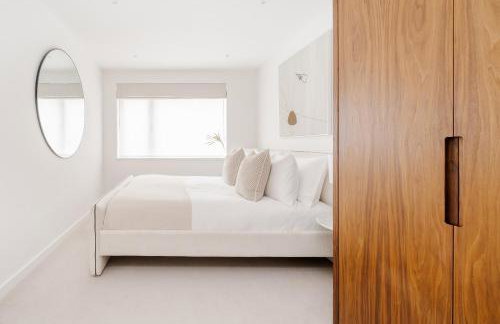
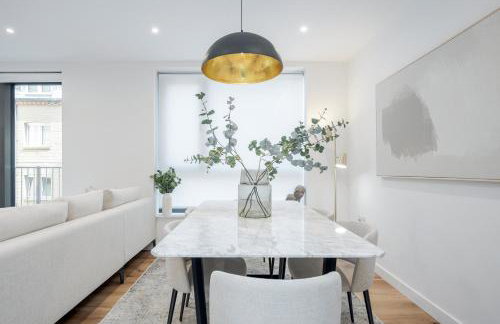
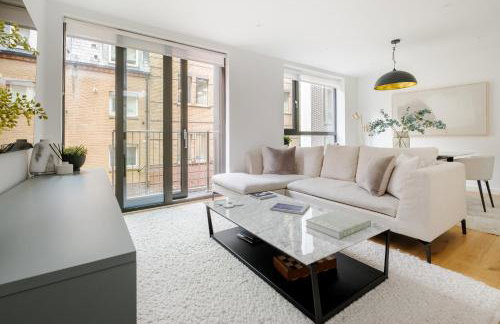
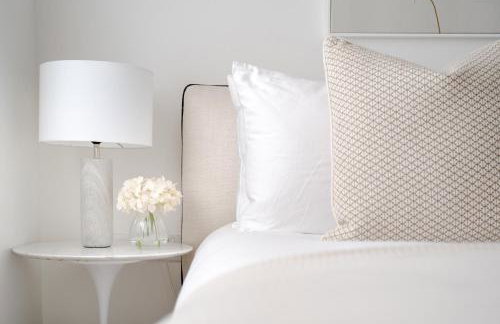
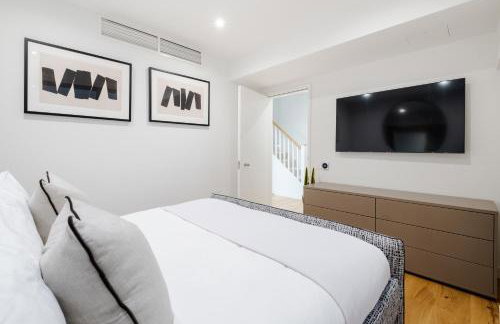
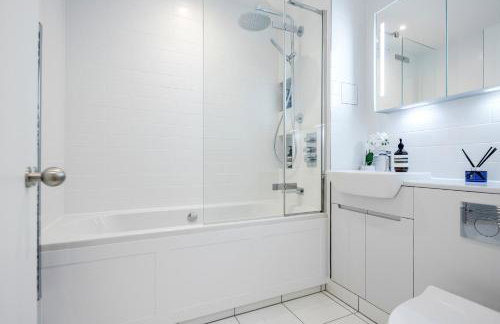
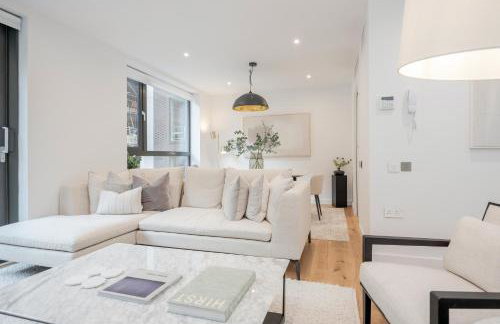
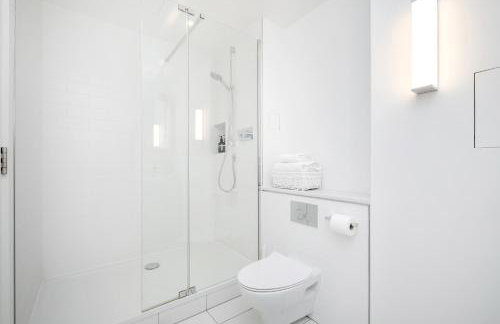
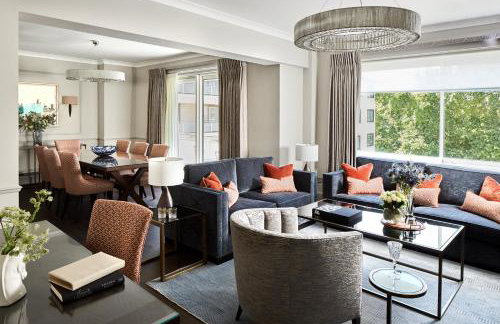
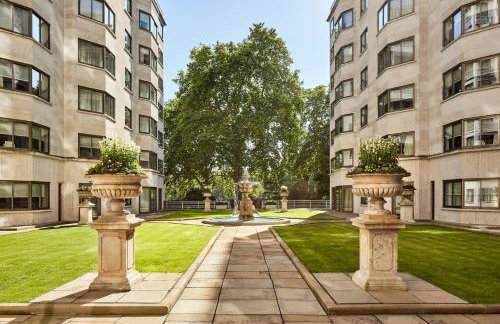
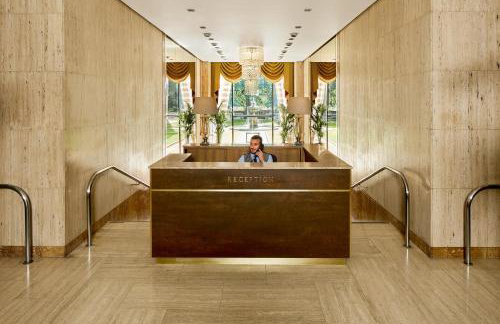
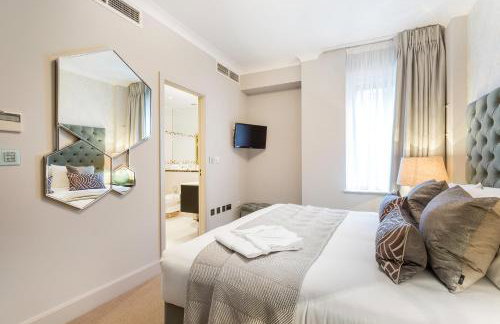
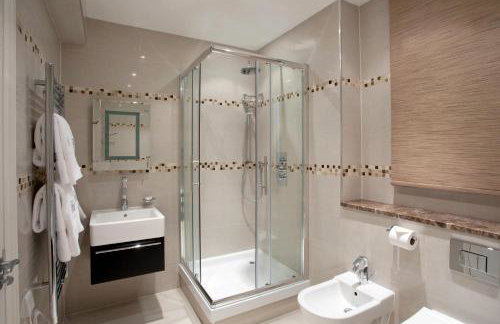
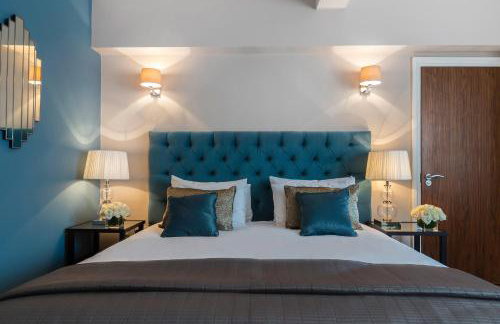
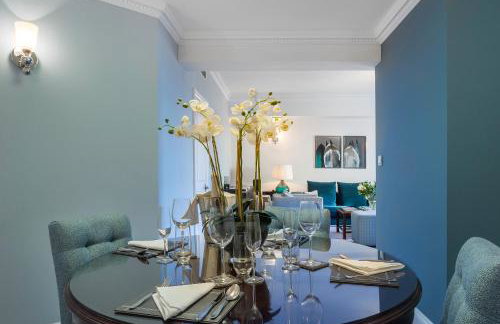
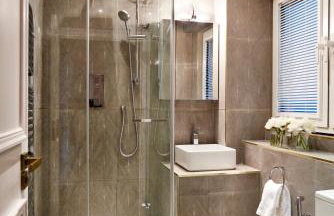
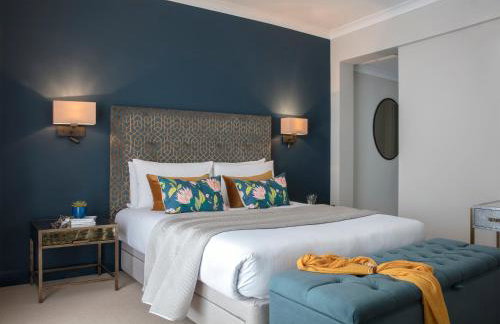
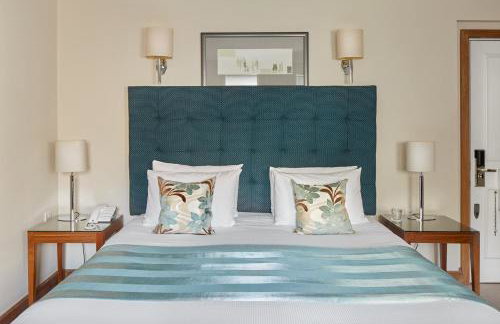
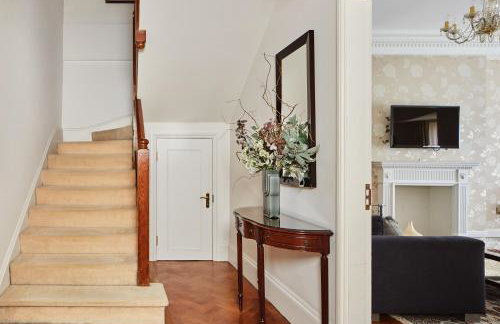
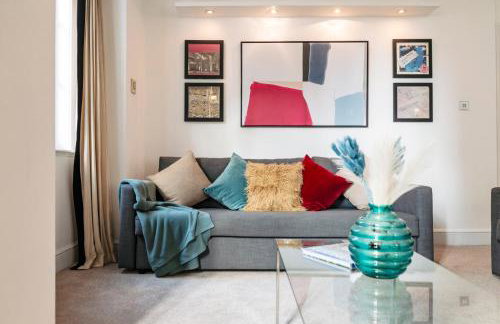
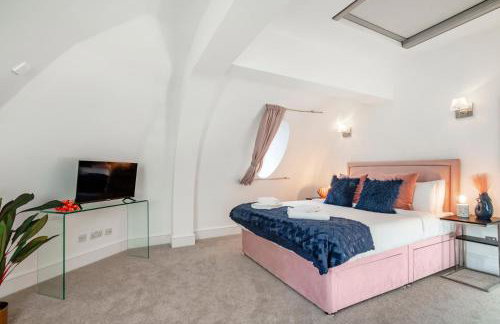
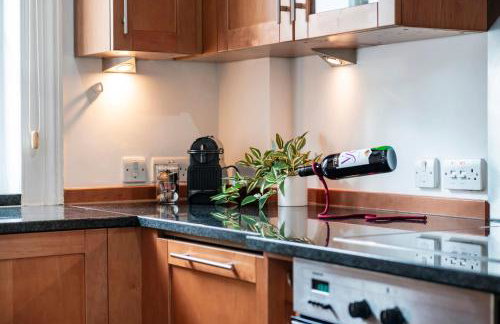
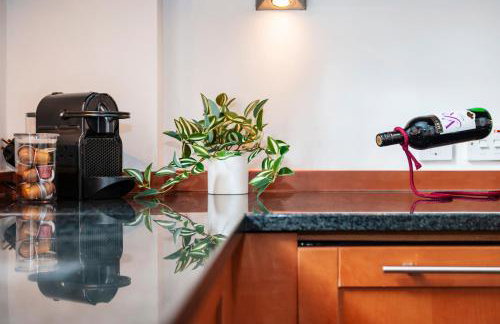
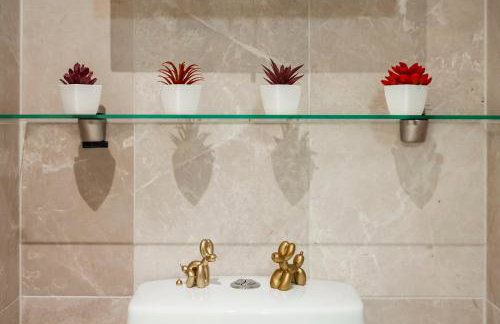
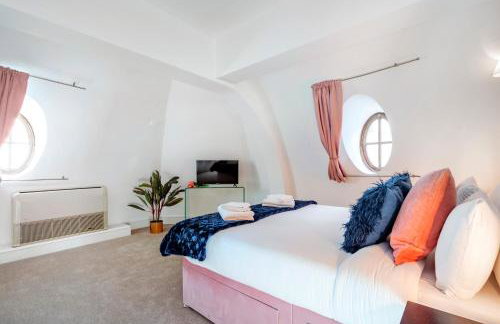
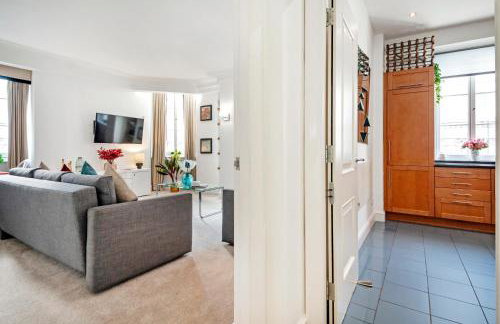
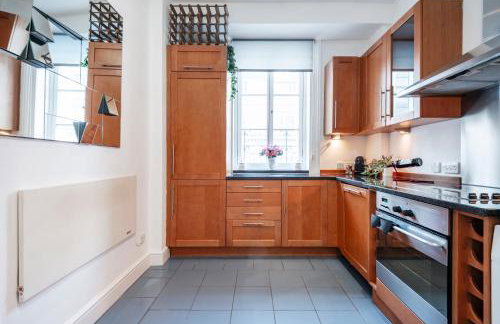
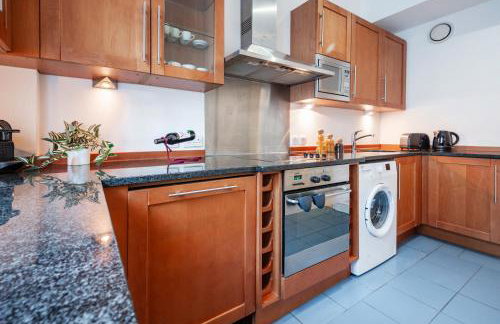
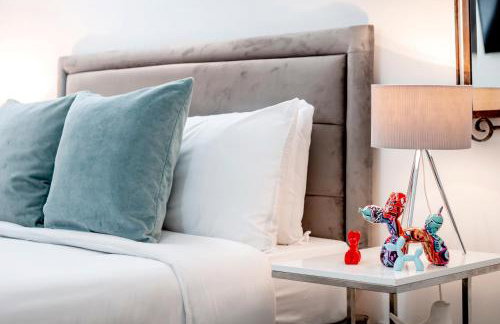
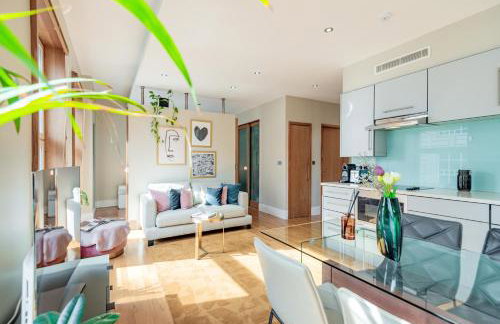
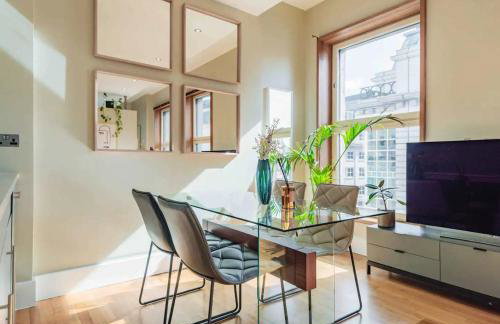
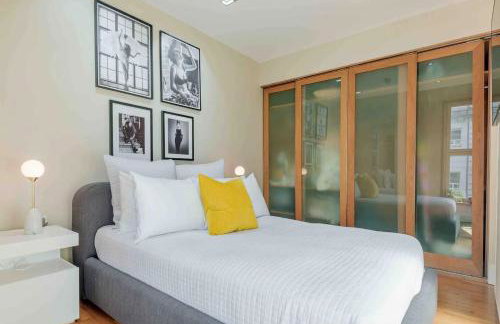
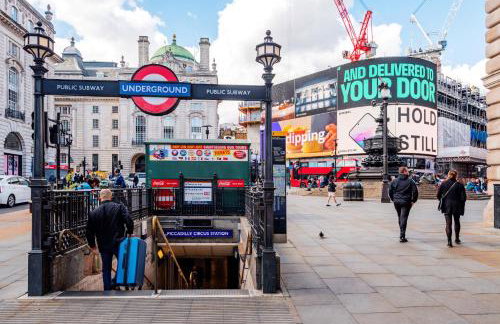
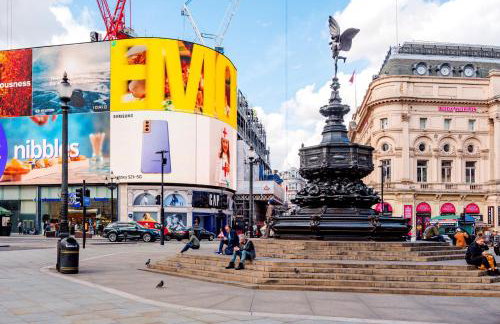
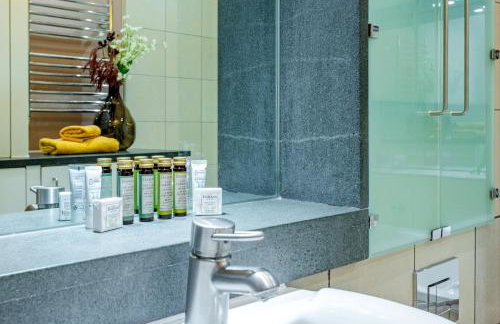
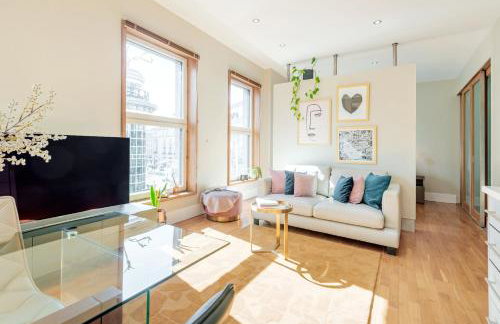
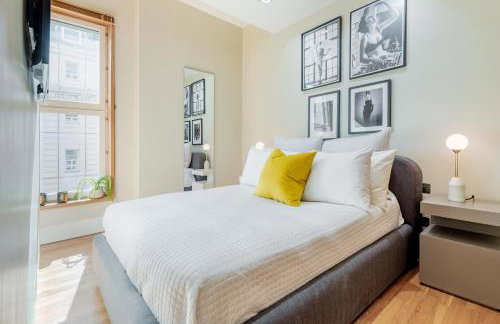
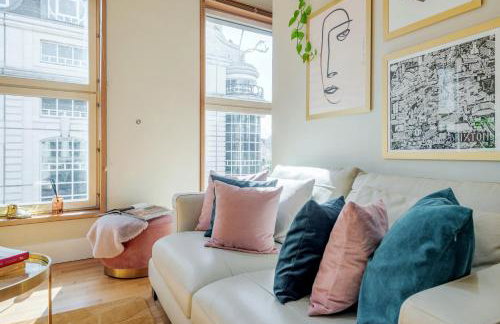
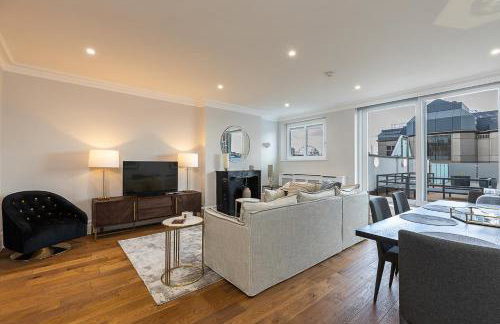
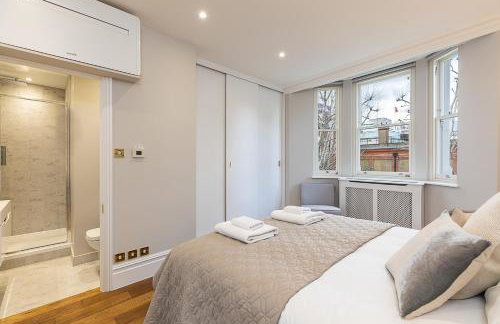
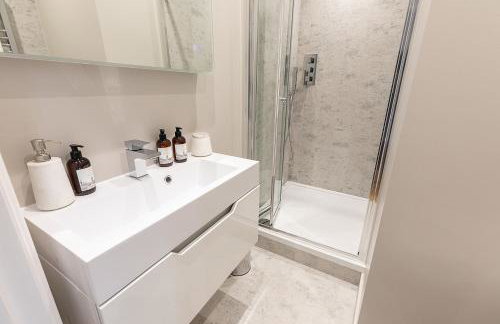
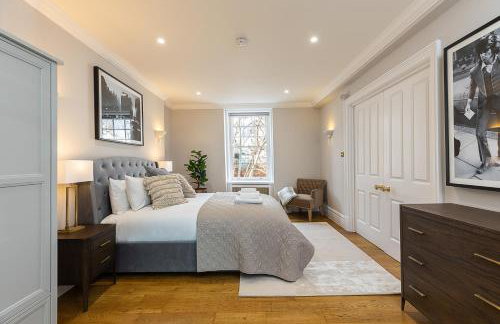
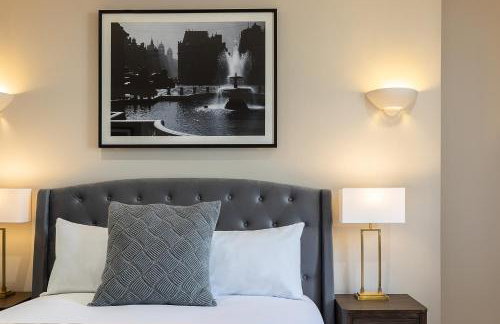
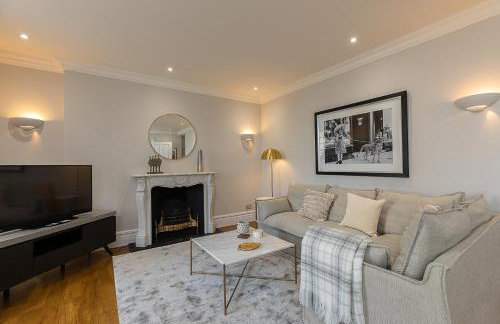
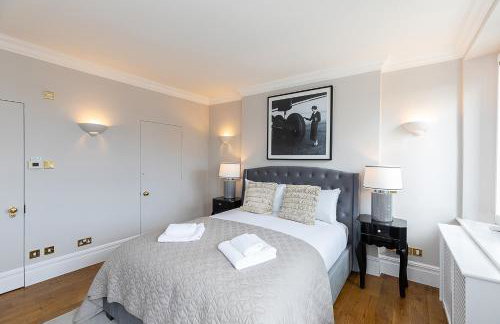
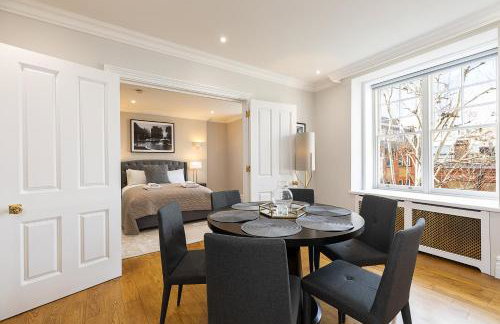
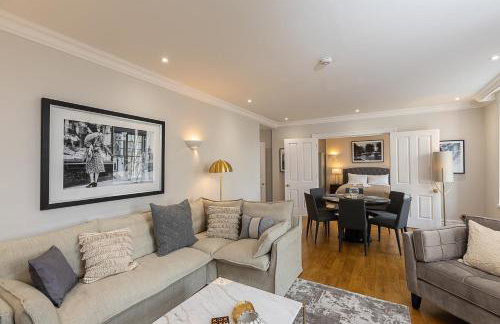
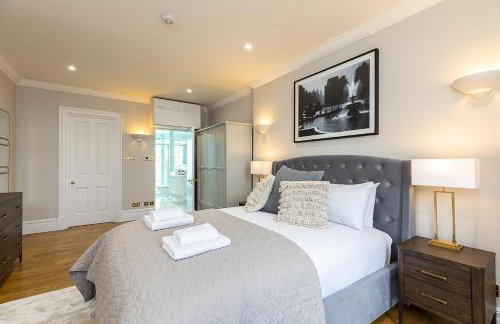
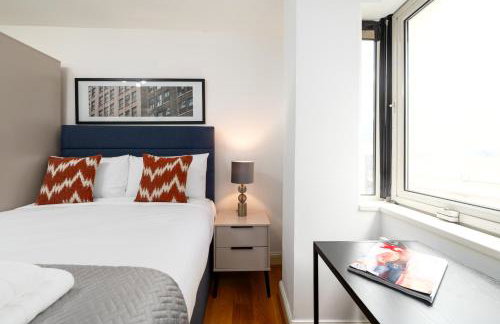
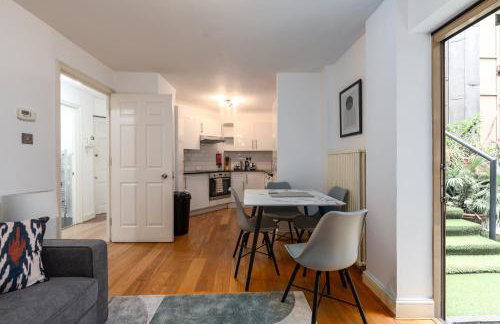
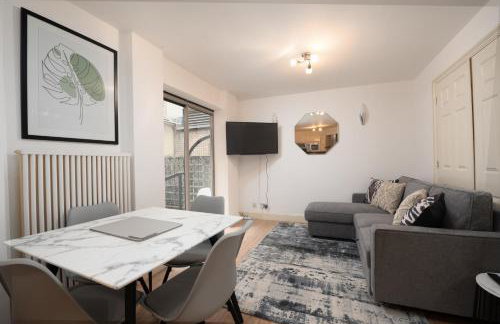
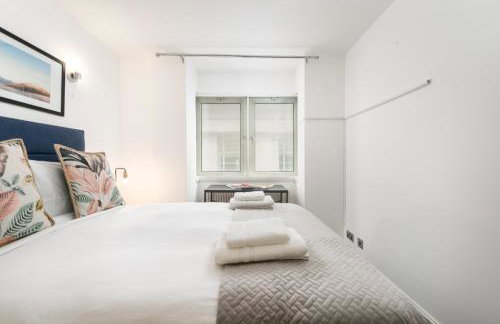
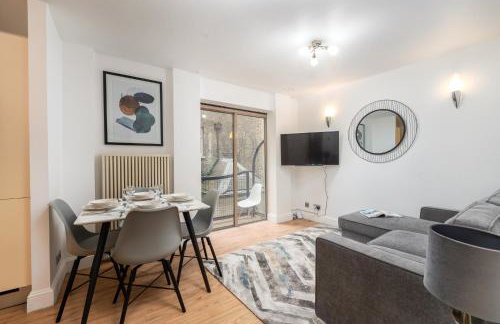
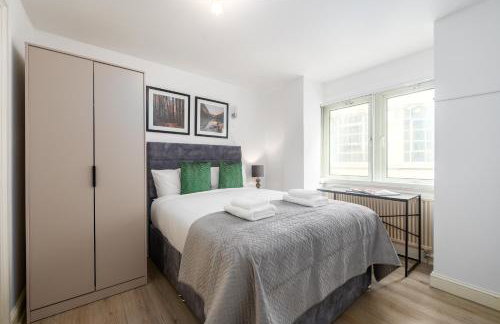
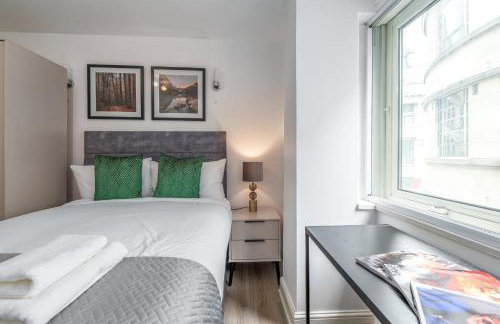
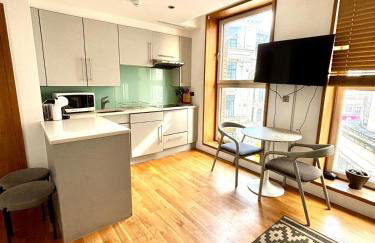
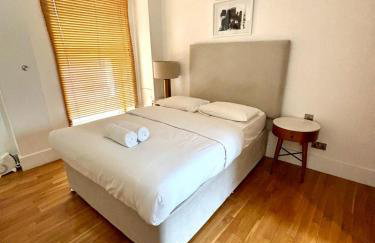
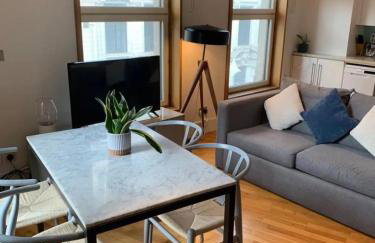
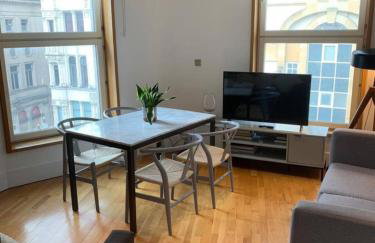
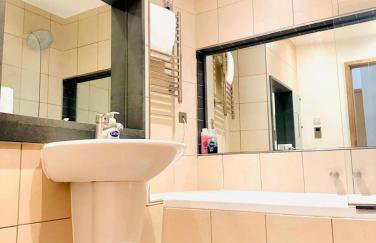
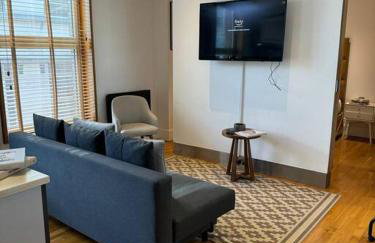
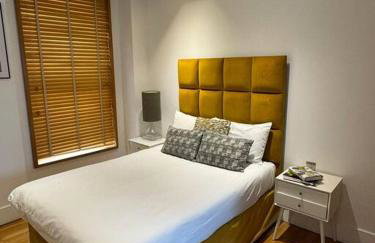
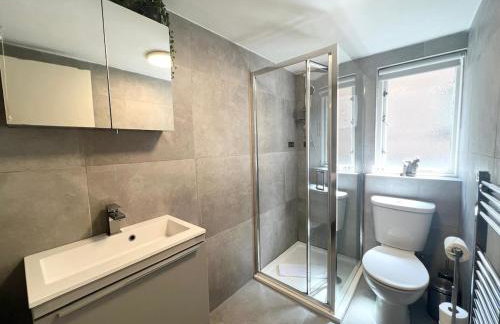
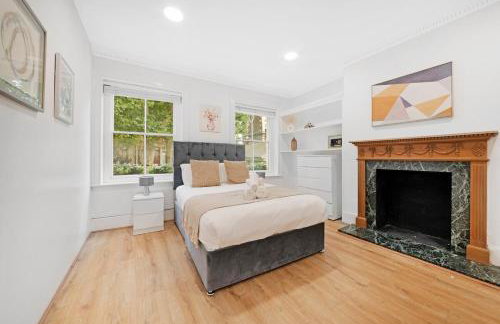
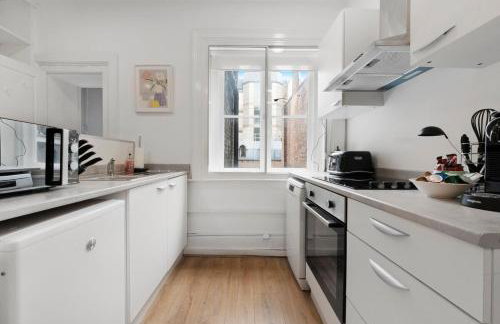
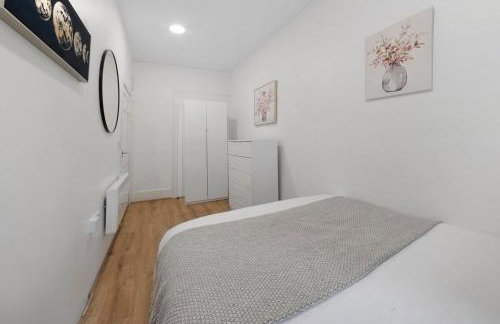
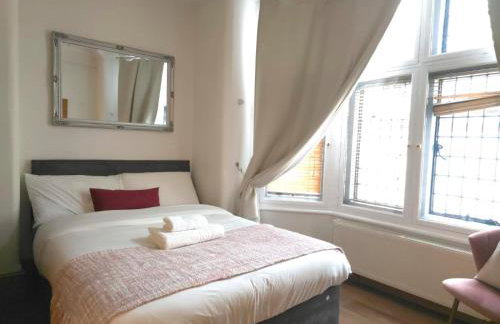
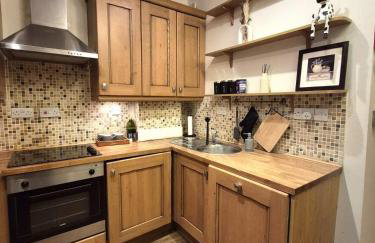
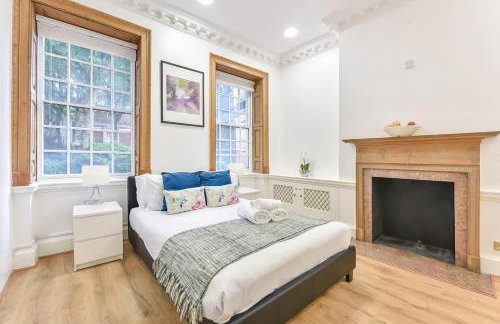
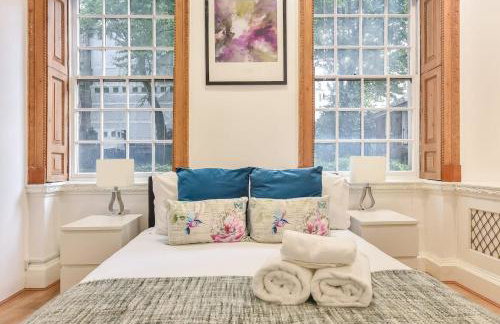
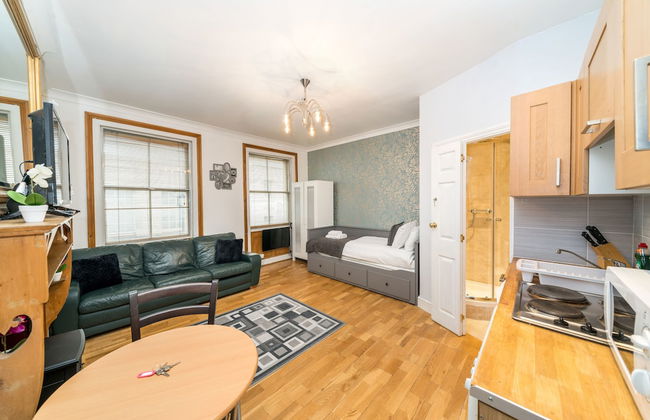
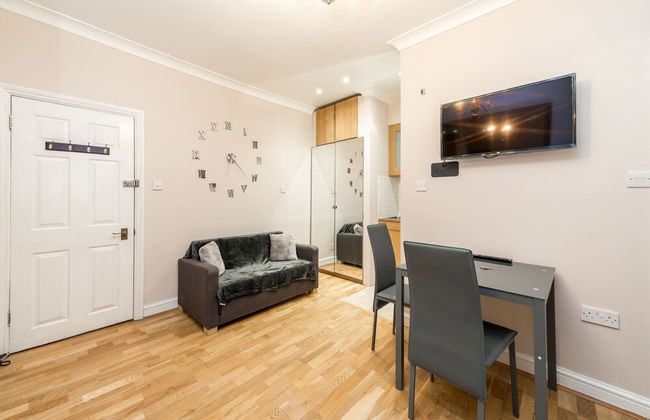
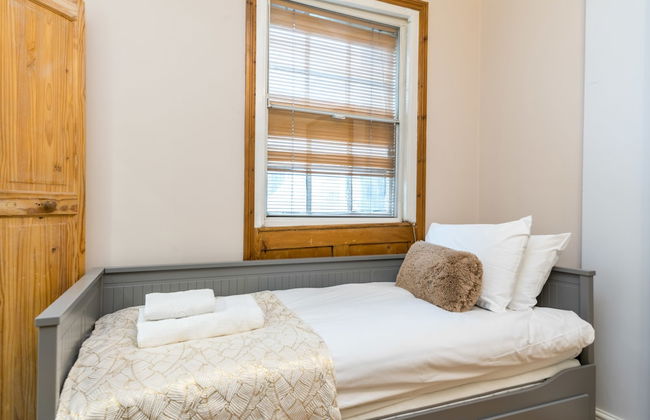
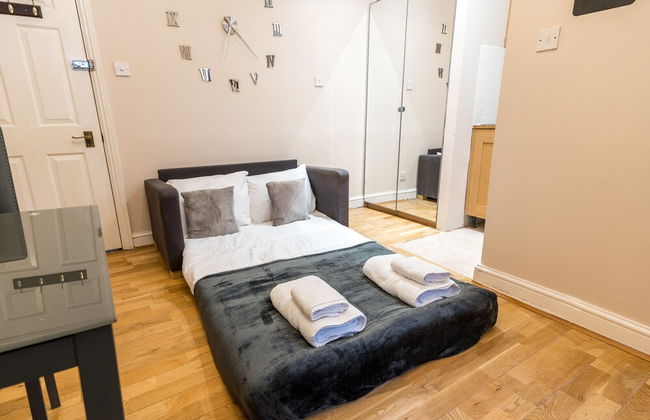
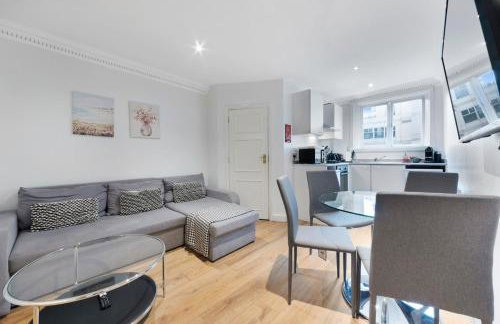
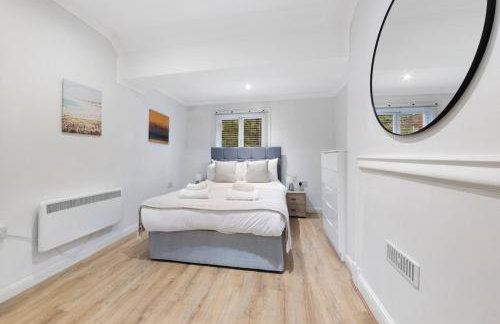
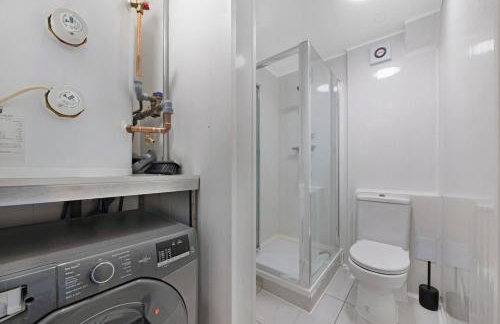
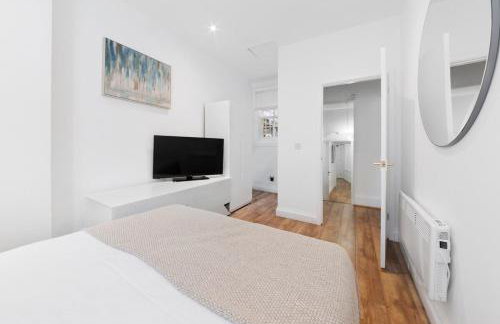
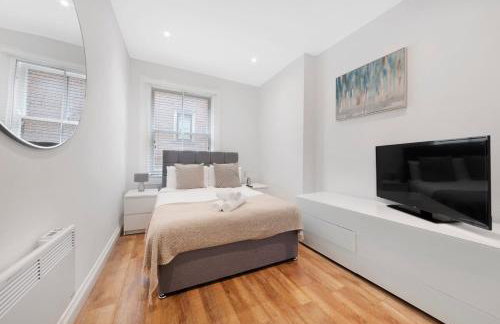
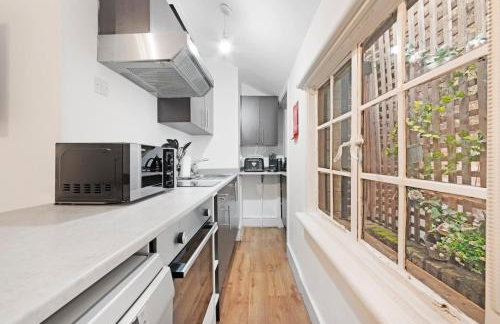
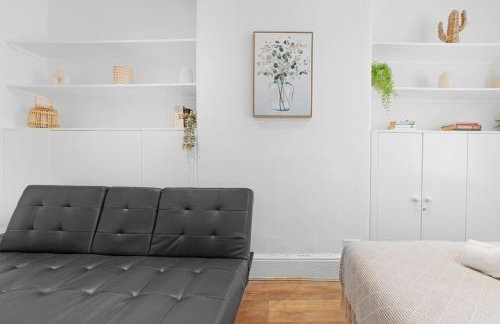
Cockspur Street - Foto 3
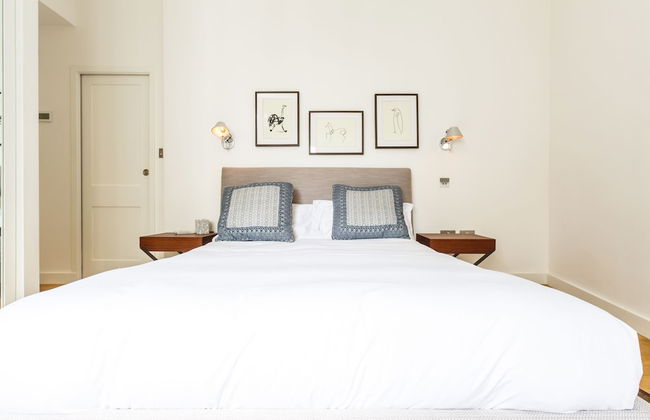
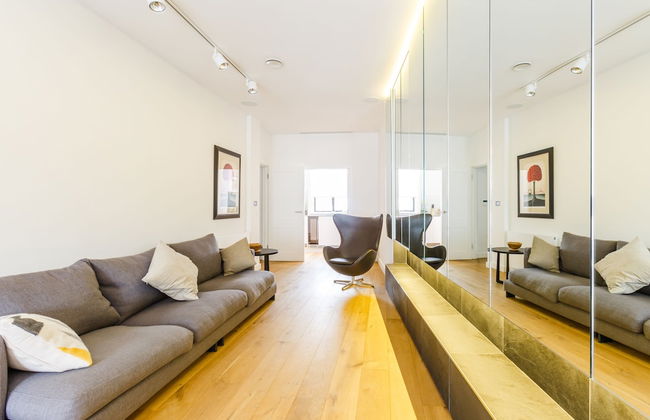
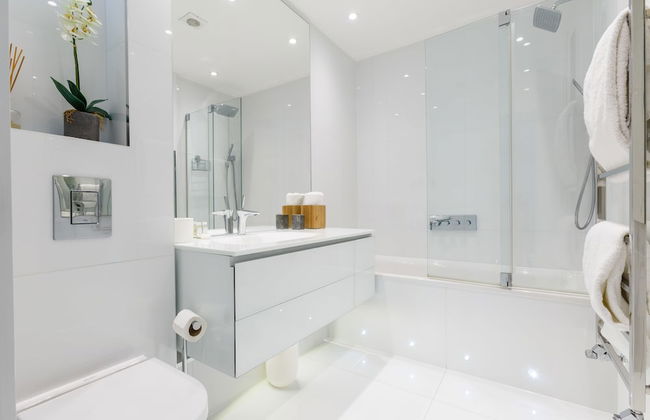
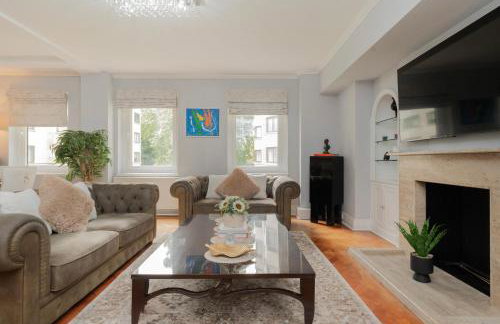
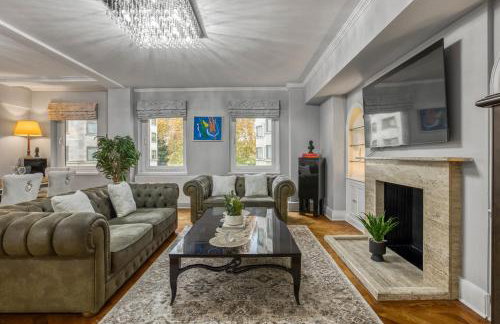
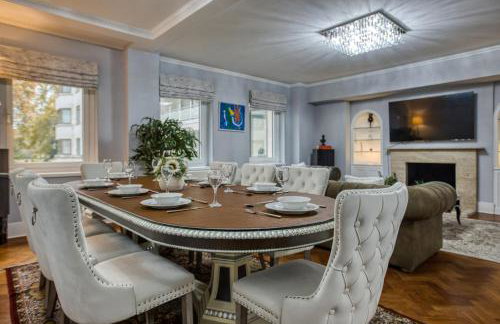
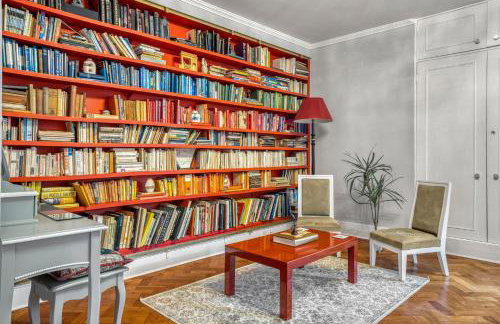
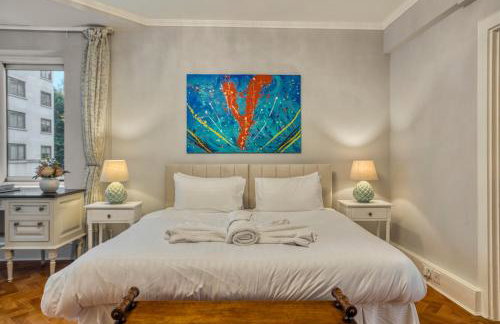
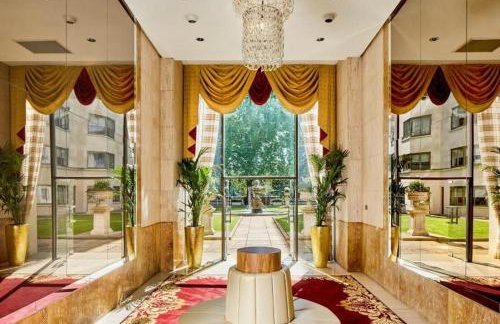
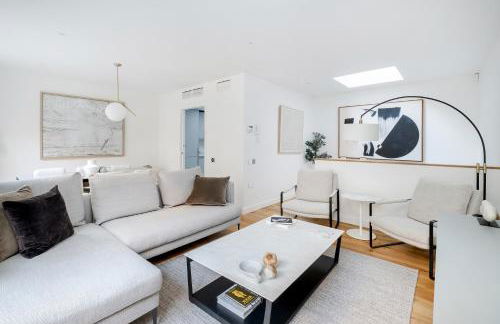
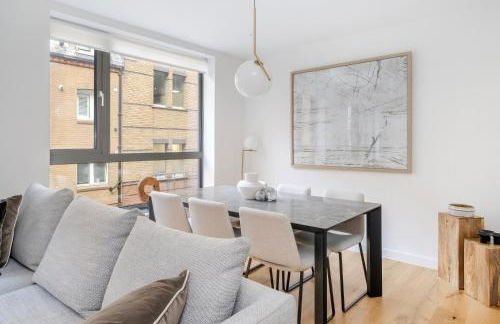
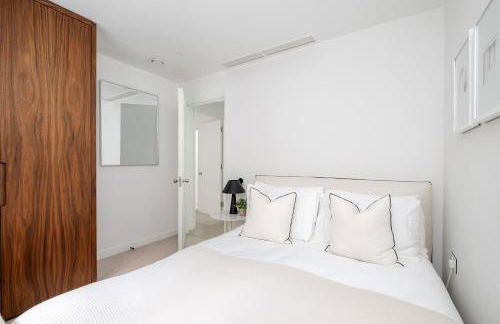
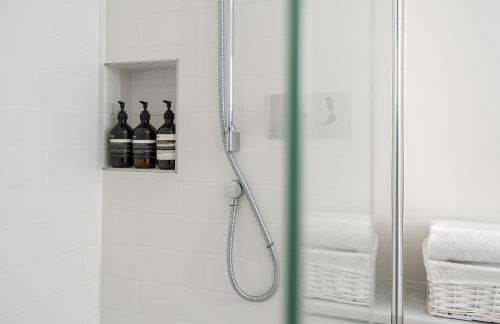
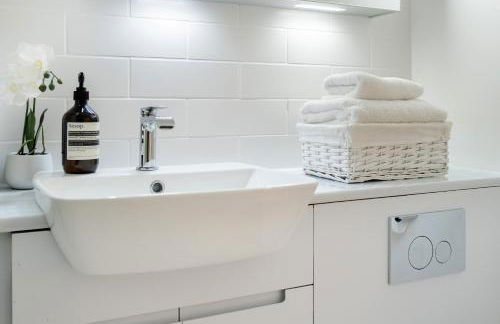
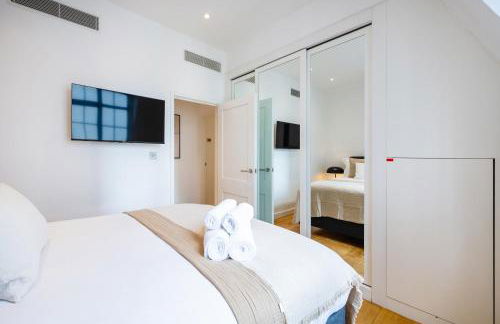
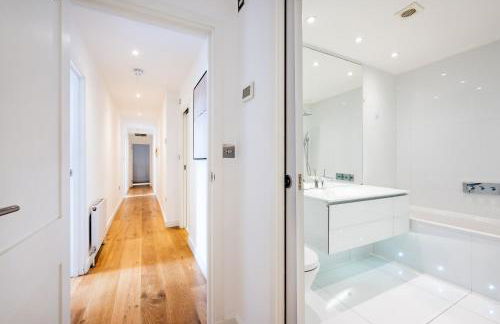
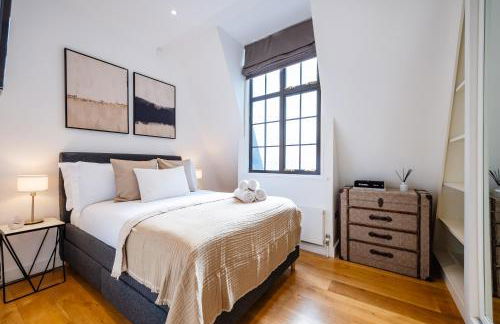
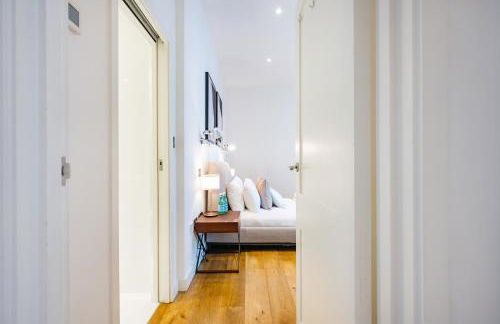
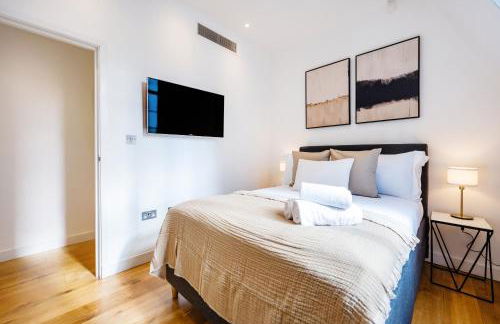
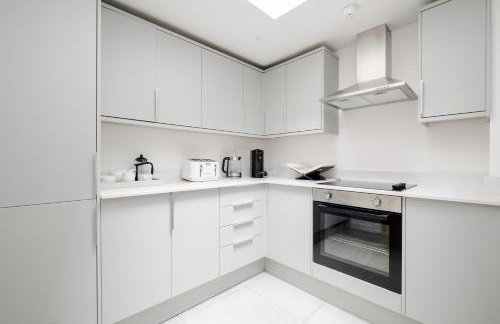
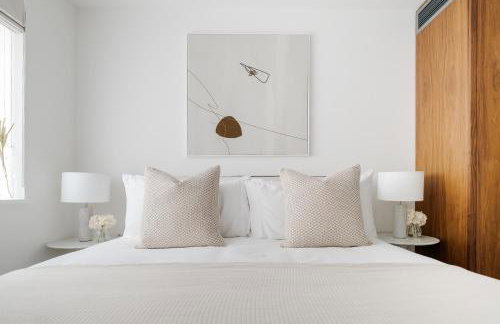
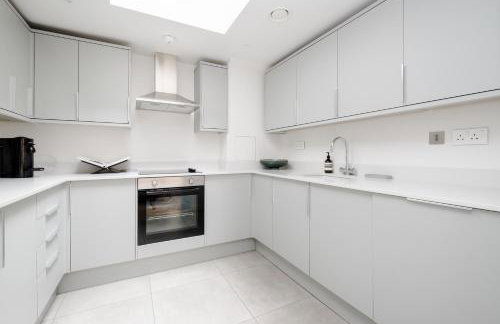
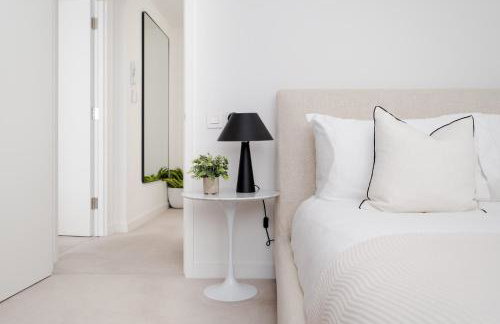
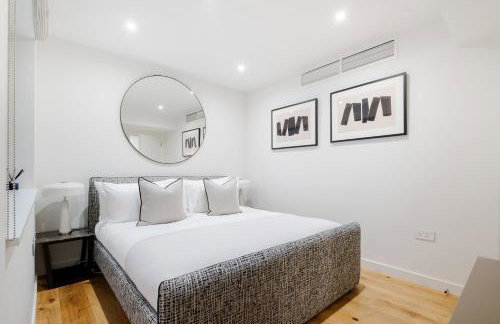
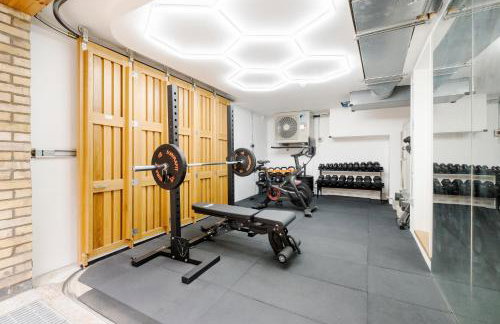
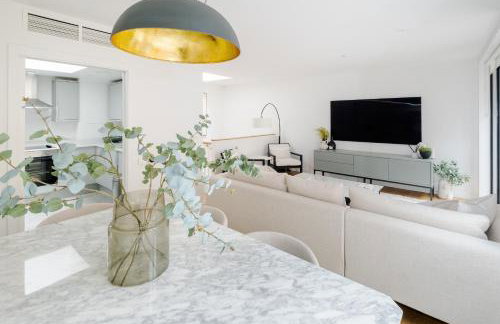
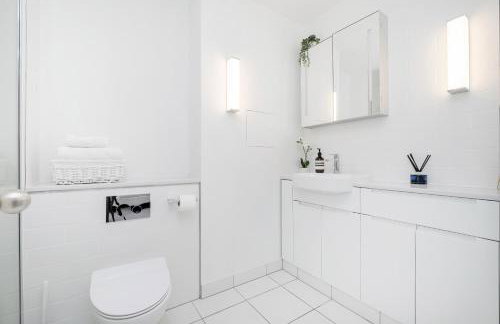
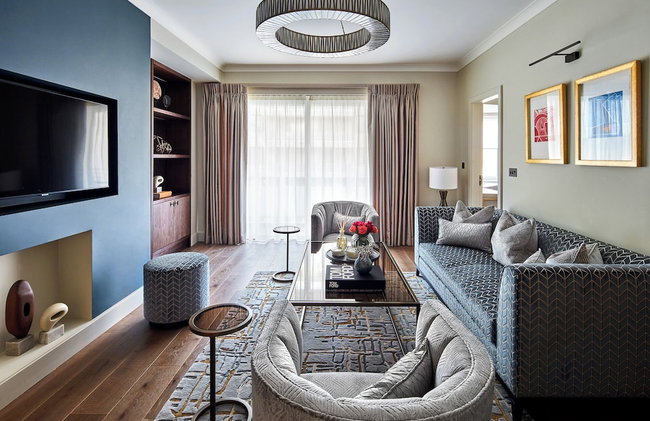
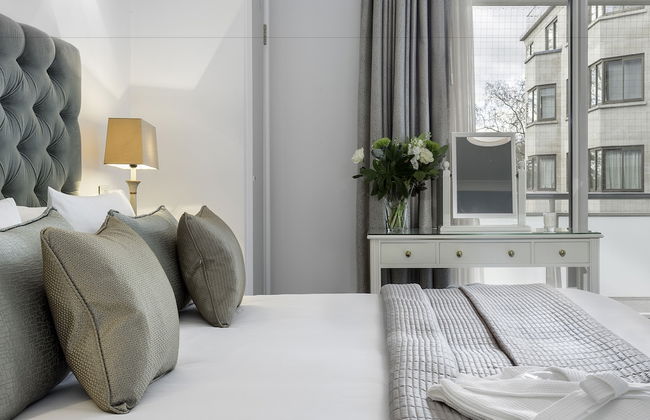
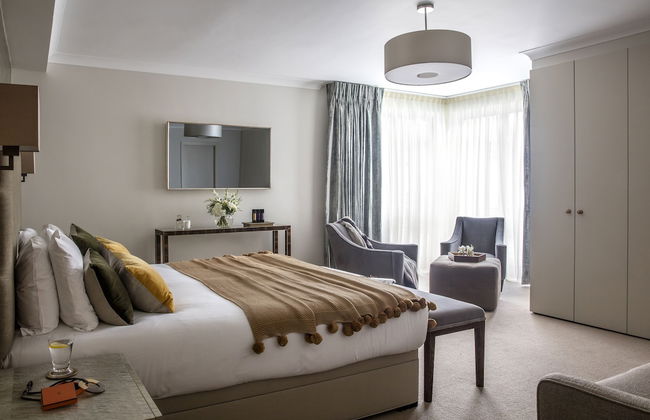
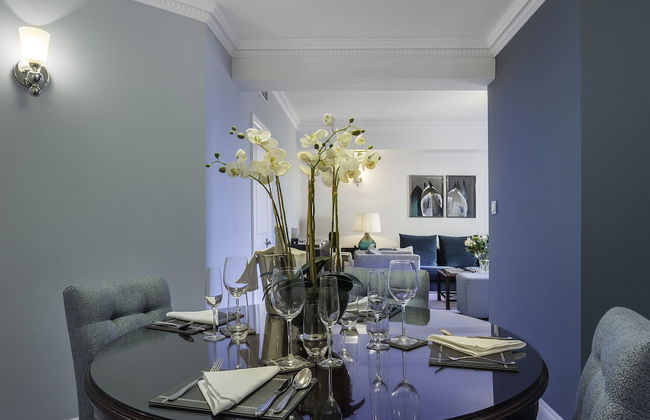
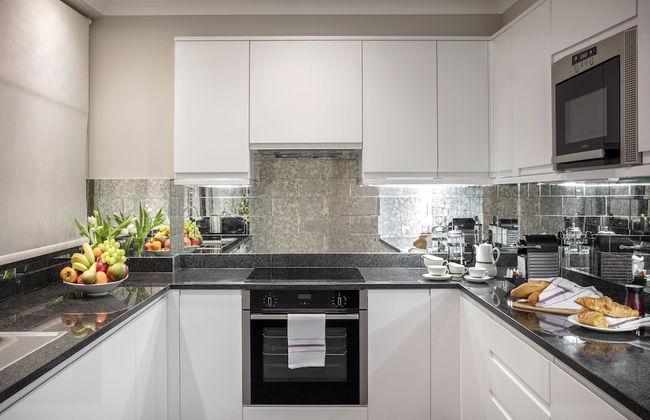
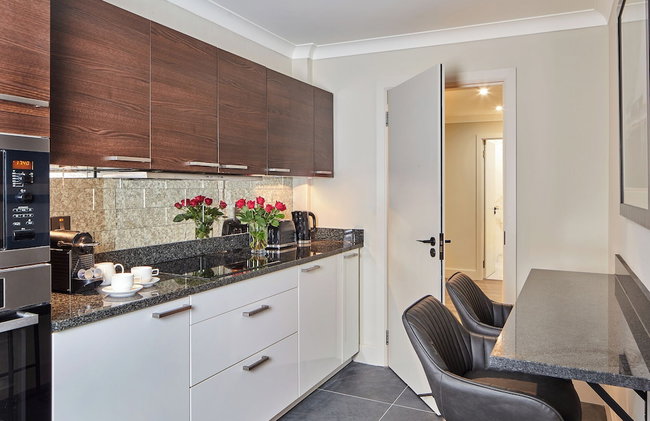
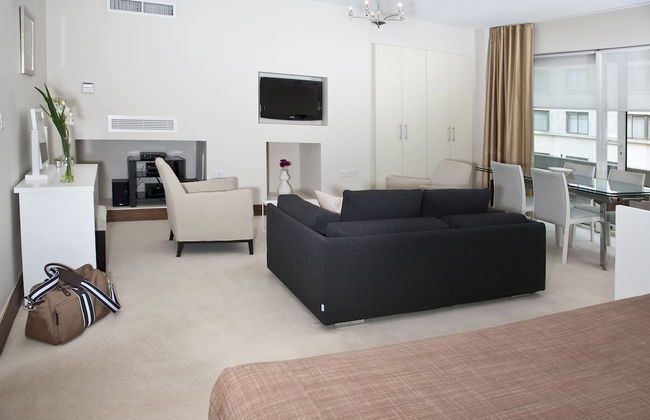
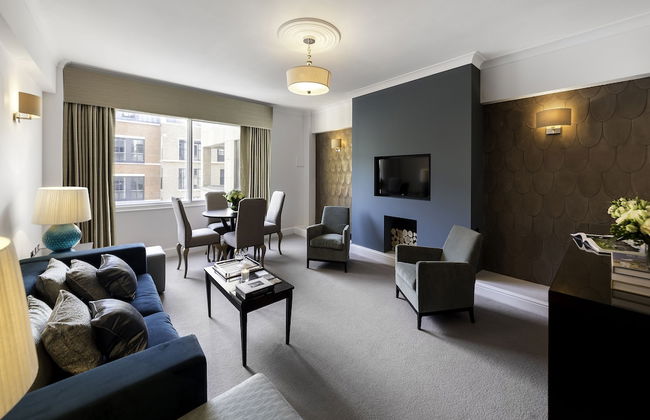
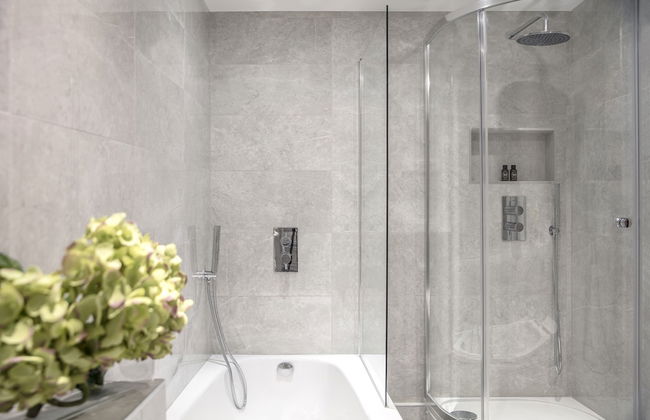
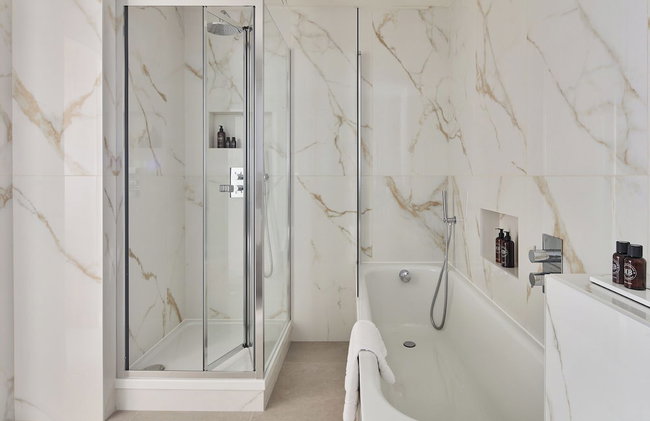
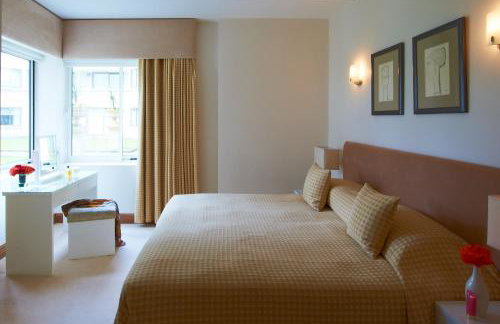
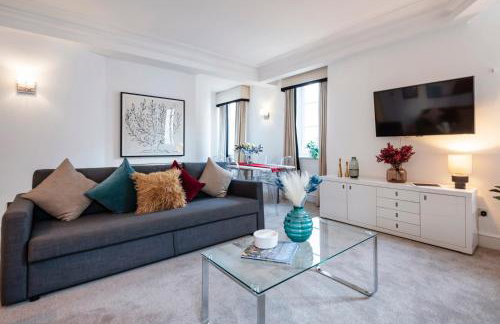
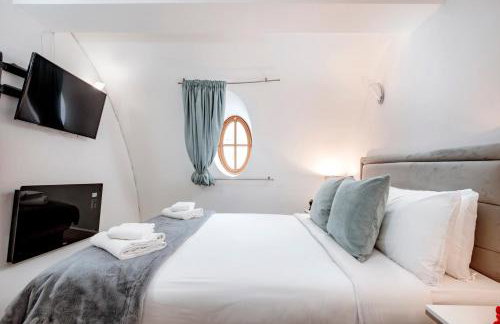
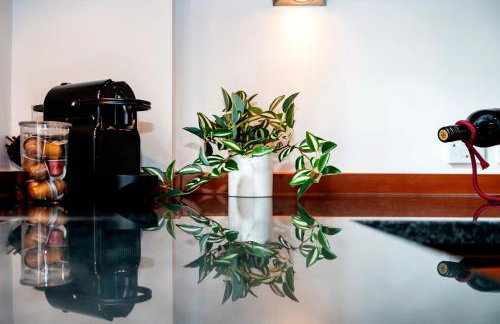
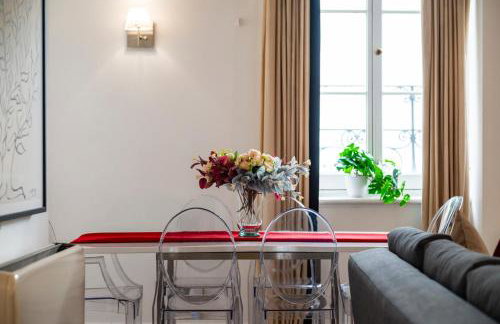
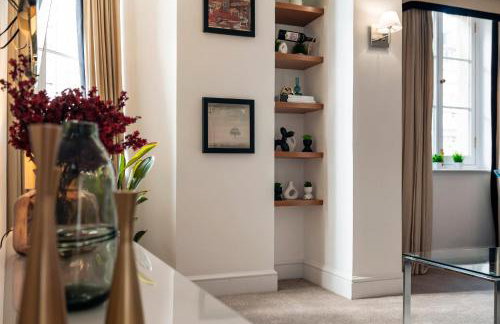
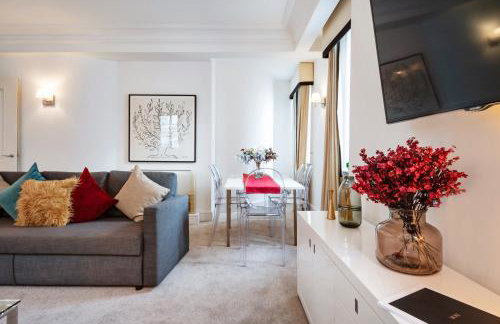
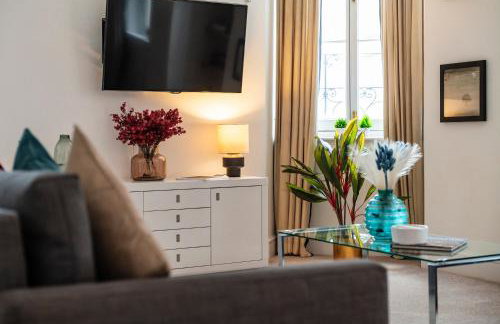
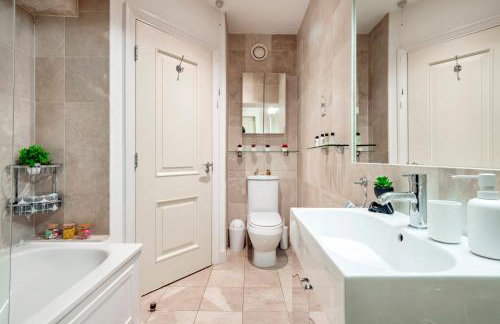
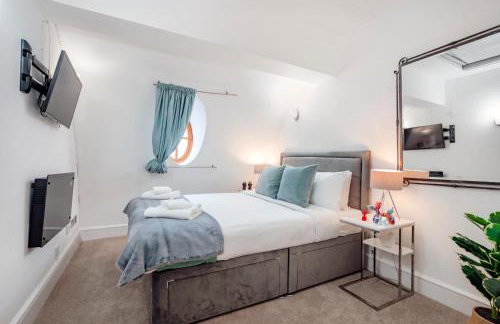
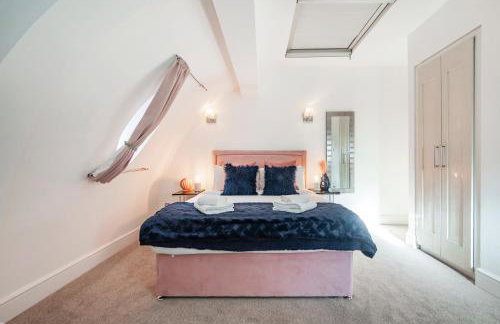
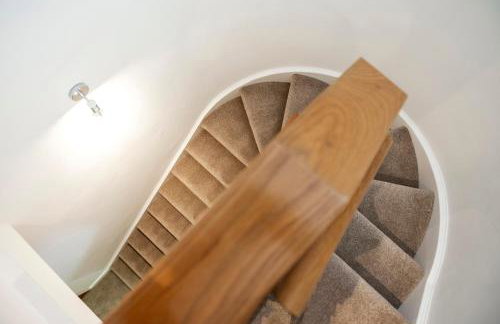
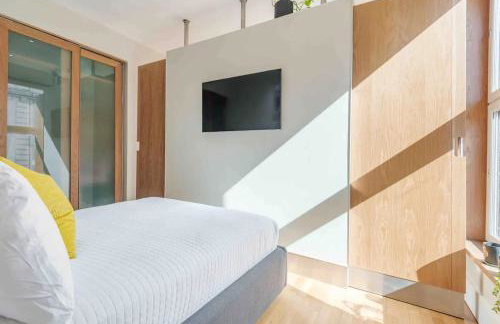
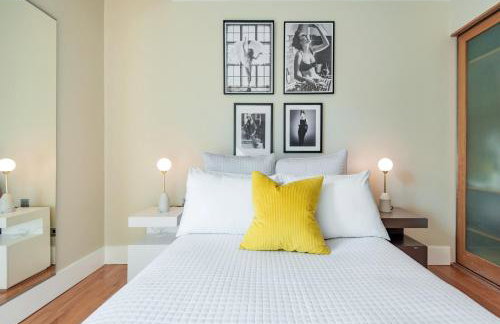
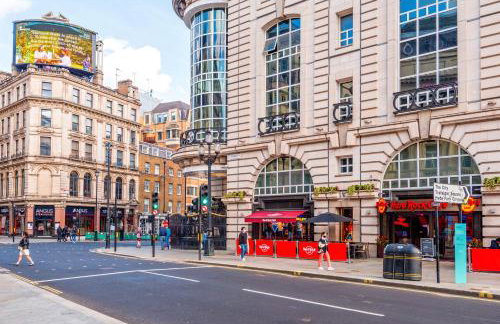
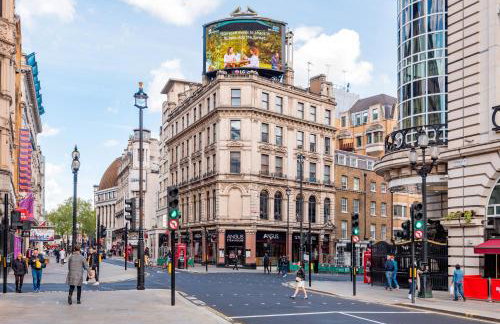
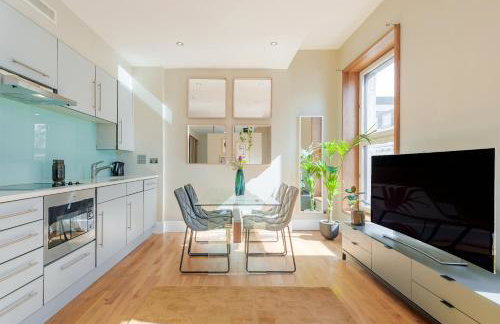
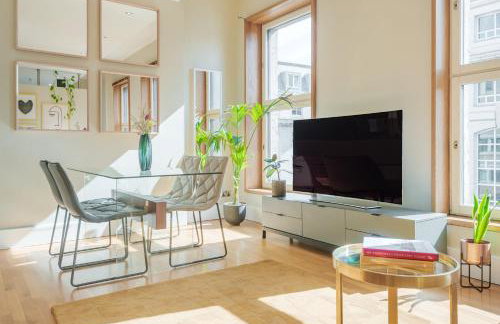
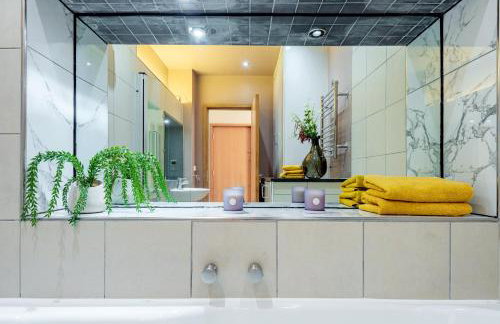
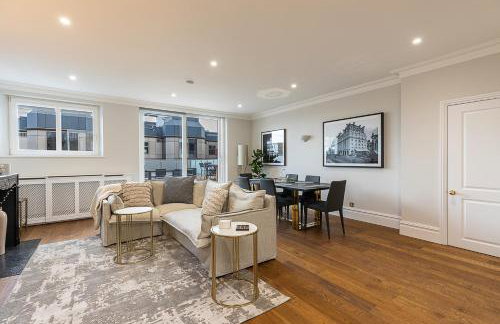
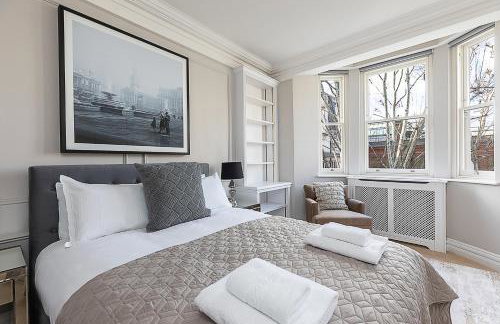
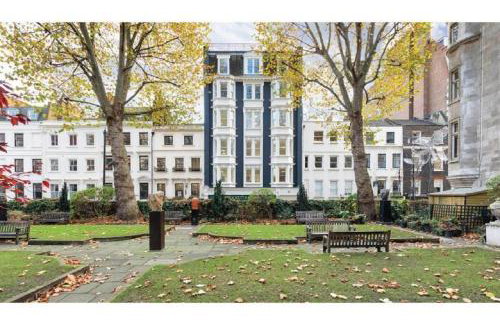
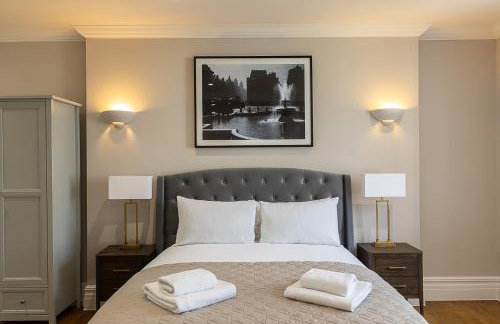
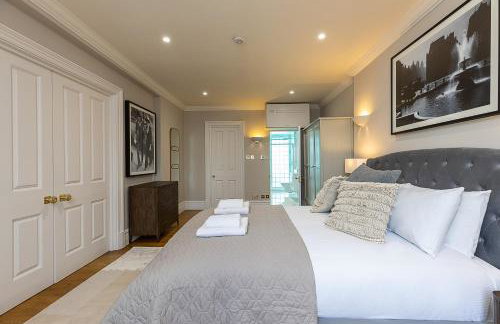
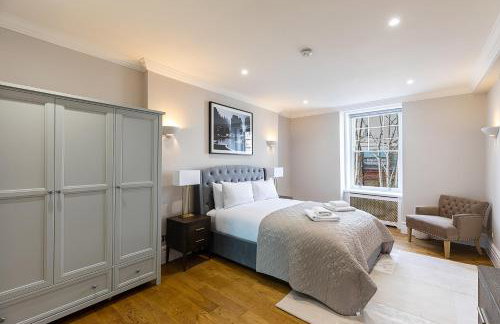
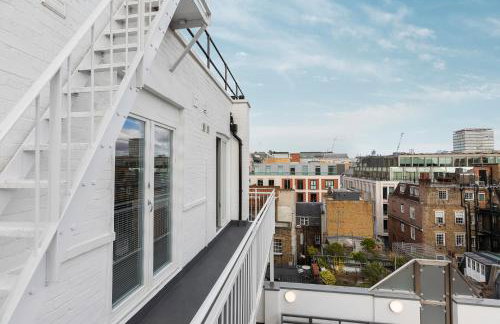
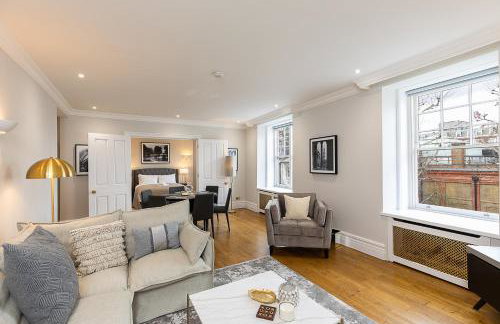
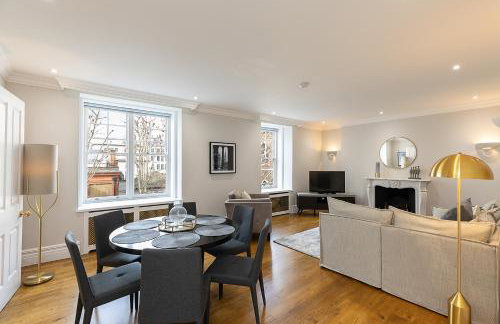
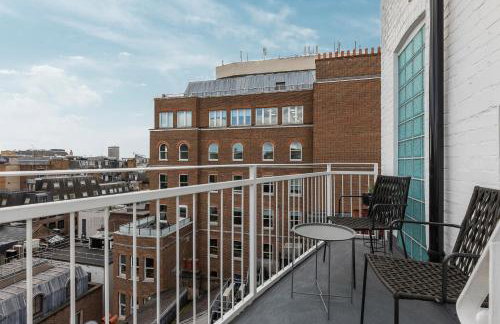
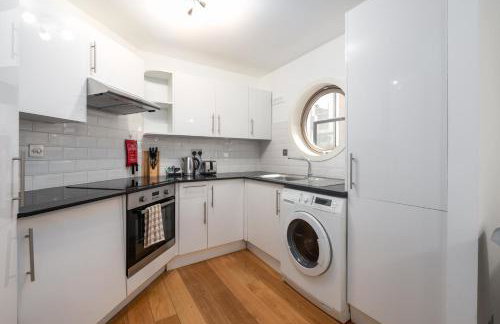
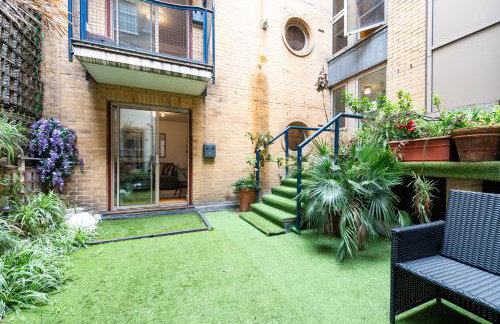
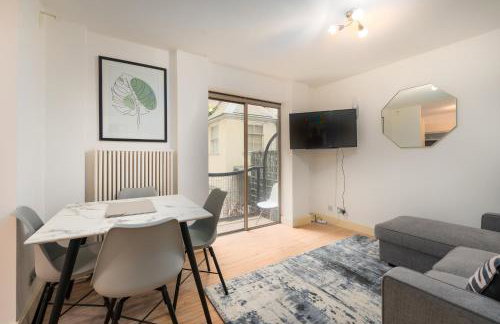
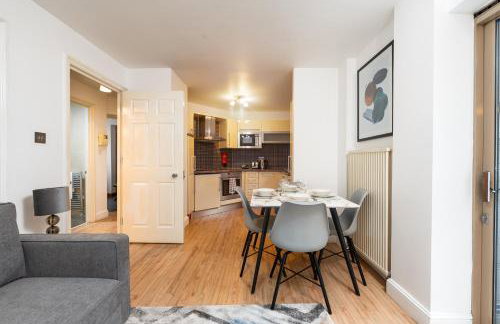
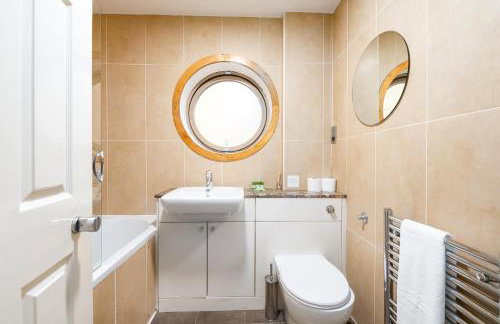
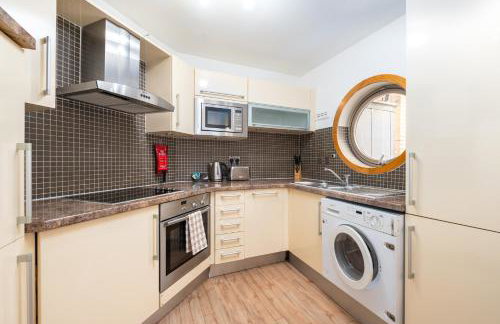
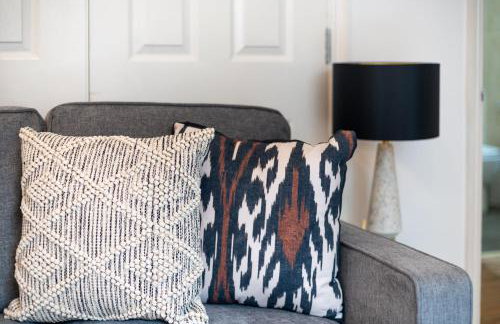
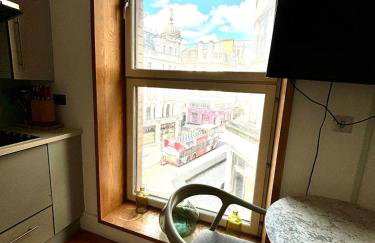
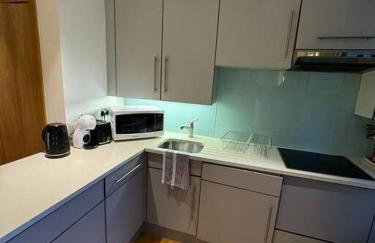
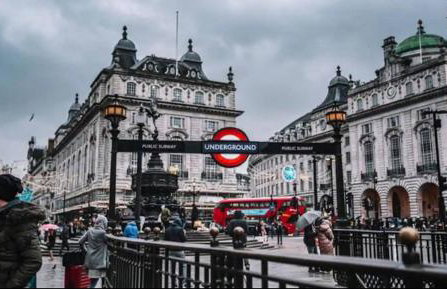
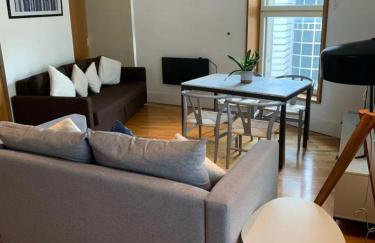
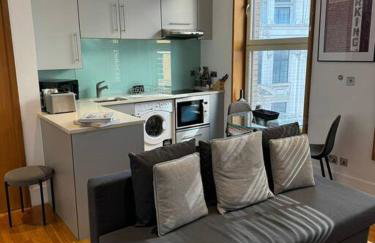
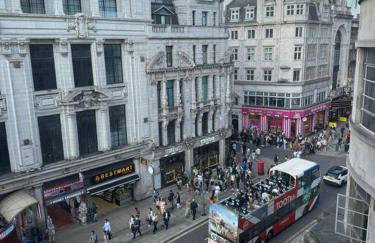
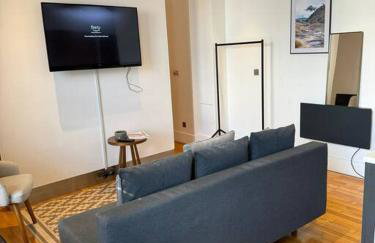
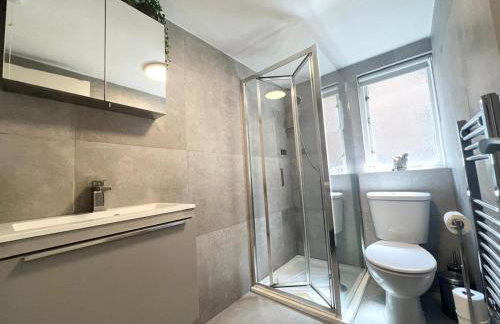
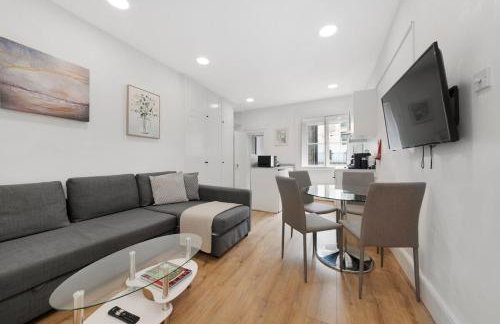
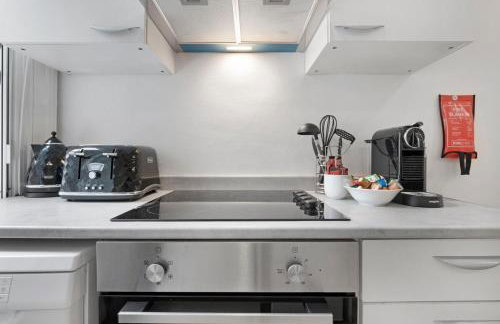
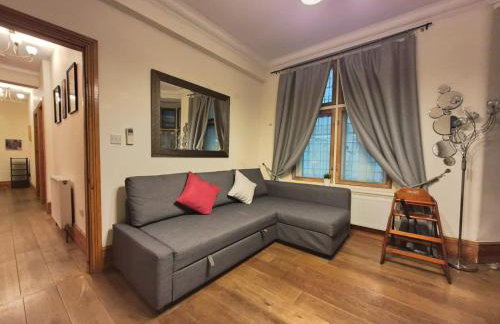
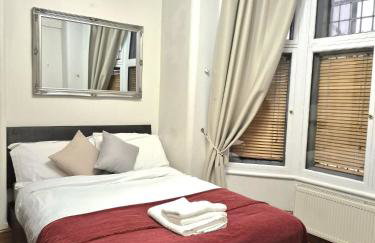
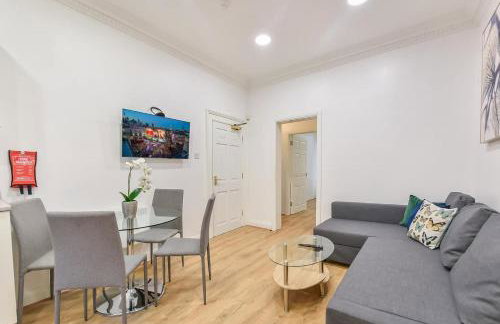
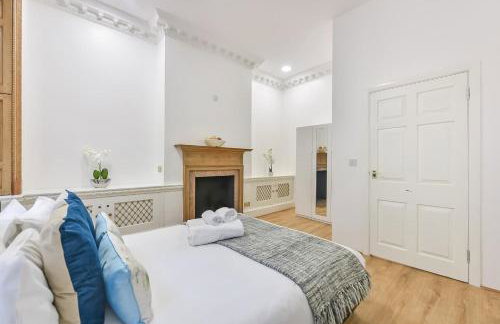
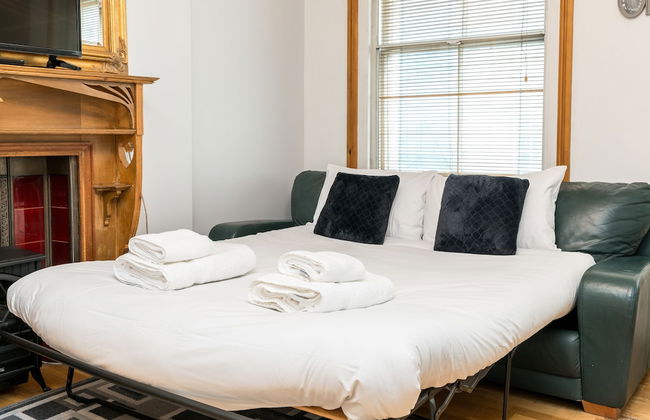
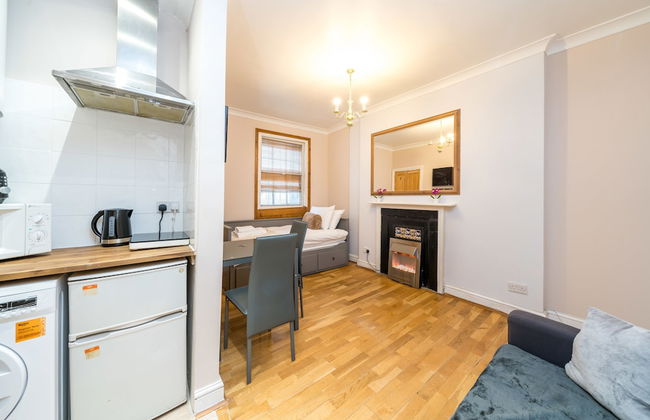
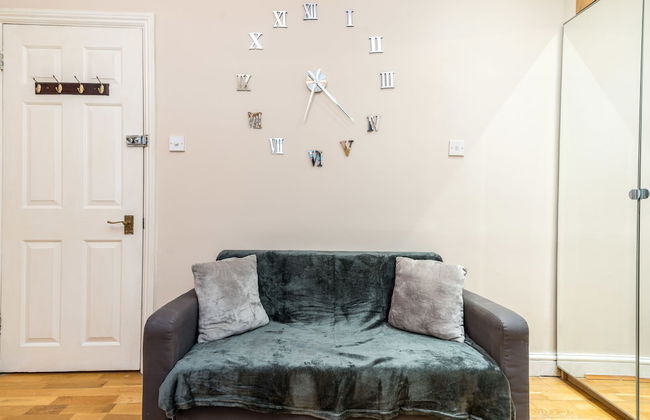
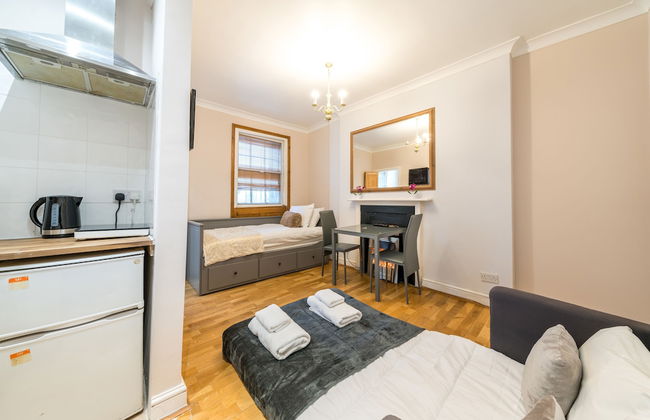
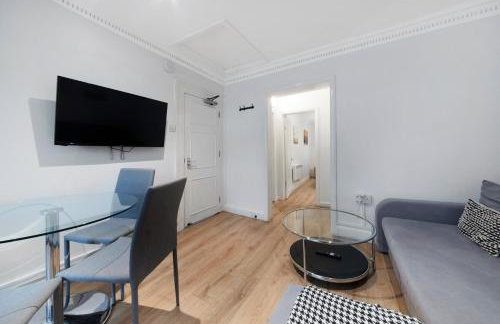
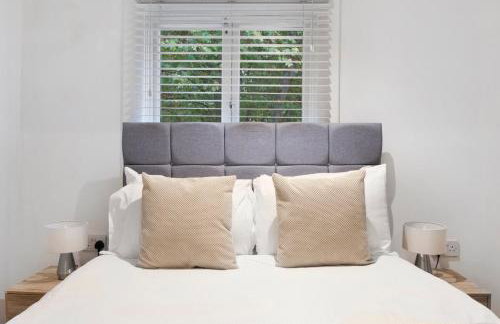
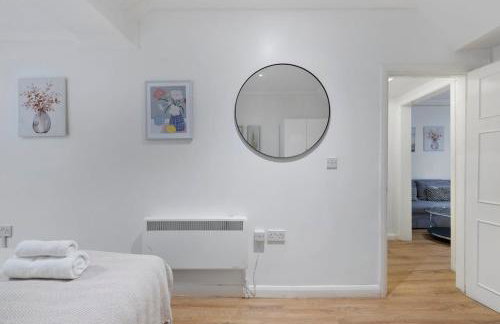
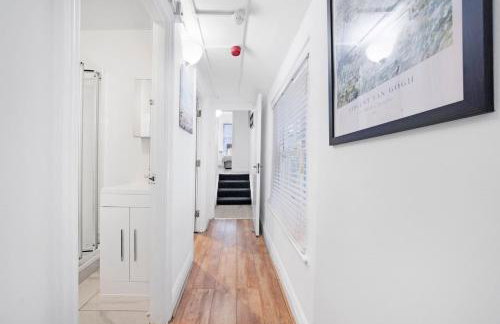
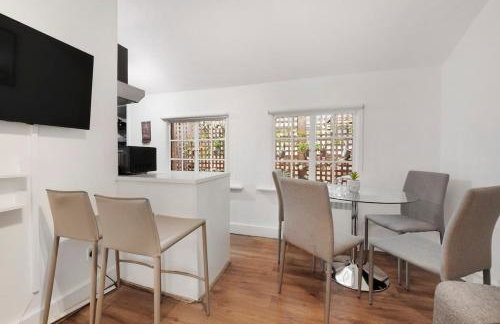
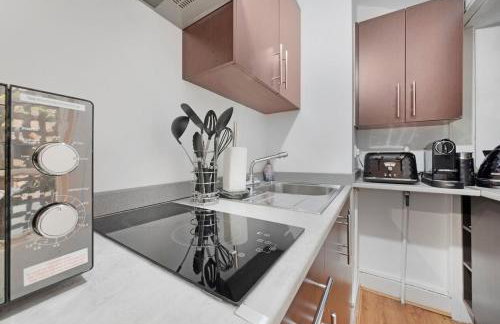
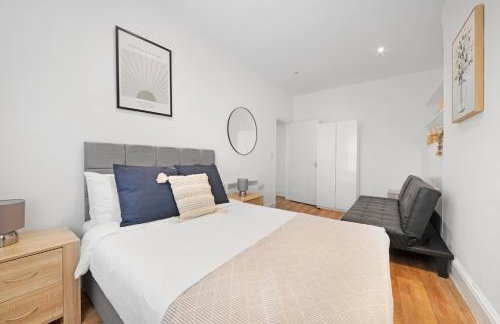
Cockspur Street - Foto 4
Cockspur Street - Foto 5
Cockspur Street - Foto 6
Cockspur Street - Foto 7
Cockspur Street - Foto 8
Cockspur Street - Foto 9
Cockspur Street - Foto 10
Cockspur Street - Foto 11
Cockspur Street - Foto 12
Cockspur Street - Foto 13
Cockspur Street - Foto 14
Cockspur Street - Foto 15
Cockspur Street - Foto 16
Cockspur Street - Foto 17
Cockspur Street - Foto 18

Cockspur Street

Londra - St James's - Al centro

  • 116 M2
  • 6 persone
  • Aria condizionata
  • Ascensore
  • Tv
  • Lavatrice
  • Lino da bagno
  • Lino da letto
10Magnifico | 2 recensioni
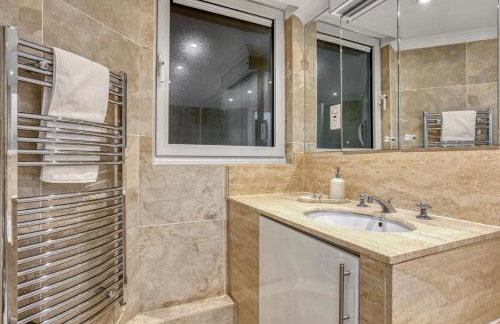
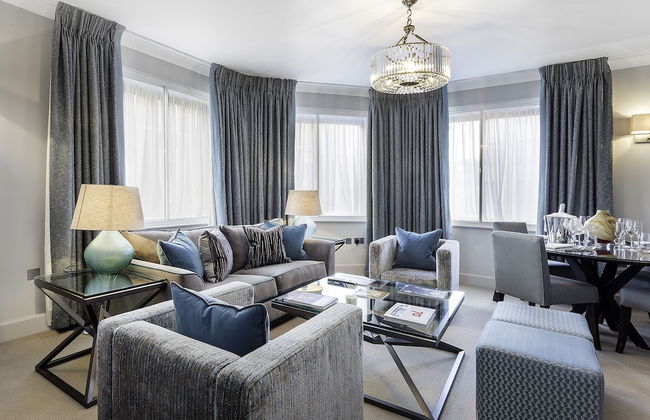
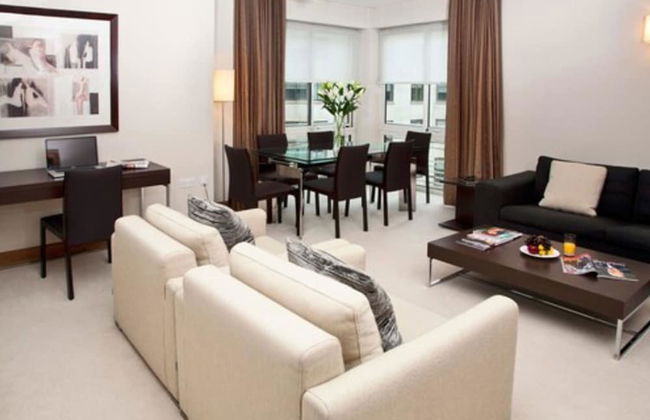
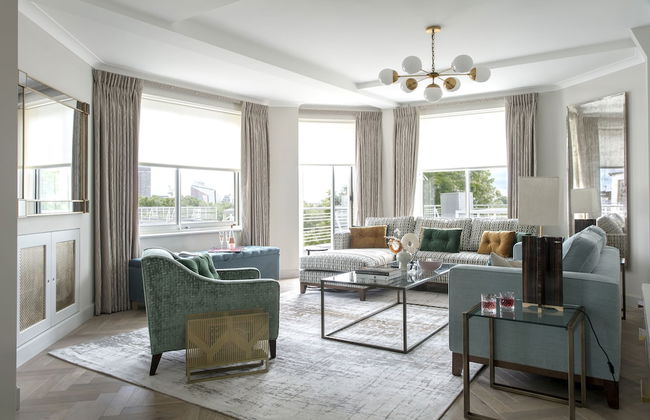
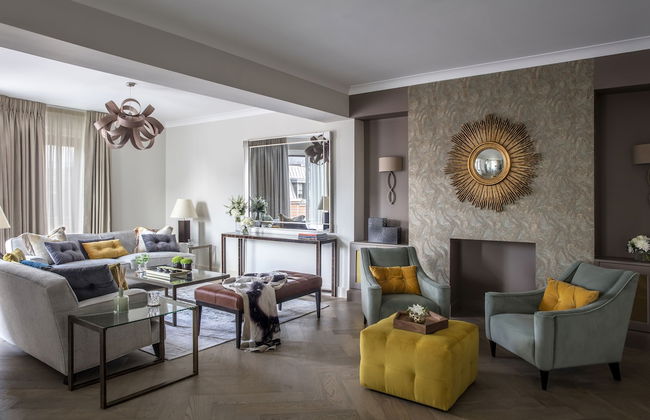
The Grande Mayfair Apartment - Foto 1
The Grande Mayfair Apartment - Foto 2
The Grande Mayfair Apartment - Foto 3
The Grande Mayfair Apartment - Foto 4
The Grande Mayfair Apartment - Foto 5
The Grande Mayfair Apartment - Foto 6
The Grande Mayfair Apartment - Foto 7
The Grande Mayfair Apartment - Foto 8
The Grande Mayfair Apartment - Foto 9
The Grande Mayfair Apartment - Foto 10
The Grande Mayfair Apartment - Foto 11
The Grande Mayfair Apartment - Foto 12
The Grande Mayfair Apartment - Foto 13
The Grande Mayfair Apartment - Foto 14
The Grande Mayfair Apartment - Foto 15
The Grande Mayfair Apartment - Foto 16
The Grande Mayfair Apartment - Foto 17
The Grande Mayfair Apartment - Foto 18
The Grande Mayfair Apartment - Foto 19
The Grande Mayfair Apartment - Foto 20
The Grande Mayfair Apartment - Foto 21
The Grande Mayfair Apartment - Foto 22
The Grande Mayfair Apartment - Foto 23
The Grande Mayfair Apartment - Foto 24
The Grande Mayfair Apartment - Foto 25
The Grande Mayfair Apartment - Foto 26
The Grande Mayfair Apartment - Foto 27
The Grande Mayfair Apartment - Foto 28
The Grande Mayfair Apartment - Foto 29
The Grande Mayfair Apartment - Foto 30
The Grande Mayfair Apartment - Foto 31
The Grande Mayfair Apartment - Foto 32
The Grande Mayfair Apartment - Foto 33
The Grande Mayfair Apartment - Foto 34
The Grande Mayfair Apartment - Foto 35
The Grande Mayfair Apartment - Foto 36
The Grande Mayfair Apartment - Foto 37
The Grande Mayfair Apartment - Foto 38
The Grande Mayfair Apartment - Foto 39
The Grande Mayfair Apartment - Foto 40
The Grande Mayfair Apartment - Foto 41
The Grande Mayfair Apartment - Foto 42

The Grande Mayfair Apartment

Londra - St James's - 420 m dal centro

  • 175 M2
  • 3 camere
  • 7 persone
  • Aria condizionata
  • Riscaldamento
  • Parcheggio
  • Ascensore
  • Giardino
9.7Eccezionale | 13 recensioni
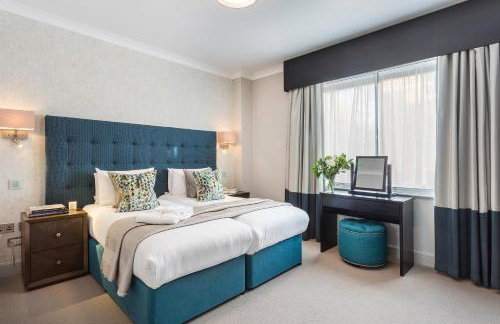
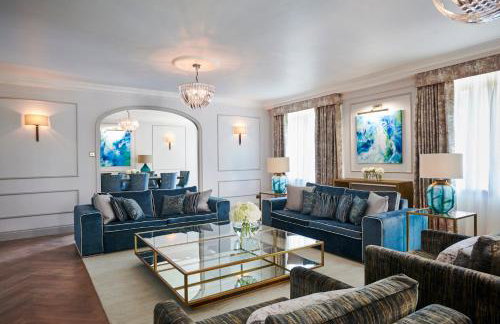
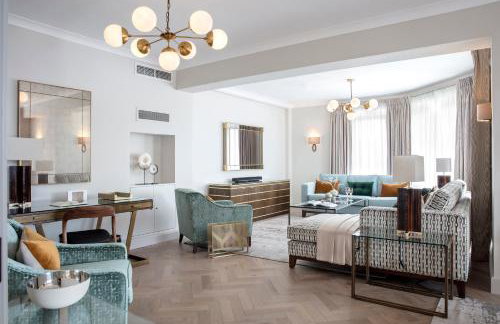
Luxury Central Mayfair Townhouse with AC 3BR 3BA - Foto 1
Luxury Central Mayfair Townhouse with AC 3BR 3BA - Foto 2
Luxury Central Mayfair Townhouse with AC 3BR 3BA - Foto 3
Luxury Central Mayfair Townhouse with AC 3BR 3BA - Foto 4
Luxury Central Mayfair Townhouse with AC 3BR 3BA - Foto 5
Luxury Central Mayfair Townhouse with AC 3BR 3BA - Foto 6
Luxury Central Mayfair Townhouse with AC 3BR 3BA - Foto 7
Luxury Central Mayfair Townhouse with AC 3BR 3BA - Foto 8
Luxury Central Mayfair Townhouse with AC 3BR 3BA - Foto 9
Luxury Central Mayfair Townhouse with AC 3BR 3BA - Foto 10
Luxury Central Mayfair Townhouse with AC 3BR 3BA - Foto 11
Luxury Central Mayfair Townhouse with AC 3BR 3BA - Foto 12
Luxury Central Mayfair Townhouse with AC 3BR 3BA - Foto 13
Luxury Central Mayfair Townhouse with AC 3BR 3BA - Foto 14
Luxury Central Mayfair Townhouse with AC 3BR 3BA - Foto 15
Luxury Central Mayfair Townhouse with AC 3BR 3BA - Foto 16
Luxury Central Mayfair Townhouse with AC 3BR 3BA - Foto 17
Luxury Central Mayfair Townhouse with AC 3BR 3BA - Foto 18
Luxury Central Mayfair Townhouse with AC 3BR 3BA - Foto 19
Luxury Central Mayfair Townhouse with AC 3BR 3BA - Foto 20
Luxury Central Mayfair Townhouse with AC 3BR 3BA - Foto 21
Luxury Central Mayfair Townhouse with AC 3BR 3BA - Foto 22
Luxury Central Mayfair Townhouse with AC 3BR 3BA - Foto 23
Luxury Central Mayfair Townhouse with AC 3BR 3BA - Foto 24
Luxury Central Mayfair Townhouse with AC 3BR 3BA - Foto 25
Luxury Central Mayfair Townhouse with AC 3BR 3BA - Foto 26
Luxury Central Mayfair Townhouse with AC 3BR 3BA - Foto 27
Luxury Central Mayfair Townhouse with AC 3BR 3BA - Foto 28
Luxury Central Mayfair Townhouse with AC 3BR 3BA - Foto 29
Luxury Central Mayfair Townhouse with AC 3BR 3BA - Foto 30
Luxury Central Mayfair Townhouse with AC 3BR 3BA - Foto 31
Luxury Central Mayfair Townhouse with AC 3BR 3BA - Foto 32
Luxury Central Mayfair Townhouse with AC 3BR 3BA - Foto 33
Luxury Central Mayfair Townhouse with AC 3BR 3BA - Foto 34
Luxury Central Mayfair Townhouse with AC 3BR 3BA - Foto 35
Luxury Central Mayfair Townhouse with AC 3BR 3BA - Foto 36

Luxury Central Mayfair Townhouse with AC 3BR 3BA

Londra - St James's - Al centro

  • 158 M2
  • 3 camere
  • 6 persone
  • Aria condizionata
  • Riscaldamento
  • Parcheggio
10Magnifico | 15 recensioni
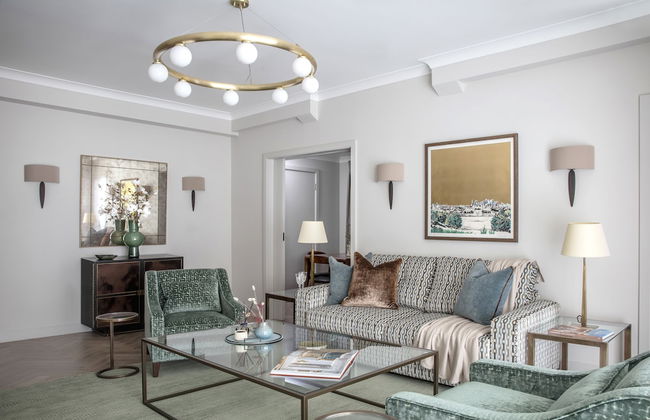
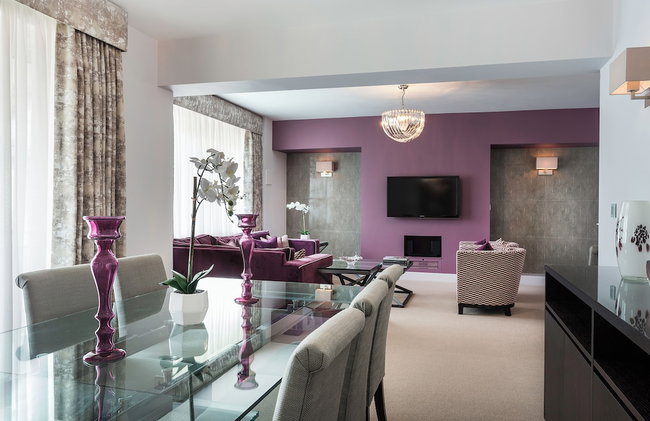
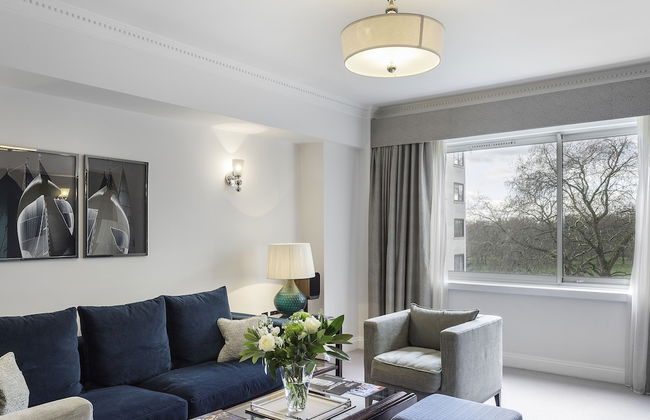
Apt with Aircon 3 Bedr, 4 Beds, 2 Bath Trafalgar SQ - Foto 1
Apt with Aircon 3 Bedr, 4 Beds, 2 Bath Trafalgar SQ - Foto 2
Apt with Aircon 3 Bedr, 4 Beds, 2 Bath Trafalgar SQ - Foto 3
Apt with Aircon 3 Bedr, 4 Beds, 2 Bath Trafalgar SQ - Foto 4
Apt with Aircon 3 Bedr, 4 Beds, 2 Bath Trafalgar SQ - Foto 5
Apt with Aircon 3 Bedr, 4 Beds, 2 Bath Trafalgar SQ - Foto 6
Apt with Aircon 3 Bedr, 4 Beds, 2 Bath Trafalgar SQ - Foto 7
Apt with Aircon 3 Bedr, 4 Beds, 2 Bath Trafalgar SQ - Foto 8
Apt with Aircon 3 Bedr, 4 Beds, 2 Bath Trafalgar SQ - Foto 9
Apt with Aircon 3 Bedr, 4 Beds, 2 Bath Trafalgar SQ - Foto 10
Apt with Aircon 3 Bedr, 4 Beds, 2 Bath Trafalgar SQ - Foto 11
Apt with Aircon 3 Bedr, 4 Beds, 2 Bath Trafalgar SQ - Foto 12
Apt with Aircon 3 Bedr, 4 Beds, 2 Bath Trafalgar SQ - Foto 13
Apt with Aircon 3 Bedr, 4 Beds, 2 Bath Trafalgar SQ - Foto 14
Apt with Aircon 3 Bedr, 4 Beds, 2 Bath Trafalgar SQ - Foto 15
Apt with Aircon 3 Bedr, 4 Beds, 2 Bath Trafalgar SQ - Foto 16
Apt with Aircon 3 Bedr, 4 Beds, 2 Bath Trafalgar SQ - Foto 17
Apt with Aircon 3 Bedr, 4 Beds, 2 Bath Trafalgar SQ - Foto 18
Apt with Aircon 3 Bedr, 4 Beds, 2 Bath Trafalgar SQ - Foto 19
Apt with Aircon 3 Bedr, 4 Beds, 2 Bath Trafalgar SQ - Foto 20
Apt with Aircon 3 Bedr, 4 Beds, 2 Bath Trafalgar SQ - Foto 21
Apt with Aircon 3 Bedr, 4 Beds, 2 Bath Trafalgar SQ - Foto 22
Apt with Aircon 3 Bedr, 4 Beds, 2 Bath Trafalgar SQ - Foto 23
Apt with Aircon 3 Bedr, 4 Beds, 2 Bath Trafalgar SQ - Foto 24
Apt with Aircon 3 Bedr, 4 Beds, 2 Bath Trafalgar SQ - Foto 25
Apt with Aircon 3 Bedr, 4 Beds, 2 Bath Trafalgar SQ - Foto 26
Apt with Aircon 3 Bedr, 4 Beds, 2 Bath Trafalgar SQ - Foto 27
Apt with Aircon 3 Bedr, 4 Beds, 2 Bath Trafalgar SQ - Foto 28
Apt with Aircon 3 Bedr, 4 Beds, 2 Bath Trafalgar SQ - Foto 29
Apt with Aircon 3 Bedr, 4 Beds, 2 Bath Trafalgar SQ - Foto 30
Apt with Aircon 3 Bedr, 4 Beds, 2 Bath Trafalgar SQ - Foto 31

Apt with Aircon 3 Bedr, 4 Beds, 2 Bath Trafalgar SQ

Londra - St James's - Al centro

  • 111 M2
  • 3 camere
  • 8 persone
  • Aria condizionata
  • Riscaldamento
  • Ascensore
9.4Eccezionale | 35 recensioni
Luxury Central Mayfair Townhouse with A/C 3BR 3BA - Foto 1
Luxury Central Mayfair Townhouse with A/C 3BR 3BA - Foto 2
Luxury Central Mayfair Townhouse with A/C 3BR 3BA - Foto 3
Luxury Central Mayfair Townhouse with A/C 3BR 3BA - Foto 4
Luxury Central Mayfair Townhouse with A/C 3BR 3BA - Foto 5
Luxury Central Mayfair Townhouse with A/C 3BR 3BA - Foto 6
Luxury Central Mayfair Townhouse with A/C 3BR 3BA - Foto 7
Luxury Central Mayfair Townhouse with A/C 3BR 3BA - Foto 8
Luxury Central Mayfair Townhouse with A/C 3BR 3BA - Foto 9
Luxury Central Mayfair Townhouse with A/C 3BR 3BA - Foto 10
Luxury Central Mayfair Townhouse with A/C 3BR 3BA - Foto 11
Luxury Central Mayfair Townhouse with A/C 3BR 3BA - Foto 12
Luxury Central Mayfair Townhouse with A/C 3BR 3BA - Foto 13
Luxury Central Mayfair Townhouse with A/C 3BR 3BA - Foto 14
Luxury Central Mayfair Townhouse with A/C 3BR 3BA - Foto 15
Luxury Central Mayfair Townhouse with A/C 3BR 3BA - Foto 16
Luxury Central Mayfair Townhouse with A/C 3BR 3BA - Foto 17
Luxury Central Mayfair Townhouse with A/C 3BR 3BA - Foto 18
Luxury Central Mayfair Townhouse with A/C 3BR 3BA - Foto 19
Luxury Central Mayfair Townhouse with A/C 3BR 3BA - Foto 20
Luxury Central Mayfair Townhouse with A/C 3BR 3BA - Foto 21
Luxury Central Mayfair Townhouse with A/C 3BR 3BA - Foto 22
Luxury Central Mayfair Townhouse with A/C 3BR 3BA - Foto 23
Luxury Central Mayfair Townhouse with A/C 3BR 3BA - Foto 24
Luxury Central Mayfair Townhouse with A/C 3BR 3BA - Foto 25
Luxury Central Mayfair Townhouse with A/C 3BR 3BA - Foto 26
Luxury Central Mayfair Townhouse with A/C 3BR 3BA - Foto 27
Luxury Central Mayfair Townhouse with A/C 3BR 3BA - Foto 28
Luxury Central Mayfair Townhouse with A/C 3BR 3BA - Foto 29
Luxury Central Mayfair Townhouse with A/C 3BR 3BA - Foto 30
Luxury Central Mayfair Townhouse with A/C 3BR 3BA - Foto 31
Luxury Central Mayfair Townhouse with A/C 3BR 3BA - Foto 32
Luxury Central Mayfair Townhouse with A/C 3BR 3BA - Foto 33
Luxury Central Mayfair Townhouse with A/C 3BR 3BA - Foto 34
Luxury Central Mayfair Townhouse with A/C 3BR 3BA - Foto 35
Luxury Central Mayfair Townhouse with A/C 3BR 3BA - Foto 36
Luxury Central Mayfair Townhouse with A/C 3BR 3BA - Foto 37
Luxury Central Mayfair Townhouse with A/C 3BR 3BA - Foto 38
Luxury Central Mayfair Townhouse with A/C 3BR 3BA - Foto 39
Luxury Central Mayfair Townhouse with A/C 3BR 3BA - Foto 40
Luxury Central Mayfair Townhouse with A/C 3BR 3BA - Foto 41
Luxury Central Mayfair Townhouse with A/C 3BR 3BA - Foto 42

Luxury Central Mayfair Townhouse with A/C 3BR 3BA

Londra - St James's - Al centro

  • 177 M2
  • 3 camere
  • 6 persone
  • Aria condizionata
  • Riscaldamento
  • Parcheggio
9.6Eccezionale | 10 recensioni
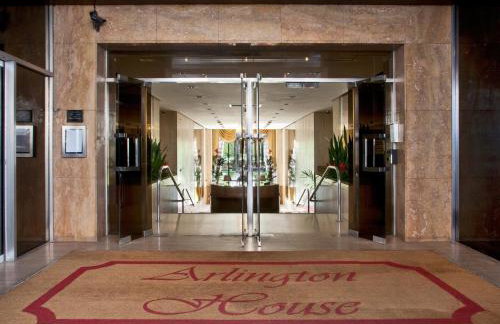
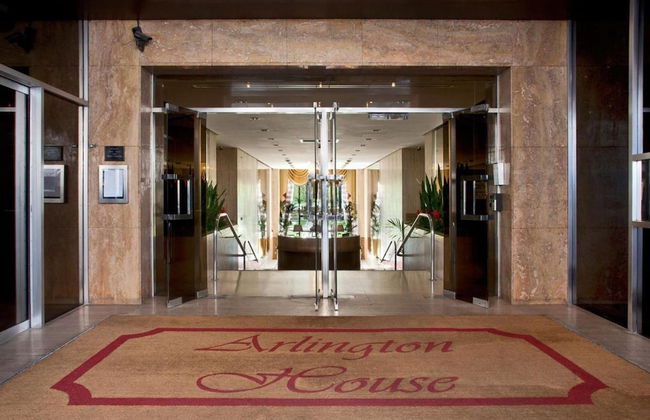
Arlington House Apartments - Foto 1
Arlington House Apartments - Foto 2
Arlington House Apartments - Foto 3
Arlington House Apartments - Foto 4
Arlington House Apartments - Foto 5
Arlington House Apartments - Foto 6
Arlington House Apartments - Foto 7
Arlington House Apartments - Foto 8
Arlington House Apartments - Foto 9
Arlington House Apartments - Foto 10
Arlington House Apartments - Foto 11
Arlington House Apartments - Foto 12
Arlington House Apartments - Foto 13
Arlington House Apartments - Foto 14
Arlington House Apartments - Foto 15
Arlington House Apartments - Foto 16
Arlington House Apartments - Foto 17
Arlington House Apartments - Foto 18
Arlington House Apartments - Foto 19
Arlington House Apartments - Foto 20
Arlington House Apartments - Foto 21
Arlington House Apartments - Foto 22
Arlington House Apartments - Foto 23
Arlington House Apartments - Foto 24
Arlington House Apartments - Foto 25
Arlington House Apartments - Foto 26
Arlington House Apartments - Foto 27
Arlington House Apartments - Foto 28
Arlington House Apartments - Foto 29
Arlington House Apartments - Foto 30
Arlington House Apartments - Foto 31
Arlington House Apartments - Foto 32
Arlington House Apartments - Foto 33
Arlington House Apartments - Foto 34
Arlington House Apartments - Foto 35
Arlington House Apartments - Foto 36
Arlington House Apartments - Foto 37
Arlington House Apartments - Foto 38
Arlington House Apartments - Foto 39
Arlington House Apartments - Foto 40
Arlington House Apartments - Foto 41
Arlington House Apartments - Foto 42
Arlington House Apartments - Foto 43
Arlington House Apartments - Foto 44
Arlington House Apartments - Foto 45
Arlington House Apartments - Foto 46
Arlington House Apartments - Foto 47
Arlington House Apartments - Foto 48
Arlington House Apartments - Foto 49
Arlington House Apartments - Foto 50
Arlington House Apartments - Foto 51
Arlington House Apartments - Foto 52
Arlington House Apartments - Foto 53
Arlington House Apartments - Foto 54
Arlington House Apartments - Foto 55
Arlington House Apartments - Foto 56
Arlington House Apartments - Foto 57
Arlington House Apartments - Foto 58
Arlington House Apartments - Foto 59
Arlington House Apartments - Foto 60
Arlington House Apartments - Foto 61
Arlington House Apartments - Foto 62
Arlington House Apartments - Foto 63
Arlington House Apartments - Foto 64
Arlington House Apartments - Foto 65
Arlington House Apartments - Foto 66
Arlington House Apartments - Foto 67
Arlington House Apartments - Foto 68
Arlington House Apartments - Foto 69
Arlington House Apartments - Foto 70
Arlington House Apartments - Foto 71
Arlington House Apartments - Foto 72
Arlington House Apartments - Foto 73
Arlington House Apartments - Foto 74
Arlington House Apartments - Foto 75
Arlington House Apartments - Foto 76
Arlington House Apartments - Foto 77
Arlington House Apartments - Foto 78
Arlington House Apartments - Foto 79
Arlington House Apartments - Foto 80
Arlington House Apartments - Foto 81
Arlington House Apartments - Foto 82
Arlington House Apartments - Foto 83
Arlington House Apartments - Foto 84
Arlington House Apartments - Foto 85
Arlington House Apartments - Foto 86
Arlington House Apartments - Foto 87
Arlington House Apartments - Foto 88
Arlington House Apartments - Foto 89
Arlington House Apartments - Foto 90
Arlington House Apartments - Foto 91
Arlington House Apartments - Foto 92
Arlington House Apartments - Foto 93
Arlington House Apartments - Foto 94

Arlington House Apartments

Londra - St James's - 440 m dal centro

  • 140 M2
  • 3 camere
  • 6 persone
  • Aria condizionata
  • Riscaldamento
  • Parcheggio
  • Ascensore
  • Giardino
  • Tv
  • Lavatrice
  • Lino da bagno
9Eccezionale | 342 recensioni
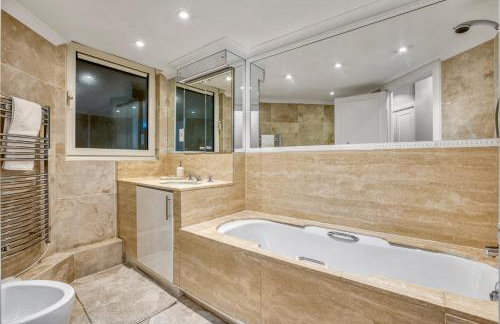
Welcome London Trafalgar Square - Foto 1
Welcome London Trafalgar Square - Foto 2
Welcome London Trafalgar Square - Foto 3
Welcome London Trafalgar Square - Foto 4
Welcome London Trafalgar Square - Foto 5
Welcome London Trafalgar Square - Foto 6
Welcome London Trafalgar Square - Foto 7
Welcome London Trafalgar Square - Foto 8
Welcome London Trafalgar Square - Foto 9
Welcome London Trafalgar Square - Foto 10
Welcome London Trafalgar Square - Foto 11
Welcome London Trafalgar Square - Foto 12
Welcome London Trafalgar Square - Foto 13
Welcome London Trafalgar Square - Foto 14
Welcome London Trafalgar Square - Foto 15
Welcome London Trafalgar Square - Foto 16
Welcome London Trafalgar Square - Foto 17
Welcome London Trafalgar Square - Foto 18
Welcome London Trafalgar Square - Foto 19
Welcome London Trafalgar Square - Foto 20
Welcome London Trafalgar Square - Foto 21
Welcome London Trafalgar Square - Foto 22
Welcome London Trafalgar Square - Foto 23
Welcome London Trafalgar Square - Foto 24
Welcome London Trafalgar Square - Foto 25
Welcome London Trafalgar Square - Foto 26
Welcome London Trafalgar Square - Foto 27
Welcome London Trafalgar Square - Foto 28
Welcome London Trafalgar Square - Foto 29
Welcome London Trafalgar Square - Foto 30
Welcome London Trafalgar Square - Foto 31
Welcome London Trafalgar Square - Foto 32
Welcome London Trafalgar Square - Foto 33
Welcome London Trafalgar Square - Foto 34
Welcome London Trafalgar Square - Foto 35
Welcome London Trafalgar Square - Foto 36
Welcome London Trafalgar Square - Foto 37
Welcome London Trafalgar Square - Foto 38
Welcome London Trafalgar Square - Foto 39
Welcome London Trafalgar Square - Foto 40
Welcome London Trafalgar Square - Foto 41
Welcome London Trafalgar Square - Foto 42
Welcome London Trafalgar Square - Foto 43
Welcome London Trafalgar Square - Foto 44
Welcome London Trafalgar Square - Foto 45
Welcome London Trafalgar Square - Foto 46
Welcome London Trafalgar Square - Foto 47
Welcome London Trafalgar Square - Foto 48
Welcome London Trafalgar Square - Foto 49
Welcome London Trafalgar Square - Foto 50
Welcome London Trafalgar Square - Foto 51
Welcome London Trafalgar Square - Foto 52
Welcome London Trafalgar Square - Foto 53
Welcome London Trafalgar Square - Foto 54
Welcome London Trafalgar Square - Foto 55
Welcome London Trafalgar Square - Foto 56
Welcome London Trafalgar Square - Foto 57
Welcome London Trafalgar Square - Foto 58
Welcome London Trafalgar Square - Foto 59
Welcome London Trafalgar Square - Foto 60
Welcome London Trafalgar Square - Foto 61
Welcome London Trafalgar Square - Foto 62
Welcome London Trafalgar Square - Foto 63
Welcome London Trafalgar Square - Foto 64
Welcome London Trafalgar Square - Foto 65
Welcome London Trafalgar Square - Foto 66
Welcome London Trafalgar Square - Foto 67
Welcome London Trafalgar Square - Foto 68
Welcome London Trafalgar Square - Foto 69
Welcome London Trafalgar Square - Foto 70
Welcome London Trafalgar Square - Foto 71
Welcome London Trafalgar Square - Foto 72
Welcome London Trafalgar Square - Foto 73
Welcome London Trafalgar Square - Foto 74
Welcome London Trafalgar Square - Foto 75

Welcome London Trafalgar Square

Londra - St James's - Al centro

  • 95 M2
  • 2 camere
  • 7 persone
  • Ascensore
9.2Eccezionale | 61 recensioni
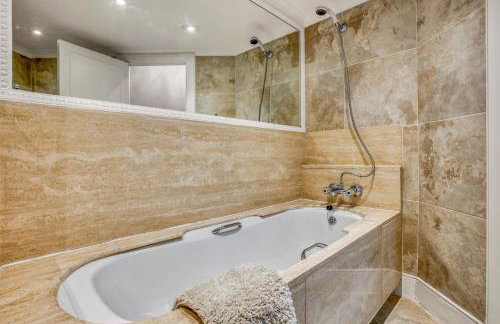
Welcome London Piccadilly Circus - Foto 1
Welcome London Piccadilly Circus - Foto 2
Welcome London Piccadilly Circus - Foto 3
Welcome London Piccadilly Circus - Foto 4
Welcome London Piccadilly Circus - Foto 5
Welcome London Piccadilly Circus - Foto 6
Welcome London Piccadilly Circus - Foto 7
Welcome London Piccadilly Circus - Foto 8
Welcome London Piccadilly Circus - Foto 9
Welcome London Piccadilly Circus - Foto 10
Welcome London Piccadilly Circus - Foto 11
Welcome London Piccadilly Circus - Foto 12
Welcome London Piccadilly Circus - Foto 13
Welcome London Piccadilly Circus - Foto 14
Welcome London Piccadilly Circus - Foto 15
Welcome London Piccadilly Circus - Foto 16
Welcome London Piccadilly Circus - Foto 17
Welcome London Piccadilly Circus - Foto 18
Welcome London Piccadilly Circus - Foto 19
Welcome London Piccadilly Circus - Foto 20
Welcome London Piccadilly Circus - Foto 21
Welcome London Piccadilly Circus - Foto 22
Welcome London Piccadilly Circus - Foto 23
Welcome London Piccadilly Circus - Foto 24
Welcome London Piccadilly Circus - Foto 25
Welcome London Piccadilly Circus - Foto 26
Welcome London Piccadilly Circus - Foto 27
Welcome London Piccadilly Circus - Foto 28
Welcome London Piccadilly Circus - Foto 29
Welcome London Piccadilly Circus - Foto 30
Welcome London Piccadilly Circus - Foto 31
Welcome London Piccadilly Circus - Foto 32
Welcome London Piccadilly Circus - Foto 33
Welcome London Piccadilly Circus - Foto 34
Welcome London Piccadilly Circus - Foto 35
Welcome London Piccadilly Circus - Foto 36
Welcome London Piccadilly Circus - Foto 37
Welcome London Piccadilly Circus - Foto 38
Welcome London Piccadilly Circus - Foto 39

Welcome London Piccadilly Circus

Londra - St James's - Al centro

  • 41 M2
  • 1 camera
  • 4 persone
  • Riscaldamento
  • Ascensore
8.9Molto buono | 41 recensioni
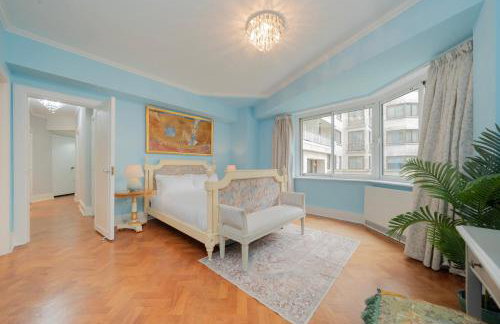
Astonishing flats near Mayfair & Piccadilly Circus - Foto 1
Astonishing flats near Mayfair & Piccadilly Circus - Foto 2
Astonishing flats near Mayfair & Piccadilly Circus - Foto 3
Astonishing flats near Mayfair & Piccadilly Circus - Foto 4
Astonishing flats near Mayfair & Piccadilly Circus - Foto 5
Astonishing flats near Mayfair & Piccadilly Circus - Foto 6
Astonishing flats near Mayfair & Piccadilly Circus - Foto 7
Astonishing flats near Mayfair & Piccadilly Circus - Foto 8
Astonishing flats near Mayfair & Piccadilly Circus - Foto 9
Astonishing flats near Mayfair & Piccadilly Circus - Foto 10
Astonishing flats near Mayfair & Piccadilly Circus - Foto 11
Astonishing flats near Mayfair & Piccadilly Circus - Foto 12
Astonishing flats near Mayfair & Piccadilly Circus - Foto 13
Astonishing flats near Mayfair & Piccadilly Circus - Foto 14
Astonishing flats near Mayfair & Piccadilly Circus - Foto 15
Astonishing flats near Mayfair & Piccadilly Circus - Foto 16
Astonishing flats near Mayfair & Piccadilly Circus - Foto 17
Astonishing flats near Mayfair & Piccadilly Circus - Foto 18
Astonishing flats near Mayfair & Piccadilly Circus - Foto 19
Astonishing flats near Mayfair & Piccadilly Circus - Foto 20
Astonishing flats near Mayfair & Piccadilly Circus - Foto 21
Astonishing flats near Mayfair & Piccadilly Circus - Foto 22
Astonishing flats near Mayfair & Piccadilly Circus - Foto 23
Astonishing flats near Mayfair & Piccadilly Circus - Foto 24
Astonishing flats near Mayfair & Piccadilly Circus - Foto 25
Astonishing flats near Mayfair & Piccadilly Circus - Foto 26
Astonishing flats near Mayfair & Piccadilly Circus - Foto 27
Astonishing flats near Mayfair & Piccadilly Circus - Foto 28
Astonishing flats near Mayfair & Piccadilly Circus - Foto 29
Astonishing flats near Mayfair & Piccadilly Circus - Foto 30
Astonishing flats near Mayfair & Piccadilly Circus - Foto 31
Astonishing flats near Mayfair & Piccadilly Circus - Foto 32
Astonishing flats near Mayfair & Piccadilly Circus - Foto 33
Astonishing flats near Mayfair & Piccadilly Circus - Foto 34
Astonishing flats near Mayfair & Piccadilly Circus - Foto 35
Astonishing flats near Mayfair & Piccadilly Circus - Foto 36
Astonishing flats near Mayfair & Piccadilly Circus - Foto 37
Astonishing flats near Mayfair & Piccadilly Circus - Foto 38
Astonishing flats near Mayfair & Piccadilly Circus - Foto 39
Astonishing flats near Mayfair & Piccadilly Circus - Foto 40
Astonishing flats near Mayfair & Piccadilly Circus - Foto 41
Astonishing flats near Mayfair & Piccadilly Circus - Foto 42
Astonishing flats near Mayfair & Piccadilly Circus - Foto 43
Astonishing flats near Mayfair & Piccadilly Circus - Foto 44
Astonishing flats near Mayfair & Piccadilly Circus - Foto 45
Astonishing flats near Mayfair & Piccadilly Circus - Foto 46
Astonishing flats near Mayfair & Piccadilly Circus - Foto 47
Astonishing flats near Mayfair & Piccadilly Circus - Foto 48
Astonishing flats near Mayfair & Piccadilly Circus - Foto 49
Astonishing flats near Mayfair & Piccadilly Circus - Foto 50
Astonishing flats near Mayfair & Piccadilly Circus - Foto 51
Astonishing flats near Mayfair & Piccadilly Circus - Foto 52
Astonishing flats near Mayfair & Piccadilly Circus - Foto 53
Astonishing flats near Mayfair & Piccadilly Circus - Foto 54
Astonishing flats near Mayfair & Piccadilly Circus - Foto 55
Astonishing flats near Mayfair & Piccadilly Circus - Foto 56
Astonishing flats near Mayfair & Piccadilly Circus - Foto 57

Astonishing flats near Mayfair & Piccadilly Circus

Londra - St James's - 210 m dal centro

  • 144 M2
  • 2 camere
  • 6 persone
  • Riscaldamento
  • Terrazza
  • Ascensore
  • Giardino
7.8Buono | 38 recensioni
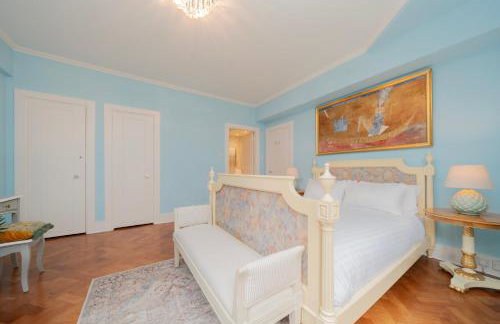
VESTO Piccadilly Circus - Foto 1
VESTO Piccadilly Circus - Foto 2
VESTO Piccadilly Circus - Foto 3
VESTO Piccadilly Circus - Foto 4
VESTO Piccadilly Circus - Foto 5
VESTO Piccadilly Circus - Foto 6
VESTO Piccadilly Circus - Foto 7
VESTO Piccadilly Circus - Foto 8
VESTO Piccadilly Circus - Foto 9
VESTO Piccadilly Circus - Foto 10
VESTO Piccadilly Circus - Foto 11
VESTO Piccadilly Circus - Foto 12
VESTO Piccadilly Circus - Foto 13
VESTO Piccadilly Circus - Foto 14
VESTO Piccadilly Circus - Foto 15
VESTO Piccadilly Circus - Foto 16
VESTO Piccadilly Circus - Foto 17
VESTO Piccadilly Circus - Foto 18
VESTO Piccadilly Circus - Foto 19
VESTO Piccadilly Circus - Foto 20
VESTO Piccadilly Circus - Foto 21
VESTO Piccadilly Circus - Foto 22
VESTO Piccadilly Circus - Foto 23
VESTO Piccadilly Circus - Foto 24
VESTO Piccadilly Circus - Foto 25
VESTO Piccadilly Circus - Foto 26
VESTO Piccadilly Circus - Foto 27
VESTO Piccadilly Circus - Foto 28
VESTO Piccadilly Circus - Foto 29
VESTO Piccadilly Circus - Foto 30
VESTO Piccadilly Circus - Foto 31
VESTO Piccadilly Circus - Foto 32
VESTO Piccadilly Circus - Foto 33
VESTO Piccadilly Circus - Foto 34
VESTO Piccadilly Circus - Foto 35
VESTO Piccadilly Circus - Foto 36
VESTO Piccadilly Circus - Foto 37

VESTO Piccadilly Circus

Londra - St James's - Al centro

  • 28 M2
  • 1 camera
  • 4 persone
  • Ascensore
8.2Molto buono | 14 recensioni
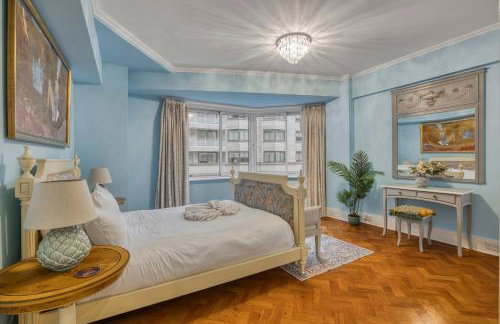
1 BR in Piccadilly Circus St James Cov1 - Foto 1
1 BR in Piccadilly Circus St James Cov1 - Foto 2
1 BR in Piccadilly Circus St James Cov1 - Foto 3
1 BR in Piccadilly Circus St James Cov1 - Foto 4
1 BR in Piccadilly Circus St James Cov1 - Foto 5
1 BR in Piccadilly Circus St James Cov1 - Foto 6
1 BR in Piccadilly Circus St James Cov1 - Foto 7

1 BR in Piccadilly Circus St James Cov1

Londra - St James's - Al centro

  • 28 M2
  • 1 camera
  • 5 persone
  • Ascensore
7.3Buono | 92 recensioni
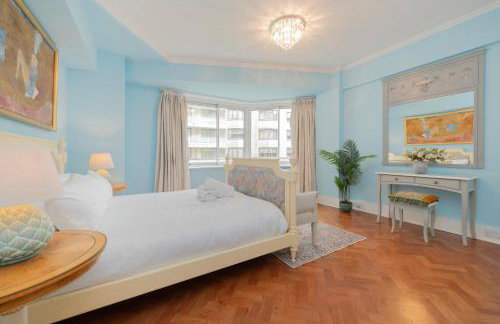
High Apartment in St James-Piccadilly COV10 - Foto 1
High Apartment in St James-Piccadilly COV10 - Foto 2
High Apartment in St James-Piccadilly COV10 - Foto 3
High Apartment in St James-Piccadilly COV10 - Foto 4
High Apartment in St James-Piccadilly COV10 - Foto 5
High Apartment in St James-Piccadilly COV10 - Foto 6
High Apartment in St James-Piccadilly COV10 - Foto 7
High Apartment in St James-Piccadilly COV10 - Foto 8
High Apartment in St James-Piccadilly COV10 - Foto 9
High Apartment in St James-Piccadilly COV10 - Foto 10

High Apartment in St James-Piccadilly COV10

Londra - St James's - Al centro

  • 30 M2
  • 1 camera
  • 4 persone
7.4Buono | 111 recensioni
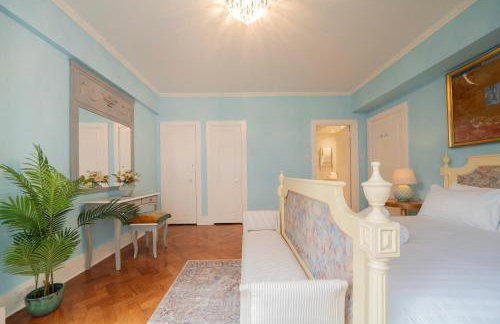
Sleep 5 in Mayfair St James Soho Cov7 - Foto 1
Sleep 5 in Mayfair St James Soho Cov7 - Foto 2
Sleep 5 in Mayfair St James Soho Cov7 - Foto 3
Sleep 5 in Mayfair St James Soho Cov7 - Foto 4
Sleep 5 in Mayfair St James Soho Cov7 - Foto 5
Sleep 5 in Mayfair St James Soho Cov7 - Foto 6
Sleep 5 in Mayfair St James Soho Cov7 - Foto 7
Sleep 5 in Mayfair St James Soho Cov7 - Foto 8
Sleep 5 in Mayfair St James Soho Cov7 - Foto 9

Sleep 5 in Mayfair St James Soho Cov7

Londra - St James's - Al centro

  • 28 M2
  • 1 camera
  • 5 persone
  • Riscaldamento
  • Ascensore
6.7Agradable | 28 recensioni
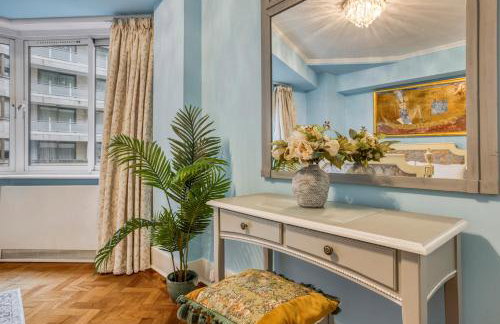
Central London Studio Apartment - Foto 1
Central London Studio Apartment - Foto 2
Central London Studio Apartment - Foto 3
Central London Studio Apartment - Foto 4
Central London Studio Apartment - Foto 5
Central London Studio Apartment - Foto 6
Central London Studio Apartment - Foto 7
Central London Studio Apartment - Foto 8
Central London Studio Apartment - Foto 9
Central London Studio Apartment - Foto 10

Central London Studio Apartment

Londra - St James's - Al centro

  • 31 M2
  • 1 camera
  • 3 persone
  • Riscaldamento
8.5Molto buono | 8 recensioni
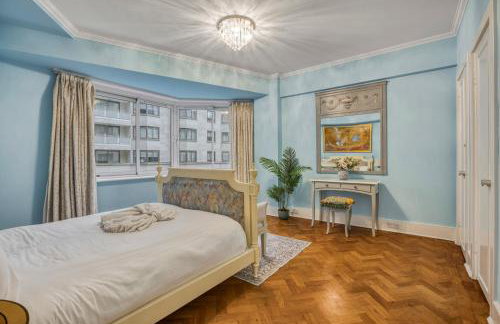
2 Bed Piccadilly Apartment 3 - Foto 1
2 Bed Piccadilly Apartment 3 - Foto 2
2 Bed Piccadilly Apartment 3 - Foto 3
2 Bed Piccadilly Apartment 3 - Foto 4
2 Bed Piccadilly Apartment 3 - Foto 5
2 Bed Piccadilly Apartment 3 - Foto 6
2 Bed Piccadilly Apartment 3 - Foto 7
2 Bed Piccadilly Apartment 3 - Foto 8
2 Bed Piccadilly Apartment 3 - Foto 9
2 Bed Piccadilly Apartment 3 - Foto 10
2 Bed Piccadilly Apartment 3 - Foto 11
2 Bed Piccadilly Apartment 3 - Foto 12
2 Bed Piccadilly Apartment 3 - Foto 13
2 Bed Piccadilly Apartment 3 - Foto 14
2 Bed Piccadilly Apartment 3 - Foto 15
2 Bed Piccadilly Apartment 3 - Foto 16
2 Bed Piccadilly Apartment 3 - Foto 17
2 Bed Piccadilly Apartment 3 - Foto 18

2 Bed Piccadilly Apartment 3

Londra - St James's - 210 m dal centro

  • 1 M2
  • 2 camere
  • 5 persone
  • Riscaldamento
7.6Buono | 68 recensioni
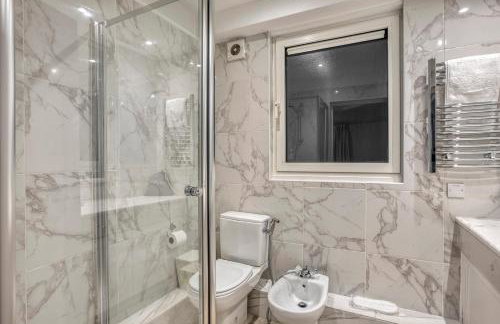
Original Trafalgar Square Apartment near Buckingham Palace - Foto 1
Original Trafalgar Square Apartment near Buckingham Palace - Foto 2
Original Trafalgar Square Apartment near Buckingham Palace - Foto 3
Original Trafalgar Square Apartment near Buckingham Palace - Foto 4
Original Trafalgar Square Apartment near Buckingham Palace - Foto 5
Original Trafalgar Square Apartment near Buckingham Palace - Foto 6
Original Trafalgar Square Apartment near Buckingham Palace - Foto 7
Original Trafalgar Square Apartment near Buckingham Palace - Foto 8
Original Trafalgar Square Apartment near Buckingham Palace - Foto 9
Original Trafalgar Square Apartment near Buckingham Palace - Foto 10
Original Trafalgar Square Apartment near Buckingham Palace - Foto 11

Original Trafalgar Square Apartment near Buckingham Palace

Londra - St James's - Al centro

  • 60 M2
  • 2 camere
  • 6 persone
  • Aria condizionata
  • Riscaldamento
  • Ascensore
7.5Buono | 7 recensioni
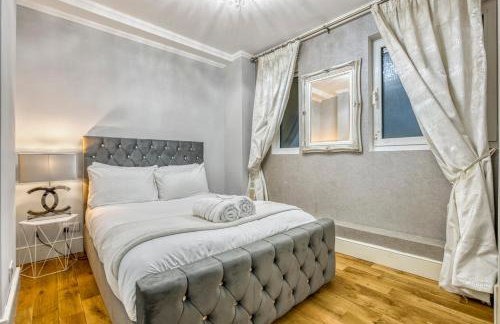
2 Bed Piccadilly Apartment 2 - Foto 1
2 Bed Piccadilly Apartment 2 - Foto 2
2 Bed Piccadilly Apartment 2 - Foto 3
2 Bed Piccadilly Apartment 2 - Foto 4
2 Bed Piccadilly Apartment 2 - Foto 5
2 Bed Piccadilly Apartment 2 - Foto 6
2 Bed Piccadilly Apartment 2 - Foto 7
2 Bed Piccadilly Apartment 2 - Foto 8
2 Bed Piccadilly Apartment 2 - Foto 9

2 Bed Piccadilly Apartment 2

Londra - St James's - 210 m dal centro

  • 51 M2
  • 2 camere
  • 5 persone
  • Riscaldamento
7.2Buono | 78 recensioni
Luxury Studio Apart Piccadilly Circus - Foto 1
Luxury Studio Apart Piccadilly Circus - Foto 2
Luxury Studio Apart Piccadilly Circus - Foto 3
Luxury Studio Apart Piccadilly Circus - Foto 4
Luxury Studio Apart Piccadilly Circus - Foto 5
Luxury Studio Apart Piccadilly Circus - Foto 6
Luxury Studio Apart Piccadilly Circus - Foto 7
Luxury Studio Apart Piccadilly Circus - Foto 8
Luxury Studio Apart Piccadilly Circus - Foto 9
Luxury Studio Apart Piccadilly Circus - Foto 10
Luxury Studio Apart Piccadilly Circus - Foto 11
Luxury Studio Apart Piccadilly Circus - Foto 12
Luxury Studio Apart Piccadilly Circus - Foto 13
Luxury Studio Apart Piccadilly Circus - Foto 14
Luxury Studio Apart Piccadilly Circus - Foto 15
Luxury Studio Apart Piccadilly Circus - Foto 16
Luxury Studio Apart Piccadilly Circus - Foto 17
Luxury Studio Apart Piccadilly Circus - Foto 18
Luxury Studio Apart Piccadilly Circus - Foto 19
Luxury Studio Apart Piccadilly Circus - Foto 20
Luxury Studio Apart Piccadilly Circus - Foto 21
Luxury Studio Apart Piccadilly Circus - Foto 22
Luxury Studio Apart Piccadilly Circus - Foto 23
Luxury Studio Apart Piccadilly Circus - Foto 24
Luxury Studio Apart Piccadilly Circus - Foto 25
Luxury Studio Apart Piccadilly Circus - Foto 26
Luxury Studio Apart Piccadilly Circus - Foto 27
Luxury Studio Apart Piccadilly Circus - Foto 28
Luxury Studio Apart Piccadilly Circus - Foto 29
Luxury Studio Apart Piccadilly Circus - Foto 30

Luxury Studio Apart Piccadilly Circus

Londra - St James's - Al centro

6Agradable | 13 recensioni
2 Bed Piccadilly Apartment 4 - Foto 1
2 Bed Piccadilly Apartment 4 - Foto 2
2 Bed Piccadilly Apartment 4 - Foto 3
2 Bed Piccadilly Apartment 4 - Foto 4
2 Bed Piccadilly Apartment 4 - Foto 5
2 Bed Piccadilly Apartment 4 - Foto 6
2 Bed Piccadilly Apartment 4 - Foto 7
2 Bed Piccadilly Apartment 4 - Foto 8
2 Bed Piccadilly Apartment 4 - Foto 9
2 Bed Piccadilly Apartment 4 - Foto 10
2 Bed Piccadilly Apartment 4 - Foto 11
2 Bed Piccadilly Apartment 4 - Foto 12
2 Bed Piccadilly Apartment 4 - Foto 13
2 Bed Piccadilly Apartment 4 - Foto 14
2 Bed Piccadilly Apartment 4 - Foto 15
2 Bed Piccadilly Apartment 4 - Foto 16
2 Bed Piccadilly Apartment 4 - Foto 17
2 Bed Piccadilly Apartment 4 - Foto 18
2 Bed Piccadilly Apartment 4 - Foto 19
2 Bed Piccadilly Apartment 4 - Foto 20
2 Bed Piccadilly Apartment 4 - Foto 21

2 Bed Piccadilly Apartment 4

Londra - St James's - 210 m dal centro

  • 45 M2
  • 2 camere
  • 5 persone
  • Riscaldamento
7Buono | 62 recensioni

2 Bed Piccadilly Apartment 1 - Foto 1
2 Bed Piccadilly Apartment 1 - Foto 2
2 Bed Piccadilly Apartment 1 - Foto 3
2 Bed Piccadilly Apartment 1 - Foto 4
2 Bed Piccadilly Apartment 1 - Foto 5
2 Bed Piccadilly Apartment 1 - Foto 6
2 Bed Piccadilly Apartment 1 - Foto 7
2 Bed Piccadilly Apartment 1 - Foto 8
2 Bed Piccadilly Apartment 1 - Foto 9
2 Bed Piccadilly Apartment 1 - Foto 10
2 Bed Piccadilly Apartment 1 - Foto 11
2 Bed Piccadilly Apartment 1 - Foto 12
2 Bed Piccadilly Apartment 1 - Foto 13
2 Bed Piccadilly Apartment 1 - Foto 14
2 Bed Piccadilly Apartment 1 - Foto 15
2 Bed Piccadilly Apartment 1 - Foto 16
2 Bed Piccadilly Apartment 1 - Foto 17
2 Bed Piccadilly Apartment 1 - Foto 18
2 Bed Piccadilly Apartment 1 - Foto 19
2 Bed Piccadilly Apartment 1 - Foto 20
2 Bed Piccadilly Apartment 1 - Foto 21
2 Bed Piccadilly Apartment 1 - Foto 22
2 Bed Piccadilly Apartment 1 - Foto 23

2 Bed Piccadilly Apartment 1

Londra - St James's - 210 m dal centro

  • 51 M2
  • 2 camere
  • 5 persone
  • Riscaldamento
6.9Agradable | 39 recensioni
Destinazioni correlate