


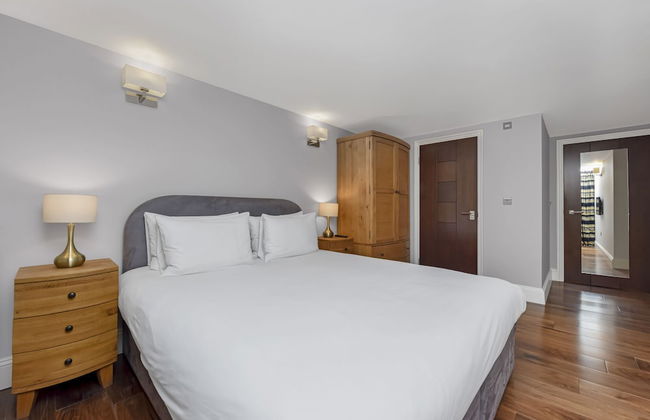


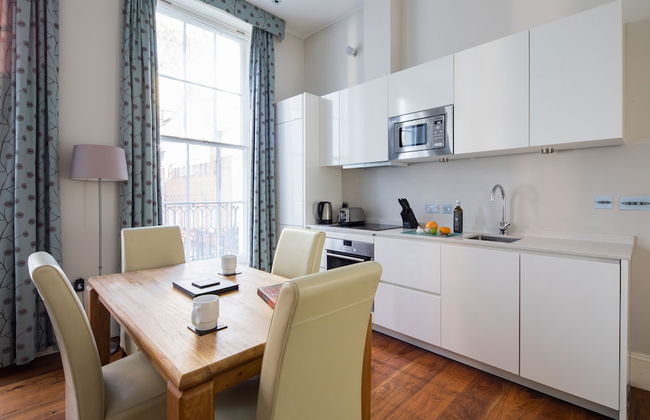
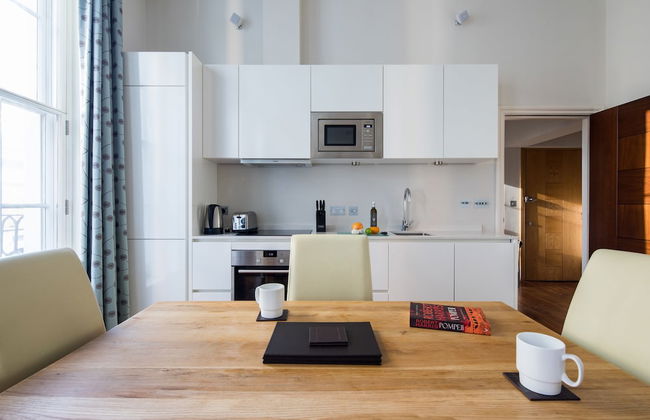


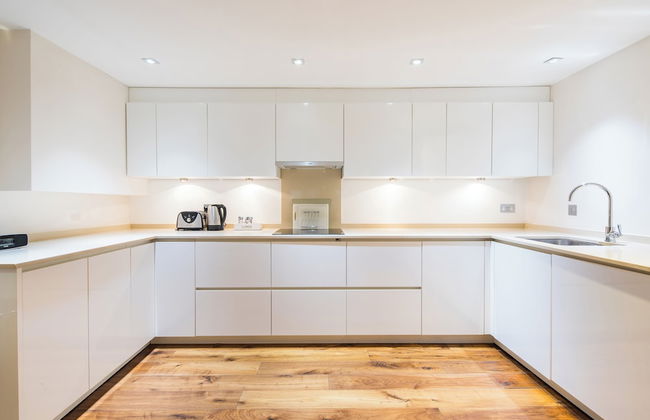


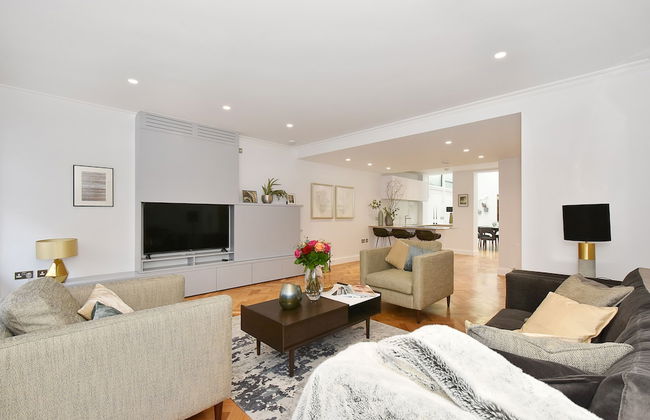
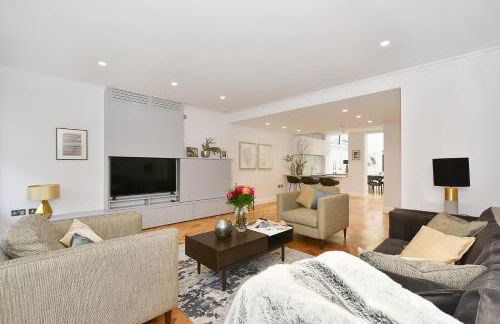
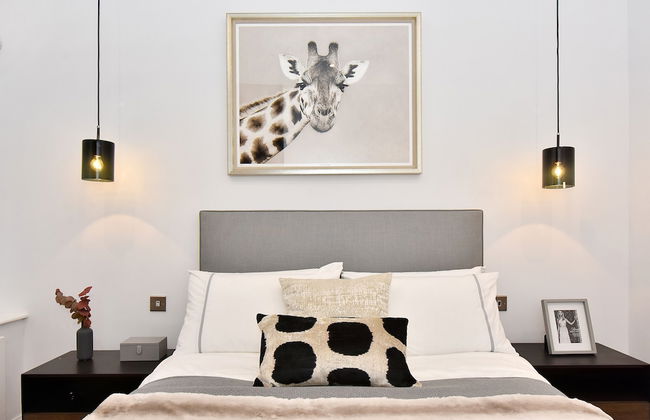
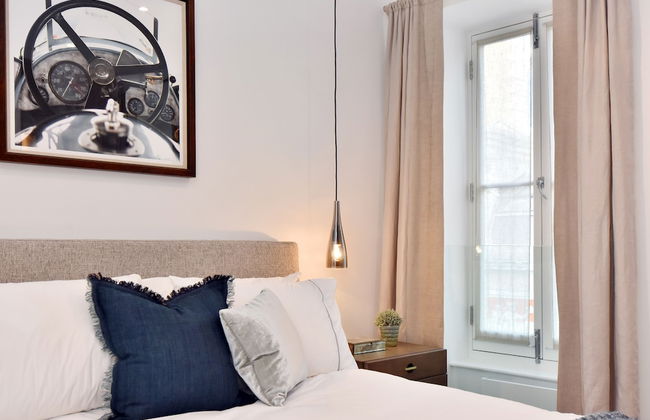
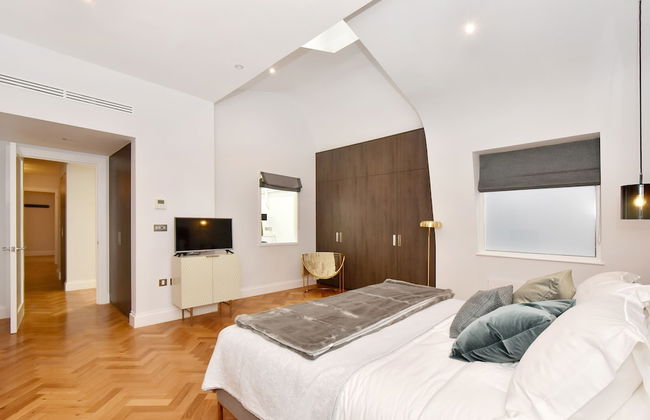
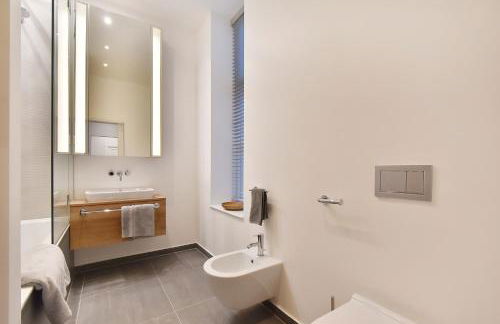
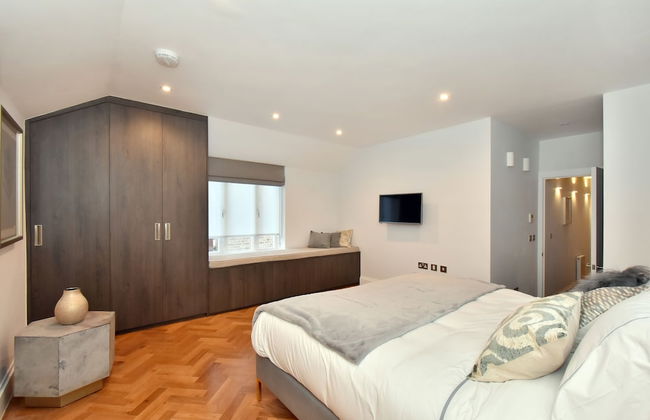
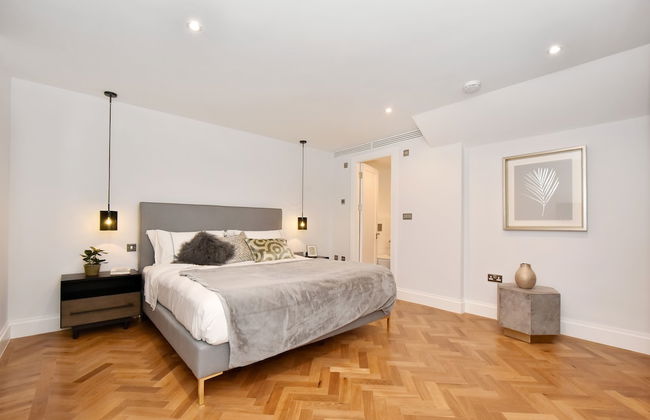
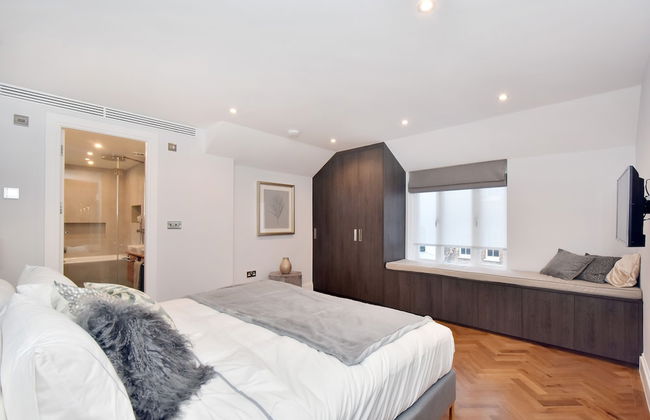
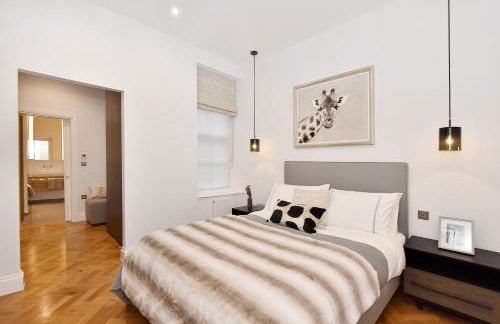
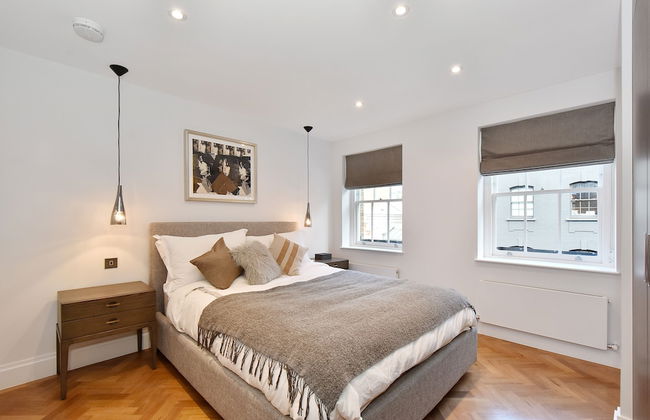
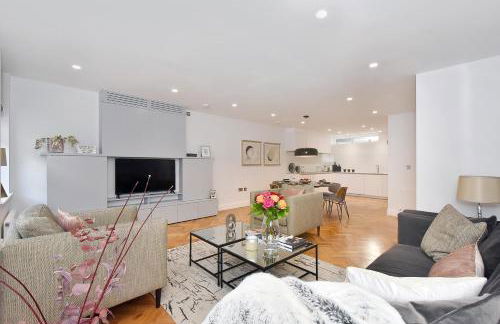
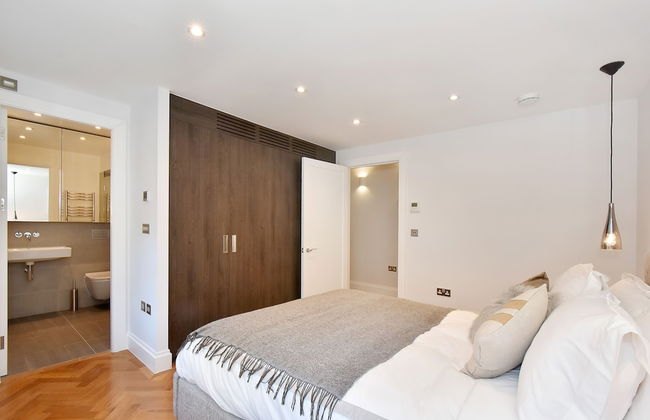
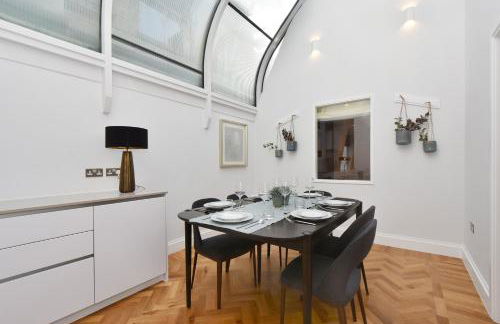
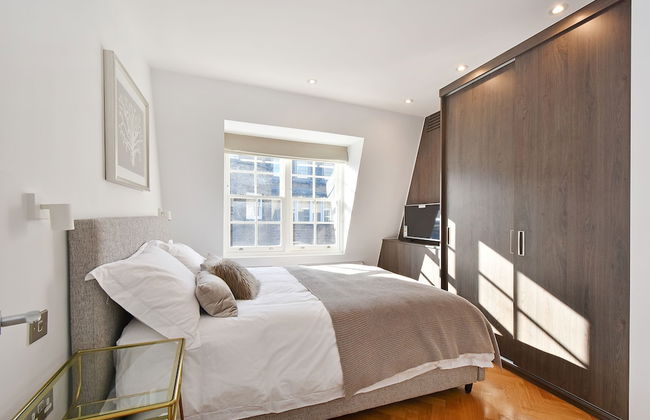
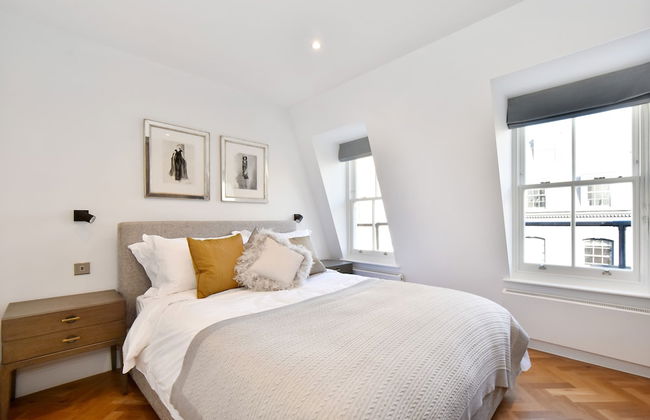
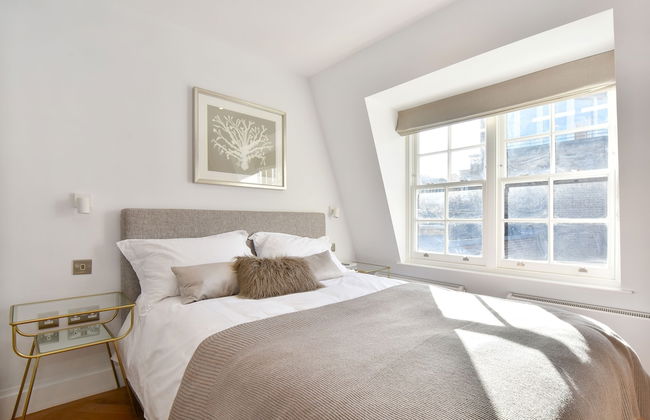
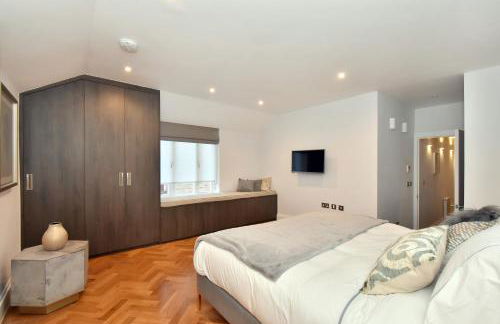
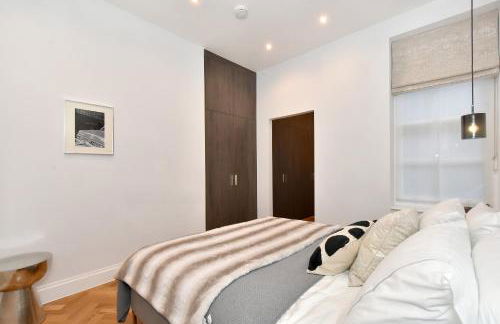
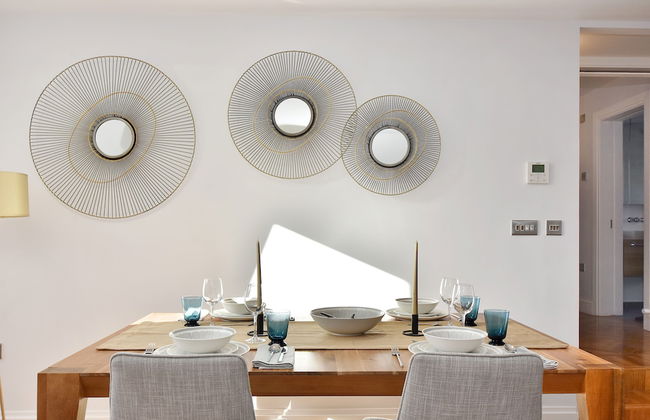
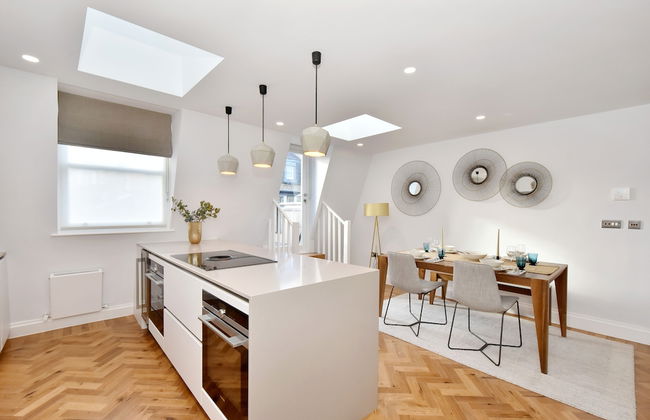
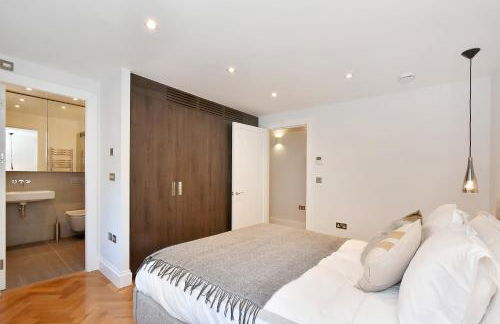
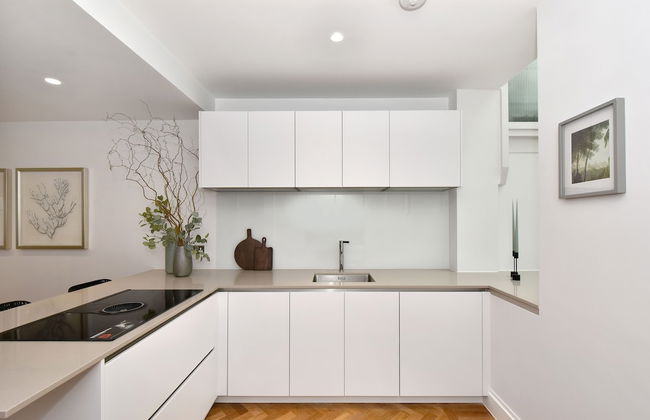
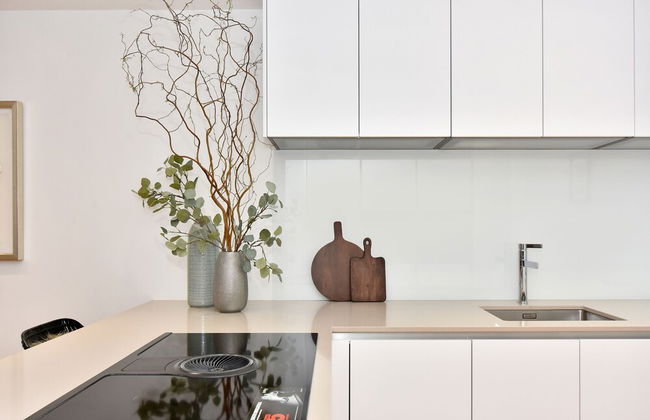
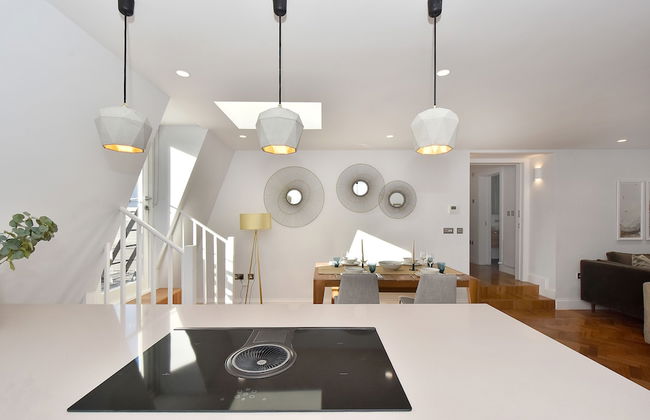
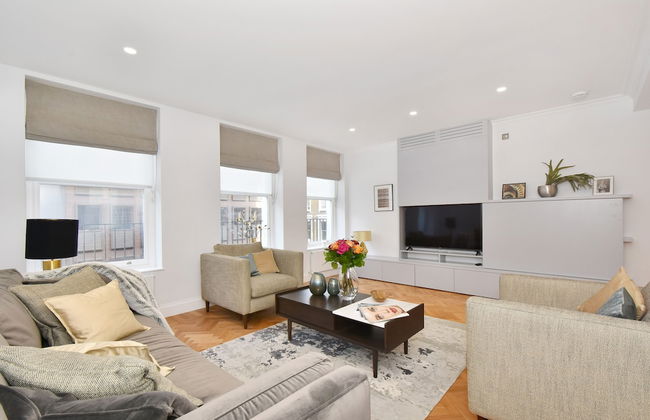
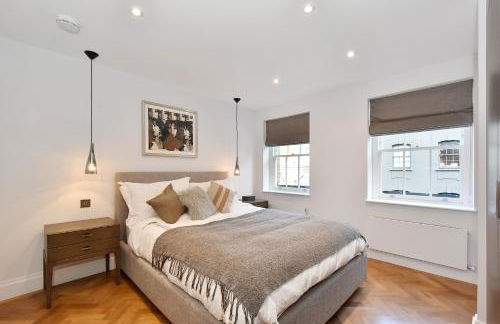
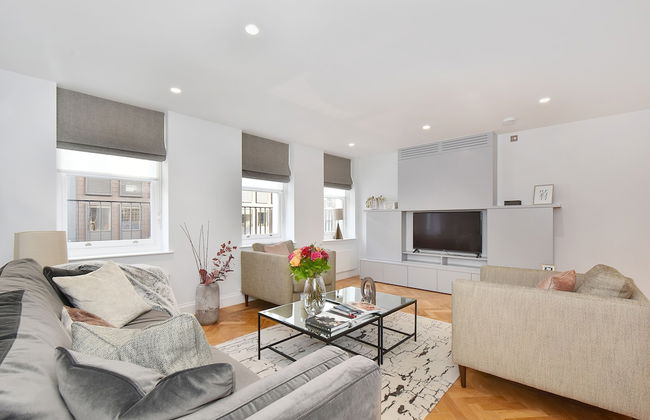
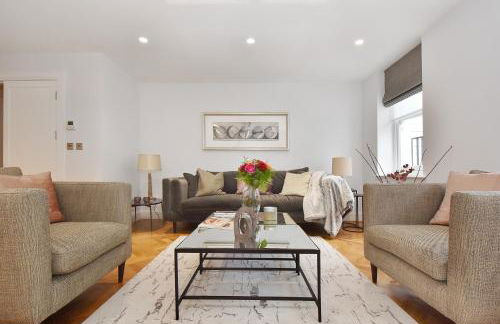
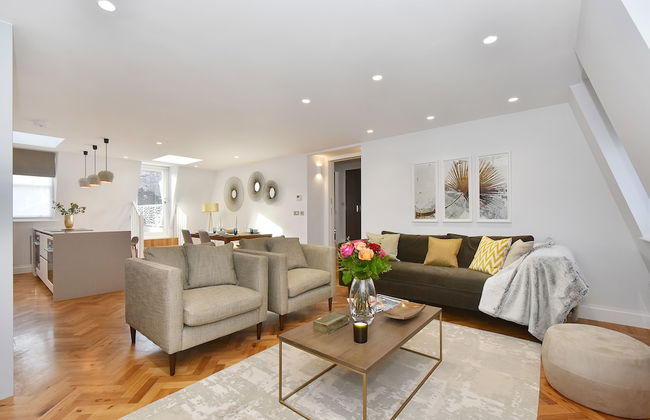
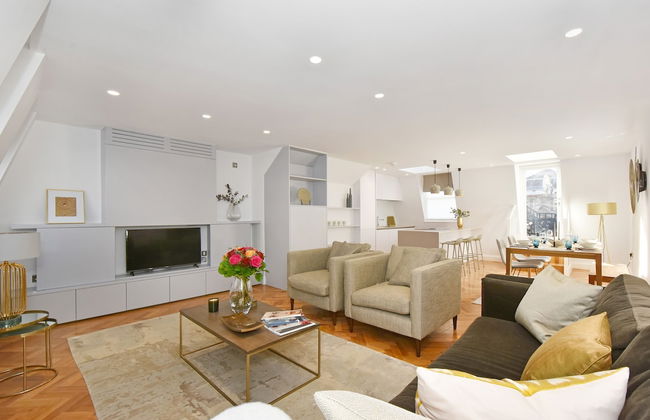
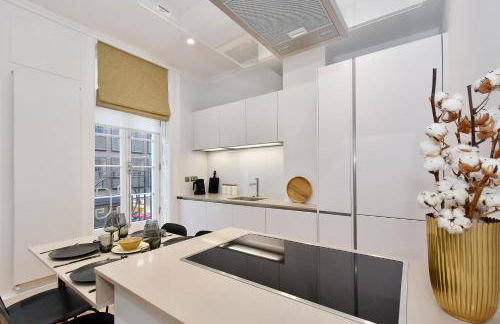
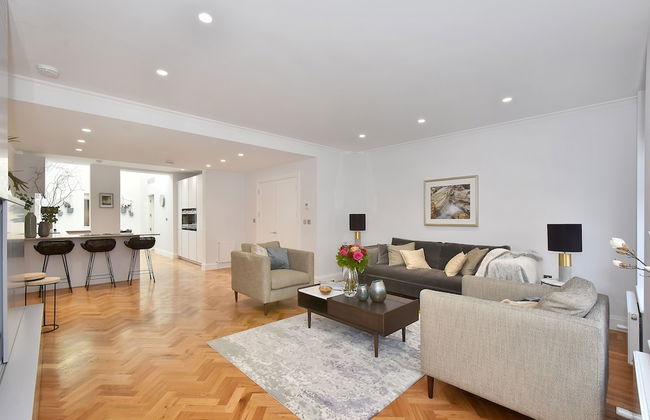
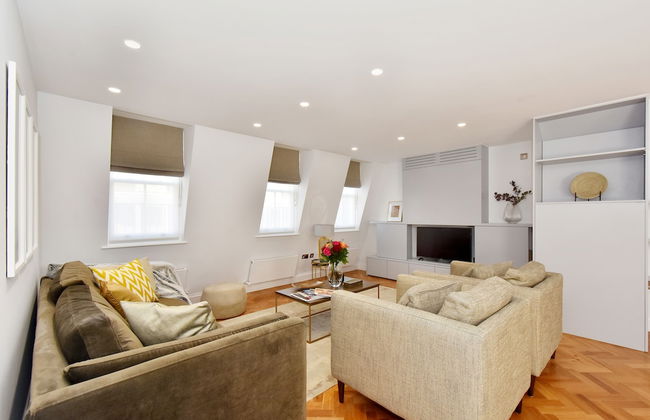
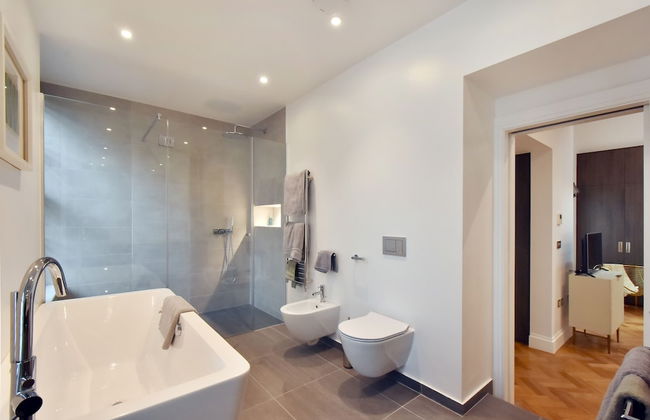
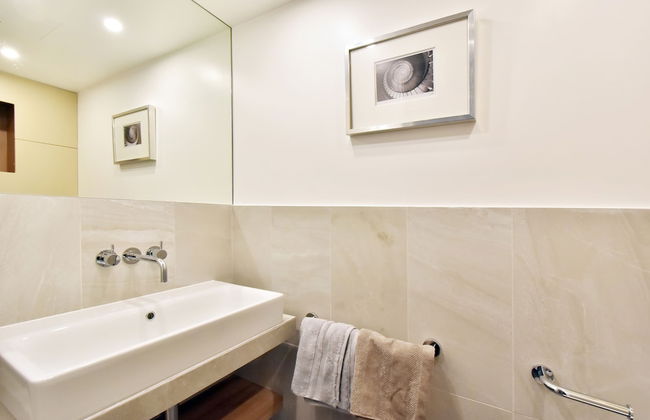
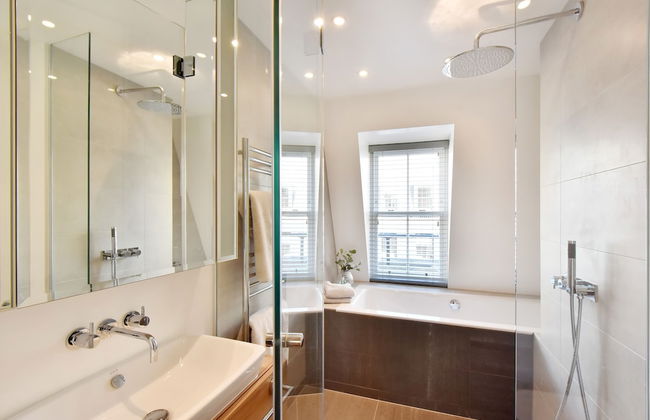
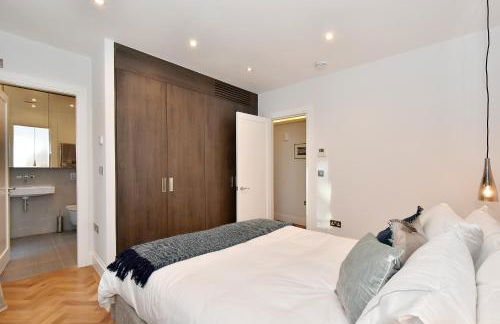
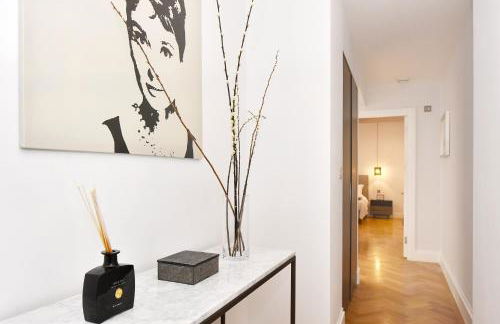
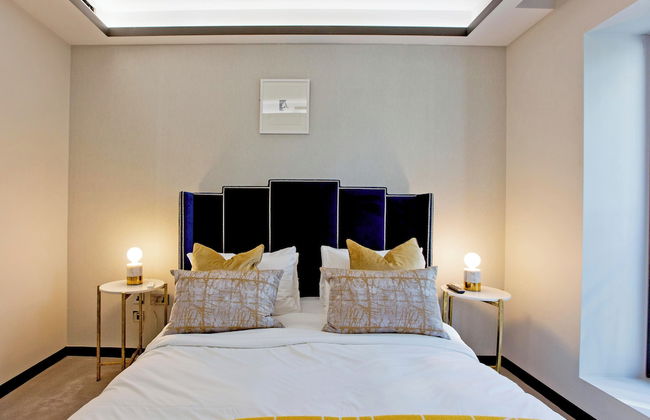
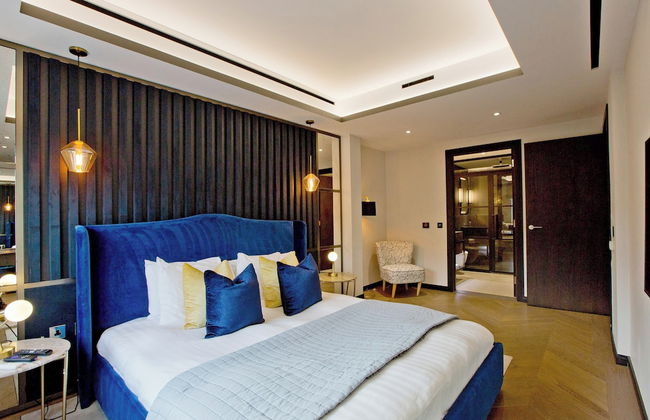
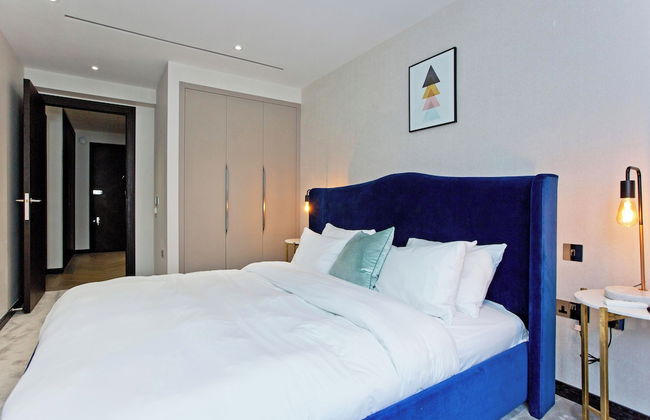
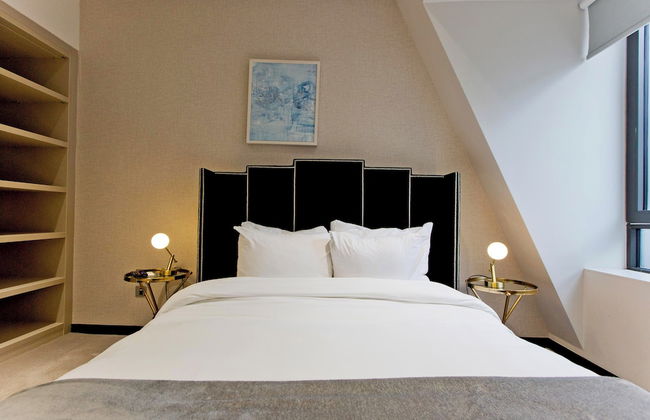
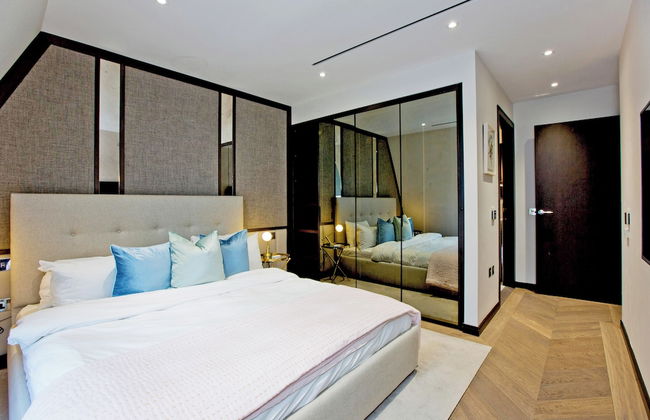
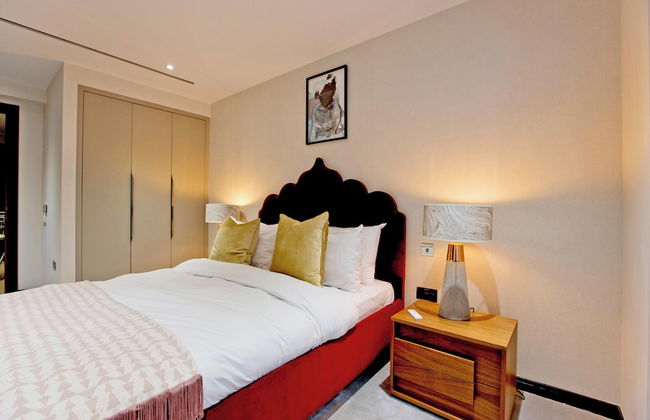
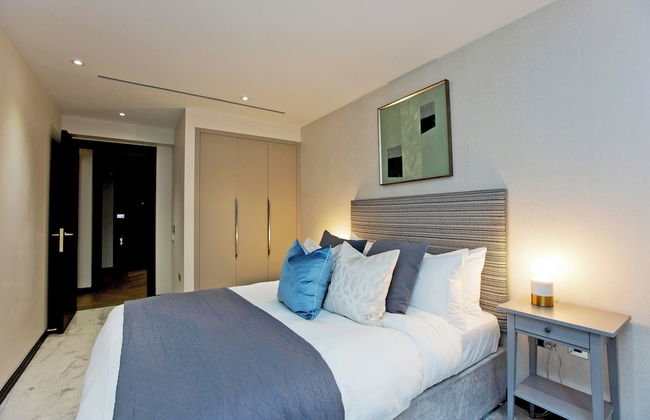
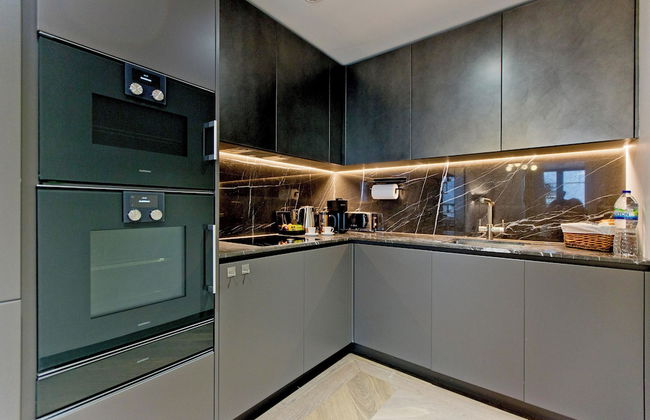
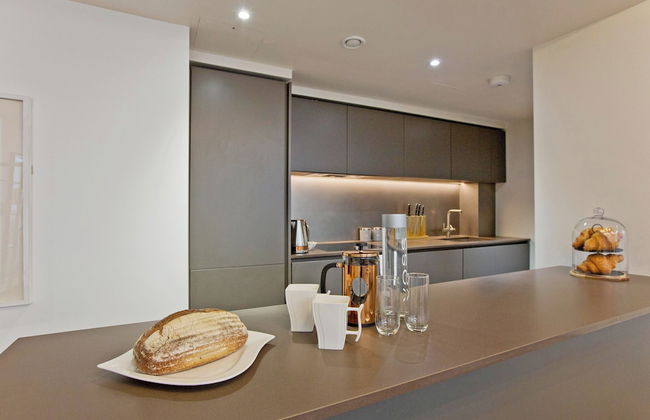
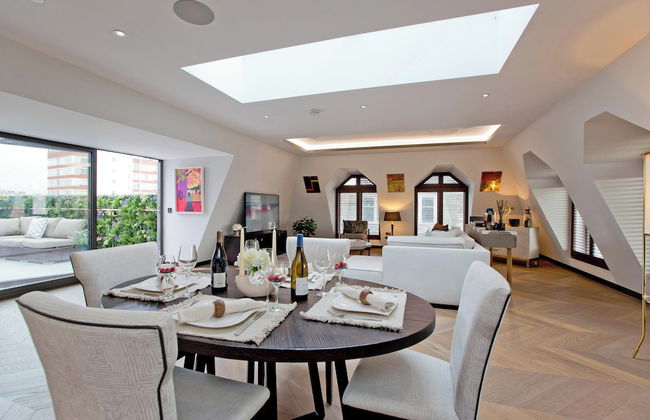
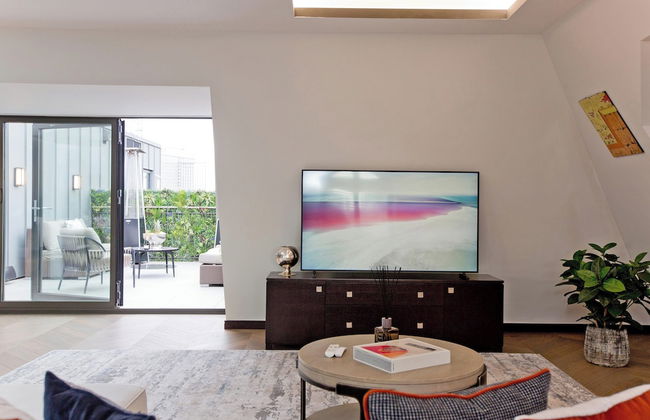
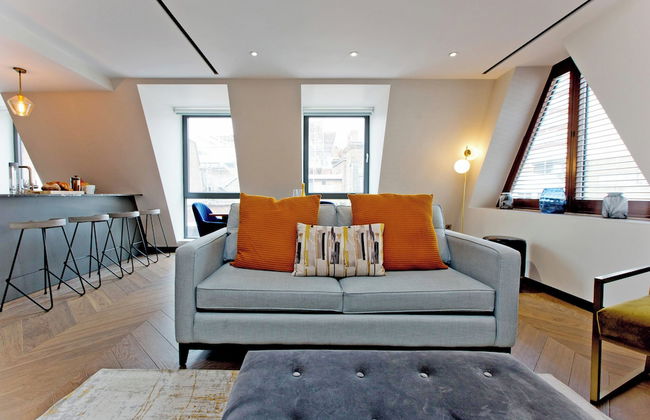
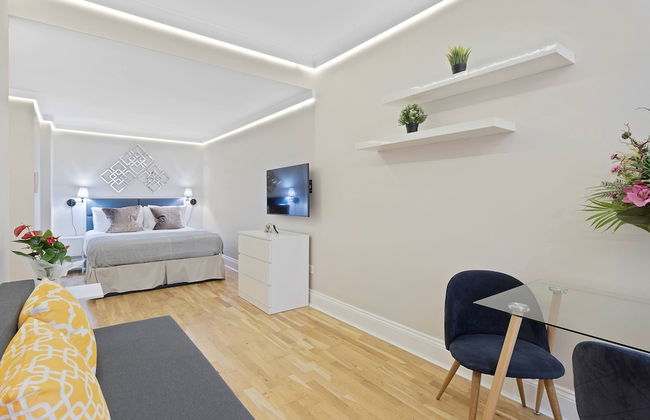
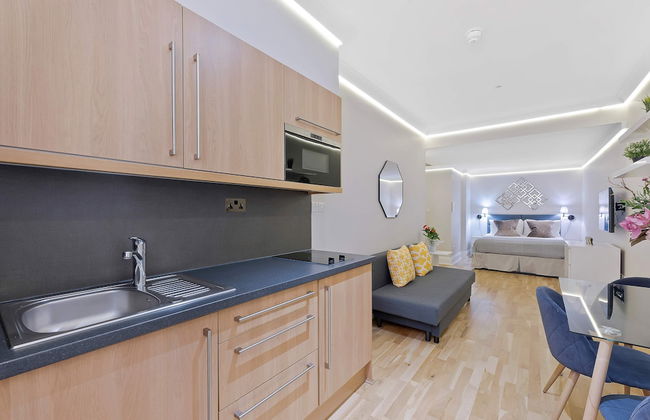
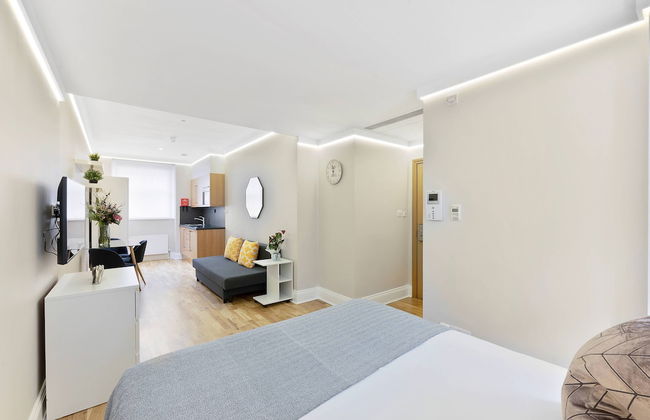
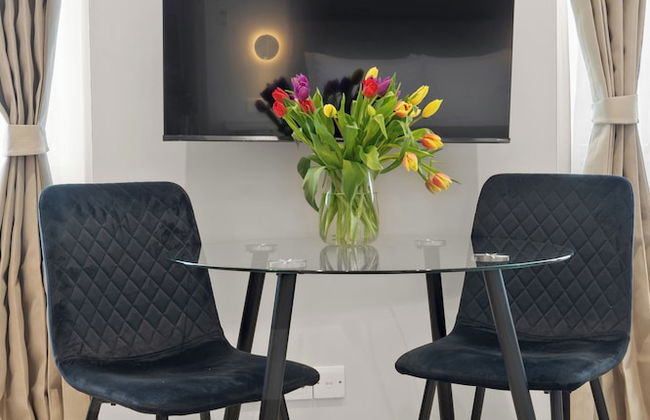
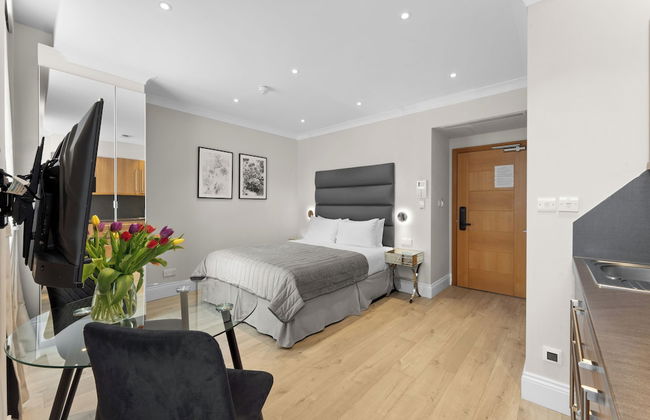
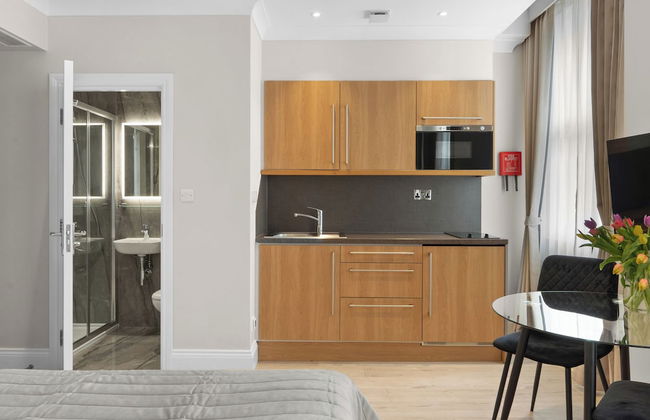
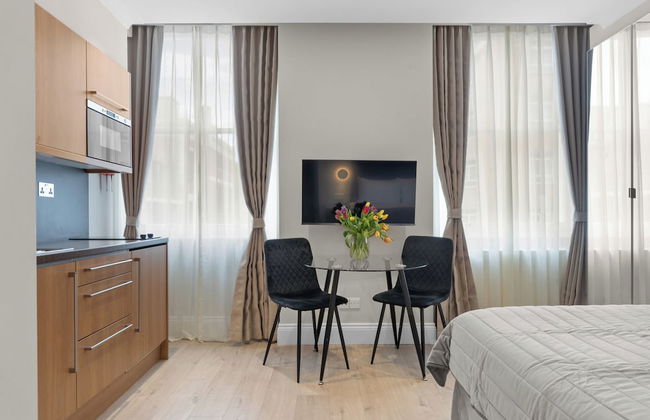
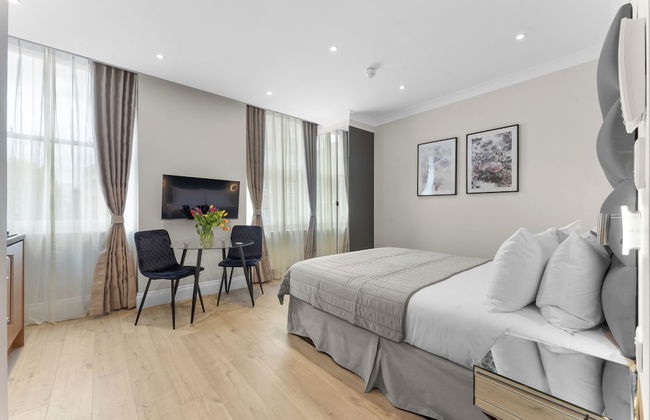
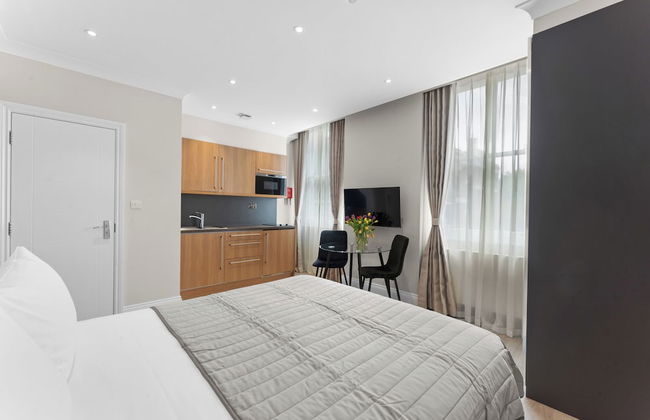
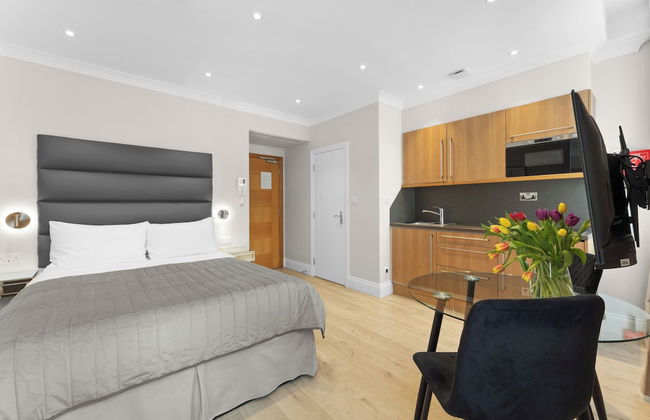
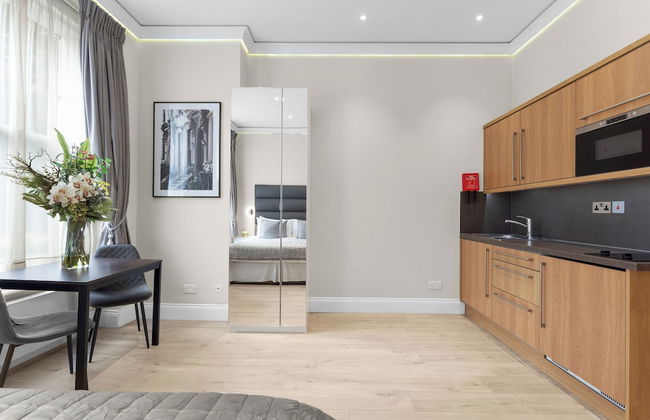
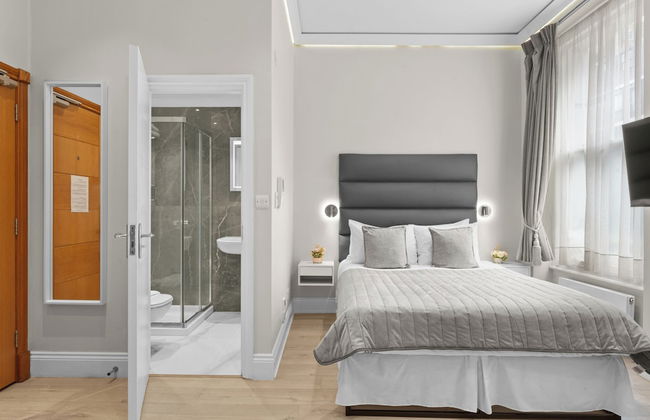
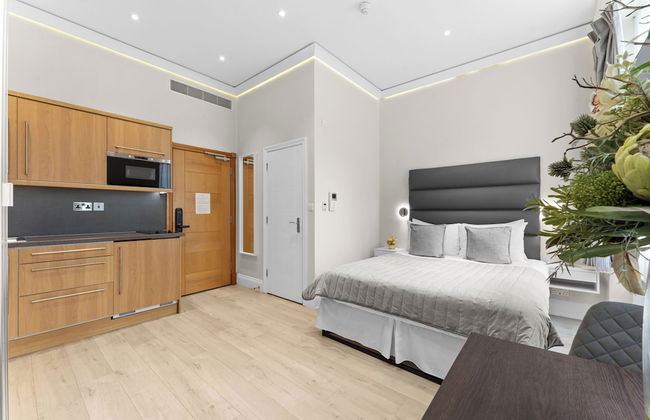
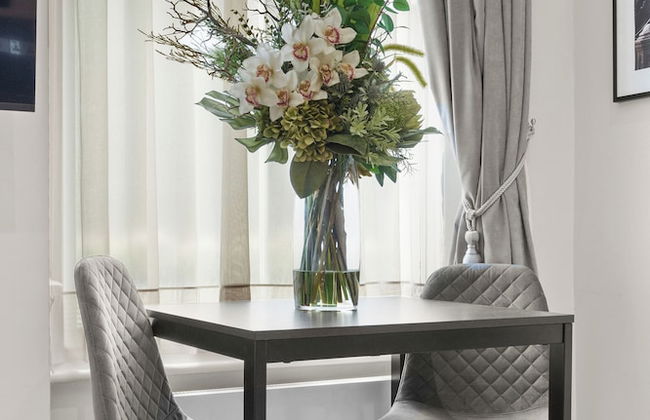
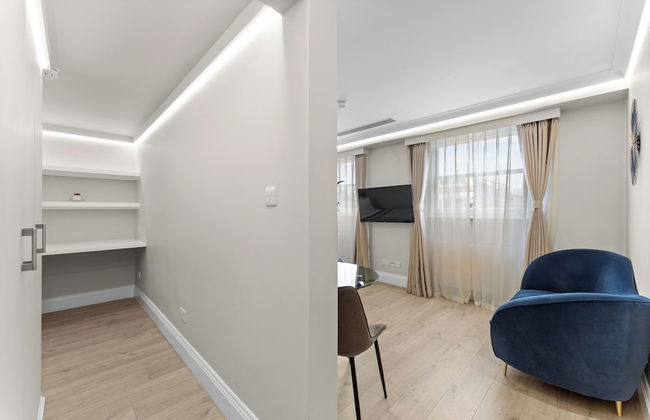
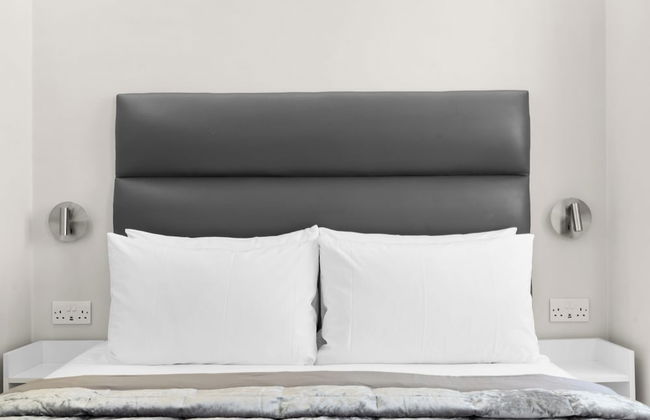
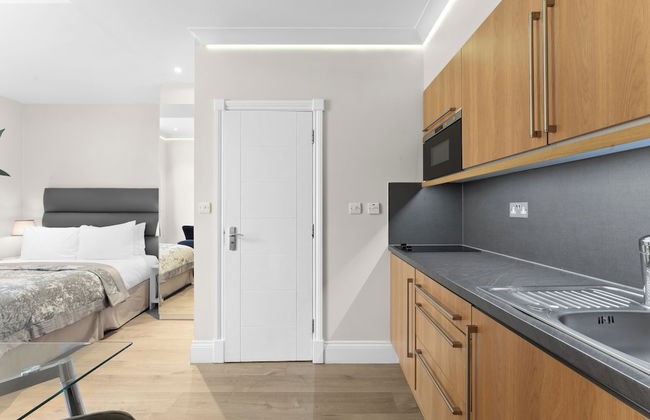
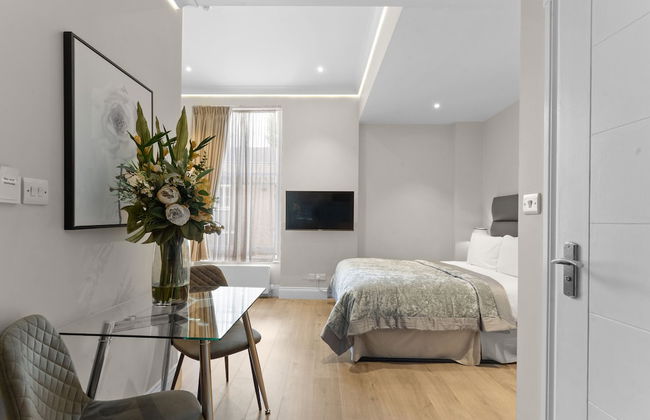
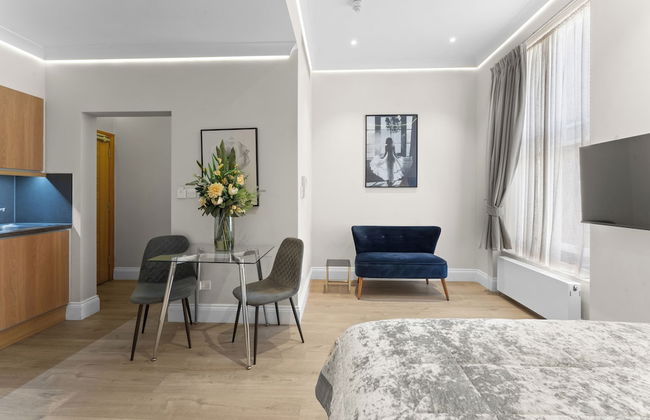
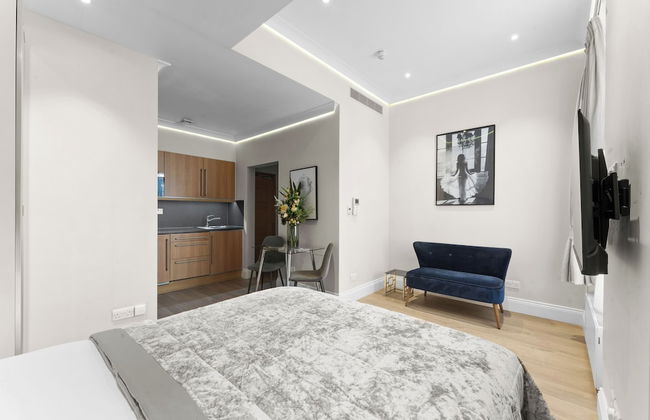
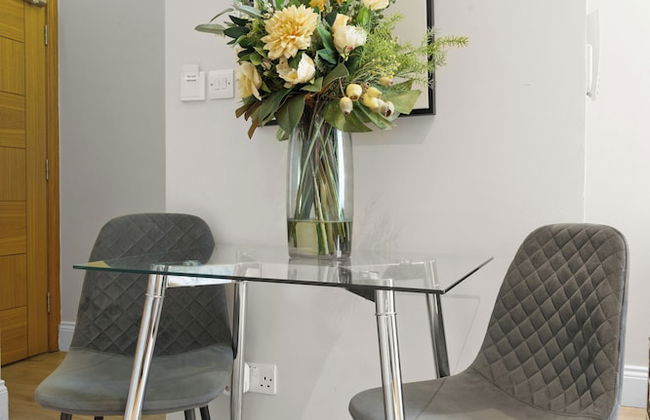
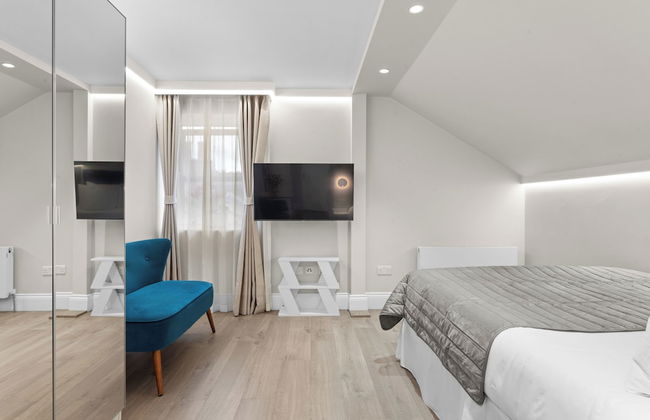
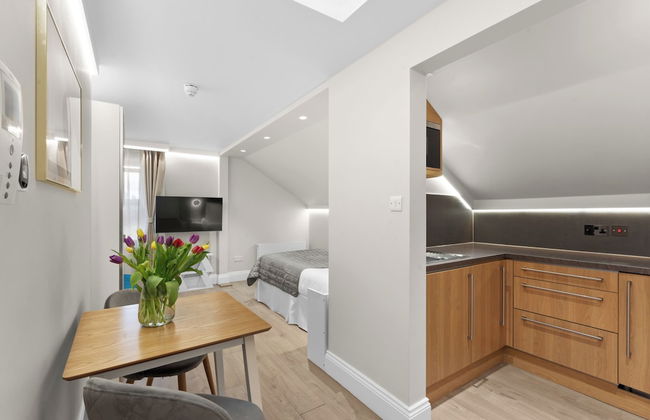
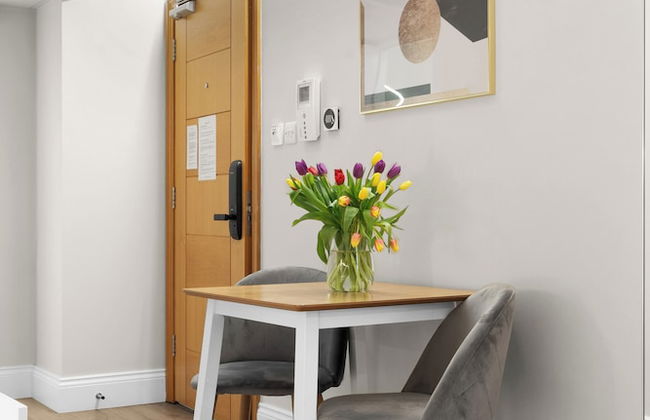
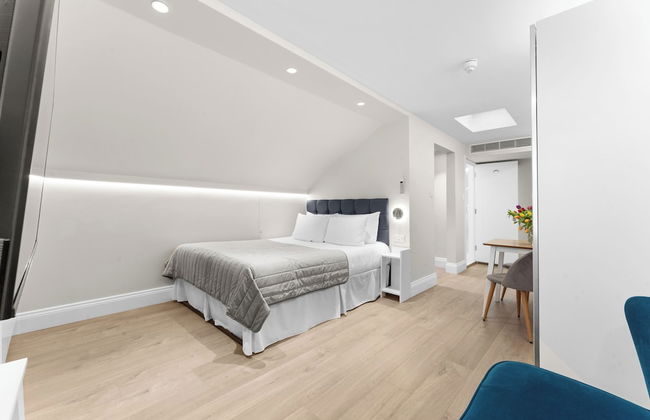
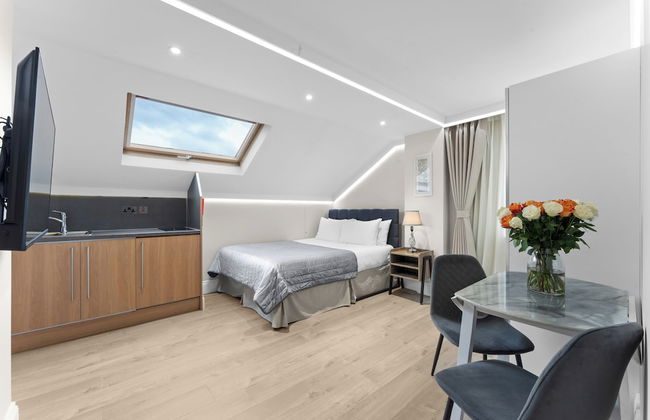
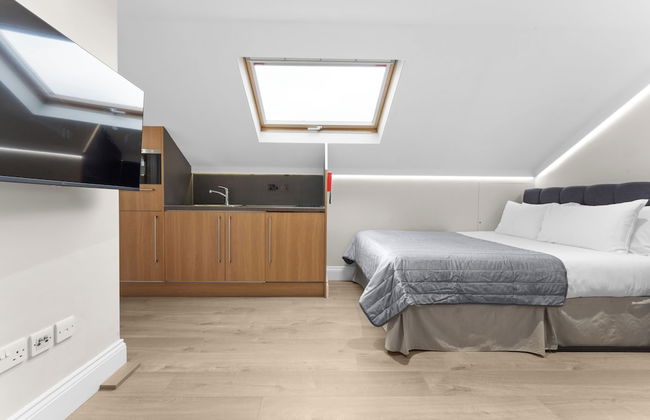
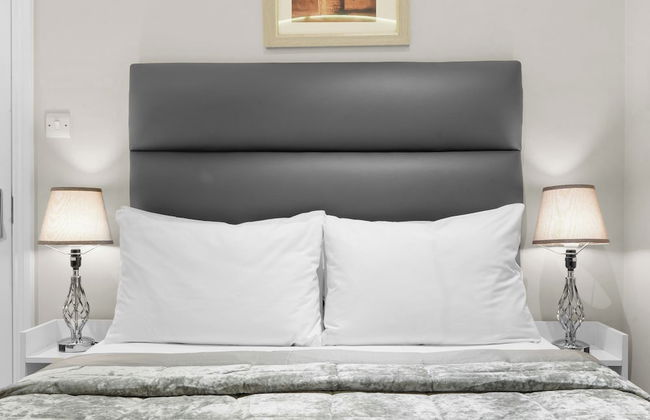
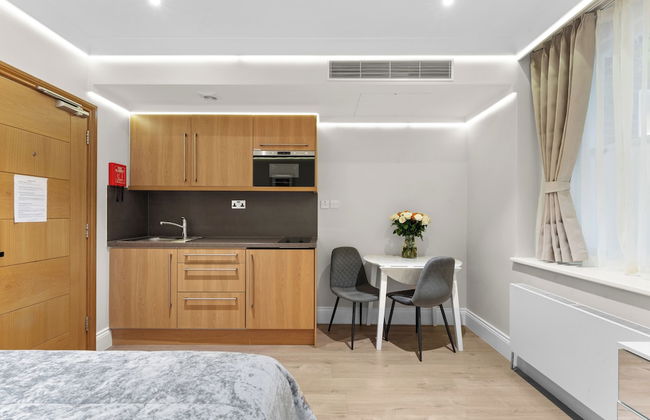
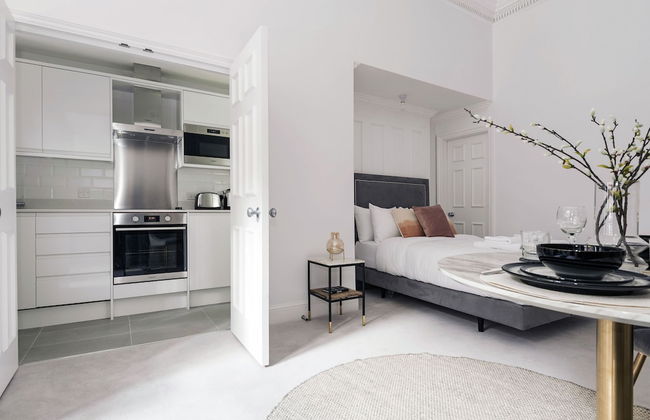
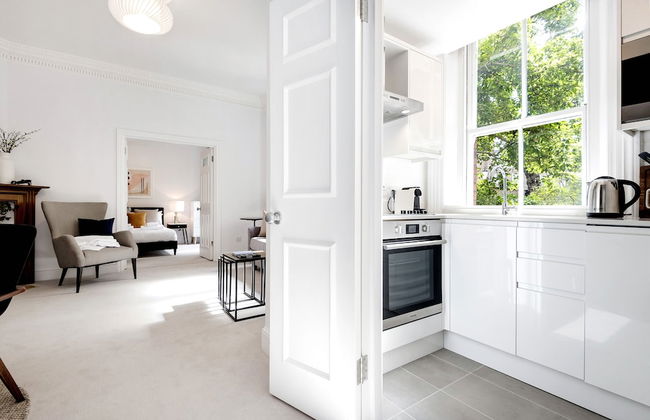
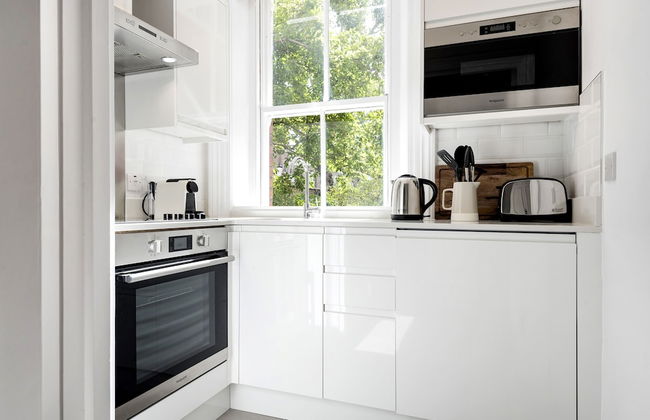
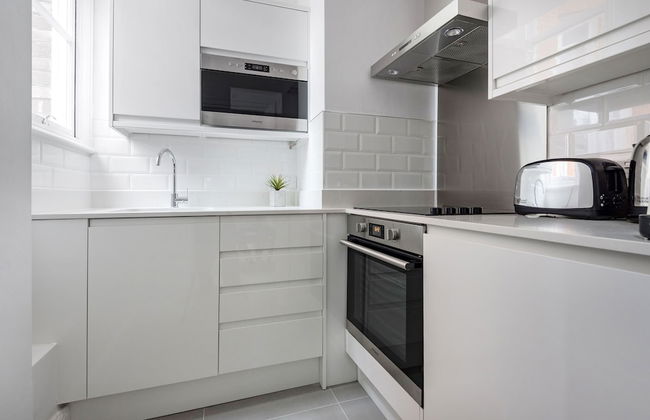
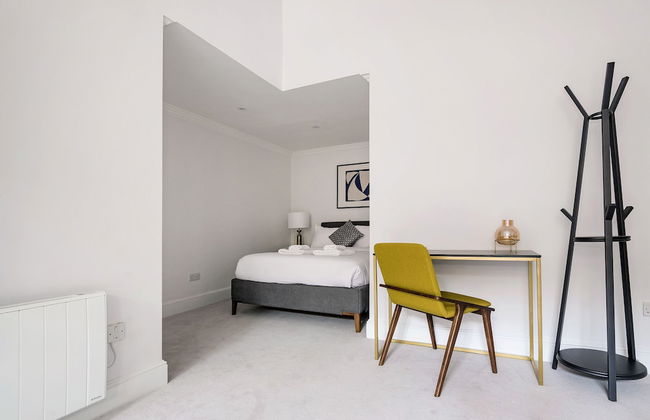
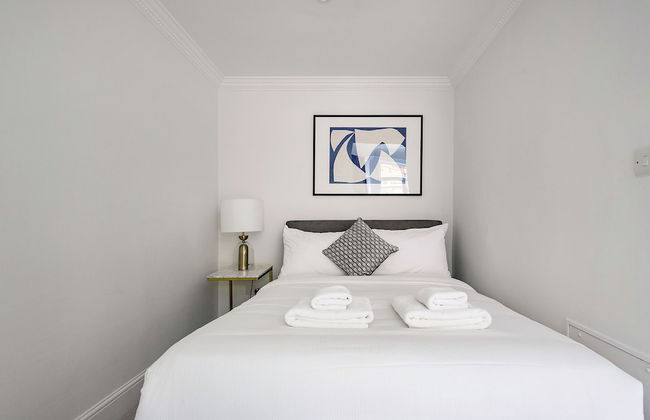
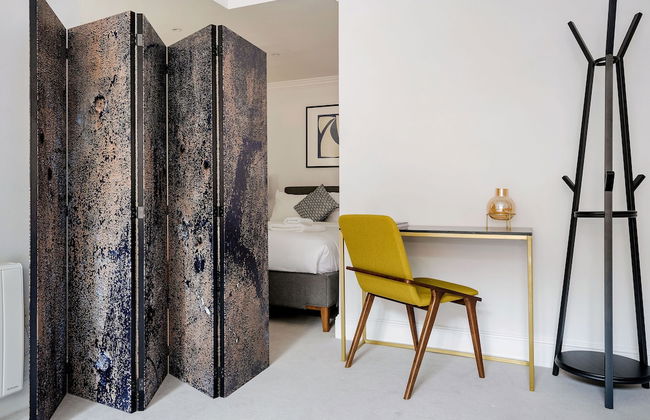
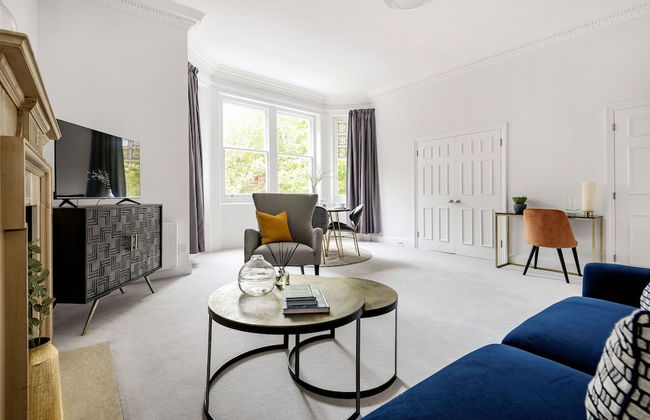
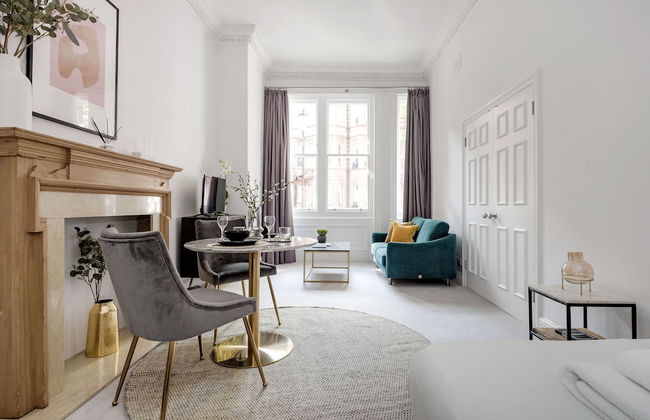
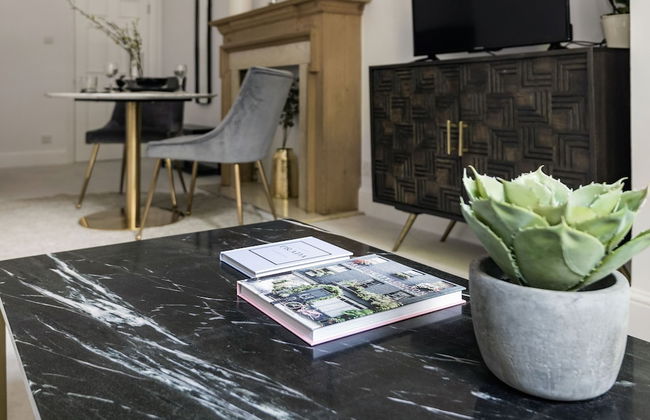
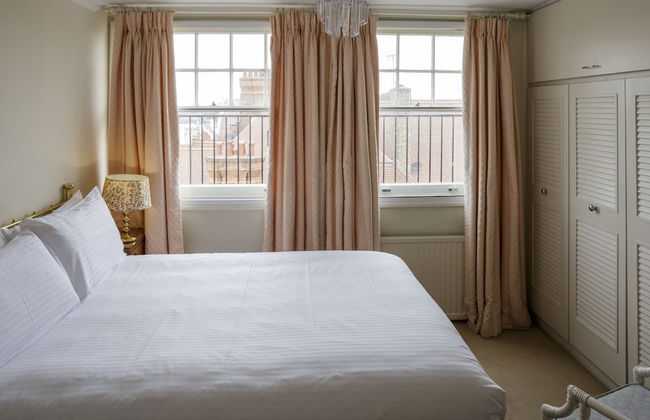
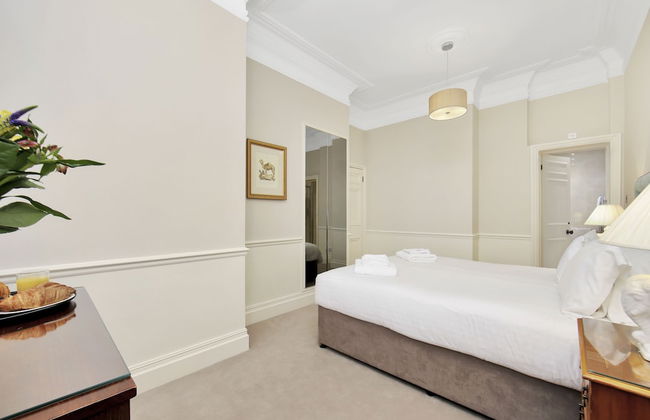
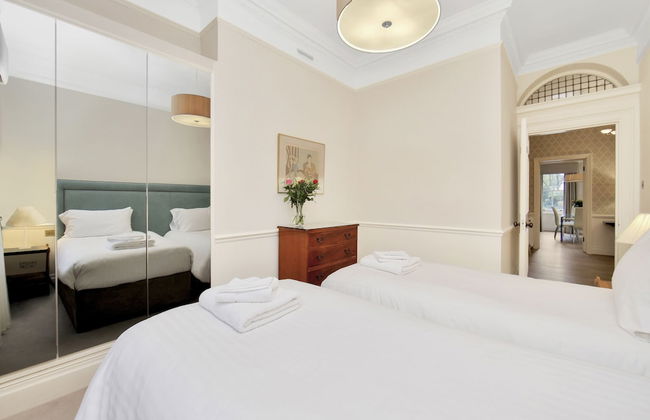
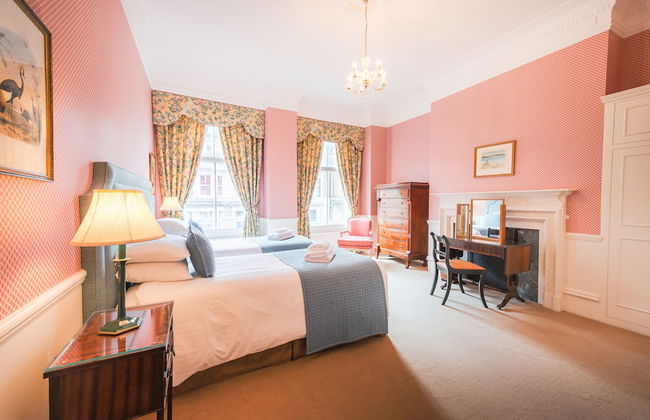
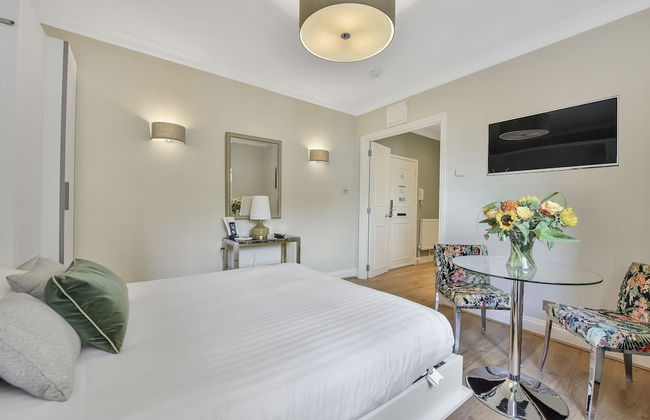
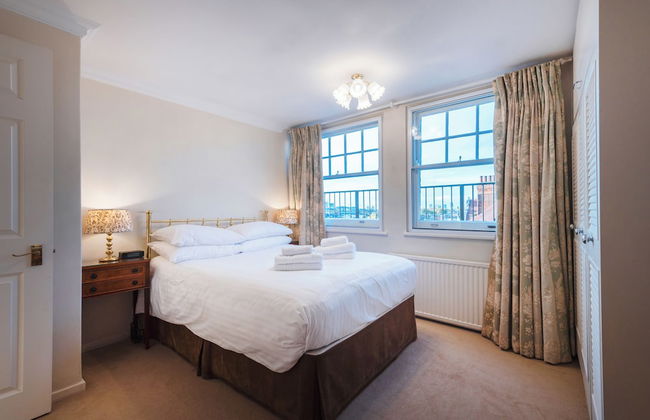
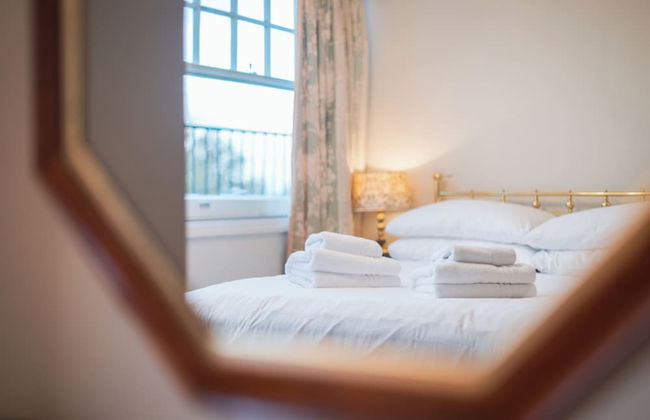
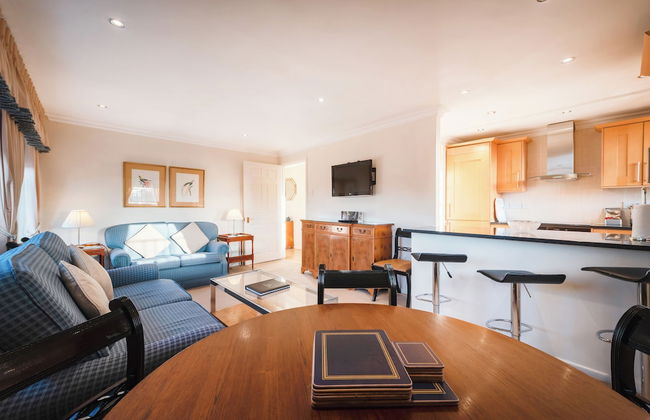
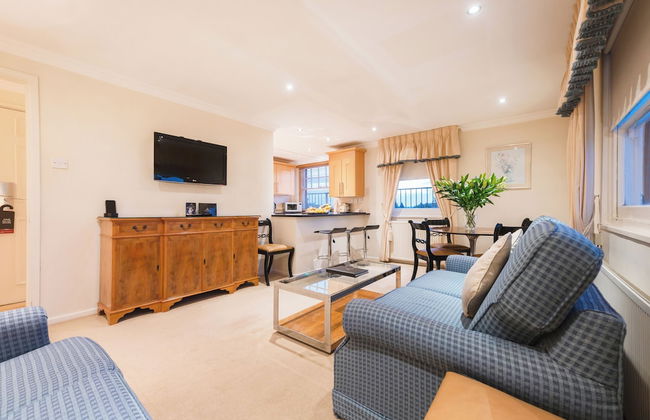
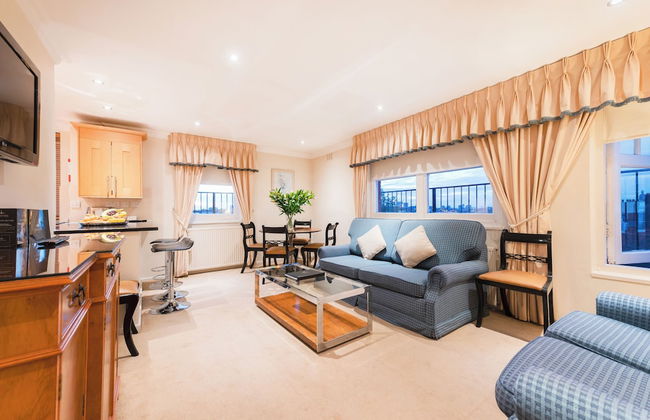
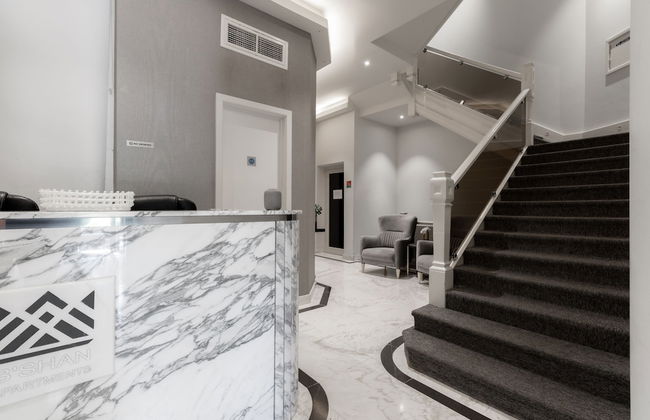
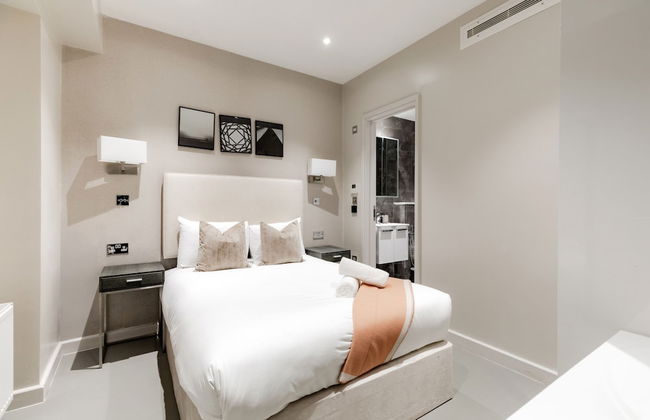
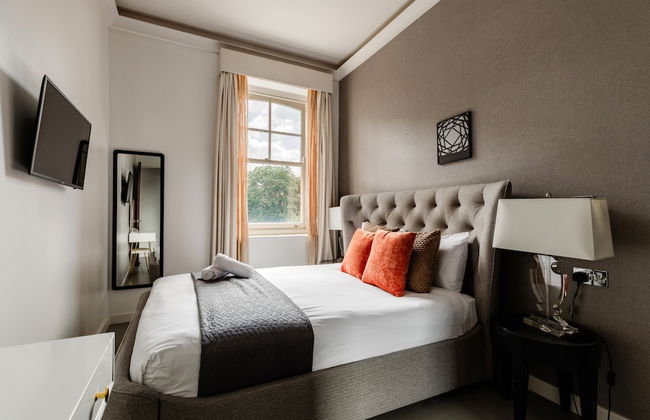
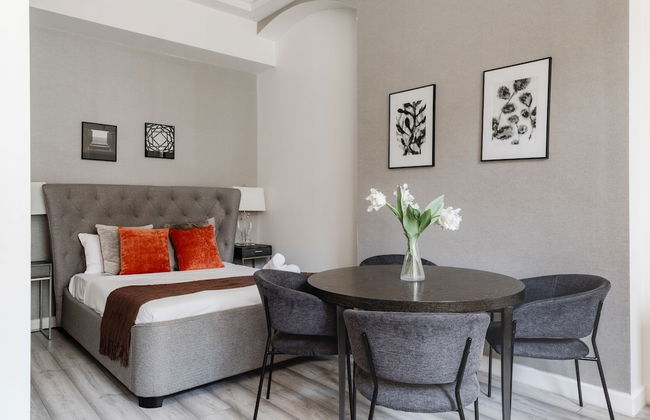
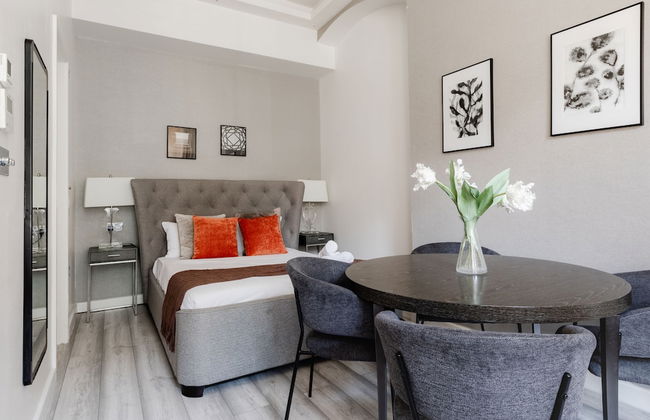
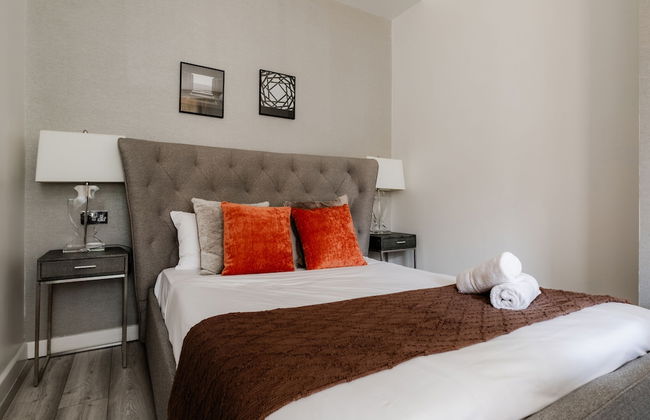
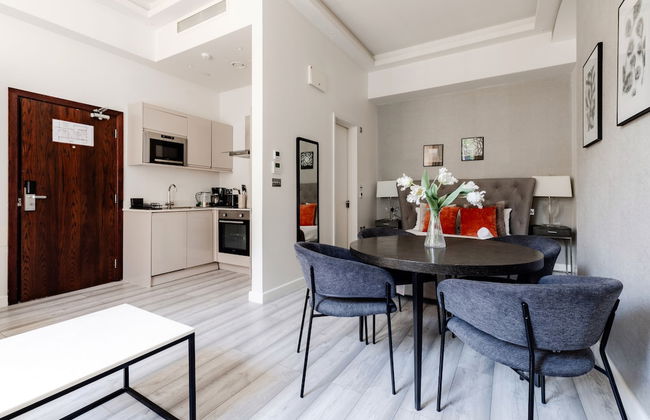
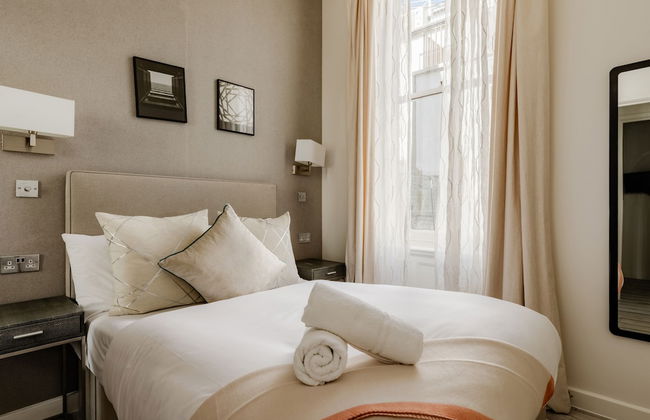
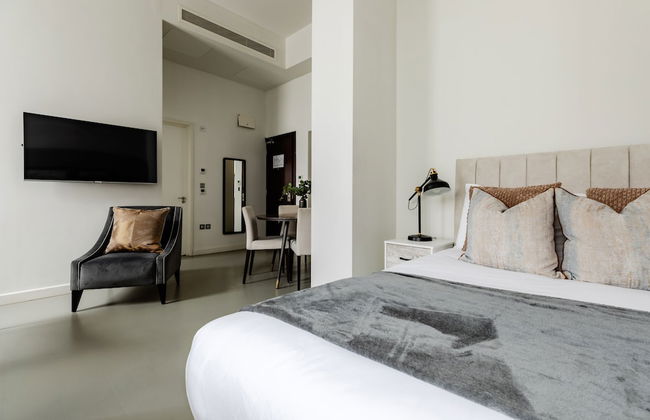
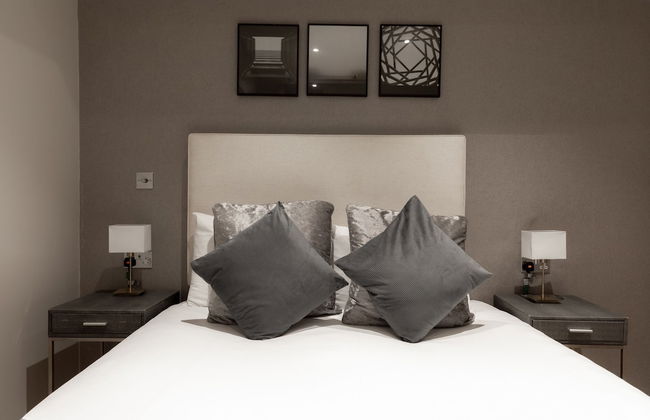
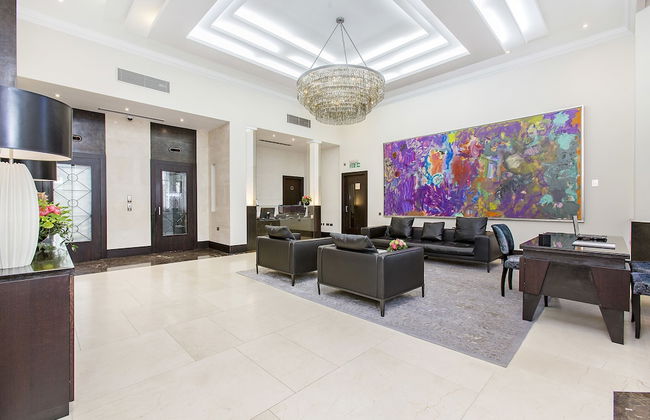
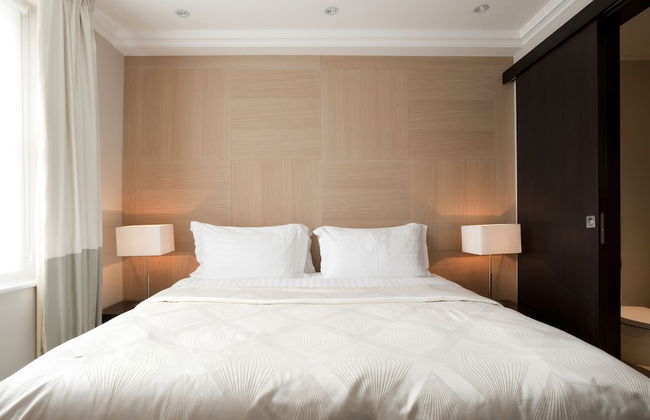
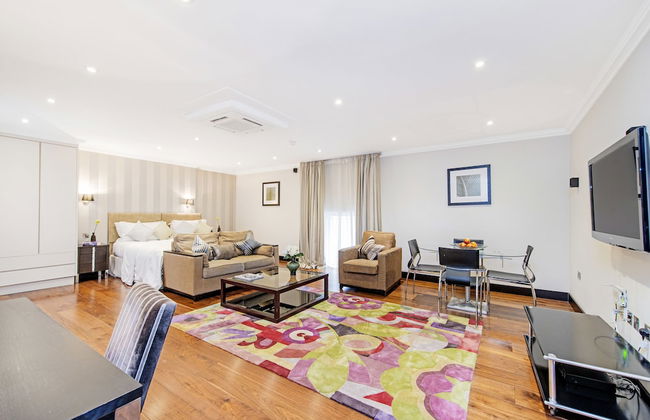
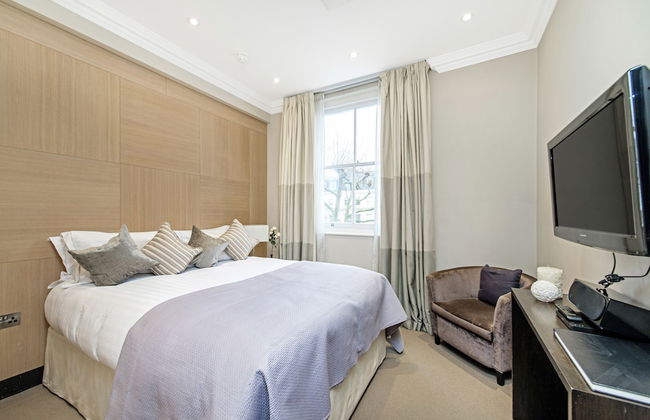
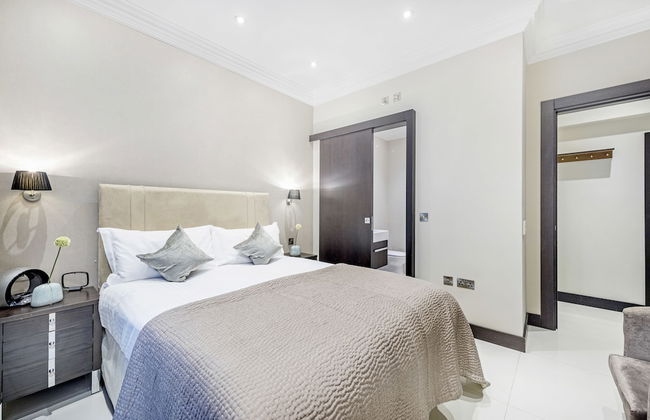
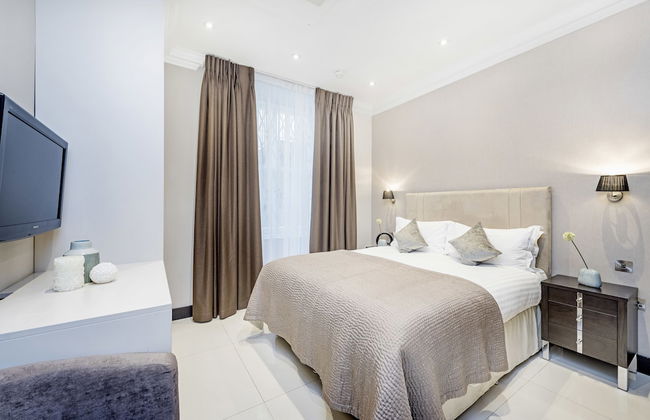
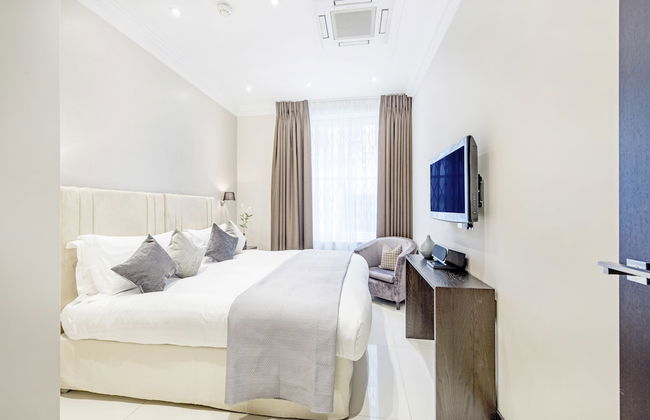
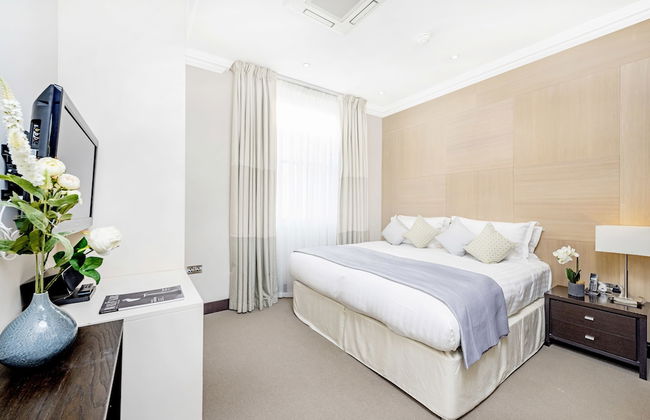
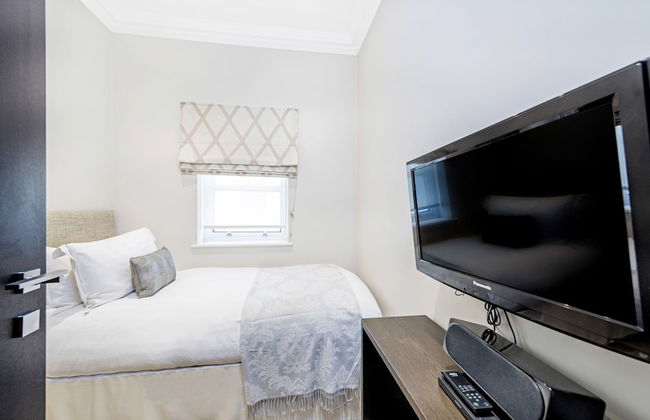
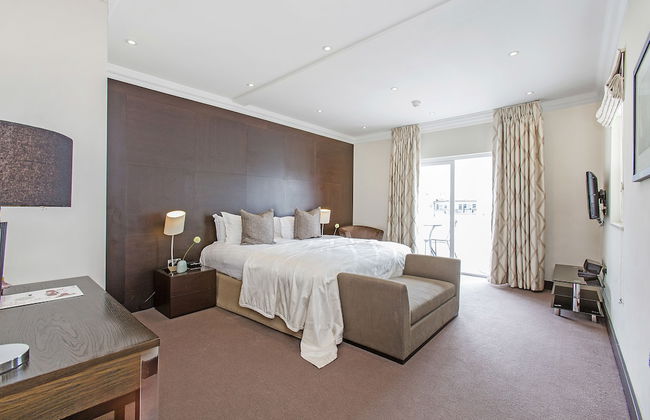
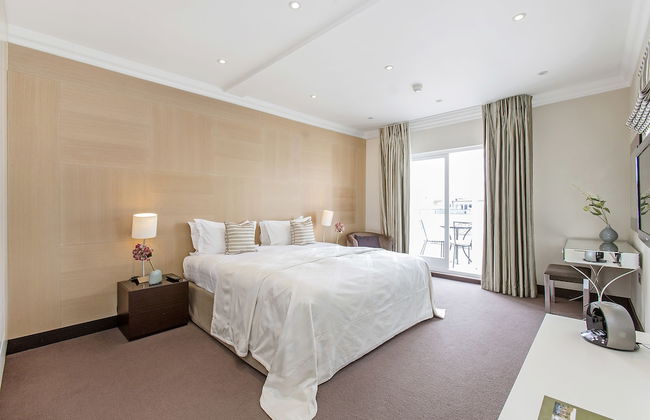
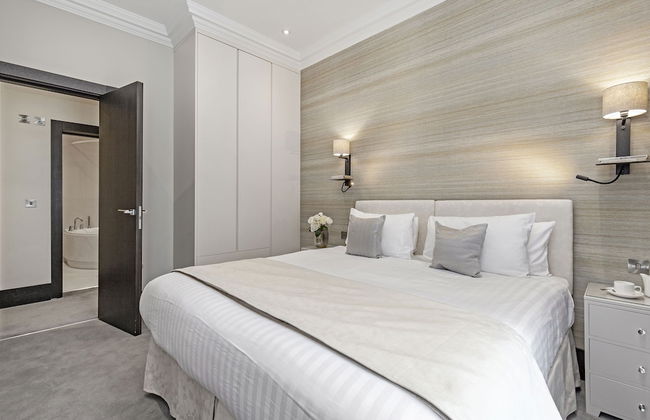
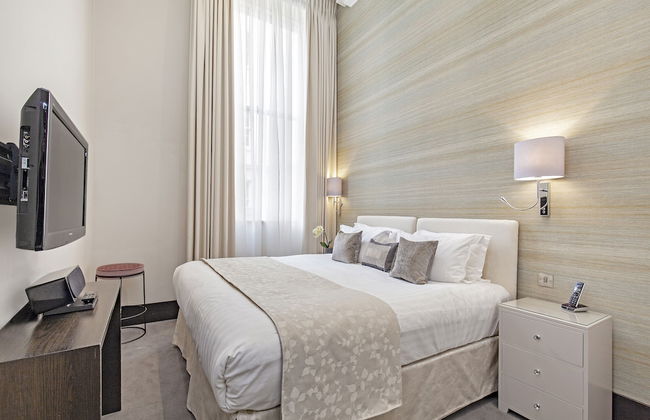
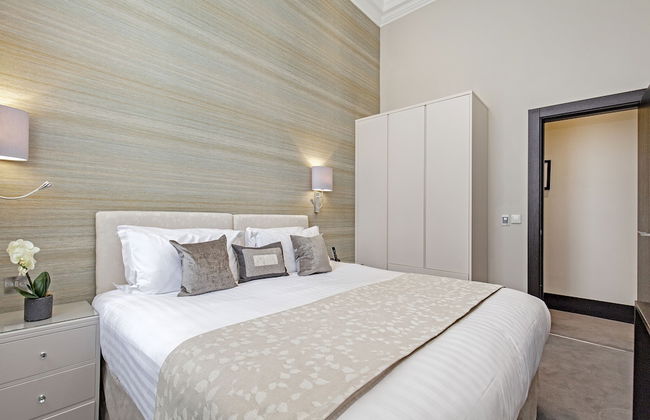
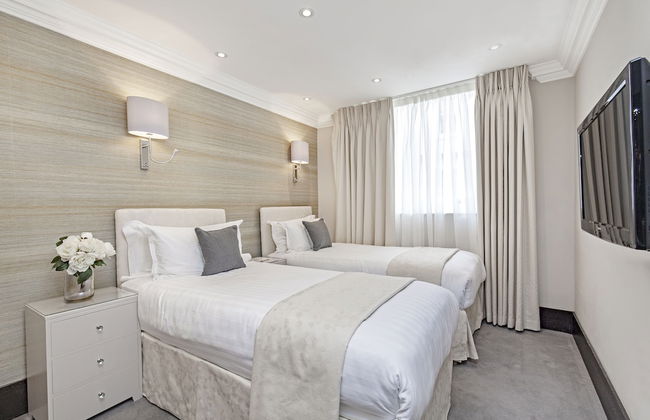
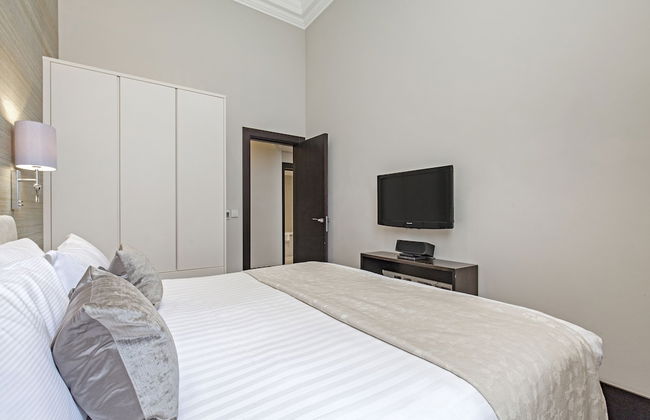
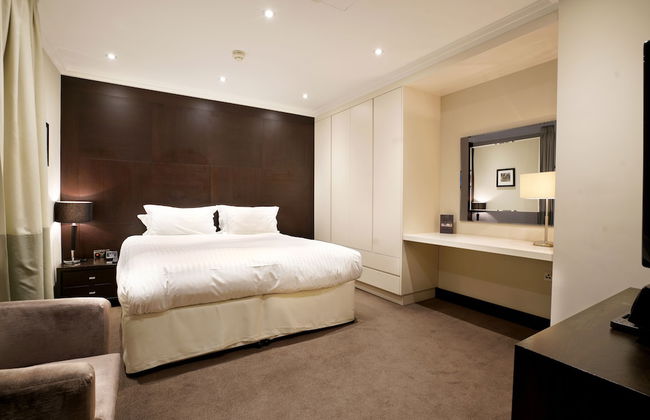
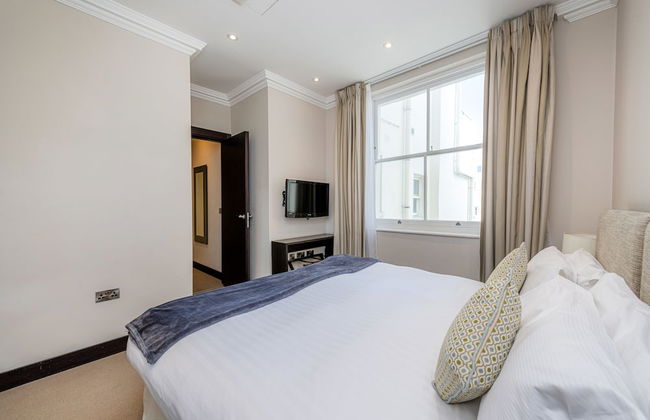
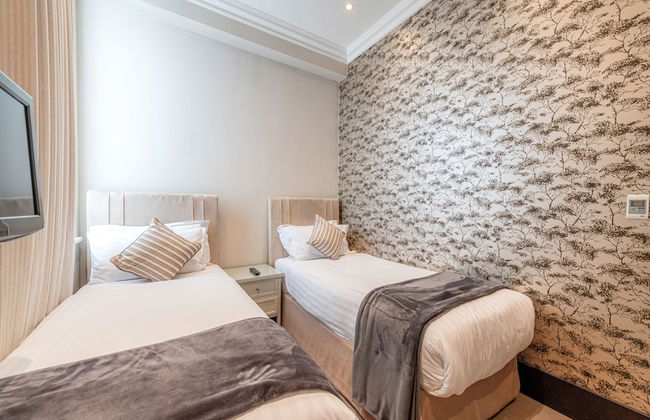
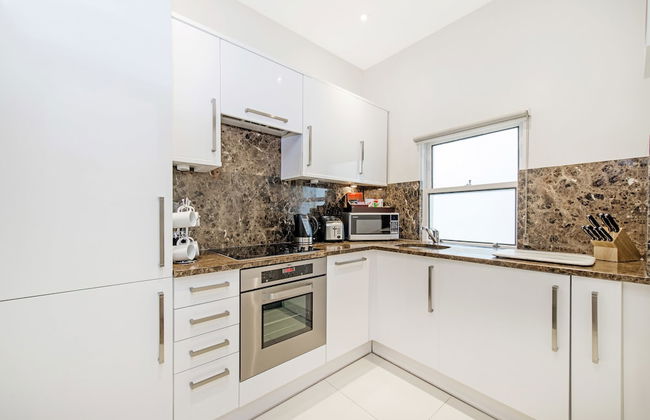
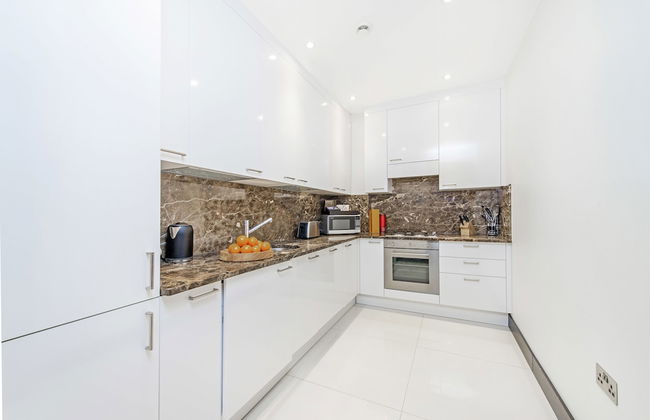
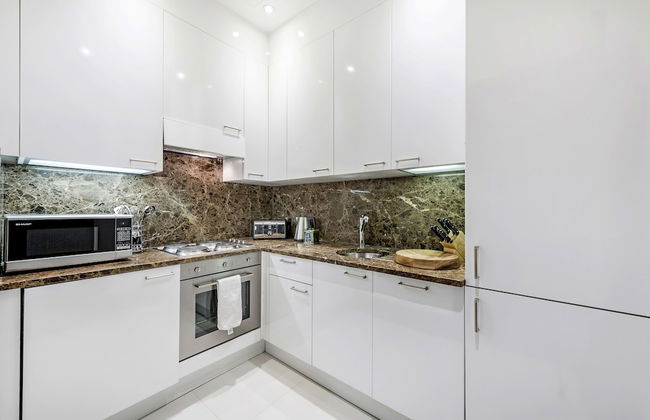
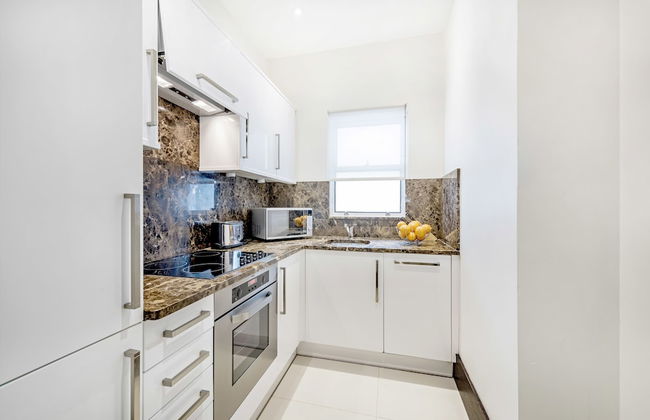
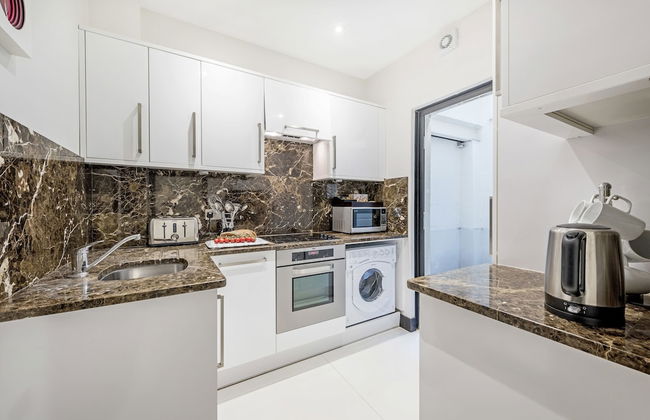
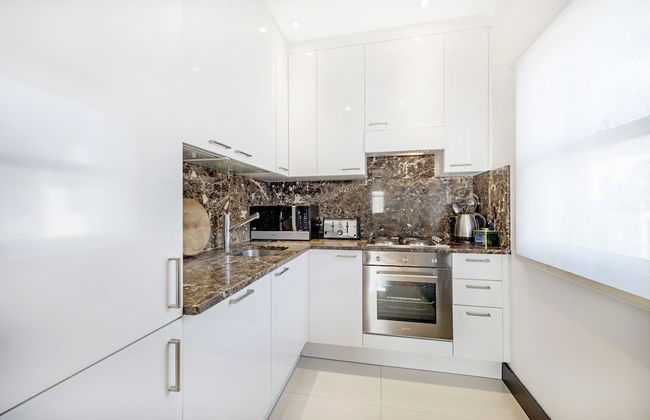
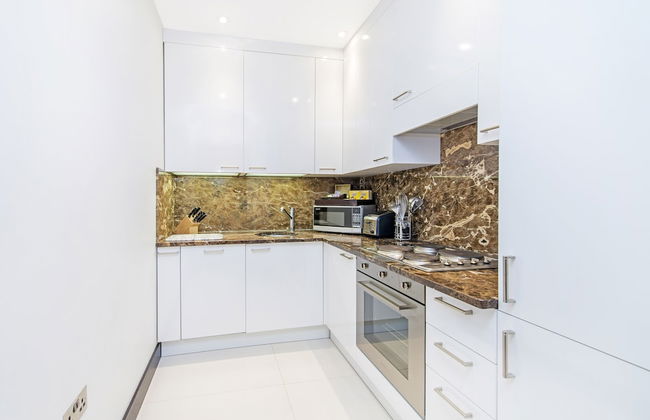
Tavistock Place Apartments
Londra - St Pancras - 1.5 km dal centro
- 105 M2
- 7 persone
- Riscaldamento
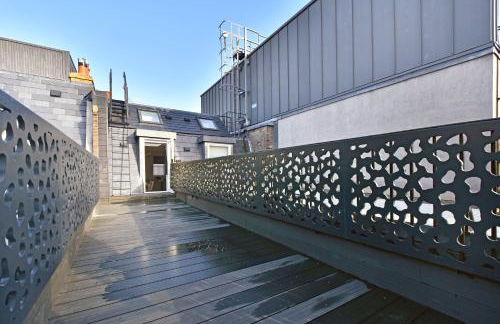
- Terrazza
- Ascensore
- Balcone
- Tv
- Lavatrice
- Focolare
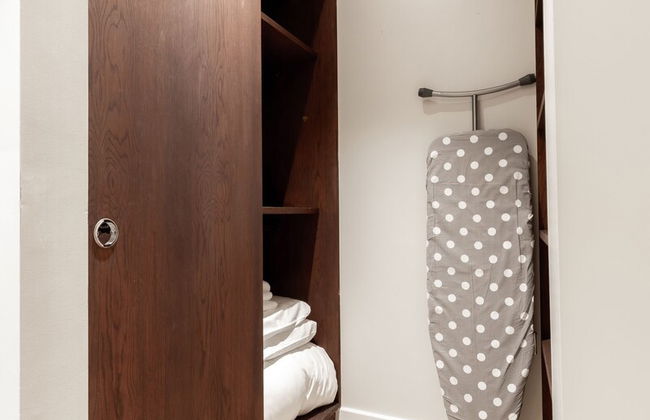
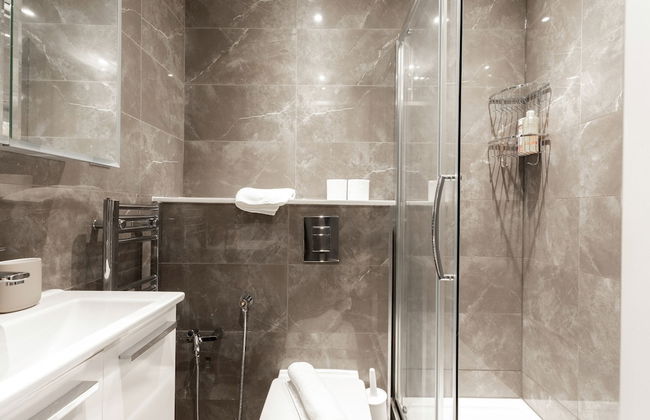
- Lino da bagno
- Lino da letto


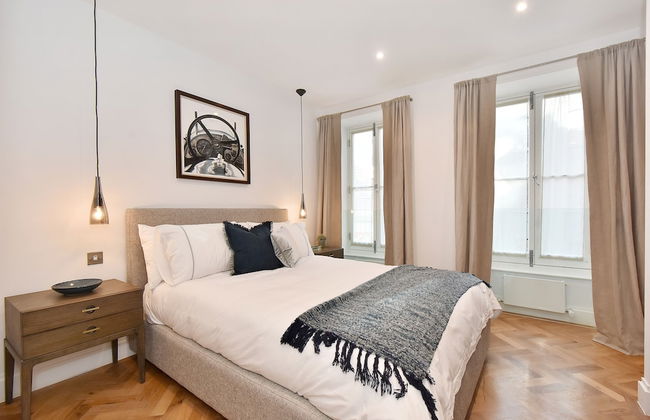


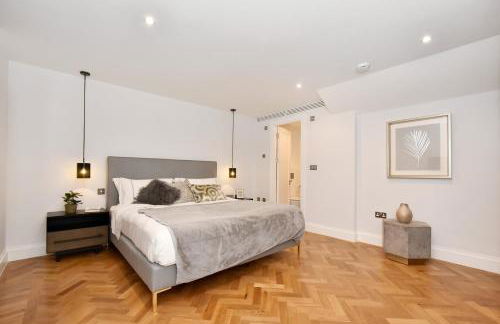

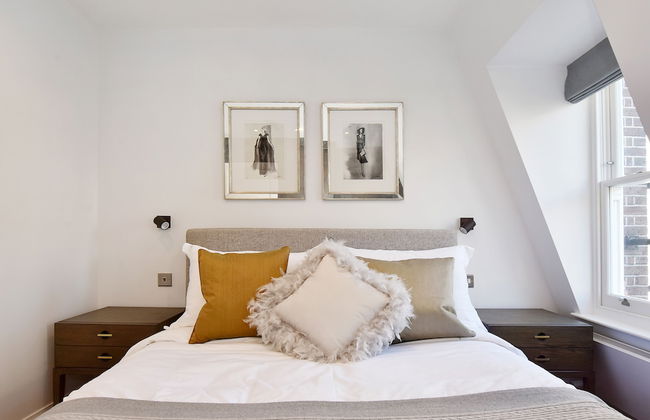


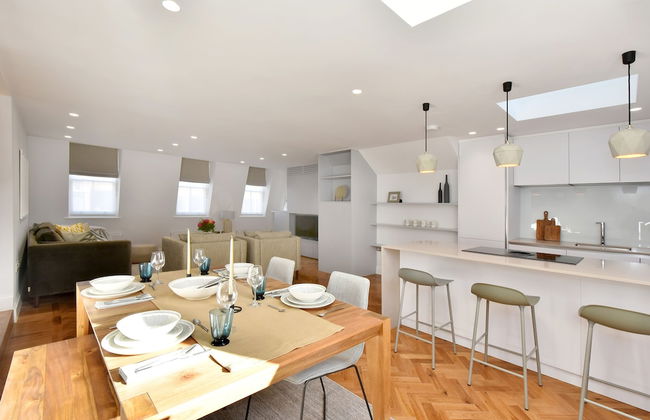


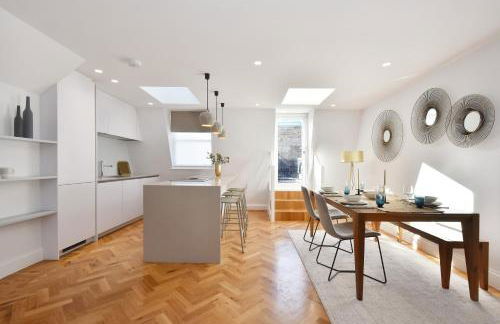

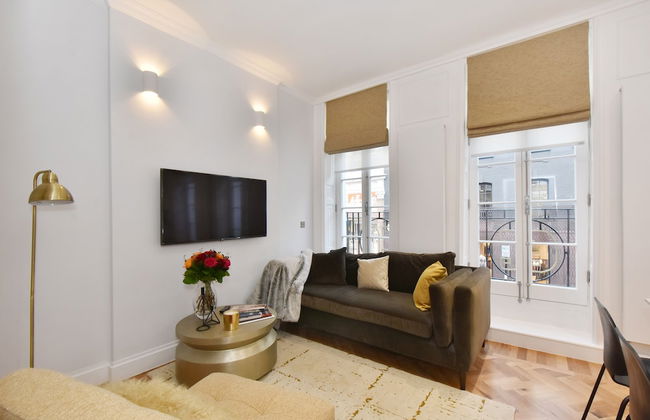
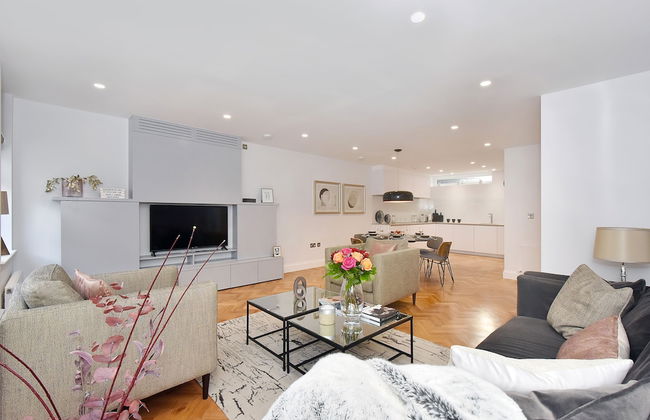


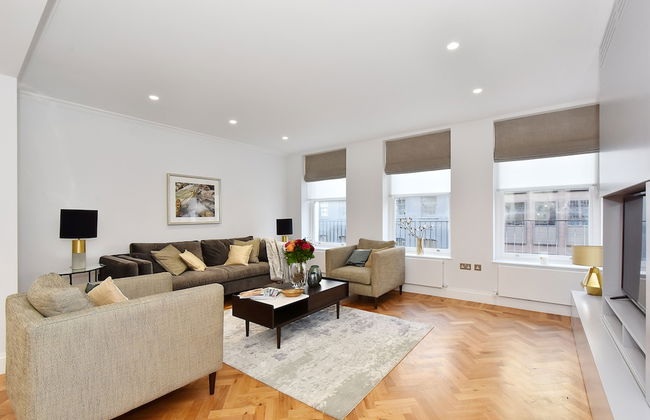

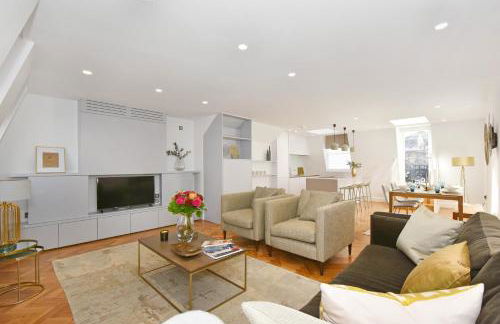

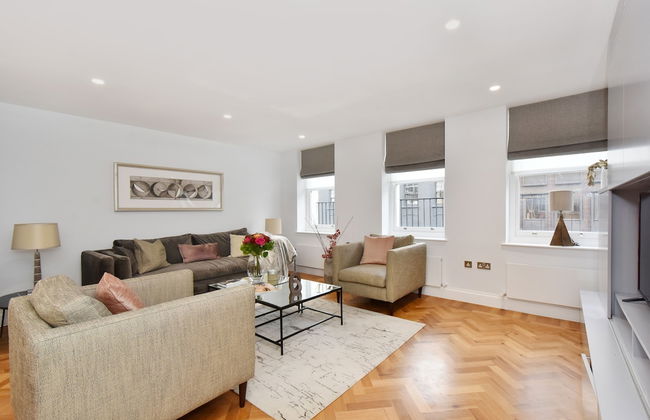
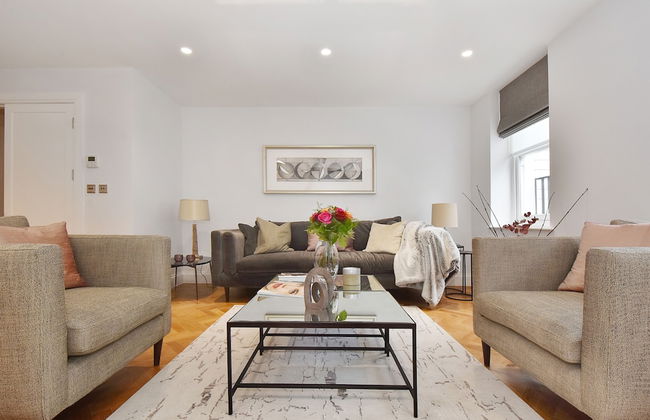


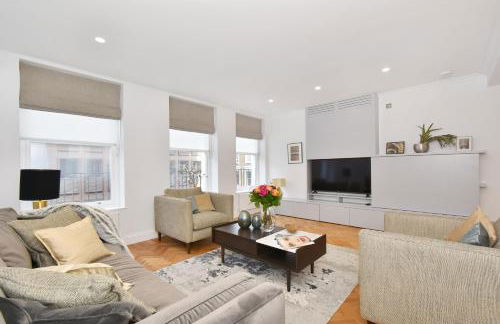


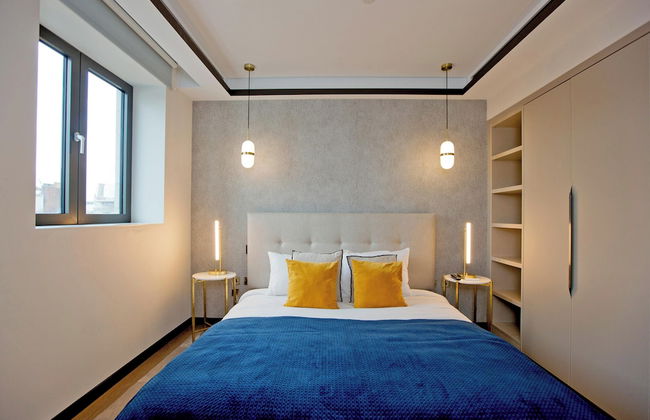
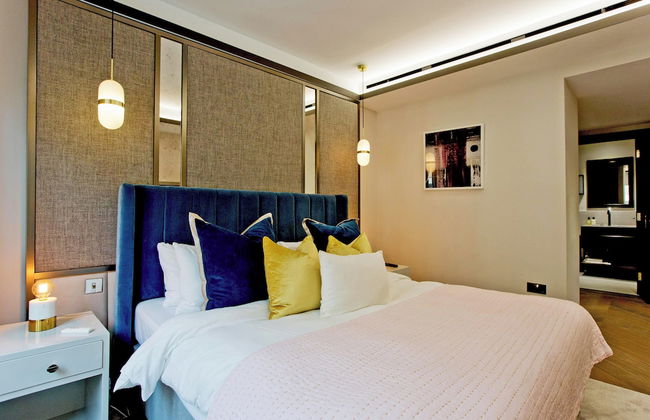
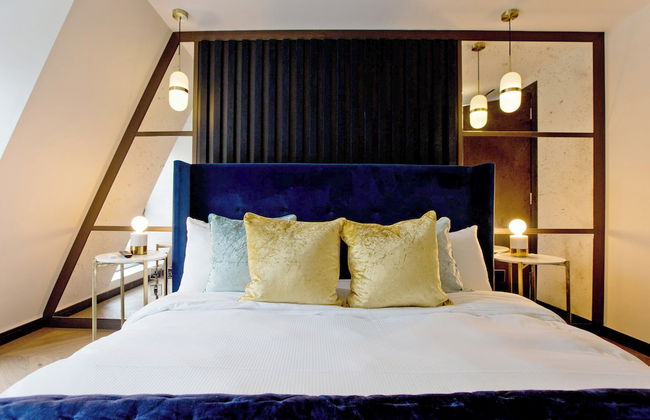
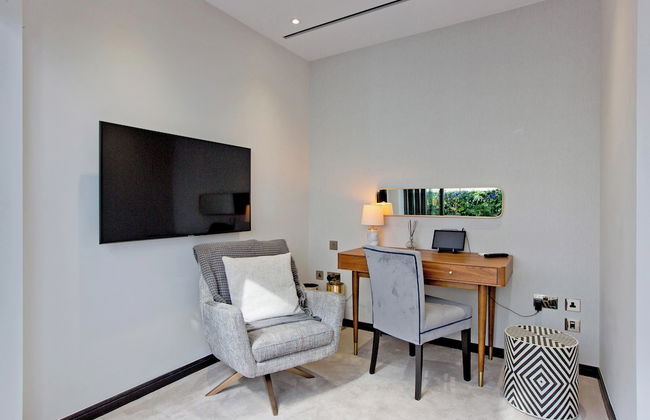
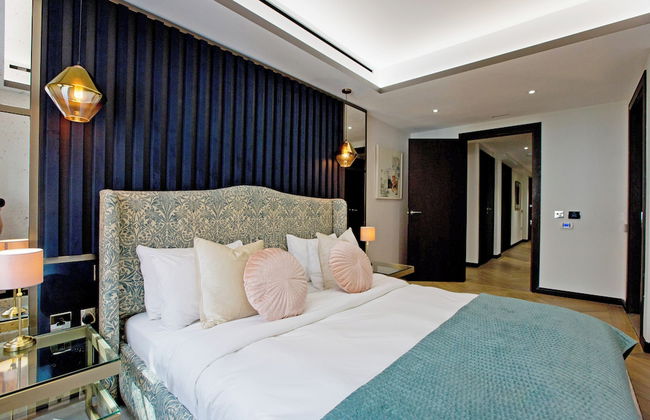
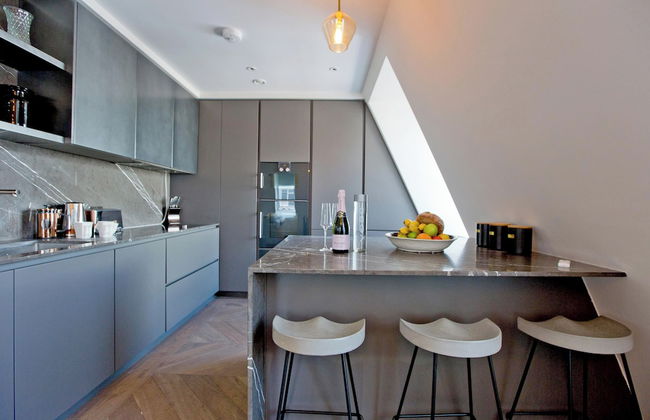
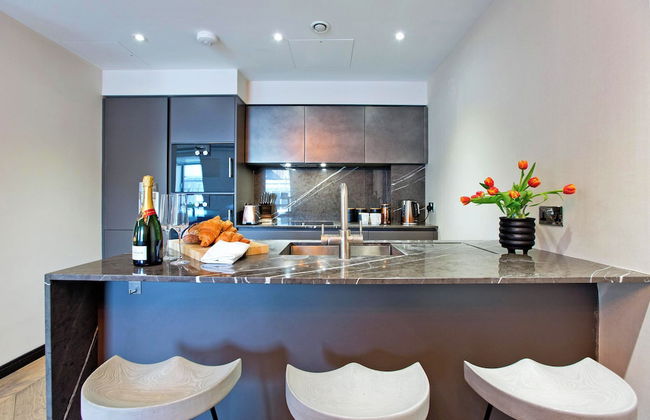
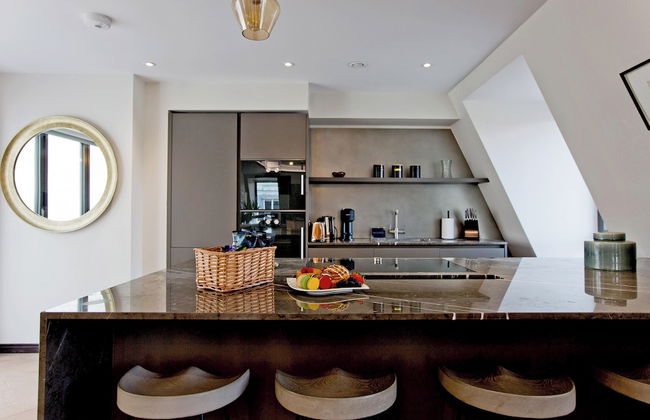
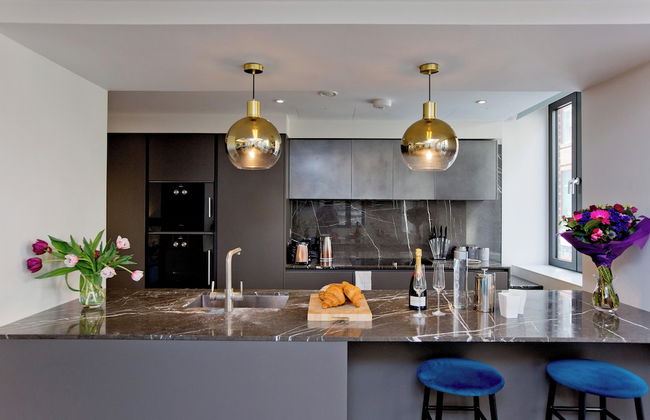
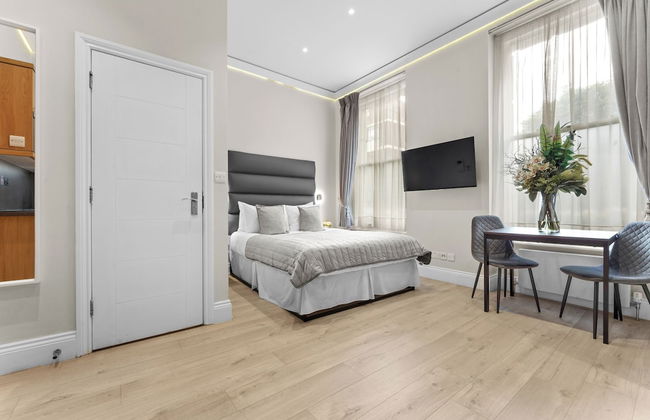
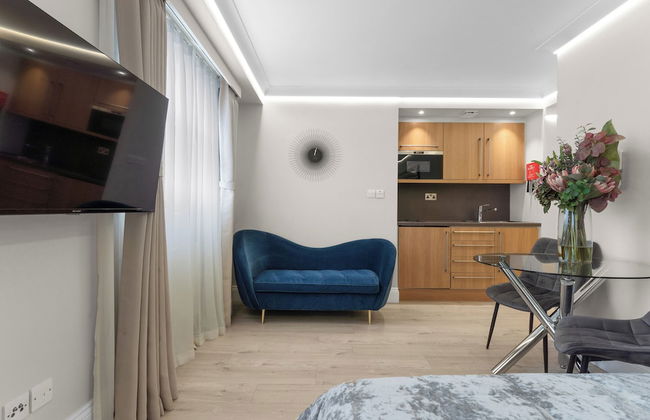
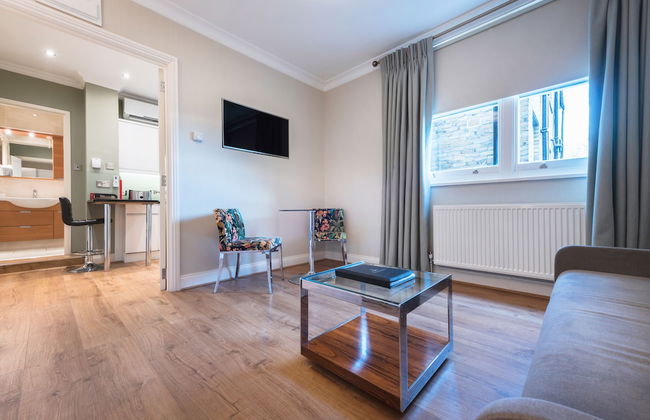
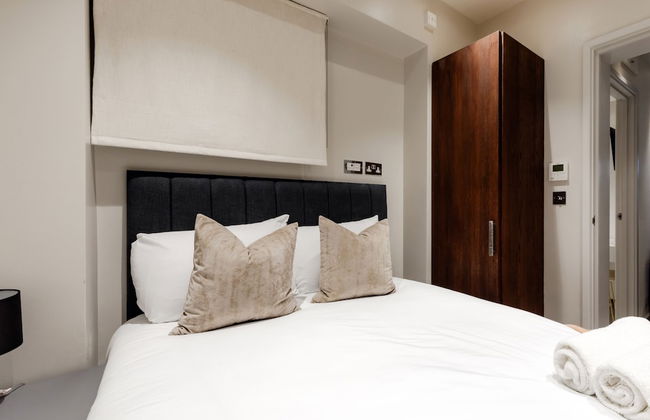
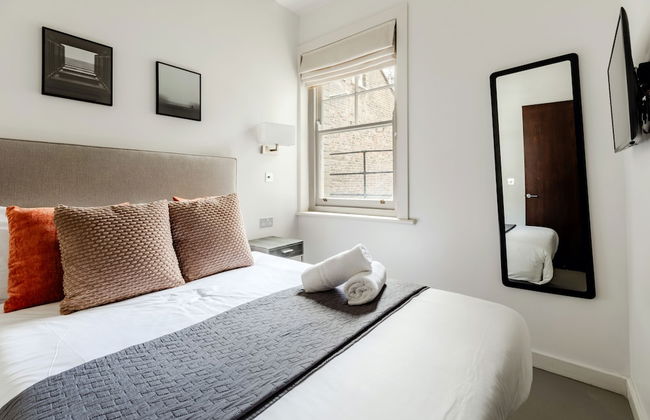
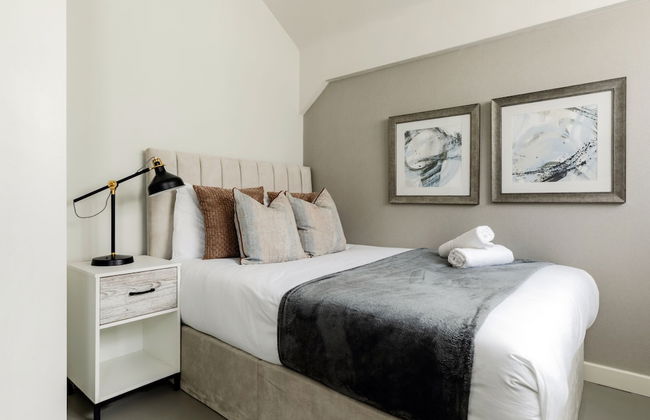
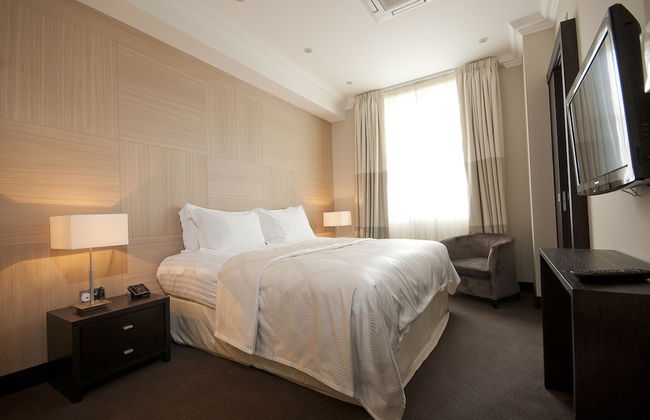
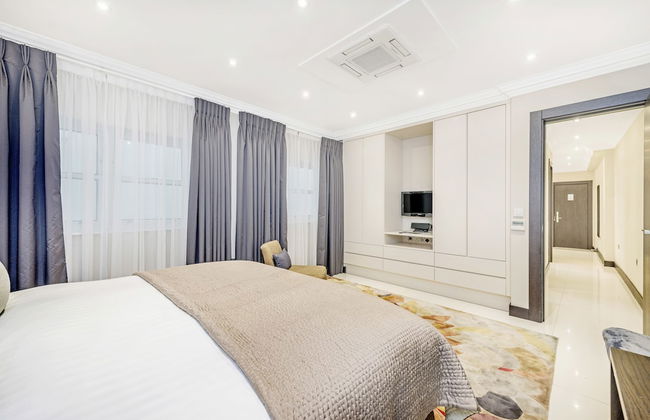
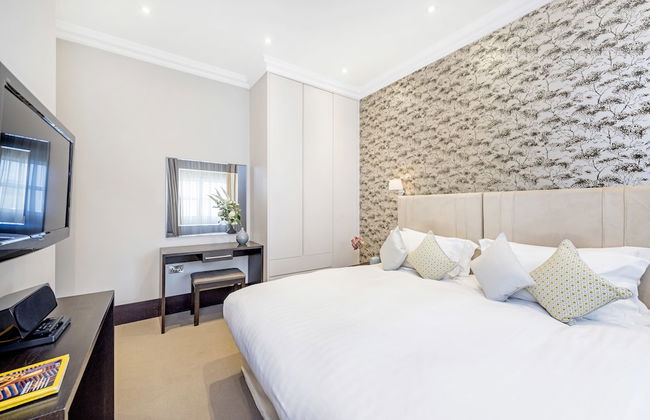
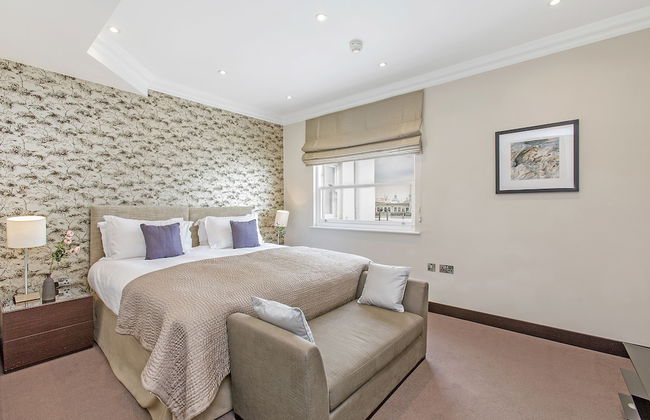
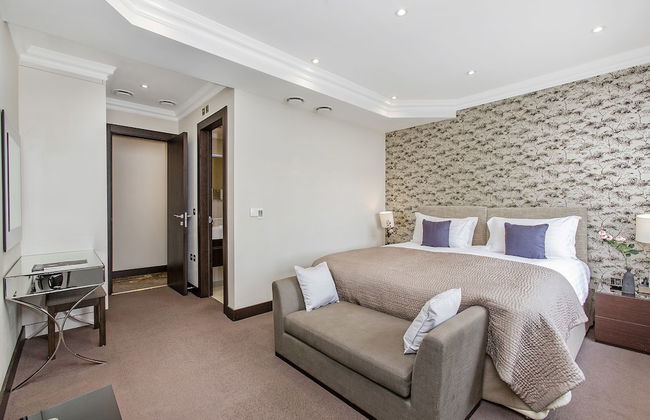
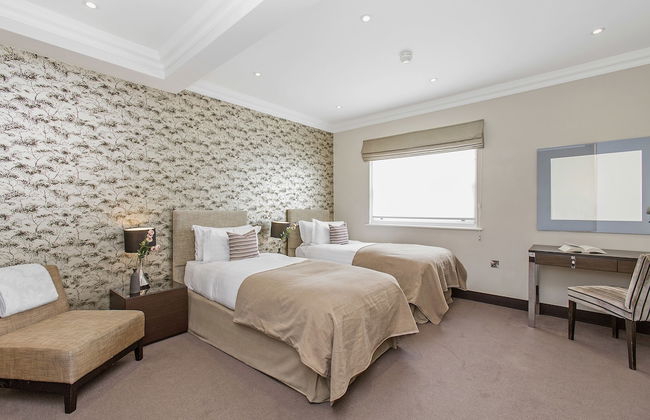
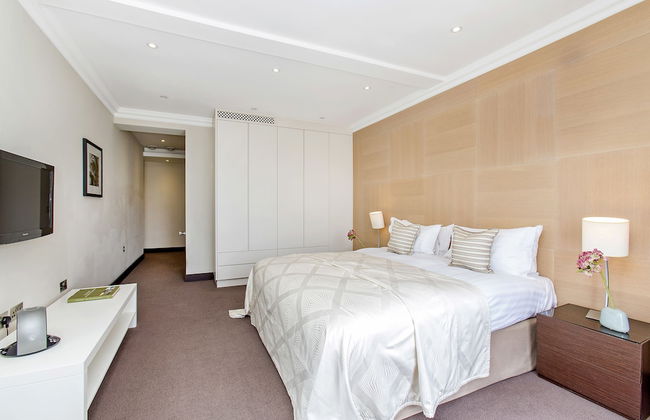
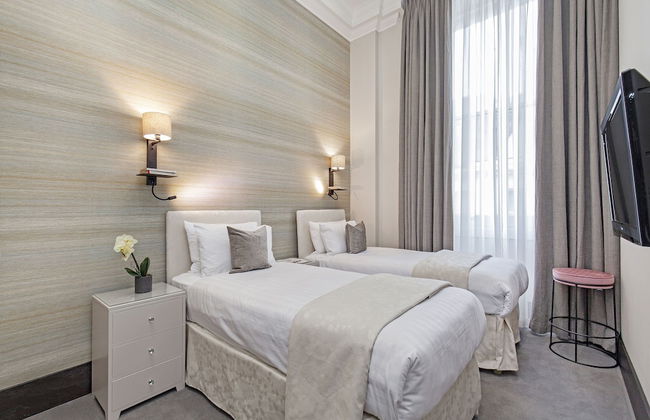
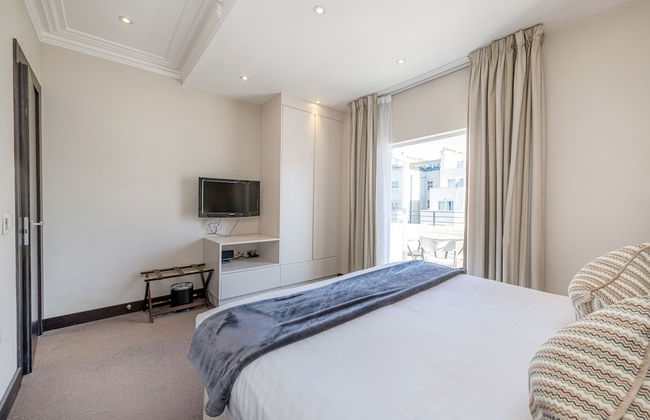
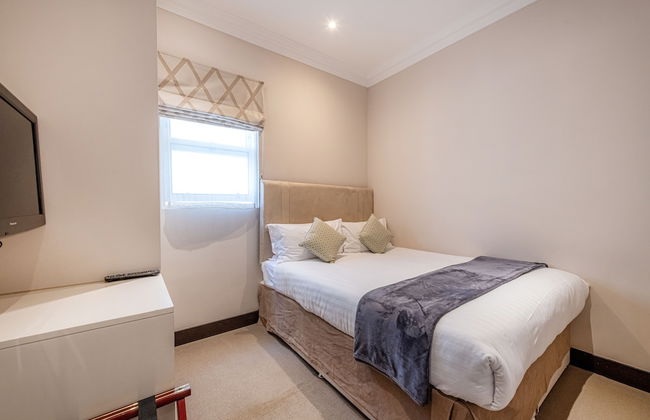
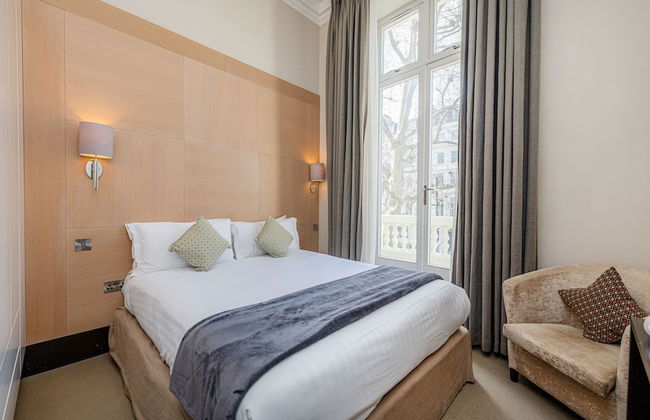
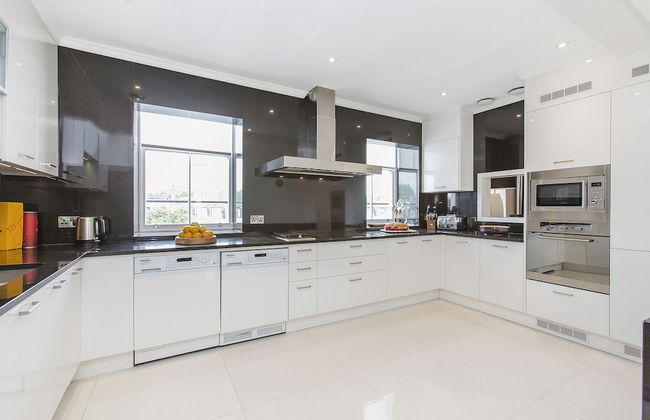
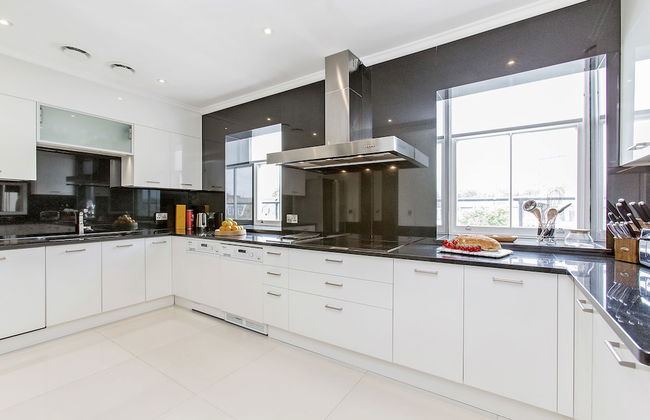
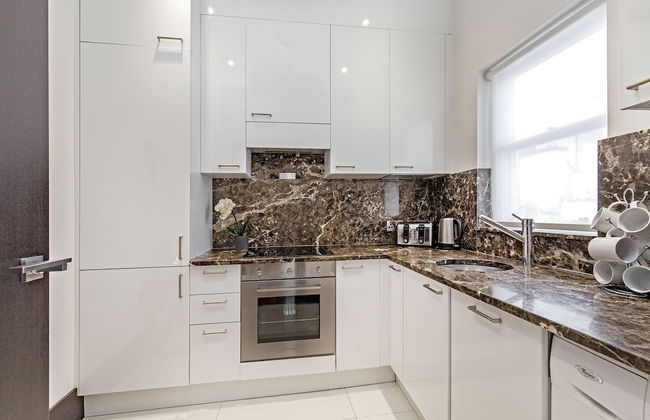
London Choice Apartments - Mayfair - Piccadilly
Londra - Mayfair - 540 m dal centro
- 150 M2
- 3 camere
- 7 persone
- Aria condizionata
- Riscaldamento
- Terrazza
- Parcheggio
- Ascensore
- Tv
- Lavatrice
- Lino da letto


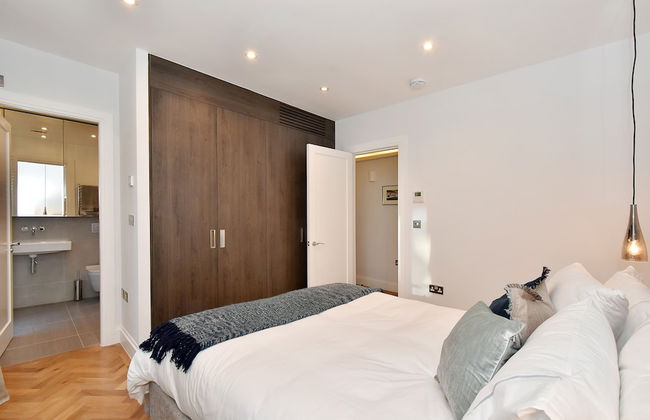
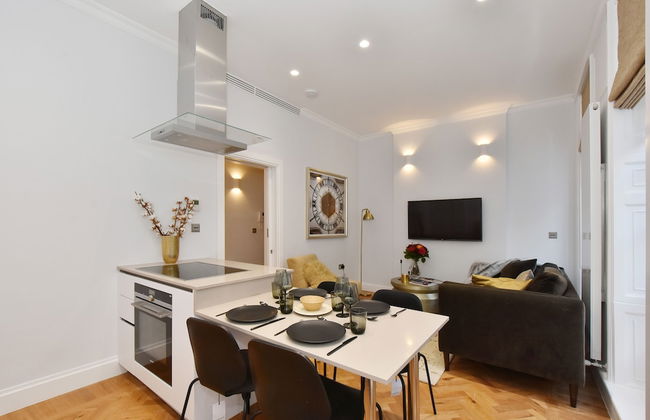
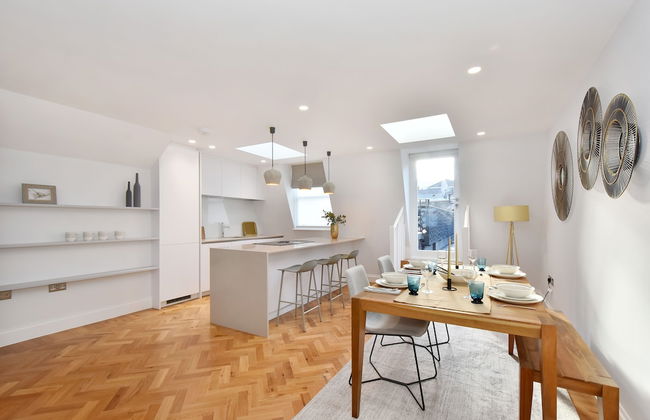
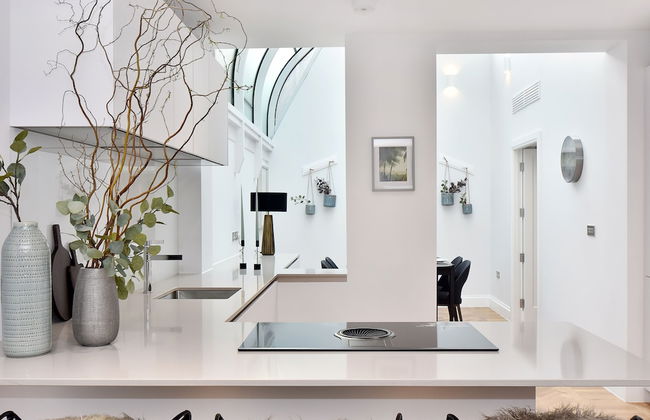
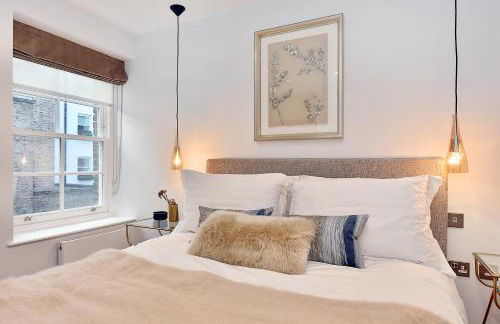
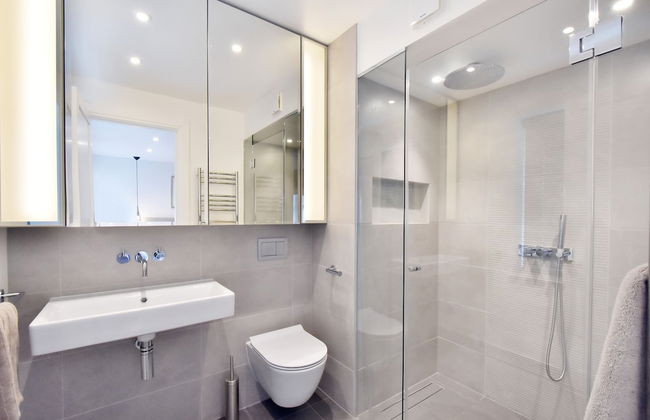
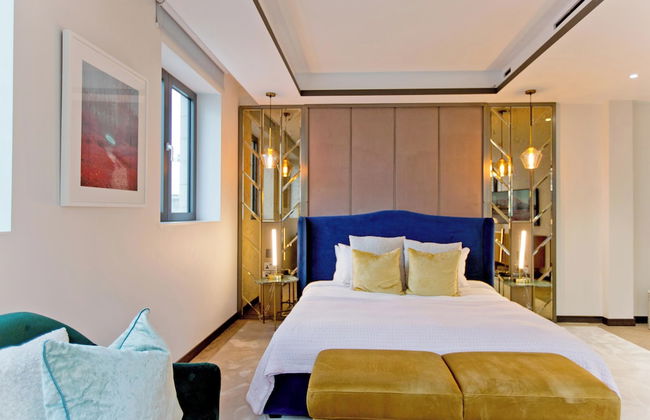
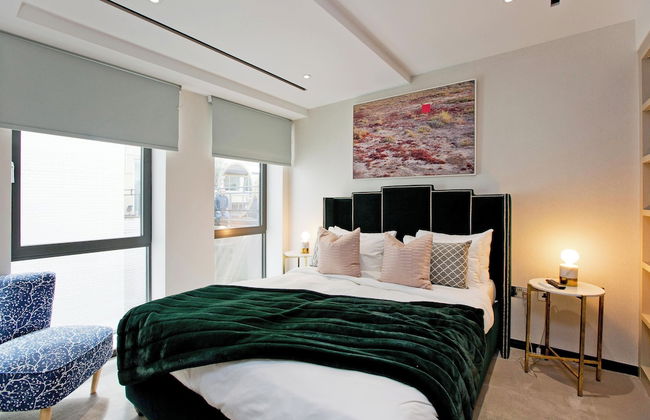
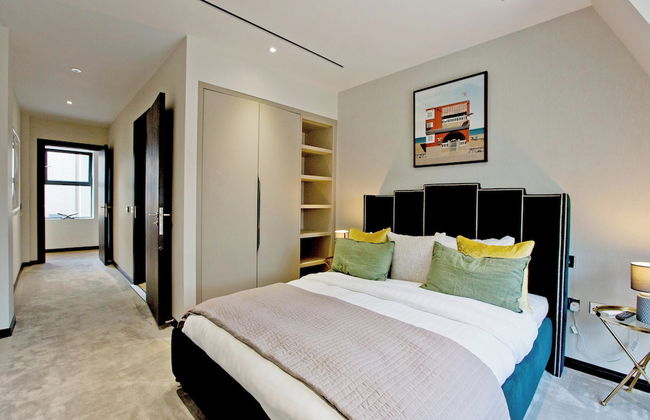
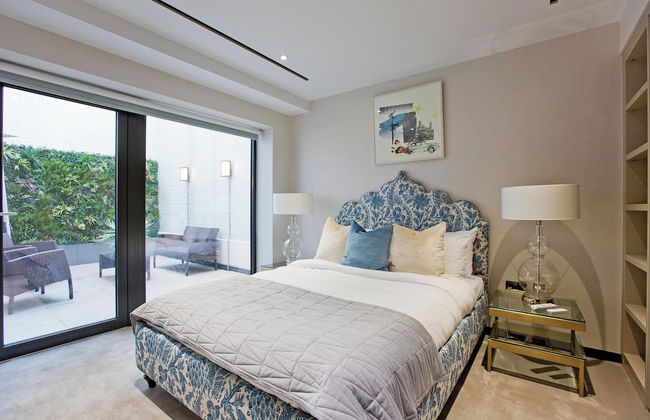
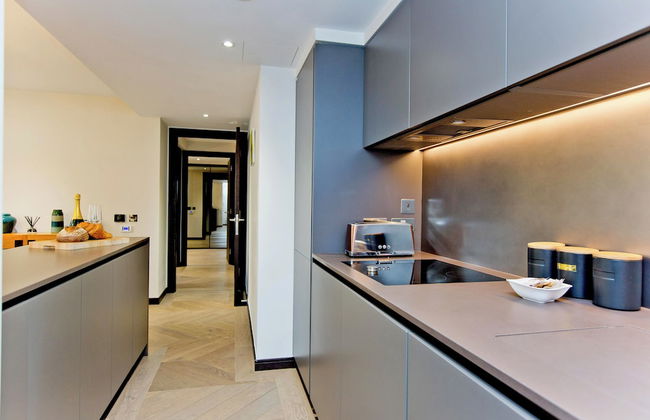
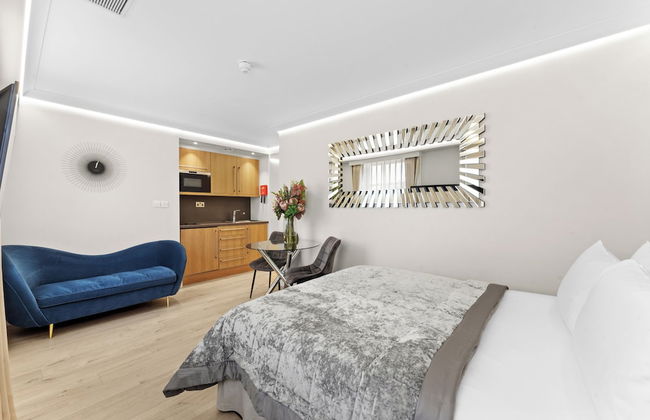
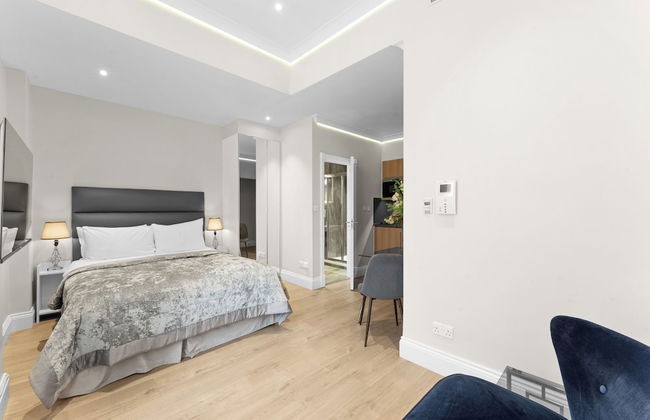
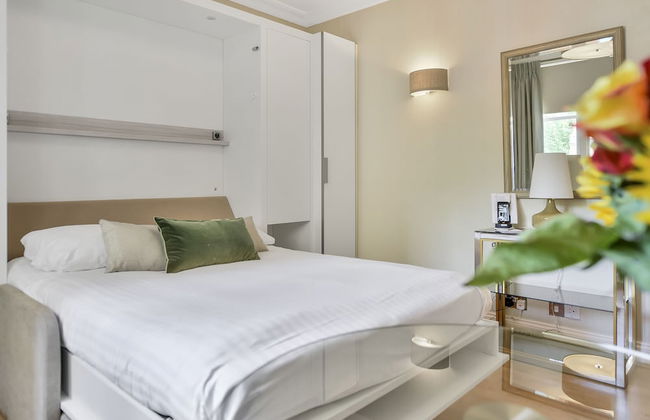
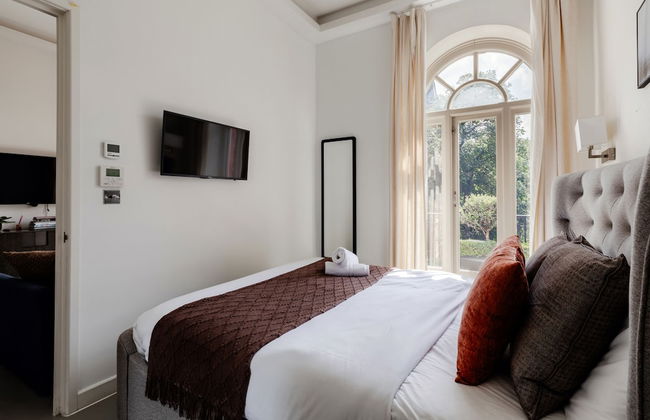
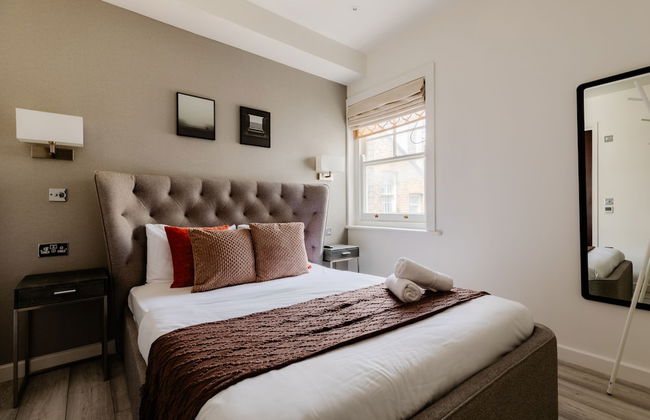
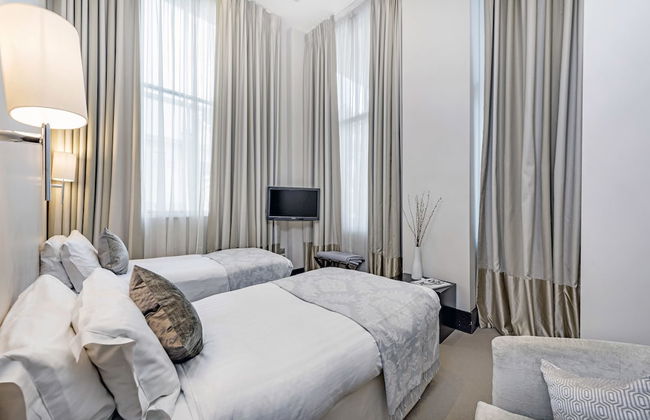
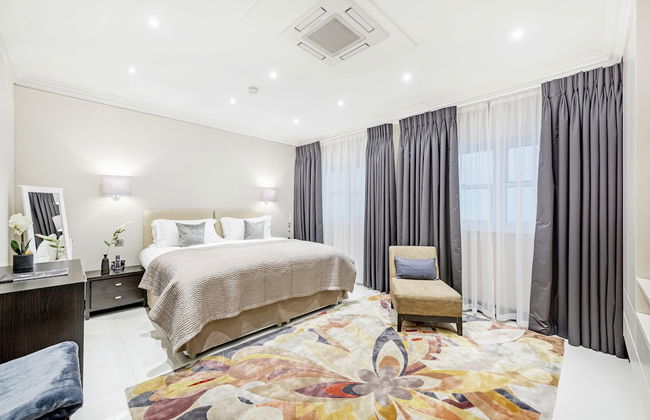
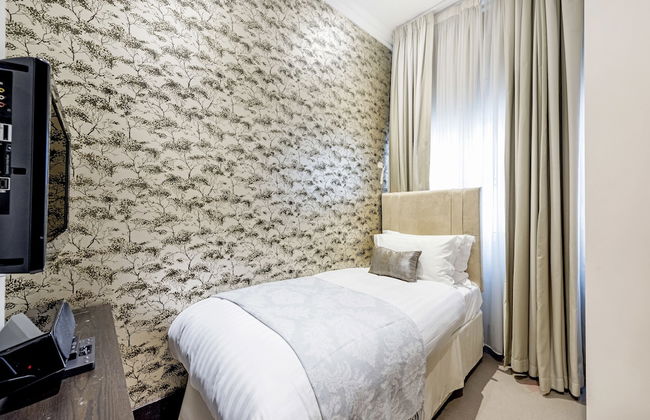
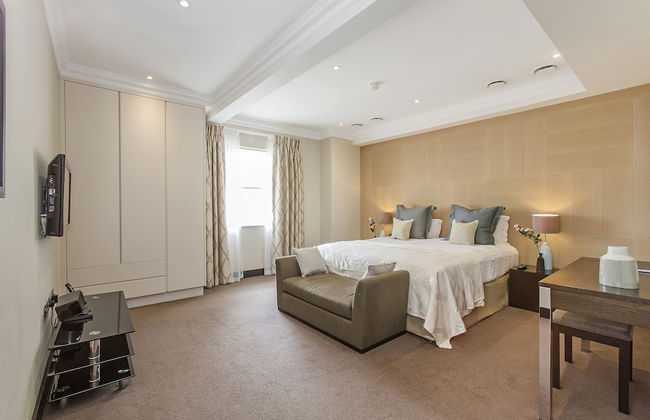
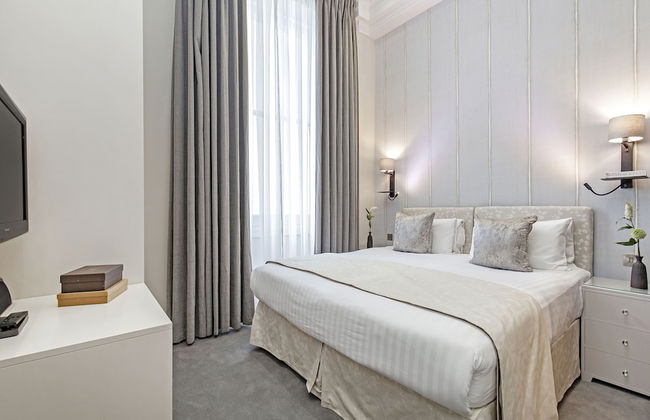
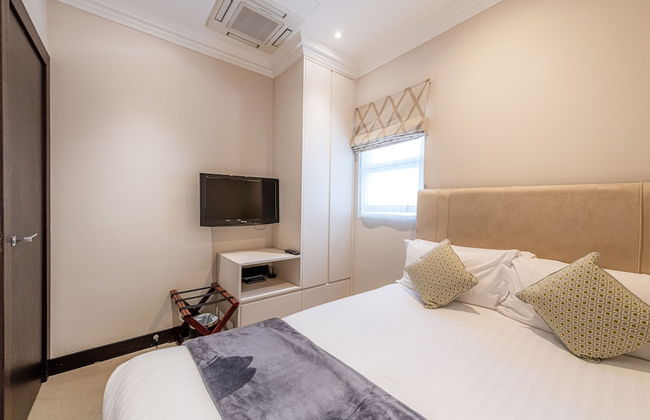
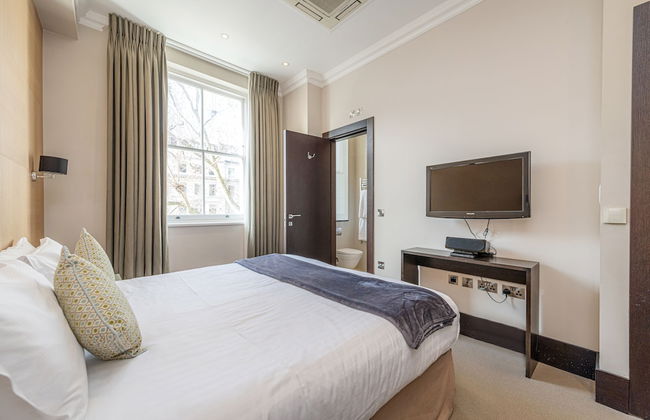
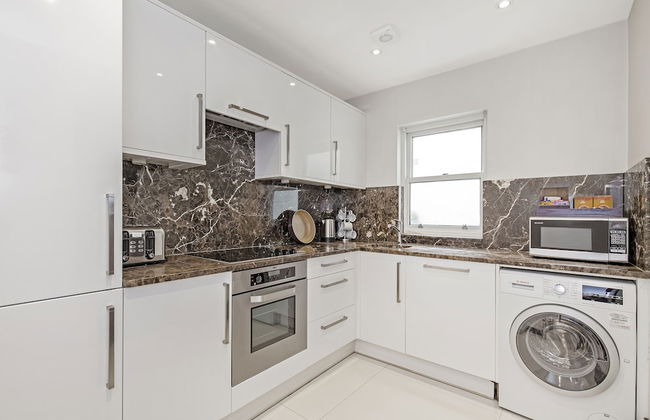
Monarch House - Serviced Apartments - Kensington
Londra - Kensington - 4.5 km dal centro
- 178 M2
- 3 camere
- 9 persone
- Aria condizionata
- Riscaldamento
- Terrazza
- Parcheggio
- Ascensore
- Balcone
- Giardino
- Tv
- Lino da bagno
- Lino da letto


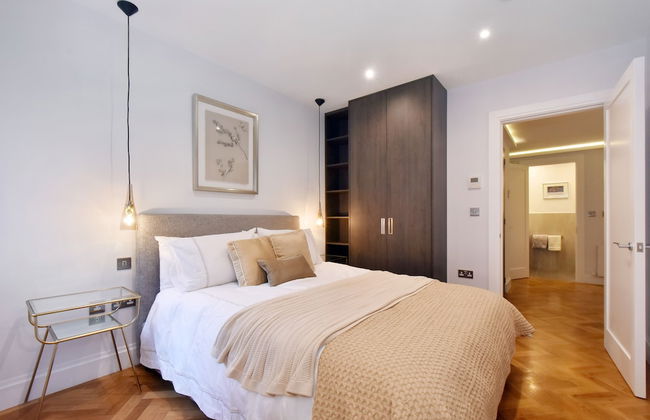
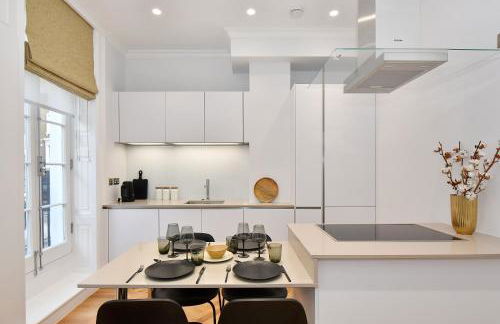
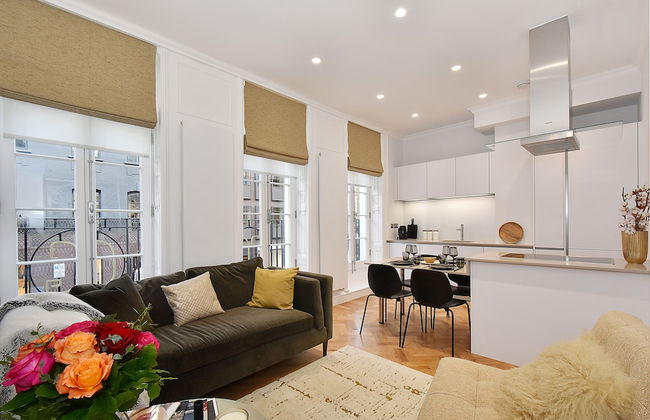
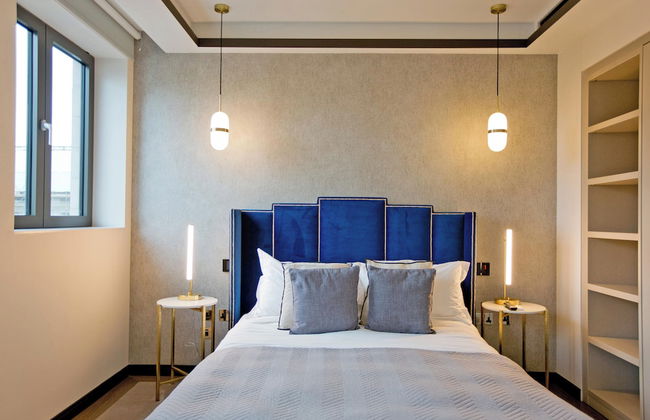
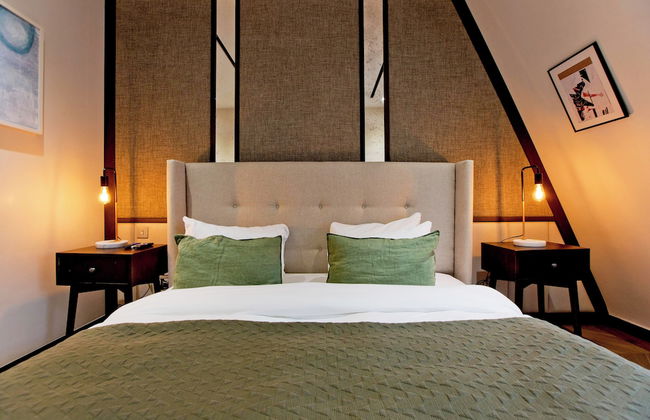
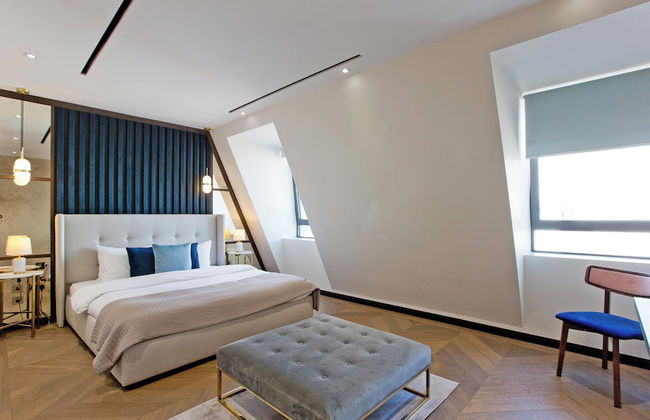
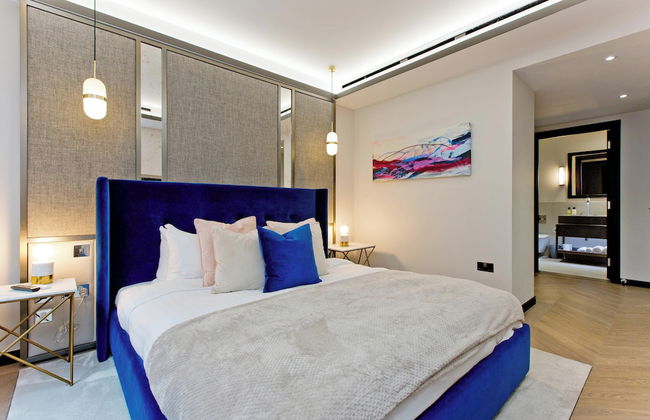
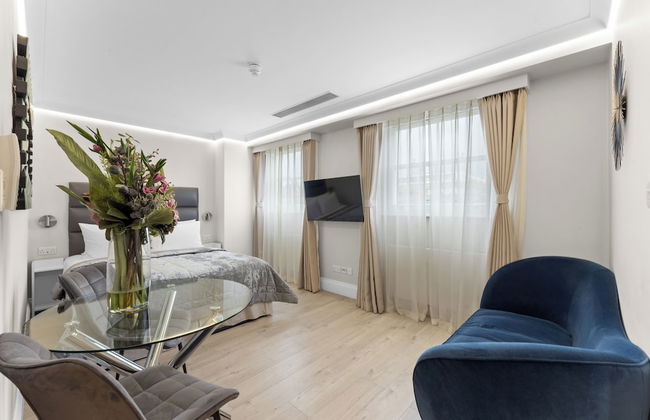
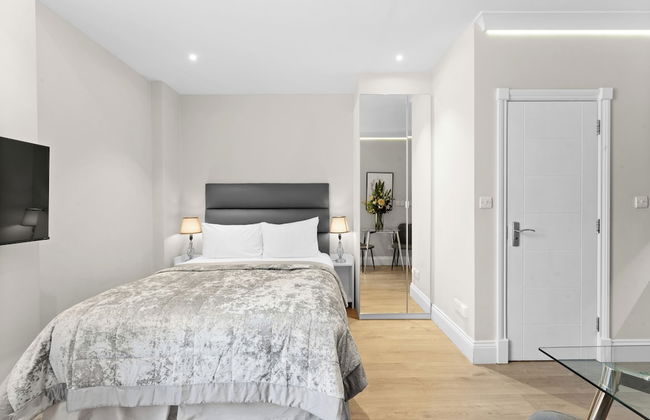
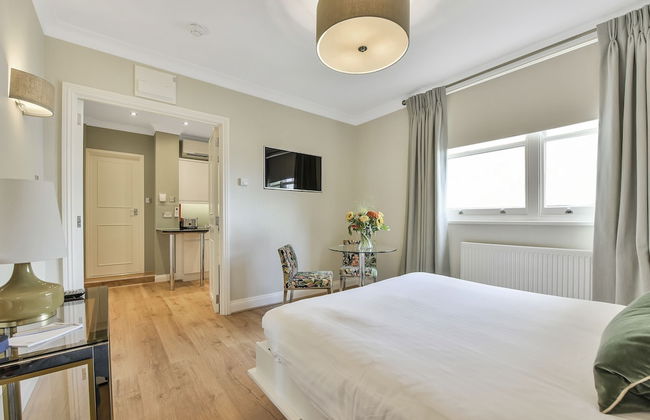
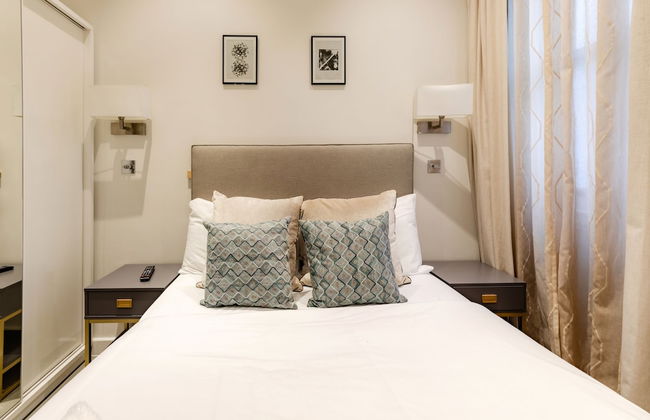
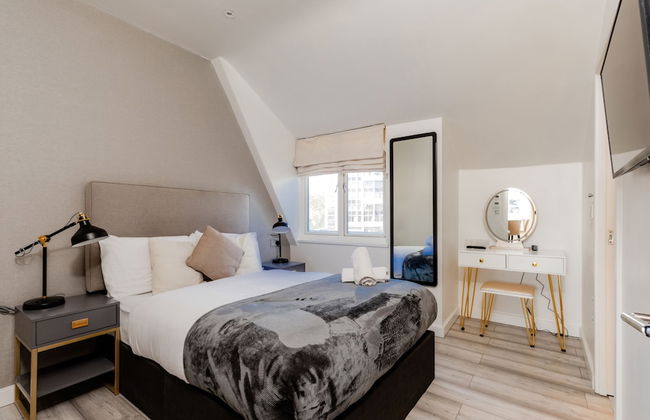
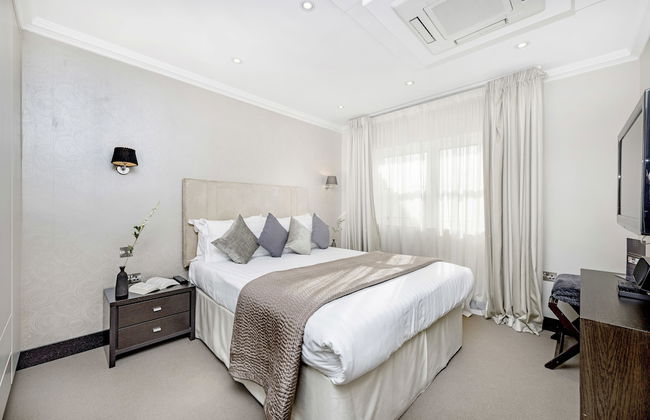
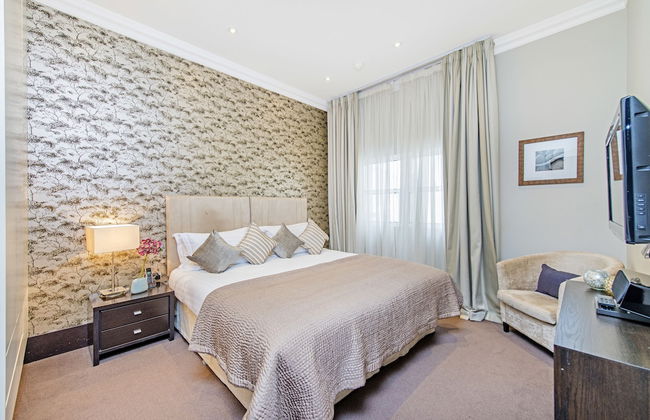
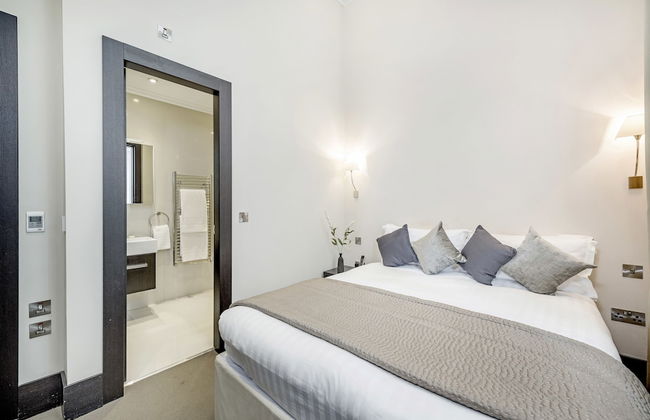
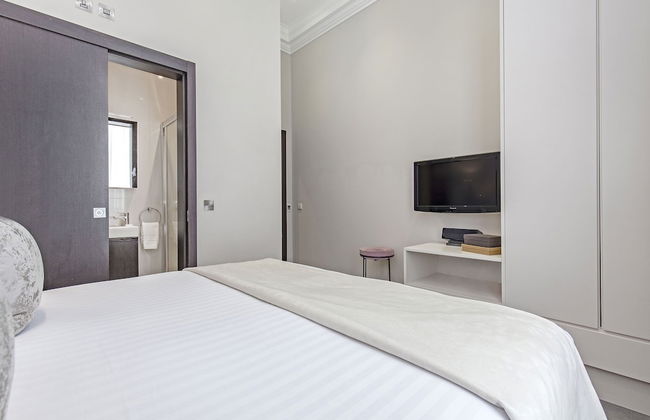
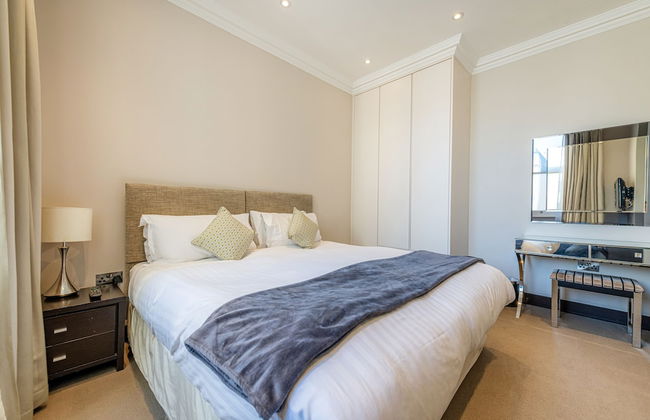
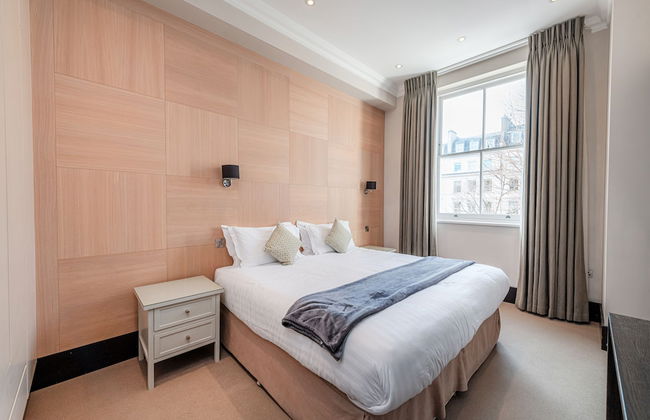
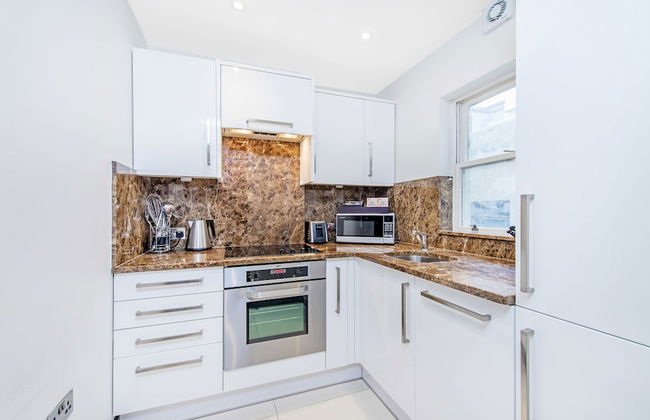
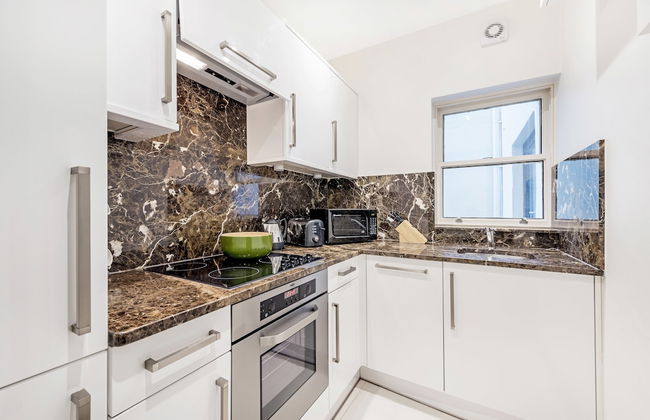
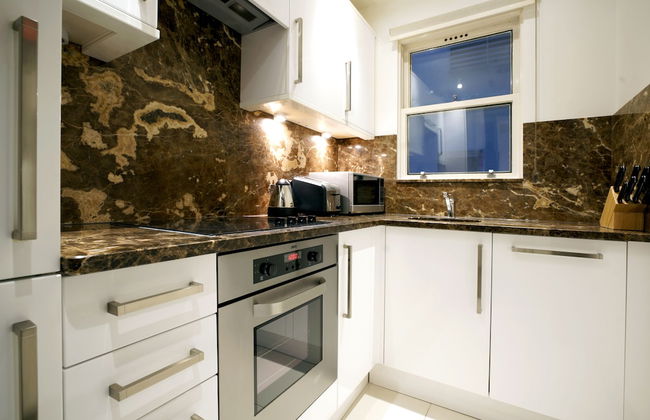
47 Park Street - Grand Residences by Marriott
Londra - Mayfair - 1.5 km dal centro
- 89 M2
- 6 persone
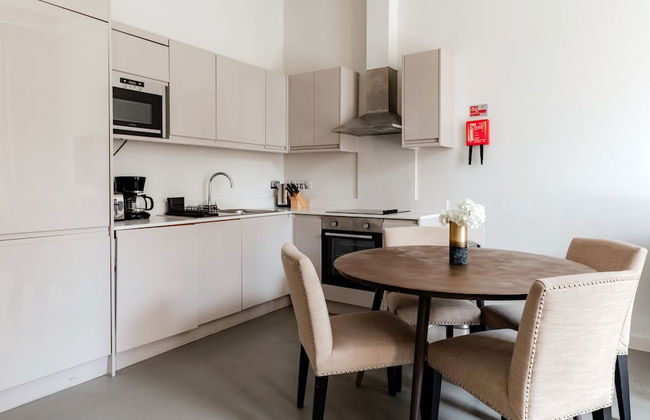
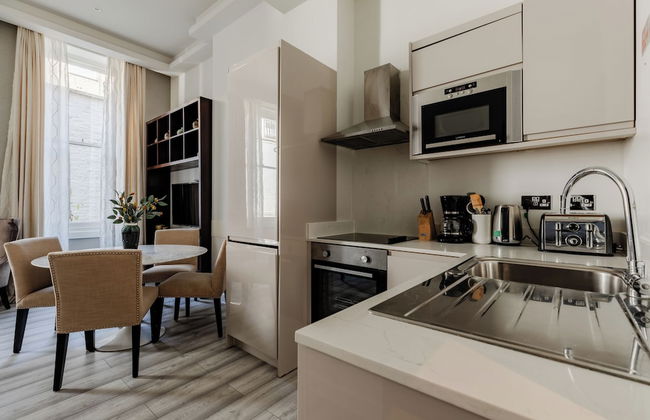
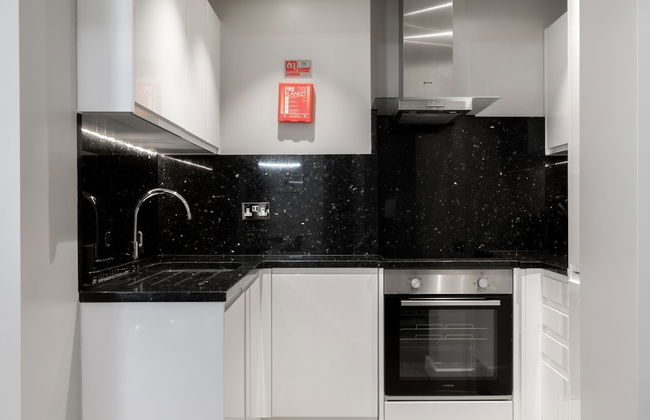
- Cucinino
- Aria condizionata
- Riscaldamento
- Parcheggio
- Ascensore
- Tv
- Lino da bagno
- Lino da letto


The Eight Apartments Shoreditch
Londra - Shoreditch - 3.4 km dal centro
- 112 M2
- 3 camere
- 6 persone
- Aria condizionata
- Riscaldamento
- Ascensore
- Tv
- Lavatrice
- Lino da bagno


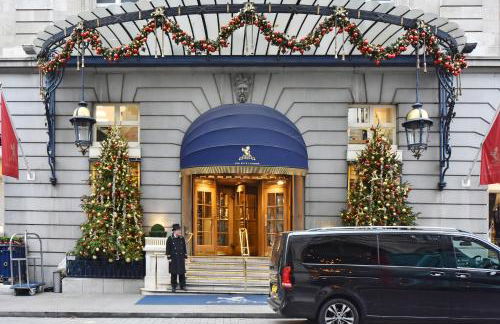
9 Hertford Street – 4 Stars VisitEngland
Londra - Mayfair - 930 m dal centro
- 75 M2
- 1 camera
- 4 persone
- Aria condizionata
- Riscaldamento
- Terrazza
- Parcheggio
- Ascensore
- Tv
- Lavatrice
- Focolare
- Lino da bagno
- Lino da letto


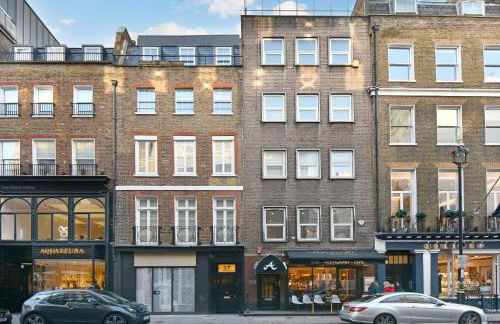
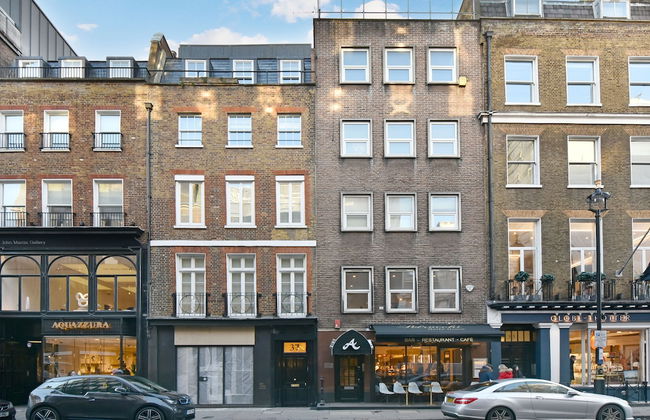
37GS Residences
Londra - Soho - 440 m dal centro
- 228 M2
- 3 camere
- 6 persone
- Aria condizionata
- Riscaldamento
- Terrazza
- Parcheggio
- Ascensore
- Balcone
- Giardino
- Tv
- Lavatrice
- Lino da bagno
- Lino da letto


Cheval Knightsbridge
Londra - South Kensington - 2.3 km dal centro
- 109 M2
- 3 camere
- 6 persone
- Aria condizionata
- Riscaldamento
- Parcheggio
- Ascensore
- Balcone
- Tv
- Lavatrice
- Lino da bagno
- Lino da letto


Cheval Thorney Court at Hyde Park
Londra - Kensington - 3.5 km dal centro
- 269 M2
- 4 camere
- 8 persone
- Aria condizionata
- Riscaldamento
- Parcheggio
- Ascensore
- Tv
- Lavatrice
- Lino da bagno
- Lino da letto


Vertus Edit Canary Wharf
Londra - Isle - 7.6 km dal centro
- 27 M2
- 2 persone
- Riscaldamento
- Terrazza
- Parcheggio
- Ascensore
- Giardino
- Tv
- Lino da bagno
- Lino da letto


Still Life Aldgate Deluxe
Londra - City of London - 3 km dal centro
- 44 M2
- 2 persone
- Riscaldamento
- Terrazza
- Ascensore
- Balcone
- Tv
- Lavatrice
- Lino da bagno


Citadines Islington London
Londra - Islington - 3.5 km dal centro
- 40 M2
- 1 camera
- 4 persone
- Aria condizionata
- Riscaldamento
- Ascensore
- Tv
- Lino da bagno
- Lino da letto


Cove Cannon Street
Londra - City of London - 410 m da Saint Paul's Cathedral
- 43 M2
- 3 persone
- Aria condizionata
- Riscaldamento
- Ascensore
- Tv
- Lavatrice
- Lino da bagno
- Lino da letto


Be London - The Russell Square Residences
Londra - Bloomsbury - 480 m da British Museum
- 52 M2
- 3 persone
- Cucinino
- Aria condizionata
- Riscaldamento
- Ascensore
- Tv
- Lino da bagno
- Lino da letto


3 Sloane Gardens by UnderTheDoormat
Londra - Chelsea - 2.1 km dal centro
- 51 M2
- 4 persone
- Aria condizionata
- Riscaldamento
- Ascensore
- Giardino
- Tv
- Lavatrice
- Lino da bagno
- Lino da letto


The Rosebery by Supercity Aparthotels
Londra - City of London - 1.7 km dal centro
- 53 M2
- 2 camere
- 4 persone
- Aria condizionata
- Riscaldamento
- Ascensore
- Tv
- Lavatrice
- Lino da bagno
- Lino da letto


The Brondesbury by Nestor
Londra - Kilburn - 7.2 km dal centro
- 20 M2
- 2 persone
- Cucinino
- Riscaldamento
- Terrazza
- Ascensore
- Giardino
- Tv
- Lino da bagno
- Lino da letto


No 1 The Mansion Apartments by Mansley
Londra - South Kensington - 4.3 km dal centro
- 170 M2
- 4 camere
- 8 persone
- Riscaldamento
- Terrazza
- Ascensore
- Balcone
- Tv
- Lavatrice
- Lino da bagno
- Lino da letto


High Street Kensington Apartments
Londra - Kensington - 3.8 km dal centro
- 59 M2
- 3 camere
- 8 persone
- Cucinino
- Aria condizionata
- Riscaldamento
- Terrazza
- Ascensore
- Tv
- Lavatrice
- Lino da bagno
- Lino da letto


130 Queen's Gate Apartments
Londra - South Kensington - 3.3 km dal centro
- 180 M2
- 4 camere
- 8 persone
- Aria condizionata
- Riscaldamento
- Terrazza
- Parcheggio
- Ascensore
- Balcone
- Tv
- Lavatrice
- Lino da bagno
- Lino da letto
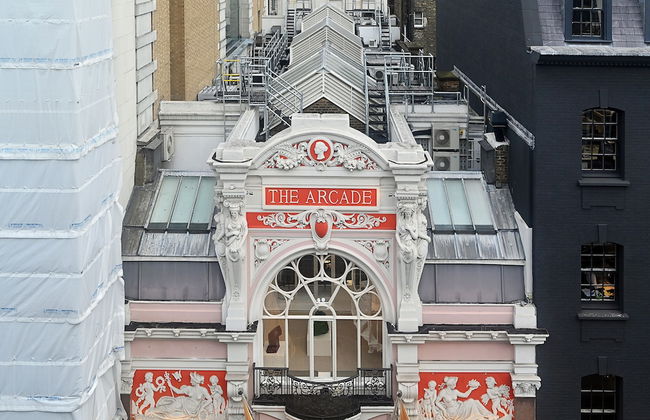
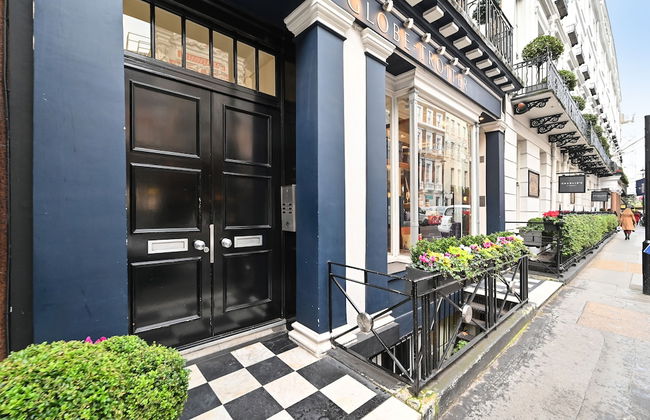
Appartamenti a Londra -- Appartamenti Economici in Città
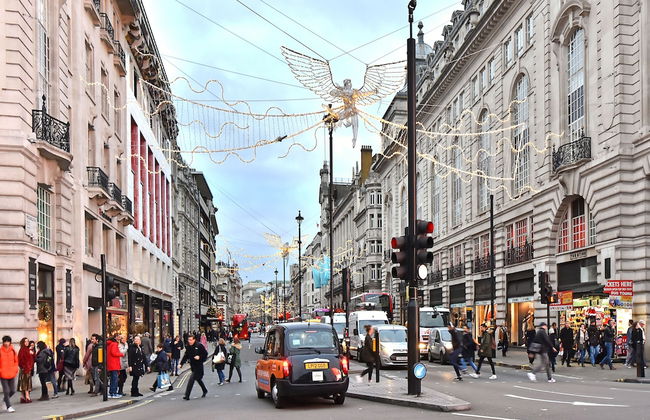
Londra è probabilmente la città più famosa e amata al mondo. La sua atmosfera cosmopolita è intrisa di un mormorio perenne che riecheggia nelle principali attrazioni turistiche, un'architettura imponente e un ricco patrimonio culturale. Londra presenta molte sfaccettature, dai quartieri più chic alle aree urbane fino alle antiche strade pittoresche e visitandola è come fare un tuffo nel passato in un'epoca romantica e sfarzosa con il vantaggio della grande eterogeneità che caratterizza la città ai giorni nostri. Se siete alla ricerca della sistemazione perfetta per il vostro soggiorno nella capitale inglese, date un'occhiata alla nostra ampia gamma di appartamenti a Londra, dislocati in varie zone della città. Abbiamo monolocali economici con una meravigliosa vista sulla città ed eleganti appartamenti situati a pochi passi dai principali luoghi di interesse turistico.
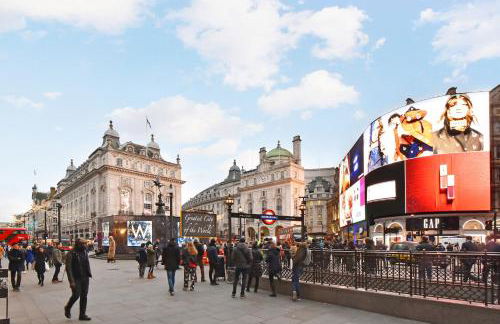
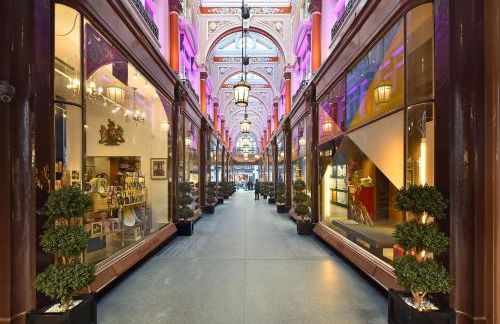
Le mille facce di Londra -- I migliori quartieri
Londra è un mosaico di quartieri eterogenei, ognuno dei quali vanta una propria personalità e attrazioni esclusive. South Bank è una zona molto famosa di Londra situata lungo le sponde del Tamigi, nell'area compresa tra il Westminster Bridge e il London Bridge, ed è ricca di musei, gallerie d'arte e teatri.
Lungo le sponde del fiume l'atmosfera è animata da numerosi artisti di strada e dai londinesi che amano trascorrere qui il loro tempo libero. Una delle aree più amate di Londra è, senza alcun dubbio, Covent Garden. Qui potete passeggiare tra una serie di eleganti negozi e bancarelle di prodotti tipici e fare una sosta in uno dei tanti bar per assaggiare le curiose varietà di cupcake e caffè. In quest'area ha sede anche la Royal Opera House, il regno indiscusso dell'intrattenimento serale. Camden è la zona più pittoresca, frequentata dai giovani che amano trascorrere il tempo curiosando tra le bancarelle e immergendosi nell'atmosfera creativa in uno dei tanti caffè. South Kensington è un altro celebre quartiere, che vanta dimore di lusso e la rinomata Exhibition Road, in cui hanno sede i più famosi musei e gallerie della città. Infine c'è Shoreditch, quartiere trendy e cool di Londra che ha subito un recente rinnovamento ed è molto frequentato dai giovani. Considerato il nuovo epicentro dell'arte, ospita anche il Curry Mile, un tripudio di colori e sapori direttamente dall'India. Abbiamo una vasta selezione di appartamenti a Londra, situati in questi ed altri quartieri.
Casa Vacanze a Londra
Questa città regale offre una vasta selezione di sistemazioni turistiche, numerose come le varie attrazioni che ospita. Attraverso le stradine storiche, c'è una serie infinita di hotel rinomati in tutto il mondo che vanta il tradizionale fascino inglese ed un servizio impeccabile. Ma c'è anche un'ampia scelta di ostelli dall'atmosfera rilassata e pittoresche guesthouse. Come i suoi tanti quartieri, le sistemazioni a Londra offrono una vasta gamma di alloggi: dagli hotel a cinque stelle di Kensington, agli ostelli alla moda di Shoreditch fino alle case vacanza nelle dimore vittoriane di Chelsea e gli appartamenti economici di Covent Garden.
Un viaggio nel tempo attorno al Tamigi -- Luoghi da visitare a Londra
- London Eye -- Un'aggiunta piuttosto recente al profilo londinese, questo "Occhio" è una gigantesca ruota panoramica in ferro situata sulla riva del Tamigi ed offre uno spettacolare panorama sulla città.
- Torre di Londra -- Questo antico castello abbraccia il Tamigi ed è un imponente capolavoro architettonico.
- Buckingham Palace -- La residenza ufficiale della Regina è la principale attrazione turistica ed è collocata all'interno di un maestoso palazzo circondato da meravigliosi giardini.
- Cattedrale di San Paolo -- Ubicata nel punto più elevato della città, questa cattedrale mozzafiato vigila su Londra come un antico guardiano. L'esterno è maestoso al pari dei suoi interni, caratterizzati da elevati soffitti, incantevoli ed elaborati affreschi ed elementi decorativi in oro.
- Museo di Storia Naturale, Londra -- Uno dei musei più amati nel mondo, ospita un mix eccezionale di manufatti e reperti storici che illustrano la storia naturale del Regno Unito e del mondo.
- Tate Modern, Londra -- Questa galleria d'arte contemporanea è una roccaforte della cultura moderna di Londra in cui sono esposte le opere dei più illustri artisti di fama internazionale.
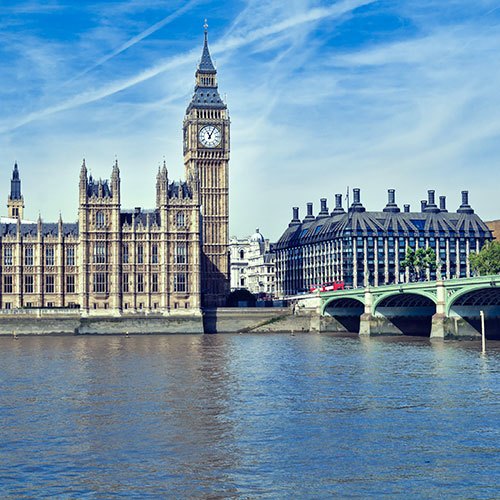
- Palazzo di Westminster -- Sede del Parlamento inglese, questo capolavoro architettonico si erge imponente lungo le rive del Tamigi.
- Victoria and Albert Museum -- All'interno di un elaborato e splendido edificio, si trova il più grande museo di arte e design a livello mondiale, in cui è possibile ammirare una vasta collezione di tessuti, sculture e diversi materiali provenienti da ogni parte del mondo.
- Galleria Nazionale, Londra -- Situata nella celebre piazza Trafalgar Square, la Galleria Nazionale ospita una delle maggiori collezioni d'arte con dipinti risalenti a varie epoche dal tredicesimo secolo fino ai giorni nostri.
- Madame Tussauds Londra -- Celebre attrazione di Londra, questo museo deve la sua notorietà alle statue di cera che raffigurano alcune delle star più amate.
- Tower Bridge -- Il ponte storico, simbolo della città, è situato vicino alla Torre di Londra e rappresenta forse uno dei luoghi più famosi della città.
- British Museum -- Con la sua incredibile collezione di reperti storici provenienti da ogni parte del mondo, questo celebre museo ripercorre la storia e la cultura della civiltà umana.
- Big Ben -- Probabilmente l'orologio più famoso al mondo, il Big Ben si innalza fiero accanto al Palazzo di Westminster.
- Hyde Park -- Questa immensa area verde si estende in uno dei quartieri più chic di Londra e al suo interno, durante l'anno, si tengono tantissimi eventi e concerti.
- London Dungeon -- Ubicato sulle sponde del Tamigi, questo museo è un luna park del terrore che ripercorre i fatti più tragici della città con una vena di umorismo.
- Abbazia di Westminster -- Questa maestosa chiesa gotica si trova ad ovest del Palazzo di Westminster.
- Trafalgar Square -- La piazza più frequentata dai turisti vanta un'imponente fontana ed è incorniciata dagli edifici più maestosi di Londra, tra cui la Galleria Nazionale.
- Zoo di Londra-- All'interno del Regent's Park, questo celebre zoo ospita una grande varietà di specie animali esotiche e locali.
- Globe Theatre, Londra -- Nell'antico e famoso teatro in cui si esibiva la compagnia di Shakespeare, è possibile assistere a numerose recite e spettacoli.
- Museo della Scienza, Londra -- Lungo il viale Exhibition Road, nel quartiere chich di South Kensington si trova questo museo che accompagna i visitatori in un magnifico viaggio tra le meraviglie della scienza anche attraverso varie mostre interattive.
Prenotate l'alloggio perfetto per il vostro soggiorno all'interno della nostra ampia selezione di appartamenti a Londra, situati vicino alle principali attrazioni turistiche elencate in precedenza.
Fiori e Articoli di ogni Genere -- I migliori mercati di Londra
Le strade di Londra pullulano di mercatini che vendono qualsiasi genere di prodotto, dai fiori ai vestiti vintage, dalla bigiotteria al cibo esotico. Il mercato di Camden è l'ideale per gli amanti del vintage con le sue bancarelle ricolme di vestiti stravaganti e accessori vintage; il mercato di fiori in Columbia Road è un tripudio di colori cangianti, mentre il mercato di Borough è il luogo perfetto per addentare un boccone: in questo mercato coperto situato accanto al London Bridge si possono acquistare prodotti freschi provenienti da ogni parte del mondo, tra cui hamburger di selvaggina e frullati esotici.