


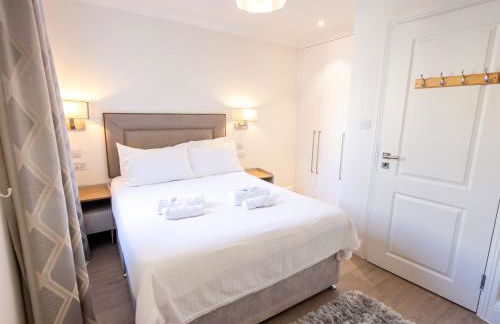


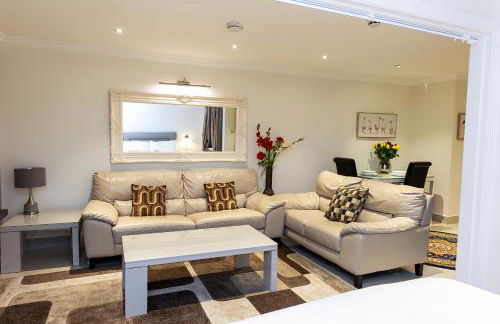


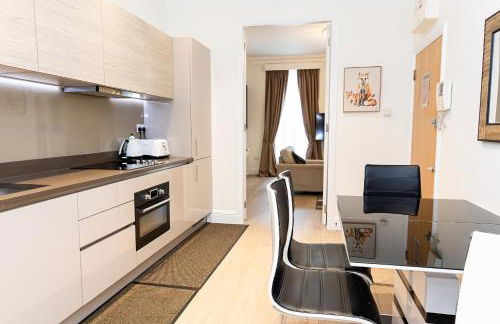


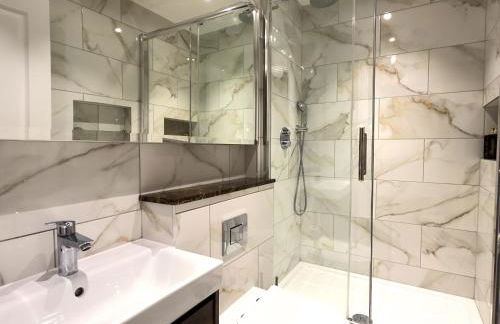

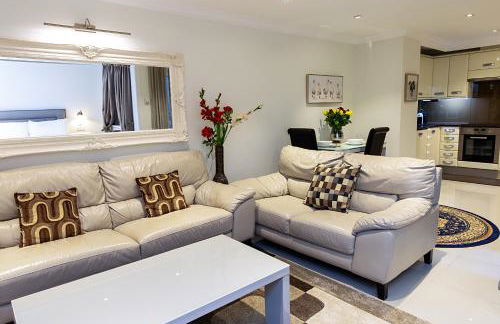


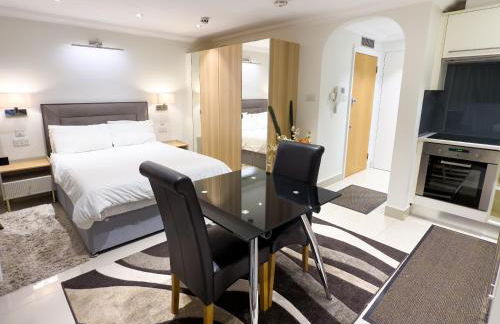


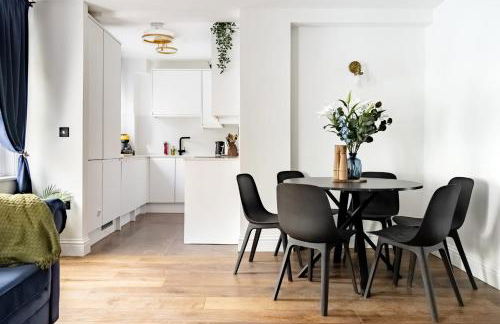
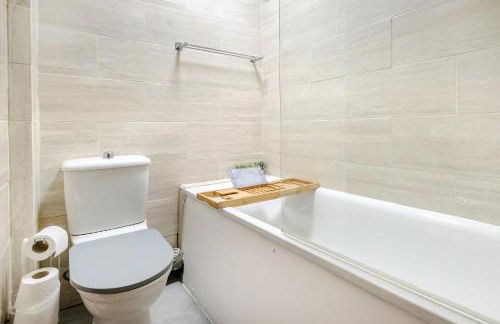
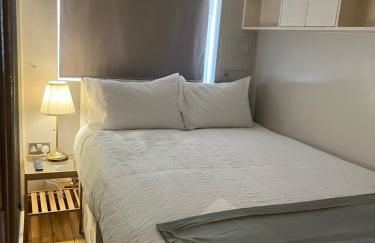
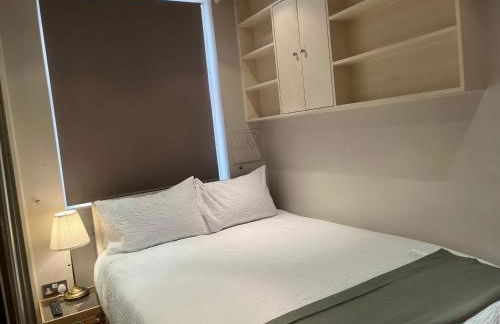
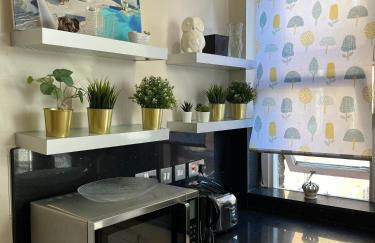
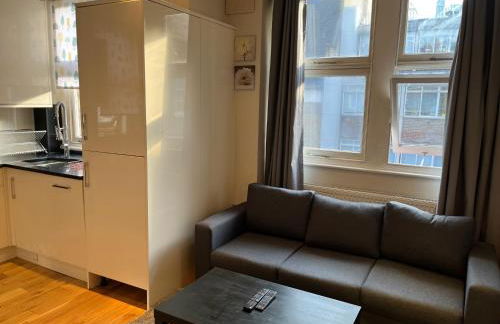
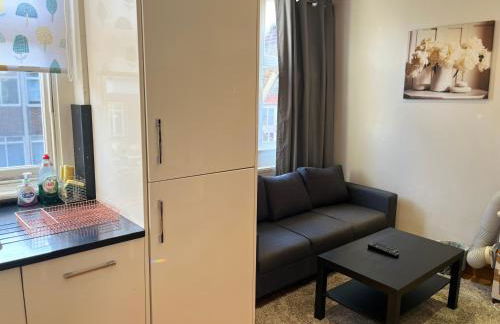
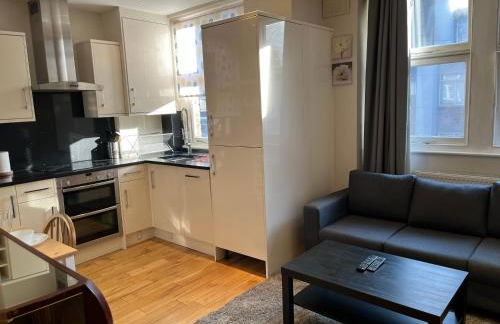
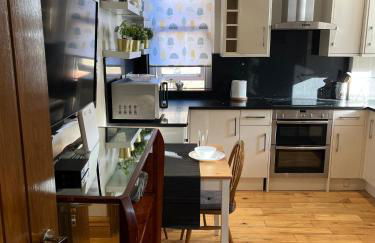
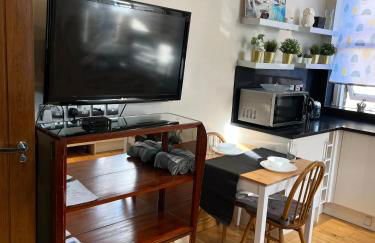
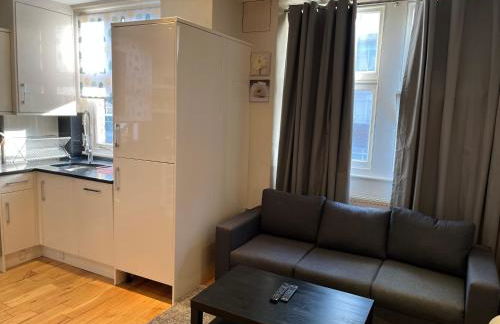
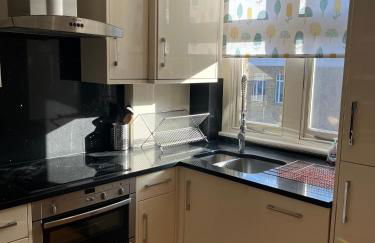
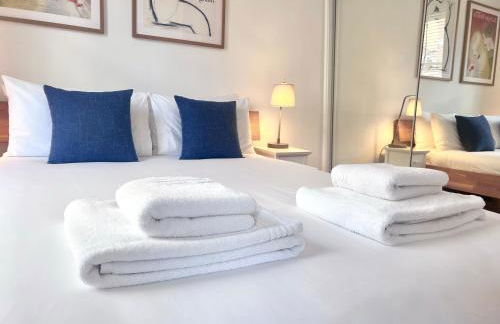
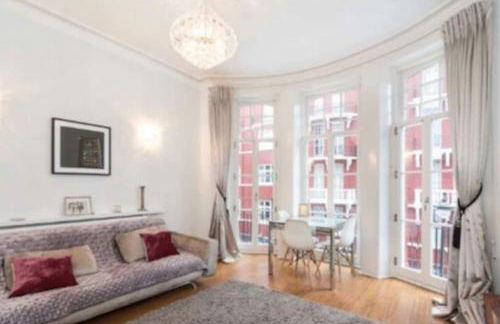
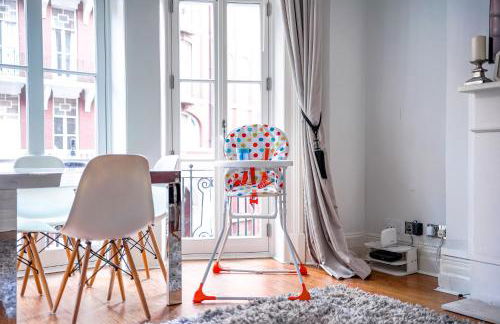
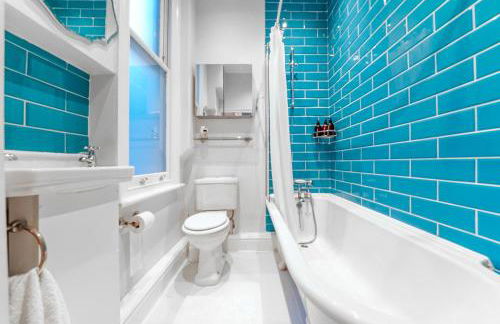
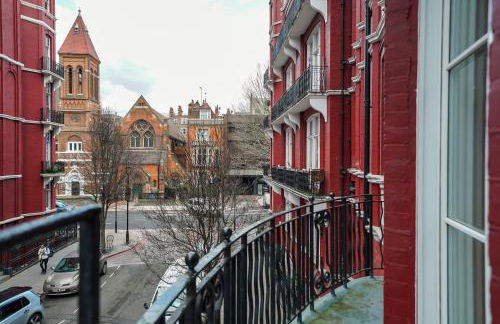
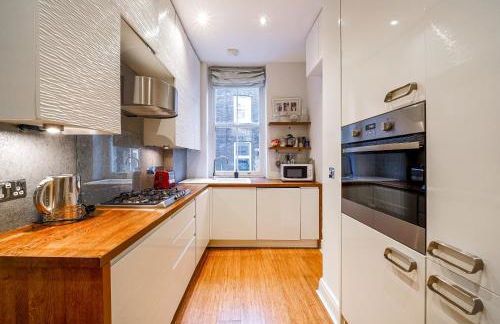
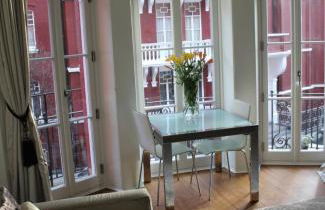
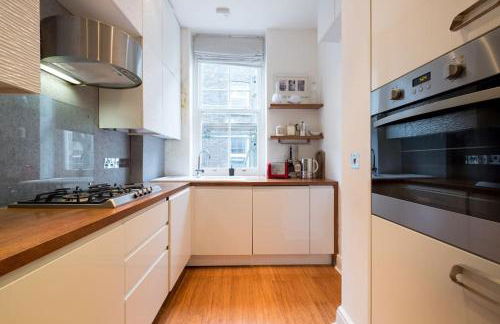
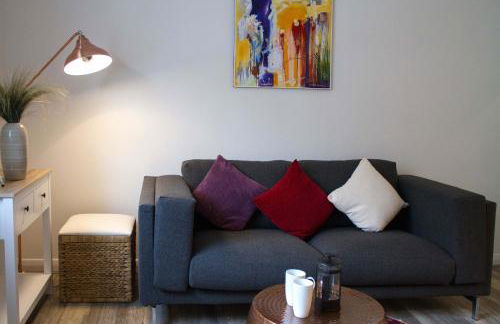
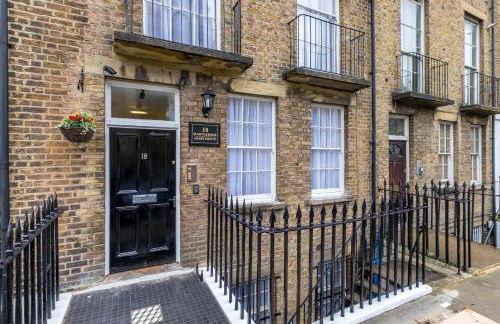
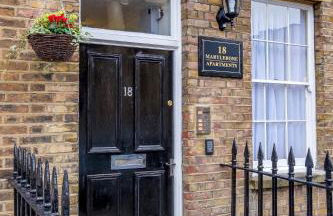
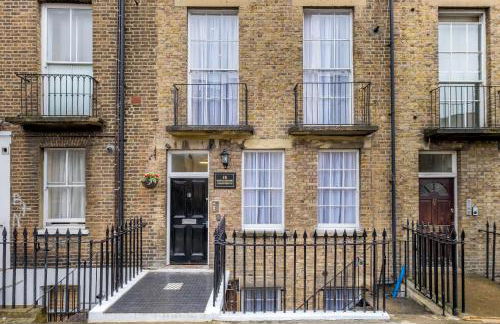
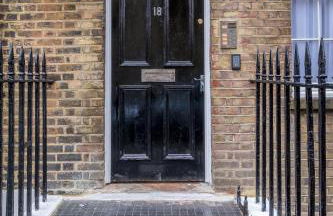
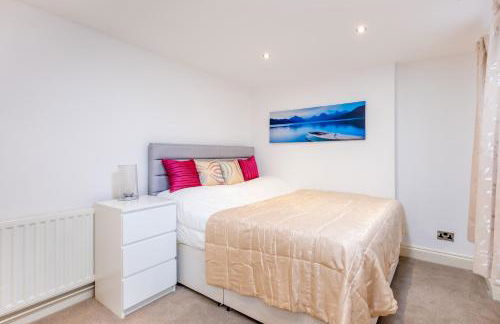
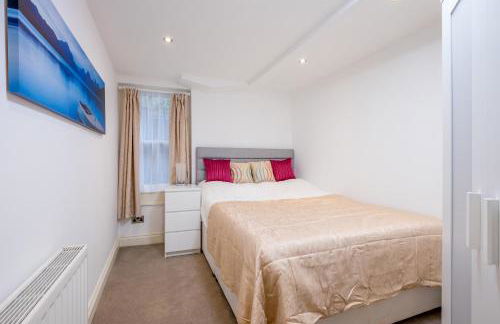
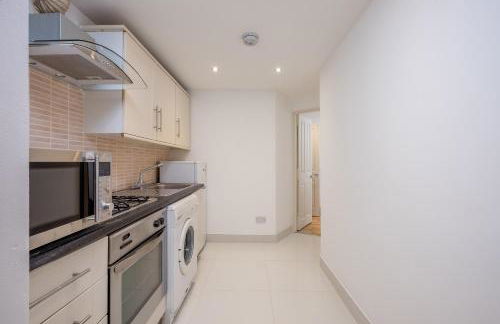
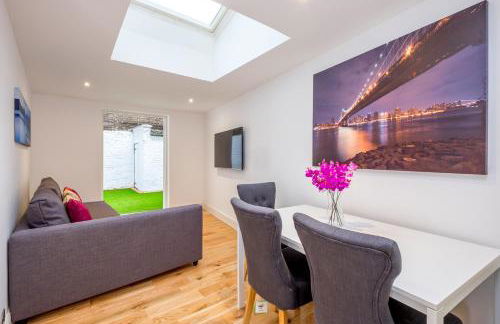
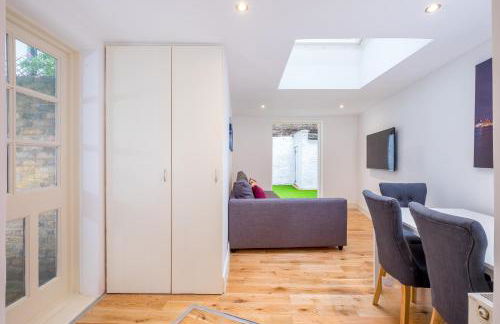
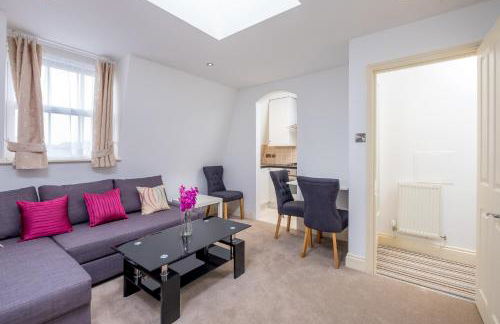
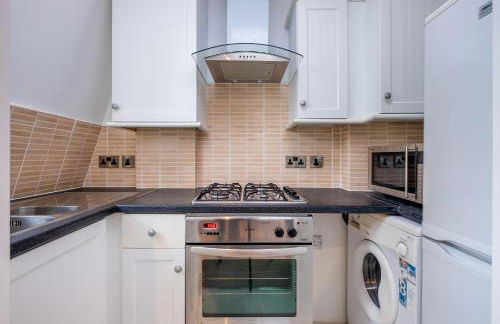
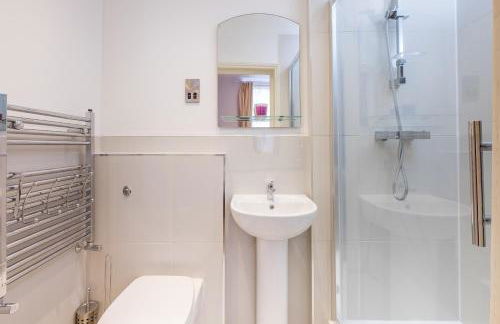
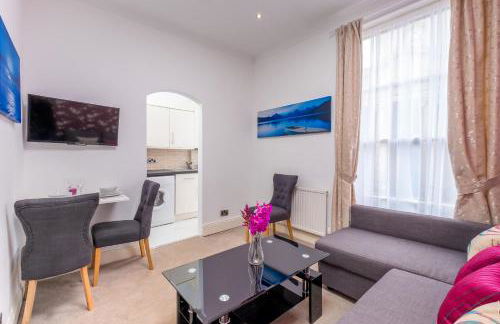
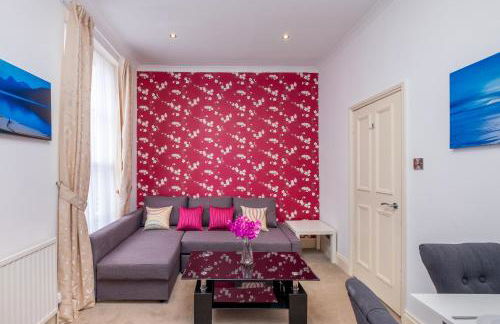
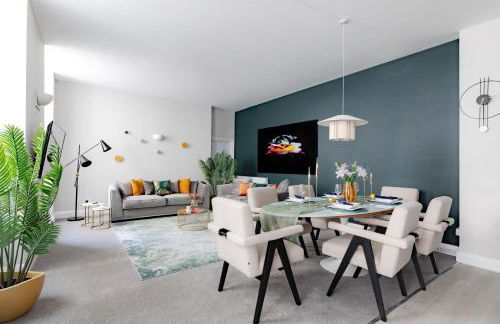
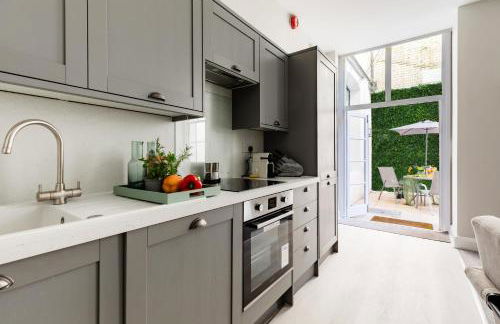
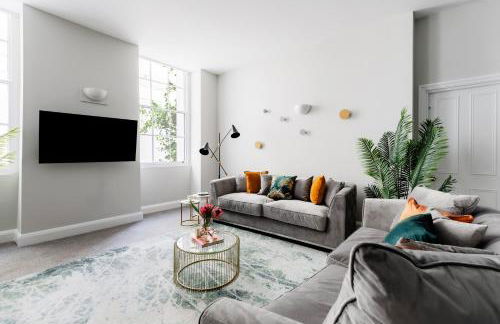
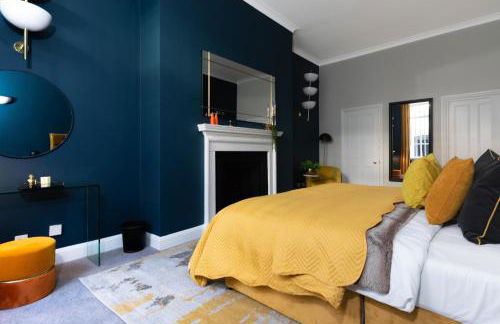
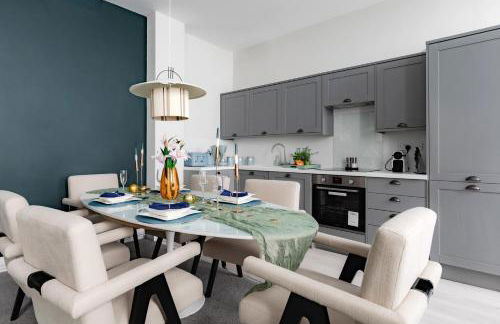
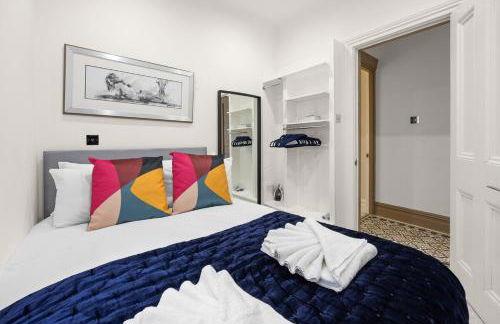
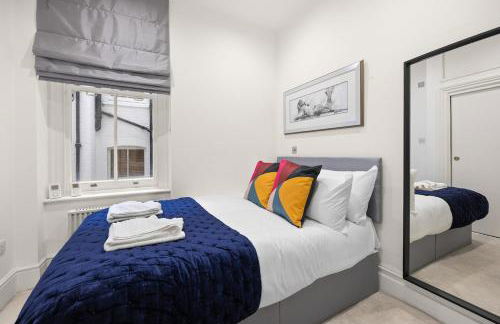
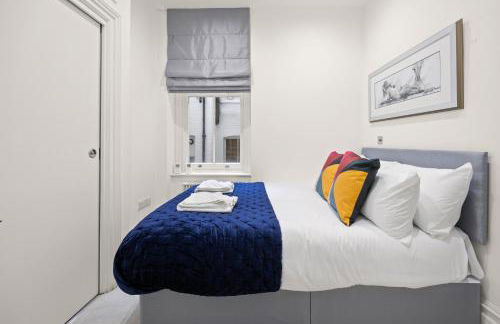
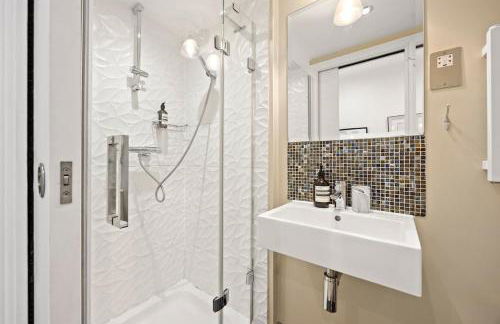
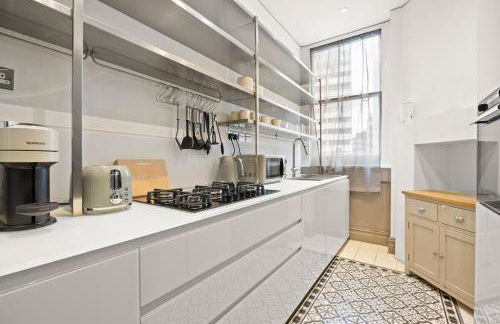
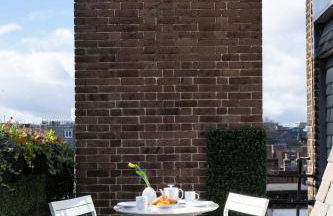
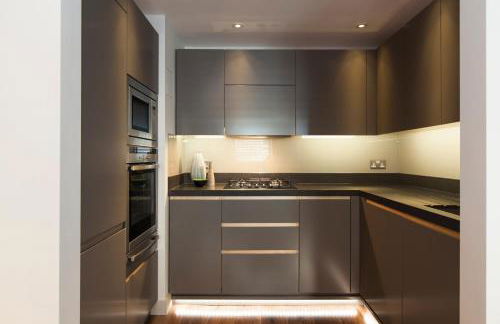
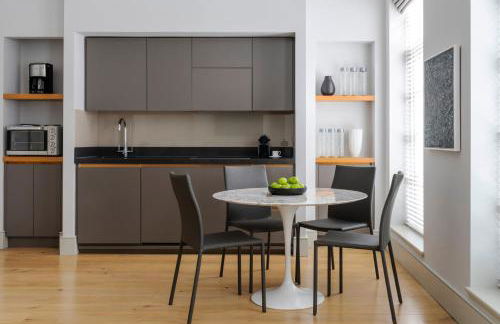
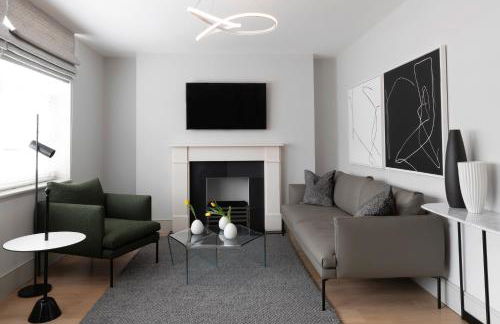
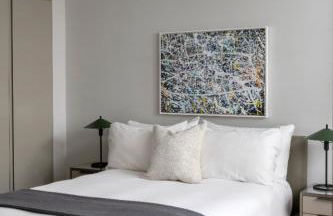
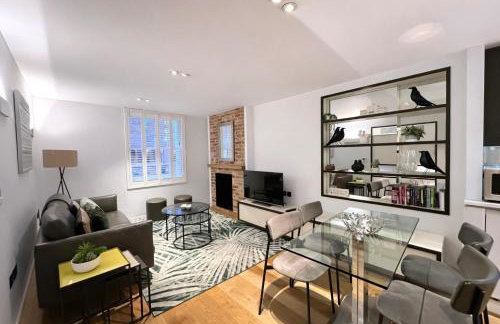
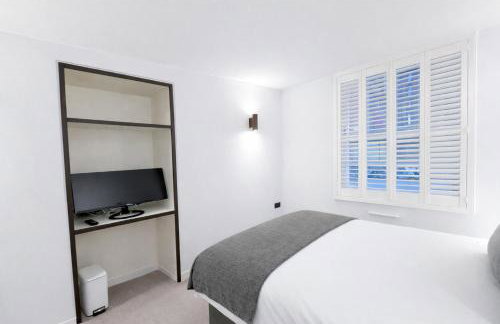
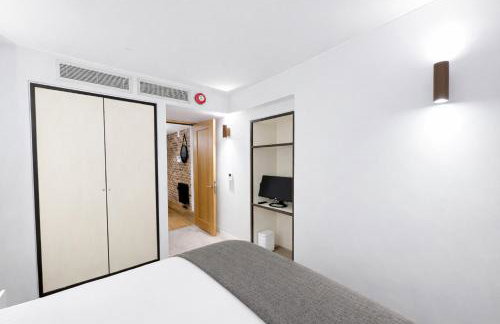
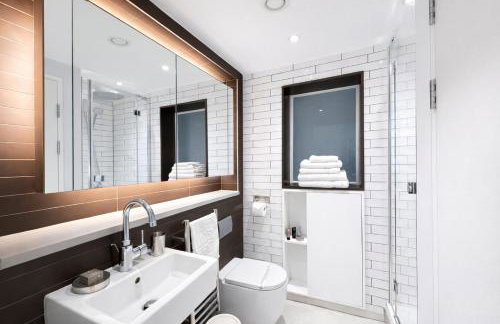
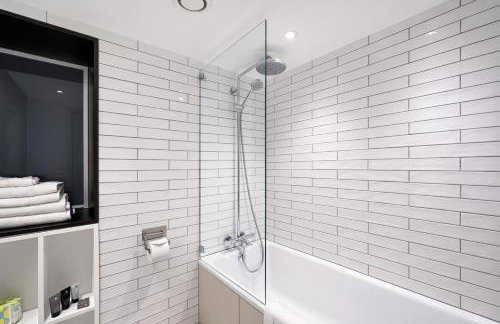
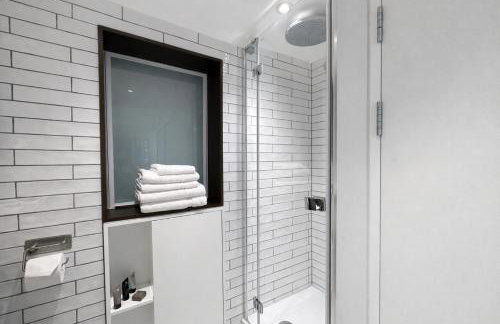
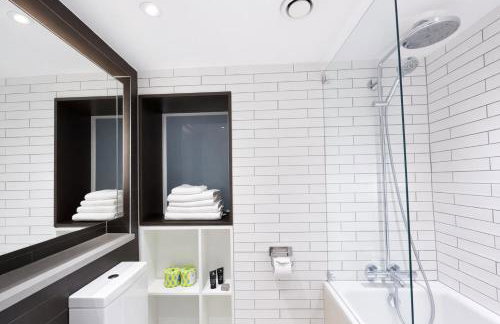
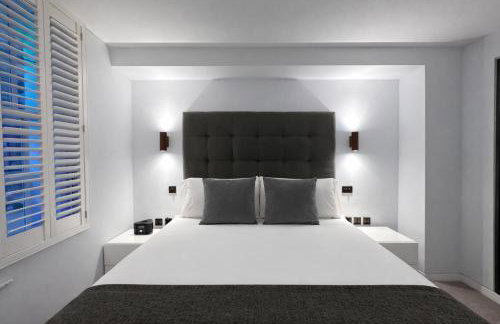
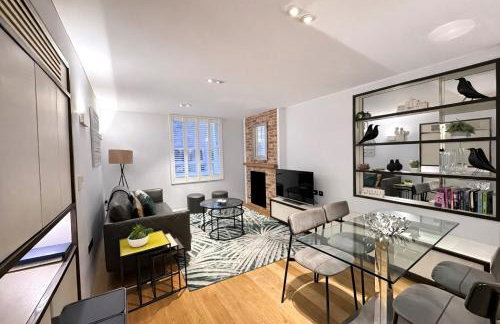
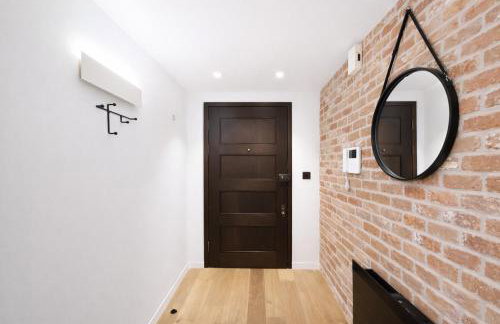
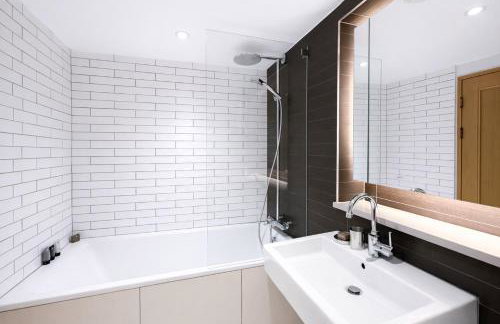
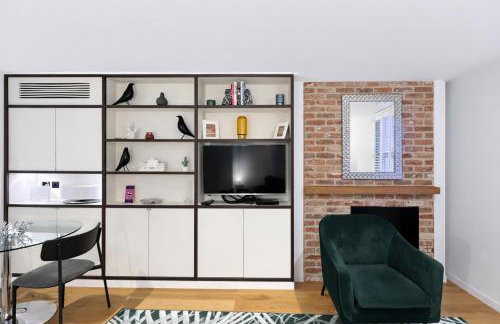
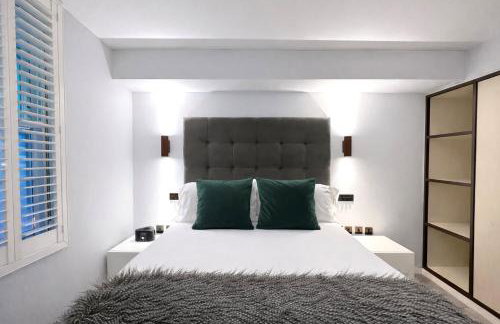
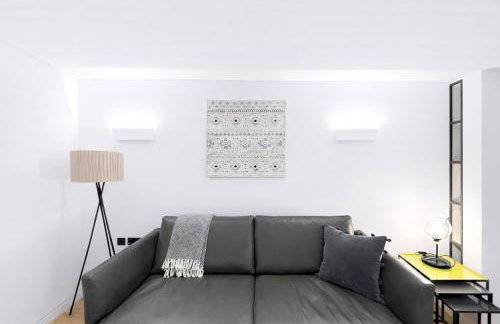
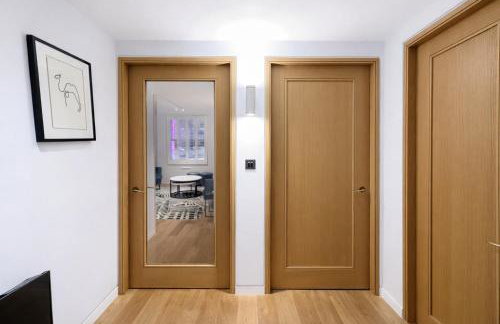
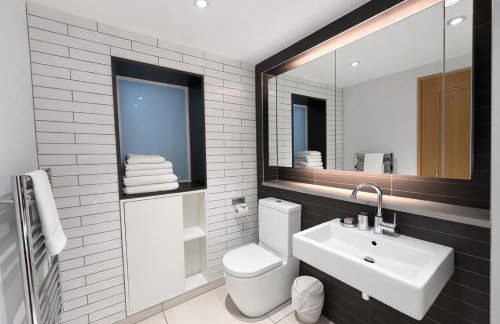
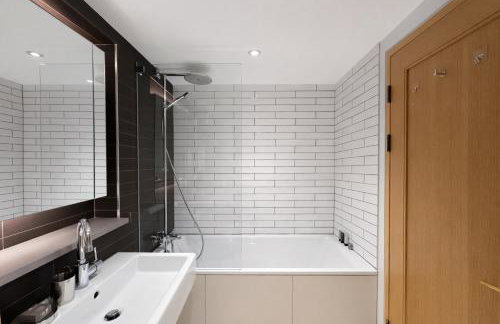
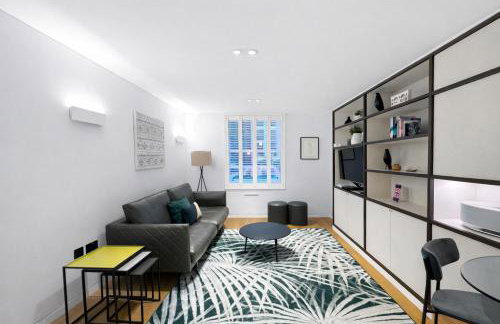
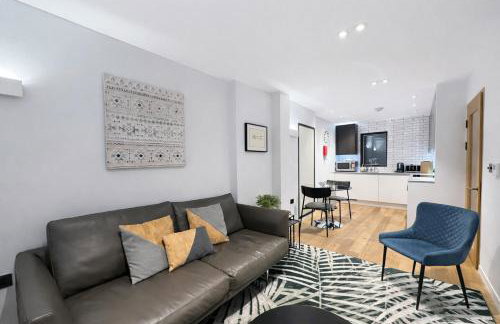
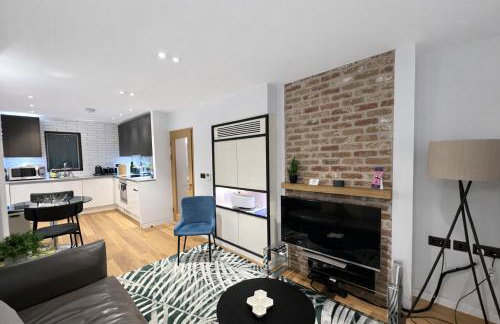
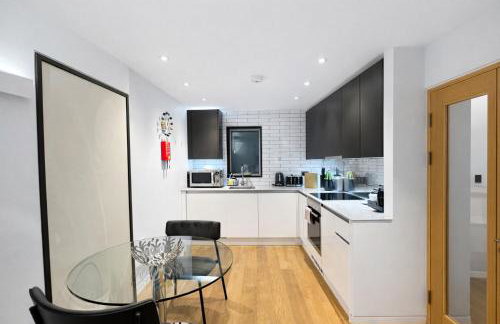
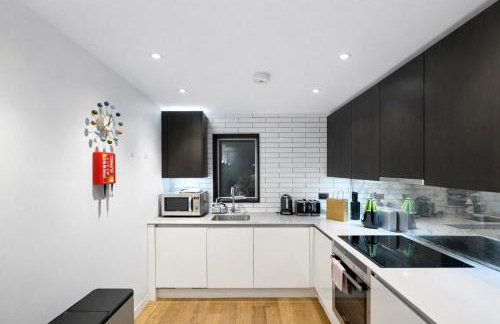
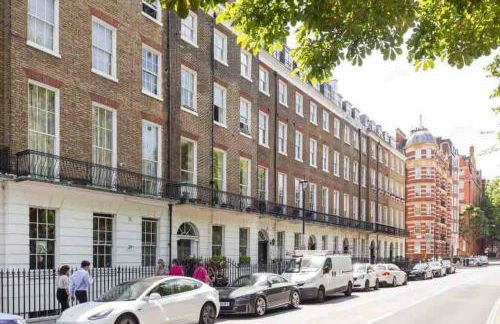
Marylebone Village Apartments
Londra - Marylebone - 2.3 km dal centro
- 35 M2
- 1 camera
- 4 persone
- Riscaldamento
- Parcheggio
- Tv
- Lavatrice
- Lino da bagno
- Lino da letto


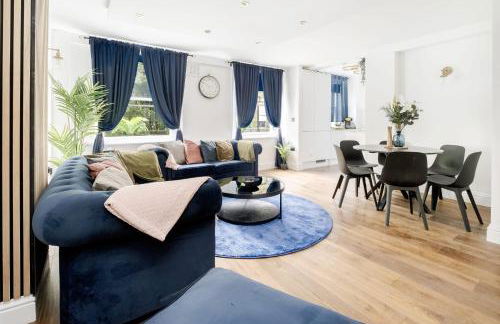


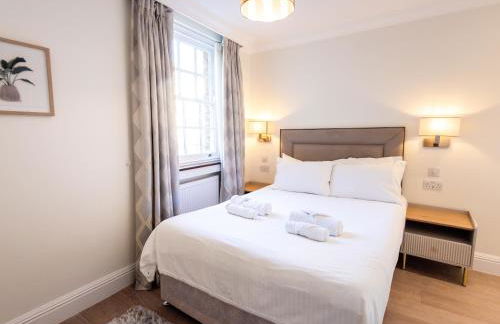
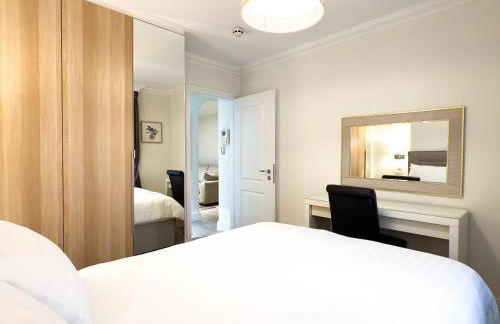
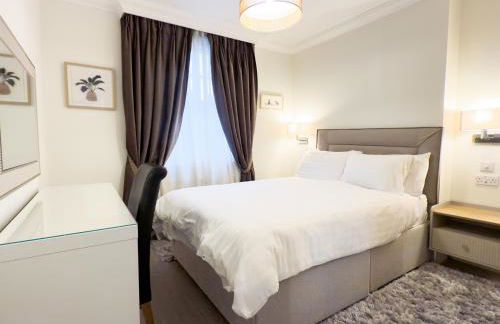
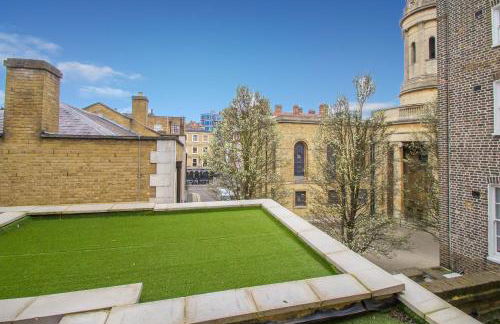
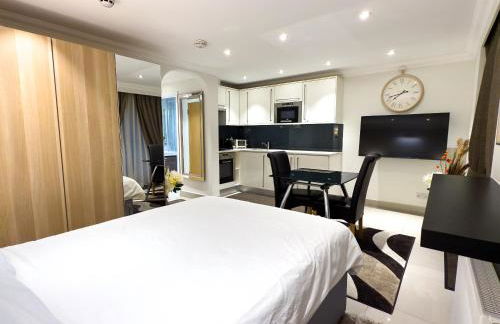
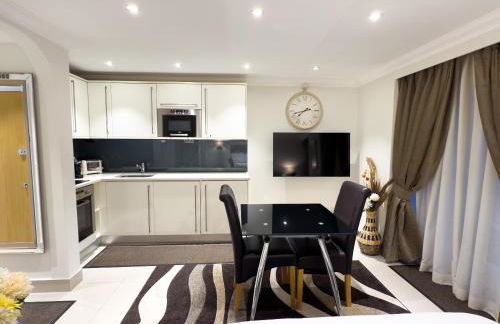
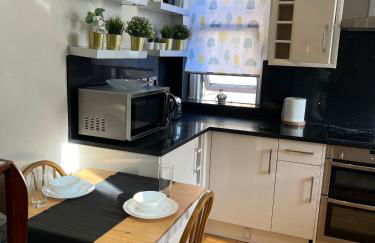
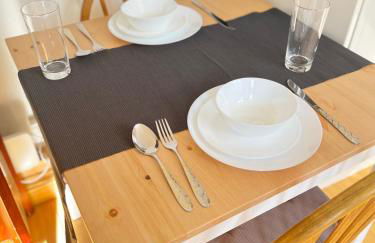
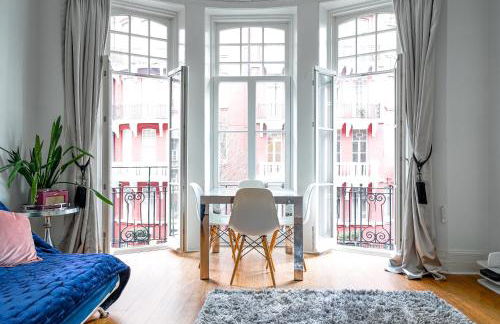
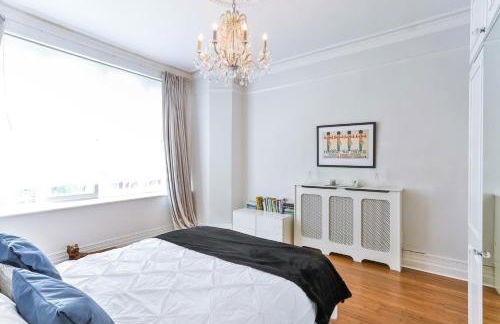
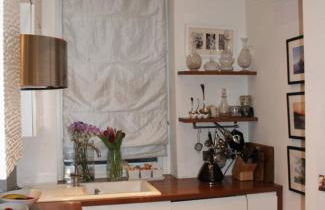
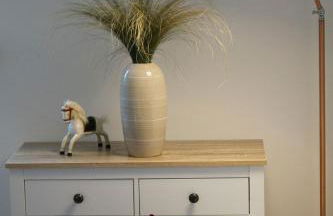
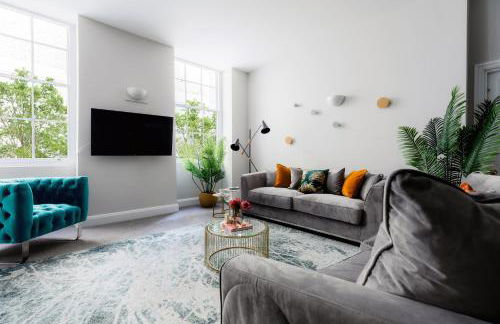
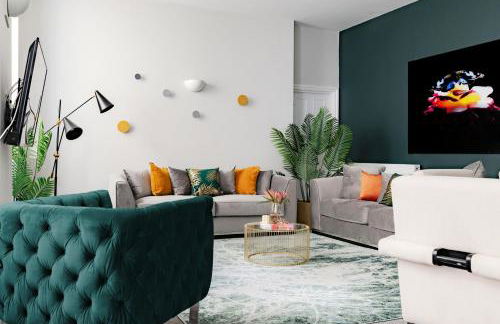
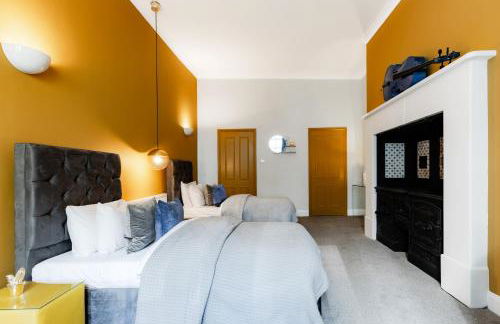
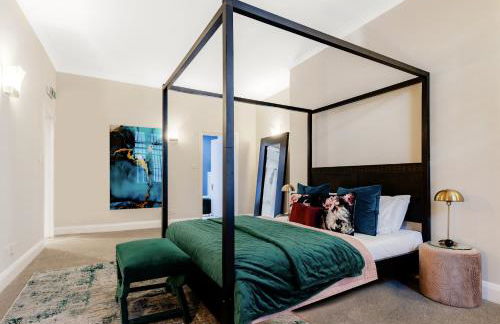
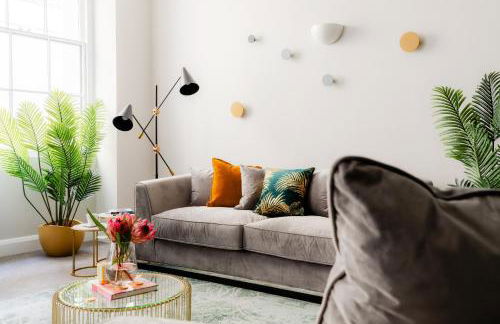
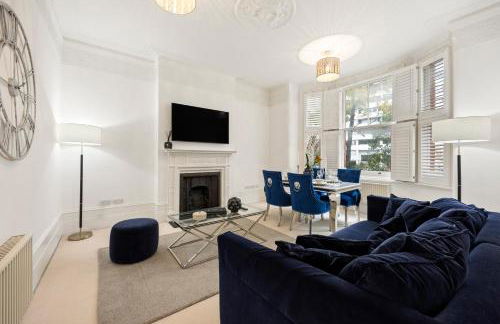
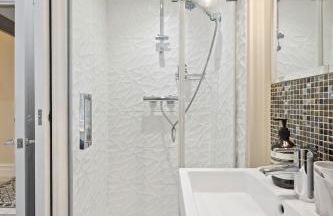
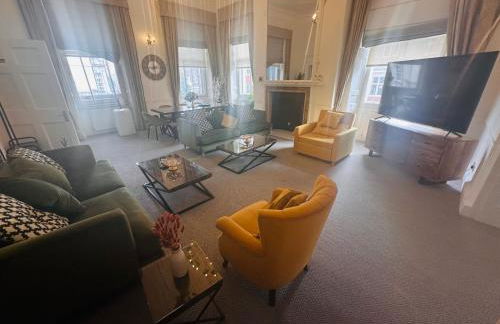
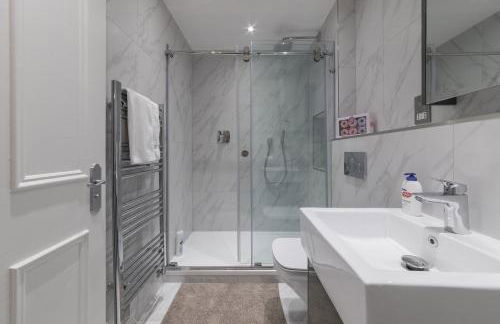
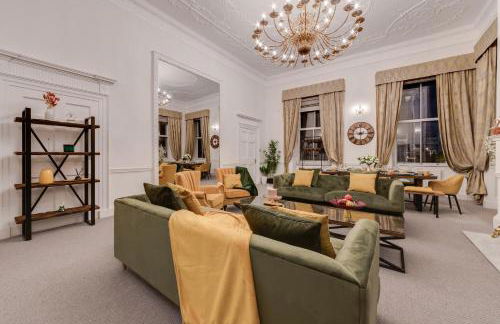
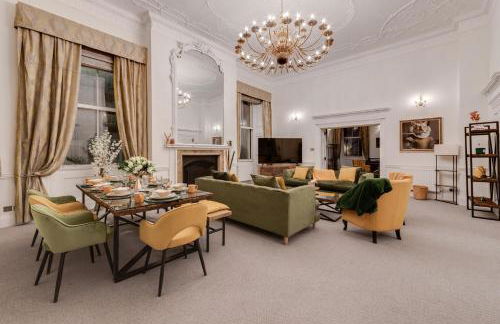
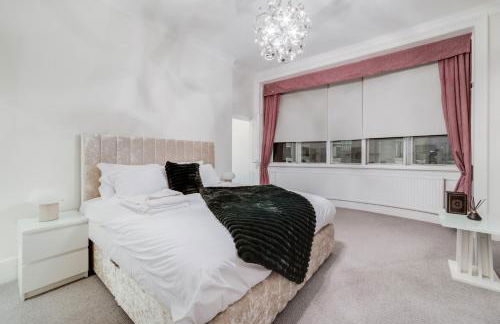
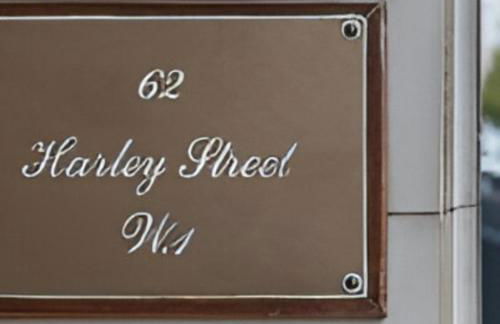
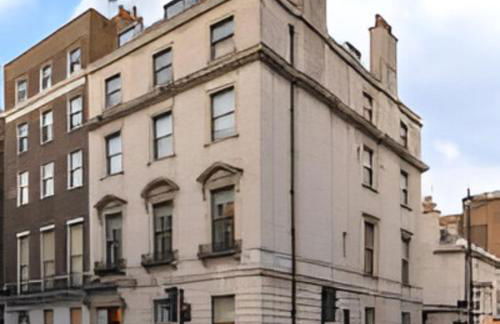
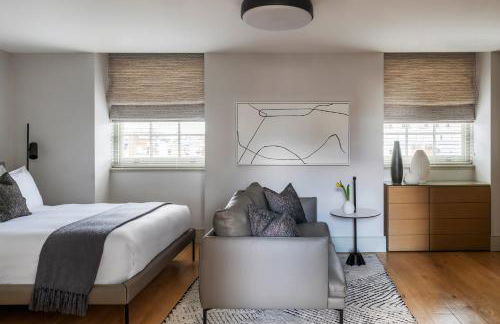
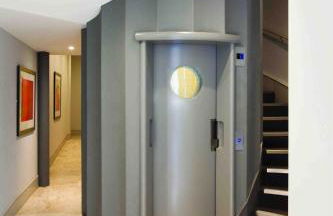
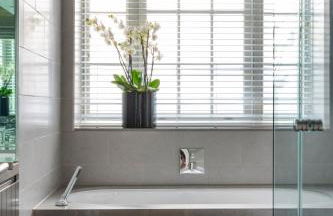
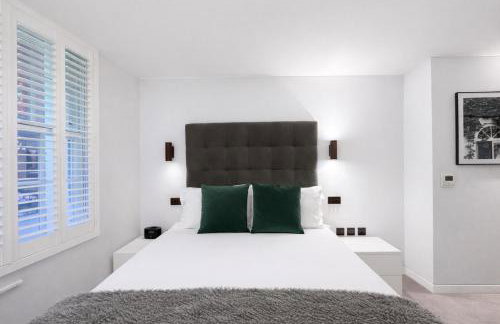
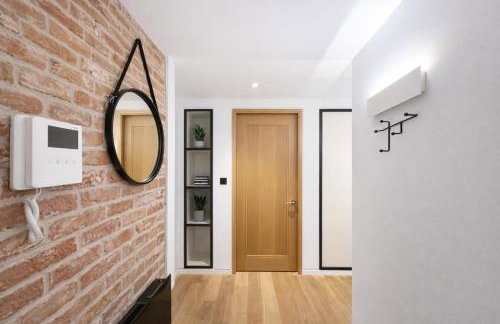
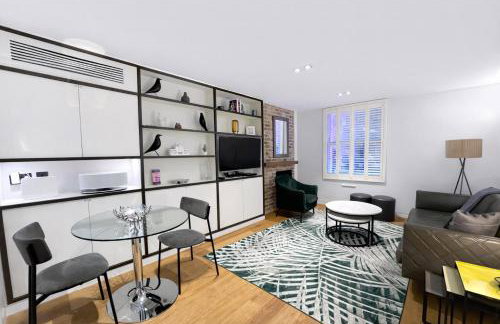
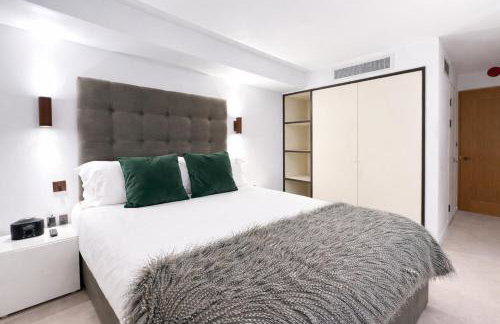
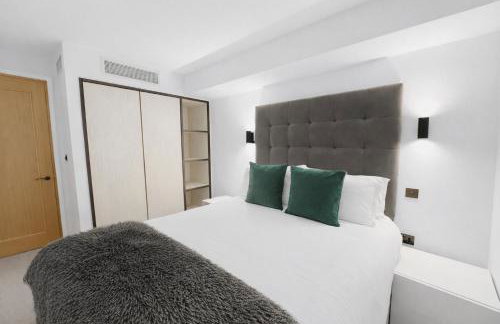
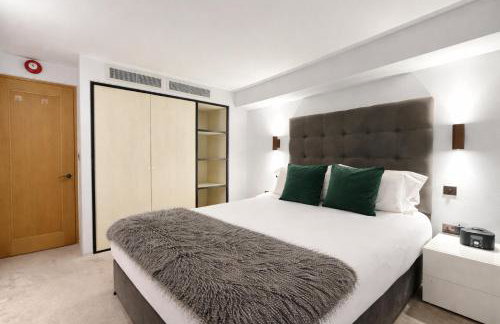
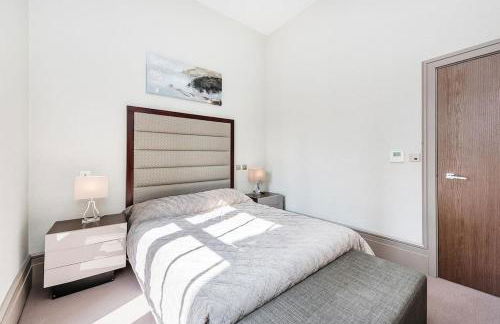
First Class Living Experience Luxury In Harley St
Londra - Marylebone - 460 m da Madame Tussauds
- 139 M2
- 2 camere
- 7 persone
- Aria condizionata
- Riscaldamento
- Ascensore
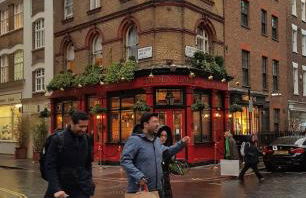


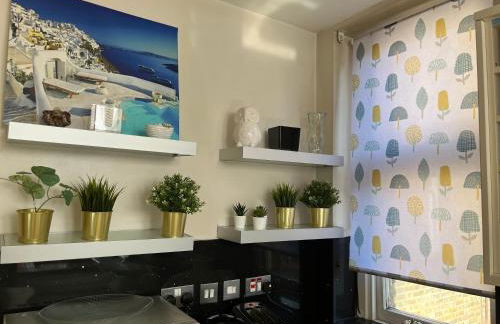


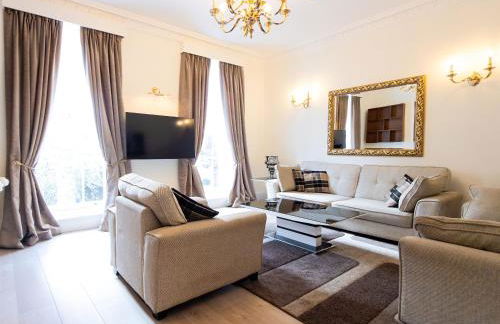
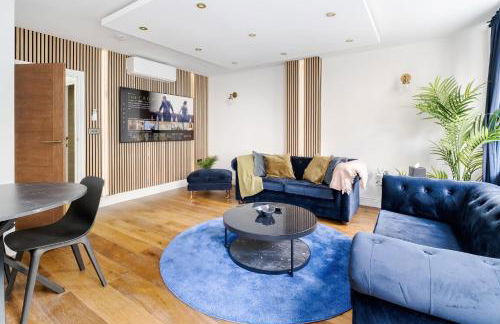
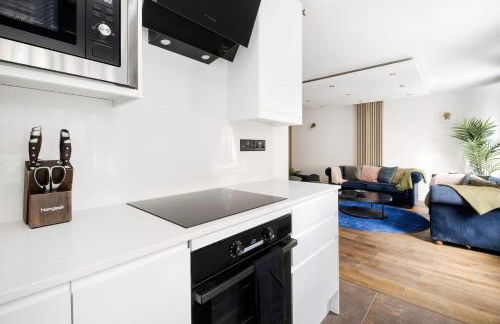
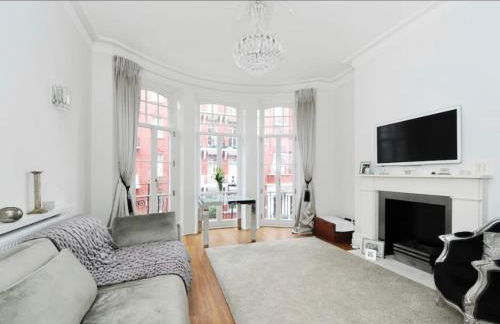
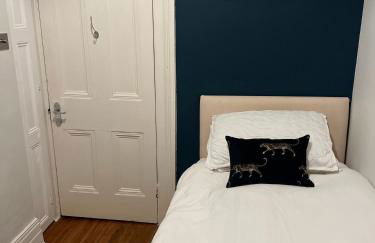
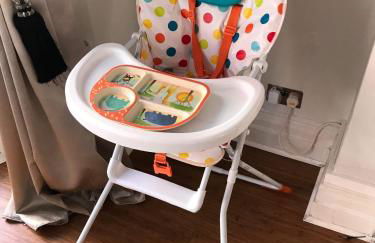
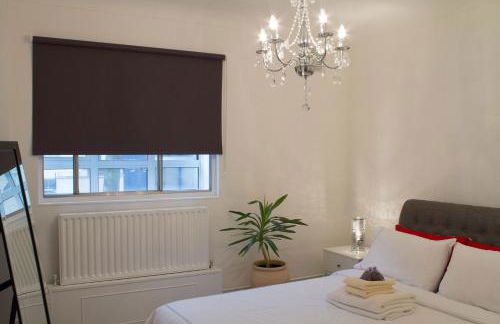
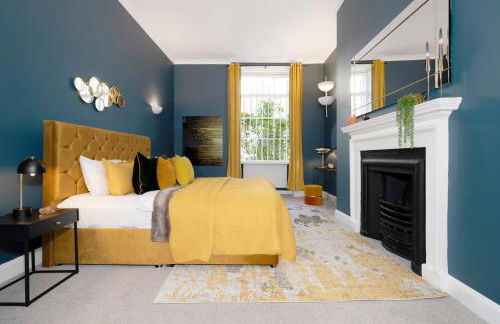
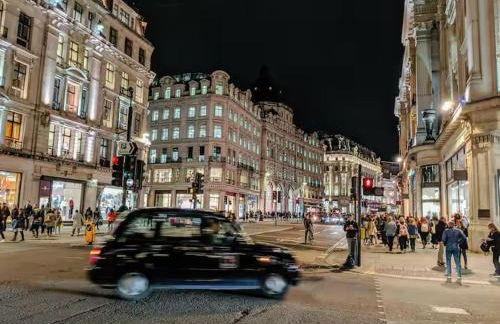
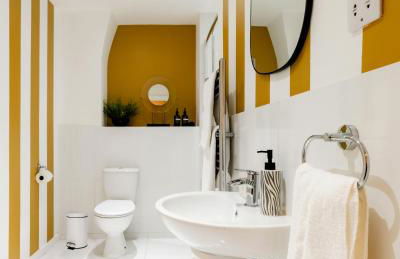
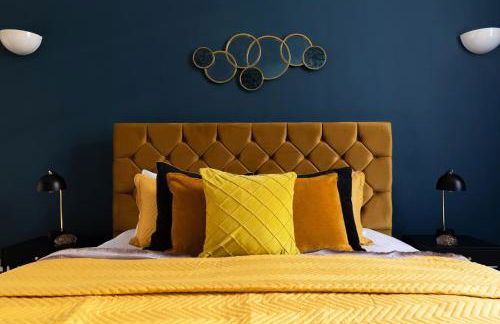
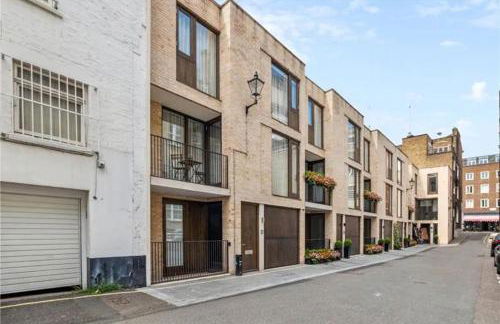
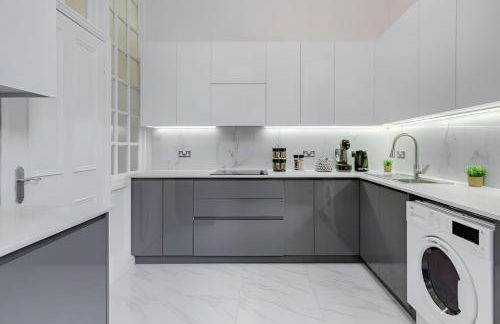
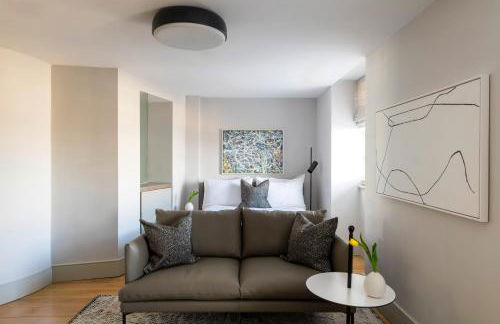
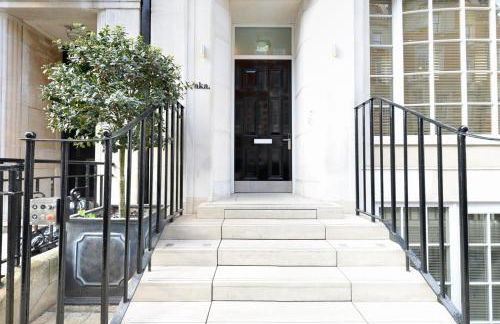
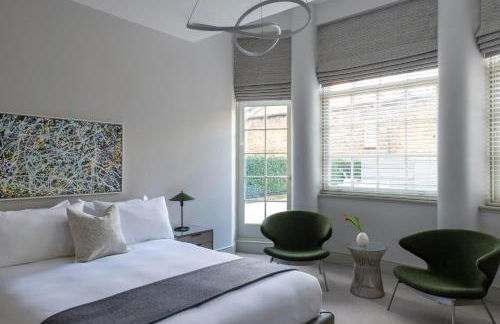
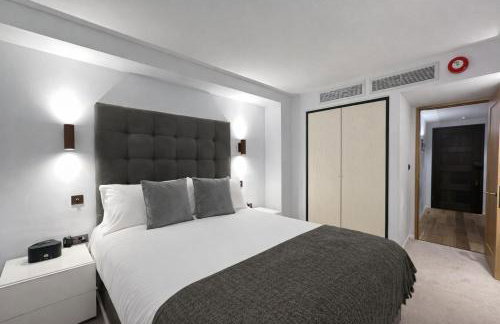
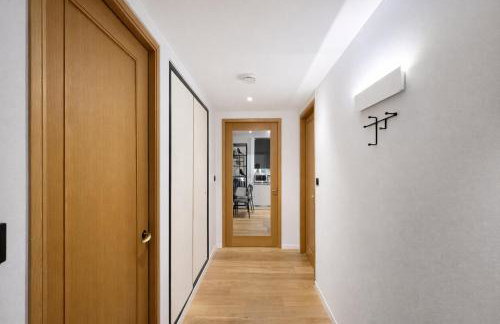
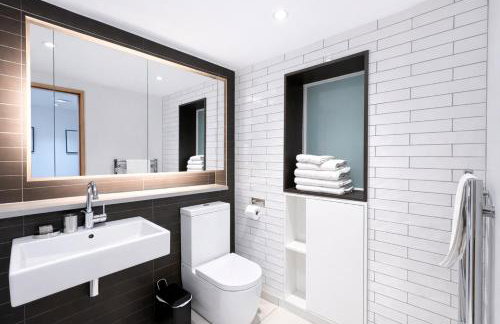
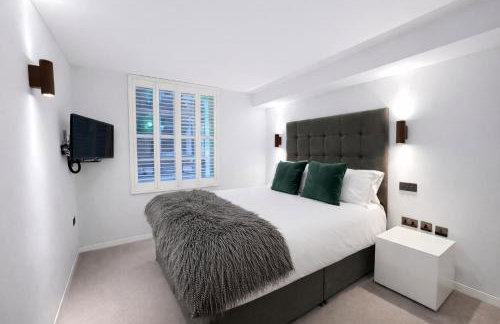
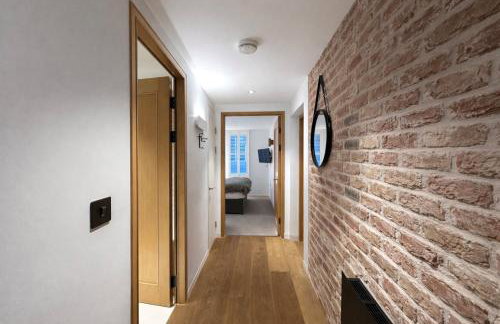
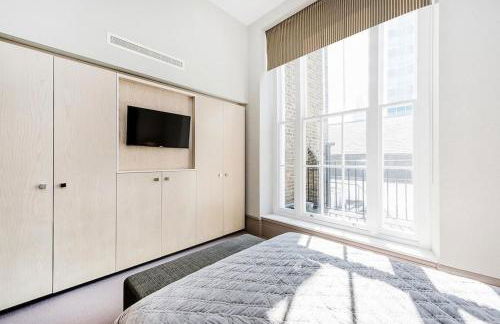
Stunning apartment in the heart of Central London
Londra - Marylebone - 390 m da Madame Tussauds
- 27 M2
- 1 camera
- 2 persone
- Riscaldamento
- Parcheggio
- Ascensore


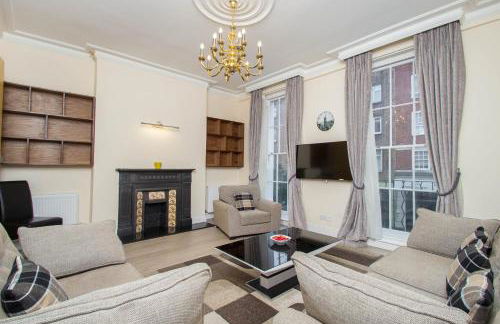
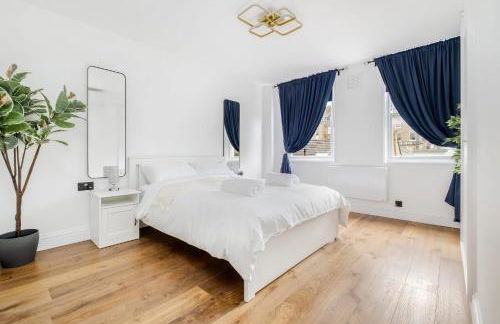
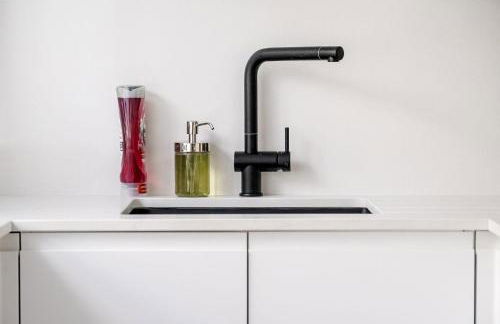
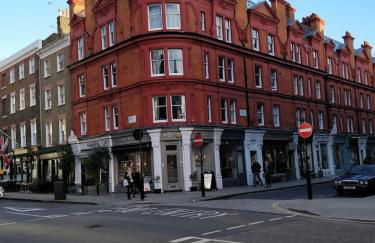
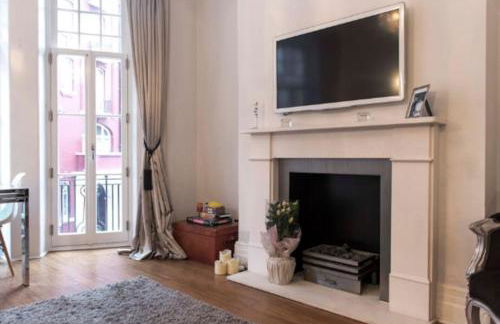
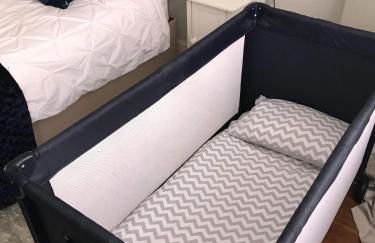
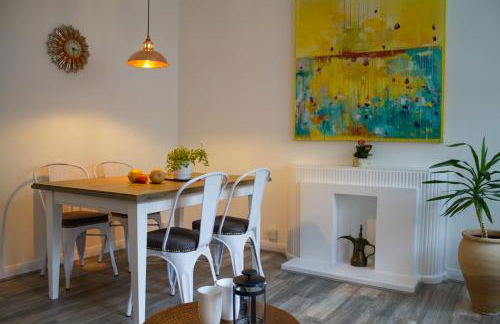
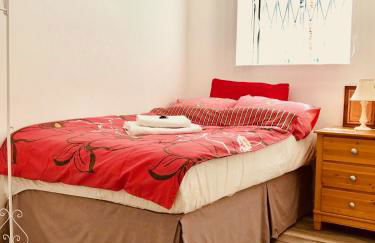
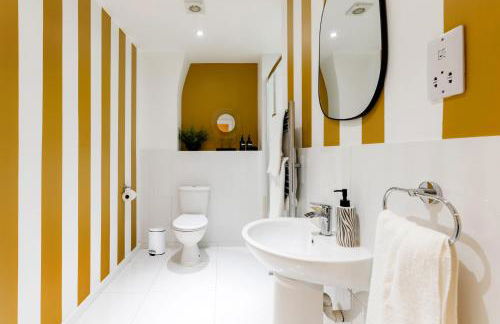
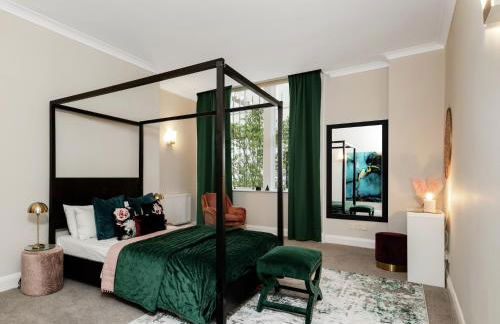
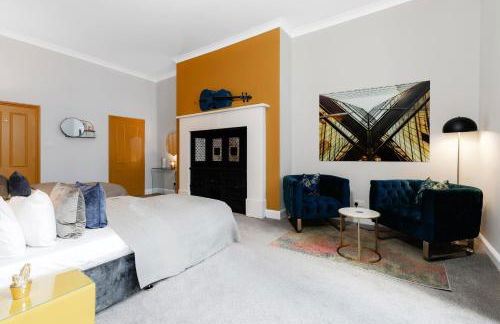
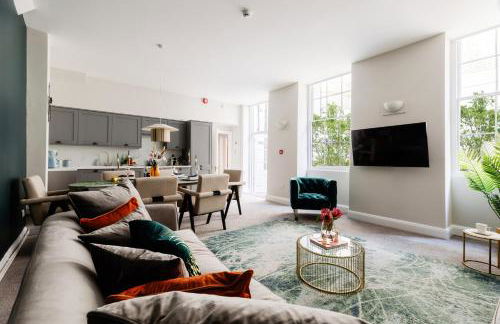
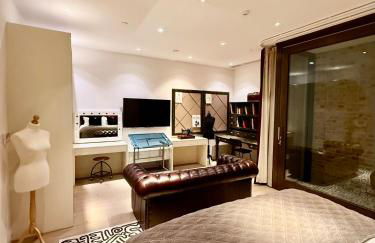
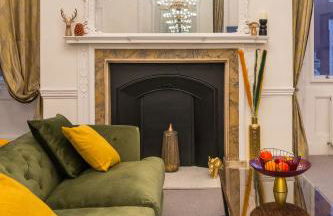
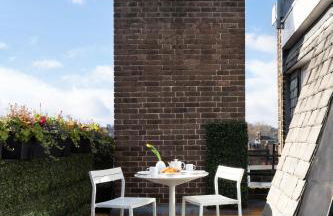
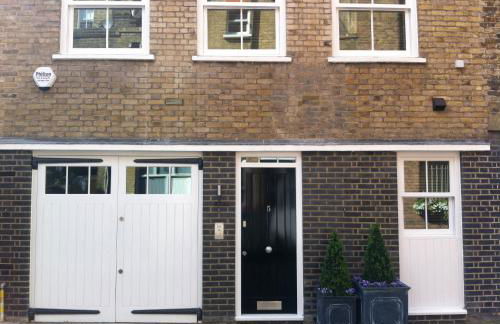
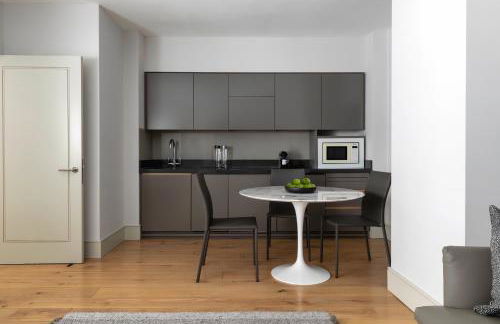
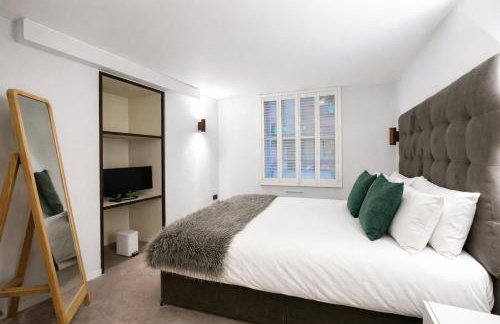
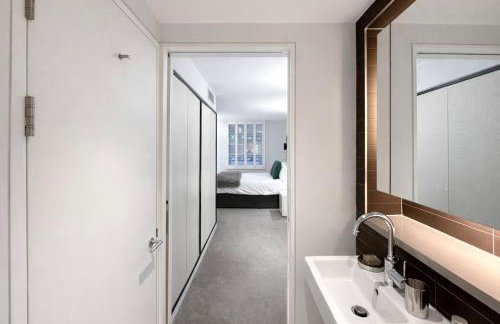
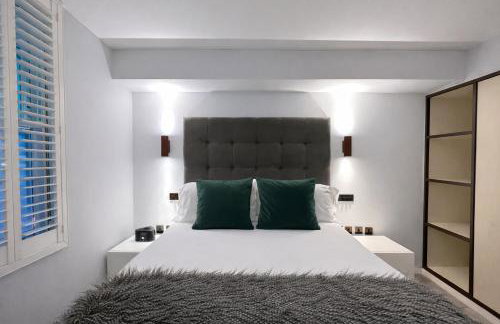
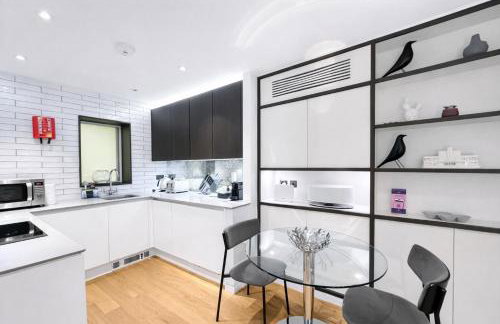
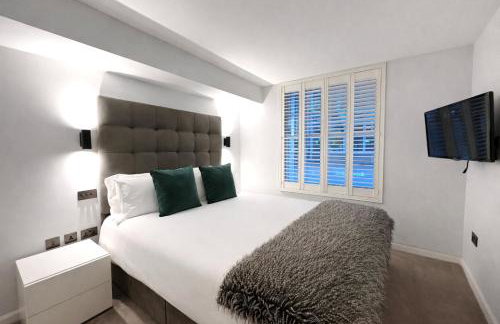
Super Central London - sleeps 4
Londra - Marylebone - 2.7 km dal centro
- 4 persone
- Riscaldamento
- Tv
- Lino da bagno
- Lino da letto


Stunning Central London flat 1 min Bond Street
Londra - Marylebone - 1.4 km dal centro
- 88 M2
- 3 camere
- 5 persone
- Aria condizionata
- Riscaldamento
- Terrazza
- Giardino


Elegant Bright Central London Flat - sleeps 5
Londra - Marylebone - 2.7 km dal centro
- 64 M2
- 2 camere
- 5 persone
- Riscaldamento
- Terrazza
- Ascensore


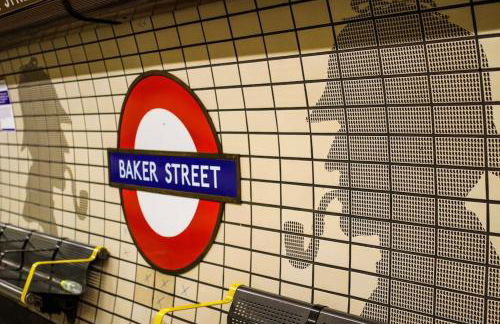
Baker Street Style
Londra - Marylebone - 470 m da Madame Tussauds
- 61 M2
- 2 camere
- 3 persone
- Riscaldamento
- Ascensore


The City London Apartments
Londra - Marylebone - 2.5 km dal centro
- 30 M2
- 6 persone
- Riscaldamento
- Balcone
- Tv
- Lavatrice
- Lino da bagno
- Lino da letto


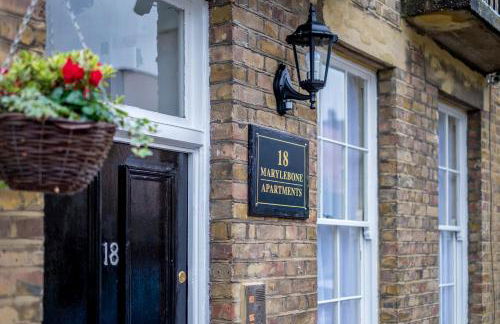

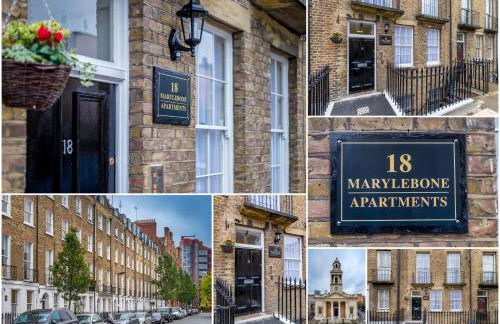


Marylebone Apartments
Londra - Marylebone - 2.7 km dal centro
- 17 M2
- 2 camere
- 6 persone
- Riscaldamento
- Tv
- Lino da bagno


OFF Oxford Circus! Large Unique Artist's Family and Friends HOME
Londra - Marylebone - 1.4 km dal centro
- 216 M2
- 3 camere
- 7 persone
- Riscaldamento
- Terrazza
- Giardino

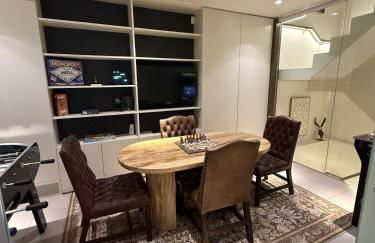


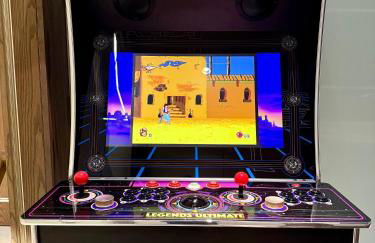


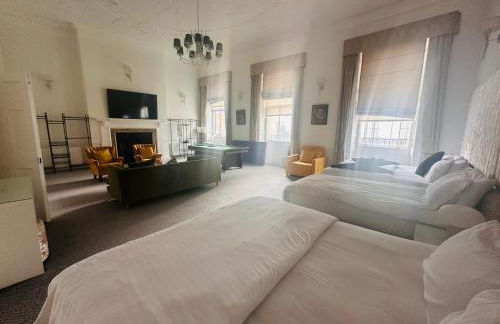
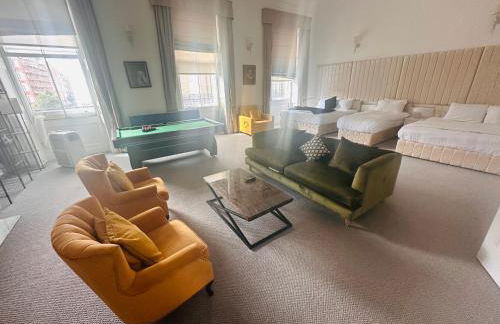
Central London Designer Home w Game Room and AC
Londra - Marylebone - 430 m da Madame Tussauds
- 216 M2
- 3 camere
- 6 persone
- Aria condizionata


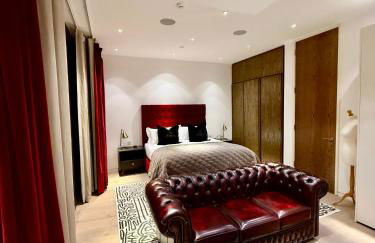
A doorstep from Oxford Circus
Londra - Marylebone - 160 m da Madame Tussauds
- 75 M2
- 2 camere
- 5 persone
- Aria condizionata

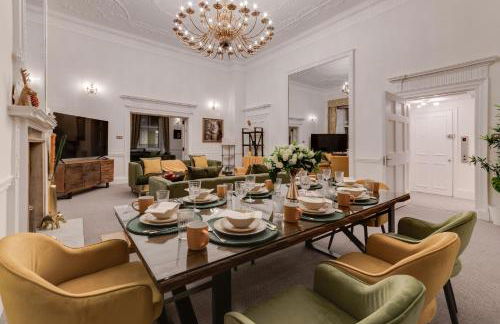
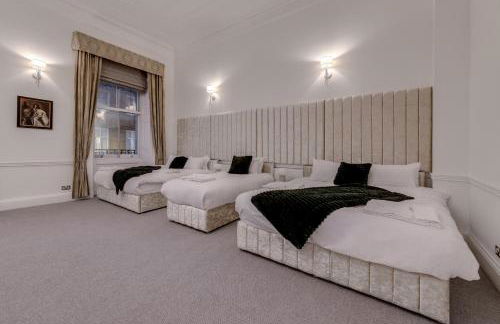
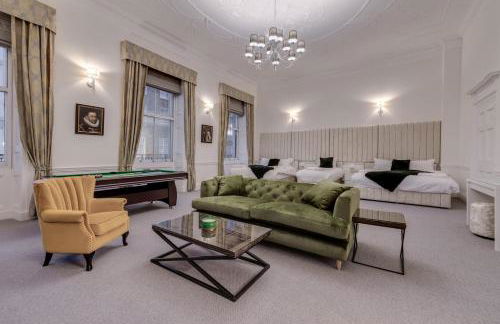
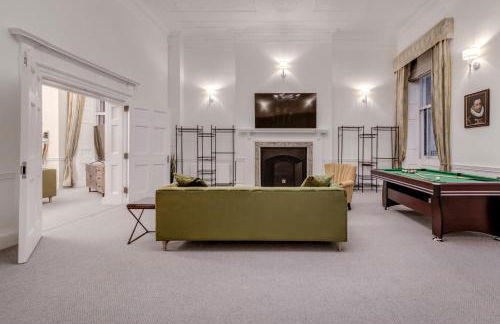

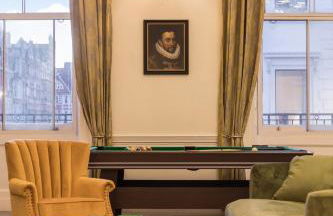
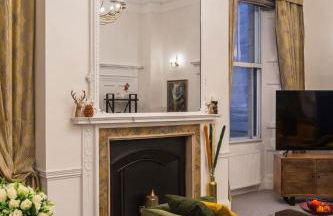


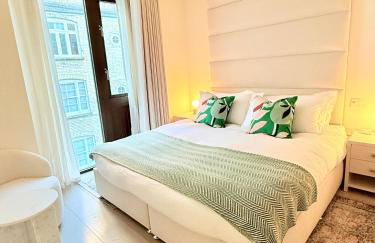
Luxury London 3 Bedroom Duplex with Pool Table - 4HS
Londra - Marylebone - 1.5 km dal centro
- 197 M2
- 3 camere
- 12 persone
- Aria condizionata
- Riscaldamento
- Parcheggio
- Ascensore
- Giardino


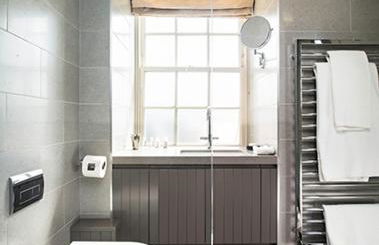
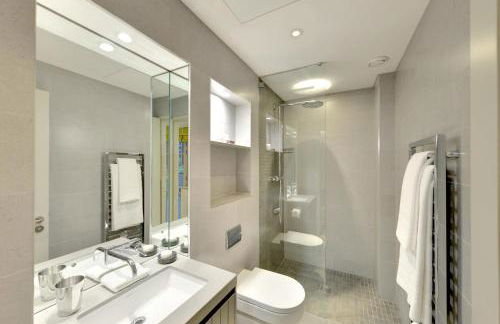
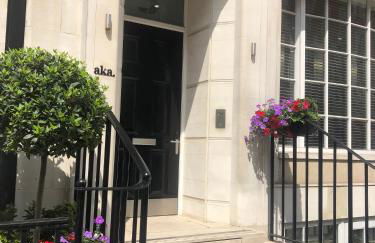

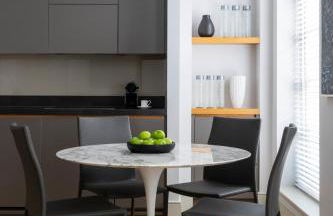


AKA Marylebone
Londra - Marylebone - 1.5 km dal centro
- 58 M2
- 1 camera
- 3 persone
- Aria condizionata
- Riscaldamento
- Terrazza
- Parcheggio
- Ascensore


5H Modern Elegance 1-Bedroom City Living in London
Londra - Marylebone - 1.5 km dal centro
- 70 M2
- 1 camera
- 6 persone
- Aria condizionata
- Riscaldamento
- Parcheggio
- Ascensore


INTERIOR-DESIGN Apartment with HUGE Terrace
Londra - Marylebone - 2.2 km dal centro
- 80 M2
- 2 camere
- Riscaldamento
- Terrazza
- Giardino


Lovely Apartments in Landward Court
Londra - Marylebone - 2.4 km dal centro
- 80 M2
- 3 camere
- 8 persone
- Aria condizionata
- Riscaldamento
- Parcheggio
- Ascensore
- Tv
- Lavatrice
- Lino da bagno
- Lino da letto


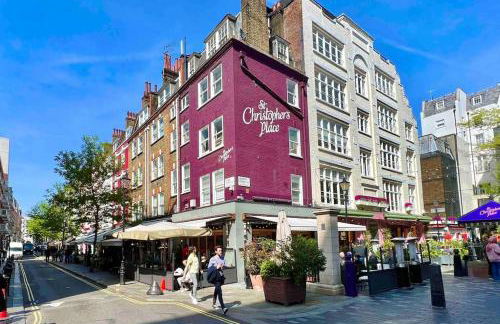
Premium St Christophers Place
Londra - Marylebone - 1.4 km dal centro
- 41 M2
- 2 persone
- Riscaldamento
- Tv
- Lavatrice
- Lino da bagno
- Lino da letto


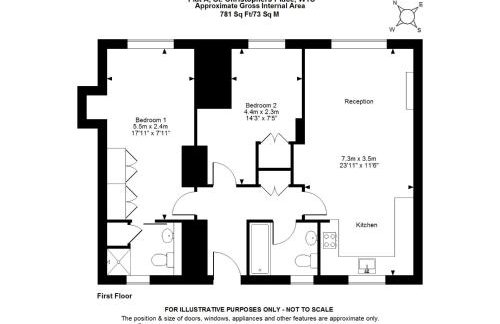


Wigmore Suites Serviced Apartments by Globe Apartments
Londra - Marylebone - 1.4 km dal centro
- 73 M2
- 2 camere
- 4 persone
- Aria condizionata
- Riscaldamento
- Ascensore


Luxury Marylebone Apartment M1
Londra - Marylebone - 370 m da Madame Tussauds
- 65 M2
- 1 camera
- 3 persone
- Aria condizionata
- Ascensore