
115494 Appartamenti a Inghilterra


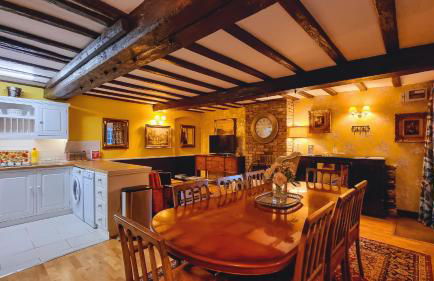

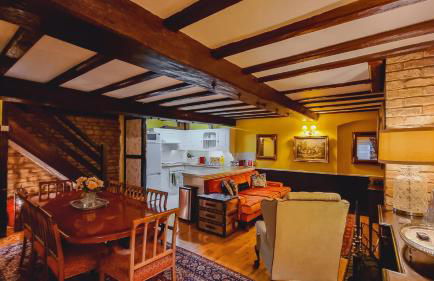


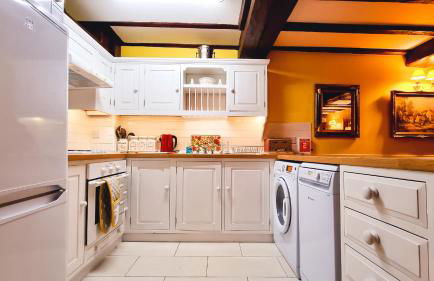


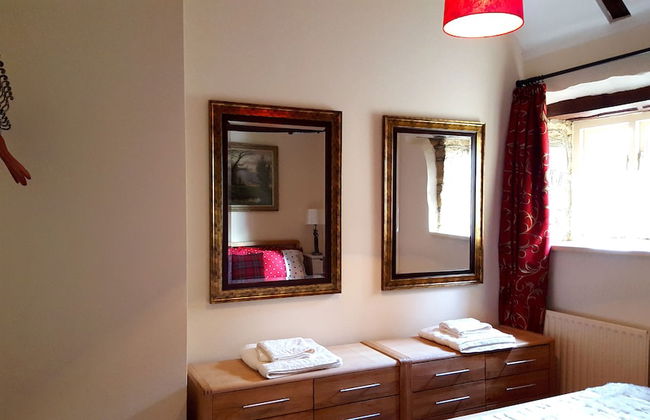


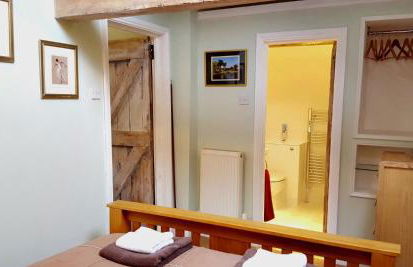


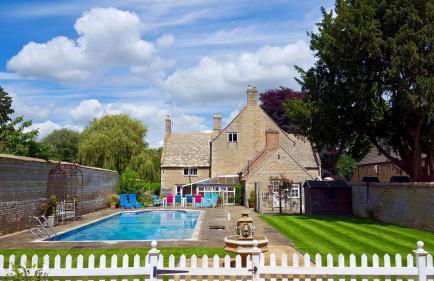

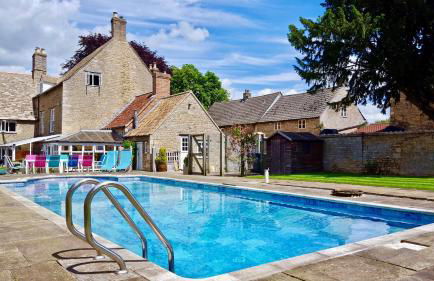
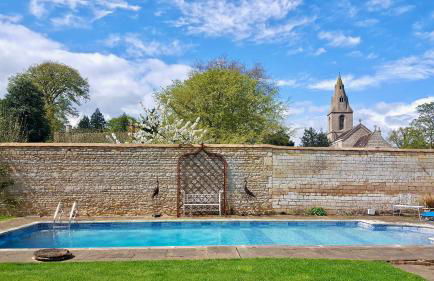

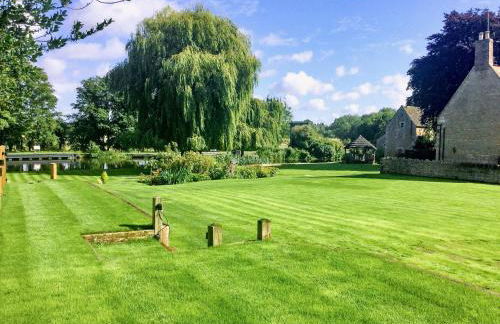

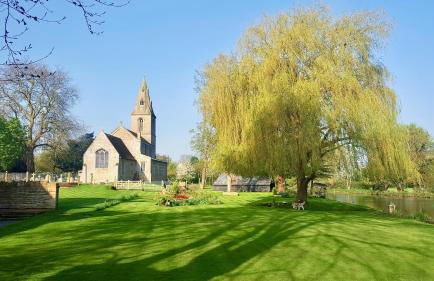


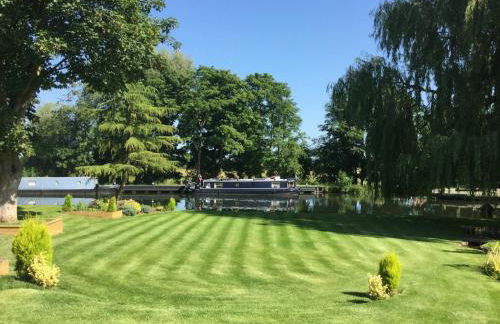

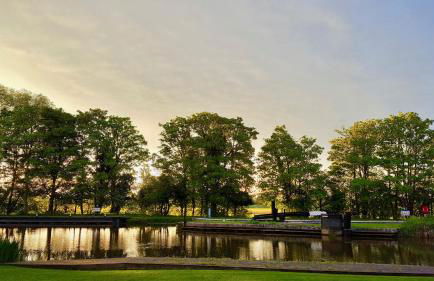
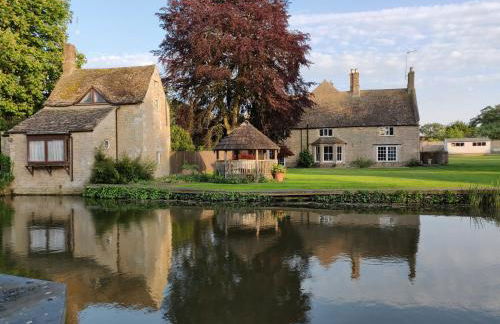
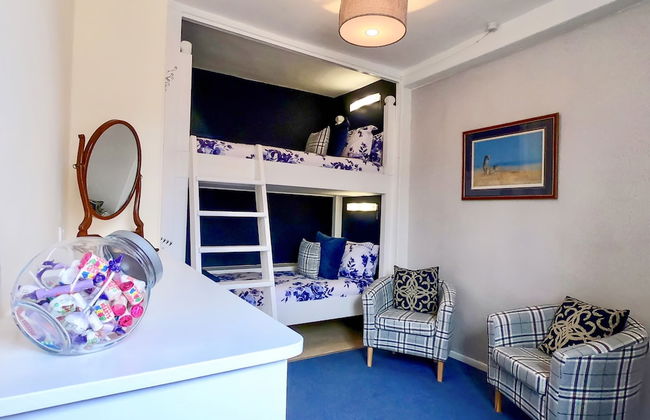
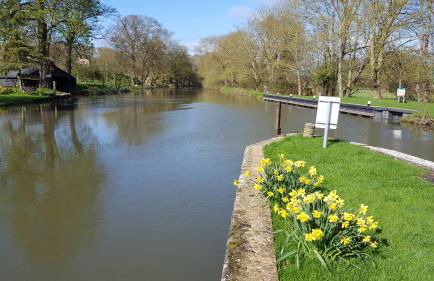


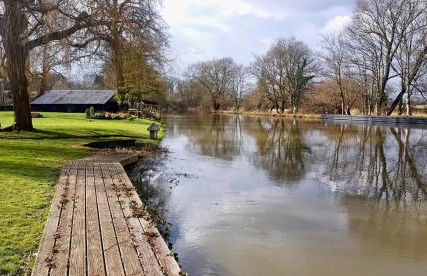
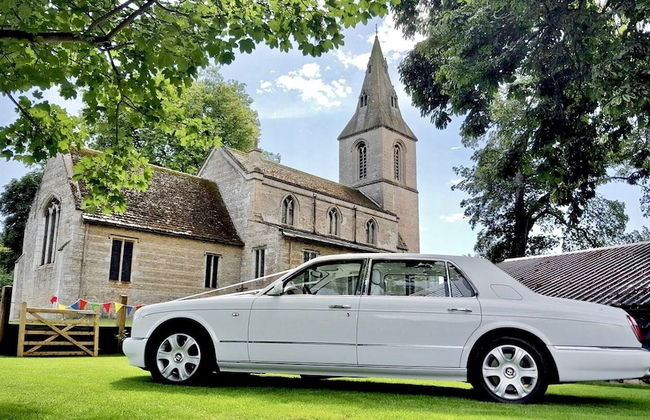
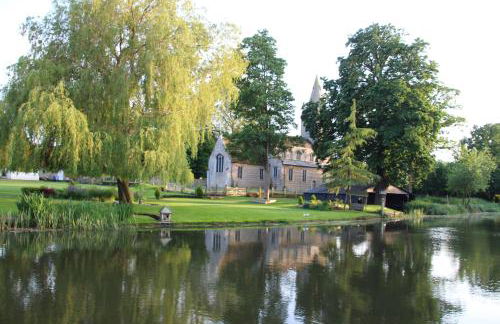


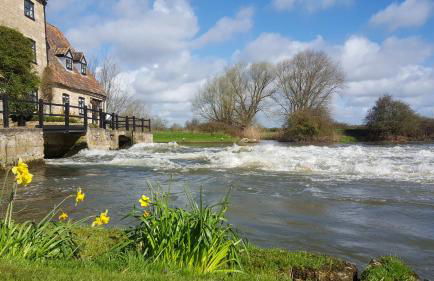
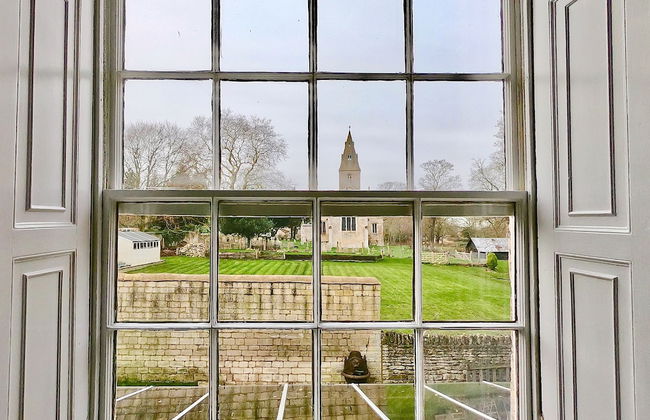


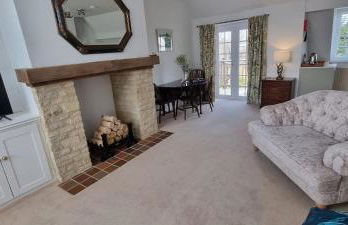
River Nene Cottages
Peterborough - Waternewton - 7.5 km dal centro
- 60 M2
- 2 camere
- 4 persone
- Riscaldamento
- Terrazza
- Piscina
- Parcheggio
- Giardino
- Tv
- Lavatrice
- Focolare
- Barbecue
- Lino da bagno
- Lino da letto
13 recensioni


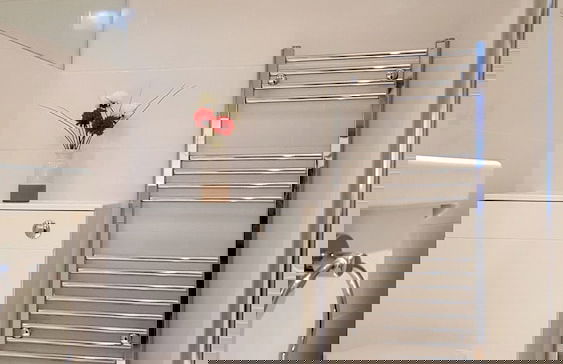
St. Tinney Farm
Camelford - Otterham
- 74 M2
- 6 persone
- Riscaldamento
- Terrazza
- Piscina
- Parcheggio
- Balcone
- Giardino
- Tv
- Lavatrice
- Focolare
- Lino da bagno
- Lino da letto
25 recensioni


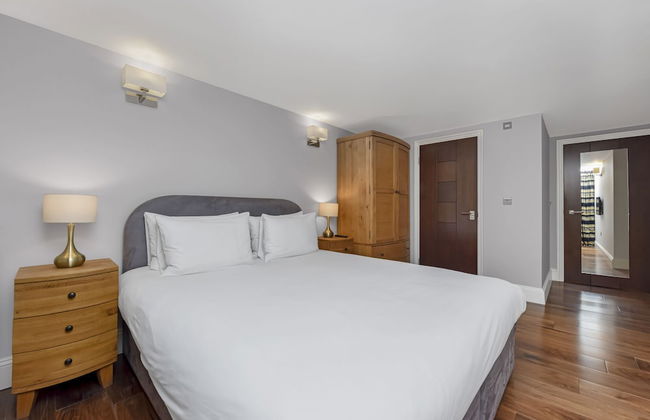


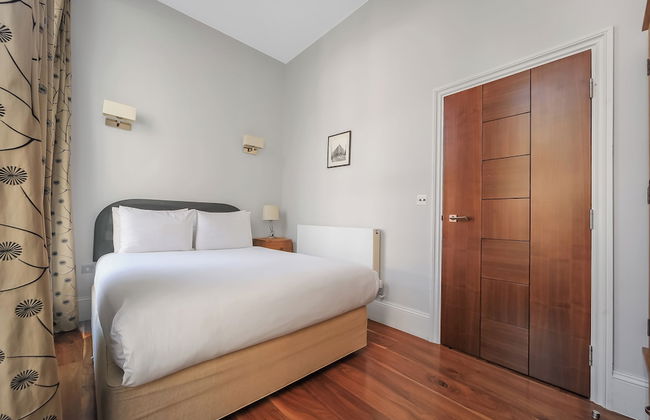


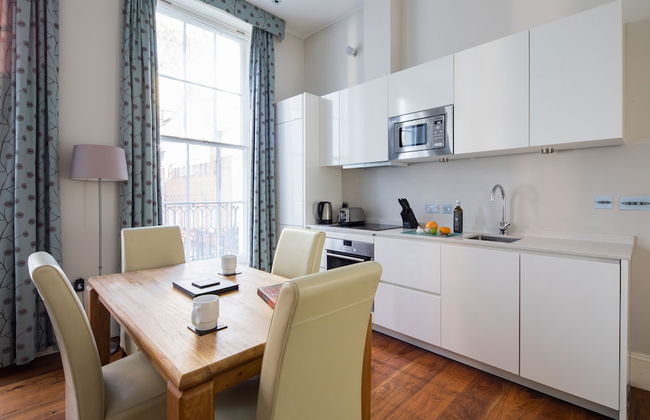
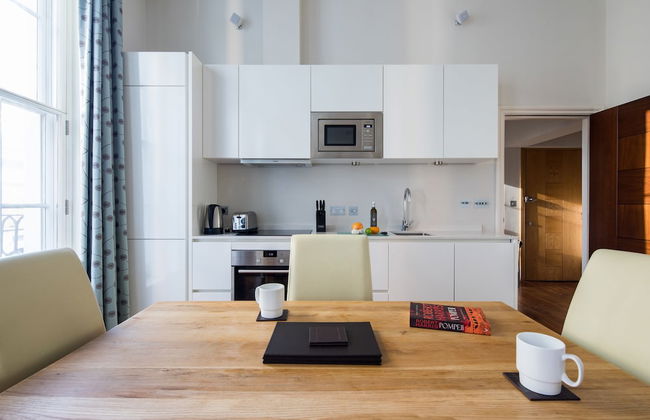
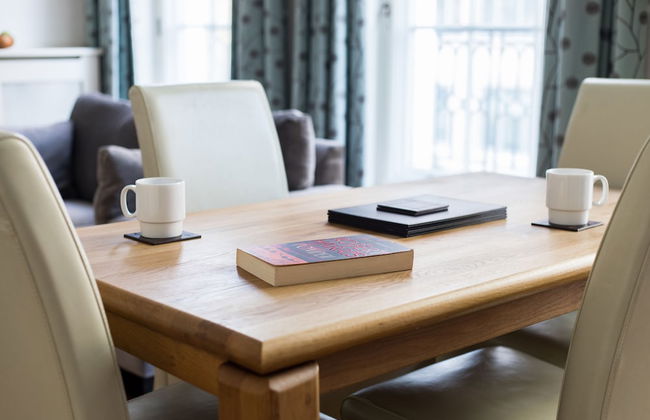


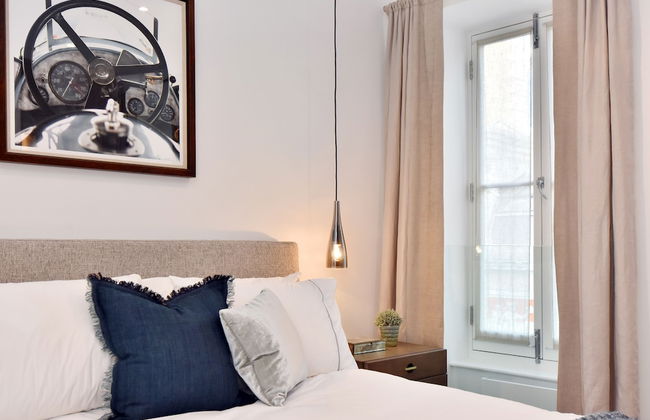
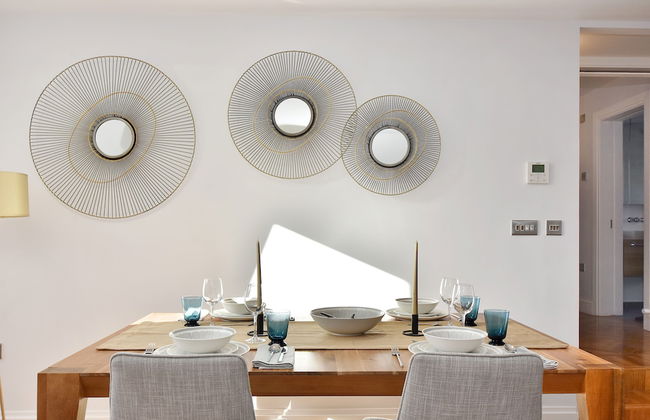
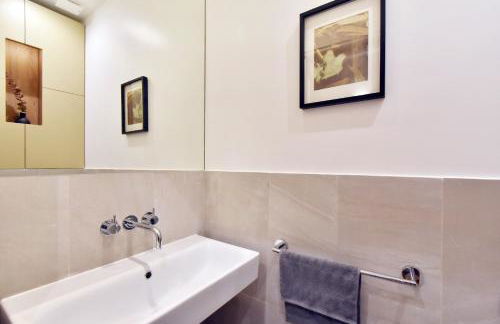
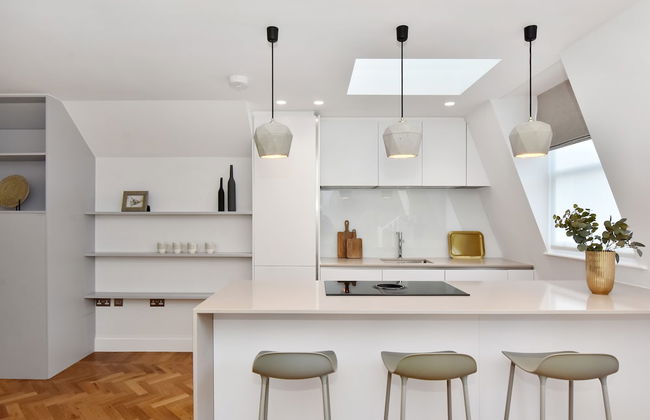
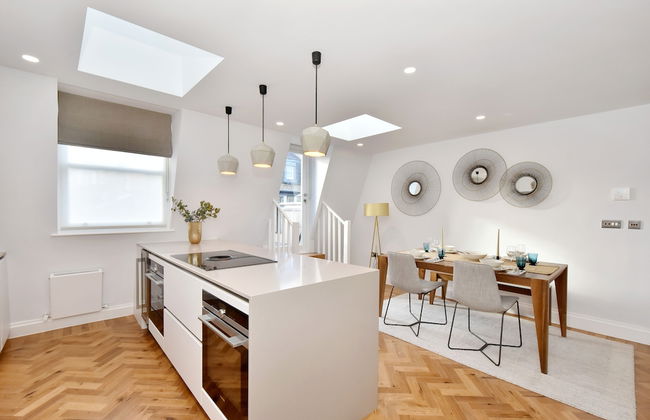
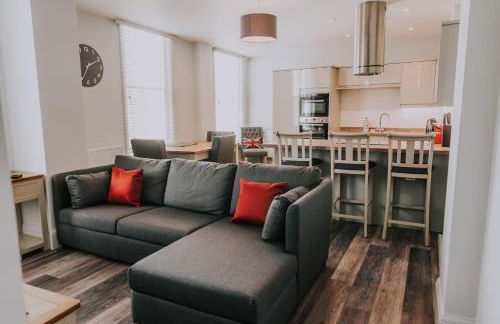
Tavistock Place Apartments
Londra - St Pancras - 1.5 km dal centro
- 105 M2
- 7 persone
- Riscaldamento
- Terrazza
- Ascensore
- Balcone
- Tv
- Lavatrice
- Focolare
- Lino da bagno
- Lino da letto
14 recensioni
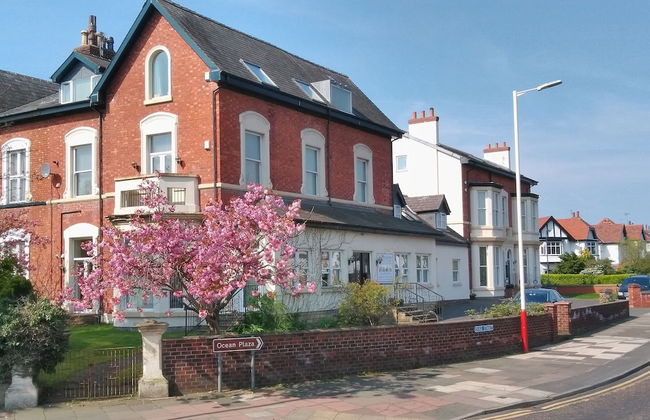


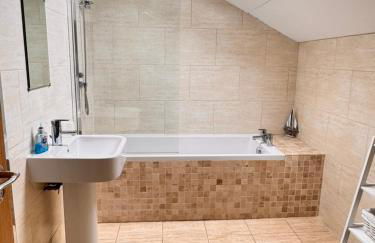
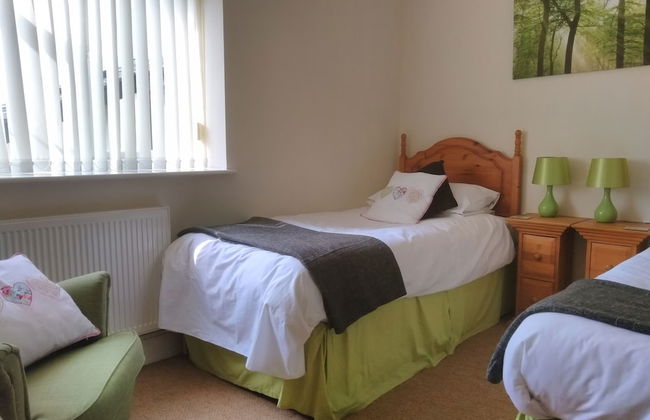
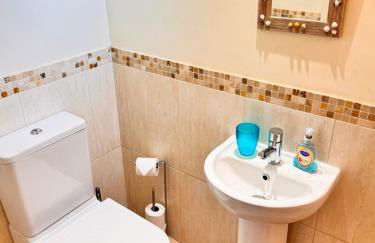


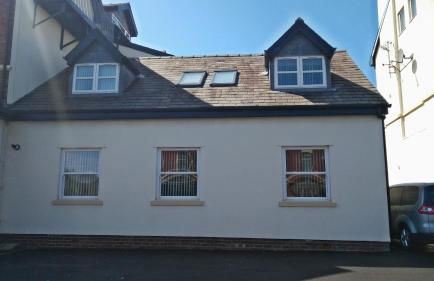

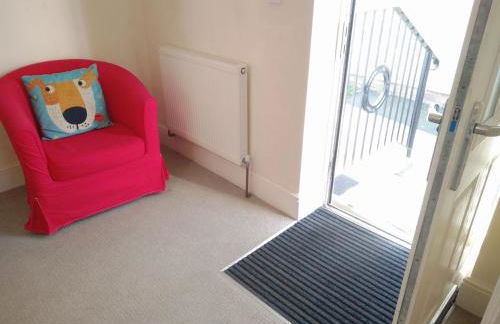

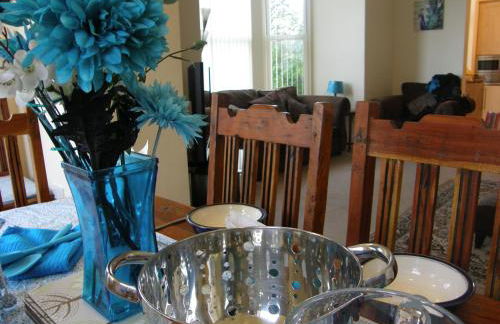
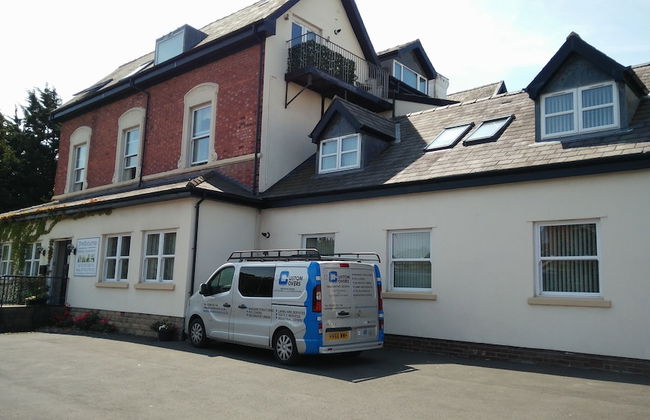
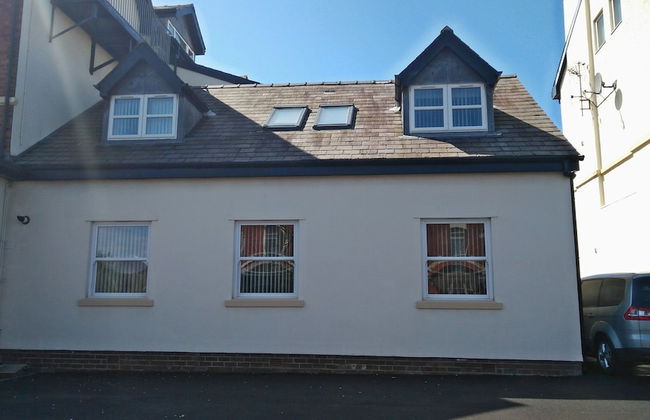


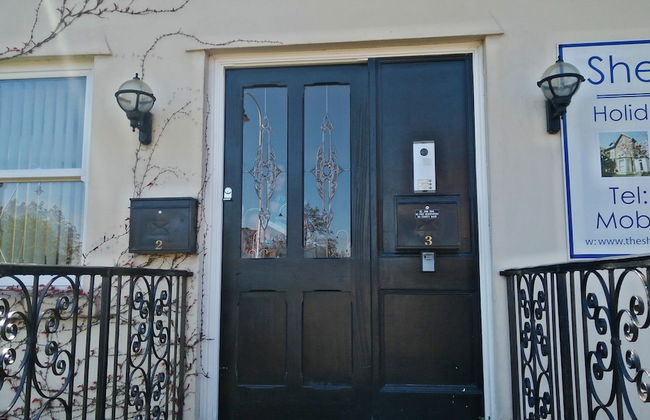


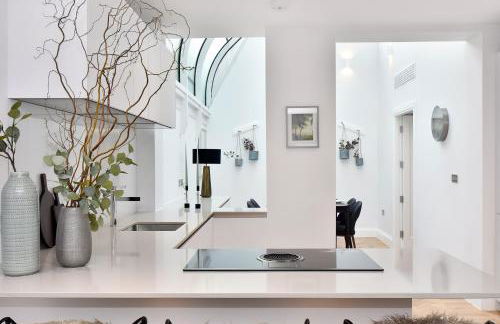
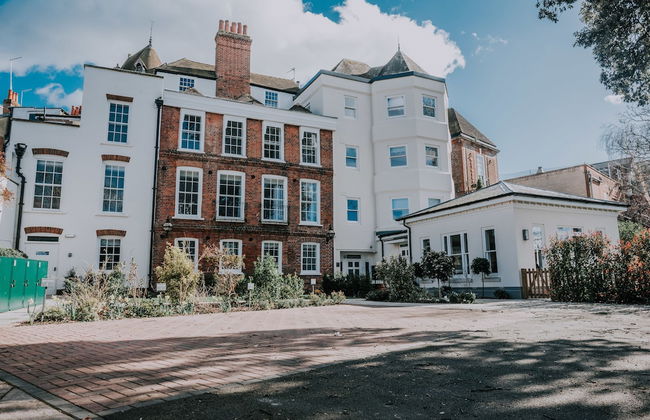
The Shelbourne Apartments
Southport - Southport
- 125 M2
- 2 camere
- 10 persone
- Riscaldamento
- Terrazza
- Parcheggio
- Ascensore
- Balcone
- Giardino
- Tv
- Lavatrice
- Lino da bagno
- Lino da letto
80 recensioni
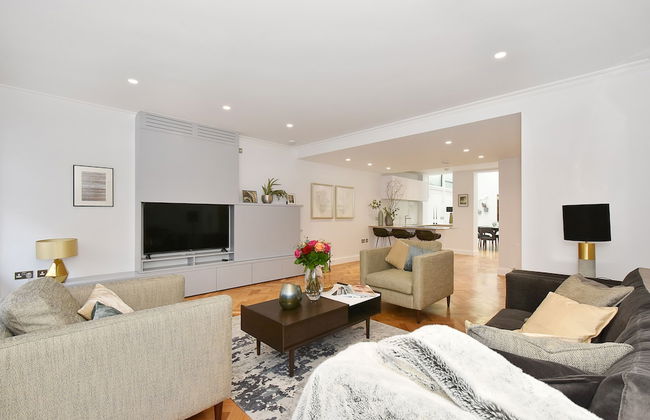
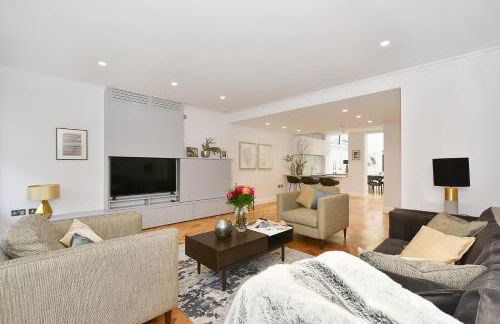
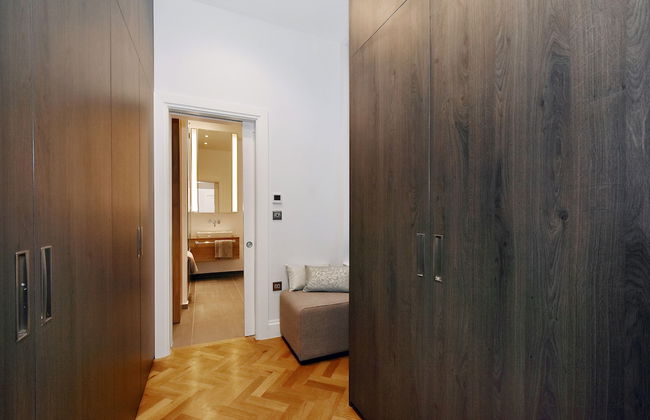


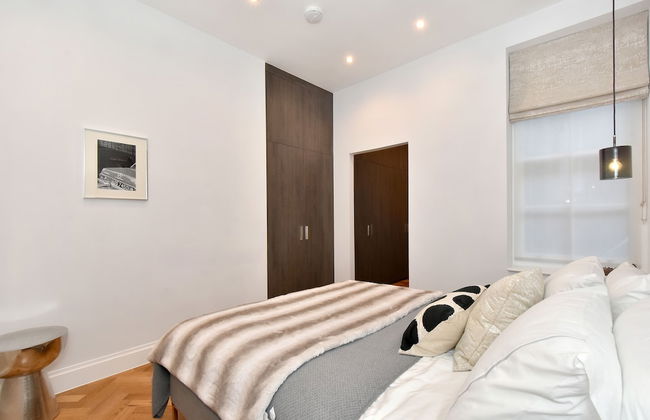
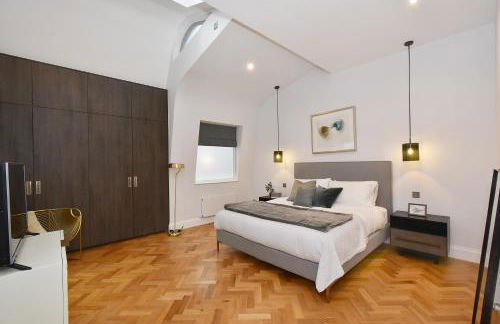
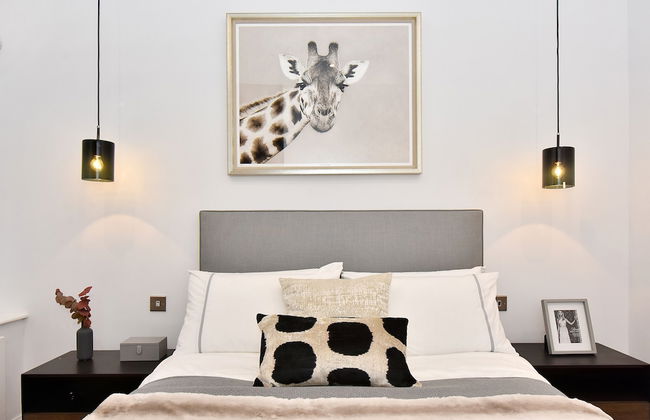
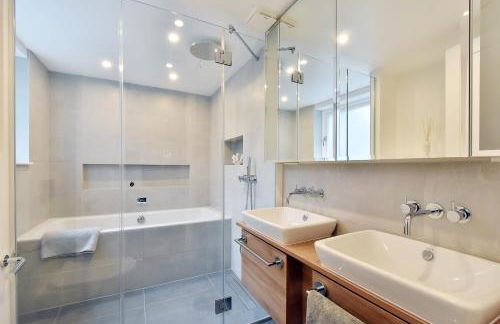
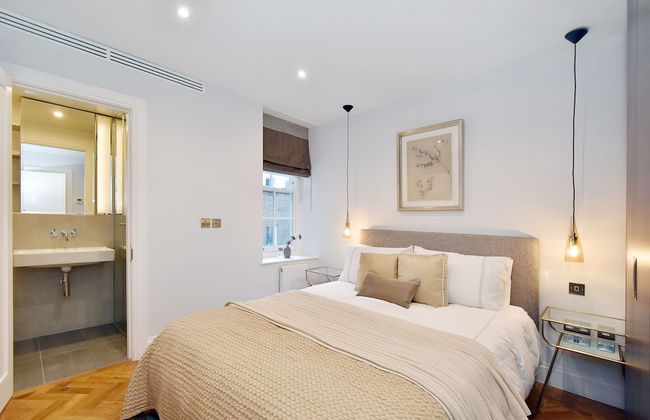
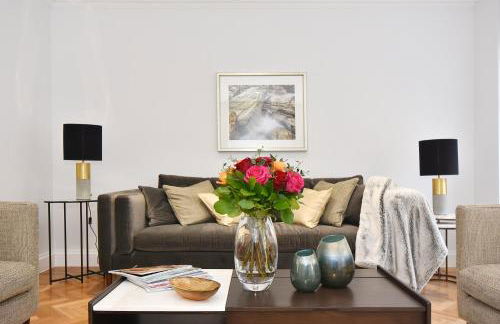


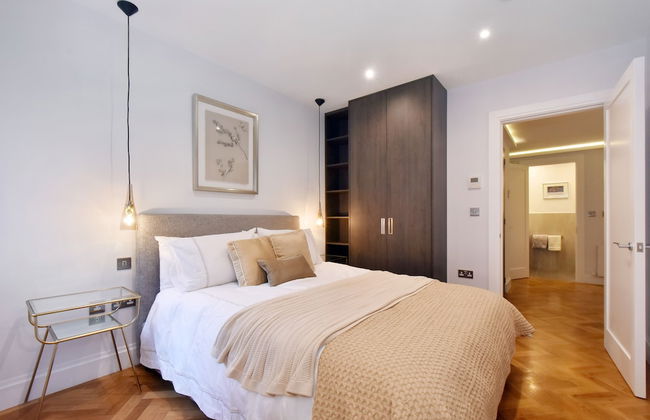
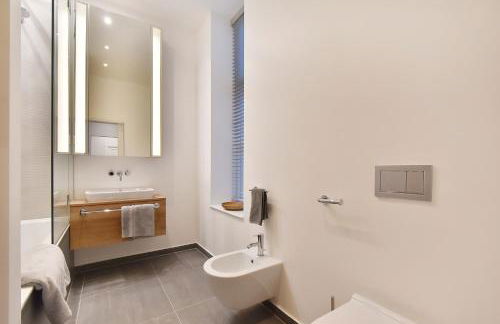
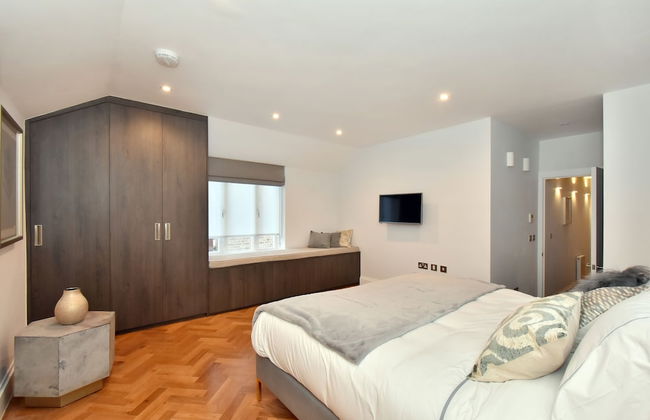

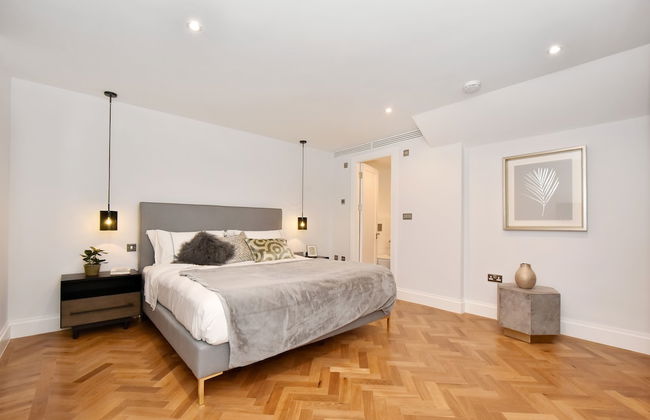

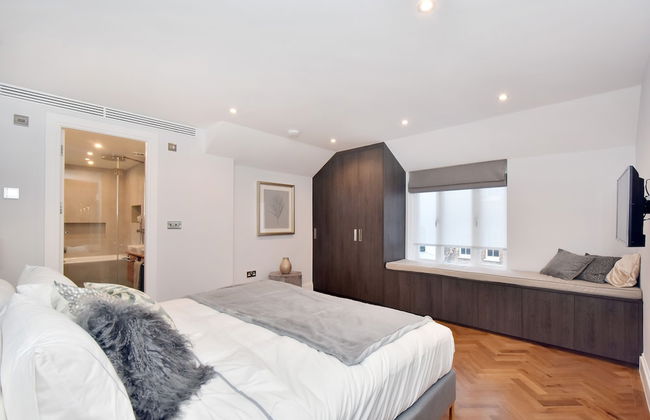
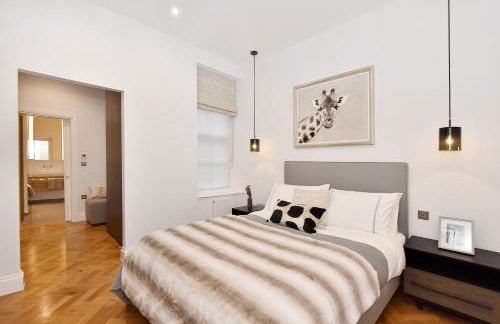
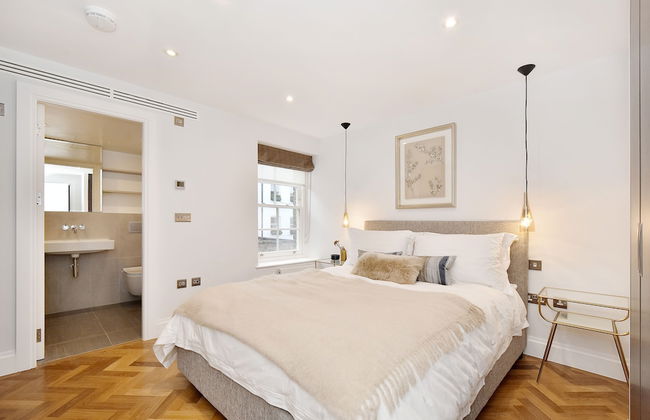

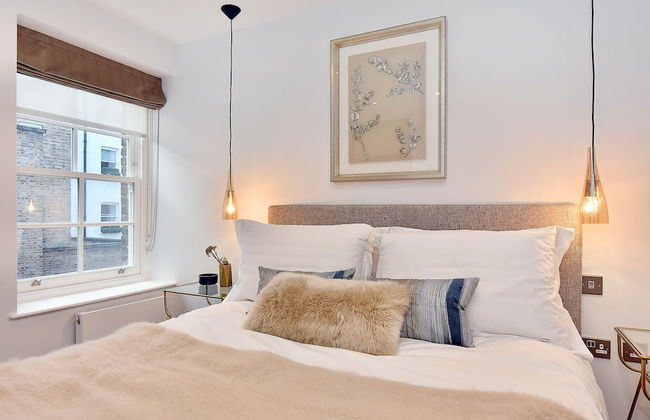
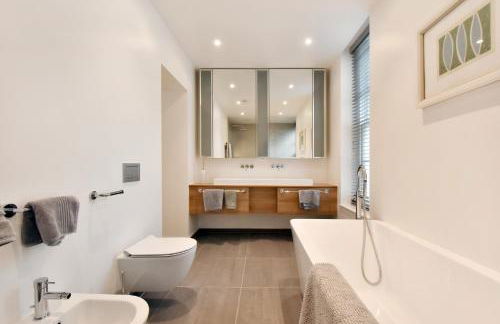
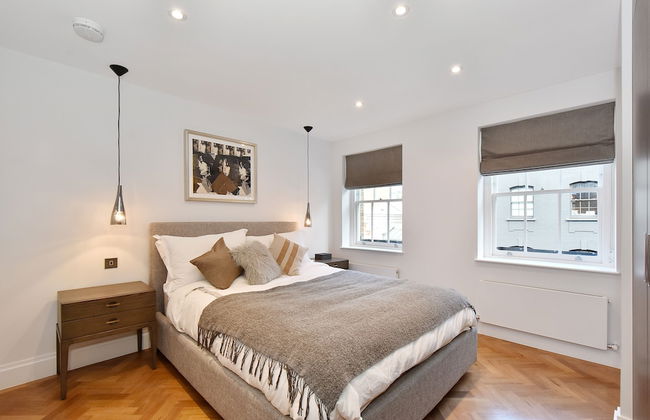
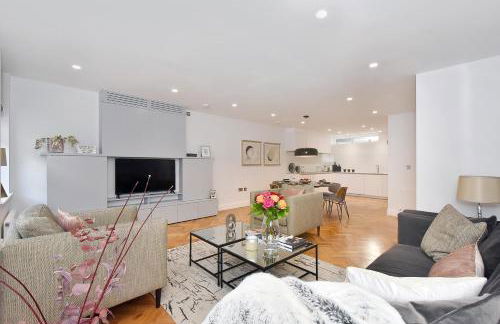
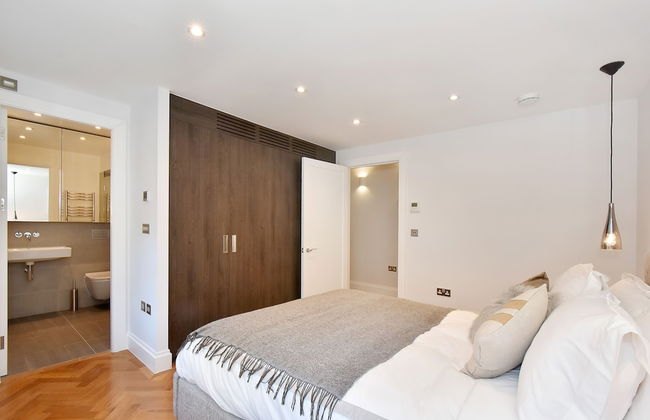
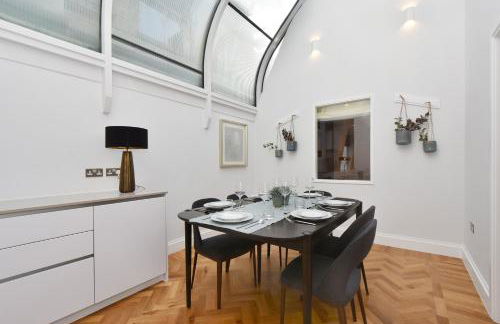
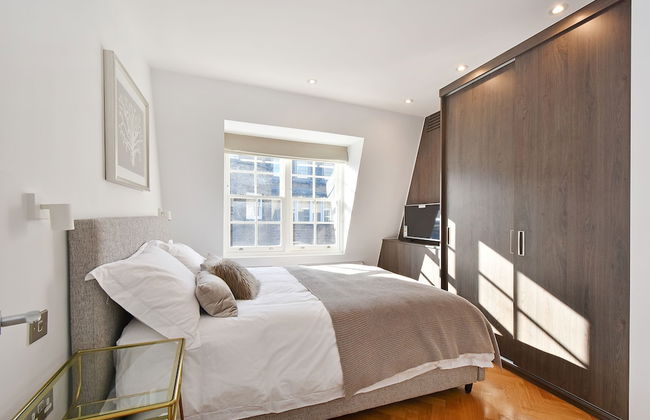
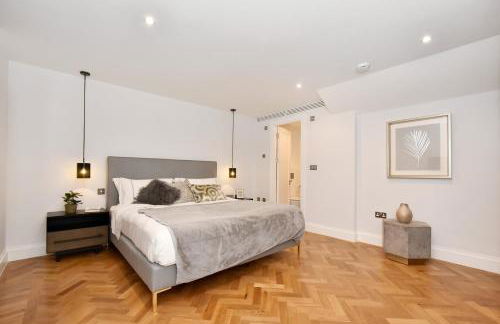
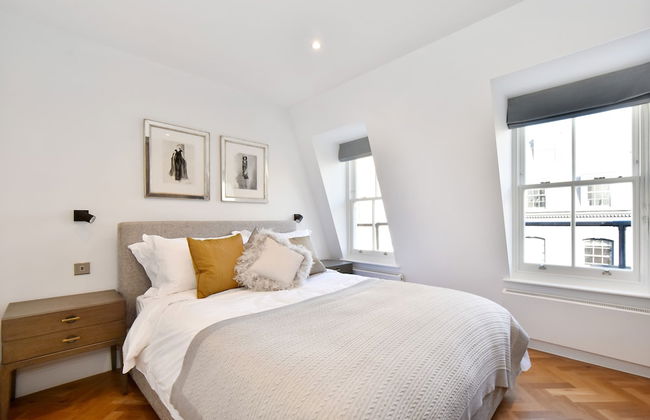

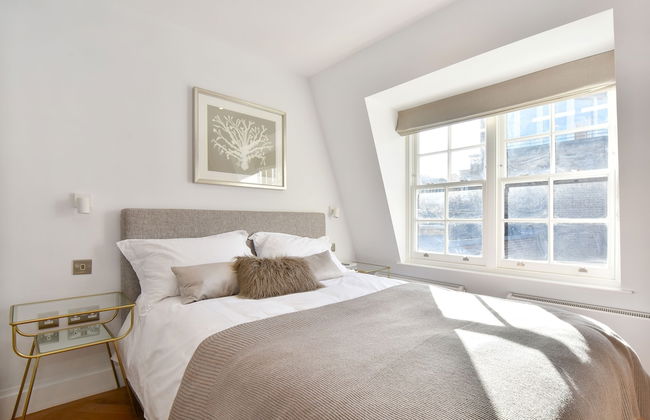
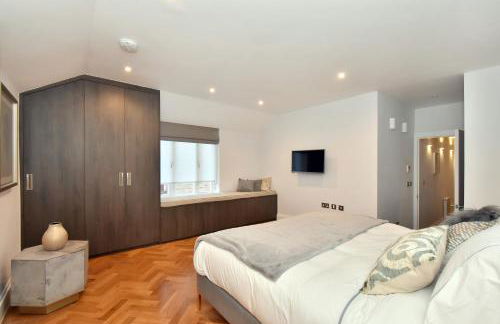
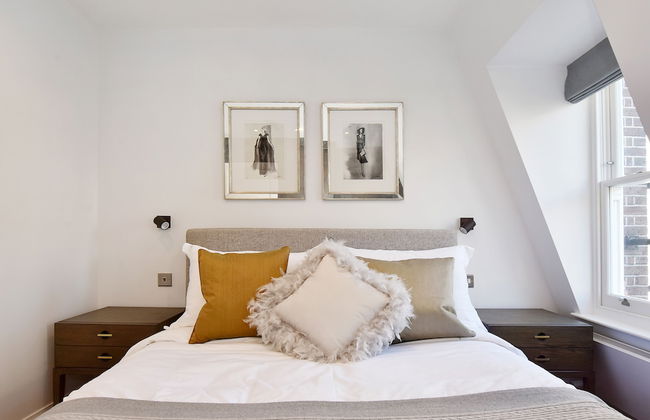

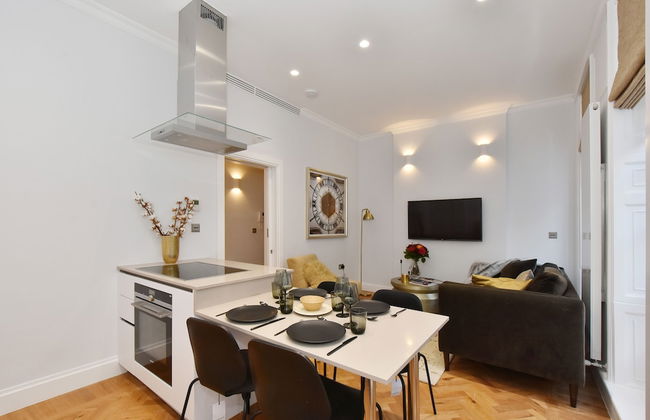


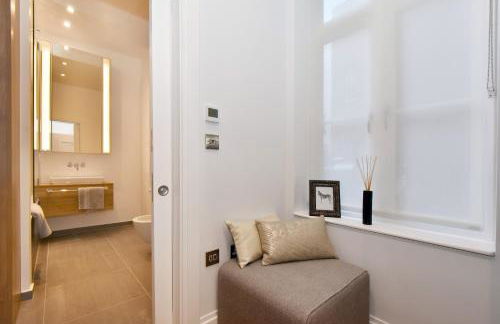
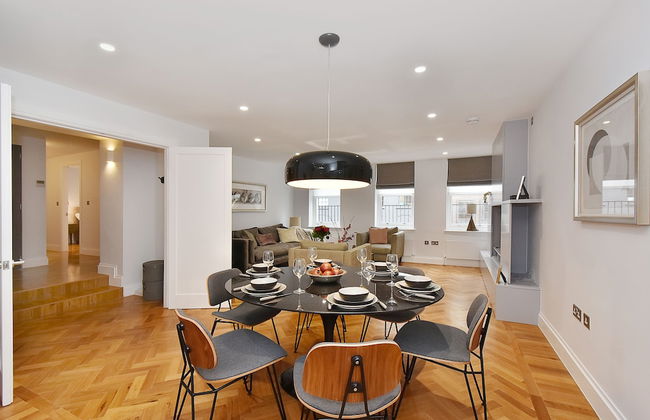

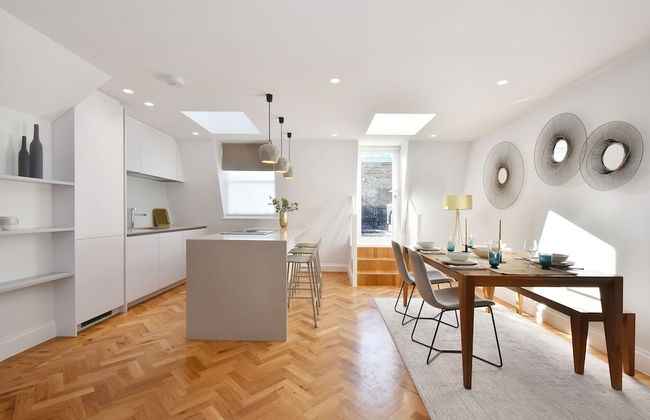
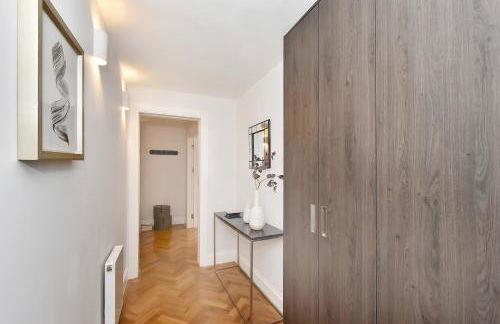


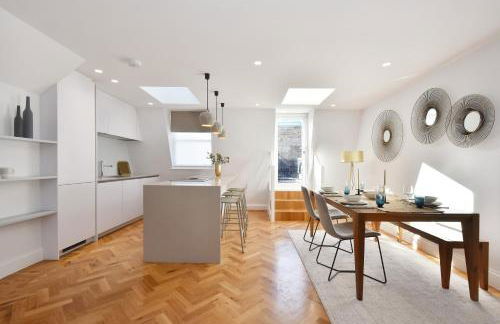
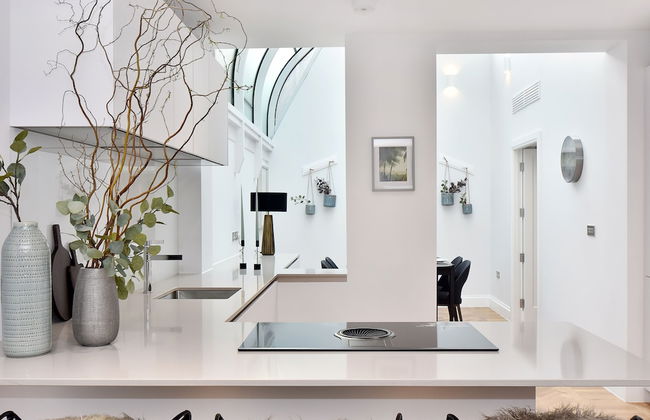
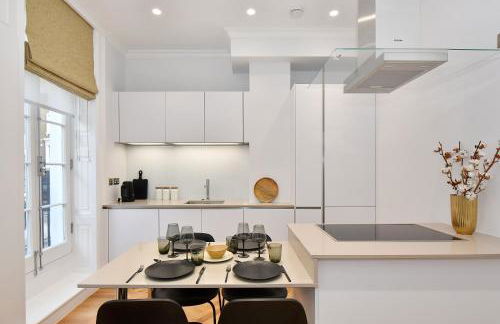
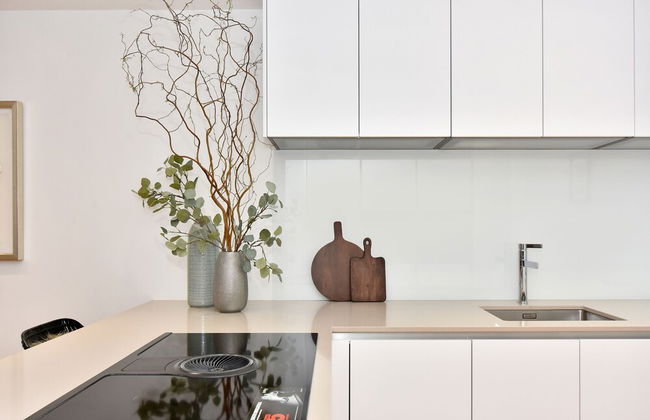
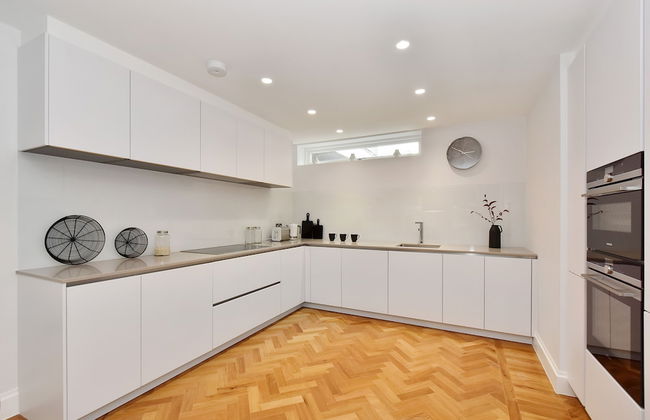
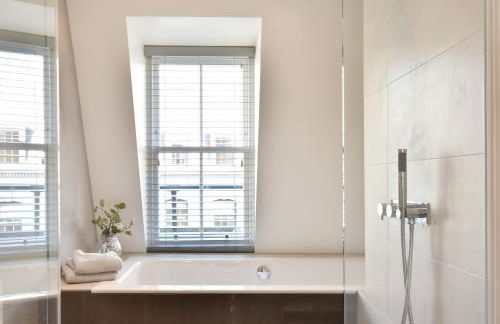
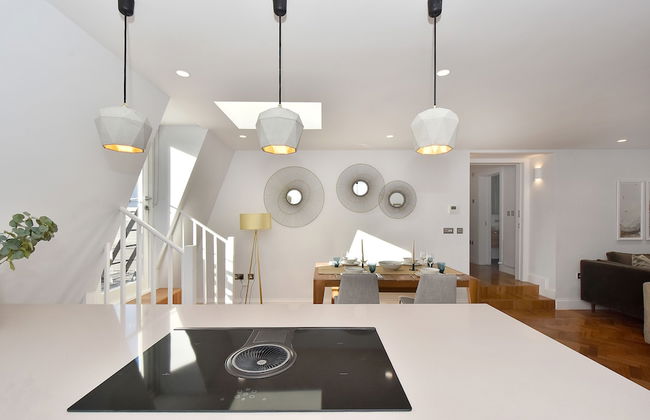

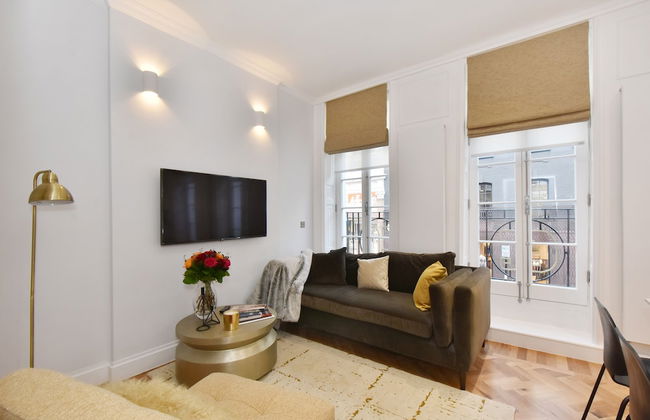
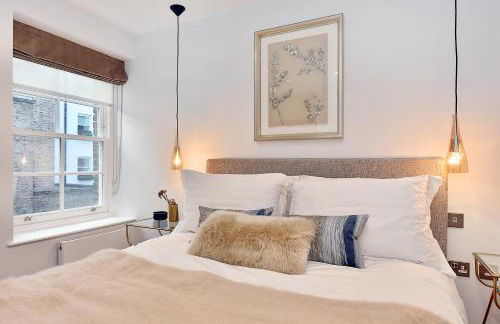
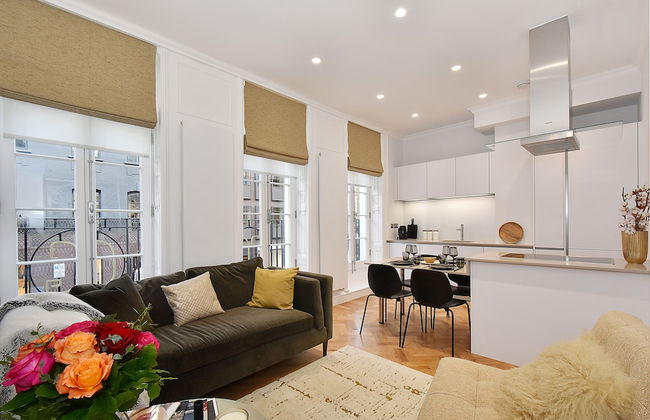
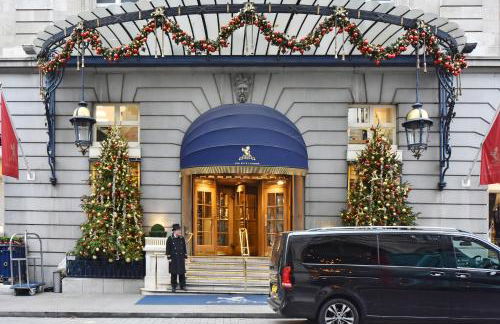
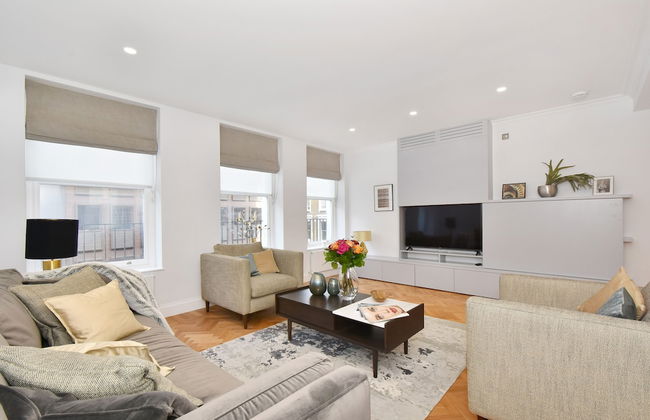
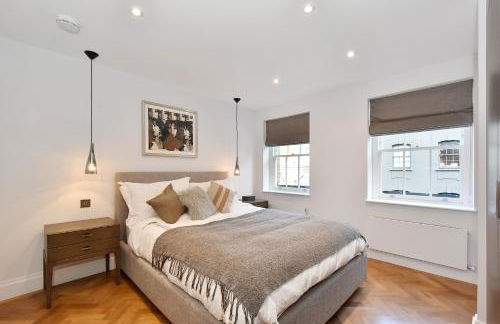
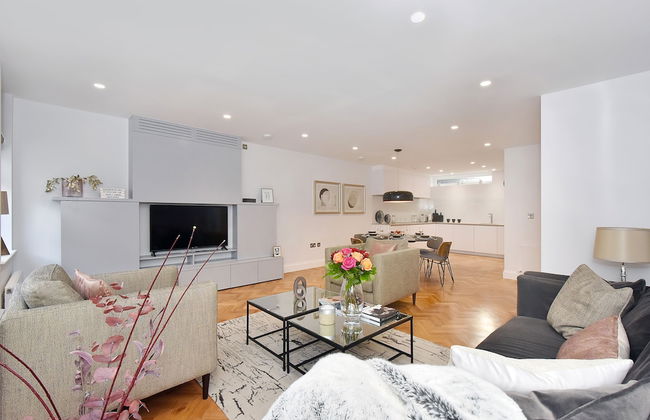

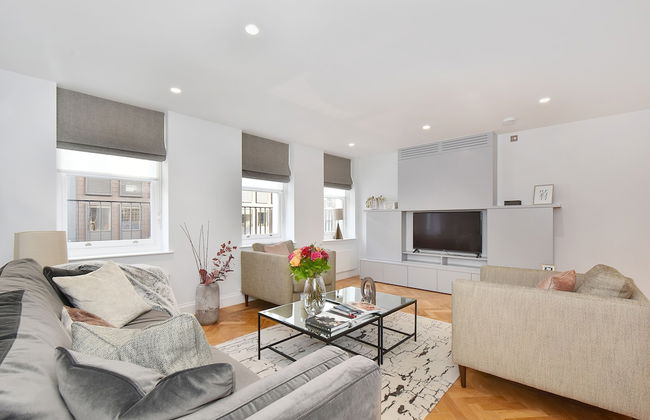
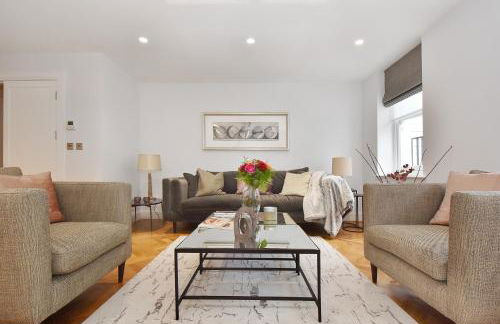
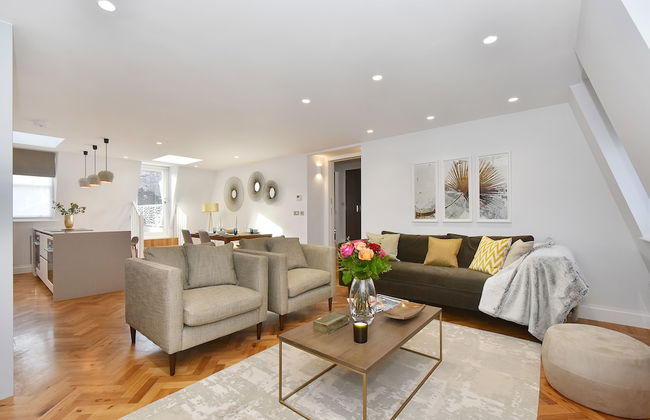

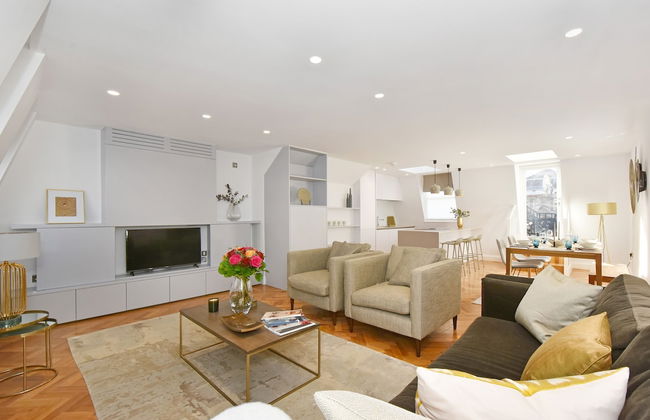
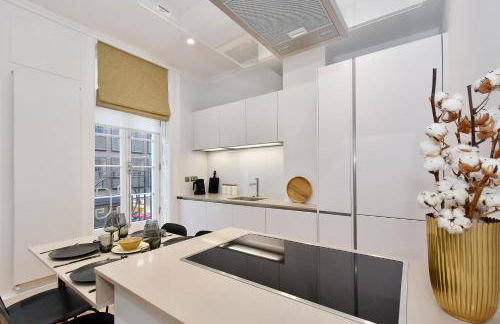
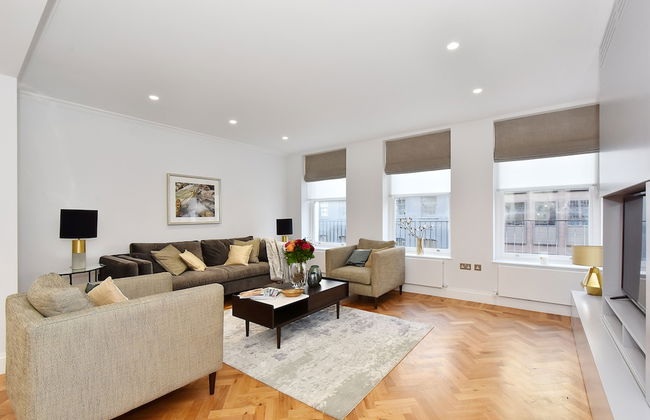

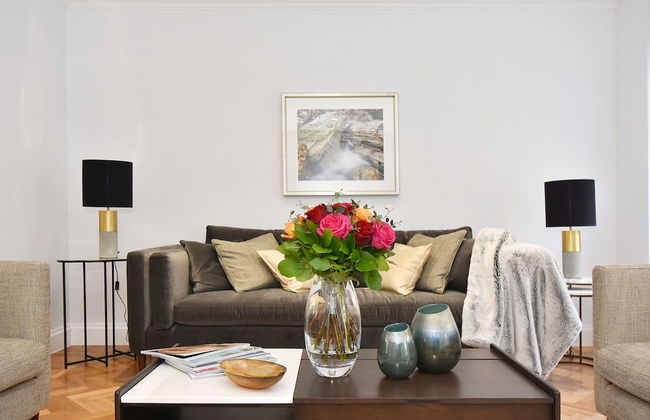
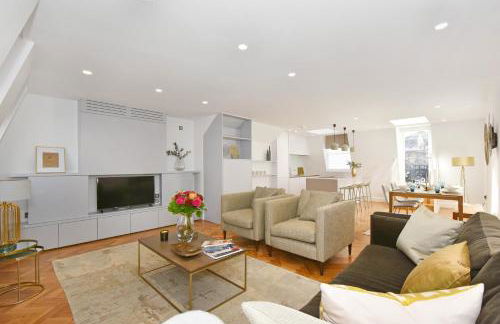
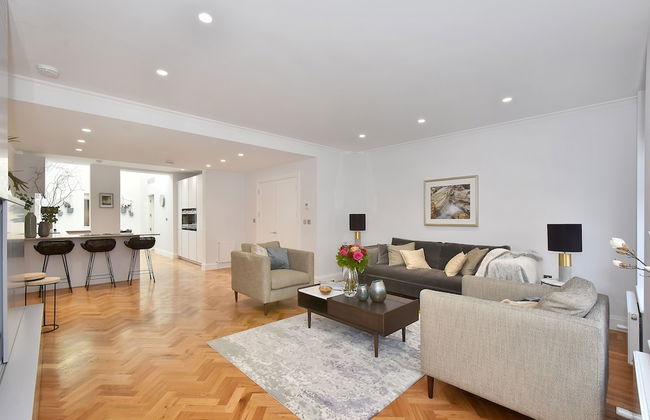

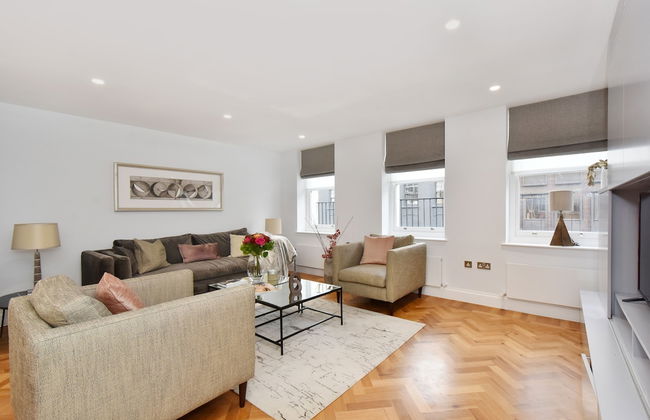
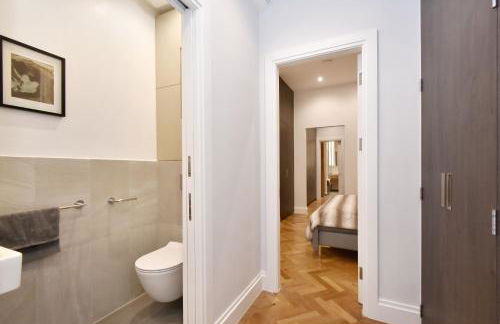
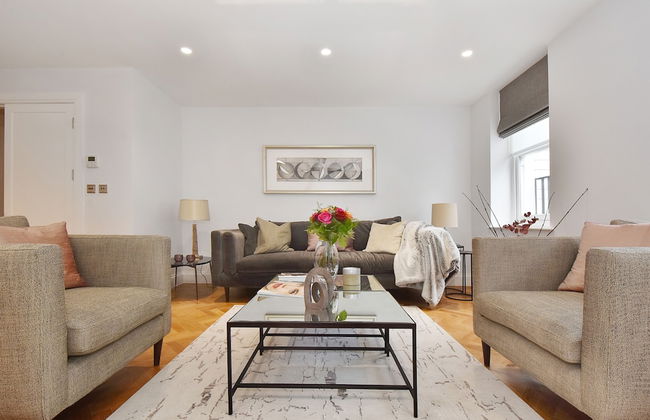

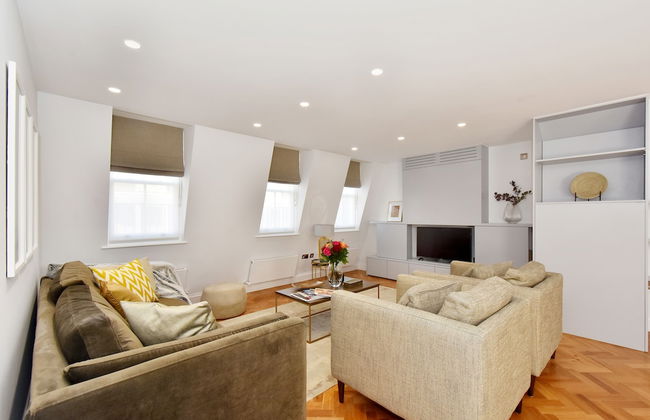
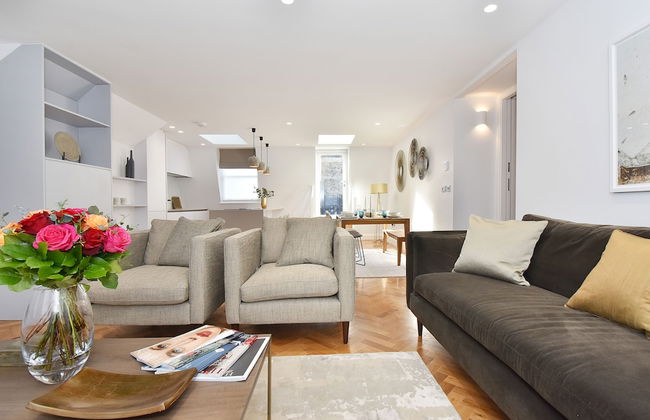
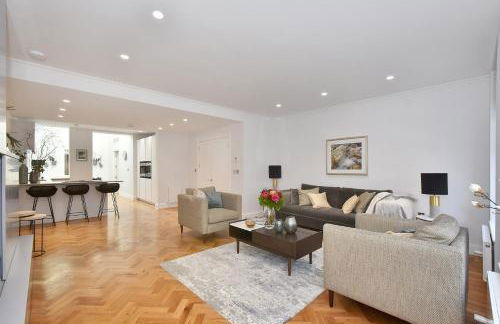


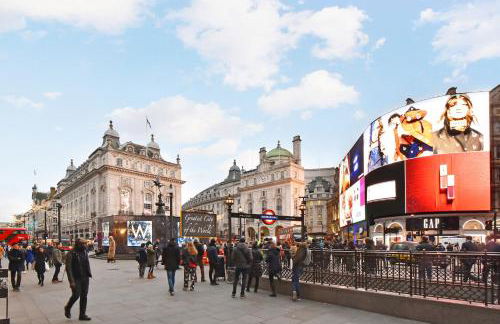
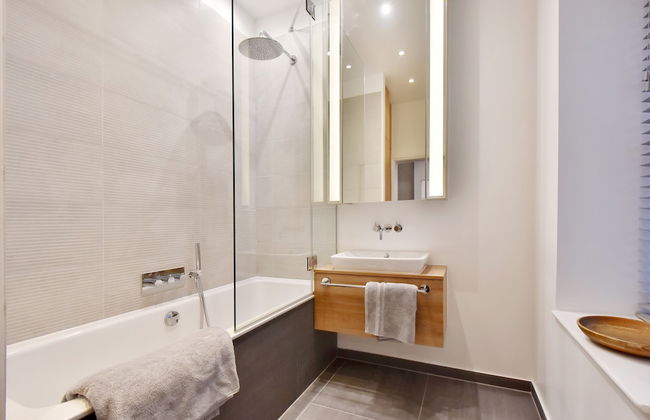
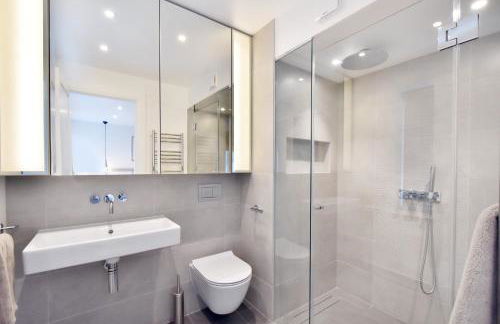


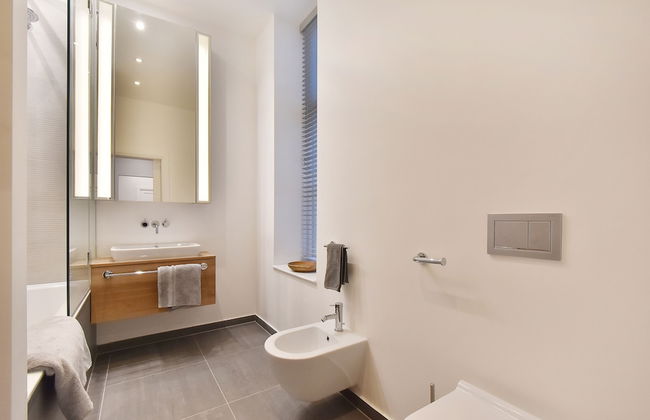
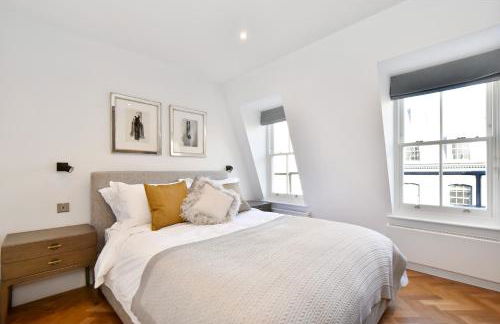
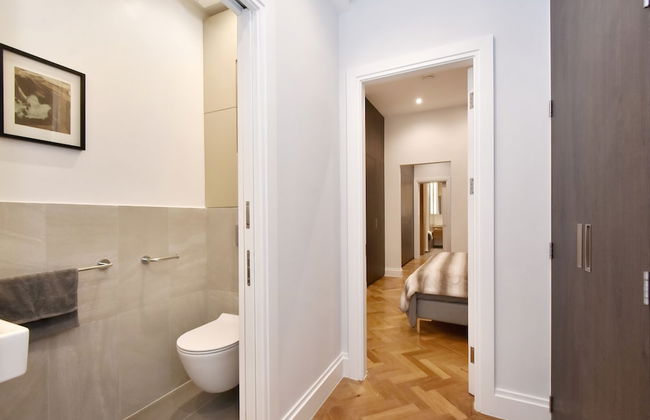
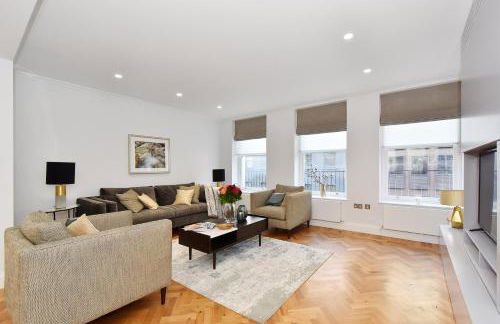
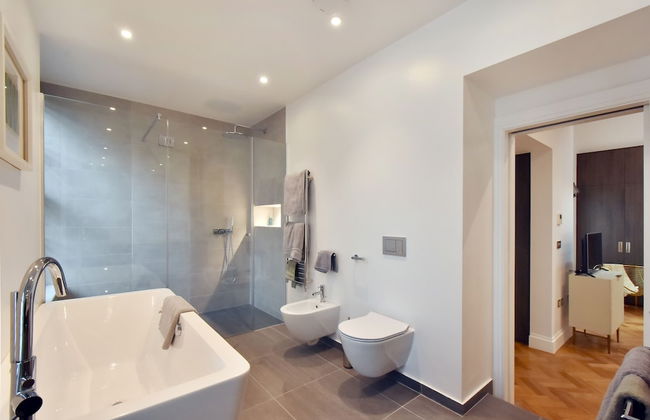


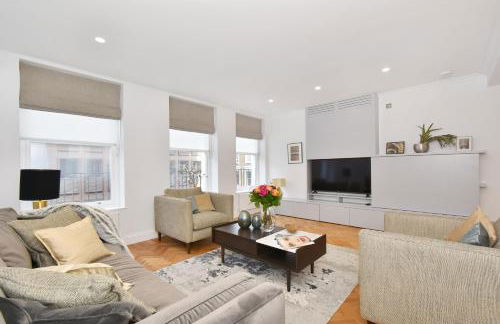
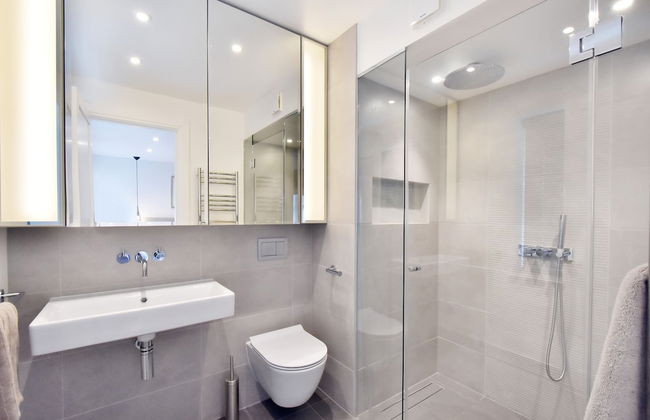


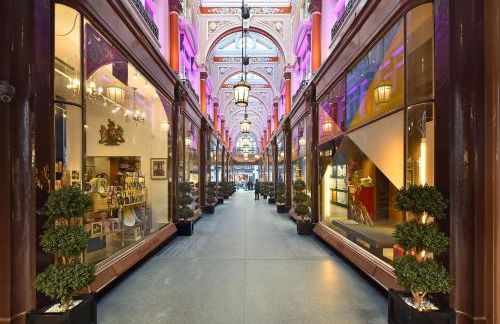
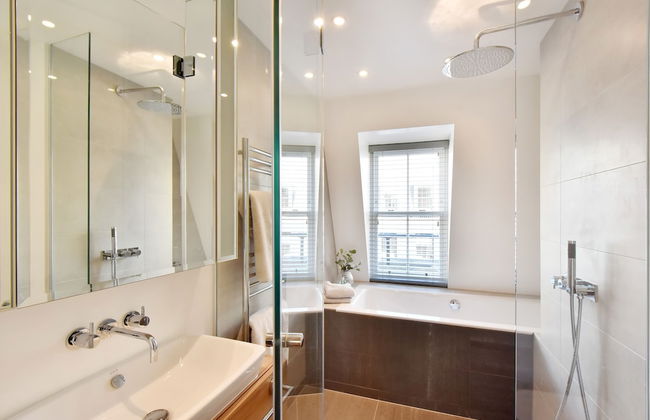


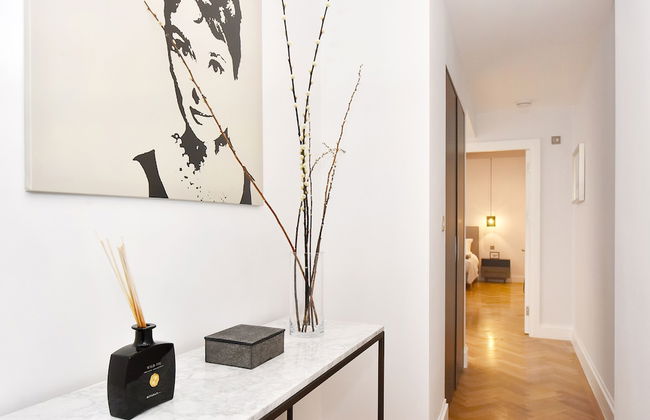
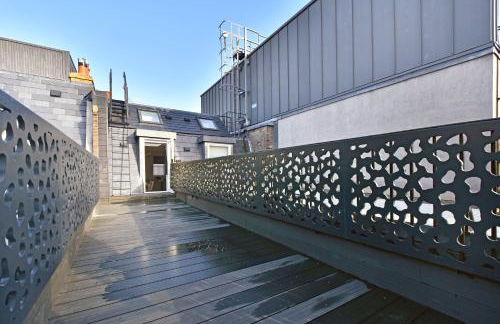
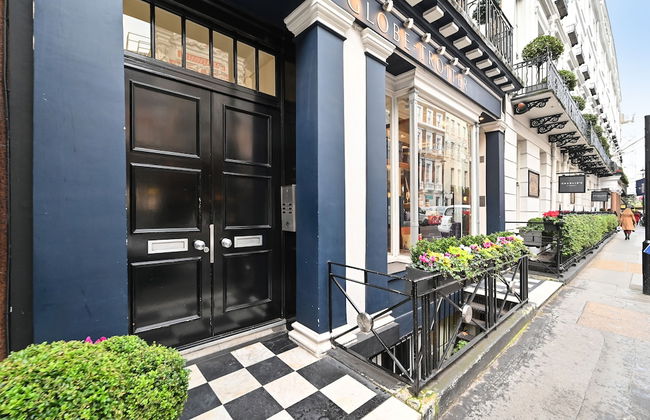
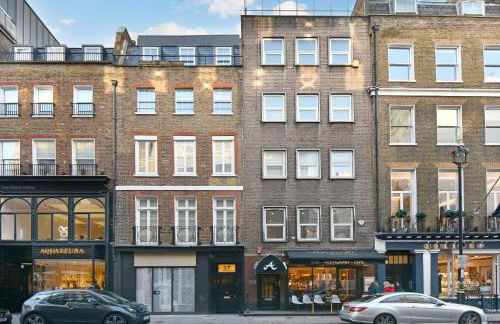
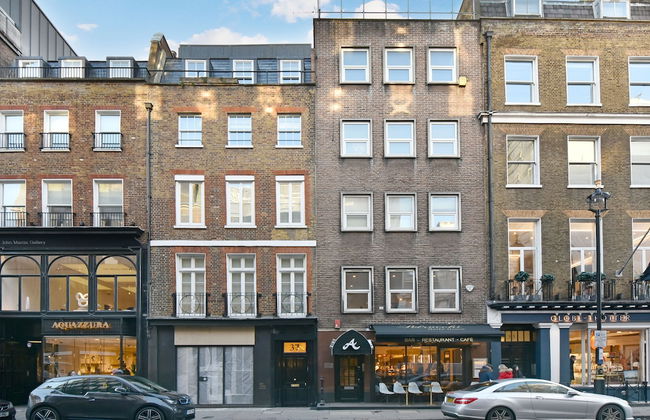


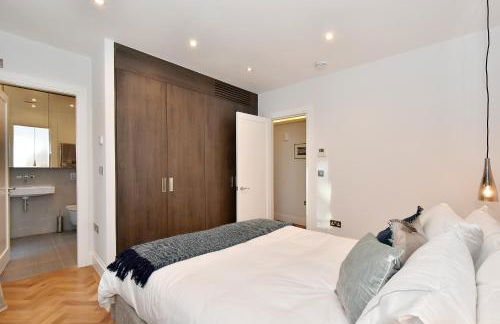
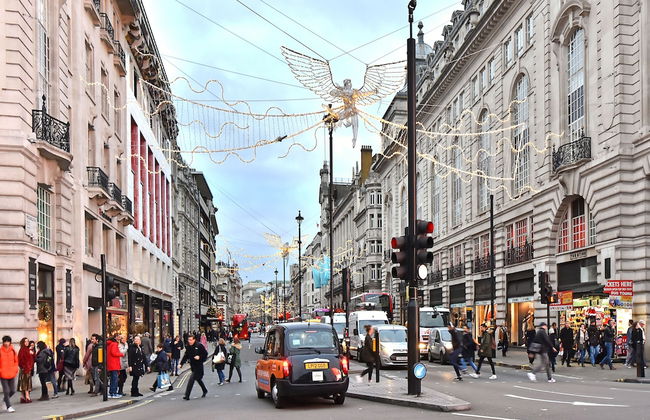
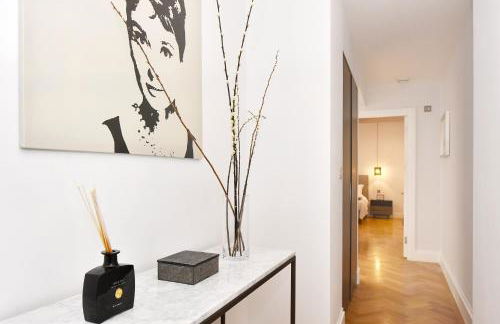


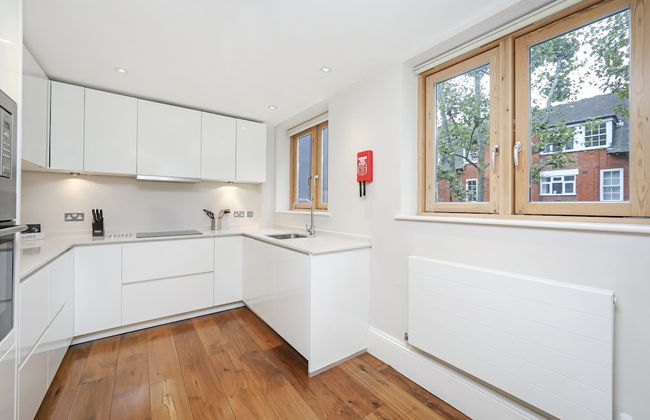
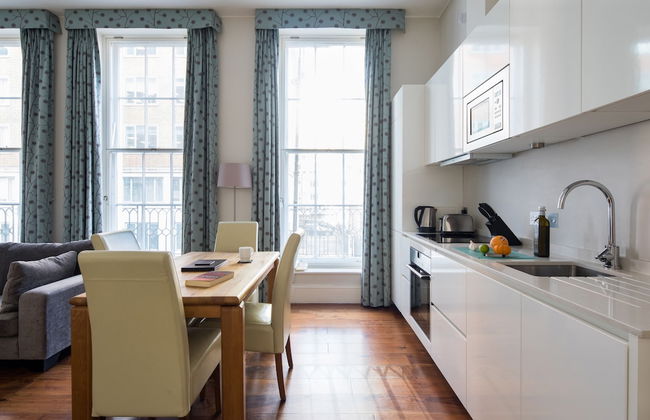
London Choice Apartments - Mayfair - Piccadilly
Londra - Mayfair - 540 m dal centro
- 150 M2
- 3 camere
- 7 persone
- Aria condizionata
- Riscaldamento
- Terrazza
- Parcheggio
- Ascensore
- Tv
- Lavatrice
- Lino da letto
27 recensioni


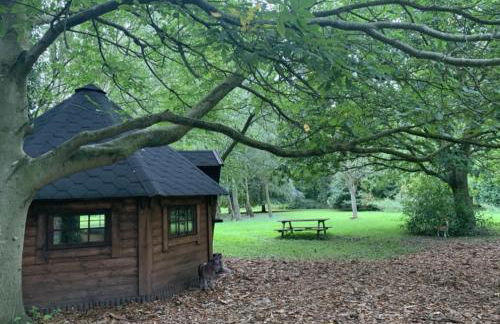
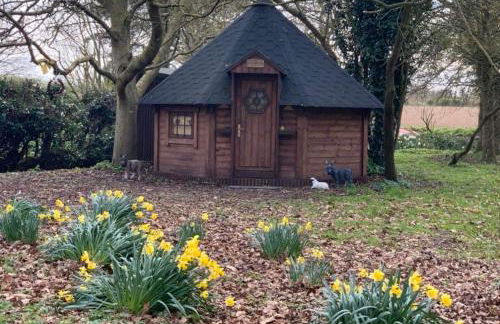
Middlehead Huts at Cropton Forest
Pickering - Stape
- 13 M2
- 2 persone
- Cucinino
- Aria condizionata
- Riscaldamento
- Terrazza
- Parcheggio
- Giardino
- Tv
- Focolare
- Lino da bagno
- Lino da letto
10 recensioni

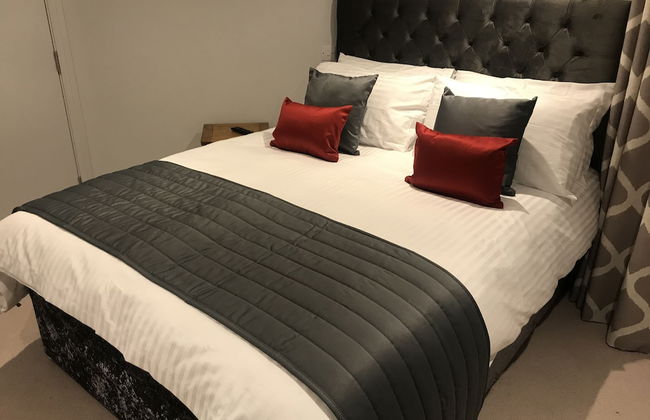


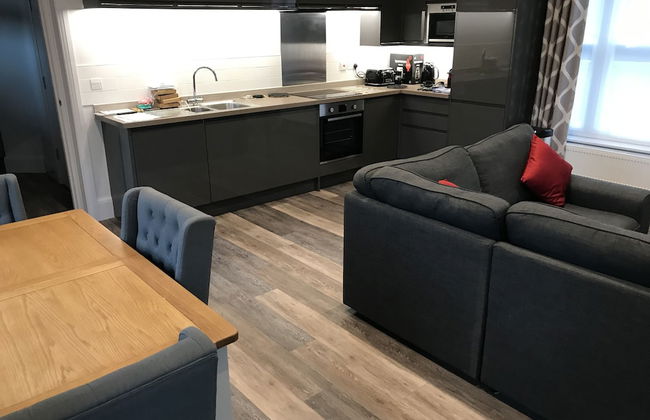
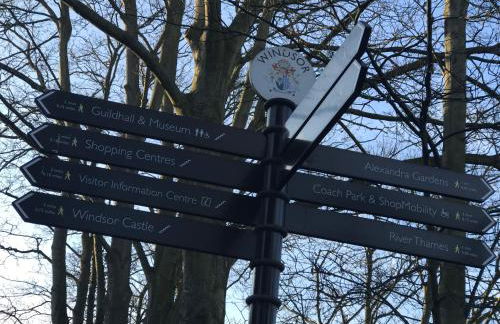
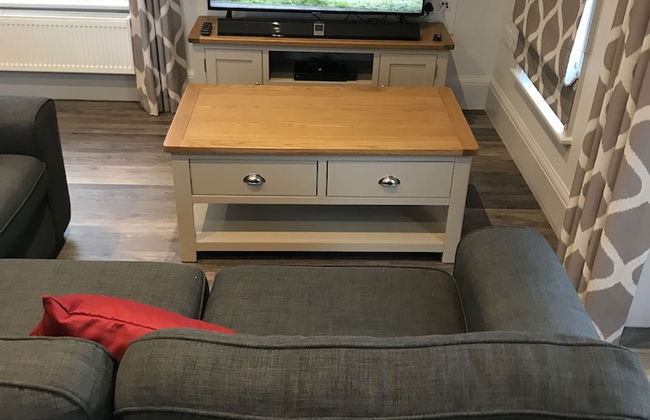
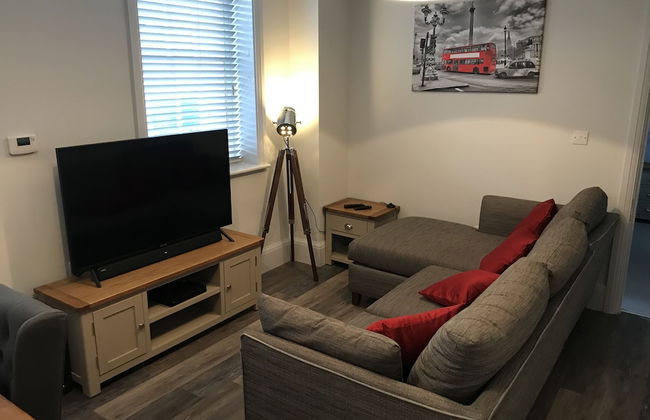
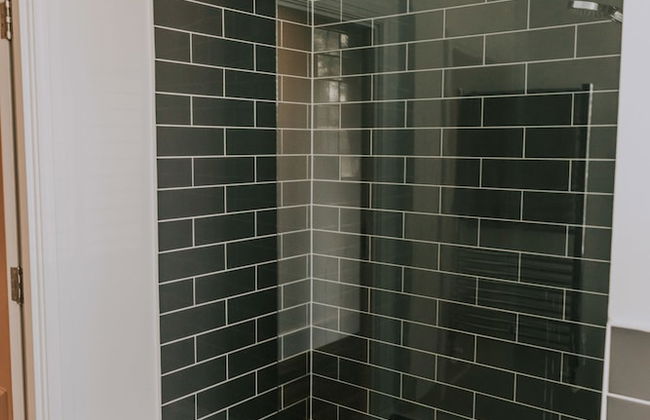
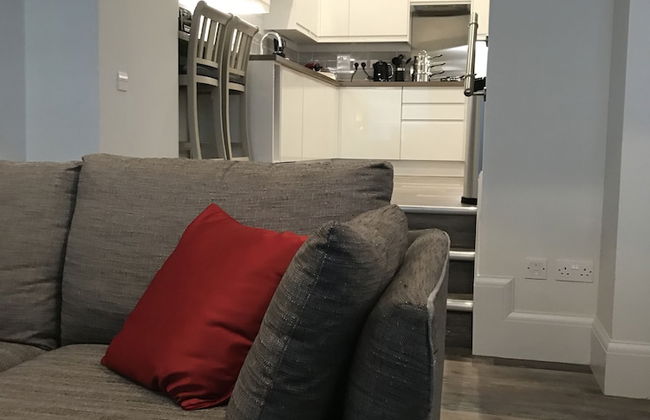
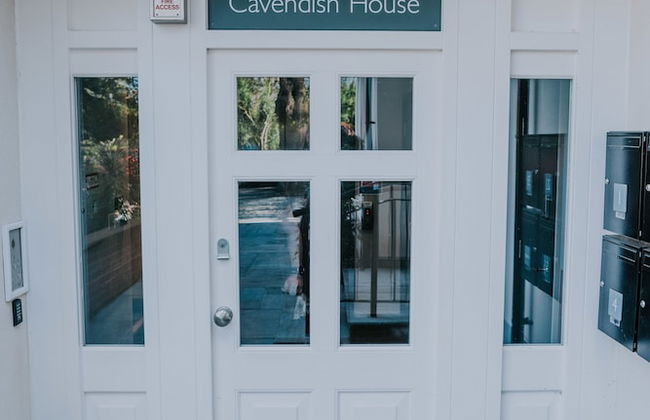
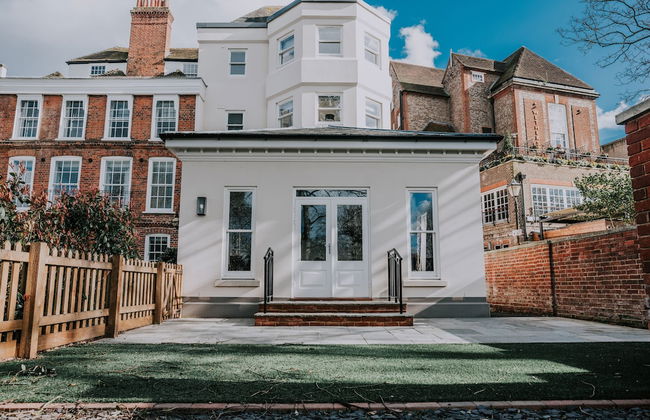
Cavendish House with Secure, Allocated Parking, 2 mins walk from Windsor Castle
Windsor - Windsor
- 92 M2
- 2 camere
- 6 persone
- Riscaldamento
- Terrazza
- Parcheggio
- Ascensore
- Balcone
- Giardino
- Tv
- Lavatrice
- Lino da bagno
- Lino da letto
68 recensioni

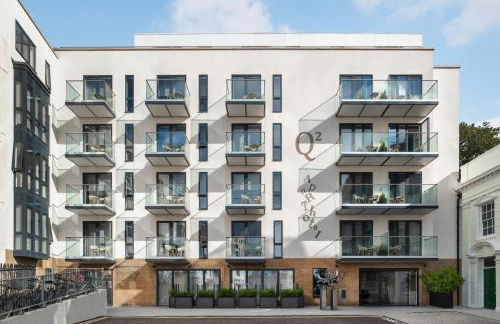


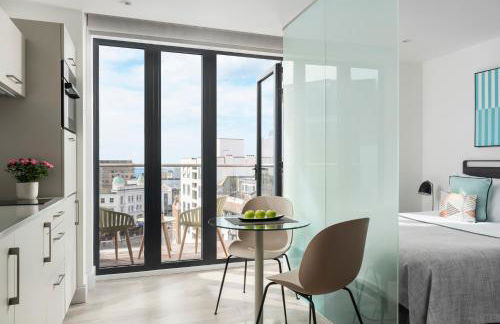

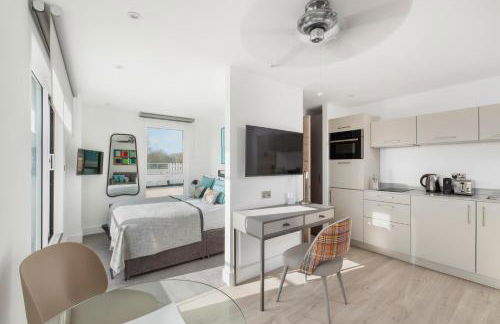

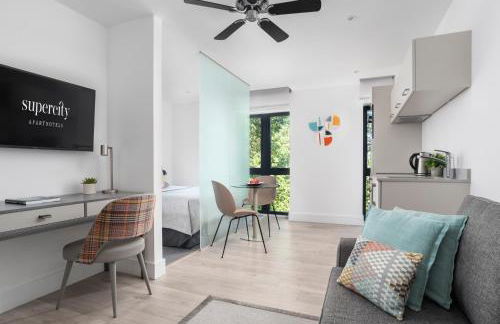

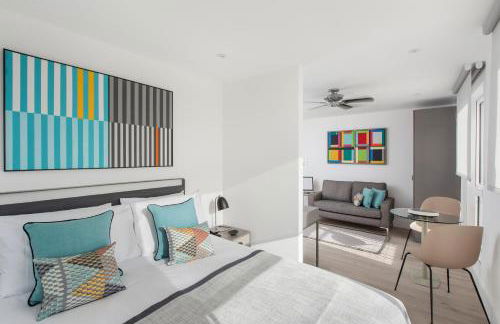


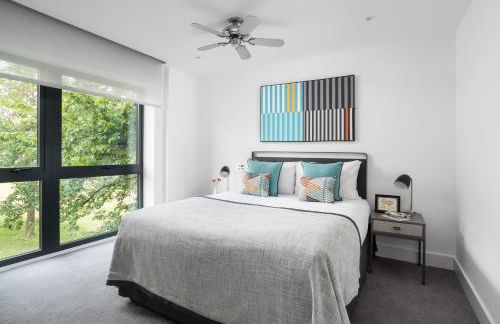


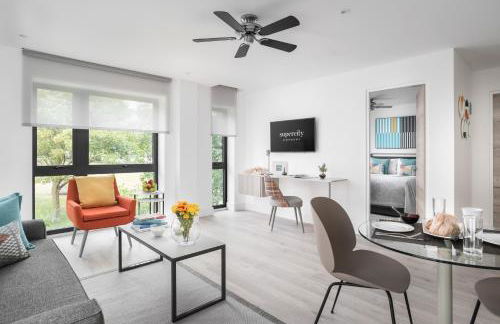

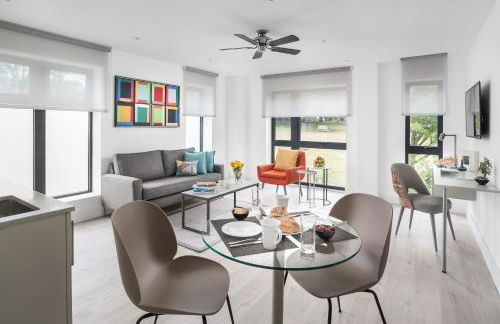

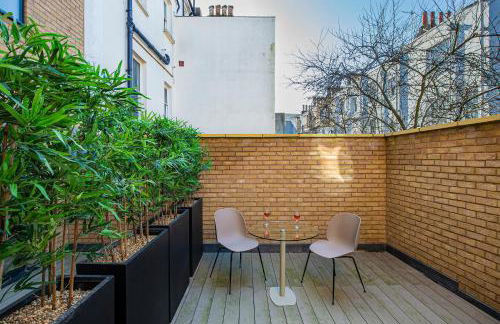


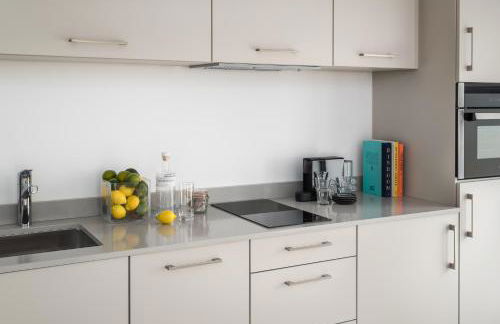


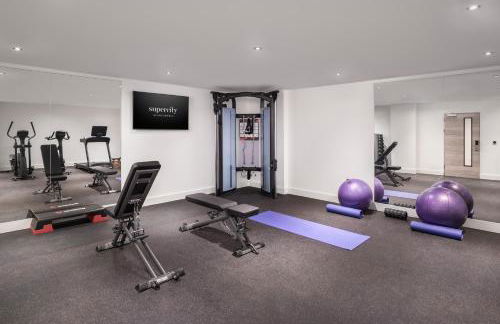

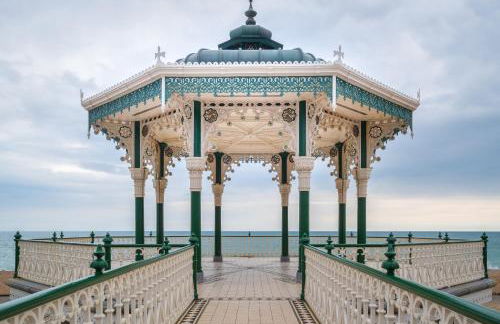


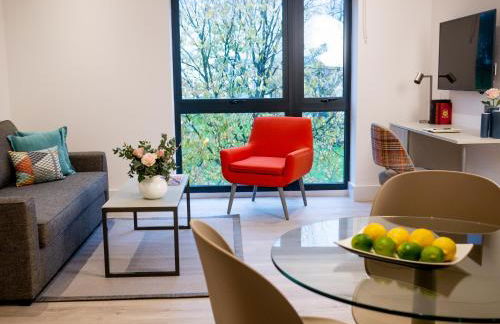

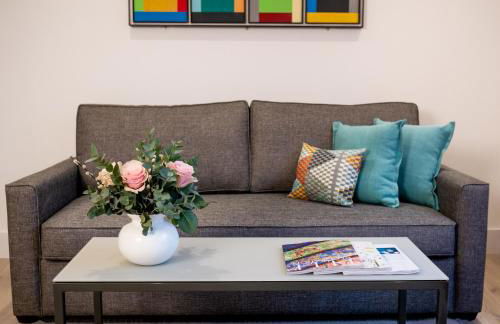


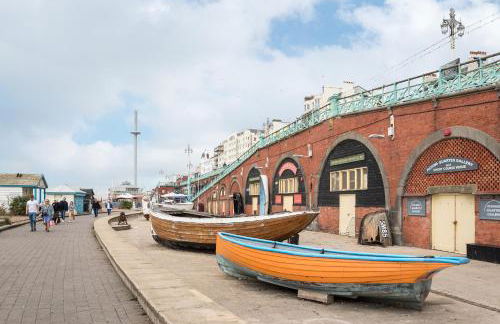


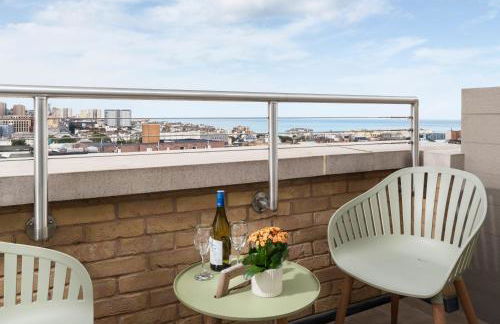


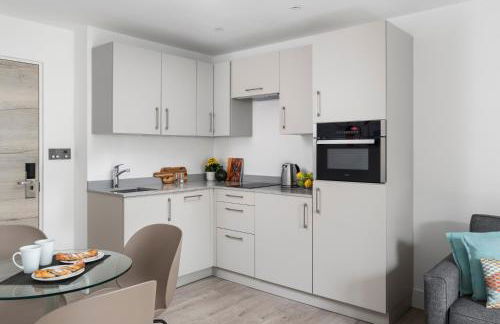

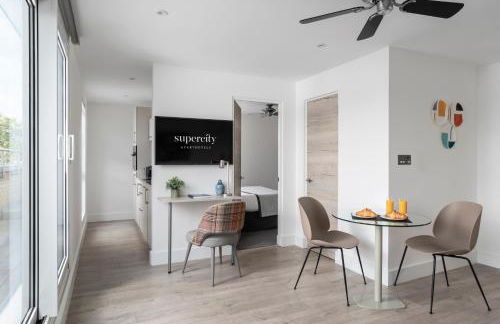


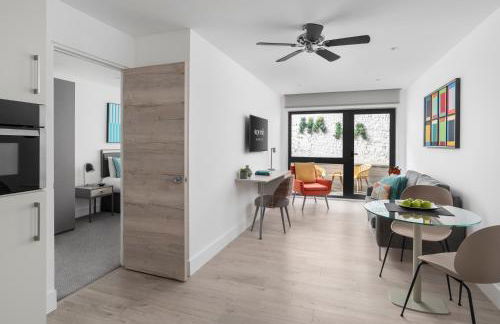


Q Square by Supercity Aparthotels
Brighton - Brighton
- 45 M2
- 1 camera
- 4 persone
- Aria condizionata
- Riscaldamento
- Terrazza
- Parcheggio
- Ascensore
- Balcone
- Giardino
- Tv
- Lavatrice
- Lino da bagno
- Lino da letto
358 recensioni

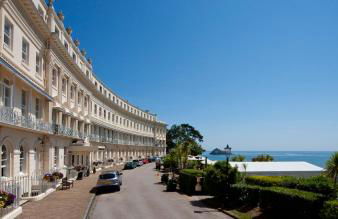


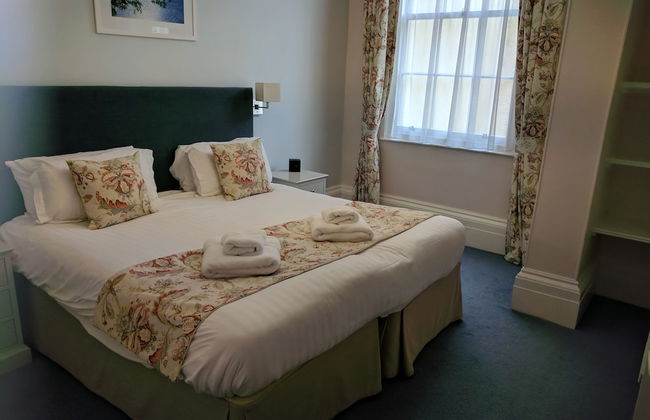
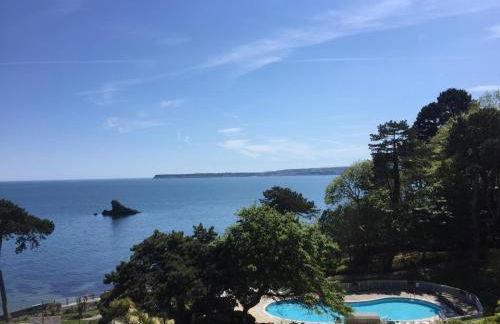

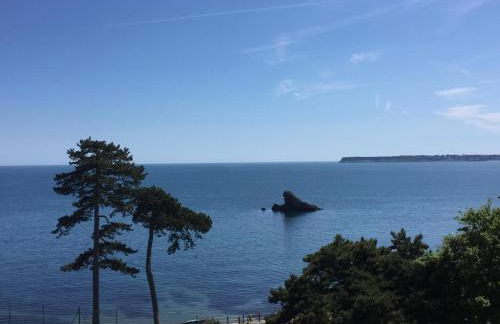

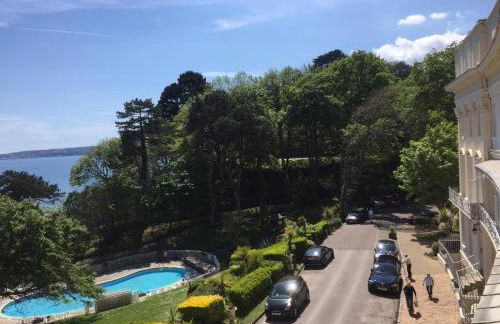

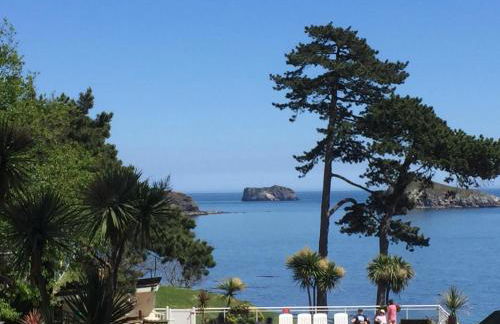

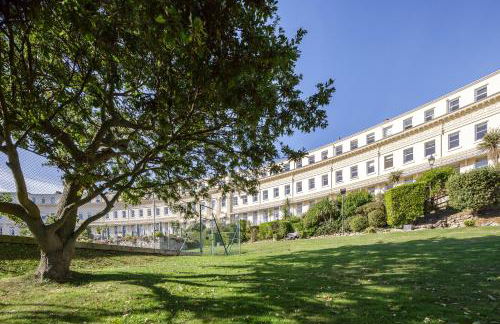

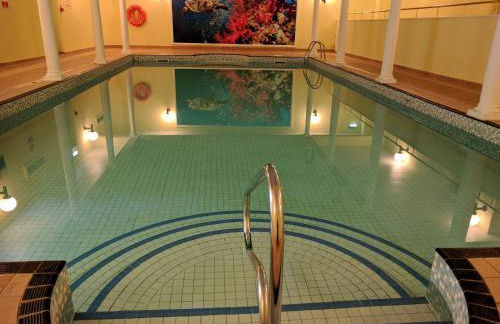


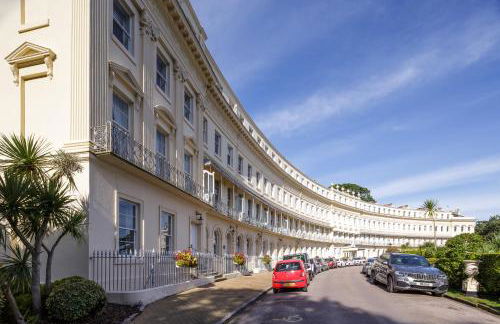


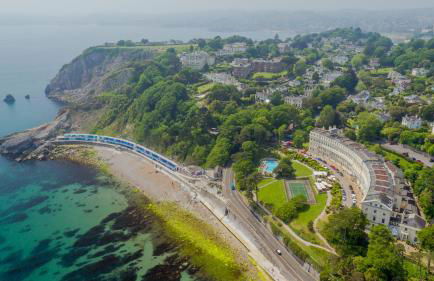

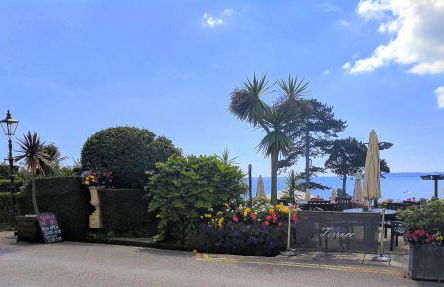


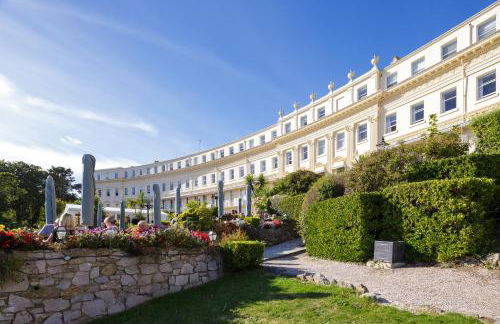


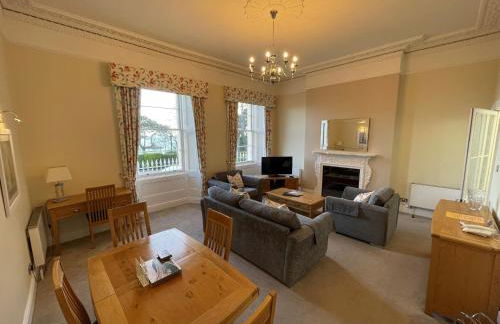


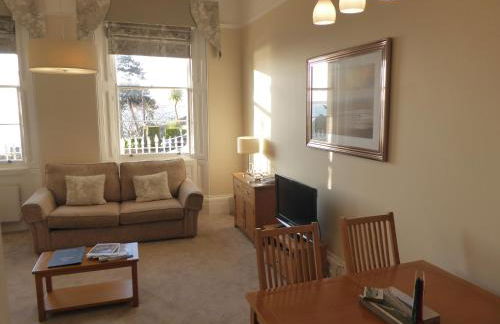


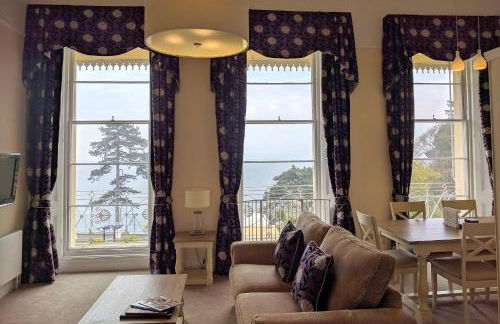

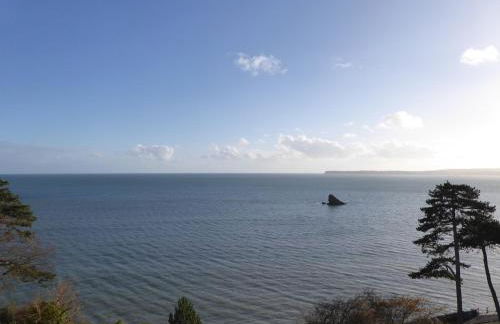

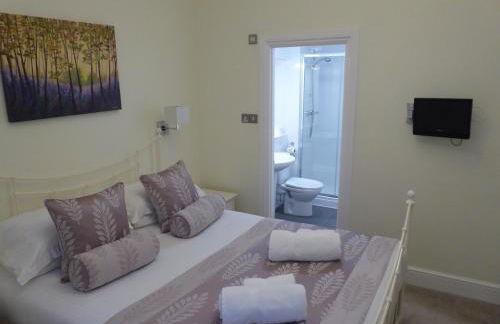


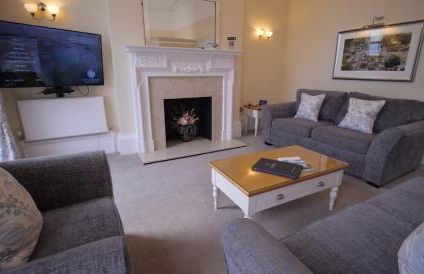
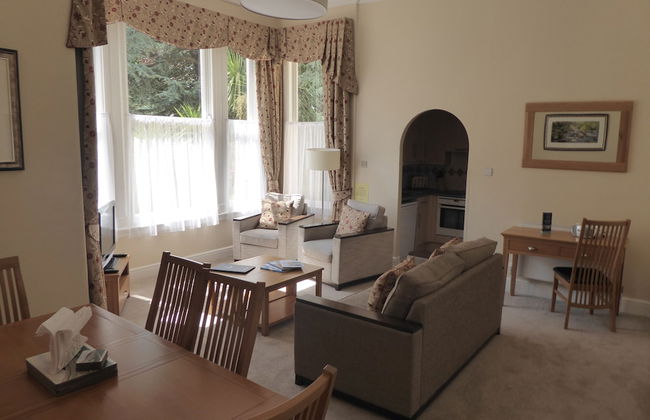
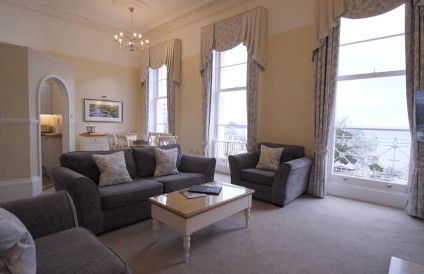

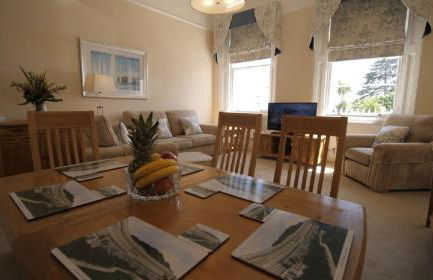


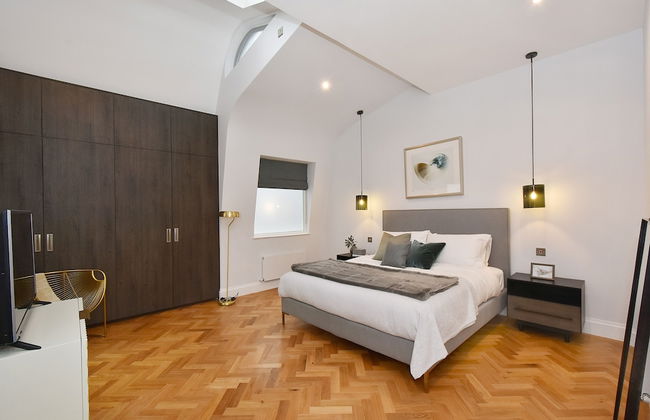
The Osborne Apartments
Torquay - Torquay
- 139 M2
- 3 camere
- 8 persone
- Riscaldamento
- Terrazza
- Piscina
- Parcheggio
- Ascensore
- Giardino
- Tv
- Lino da bagno
- Lino da letto
96 recensioni


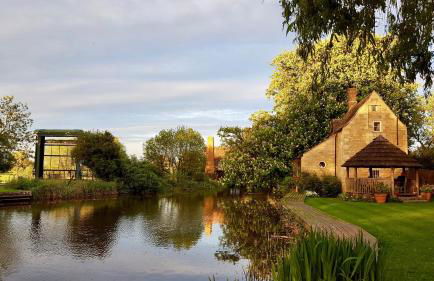
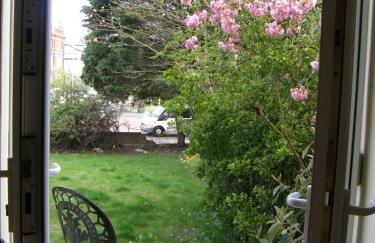
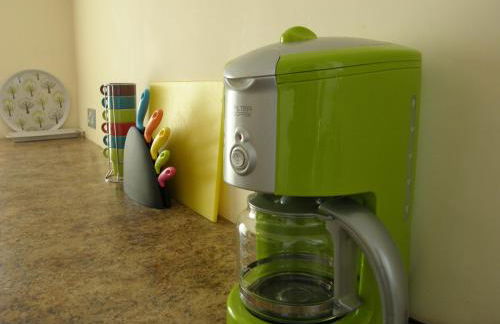
Malvern Holiday Garden Flat
Malvern - Malvern
- 2 persone
- Riscaldamento
- Terrazza
- Parcheggio
- Giardino
- Tv
- Lavatrice
- Lino da bagno
- Lino da letto
19 recensioni


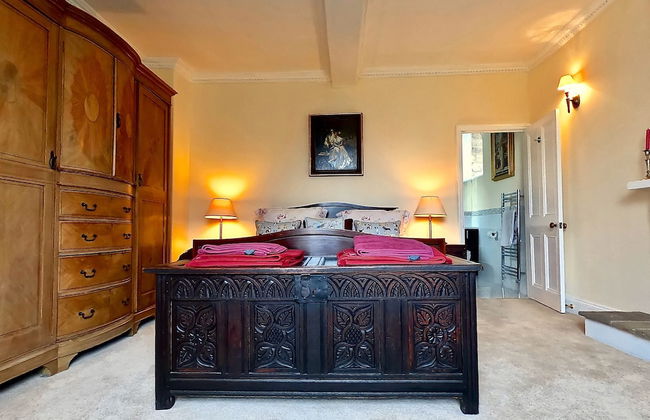
Hayeswood Lodge Luxury Accommodation
Ilkeston - Stanley Common
- 2 persone
- Cucinino
- Riscaldamento
- Terrazza
- Parcheggio
- Giardino
- Tv
- Lino da bagno
- Lino da letto
35 recensioni


Wensleydale Glamping Pods
Leyburn - Redmire
- 4 persone
- Cucinino
- Riscaldamento
- Terrazza
- Parcheggio
- Tv
- Barbecue
- Lino da bagno
- Lino da letto
17 recensioni


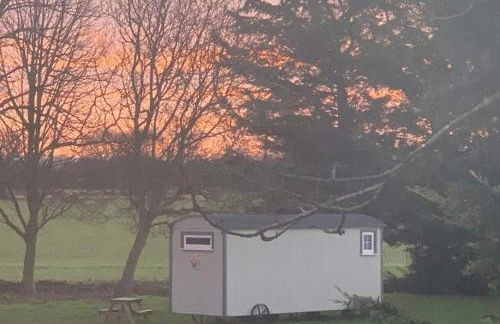

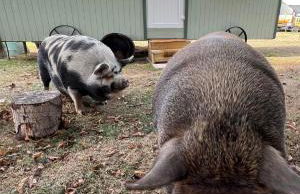


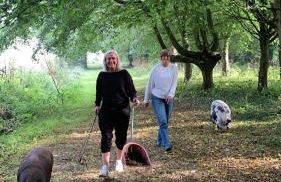

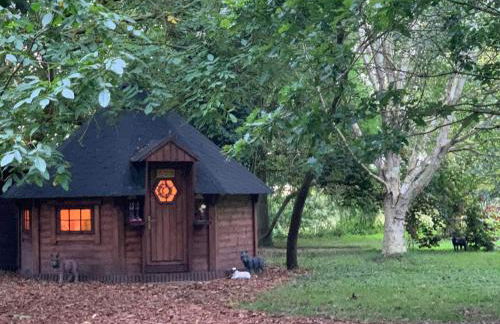


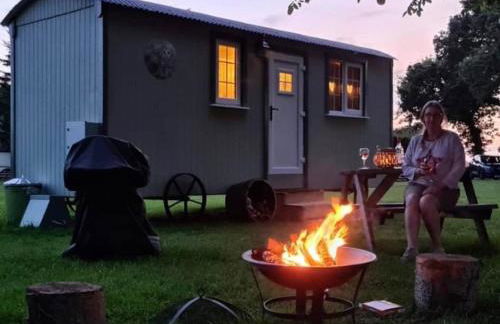


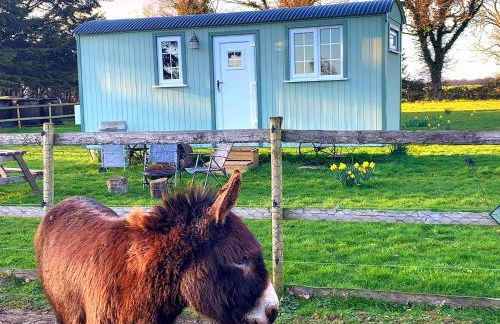

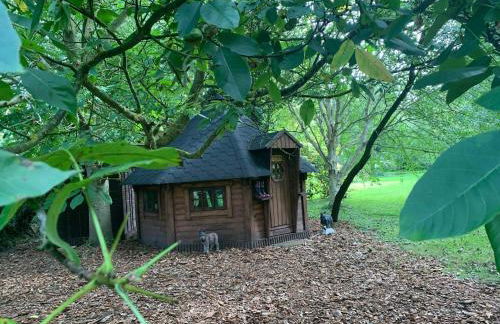
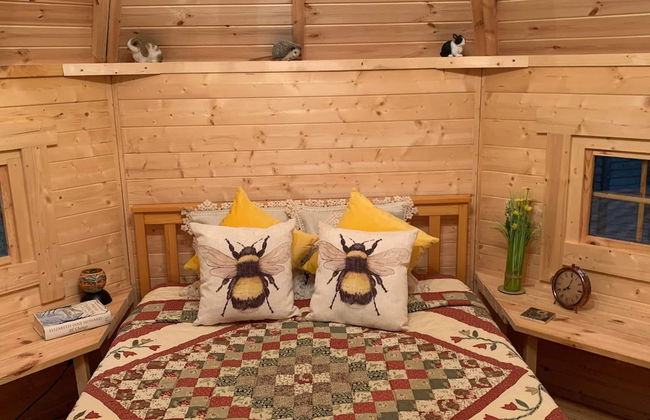


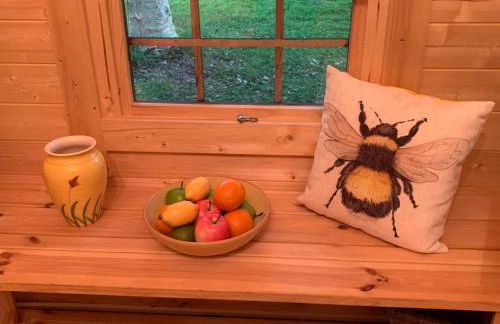


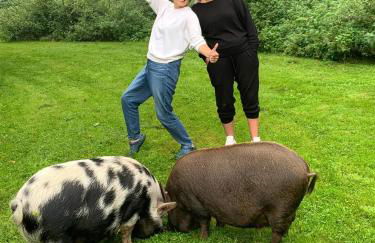
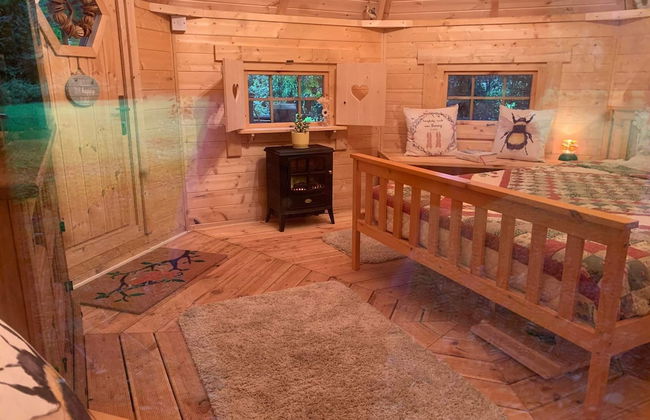


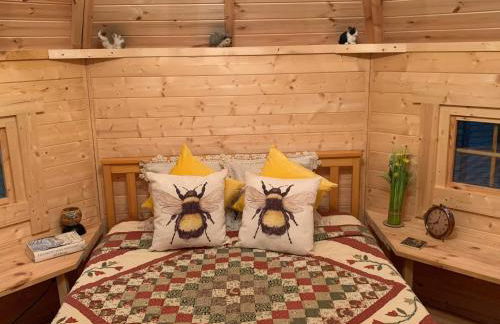

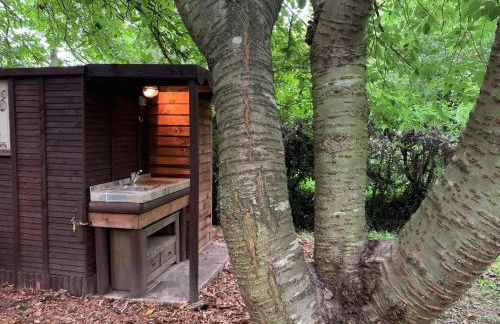

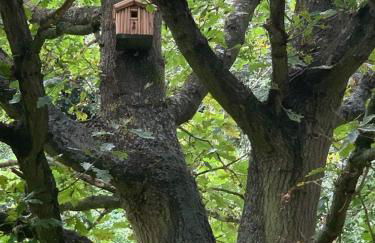


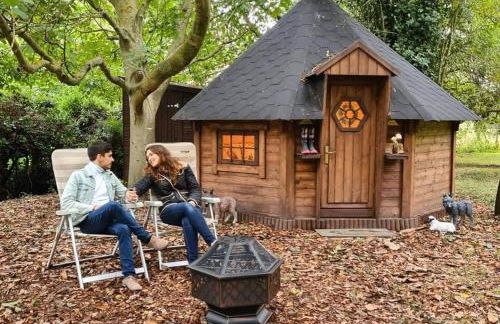


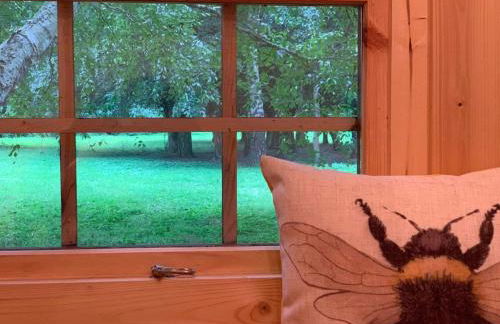

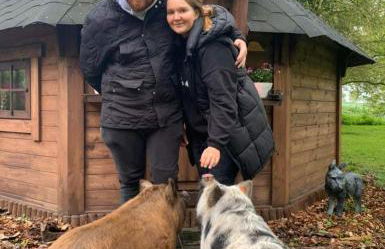


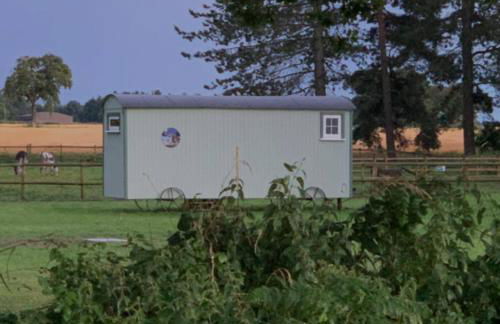


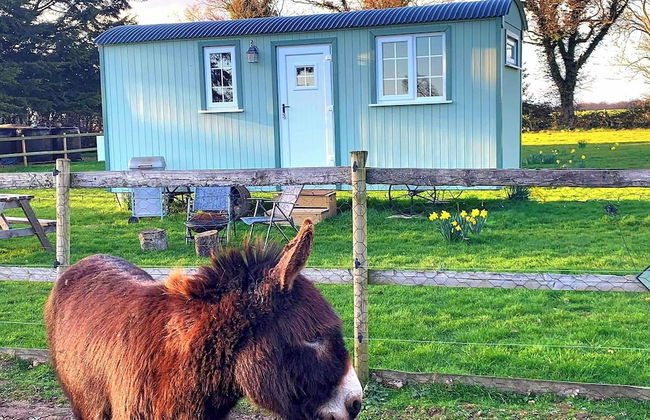


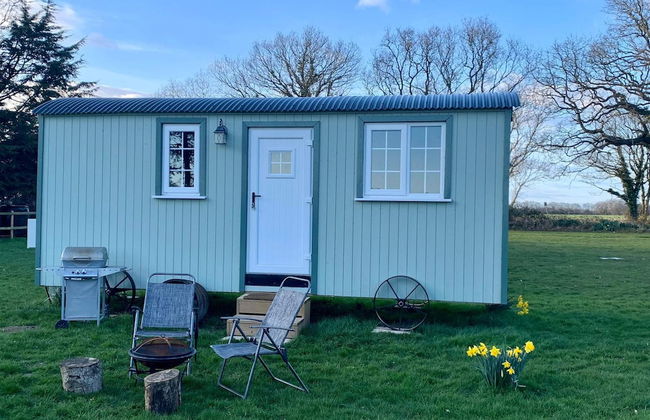
Starry Meadow & Rescued Animal Experiences
Great Yarmouth - Catfield - 19.5 km dal centro
- 20 M2
- 2 persone
- Riscaldamento
- Terrazza
- Parcheggio
- Tv
- Lino da bagno
- Lino da letto
16 recensioni
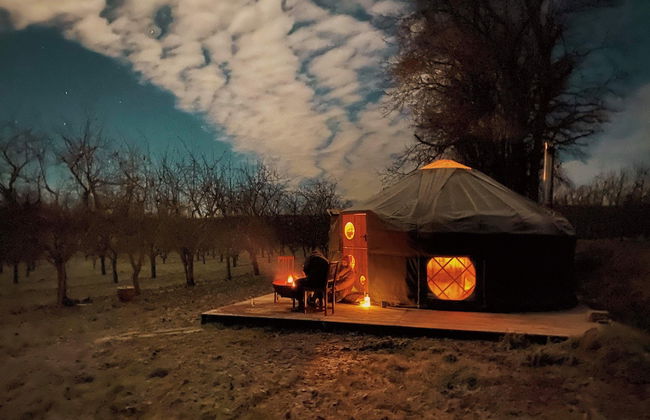
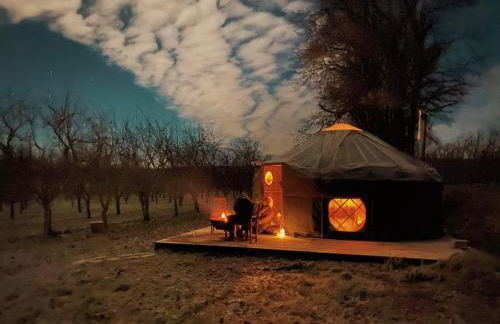


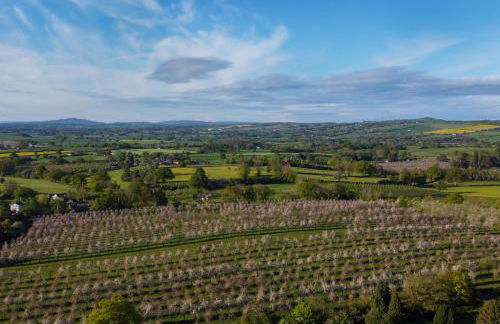
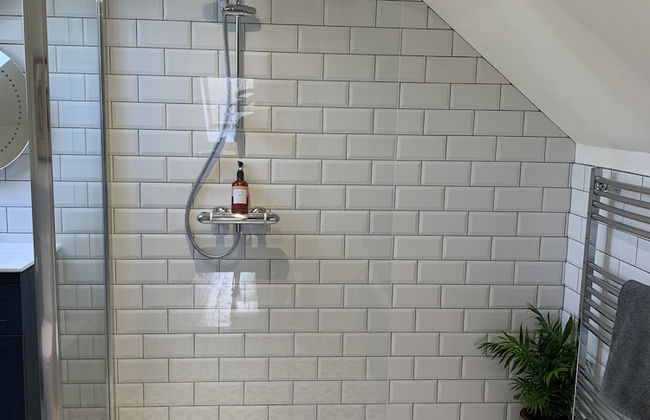
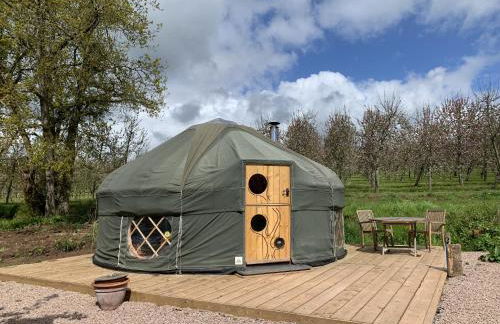


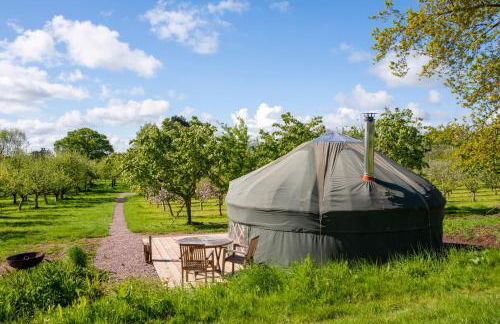

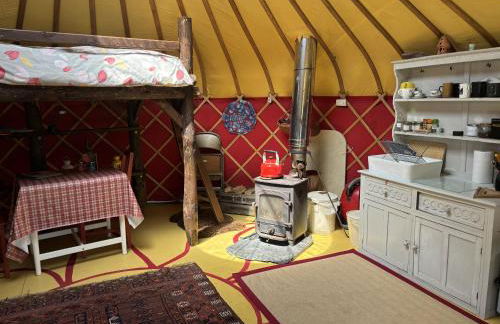

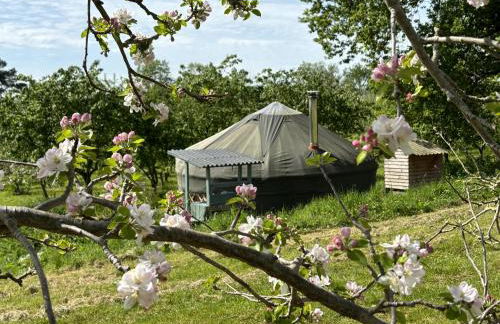


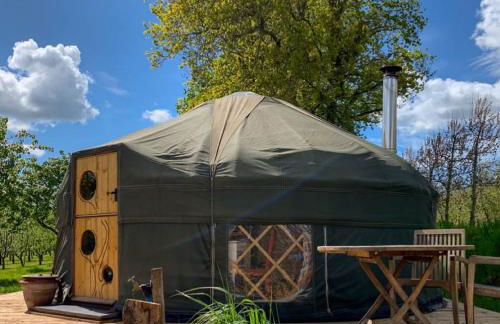

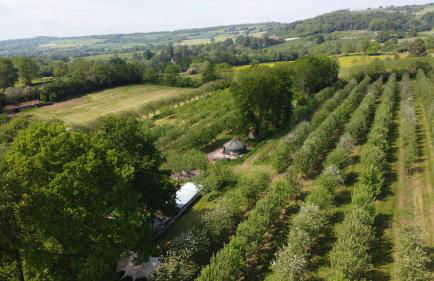


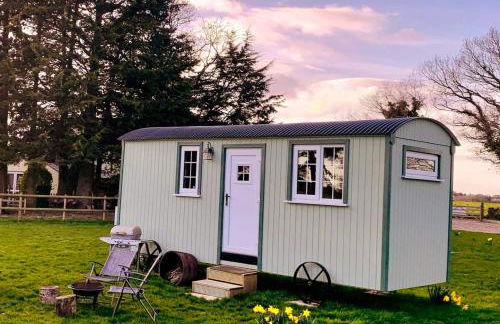
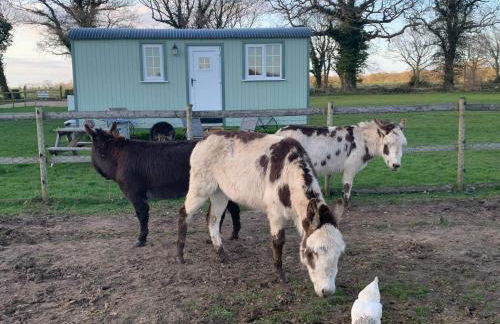
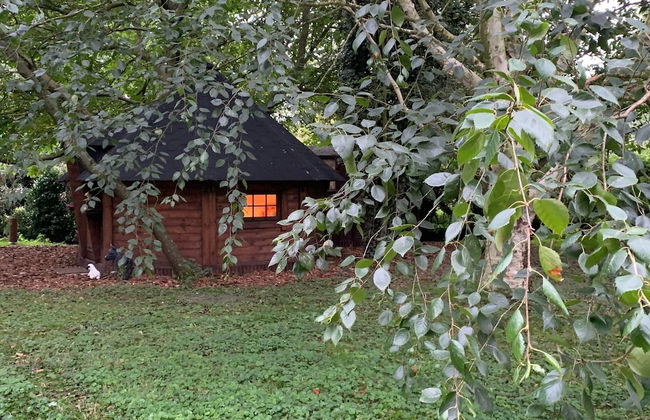
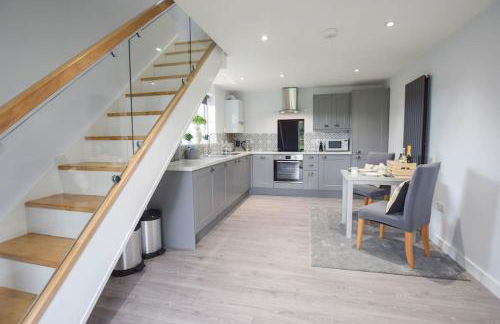
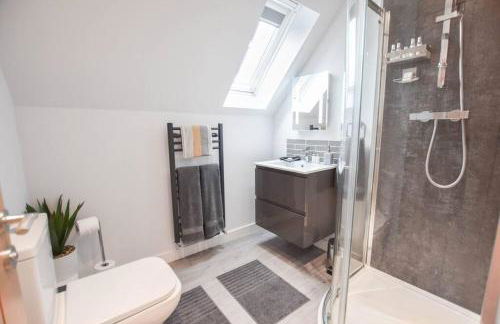
Dragon Orchard Retreat
Ledbury - Aylton
- 46 M2
- 1 camera
- 4 persone
- Riscaldamento
- Terrazza
- Parcheggio
- Giardino
- Barbecue
- Lino da bagno
- Lino da letto
11 recensioni


Tresowes Green Cottage
Helston - Ashton
- 80 M2
- 2 camere
- 4 persone
- Riscaldamento
- Terrazza
- Parcheggio
- Giardino
- Tv
- Lavatrice
- Focolare
- Barbecue
- Lino da bagno
- Lino da letto
11 recensioni


New Luxury 1-bed House nr Bicester Village
Bicester - Piddington
- 75 M2
- 2 persone
- Riscaldamento
- Terrazza
- Parcheggio
- Giardino
17 recensioni


Middlehead Cottages at Cropton Forest
Pickering - Stape
- 68 M2
- 5 persone
- Riscaldamento
- Terrazza
- Parcheggio
- Giardino
- Tv
- Focolare
- Lino da bagno
- Lino da letto
35 recensioni


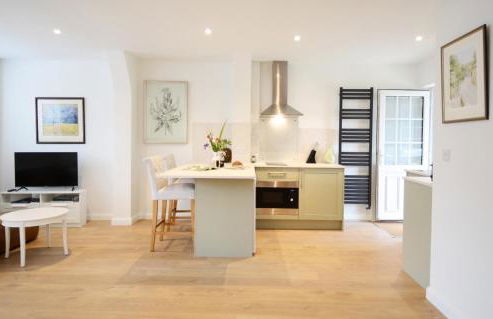

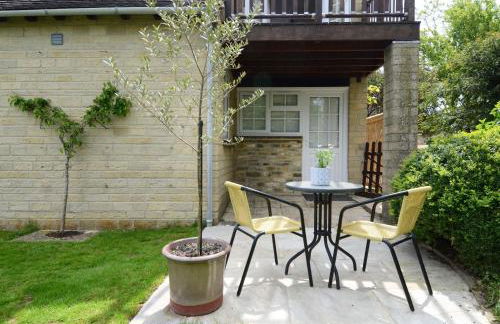


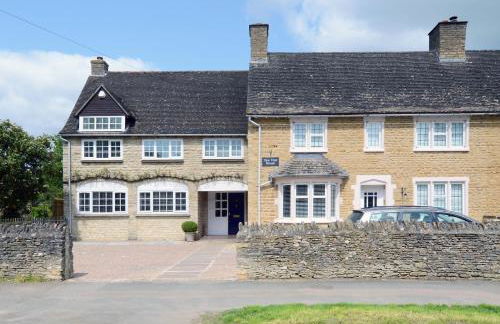

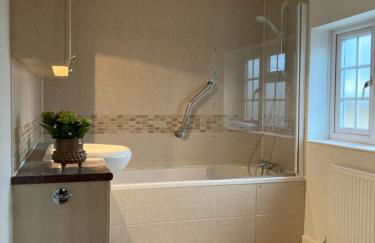


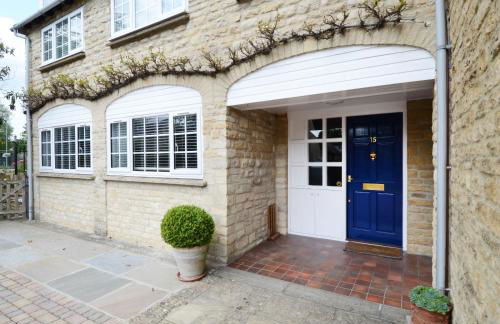


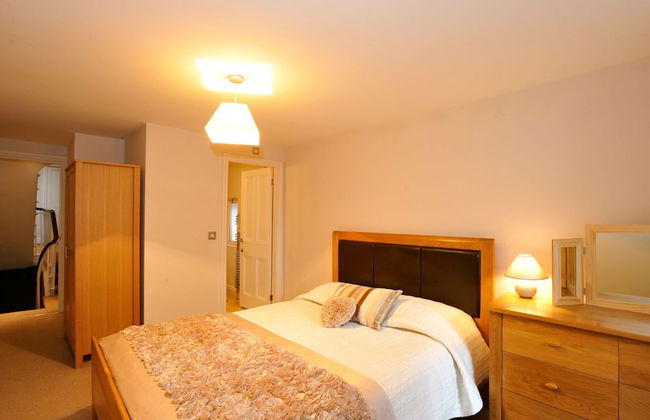
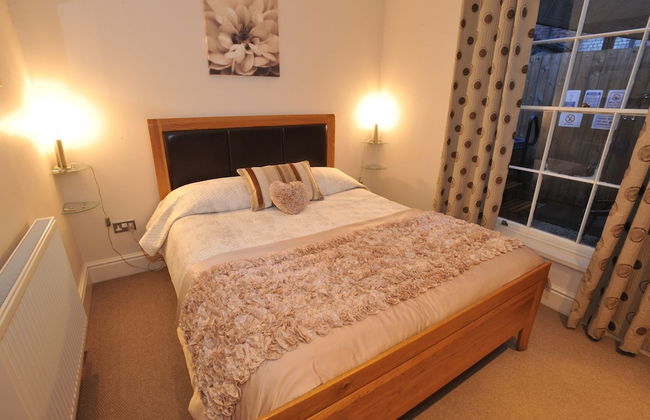
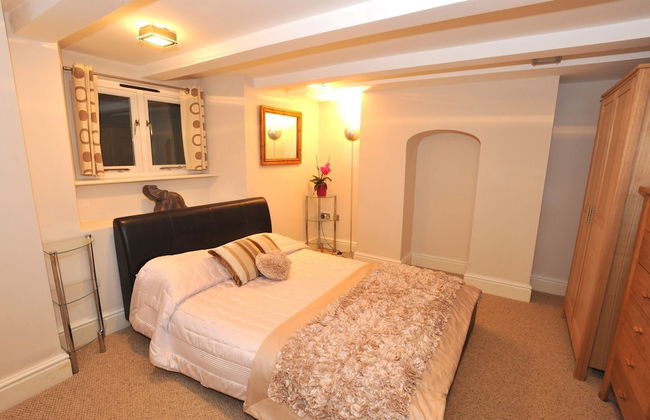
Yew Tree House
Woodstock - Woodstock
- 58 M2
- 2 persone
- Riscaldamento
- Terrazza
- Parcheggio
- Balcone
- Giardino
- Tv
- Lino da bagno
- Lino da letto
30 recensioni


Chester Apartments
Chester - Chester
- 8 persone
- Riscaldamento
- Terrazza
- Parcheggio
- Balcone
- Tv
- Lavatrice
- Lino da bagno
- Lino da letto
11 recensioni


King's 23
York - York - 290 m dal centro
- 45 M2
- 2 persone
- Riscaldamento
- Ascensore
- Giardino
- Tv
- Lino da bagno
- Lino da letto
25 recensioni