4484 Appartamenti a Norfolk
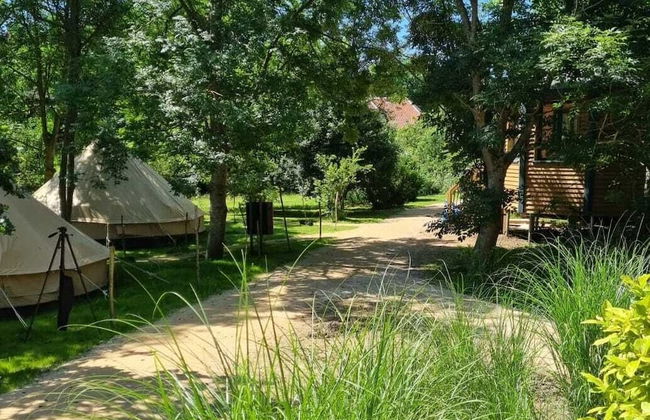
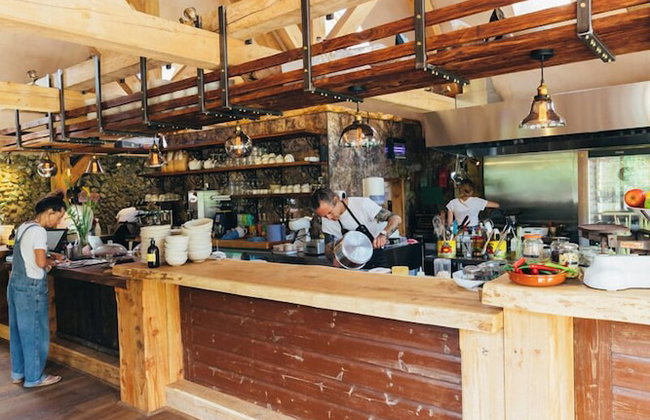
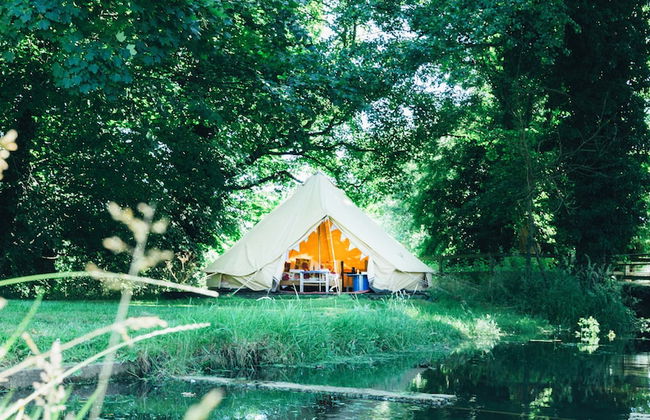
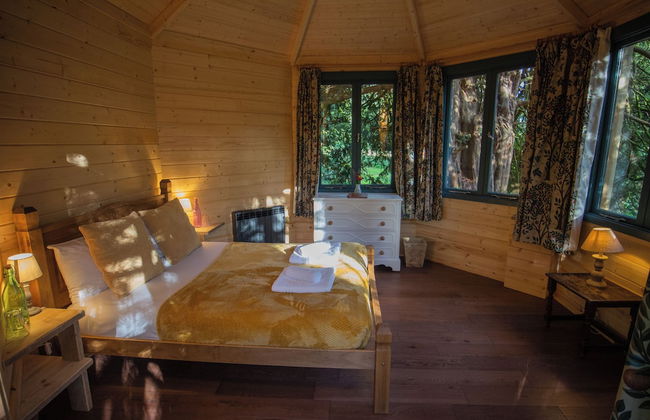
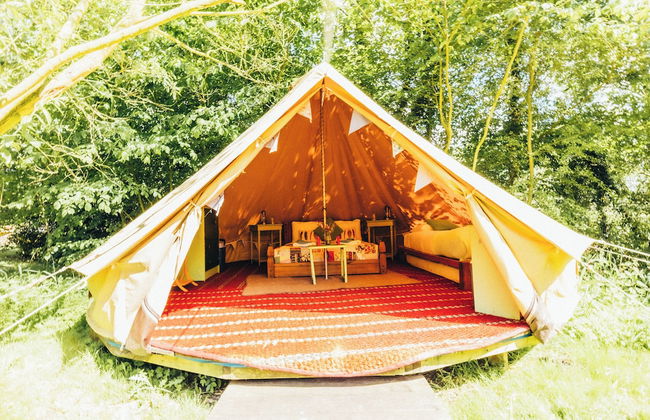
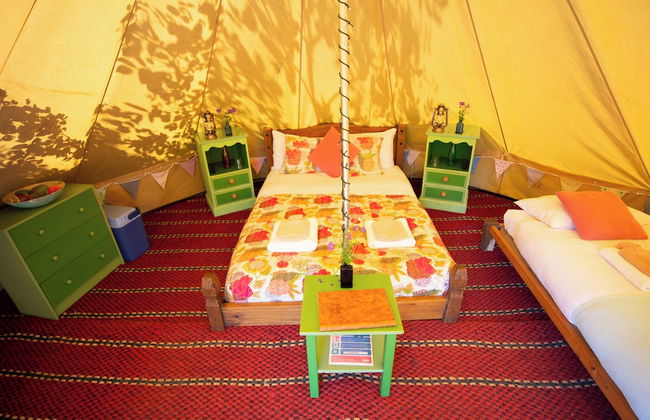
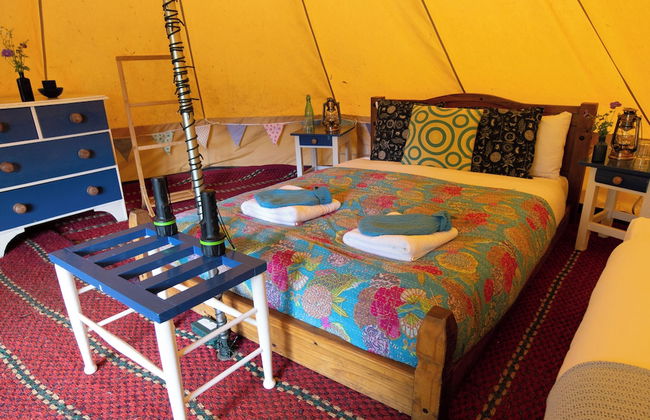
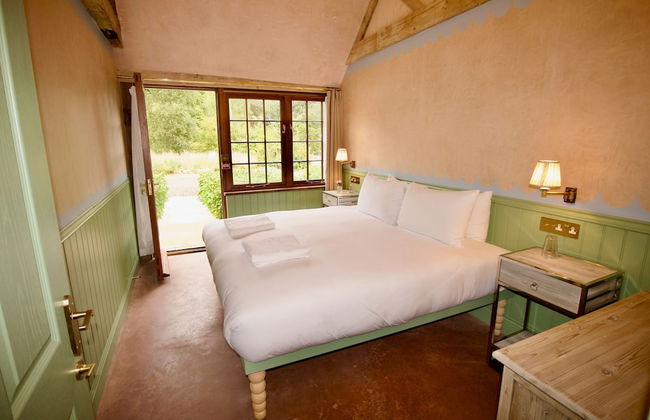
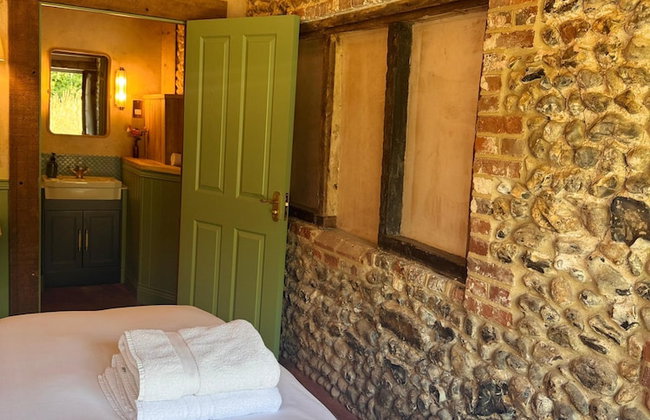
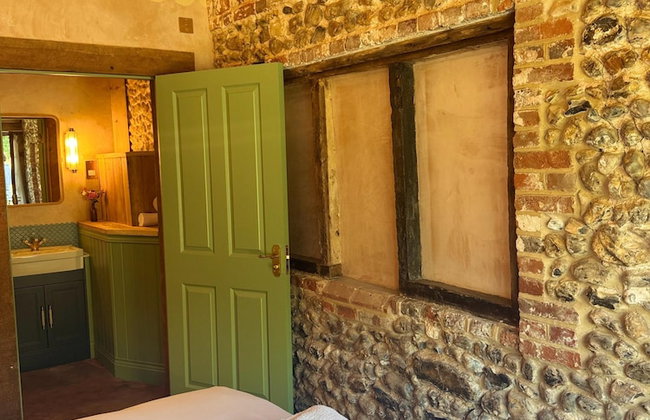
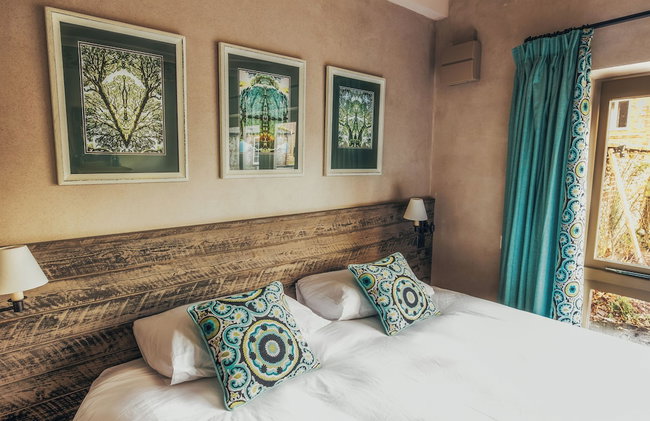
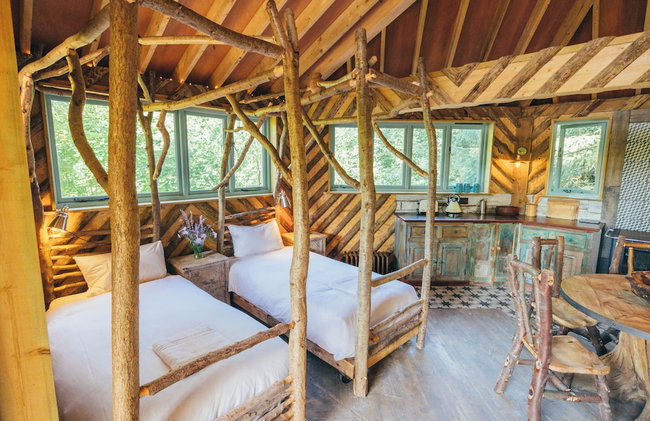
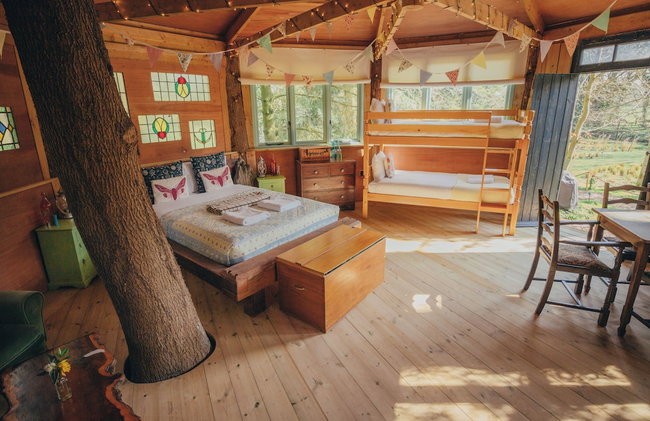
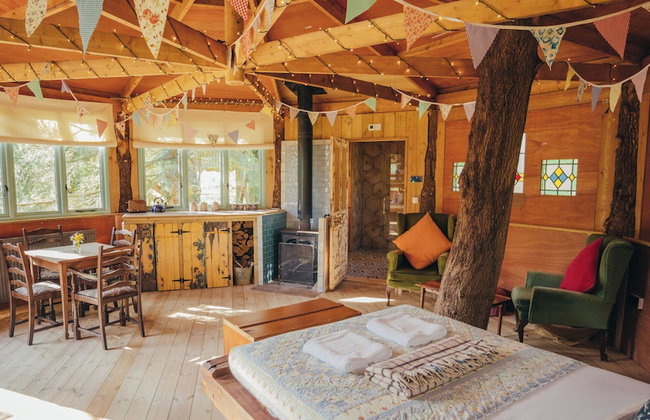
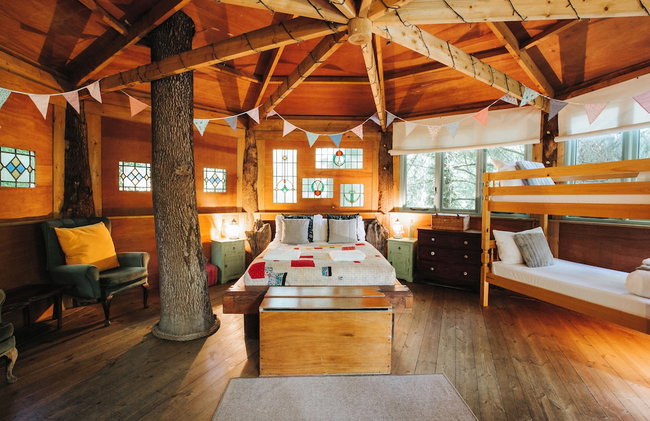
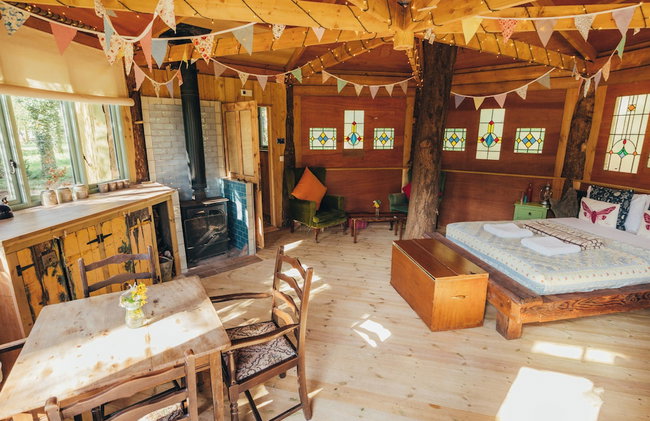
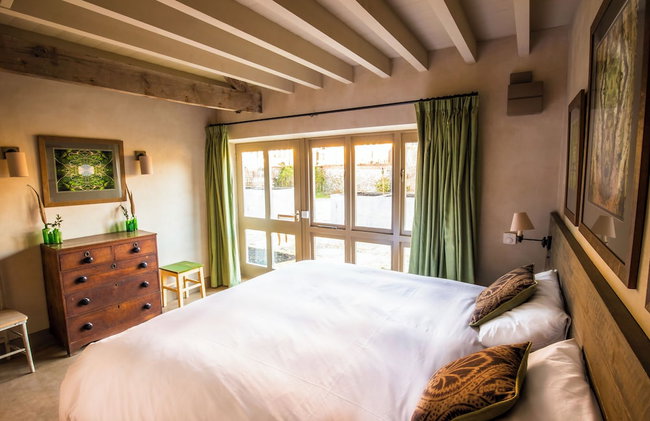
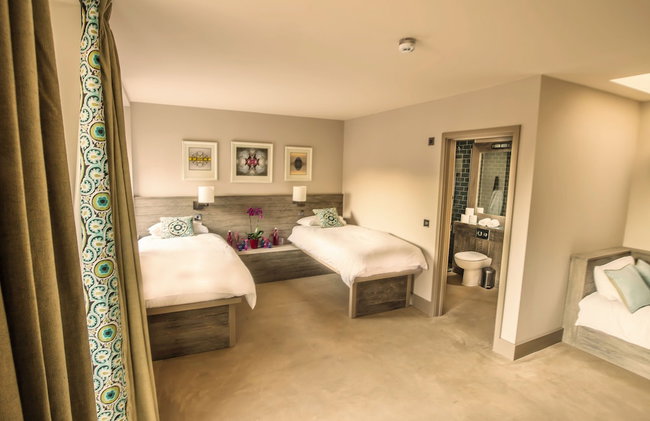
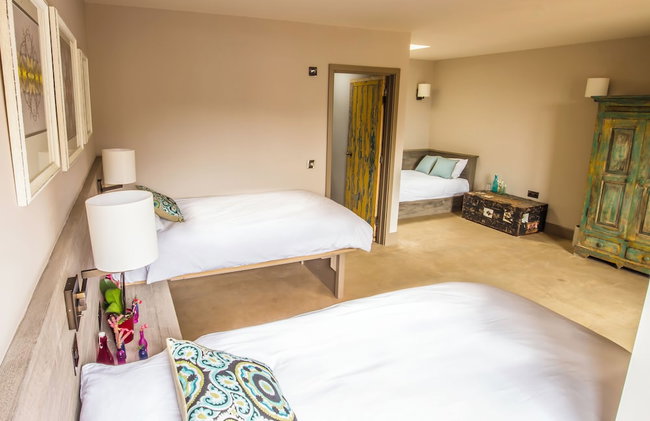
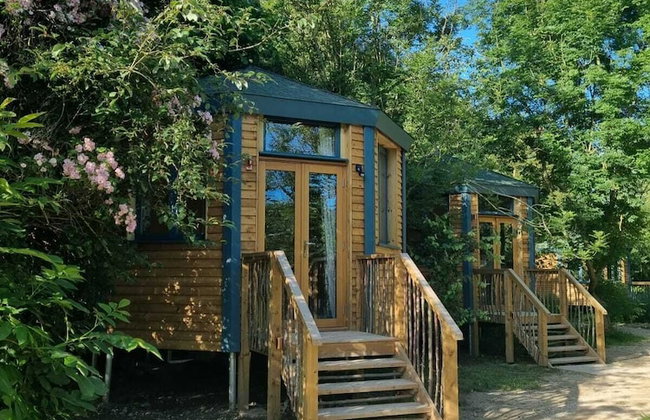
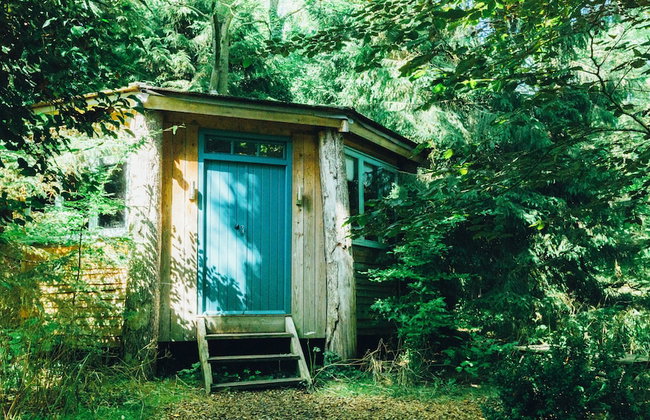
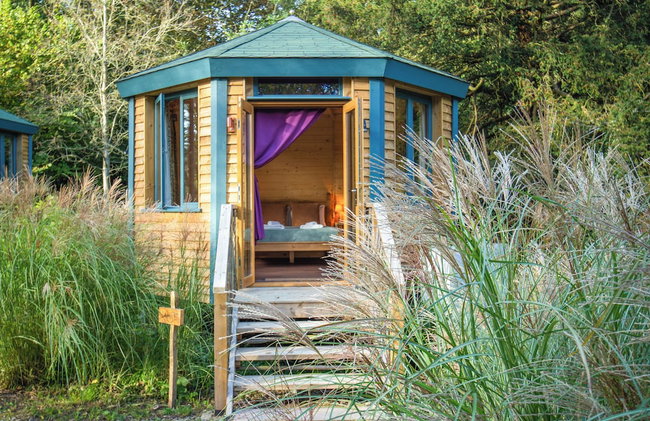
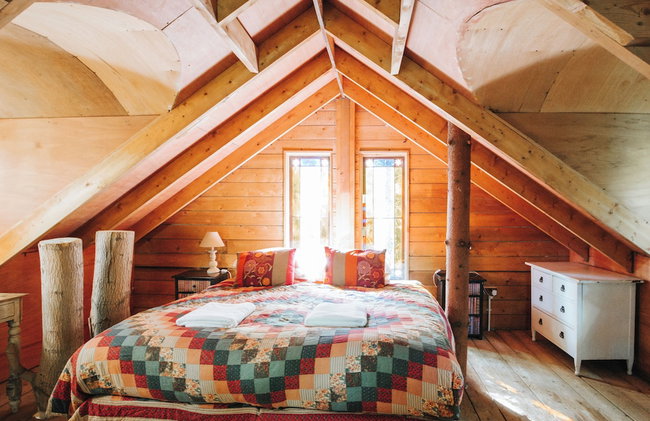
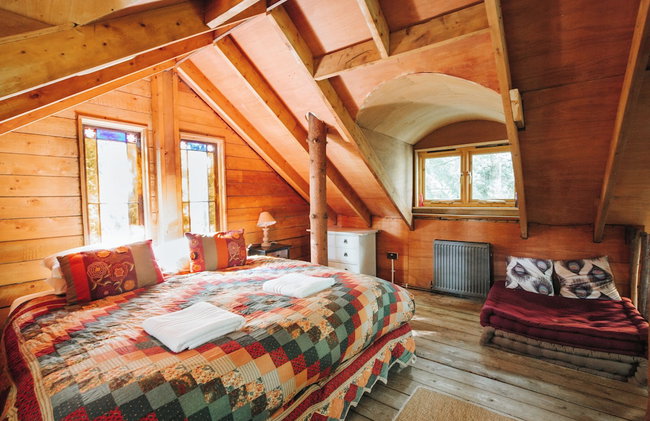
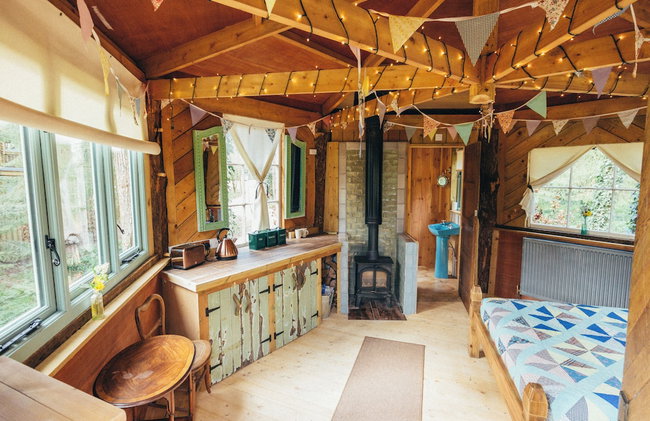
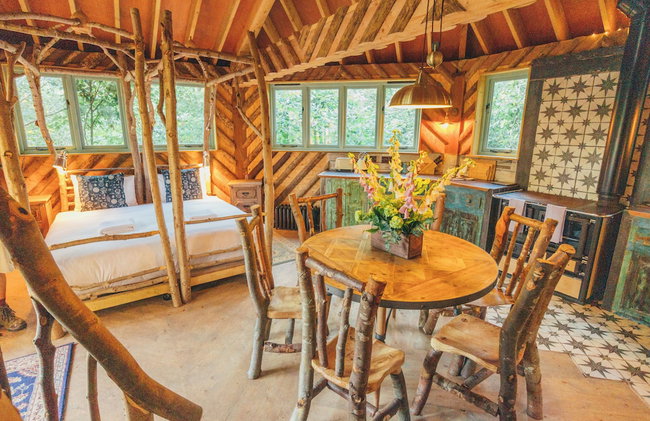
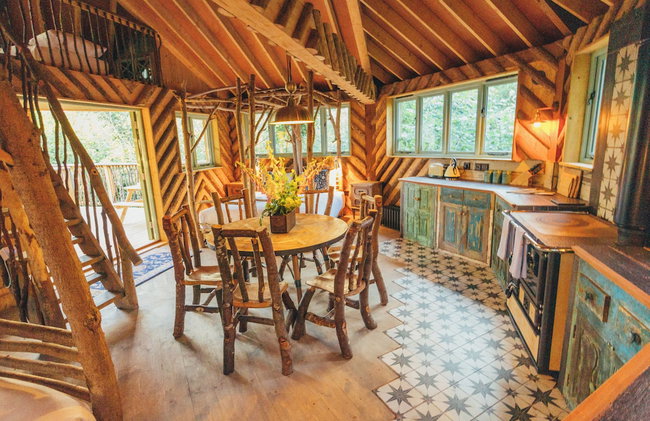
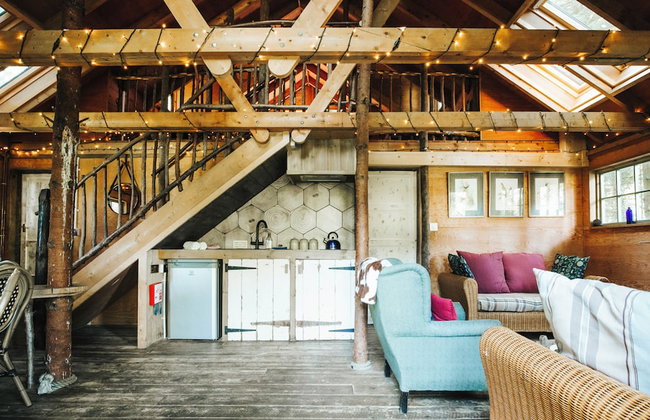
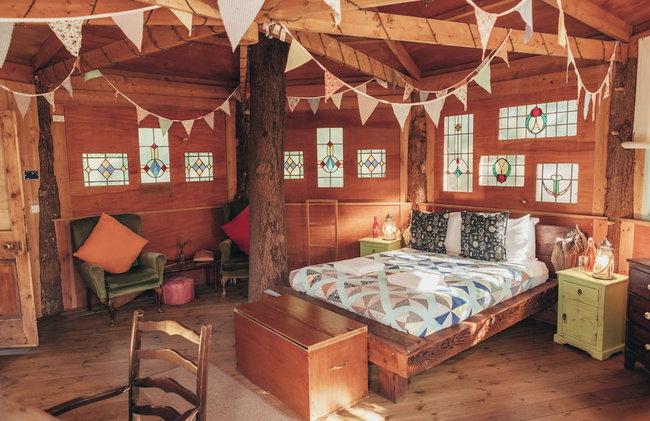
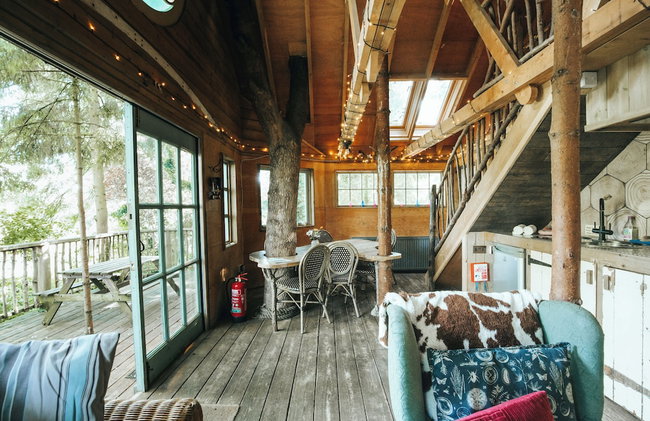
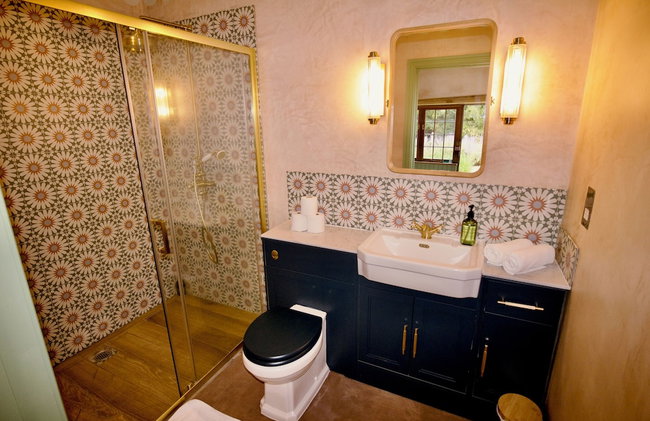
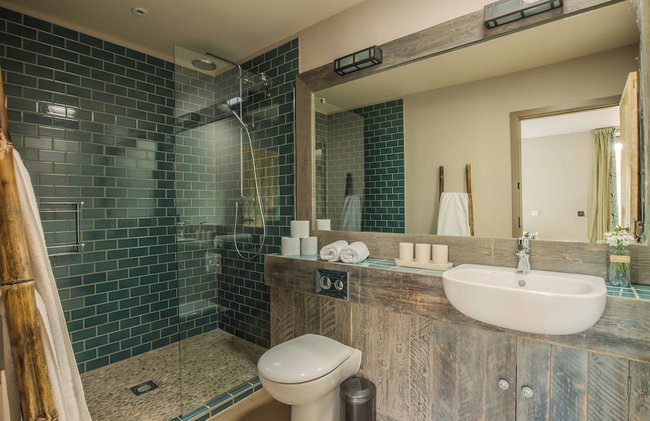
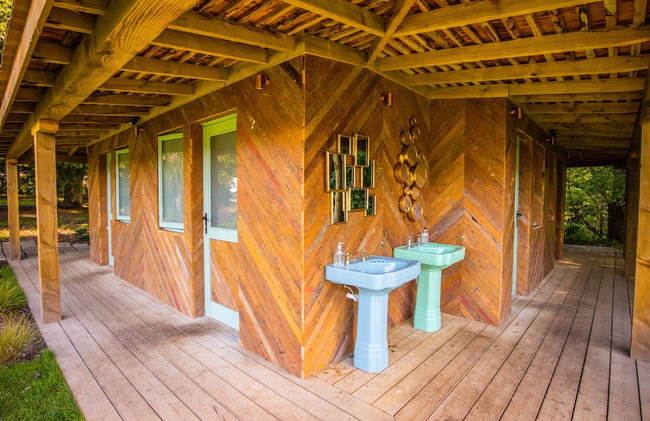
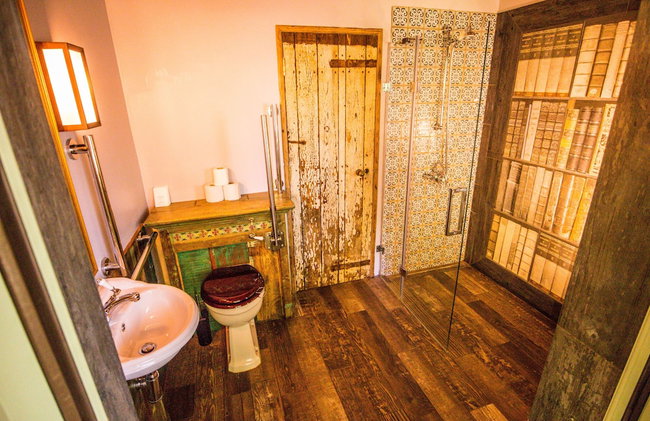
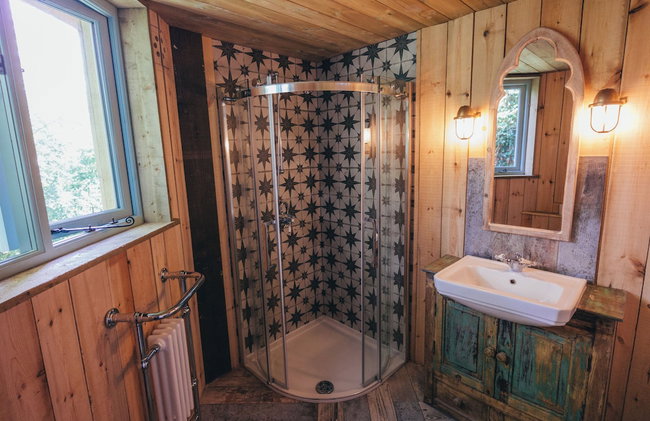
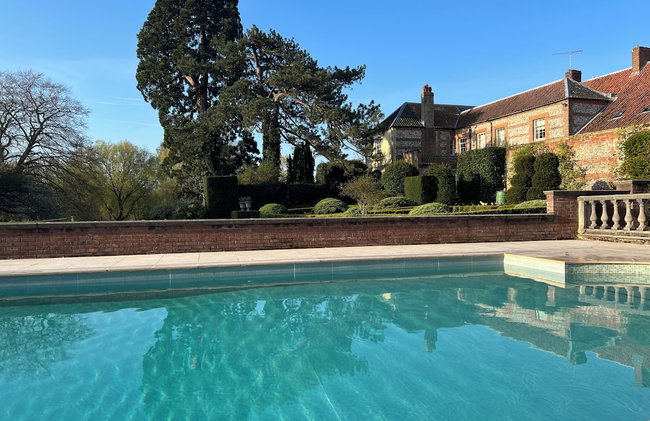
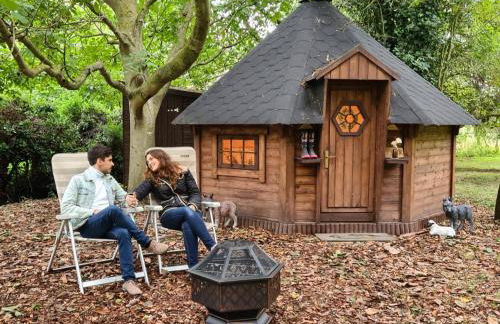
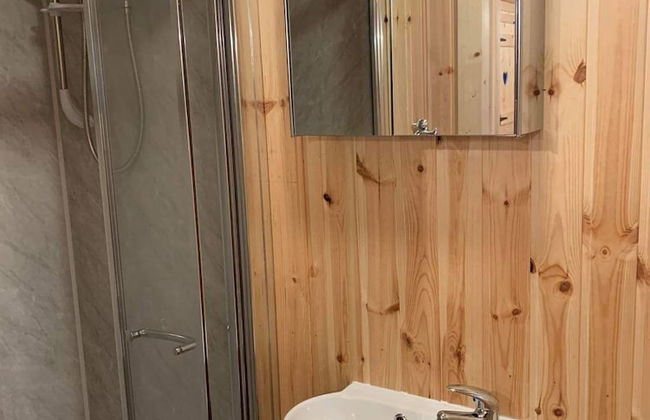
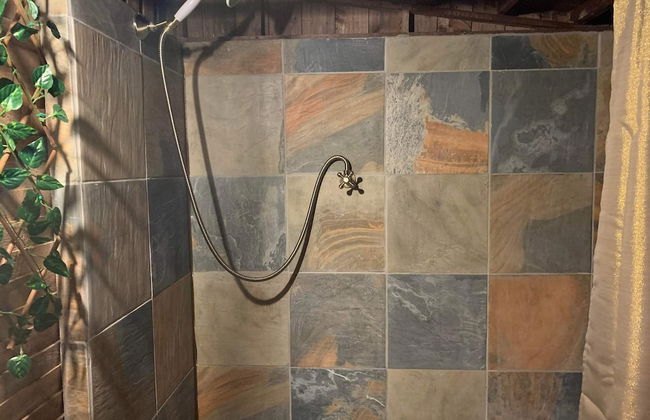
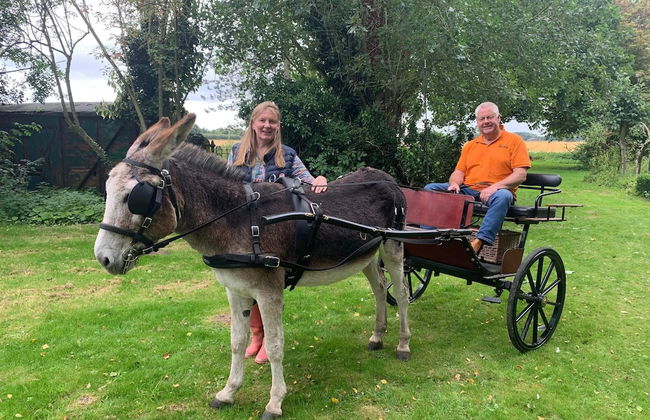
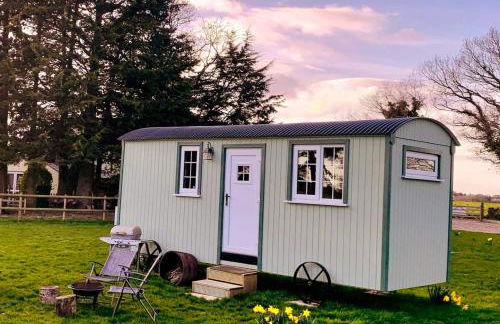
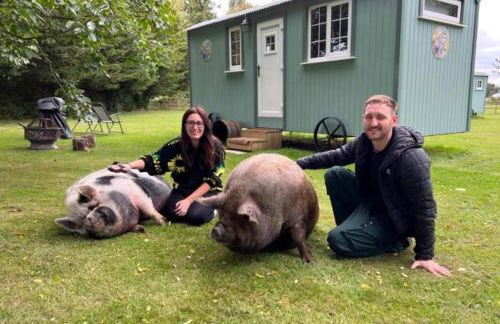
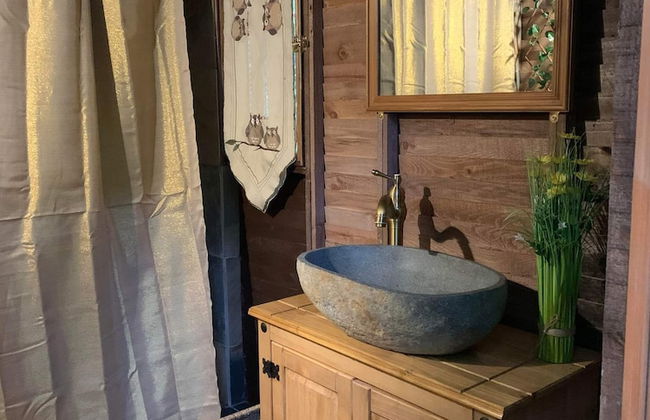
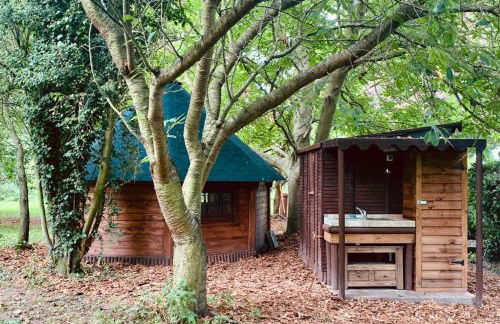
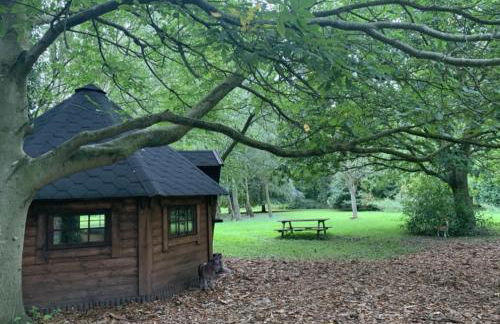
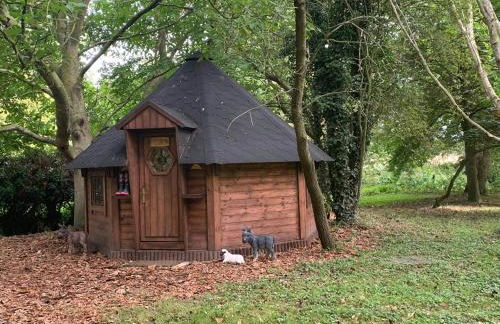
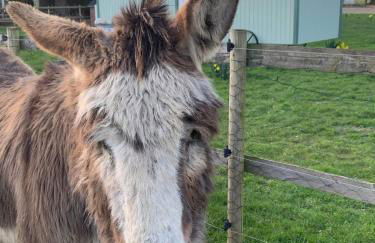
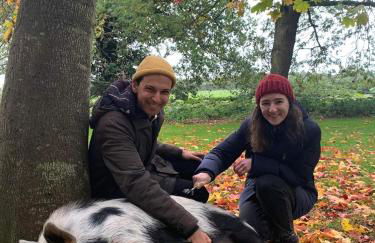
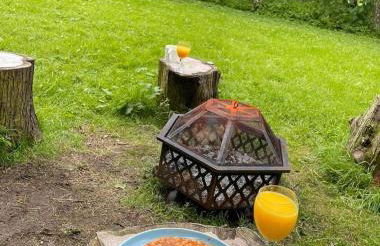
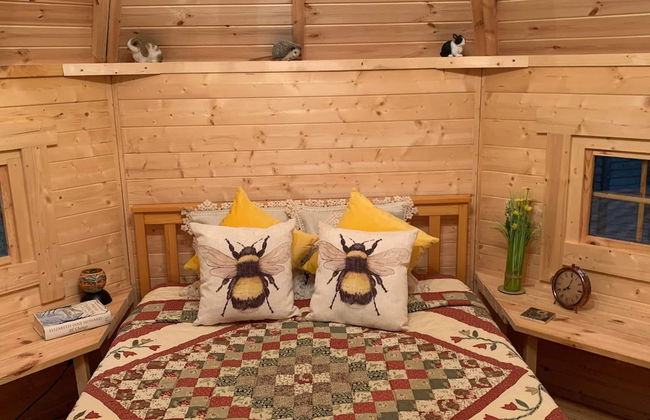
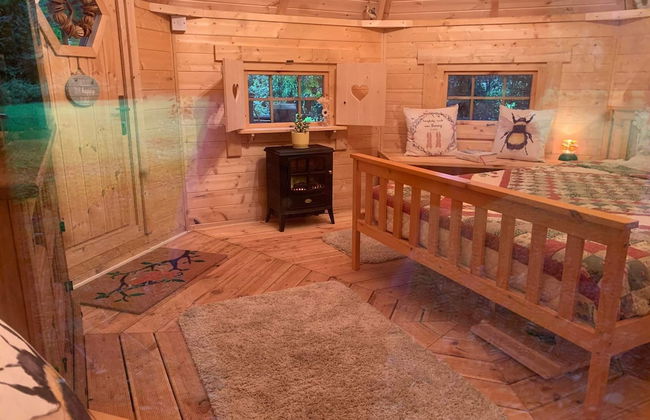
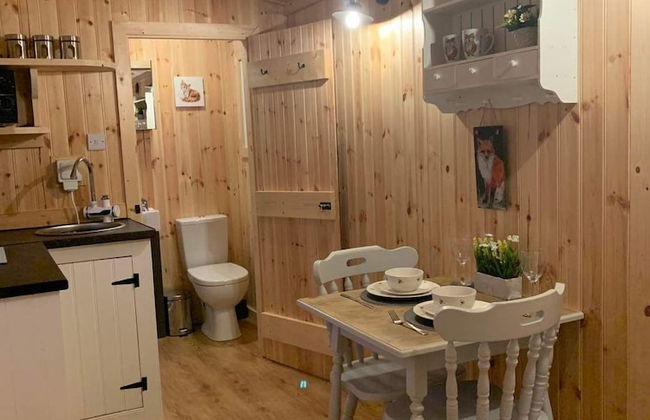
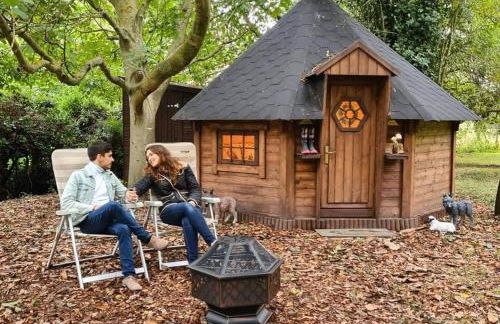
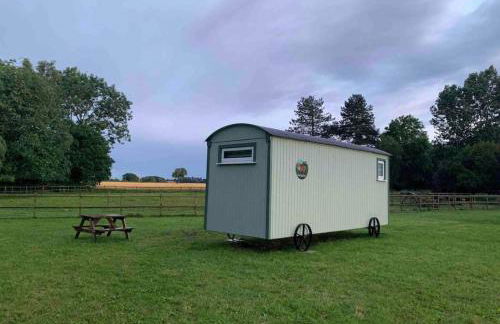
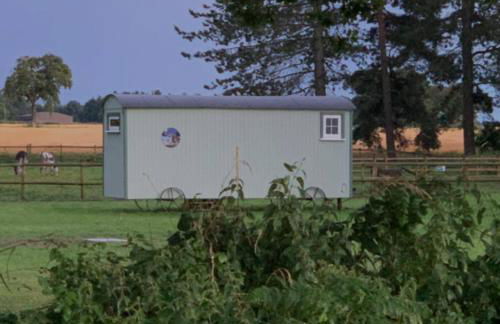
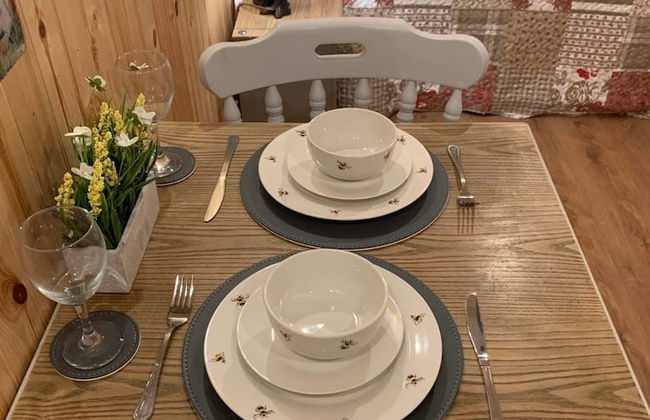
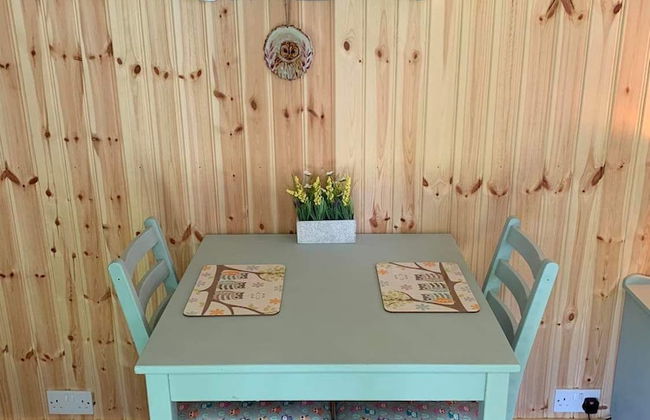
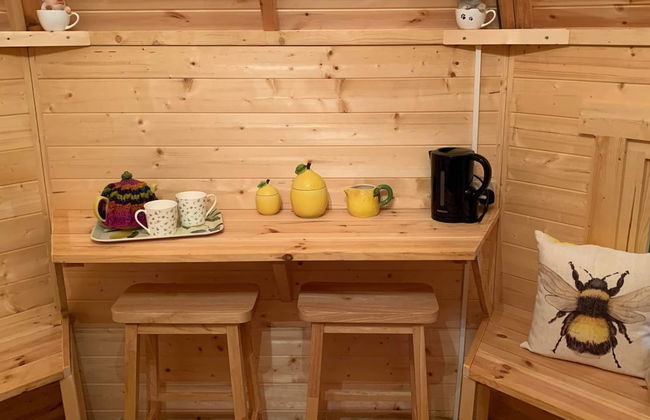
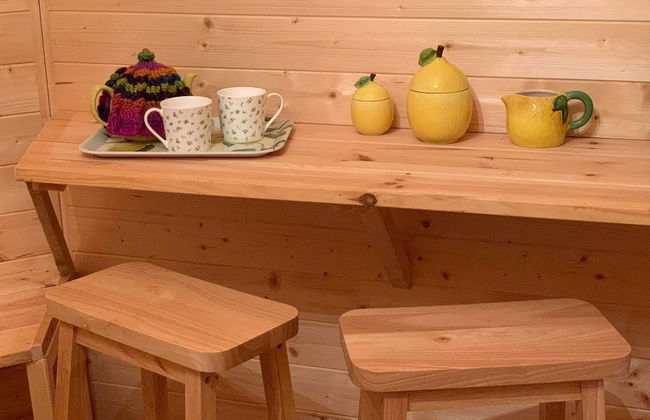
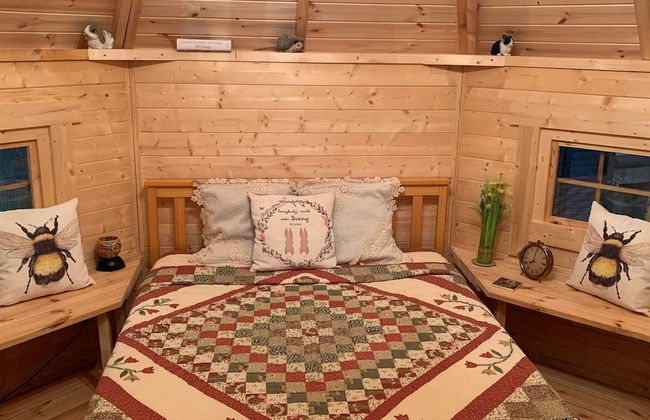
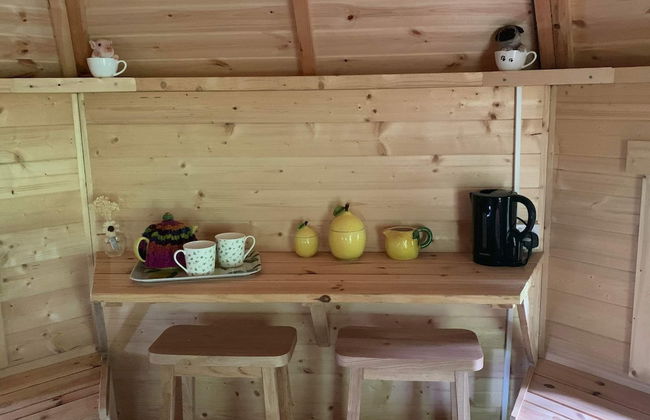
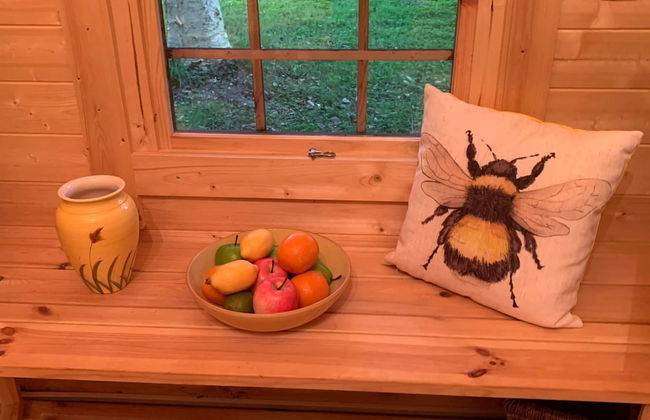
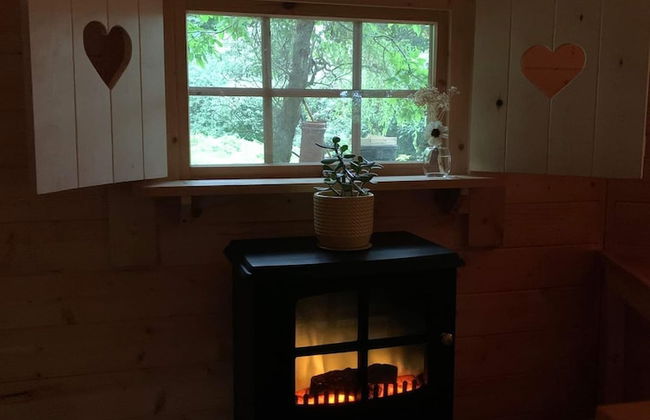
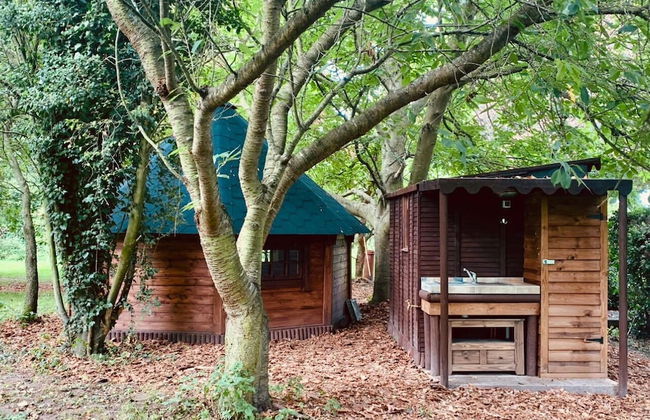
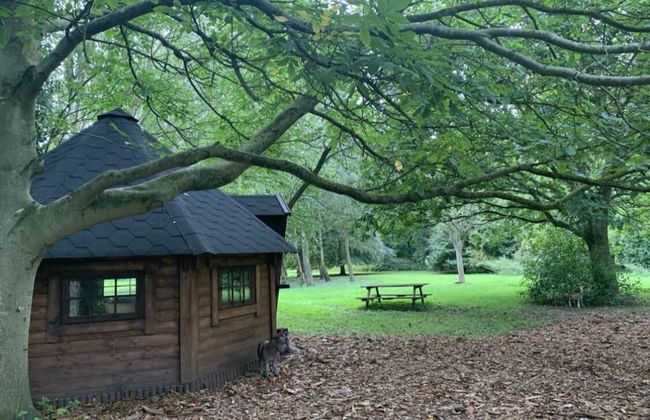
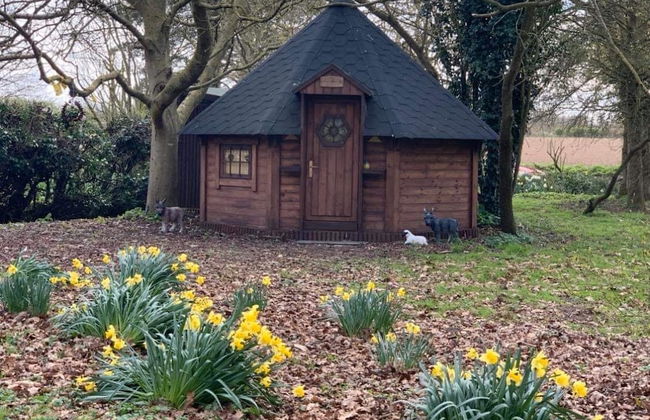
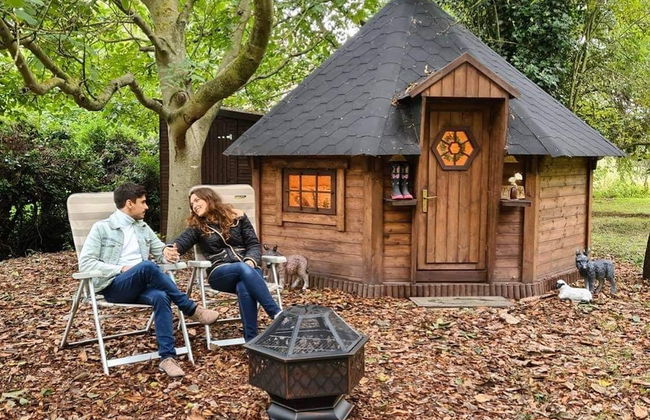
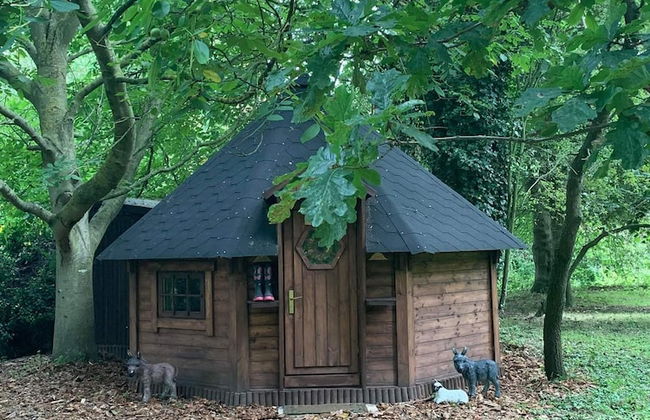
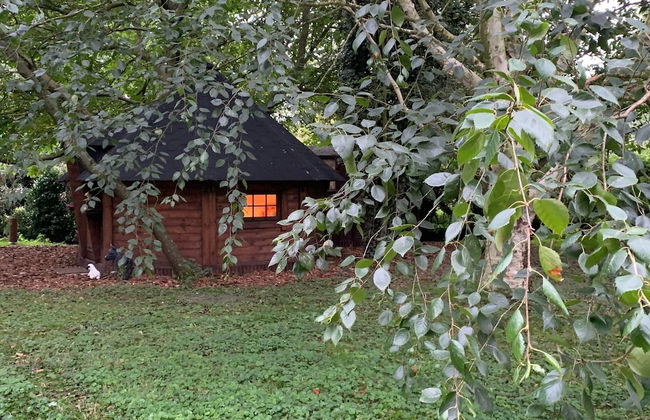
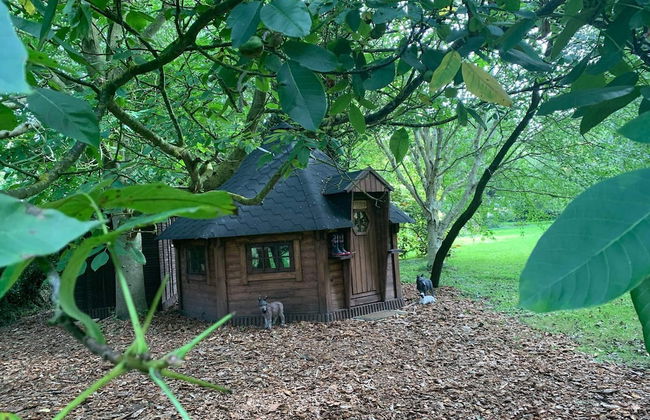
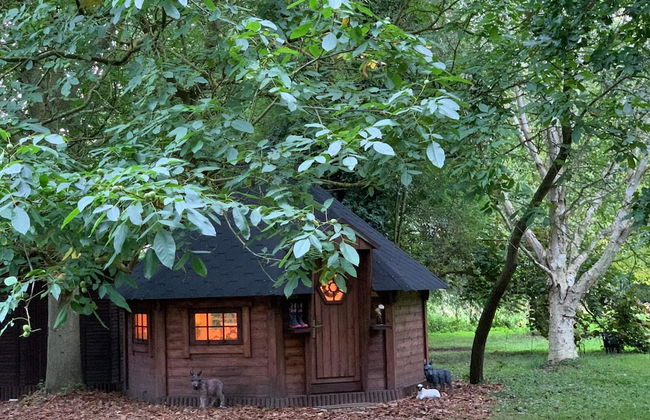
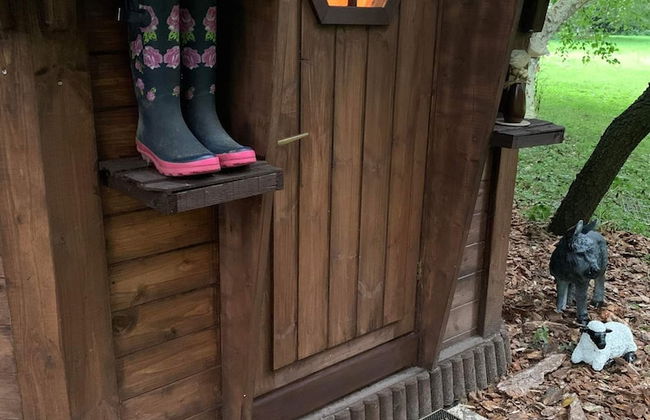
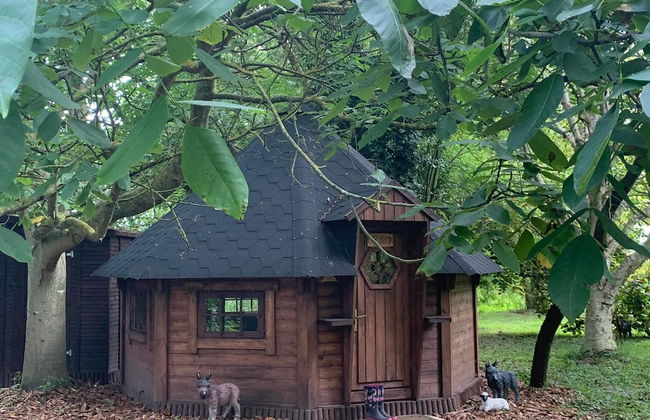
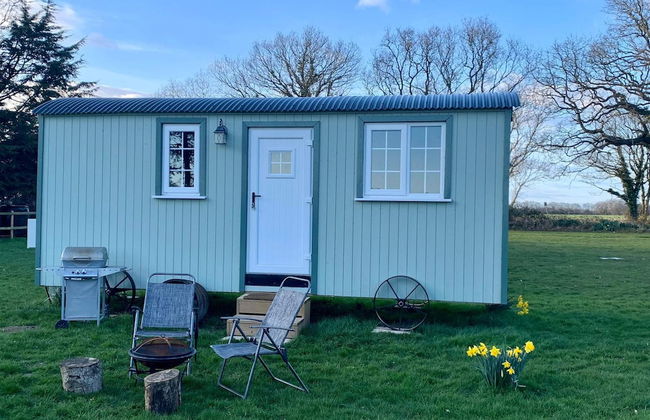
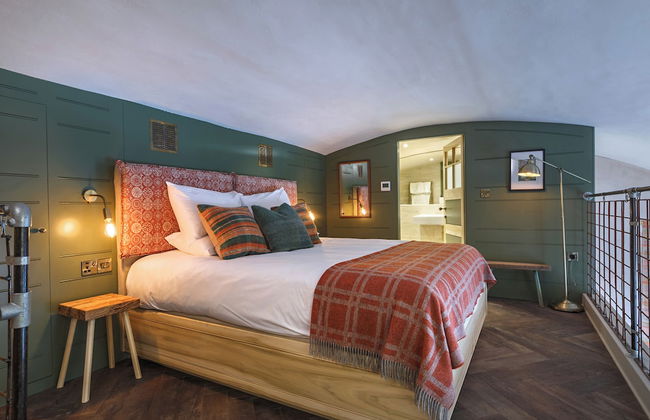
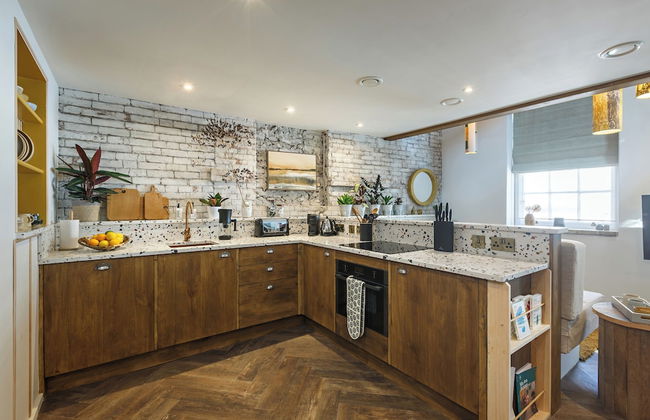
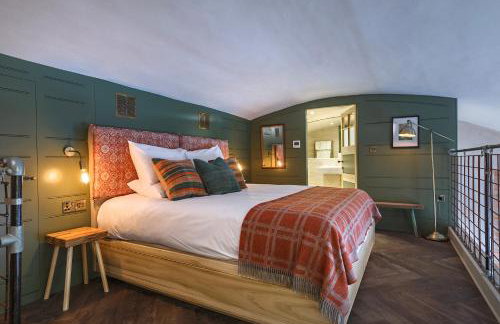
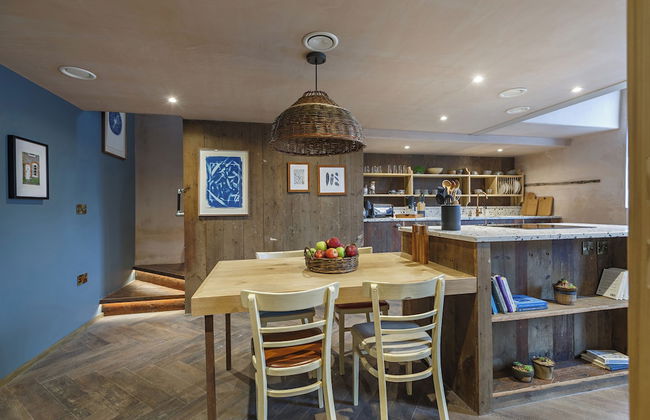
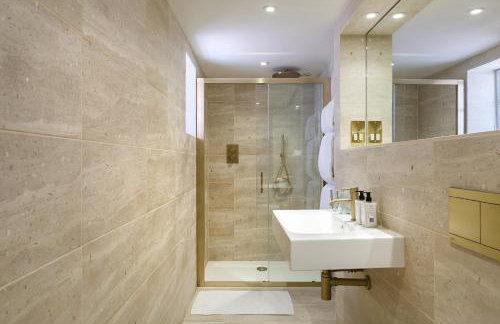
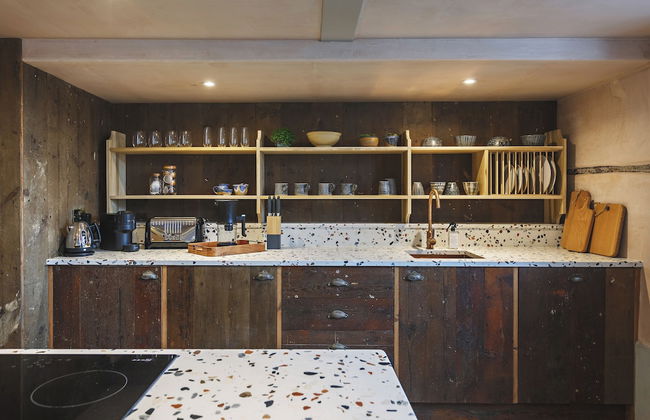
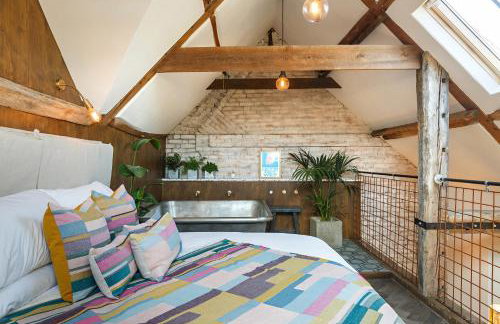
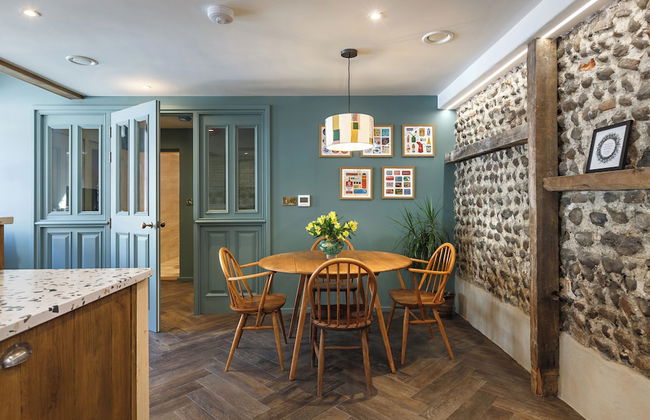
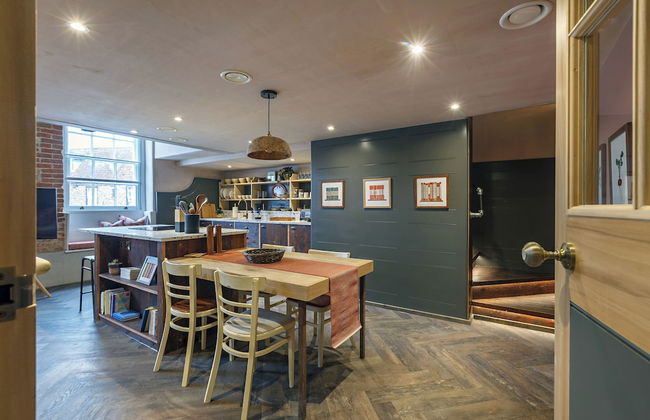
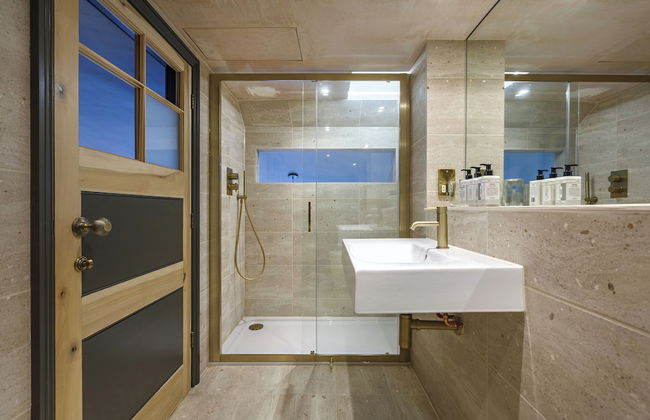
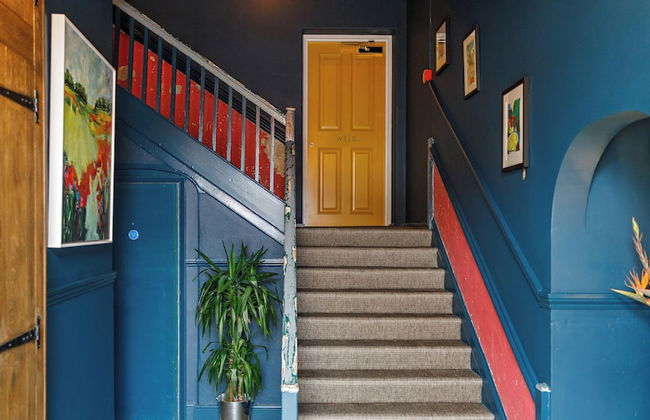
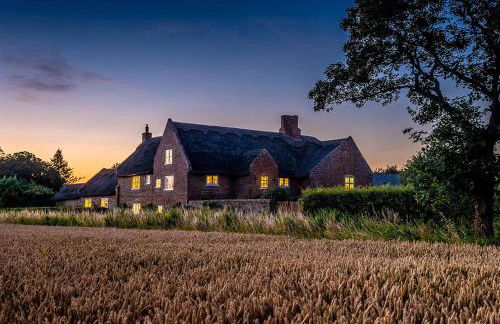
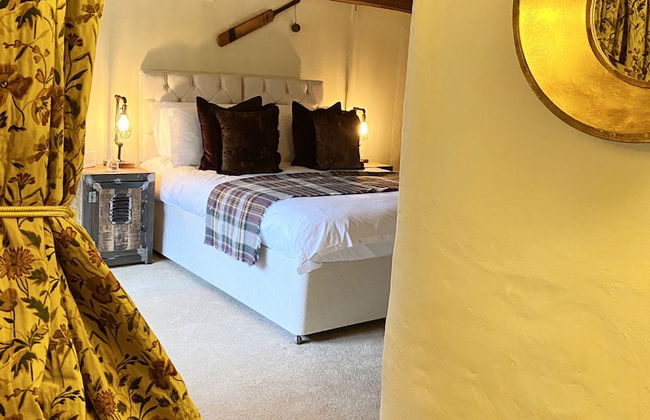
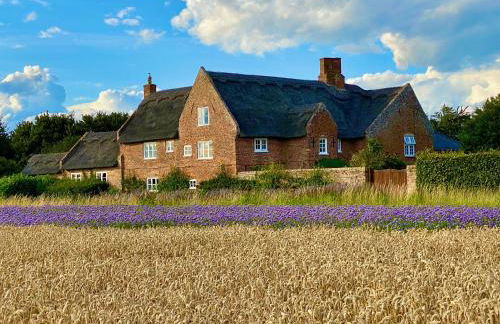
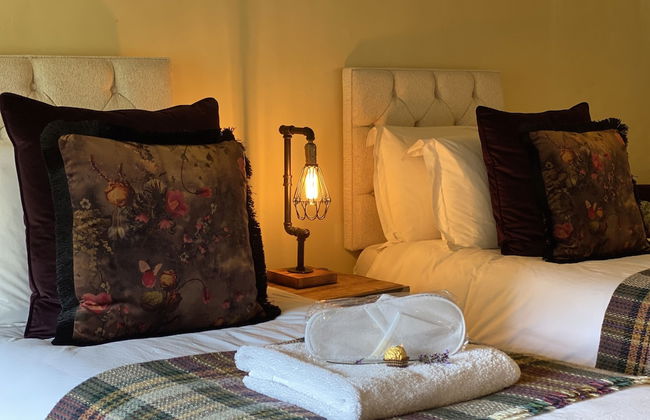
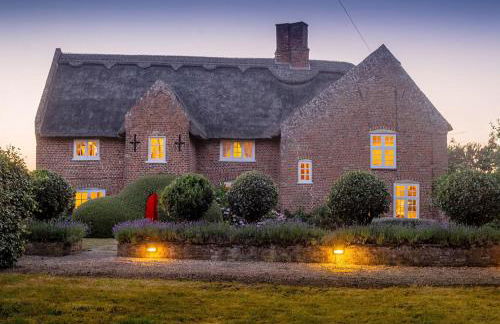
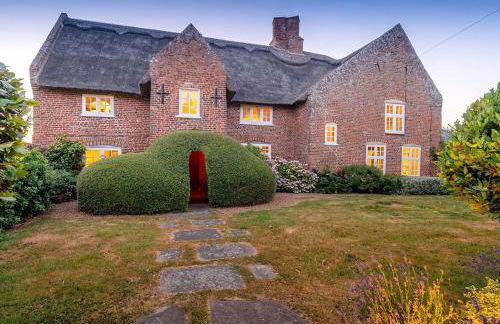
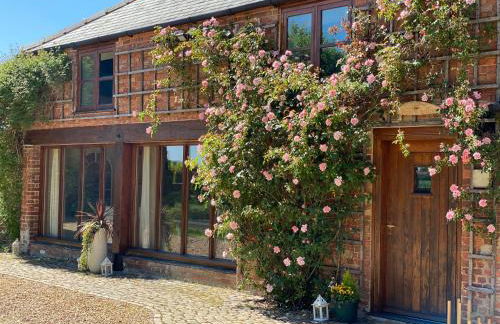
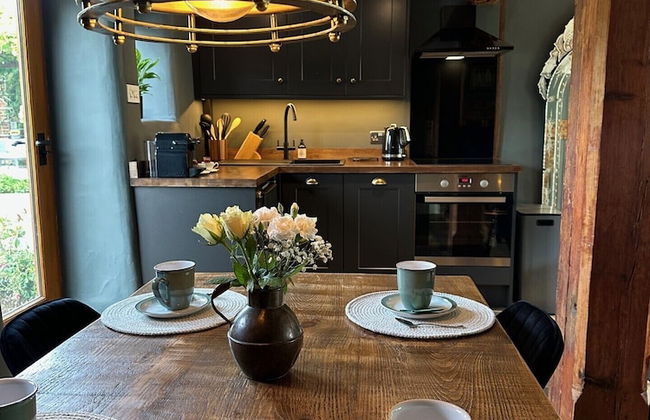
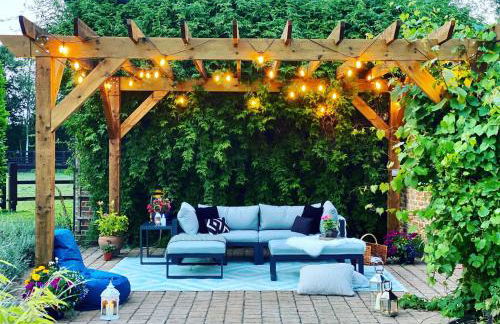
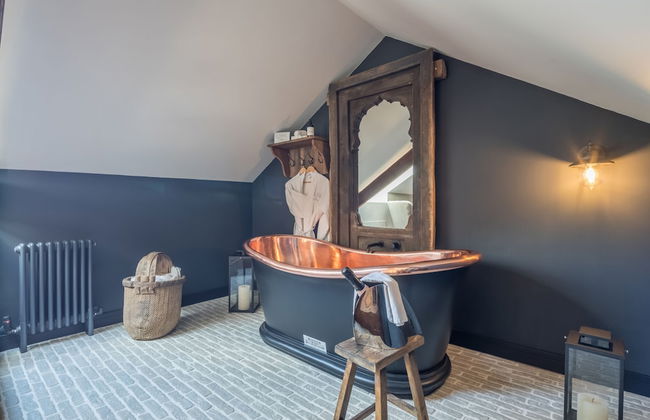
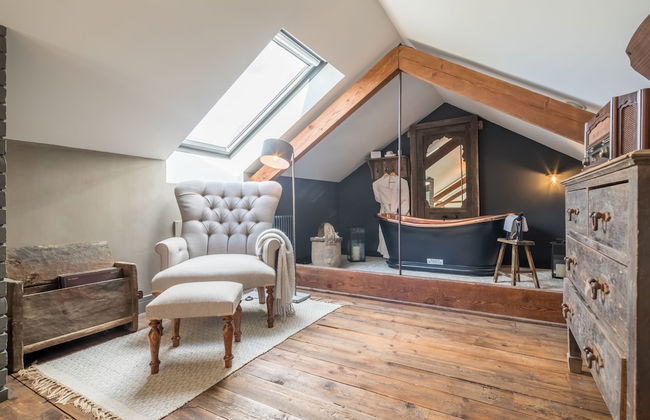
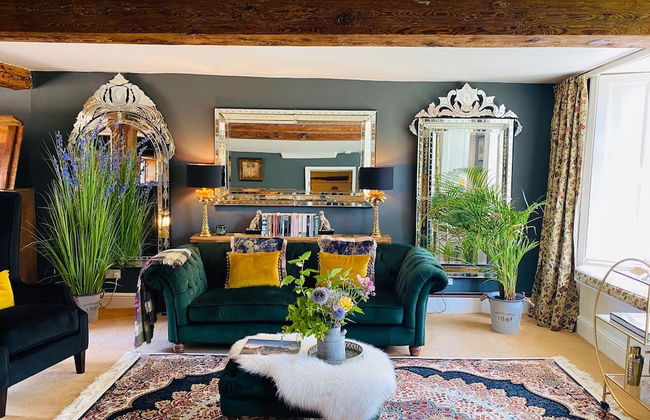
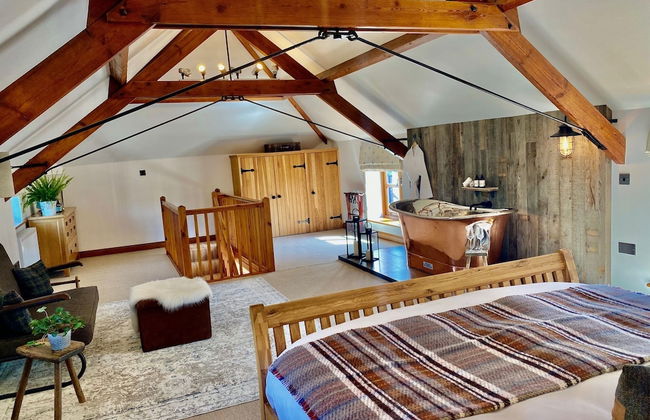
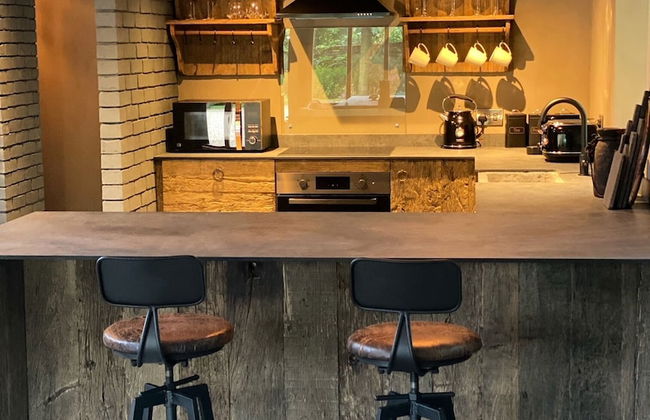
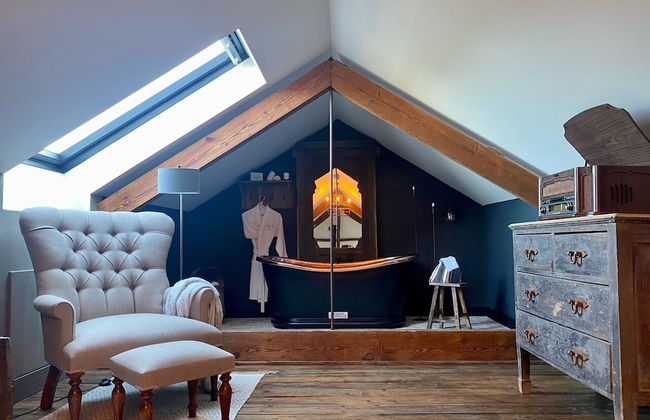
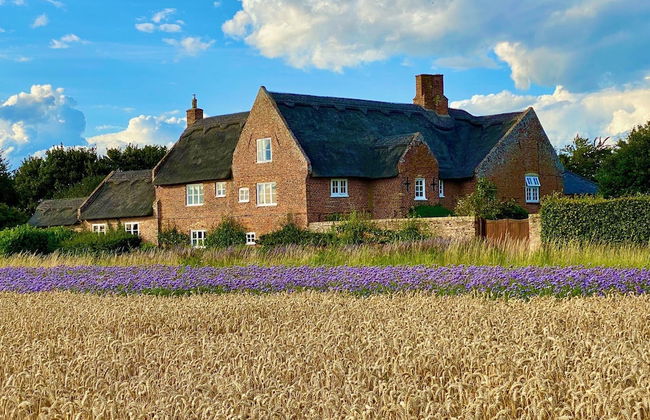
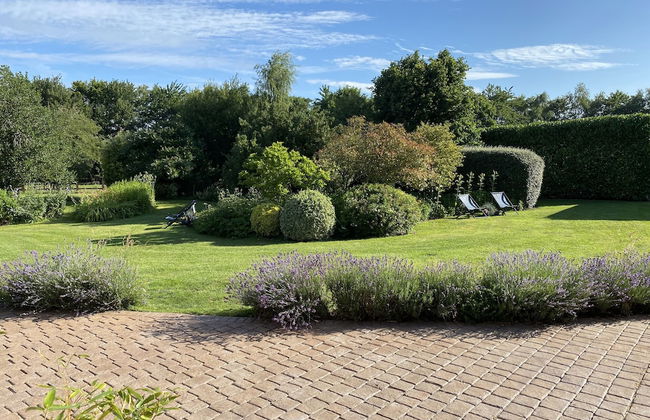
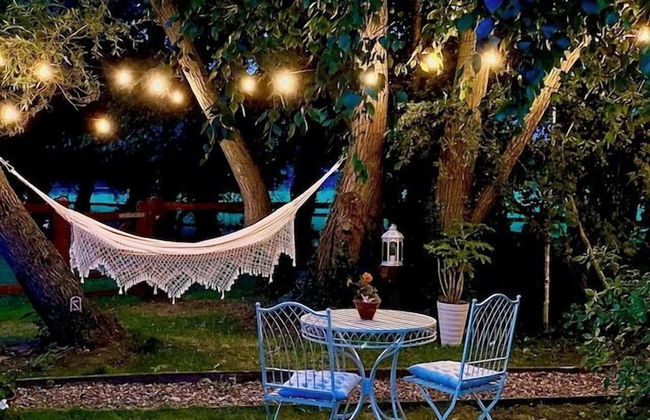
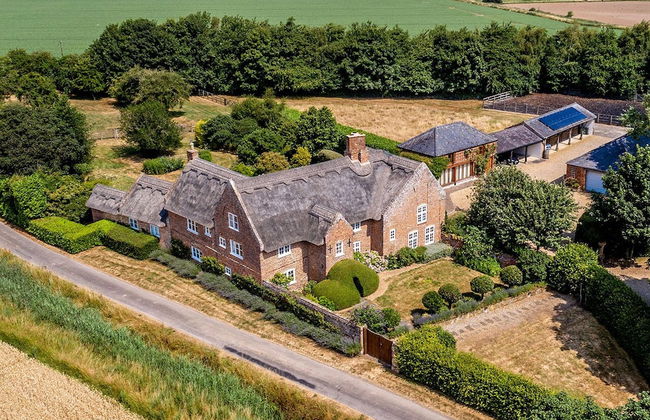
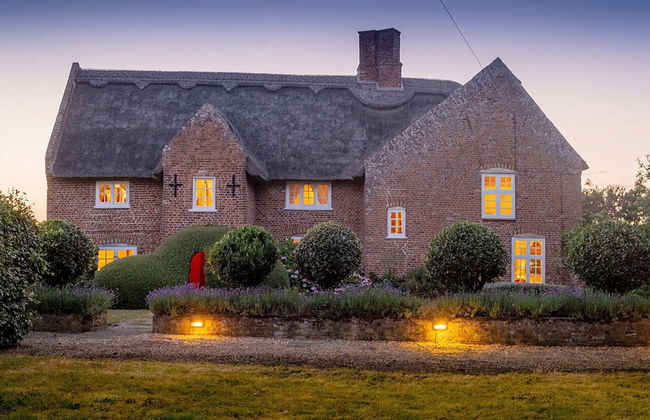
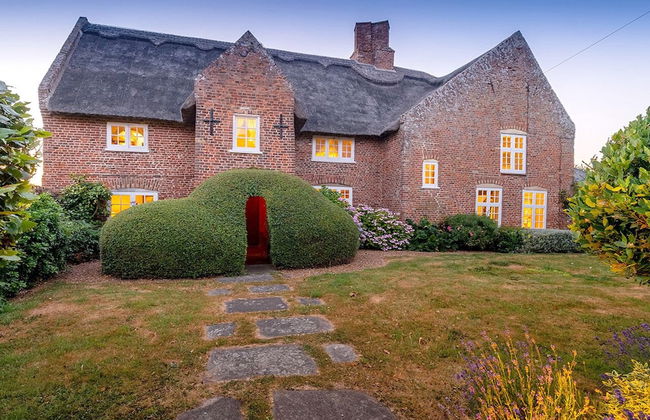
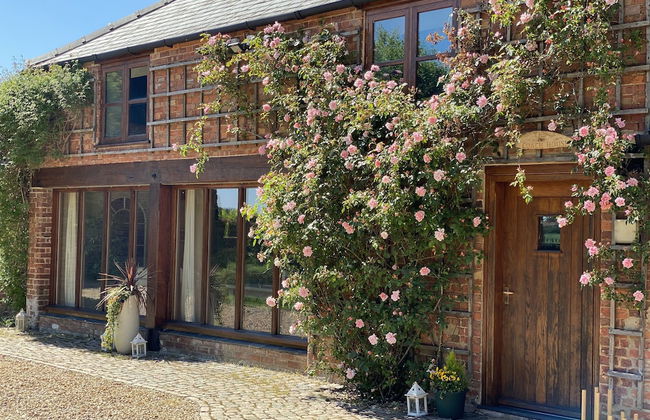
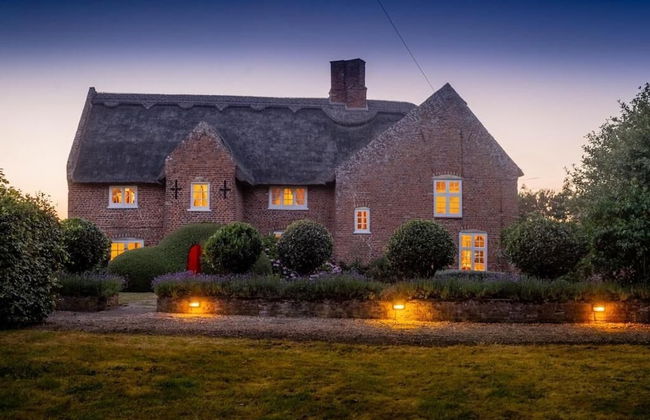
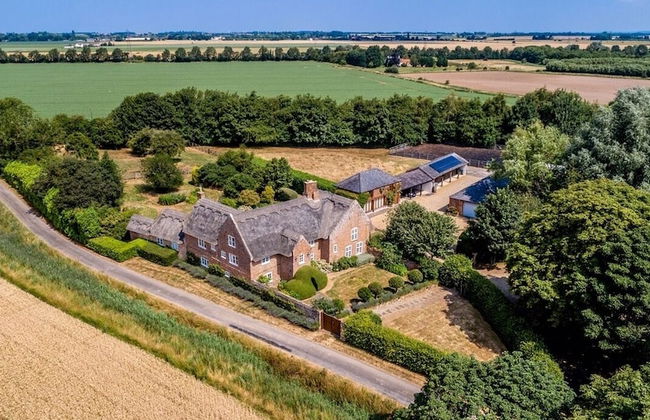
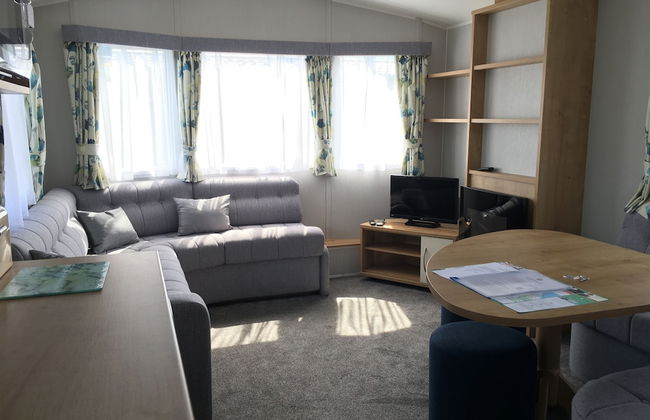
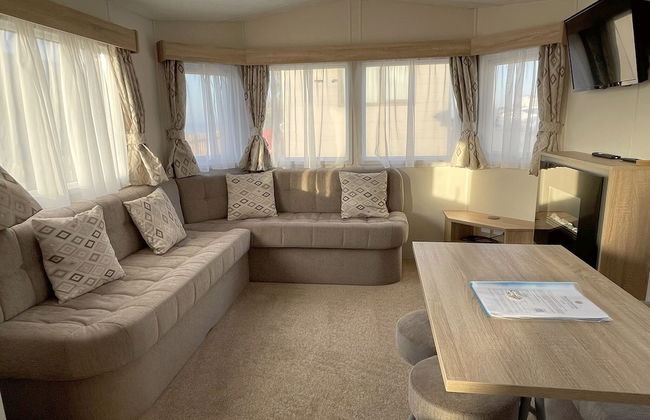
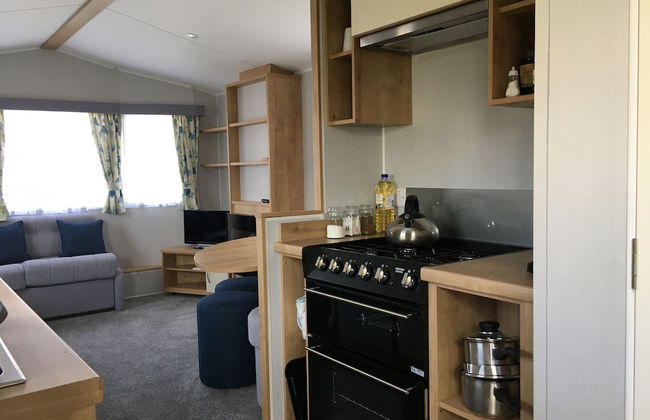
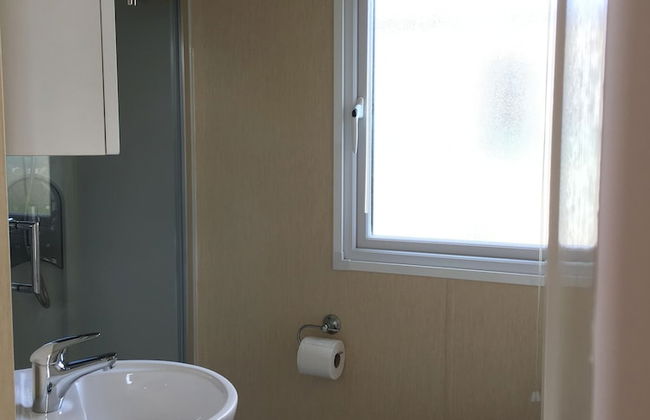
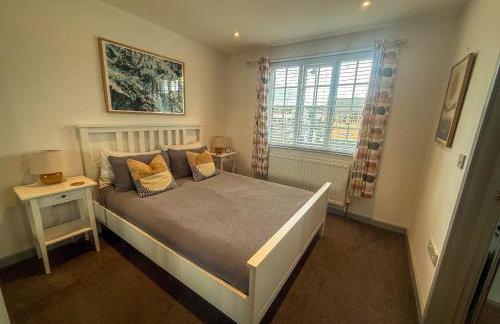
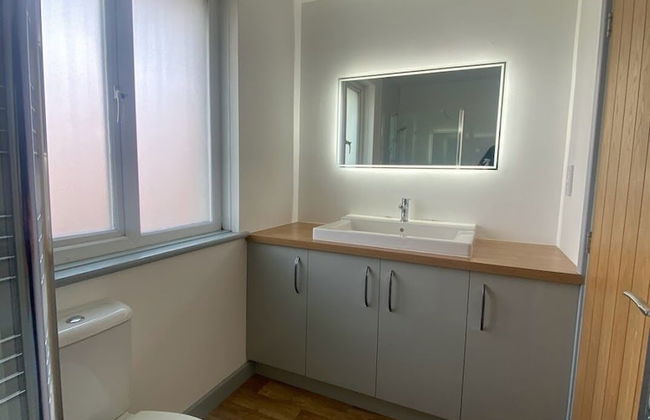
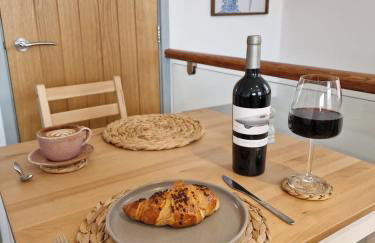
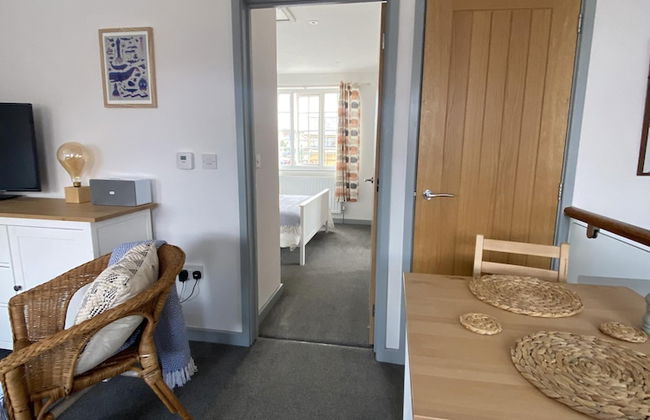
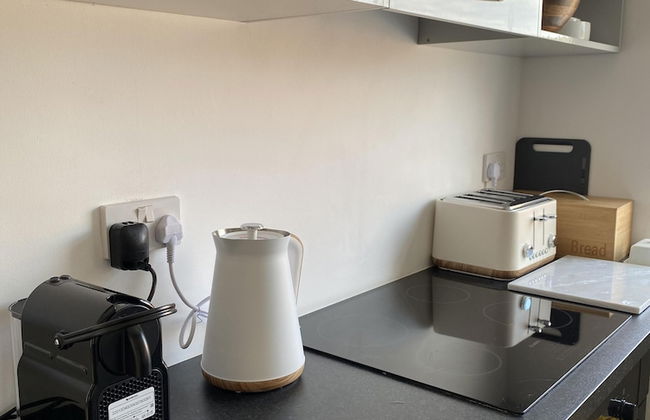
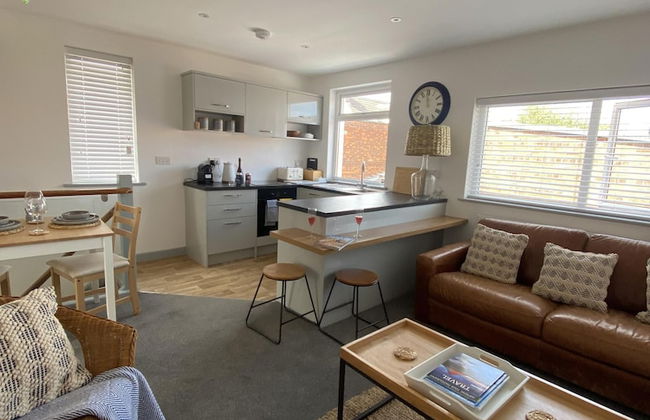
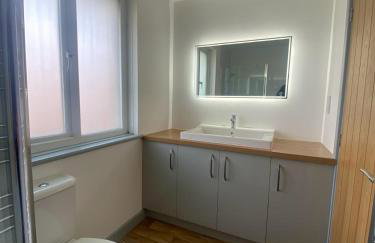
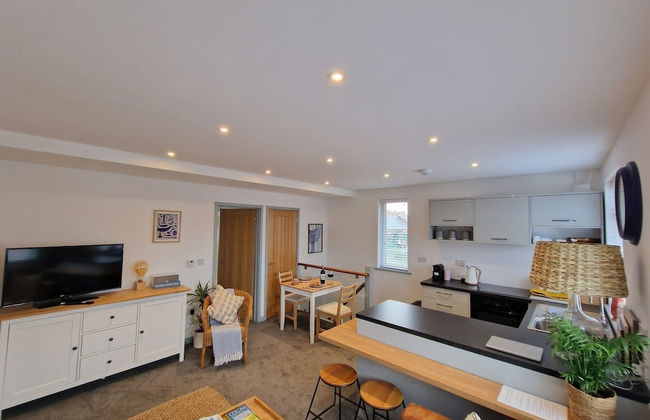
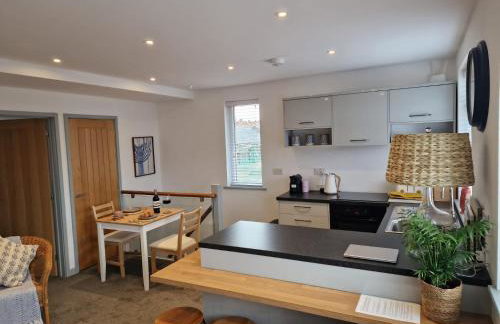
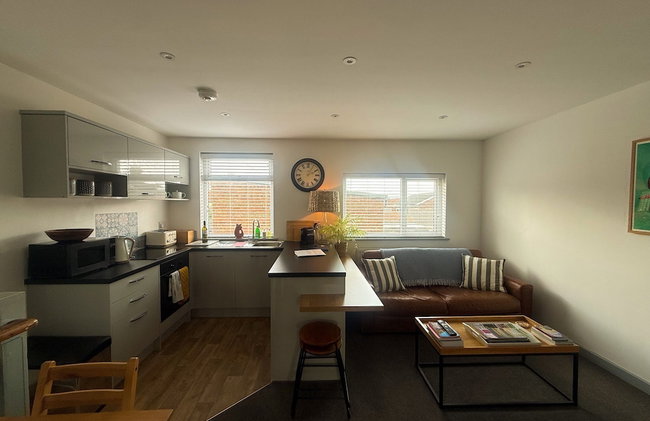
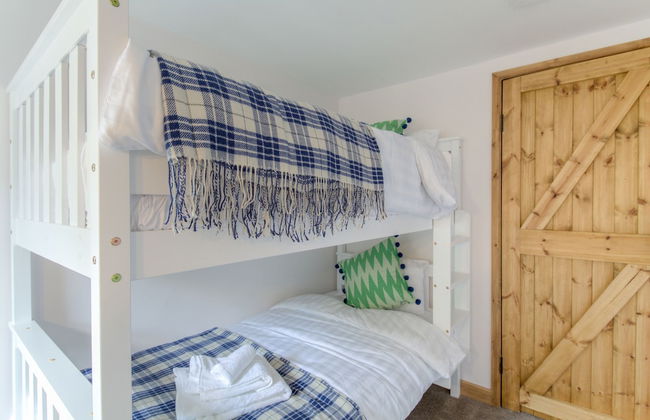
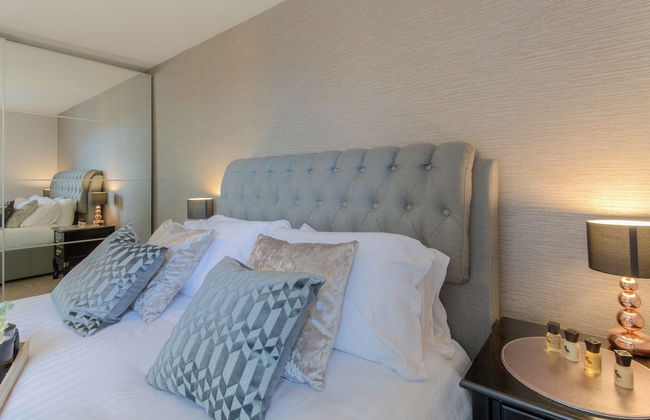
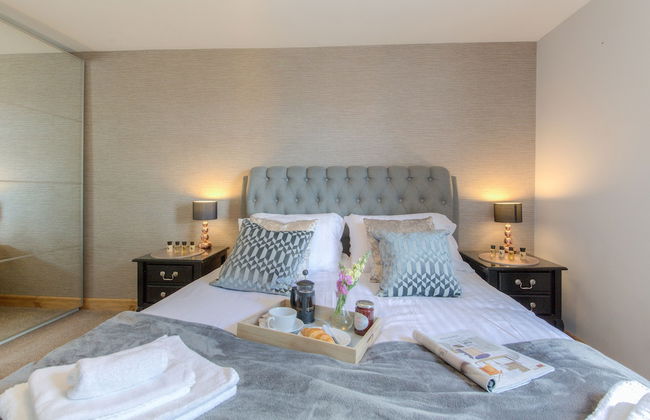
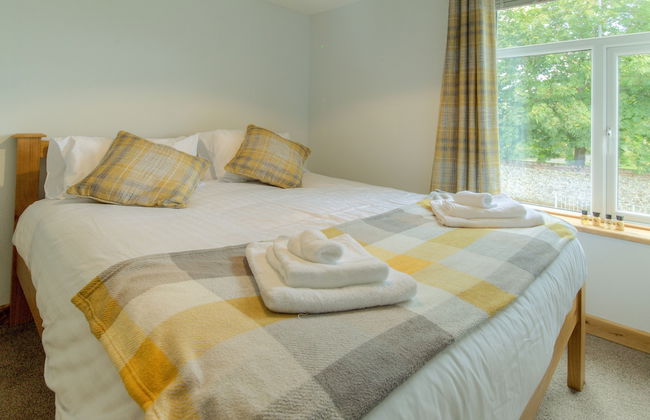
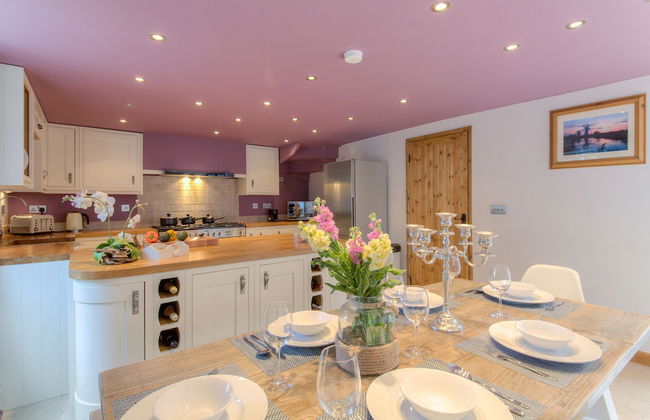
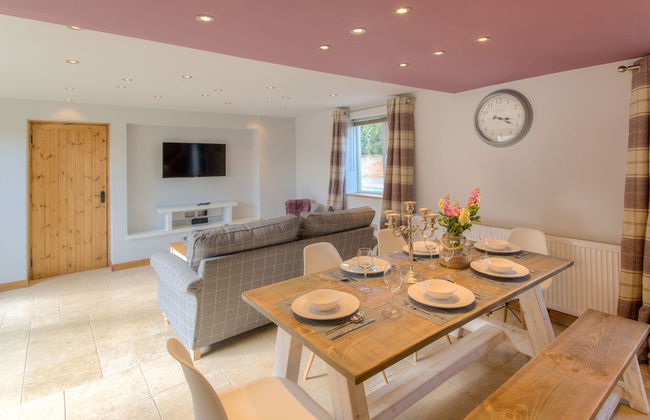
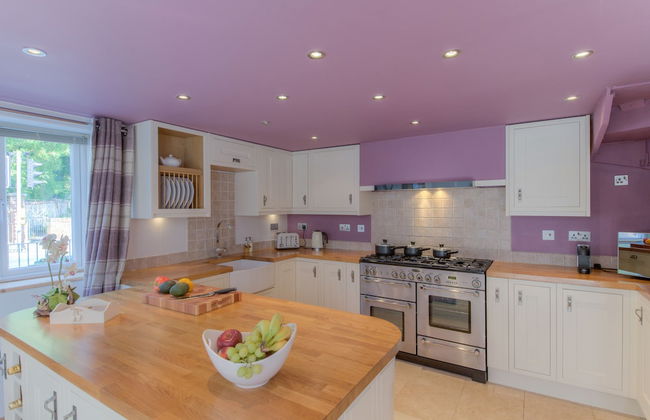
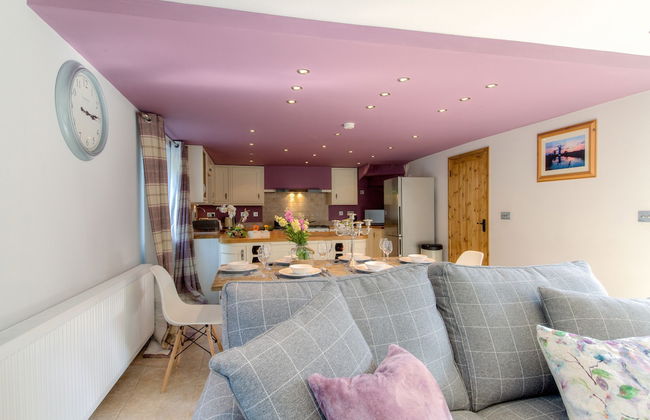
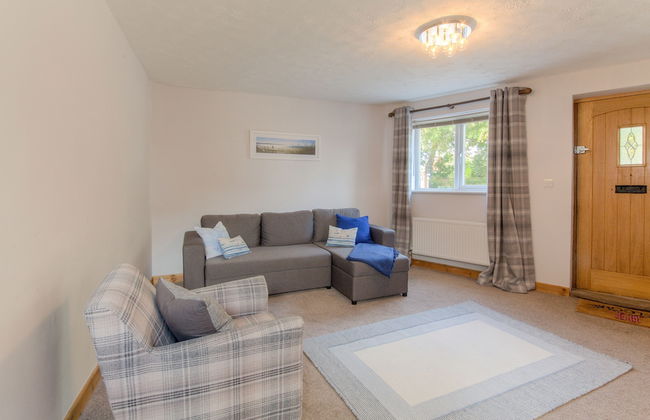
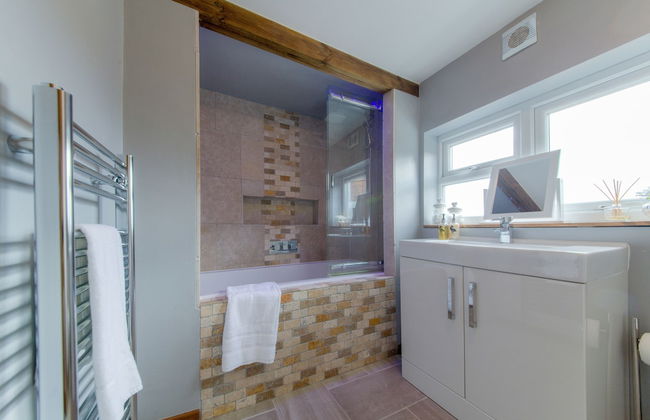
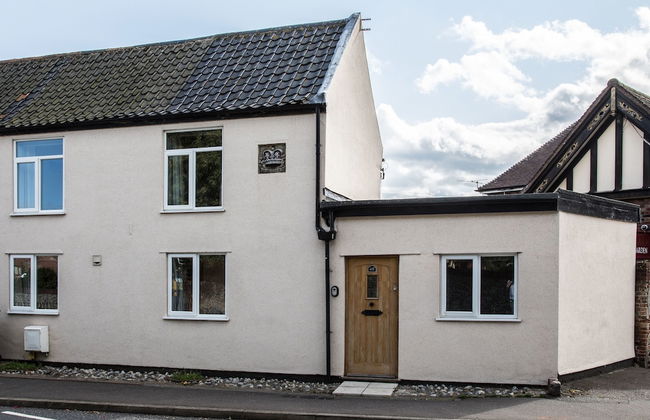
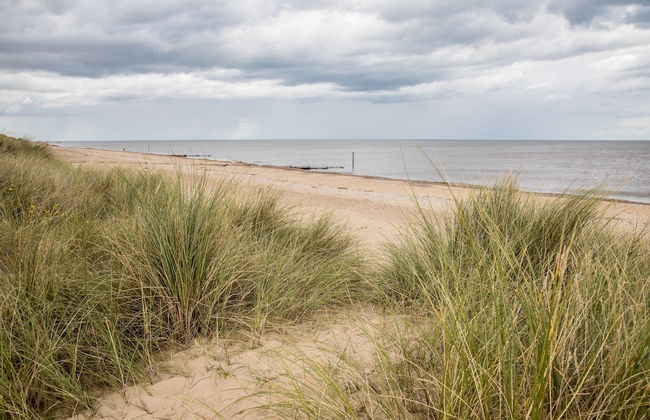
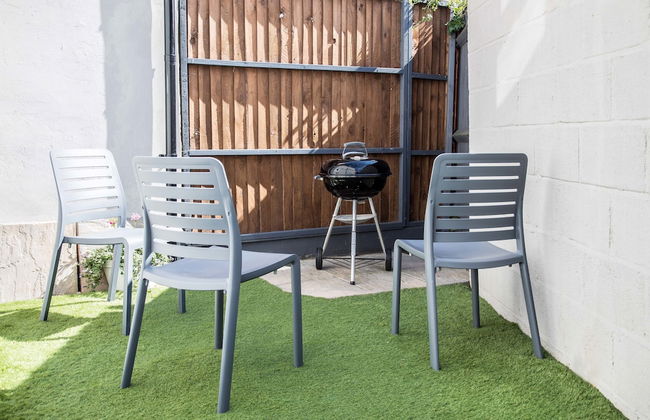
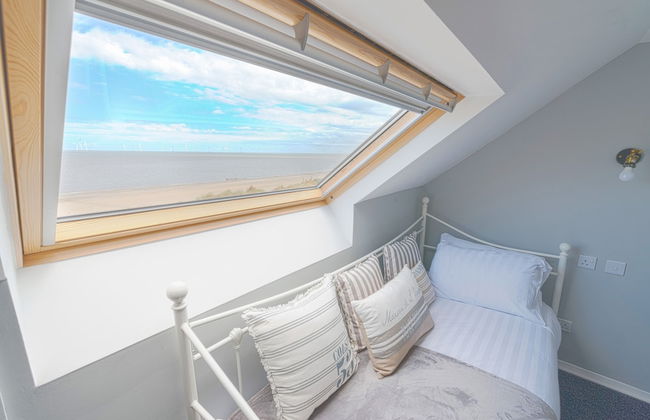
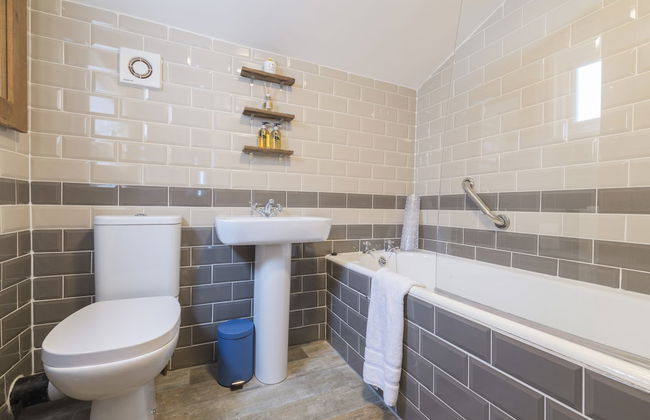
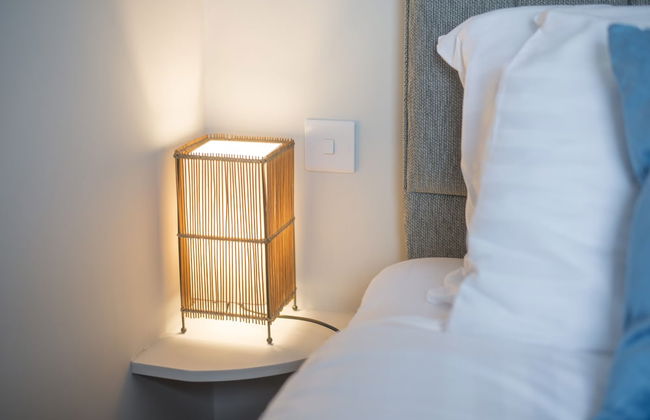
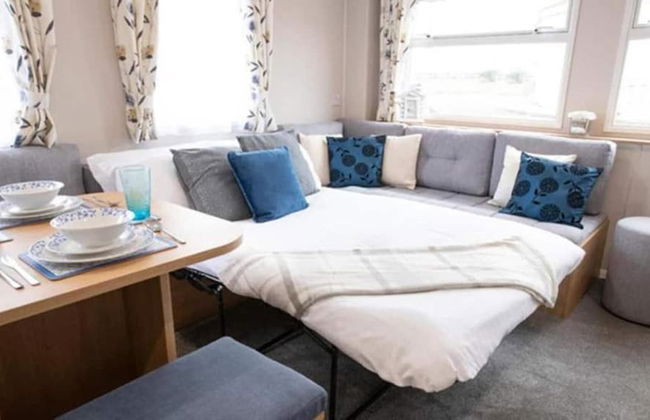
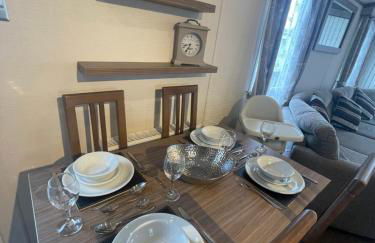
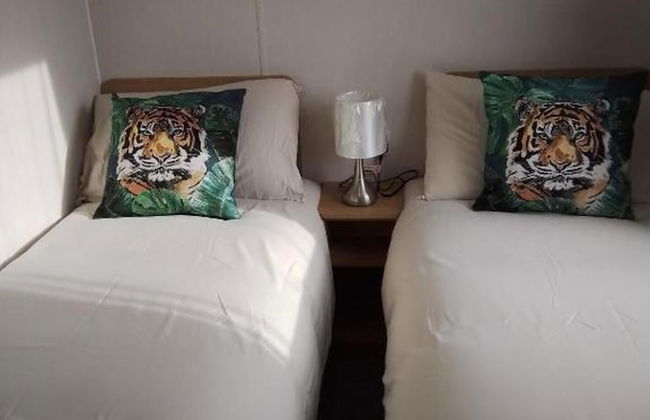
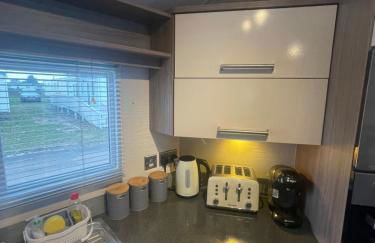
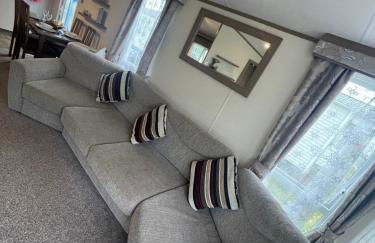
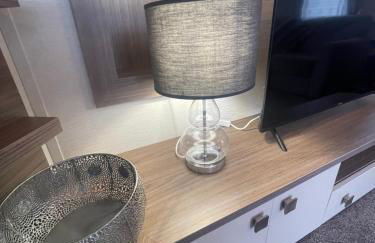
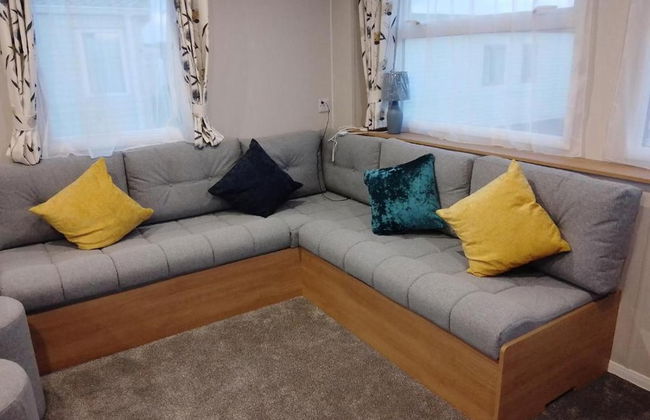
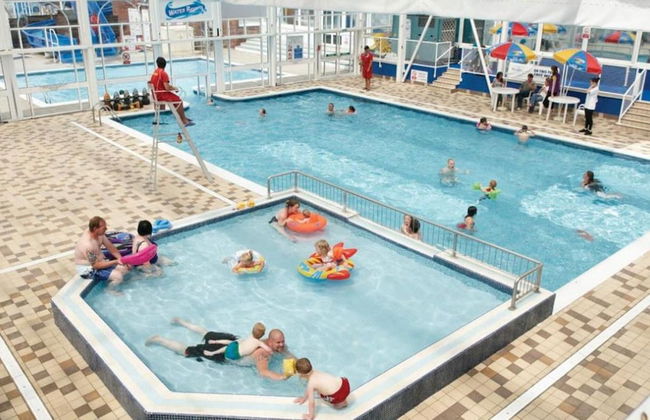
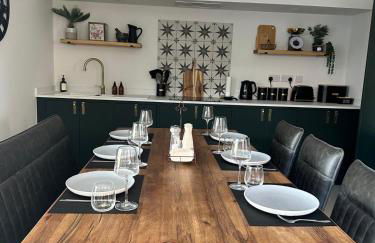
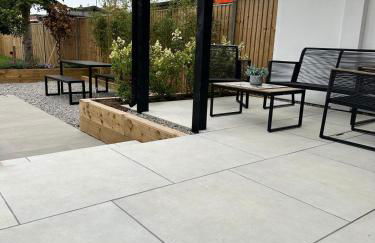
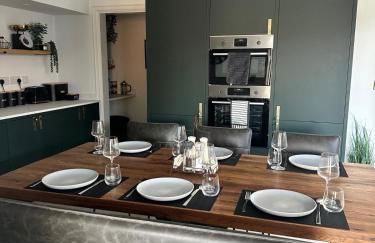
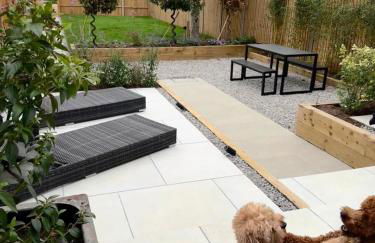
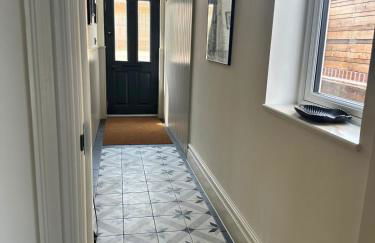
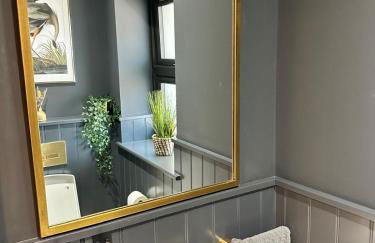
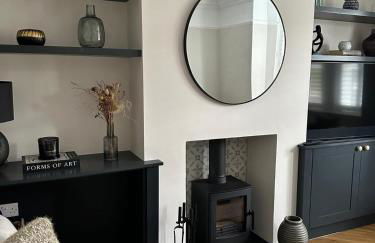
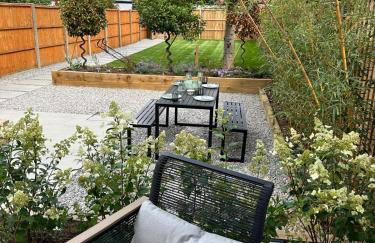
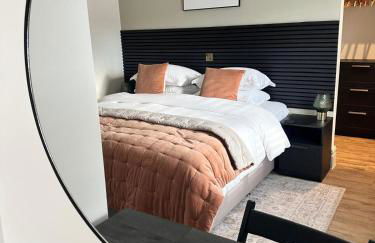
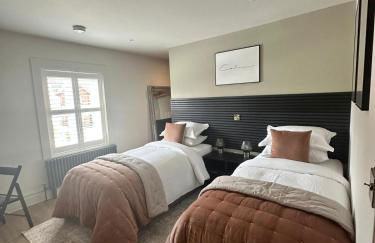
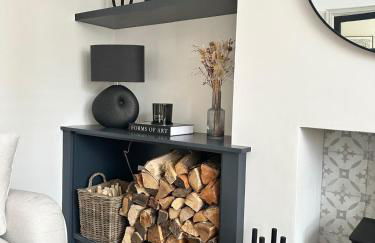
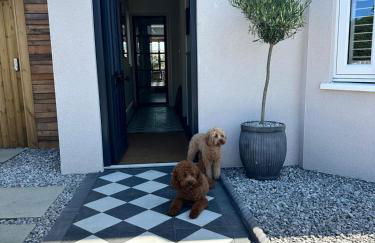
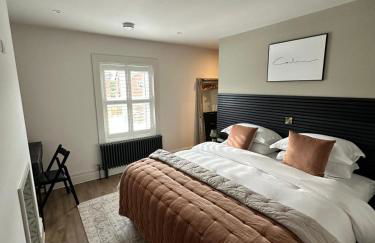
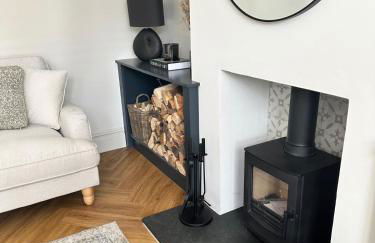
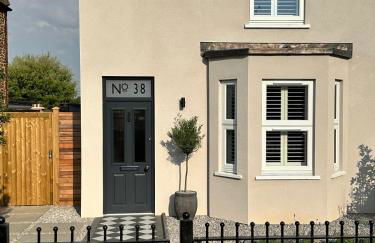
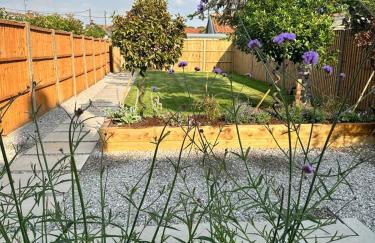
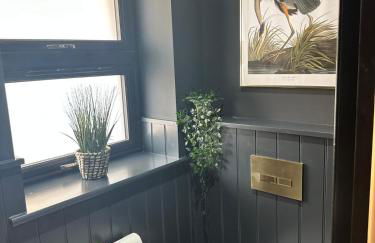
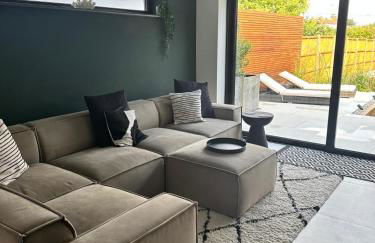
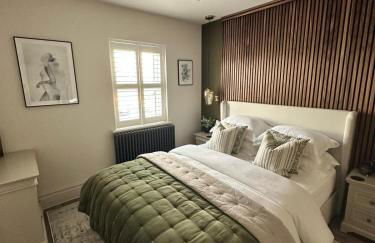
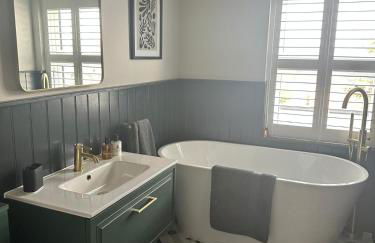
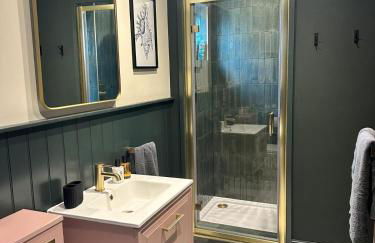
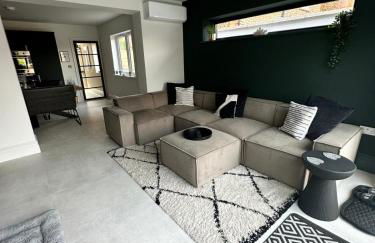
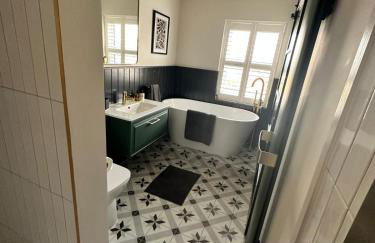
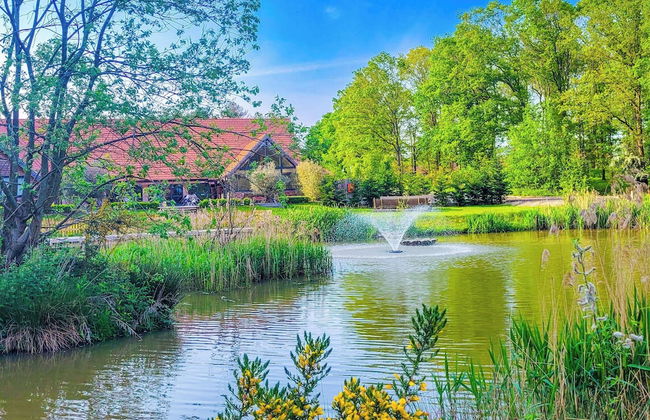
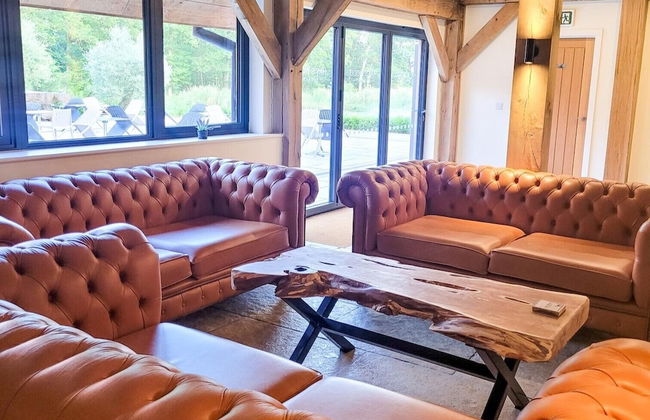
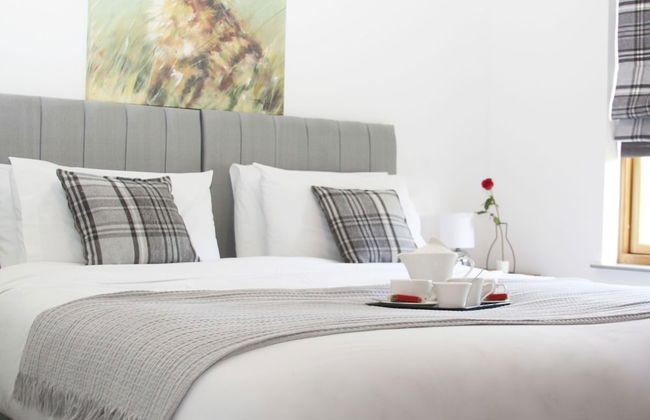
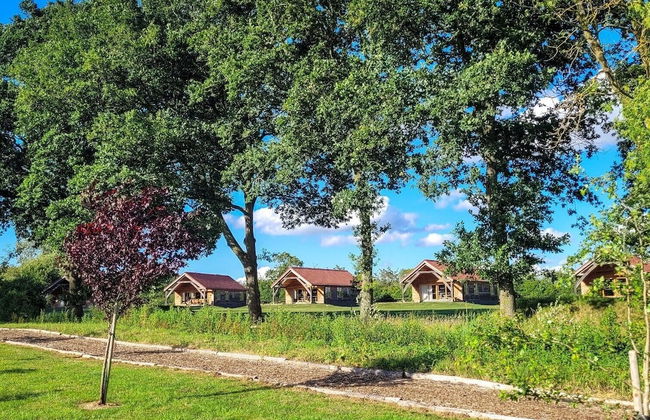
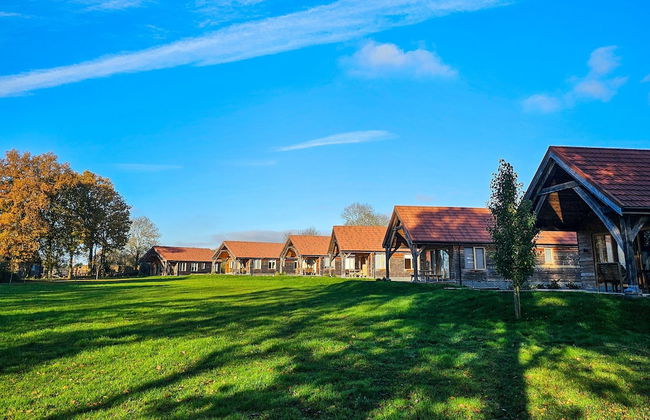
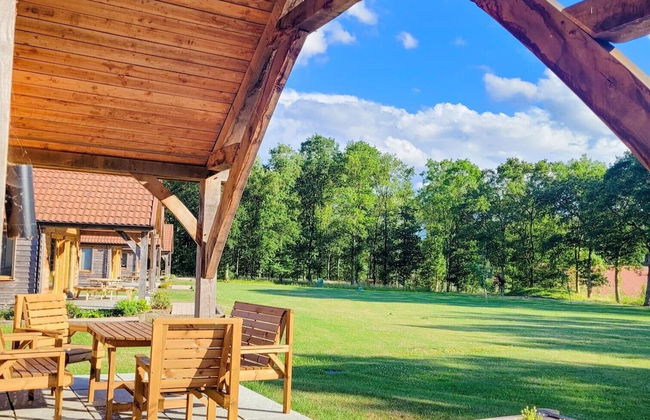
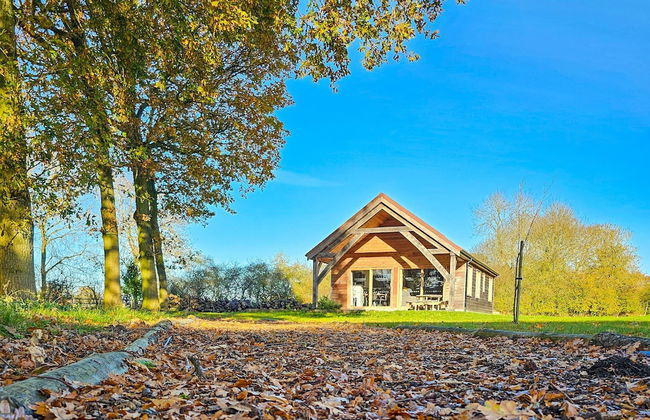
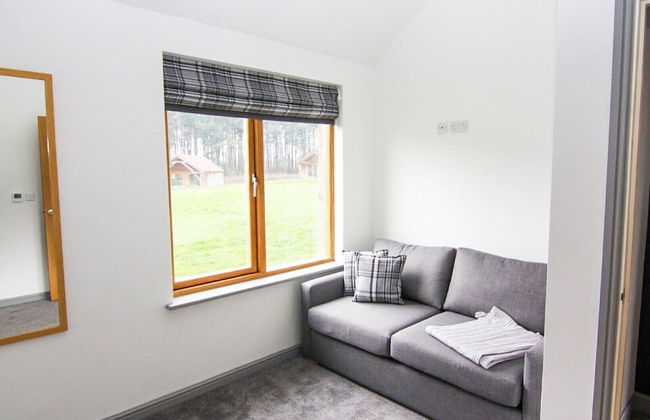
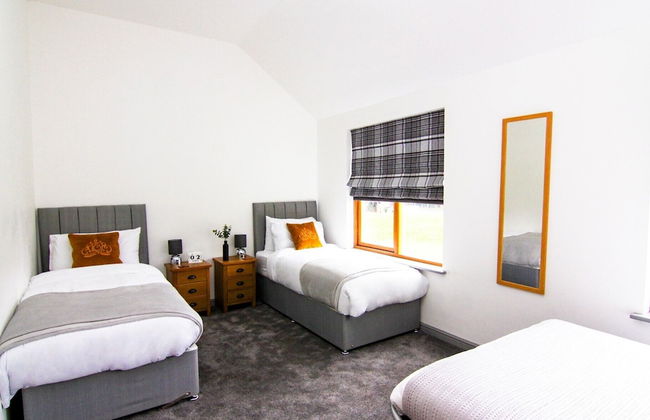
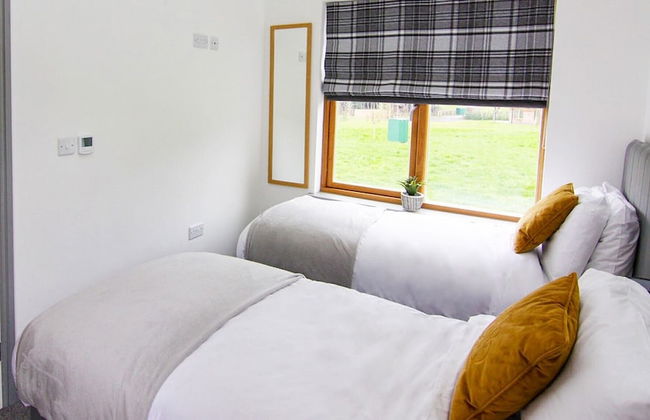
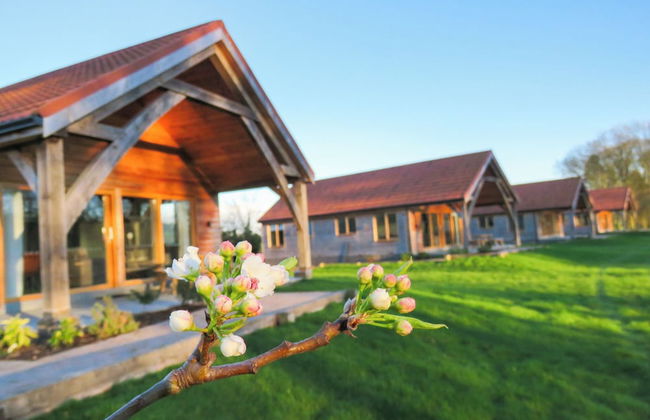
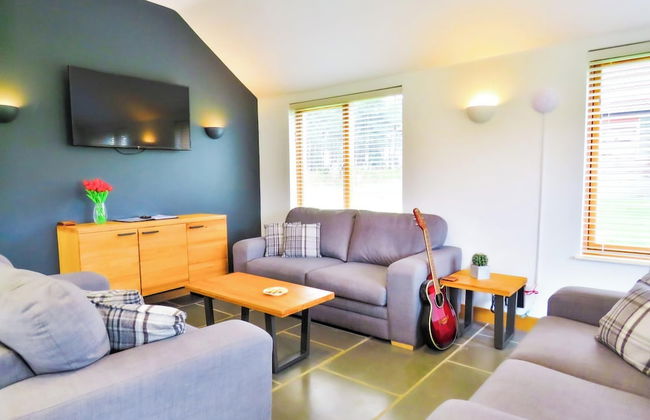
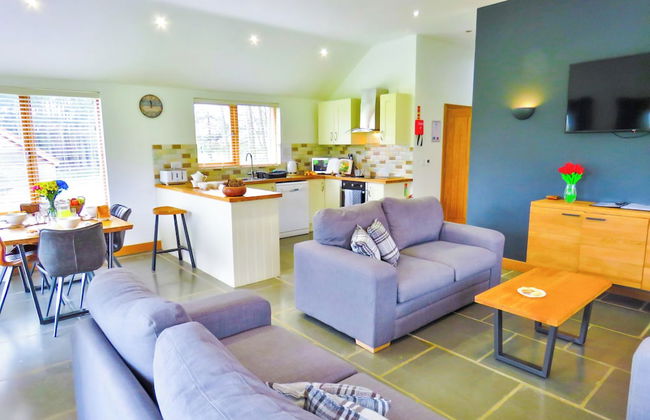
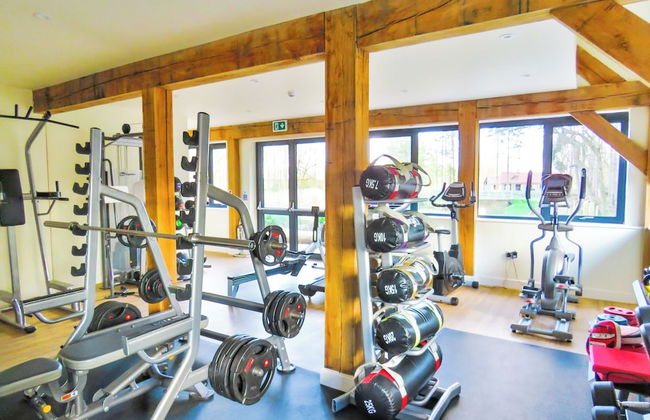
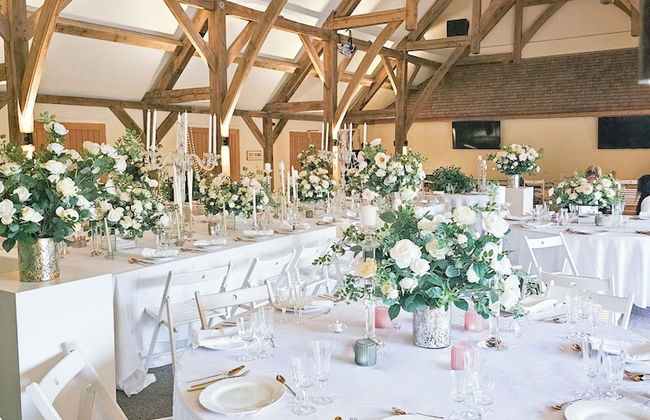
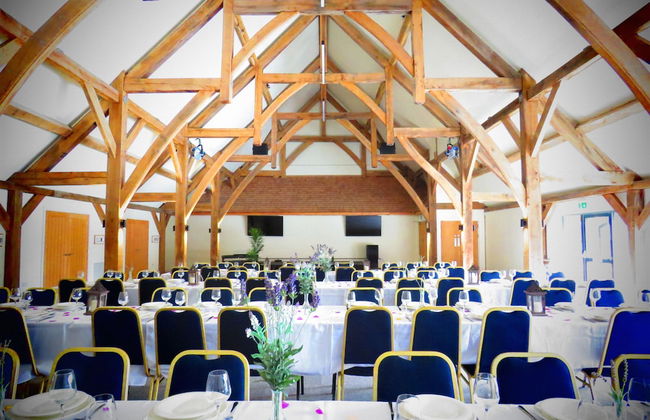
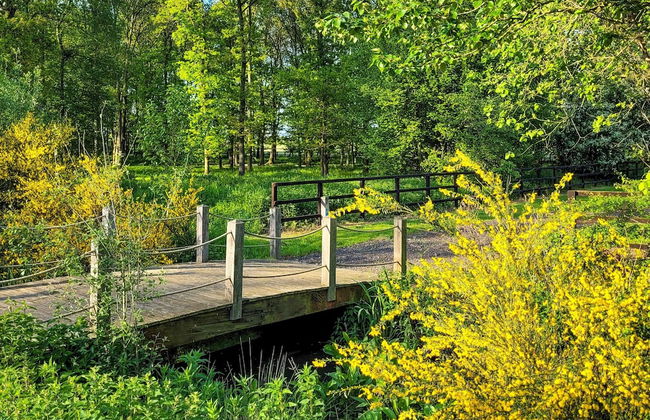
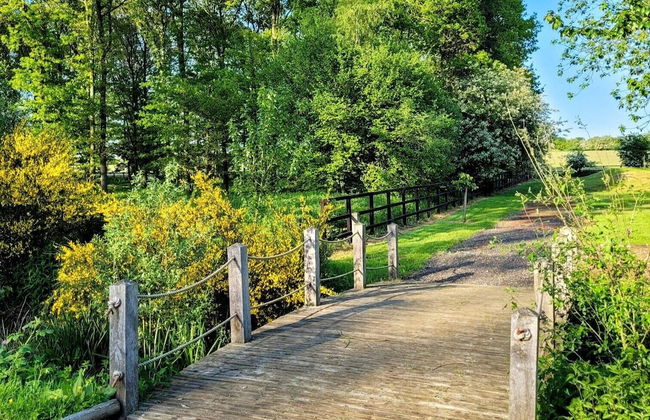
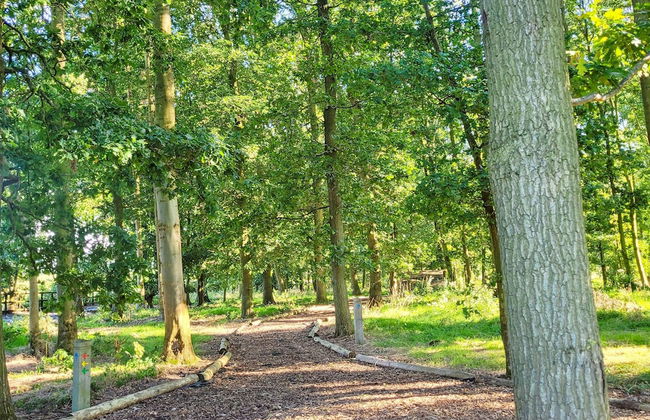
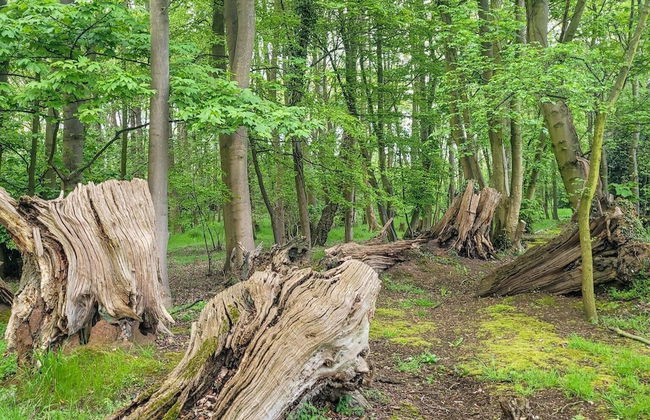
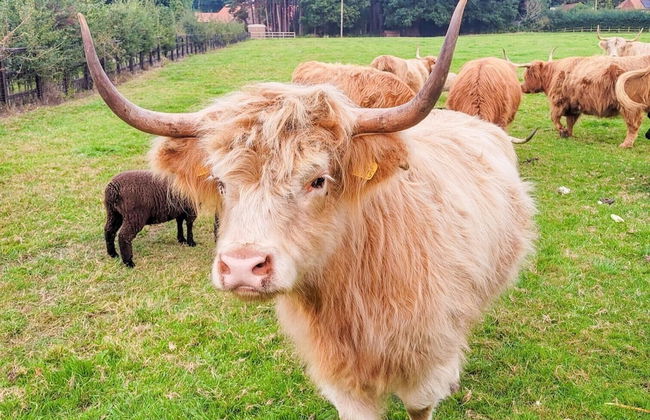
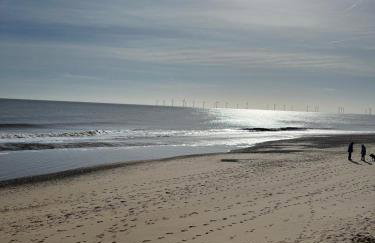
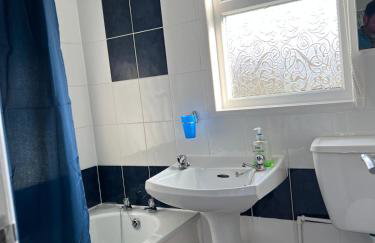
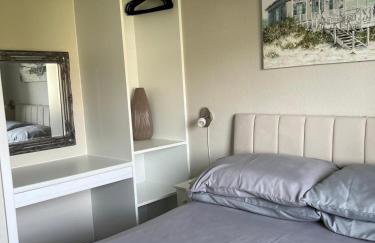
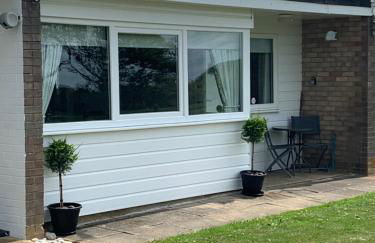
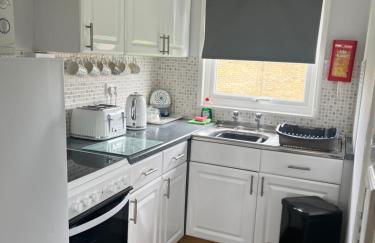
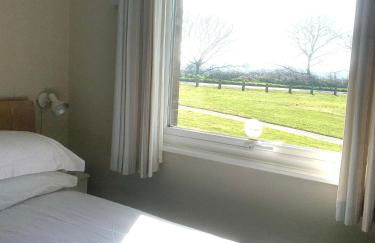
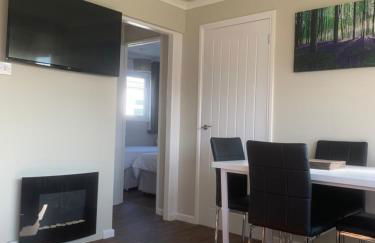
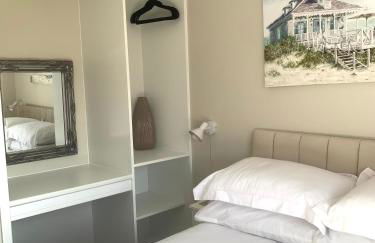
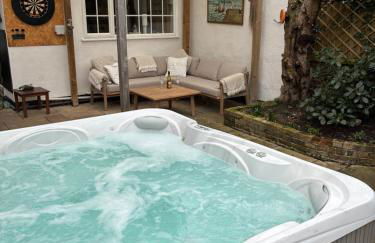
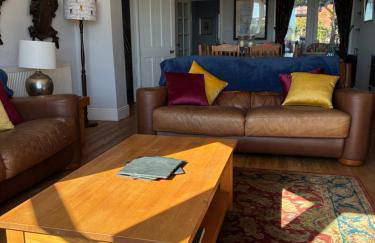
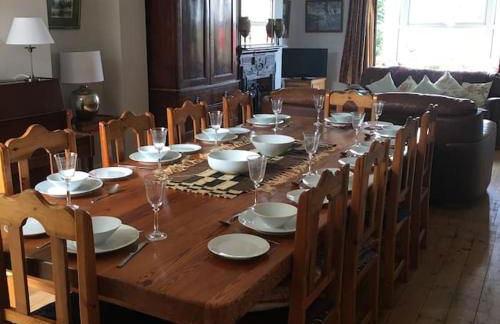
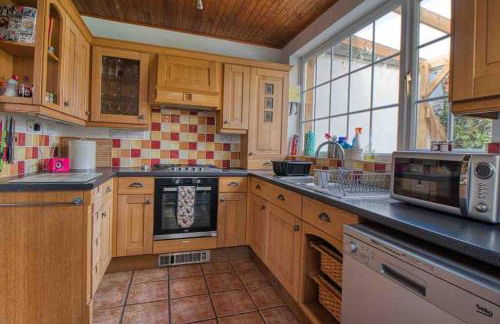
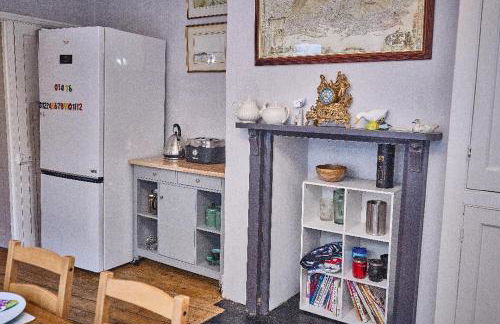
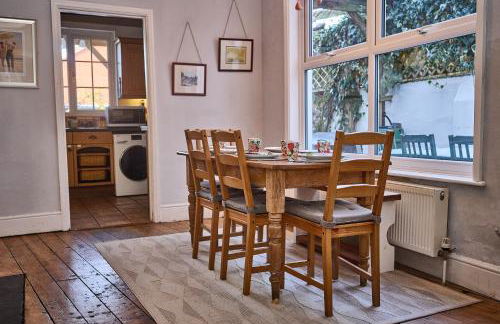
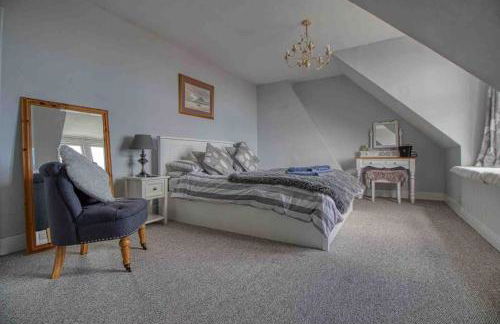
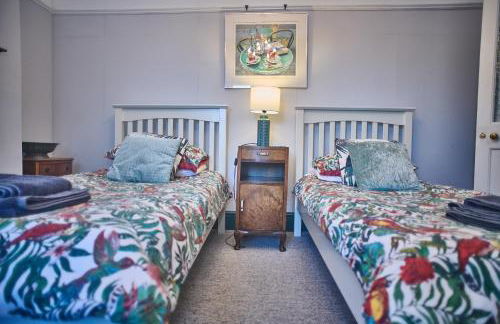
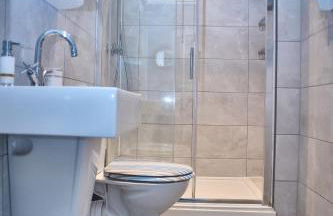
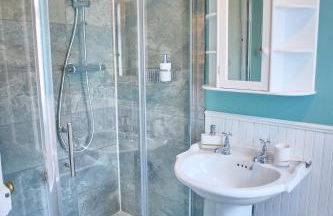
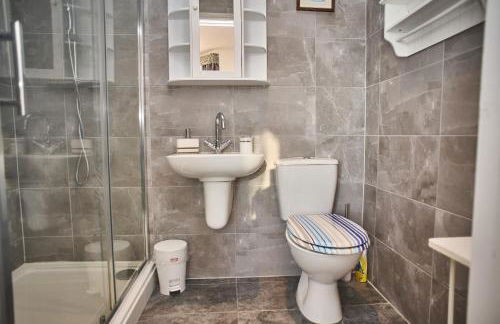
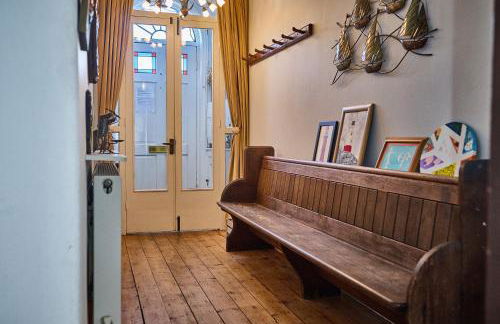
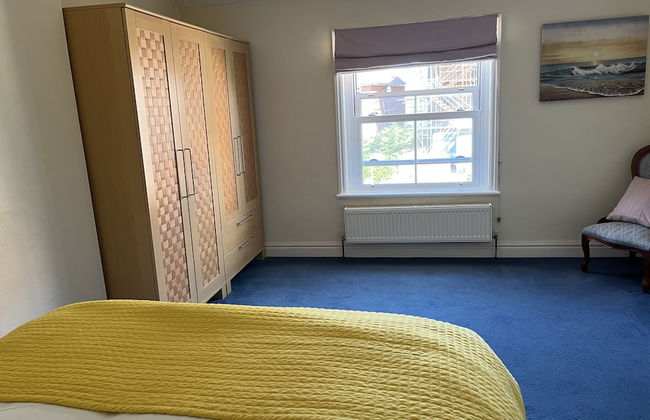
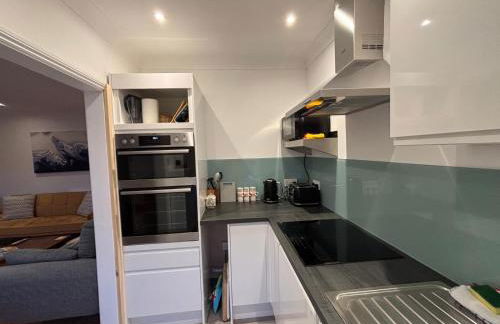
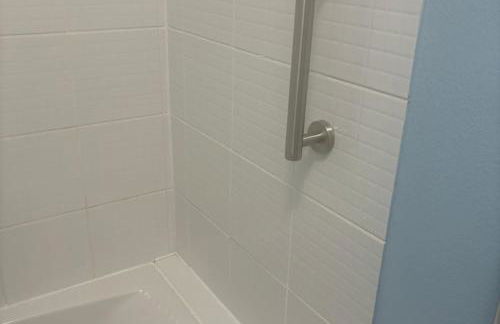
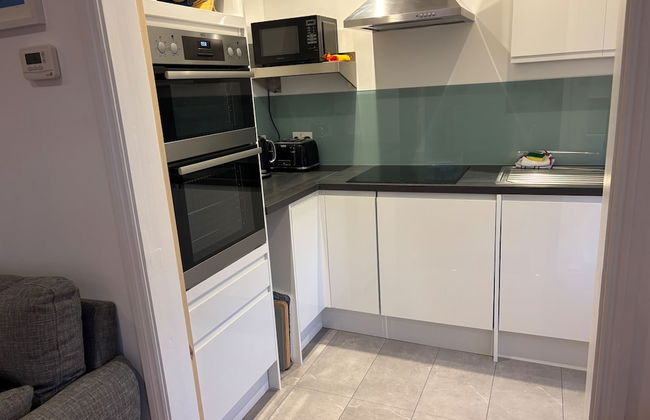
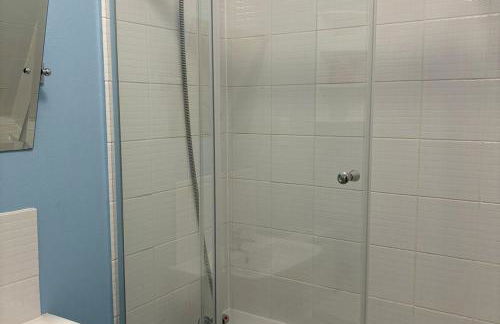
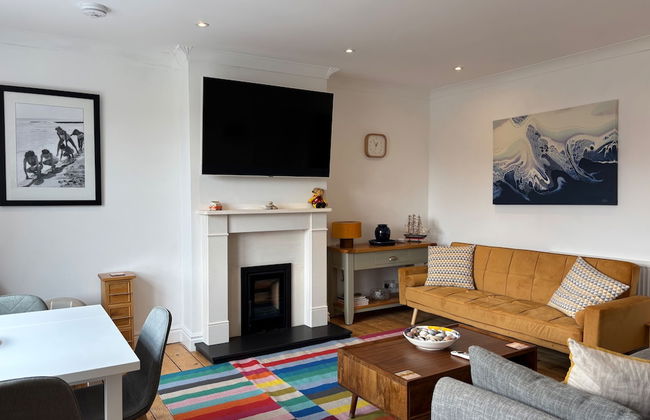
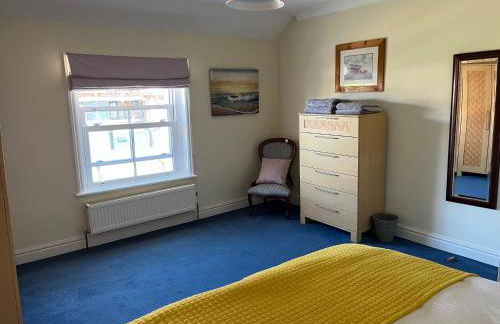
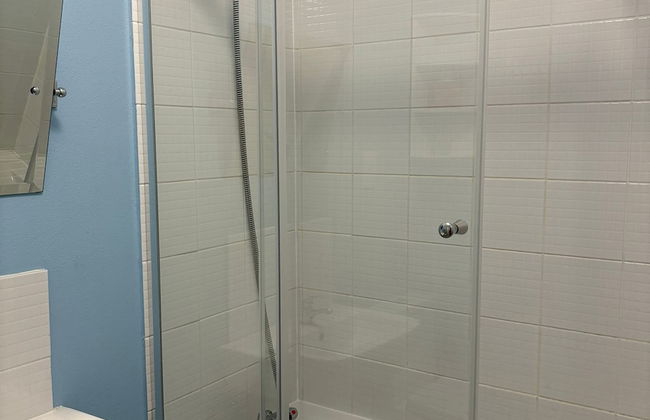
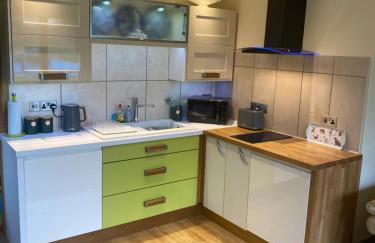
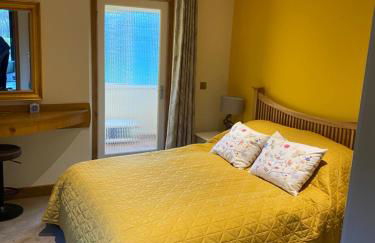
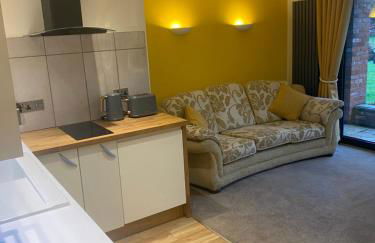
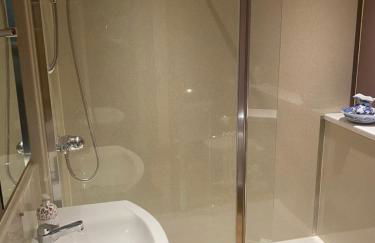
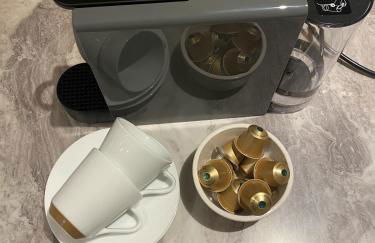
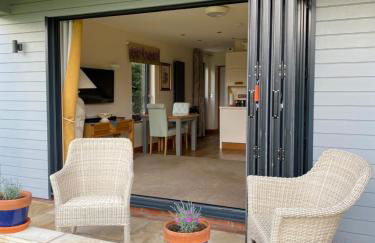
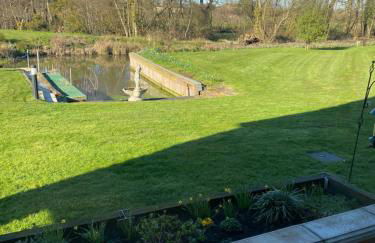
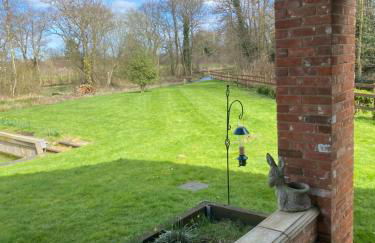
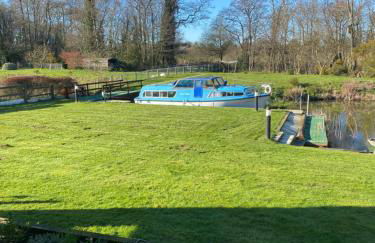
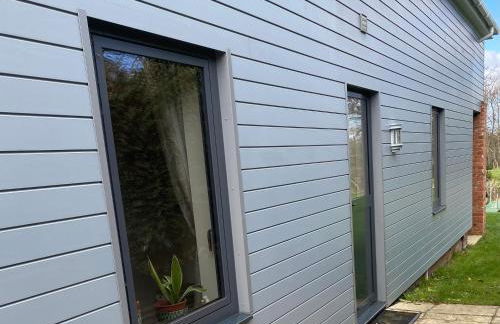
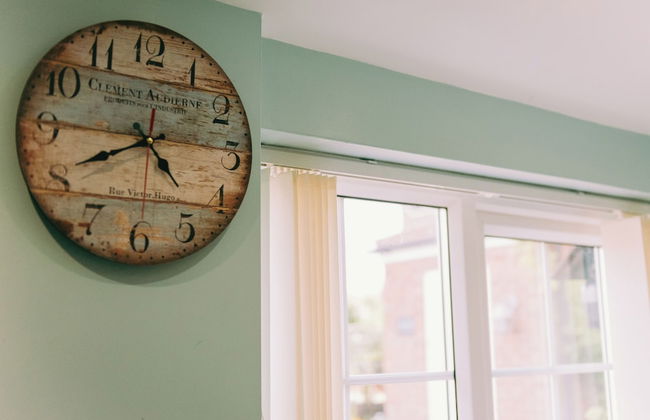
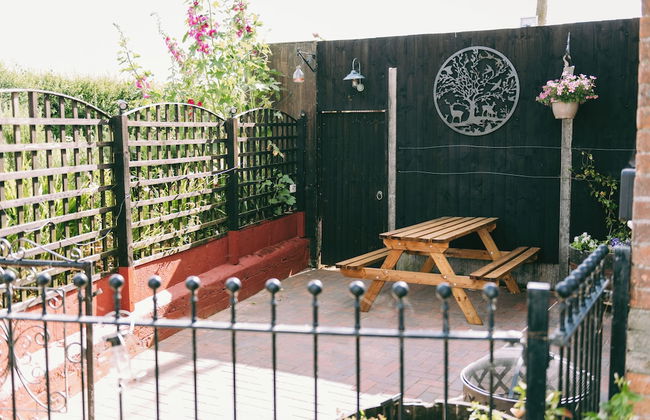
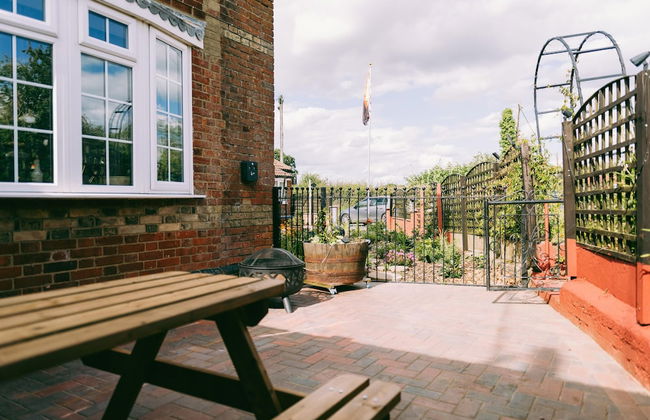
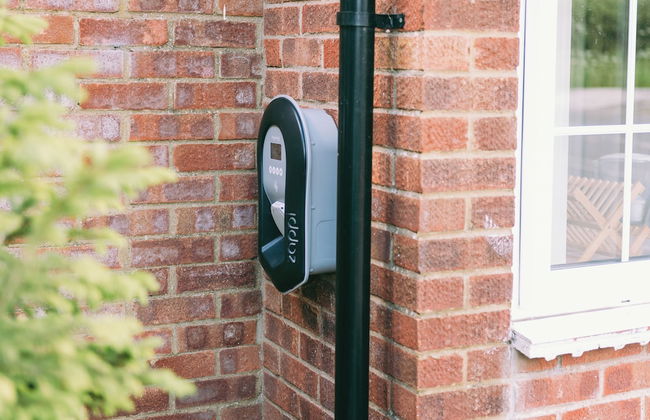
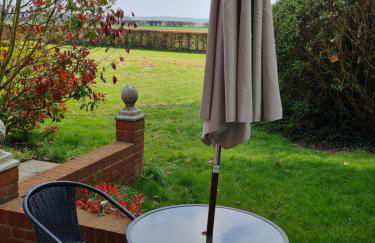
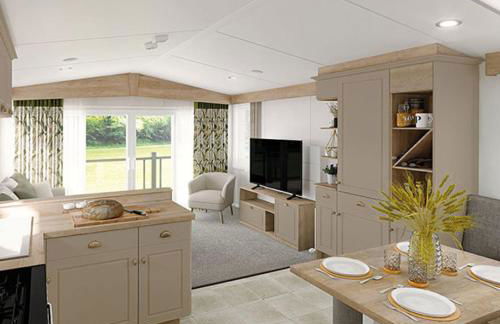
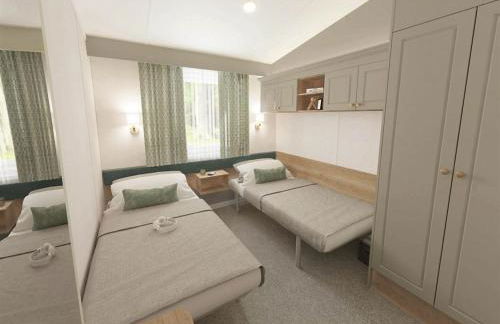
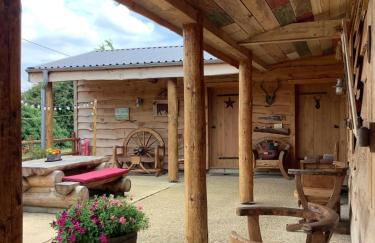
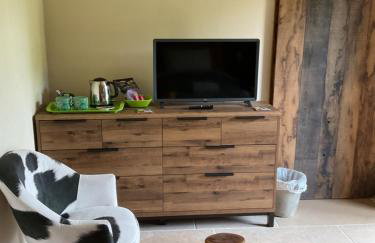
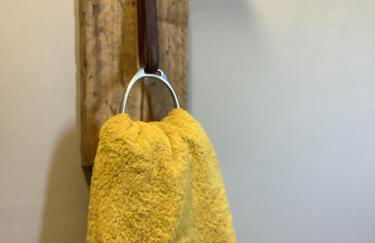
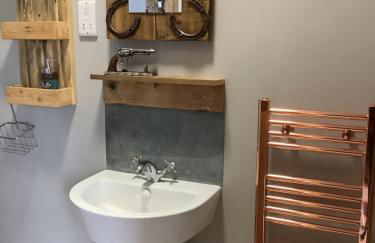
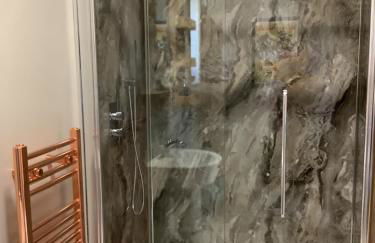
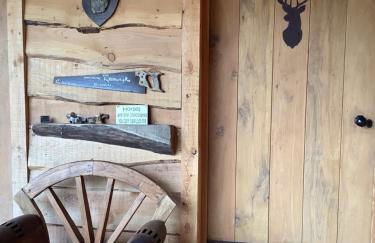
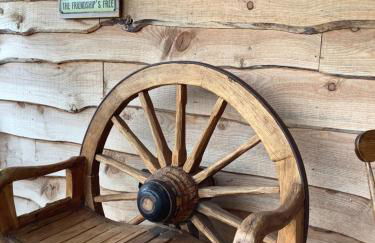
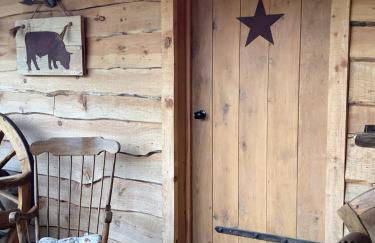
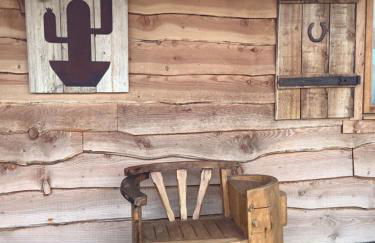
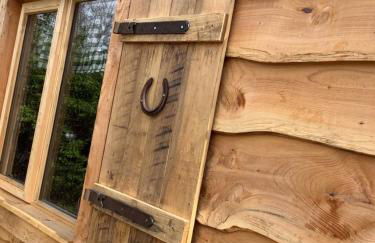
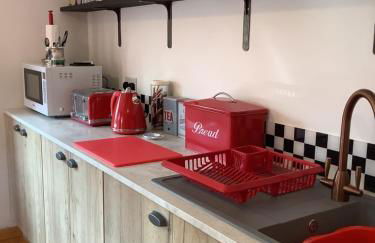
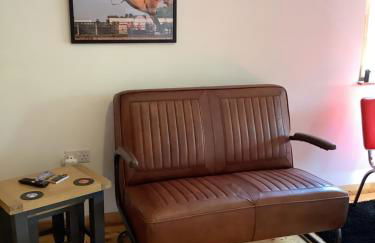
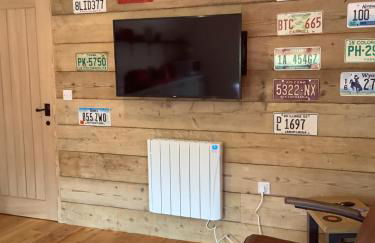
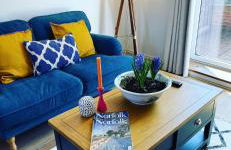
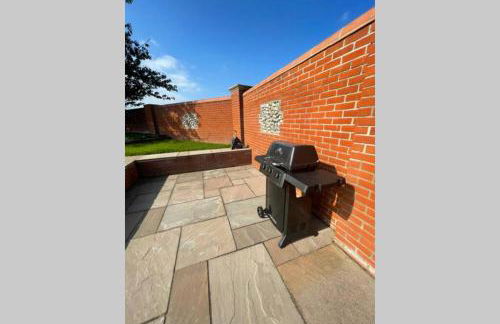
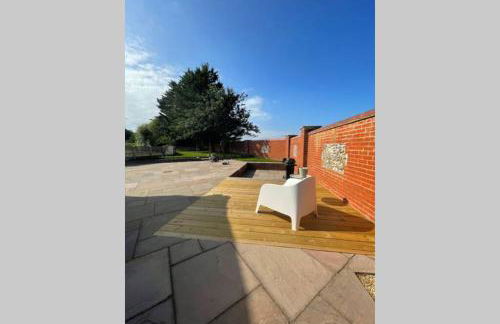
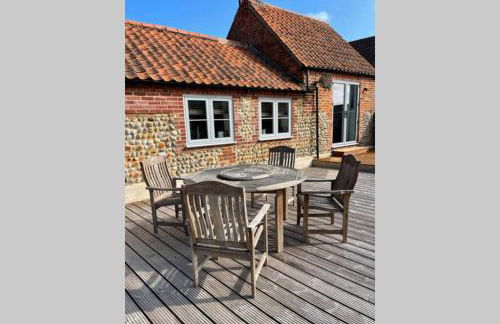
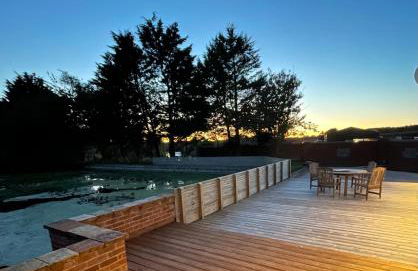
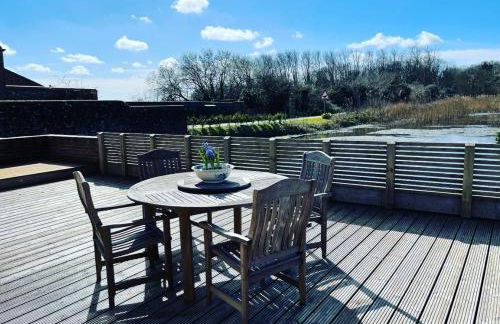
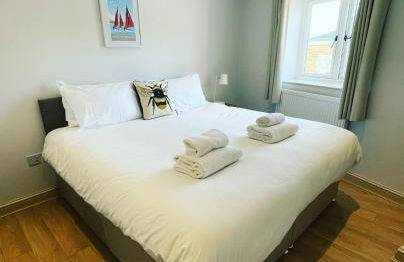
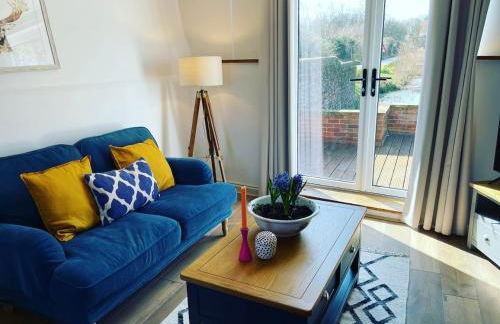
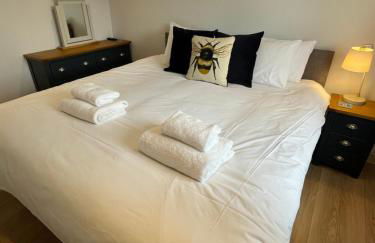
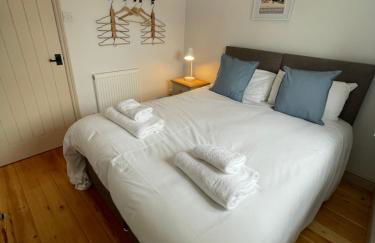
West Lexham Wellness and Retreat Centre - Foto 1
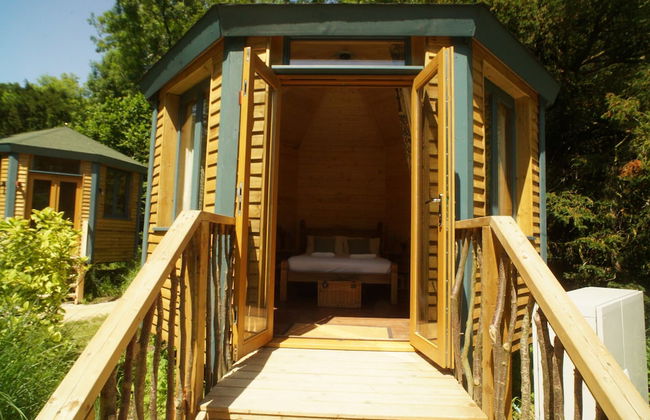
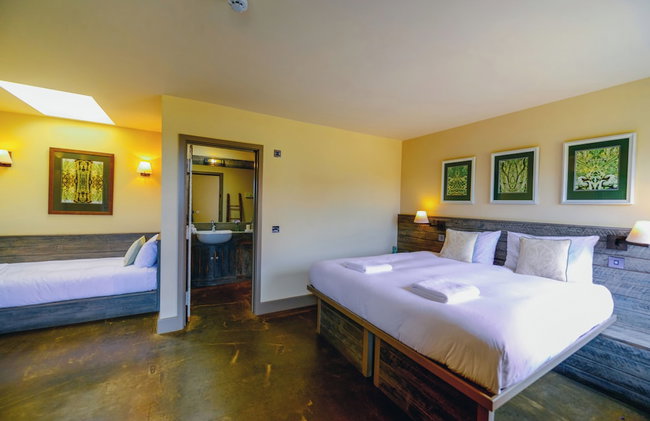
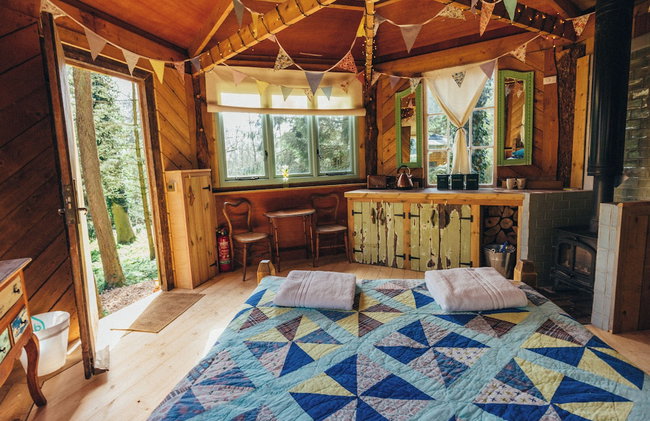
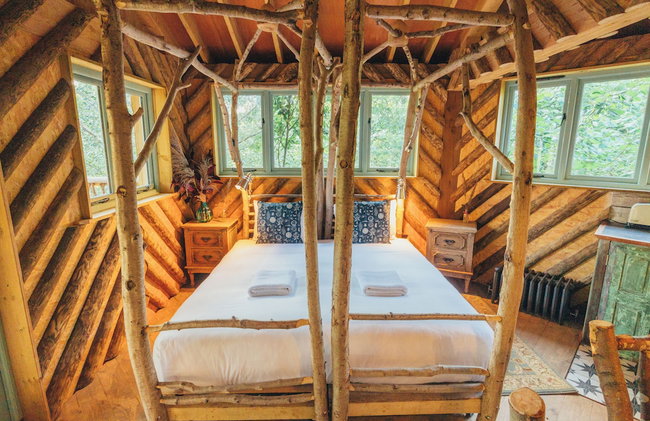
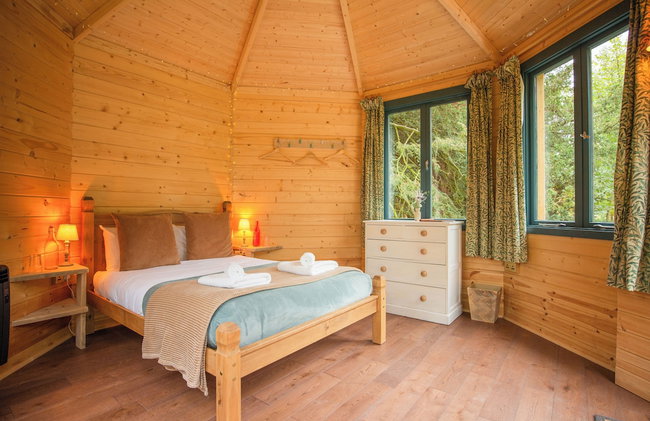
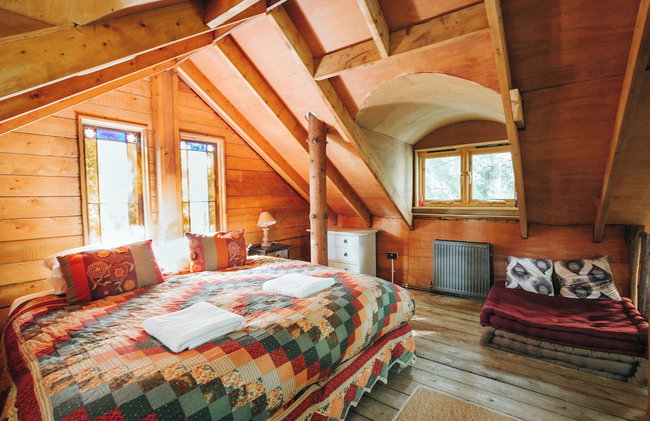
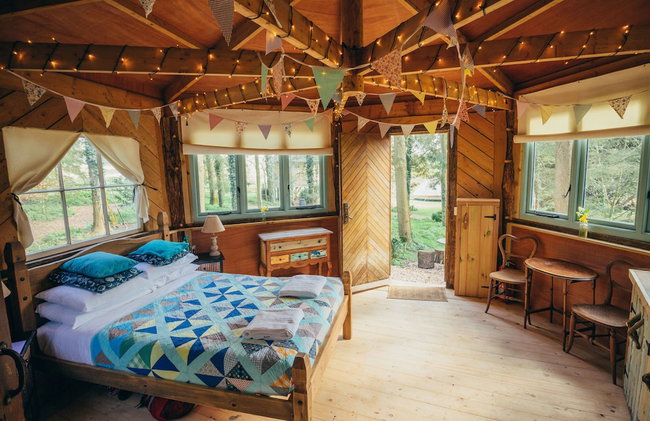
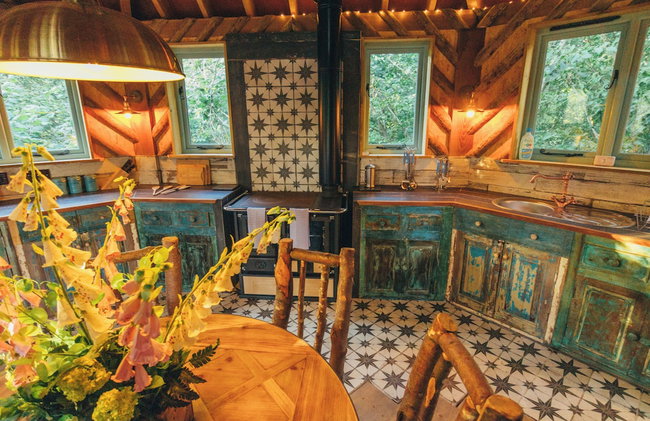
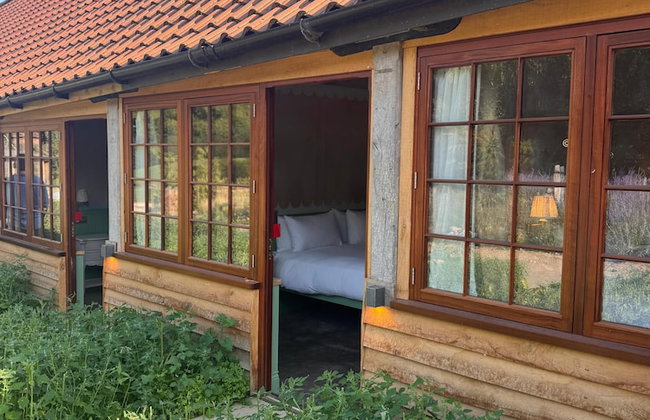
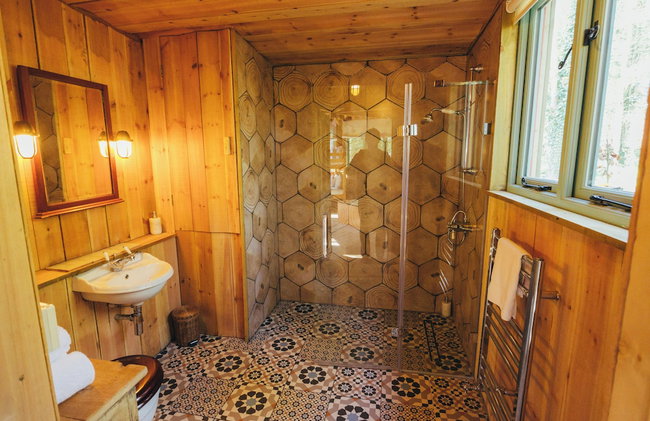
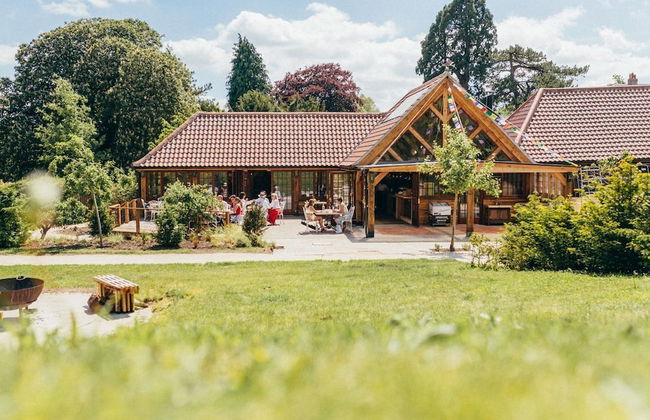
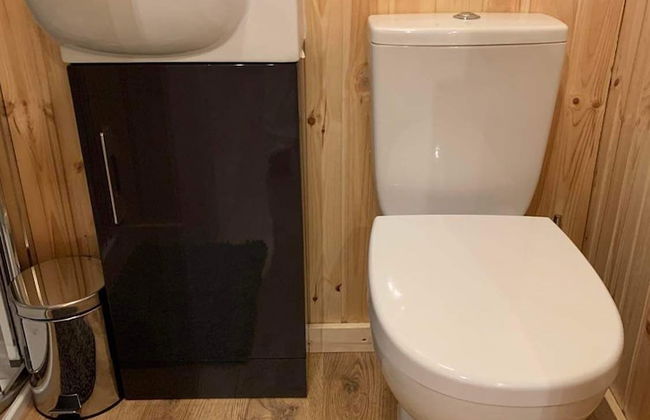
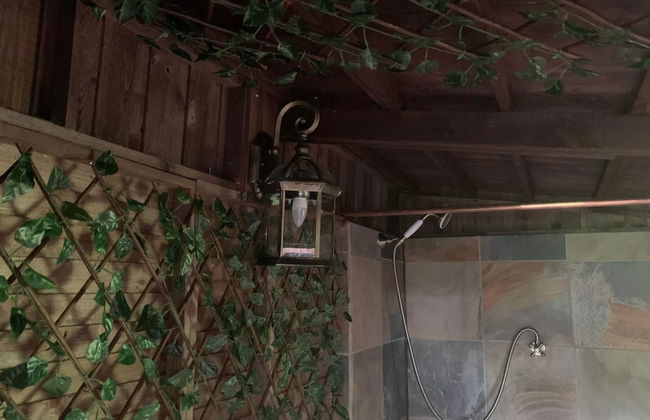
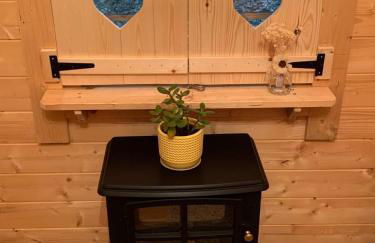
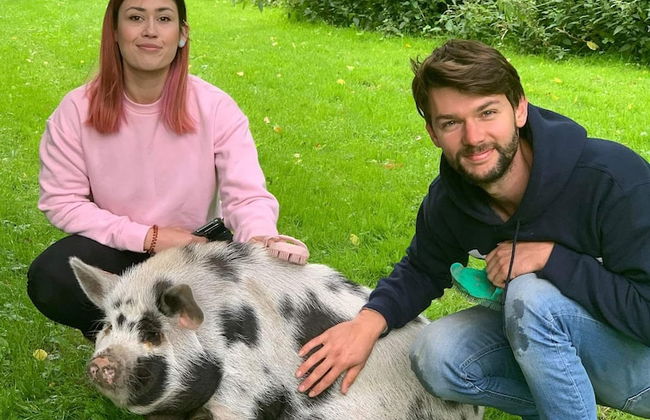
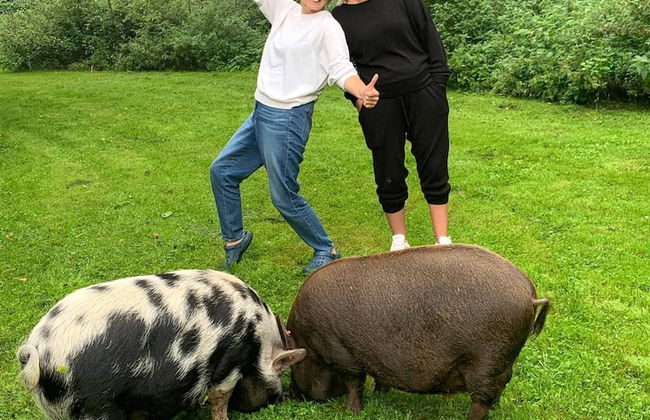
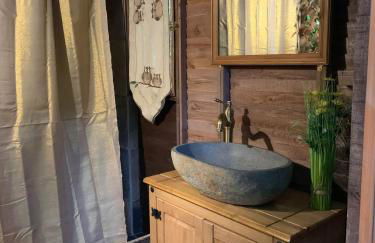
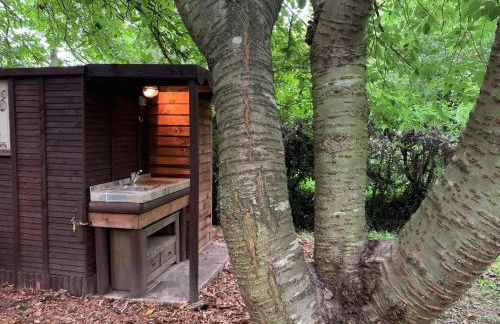
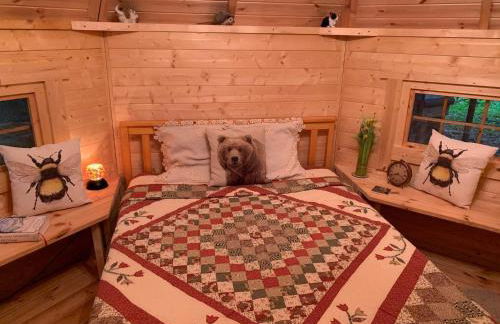
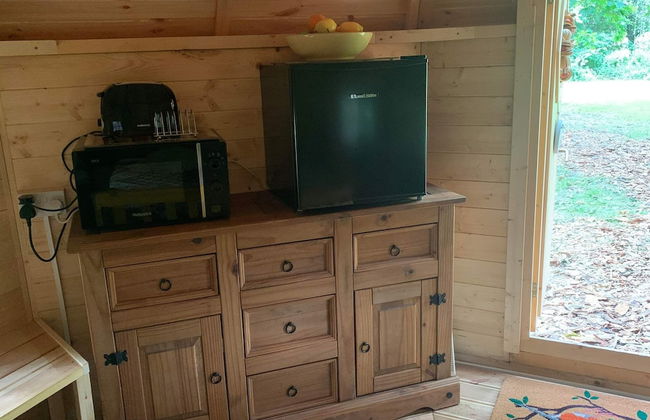
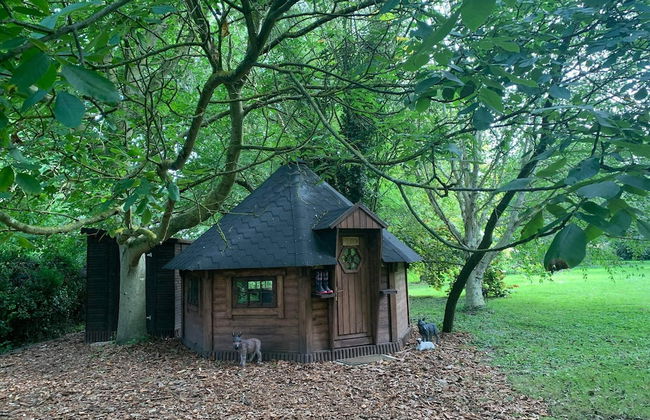
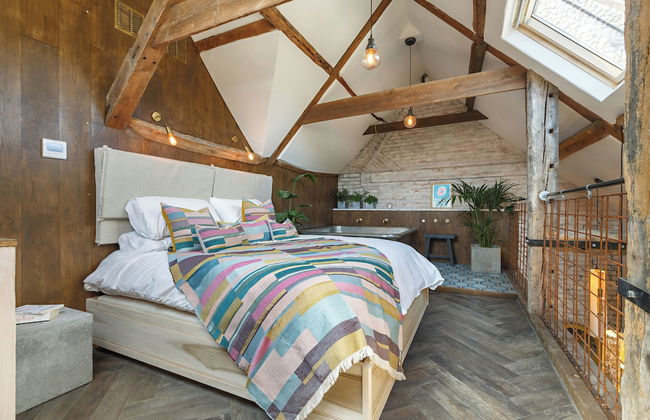
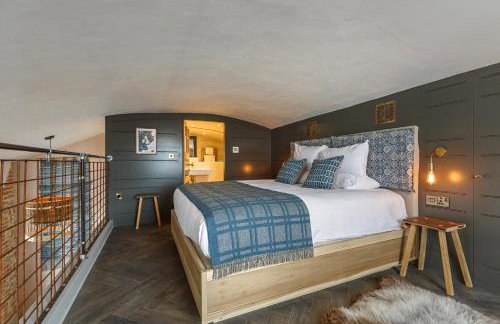
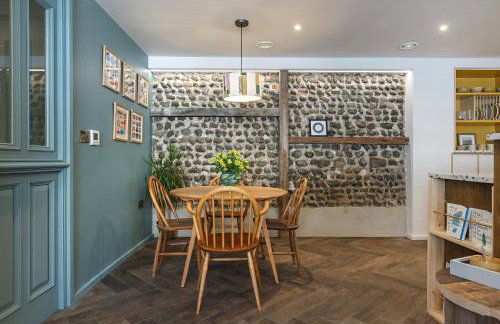
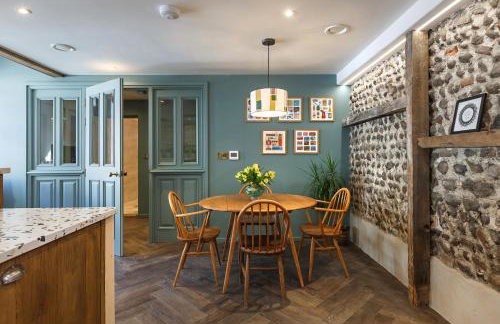
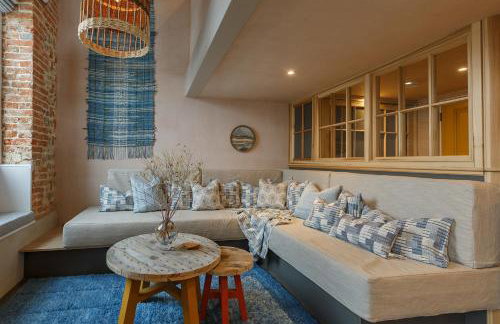
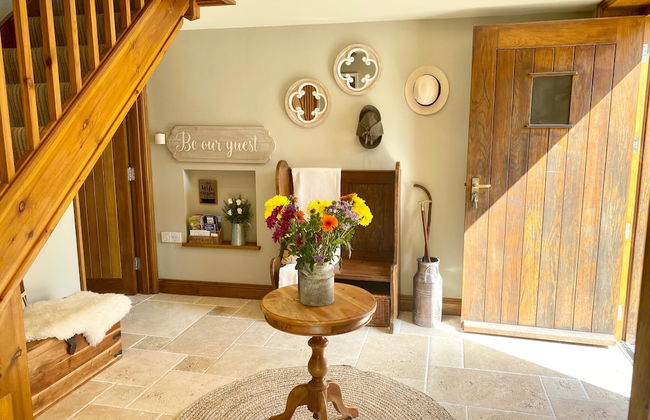
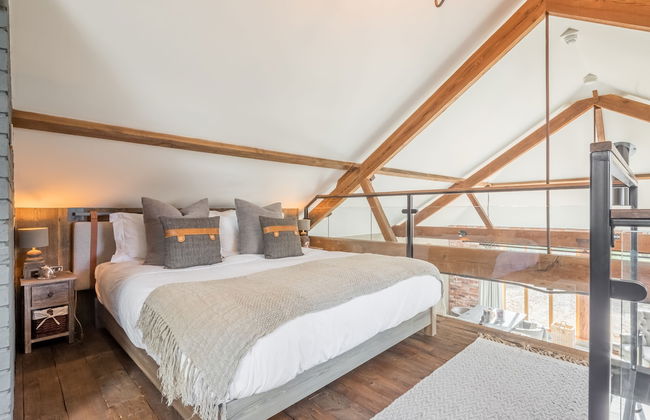
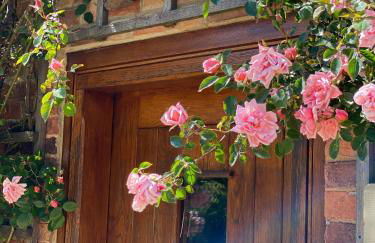
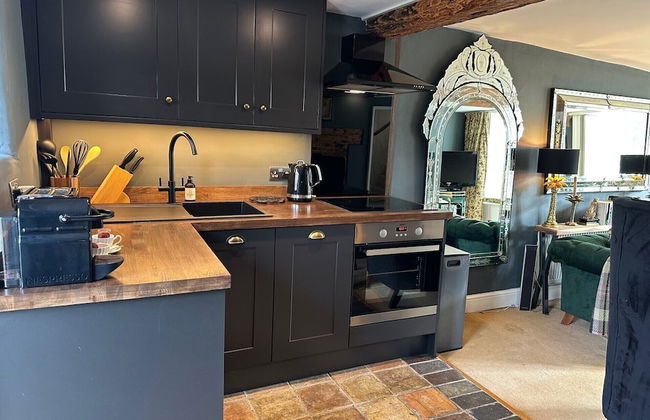
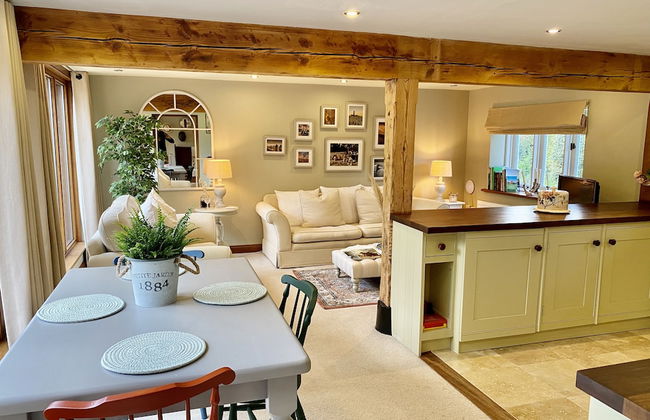
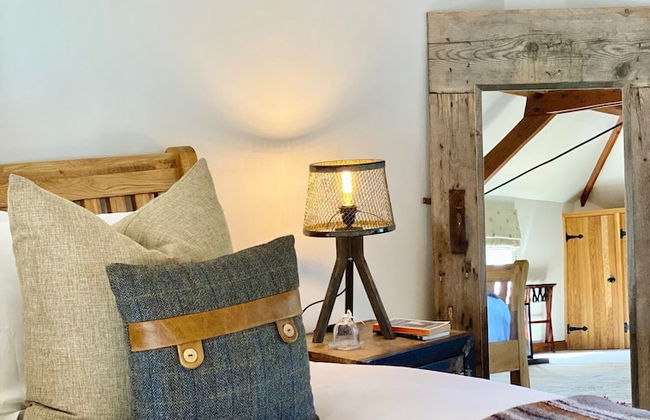
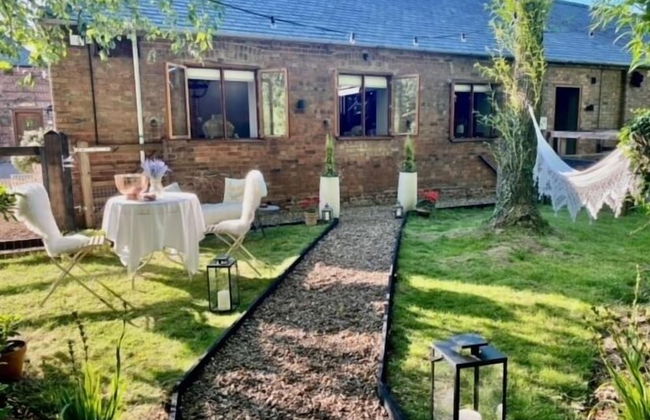
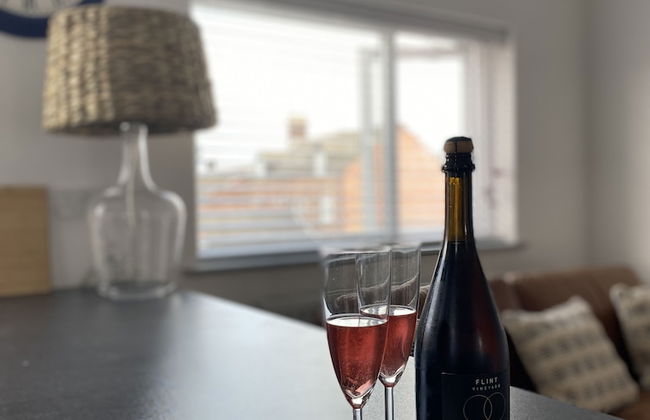
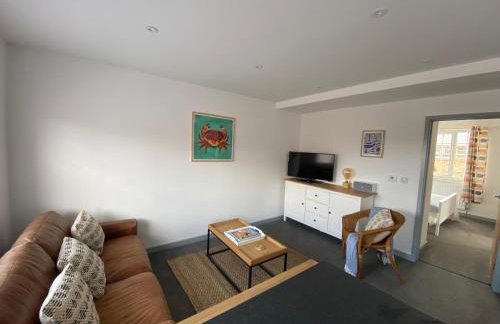
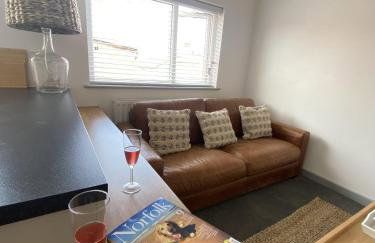
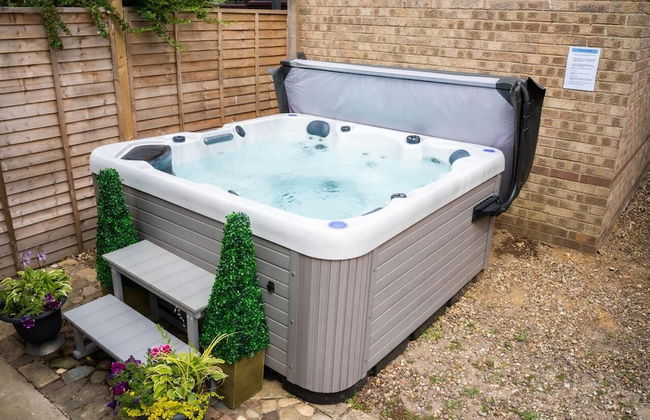
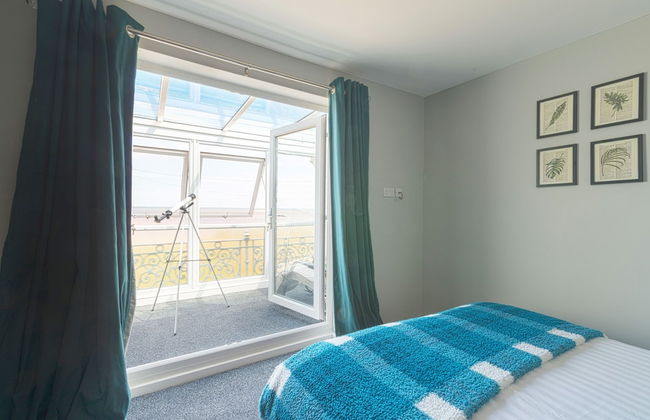
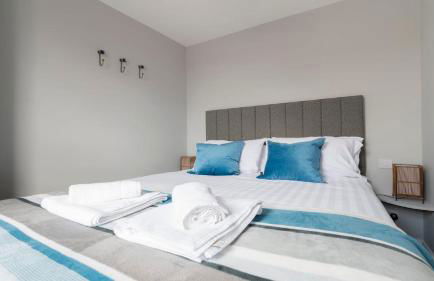
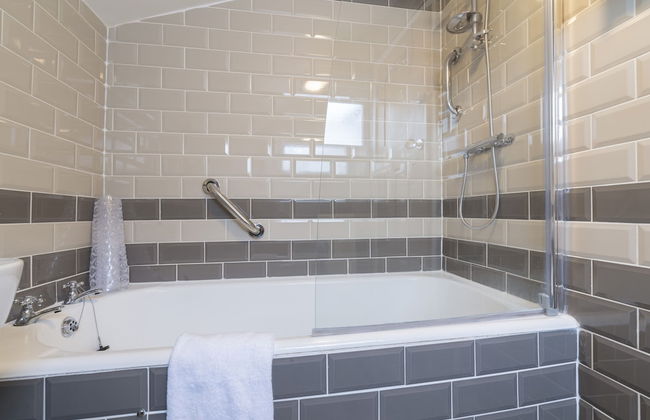
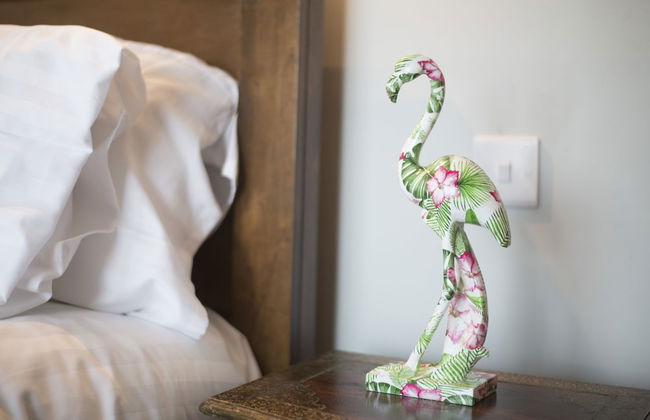
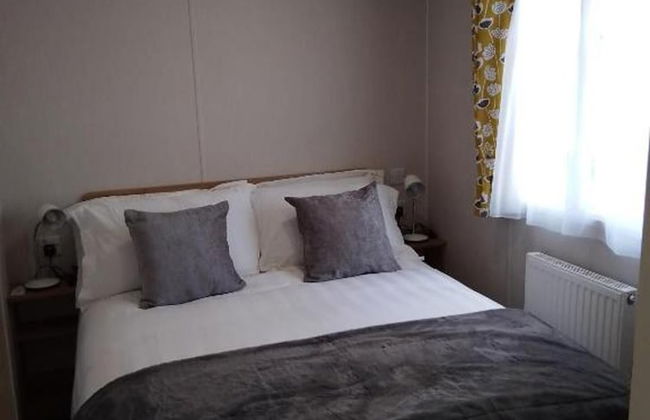
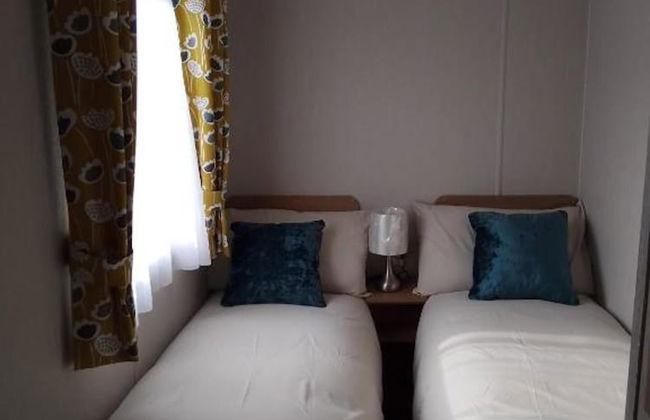
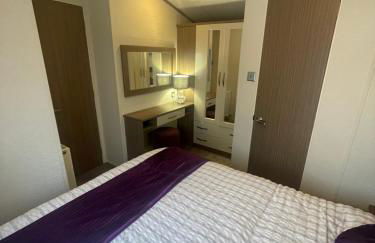
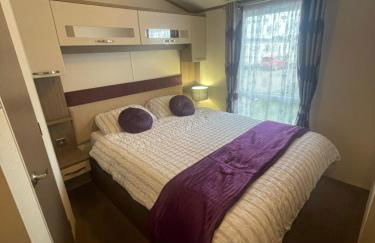
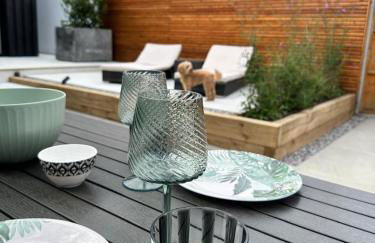
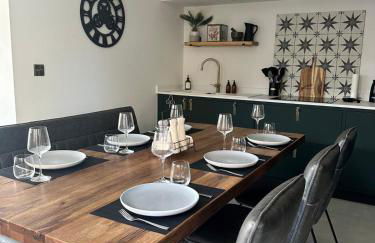
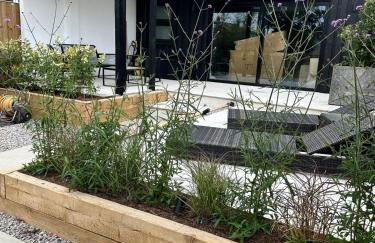
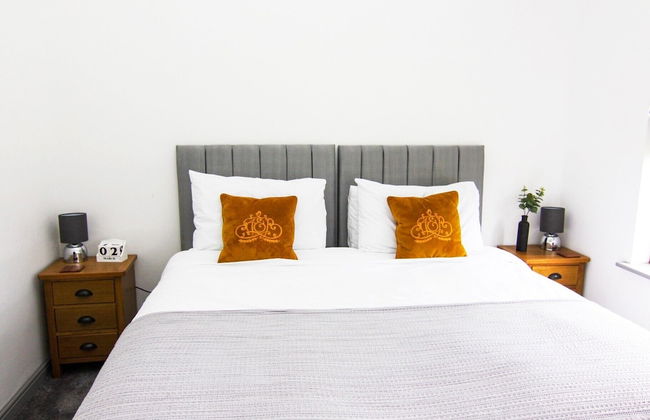
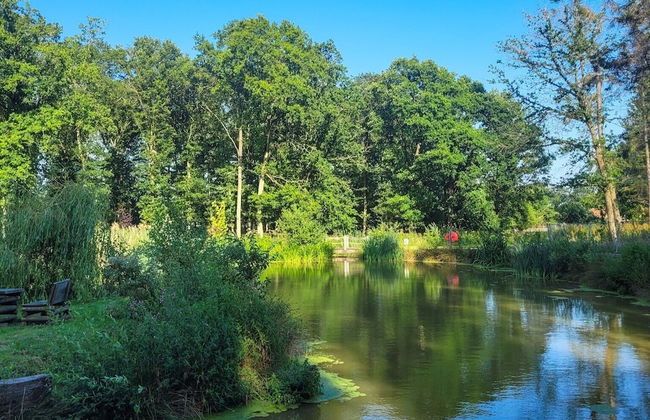
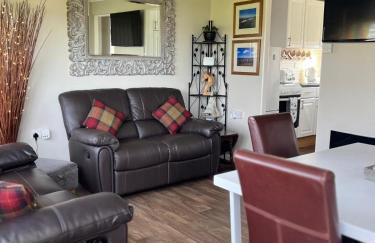
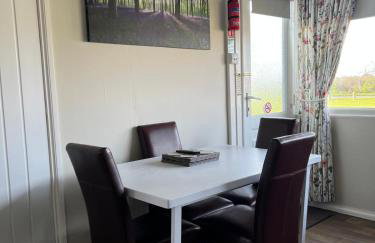
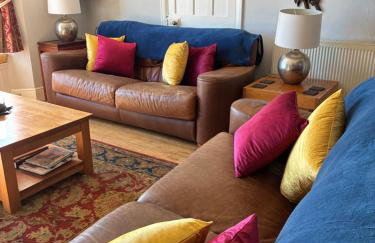
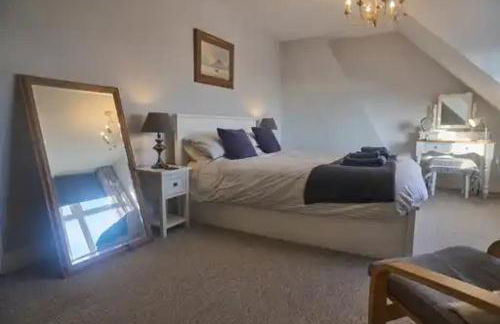
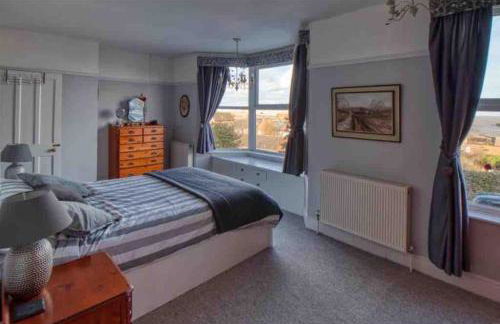
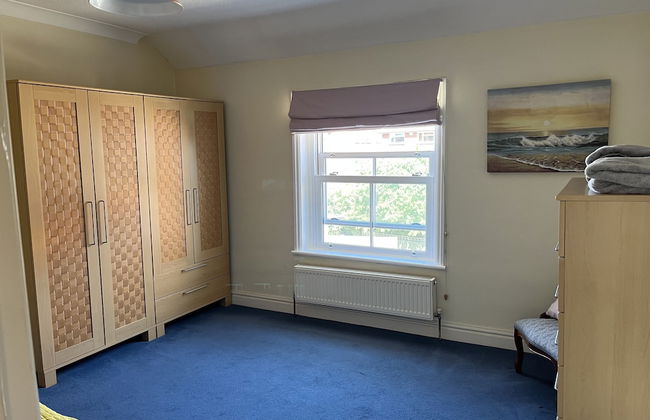
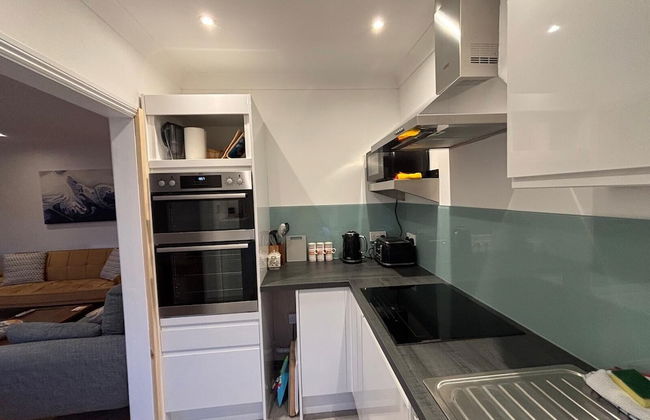
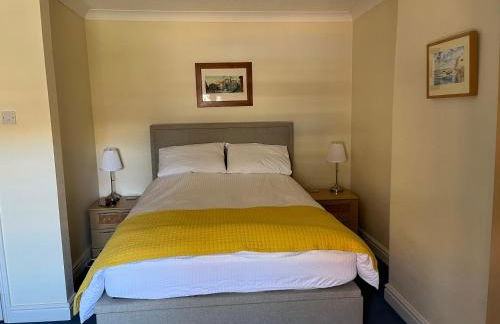
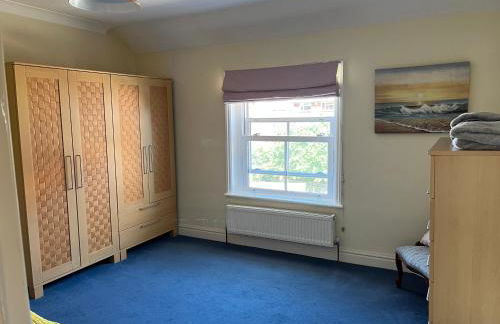
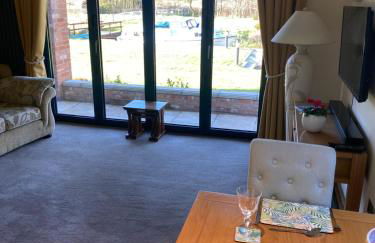
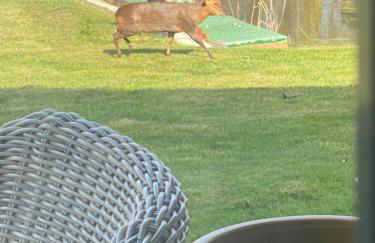
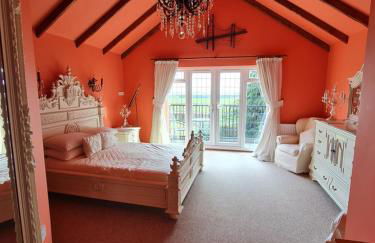
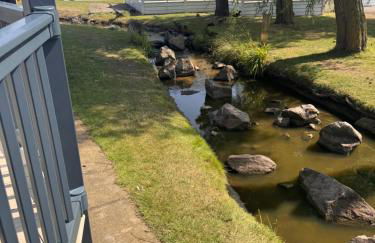
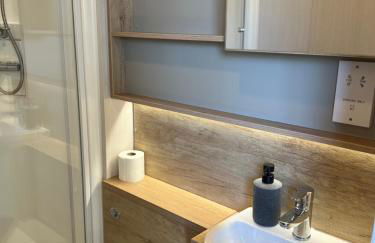
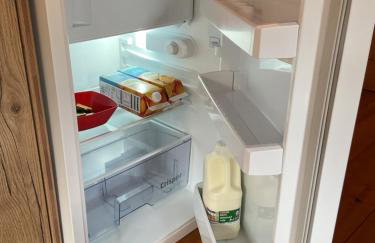
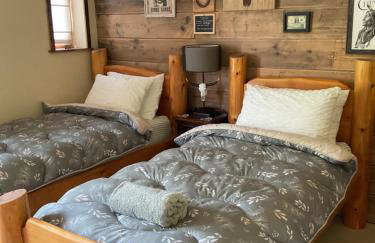
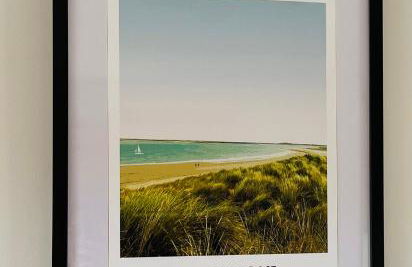
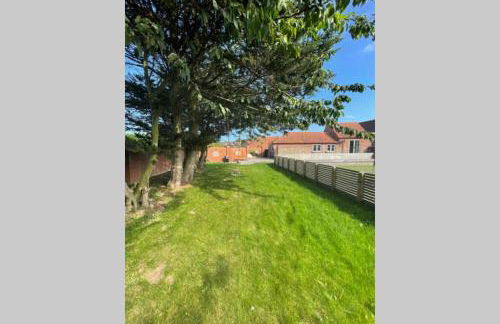
West Lexham Wellness and Retreat Centre - Foto 2
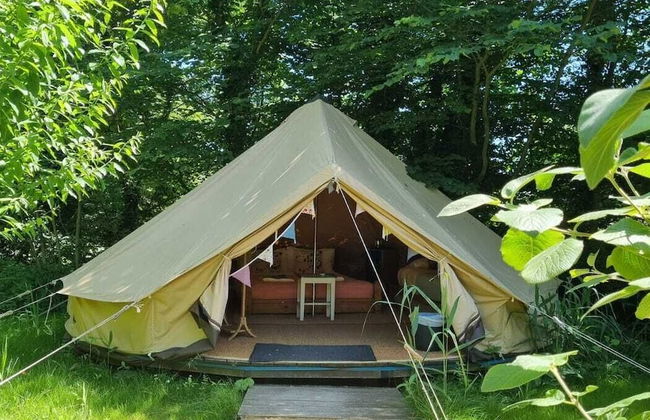
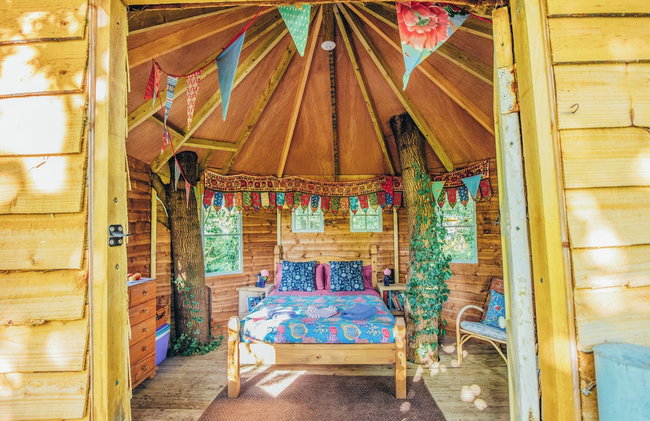
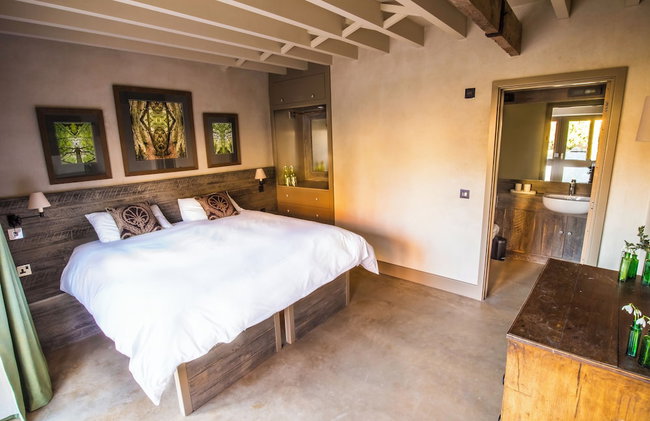
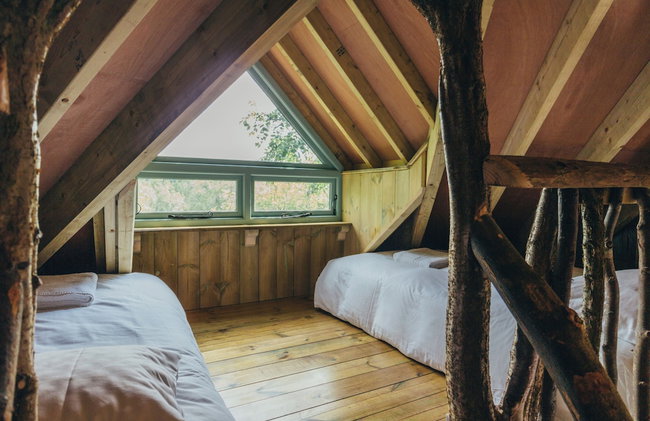
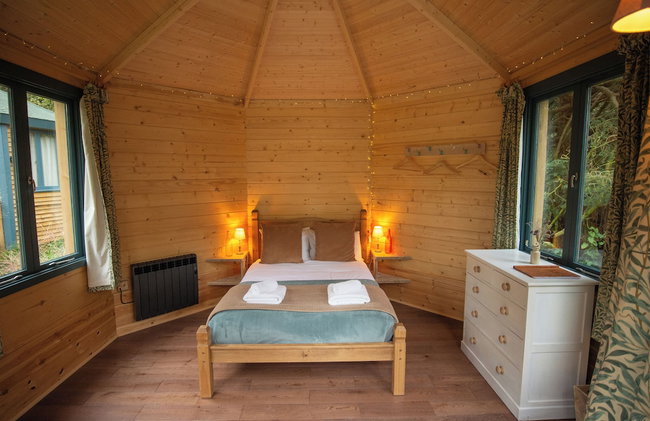
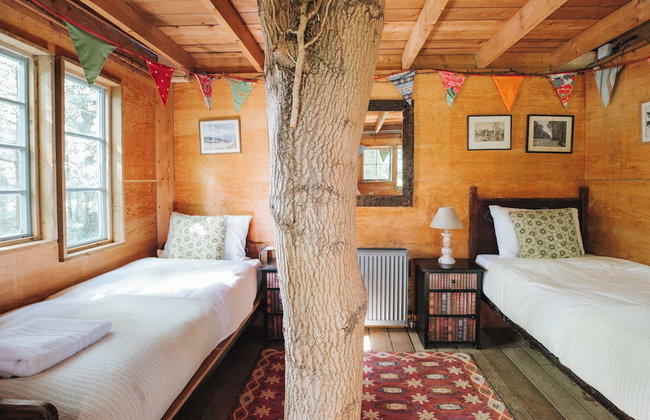
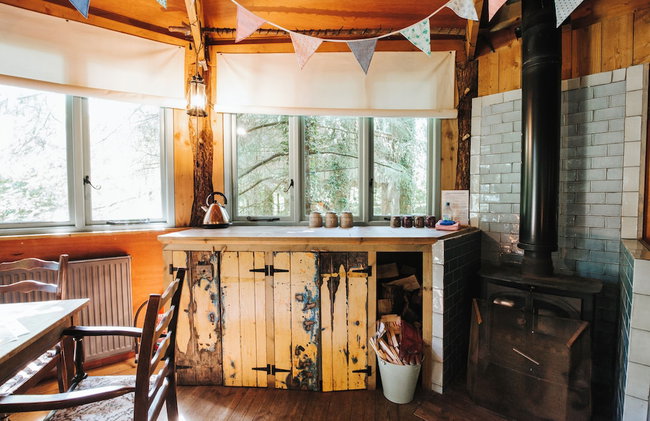
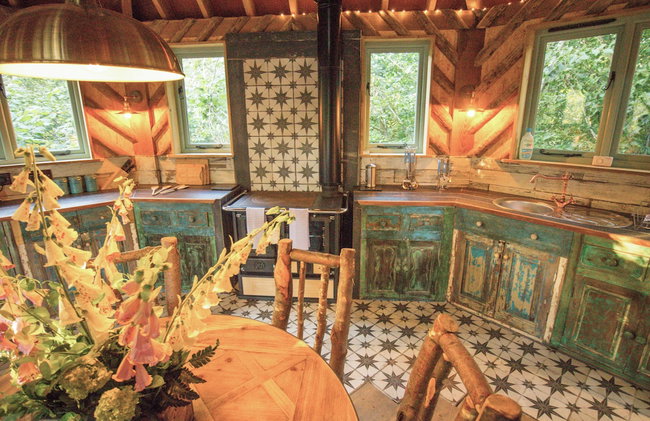
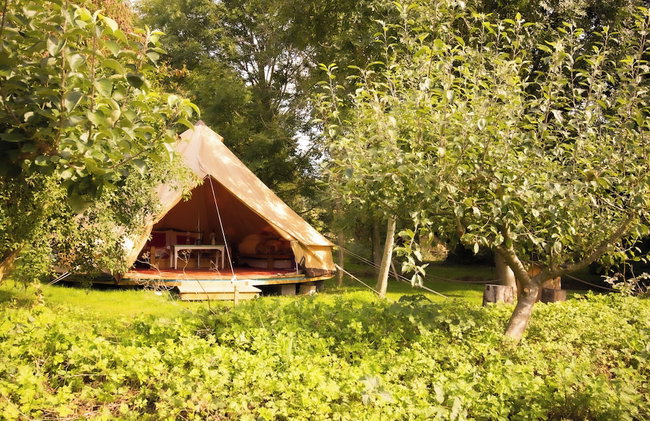
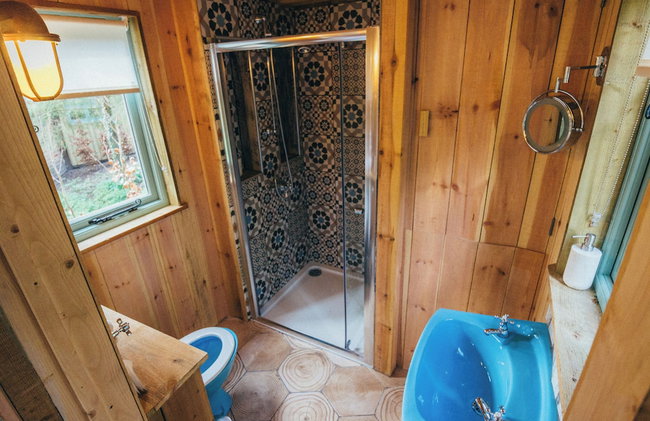
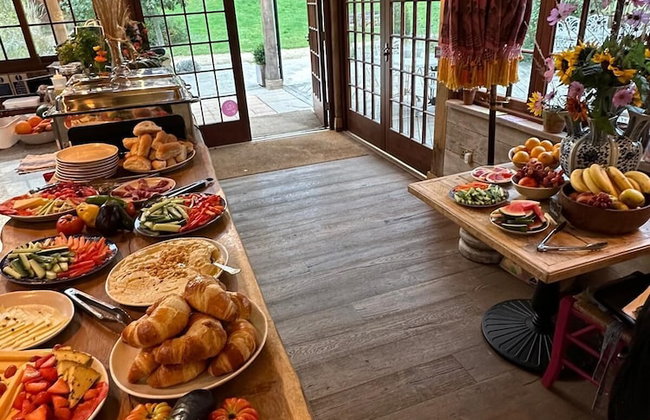
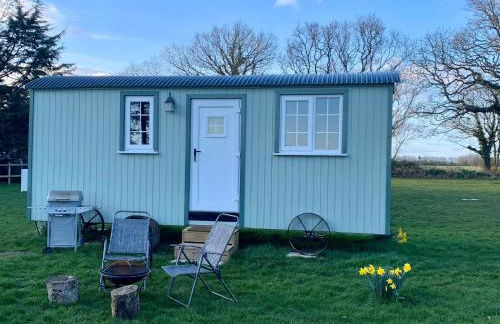
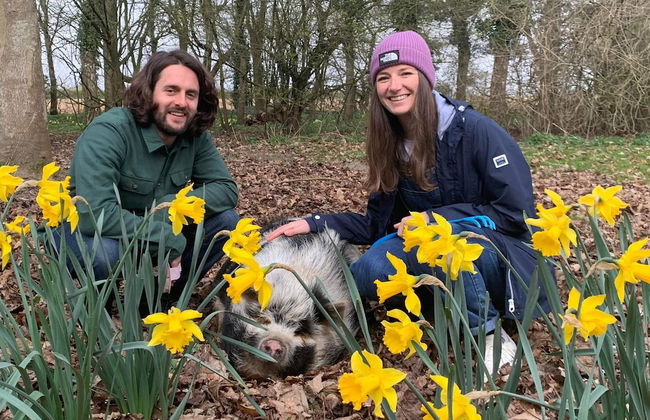
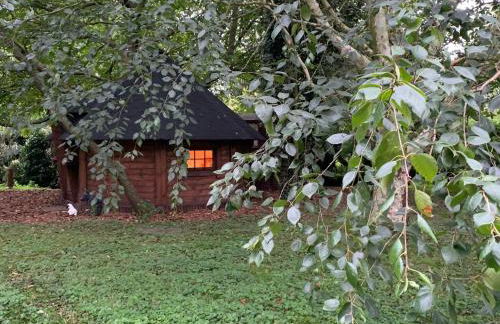
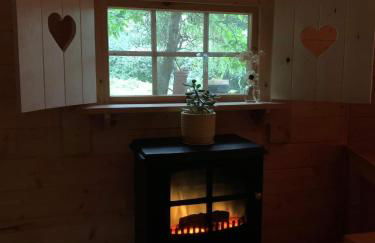
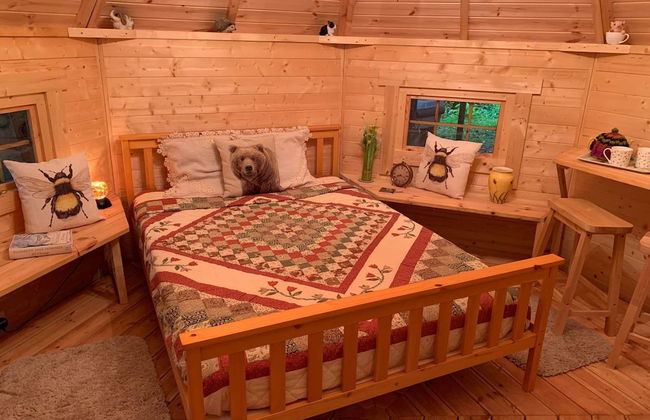
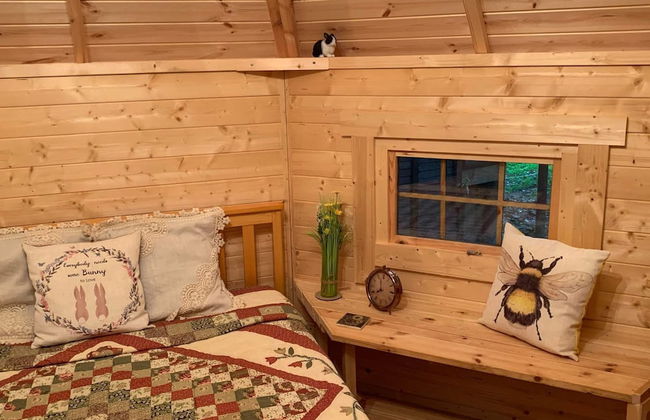
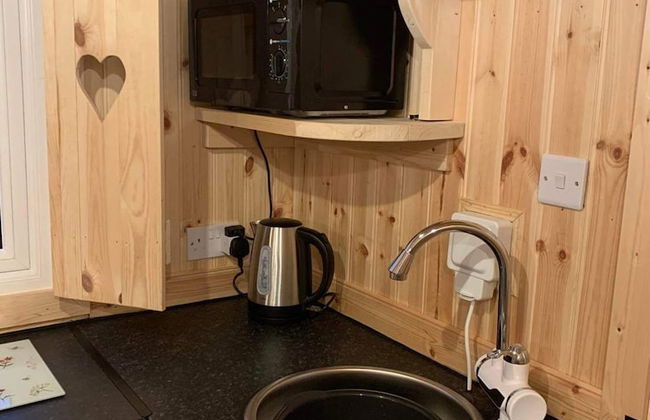
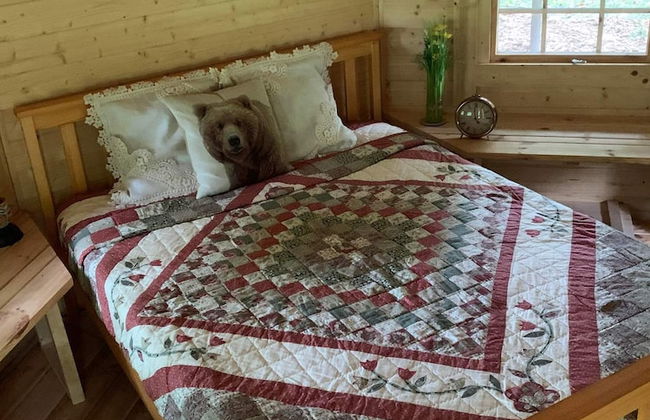
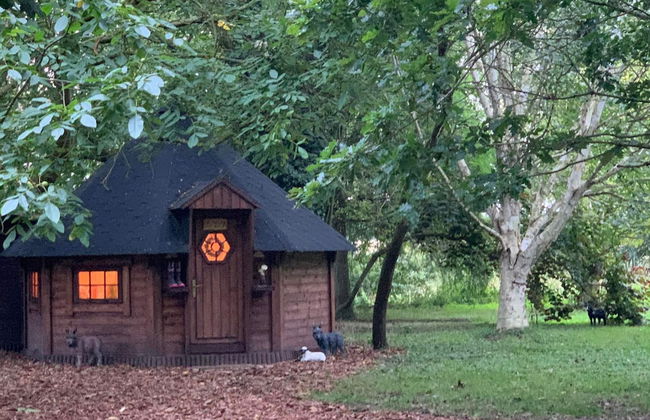
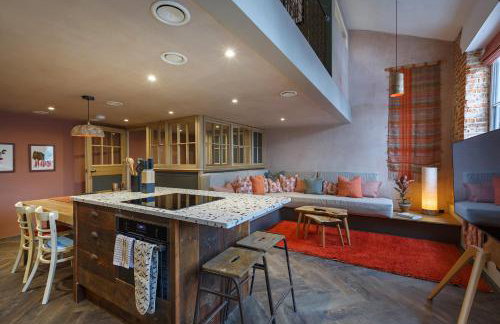
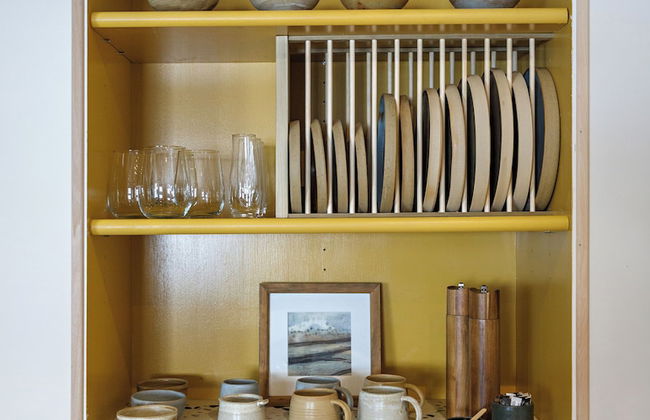
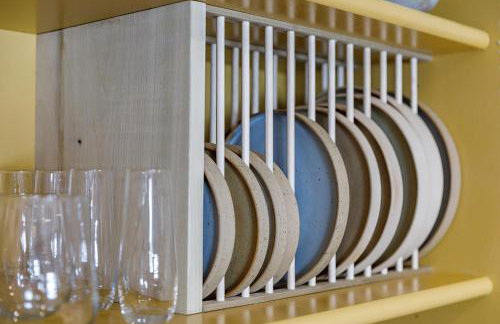
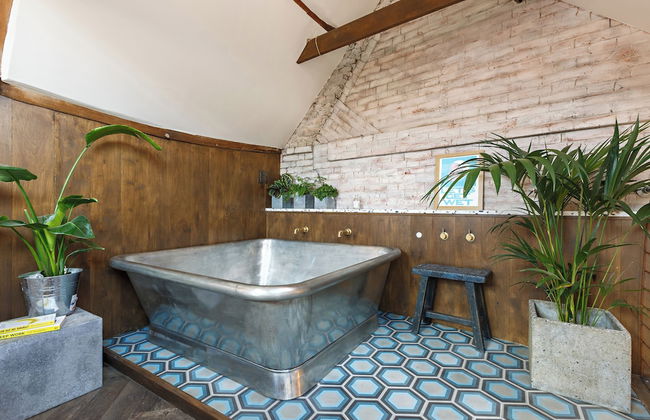
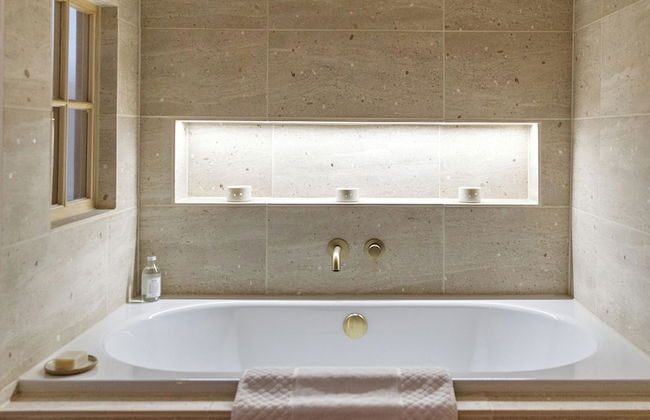
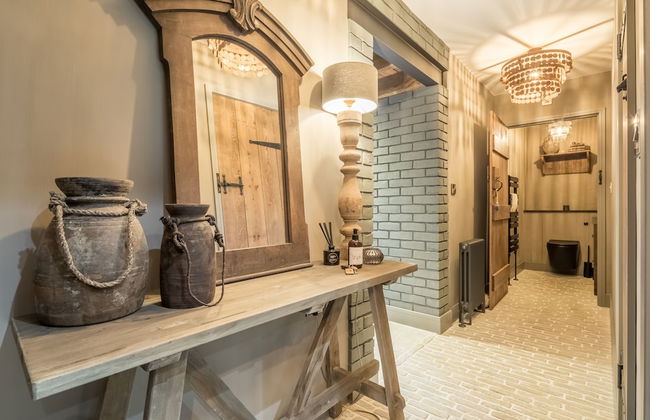
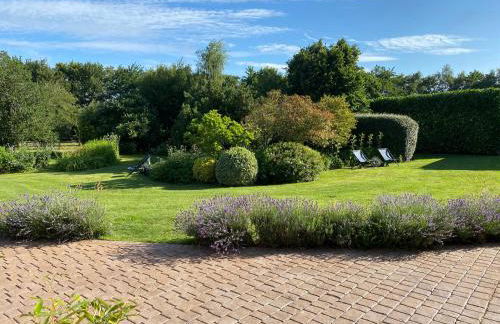
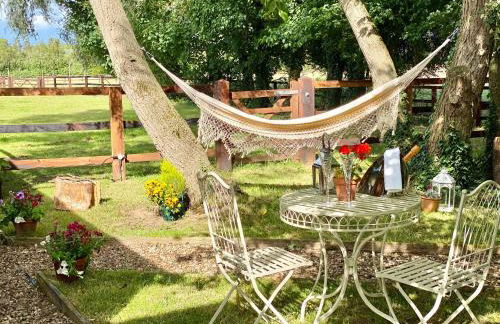
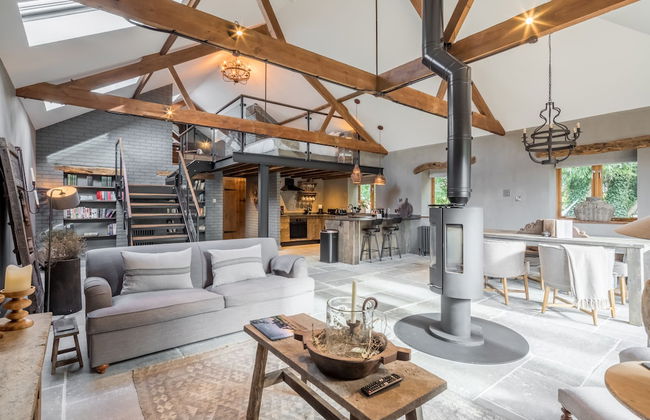
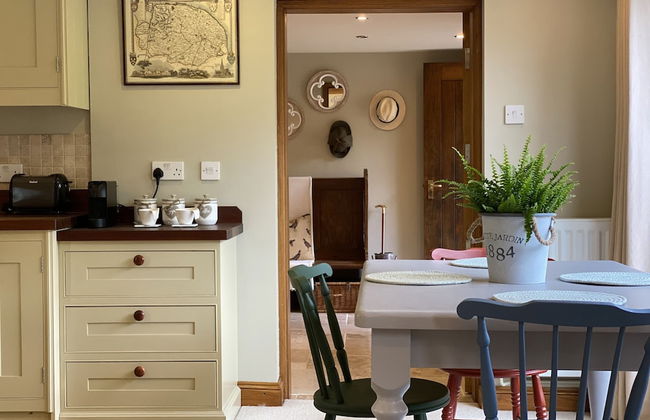
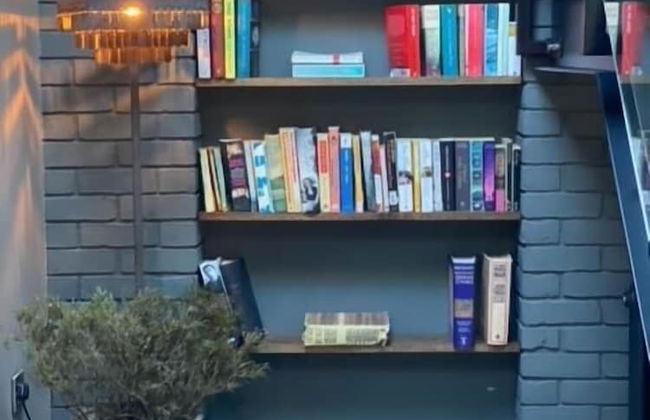
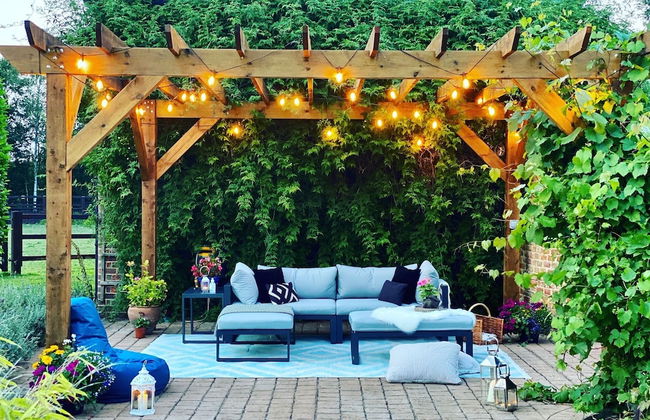
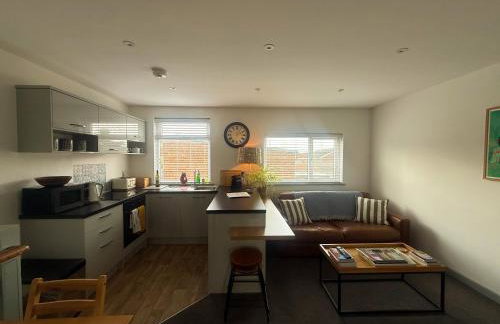
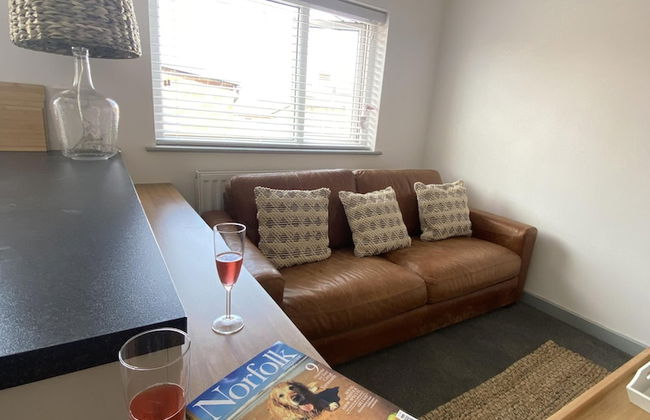
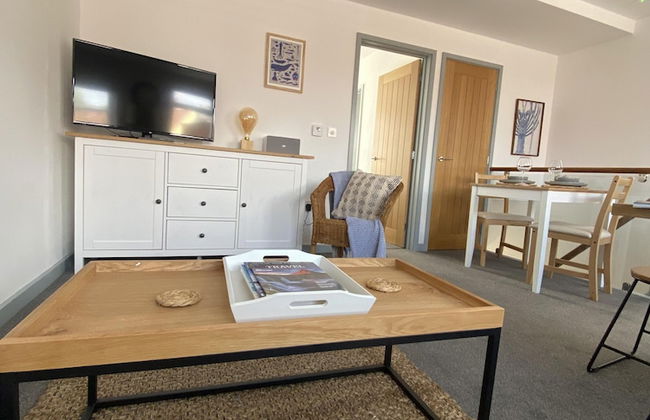
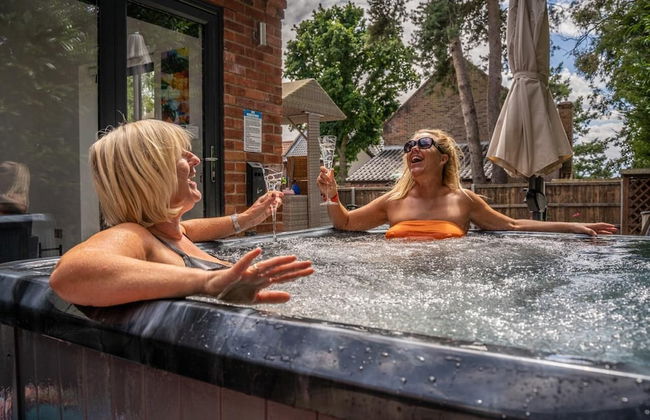
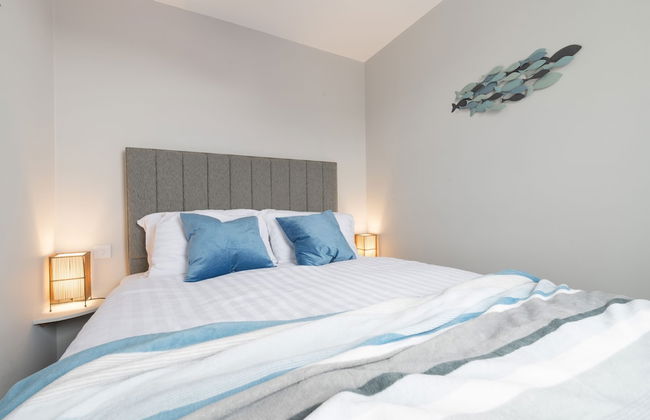
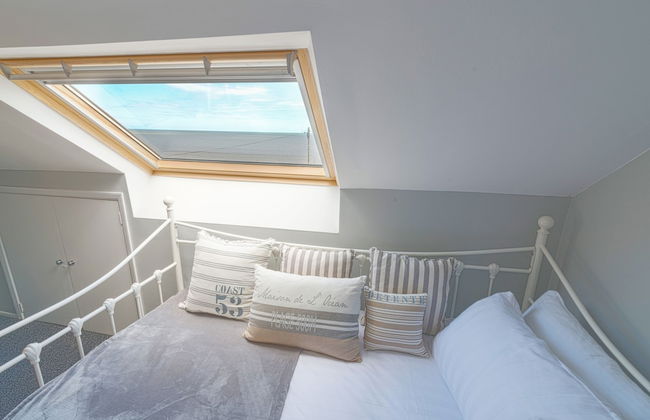
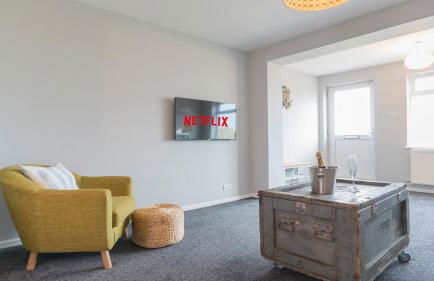
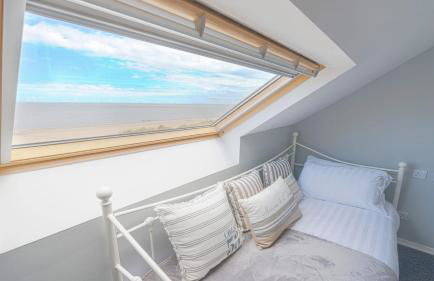
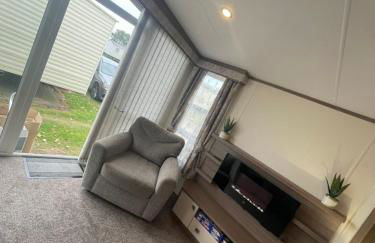
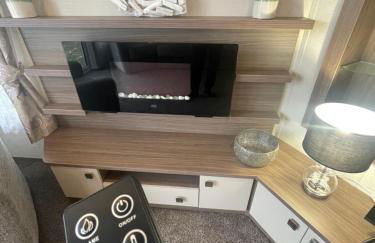
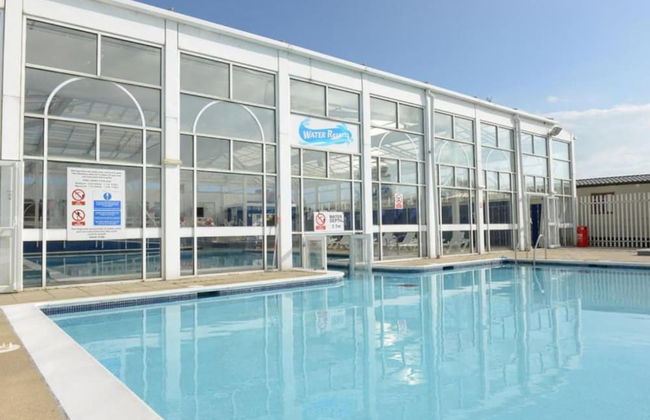
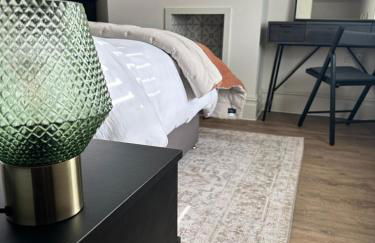
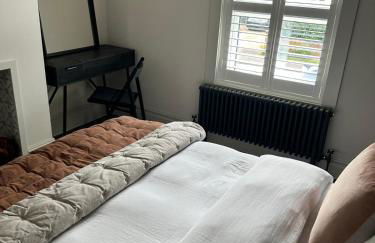
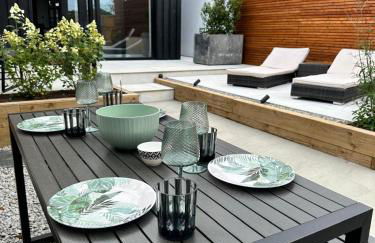
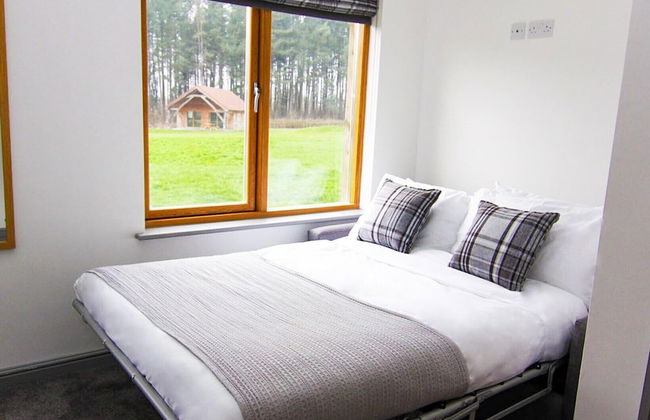
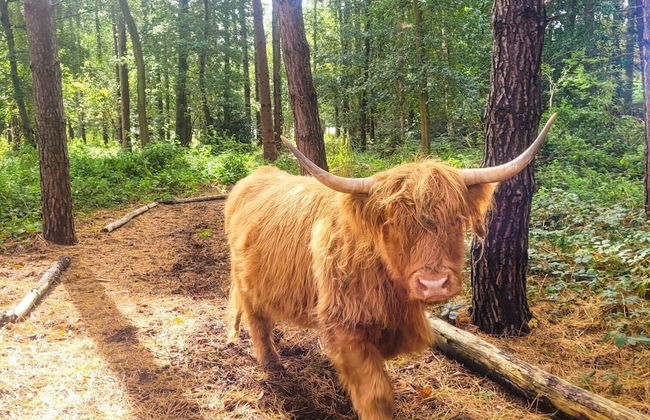
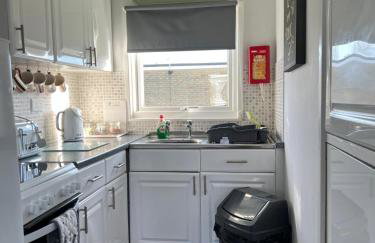
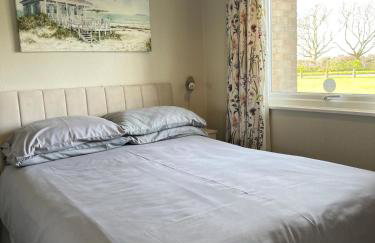
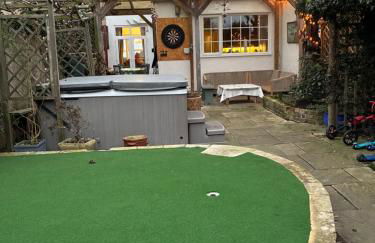
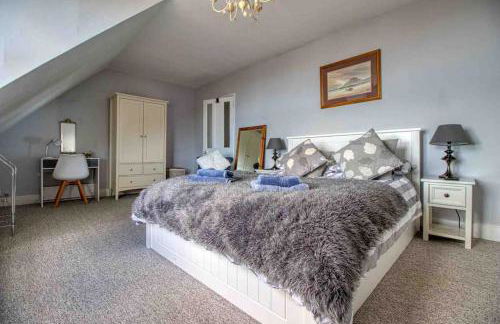
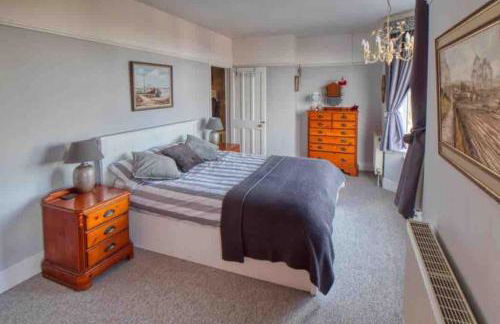
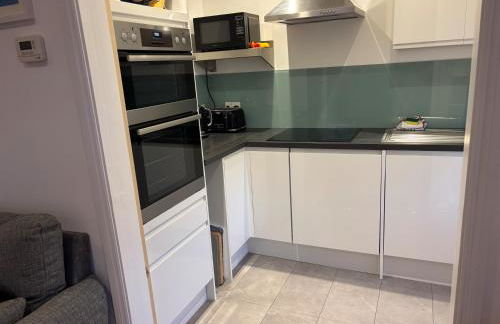
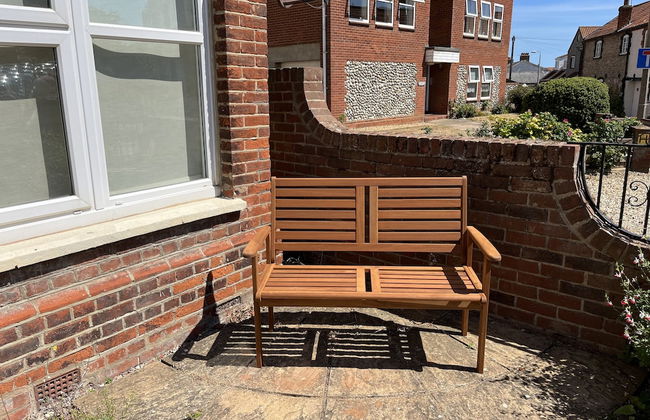
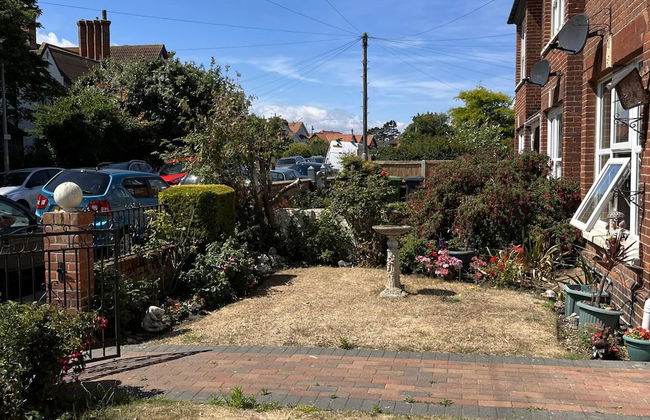
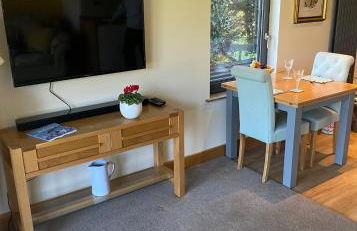
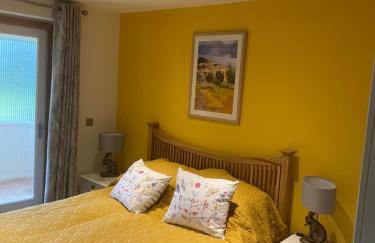
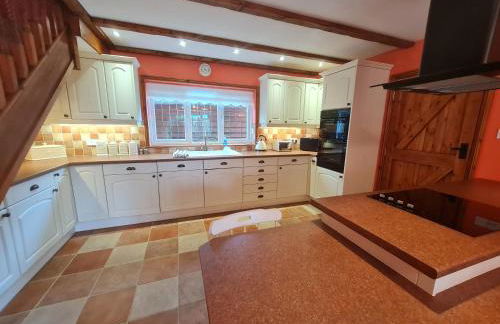
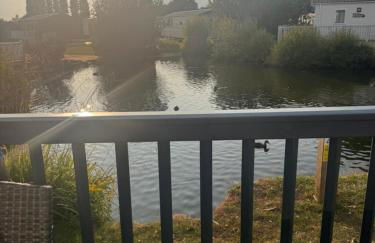
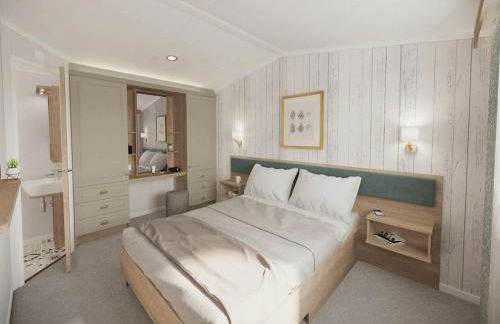
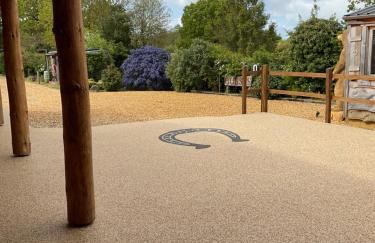
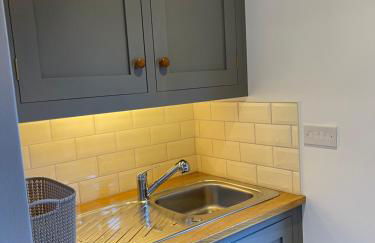
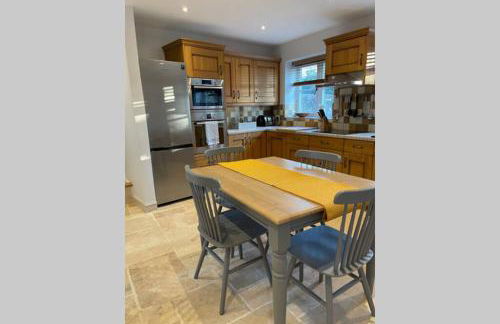
West Lexham Wellness and Retreat Centre - Foto 3
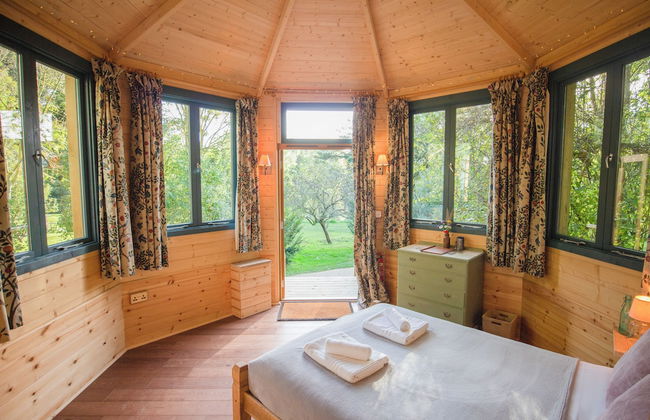
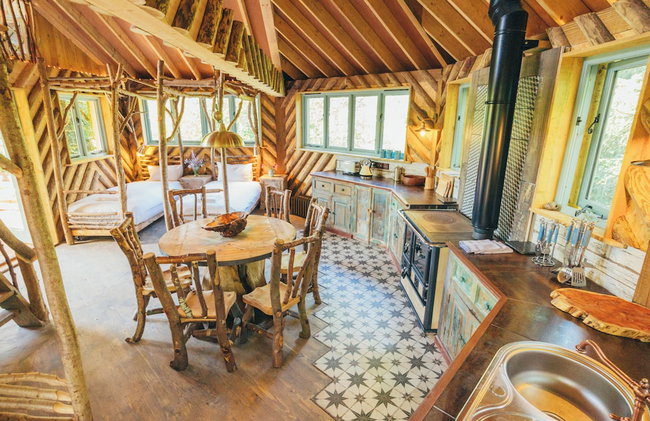
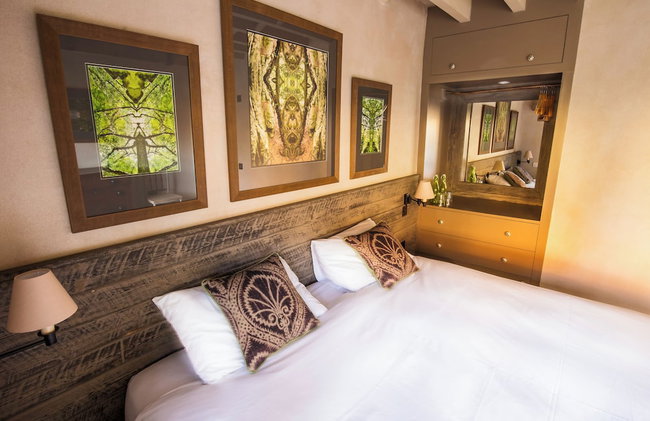
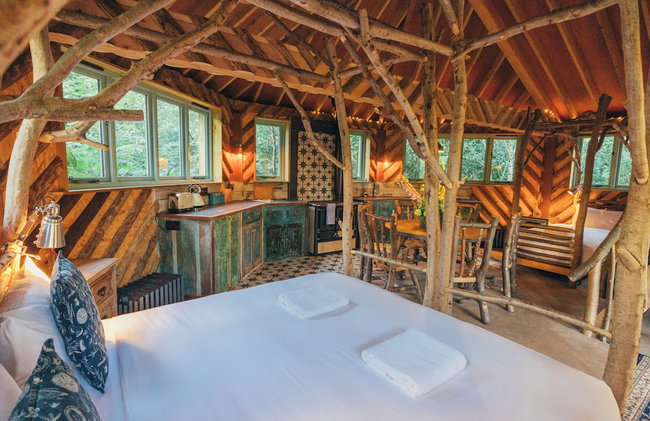
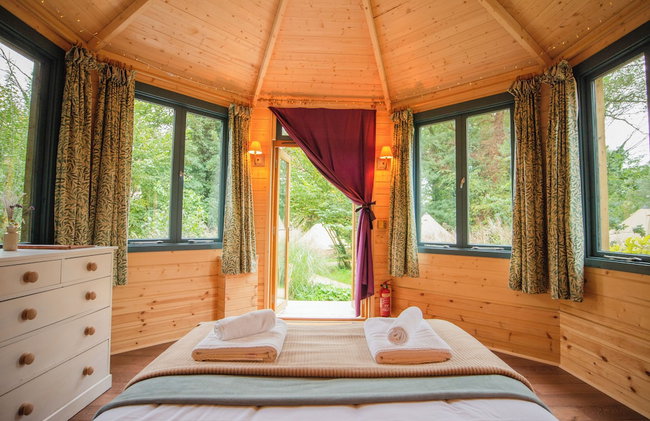
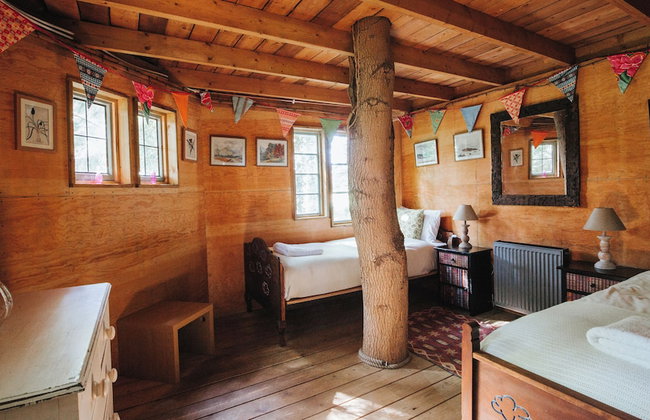
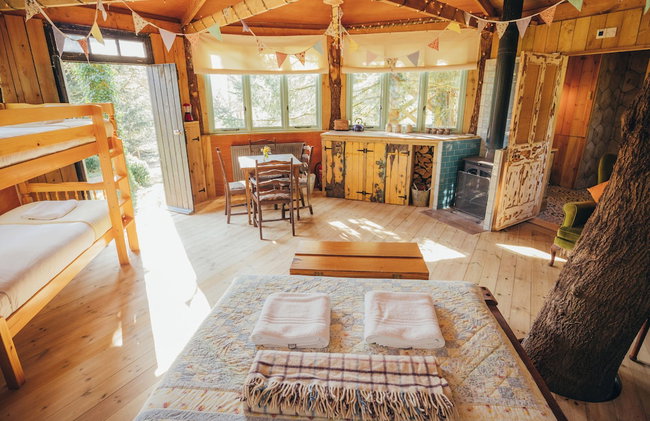
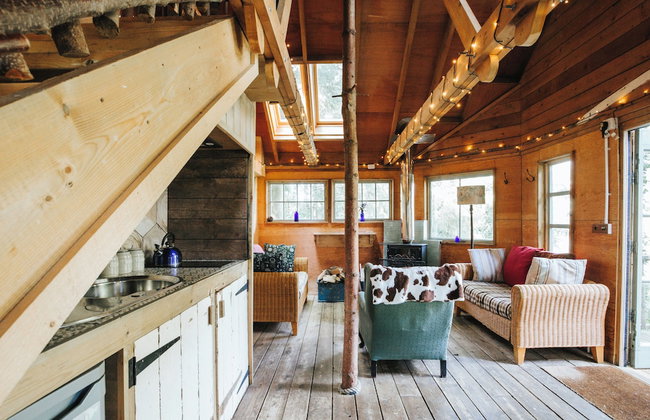
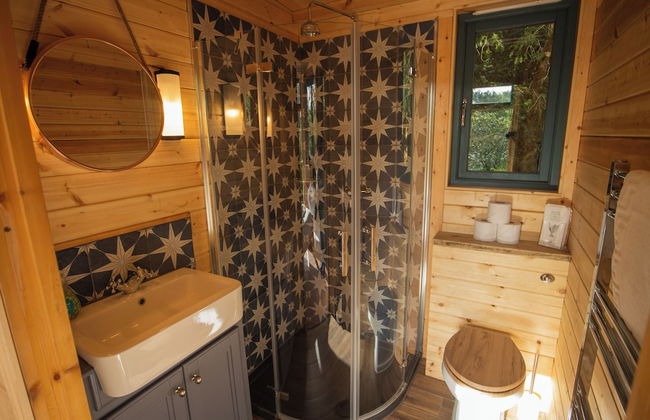
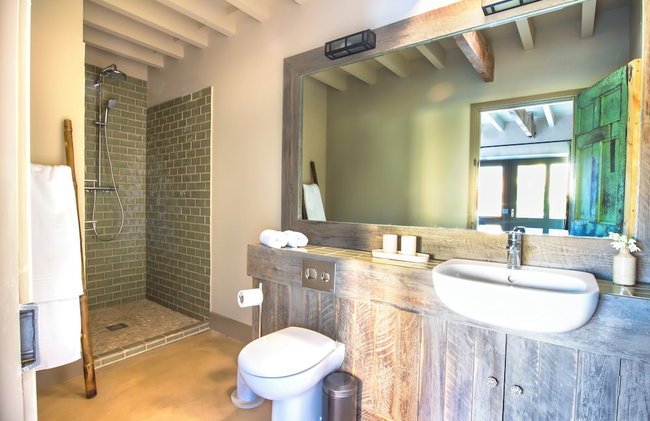
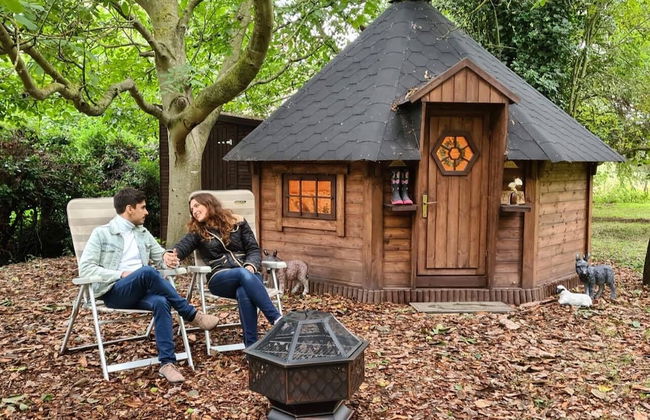
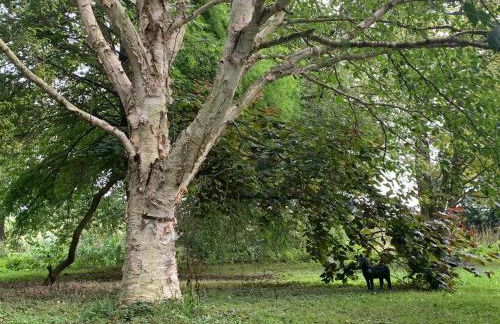
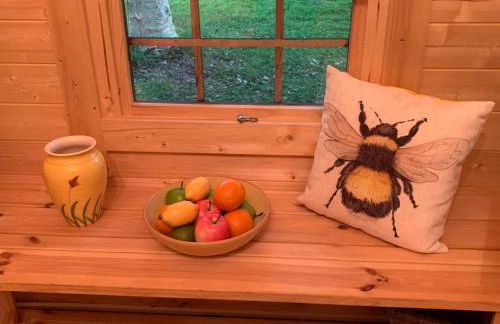
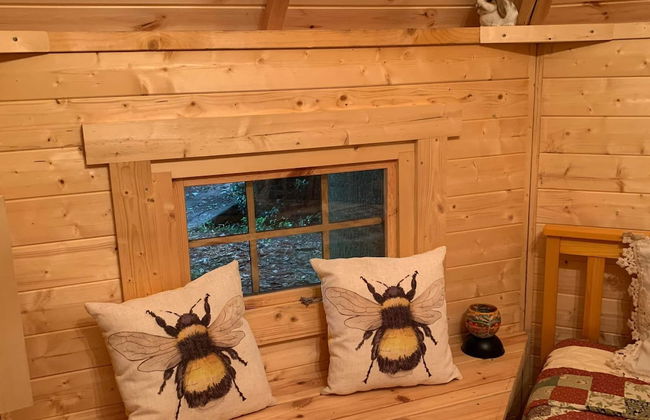
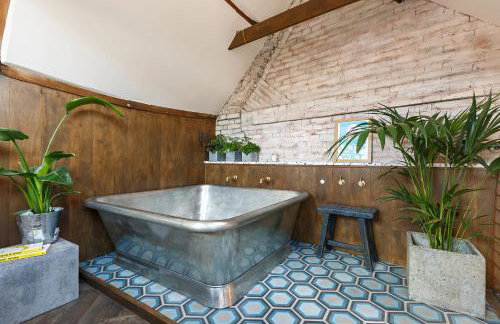
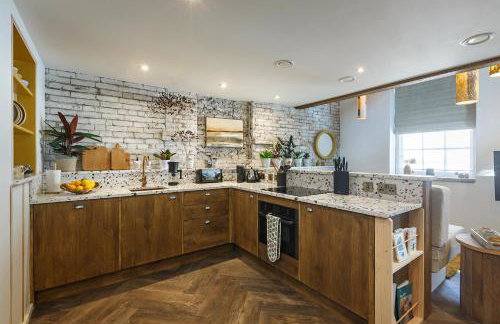
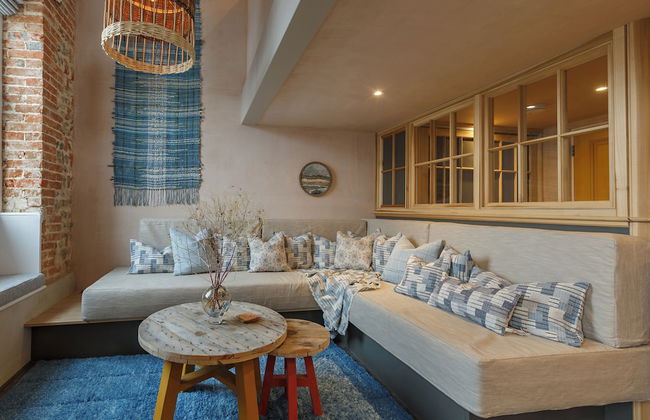
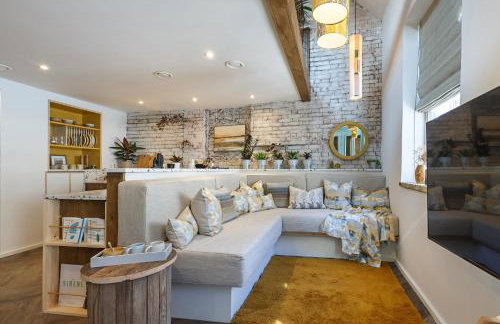
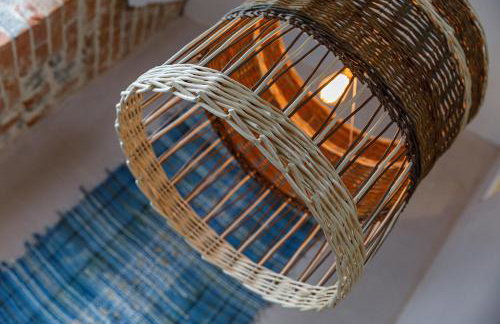
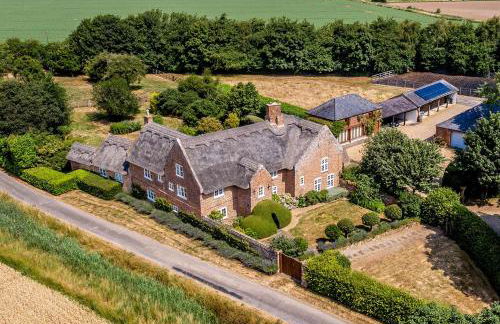
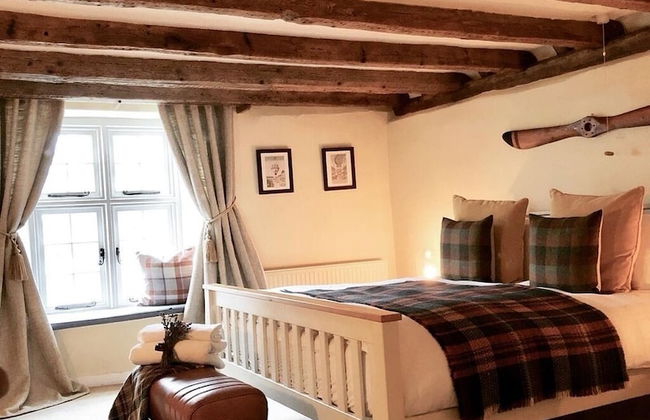
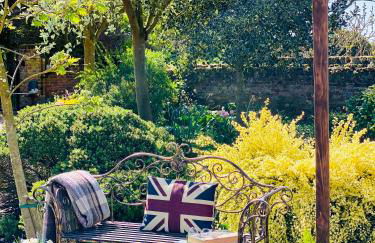
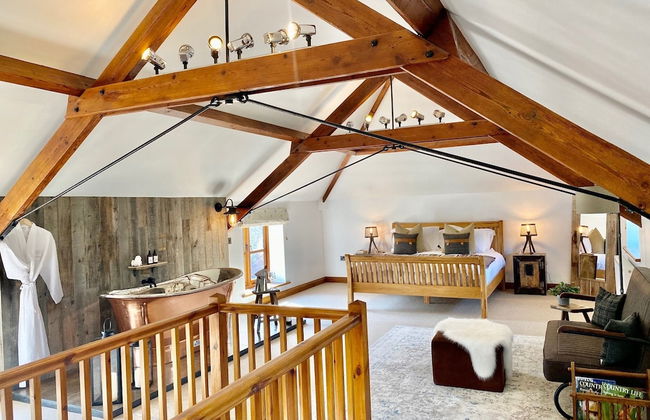
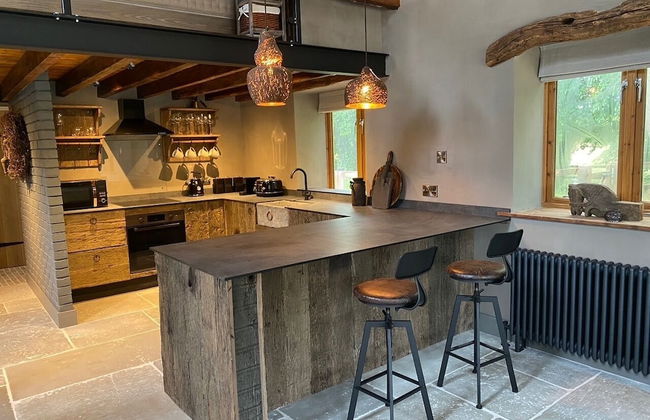
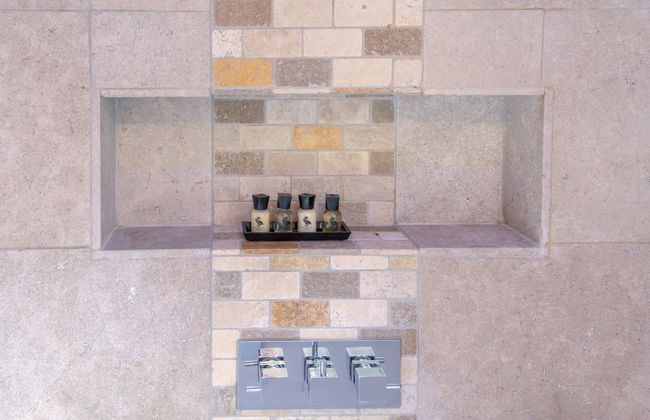
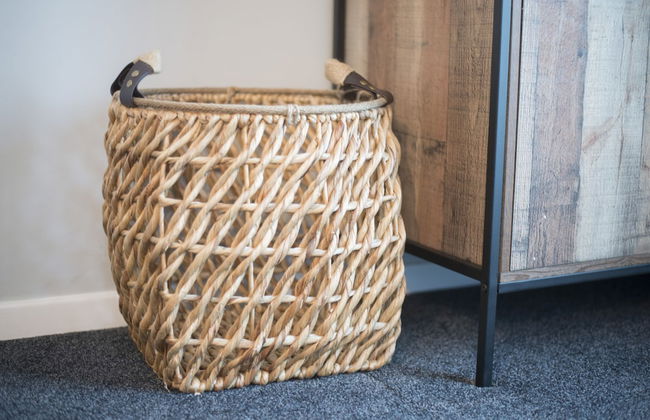
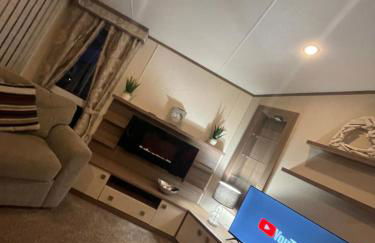
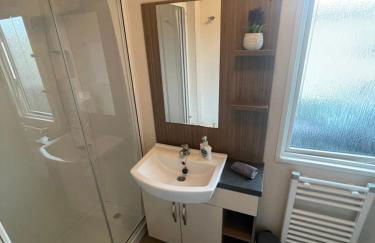
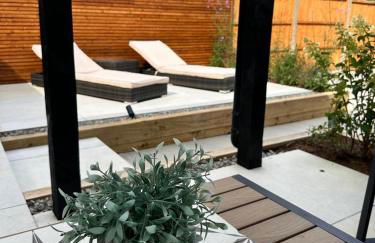
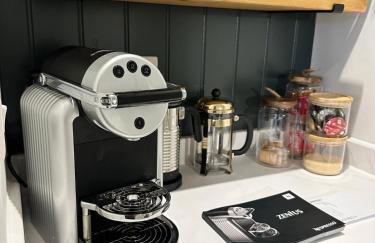
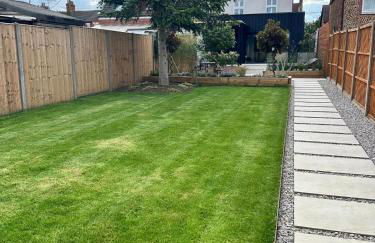
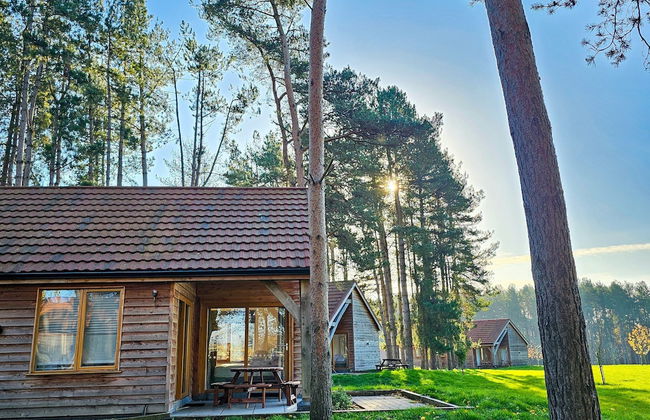
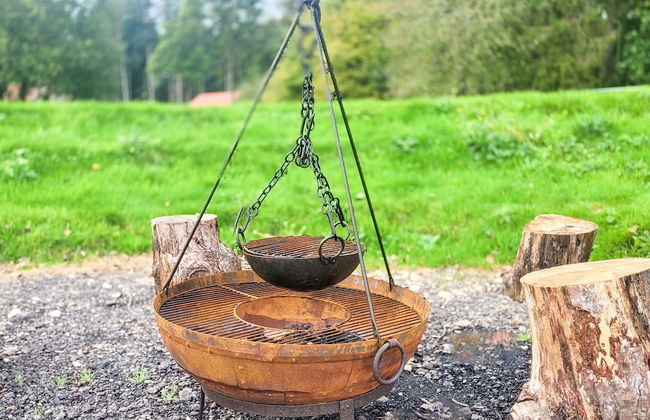
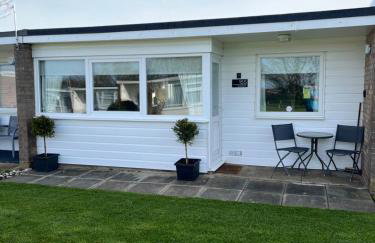
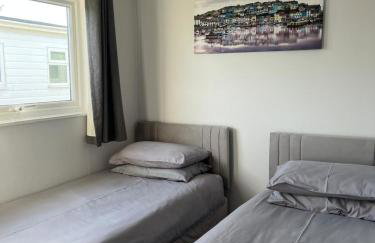
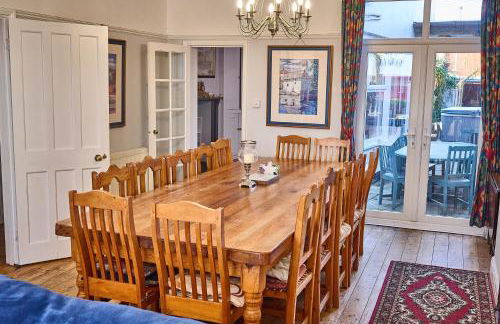
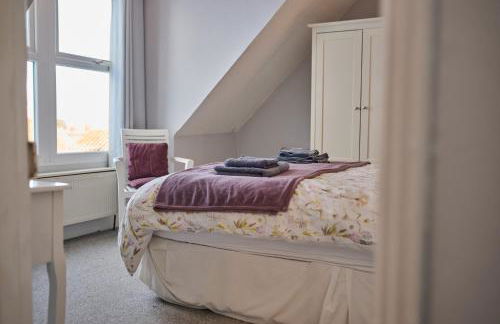
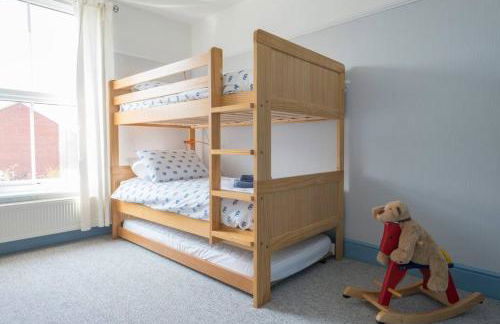
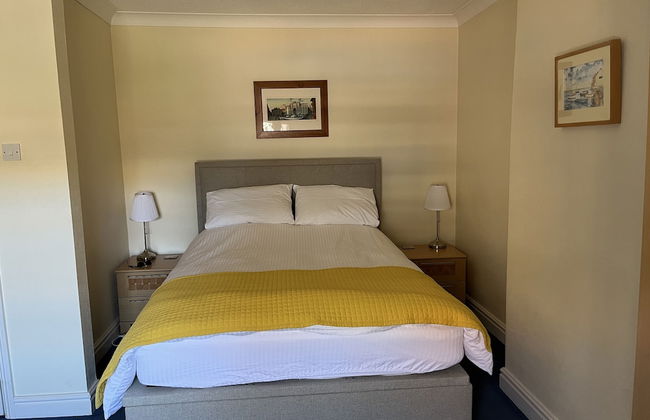
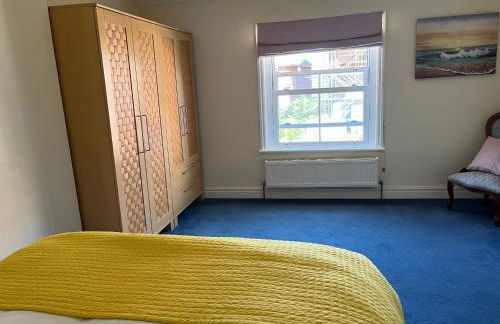
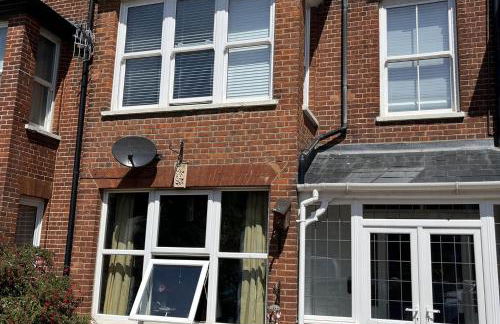
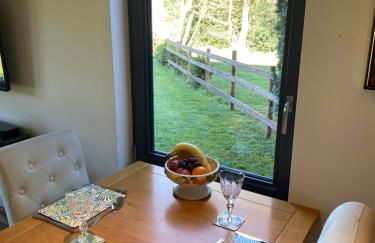
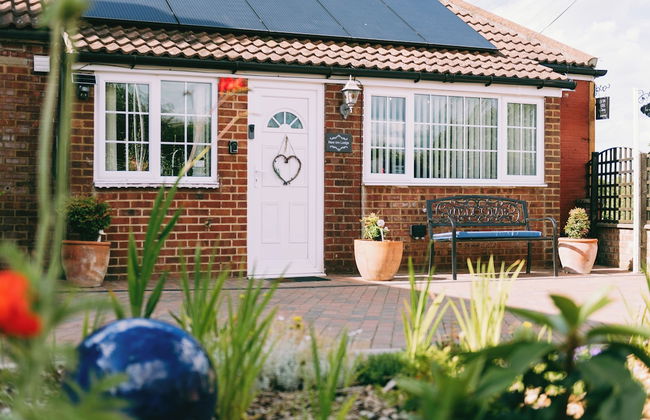
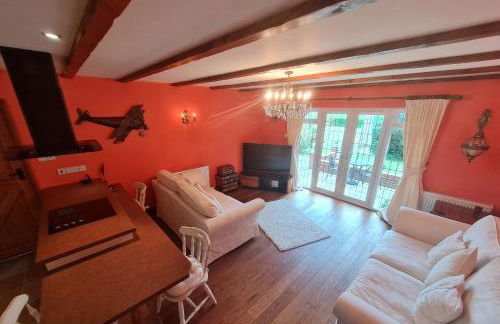
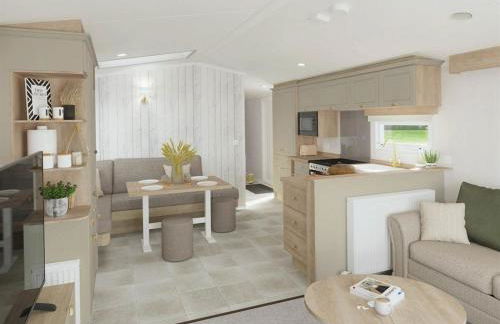
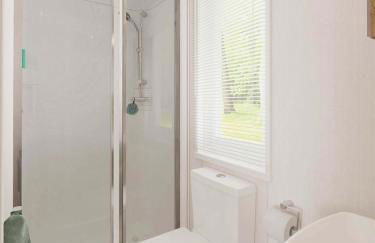
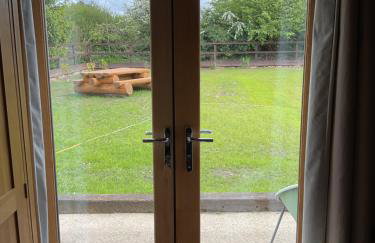
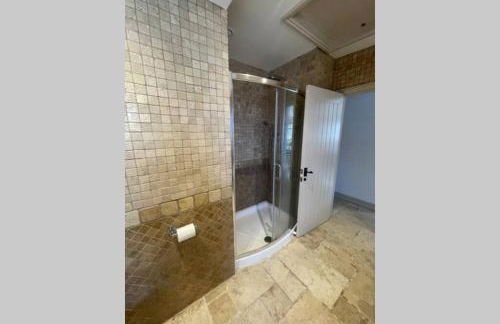
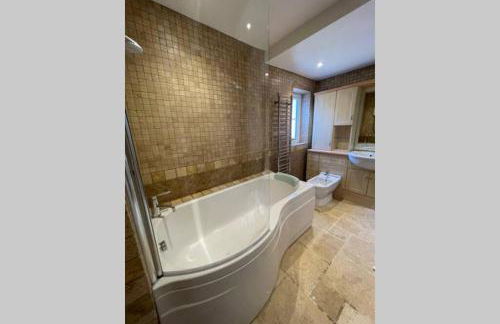
West Lexham Wellness and Retreat Centre - Foto 4
West Lexham Wellness and Retreat Centre - Foto 5
West Lexham Wellness and Retreat Centre - Foto 6
West Lexham Wellness and Retreat Centre - Foto 7
West Lexham Wellness and Retreat Centre - Foto 8
West Lexham Wellness and Retreat Centre - Foto 9
West Lexham Wellness and Retreat Centre - Foto 10
West Lexham Wellness and Retreat Centre - Foto 11
West Lexham Wellness and Retreat Centre - Foto 12
West Lexham Wellness and Retreat Centre - Foto 13
West Lexham Wellness and Retreat Centre - Foto 14
West Lexham Wellness and Retreat Centre - Foto 15
West Lexham Wellness and Retreat Centre - Foto 16
West Lexham Wellness and Retreat Centre - Foto 17
West Lexham Wellness and Retreat Centre - Foto 18
West Lexham Wellness and Retreat Centre - Foto 19
West Lexham Wellness and Retreat Centre - Foto 20
West Lexham Wellness and Retreat Centre - Foto 21
West Lexham Wellness and Retreat Centre - Foto 22
West Lexham Wellness and Retreat Centre - Foto 23
West Lexham Wellness and Retreat Centre - Foto 24
West Lexham Wellness and Retreat Centre - Foto 25
West Lexham Wellness and Retreat Centre - Foto 26
West Lexham Wellness and Retreat Centre - Foto 27
West Lexham Wellness and Retreat Centre - Foto 28
West Lexham Wellness and Retreat Centre - Foto 29
West Lexham Wellness and Retreat Centre - Foto 30
West Lexham Wellness and Retreat Centre - Foto 31
West Lexham Wellness and Retreat Centre - Foto 32
West Lexham Wellness and Retreat Centre - Foto 33
West Lexham Wellness and Retreat Centre - Foto 34
West Lexham Wellness and Retreat Centre - Foto 35
West Lexham Wellness and Retreat Centre - Foto 36
West Lexham Wellness and Retreat Centre - Foto 37
West Lexham Wellness and Retreat Centre - Foto 38
West Lexham Wellness and Retreat Centre - Foto 39
West Lexham Wellness and Retreat Centre - Foto 40
West Lexham Wellness and Retreat Centre - Foto 41
West Lexham Wellness and Retreat Centre - Foto 42
West Lexham Wellness and Retreat Centre - Foto 43
West Lexham Wellness and Retreat Centre - Foto 44
West Lexham Wellness and Retreat Centre - Foto 45
West Lexham Wellness and Retreat Centre - Foto 46
West Lexham Wellness and Retreat Centre - Foto 47
West Lexham Wellness and Retreat Centre - Foto 48
West Lexham Wellness and Retreat Centre - Foto 49
West Lexham Wellness and Retreat Centre - Foto 50
West Lexham Wellness and Retreat Centre - Foto 51
West Lexham Wellness and Retreat Centre - Foto 52
West Lexham Wellness and Retreat Centre - Foto 53
West Lexham Wellness and Retreat Centre - Foto 54
West Lexham Wellness and Retreat Centre - Foto 55
West Lexham Wellness and Retreat Centre - Foto 56
West Lexham Wellness and Retreat Centre - Foto 57
West Lexham Wellness and Retreat Centre - Foto 58
West Lexham Wellness and Retreat Centre - Foto 59
West Lexham Wellness and Retreat Centre - Foto 60
West Lexham Wellness and Retreat Centre - Foto 61
West Lexham Wellness and Retreat Centre - Foto 62
West Lexham Wellness and Retreat Centre - Foto 63
West Lexham Wellness and Retreat Centre - Foto 64
West Lexham Wellness and Retreat Centre - Foto 65
West Lexham Wellness and Retreat Centre - Foto 66
West Lexham Wellness and Retreat Centre - Foto 67
West Lexham Wellness and Retreat Centre - Foto 68
West Lexham Wellness and Retreat Centre - Foto 69
West Lexham Wellness and Retreat Centre - Foto 70
West Lexham Wellness and Retreat Centre - Foto 71
West Lexham Wellness and Retreat Centre - Foto 72
West Lexham Wellness and Retreat Centre - Foto 73
West Lexham Wellness and Retreat Centre - Foto 74
West Lexham Wellness and Retreat Centre - Foto 75
West Lexham Wellness and Retreat Centre - Foto 76
West Lexham Wellness and Retreat Centre - Foto 77
West Lexham Wellness and Retreat Centre - Foto 78
West Lexham Wellness and Retreat Centre - Foto 79
West Lexham Wellness and Retreat Centre - Foto 80

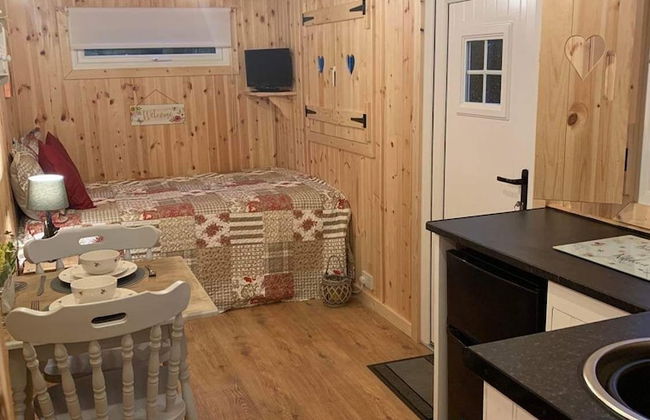
West Lexham Wellness and Retreat Centre

King's Lynn - West Lexham

  • 20 M2
  • 6 persone
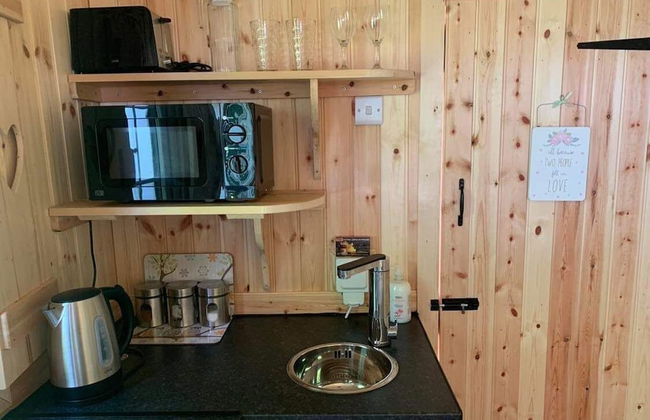
  • Cucinino
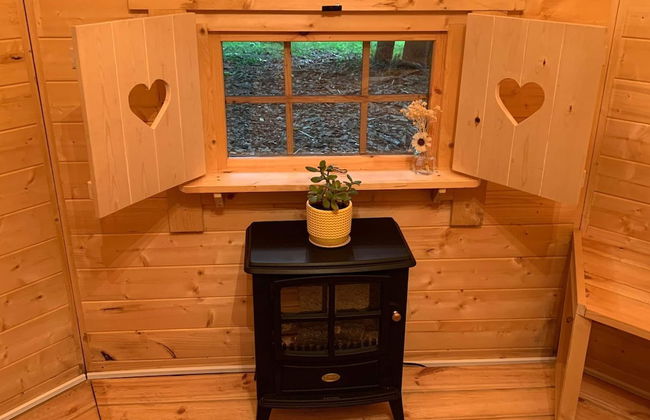
  • Riscaldamento
  • Terrazza
  • Piscina
  • Parcheggio
  • Giardino
  • Focolare
  • Lino da bagno
  • Lino da letto
9.8Eccezionale | 12 recensioni
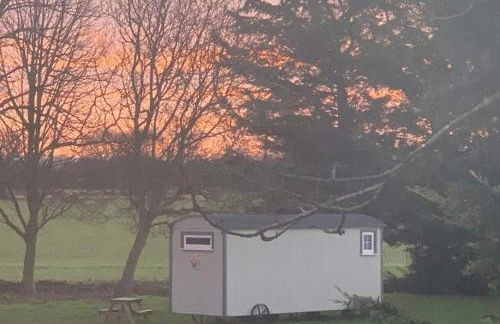
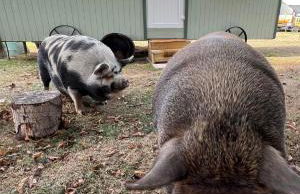
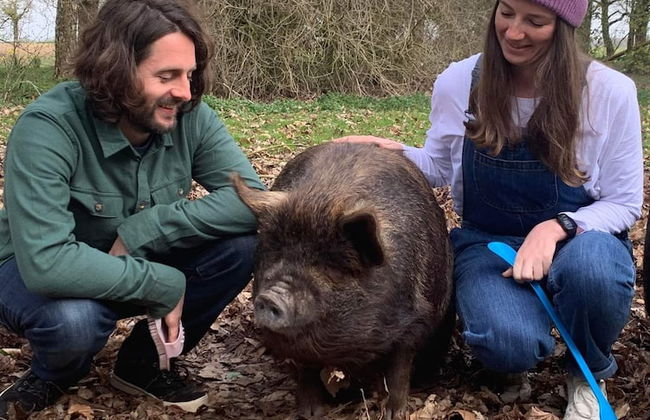
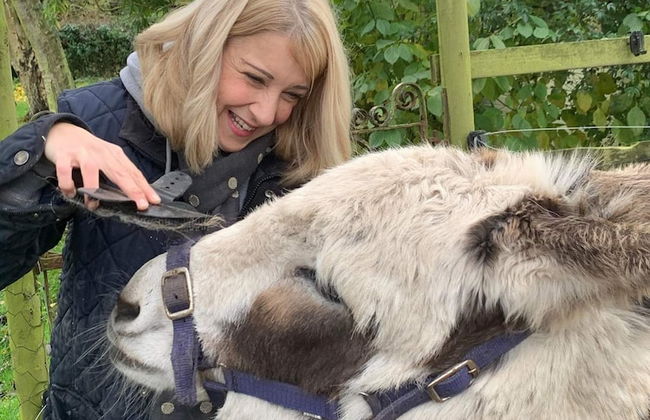
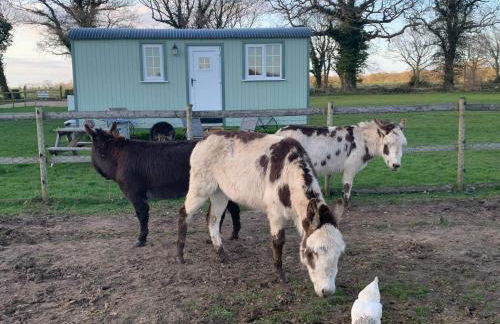
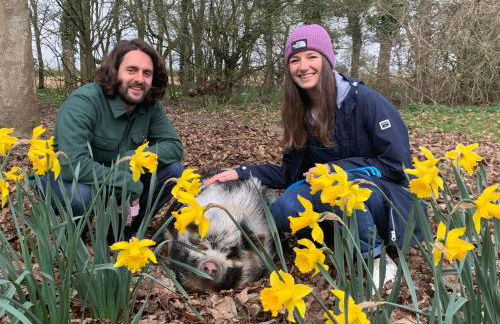
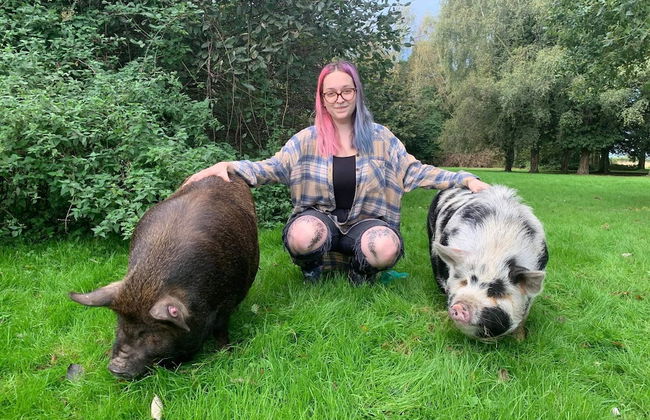
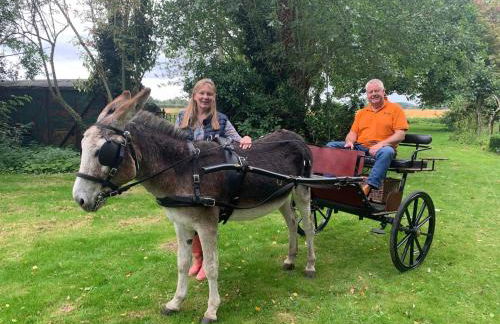
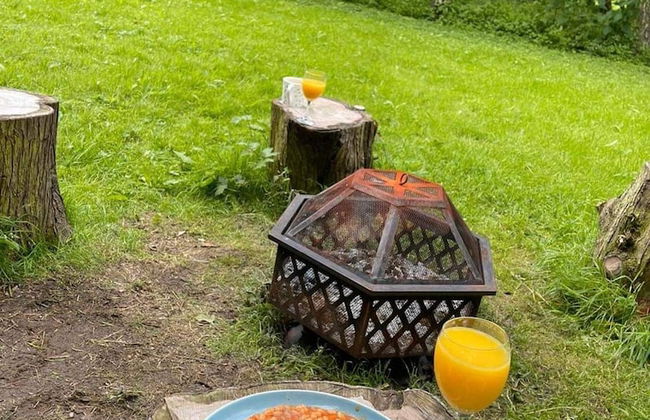
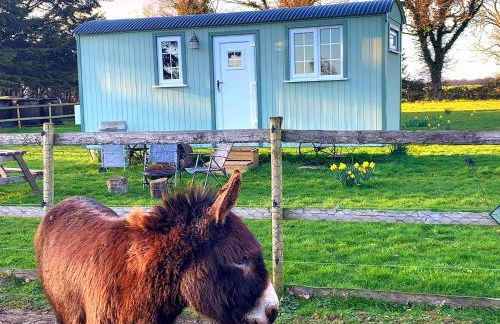
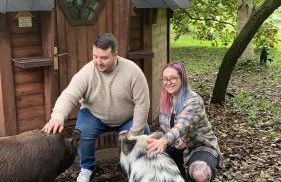
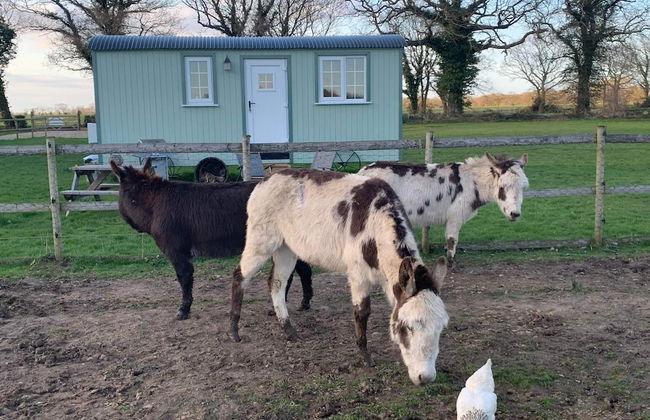
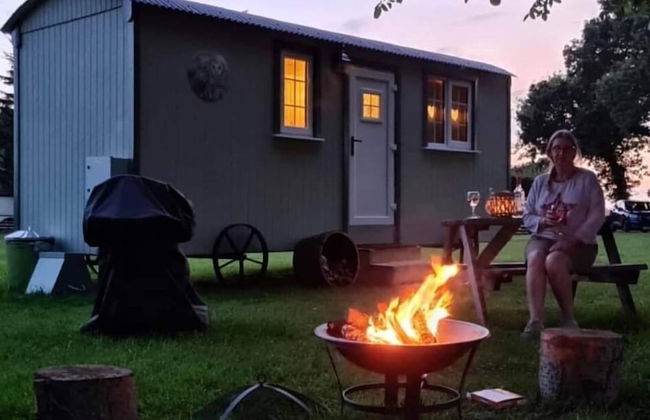
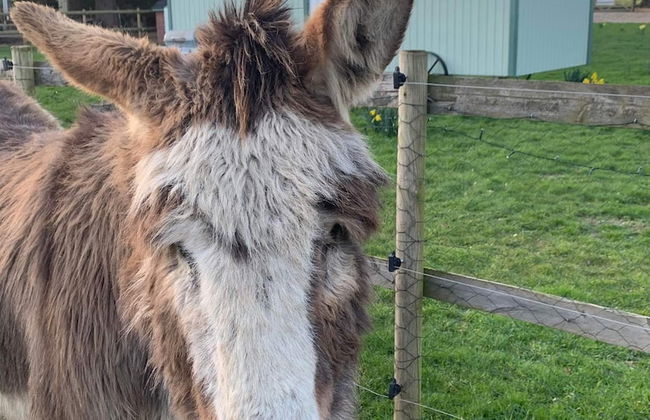
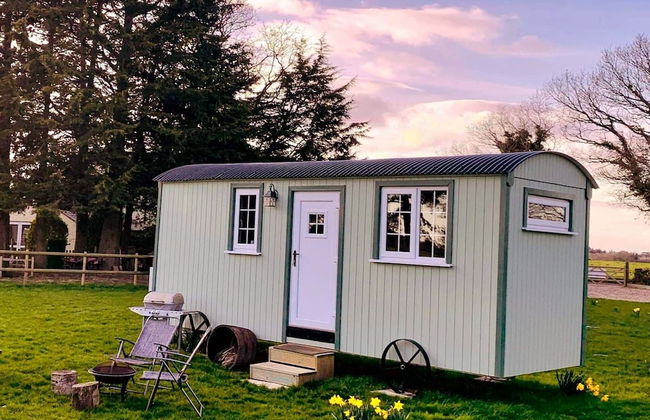
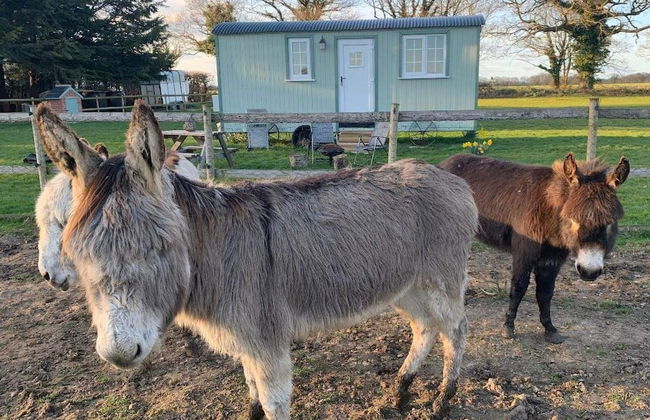
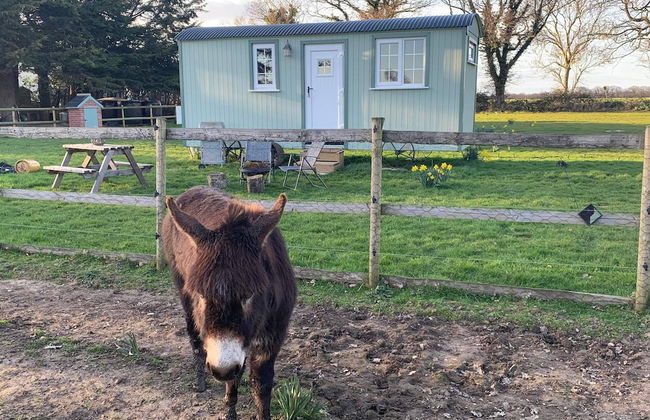
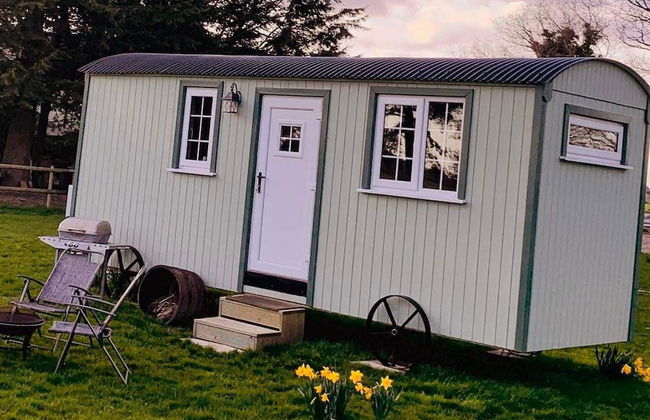
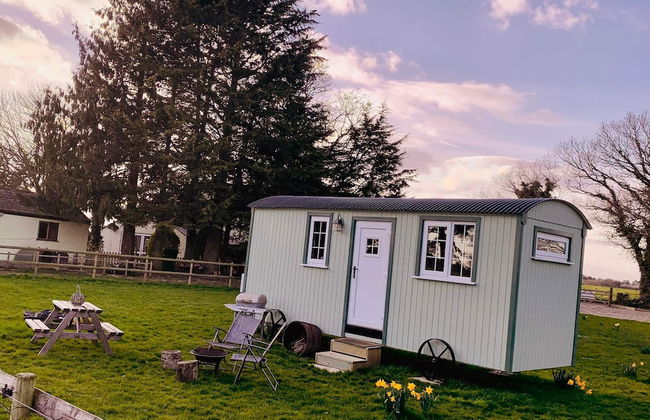
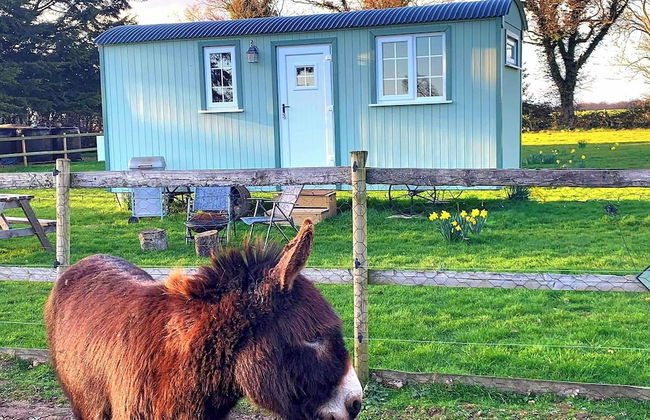
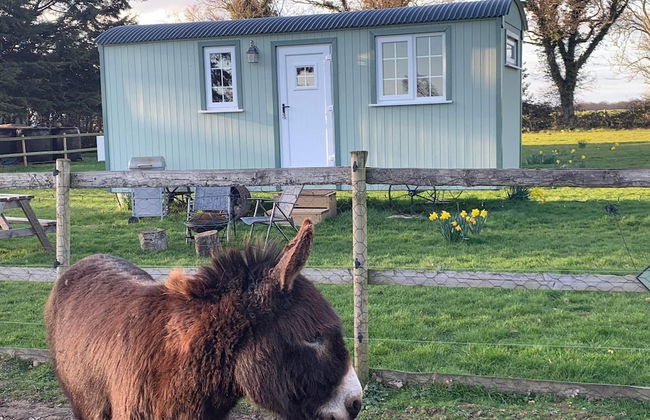
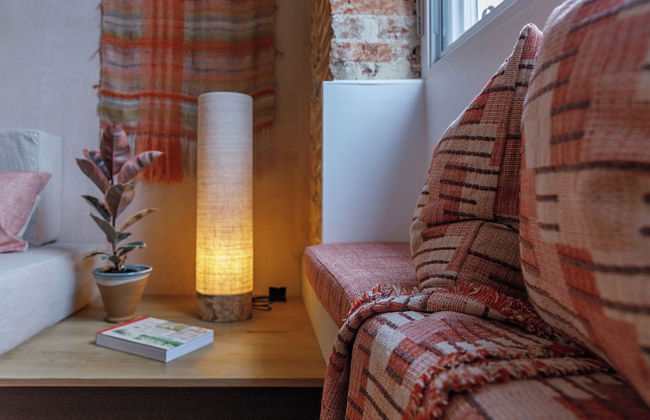
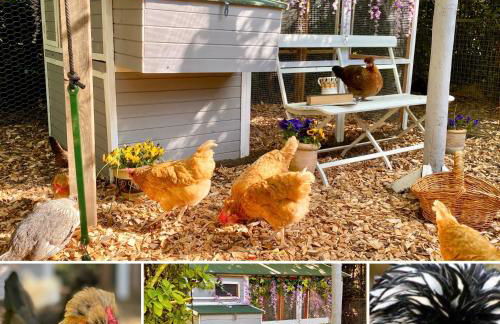
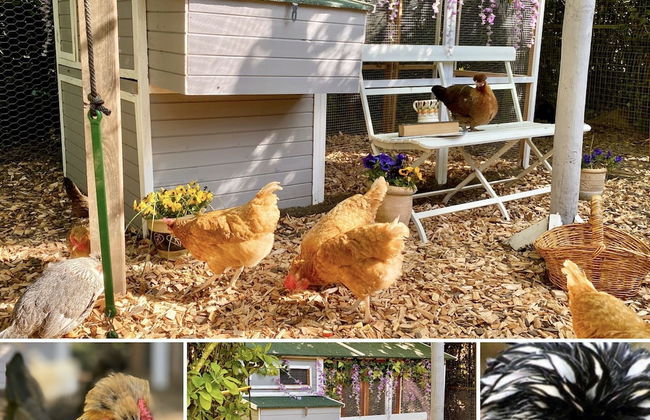
Starry Meadow & Rescued Animal Experiences - Foto 1
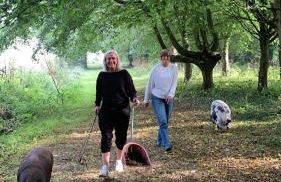
Starry Meadow & Rescued Animal Experiences - Foto 2
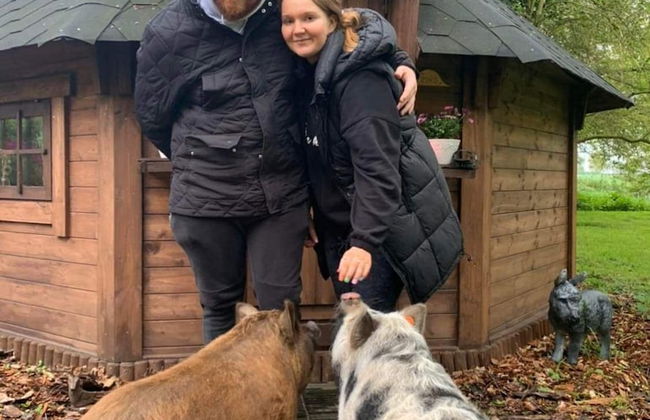
Starry Meadow & Rescued Animal Experiences - Foto 3
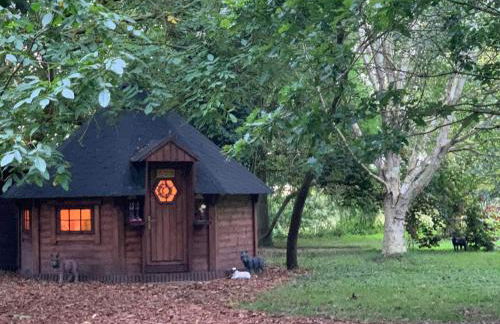
Starry Meadow & Rescued Animal Experiences - Foto 4
Starry Meadow & Rescued Animal Experiences - Foto 5
Starry Meadow & Rescued Animal Experiences - Foto 6
Starry Meadow & Rescued Animal Experiences - Foto 7
Starry Meadow & Rescued Animal Experiences - Foto 8
Starry Meadow & Rescued Animal Experiences - Foto 9
Starry Meadow & Rescued Animal Experiences - Foto 10
Starry Meadow & Rescued Animal Experiences - Foto 11
Starry Meadow & Rescued Animal Experiences - Foto 12
Starry Meadow & Rescued Animal Experiences - Foto 13
Starry Meadow & Rescued Animal Experiences - Foto 14
Starry Meadow & Rescued Animal Experiences - Foto 15
Starry Meadow & Rescued Animal Experiences - Foto 16
Starry Meadow & Rescued Animal Experiences - Foto 17
Starry Meadow & Rescued Animal Experiences - Foto 18
Starry Meadow & Rescued Animal Experiences - Foto 19
Starry Meadow & Rescued Animal Experiences - Foto 20
Starry Meadow & Rescued Animal Experiences - Foto 21
Starry Meadow & Rescued Animal Experiences - Foto 22
Starry Meadow & Rescued Animal Experiences - Foto 23
Starry Meadow & Rescued Animal Experiences - Foto 24
Starry Meadow & Rescued Animal Experiences - Foto 25
Starry Meadow & Rescued Animal Experiences - Foto 26
Starry Meadow & Rescued Animal Experiences - Foto 27
Starry Meadow & Rescued Animal Experiences - Foto 28
Starry Meadow & Rescued Animal Experiences - Foto 29
Starry Meadow & Rescued Animal Experiences - Foto 30
Starry Meadow & Rescued Animal Experiences - Foto 31
Starry Meadow & Rescued Animal Experiences - Foto 32
Starry Meadow & Rescued Animal Experiences - Foto 33
Starry Meadow & Rescued Animal Experiences - Foto 34
Starry Meadow & Rescued Animal Experiences - Foto 35
Starry Meadow & Rescued Animal Experiences - Foto 36
Starry Meadow & Rescued Animal Experiences - Foto 37
Starry Meadow & Rescued Animal Experiences - Foto 38
Starry Meadow & Rescued Animal Experiences - Foto 39
Starry Meadow & Rescued Animal Experiences - Foto 40
Starry Meadow & Rescued Animal Experiences - Foto 41
Starry Meadow & Rescued Animal Experiences - Foto 42
Starry Meadow & Rescued Animal Experiences - Foto 43
Starry Meadow & Rescued Animal Experiences - Foto 44
Starry Meadow & Rescued Animal Experiences - Foto 45
Starry Meadow & Rescued Animal Experiences - Foto 46
Starry Meadow & Rescued Animal Experiences - Foto 47
Starry Meadow & Rescued Animal Experiences - Foto 48
Starry Meadow & Rescued Animal Experiences - Foto 49
Starry Meadow & Rescued Animal Experiences - Foto 50
Starry Meadow & Rescued Animal Experiences - Foto 51
Starry Meadow & Rescued Animal Experiences - Foto 52
Starry Meadow & Rescued Animal Experiences - Foto 53
Starry Meadow & Rescued Animal Experiences - Foto 54
Starry Meadow & Rescued Animal Experiences - Foto 55
Starry Meadow & Rescued Animal Experiences - Foto 56
Starry Meadow & Rescued Animal Experiences - Foto 57
Starry Meadow & Rescued Animal Experiences - Foto 58
Starry Meadow & Rescued Animal Experiences - Foto 59
Starry Meadow & Rescued Animal Experiences - Foto 60
Starry Meadow & Rescued Animal Experiences - Foto 61
Starry Meadow & Rescued Animal Experiences - Foto 62
Starry Meadow & Rescued Animal Experiences - Foto 63
Starry Meadow & Rescued Animal Experiences - Foto 64
Starry Meadow & Rescued Animal Experiences - Foto 65
Starry Meadow & Rescued Animal Experiences - Foto 66
Starry Meadow & Rescued Animal Experiences - Foto 67
Starry Meadow & Rescued Animal Experiences - Foto 68
Starry Meadow & Rescued Animal Experiences - Foto 69
Starry Meadow & Rescued Animal Experiences - Foto 70
Starry Meadow & Rescued Animal Experiences - Foto 71
Starry Meadow & Rescued Animal Experiences - Foto 72
Starry Meadow & Rescued Animal Experiences - Foto 73
Starry Meadow & Rescued Animal Experiences - Foto 74
Starry Meadow & Rescued Animal Experiences - Foto 75
Starry Meadow & Rescued Animal Experiences - Foto 76
Starry Meadow & Rescued Animal Experiences - Foto 77
Starry Meadow & Rescued Animal Experiences - Foto 78
Starry Meadow & Rescued Animal Experiences - Foto 79
Starry Meadow & Rescued Animal Experiences - Foto 80
Starry Meadow & Rescued Animal Experiences - Foto 81
Starry Meadow & Rescued Animal Experiences - Foto 82
Starry Meadow & Rescued Animal Experiences - Foto 83
Starry Meadow & Rescued Animal Experiences - Foto 84
Starry Meadow & Rescued Animal Experiences - Foto 85
Starry Meadow & Rescued Animal Experiences - Foto 86
Starry Meadow & Rescued Animal Experiences - Foto 87
Starry Meadow & Rescued Animal Experiences - Foto 88
Starry Meadow & Rescued Animal Experiences - Foto 89
Starry Meadow & Rescued Animal Experiences - Foto 90
Starry Meadow & Rescued Animal Experiences - Foto 91
Starry Meadow & Rescued Animal Experiences - Foto 92
Starry Meadow & Rescued Animal Experiences - Foto 93
Starry Meadow & Rescued Animal Experiences - Foto 94
Starry Meadow & Rescued Animal Experiences - Foto 95
Starry Meadow & Rescued Animal Experiences - Foto 96
Starry Meadow & Rescued Animal Experiences - Foto 97
Starry Meadow & Rescued Animal Experiences - Foto 98
Starry Meadow & Rescued Animal Experiences - Foto 99
Starry Meadow & Rescued Animal Experiences - Foto 100
Starry Meadow & Rescued Animal Experiences - Foto 101
Starry Meadow & Rescued Animal Experiences - Foto 102
Starry Meadow & Rescued Animal Experiences - Foto 103
Starry Meadow & Rescued Animal Experiences - Foto 104
Starry Meadow & Rescued Animal Experiences - Foto 105
Starry Meadow & Rescued Animal Experiences - Foto 106
Starry Meadow & Rescued Animal Experiences - Foto 107
Starry Meadow & Rescued Animal Experiences - Foto 108
Starry Meadow & Rescued Animal Experiences - Foto 109
Starry Meadow & Rescued Animal Experiences - Foto 110
Starry Meadow & Rescued Animal Experiences - Foto 111
Starry Meadow & Rescued Animal Experiences - Foto 112
Starry Meadow & Rescued Animal Experiences - Foto 113
Starry Meadow & Rescued Animal Experiences - Foto 114
Starry Meadow & Rescued Animal Experiences - Foto 115
Starry Meadow & Rescued Animal Experiences - Foto 116
Starry Meadow & Rescued Animal Experiences - Foto 117
Starry Meadow & Rescued Animal Experiences - Foto 118
Starry Meadow & Rescued Animal Experiences - Foto 119
Starry Meadow & Rescued Animal Experiences - Foto 120
Starry Meadow & Rescued Animal Experiences - Foto 121
Starry Meadow & Rescued Animal Experiences - Foto 122
Starry Meadow & Rescued Animal Experiences - Foto 123

Starry Meadow & Rescued Animal Experiences

Great Yarmouth - Catfield - 19.5 km dal centro

  • 20 M2
  • 2 persone
  • Riscaldamento
  • Terrazza
  • Parcheggio
  • Tv
  • Lino da bagno
  • Lino da letto
10Magnifico | 16 recensioni
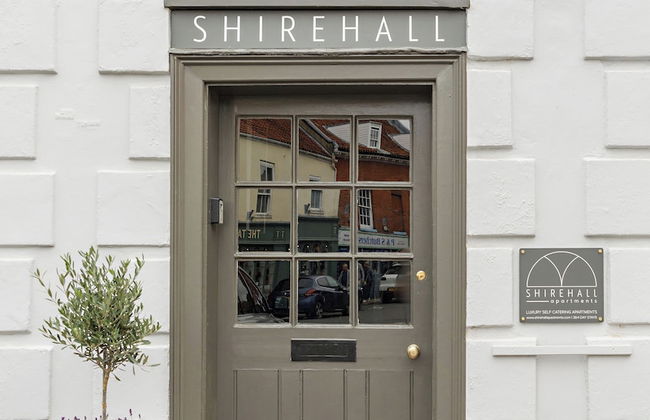
Shirehall Apartments - Foto 1
Shirehall Apartments - Foto 2
Shirehall Apartments - Foto 3
Shirehall Apartments - Foto 4
Shirehall Apartments - Foto 5
Shirehall Apartments - Foto 6
Shirehall Apartments - Foto 7
Shirehall Apartments - Foto 8
Shirehall Apartments - Foto 9
Shirehall Apartments - Foto 10
Shirehall Apartments - Foto 11
Shirehall Apartments - Foto 12
Shirehall Apartments - Foto 13
Shirehall Apartments - Foto 14
Shirehall Apartments - Foto 15
Shirehall Apartments - Foto 16
Shirehall Apartments - Foto 17
Shirehall Apartments - Foto 18
Shirehall Apartments - Foto 19
Shirehall Apartments - Foto 20
Shirehall Apartments - Foto 21
Shirehall Apartments - Foto 22
Shirehall Apartments - Foto 23
Shirehall Apartments - Foto 24
Shirehall Apartments - Foto 25
Shirehall Apartments - Foto 26
Shirehall Apartments - Foto 27
Shirehall Apartments - Foto 28
Shirehall Apartments - Foto 29
Shirehall Apartments - Foto 30
Shirehall Apartments - Foto 31
Shirehall Apartments - Foto 32
Shirehall Apartments - Foto 33
Shirehall Apartments - Foto 34
Shirehall Apartments - Foto 35
Shirehall Apartments - Foto 36
Shirehall Apartments - Foto 37

Shirehall Apartments

Holt - Holt

  • 6 M2
  • 1 camera
  • 2 persone
  • Aria condizionata
  • Tv
  • Lino da bagno
  • Lino da letto
10Magnifico | 11 recensioni
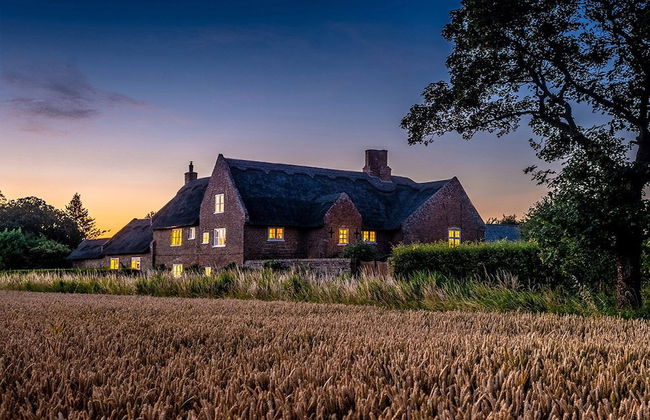
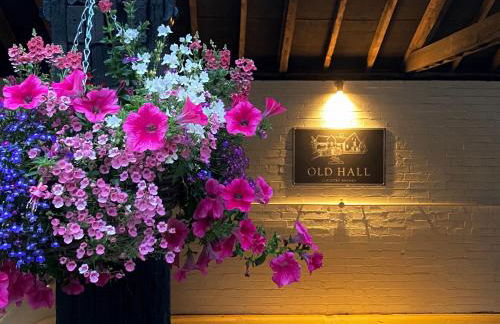
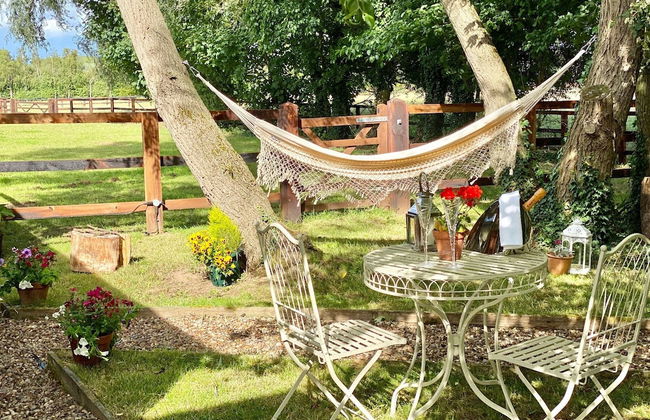
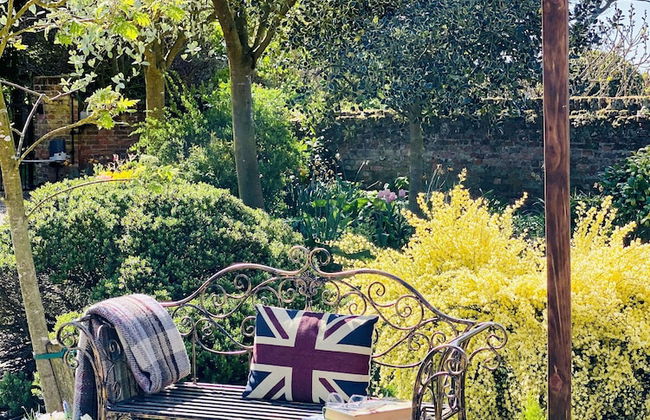
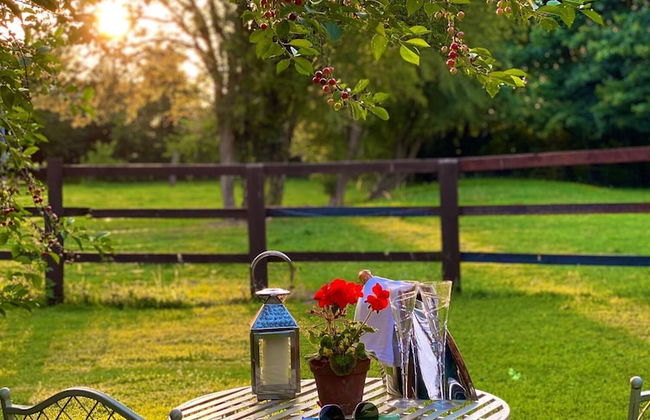
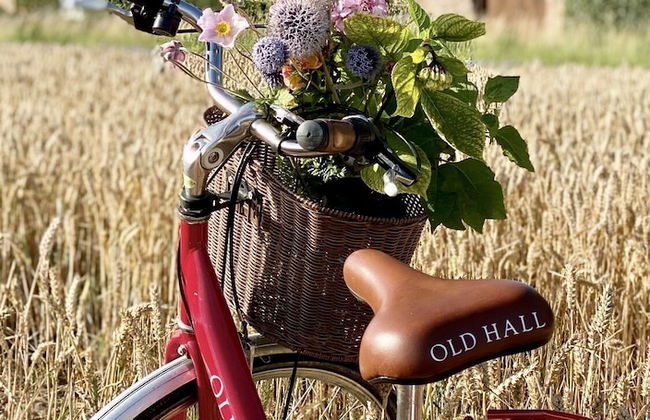
Old Hall Country Breaks - Foto 1
Old Hall Country Breaks - Foto 2
Old Hall Country Breaks - Foto 3
Old Hall Country Breaks - Foto 4
Old Hall Country Breaks - Foto 5
Old Hall Country Breaks - Foto 6
Old Hall Country Breaks - Foto 7
Old Hall Country Breaks - Foto 8
Old Hall Country Breaks - Foto 9
Old Hall Country Breaks - Foto 10
Old Hall Country Breaks - Foto 11
Old Hall Country Breaks - Foto 12
Old Hall Country Breaks - Foto 13
Old Hall Country Breaks - Foto 14
Old Hall Country Breaks - Foto 15
Old Hall Country Breaks - Foto 16
Old Hall Country Breaks - Foto 17
Old Hall Country Breaks - Foto 18
Old Hall Country Breaks - Foto 19
Old Hall Country Breaks - Foto 20
Old Hall Country Breaks - Foto 21
Old Hall Country Breaks - Foto 22
Old Hall Country Breaks - Foto 23
Old Hall Country Breaks - Foto 24
Old Hall Country Breaks - Foto 25
Old Hall Country Breaks - Foto 26
Old Hall Country Breaks - Foto 27
Old Hall Country Breaks - Foto 28
Old Hall Country Breaks - Foto 29
Old Hall Country Breaks - Foto 30
Old Hall Country Breaks - Foto 31
Old Hall Country Breaks - Foto 32
Old Hall Country Breaks - Foto 33
Old Hall Country Breaks - Foto 34
Old Hall Country Breaks - Foto 35
Old Hall Country Breaks - Foto 36
Old Hall Country Breaks - Foto 37
Old Hall Country Breaks - Foto 38
Old Hall Country Breaks - Foto 39
Old Hall Country Breaks - Foto 40
Old Hall Country Breaks - Foto 41
Old Hall Country Breaks - Foto 42
Old Hall Country Breaks - Foto 43
Old Hall Country Breaks - Foto 44
Old Hall Country Breaks - Foto 45
Old Hall Country Breaks - Foto 46
Old Hall Country Breaks - Foto 47
Old Hall Country Breaks - Foto 48
Old Hall Country Breaks - Foto 49
Old Hall Country Breaks - Foto 50
Old Hall Country Breaks - Foto 51
Old Hall Country Breaks - Foto 52
Old Hall Country Breaks - Foto 53
Old Hall Country Breaks - Foto 54
Old Hall Country Breaks - Foto 55
Old Hall Country Breaks - Foto 56
Old Hall Country Breaks - Foto 57
Old Hall Country Breaks - Foto 58
Old Hall Country Breaks - Foto 59
Old Hall Country Breaks - Foto 60
Old Hall Country Breaks - Foto 61
Old Hall Country Breaks - Foto 62
Old Hall Country Breaks - Foto 63
Old Hall Country Breaks - Foto 64
Old Hall Country Breaks - Foto 65
Old Hall Country Breaks - Foto 66
Old Hall Country Breaks - Foto 67
Old Hall Country Breaks - Foto 68
Old Hall Country Breaks - Foto 69
Old Hall Country Breaks - Foto 70
Old Hall Country Breaks - Foto 71
Old Hall Country Breaks - Foto 72
Old Hall Country Breaks - Foto 73
Old Hall Country Breaks - Foto 74
Old Hall Country Breaks - Foto 75
Old Hall Country Breaks - Foto 76
Old Hall Country Breaks - Foto 77
Old Hall Country Breaks - Foto 78
Old Hall Country Breaks - Foto 79
Old Hall Country Breaks - Foto 80
Old Hall Country Breaks - Foto 81
Old Hall Country Breaks - Foto 82
Old Hall Country Breaks - Foto 83
Old Hall Country Breaks - Foto 84
Old Hall Country Breaks - Foto 85
Old Hall Country Breaks - Foto 86
Old Hall Country Breaks - Foto 87
Old Hall Country Breaks - Foto 88
Old Hall Country Breaks - Foto 89
Old Hall Country Breaks - Foto 90
Old Hall Country Breaks - Foto 91
Old Hall Country Breaks - Foto 92
Old Hall Country Breaks - Foto 93

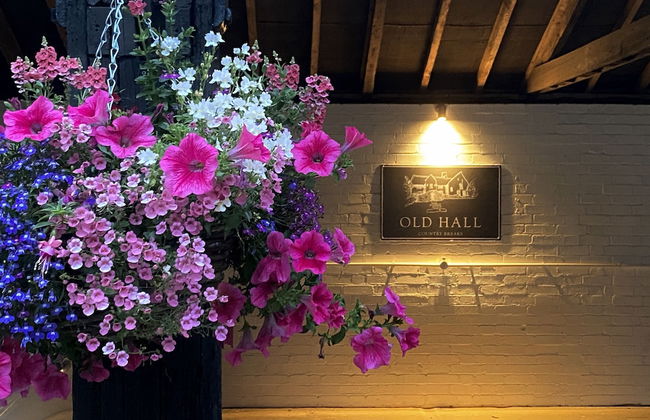
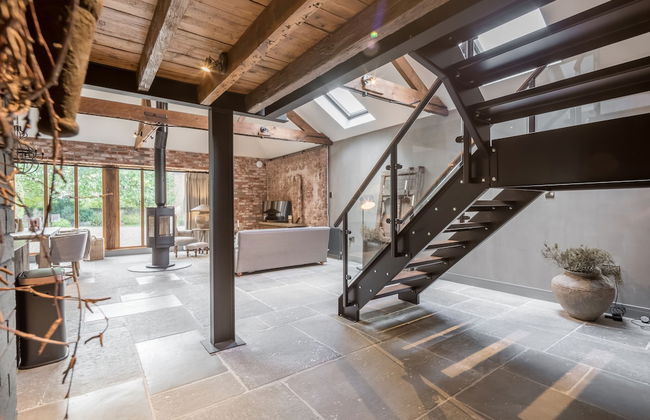
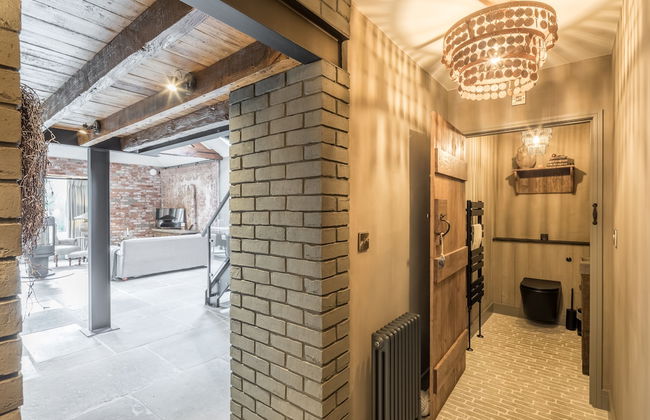
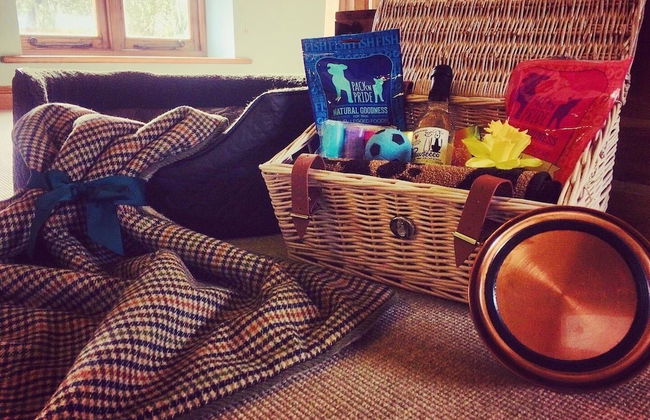
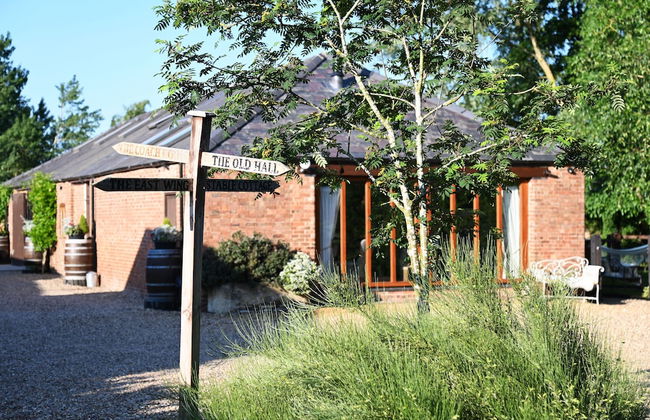
Old Hall Country Breaks

King's Lynn - Tilney

  • 93 M2
  • 2 camere
  • 4 persone
  • Riscaldamento
  • Parcheggio
  • Giardino
  • Tv
  • Lavatrice
  • Focolare
  • Lino da bagno
  • Lino da letto
10Magnifico | 14 recensioni
The Leas Beach Park - Foto 1
The Leas Beach Park - Foto 2
The Leas Beach Park - Foto 3
The Leas Beach Park - Foto 4
The Leas Beach Park - Foto 5
The Leas Beach Park - Foto 6
The Leas Beach Park - Foto 7
The Leas Beach Park - Foto 8
The Leas Beach Park - Foto 9
The Leas Beach Park - Foto 10
The Leas Beach Park - Foto 11
The Leas Beach Park - Foto 12
The Leas Beach Park - Foto 13
The Leas Beach Park - Foto 14
The Leas Beach Park - Foto 15
The Leas Beach Park - Foto 16
The Leas Beach Park - Foto 17
The Leas Beach Park - Foto 18
The Leas Beach Park - Foto 19
The Leas Beach Park - Foto 20
The Leas Beach Park - Foto 21
The Leas Beach Park - Foto 22
The Leas Beach Park - Foto 23
The Leas Beach Park - Foto 24
The Leas Beach Park - Foto 25
The Leas Beach Park - Foto 26
The Leas Beach Park - Foto 27
The Leas Beach Park - Foto 28
The Leas Beach Park - Foto 29
The Leas Beach Park - Foto 30
The Leas Beach Park - Foto 31
The Leas Beach Park - Foto 32
The Leas Beach Park - Foto 33
The Leas Beach Park - Foto 34
The Leas Beach Park - Foto 35
The Leas Beach Park - Foto 36
The Leas Beach Park - Foto 37
The Leas Beach Park - Foto 38
The Leas Beach Park - Foto 39
The Leas Beach Park - Foto 40
The Leas Beach Park - Foto 41
The Leas Beach Park - Foto 42
The Leas Beach Park - Foto 43
The Leas Beach Park - Foto 44
The Leas Beach Park - Foto 45

The Leas Beach Park

Norwich - Bacton - 28 km dal centro

  • 26 M2
  • 6 persone
  • Riscaldamento
  • Parcheggio
  • Tv
10Magnifico | 81 recensioni
The Crows Nest - Sheringham - Foto 1
The Crows Nest - Sheringham - Foto 2
The Crows Nest - Sheringham - Foto 3
The Crows Nest - Sheringham - Foto 4
The Crows Nest - Sheringham - Foto 5
The Crows Nest - Sheringham - Foto 6
The Crows Nest - Sheringham - Foto 7
The Crows Nest - Sheringham - Foto 8
The Crows Nest - Sheringham - Foto 9
The Crows Nest - Sheringham - Foto 10
The Crows Nest - Sheringham - Foto 11
The Crows Nest - Sheringham - Foto 12
The Crows Nest - Sheringham - Foto 13
The Crows Nest - Sheringham - Foto 14
The Crows Nest - Sheringham - Foto 15
The Crows Nest - Sheringham - Foto 16
The Crows Nest - Sheringham - Foto 17
The Crows Nest - Sheringham - Foto 18
The Crows Nest - Sheringham - Foto 19
The Crows Nest - Sheringham - Foto 20
The Crows Nest - Sheringham - Foto 21
The Crows Nest - Sheringham - Foto 22
The Crows Nest - Sheringham - Foto 23
The Crows Nest - Sheringham - Foto 24
The Crows Nest - Sheringham - Foto 25
The Crows Nest - Sheringham - Foto 26
The Crows Nest - Sheringham - Foto 27
The Crows Nest - Sheringham - Foto 28
The Crows Nest - Sheringham - Foto 29
The Crows Nest - Sheringham - Foto 30
The Crows Nest - Sheringham - Foto 31
The Crows Nest - Sheringham - Foto 32
The Crows Nest - Sheringham - Foto 33
The Crows Nest - Sheringham - Foto 34
The Crows Nest - Sheringham - Foto 35
The Crows Nest - Sheringham - Foto 36
The Crows Nest - Sheringham - Foto 37
The Crows Nest - Sheringham - Foto 38
The Crows Nest - Sheringham - Foto 39
The Crows Nest - Sheringham - Foto 40
The Crows Nest - Sheringham - Foto 41
The Crows Nest - Sheringham - Foto 42
The Crows Nest - Sheringham - Foto 43
The Crows Nest - Sheringham - Foto 44
The Crows Nest - Sheringham - Foto 45
The Crows Nest - Sheringham - Foto 46
The Crows Nest - Sheringham - Foto 47
The Crows Nest - Sheringham - Foto 48
The Crows Nest - Sheringham - Foto 49
The Crows Nest - Sheringham - Foto 50
The Crows Nest - Sheringham - Foto 51
The Crows Nest - Sheringham - Foto 52

The Crows Nest - Sheringham

Sheringham - Sheringham

  • 9 M2
  • 2 persone
  • Riscaldamento
  • Tv
  • Lino da bagno
  • Lino da letto
9.8Eccezionale | 14 recensioni
Beach Breeze Cottage - Foto 1
Beach Breeze Cottage - Foto 2
Beach Breeze Cottage - Foto 3
Beach Breeze Cottage - Foto 4
Beach Breeze Cottage - Foto 5
Beach Breeze Cottage - Foto 6
Beach Breeze Cottage - Foto 7
Beach Breeze Cottage - Foto 8
Beach Breeze Cottage - Foto 9
Beach Breeze Cottage - Foto 10
Beach Breeze Cottage - Foto 11
Beach Breeze Cottage - Foto 12
Beach Breeze Cottage - Foto 13
Beach Breeze Cottage - Foto 14
Beach Breeze Cottage - Foto 15
Beach Breeze Cottage - Foto 16
Beach Breeze Cottage - Foto 17
Beach Breeze Cottage - Foto 18
Beach Breeze Cottage - Foto 19
Beach Breeze Cottage - Foto 20
Beach Breeze Cottage - Foto 21

Beach Breeze Cottage

Great Yarmouth - Caister on Sea - 3.4 km dal centro

  • 105 M2
  • 8 persone
  • Riscaldamento
  • Terrazza
  • Parcheggio
  • Giardino
  • Tv
  • Lavatrice
  • Barbecue
  • Lino da bagno
9.4Eccezionale | 17 recensioni
Marina Beach House - Foto 1
Marina Beach House - Foto 2
Marina Beach House - Foto 3
Marina Beach House - Foto 4
Marina Beach House - Foto 5
Marina Beach House - Foto 6
Marina Beach House - Foto 7
Marina Beach House - Foto 8
Marina Beach House - Foto 9
Marina Beach House - Foto 10
Marina Beach House - Foto 11
Marina Beach House - Foto 12
Marina Beach House - Foto 13
Marina Beach House - Foto 14
Marina Beach House - Foto 15
Marina Beach House - Foto 16
Marina Beach House - Foto 17
Marina Beach House - Foto 18
Marina Beach House - Foto 19
Marina Beach House - Foto 20
Marina Beach House - Foto 21
Marina Beach House - Foto 22
Marina Beach House - Foto 23
Marina Beach House - Foto 24
Marina Beach House - Foto 25
Marina Beach House - Foto 26
Marina Beach House - Foto 27
Marina Beach House - Foto 28
Marina Beach House - Foto 29
Marina Beach House - Foto 30
Marina Beach House - Foto 31
Marina Beach House - Foto 32
Marina Beach House - Foto 33
Marina Beach House - Foto 34
Marina Beach House - Foto 35
Marina Beach House - Foto 36
Marina Beach House - Foto 37
Marina Beach House - Foto 38
Marina Beach House - Foto 39
Marina Beach House - Foto 40
Marina Beach House - Foto 41
Marina Beach House - Foto 42
Marina Beach House - Foto 43
Marina Beach House - Foto 44
Marina Beach House - Foto 45
Marina Beach House - Foto 46
Marina Beach House - Foto 47
Marina Beach House - Foto 48
Marina Beach House - Foto 49
Marina Beach House - Foto 50
Marina Beach House - Foto 51
Marina Beach House - Foto 52
Marina Beach House - Foto 53
Marina Beach House - Foto 54
Marina Beach House - Foto 55
Marina Beach House - Foto 56
Marina Beach House - Foto 57
Marina Beach House - Foto 58
Marina Beach House - Foto 59
Marina Beach House - Foto 60
Marina Beach House - Foto 61
Marina Beach House - Foto 62
Marina Beach House - Foto 63
Marina Beach House - Foto 64
Marina Beach House - Foto 65
Marina Beach House - Foto 66
Marina Beach House - Foto 67
Marina Beach House - Foto 68
Marina Beach House - Foto 69
Marina Beach House - Foto 70
Marina Beach House - Foto 71
Marina Beach House - Foto 72
Marina Beach House - Foto 73
Marina Beach House - Foto 74
Marina Beach House - Foto 75
Marina Beach House - Foto 76
Marina Beach House - Foto 77
Marina Beach House - Foto 78
Marina Beach House - Foto 79
Marina Beach House - Foto 80
Marina Beach House - Foto 81

Marina Beach House

Great Yarmouth - Caister on Sea - 3.4 km dal centro

  • 92 M2
  • 3 camere
  • 7 persone
  • Riscaldamento
  • Terrazza
  • Parcheggio
  • Balcone
  • Giardino
  • Tv
  • Lino da bagno
  • Lino da letto
10Magnifico | 8 recensioni
3 Bed, Sleeps 8 Caravan, California Cliffs Park - Foto 1
3 Bed, Sleeps 8 Caravan, California Cliffs Park - Foto 2
3 Bed, Sleeps 8 Caravan, California Cliffs Park - Foto 3
3 Bed, Sleeps 8 Caravan, California Cliffs Park - Foto 4
3 Bed, Sleeps 8 Caravan, California Cliffs Park - Foto 5
3 Bed, Sleeps 8 Caravan, California Cliffs Park - Foto 6
3 Bed, Sleeps 8 Caravan, California Cliffs Park - Foto 7
3 Bed, Sleeps 8 Caravan, California Cliffs Park - Foto 8
3 Bed, Sleeps 8 Caravan, California Cliffs Park - Foto 9
3 Bed, Sleeps 8 Caravan, California Cliffs Park - Foto 10
3 Bed, Sleeps 8 Caravan, California Cliffs Park - Foto 11
3 Bed, Sleeps 8 Caravan, California Cliffs Park - Foto 12
3 Bed, Sleeps 8 Caravan, California Cliffs Park - Foto 13
3 Bed, Sleeps 8 Caravan, California Cliffs Park - Foto 14
3 Bed, Sleeps 8 Caravan, California Cliffs Park - Foto 15
3 Bed, Sleeps 8 Caravan, California Cliffs Park - Foto 16
3 Bed, Sleeps 8 Caravan, California Cliffs Park - Foto 17
3 Bed, Sleeps 8 Caravan, California Cliffs Park - Foto 18
3 Bed, Sleeps 8 Caravan, California Cliffs Park - Foto 19
3 Bed, Sleeps 8 Caravan, California Cliffs Park - Foto 20
3 Bed, Sleeps 8 Caravan, California Cliffs Park - Foto 21
3 Bed, Sleeps 8 Caravan, California Cliffs Park - Foto 22
3 Bed, Sleeps 8 Caravan, California Cliffs Park - Foto 23
3 Bed, Sleeps 8 Caravan, California Cliffs Park - Foto 24
3 Bed, Sleeps 8 Caravan, California Cliffs Park - Foto 25
3 Bed, Sleeps 8 Caravan, California Cliffs Park - Foto 26
3 Bed, Sleeps 8 Caravan, California Cliffs Park - Foto 27
3 Bed, Sleeps 8 Caravan, California Cliffs Park - Foto 28
3 Bed, Sleeps 8 Caravan, California Cliffs Park - Foto 29
3 Bed, Sleeps 8 Caravan, California Cliffs Park - Foto 30
3 Bed, Sleeps 8 Caravan, California Cliffs Park - Foto 31
3 Bed, Sleeps 8 Caravan, California Cliffs Park - Foto 32
3 Bed, Sleeps 8 Caravan, California Cliffs Park - Foto 33
3 Bed, Sleeps 8 Caravan, California Cliffs Park - Foto 34
3 Bed, Sleeps 8 Caravan, California Cliffs Park - Foto 35
3 Bed, Sleeps 8 Caravan, California Cliffs Park - Foto 36
3 Bed, Sleeps 8 Caravan, California Cliffs Park - Foto 37
3 Bed, Sleeps 8 Caravan, California Cliffs Park - Foto 38
3 Bed, Sleeps 8 Caravan, California Cliffs Park - Foto 39
3 Bed, Sleeps 8 Caravan, California Cliffs Park - Foto 40
3 Bed, Sleeps 8 Caravan, California Cliffs Park - Foto 41
3 Bed, Sleeps 8 Caravan, California Cliffs Park - Foto 42
3 Bed, Sleeps 8 Caravan, California Cliffs Park - Foto 43
3 Bed, Sleeps 8 Caravan, California Cliffs Park - Foto 44
3 Bed, Sleeps 8 Caravan, California Cliffs Park - Foto 45
3 Bed, Sleeps 8 Caravan, California Cliffs Park - Foto 46
3 Bed, Sleeps 8 Caravan, California Cliffs Park - Foto 47
3 Bed, Sleeps 8 Caravan, California Cliffs Park - Foto 48
3 Bed, Sleeps 8 Caravan, California Cliffs Park - Foto 49
3 Bed, Sleeps 8 Caravan, California Cliffs Park - Foto 50
3 Bed, Sleeps 8 Caravan, California Cliffs Park - Foto 51
3 Bed, Sleeps 8 Caravan, California Cliffs Park - Foto 52
3 Bed, Sleeps 8 Caravan, California Cliffs Park - Foto 53
3 Bed, Sleeps 8 Caravan, California Cliffs Park - Foto 54
3 Bed, Sleeps 8 Caravan, California Cliffs Park - Foto 55
3 Bed, Sleeps 8 Caravan, California Cliffs Park - Foto 56
3 Bed, Sleeps 8 Caravan, California Cliffs Park - Foto 57
3 Bed, Sleeps 8 Caravan, California Cliffs Park - Foto 58
3 Bed, Sleeps 8 Caravan, California Cliffs Park - Foto 59
3 Bed, Sleeps 8 Caravan, California Cliffs Park - Foto 60
3 Bed, Sleeps 8 Caravan, California Cliffs Park - Foto 61
3 Bed, Sleeps 8 Caravan, California Cliffs Park - Foto 62
3 Bed, Sleeps 8 Caravan, California Cliffs Park - Foto 63

3 Bed, Sleeps 8 Caravan, California Cliffs Park

Great Yarmouth - Scratby - 6.5 km dal centro

  • 44 M2
  • 2 camere
  • 6 persone
  • Riscaldamento
  • Terrazza
  • Piscina
  • Parcheggio
  • Giardino
  • Barbecue
8.9Molto buono | 149 recensioni
Olive House - Foto 1
Olive House - Foto 2
Olive House - Foto 3
Olive House - Foto 4
Olive House - Foto 5
Olive House - Foto 6
Olive House - Foto 7
Olive House - Foto 8
Olive House - Foto 9
Olive House - Foto 10
Olive House - Foto 11
Olive House - Foto 12
Olive House - Foto 13
Olive House - Foto 14
Olive House - Foto 15
Olive House - Foto 16
Olive House - Foto 17
Olive House - Foto 18
Olive House - Foto 19
Olive House - Foto 20
Olive House - Foto 21
Olive House - Foto 22
Olive House - Foto 23
Olive House - Foto 24
Olive House - Foto 25
Olive House - Foto 26
Olive House - Foto 27
Olive House - Foto 28
Olive House - Foto 29
Olive House - Foto 30
Olive House - Foto 31
Olive House - Foto 32
Olive House - Foto 33
Olive House - Foto 34
Olive House - Foto 35
Olive House - Foto 36
Olive House - Foto 37
Olive House - Foto 38
Olive House - Foto 39
Olive House - Foto 40

Olive House

King's Lynn - Heacham

  • 150 M2
  • 2 camere
  • 6 persone
  • Aria condizionata
  • Riscaldamento
  • Terrazza
  • Parcheggio
  • Giardino
  • Barbecue
9.9Eccezionale | 26 recensioni
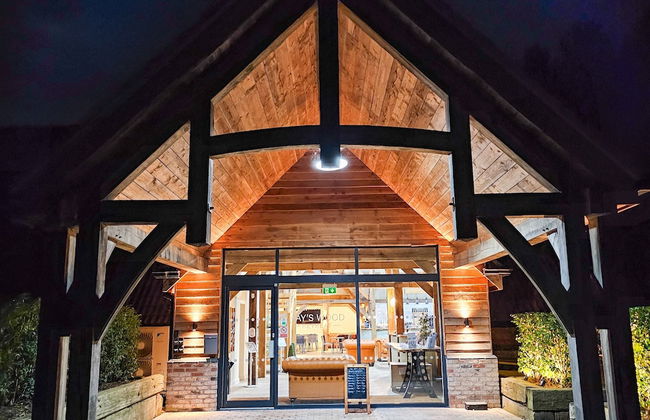
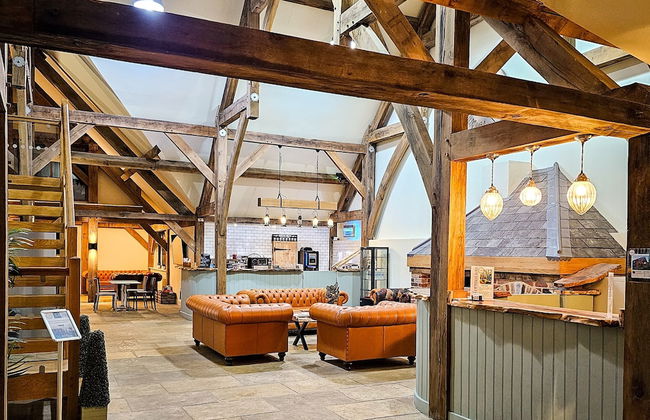
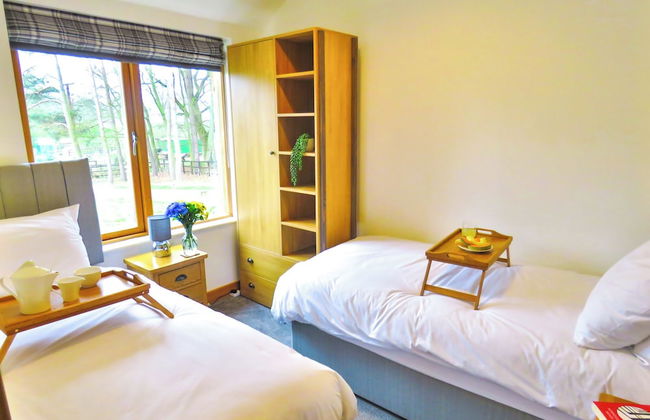
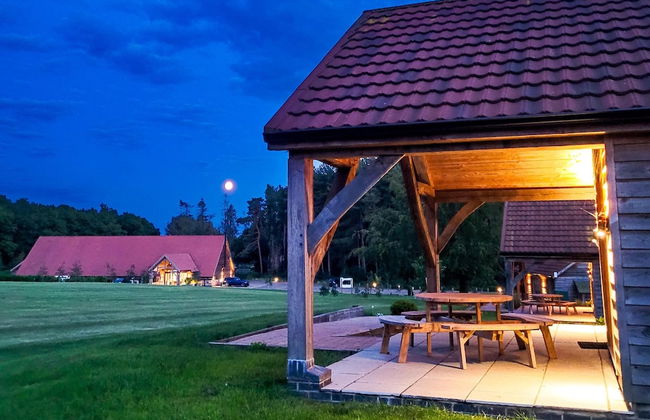
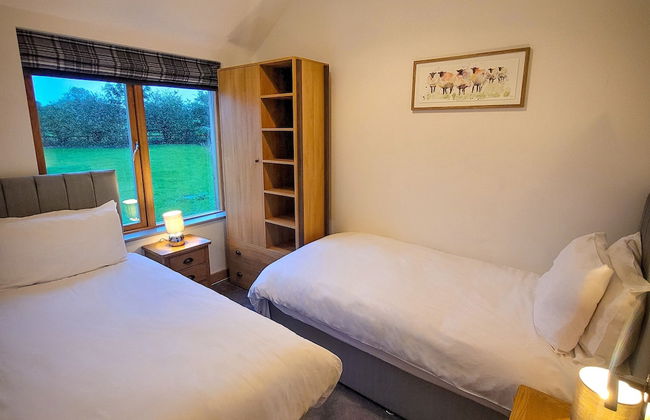
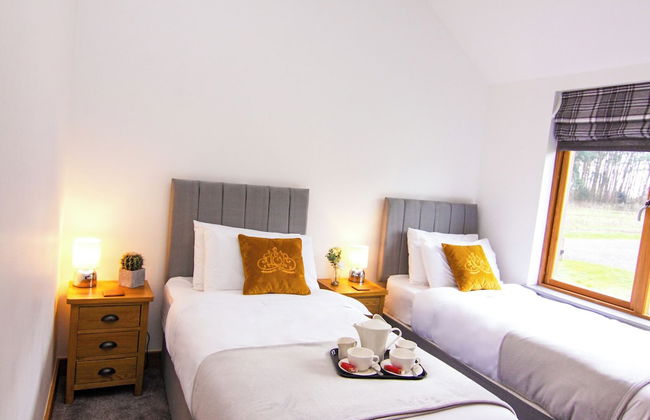
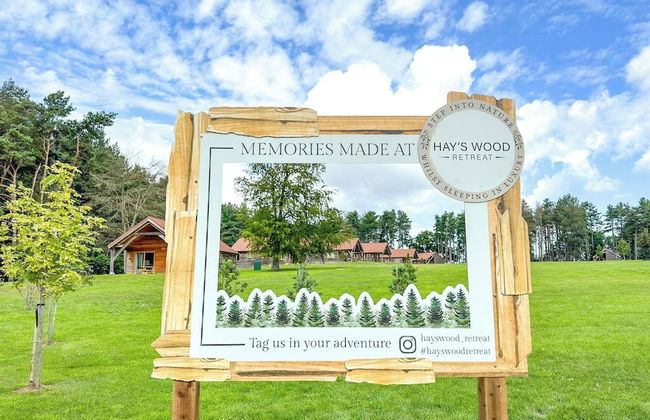
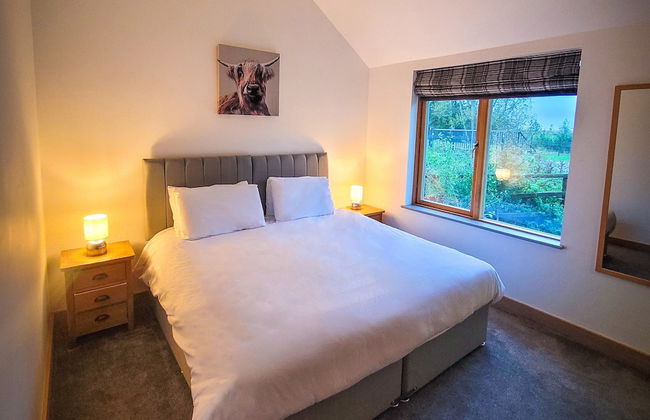
Hay's Wood Retreat - Foto 1
Hay's Wood Retreat - Foto 2
Hay's Wood Retreat - Foto 3
Hay's Wood Retreat - Foto 4
Hay's Wood Retreat - Foto 5
Hay's Wood Retreat - Foto 6
Hay's Wood Retreat - Foto 7
Hay's Wood Retreat - Foto 8
Hay's Wood Retreat - Foto 9
Hay's Wood Retreat - Foto 10
Hay's Wood Retreat - Foto 11
Hay's Wood Retreat - Foto 12
Hay's Wood Retreat - Foto 13
Hay's Wood Retreat - Foto 14
Hay's Wood Retreat - Foto 15
Hay's Wood Retreat - Foto 16
Hay's Wood Retreat - Foto 17
Hay's Wood Retreat - Foto 18
Hay's Wood Retreat - Foto 19
Hay's Wood Retreat - Foto 20
Hay's Wood Retreat - Foto 21
Hay's Wood Retreat - Foto 22
Hay's Wood Retreat - Foto 23
Hay's Wood Retreat - Foto 24
Hay's Wood Retreat - Foto 25
Hay's Wood Retreat - Foto 26
Hay's Wood Retreat - Foto 27
Hay's Wood Retreat - Foto 28
Hay's Wood Retreat - Foto 29
Hay's Wood Retreat - Foto 30
Hay's Wood Retreat - Foto 31
Hay's Wood Retreat - Foto 32
Hay's Wood Retreat - Foto 33
Hay's Wood Retreat - Foto 34
Hay's Wood Retreat - Foto 35
Hay's Wood Retreat - Foto 36
Hay's Wood Retreat - Foto 37
Hay's Wood Retreat - Foto 38
Hay's Wood Retreat - Foto 39
Hay's Wood Retreat - Foto 40
Hay's Wood Retreat - Foto 41
Hay's Wood Retreat - Foto 42
Hay's Wood Retreat - Foto 43
Hay's Wood Retreat - Foto 44
Hay's Wood Retreat - Foto 45
Hay's Wood Retreat - Foto 46
Hay's Wood Retreat - Foto 47
Hay's Wood Retreat - Foto 48
Hay's Wood Retreat - Foto 49
Hay's Wood Retreat - Foto 50
Hay's Wood Retreat - Foto 51

Hay's Wood Retreat

King's Lynn - North Runcton

  • 179 M2
  • 9 persone
  • Riscaldamento
  • Terrazza
  • Parcheggio
  • Giardino
  • Tv
  • Focolare
  • Lino da bagno
  • Lino da letto
9.2Eccezionale | 17 recensioni
Dragon Chalet 1 , 155 Sunbeach Holiday Village, Scratby - Foto 1
Dragon Chalet 1 , 155 Sunbeach Holiday Village, Scratby - Foto 2
Dragon Chalet 1 , 155 Sunbeach Holiday Village, Scratby - Foto 3
Dragon Chalet 1 , 155 Sunbeach Holiday Village, Scratby - Foto 4
Dragon Chalet 1 , 155 Sunbeach Holiday Village, Scratby - Foto 5
Dragon Chalet 1 , 155 Sunbeach Holiday Village, Scratby - Foto 6
Dragon Chalet 1 , 155 Sunbeach Holiday Village, Scratby - Foto 7
Dragon Chalet 1 , 155 Sunbeach Holiday Village, Scratby - Foto 8
Dragon Chalet 1 , 155 Sunbeach Holiday Village, Scratby - Foto 9
Dragon Chalet 1 , 155 Sunbeach Holiday Village, Scratby - Foto 10
Dragon Chalet 1 , 155 Sunbeach Holiday Village, Scratby - Foto 11
Dragon Chalet 1 , 155 Sunbeach Holiday Village, Scratby - Foto 12
Dragon Chalet 1 , 155 Sunbeach Holiday Village, Scratby - Foto 13
Dragon Chalet 1 , 155 Sunbeach Holiday Village, Scratby - Foto 14

Dragon Chalet 1 , 155 Sunbeach Holiday Village, Scratby

Great Yarmouth - California - 6.2 km dal centro

  • 36 M2
  • 2 camere
  • 4 persone
  • Riscaldamento
  • Terrazza
  • Piscina
  • Parcheggio
  • Giardino
9.6Eccezionale | 38 recensioni
Large family home, sea view, hot tub, beach 5 min walk, dog friendly - Foto 1
Large family home, sea view, hot tub, beach 5 min walk, dog friendly - Foto 2
Large family home, sea view, hot tub, beach 5 min walk, dog friendly - Foto 3
Large family home, sea view, hot tub, beach 5 min walk, dog friendly - Foto 4
Large family home, sea view, hot tub, beach 5 min walk, dog friendly - Foto 5
Large family home, sea view, hot tub, beach 5 min walk, dog friendly - Foto 6
Large family home, sea view, hot tub, beach 5 min walk, dog friendly - Foto 7
Large family home, sea view, hot tub, beach 5 min walk, dog friendly - Foto 8
Large family home, sea view, hot tub, beach 5 min walk, dog friendly - Foto 9
Large family home, sea view, hot tub, beach 5 min walk, dog friendly - Foto 10
Large family home, sea view, hot tub, beach 5 min walk, dog friendly - Foto 11
Large family home, sea view, hot tub, beach 5 min walk, dog friendly - Foto 12
Large family home, sea view, hot tub, beach 5 min walk, dog friendly - Foto 13
Large family home, sea view, hot tub, beach 5 min walk, dog friendly - Foto 14
Large family home, sea view, hot tub, beach 5 min walk, dog friendly - Foto 15
Large family home, sea view, hot tub, beach 5 min walk, dog friendly - Foto 16
Large family home, sea view, hot tub, beach 5 min walk, dog friendly - Foto 17
Large family home, sea view, hot tub, beach 5 min walk, dog friendly - Foto 18
Large family home, sea view, hot tub, beach 5 min walk, dog friendly - Foto 19
Large family home, sea view, hot tub, beach 5 min walk, dog friendly - Foto 20
Large family home, sea view, hot tub, beach 5 min walk, dog friendly - Foto 21
Large family home, sea view, hot tub, beach 5 min walk, dog friendly - Foto 22
Large family home, sea view, hot tub, beach 5 min walk, dog friendly - Foto 23
Large family home, sea view, hot tub, beach 5 min walk, dog friendly - Foto 24
Large family home, sea view, hot tub, beach 5 min walk, dog friendly - Foto 25
Large family home, sea view, hot tub, beach 5 min walk, dog friendly - Foto 26
Large family home, sea view, hot tub, beach 5 min walk, dog friendly - Foto 27
Large family home, sea view, hot tub, beach 5 min walk, dog friendly - Foto 28
Large family home, sea view, hot tub, beach 5 min walk, dog friendly - Foto 29
Large family home, sea view, hot tub, beach 5 min walk, dog friendly - Foto 30
Large family home, sea view, hot tub, beach 5 min walk, dog friendly - Foto 31
Large family home, sea view, hot tub, beach 5 min walk, dog friendly - Foto 32
Large family home, sea view, hot tub, beach 5 min walk, dog friendly - Foto 33
Large family home, sea view, hot tub, beach 5 min walk, dog friendly - Foto 34
Large family home, sea view, hot tub, beach 5 min walk, dog friendly - Foto 35
Large family home, sea view, hot tub, beach 5 min walk, dog friendly - Foto 36
Large family home, sea view, hot tub, beach 5 min walk, dog friendly - Foto 37
Large family home, sea view, hot tub, beach 5 min walk, dog friendly - Foto 38
Large family home, sea view, hot tub, beach 5 min walk, dog friendly - Foto 39
Large family home, sea view, hot tub, beach 5 min walk, dog friendly - Foto 40
Large family home, sea view, hot tub, beach 5 min walk, dog friendly - Foto 41
Large family home, sea view, hot tub, beach 5 min walk, dog friendly - Foto 42
Large family home, sea view, hot tub, beach 5 min walk, dog friendly - Foto 43
Large family home, sea view, hot tub, beach 5 min walk, dog friendly - Foto 44
Large family home, sea view, hot tub, beach 5 min walk, dog friendly - Foto 45

Large family home, sea view, hot tub, beach 5 min walk, dog friendly

Great Yarmouth - Gorleston - 4.1 km dal centro

  • 193 M2
  • 5 camere
  • 11 persone
  • Riscaldamento
  • Terrazza
  • Parcheggio
  • Giardino
  • Barbecue
9.9Eccezionale | 35 recensioni
Seafront Sheringham 1 bed Apt Sleeps 4 - 1xdog - Foto 1
Seafront Sheringham 1 bed Apt Sleeps 4 - 1xdog - Foto 2
Seafront Sheringham 1 bed Apt Sleeps 4 - 1xdog - Foto 3
Seafront Sheringham 1 bed Apt Sleeps 4 - 1xdog - Foto 4
Seafront Sheringham 1 bed Apt Sleeps 4 - 1xdog - Foto 5
Seafront Sheringham 1 bed Apt Sleeps 4 - 1xdog - Foto 6
Seafront Sheringham 1 bed Apt Sleeps 4 - 1xdog - Foto 7
Seafront Sheringham 1 bed Apt Sleeps 4 - 1xdog - Foto 8
Seafront Sheringham 1 bed Apt Sleeps 4 - 1xdog - Foto 9
Seafront Sheringham 1 bed Apt Sleeps 4 - 1xdog - Foto 10
Seafront Sheringham 1 bed Apt Sleeps 4 - 1xdog - Foto 11
Seafront Sheringham 1 bed Apt Sleeps 4 - 1xdog - Foto 12
Seafront Sheringham 1 bed Apt Sleeps 4 - 1xdog - Foto 13
Seafront Sheringham 1 bed Apt Sleeps 4 - 1xdog - Foto 14
Seafront Sheringham 1 bed Apt Sleeps 4 - 1xdog - Foto 15
Seafront Sheringham 1 bed Apt Sleeps 4 - 1xdog - Foto 16
Seafront Sheringham 1 bed Apt Sleeps 4 - 1xdog - Foto 17
Seafront Sheringham 1 bed Apt Sleeps 4 - 1xdog - Foto 18
Seafront Sheringham 1 bed Apt Sleeps 4 - 1xdog - Foto 19
Seafront Sheringham 1 bed Apt Sleeps 4 - 1xdog - Foto 20
Seafront Sheringham 1 bed Apt Sleeps 4 - 1xdog - Foto 21
Seafront Sheringham 1 bed Apt Sleeps 4 - 1xdog - Foto 22
Seafront Sheringham 1 bed Apt Sleeps 4 - 1xdog - Foto 23
Seafront Sheringham 1 bed Apt Sleeps 4 - 1xdog - Foto 24
Seafront Sheringham 1 bed Apt Sleeps 4 - 1xdog - Foto 25
Seafront Sheringham 1 bed Apt Sleeps 4 - 1xdog - Foto 26
Seafront Sheringham 1 bed Apt Sleeps 4 - 1xdog - Foto 27
Seafront Sheringham 1 bed Apt Sleeps 4 - 1xdog - Foto 28

Seafront Sheringham 1 bed Apt Sleeps 4 - 1xdog

Sheringham - Sheringham

  • 40 M2
  • 1 camera
  • 4 persone
  • Riscaldamento
  • Parcheggio
  • Giardino
  • Lavatrice
  • Lino da bagno
  • Lino da letto
9.4Eccezionale | 24 recensioni
Otters End, near Wroxham - Foto 1
Otters End, near Wroxham - Foto 2
Otters End, near Wroxham - Foto 3
Otters End, near Wroxham - Foto 4
Otters End, near Wroxham - Foto 5
Otters End, near Wroxham - Foto 6
Otters End, near Wroxham - Foto 7
Otters End, near Wroxham - Foto 8
Otters End, near Wroxham - Foto 9
Otters End, near Wroxham - Foto 10
Otters End, near Wroxham - Foto 11
Otters End, near Wroxham - Foto 12
Otters End, near Wroxham - Foto 13
Otters End, near Wroxham - Foto 14
Otters End, near Wroxham - Foto 15

Otters End, near Wroxham

North Walsham - Dilham

  • 46 M2
  • 1 camera
  • 2 persone
  • Riscaldamento
  • Terrazza
  • Parcheggio
  • Giardino
9.9Eccezionale | 104 recensioni
Cozy Scarning Apartment for Two - Foto 1
Cozy Scarning Apartment for Two - Foto 2
Cozy Scarning Apartment for Two - Foto 3
Cozy Scarning Apartment for Two - Foto 4
Cozy Scarning Apartment for Two - Foto 5
Cozy Scarning Apartment for Two - Foto 6
Cozy Scarning Apartment for Two - Foto 7
Cozy Scarning Apartment for Two - Foto 8
Cozy Scarning Apartment for Two - Foto 9
Cozy Scarning Apartment for Two - Foto 10
Cozy Scarning Apartment for Two - Foto 11
Cozy Scarning Apartment for Two - Foto 12
Cozy Scarning Apartment for Two - Foto 13
Cozy Scarning Apartment for Two - Foto 14
Cozy Scarning Apartment for Two - Foto 15
Cozy Scarning Apartment for Two - Foto 16
Cozy Scarning Apartment for Two - Foto 17
Cozy Scarning Apartment for Two - Foto 18
Cozy Scarning Apartment for Two - Foto 19
Cozy Scarning Apartment for Two - Foto 20
Cozy Scarning Apartment for Two - Foto 21
Cozy Scarning Apartment for Two - Foto 22
Cozy Scarning Apartment for Two - Foto 23
Cozy Scarning Apartment for Two - Foto 24
Cozy Scarning Apartment for Two - Foto 25
Cozy Scarning Apartment for Two - Foto 26
Cozy Scarning Apartment for Two - Foto 27
Cozy Scarning Apartment for Two - Foto 28
Cozy Scarning Apartment for Two - Foto 29
Cozy Scarning Apartment for Two - Foto 30
Cozy Scarning Apartment for Two - Foto 31

Cozy Scarning Apartment for Two

East Dereham - East Dereham

  • 40 M2
  • 2 persone
  • Riscaldamento
  • Parcheggio
  • Giardino
  • Tv
  • Lavatrice
  • Lino da bagno
  • Lino da letto
10Magnifico | 8 recensioni
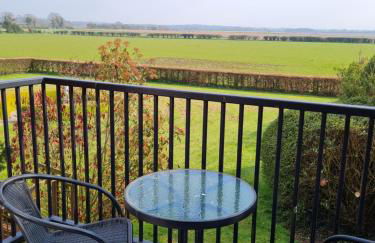
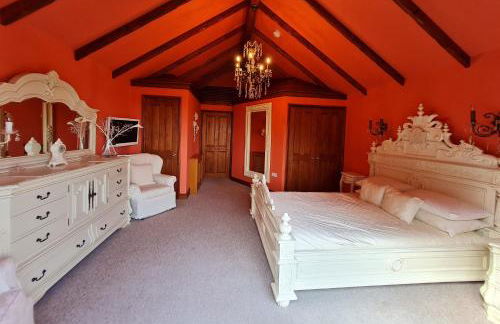
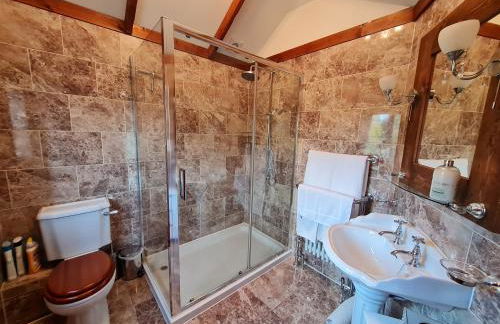
Barley View - Foto 1
Barley View - Foto 2
Barley View - Foto 3
Barley View - Foto 4
Barley View - Foto 5
Barley View - Foto 6
Barley View - Foto 7
Barley View - Foto 8
Barley View - Foto 9
Barley View - Foto 10

Barley View

Norwich - East - 33 km dal centro

  • 75 M2
  • 1 camera
  • 2 persone
  • Terrazza
  • Parcheggio
9.9Eccezionale | 32 recensioni
DJD ,Country Style Luxury Lodge, Manor Park Sleeps 4 - Foto 1
DJD ,Country Style Luxury Lodge, Manor Park Sleeps 4 - Foto 2
DJD ,Country Style Luxury Lodge, Manor Park Sleeps 4 - Foto 3
DJD ,Country Style Luxury Lodge, Manor Park Sleeps 4 - Foto 4
DJD ,Country Style Luxury Lodge, Manor Park Sleeps 4 - Foto 5
DJD ,Country Style Luxury Lodge, Manor Park Sleeps 4 - Foto 6
DJD ,Country Style Luxury Lodge, Manor Park Sleeps 4 - Foto 7
DJD ,Country Style Luxury Lodge, Manor Park Sleeps 4 - Foto 8
DJD ,Country Style Luxury Lodge, Manor Park Sleeps 4 - Foto 9
DJD ,Country Style Luxury Lodge, Manor Park Sleeps 4 - Foto 10
DJD ,Country Style Luxury Lodge, Manor Park Sleeps 4 - Foto 11
DJD ,Country Style Luxury Lodge, Manor Park Sleeps 4 - Foto 12
DJD ,Country Style Luxury Lodge, Manor Park Sleeps 4 - Foto 13
DJD ,Country Style Luxury Lodge, Manor Park Sleeps 4 - Foto 14
DJD ,Country Style Luxury Lodge, Manor Park Sleeps 4 - Foto 15
DJD ,Country Style Luxury Lodge, Manor Park Sleeps 4 - Foto 16
DJD ,Country Style Luxury Lodge, Manor Park Sleeps 4 - Foto 17

DJD ,Country Style Luxury Lodge, Manor Park Sleeps 4

Hunstanton - Hunstanton

  • 4 M2
  • 2 camere
  • 4 persone
  • Riscaldamento
  • Terrazza
  • Piscina
  • Parcheggio
  • Giardino
9.4Eccezionale | 10 recensioni
Oak ridge cabin - Foto 1
Oak ridge cabin - Foto 2
Oak ridge cabin - Foto 3
Oak ridge cabin - Foto 4
Oak ridge cabin - Foto 5
Oak ridge cabin - Foto 6
Oak ridge cabin - Foto 7
Oak ridge cabin - Foto 8
Oak ridge cabin - Foto 9
Oak ridge cabin - Foto 10
Oak ridge cabin - Foto 11
Oak ridge cabin - Foto 12
Oak ridge cabin - Foto 13
Oak ridge cabin - Foto 14
Oak ridge cabin - Foto 15
Oak ridge cabin - Foto 16
Oak ridge cabin - Foto 17
Oak ridge cabin - Foto 18
Oak ridge cabin - Foto 19
Oak ridge cabin - Foto 20
Oak ridge cabin - Foto 21
Oak ridge cabin - Foto 22
Oak ridge cabin - Foto 23
Oak ridge cabin - Foto 24
Oak ridge cabin - Foto 25
Oak ridge cabin - Foto 26
Oak ridge cabin - Foto 27
Oak ridge cabin - Foto 28
Oak ridge cabin - Foto 29
Oak ridge cabin - Foto 30
Oak ridge cabin - Foto 31
Oak ridge cabin - Foto 32
Oak ridge cabin - Foto 33
Oak ridge cabin - Foto 34
Oak ridge cabin - Foto 35
Oak ridge cabin - Foto 36
Oak ridge cabin - Foto 37
Oak ridge cabin - Foto 38

Oak ridge cabin

Norwich - Corpusty - 25.2 km dal centro

  • 2 persone
  • Riscaldamento
  • Terrazza
  • Parcheggio
9.7Eccezionale | 100 recensioni
Charming, cosy waterside retreat in Gimingham, North Norfolk - Foto 1
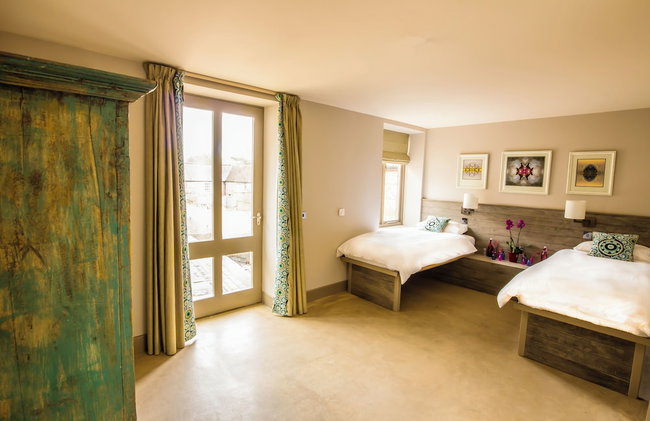
Charming, cosy waterside retreat in Gimingham, North Norfolk - Foto 2
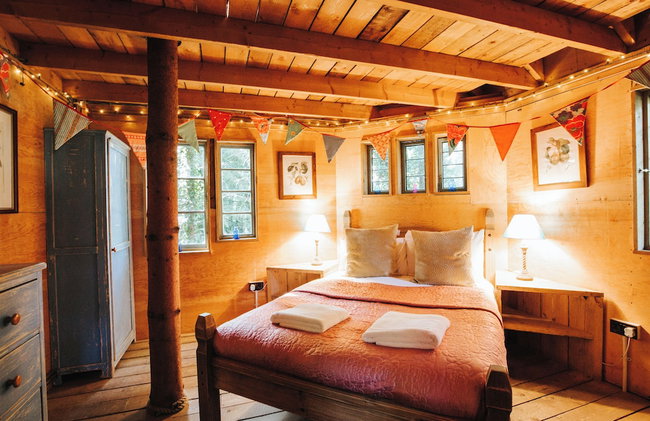
Charming, cosy waterside retreat in Gimingham, North Norfolk - Foto 3
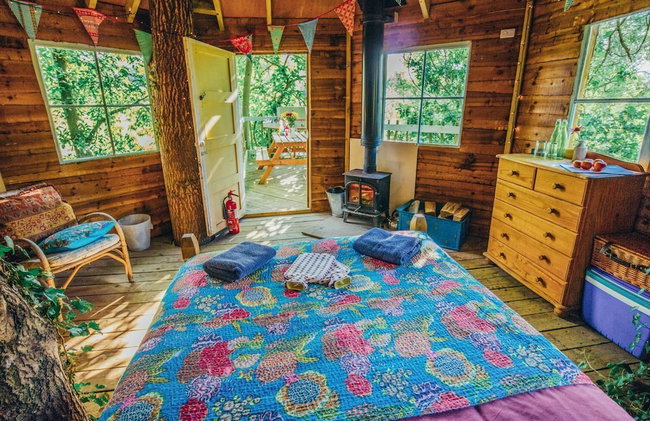
Charming, cosy waterside retreat in Gimingham, North Norfolk - Foto 4
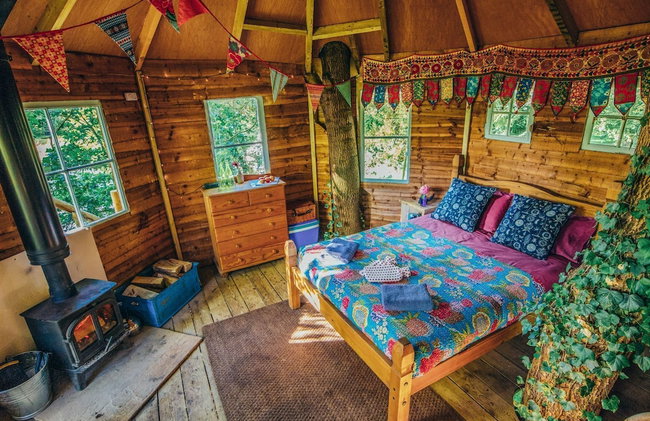
Charming, cosy waterside retreat in Gimingham, North Norfolk - Foto 5
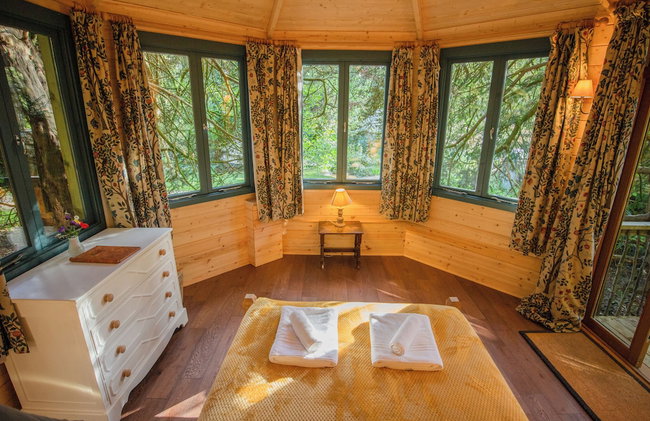
Charming, cosy waterside retreat in Gimingham, North Norfolk - Foto 6
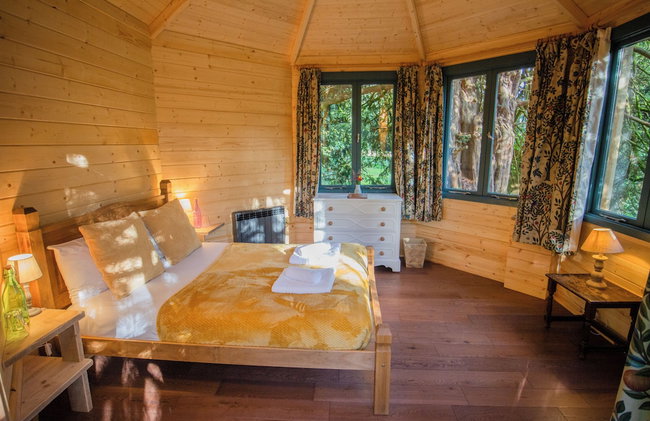
Charming, cosy waterside retreat in Gimingham, North Norfolk - Foto 7
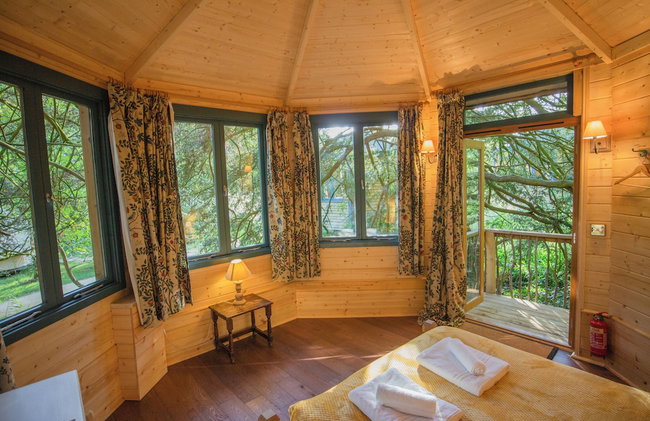
Charming, cosy waterside retreat in Gimingham, North Norfolk - Foto 8
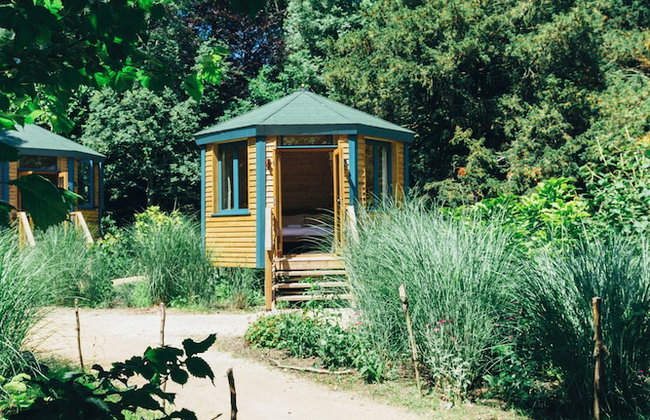
Charming, cosy waterside retreat in Gimingham, North Norfolk - Foto 9
Charming, cosy waterside retreat in Gimingham, North Norfolk - Foto 10
Charming, cosy waterside retreat in Gimingham, North Norfolk - Foto 11
Charming, cosy waterside retreat in Gimingham, North Norfolk - Foto 12
Charming, cosy waterside retreat in Gimingham, North Norfolk - Foto 13
Charming, cosy waterside retreat in Gimingham, North Norfolk - Foto 14
Charming, cosy waterside retreat in Gimingham, North Norfolk - Foto 15
Charming, cosy waterside retreat in Gimingham, North Norfolk - Foto 16
Charming, cosy waterside retreat in Gimingham, North Norfolk - Foto 17
Charming, cosy waterside retreat in Gimingham, North Norfolk - Foto 18
Charming, cosy waterside retreat in Gimingham, North Norfolk - Foto 19
Charming, cosy waterside retreat in Gimingham, North Norfolk - Foto 20
Charming, cosy waterside retreat in Gimingham, North Norfolk - Foto 21
Charming, cosy waterside retreat in Gimingham, North Norfolk - Foto 22

Charming, cosy waterside retreat in Gimingham, North Norfolk

Norwich - Gimingham - 29.1 km dal centro

  • 2 camere
  • 4 persone
  • Riscaldamento
  • Terrazza
  • Parcheggio
  • Barbecue
9.7Eccezionale | 35 recensioni
Destinazioni correlate