


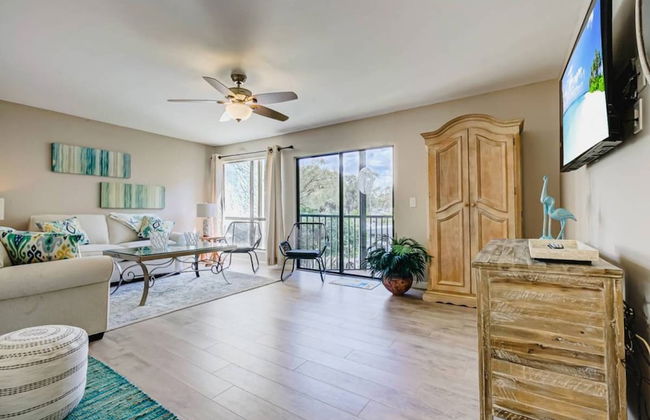
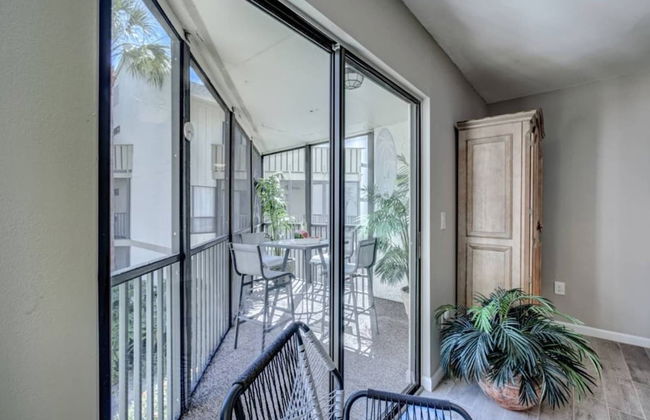
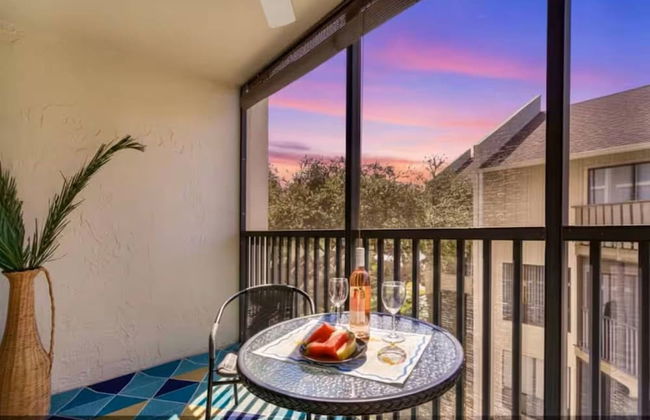
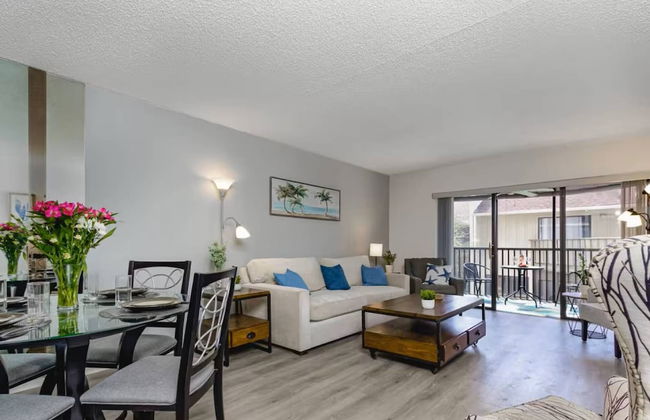
Island House Beach Resort
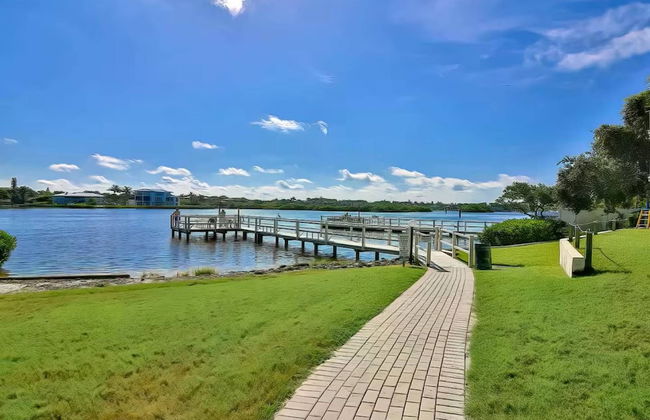
Sarasota - Secluded Harbour - 8.4 km dal centro
- 117 M2
- 4 persone
- Aria condizionata
- Riscaldamento
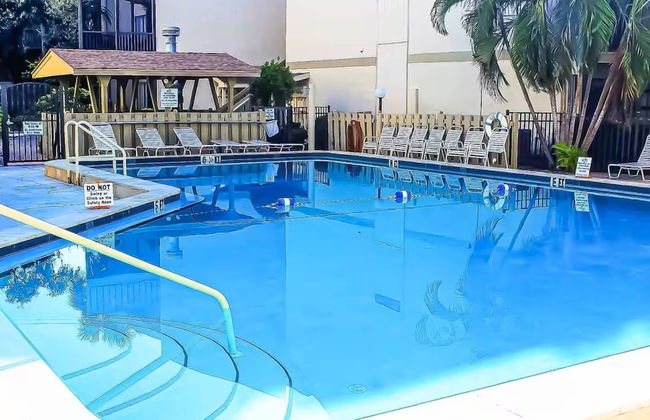
- Piscina
- Parcheggio
- Ascensore
- Balcone
- Tv
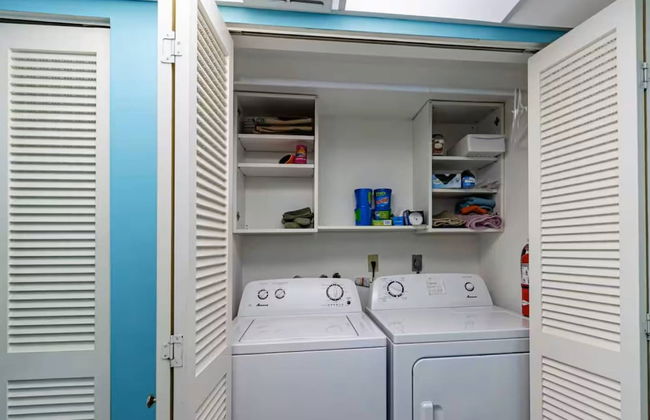
- Lavatrice
- Barbecue
- Lino da bagno
- Lino da letto


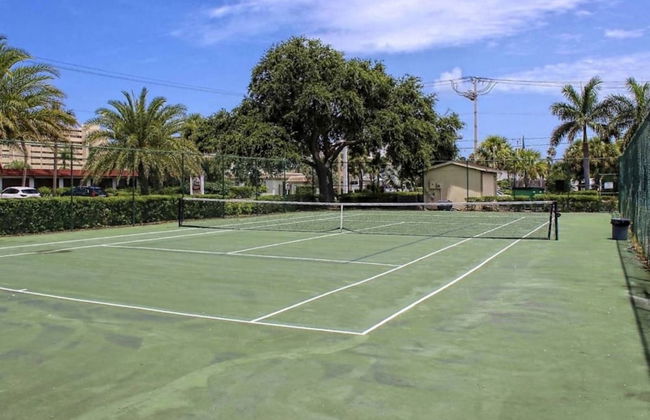
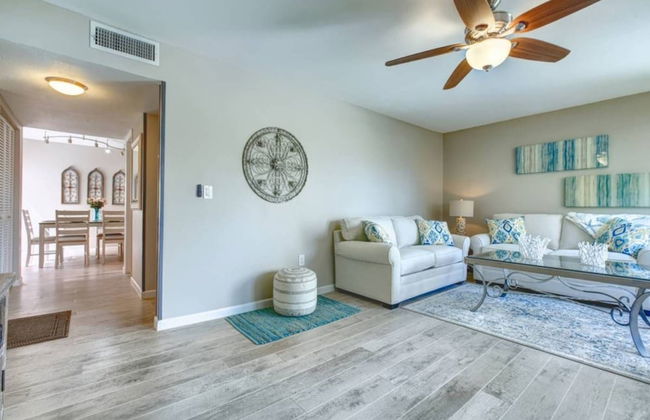
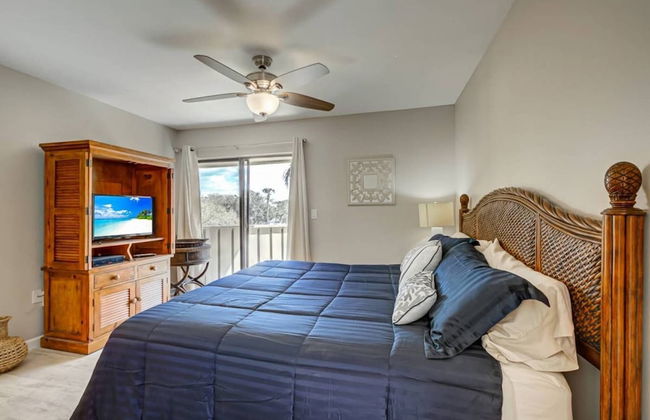
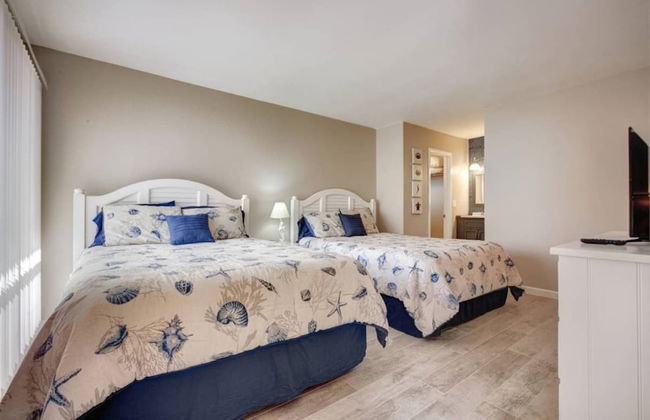
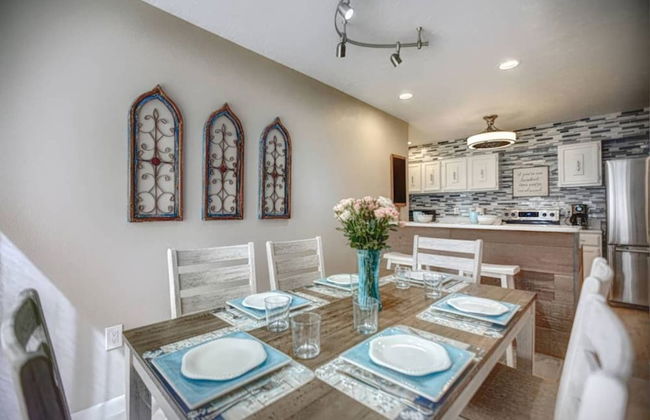
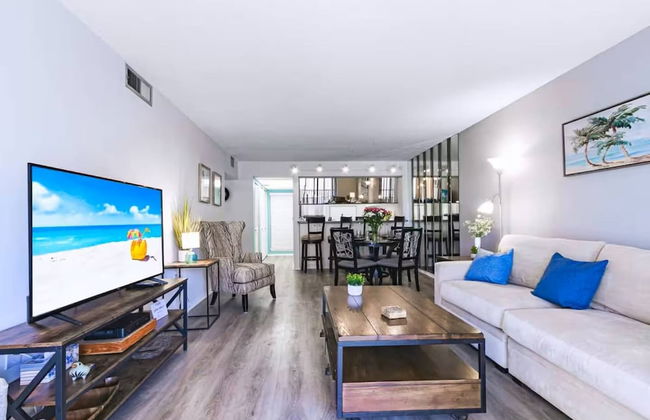
Siesta Key Escape Ground Floor Steps to Heated Pool and Free Trolley
Sarasota - Secluded Harbour - 8.4 km dal centro
- 101 M2
- 2 camere
- 6 persone
- Aria condizionata
- Riscaldamento
- Terrazza
- Piscina
- Parcheggio
- Barbecue


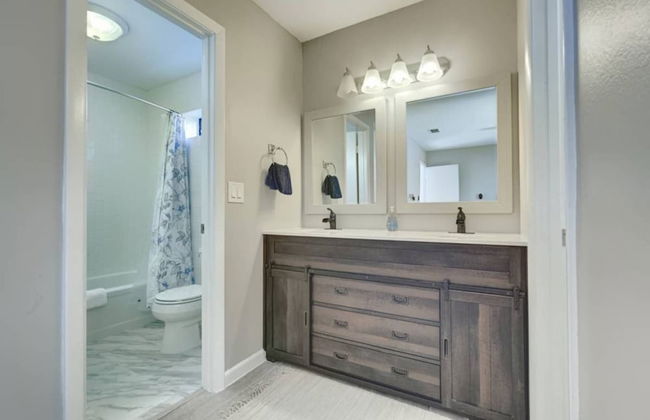
Bay Oaks A Ground Floor
Sarasota - Secluded Harbour - 8.4 km dal centro
- 80 M2
- 6 persone
- Aria condizionata
- Riscaldamento
- Terrazza
- Piscina
- Parcheggio
- Ascensore
- Tv
- Lavatrice
- Barbecue
- Lino da bagno
- Lino da letto


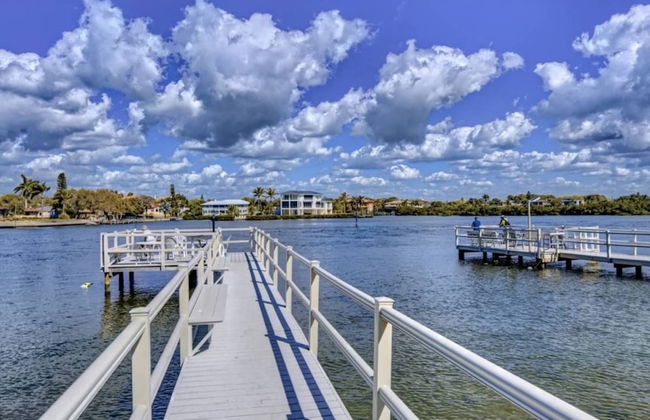
Two-Level, Heated Pool, Trolley to Beach & Village
Sarasota - Secluded Harbour - 8.4 km dal centro
- 124 M2
- 2 camere
- 6 persone
- Aria condizionata
- Piscina
- Parcheggio


Bay Oaks C Second Floor
Sarasota - Secluded Harbour - 8.4 km dal centro
- 6 persone
- Aria condizionata
- Riscaldamento
- Piscina
- Parcheggio
- Balcone
- Tv
- Lavatrice
- Barbecue
- Lino da bagno
- Lino da letto


Bay Oaks, 3rd Floor
Sarasota - Secluded Harbour - 8.4 km dal centro
- Piscina
- Parcheggio
- Ascensore
- Barbecue
- Lino da bagno


Bay Oaks C Ground Floor
Sarasota - Secluded Harbour - 8.4 km dal centro
- 6 persone
- Aria condizionata
- Riscaldamento
- Terrazza
- Piscina
- Parcheggio
- Tv
- Barbecue
- Lino da bagno
- Lino da letto


Bay Oaks On the Bay 3rd Floor
Sarasota - Secluded Harbour - 8.4 km dal centro
- 6 persone
- Aria condizionata
- Riscaldamento
- Piscina
- Parcheggio
- Ascensore
- Balcone
- Tv
- Lavatrice
- Barbecue
- Lino da bagno
- Lino da letto


Bay Oaks, 4th Floor Corner - Elevator
Sarasota - Secluded Harbour - 8.4 km dal centro
- Piscina
- Parcheggio
- Ascensore
- Barbecue
- Lino da bagno


1255-601 The Perfect Bayside Haven Awaits
Sarasota - Secluded Harbour - 8.4 km dal centro
- 1 camera
- 4 persone
- Riscaldamento
- Piscina
- Parcheggio
- Ascensore


1255-101 Refreshing Bay Retreat
Sarasota - Secluded Harbour - 8.4 km dal centro
- 2 camere
- 6 persone
- Riscaldamento
- Piscina
- Parcheggio
- Ascensore


1255-403 Panoramic Paradise with Gulf and City Views
Sarasota - Secluded Harbour - 8.4 km dal centro
- 2 camere
- 6 persone
- Riscaldamento
- Piscina
- Parcheggio
- Ascensore


1255-602 Enjoy this Seaside Paradise
Sarasota - Secluded Harbour - 8.4 km dal centro
- 2 camere
- 6 persone
- Riscaldamento
- Piscina
- Parcheggio
- Ascensore


1255-306 Stroll to Warm Bay Breezes
Sarasota - Secluded Harbour - 8.4 km dal centro
- 2 camere
- 6 persone
- Riscaldamento
- Piscina
- Parcheggio
- Ascensore


SiestaKeyEscape- Luxury on-water house
Sarasota - Secluded Harbour - 8.4 km dal centro
- 1 camera
- 10 persone
- Aria condizionata
- Terrazza
- Piscina
- Parcheggio
- Giardino
- Barbecue


Private Villa on Siesta Key, FL
Sarasota - Secluded Harbour - 8.4 km dal centro
- 1 camera
- 4 persone
- Aria condizionata
- Terrazza
- Piscina
- Parcheggio


1255-305 Picturesque Garden Views
Sarasota - Secluded Harbour - 8.4 km dal centro
- 2 camere
- 6 persone
- Riscaldamento
- Piscina
- Parcheggio
- Ascensore


1205 PD Experience Coastal Charm in this Townhome
Sarasota - Secluded Harbour - 8.4 km dal centro
- 2 camere
- 4 persone
- Riscaldamento
- Piscina
- Parcheggio


1207 PD Garden Oasis Townhome Getaway
Sarasota - Secluded Harbour - 8.4 km dal centro
- 3 camere
- 6 persone
- Riscaldamento
- Piscina
- Parcheggio


Mainsail
Sarasota - Secluded Harbour - 8.3 km dal centro
- 271 M2
- 4 camere
- 10 persone
- Aria condizionata
- Parcheggio