
25 Appartamenti a Scarborough


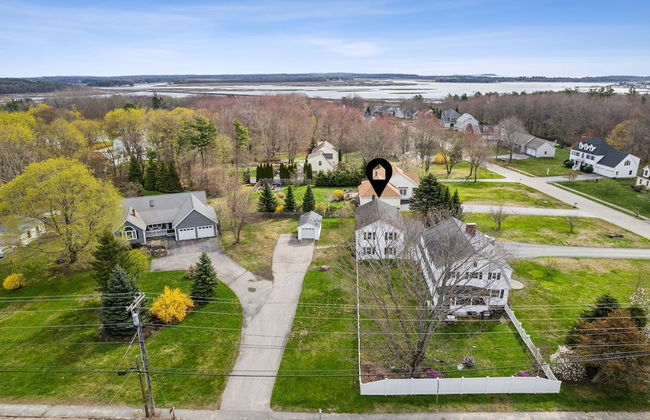
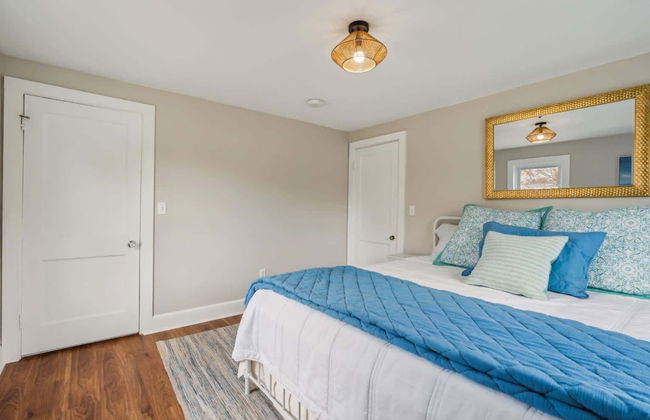
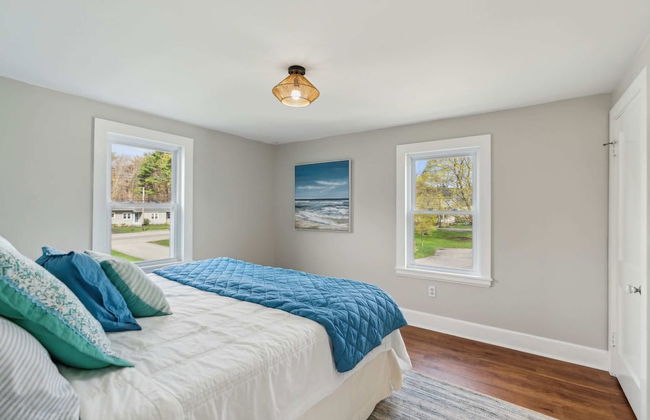
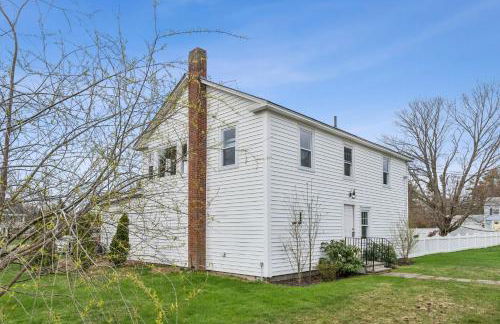
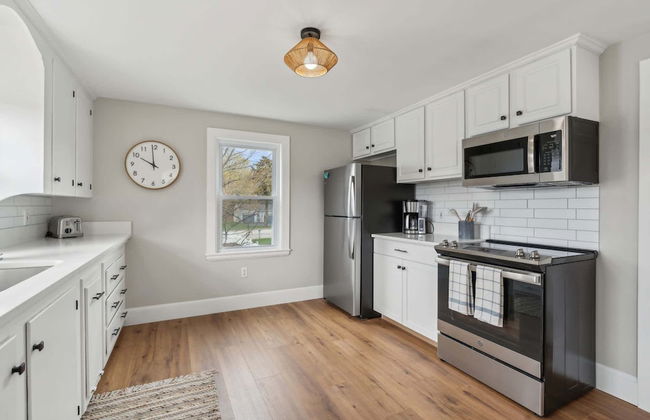
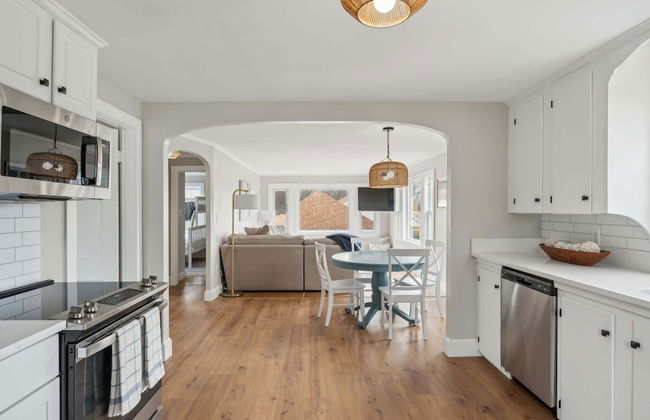
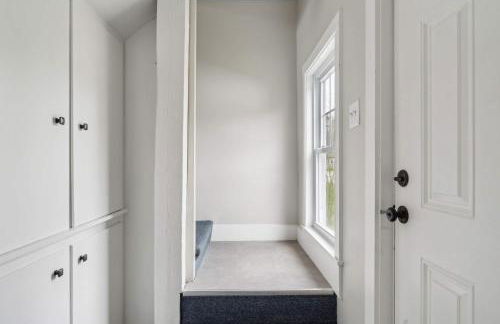
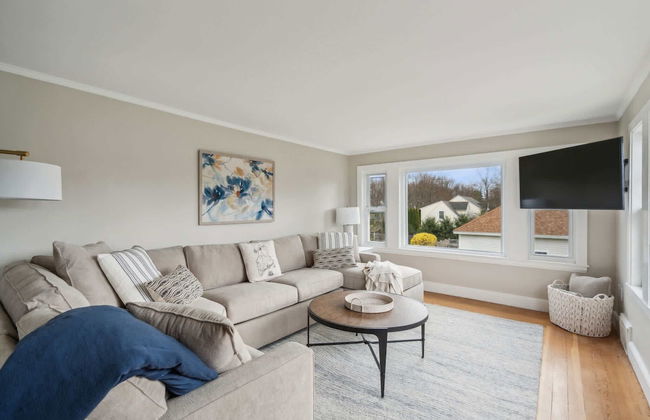
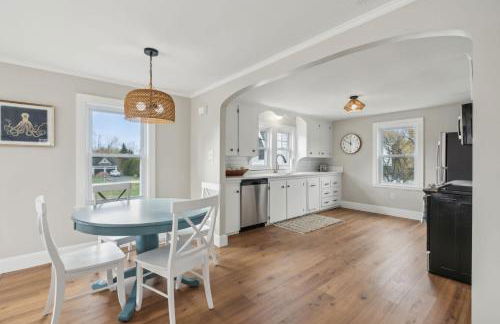
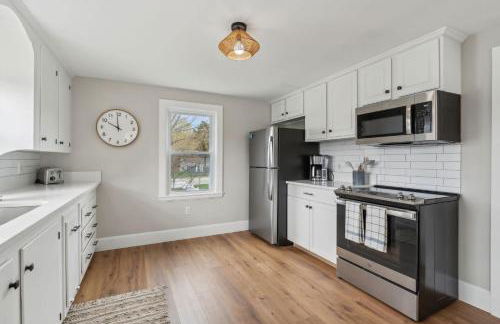
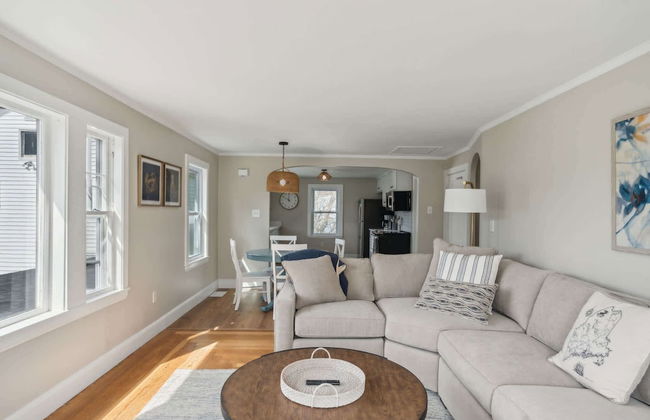
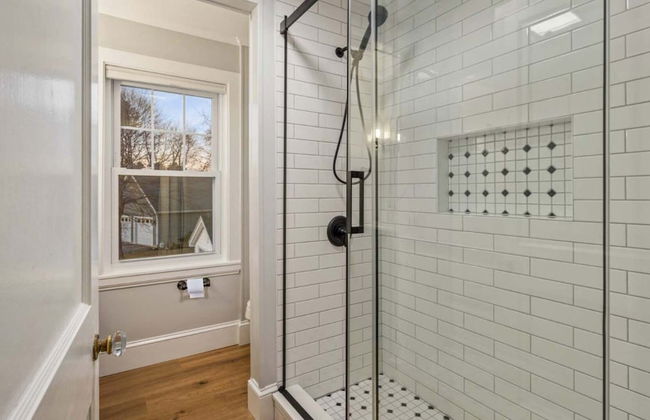
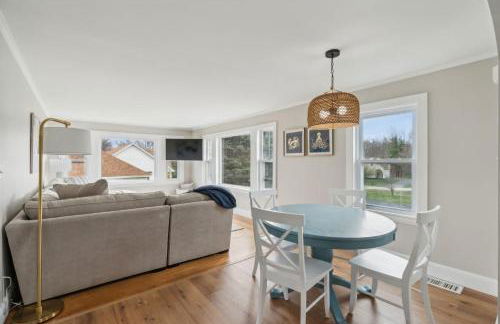
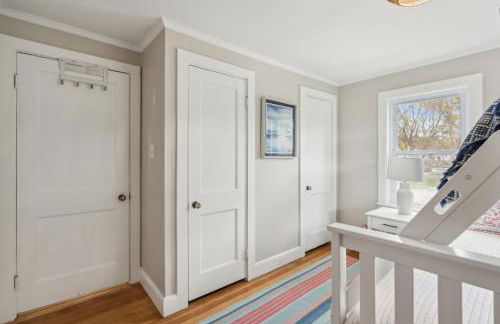
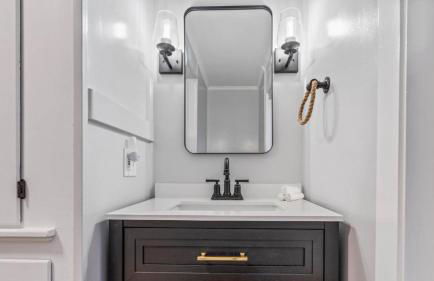
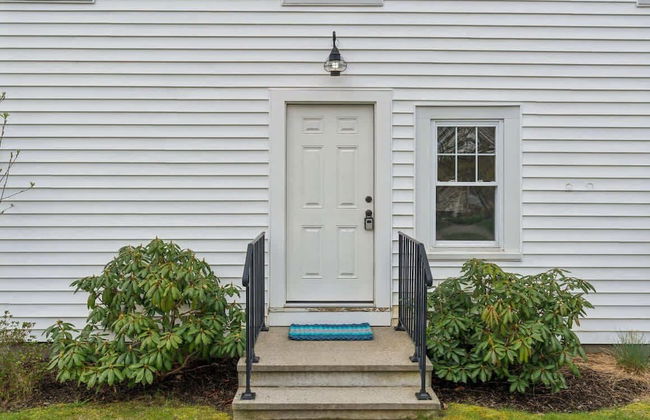
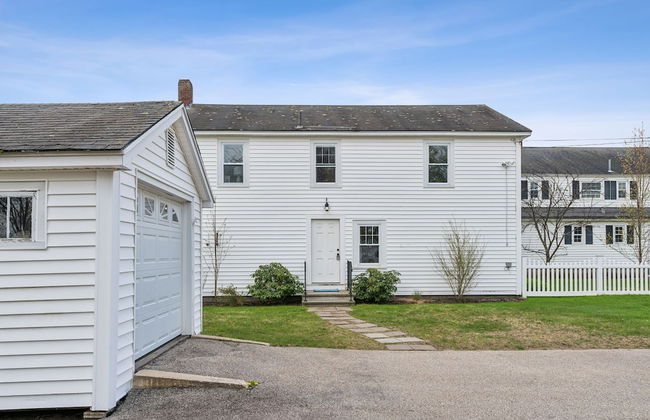
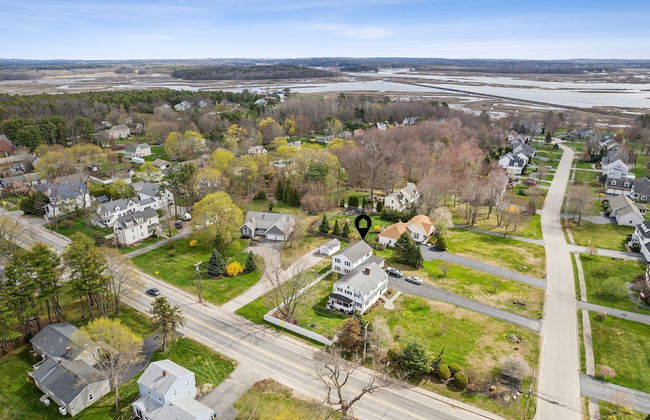
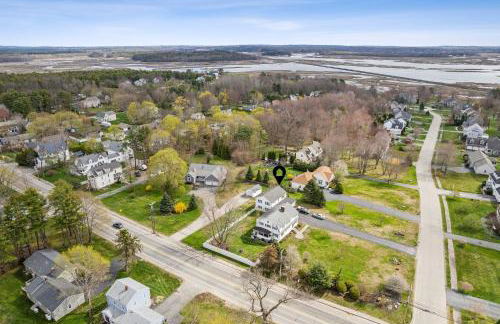
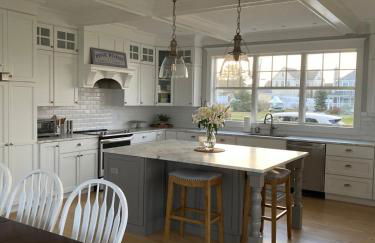
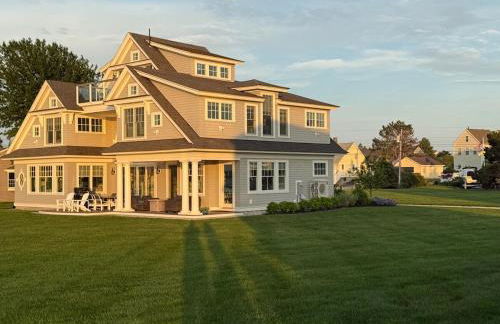
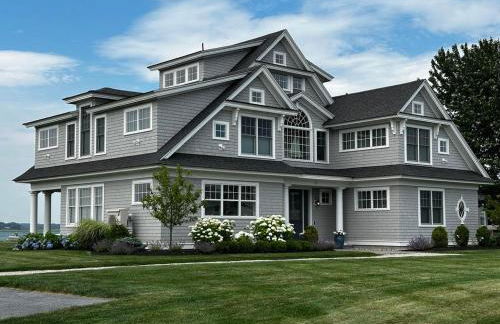
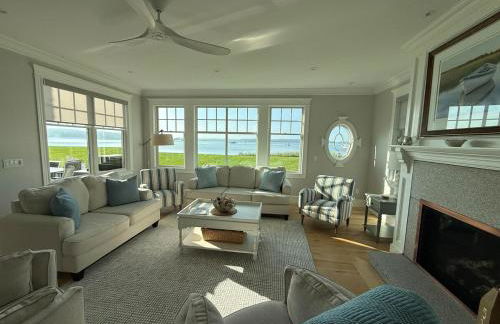
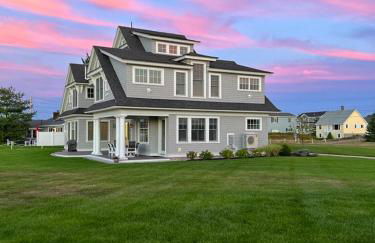
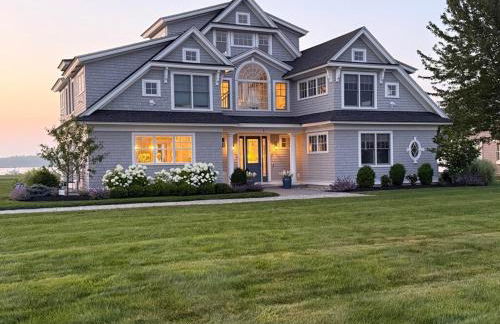
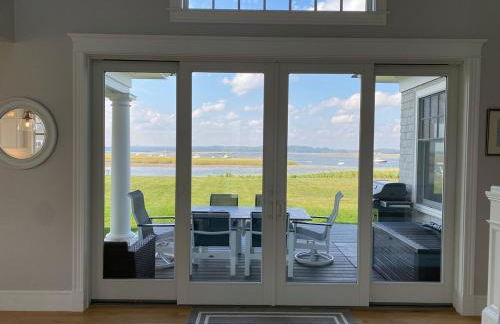
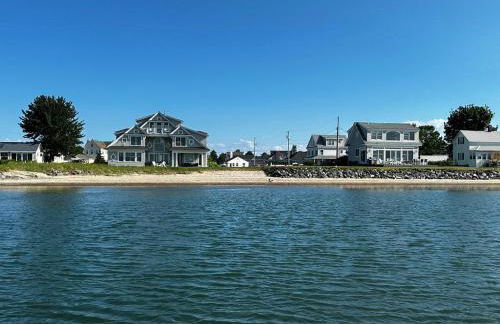
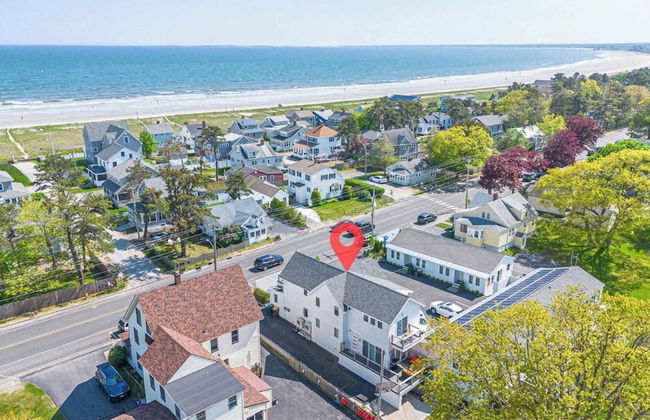
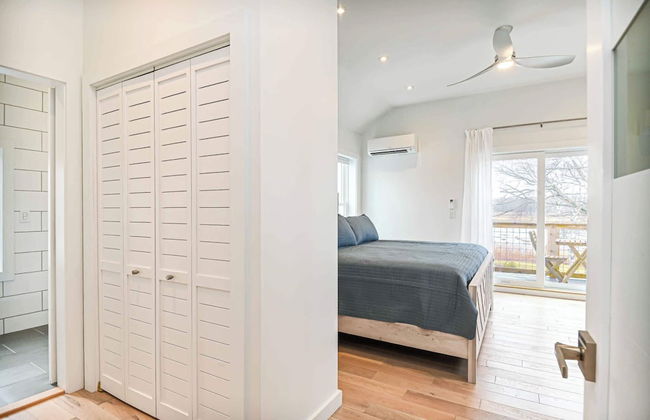
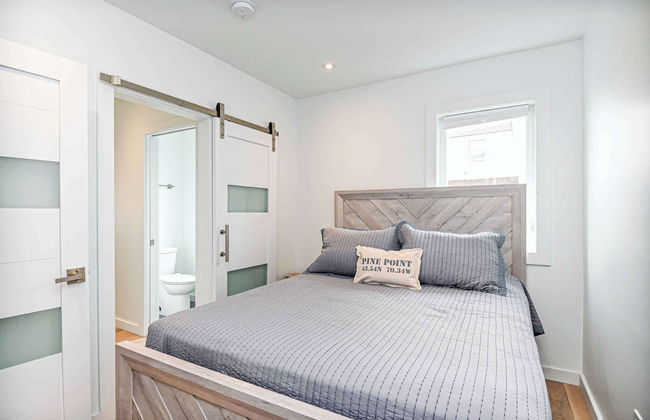
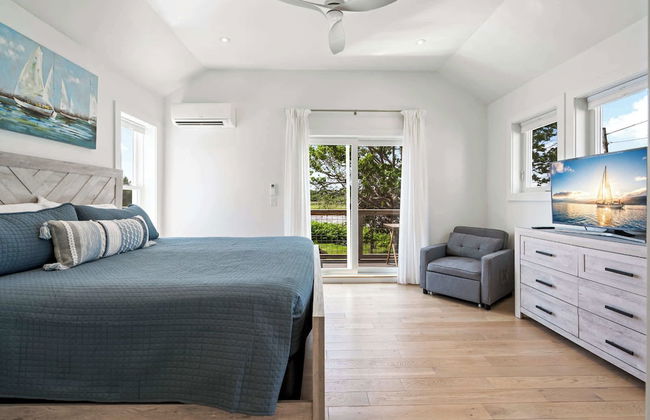
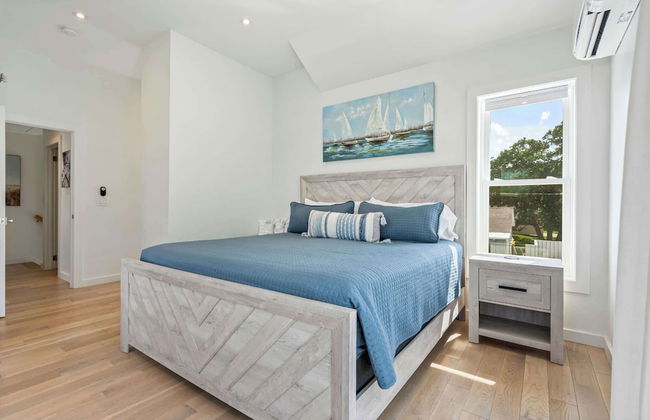
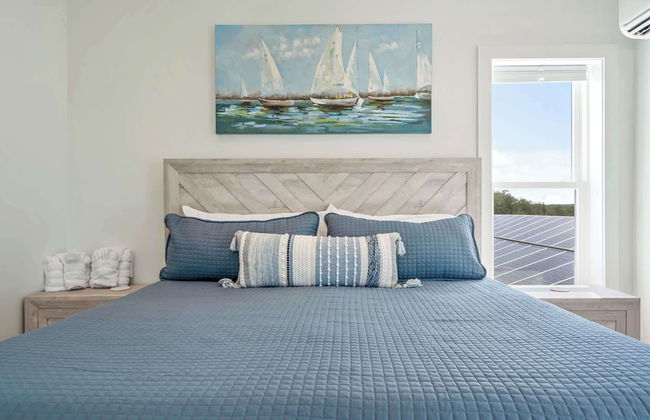
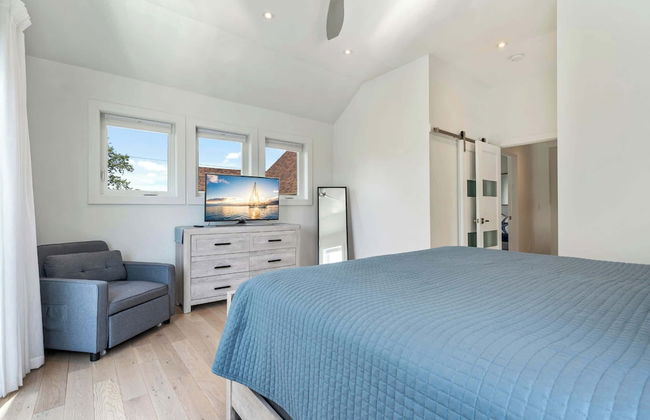
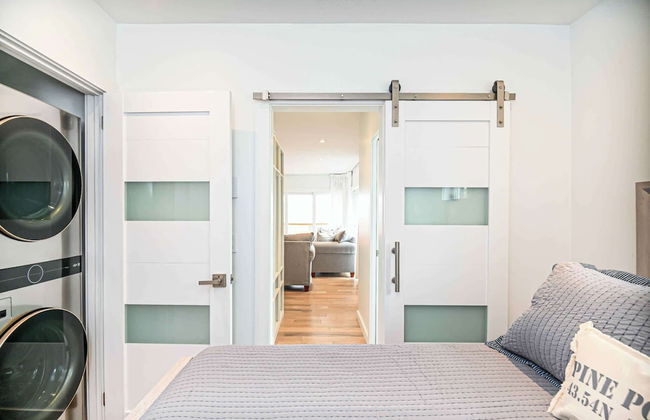
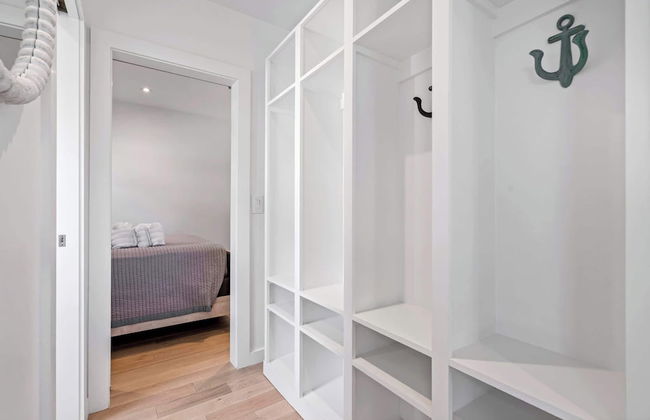
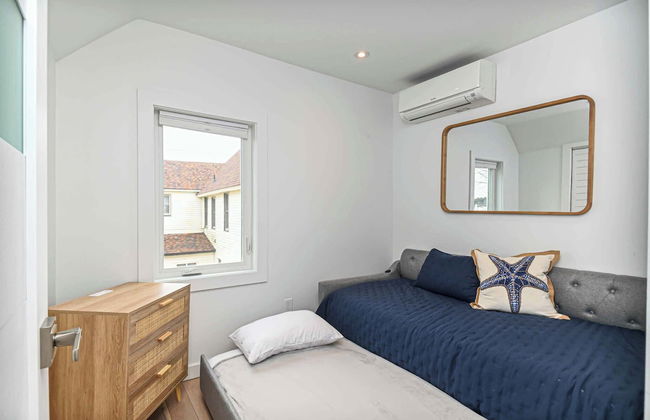
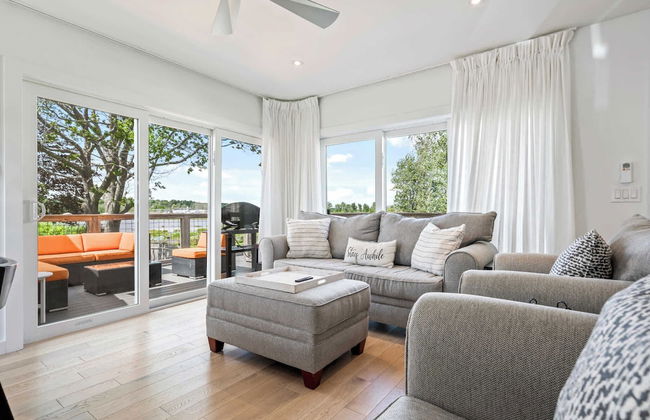
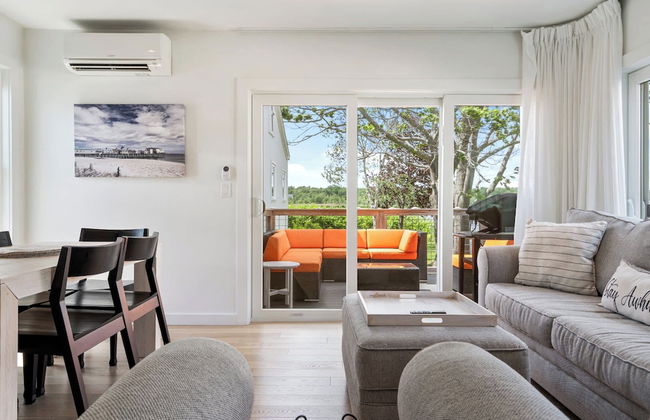
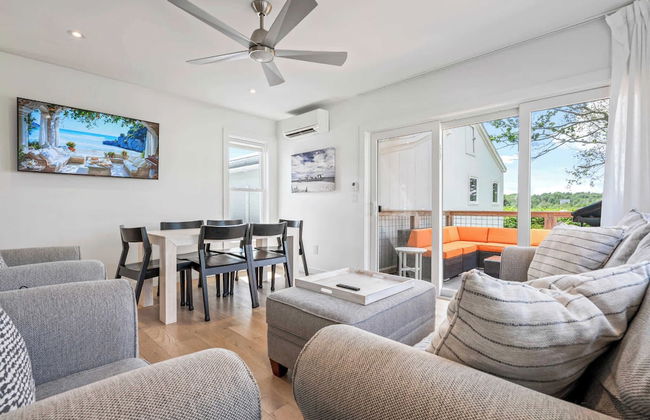
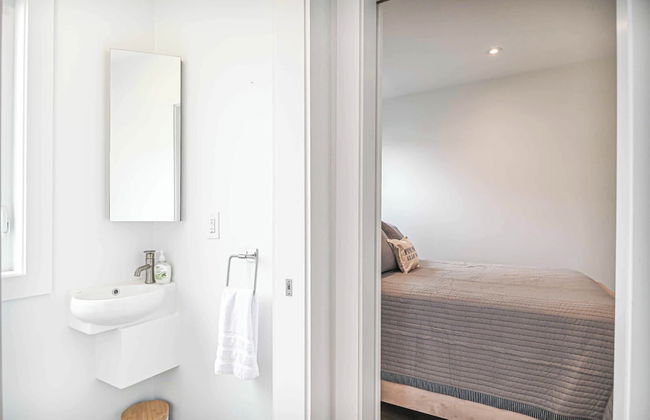
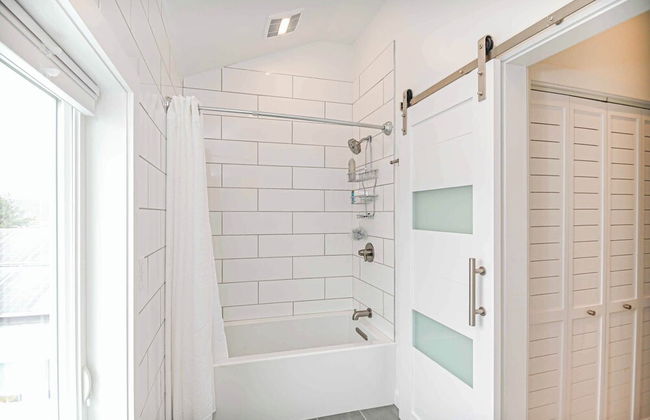
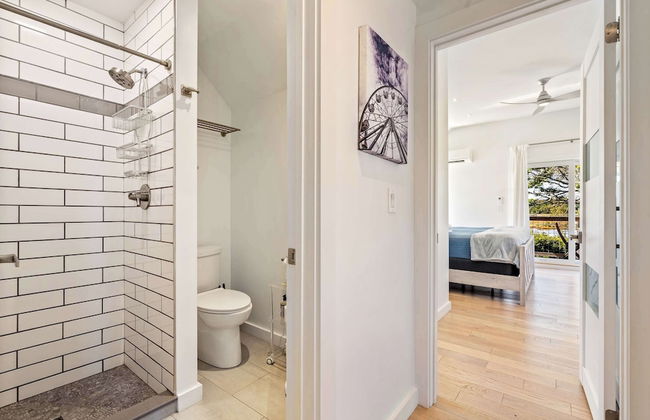
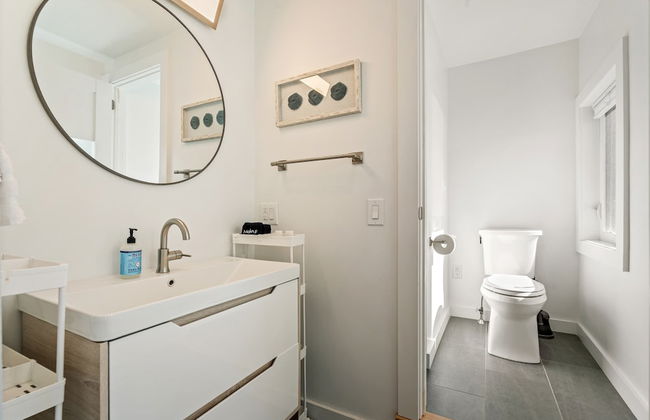
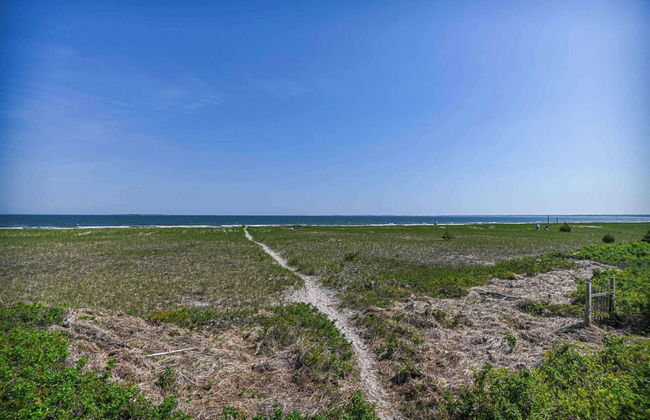
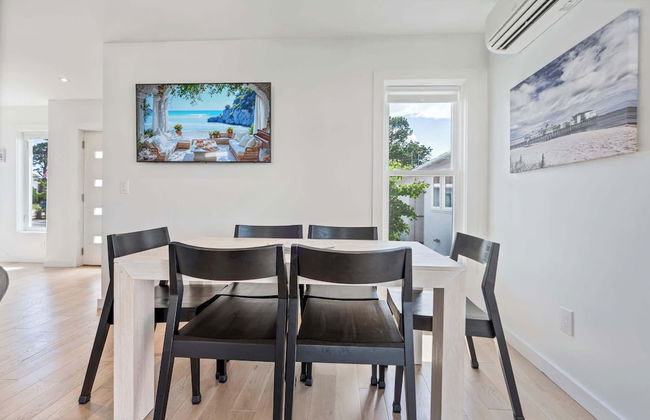
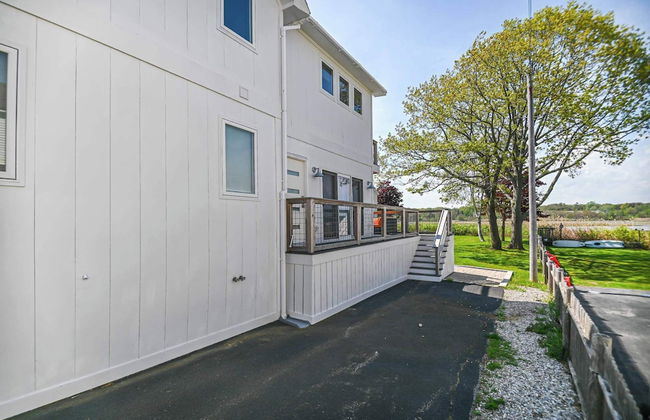
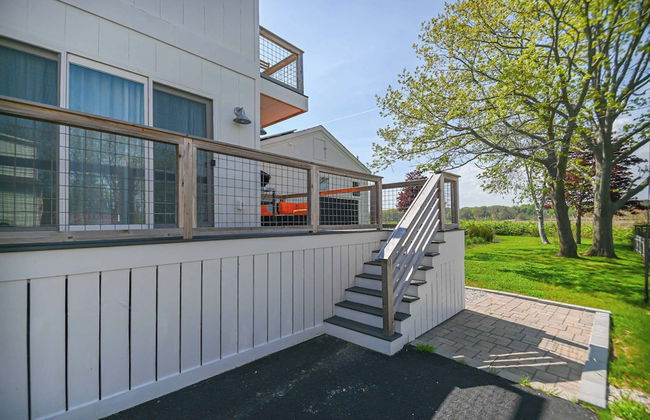
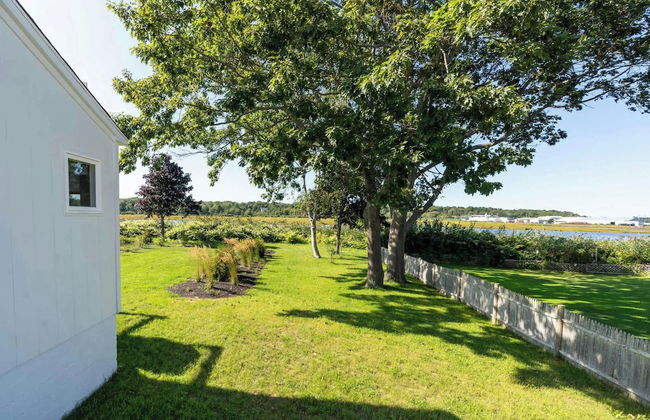
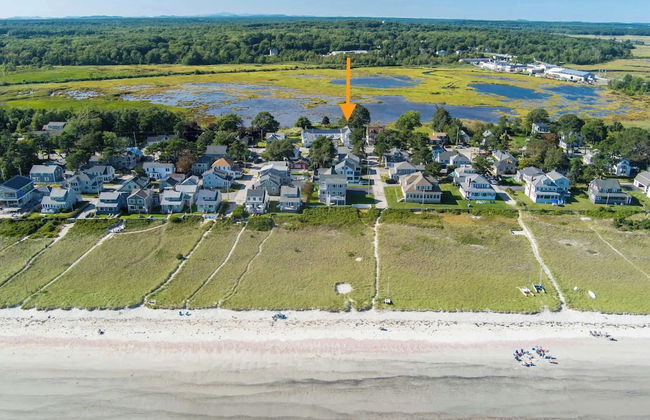
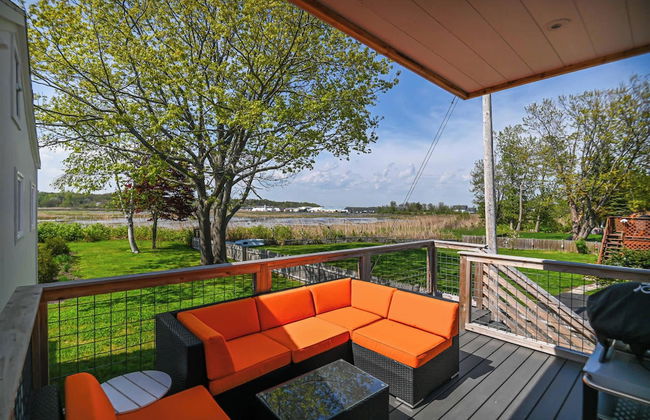
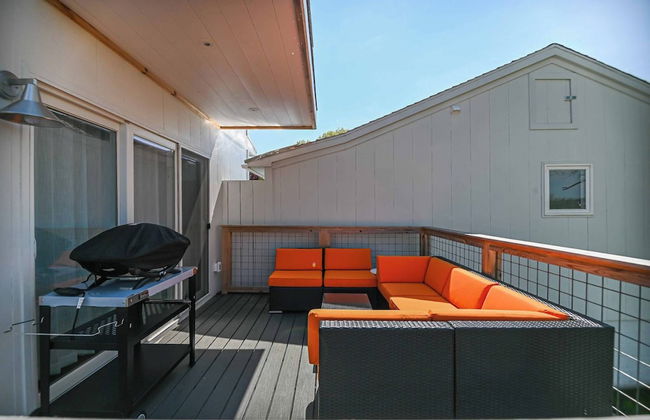
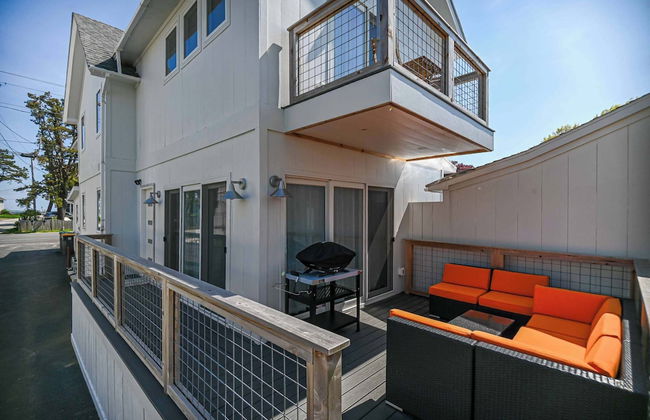
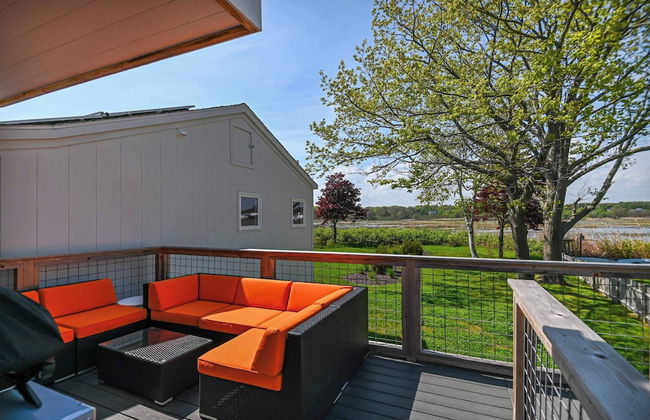
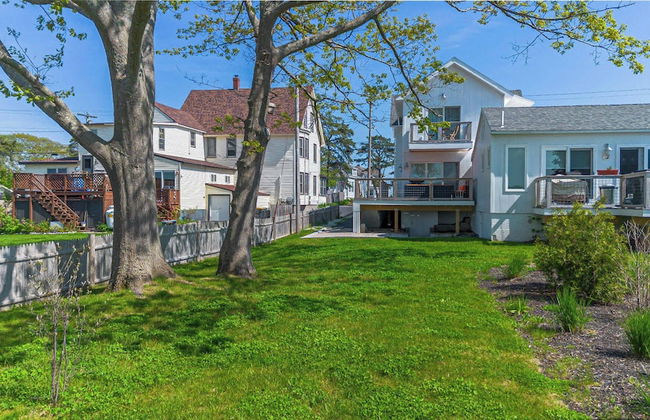
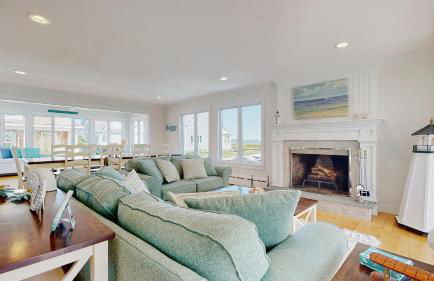
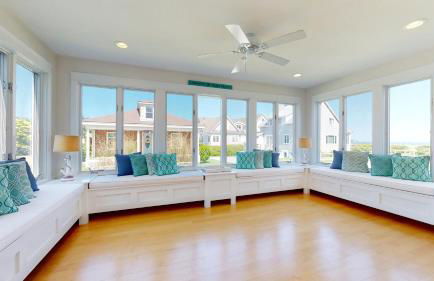
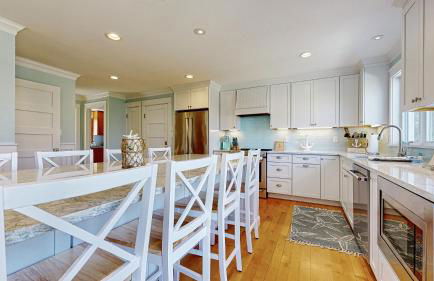
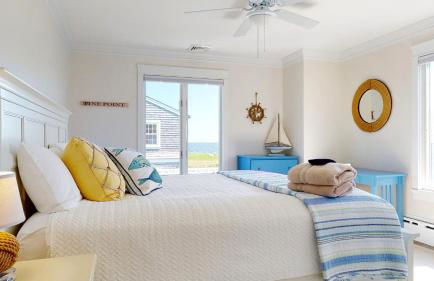
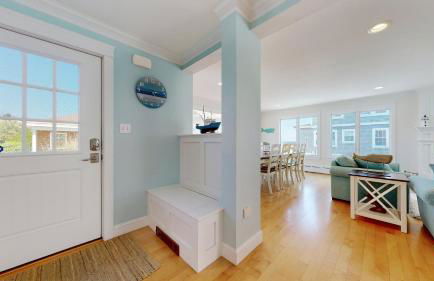
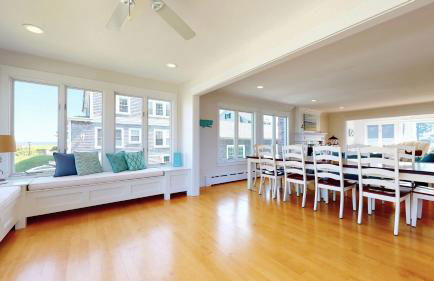
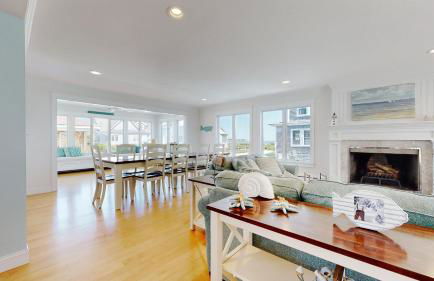
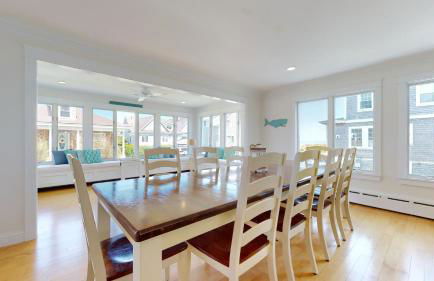
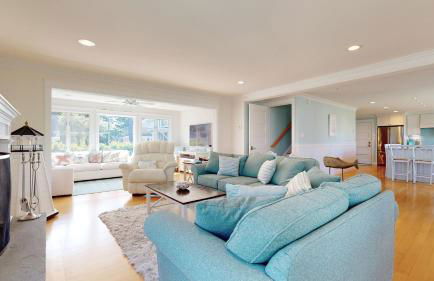
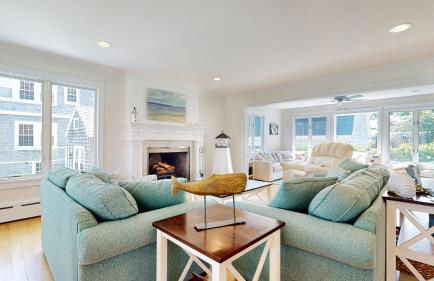
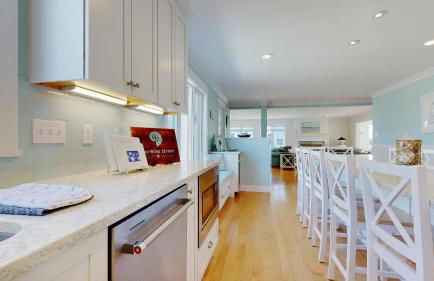
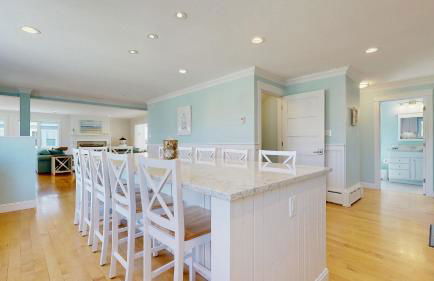
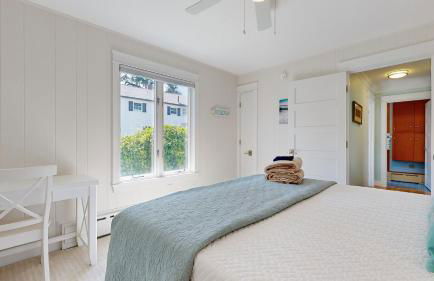
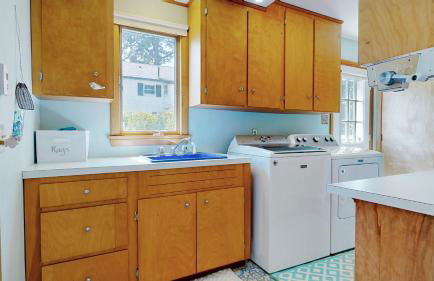
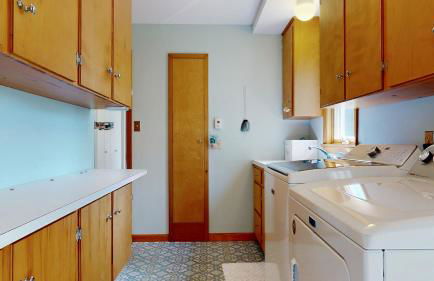
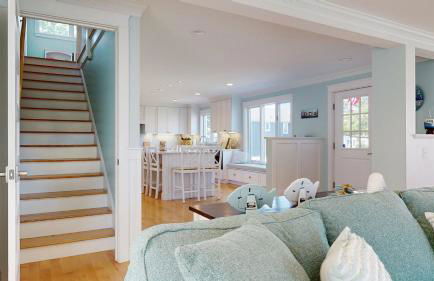
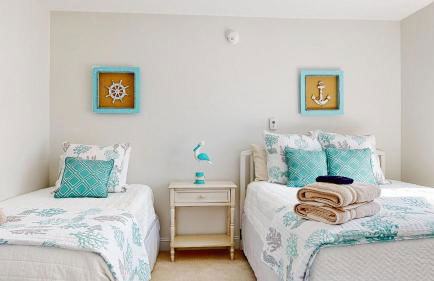
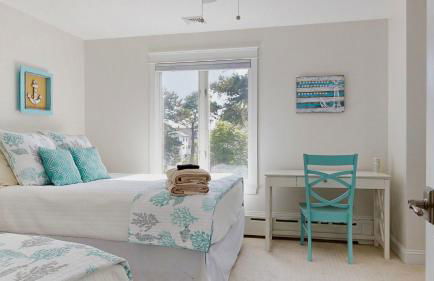
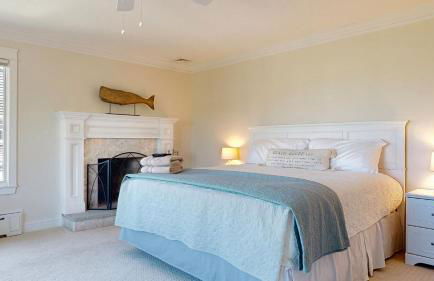
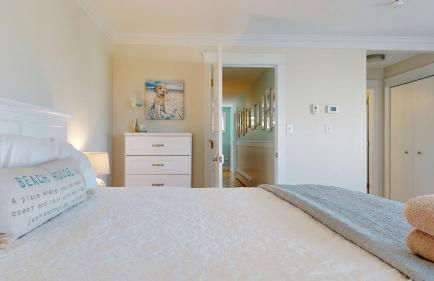
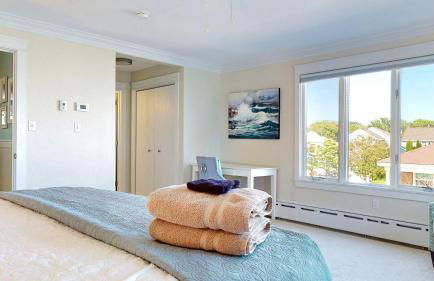
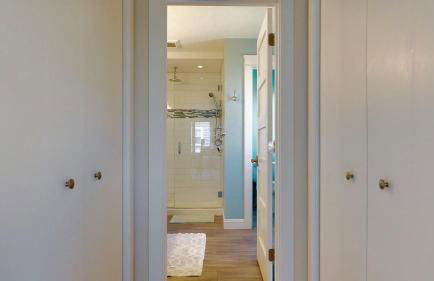
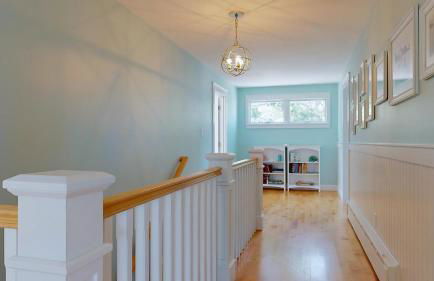
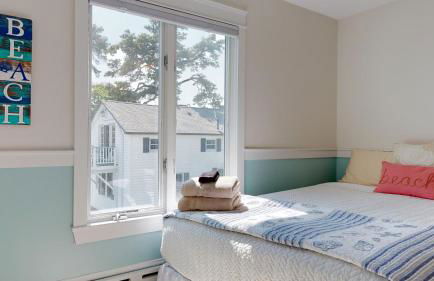
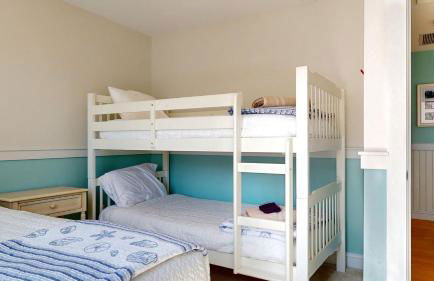
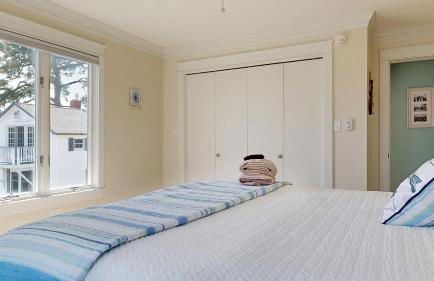
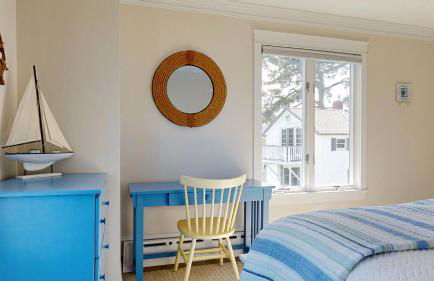
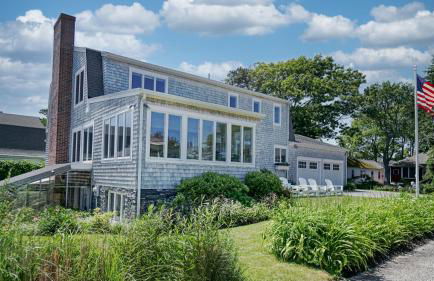
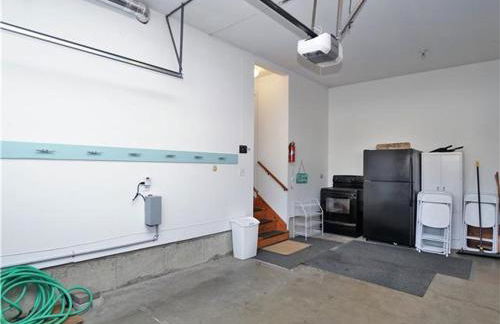
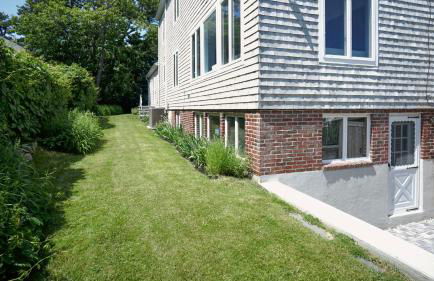
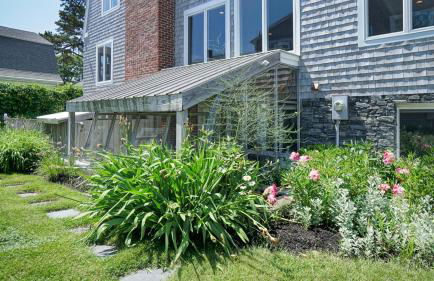
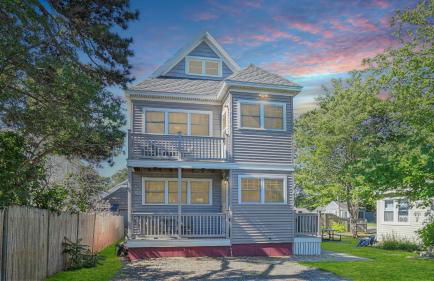
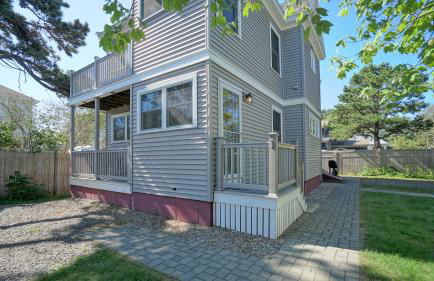
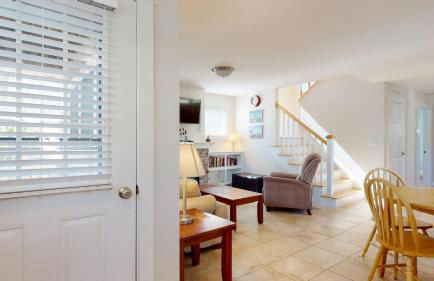
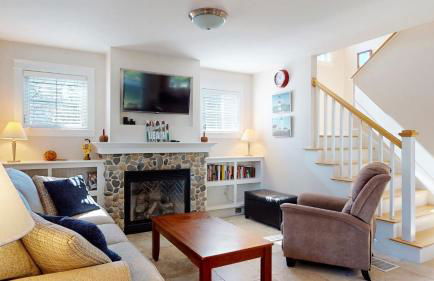
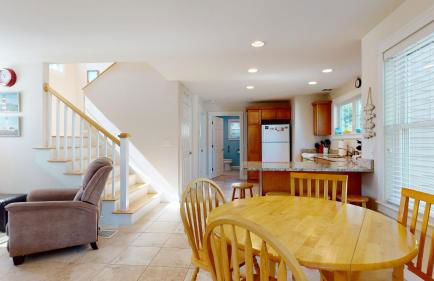
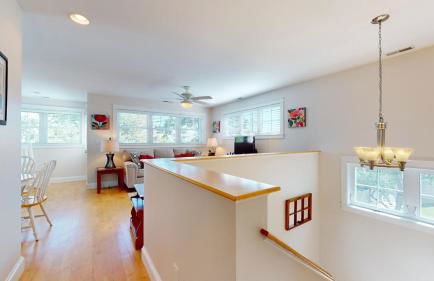
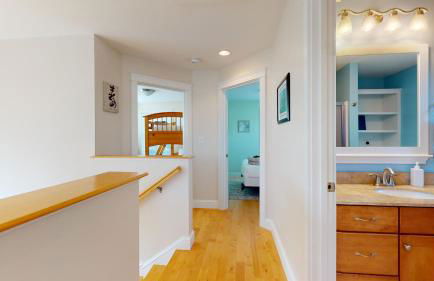
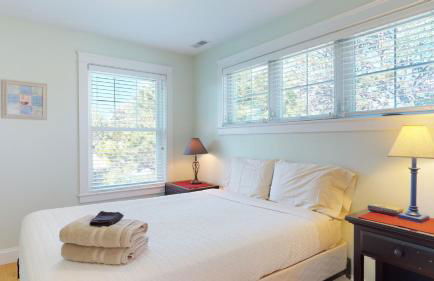
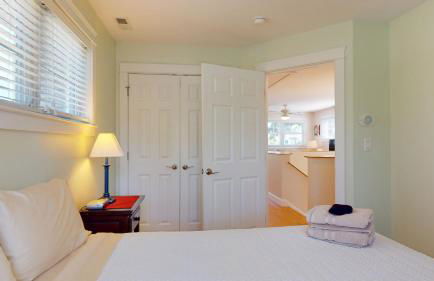
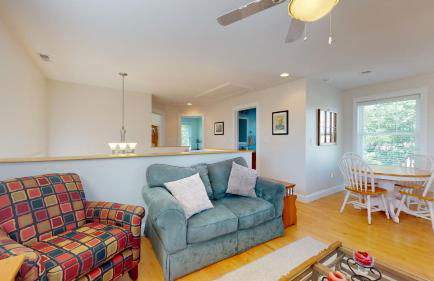
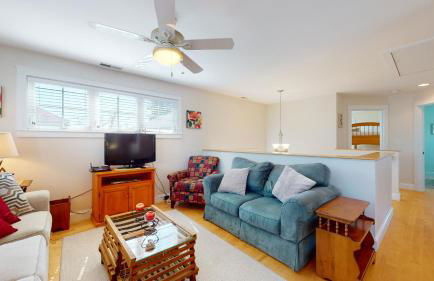
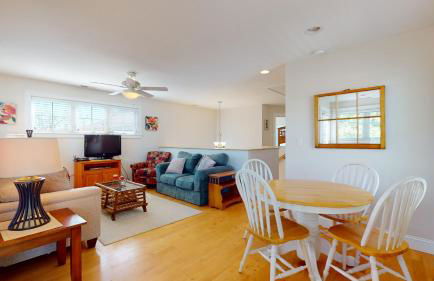
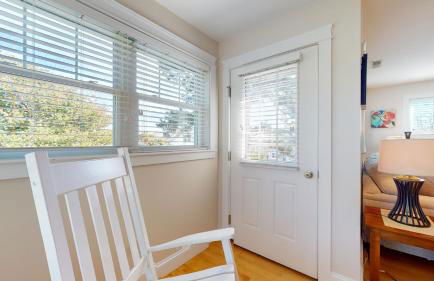
Spacious 4BR Beach Retreat, Steps to Pine Point
Scarborough
- 151 M2
- 4 camere
- 8 persone
- Aria condizionata
- Parcheggio
- Giardino
- Barbecue
8 recensioni


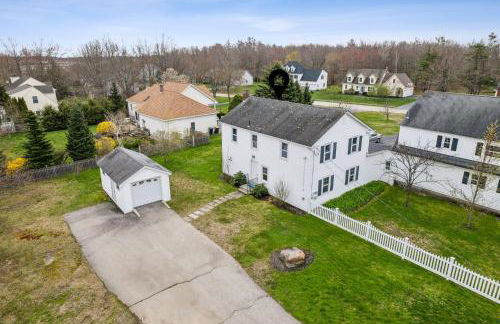
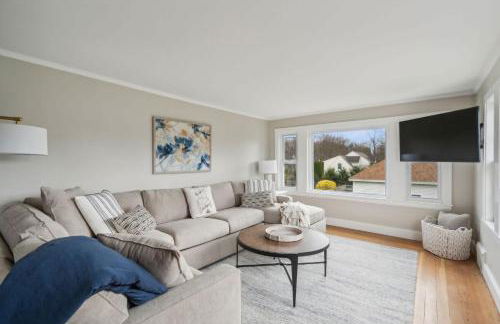
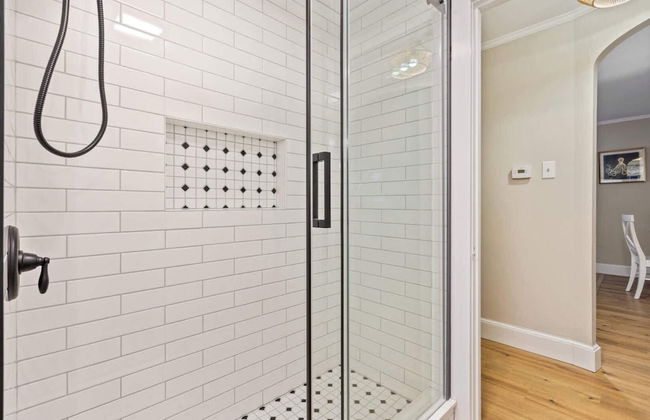
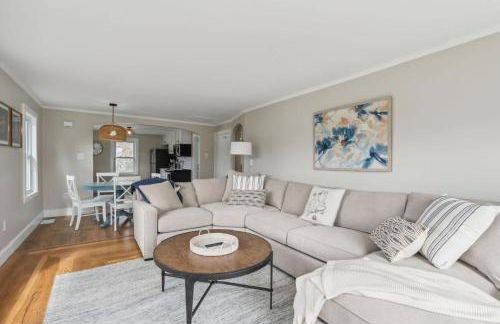
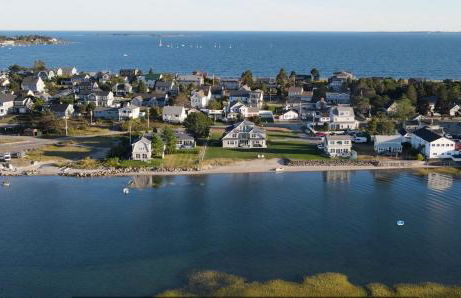
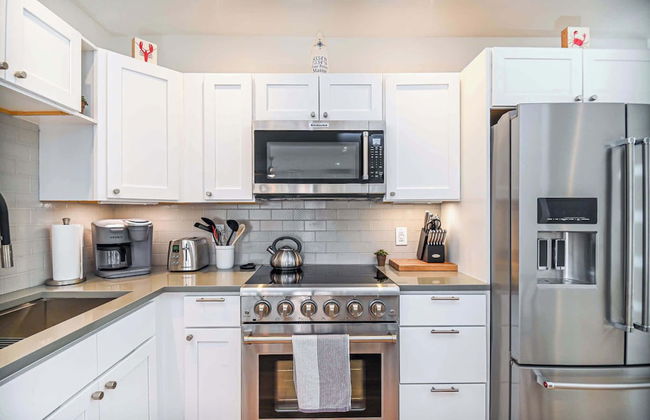
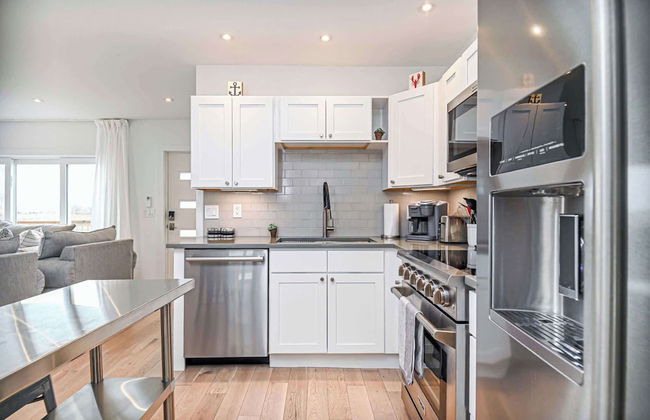
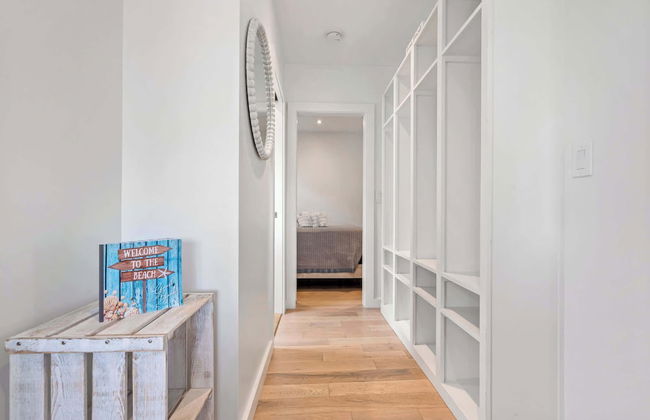
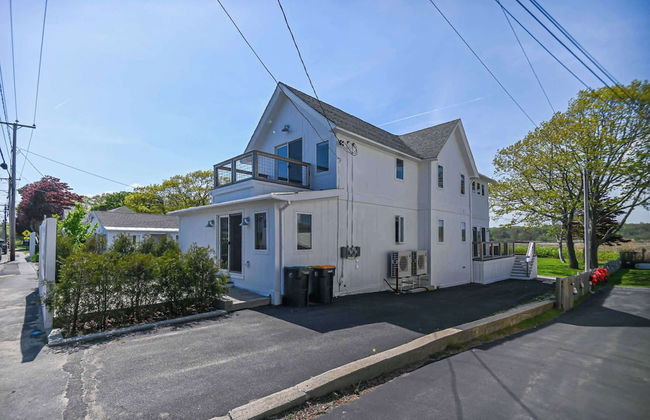
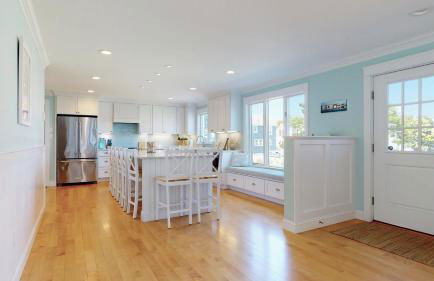
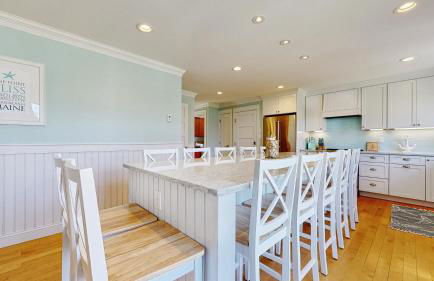
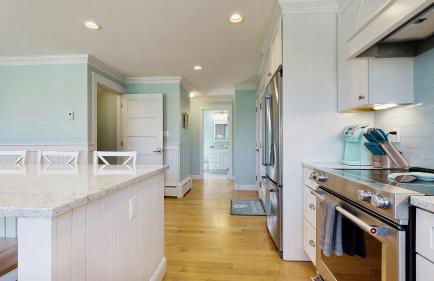
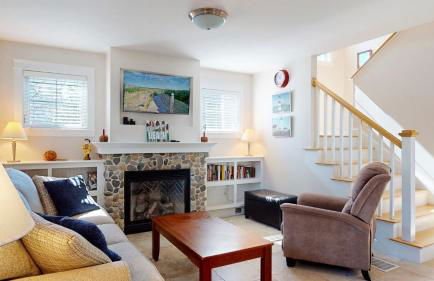
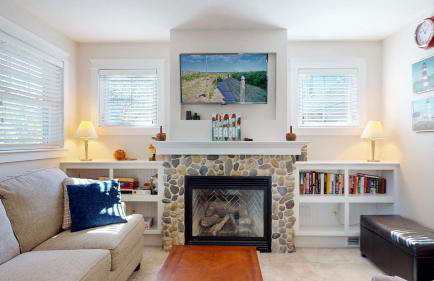
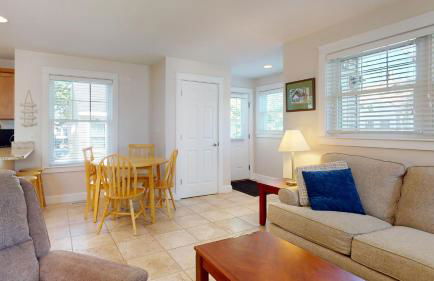
Pine Point Beach House, 3BR Walk to Beach
Scarborough
- 149 M2
- 3 camere
- 7 persone
- Aria condizionata
- Parcheggio
3 recensioni


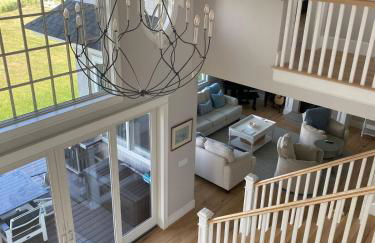
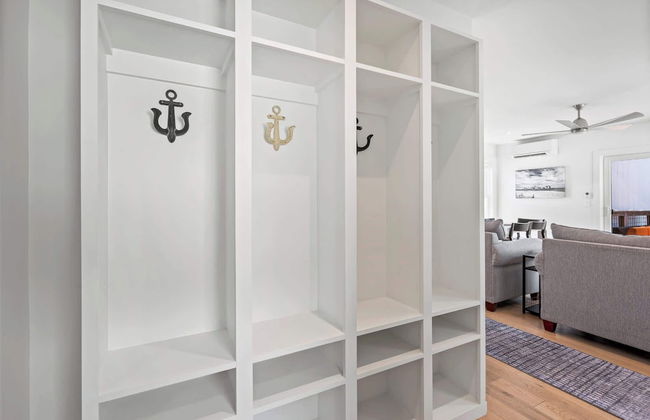
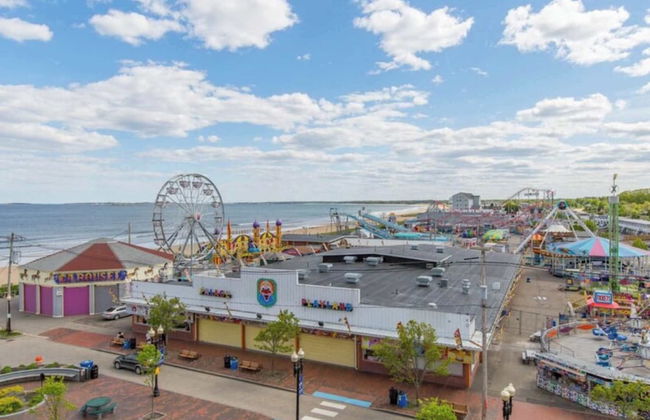
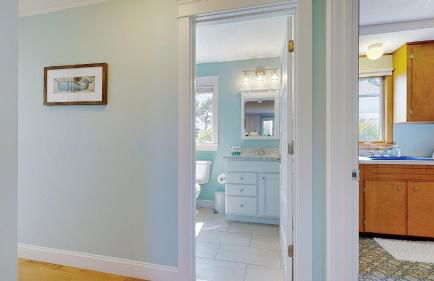
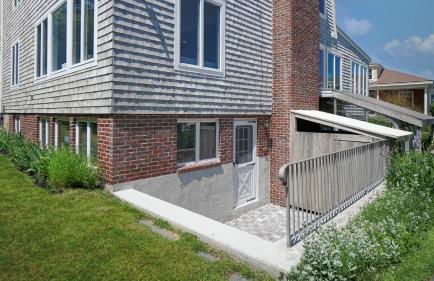
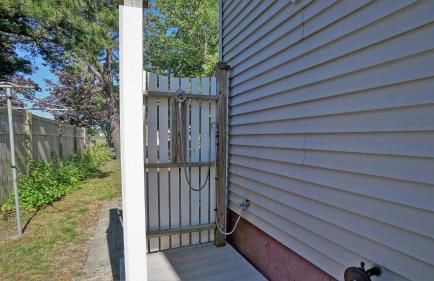
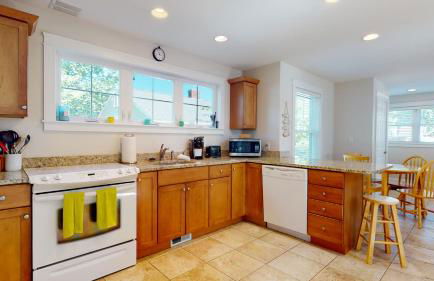
Charming Pine Point Cottage - 2 Blocks to Ocean!
Scarborough
- 93 M2
- 3 camere
- 8 persone
- Riscaldamento
- Parcheggio
2 recensioni


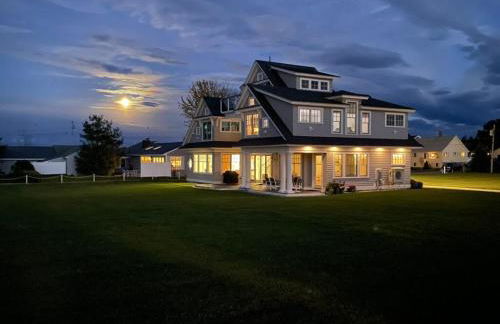
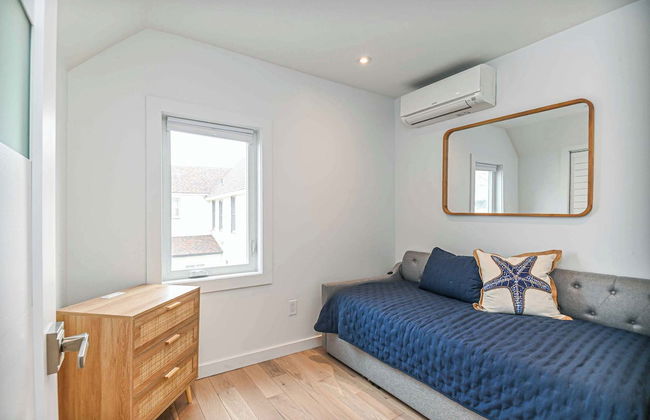
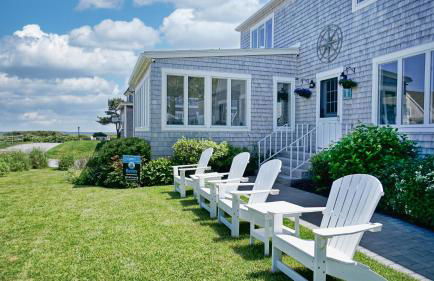
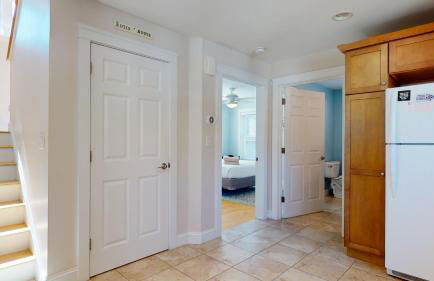
Beach-Seasonstides
Scarborough
- 46 M2
- 3 camere
- 7 persone
- Riscaldamento
- Parcheggio
- Giardino
- Barbecue
1 recensione


The Coastal Nest - Stay for 5
Scarborough
- 98 M2
- 2 camere
- 5 persone
- Aria condizionata
- Riscaldamento
- Parcheggio
- Tv
- Lavatrice
- Lino da bagno


Summerwinds Oceanfront Estate
Scarborough
- 344 M2
- 10 persone
- Aria condizionata
- Riscaldamento
- Parcheggio
- Giardino


Latitude Adjustment Walk to Beach & Dining!
Scarborough
- 98 M2
- 3 camere
- 8 persone
- Aria condizionata
- Riscaldamento
- Parcheggio
- Balcone
- Giardino
- Tv
- Lavatrice
- Barbecue
- Lino da bagno


Salty Dolphin by Bayley Vacation Rentals
Scarborough
- 171 M2
- 4 camere
- 8 persone
- Aria condizionata
- Riscaldamento
- Terrazza
- Parcheggio
- Barbecue


Niblet Cottage by Bayley Vacation Rentals
Scarborough
- 51 M2
- 2 camere
- 4 persone
- Aria condizionata
- Riscaldamento
- Parcheggio
- Barbecue


A Wave from it All by Bayley Vacation Rentals
Scarborough
- 206 M2
- 4 camere
- 10 persone
- Aria condizionata
- Riscaldamento
- Parcheggio
- Barbecue
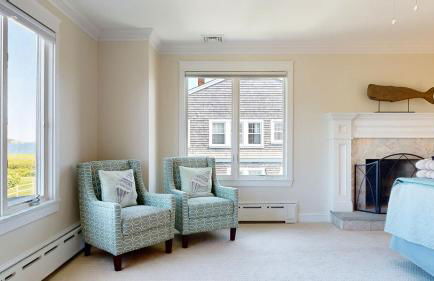
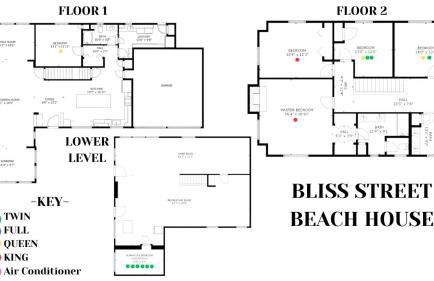
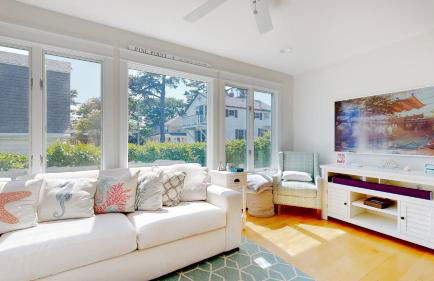
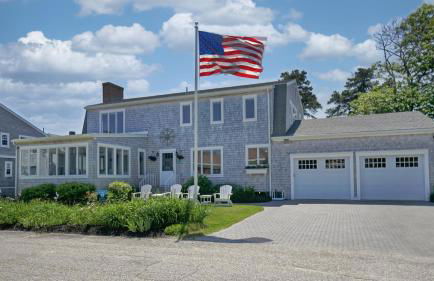


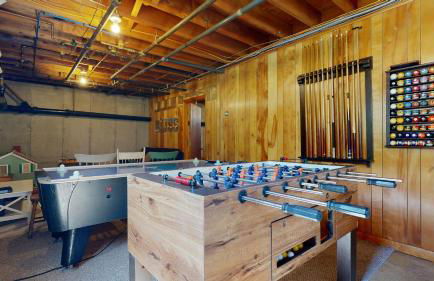
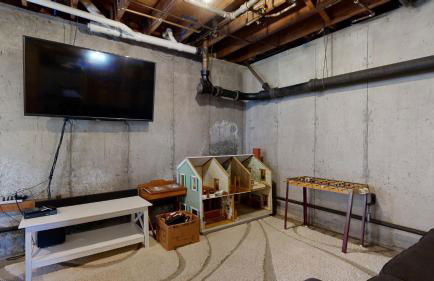
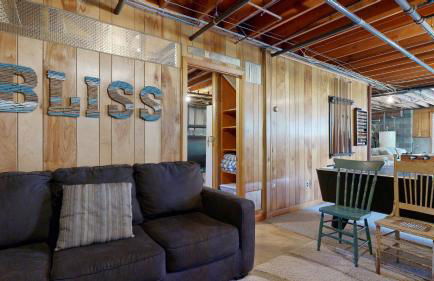
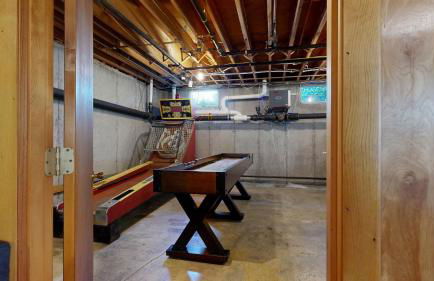

Bliss Street Beach House by Bayley Vacation Rental
Scarborough
- 271 M2
- 6 camere
- 19 persone
- Aria condizionata
- Riscaldamento
- Parcheggio
- Barbecue


The Cove by Bayley Vacation Rentals
Scarborough
- 104 M2
- 3 camere
- 8 persone
- Aria condizionata
- Riscaldamento
- Parcheggio
- Barbecue


Blue Doors By The Sea by Bayley Vacation Rentals
Scarborough
- 194 M2
- 6 camere
- 14 persone
- Aria condizionata
- Riscaldamento
- Parcheggio
- Barbecue


Hank's Hideaway by Bayley Vacation Rentals
Scarborough
- 175 M2
- 4 camere
- 8 persone
- Aria condizionata
- Riscaldamento
- Parcheggio
- Barbecue


Sea Breeze by Bayley Vacation Rentals
Scarborough
- 356 M2
- 5 camere
- 12 persone
- Aria condizionata
- Riscaldamento
- Parcheggio
- Barbecue


Huge Modern Townhome 10mins to Beach
Scarborough
- 1000 M2
- 3 camere
- 18 persone
- Aria condizionata
- Riscaldamento
- Giardino


A Shore Thing by Bayley Vacation Rentals
Scarborough
- 187 M2
- 4 camere
- 9 persone
- Aria condizionata
- Riscaldamento
- Parcheggio
- Barbecue


Seas the Day by Bayley Vacation Rentals
Scarborough
- 102 M2
- 3 camere
- 6 persone
- Aria condizionata
- Riscaldamento
- Parcheggio
- Barbecue
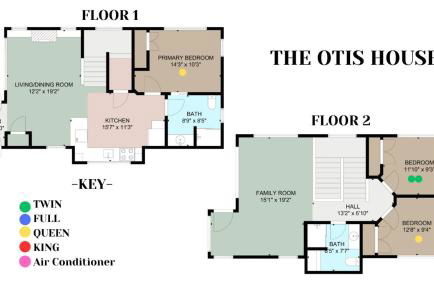
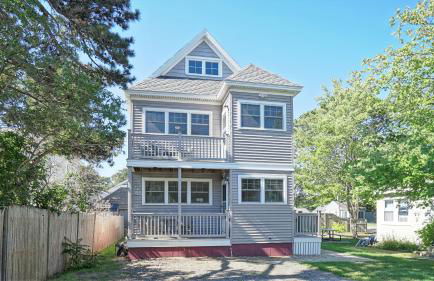


The Otis House by Bayley Vacation Rentals
Scarborough
- 1572 M2
- 3 camere
- 8 persone
- Aria condizionata
- Riscaldamento
- Parcheggio
- Barbecue