
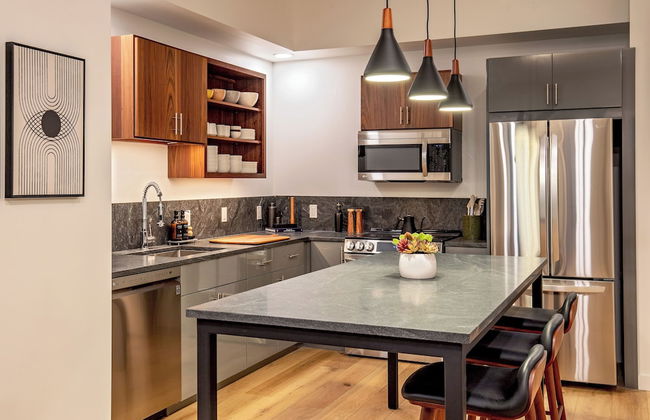
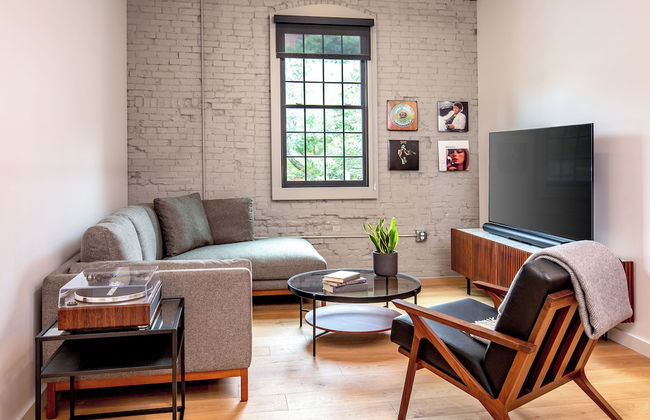
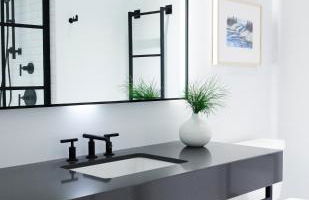
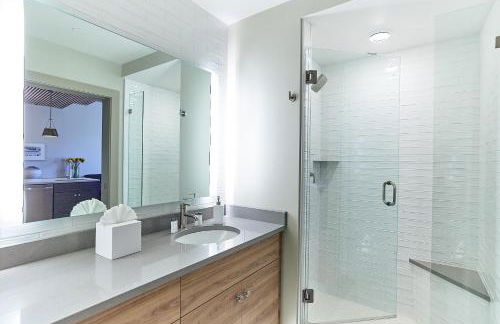
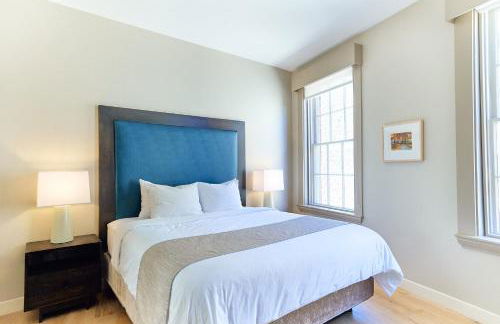
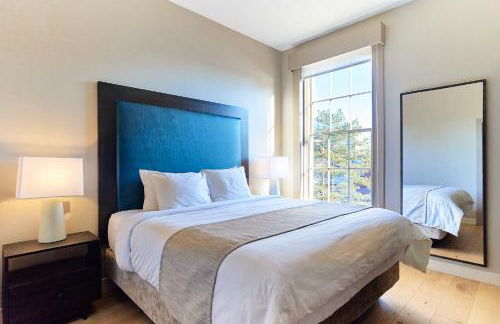
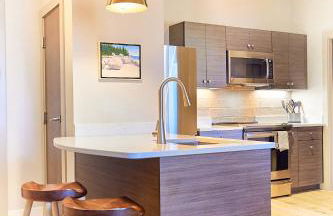
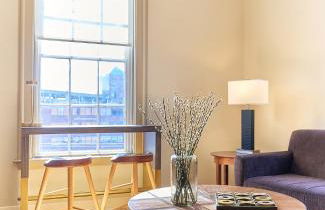
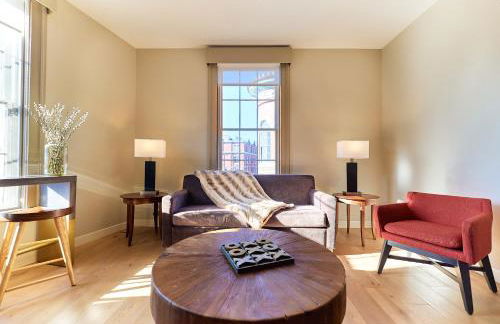
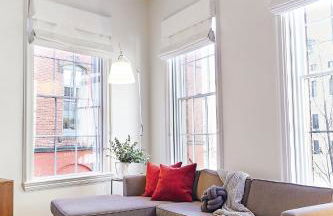
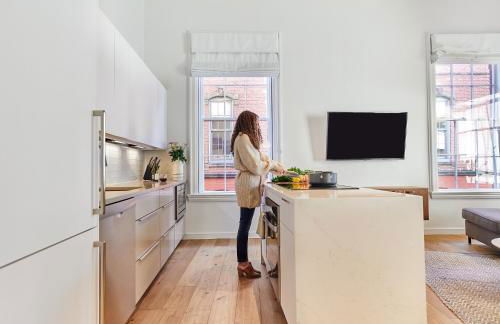
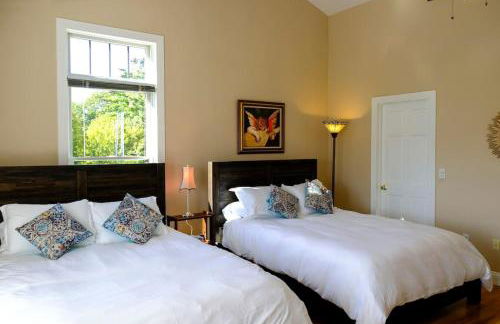
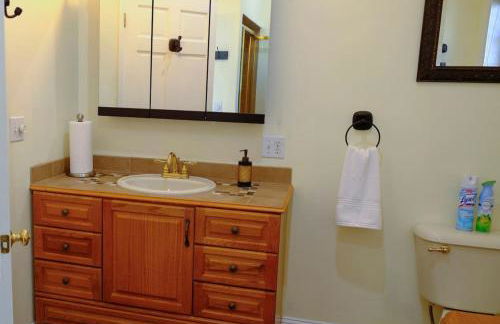
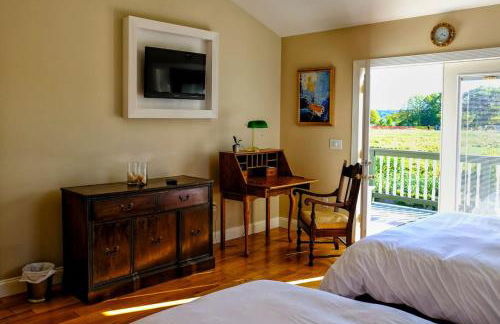
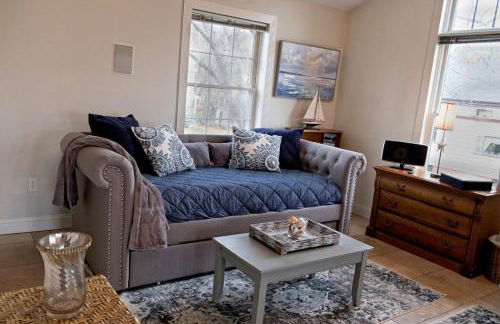
263 Appartamenti a Cumberland

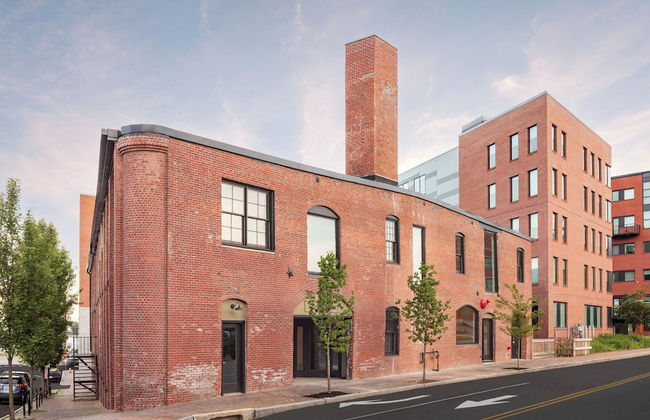

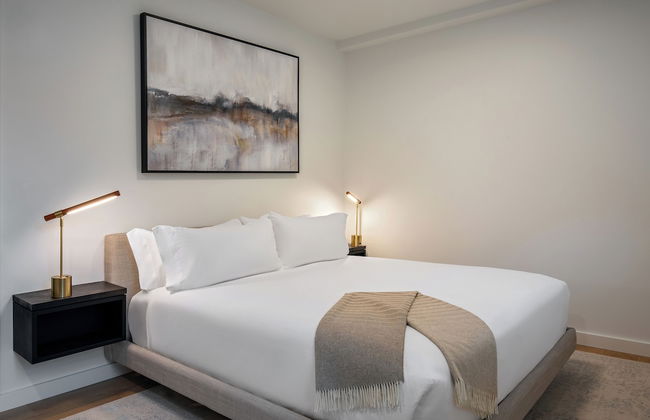

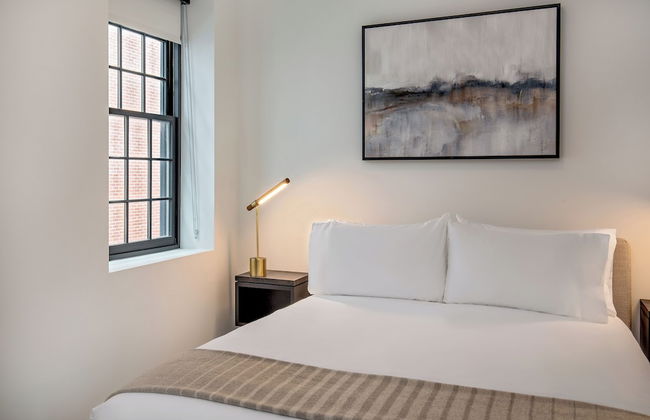

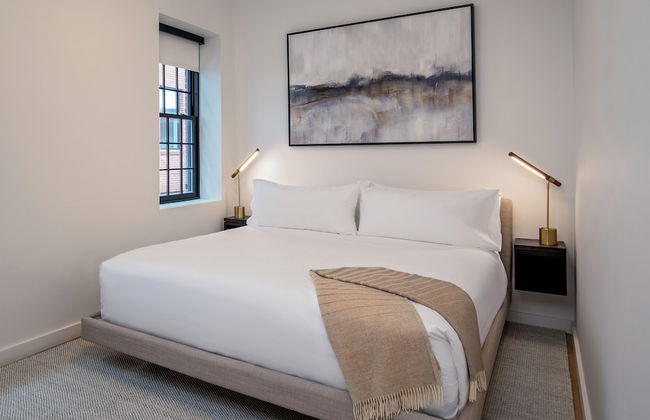

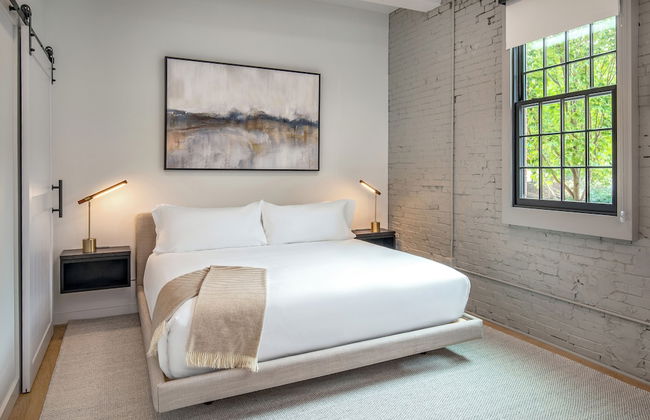


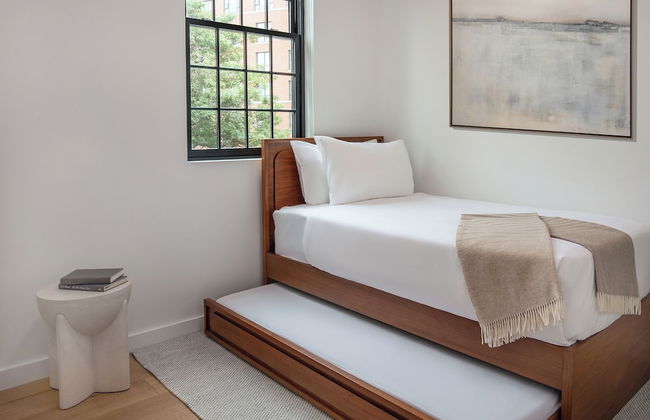


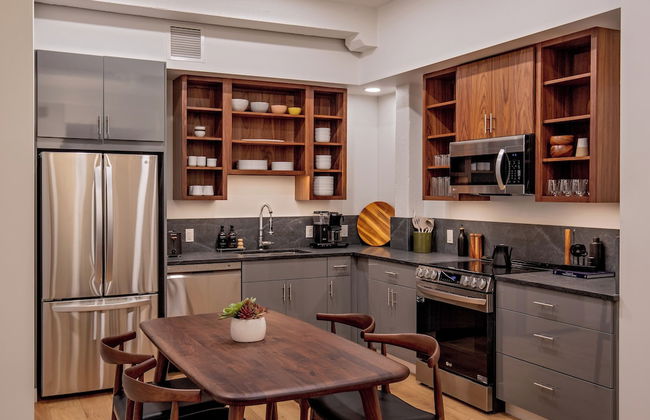


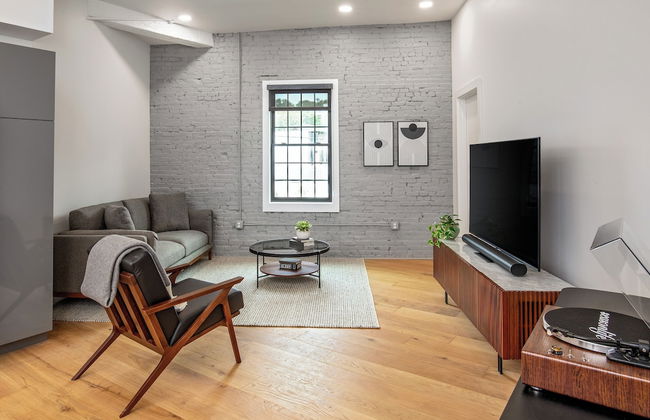


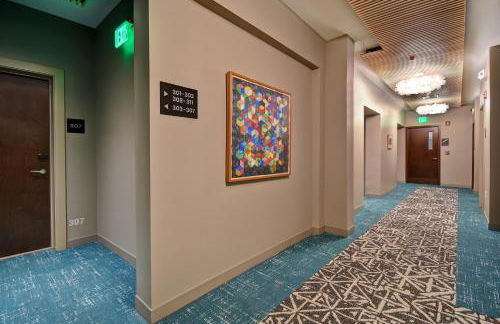
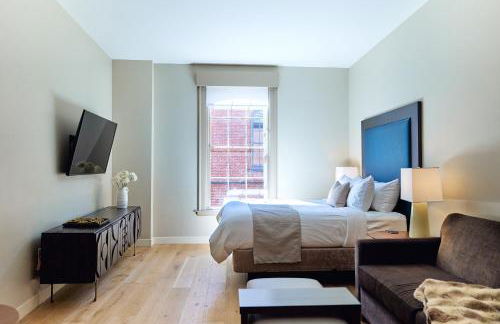
The Weldon Hotel
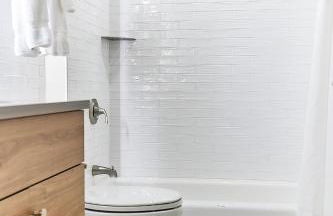
Portland - West End - 230 m dal centro
- 93 M2
- 5 persone
- Aria condizionata
- Riscaldamento
- Parcheggio
- Ascensore
- Tv
- Lavatrice
- Lino da bagno
- Lino da letto
56 recensioni


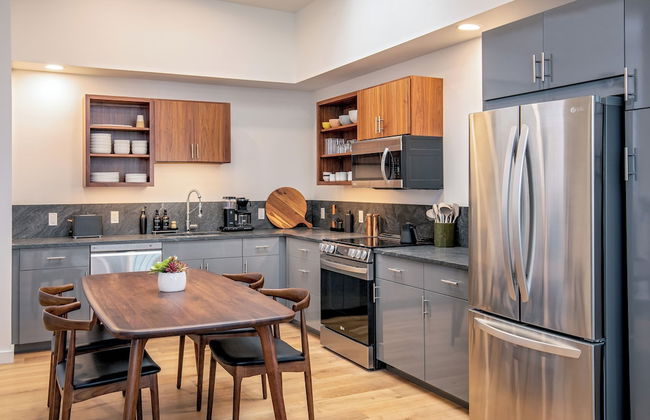
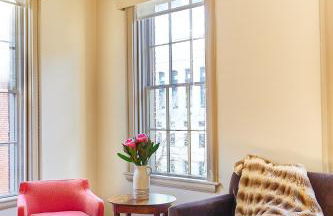
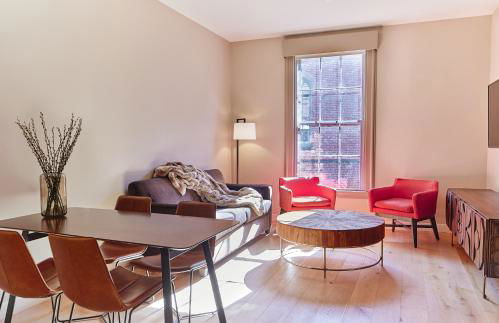
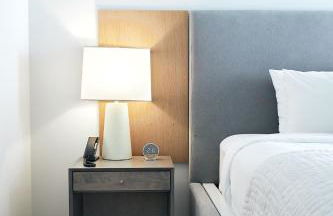
Island View House BnB Self Check-In
Portland - East End - 610 m dal centro
- 66 M2
- 3 camere
- 6 persone
- Aria condizionata
- Parcheggio
154 recensioni


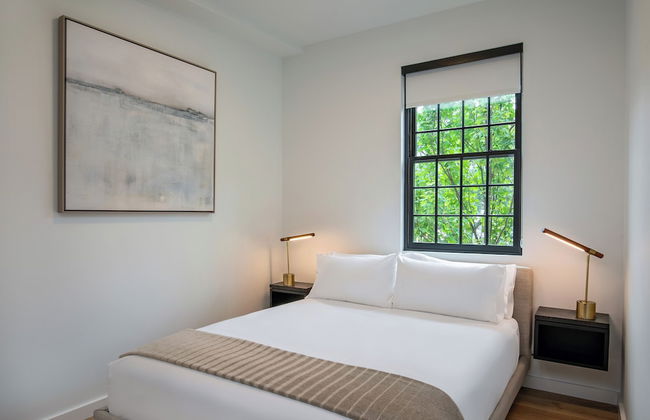
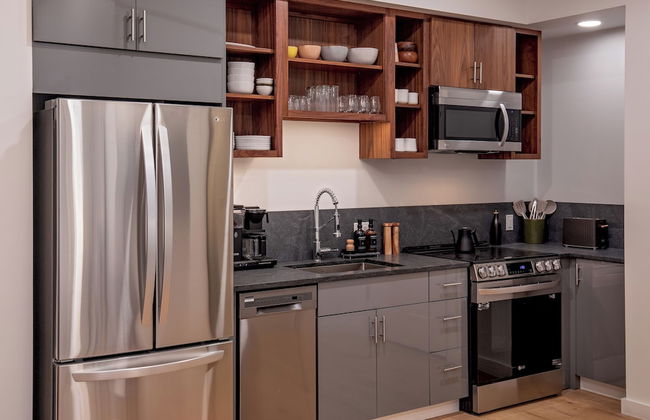
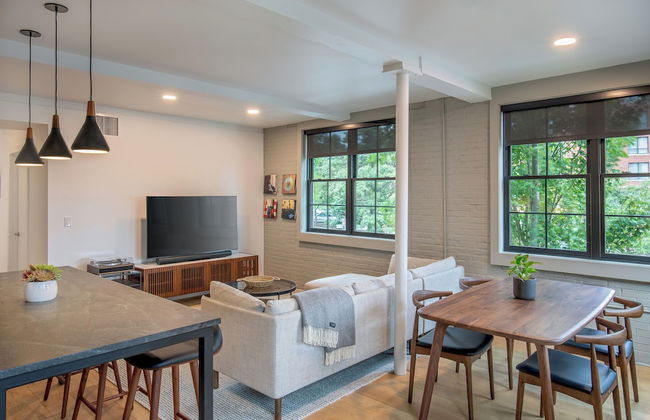
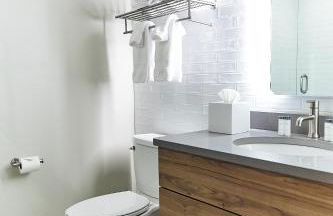
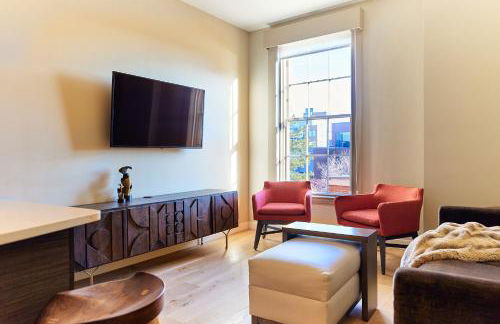
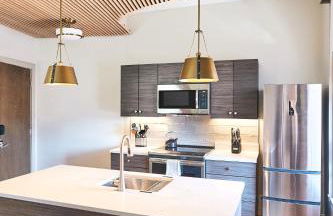
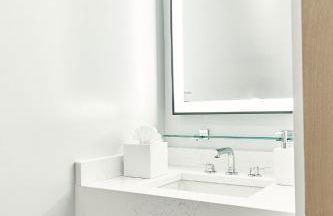
The Brew House - 2nd Floor Private Apartment
Portland - East End - 610 m dal centro
- 84 M2
- 2 persone
- Aria condizionata
- Riscaldamento
- Parcheggio
- Giardino
65 recensioni


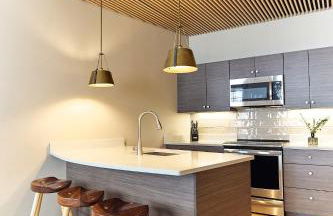


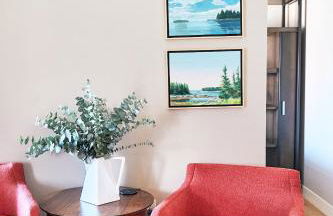

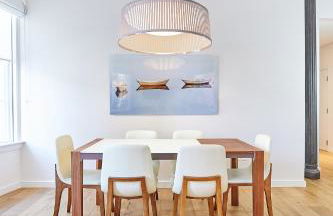


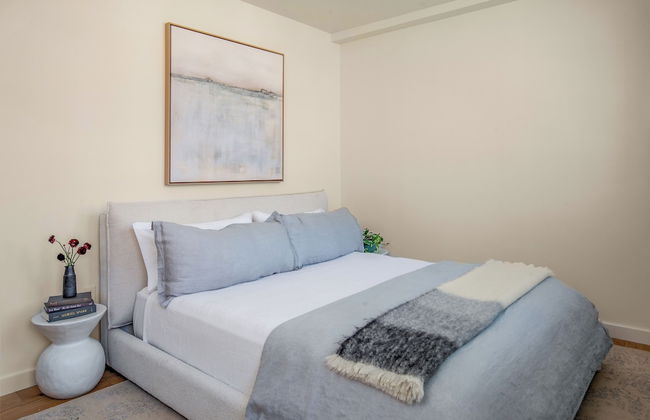
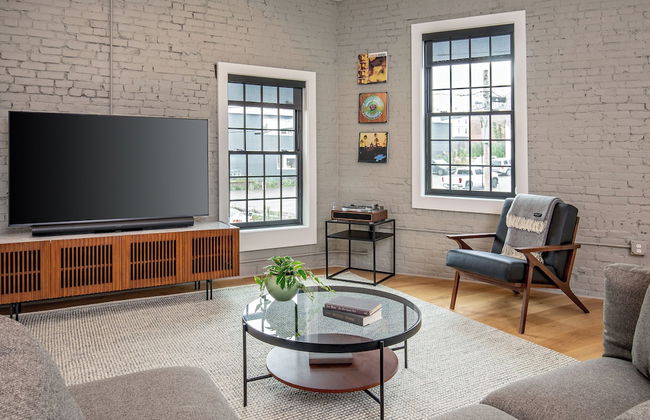
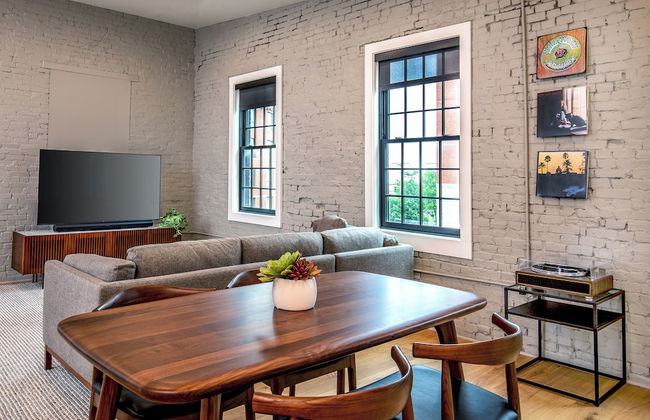
The Docent's Collection
Portland - Old Port - Al centro
- 232 M2
- 3 camere
- 7 persone
- Aria condizionata
- Parcheggio
- Ascensore
106 recensioni


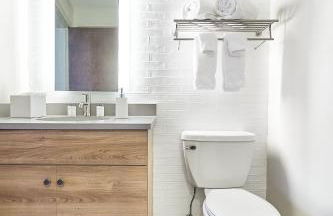
Sebago Lake Cottage on Raymond Cape
Raymond
- 21 M2
- 1 camera
- 4 persone
- Aria condizionata
- Parcheggio
- Giardino
- Barbecue
8 recensioni


Thomas Trail - Game Room, Fire Pit, 1 min to Ski Mountain & Shared Beach!
Bridgton - 420 m da Shawnee Peak
- 161 M2
- 4 camere
- 8 persone
- Aria condizionata
- Riscaldamento
- Parcheggio
- Giardino
- Barbecue
8 recensioni


Spacious Country Home Freeport, 5 min to LL Bean!
Freeport
- 204 M2
- 5 camere
- 10 persone
- Aria condizionata
- Riscaldamento
- Terrazza
- Parcheggio
- Giardino
- Barbecue
3 recensioni


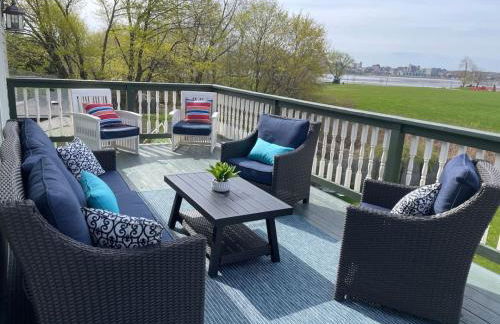


Top Deck Portland Property with Views
Portland - East Deering - 2.1 km dal centro
- 168 M2
- 3 camere
- 12 persone
- Aria condizionata
- Riscaldamento
- Terrazza
- Parcheggio
- Giardino
3 recensioni


East end. Walk to food, beer and downtown fun.
Portland - East End - 300 m dal centro
- 102 M2
- 2 camere
- 4 persone
- Aria condizionata
62 recensioni


Peaceful Oasis on Munjoy Hill 2nd flr 3BR parking
Portland - East End - 470 m dal centro
- 146 M2
- 3 camere
- 7 persone
- Aria condizionata
- Riscaldamento
- Terrazza
- Parcheggio
- Giardino
4 recensioni


Gorgeous House on Highland Lake
Bridgton - 6.7 km da Shawnee Peak
- 167 M2
- 3 camere
- 6 persone
- Aria condizionata
- Parcheggio
- Giardino
- Barbecue
3 recensioni


East End Annex
Portland - East End - 350 m dal centro
- 69 M2
- 2 persone
- Riscaldamento
- Giardino
17 recensioni


Waterfront Access with Kayaks Private Deck and a Firepit
Gray
- 179 M2
- 4 camere
- 13 persone
- Aria condizionata
- Riscaldamento
- Terrazza
- Parcheggio
- Giardino
- Barbecue
2 recensioni


Good Vibes Portland Home - 4 Wonderful Seasons
Portland - North Deering - 3.9 km dal centro
- 134 M2
- 3 camere
- 8 persone
- Aria condizionata
- Riscaldamento
- Piscina
- Parcheggio
- Giardino
- Barbecue
7 recensioni


The Blueberry House - Spacious, Family & Pet-Friendly Retreat near Sebago Lake
Sebago
- 242 M2
- 5 camere
- 11 persone
- Aria condizionata
- Riscaldamento
- Parcheggio
- Giardino
- Barbecue
3 recensioni


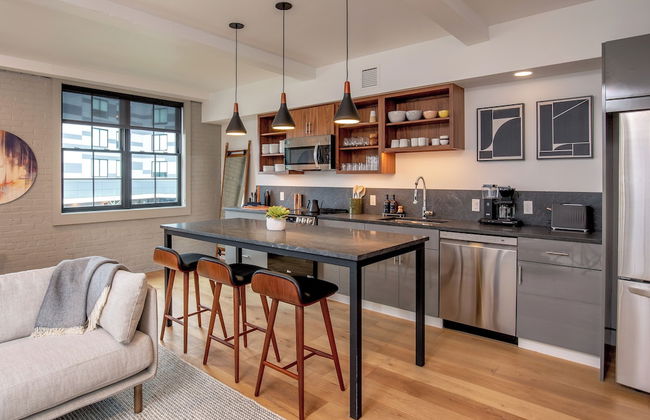
Spacious 2BR Old Port Loft, Steps from Waterfront
Portland - Old Port - Al centro
- 79 M2
- 2 camere
- 4 persone
- Aria condizionata
10 recensioni


Peaceful Highland Lake Home with Kayaks, Dock Access
Bridgton - 5.9 km da Shawnee Peak
- 116 M2
- 3 camere
- 8 persone
- Riscaldamento
- Parcheggio
7 recensioni