
44 Appartamenti a Sanford


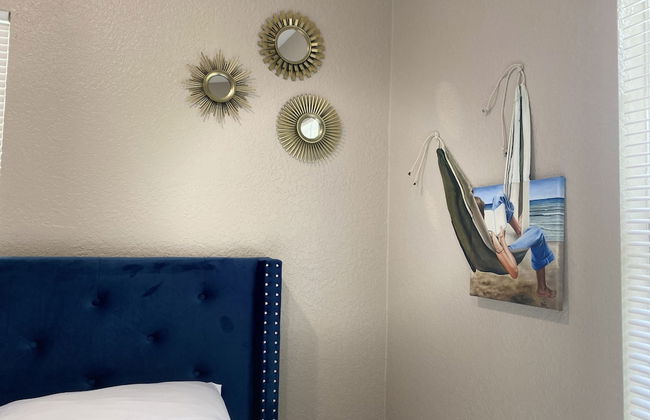
Florida Suburban Oasis ~ Lk Mary/Sanford Florida!
Sanford - 2.3 km dal centro
- 1000 M2
- 3 camere
- 6 persone
- Aria condizionata
- Riscaldamento
- Terrazza
- Parcheggio
- Giardino
18 recensioni


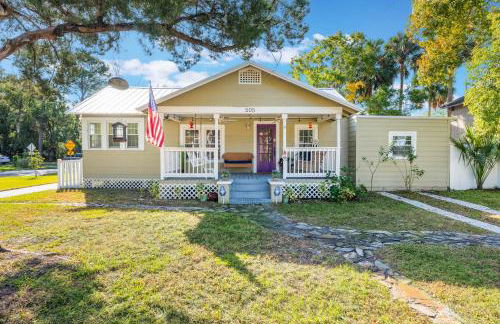
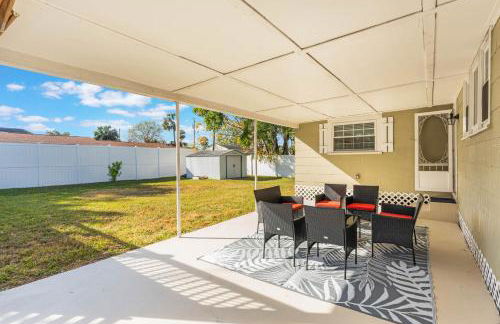
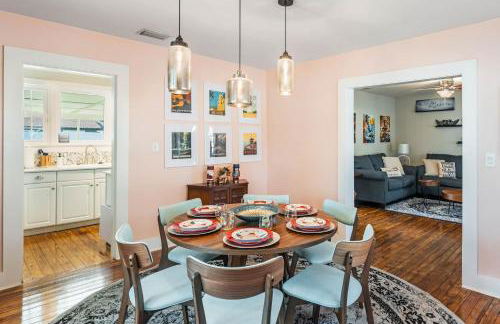
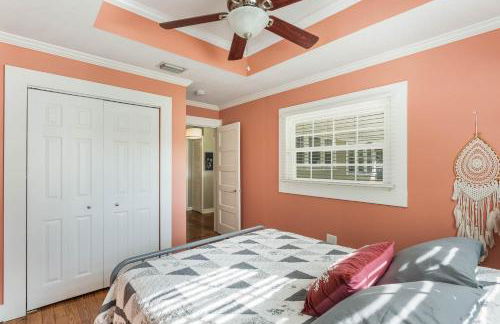
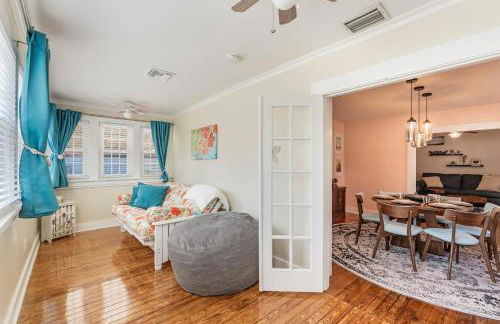
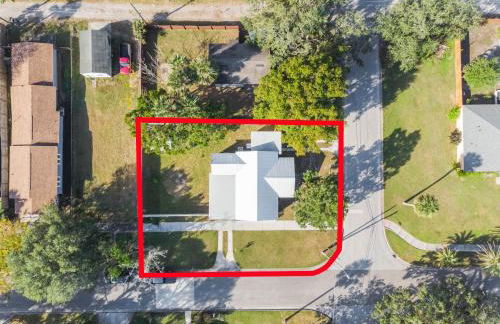
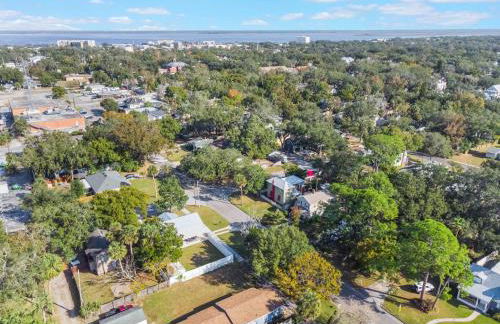
3-Bed Bungalow walk to Historic Downtown Sanford
Sanford - 440 m dal centro
- 139 M2
- 3 camere
- 7 persone
- Aria condizionata
- Riscaldamento
- Terrazza
- Parcheggio
24 recensioni


Sanford Lake Mary Quiet Rooms
Sanford - 5.4 km dal centro
- 11 M2
- 2 persone
- Aria condizionata
- Riscaldamento
- Parcheggio
93 recensioni


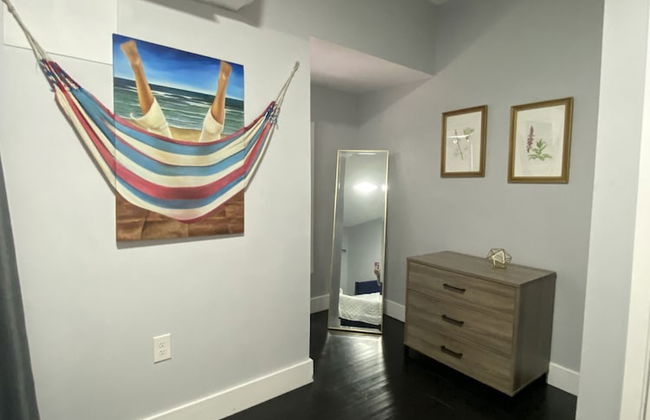


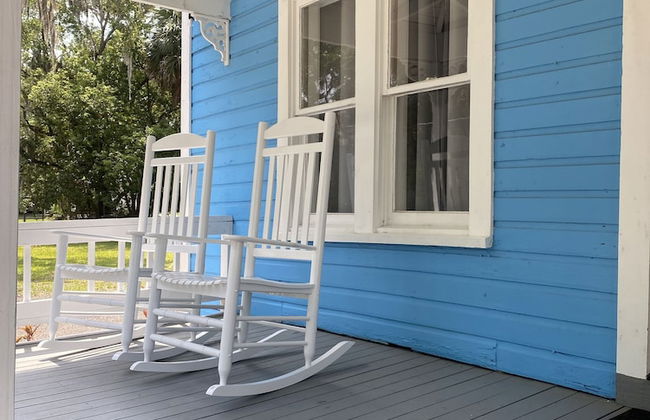


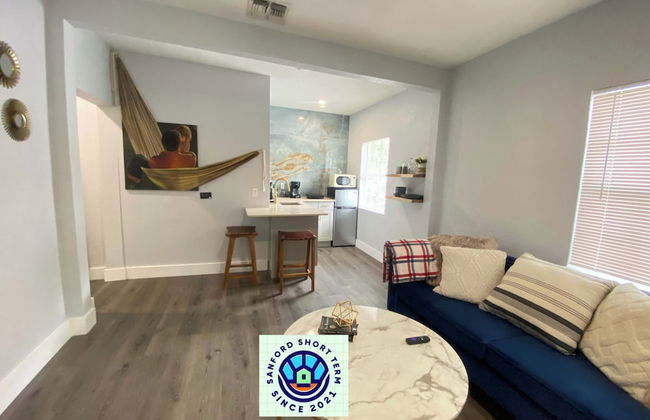
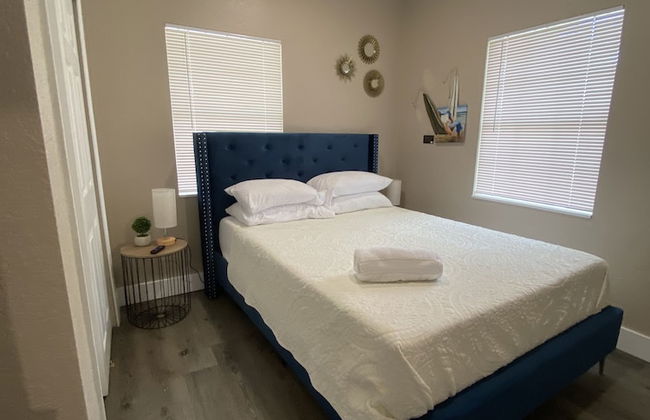
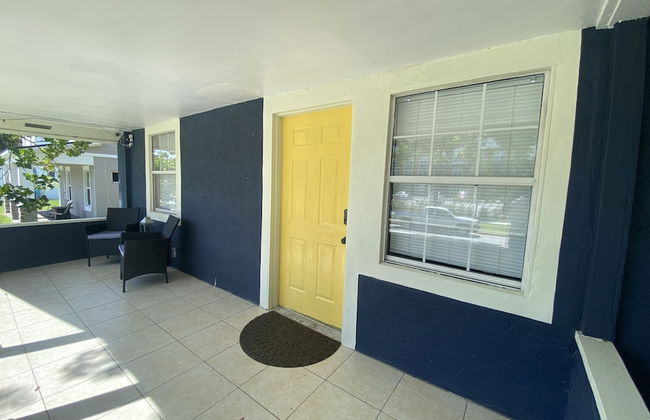
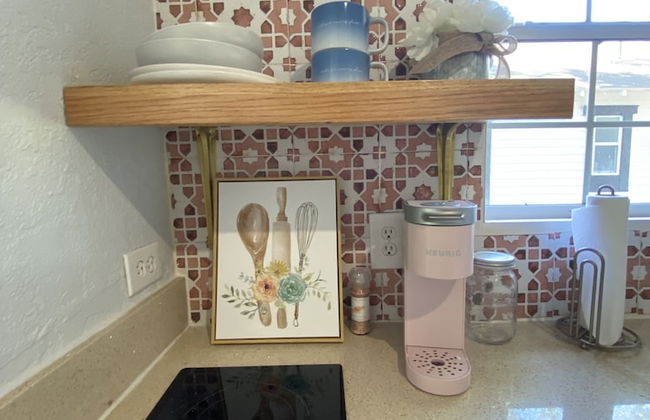
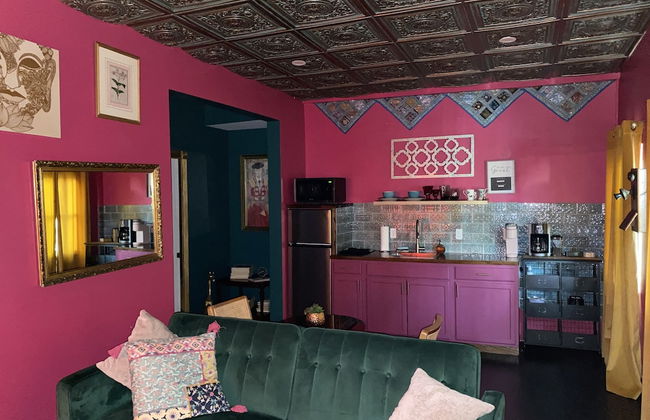
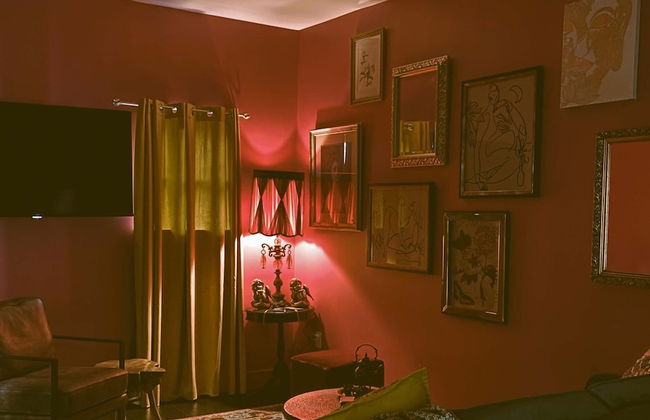
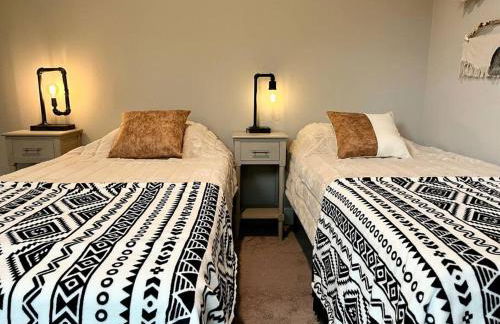
The Blue Aztec
Sanford - 350 m dal centro
- 46 M2
- 2 persone
- Cucinino
- Aria condizionata
- Riscaldamento
- Parcheggio
- Giardino
- Tv
- Lino da bagno
- Lino da letto
11 recensioni


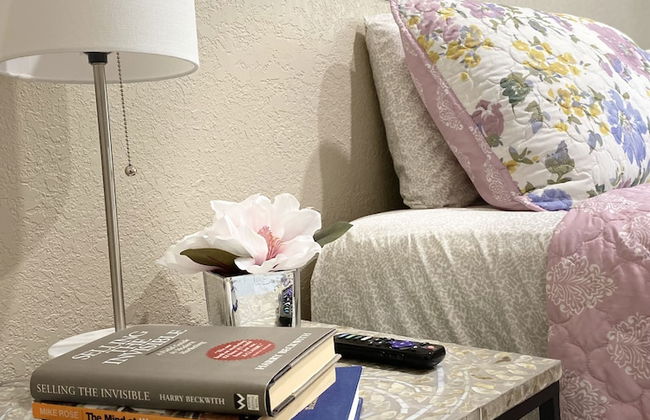
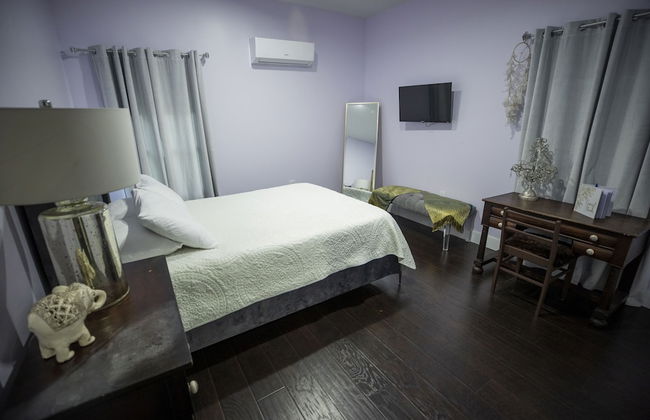
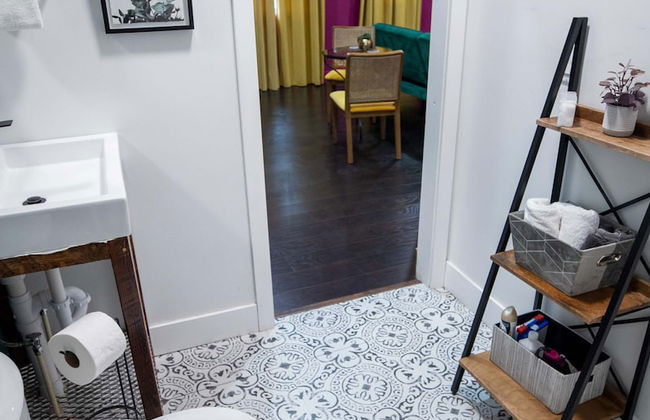
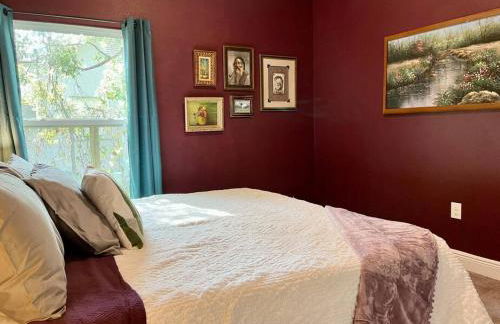
Bella Breeze
Sanford - 300 m dal centro
- 56 M2
- 1 camera
- 2 persone
- Cucinino
- Aria condizionata
- Parcheggio
- Tv
- Lino da bagno
2 recensioni


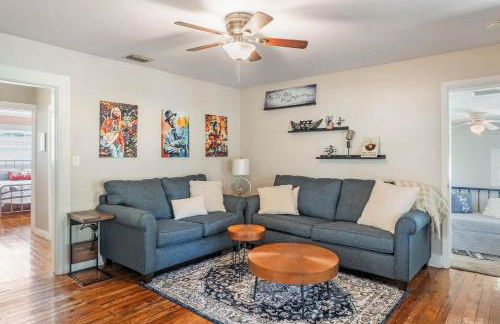
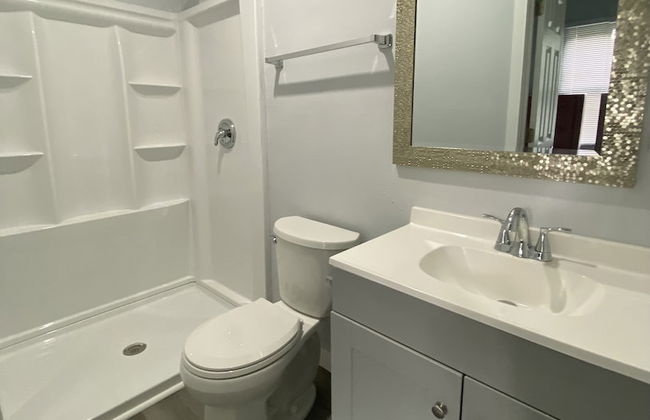
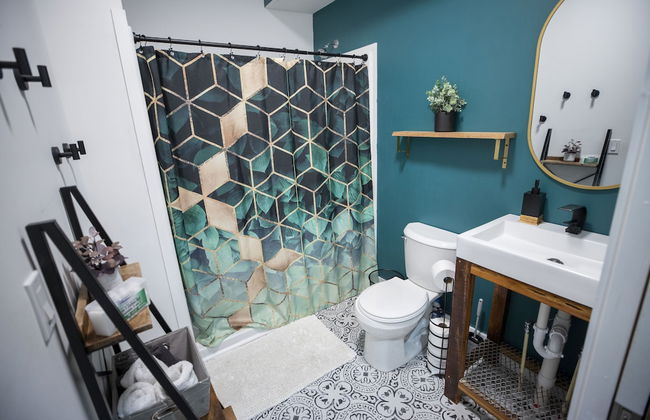
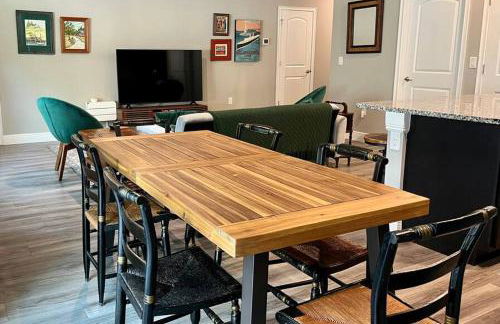
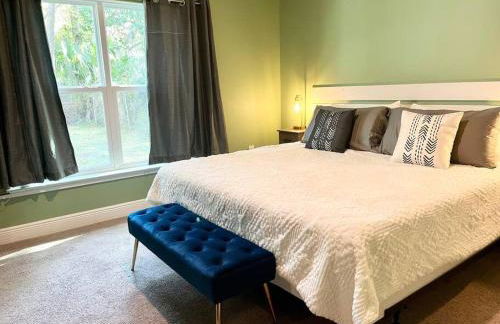
The Farm House
Sanford - 4.4 km dal centro
- 1000 M2
- 4 camere
- 8 persone
- Aria condizionata
- Riscaldamento
- Terrazza
- Parcheggio
- Giardino
13 recensioni


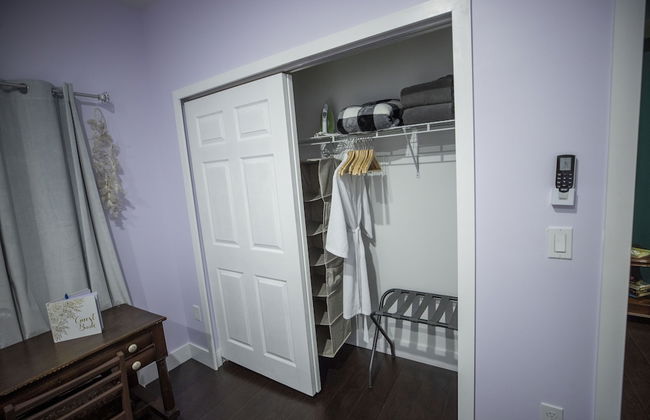
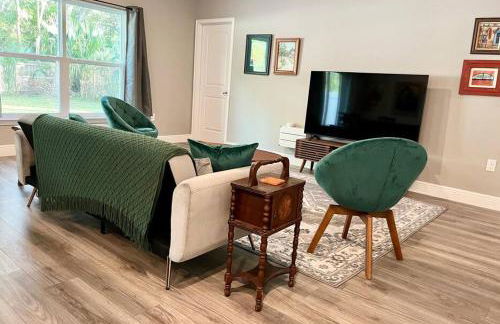
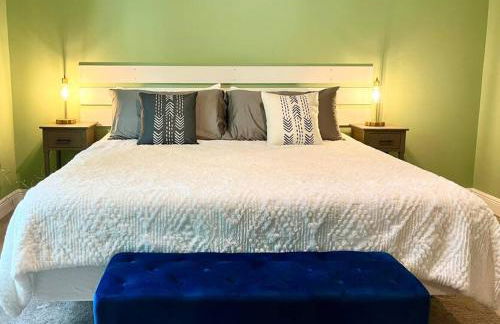
Sanford's Haven, 3 Bedroom, Sleeps 7
Sanford - 830 m dal centro
- 102 M2
- 3 camere
- 7 persone
- Aria condizionata
- Riscaldamento
- Terrazza
- Parcheggio
- Giardino
9 recensioni


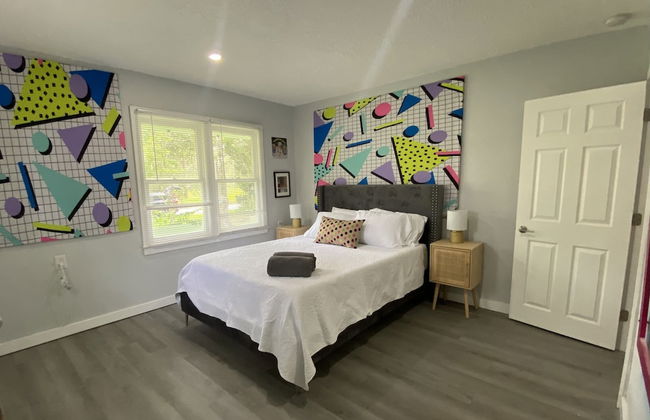


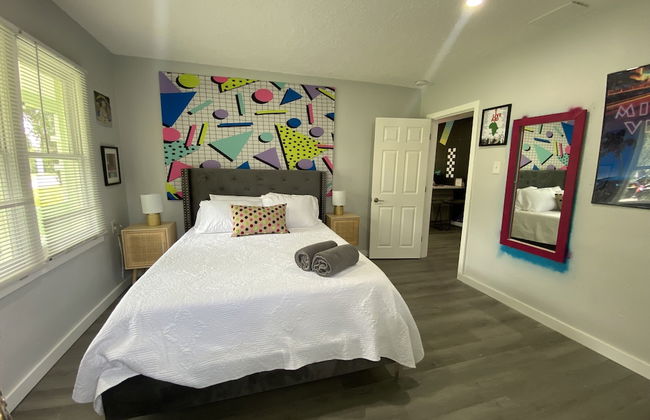


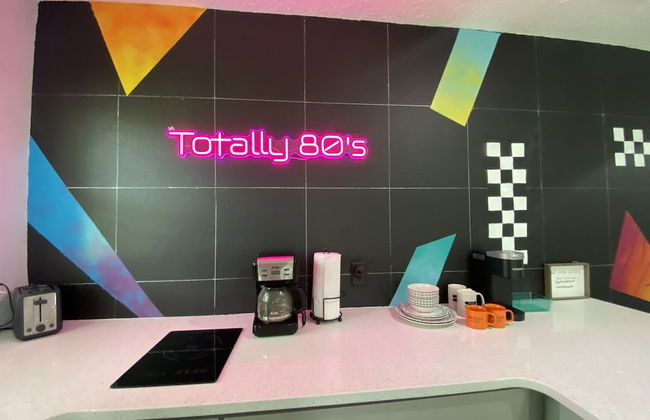


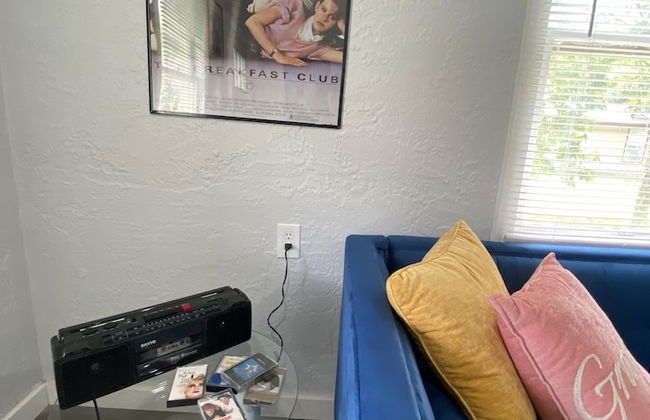


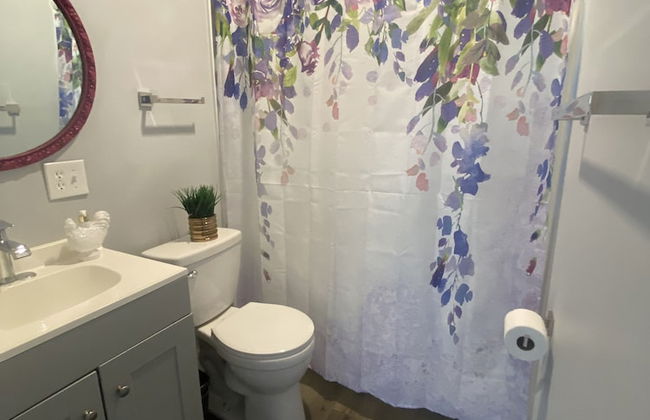
Totally 80's
Sanford - 380 m dal centro
- 46 M2
- 2 persone
- Cucinino
- Aria condizionata
- Riscaldamento
- Parcheggio
- Tv
- Lino da bagno
- Lino da letto
2 recensioni


Walk to Historic Dtwn Sanford Home with Gas Grill!
Sanford - 830 m dal centro
- 133 M2
- 2 camere
- 6 persone
- Riscaldamento
- Parcheggio
3 recensioni


The Oasis
Sanford - 350 m dal centro
- 37 M2
- 2 persone
- Aria condizionata
- Terrazza
- Parcheggio
- Giardino
6 recensioni


Cute and Cozy Apt Near Historic Downtown Sanford
Sanford - 1.7 km dal centro
- 43 M2
- 1 camera
- 4 persone
- Aria condizionata
- Riscaldamento
- Parcheggio
- Giardino
4 recensioni


Cozy Modern 3BR Escape - Sanford
Sanford - 2.6 km dal centro
- 11 M2
- 3 camere
- 6 persone
- Aria condizionata
- Riscaldamento
- Parcheggio
3 recensioni


The Cherry Blossom
Sanford - 300 m dal centro
- 42 M2
- 2 persone
- Aria condizionata
- Riscaldamento
- Parcheggio
- Tv
- Lino da bagno
- Lino da letto
3 recensioni


The Oasis
Sanford - 380 m dal centro
- 23 M2
- 2 persone
- Cucinino
- Aria condizionata
- Riscaldamento
- Parcheggio
- Tv
- Lino da bagno
1 recensione


The Shed
Sanford - 950 m dal centro
- 79 M2
- 1 camera
- 4 persone
- Aria condizionata
- Riscaldamento
- Parcheggio
- Giardino
- Barbecue
4 recensioni

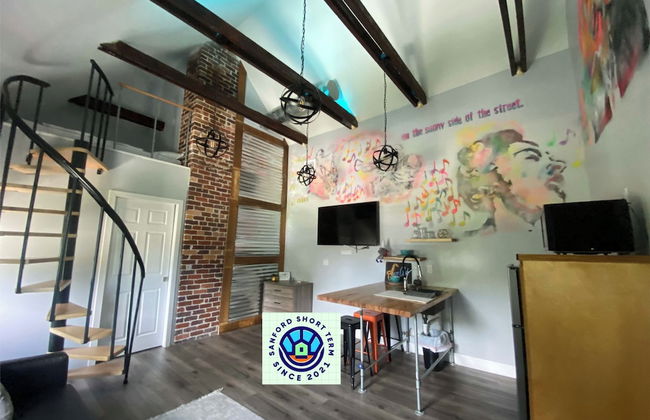


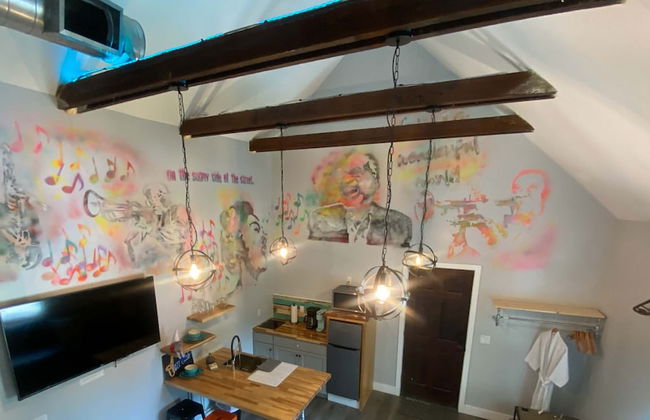

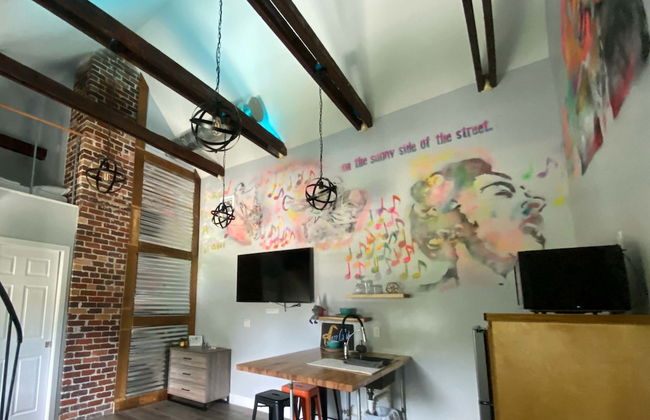


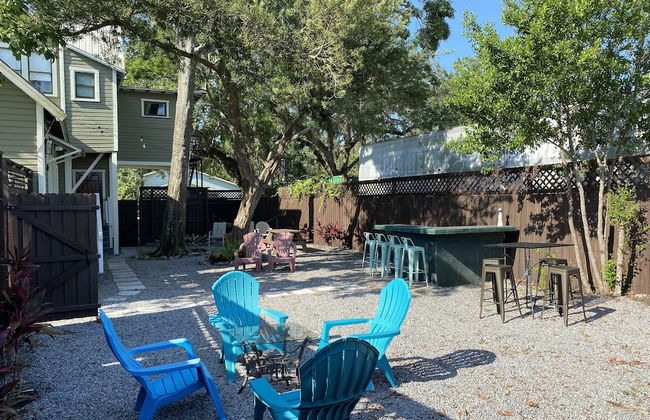


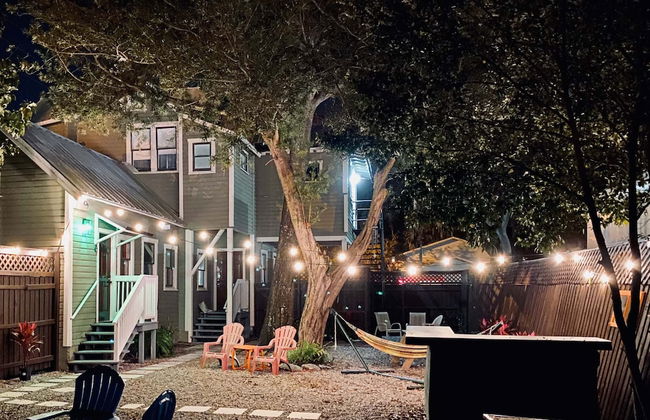


The Jazz Loft
Sanford - Al centro
- 28 M2
- 2 persone
- Cucinino
- Aria condizionata
- Riscaldamento
- Parcheggio
- Giardino
- Tv
- Lino da bagno
- Lino da letto
4 recensioni


Boho Nights
Sanford - Al centro
- 56 M2
- 2 persone
- Cucinino
- Aria condizionata
- Riscaldamento
- Parcheggio
- Tv
- Lino da bagno
- Lino da letto
4 recensioni


Sanford Suite King Bed Work-Ready Near Beach MCO
Sanford - 2.8 km dal centro
- 22 M2
- 2 persone
- Aria condizionata
- Riscaldamento
- Parcheggio
3 recensioni


Sweet Stay with fully fenced yard
Sanford - 1.1 km dal centro
- 130 M2
- 3 camere
- 7 persone
- Aria condizionata
- Parcheggio
1 recensione


The Mellow Yellow
Sanford - 350 m dal centro
- 37 M2
- 2 persone
- Cucinino
- Aria condizionata
- Riscaldamento
- Parcheggio
- Tv
- Lino da bagno
2 recensioni