


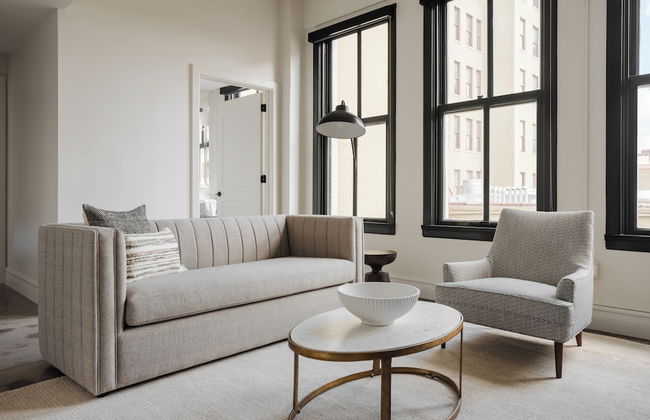
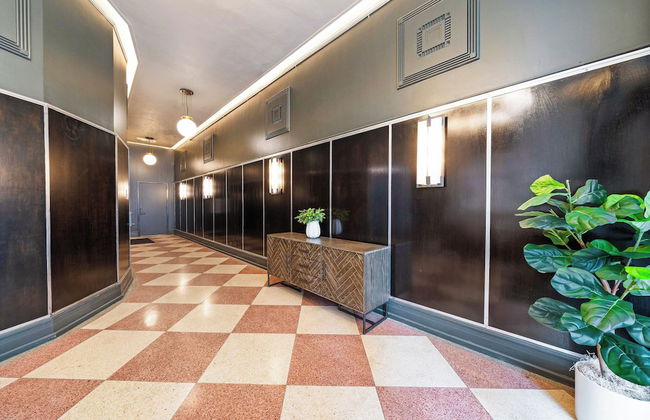
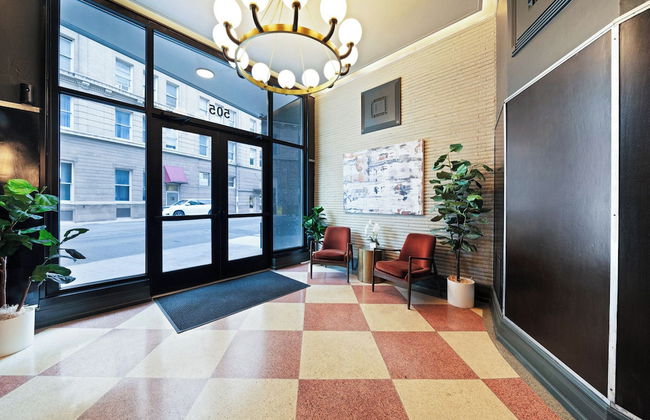
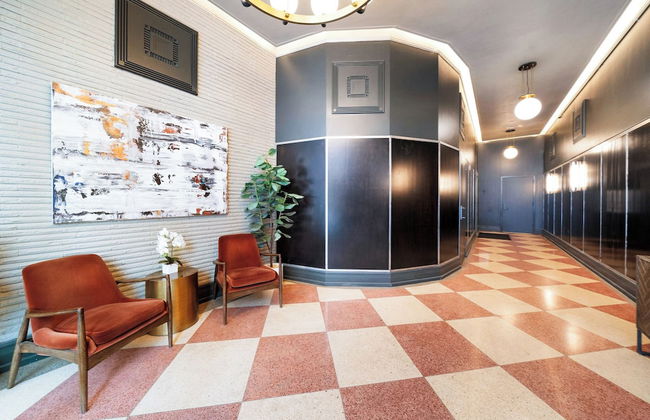
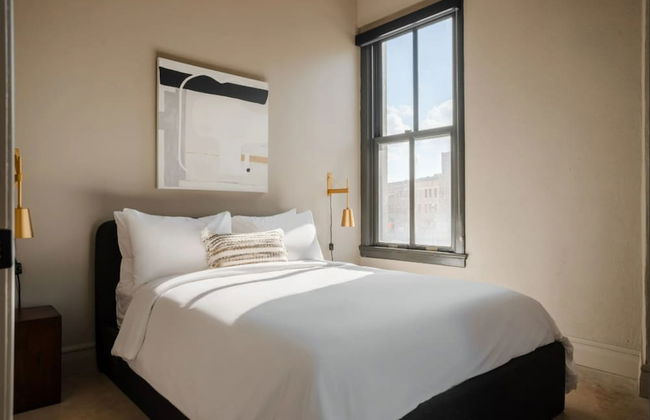
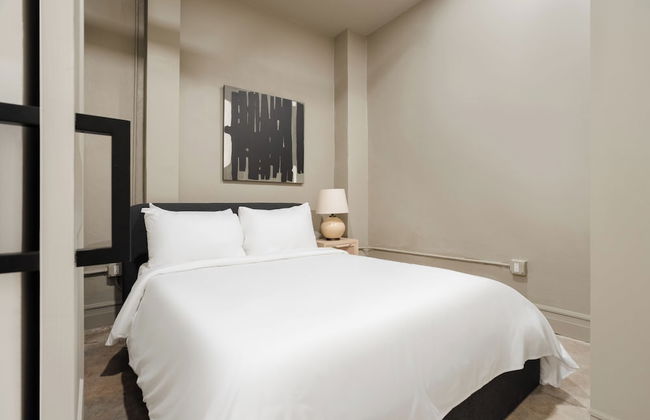
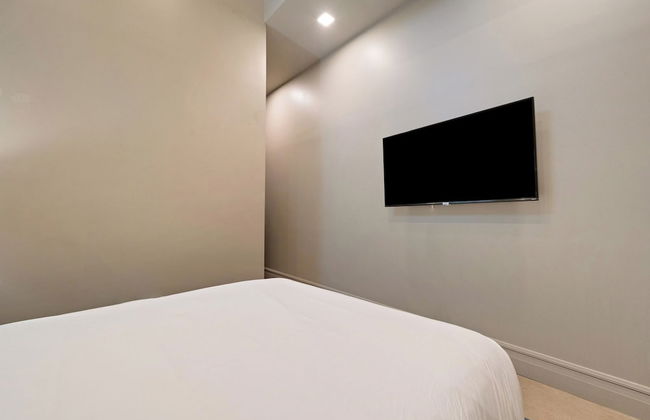
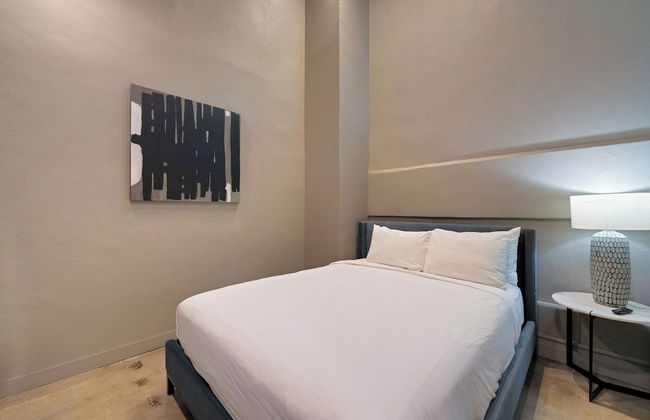
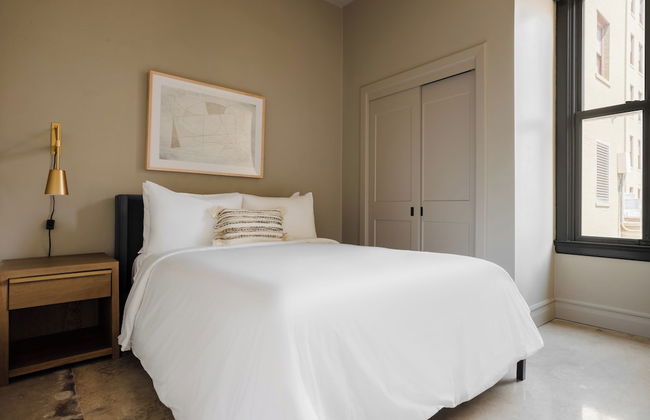
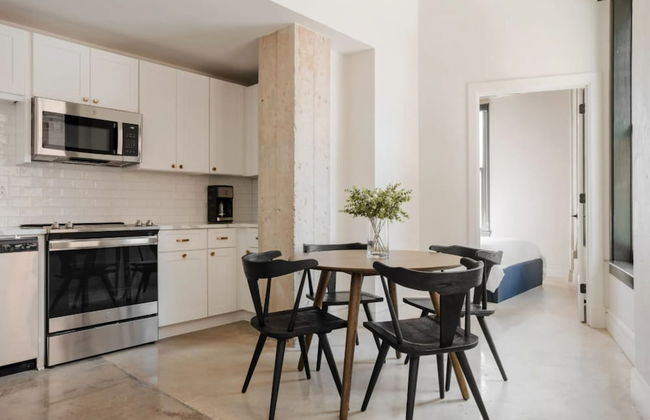
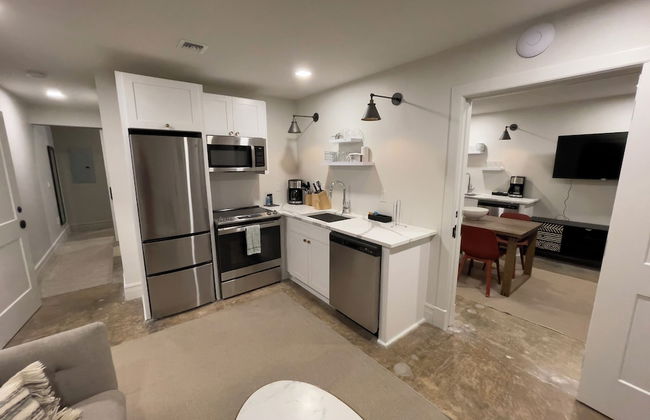
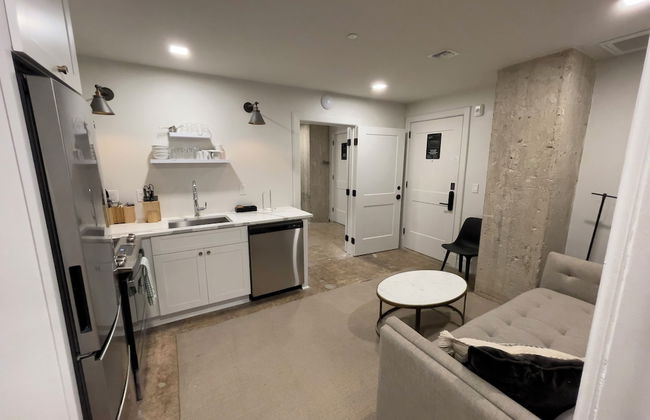
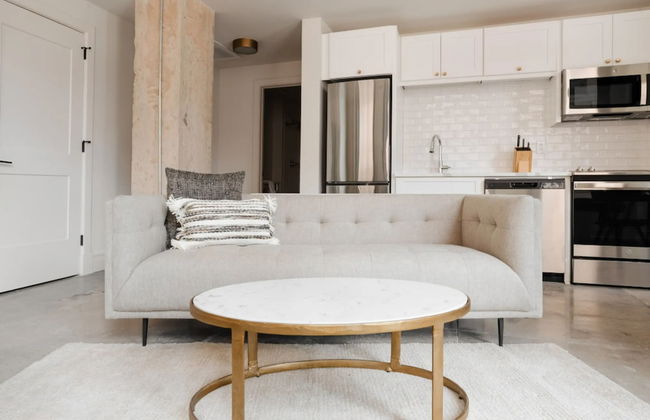
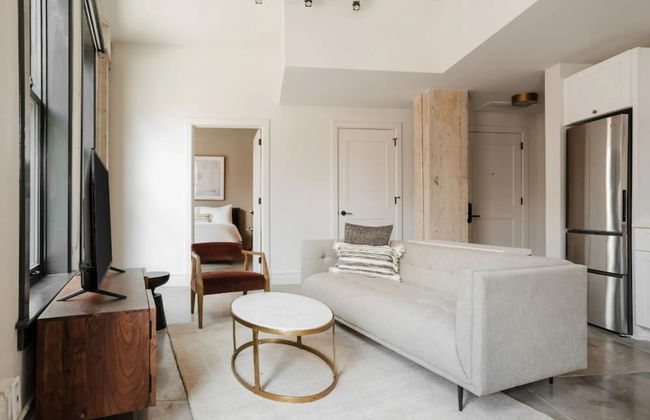
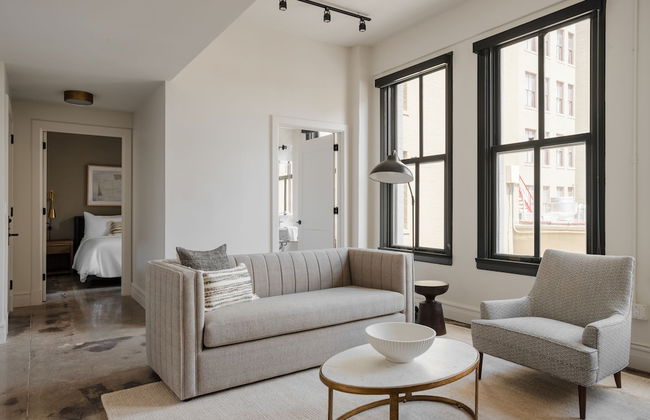
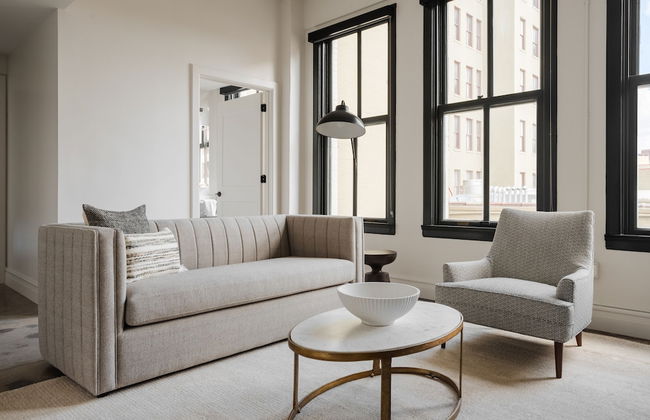
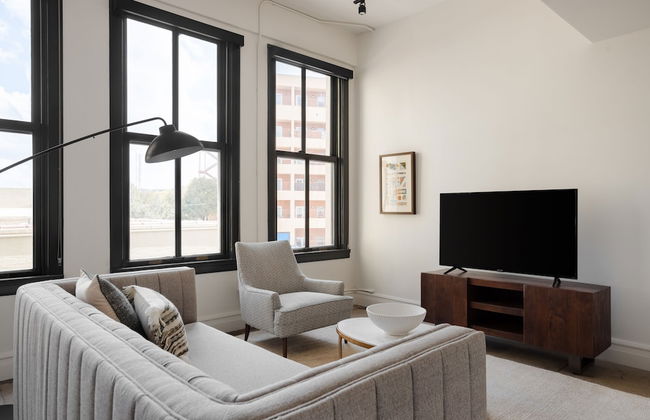
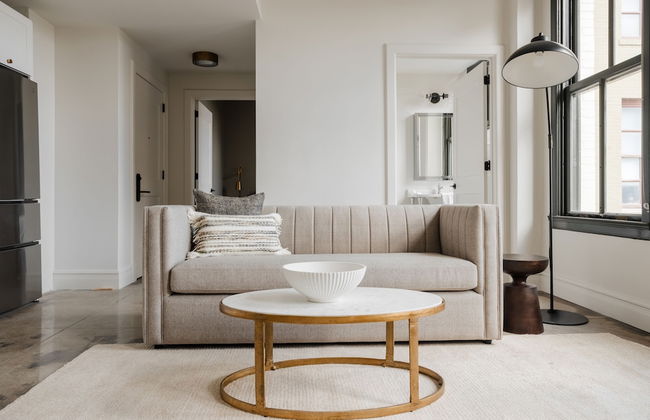
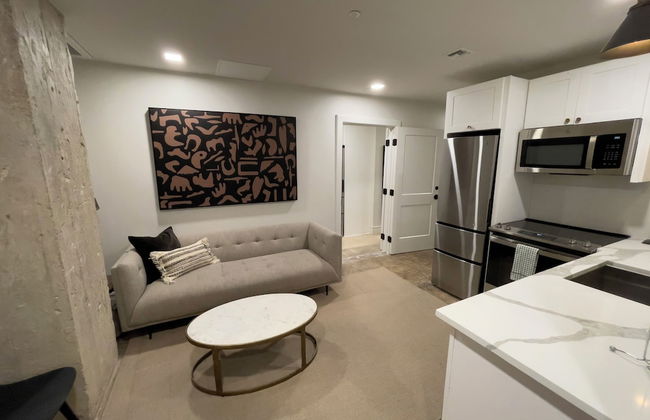
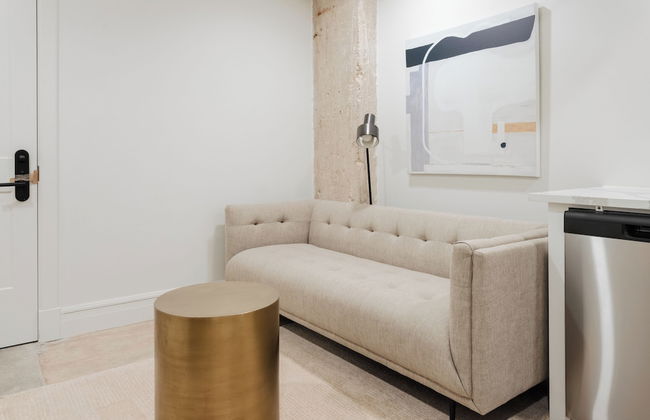
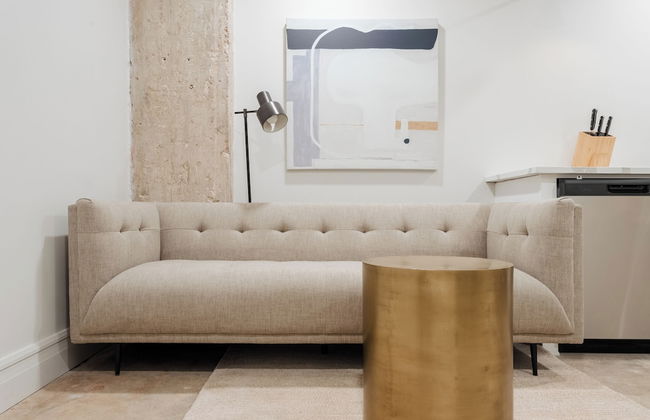
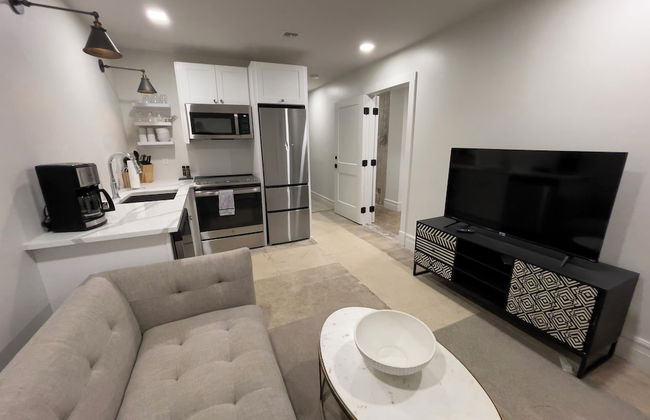
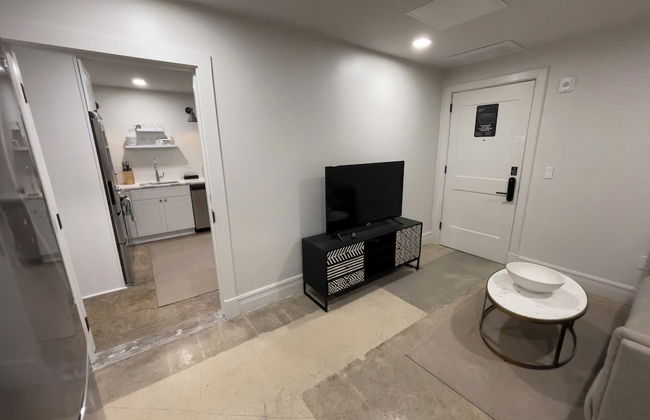
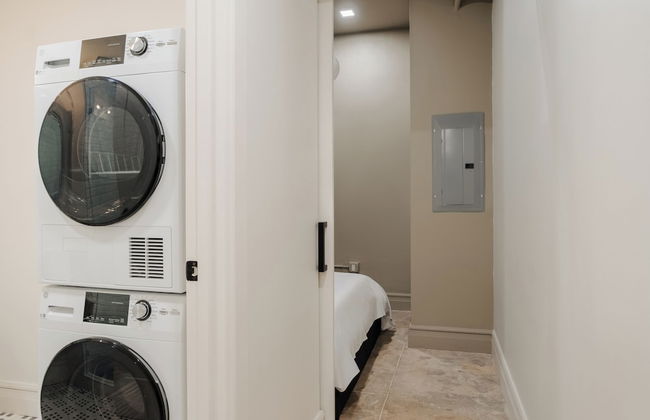
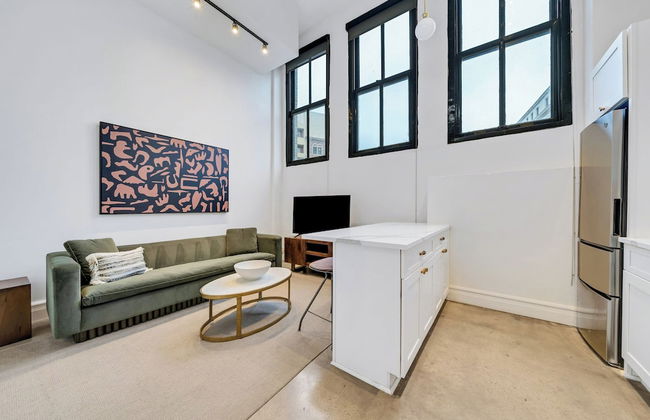
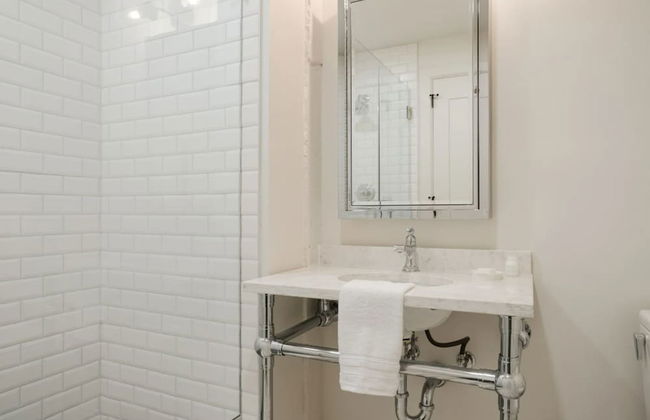
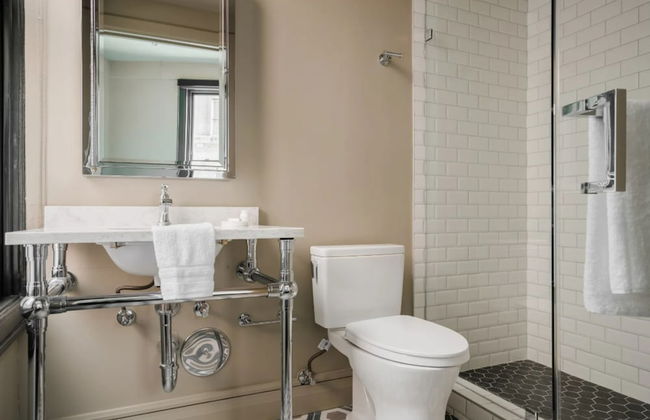
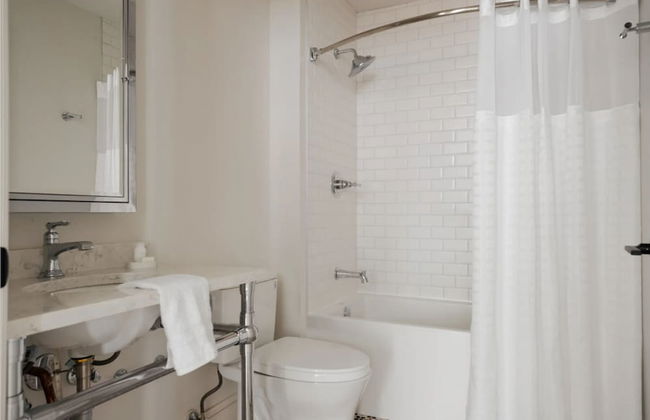
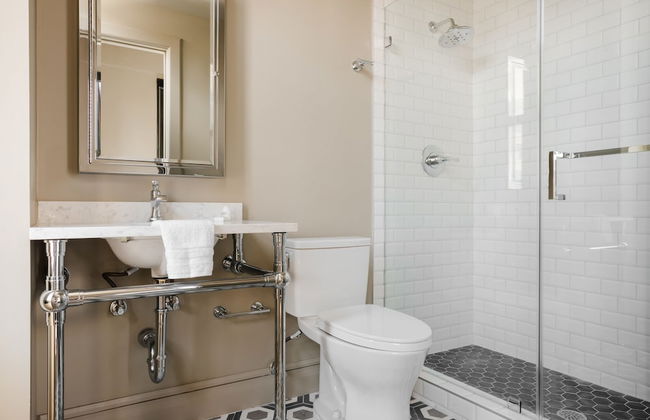
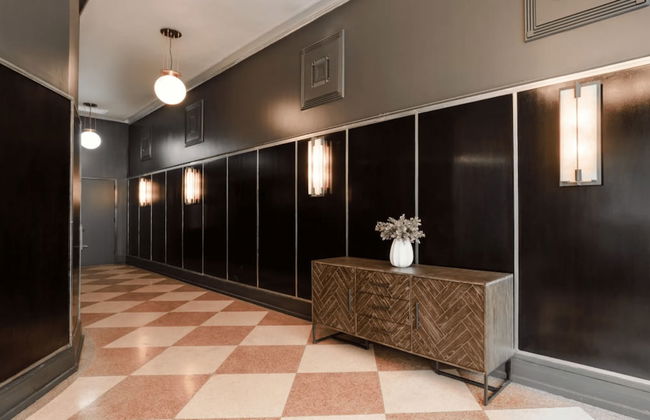
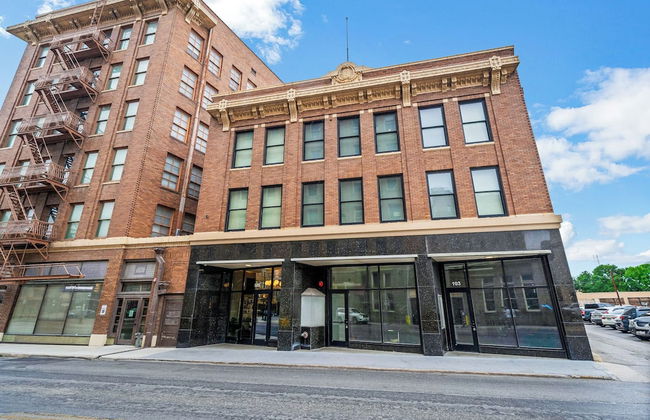
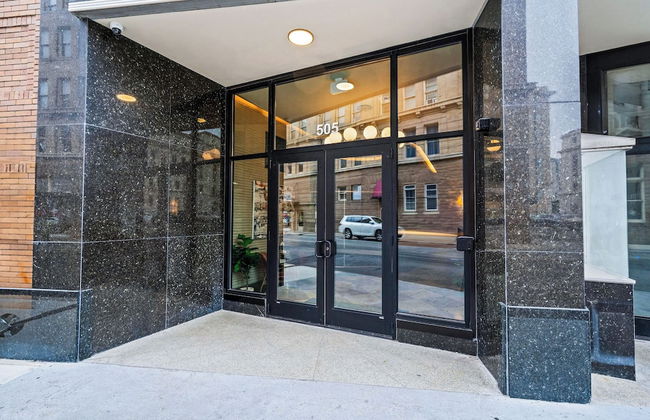
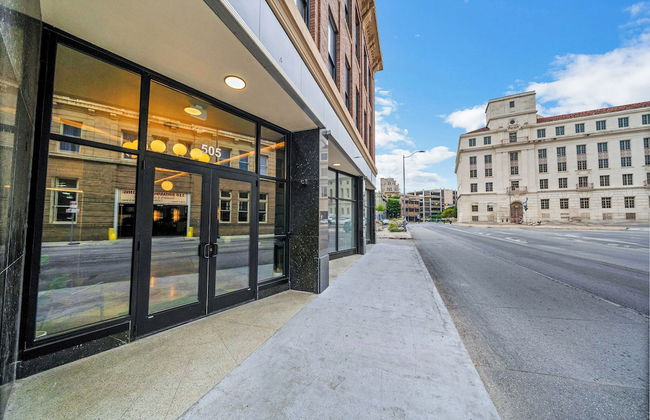
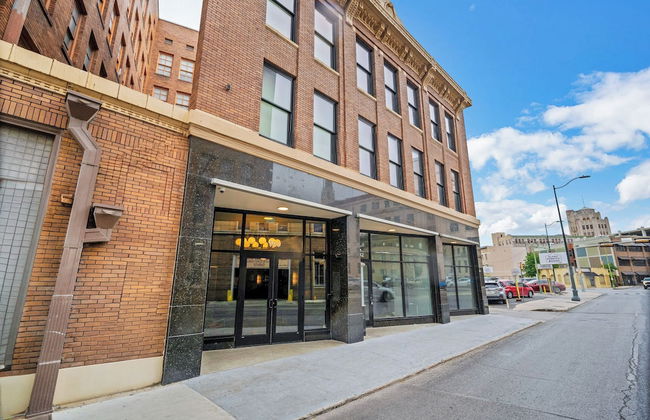
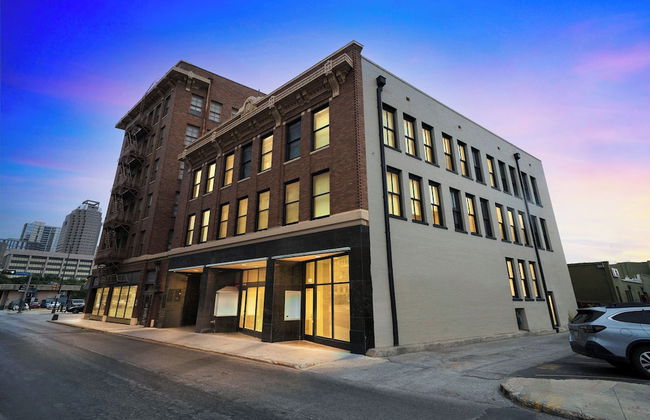
The Continental, powered by Placemakr - Downtown - Market Square
San Antonio - Downtown - Al centro
- 72 M2
- 6 persone
- Aria condizionata
- Riscaldamento
- Parcheggio
- Ascensore
- Tv
- Lavatrice
- Lino da bagno
- Lino da letto
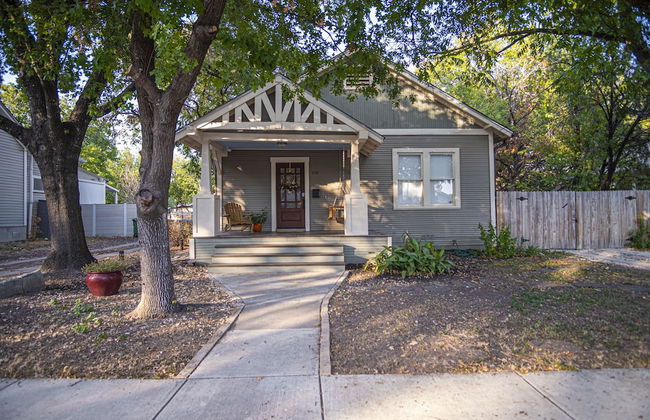


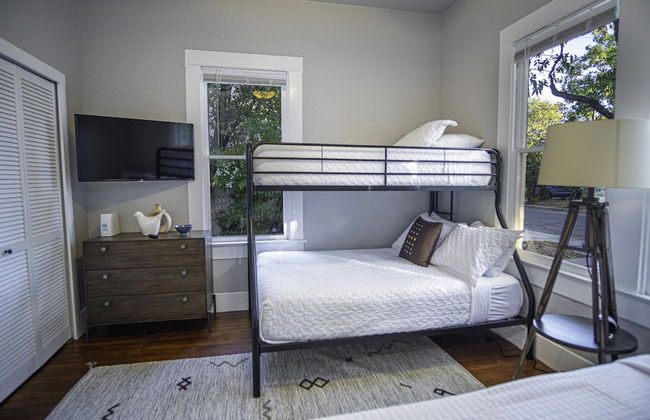
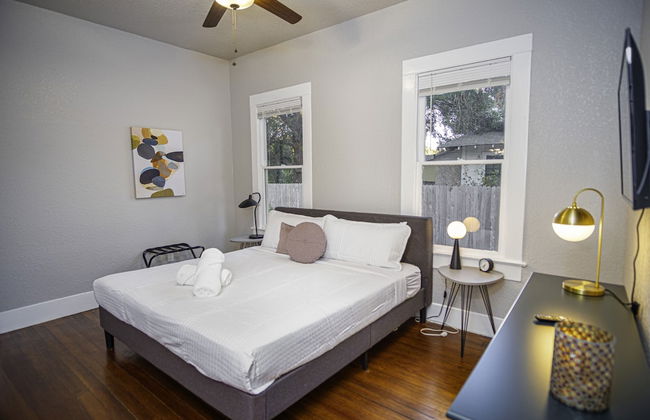


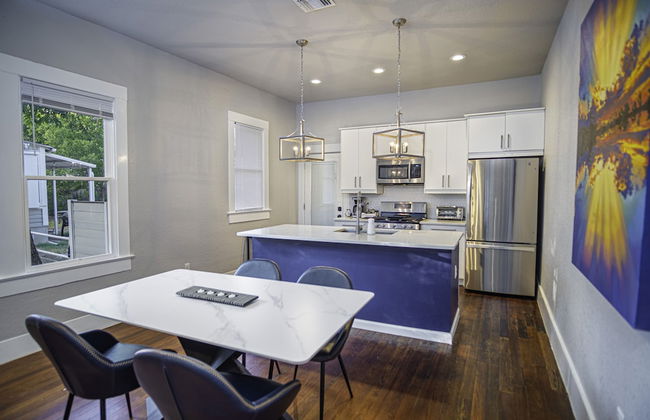


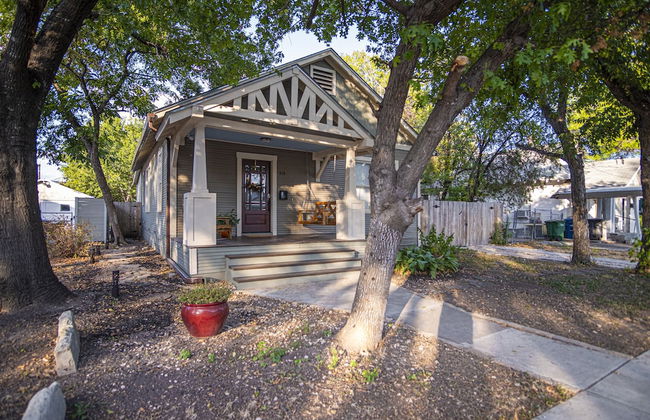

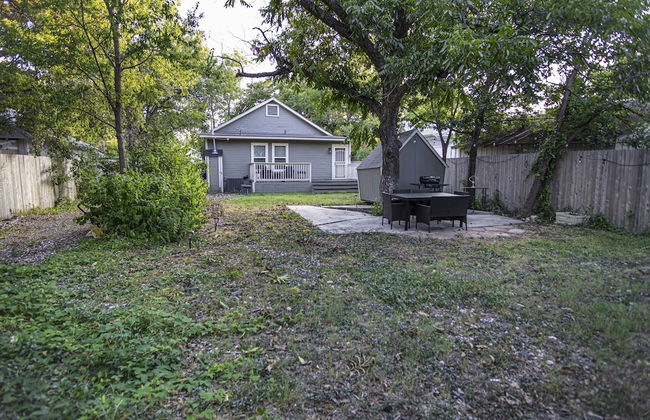


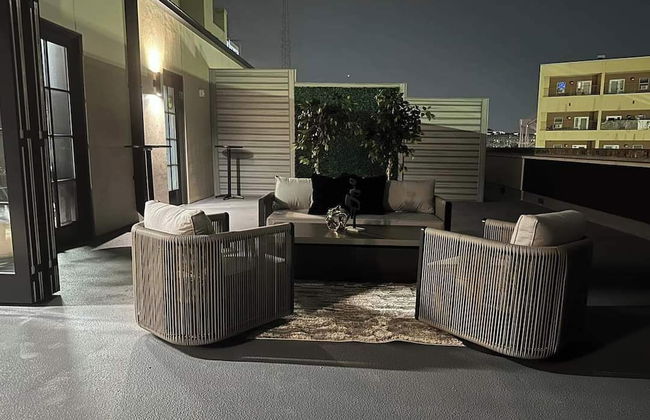
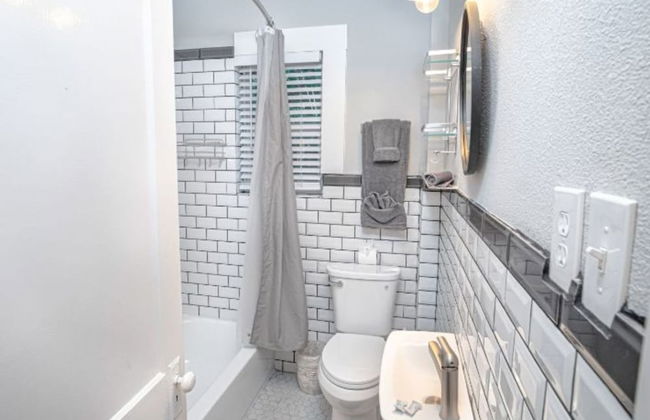
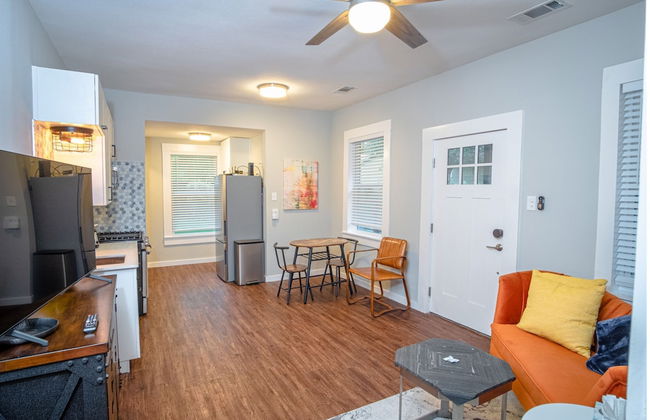
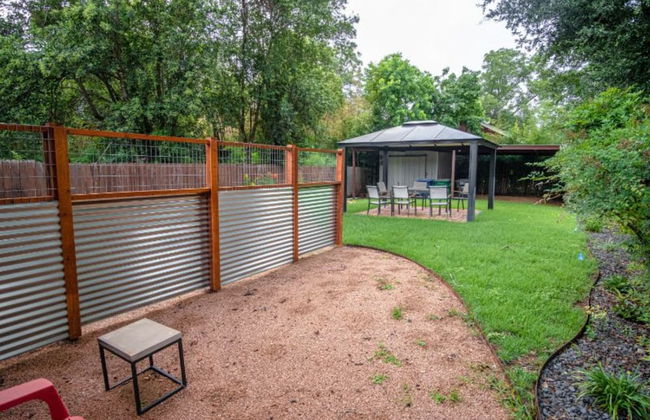
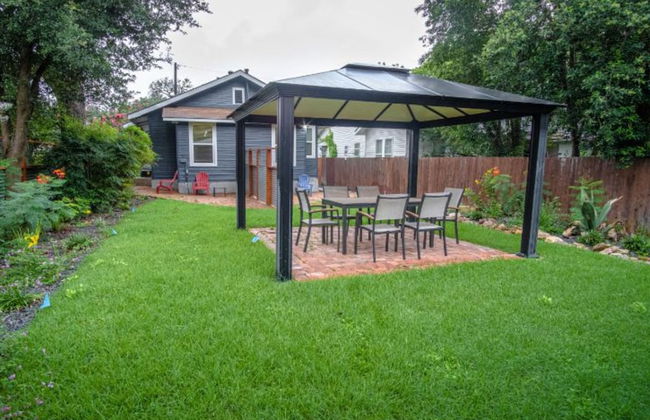
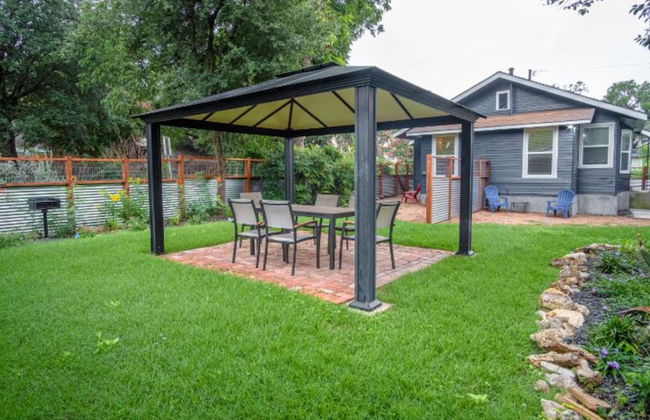
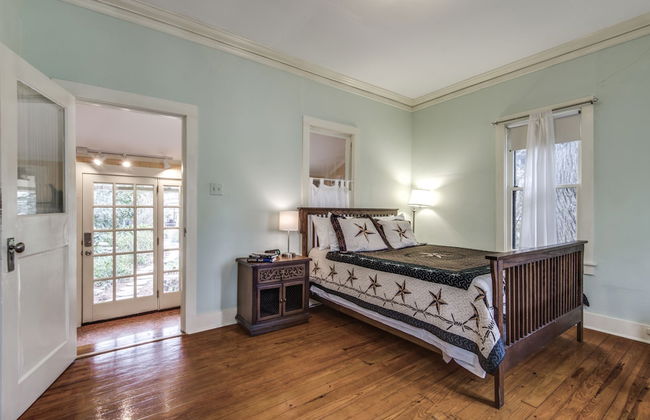
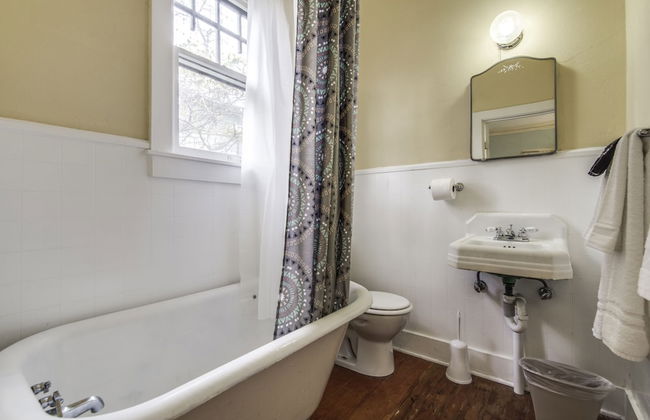
Chic Downtown Farmhouse With Garden and BBQ Grill
San Antonio - Lavaca - 1.3 km dal centro
- 126 M2
- 8 persone
- Aria condizionata
- Riscaldamento
- Parcheggio
- Giardino
- Tv
- Lavatrice
- Barbecue
- Lino da bagno
- Lino da letto


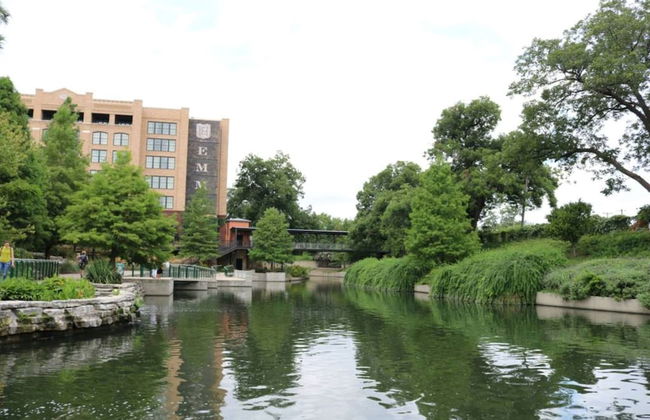
Cozy Manor
San Antonio - Tanglewood - 17.8 km dal centro
- 178 M2
- 8 persone
- Aria condizionata
- Terrazza
- Parcheggio
- Balcone
- Giardino
- Tv
- Focolare
- Barbecue


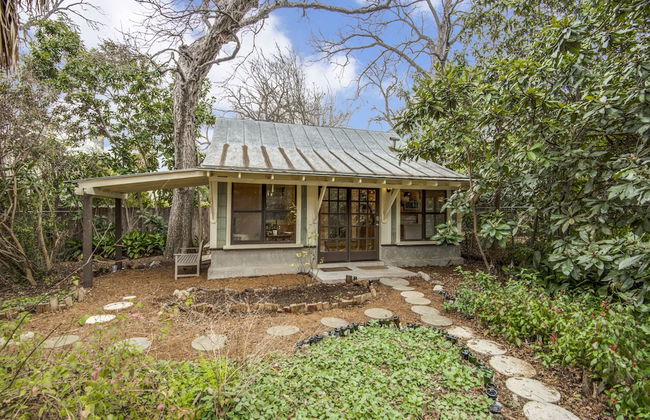
La Luz
San Antonio - Downtown - 300 m dal centro
- 139 M2
- 8 persone
- Aria condizionata
- Riscaldamento
- Ascensore
- Tv
- Lavatrice
- Lino da bagno
- Lino da letto


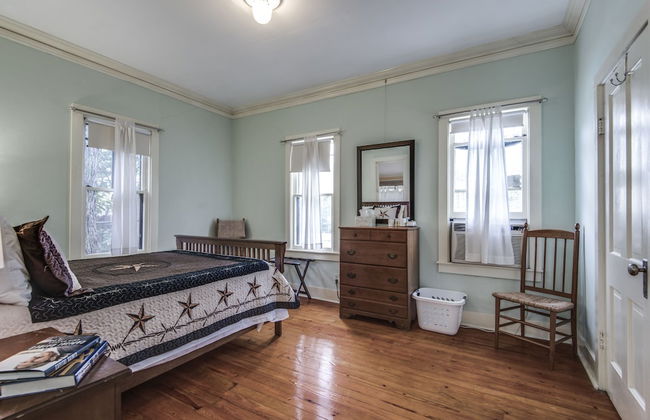
Bluegreen Vacations Eilan Hotel and Spa, an Ascend Collection Resort
San Antonio - 22.8 km dal centro
- 4 persone
- Aria condizionata
- Riscaldamento
- Terrazza
- Piscina
- Parcheggio
- Ascensore
- Giardino
- Tv
- Lino da bagno
- Lino da letto


Centrally Located Stunning 3BR 2BA Near Downtown
San Antonio - 2.6 km dal centro
- 139 M2
- 9 persone
- Aria condizionata
- Riscaldamento
- Terrazza
- Parcheggio
- Giardino
- Tv
- Lino da bagno
- Lino da letto


Gateway Casita
San Antonio - 15.3 km dal centro
- 116 M2
- 12 persone
- Aria condizionata
- Riscaldamento
- Terrazza
- Parcheggio
- Tv
- Lavatrice
- Barbecue
- Lino da bagno
- Lino da letto


Spacious & Homey 4br/3ba W/amenities Near Downtown
San Antonio - Denver Heights - 3 km dal centro
- 92 M2
- 13 persone
- Aria condizionata
- Riscaldamento
- Parcheggio
- Tv
- Lavatrice
- Lino da bagno
- Lino da letto


The Rustic Inn- Family Friendly Near Fiesta Texas
San Antonio - 30 km dal centro
- 8 persone
- Aria condizionata
- Riscaldamento
- Parcheggio
- Balcone
- Giardino
- Tv
- Lavatrice
- Barbecue
- Lino da bagno
- Lino da letto


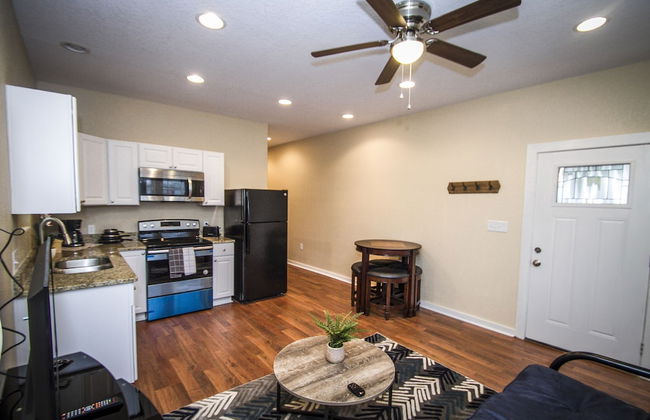
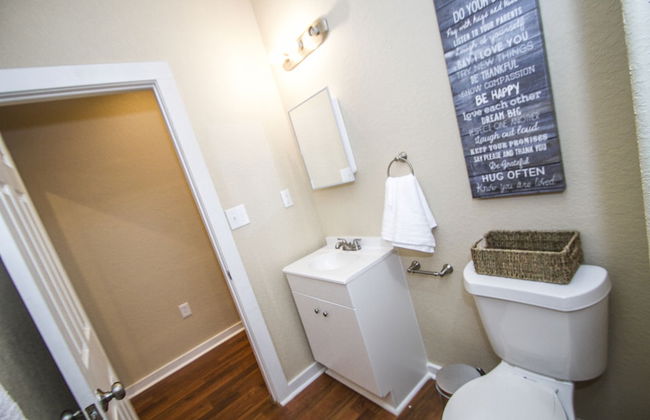
Remodeled Modern 1br/1ba Apt2 Near Dtwn 5min Pearl
San Antonio - Mahncke Park - 3.7 km dal centro
- 72 M2
- 4 persone
- Aria condizionata
- Riscaldamento
- Parcheggio
- Tv
- Lavatrice
- Lino da letto


Lavanderie
San Antonio - Arsenal - 440 m dal centro
- 46 M2
- 2 persone
- Cucinino
- Aria condizionata
- Riscaldamento
- Parcheggio
- Balcone
- Giardino
- Tv
- Lino da bagno
- Lino da letto


Gorgeous 3 BR 2 BA Near Amazing Downtown
San Antonio - Denver Heights - 2.3 km dal centro
- 128 M2
- 12 persone
- Aria condizionata
- Riscaldamento
- Terrazza
- Parcheggio
- Balcone
- Tv
- Lavatrice
- Lino da bagno
- Lino da letto


Cozy and Lovely 2BR 2BA Apt#a Near Lively Downtown
San Antonio - Nevada Street - 2.1 km dal centro
- 72 M2
- 8 persone
- Aria condizionata
- Riscaldamento
- Parcheggio
- Tv
- Lavatrice
- Lino da bagno
- Lino da letto


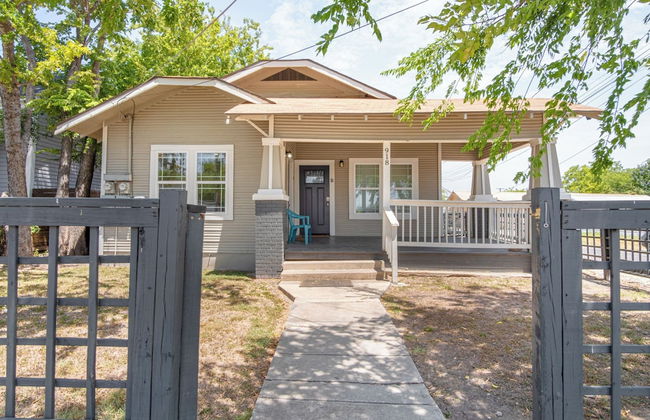
3 Br/1 BA Remodeled Home Near Downtown
San Antonio - Nevada Street - 1.9 km dal centro
- 109 M2
- 9 persone
- Aria condizionata
- Riscaldamento
- Parcheggio
- Tv
- Lavatrice
- Lino da bagno
- Lino da letto


Your Dream Stay 4br/2ba Near Downtown & Riverwalk
San Antonio - Nevada Street - 2.1 km dal centro
- 112 M2
- 14 persone
- Aria condizionata
- Riscaldamento
- Terrazza
- Parcheggio
- Tv
- Lavatrice
- Lino da bagno
- Lino da letto


Spectacular 3 BR Plus 2 and a Half BA Apt Near Downtown
San Antonio - Denver Heights - 2.4 km dal centro
- 92 M2
- 9 persone
- Aria condizionata
- Riscaldamento
- Parcheggio
- Tv
- Lavatrice
- Lino da bagno
- Lino da letto


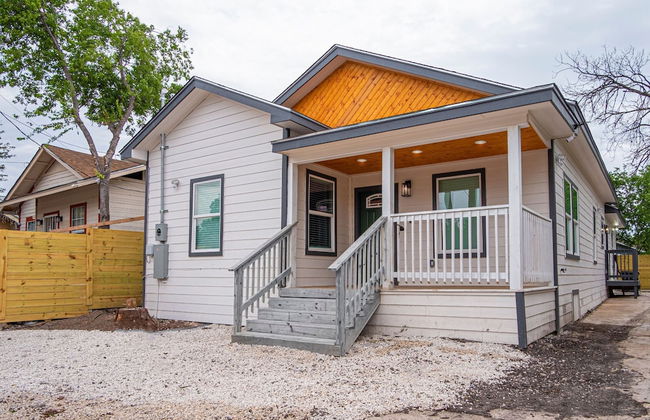
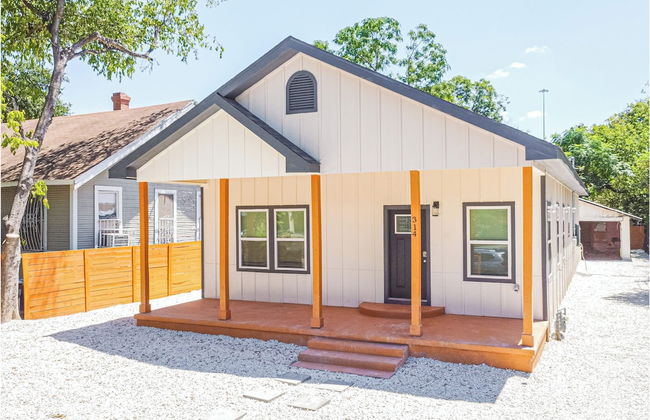
Brand New Craftsman 2br/2ba Home in Denver Heights
San Antonio - 2.7 km dal centro
- 109 M2
- 7 persone
- Aria condizionata
- Riscaldamento
- Parcheggio
- Tv
- Lino da bagno
- Lino da letto


Adorable 4BR 2BA Close to Riverwalk and Downtown
San Antonio - Denver Heights - 3.1 km dal centro
- 106 M2
- 13 persone
- Aria condizionata
- Riscaldamento
- Parcheggio
- Tv
- Lavatrice
- Lino da bagno
- Lino da letto


Experience Convenience w/ 4br/3ba Near Alamodome
San Antonio - 2.7 km dal centro
- 113 M2
- 15 persone
- Aria condizionata
- Riscaldamento
- Terrazza
- Parcheggio
- Balcone
- Tv
- Lavatrice
- Lino da bagno
- Lino da letto


Renovated 2br/2ba Near Downtown
San Antonio - Denver Heights - 2.2 km dal centro
- 72 M2
- 7 persone
- Aria condizionata
- Riscaldamento
- Parcheggio
- Tv
- Lavatrice
- Focolare
- Lino da bagno
- Lino da letto