
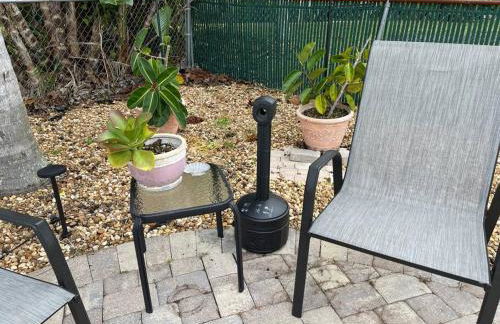
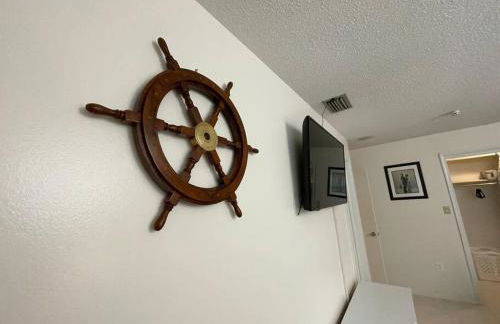
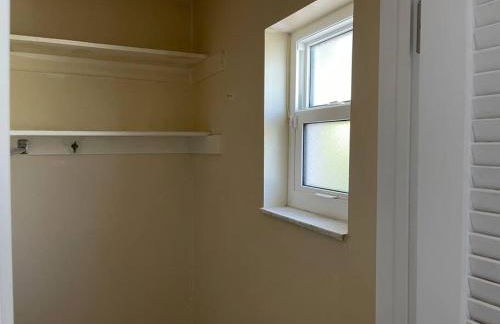
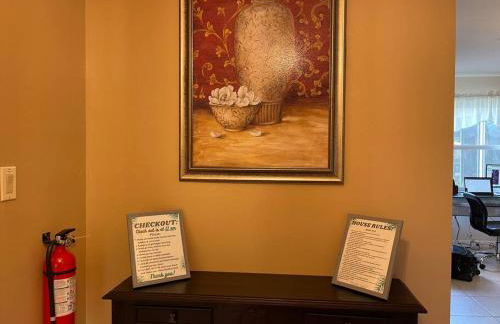
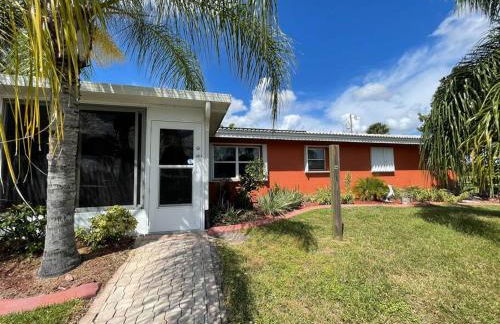
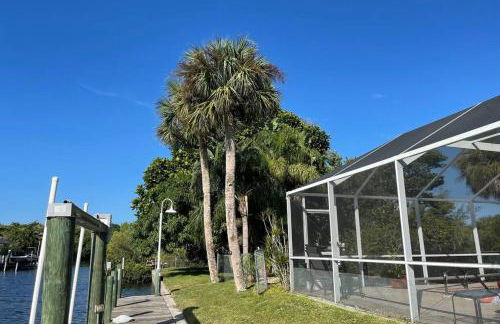
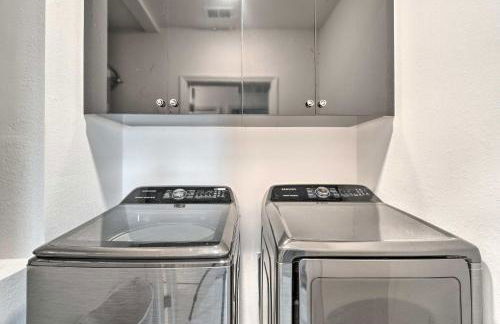
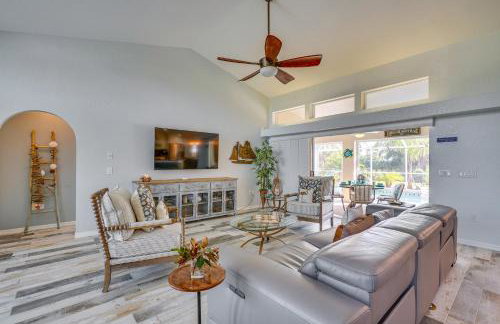
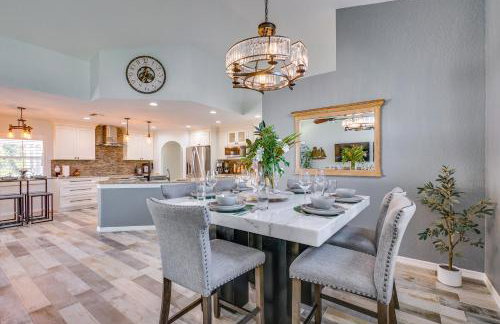
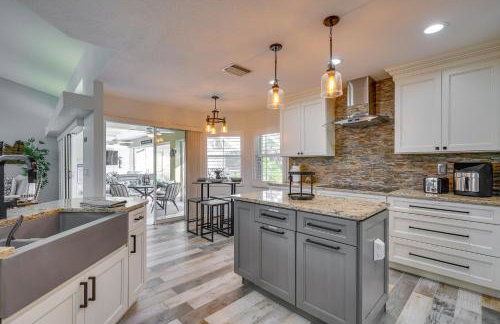
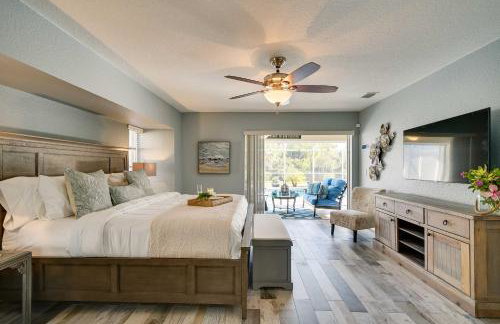
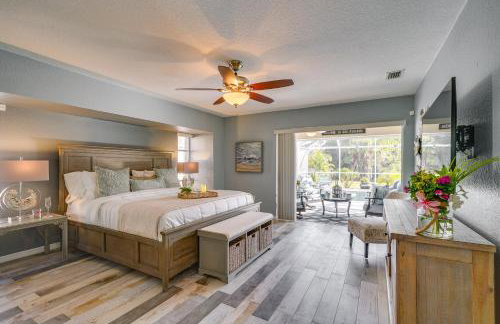
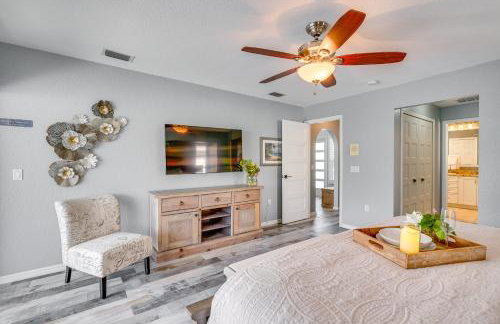
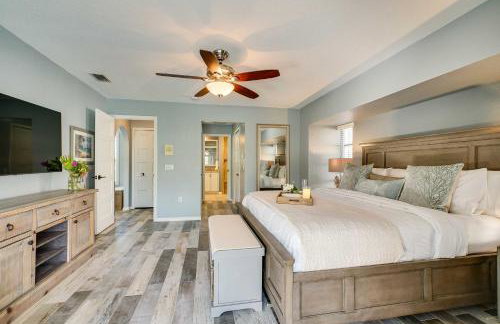
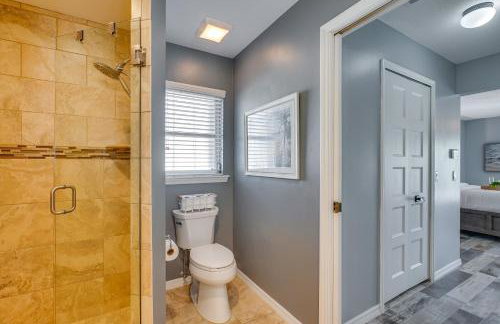
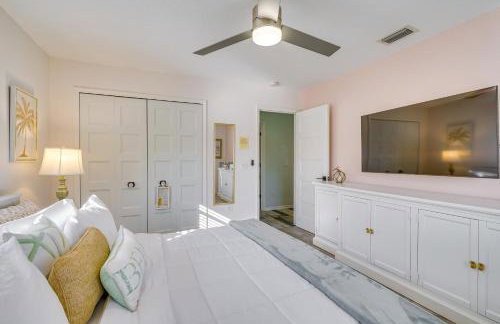
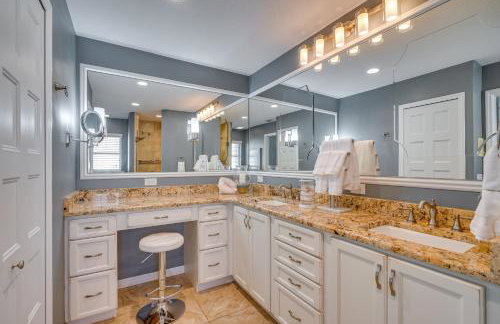
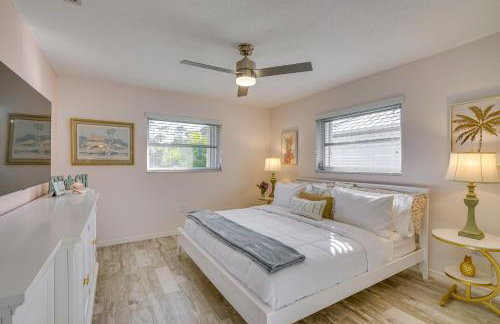
194 Appartamenti a Punta
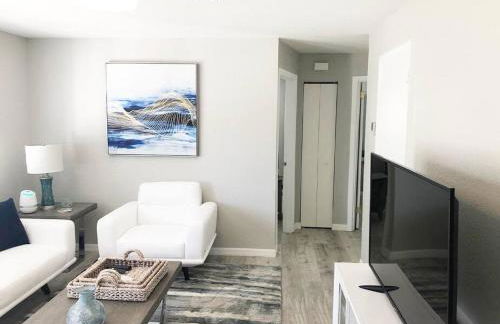
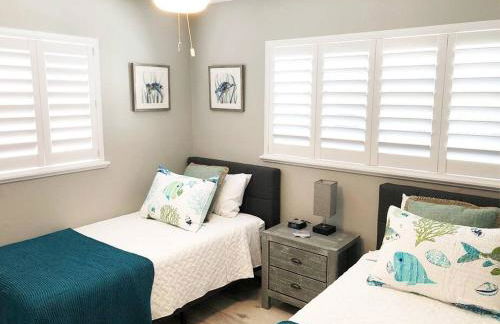
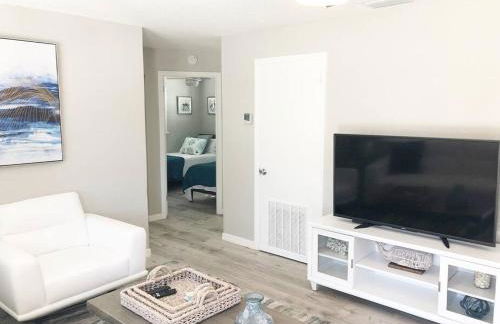
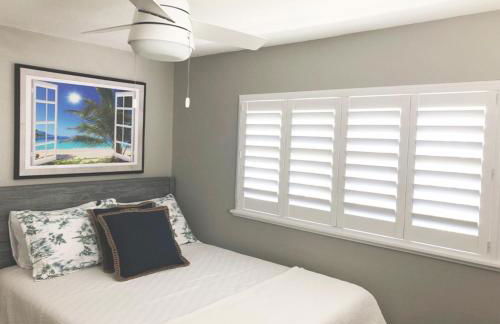
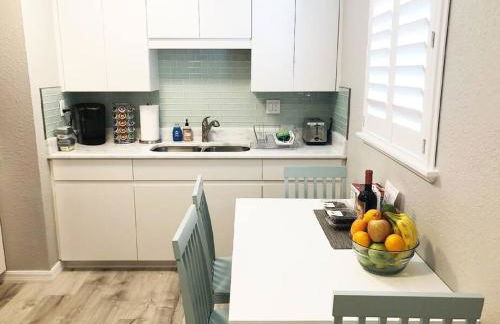
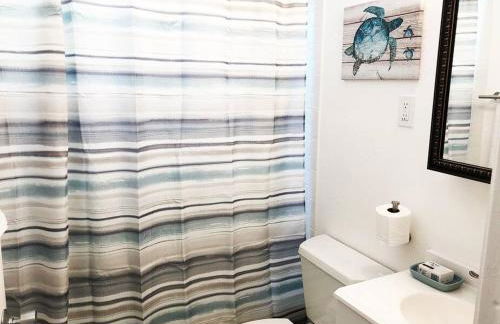
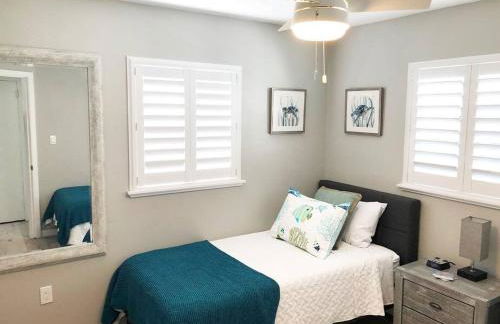
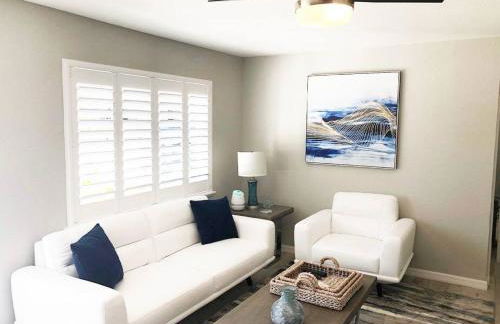
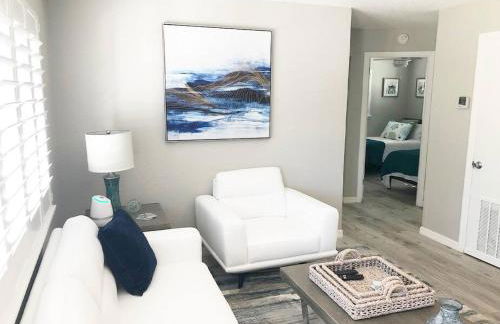
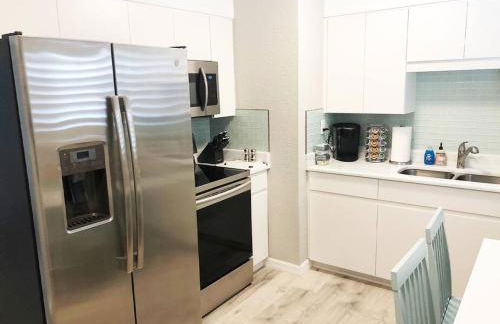
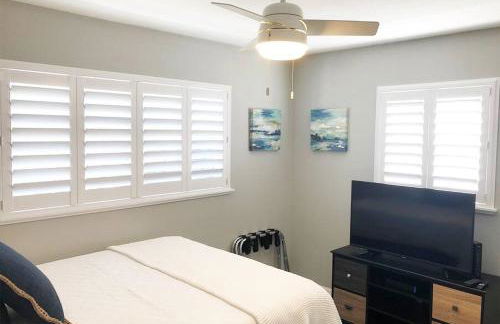
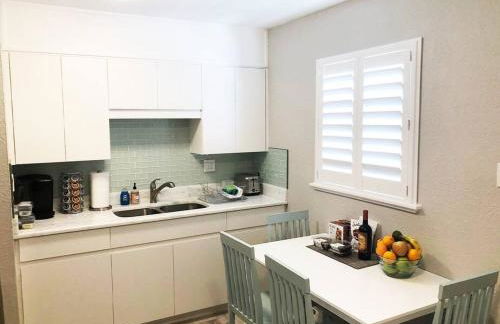
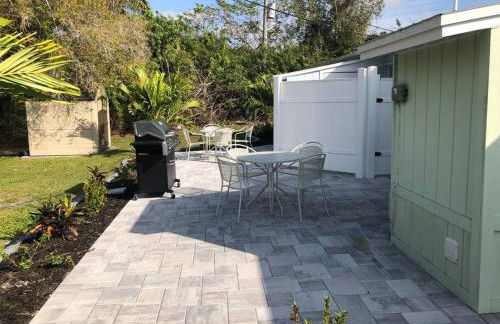
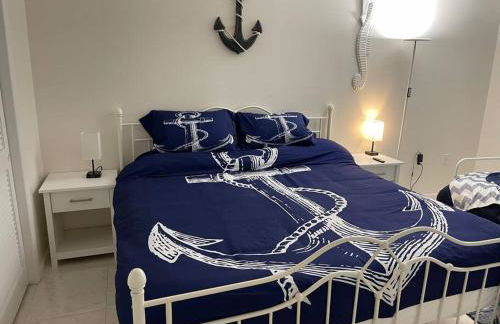
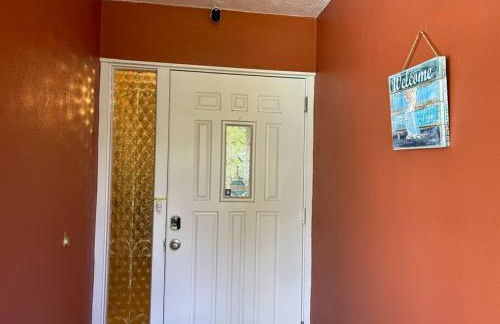
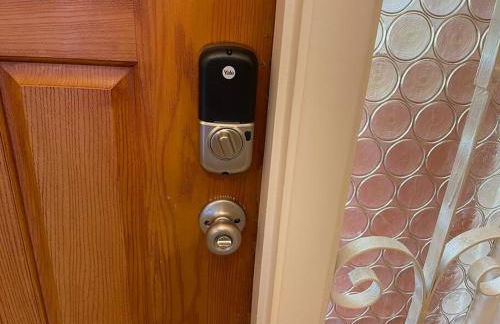
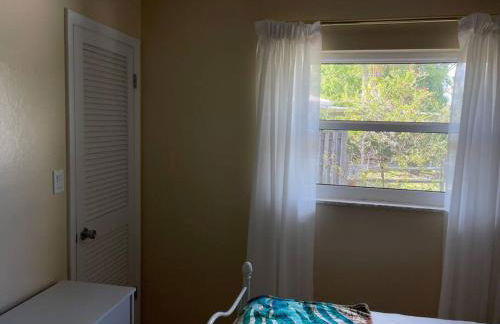
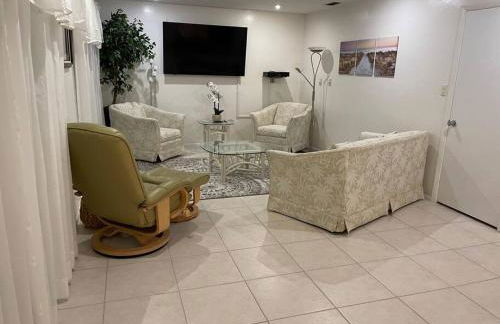
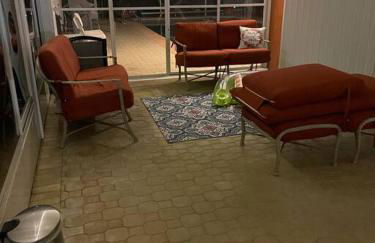
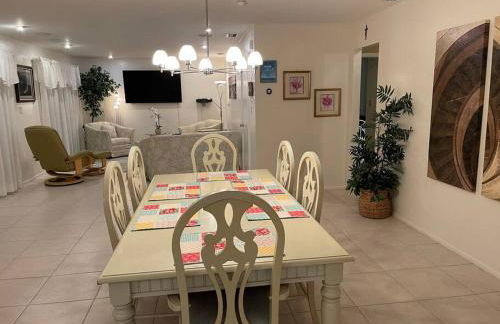
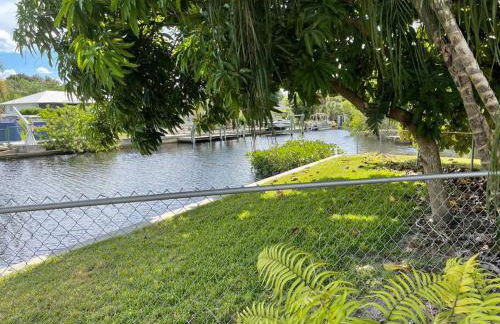
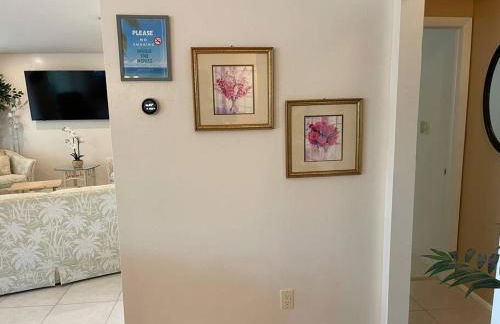
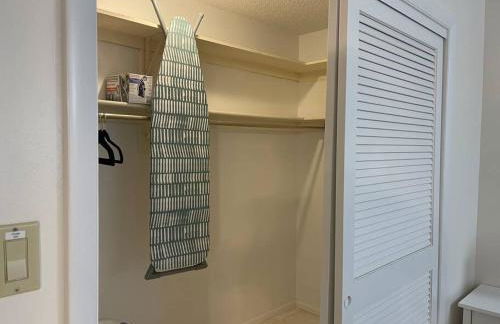
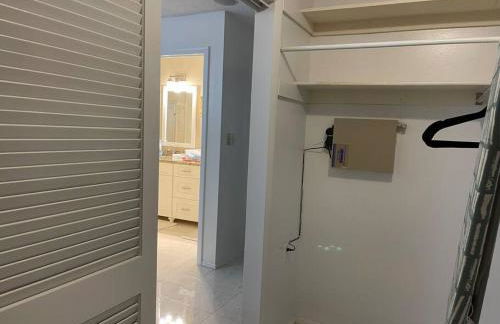
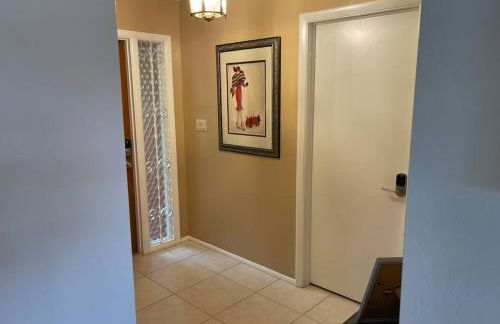
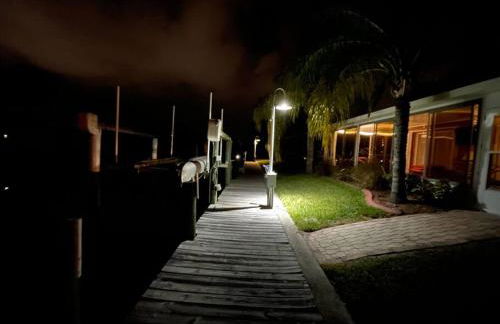
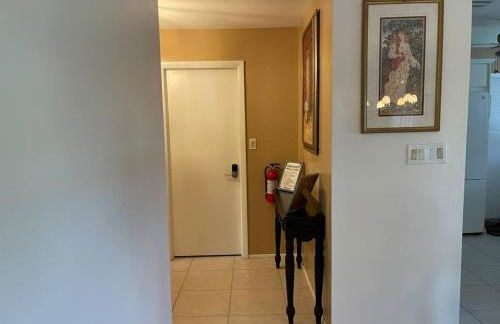
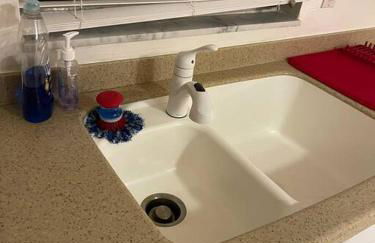
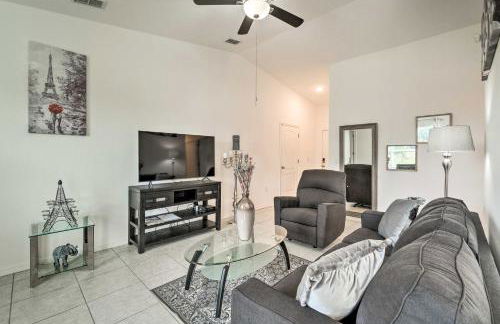
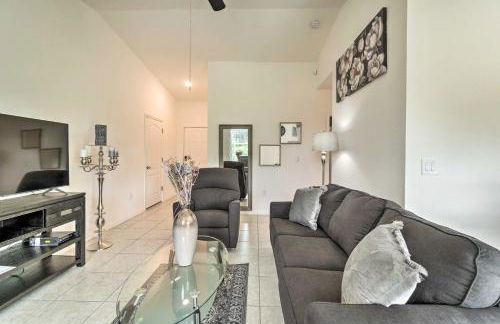
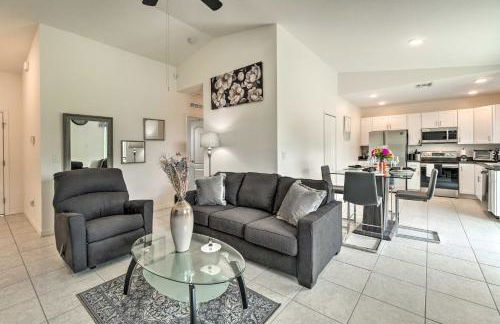
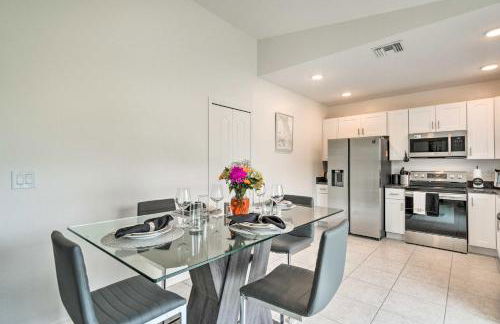
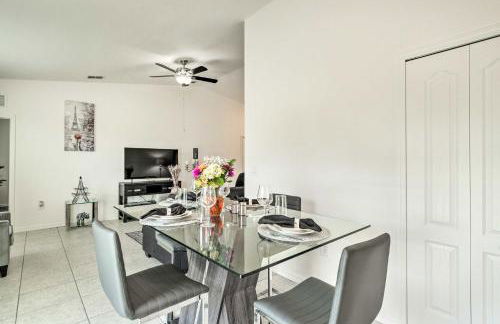
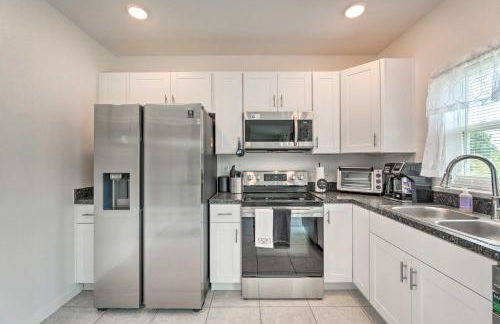
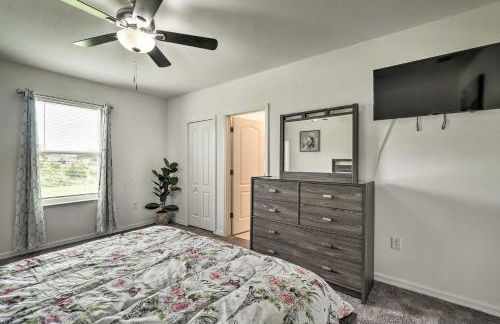
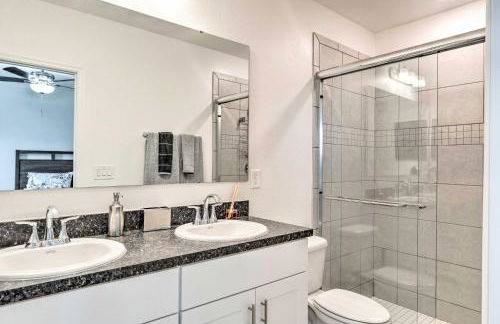
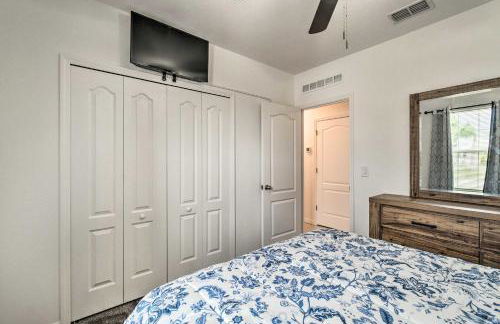
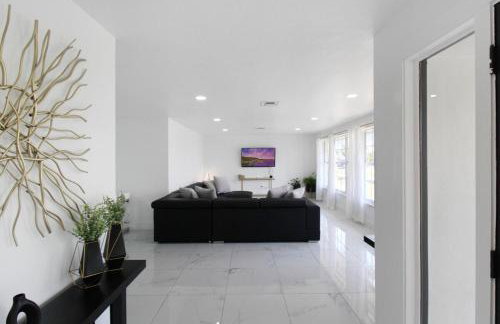
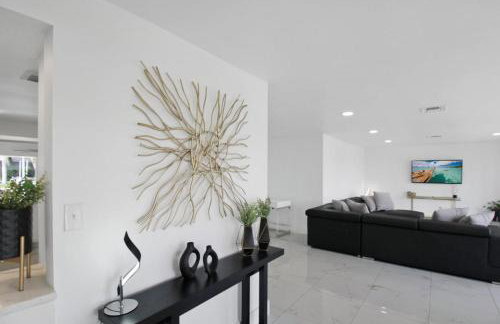
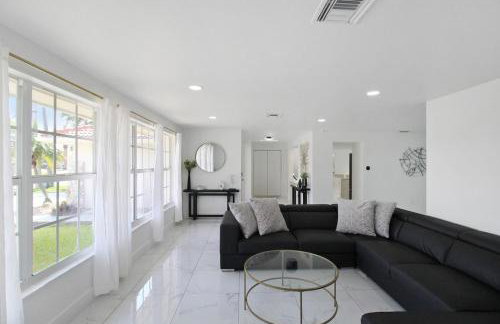
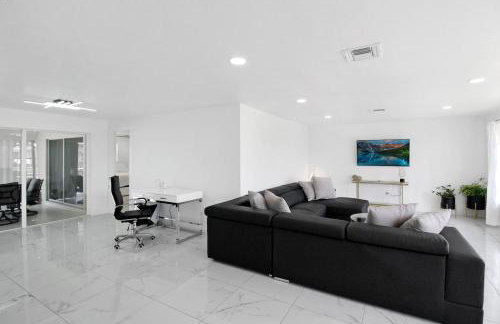
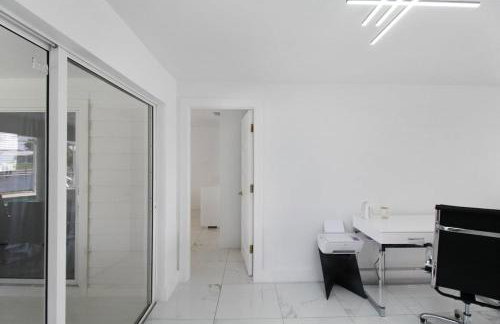
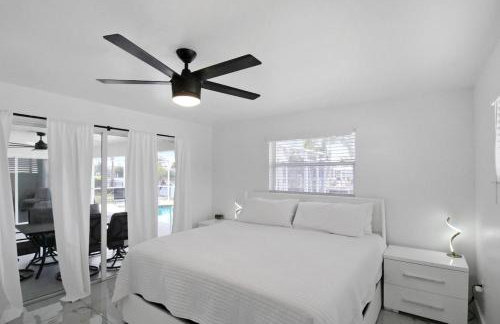
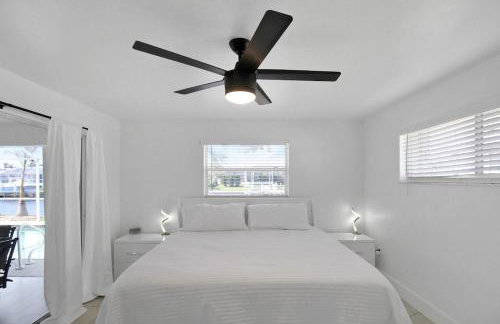
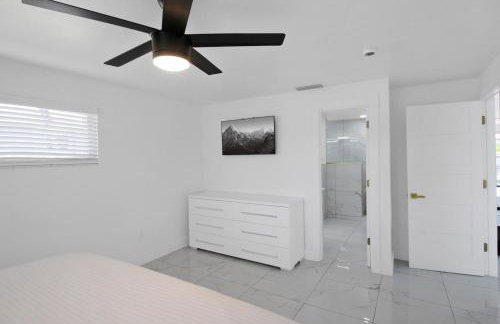
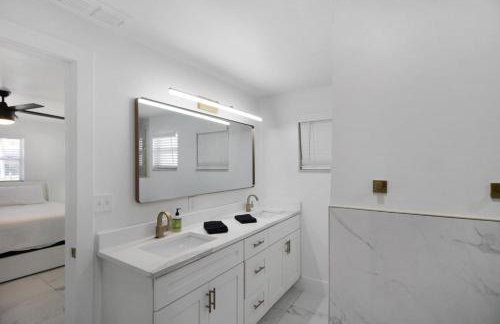
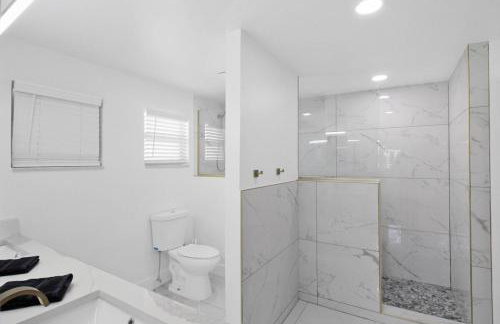
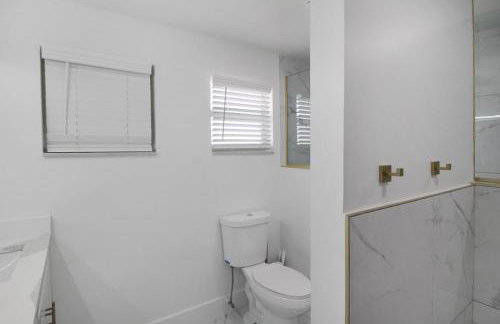
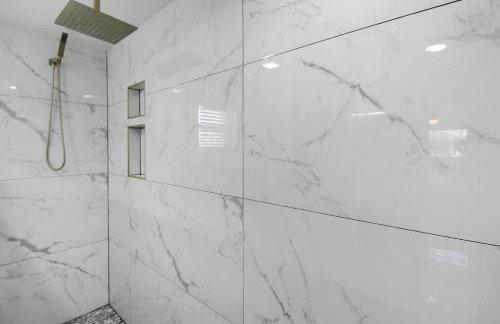
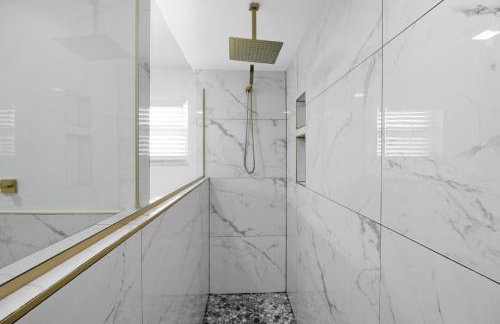
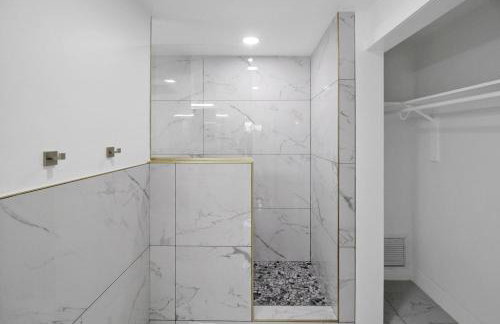
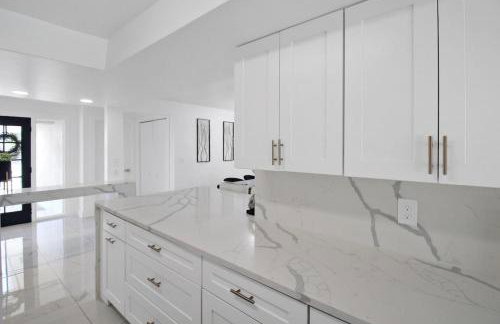
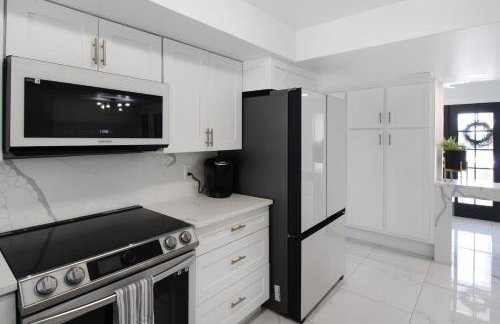
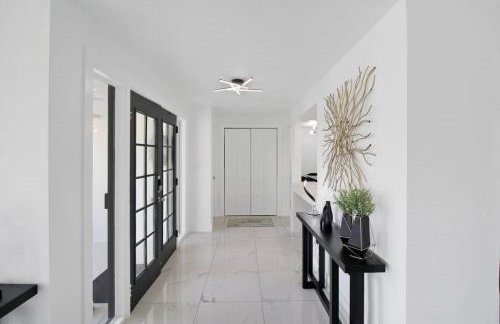
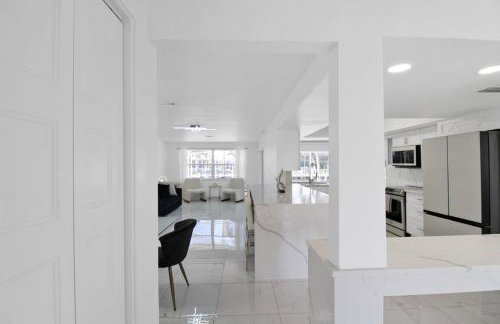
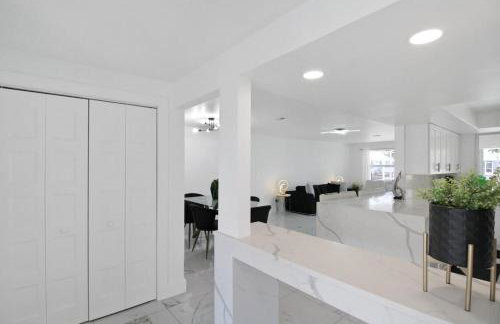
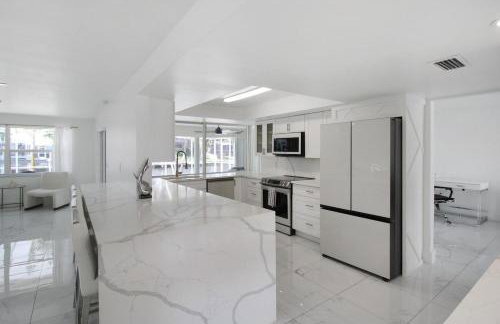
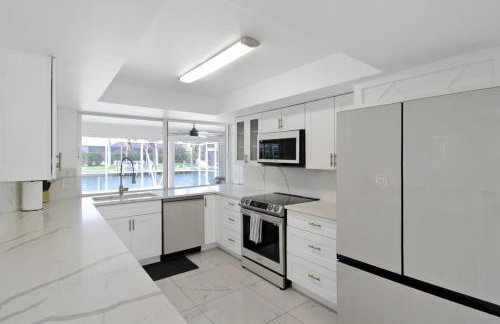
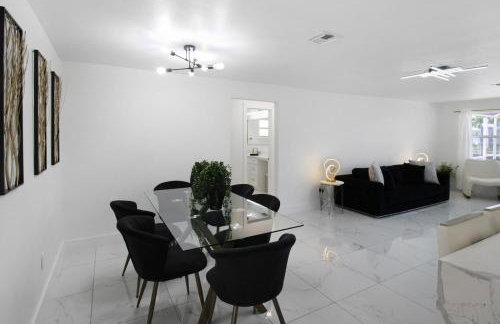
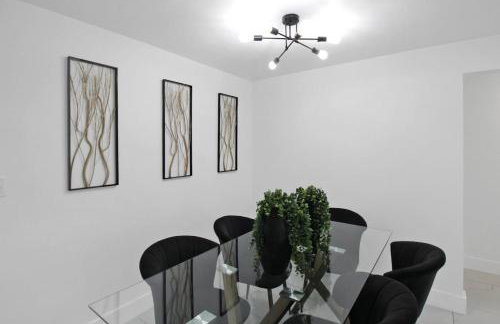
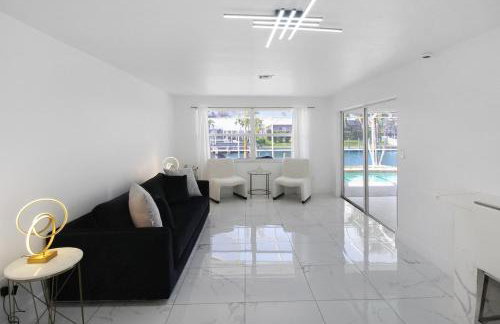
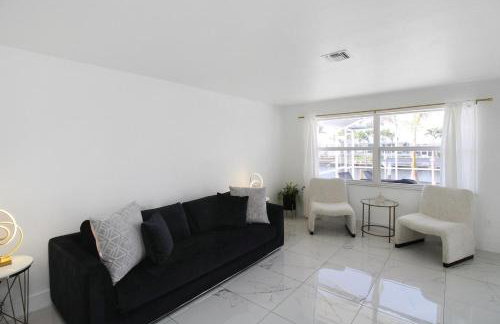
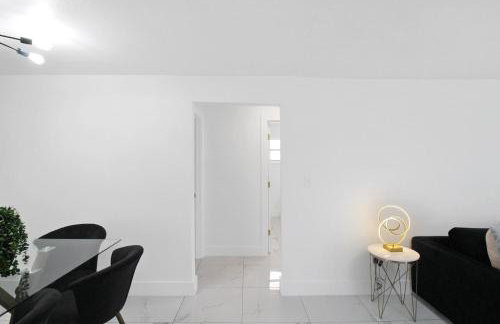
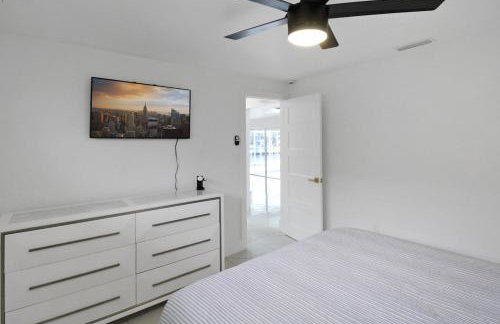
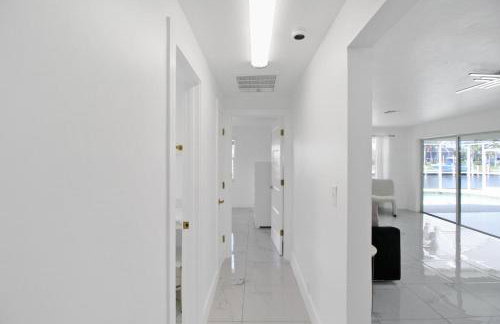
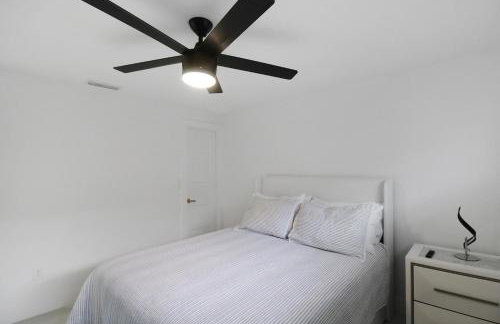
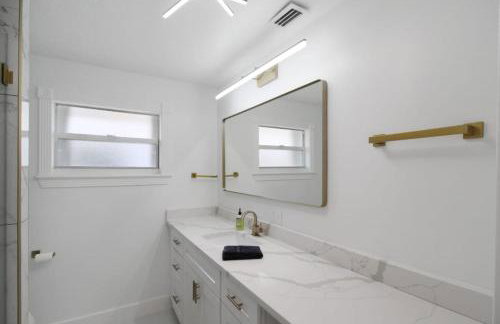
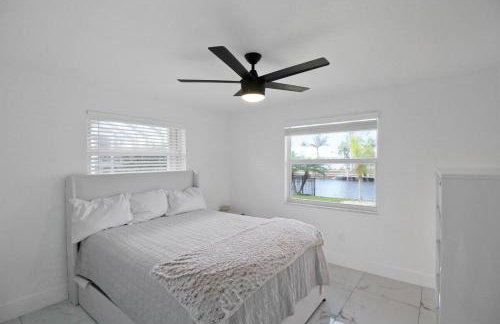
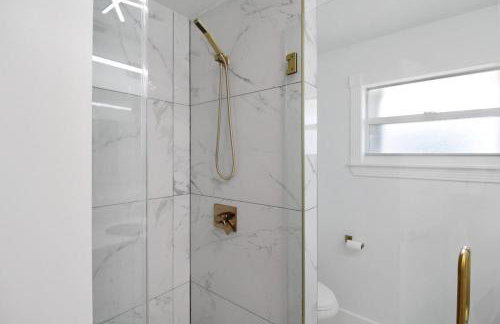
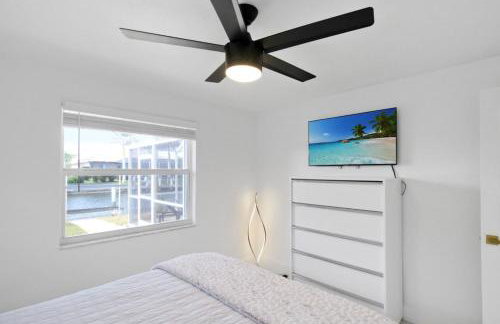
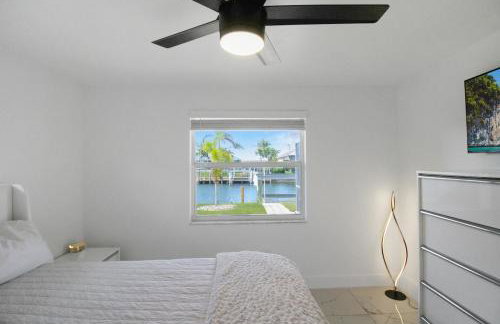
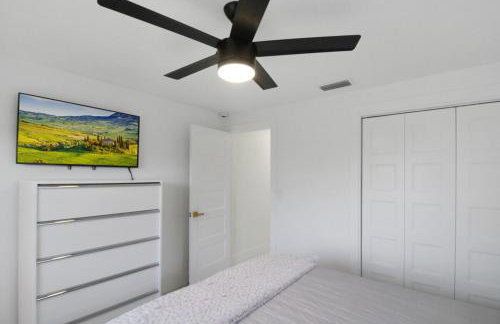
Modern Apartment - 2 of 4
Punta - 2 km dal centro
- 67 M2
- 2 camere
- 4 persone
- Aria condizionata
- Parcheggio
- Barbecue
16 recensioni


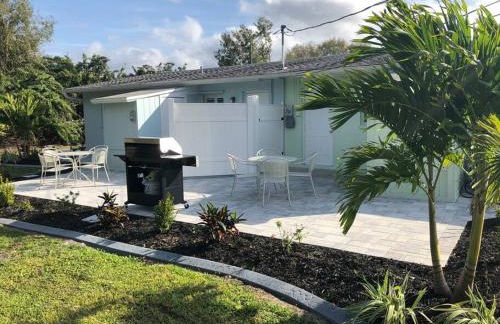
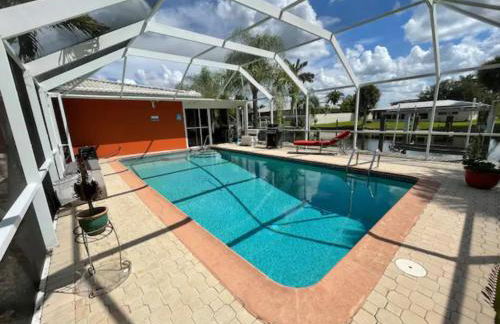
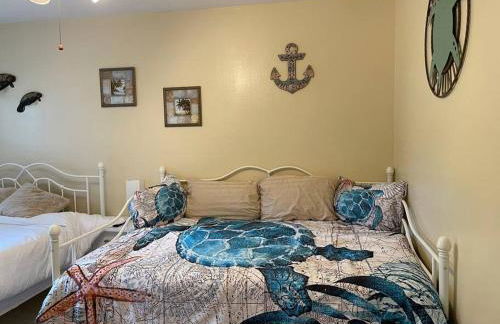
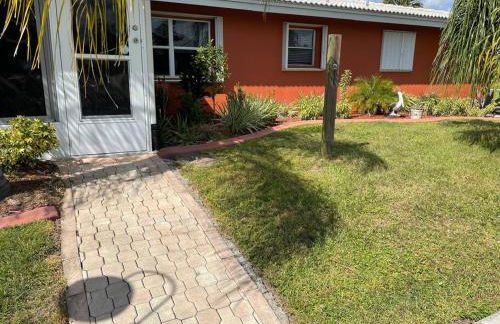
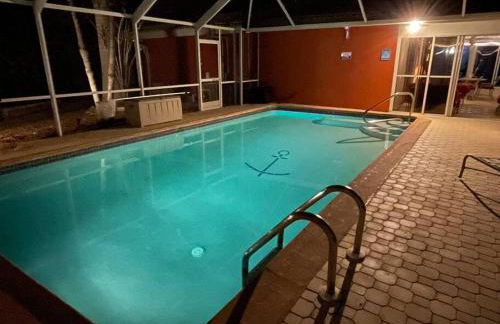
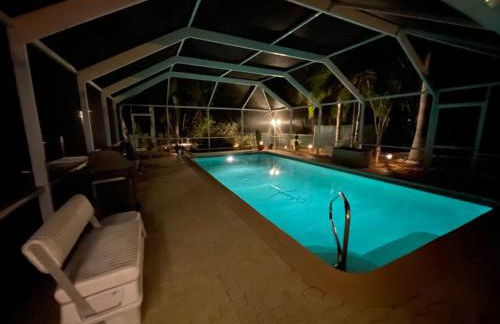
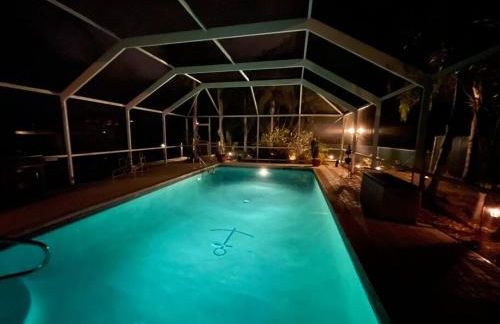
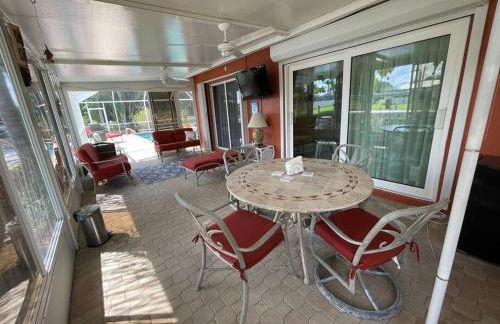
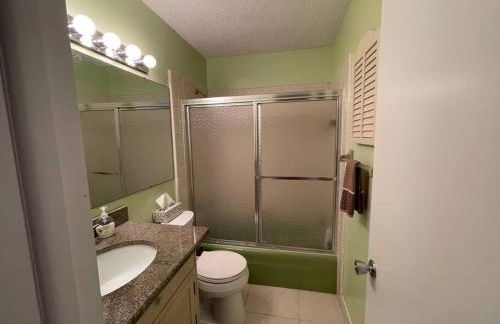
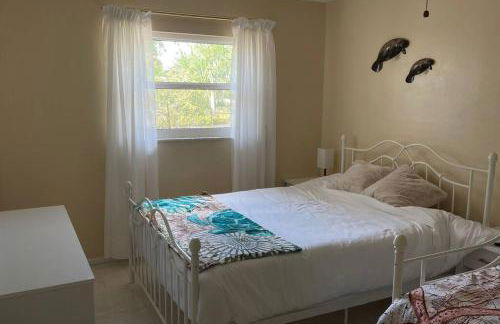
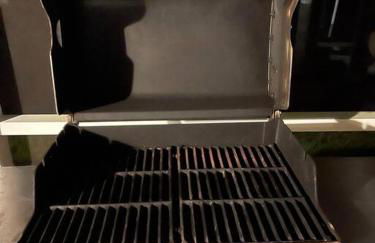
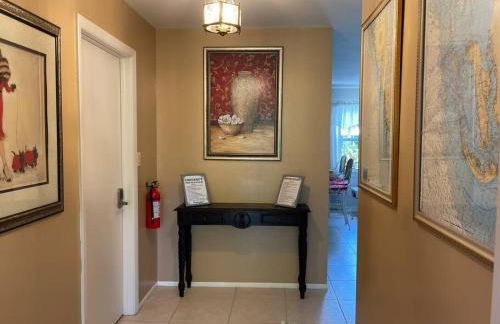
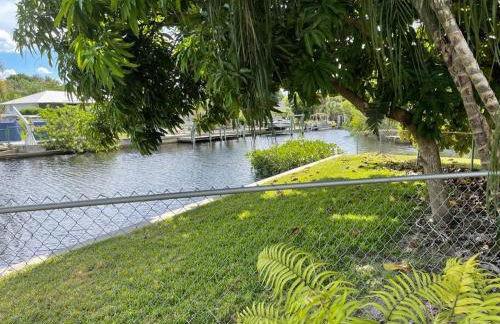
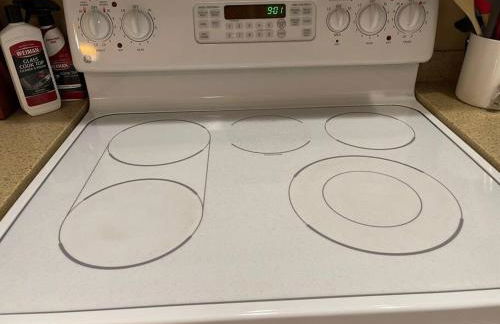
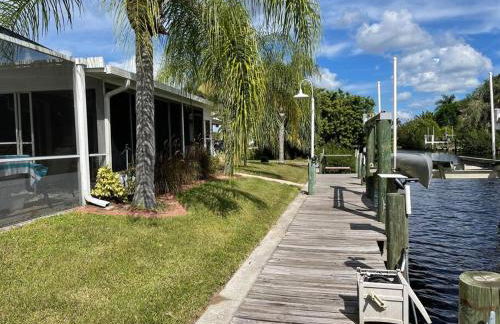
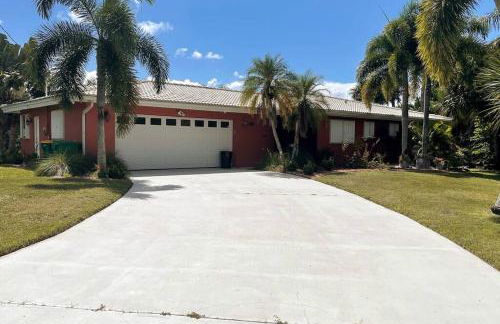
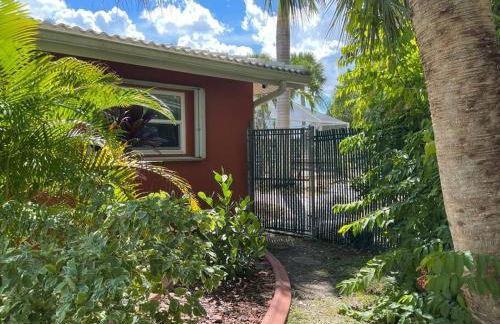
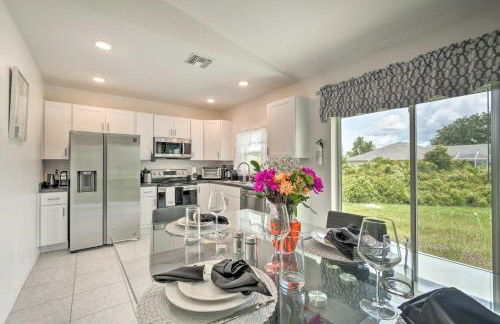
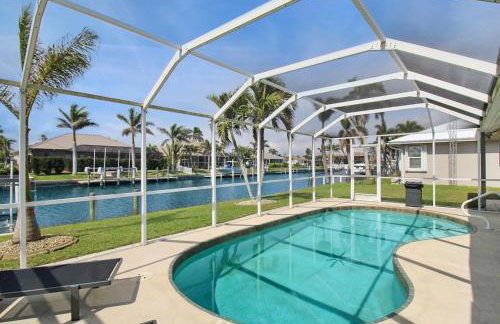
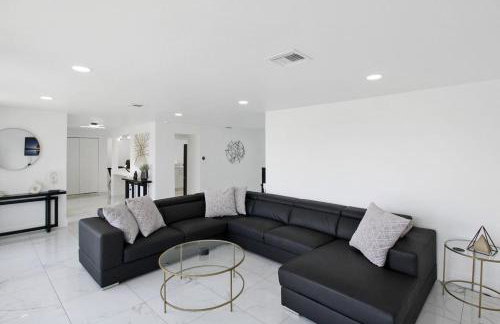
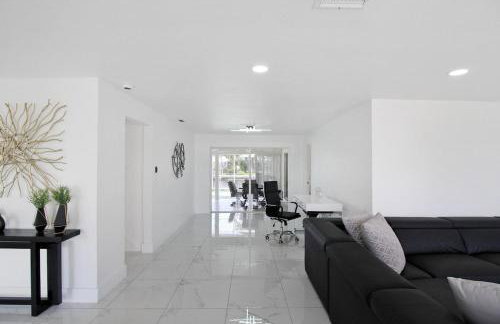
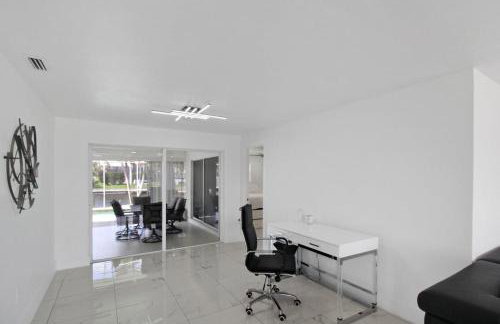
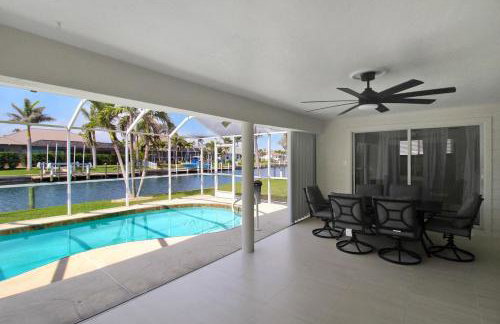
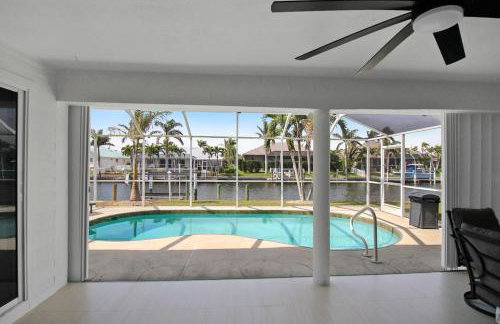
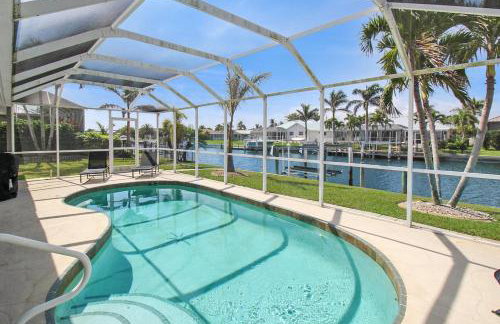
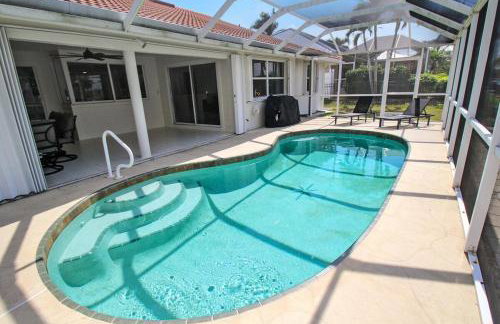
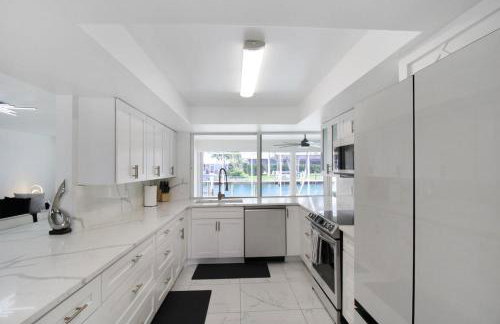
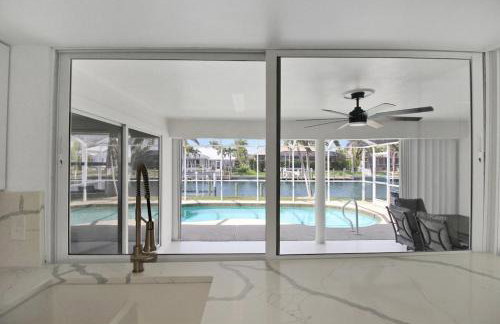
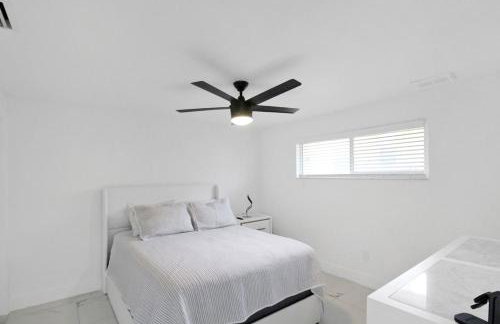
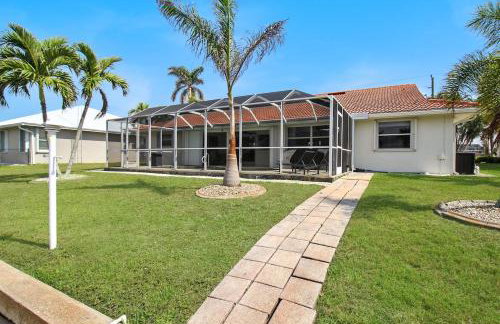
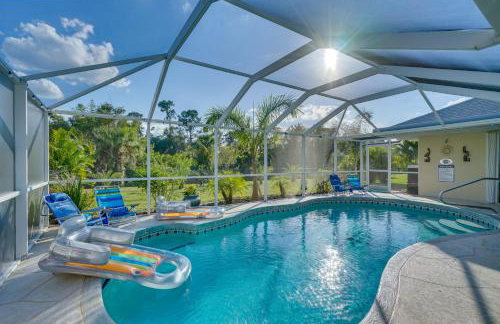
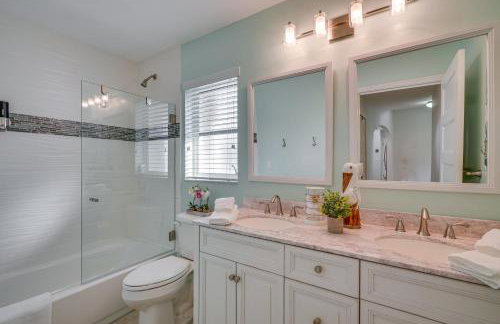
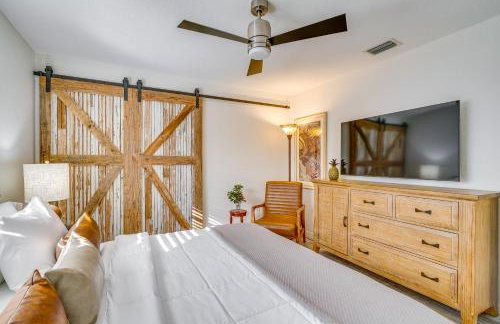
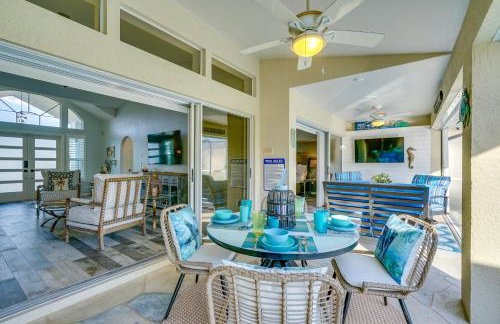
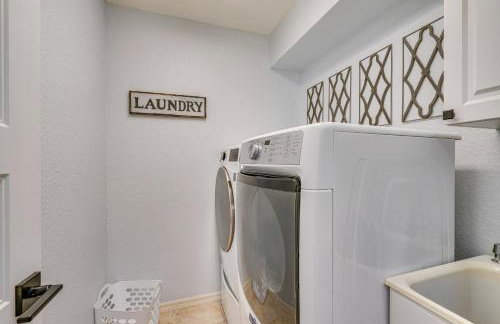
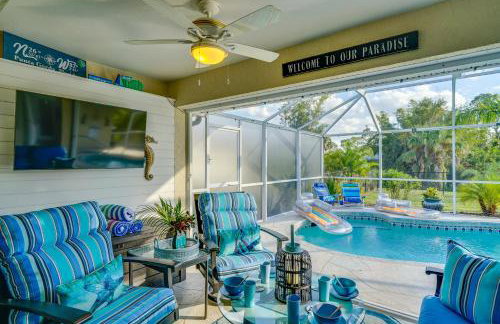
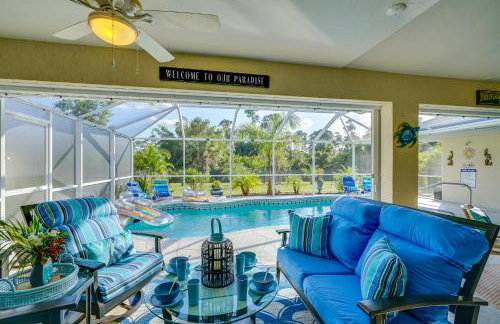
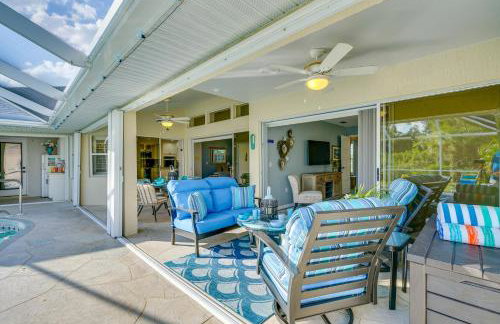
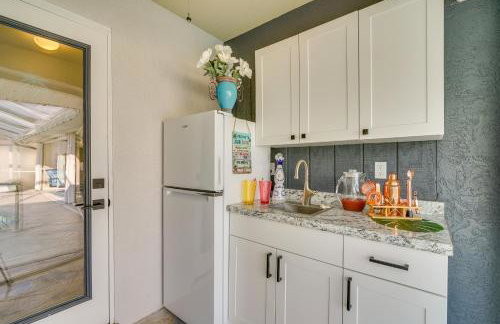
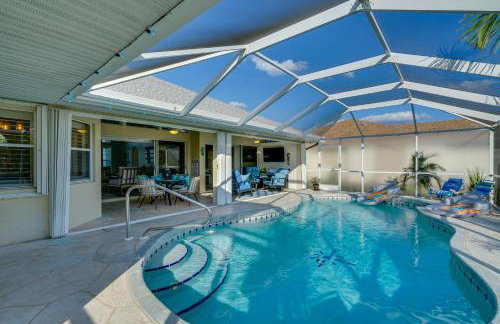
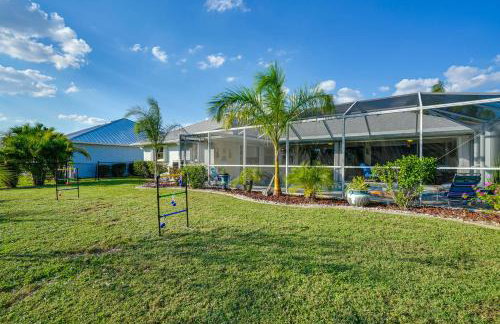
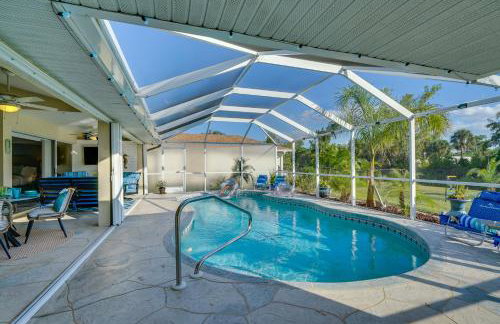
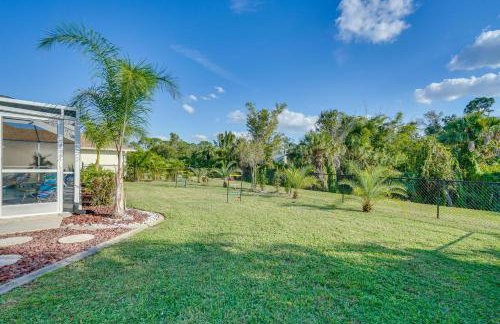
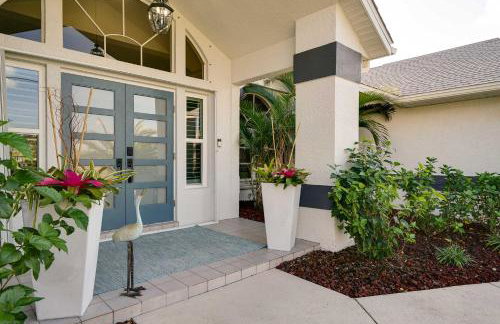
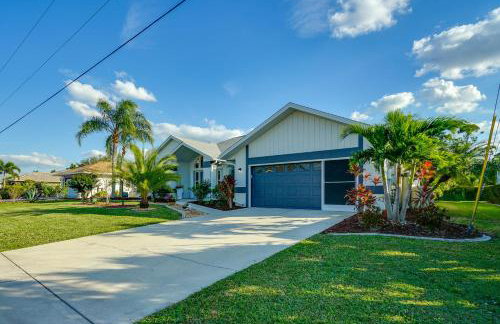
Punta Gorda Oasis w/ Saltwater Pool + Gas Grill!
Punta - 7.3 km dal centro
- 129 M2
- 3 camere
- 6 persone
- Riscaldamento
- Terrazza
- Piscina
- Parcheggio
8 recensioni


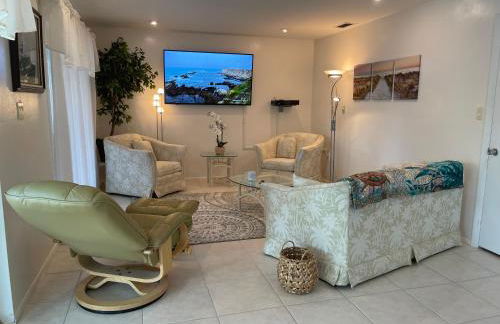
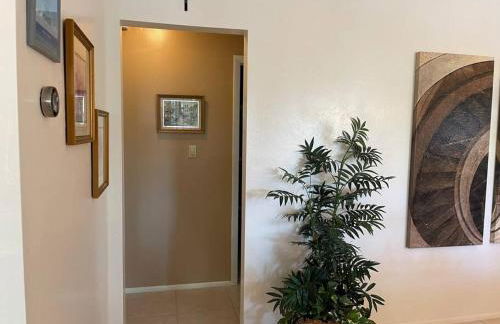
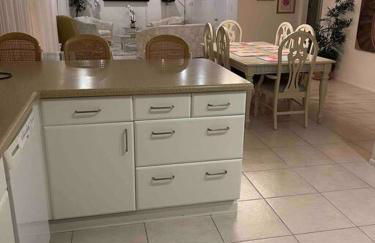
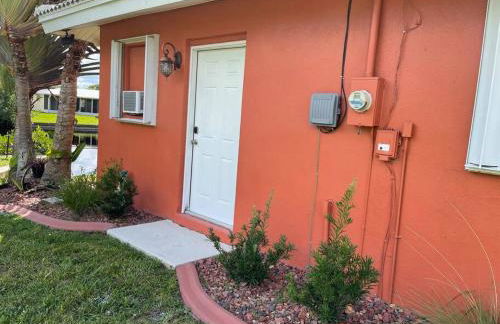
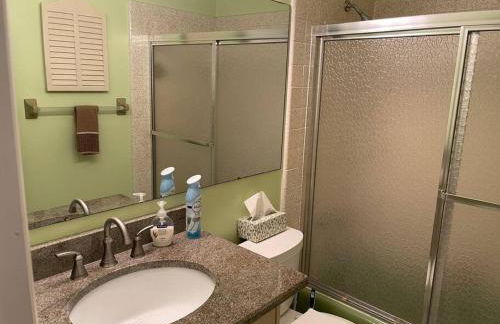
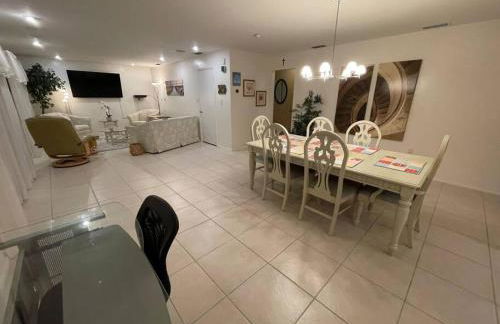
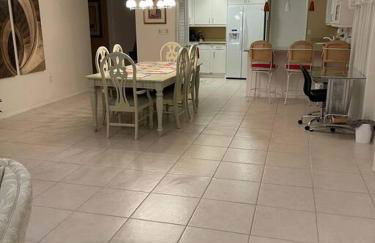
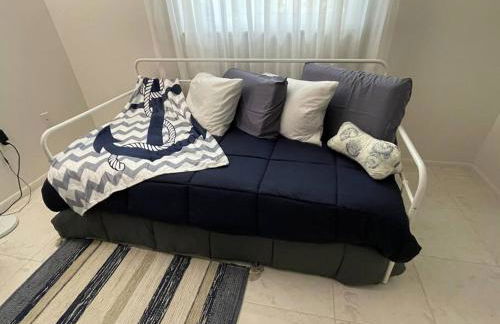
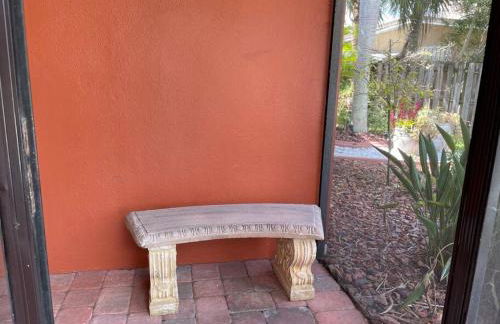
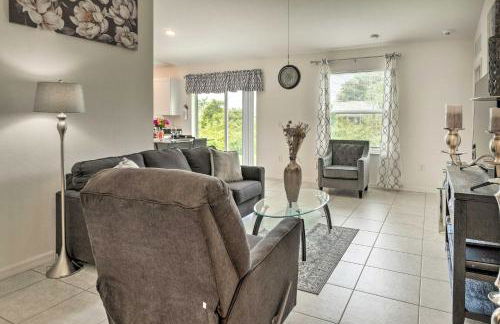
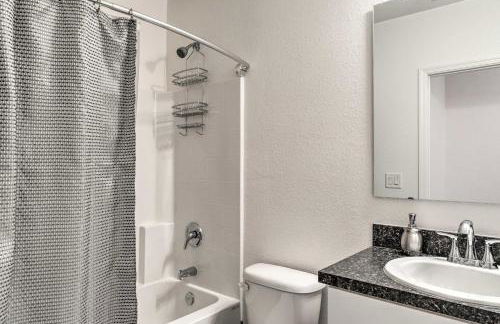
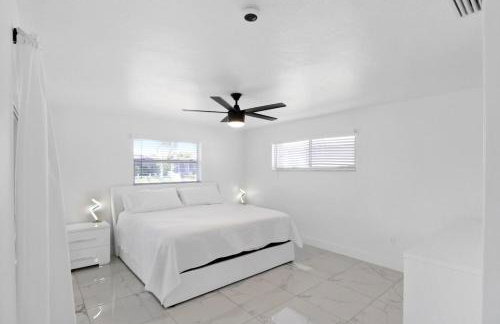
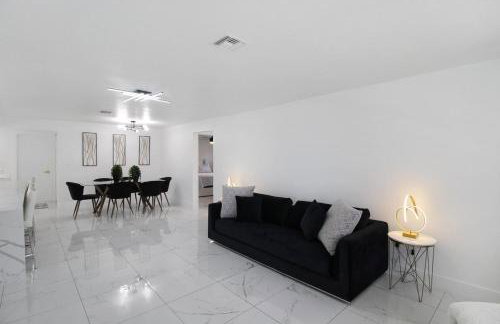
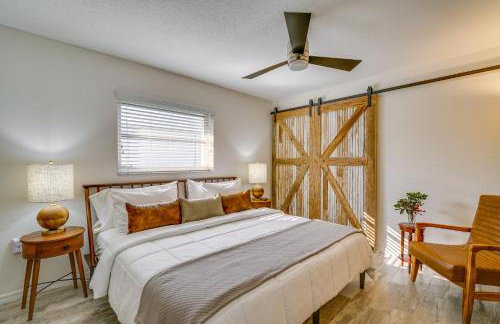
Sunset Inn
Punta - 3.1 km dal centro
- 30 M2
- 1 camera
- 2 persone
- Aria condizionata
- Riscaldamento
- Parcheggio
105 recensioni


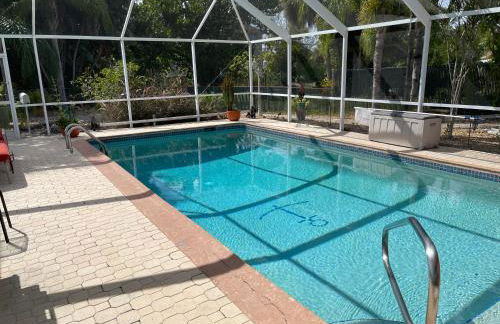
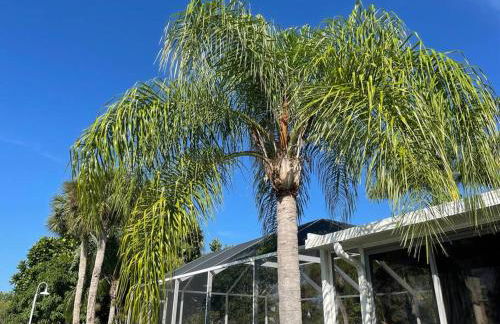
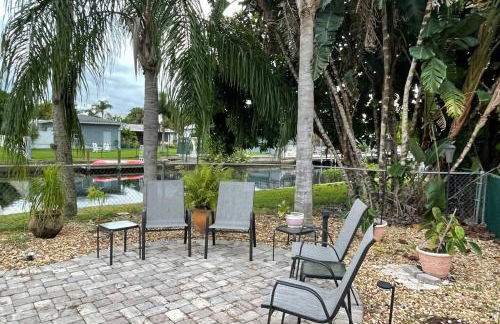
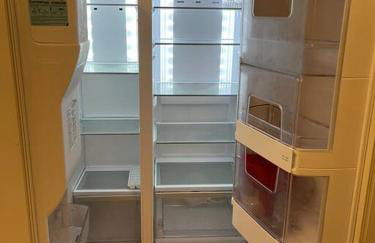
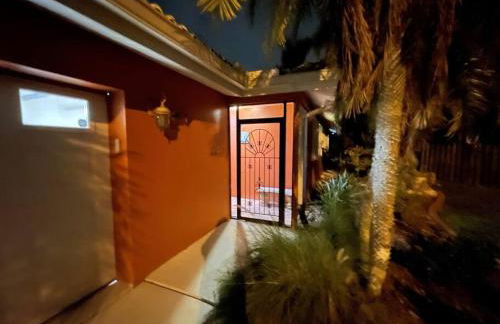
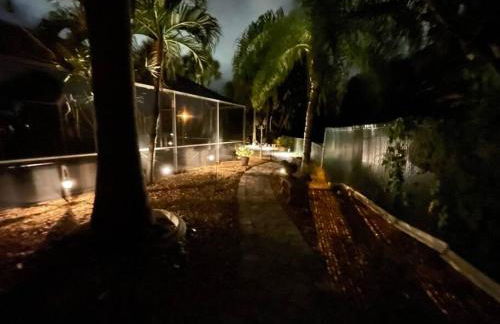
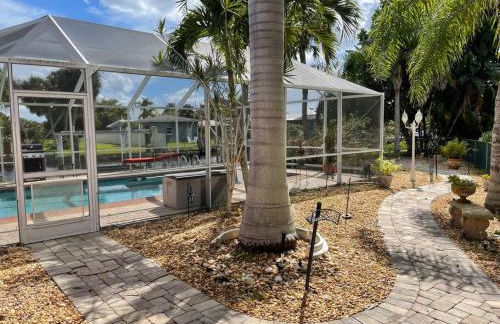
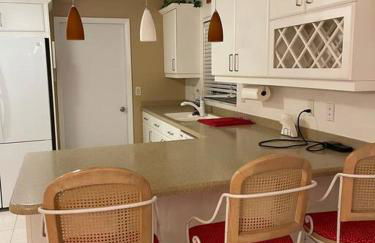
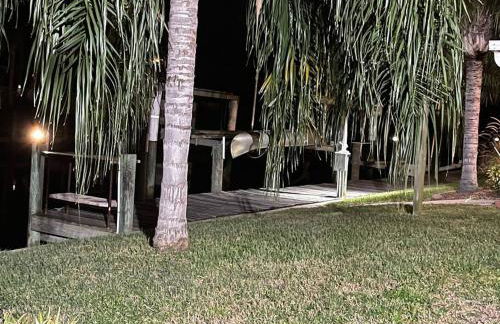
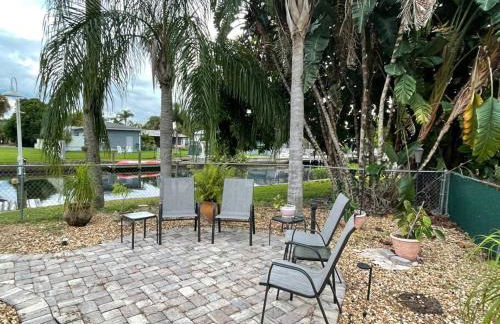
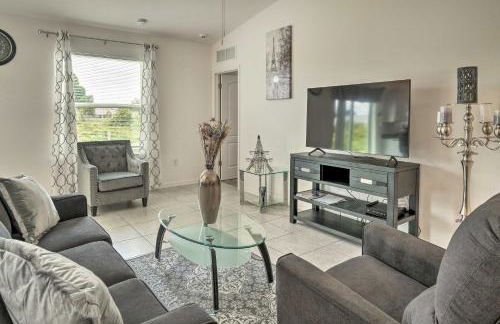
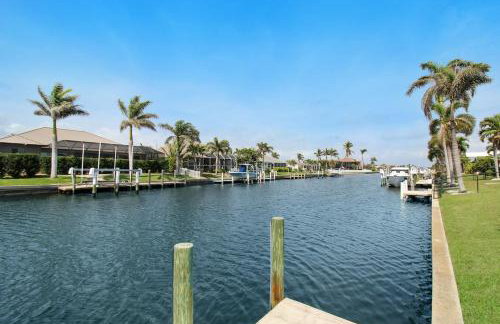
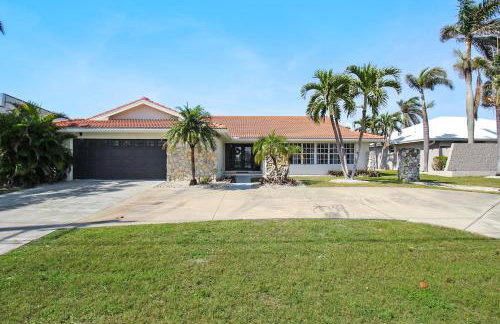
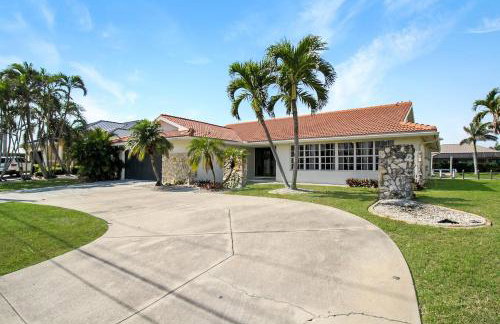
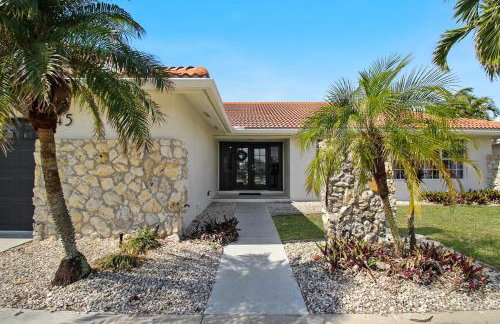
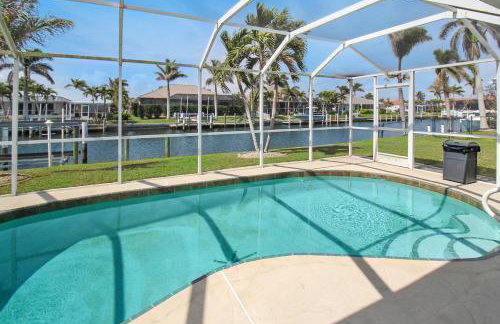
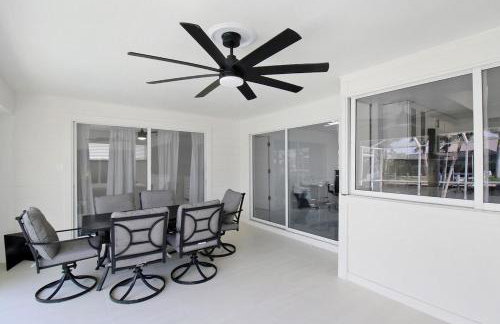
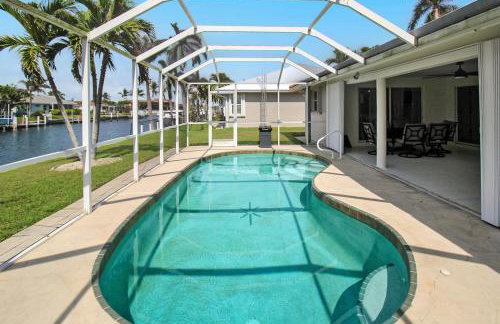
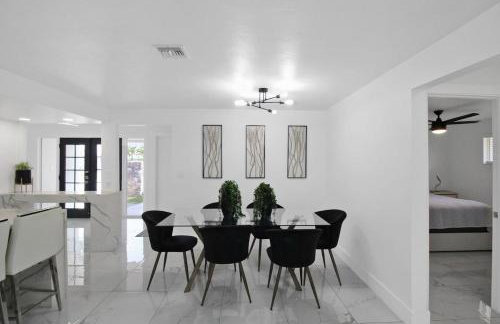
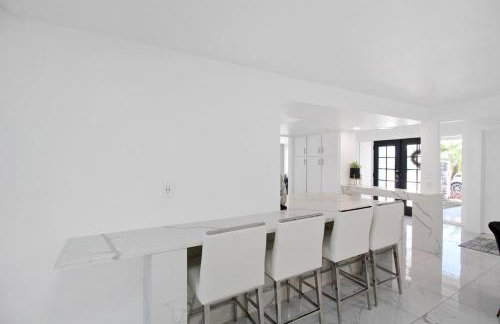
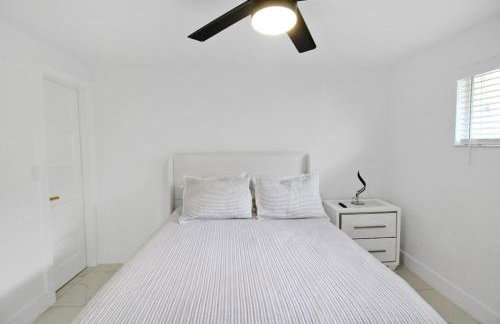
Canal Waterfront Home with Private Pool & Dock!
Punta - 3.4 km dal centro
- 167 M2
- 3 camere
- 8 persone
- Riscaldamento
- Piscina
- Parcheggio
7 recensioni


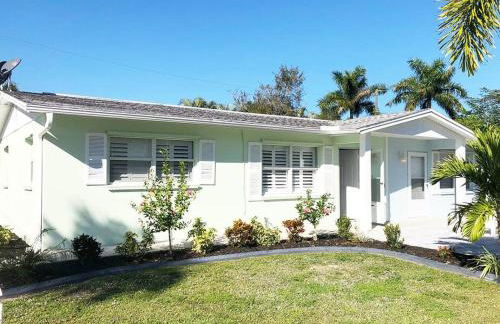
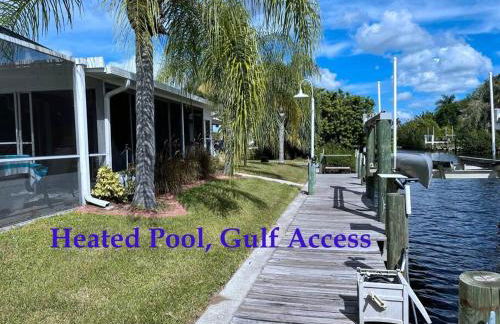
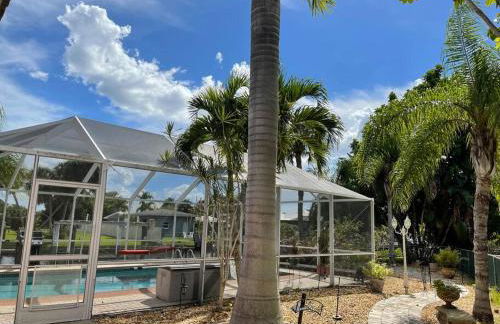
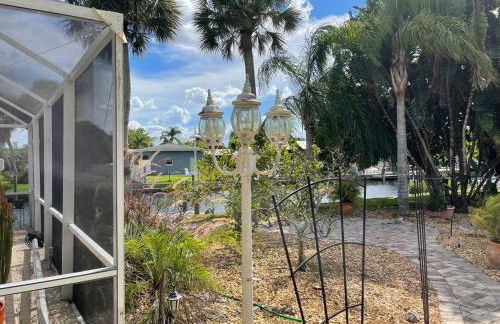
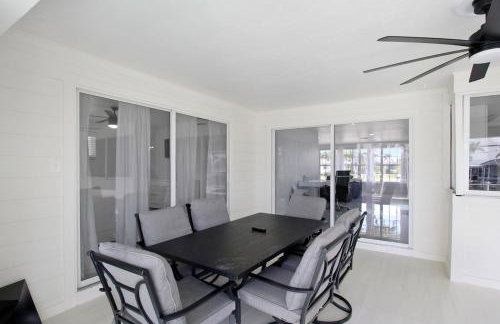
Villa Hibiscus-Waterfront-Free Heated Pool-Dock-Bikes-Other Amenities
Punta - 960 m dal centro
- 233 M2
- 3 camere
- 10 persone
- Aria condizionata
- Riscaldamento
- Terrazza
- Piscina
- Parcheggio
- Barbecue
4 recensioni


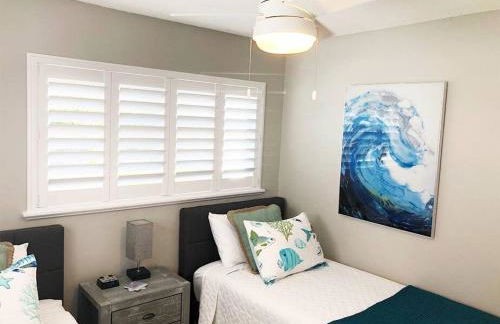
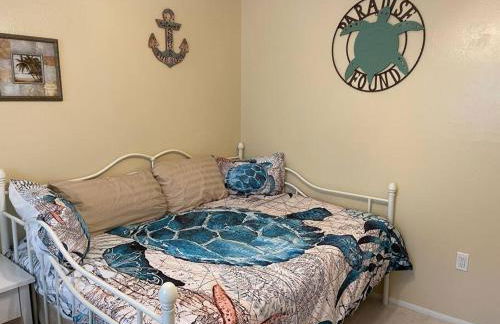
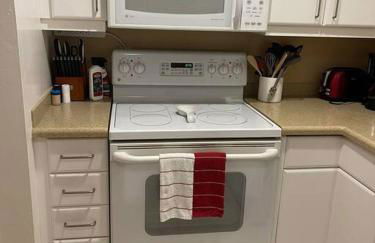
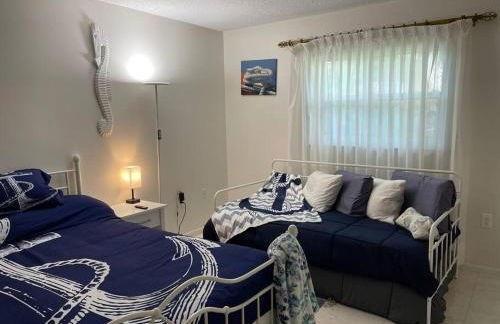
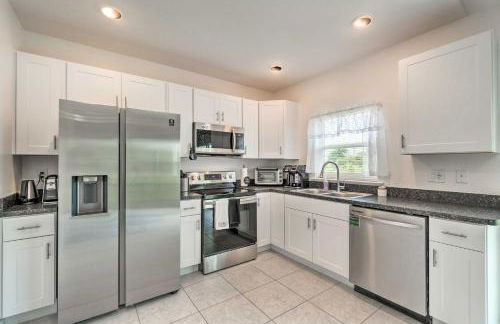
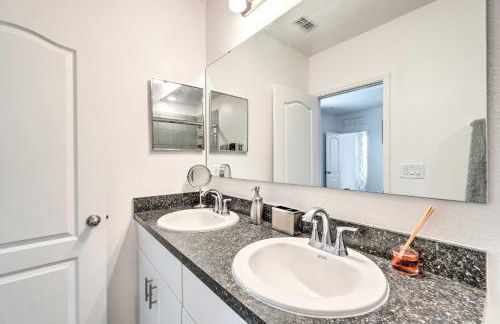
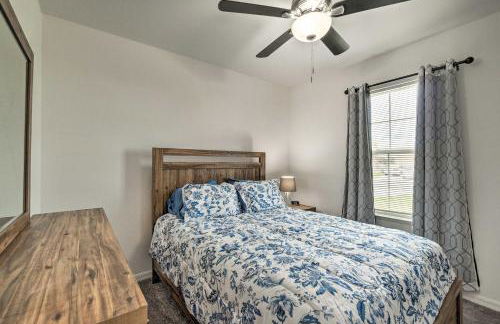
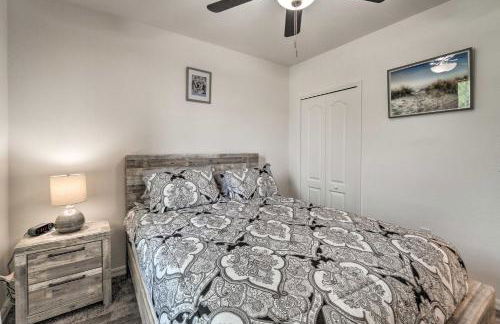
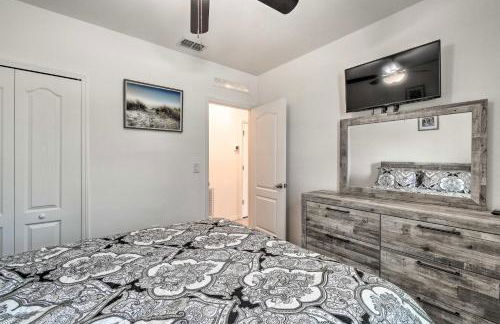
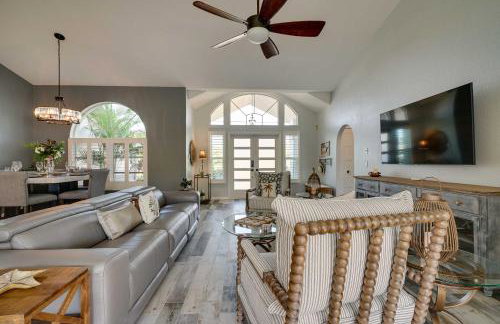
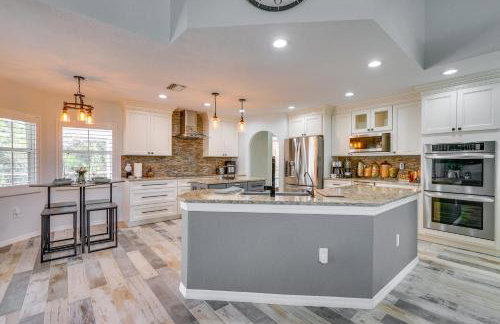
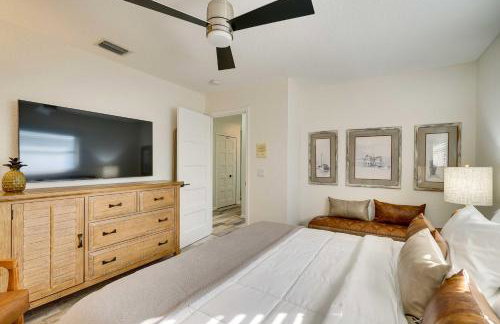
Modern Apartment - 1 of 4
Punta - 2 km dal centro
- 67 M2
- 2 camere
- 4 persone
- Aria condizionata
- Parcheggio
- Barbecue
31 recensioni


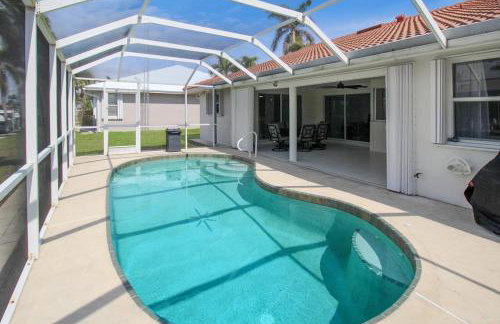
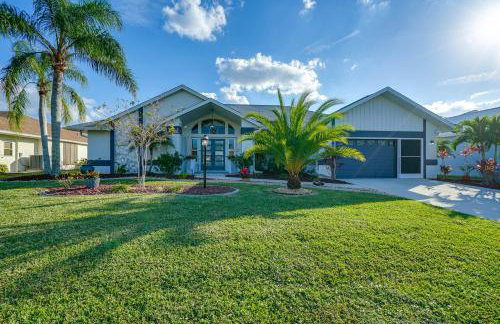
Punta Gorda Home, Sleeps 10
Punta - 7.5 km dal centro
- 12 M2
- 3 camere
- Aria condizionata
- Riscaldamento
- Piscina
- Parcheggio
- Giardino
- Barbecue
5 recensioni


Home away from home
Punta - 4.6 km dal centro
- 204 M2
- 4 camere
- 10 persone
- Aria condizionata
- Riscaldamento
- Parcheggio
- Giardino
- Barbecue
10 recensioni


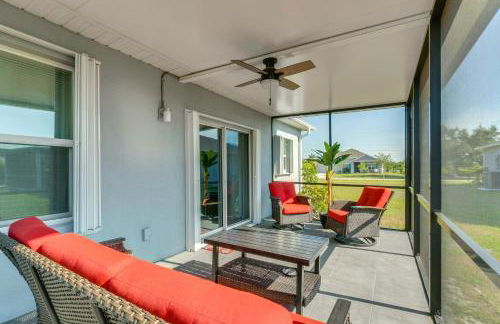
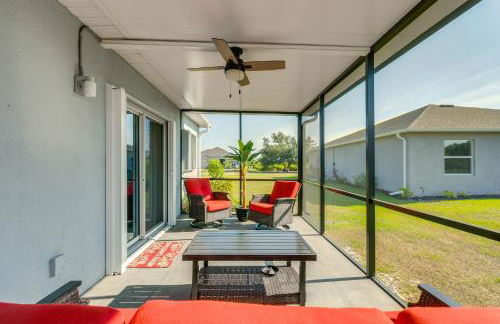
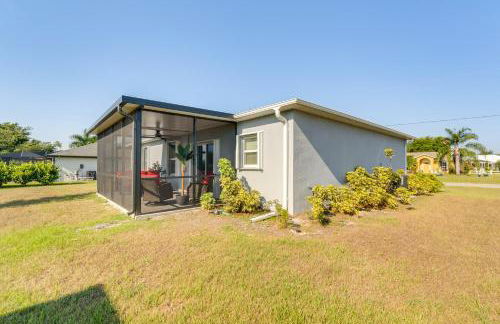
Screened Patio & Fish On-Site! Punta Gorda Gem
Punta - 11.8 km dal centro
- 94 M2
- 3 camere
- 5 persone
- Riscaldamento
- Terrazza
- Parcheggio
8 recensioni


Relaxing 4 bedroom home with Pool
Punta - 2.5 km dal centro
- 153 M2
- 4 camere
- 10 persone
- Aria condizionata
- Riscaldamento
- Piscina
- Parcheggio
- Giardino
- Barbecue
26 recensioni


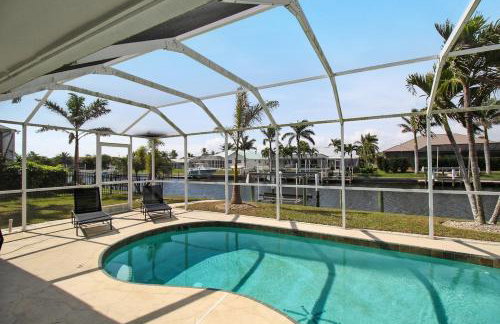
Punta Gorda Canal Home w/ Private Pool!
Punta - 3.5 km dal centro
- 144 M2
- 3 camere
- 8 persone
- Riscaldamento
- Terrazza
- Piscina
- Parcheggio
2 recensioni


Beautiful Waterfront 1 bedroom #4
Punta - 10.2 km dal centro
- 60 M2
- 1 camera
- 4 persone
- Aria condizionata
- Parcheggio
- Barbecue
18 recensioni


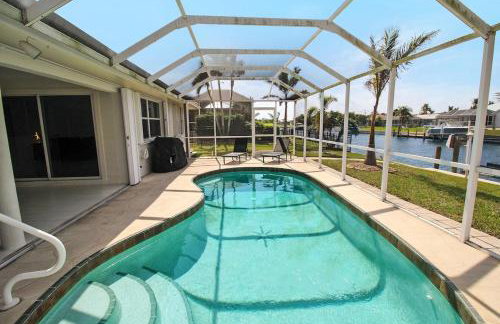
Heated Pool Paradise, Gulf Access, Pet Friendly
Punta - 4.1 km dal centro
- 121 M2
- 2 camere
- 9 persone
- Aria condizionata
- Riscaldamento
- Terrazza
- Piscina
- Parcheggio
- Giardino
- Barbecue
5 recensioni


Waterfront Paradise! Heated Pool, Dock, Grill, Fishing near restaurants and shops
Punta - 2.9 km dal centro
- 198 M2
- 3 camere
- Aria condizionata
- Riscaldamento
- Terrazza
- Piscina
- Parcheggio
- Giardino
- Barbecue
2 recensioni


Villa Tranquility-Waterfront-Free Amenities-Heated Pool-Bikes-Dock Fishing & Beach Gear
Punta - 2.1 km dal centro
- 139 M2
- 3 camere
- Aria condizionata
- Riscaldamento
- Terrazza
- Piscina
- Parcheggio
- Giardino
- Barbecue
5 recensioni


Burnt Store Marina Condo: Boat, Swim, Golf!
Punta - 18.8 km dal centro
- 59 M2
- 1 camera
- 4 persone
- Riscaldamento
- Terrazza
- Piscina
- Parcheggio
- Ascensore
8 recensioni
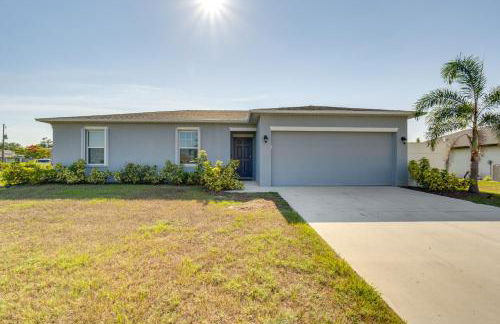


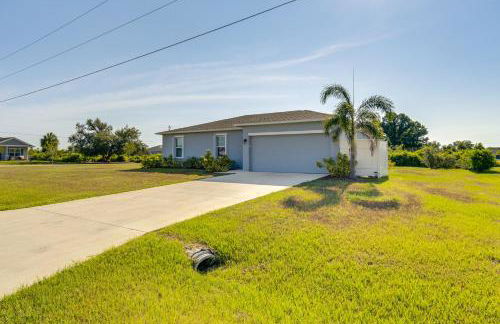
Sunny Abode < 1 Mi to Peace River Preserve!
Punta - 11.1 km dal centro
- 120 M2
- 3 camere
- 6 persone
- Riscaldamento
- Parcheggio
- Giardino
5 recensioni


228 Freeport
Punta - 960 m dal centro
- 209 M2
- 3 camere
- 8 persone
- Aria condizionata
- Riscaldamento
- Terrazza
- Piscina
- Parcheggio
- Giardino
1 recensione

Chic & modern canal-front retreat with private pool - Azure Tides
Punta - 2.2 km dal centro
- 194 M2
- 3 camere
- 6 persone
- Aria condizionata
- Terrazza
- Piscina
- Parcheggio
- Giardino
1 recensione


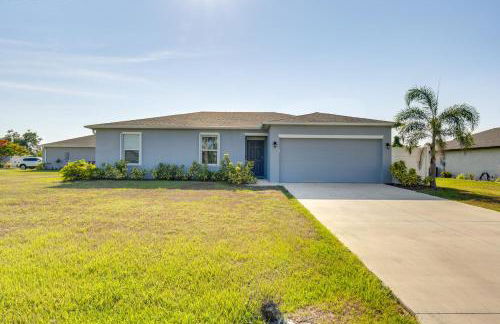
Gorgeous Punta Gorda Home w/ Lanai & Private Pool!
Punta - 7.7 km dal centro
- 172 M2
- 3 camere
- 6 persone
- Riscaldamento
- Terrazza
- Piscina
- Parcheggio
1 recensione