


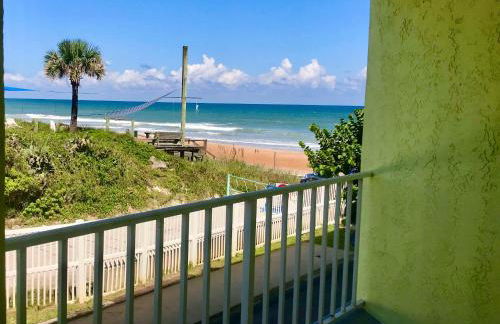
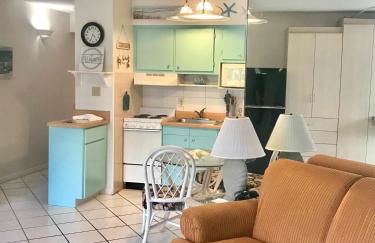
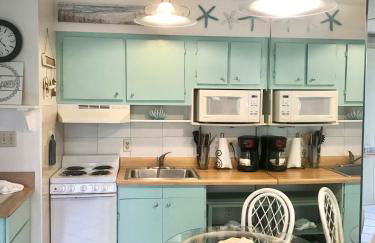
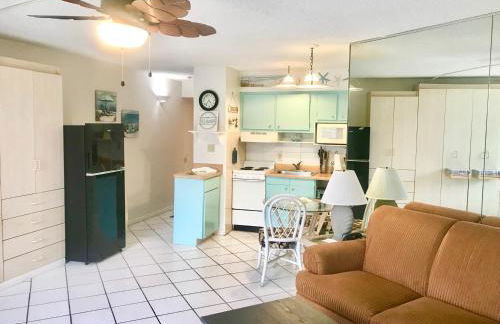
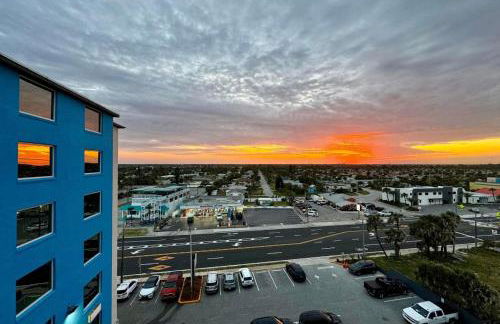
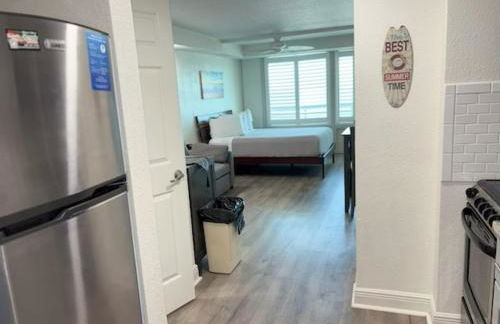
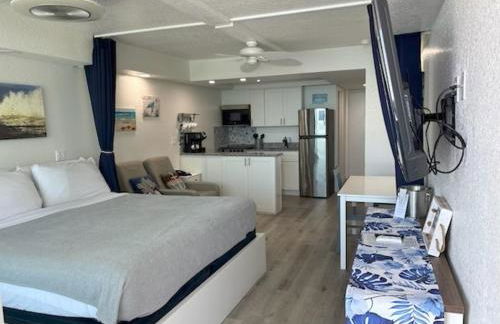
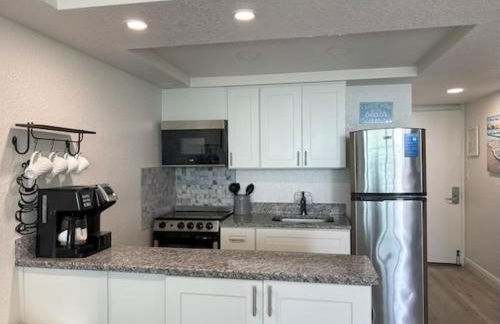
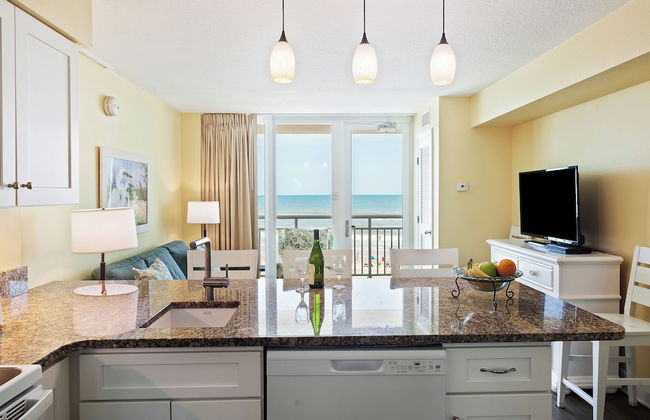
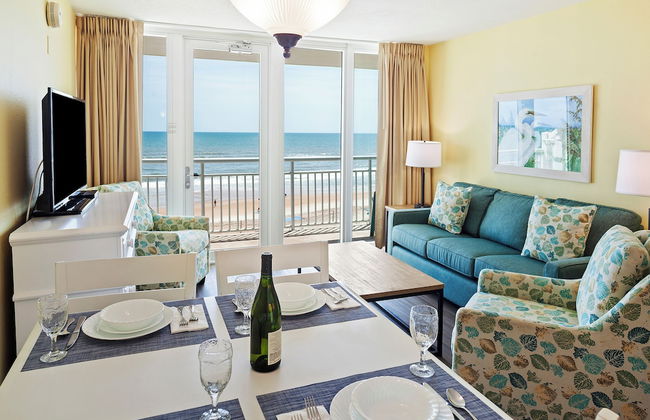
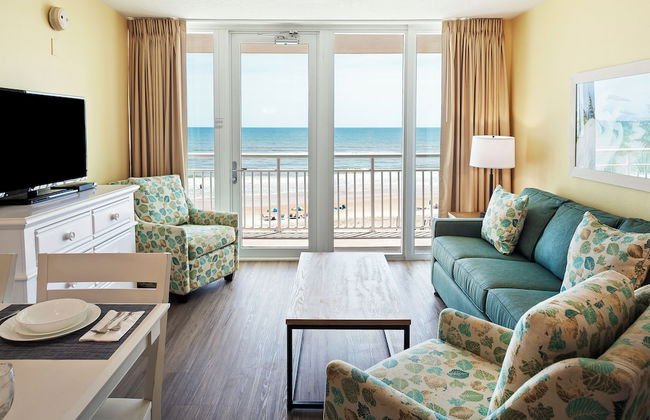
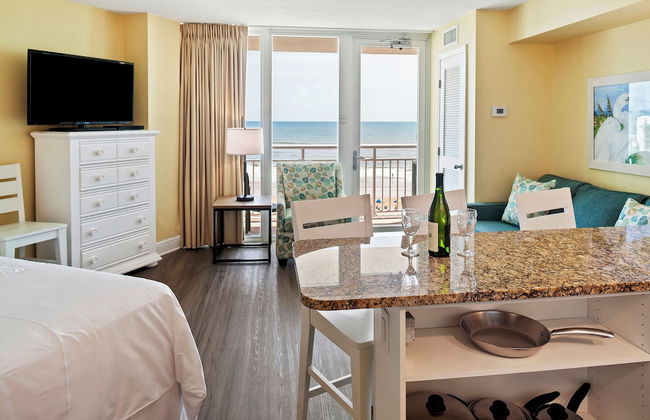
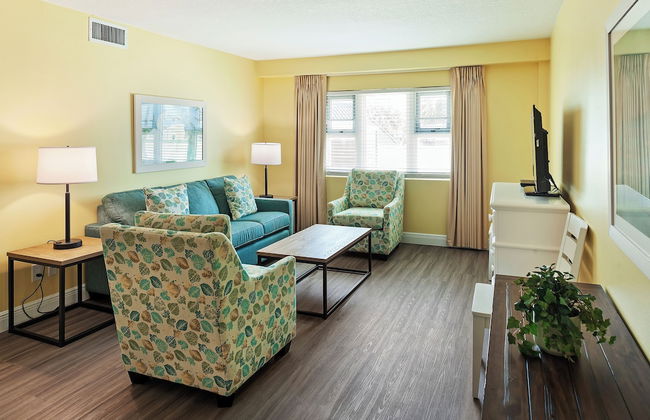
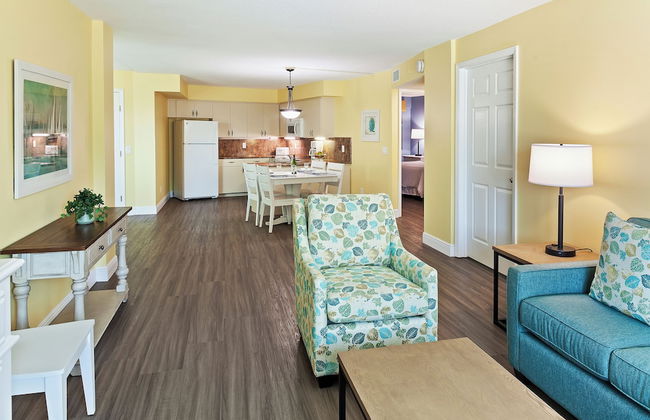
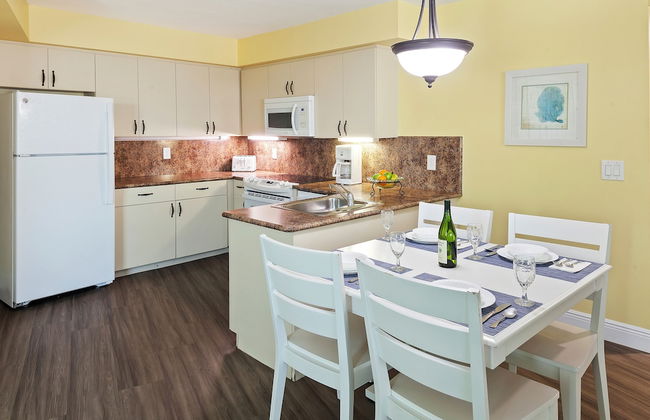
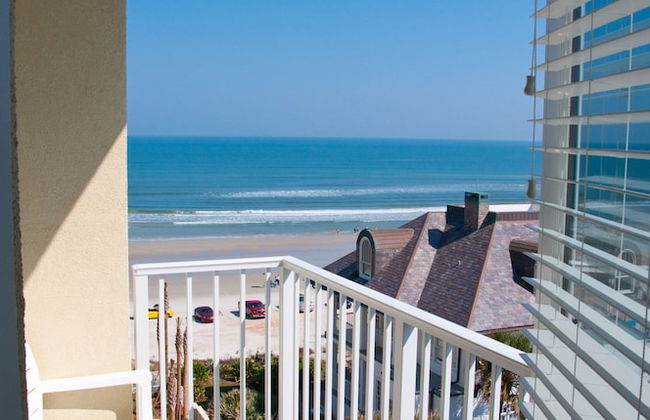
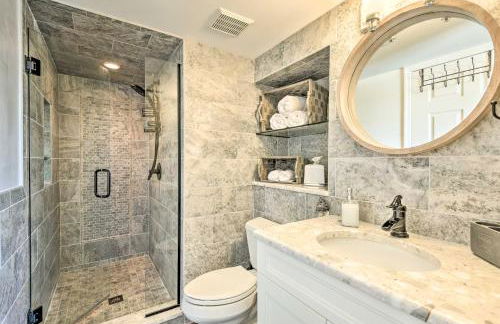
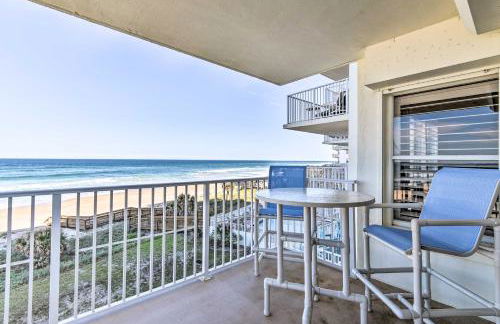
Tropic Sun Towers
Ormond Beach - Ormond Shores - 2 km dal centro
- 61 M2
- 6 persone
- Aria condizionata
- Terrazza
- Parcheggio
- Ascensore
- Balcone
- Tv
- Lino da bagno


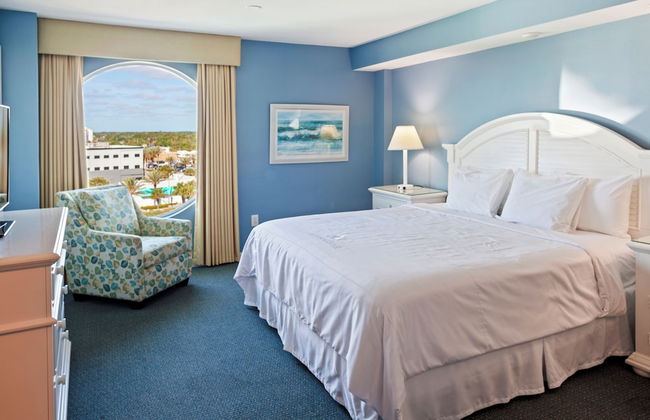
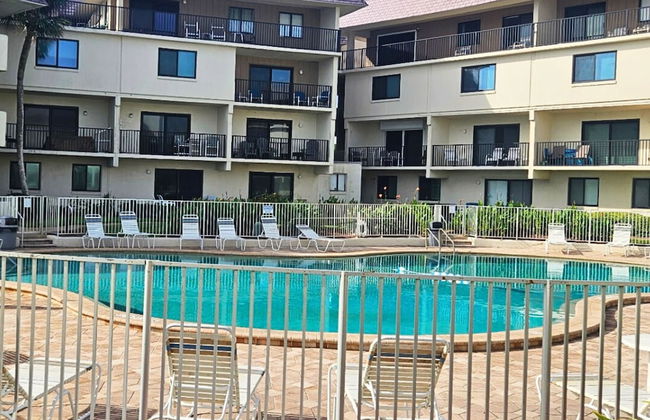
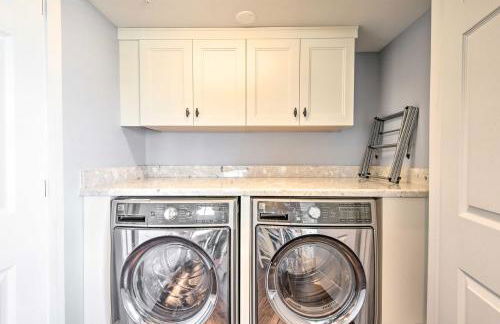
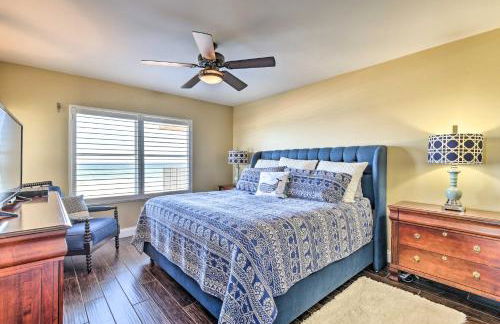
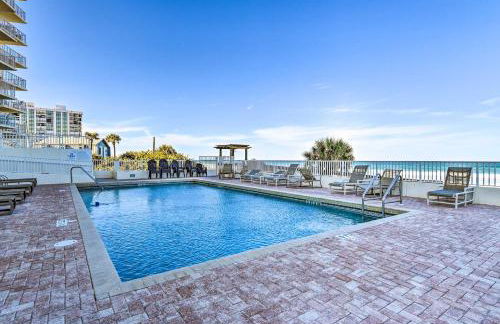
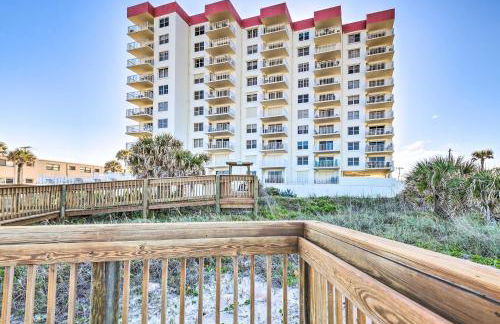
Sea Winds by Distinctive Beach Rentals
Ormond Beach - 3.5 km dal centro
- 121 M2
- 2 camere
- 6 persone
- Aria condizionata
- Riscaldamento
- Piscina
- Parcheggio
- Ascensore
- Lavatrice
- Lino da bagno
- Lino da letto


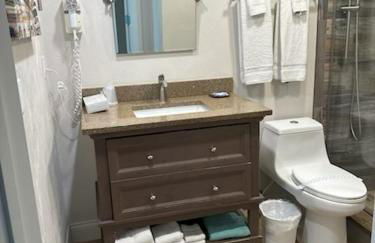
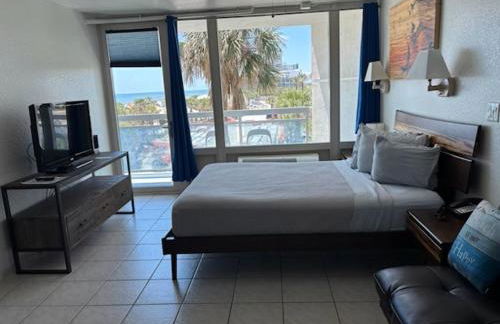
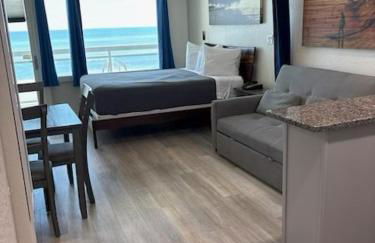
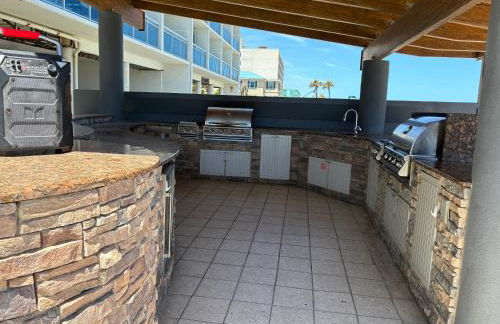
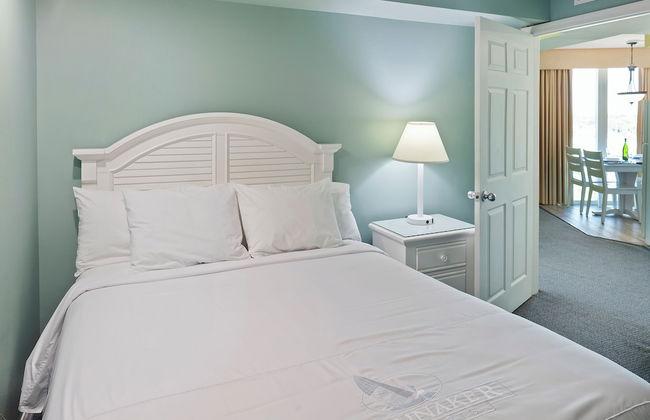
The Maverick Resort
Ormond Beach - Bostroms Lower Ormond Beach - 1.7 km dal centro
- 40 M2
- 4 persone
- Cucinino
- Aria condizionata
- Piscina
- Parcheggio
- Ascensore
- Balcone
- Tv
- Focolare
- Barbecue
- Lino da bagno
- Lino da letto


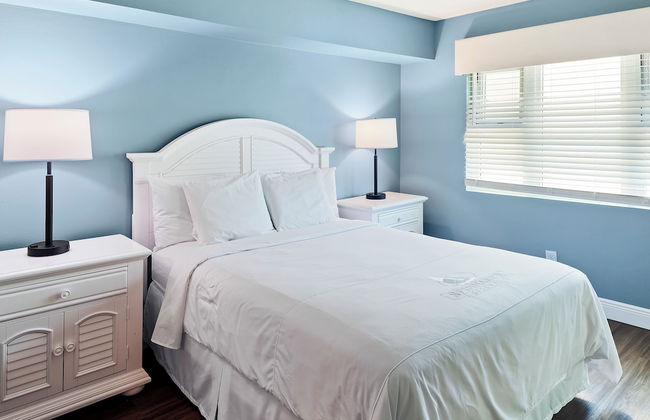
Symphony Beach Club
Ormond Beach - Bostroms Lower Ormond Beach - 1.7 km dal centro
- 37 M2
- 4 persone
- Aria condizionata
- Riscaldamento
- Piscina
- Parcheggio
- Ascensore
- Balcone
- Tv
- Lavatrice
- Focolare
- Barbecue
- Lino da bagno
- Lino da letto


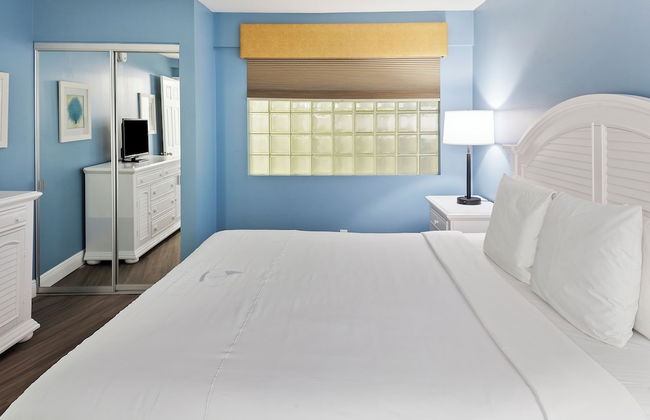
Seascape - Ocean View at Symphony Beach Club
Ormond Beach - Bostroms Lower Ormond Beach - 1.7 km dal centro
- 46 M2
- 4 persone
- Aria condizionata
- Riscaldamento
- Piscina
- Parcheggio
- Ascensore


Beach Happy - Ocean View at Symphony Beach Club
Ormond Beach - Bostroms Lower Ormond Beach - 1.7 km dal centro
- 37 M2
- 3 persone
- Aria condizionata
- Riscaldamento
- Piscina
- Parcheggio
- Ascensore


Ocean Overlook - Sea View at Symphony Beach Club!
Ormond Beach - Bostroms Lower Ormond Beach - 1.7 km dal centro
- 37 M2
- 4 persone
- Aria condizionata
- Riscaldamento
- Piscina
- Parcheggio
- Ascensore


Georgian Inn Beach Club
Ormond Beach - Ortona Park - 2.4 km dal centro
- 38 M2
- 4 persone
- Aria condizionata
- Riscaldamento
- Piscina
- Parcheggio
- Ascensore
- Giardino
- Barbecue


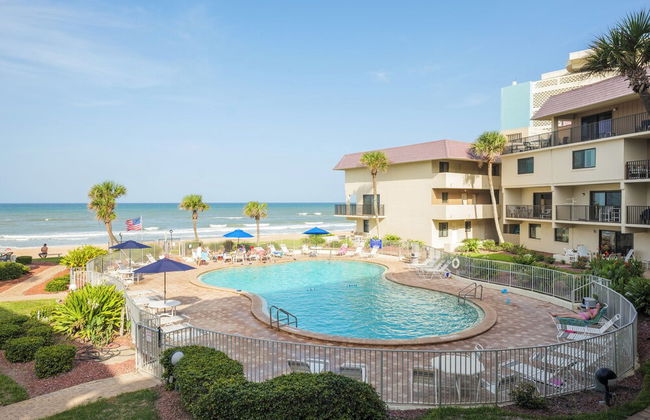
Royal Floridian Resort
Ormond Beach - 1.2 km dal centro
- 90 M2
- 6 persone
- Aria condizionata
- Riscaldamento
- Terrazza
- Piscina
- Parcheggio
- Ascensore
- Balcone
- Tv
- Barbecue
- Lino da bagno
- Lino da letto


Beach Haven -Ocean View At Symphony Beach Club
Ormond Beach - Bostroms Lower Ormond Beach - 1.7 km dal centro
- 37 M2
- 4 persone
- Aria condizionata
- Riscaldamento
- Piscina
- Parcheggio
- Ascensore


Coastal Cozy - Ocean View at Symphony Beach Club
Ormond Beach - Bostroms Lower Ormond Beach - 1.7 km dal centro
- 37 M2
- 4 persone
- Aria condizionata
- Riscaldamento
- Piscina
- Parcheggio
- Ascensore


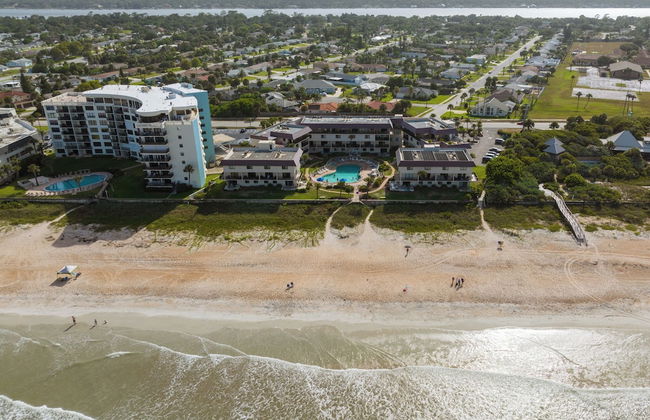
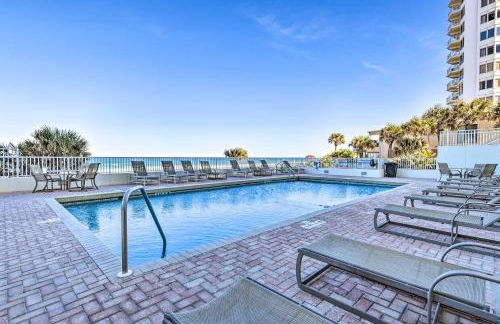
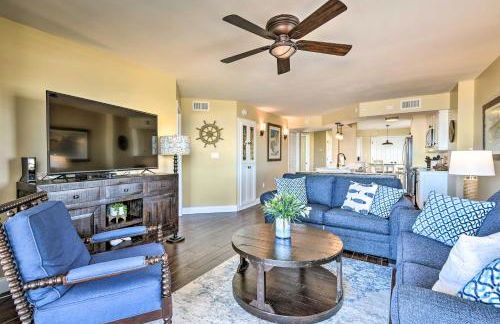
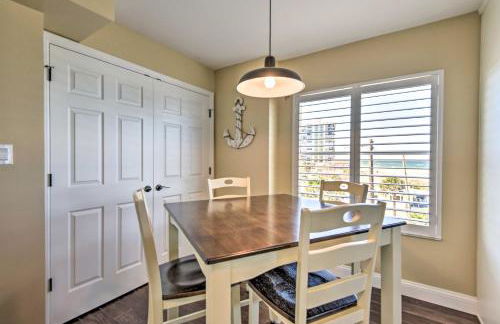
Fabulous ocean and beach views with top complex amenities
Ormond Beach - Oakdale Park - 4.5 km dal centro
- 138 M2
- 2 camere
- 6 persone
- Aria condizionata
- Riscaldamento
- Piscina
- Parcheggio
- Ascensore


Just Beachy -Ocean View at Symphony Beach Club
Ormond Beach - Bostroms Lower Ormond Beach - 1.7 km dal centro
- 37 M2
- 2 persone
- Aria condizionata
- Riscaldamento
- Piscina
- Parcheggio
- Ascensore


Bent Palm 218 by Distinctive Beach Rentals
Ormond Beach - 2.8 km dal centro
- 80 M2
- 4 persone
- Aria condizionata
- Riscaldamento
- Piscina
- Parcheggio
- Ascensore
- Balcone
- Tv
- Lino da bagno
- Lino da letto


Beachfront Bliss - Suite at Symphony Beach Club
Ormond Beach - Bostroms Lower Ormond Beach - 1.7 km dal centro
- 37 M2
- 4 persone
- Aria condizionata
- Riscaldamento
- Piscina
- Parcheggio
- Ascensore


Walk to Waves
Ormond Beach - Oakdale Park - 5.1 km dal centro
- 195 M2
- 3 camere
- 8 persone
- Aria condizionata
- Terrazza
- Piscina
- Parcheggio
- Giardino
- Barbecue


Arya Blu Inn & Suites
Ormond Beach - 1.4 km dal centro
- 6 persone
- Cucinino
- Aria condizionata
- Terrazza
- Piscina
- Parcheggio
- Ascensore
- Tv
- Lino da bagno
- Lino da letto


Sugar Sands - Ocean front at Symphony Beach Club !
Ormond Beach - Bostroms Lower Ormond Beach - 1.7 km dal centro
- 37 M2
- 4 persone
- Aria condizionata
- Riscaldamento
- Piscina
- Parcheggio
- Ascensore


Luxe Oceanfront Condo with Pool, Beach Access and Gear
Ormond Beach - 3.5 km dal centro
- 111 M2
- 2 camere
- 5 persone
- Riscaldamento
- Parcheggio
- Ascensore
- Giardino


Oceanfront Penthouse #11B by Distinctive Beach Rentals
Ormond Beach - Oakdale Park - 4.5 km dal centro
- 174 M2
- 2 camere
- 6 persone
- Aria condizionata
- Riscaldamento
- Piscina
- Parcheggio
- Ascensore
- Balcone
- Tv
- Lavatrice
- Barbecue
- Lino da bagno
- Lino da letto