
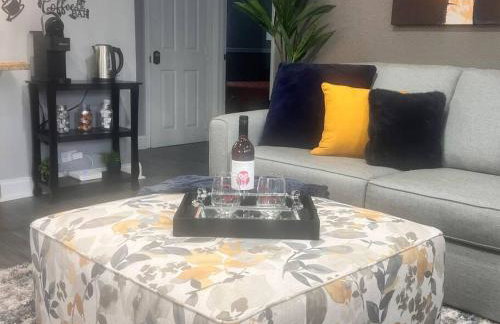
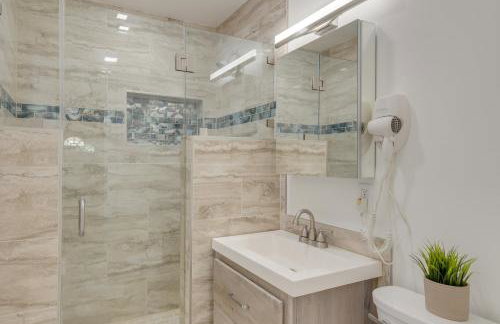
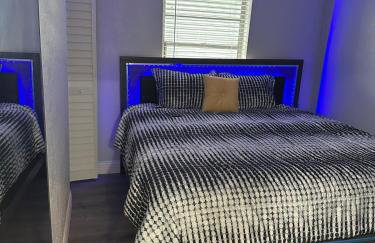
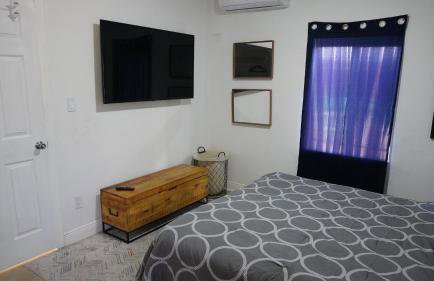
9 Appartamenti a Opa-Locka
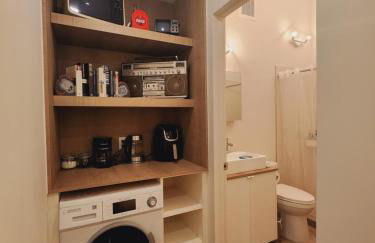


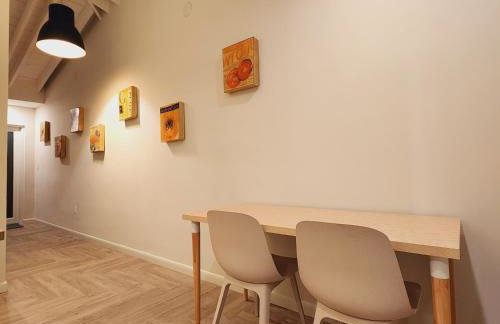


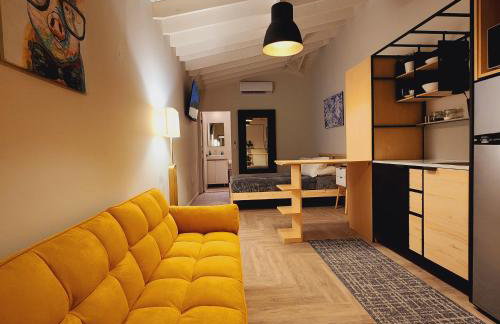
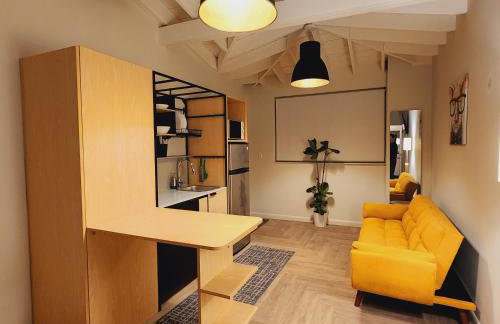
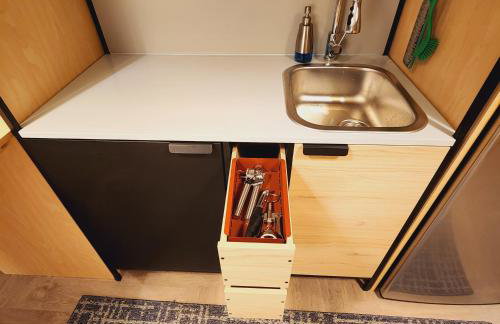
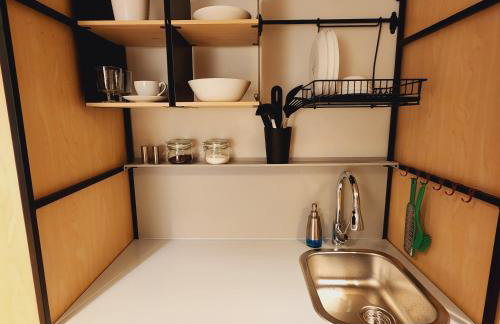
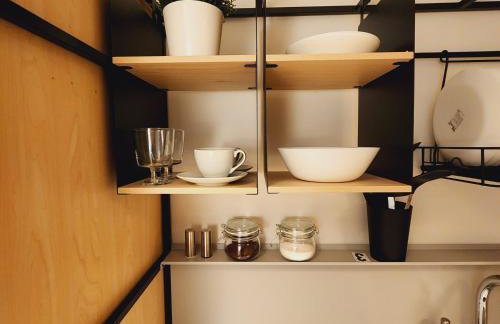
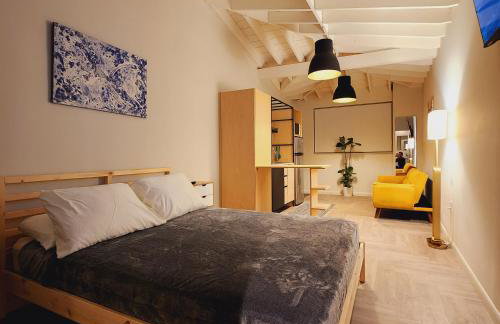
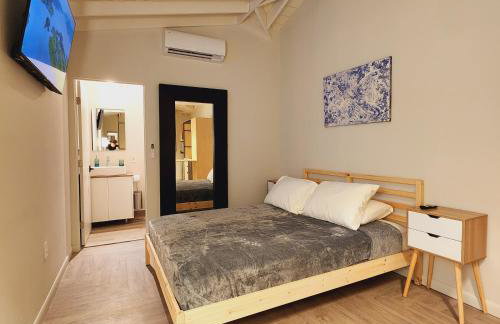
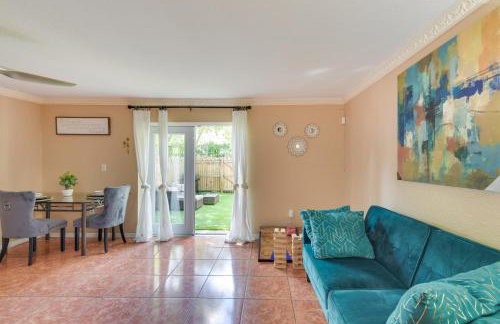
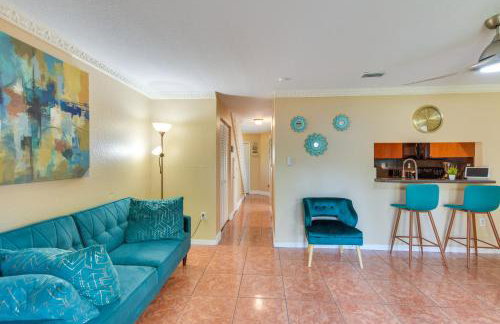
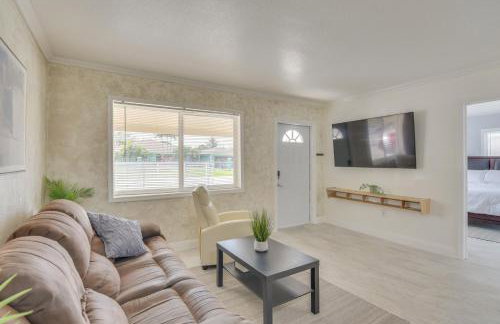
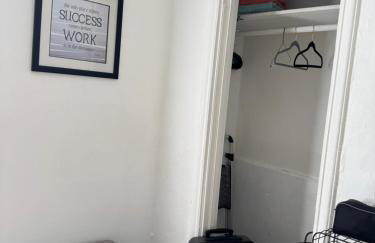
Private Home Studio Central Located in Miami 2
Opa-Locka
- 37 M2
- 2 persone
- Aria condizionata
- Parcheggio
13 recensioni
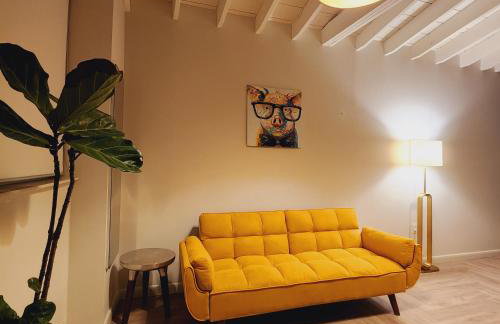
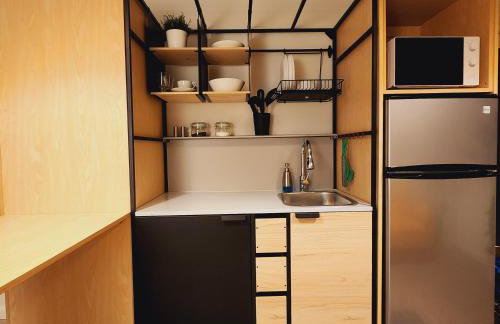

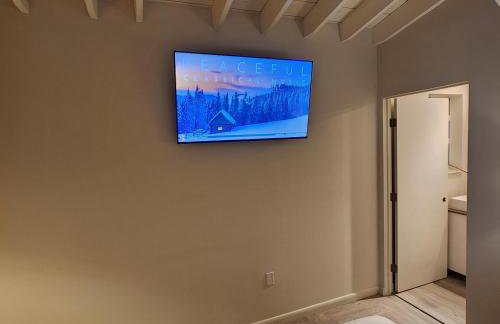


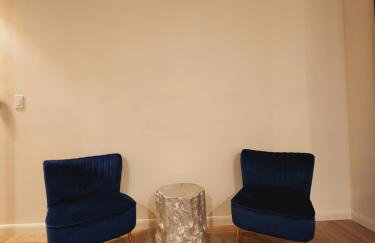
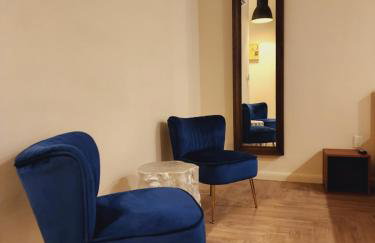
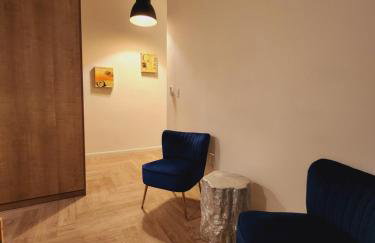
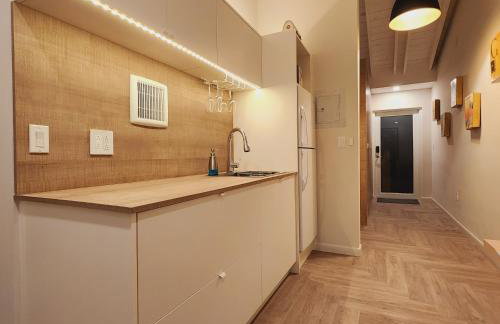
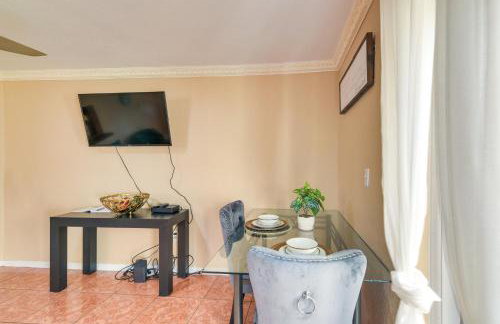
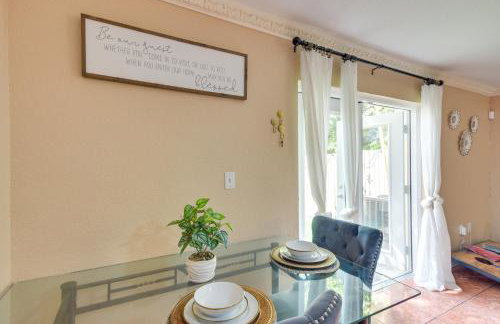
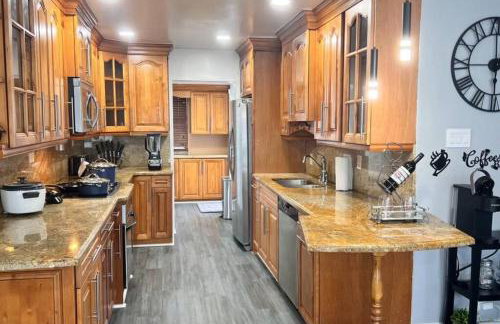
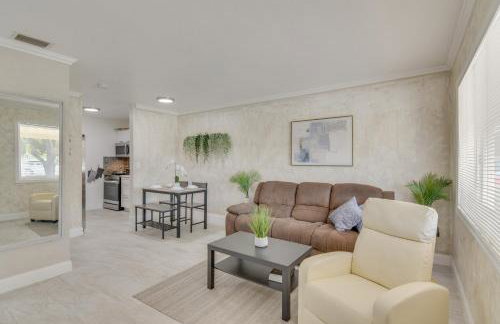
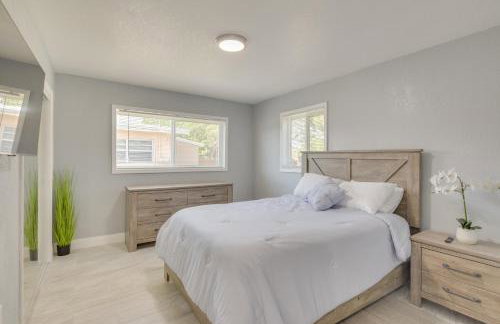
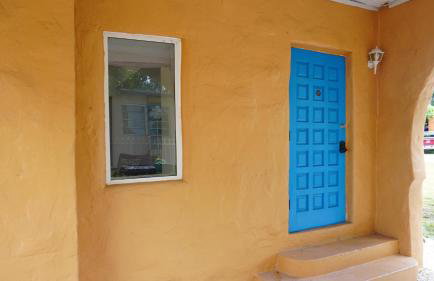
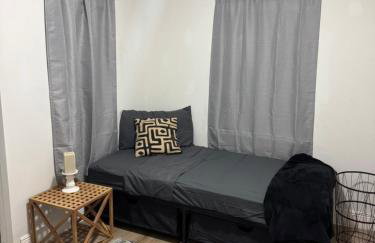
Private Home Studio Central Located in Miami 1
Opa-Locka
- 33 M2
- 1 camera
- 3 persone
- Aria condizionata
- Parcheggio
59 recensioni
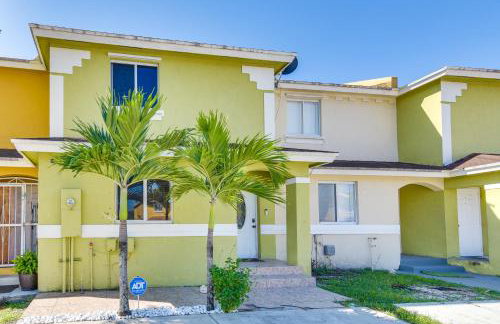


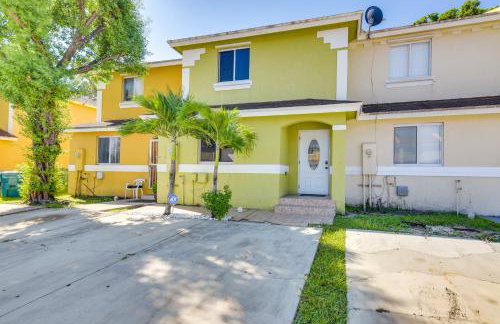
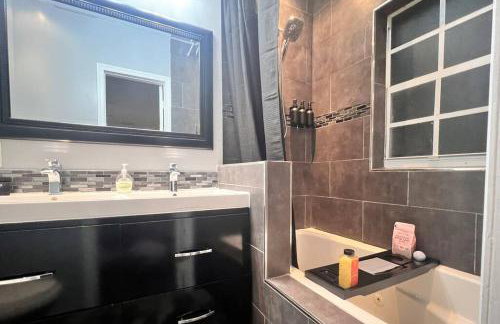
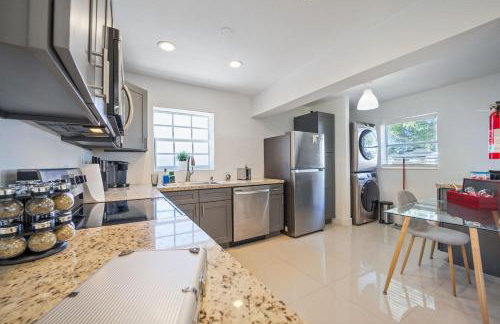
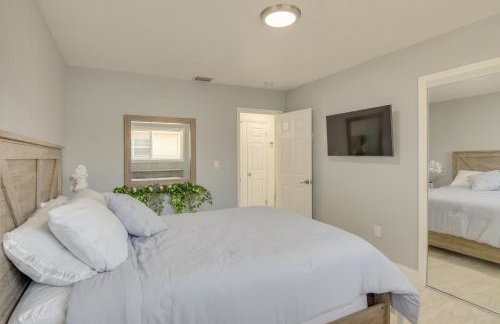
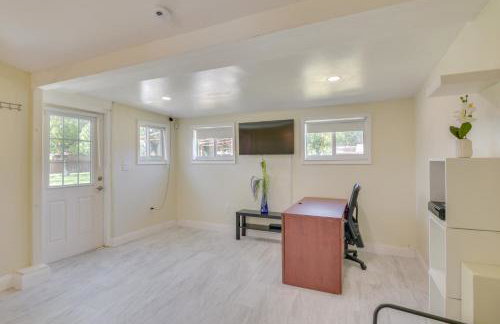
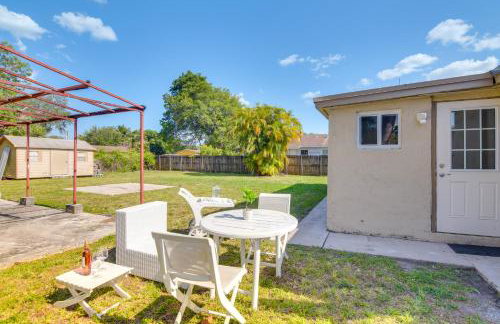
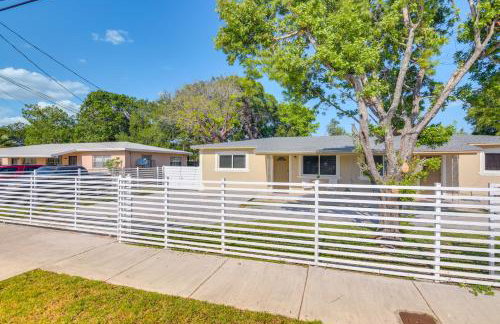
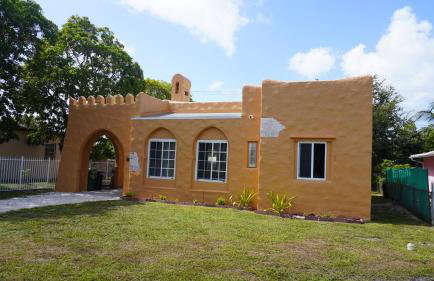
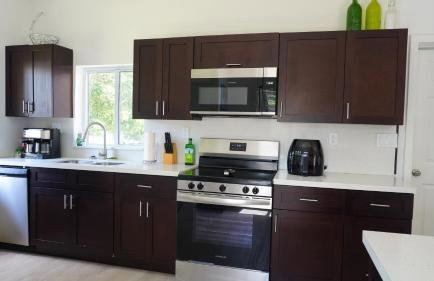
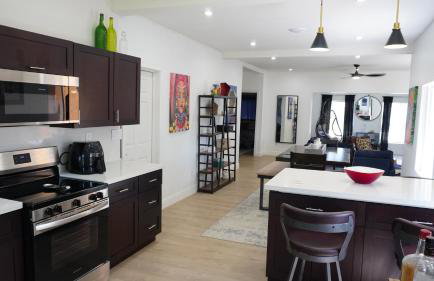
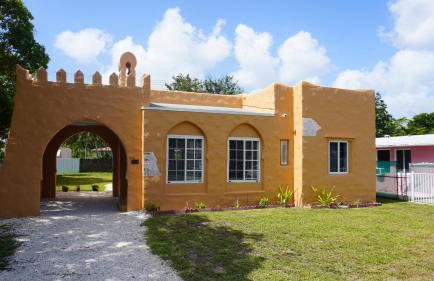
5 Mi to Hard Rock Stadium! Convenient World Cup HQ
Opa-Locka
- 116 M2
- 3 camere
- 6 persone
- Riscaldamento
- Parcheggio
8 recensioni
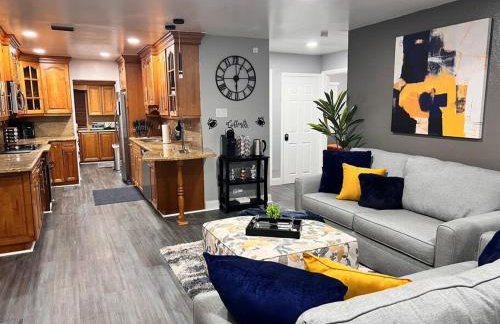


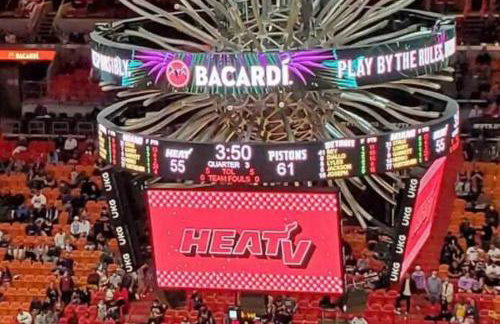

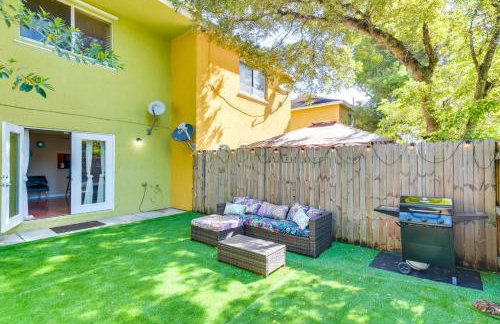
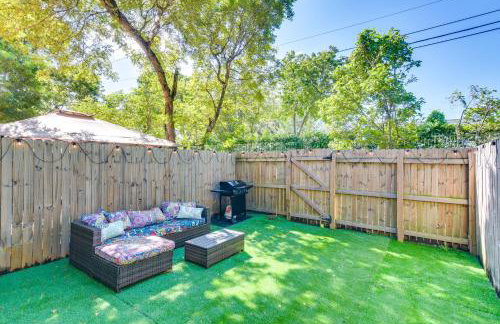
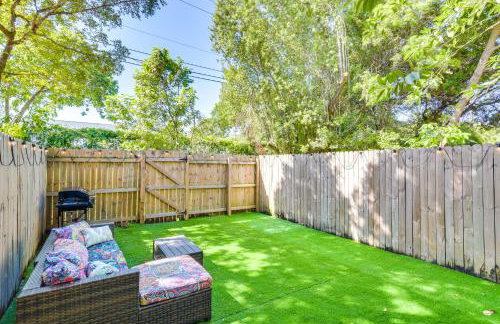
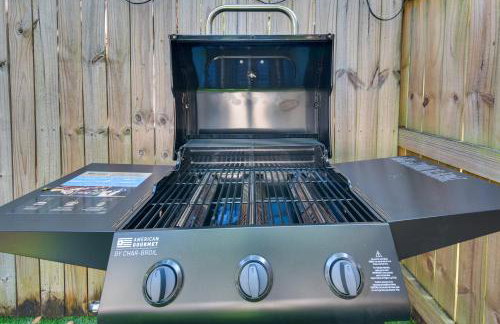
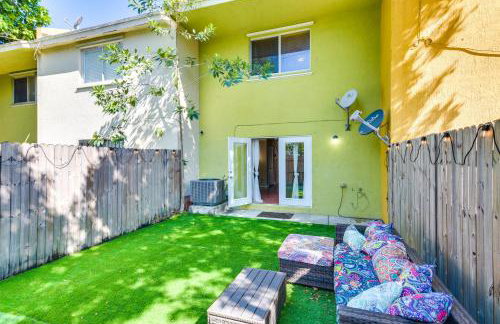
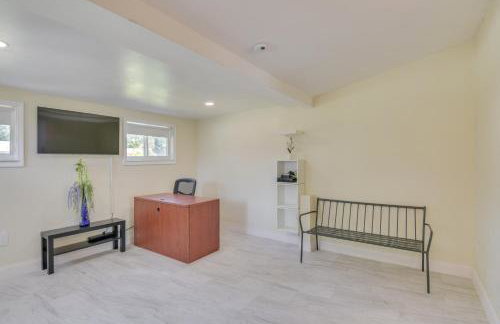
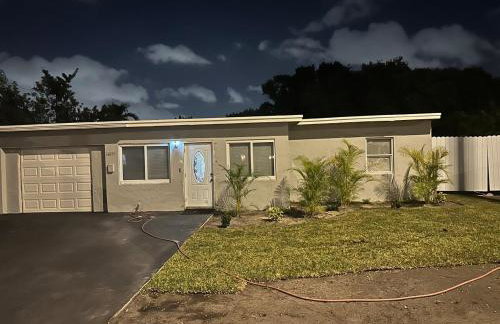
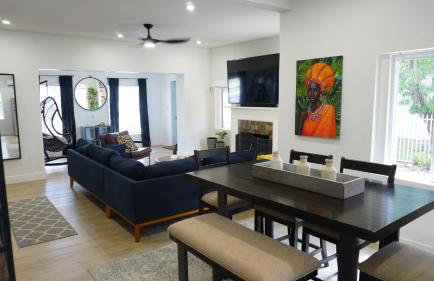
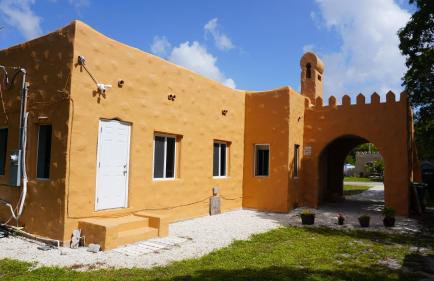
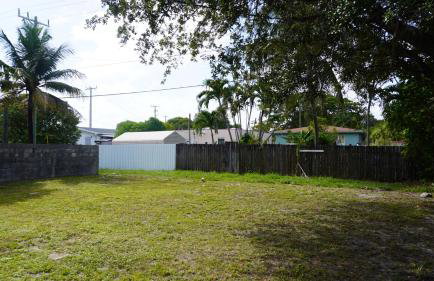
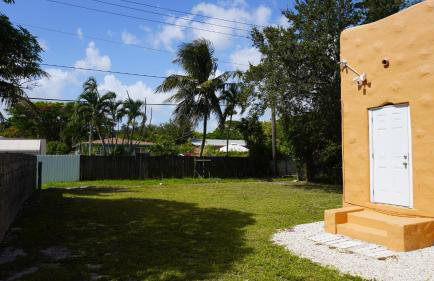
King Bed, 3 miles to Stadium
Opa-Locka
- 223 M2
- 3 camere
- 9 persone
- Aria condizionata
- Terrazza
- Parcheggio
- Giardino
- Barbecue
3 recensioni
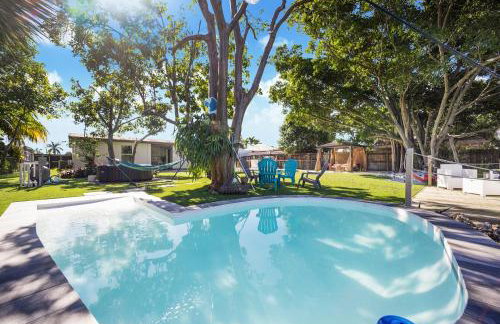
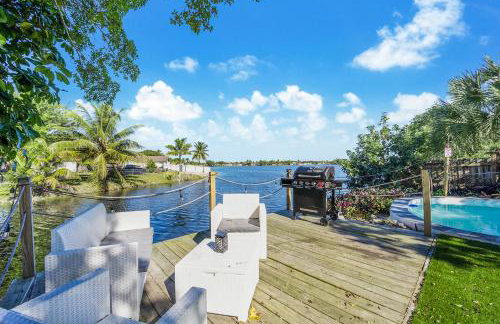
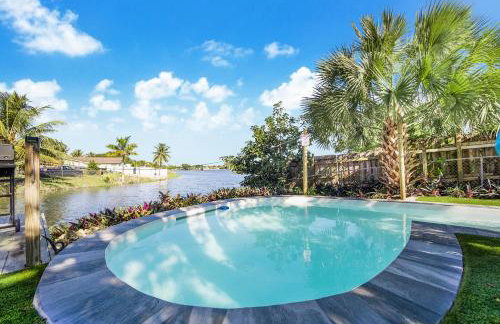

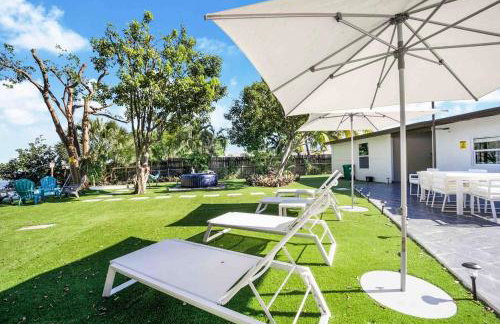
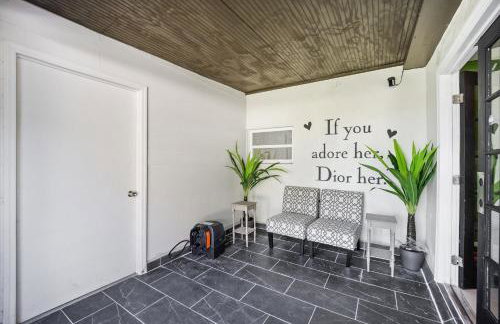
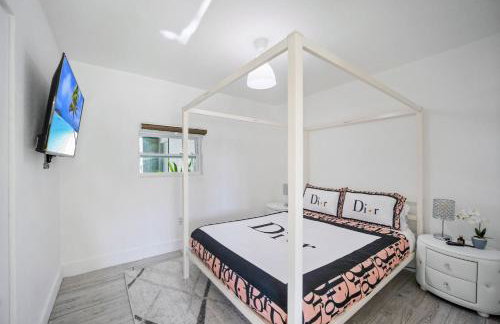
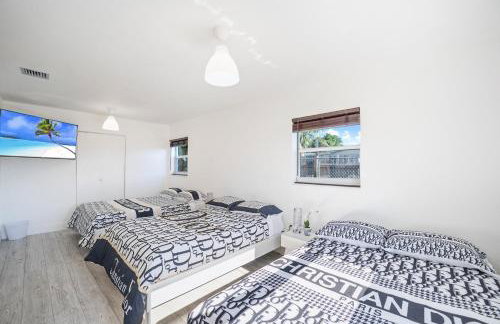


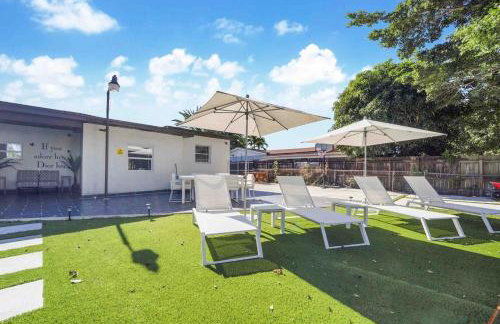
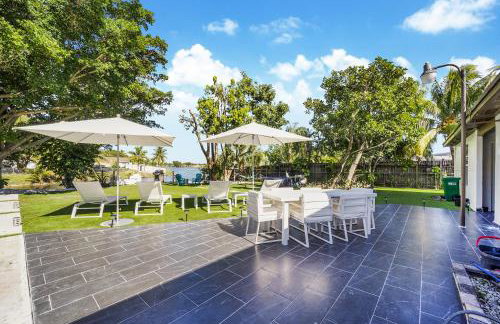

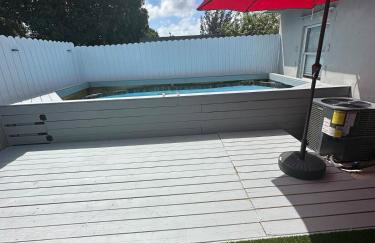
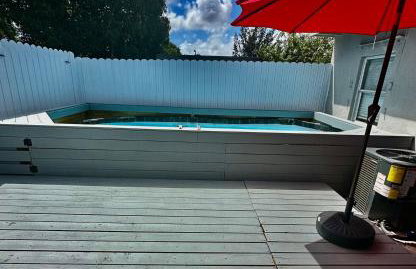
Dior Lake Front Villa With Infinity Pool
Opa-Locka
- 186 M2
- 4 camere
- 12 persone
- Aria condizionata
- Terrazza
- Piscina
- Parcheggio
- Giardino
- Barbecue
12 recensioni
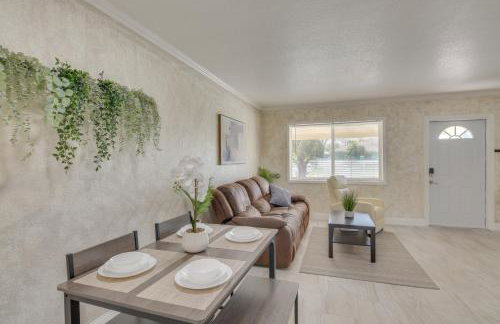


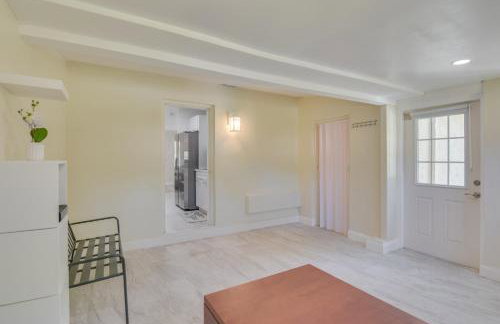


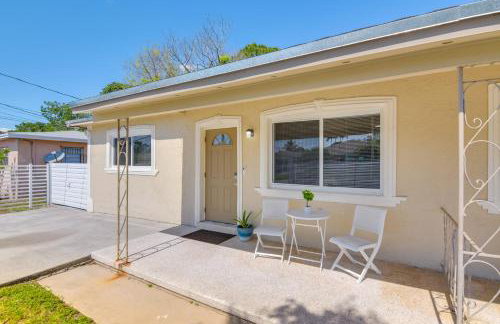
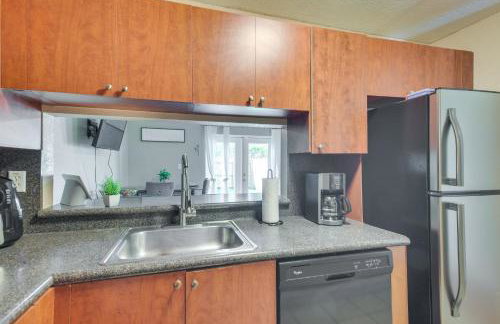
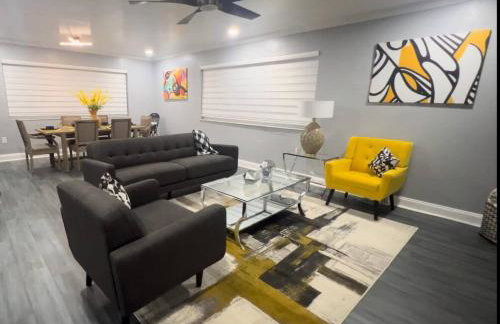
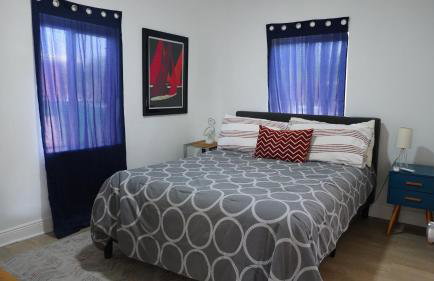
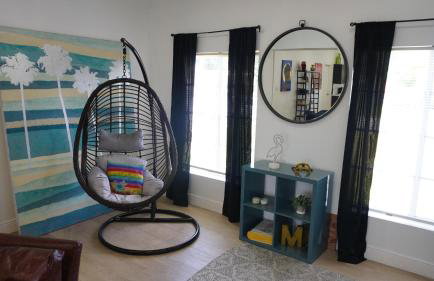
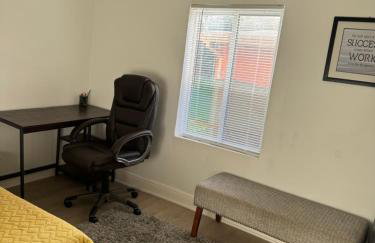
Couples World Cup Base 5 Mi to Hard Rock Stadium!
Opa-Locka
- 93 M2
- 2 camere
- 4 persone
- Riscaldamento
- Parcheggio
2 recensioni
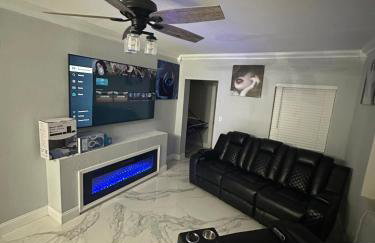


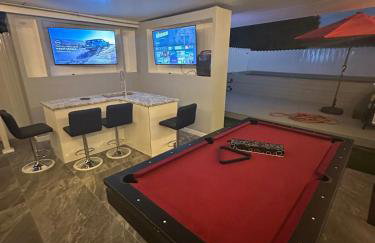

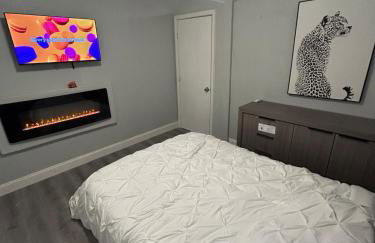
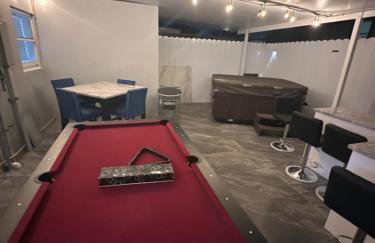

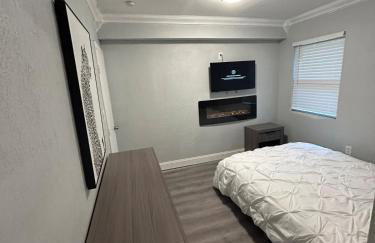


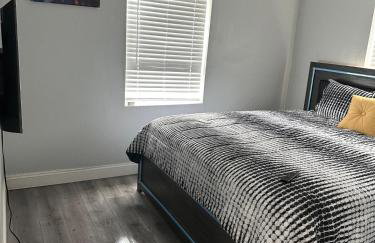
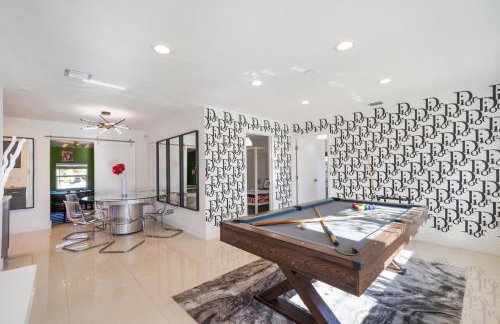
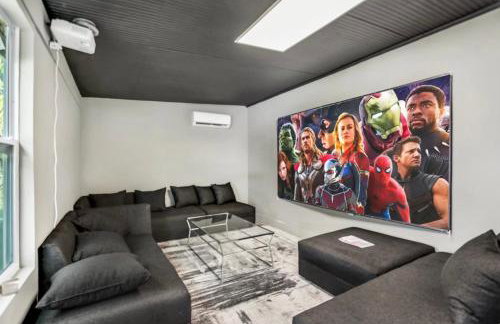
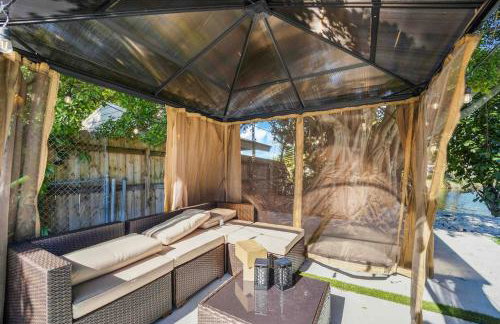
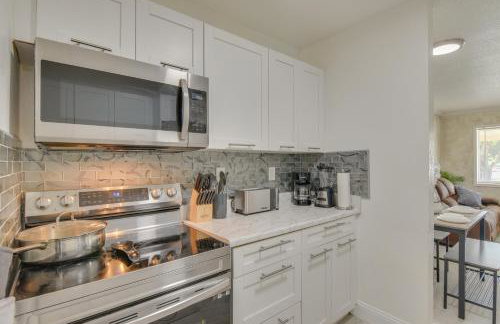
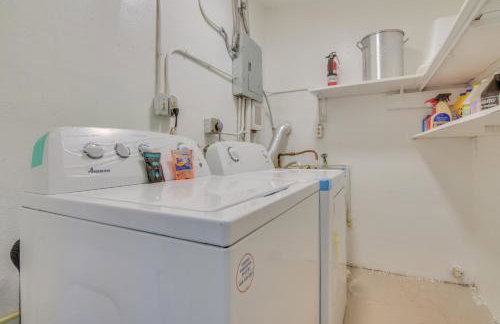
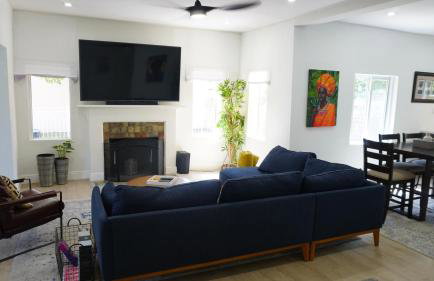
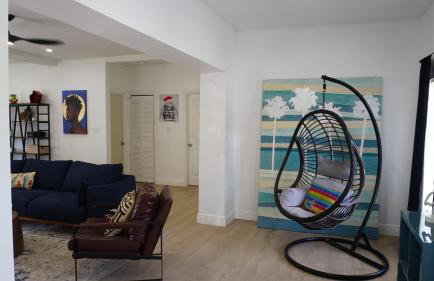
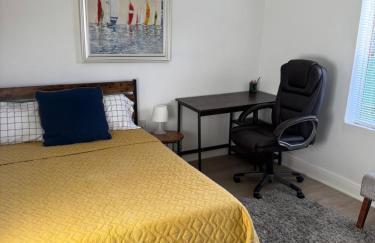
Luxury Entertainment home Hard rock stadium
Opa-Locka
- 19 M2
- 5 camere
- 12 persone
- Aria condizionata
- Piscina
- Parcheggio
- Giardino
- Barbecue
1 recensione


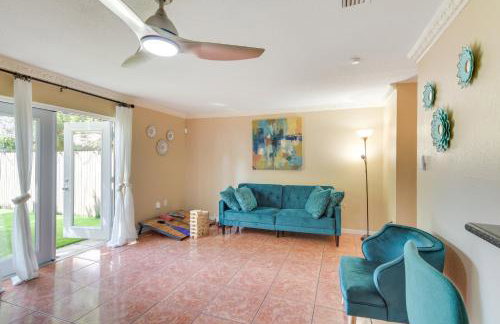
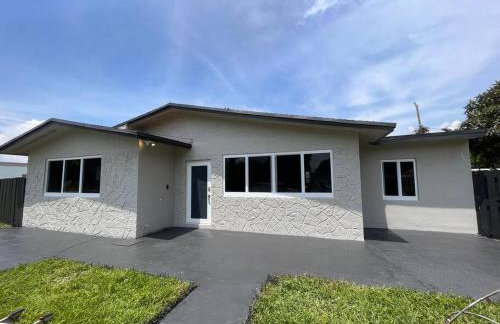
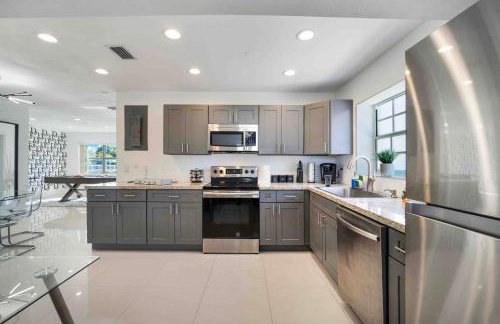
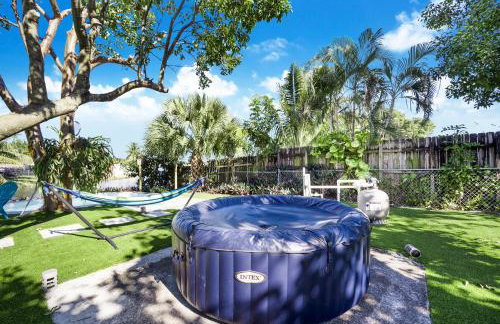
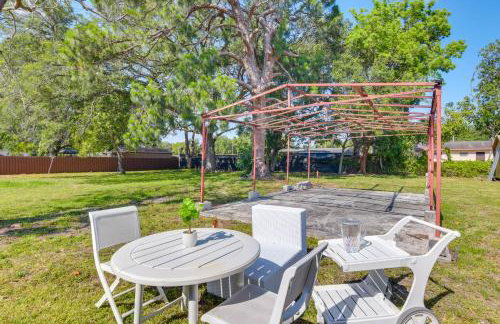
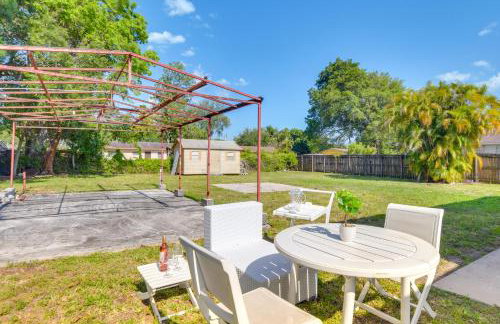
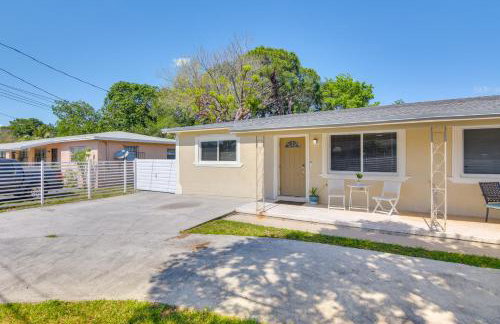
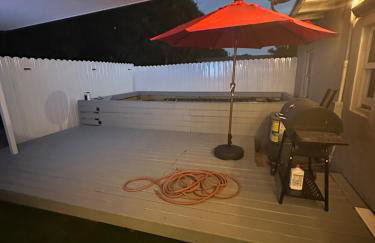
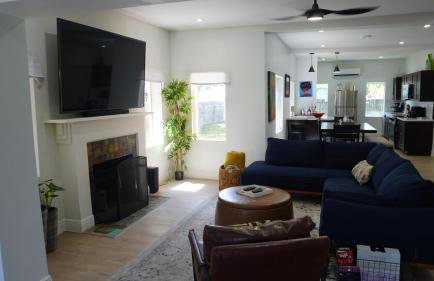
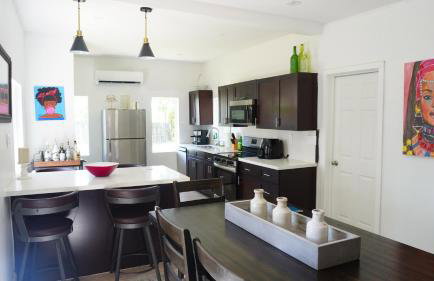
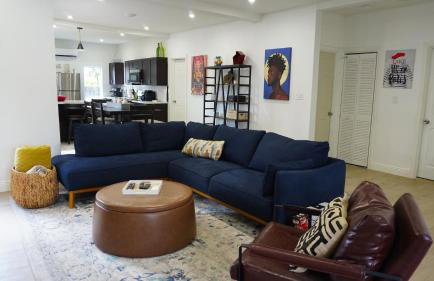
Tropical Miami Oasis
Opa-Locka
- 111 M2
- 6 persone
- Aria condizionata
- Riscaldamento
- Parcheggio
- Balcone
- Giardino
- Tv
- Lavatrice
- Barbecue
- Lino da bagno

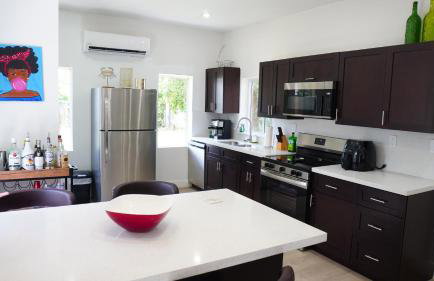
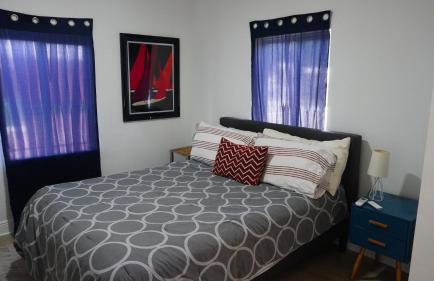

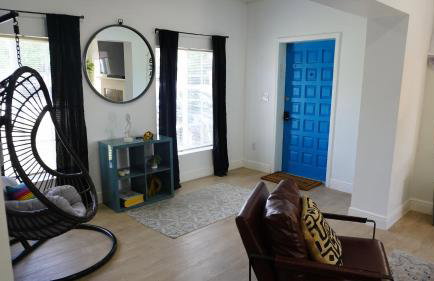


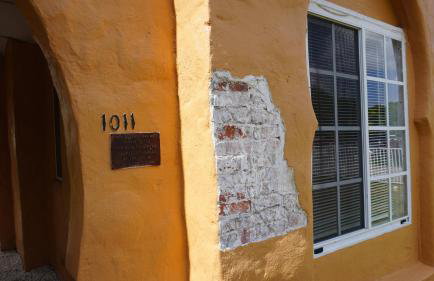
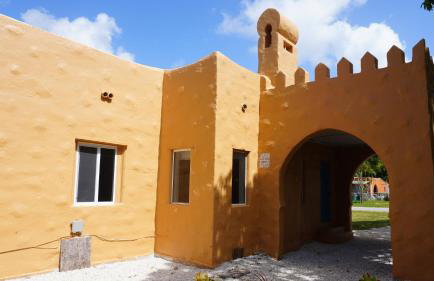

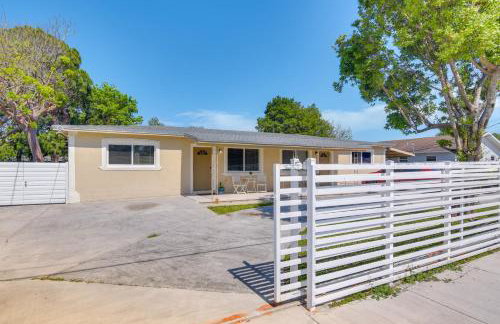
Charming Historic Home with Modern Comforts
Opa-Locka
- 13 M2
- 3 camere
- 6 persone
- Aria condizionata
- Parcheggio