
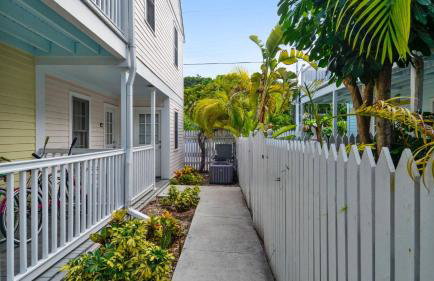
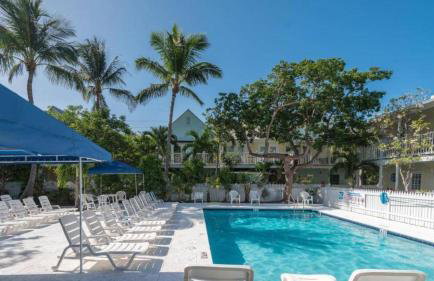
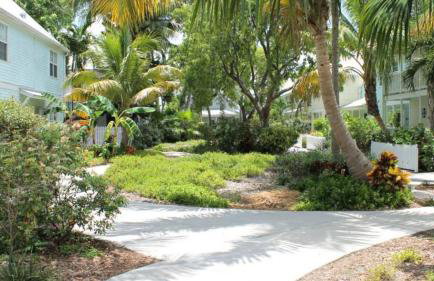
800 Appartamenti a Key West


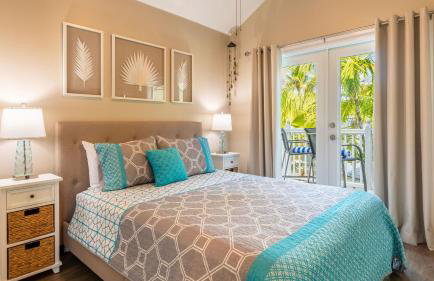
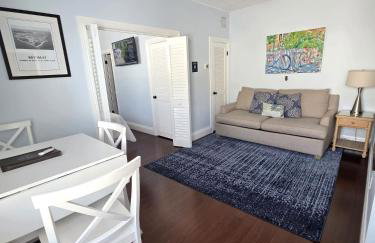
Resort View 1BR Suite With Direct Pool Access
Key West
- 4 persone
- Aria condizionata
- Riscaldamento
- Parcheggio
- Balcone
- Giardino
- Tv
- Lavatrice
- Lino da bagno
- Lino da letto
75 recensioni


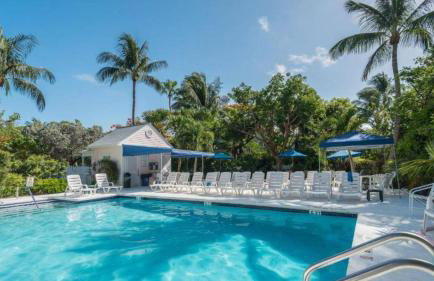
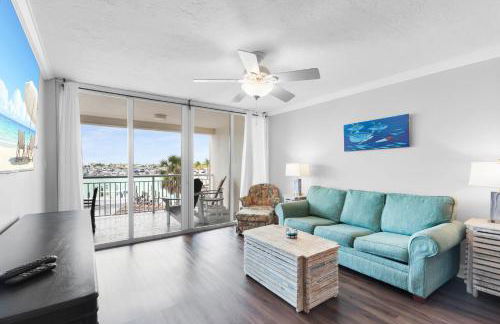
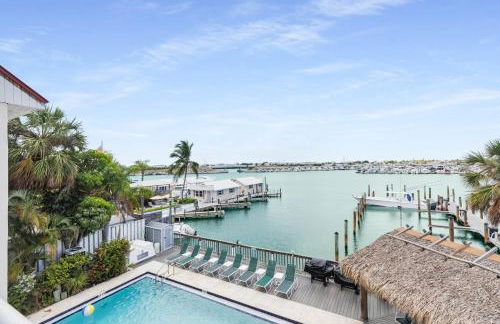
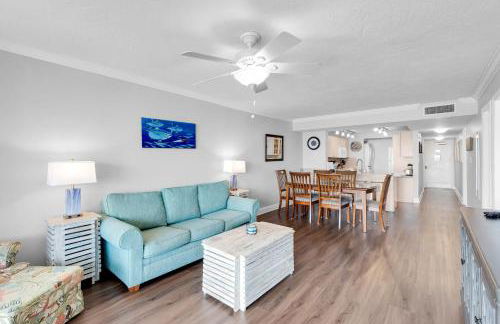
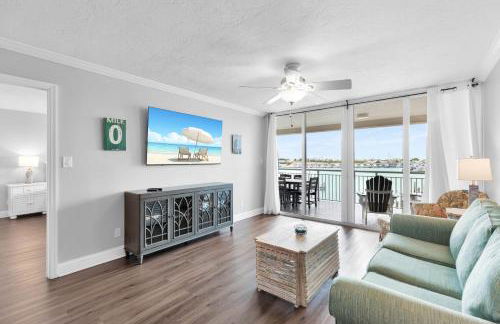
Coconut Mallory Resort And Marina By Kees Vacations
Key West
- 98 M2
- 6 persone
- Cucinino
- Aria condizionata
- Riscaldamento
- Piscina
- Parcheggio
- Ascensore
- Balcone
- Tv
- Barbecue
- Lino da bagno
- Lino da letto
834 recensioni


Grand Marina Suite by Brightwild Waterfront
Key West
- 165 M2
- 2 camere
- 6 persone
- Aria condizionata
- Riscaldamento
- Piscina
- Parcheggio
- Balcone
- Giardino
- Tv
- Lavatrice
- Lino da bagno
- Lino da letto
3 recensioni

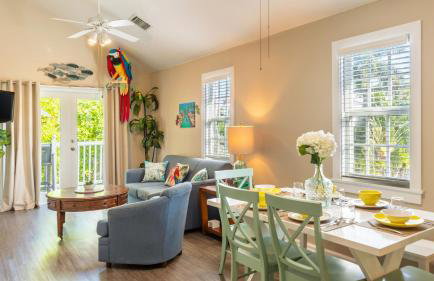


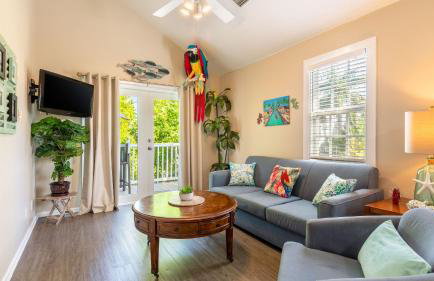

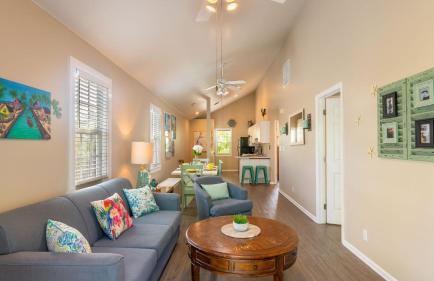

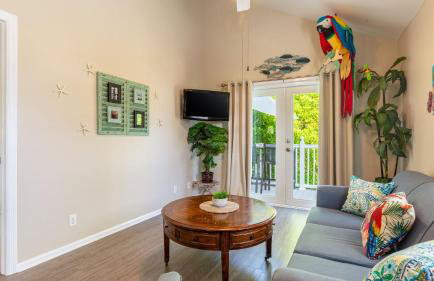

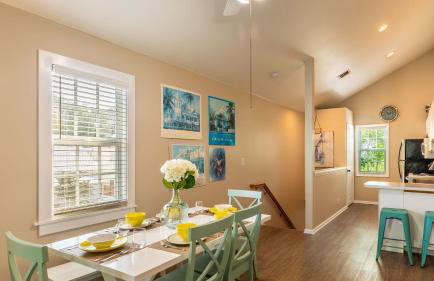

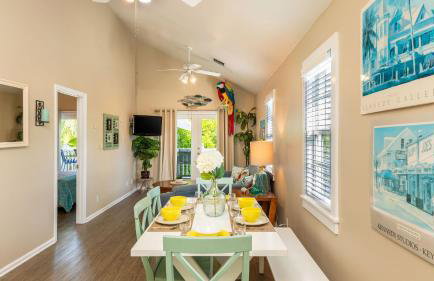

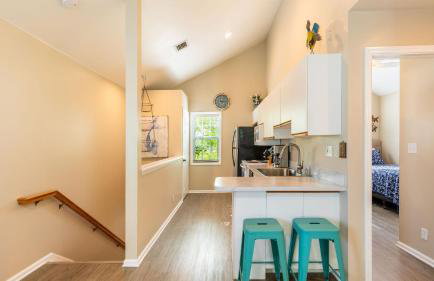

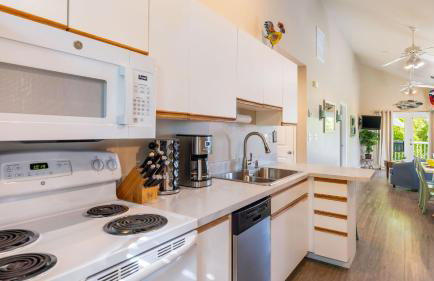

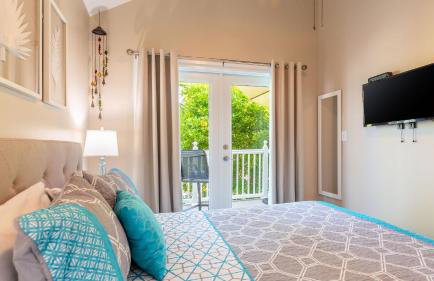


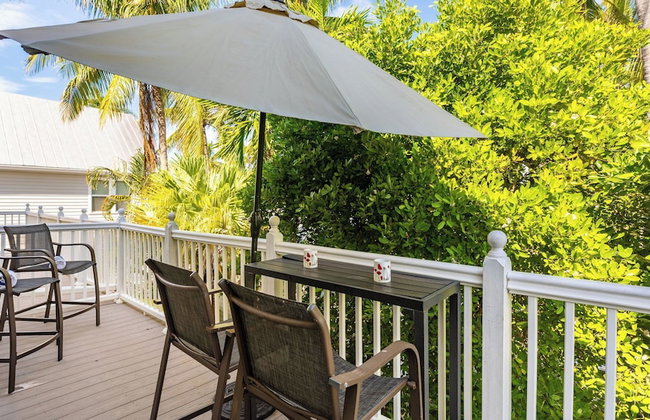


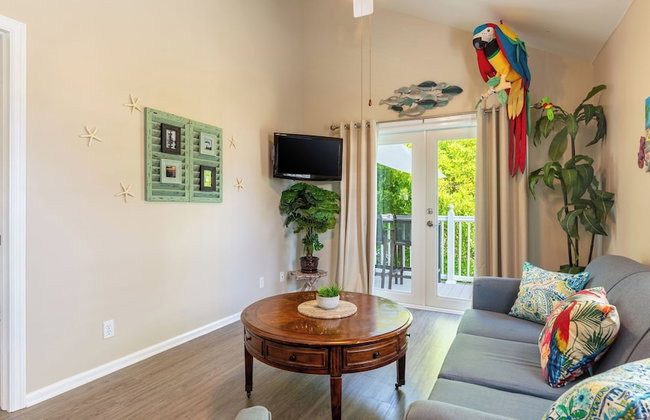

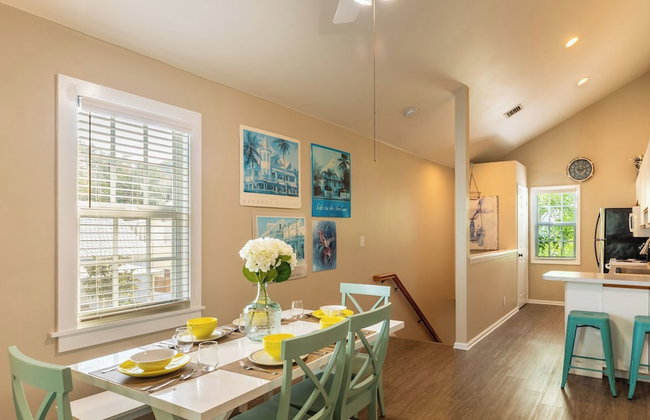


Parrot Perch by Avantstay Old Town Key West w/ Shared Pool Month-long Stays Only
Key West
- 53 M2
- 2 camere
- 5 persone
- Aria condizionata
- Piscina
- Parcheggio
- Balcone
- Tv
- Lavatrice
- Lino da bagno
- Lino da letto
5 recensioni


Aqua Lodges at Hurricane Hole Marina
Key West
- 4 persone
- Aria condizionata
- Parcheggio
- Tv
- Lino da bagno
- Lino da letto
190 recensioni


Duval Street Suite w parking and pool
Key West
- 37 M2
- 1 camera
- 4 persone
- Aria condizionata
- Riscaldamento
- Piscina
- Parcheggio
- Giardino
- Barbecue
15 recensioni


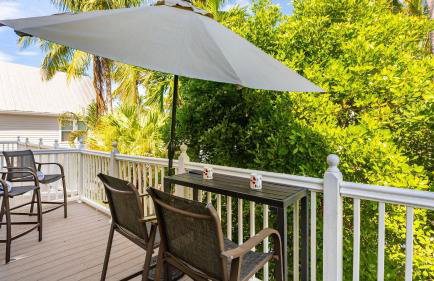
Tropical Heron Hideaway with Hot Tub, Pool
Key West
- 58 M2
- 1 camera
- 4 persone
- Aria condizionata
- Riscaldamento
- Terrazza
- Piscina
- Parcheggio
- Giardino
- Barbecue
12 recensioni


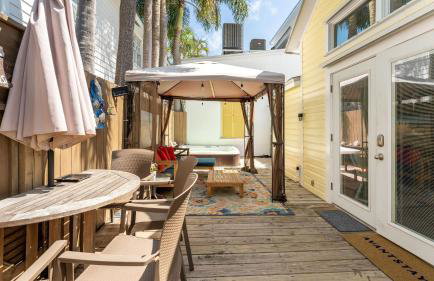

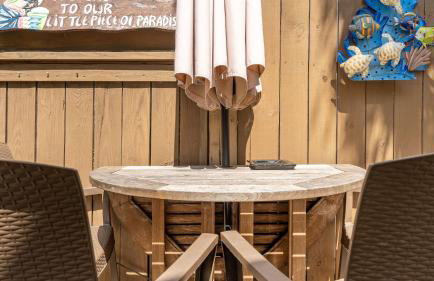


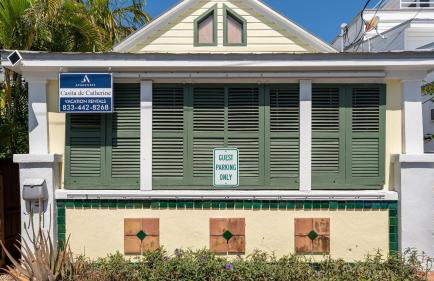
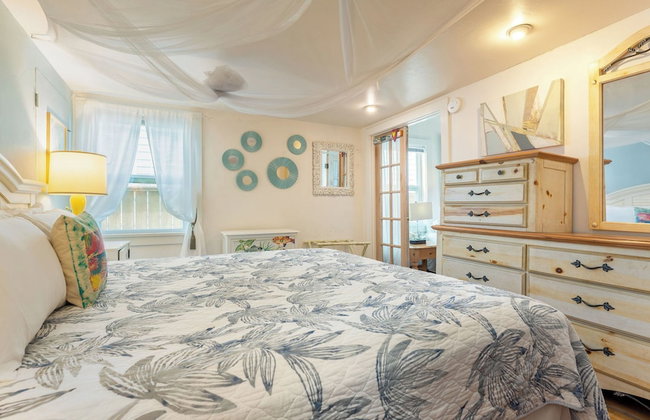

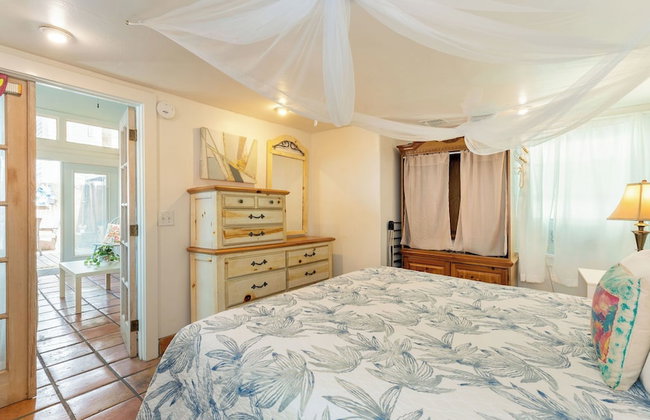
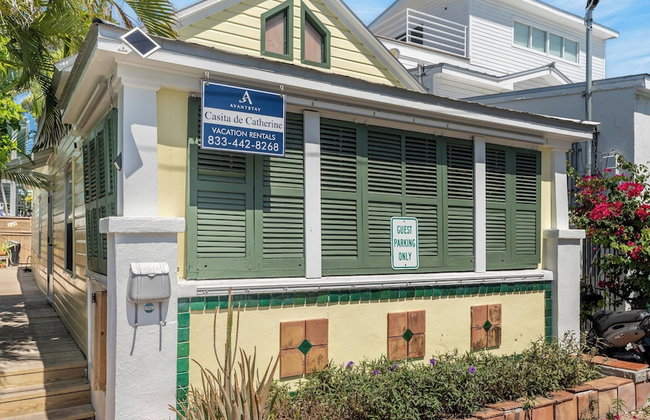


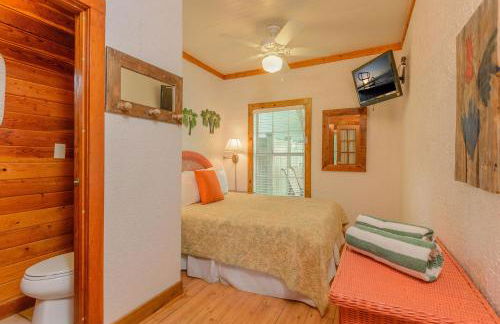
Casita de Catherine by Avantstay 1 Block to Duval St w/ Hot Tub!
Key West
- 46 M2
- 1 camera
- 3 persone
- Aria condizionata
- Terrazza
- Lavatrice
- Lino da letto
6 recensioni


Key West Downtown Waterfront, sleeps 8, Dock & Pool Pet-Friendly
Key West
- 112 M2
- 2 camere
- 8 persone
- Aria condizionata
- Riscaldamento
- Parcheggio
- Ascensore
- Giardino
- Barbecue
16 recensioni


Ocean Front 1BR Suite With Direct Beach Access
Key West
- 4 persone
- Aria condizionata
- Riscaldamento
- Balcone
- Tv
- Lavatrice
- Lino da bagno
- Lino da letto
3 recensioni


Island View 1BR Residence With Balcony
Key West
- 4 persone
- Aria condizionata
- Riscaldamento
- Balcone
- Tv
- Lavatrice
- Lino da bagno
- Lino da letto
3 recensioni


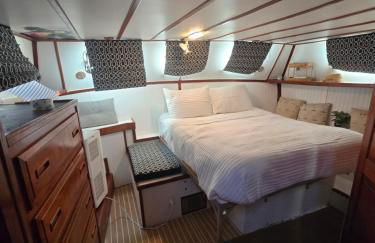
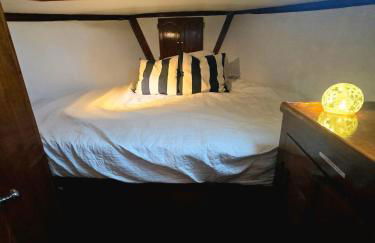

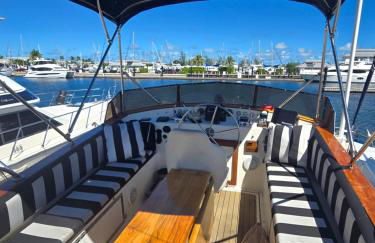
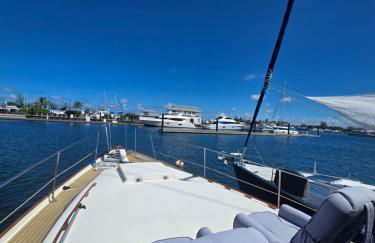


43' Classic Trawler 5 Star Resort Pools, Views, Dining Free Shuttle to Downtown
Key West
- 65 M2
- 2 camere
- 4 persone
- Aria condizionata
- Piscina
- Parcheggio
22 recensioni


Curacao - Large 2x2 Waterfront Condo Great View Pool & Dock
Key West
- 112 M2
- 2 camere
- 8 persone
- Aria condizionata
- Riscaldamento
- Piscina
- Parcheggio
- Ascensore
- Giardino
- Barbecue
11 recensioni


Tranquility by Avantstay Close to Duval St w/ BBQ & Shared Pool
Key West
- 45 M2
- 1 camera
- 4 persone
- Aria condizionata
- Riscaldamento
- Terrazza
- Piscina
- Parcheggio
- Tv
- Lavatrice
- Barbecue
- Lino da bagno
- Lino da letto
5 recensioni
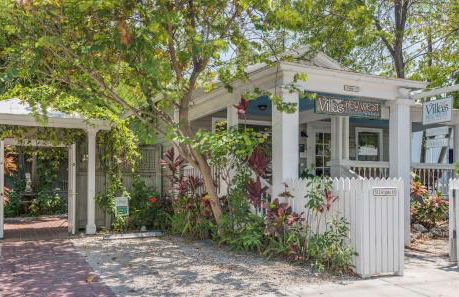

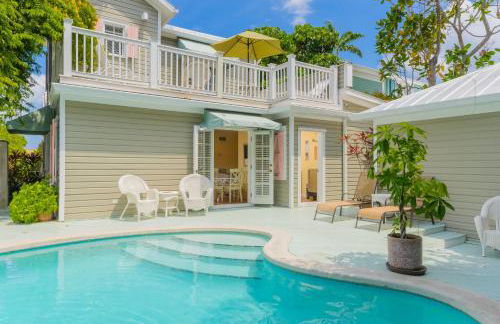


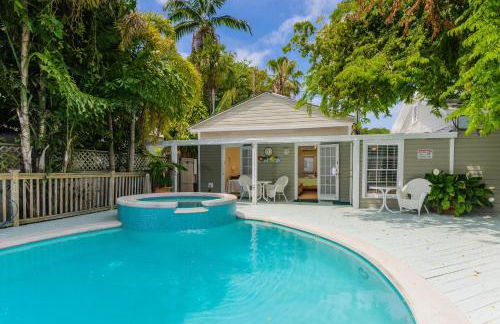

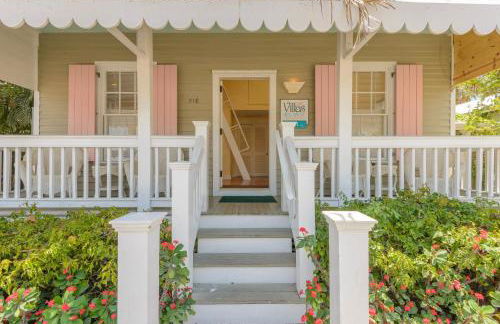
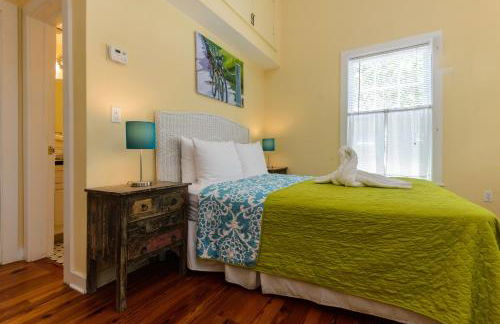
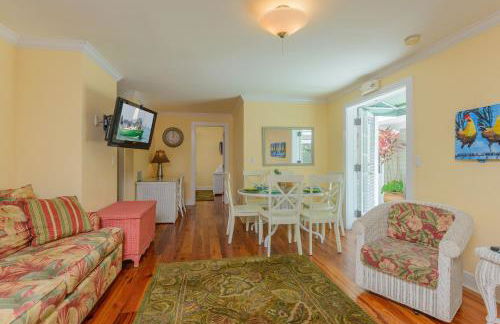


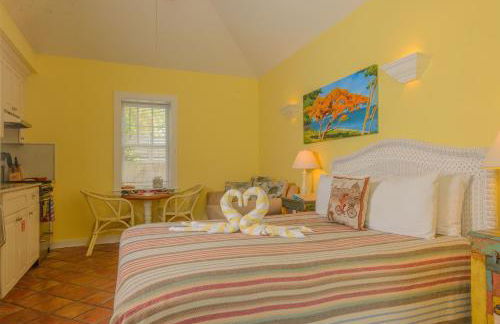
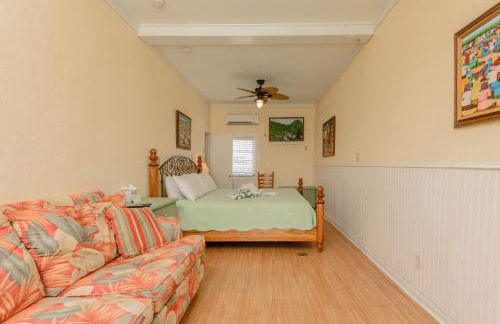

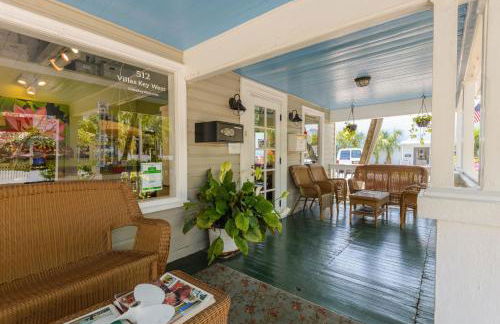


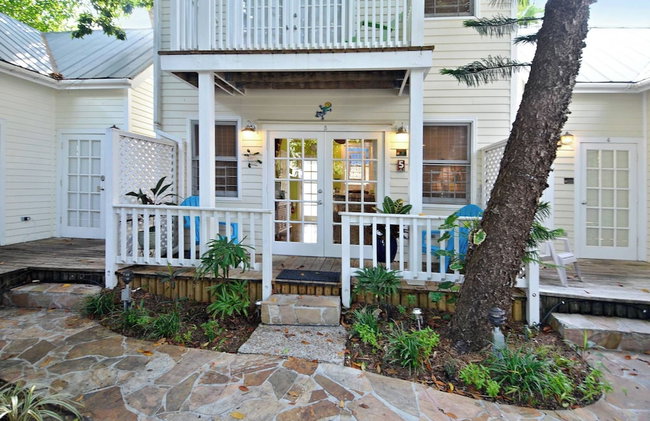
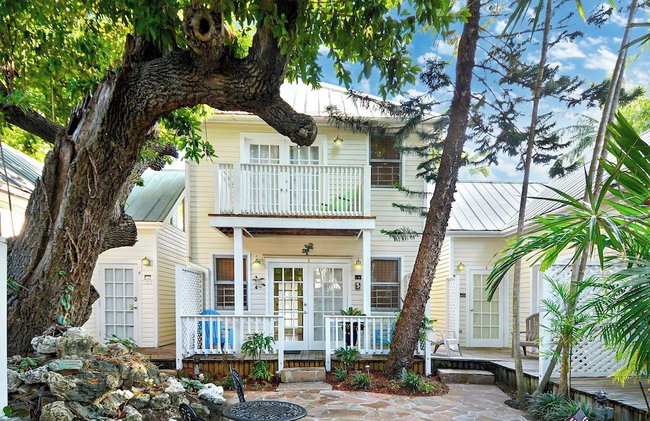
Key West Villas
Key West
- 79 M2
- 2 camere
- 6 persone
- Aria condizionata
- Riscaldamento
- Piscina
- Parcheggio
- Giardino
293 recensioni


Andros - Spacious 2x2 Waterfront Condo
Key West
- 125 M2
- 2 camere
- 8 persone
- Aria condizionata
- Riscaldamento
- Piscina
- Parcheggio
- Ascensore
- Giardino
- Barbecue
12 recensioni


KWSS201 Sunrise Suites Saint Lucia Suite #201
Key West
- 2 camere
- 6 persone
- Aria condizionata
- Riscaldamento
- Piscina
- Ascensore
- Giardino
14 recensioni


Dee's Dream Sunset Condo - #151
Key West
- 60 M2
- 2 camere
- 4 persone
- Aria condizionata
- Terrazza
- Piscina
- Parcheggio
2 recensioni


The Grenada Suite Pool View Private Balcony
Key West
- 74 M2
- 2 camere
- 6 persone
- Aria condizionata
- Riscaldamento
- Piscina
- Parcheggio
- Ascensore
- Balcone
- Tv
- Lavatrice
- Barbecue
- Lino da bagno
- Lino da letto
2 recensioni


Amelia Home by Avantstay In Historic Old Town w/ Pool
Key West
- 127 M2
- 2 camere
- 6 persone
- Aria condizionata
- Terrazza
- Piscina
- Parcheggio
- Tv
- Lavatrice
- Barbecue
- Lino da bagno
- Lino da letto
3 recensioni