
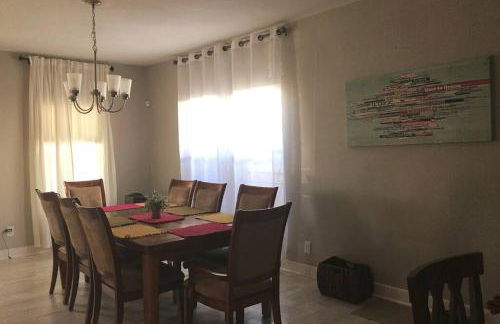
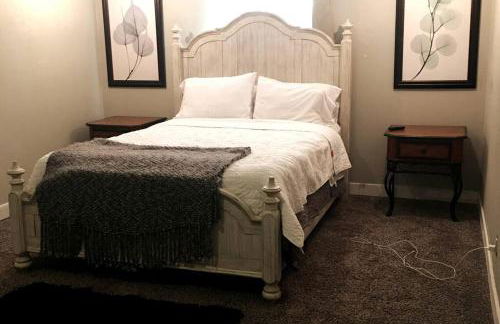
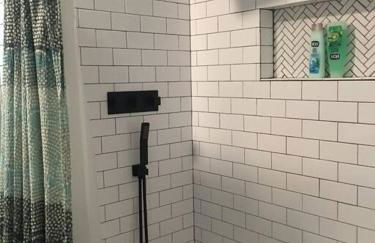
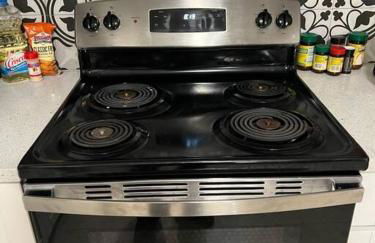
47 Appartamenti a Jefferson
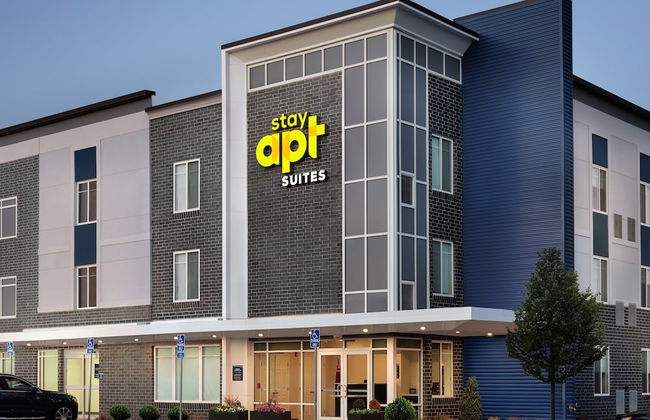
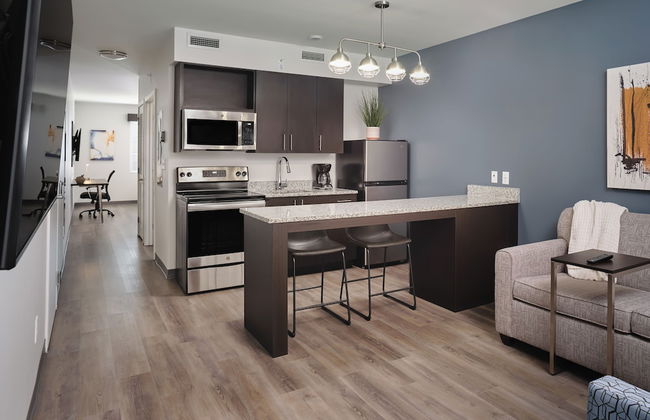


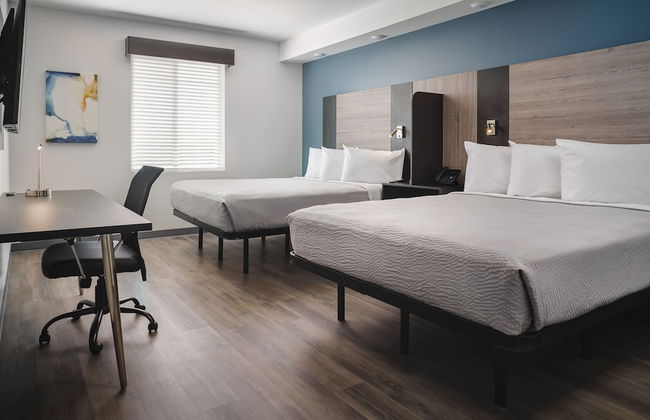
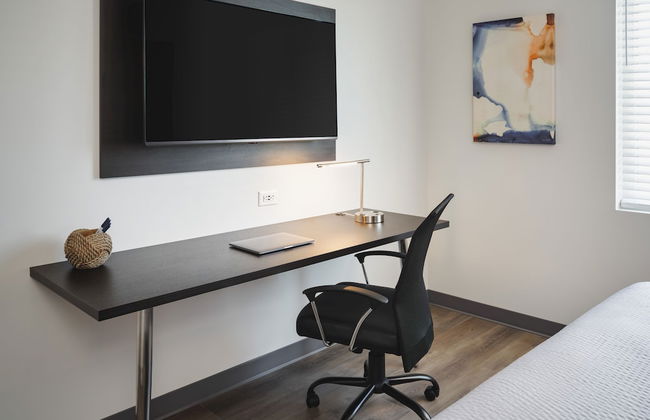
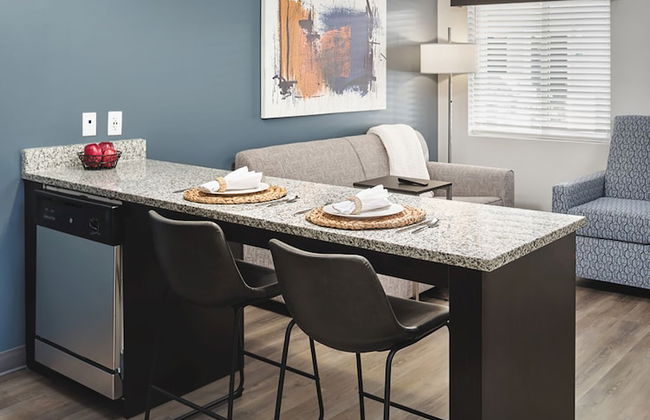
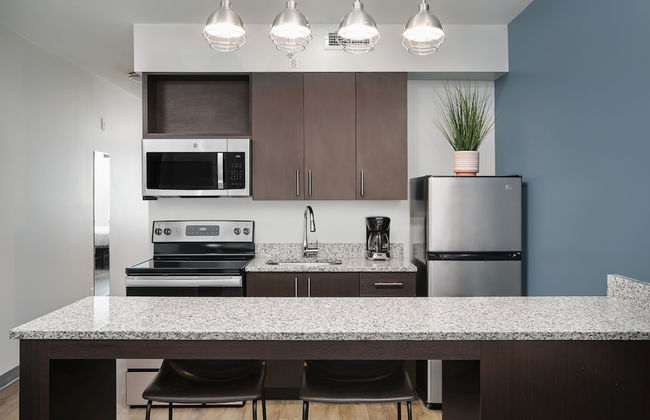
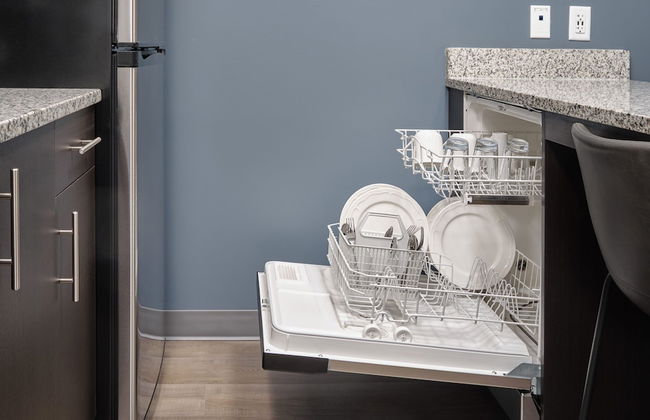
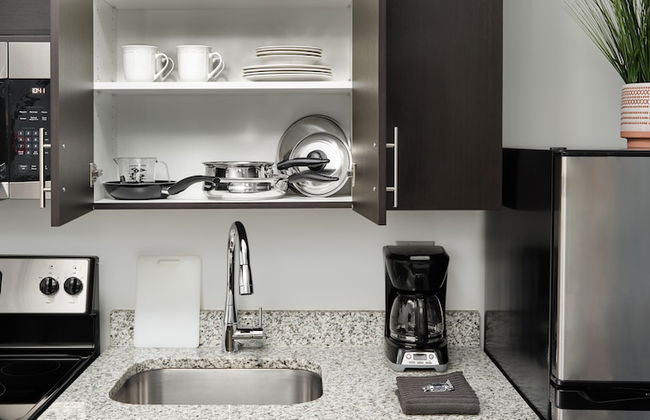
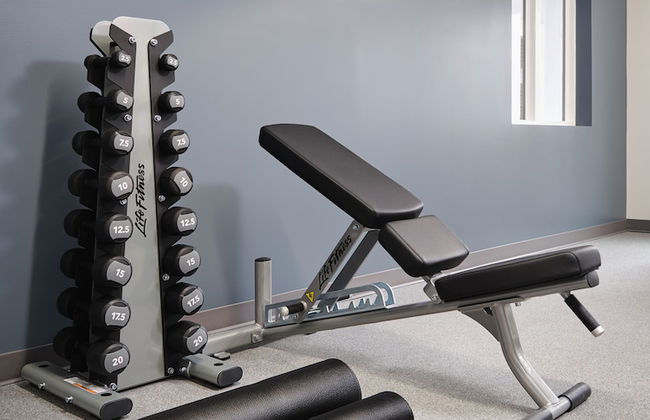
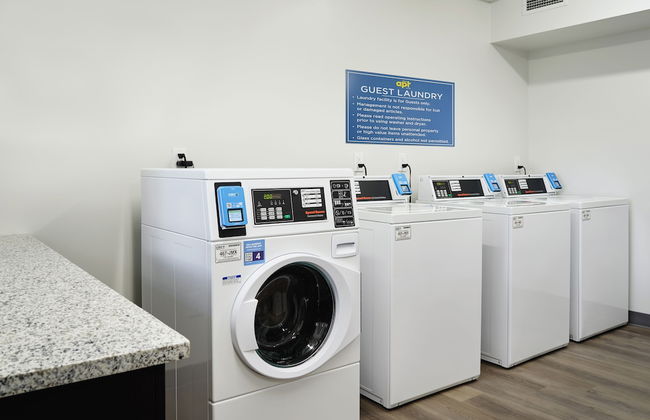


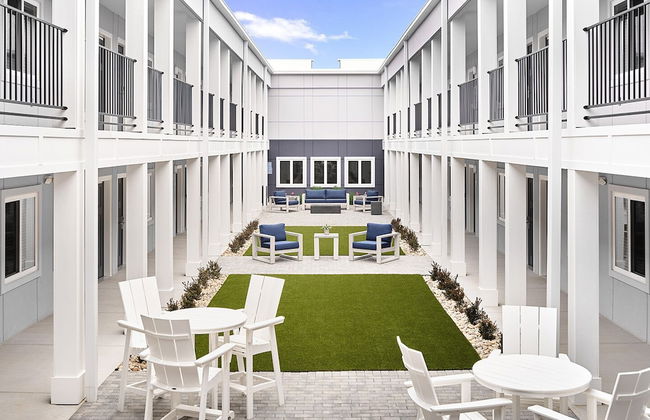

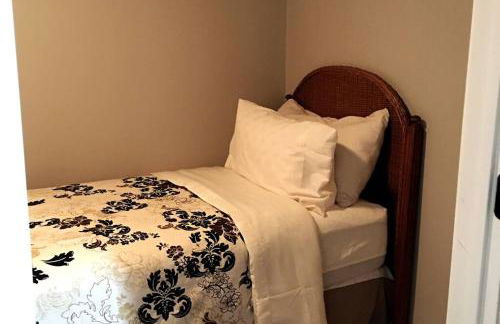
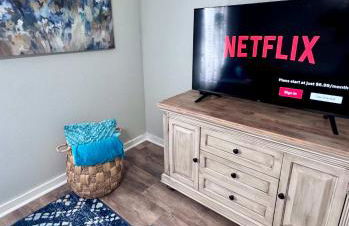
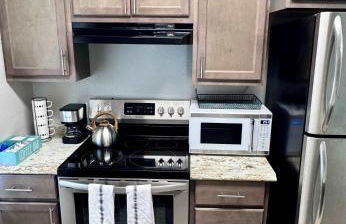
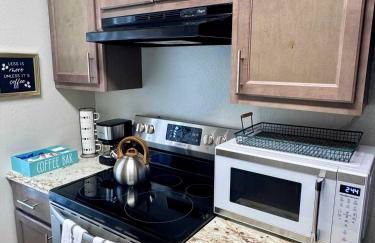
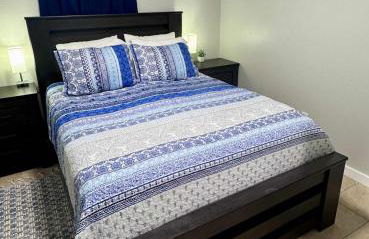
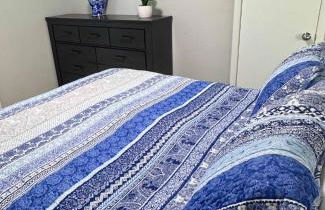
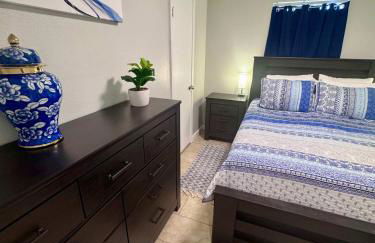
stayAPT Suites Port Arthur
Port Arthur - 6.4 km dal centro
- 4 persone
- Aria condizionata
- Riscaldamento
- Parcheggio
- Ascensore
- Tv
- Focolare
- Barbecue
- Lino da bagno
- Lino da letto
23 recensioni


Artist Condo
Beaumont - 7.3 km dal centro
- 144 M2
- 3 camere
- 6 persone
- Aria condizionata
- Riscaldamento
- Piscina
- Parcheggio
- Giardino
- Barbecue
7 recensioni


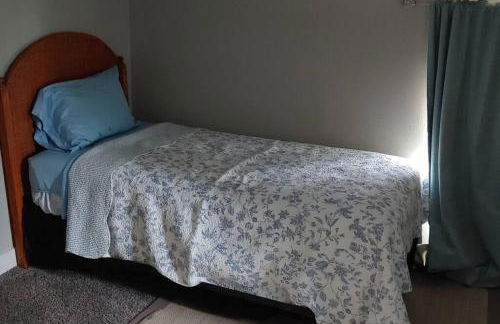
Relax & Unwind in a Serene Retreat Near the Beach
Sabine Pass
- 102 M2
- 2 camere
- 4 persone
- Aria condizionata
- Riscaldamento
- Parcheggio
8 recensioni


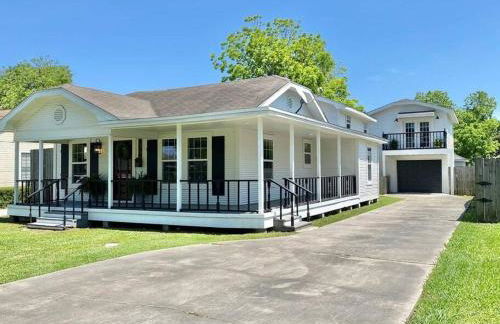
Cozy, Comfortable, and Convenient!
Port Arthur - 3.5 km dal centro
- 102 M2
- 2 camere
- 4 persone
- Aria condizionata
- Riscaldamento
- Parcheggio
9 recensioni


Pet-Friendly Port Arthur Retreat with Fishing Pier!
Port Arthur - 13.5 km dal centro
- 307 M2
- 3 camere
- 8 persone
- Riscaldamento
- Parcheggio
- Ascensore
1 recensione


Texas Gulf Coast 3BR 1BA
Nederland
- 102 M2
- 3 camere
- 5 persone
- Aria condizionata
- Riscaldamento
- Parcheggio
1 recensione

6 BRs Spacious Charming House, Great Neighborhood
Grvs
- 13 M2
- 5 camere
- 16 persone
- Aria condizionata
- Riscaldamento
- Giardino
1 recensione


Reduced! Newly Renovated Luxe West Beaumont w Priv
Beaumont - A C O R N - 9.1 km dal centro
- 3 camere
- 9 persone
- Aria condizionata
- Parcheggio
- Giardino
1 recensione


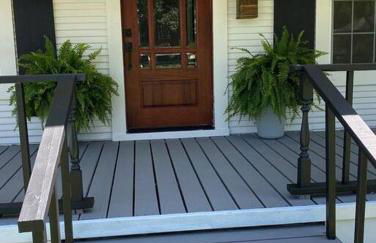
Cheerful Watercolors in 2BR Cottage
Port Neches - 2.2 km dal centro
- 107 M2
- 2 camere
- 4 persone
- Aria condizionata
- Riscaldamento
- Parcheggio
1 recensione


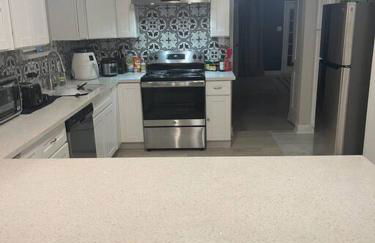
Indoor fireplace with patio and Pool Table
Beaumont - C A N A - 4.3 km dal centro
- 130 M2
- 3 camere
- 9 persone
- Aria condizionata
- Terrazza
- Parcheggio
- Giardino
1 recensione


Reduced! Renovated hidden gem. Chef Kitch. Wheelch
Beaumont - North End - 2.6 km dal centro
- 3 camere
- 9 persone
- Aria condizionata
- Parcheggio
2 recensioni


Stunning Waterfront Condo
Port Arthur - 3.3 km dal centro
- 56 M2
- 1 camera
- 4 persone
- Aria condizionata
- Riscaldamento
- Terrazza
- Piscina
- Parcheggio
- Ascensore
- Giardino
- Barbecue


Charming & Luxe Cottage 3 BR 2 BA
Nederland
- 121 M2
- 3 camere
- 5 persone
- Aria condizionata
- Riscaldamento
- Parcheggio


Pleasure Island Marina Condo
Port Arthur - 3.3 km dal centro
- 56 M2
- 1 camera
- 4 persone
- Aria condizionata
- Terrazza
- Piscina
- Parcheggio
- Ascensore
- Barbecue


Southwest x Southeast 3BR 2BA
Nederland
- 121 M2
- 3 camere
- 6 persone
- Aria condizionata
- Riscaldamento
- Parcheggio
- Giardino


Newly built home Spacious & Comfortable 4BR 2BA
Beaumont - Western Hills - 10.4 km dal centro
- 163 M2
- 4 camere
- 7 persone
- Aria condizionata
- Riscaldamento
- Parcheggio
- Giardino


Waterfront Private Pier Pleasure Island Lake House
Port Arthur - 14 km dal centro
- 56 M2
- 3 camere
- 10 persone
- Aria condizionata
- Riscaldamento
- Terrazza
- Parcheggio
- Ascensore
- Giardino
- Barbecue


The Crew House 2BR 1BA Near Refineries
Port Neches - 1.4 km dal centro
- 4 persone
- Aria condizionata
- Parcheggio


Poolside Island Condo
Port Arthur - 3.3 km dal centro
- 56 M2
- 1 camera
- 4 persone
- Aria condizionata
- Terrazza
- Piscina
- Parcheggio
- Barbecue