


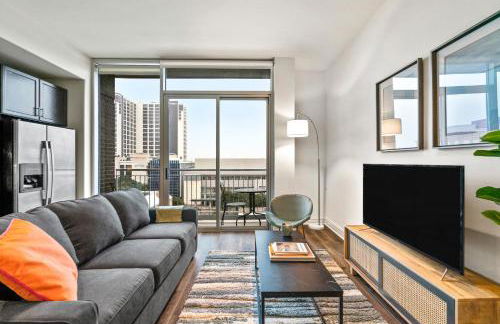
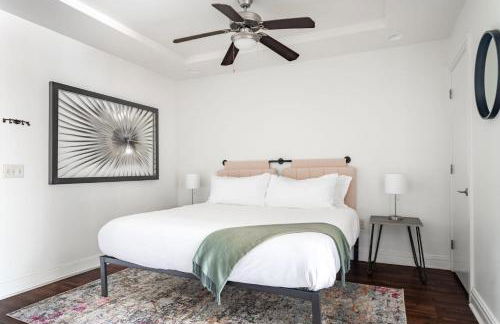
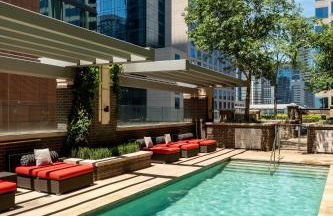
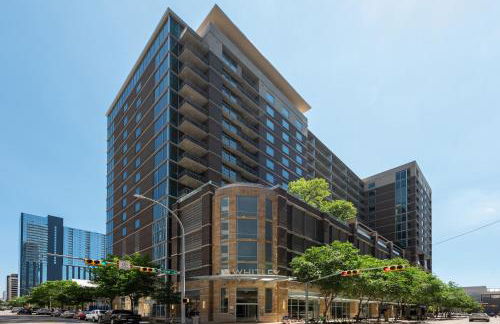
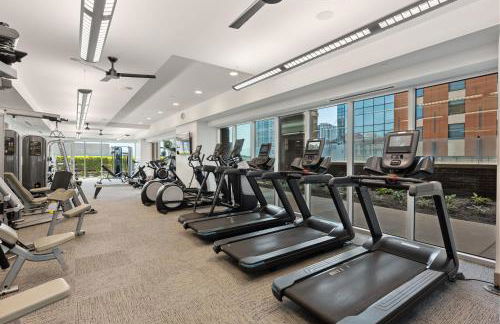
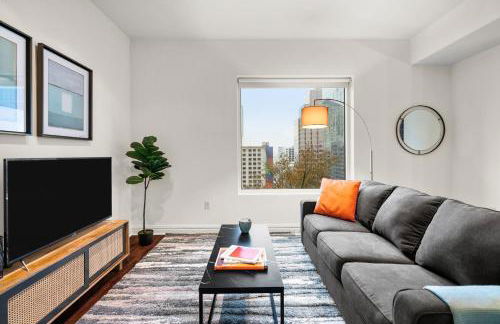
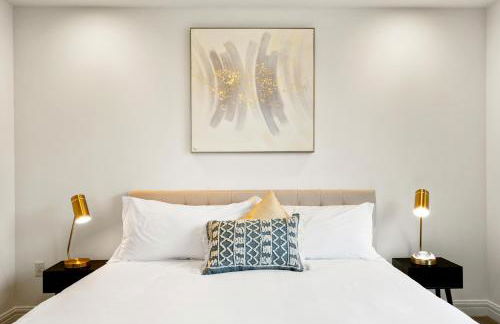
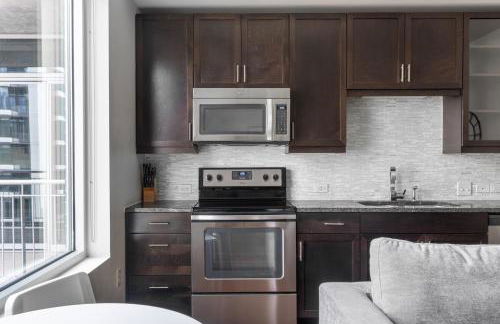
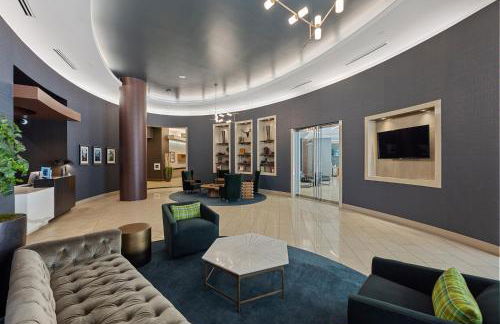
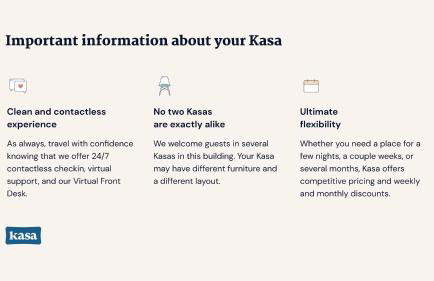
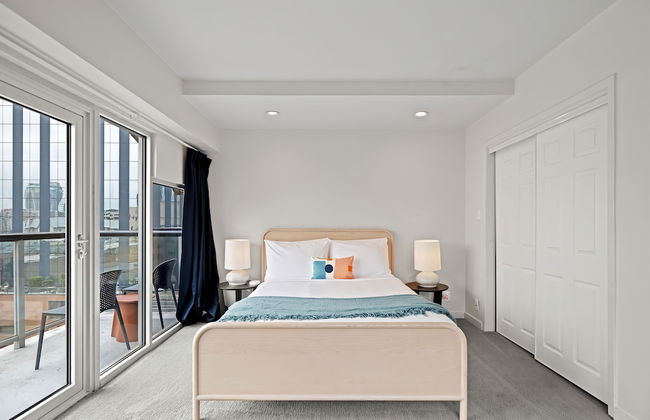
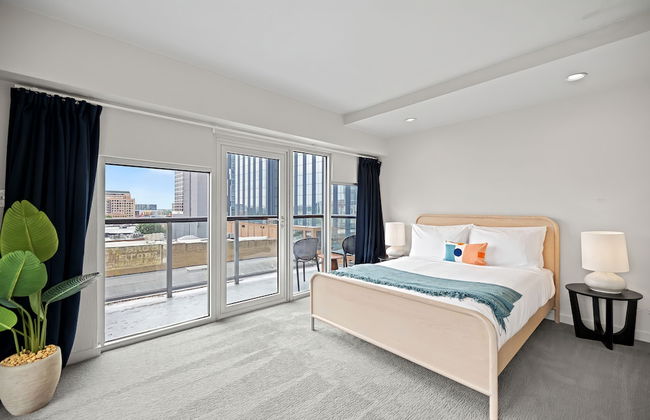
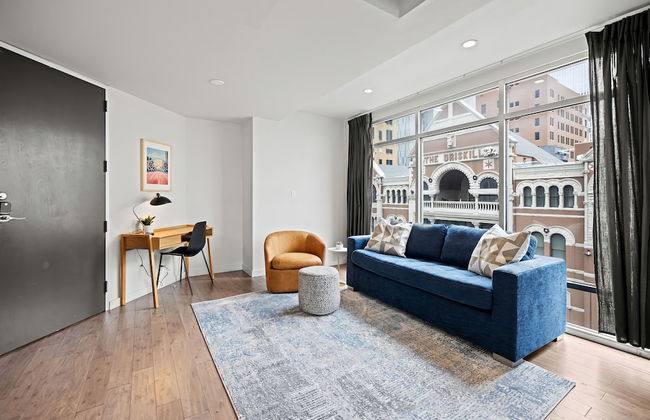
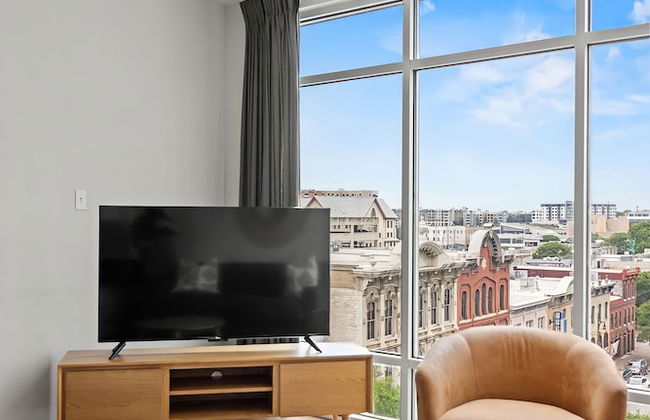
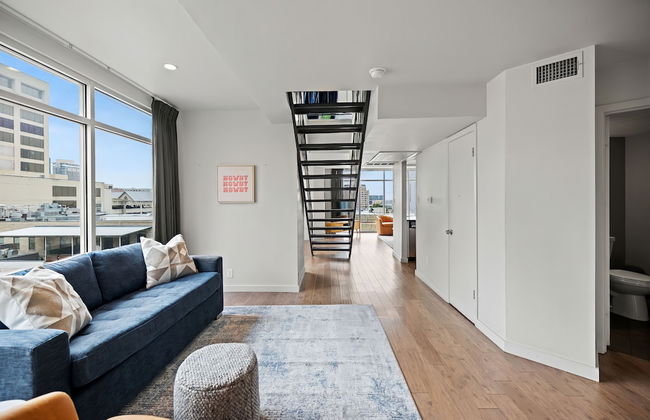
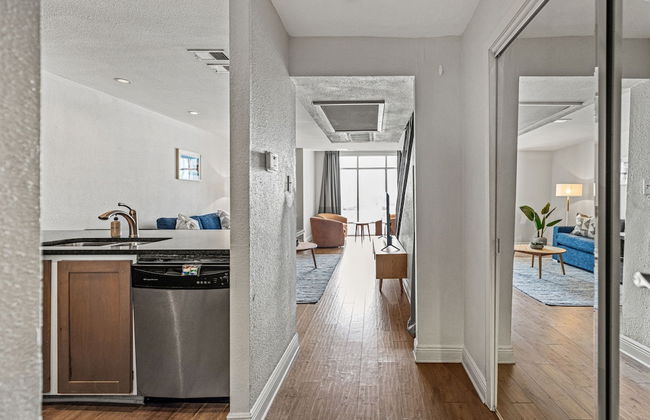
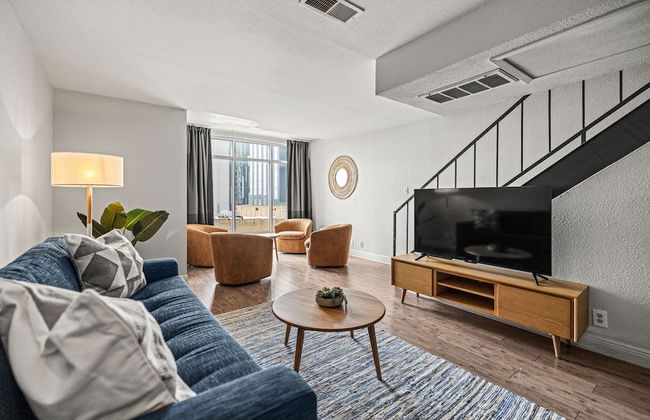
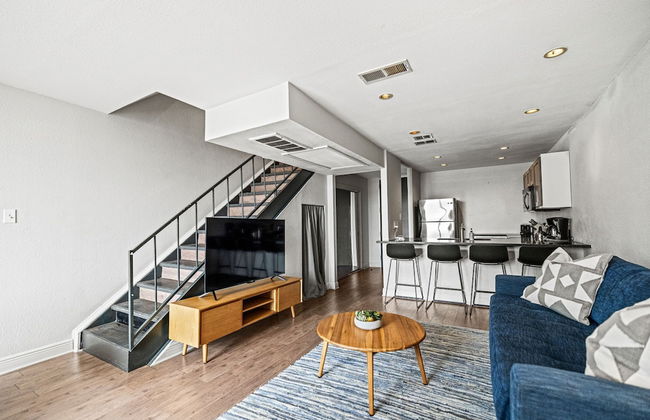
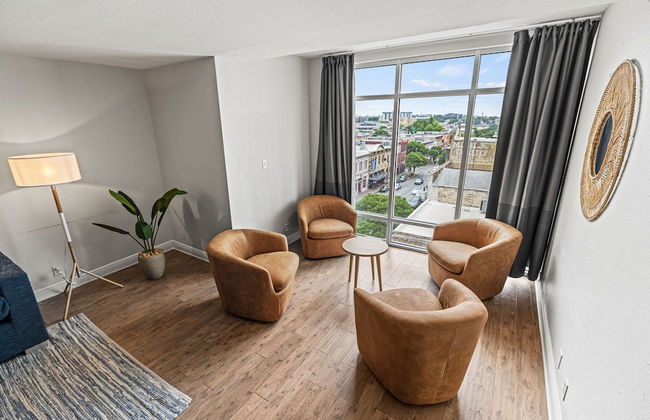
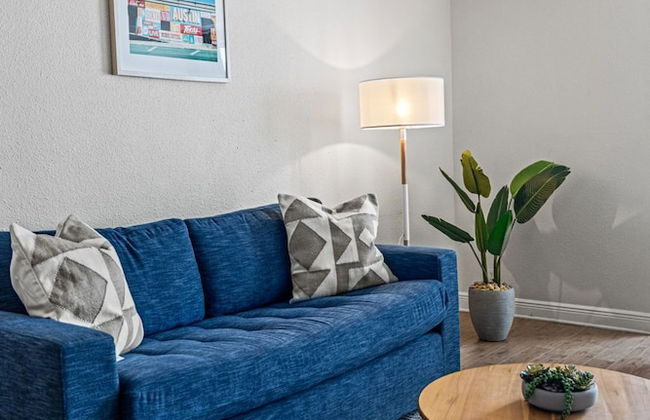
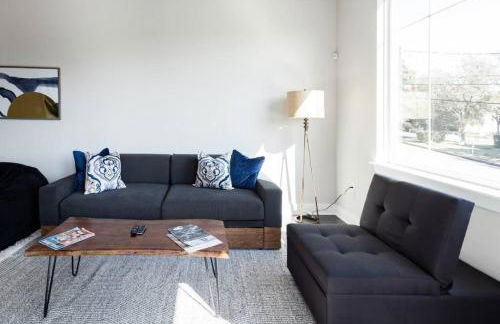
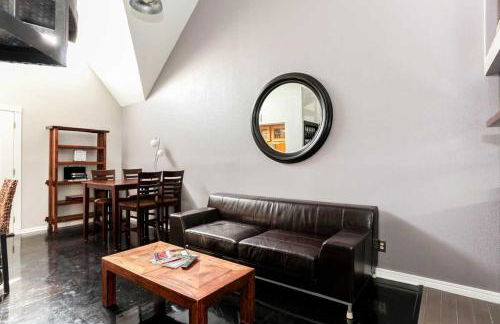
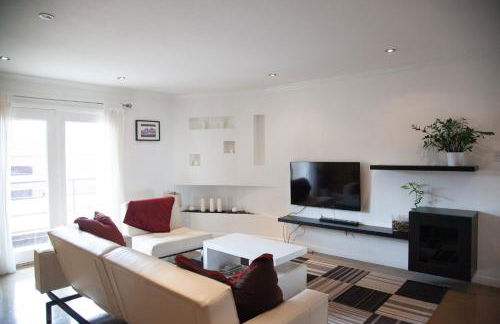
Kasa Downtown Austin
Austin - Downtown Austin - Al centro
- 92 M2
- 2 camere
- 6 persone
- Aria condizionata
- Riscaldamento
- Terrazza
- Piscina
- Parcheggio
- Ascensore
- Balcone
- Giardino
- Tv
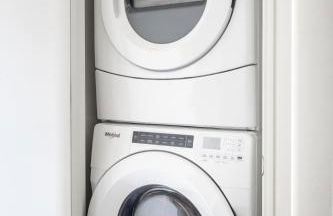
- Lavatrice
- Barbecue
- Lino da bagno
- Lino da letto


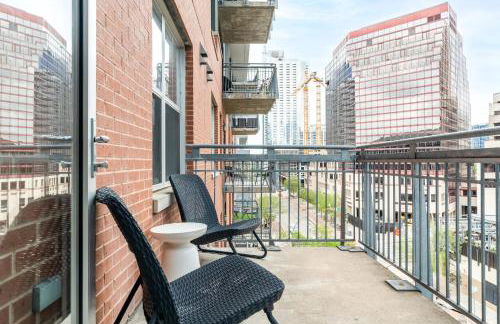
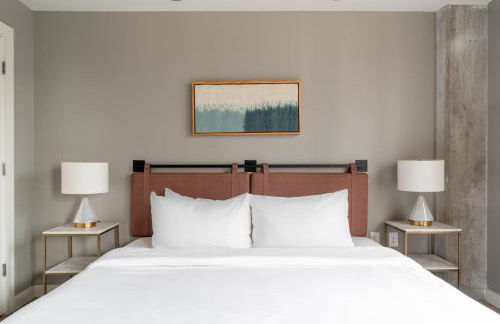
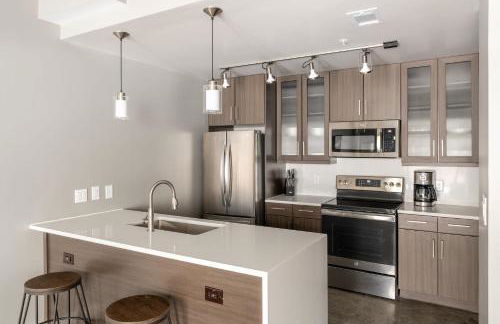
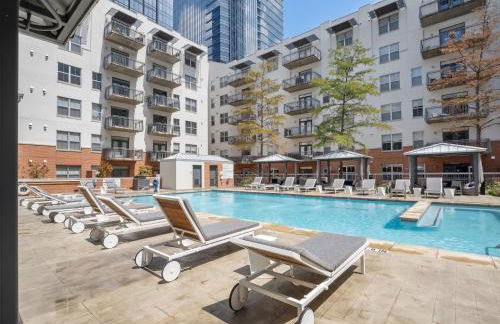
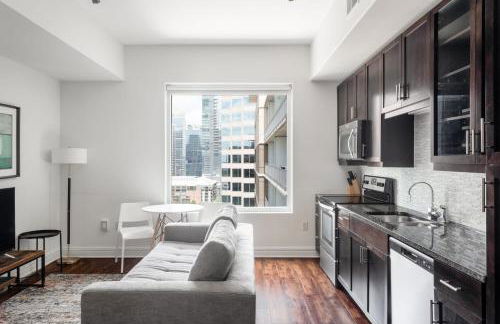
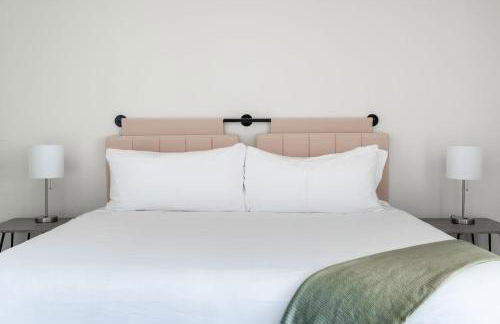
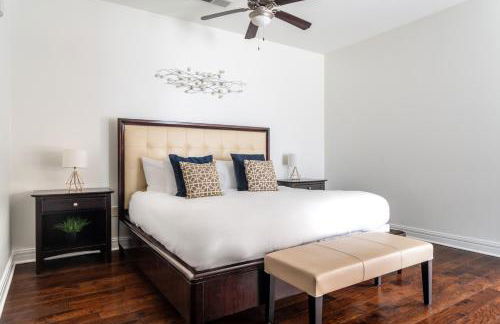
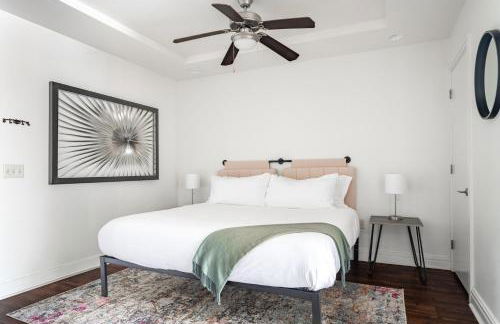
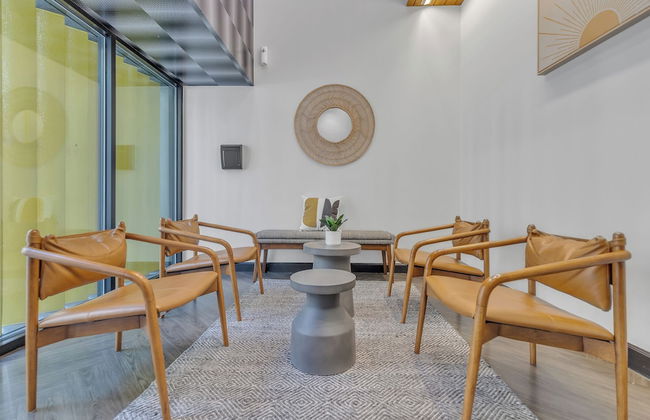
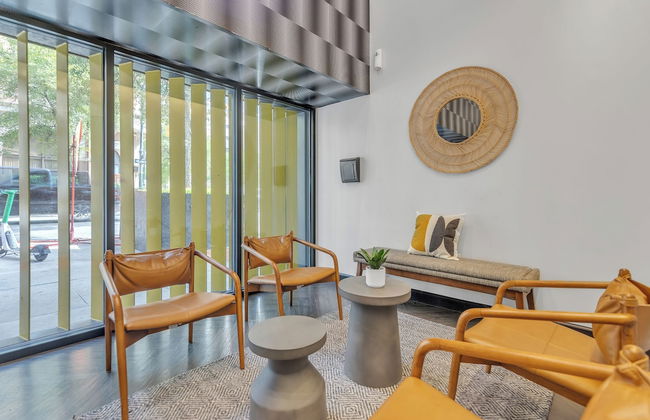
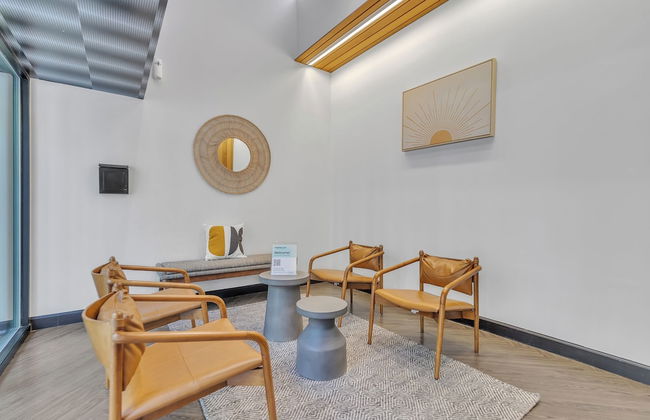
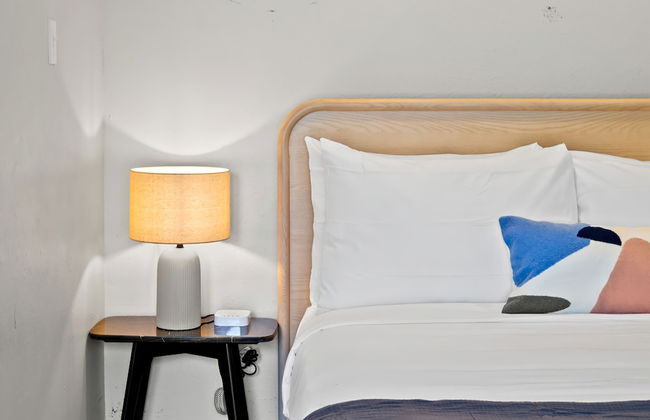
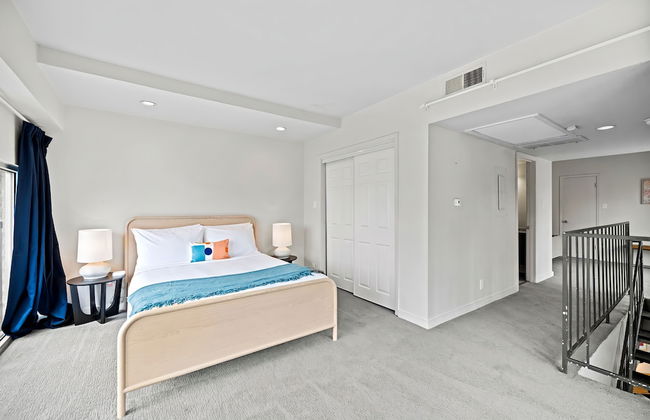
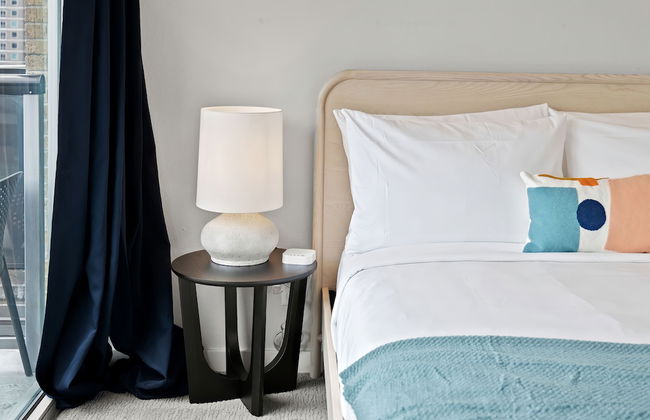
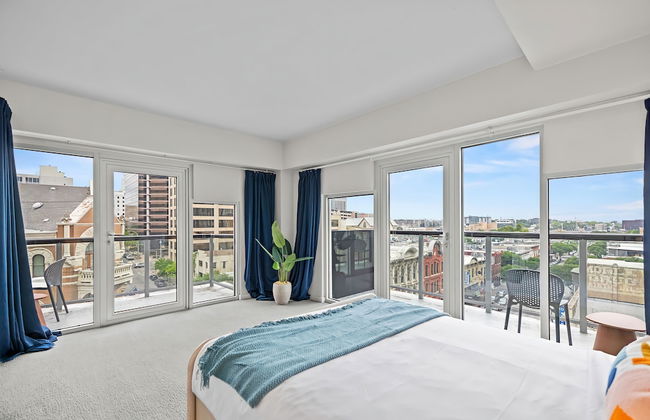
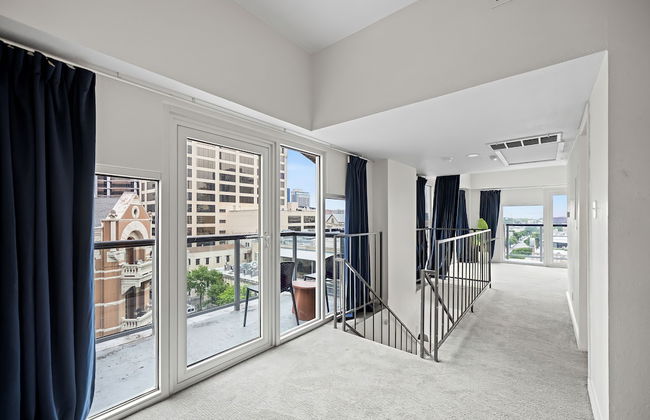
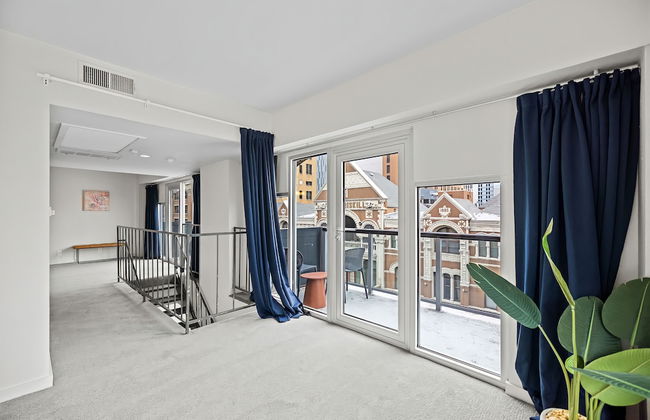
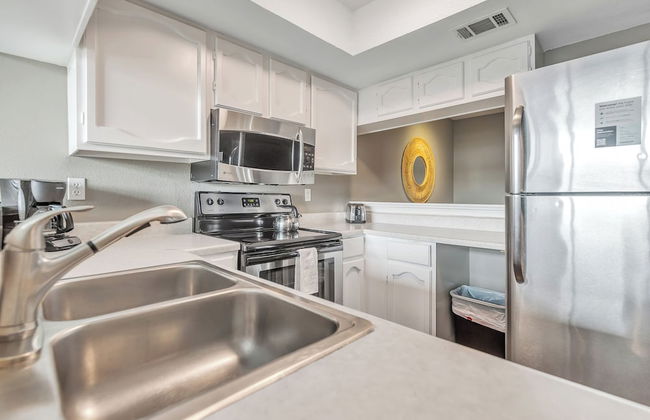
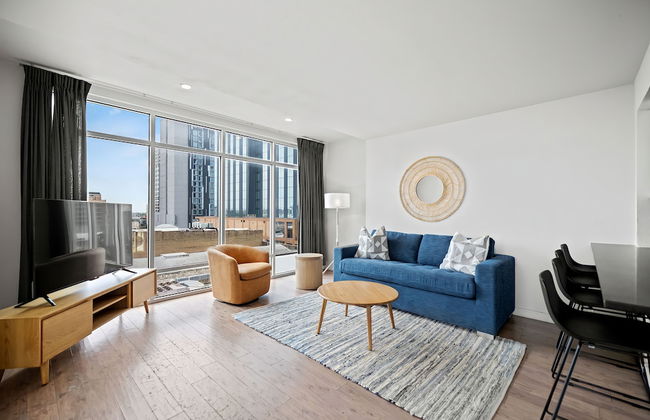
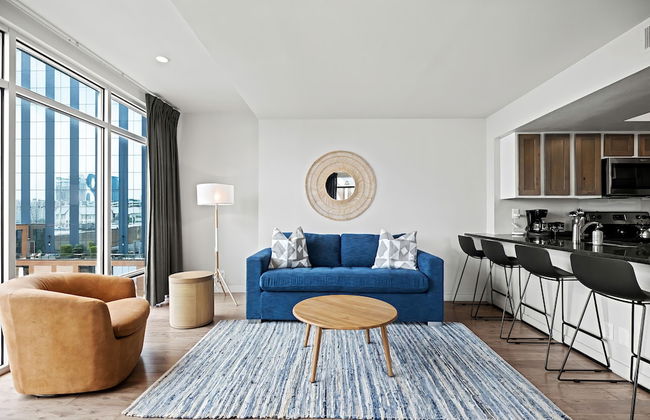
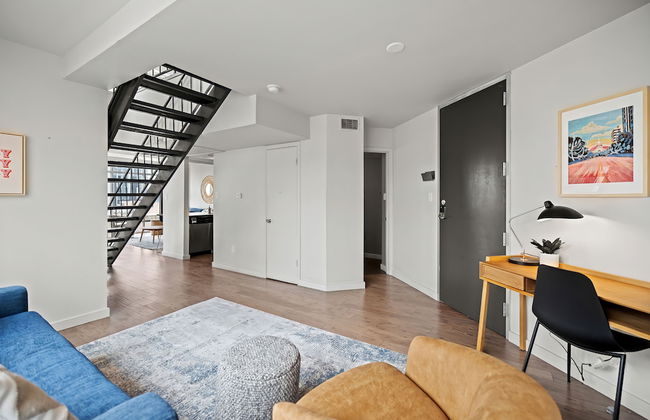
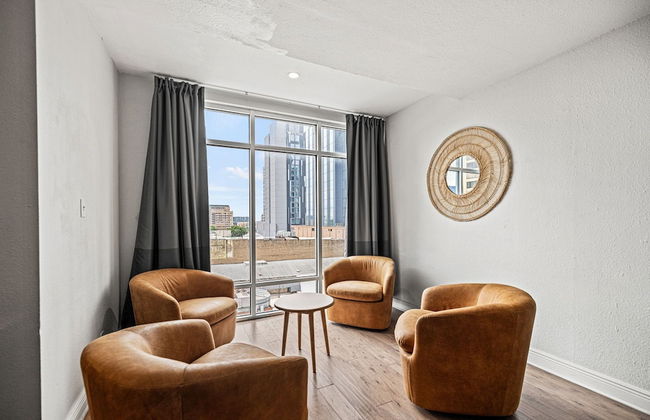
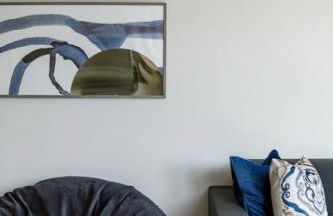
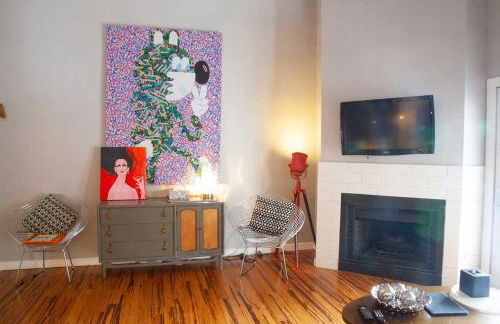
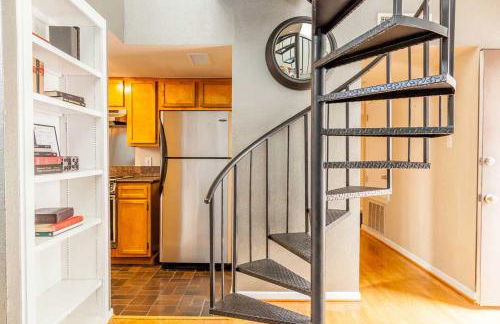
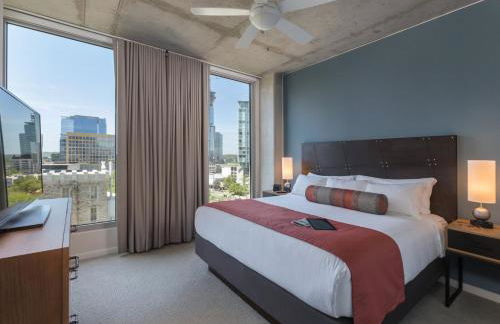
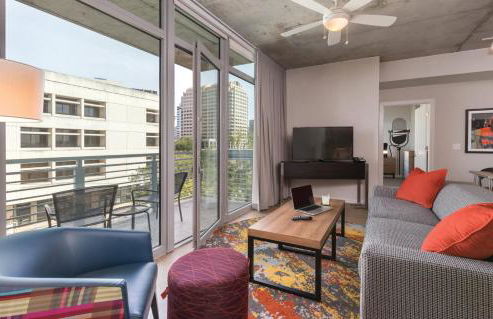
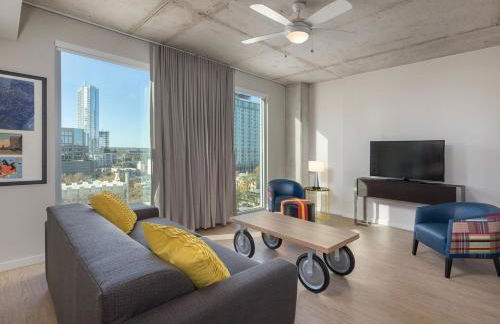
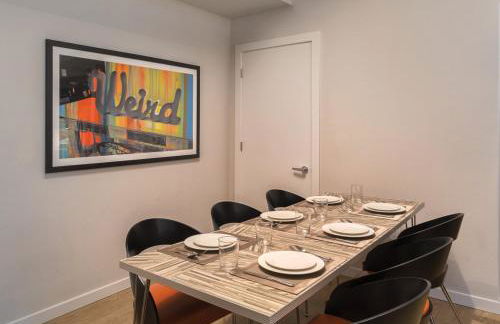
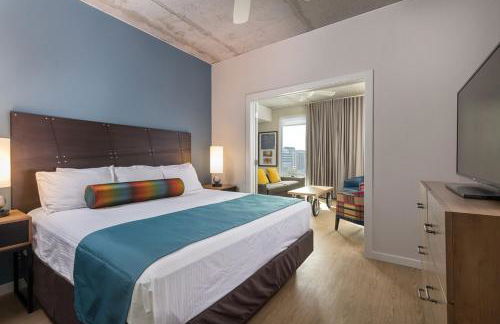
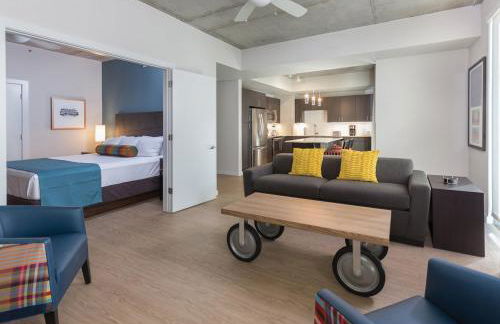
Placemakr Downtown Austin
Austin - Downtown Austin - 280 m dal centro
- 64 M2
- 4 persone
- Aria condizionata
- Riscaldamento
- Terrazza
- Piscina
- Parcheggio
- Ascensore
- Balcone
- Tv
- Lavatrice
- Focolare
- Barbecue
- Lino da bagno
- Lino da letto


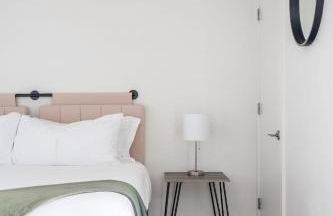
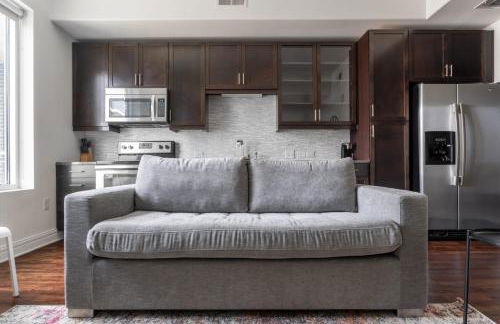
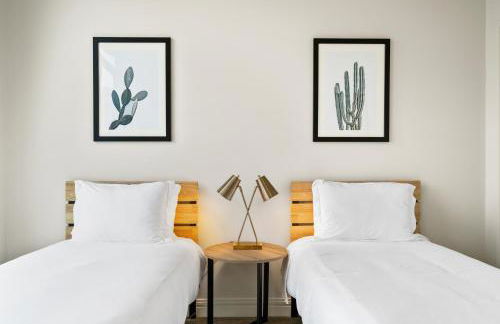
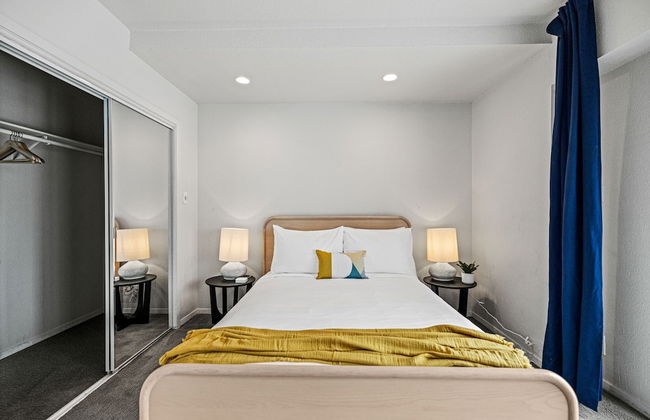
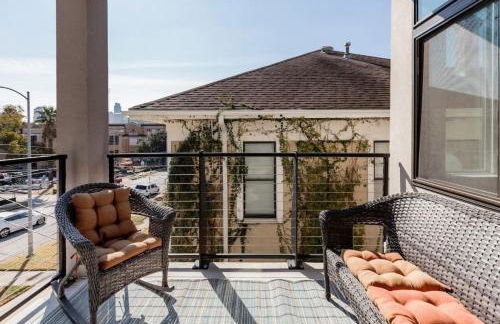
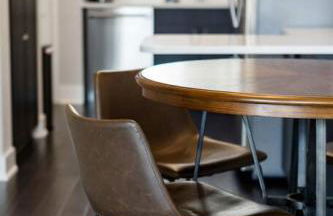
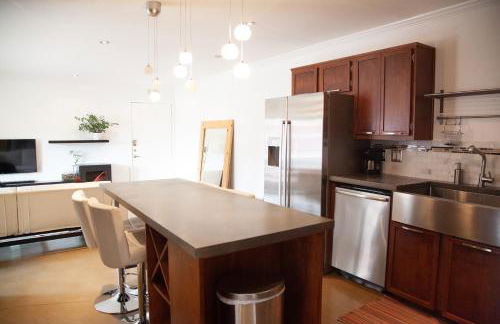
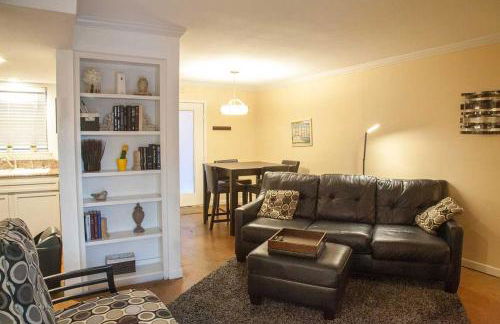
Kasa 2nd Street Austin
Austin - Downtown Austin - Al centro
- 95 M2
- 2 camere
- 6 persone
- Aria condizionata
- Riscaldamento
- Terrazza
- Piscina
- Parcheggio
- Ascensore
- Balcone
- Giardino
- Tv
- Lavatrice
- Barbecue
- Lino da bagno
- Lino da letto


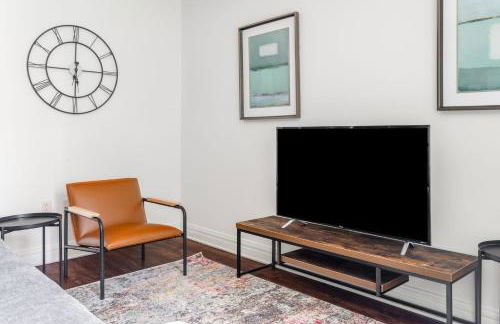


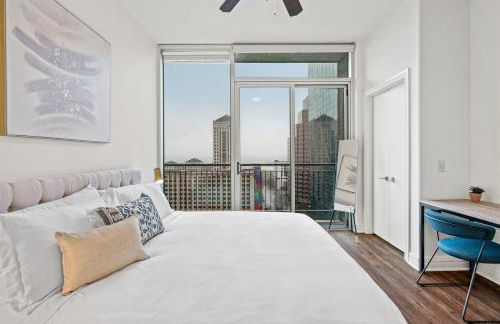


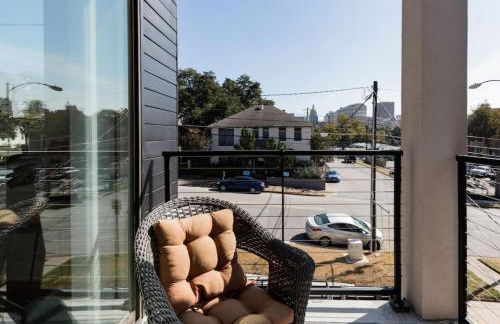
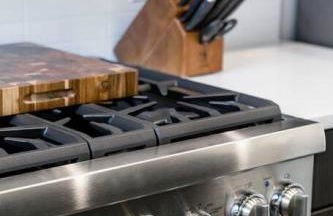
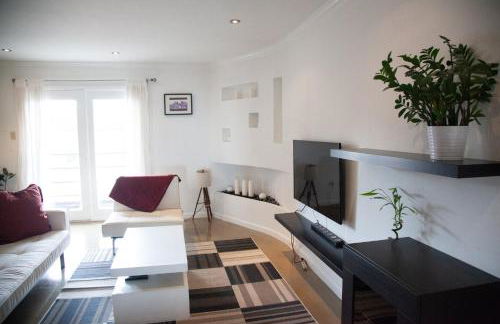
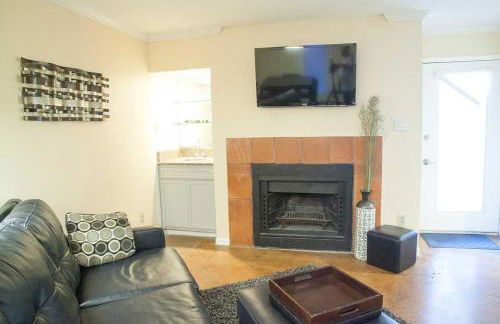
Kasa Lady Bird Lake Austin
Austin - Downtown Austin - Al centro
- 99 M2
- 2 camere
- 6 persone
- Cucinino
- Aria condizionata
- Riscaldamento
- Terrazza
- Piscina
- Ascensore
- Balcone
- Giardino
- Tv
- Lavatrice
- Focolare
- Barbecue
- Lino da bagno
- Lino da letto


Downtown Austin Suite Retreat
Austin - Downtown Austin - 810 m dal centro
- 74 M2
- 1 camera
- 4 persone
- Aria condizionata
- Riscaldamento
- Parcheggio


Littlefield Lofts, hosted by Placemakr - 6th Street
Austin - Downtown Austin - Al centro
- 135 M2
- 8 persone
- Aria condizionata
- Riscaldamento
- Parcheggio
- Ascensore
- Balcone
- Tv
- Lino da bagno
- Lino da letto
Capitol View Condos by One Fine Bnb - Paramount
Austin - Downtown Austin - 750 m dal centro
- 69 M2
- 4 persone
- Aria condizionata
- Riscaldamento

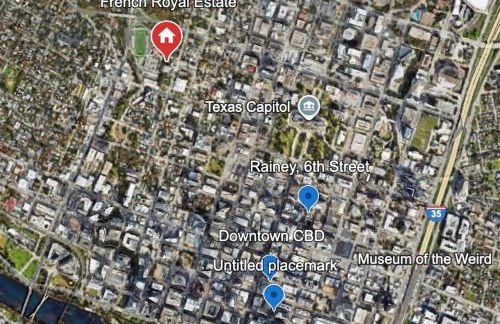


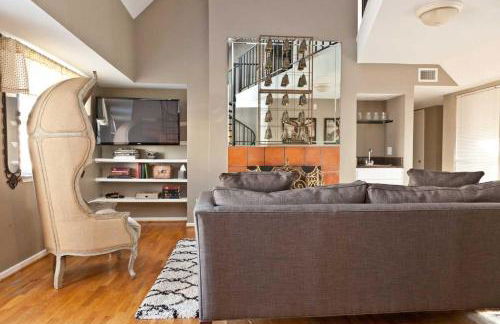
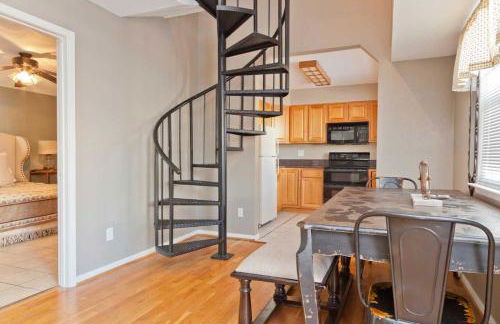
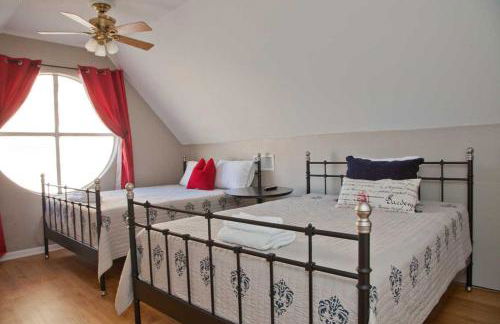
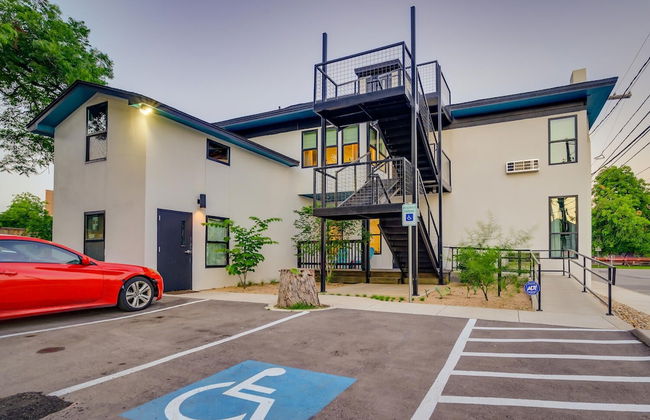
Historic French Royal Estate in the Heart of the Capitol UT Downtown
Austin - Downtown Austin - 440 m dal centro
- 102 M2
- 2 camere
- 5 persone
- Aria condizionata
- Terrazza
- Parcheggio


Capitol View Condos - Downtown Austin - Lone Star
Austin - Downtown Austin - 760 m dal centro
- 69 M2
- 1 camera
- 4 persone
- Aria condizionata
- Riscaldamento
- Parcheggio
- Tv
- Lavatrice
- Lino da bagno


Kasa at The Waller Austin
Austin - Downtown Austin - 420 m dal centro
- 120 M2
- 3 camere
- 6 persone
- Aria condizionata
- Riscaldamento
- Terrazza
- Piscina
- Parcheggio
- Ascensore
- Giardino
- Barbecue
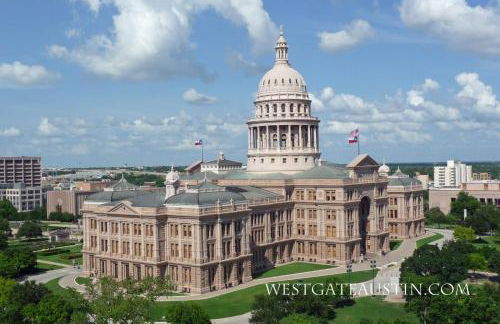
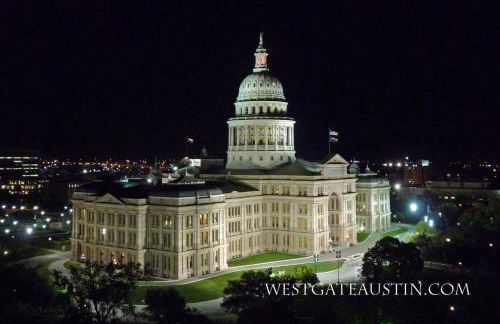
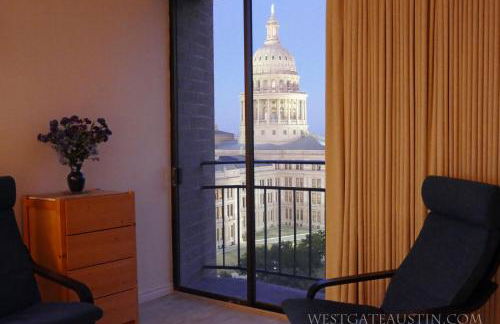
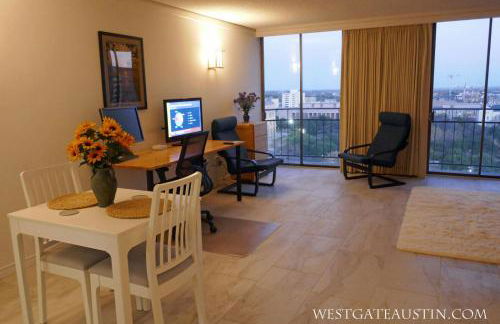
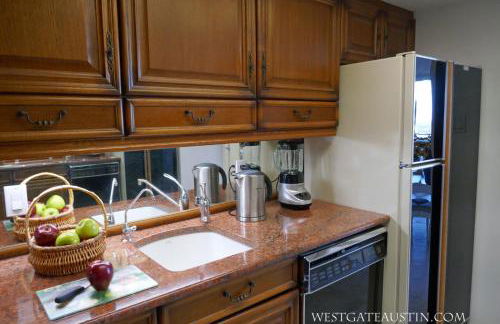
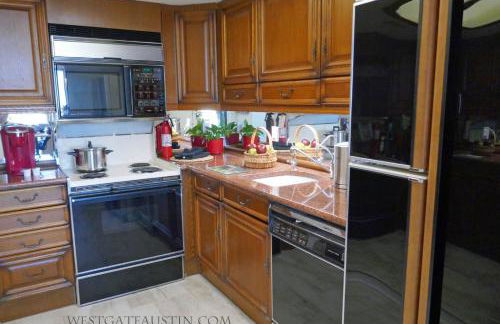
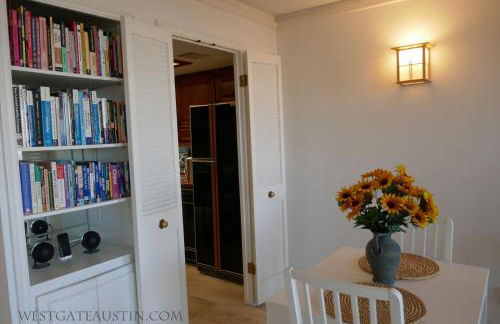
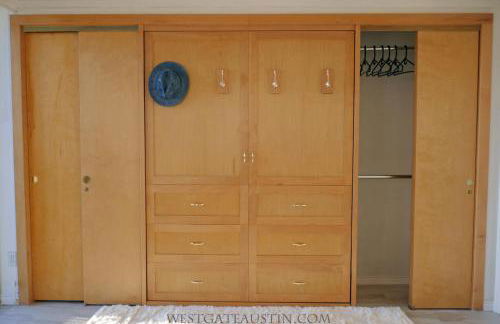
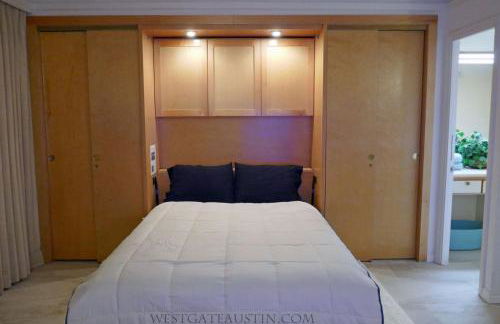
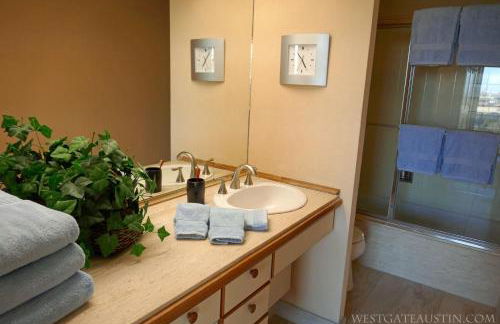
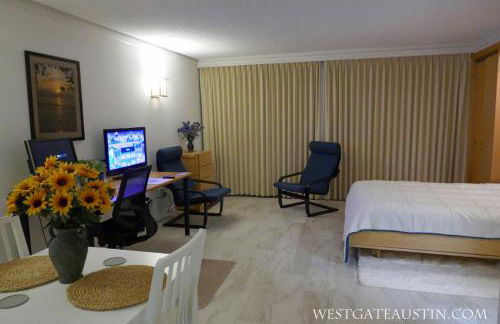
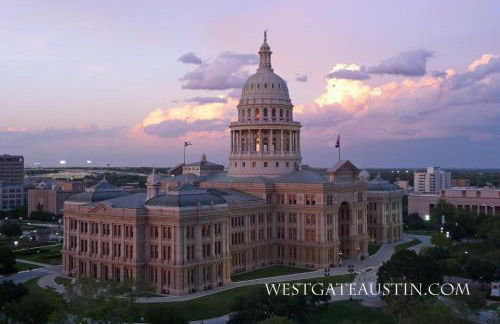
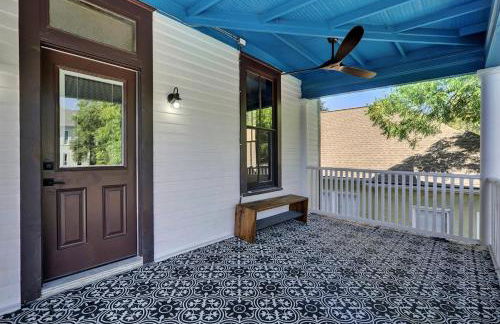
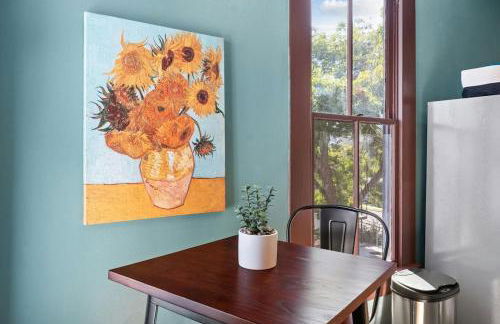
WestgateAustin - Downtown Austin, Capitol Next Door, 30 Day Rental
Austin - Downtown Austin - 230 m dal centro
- 48 M2
- 2 persone
- Aria condizionata
- Riscaldamento
- Piscina
- Parcheggio
- Ascensore


Onyx Hotels
Austin - Downtown Austin - Al centro
- 4 camere
- 10 persone
- Aria condizionata
- Riscaldamento
- Piscina
- Parcheggio
- Giardino
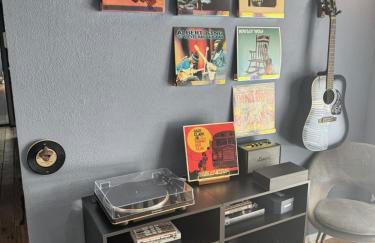

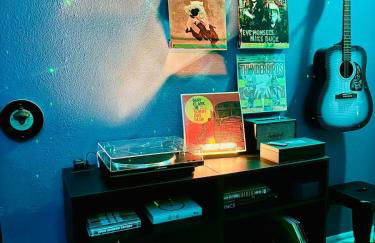
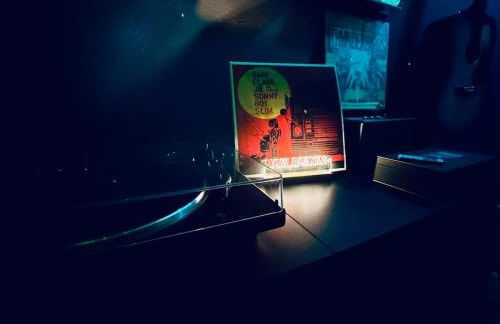


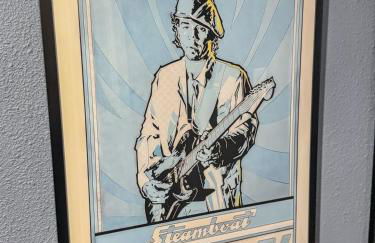
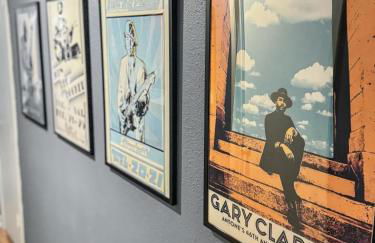
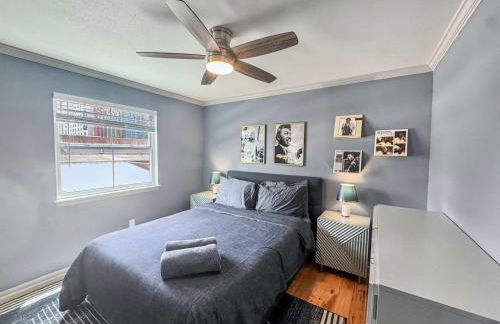
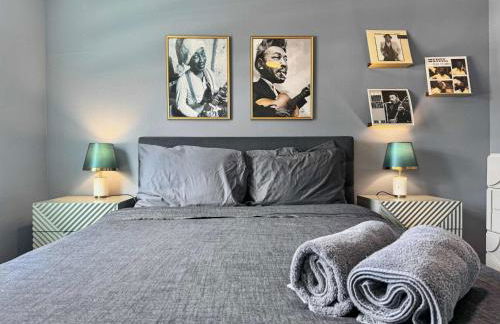
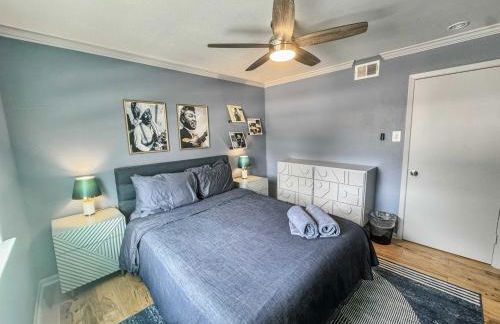
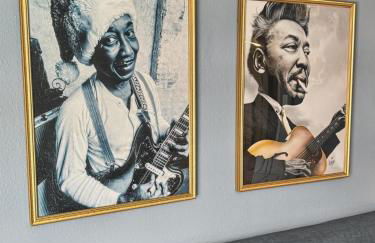


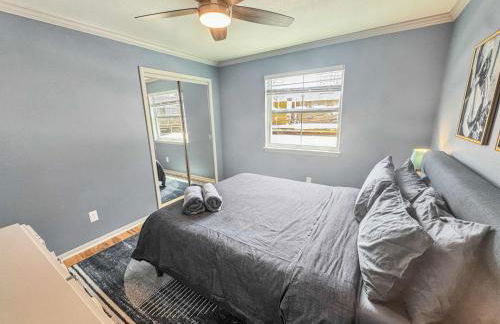
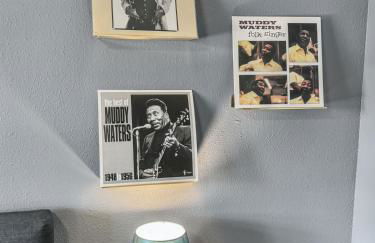
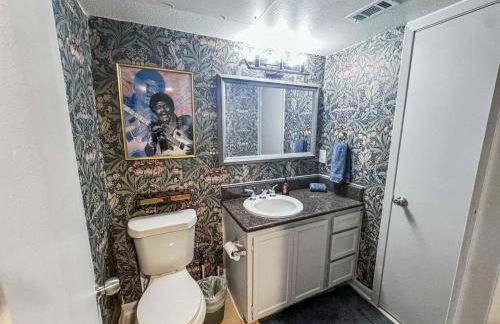
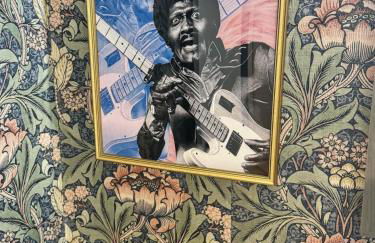
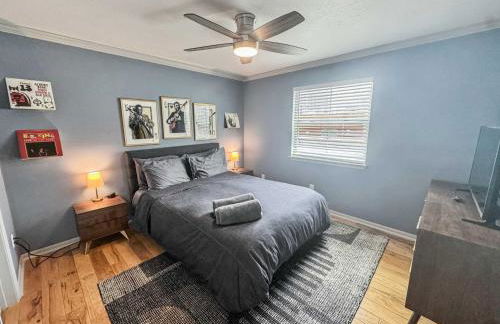
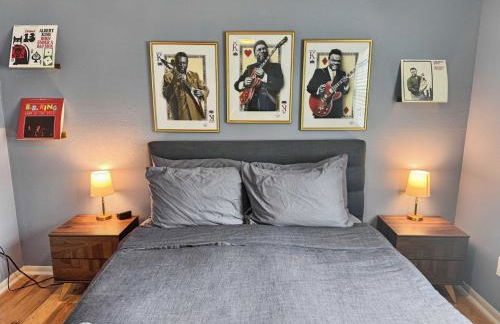
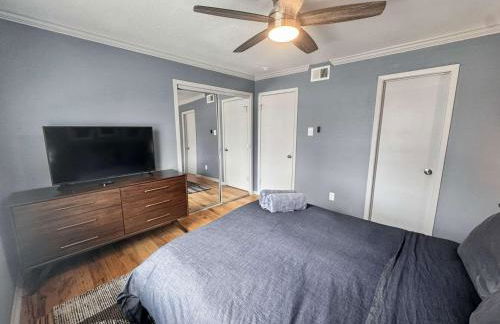
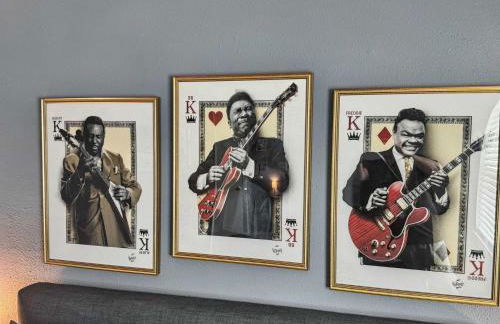

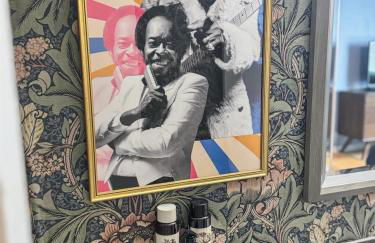
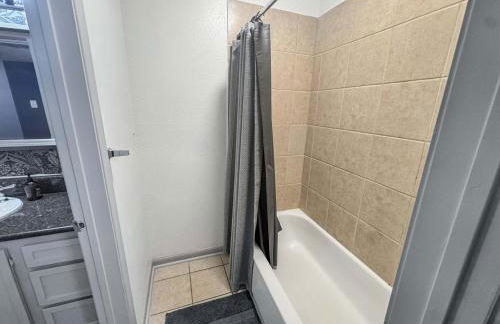
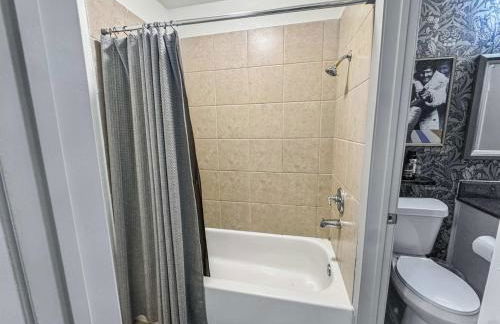
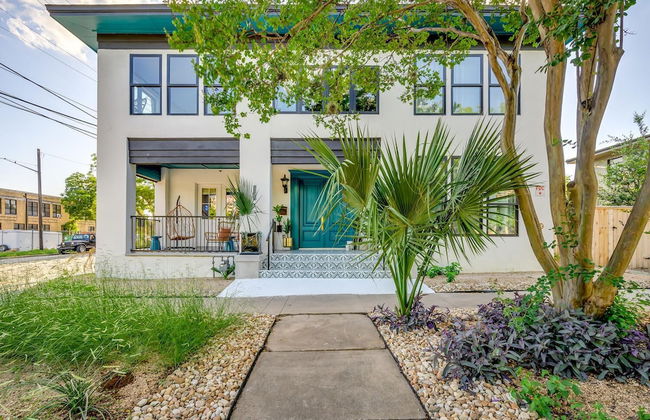
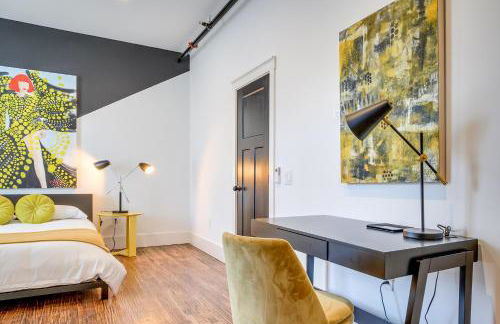
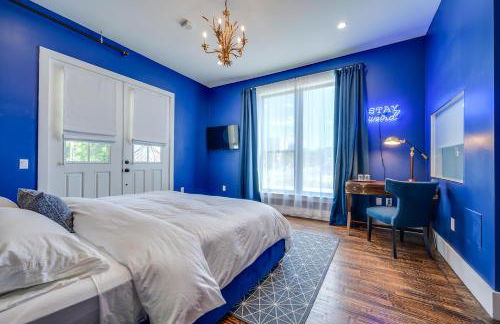
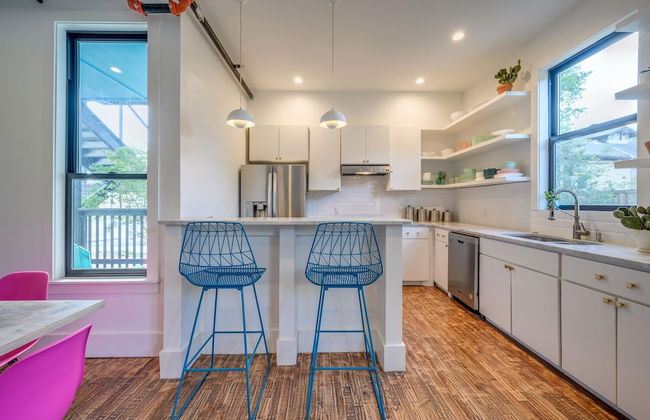
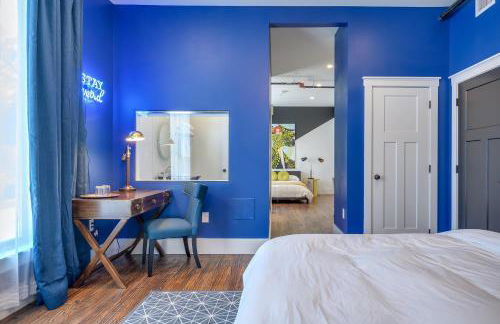
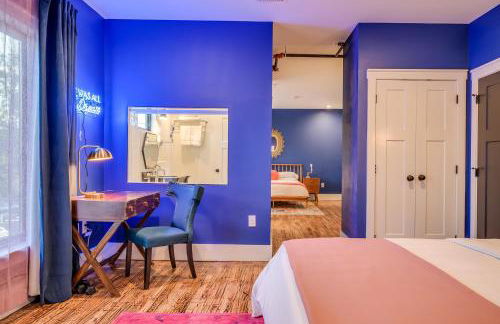
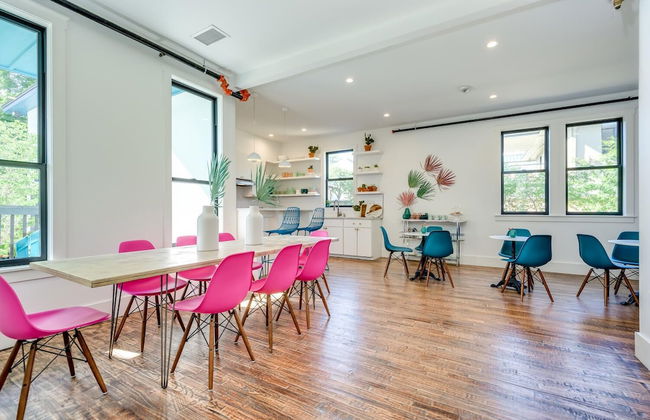
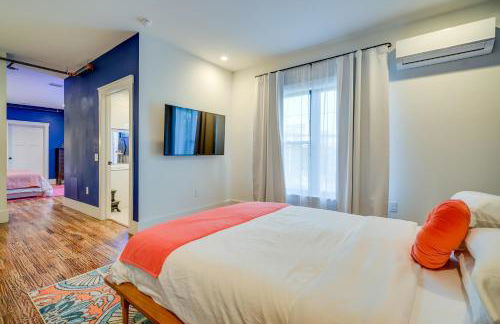
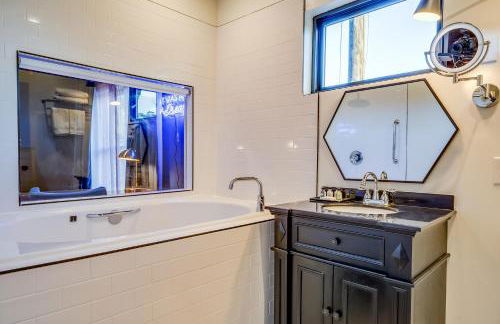
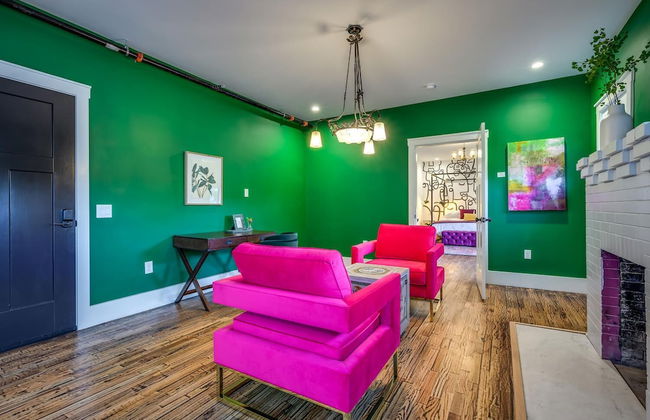
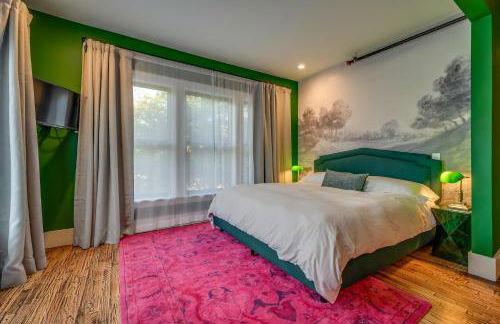
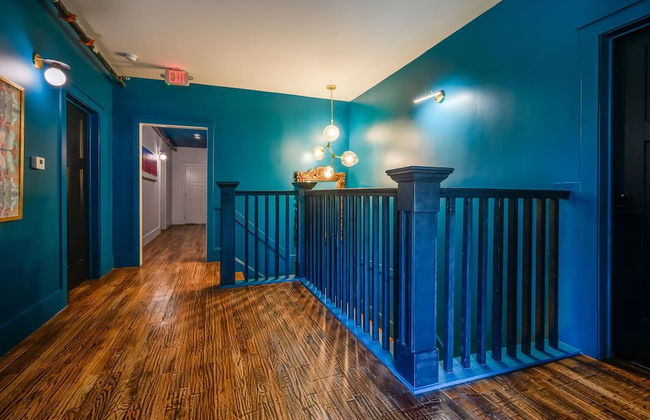
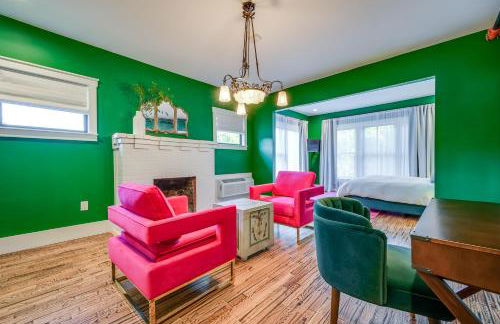
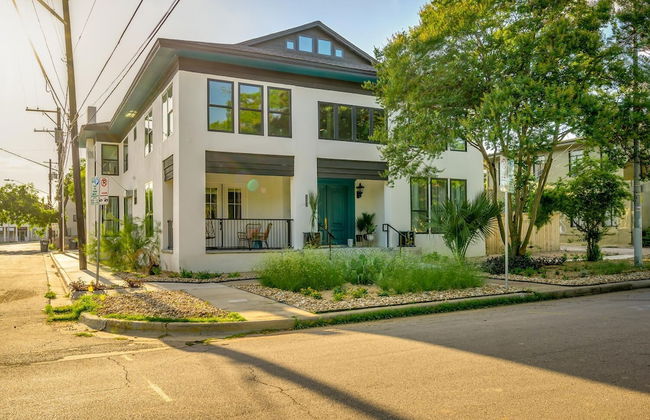
The House of the Austin Blues
Austin - Downtown Austin - Al centro
- 93 M2
- 2 camere
- 5 persone
- Aria condizionata
- Riscaldamento


Spacious Luxury 1bedroom 1bath Pool
Austin - Downtown Austin - Al centro
- 84 M2
- 3 persone
- Aria condizionata
- Piscina
- Parcheggio


Private Suite in Historic Austin B&B Sleeps 2
Austin - Downtown Austin - 680 m dal centro
- 65 M2
- 2 persone
- Aria condizionata
- Riscaldamento
- Parcheggio


7 Private Suites Sleeps 25 Walkable to SXSW
Austin - Downtown Austin - 680 m dal centro
- 467 M2
- 7 camere
- 25 persone
- Aria condizionata
- Riscaldamento
- Parcheggio


Explore Austin in 1BD condo with resort amenities
Austin - Downtown Austin - Al centro
- 60 M2
- 4 persone
- Aria condizionata
- Piscina
- Ascensore
Stay in this 2BD resort condo to visit Austin gym and pool onsite
Austin - Downtown Austin - Al centro
- 1000 M2
- 2 camere
- 6 persone
- Aria condizionata
- Piscina
- Ascensore
See all Austin has to offer in this Studio Apt with pool and gym onsite
Austin - Downtown Austin - Al centro
- 64 M2
- 4 persone
- Aria condizionata
- Piscina
- Ascensore


Downtown 1br w gym wd near restaurants ATX-230
Austin - Downtown Austin - Al centro
- 72 M2
- 2 persone
- Aria condizionata
- Riscaldamento
- Ascensore