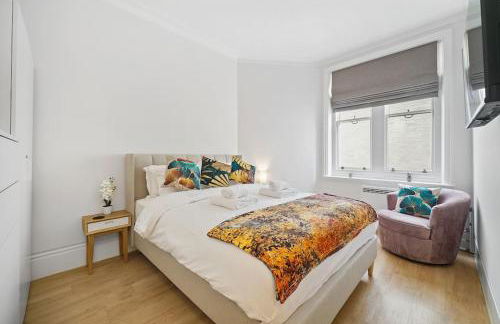
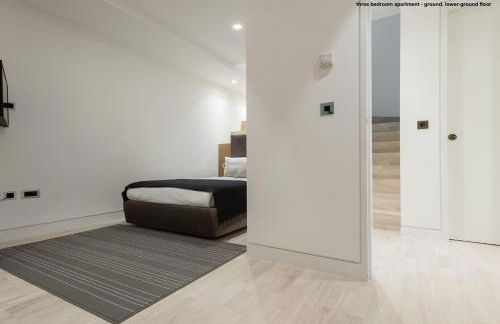
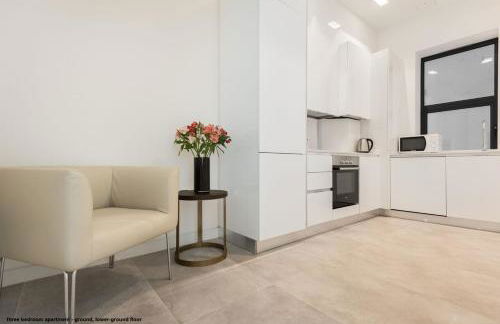
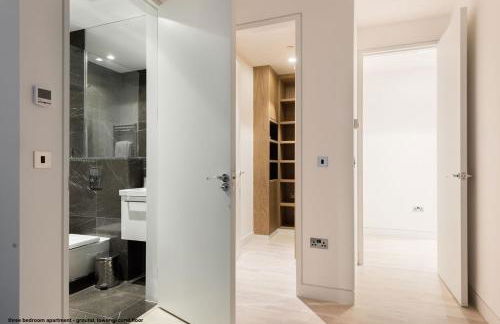
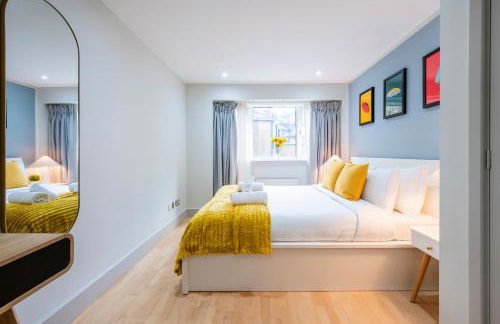
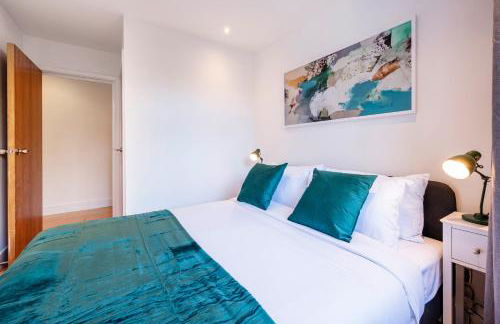
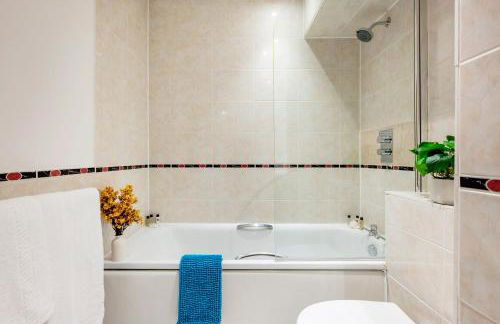
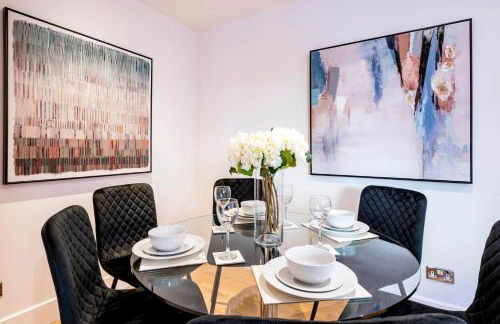
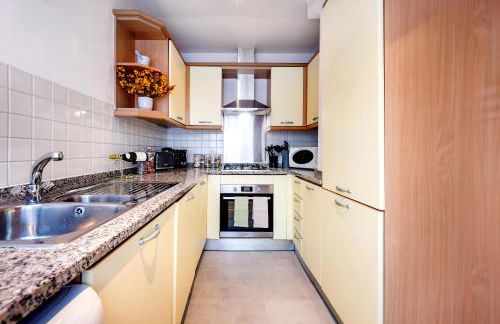
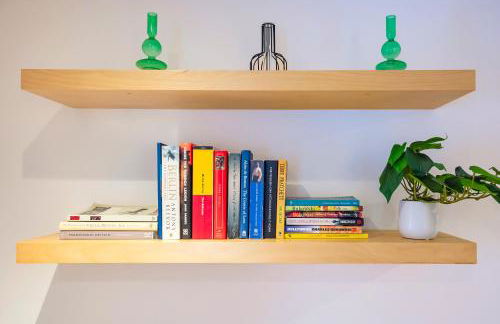
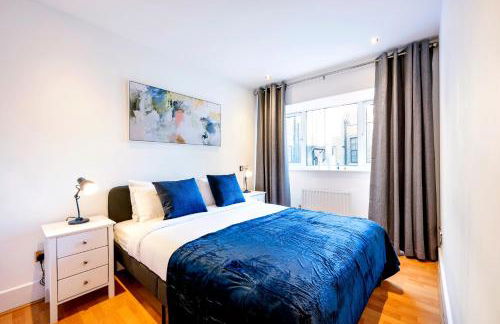
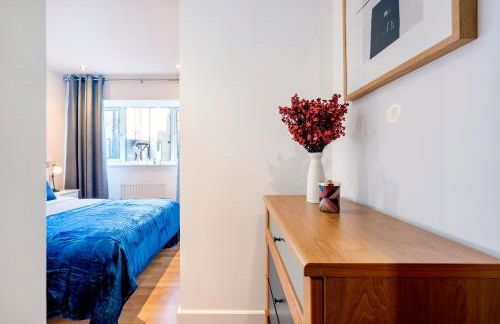
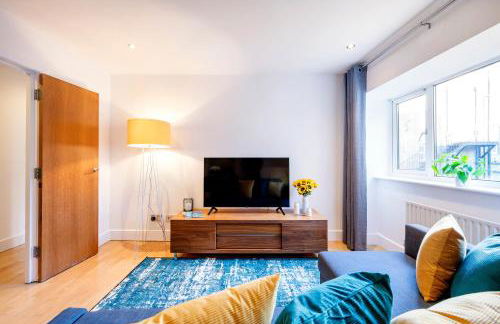
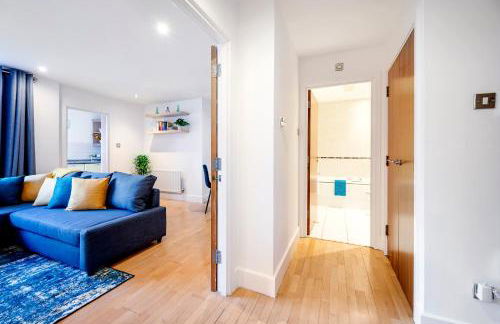
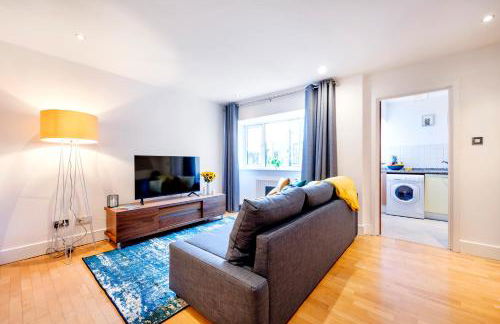
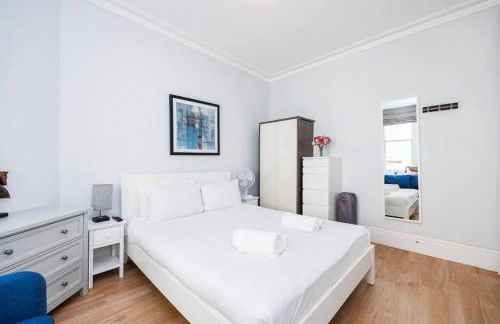
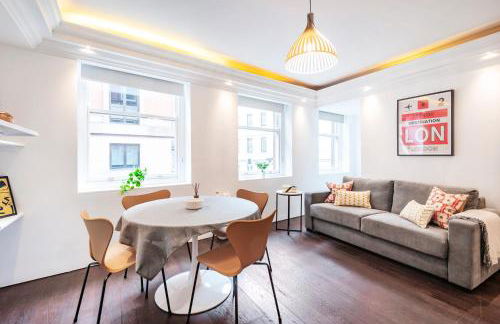
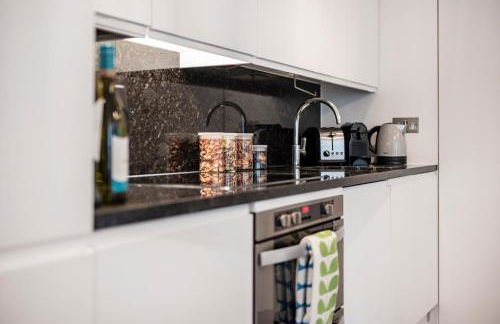
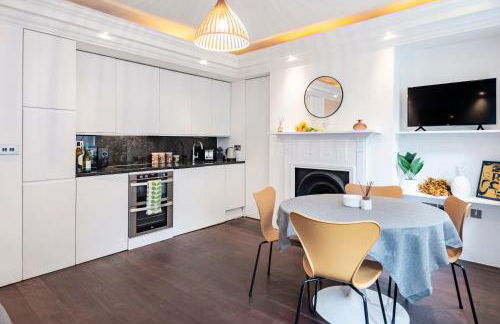
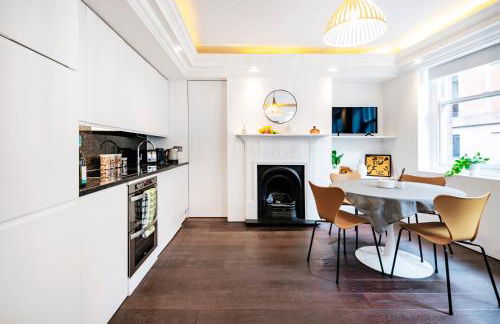
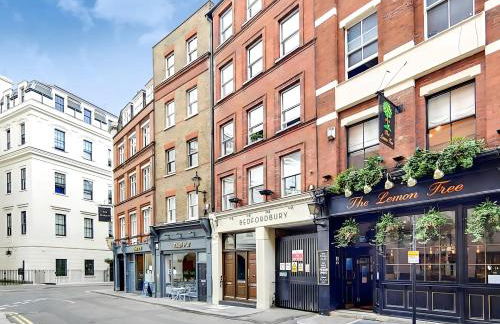
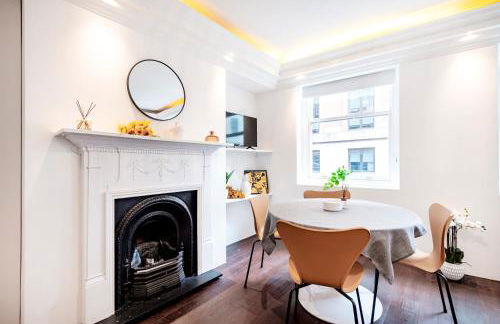
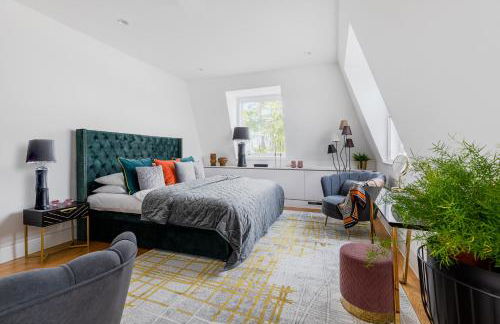
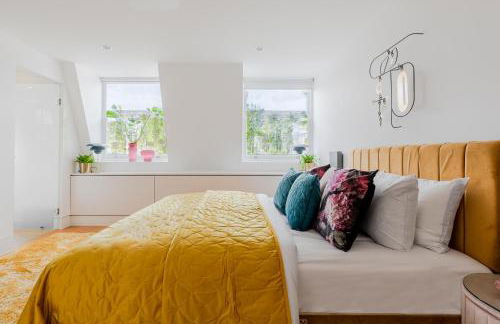
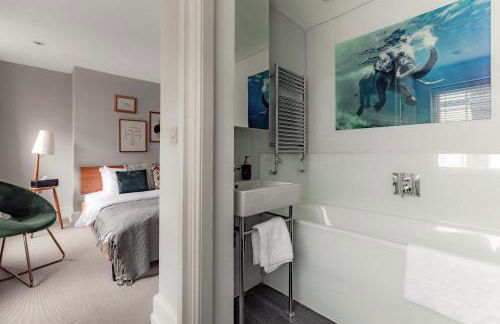
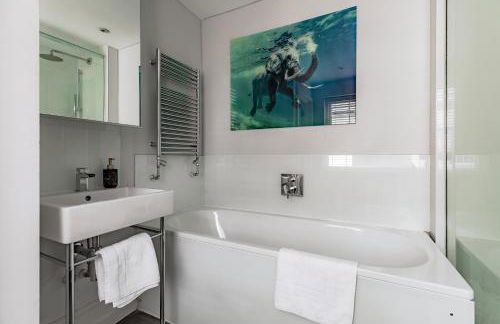
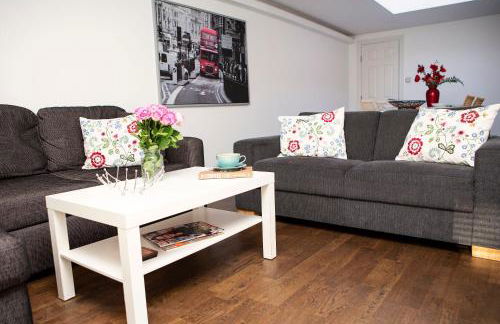
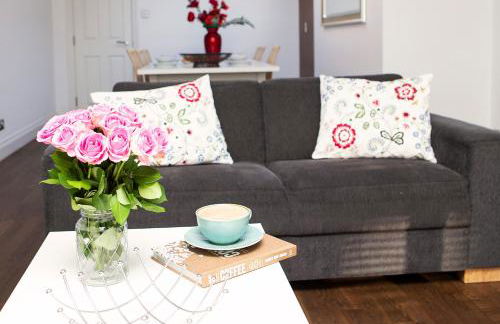
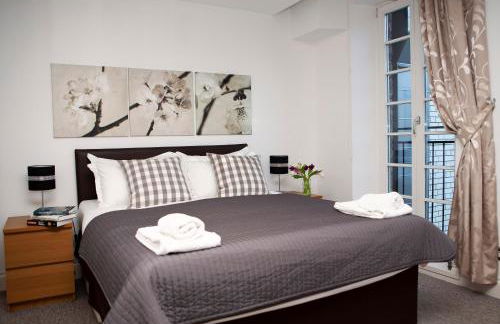
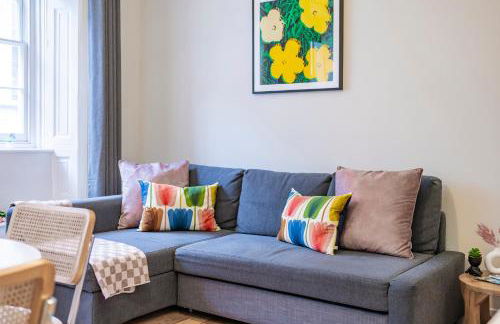
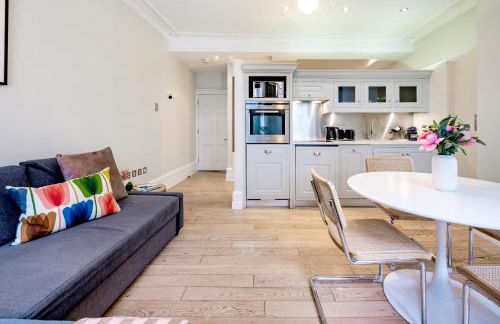
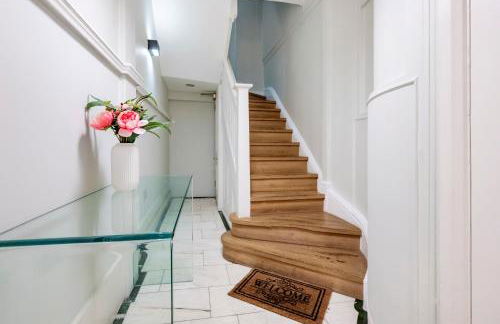
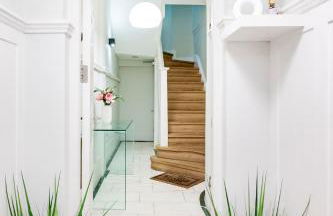
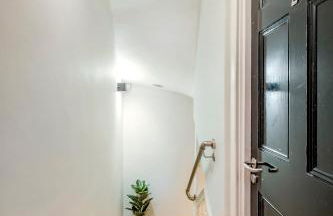
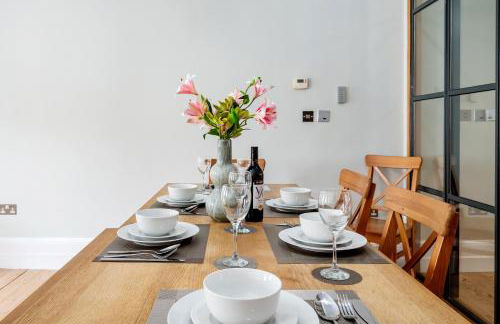
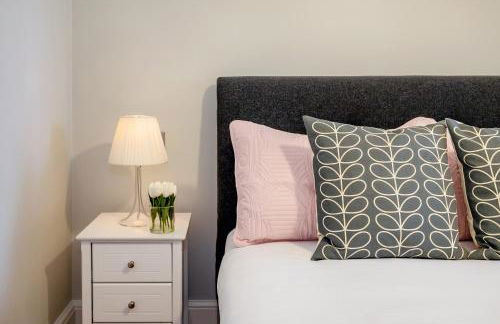
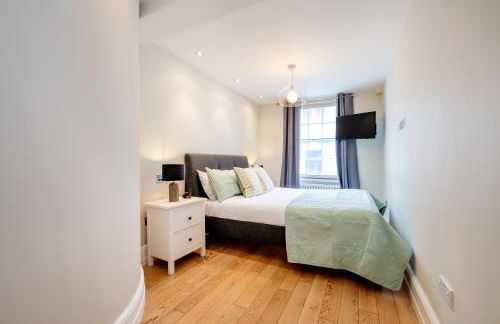
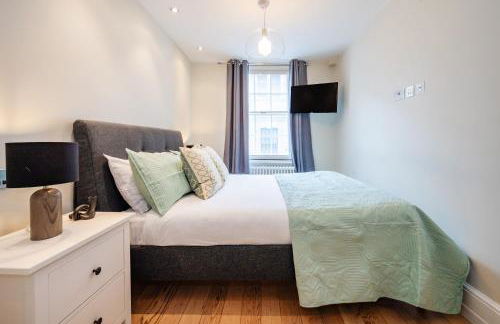
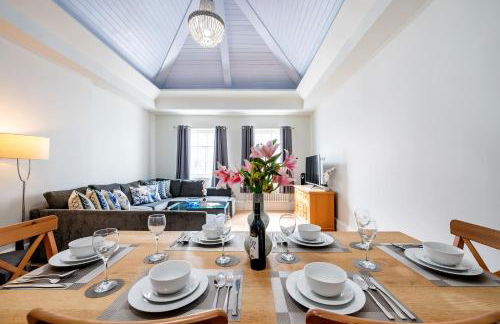
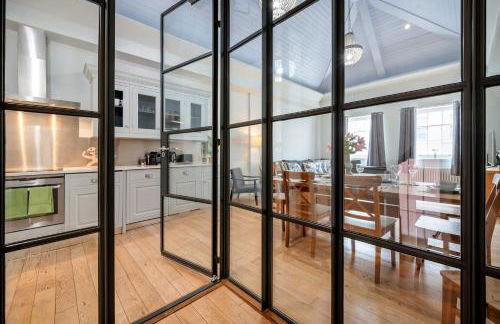
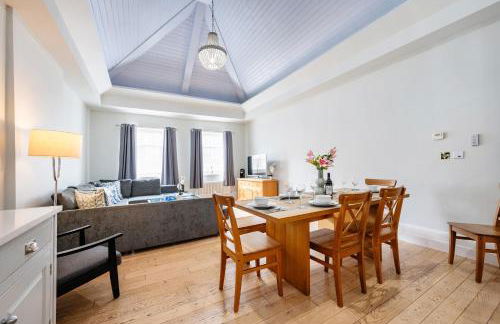
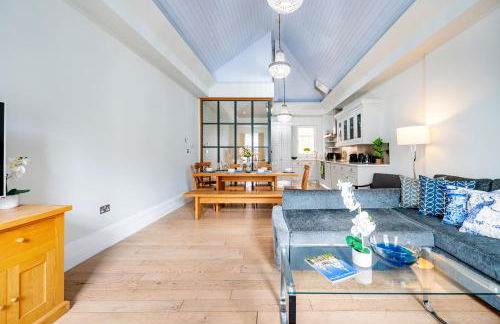
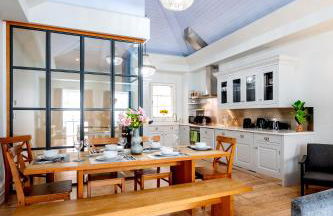
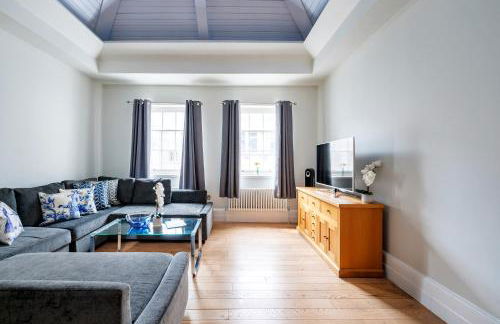
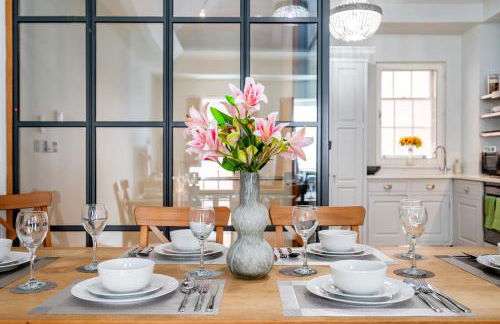
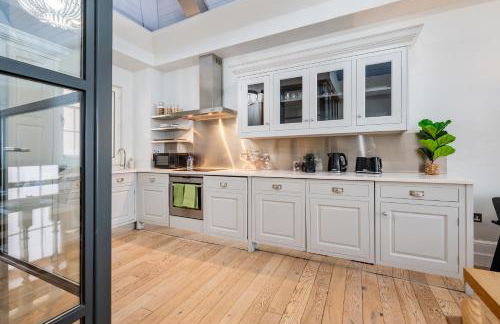
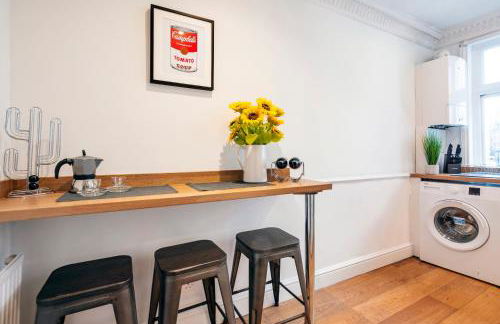
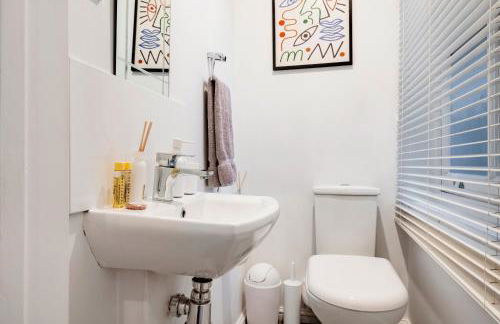
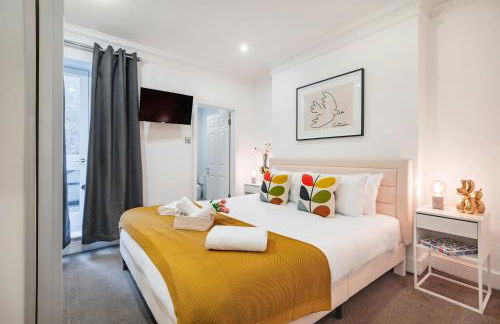
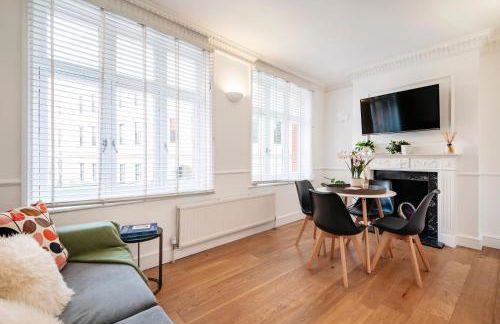
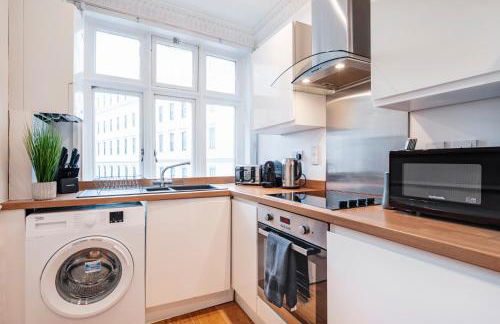
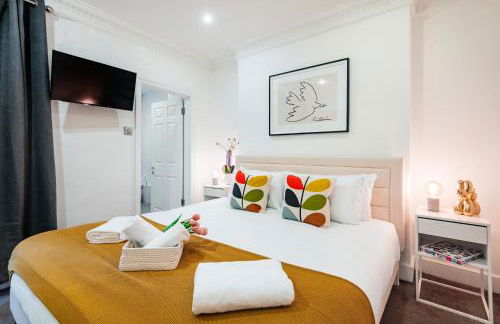
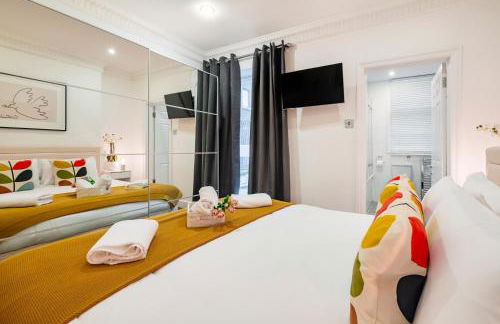
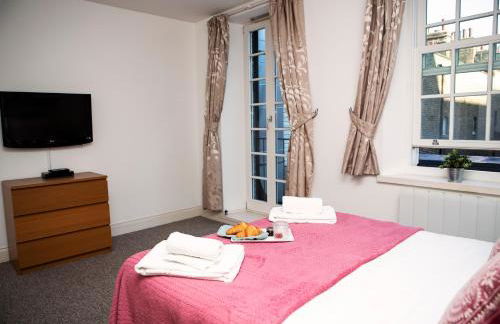
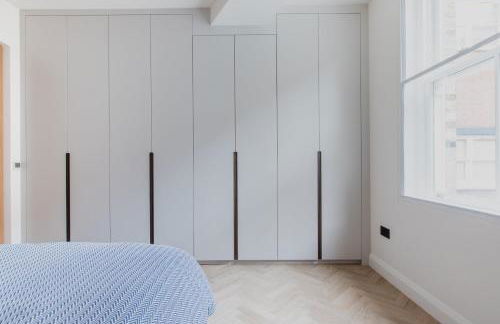
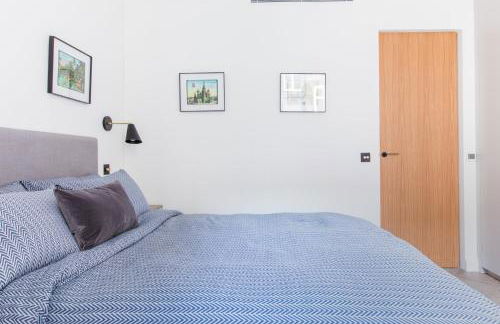
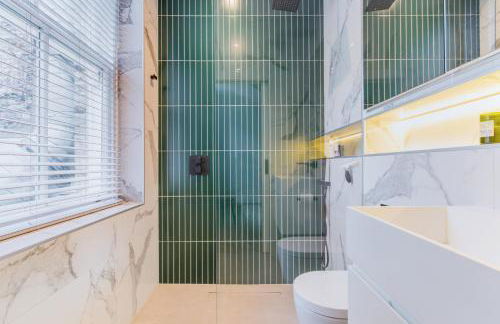
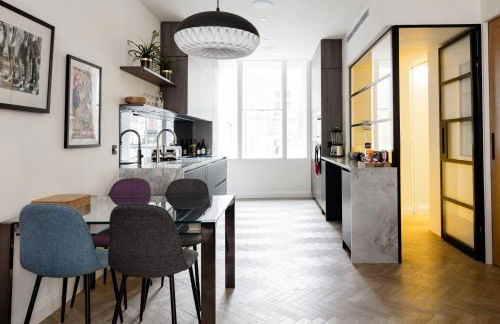
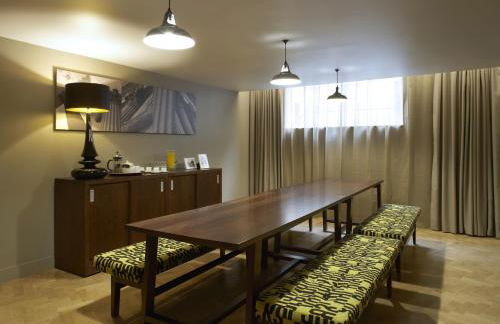
51 Appartamenti a Charing


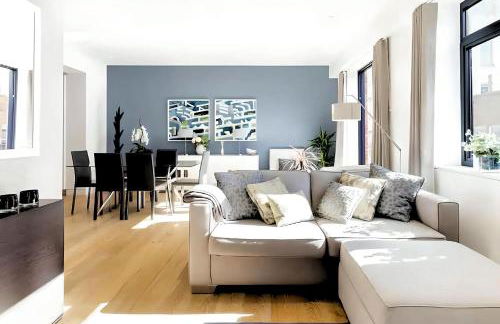
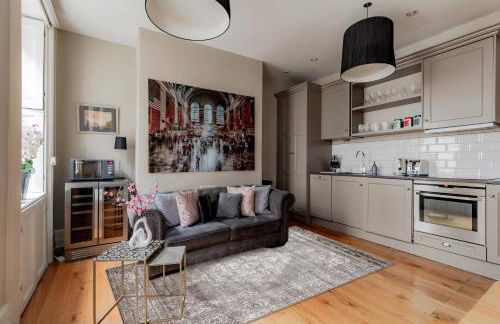
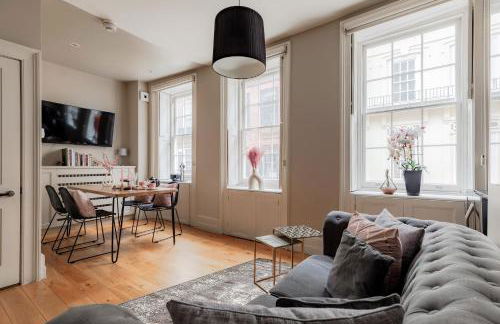
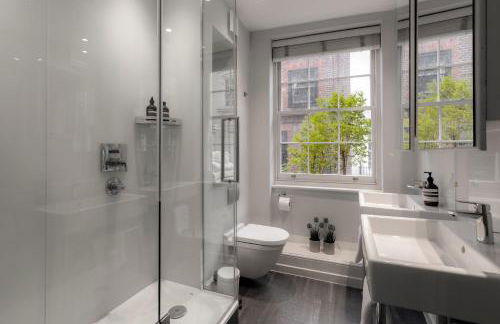
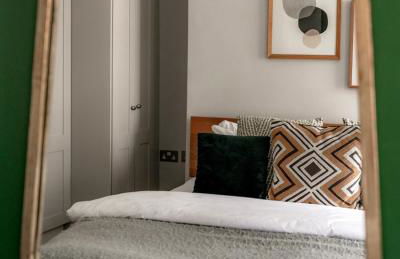
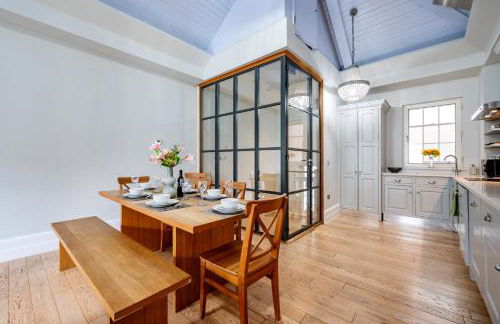
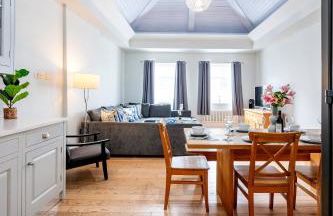
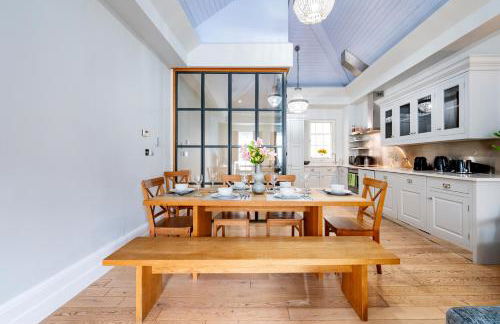
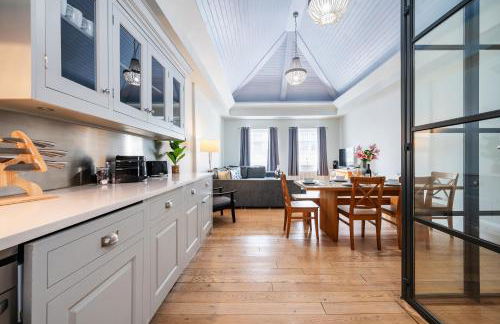
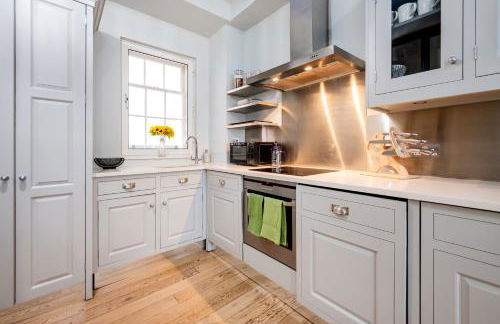
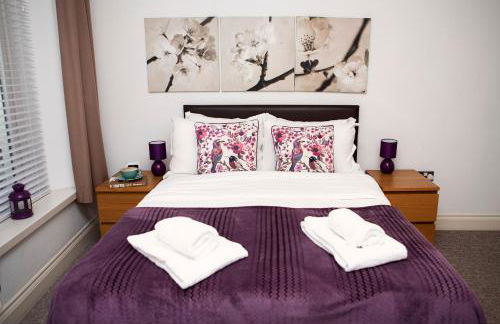
Welcome London - Trafalgar Townhouse
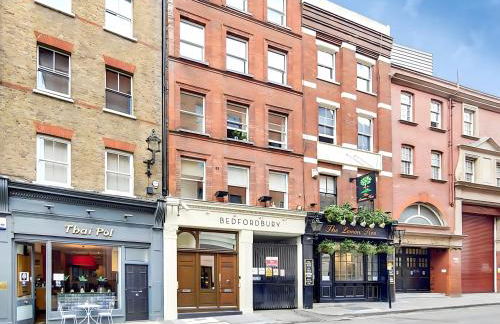
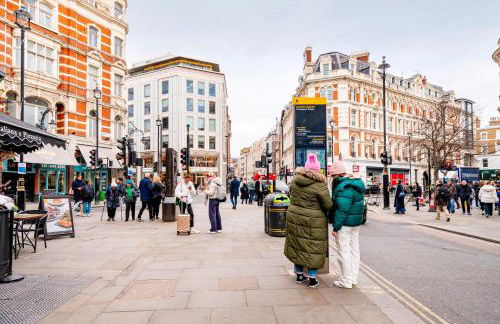
Londra - Charing - Al centro
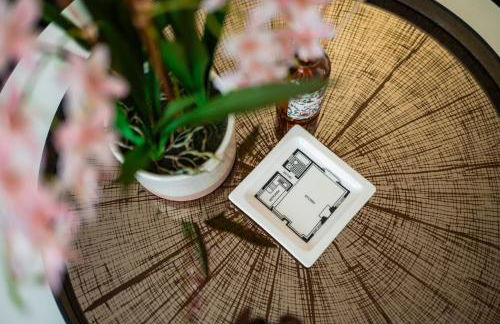
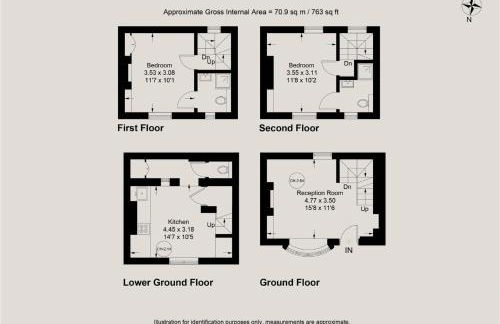
- 312 M2
- 5 camere
- 10 persone
- Riscaldamento
- Terrazza
- Ascensore
15 recensioni


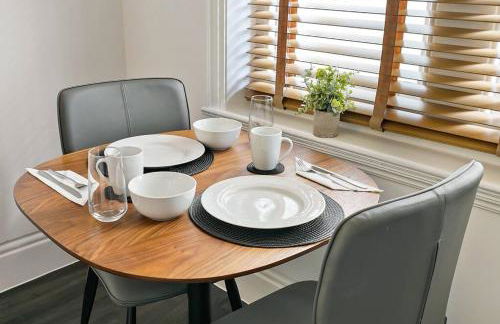
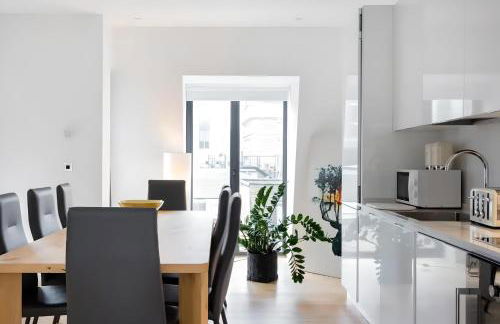
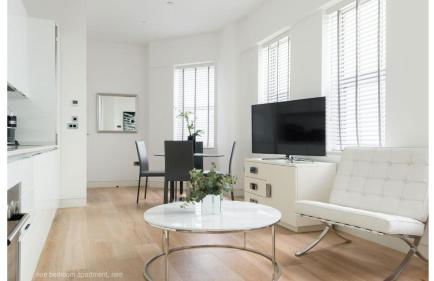
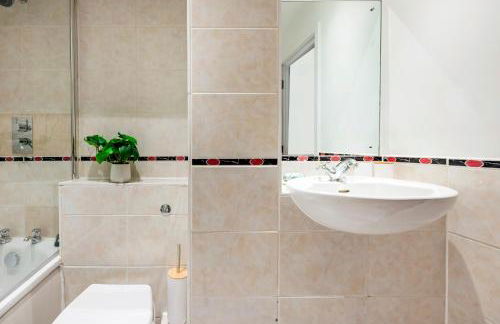
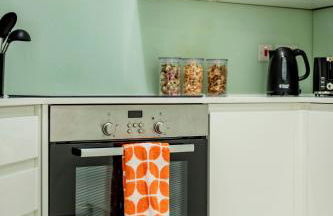
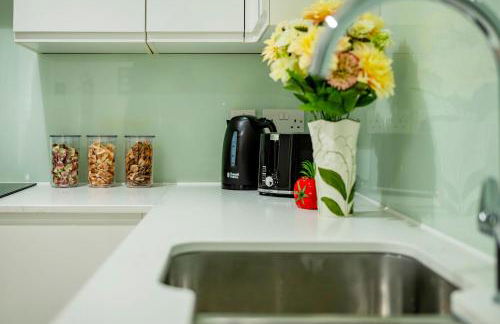
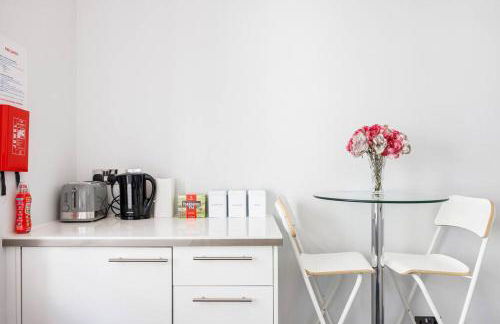
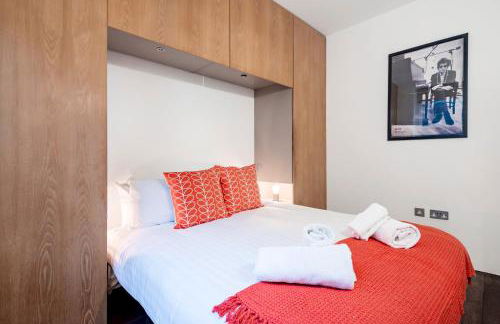
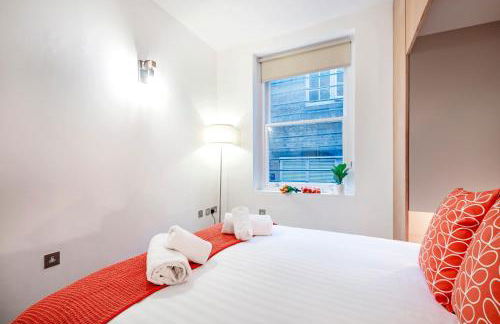
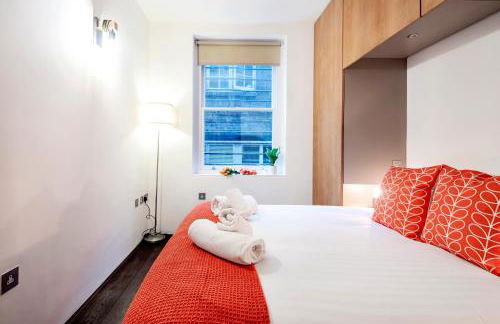
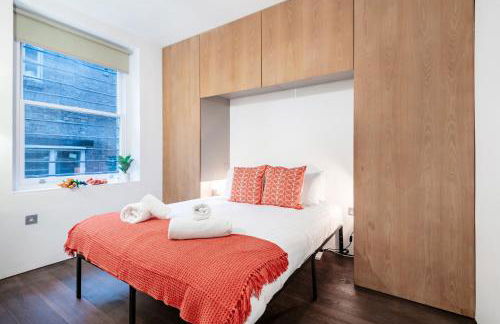
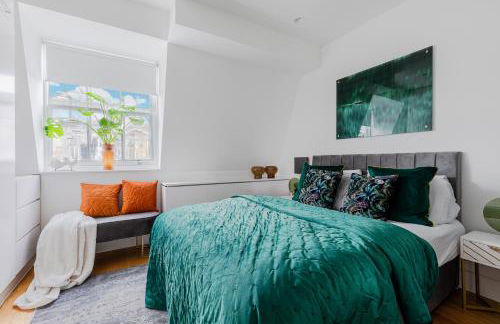
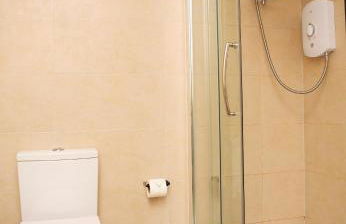
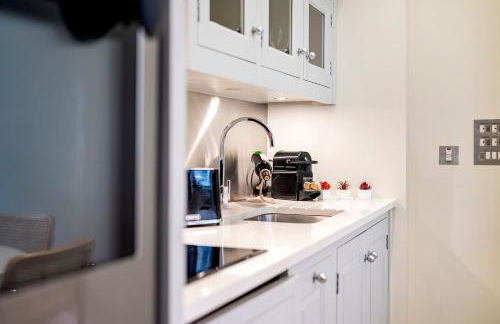
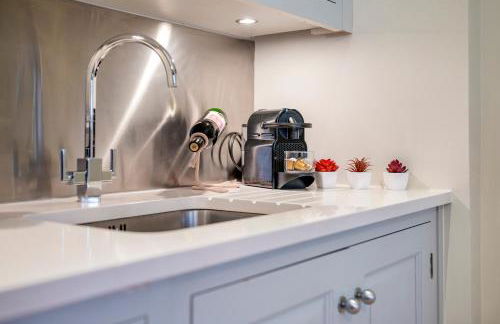
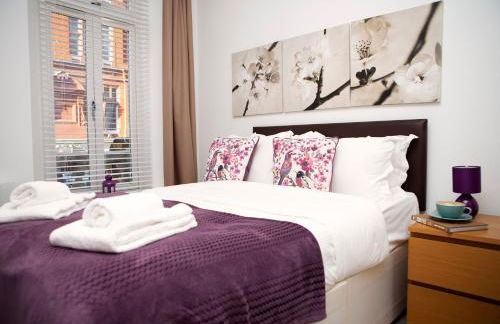
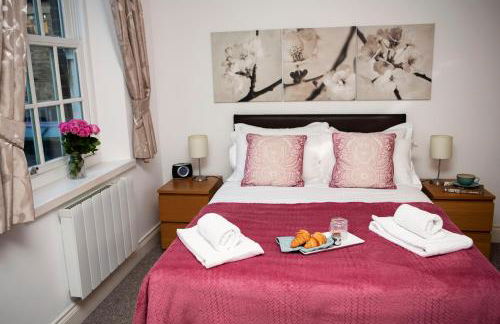
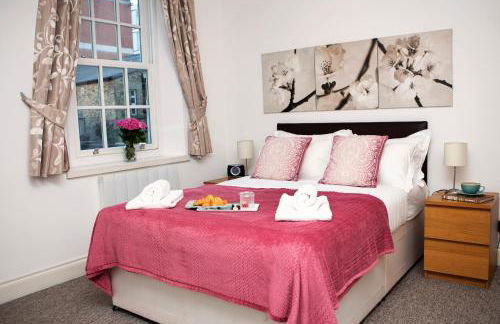
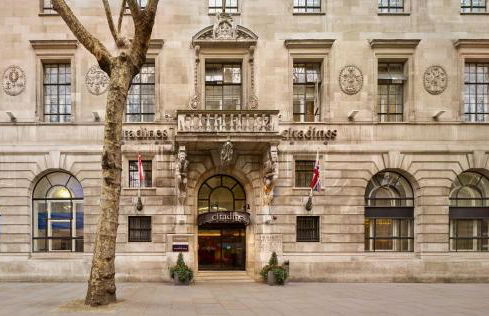
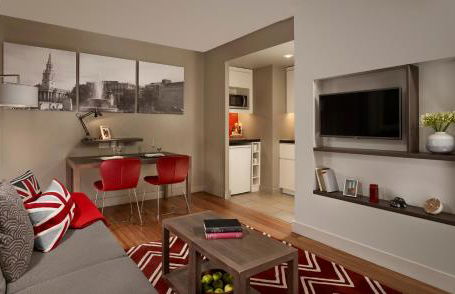
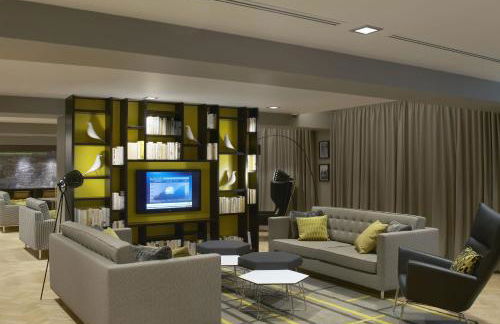
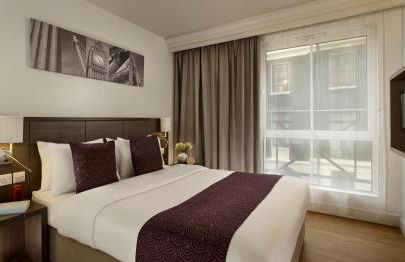
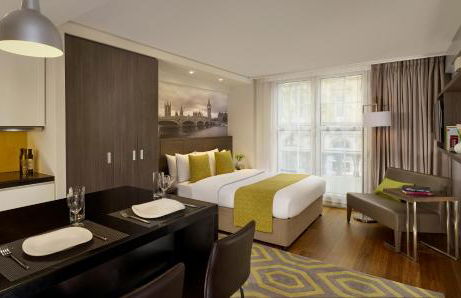
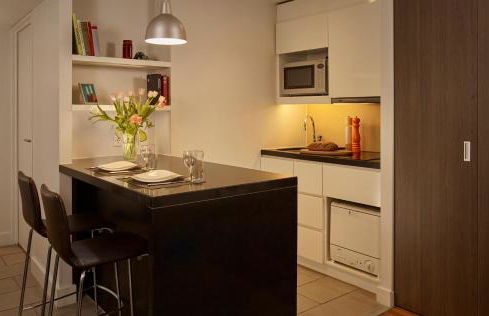
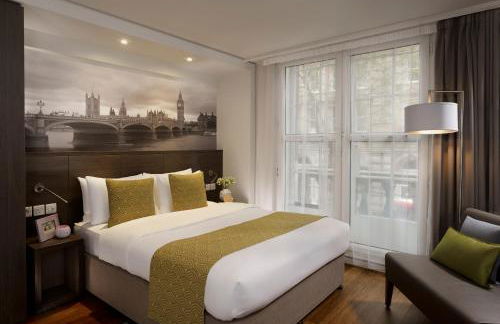
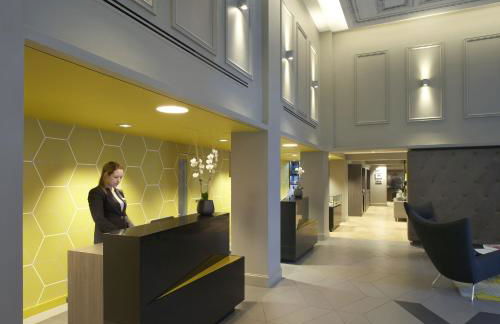
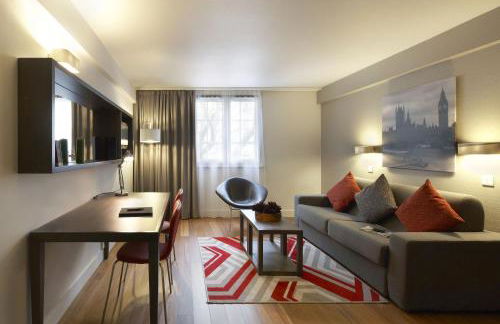
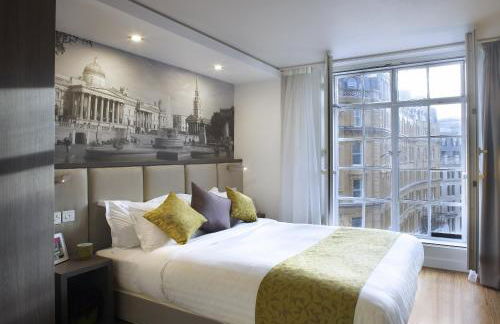
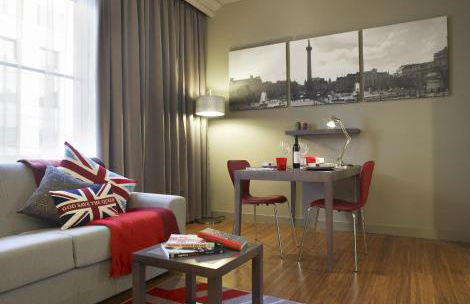
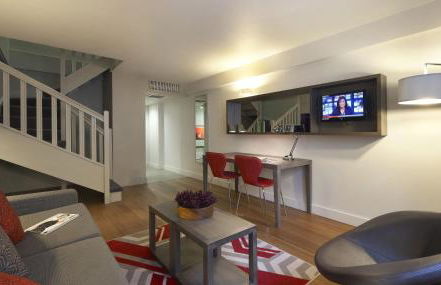
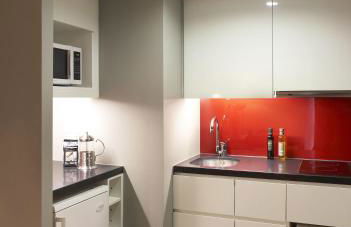
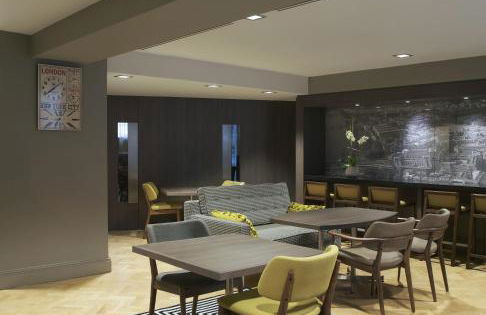
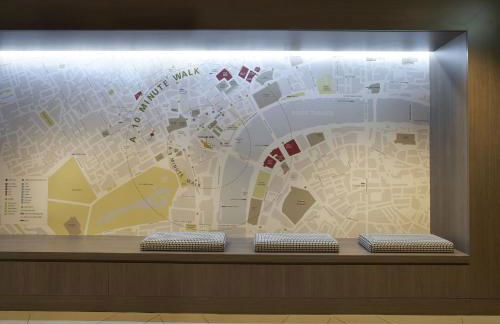
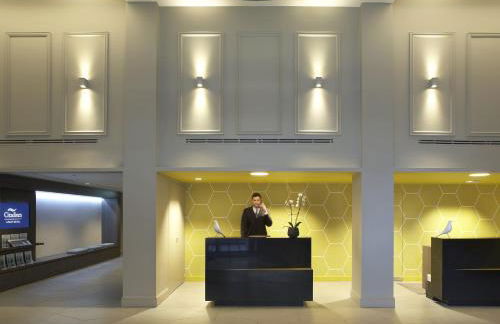
Citadines Trafalgar Square London
Londra - Charing - Al centro
- 70 M2
- 6 persone
- Cucinino
- Aria condizionata
- Riscaldamento
- Ascensore
- Tv
- Lino da bagno
- Lino da letto
3648 recensioni


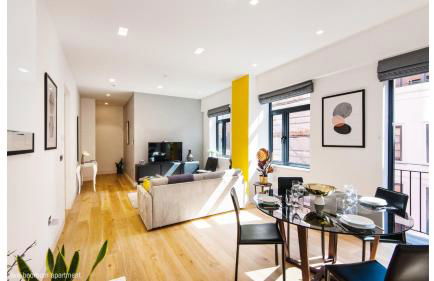
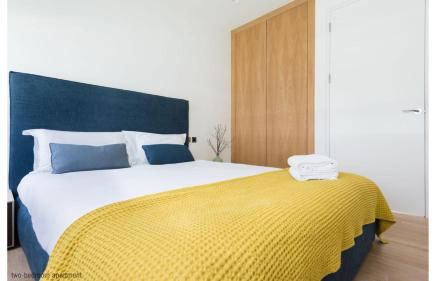
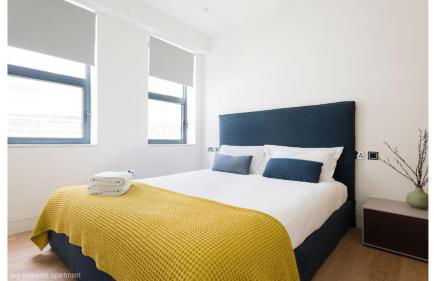
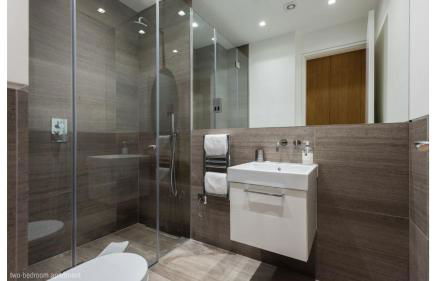
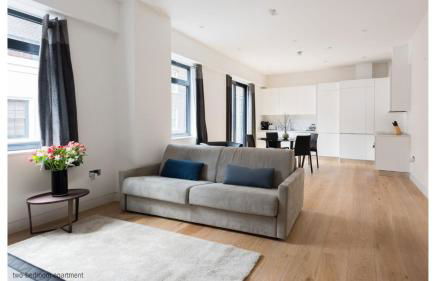
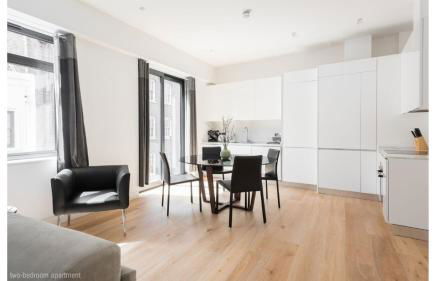
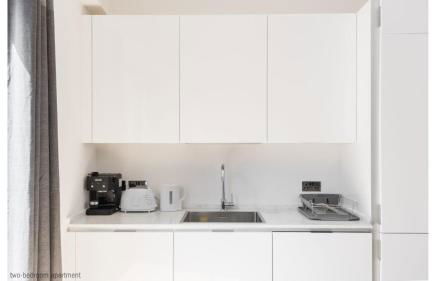
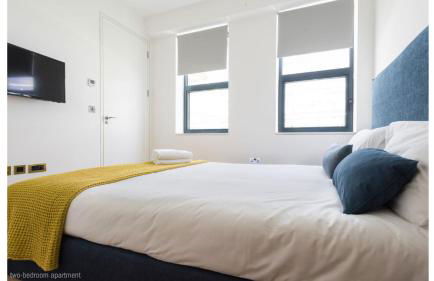
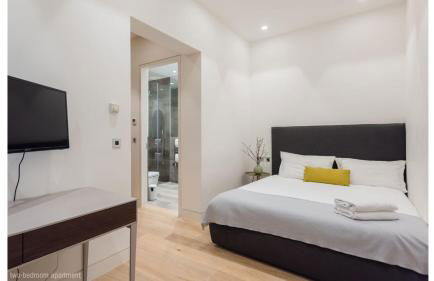
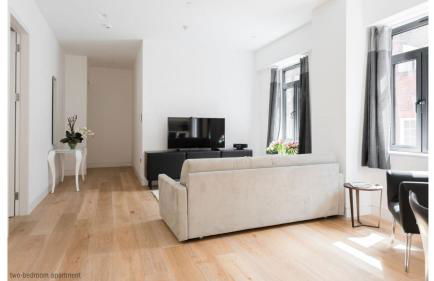
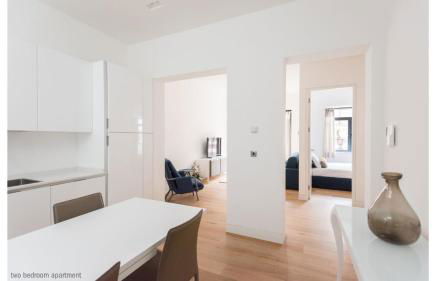
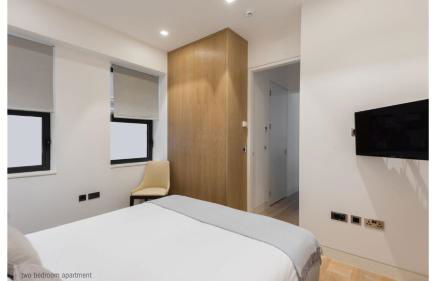
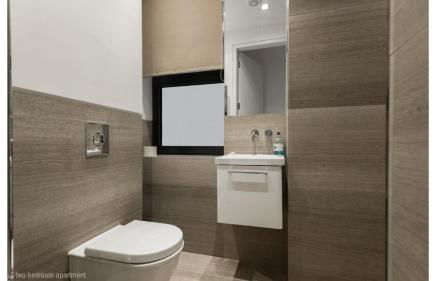
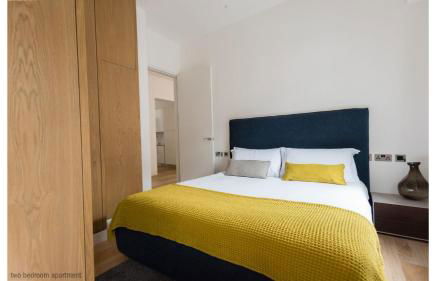
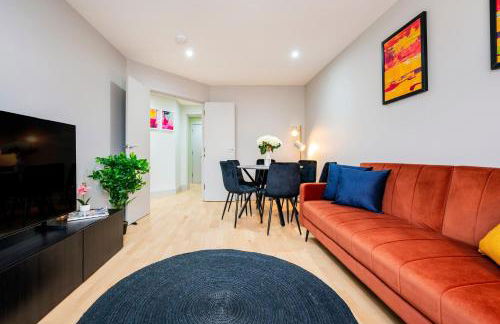
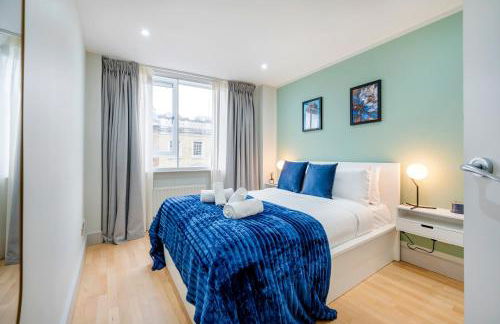
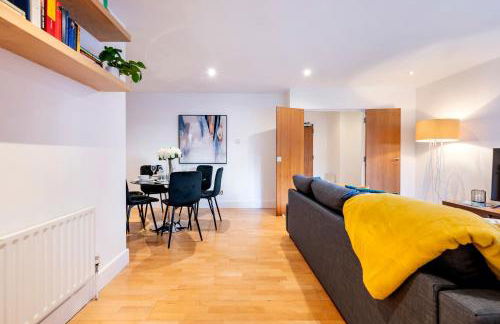
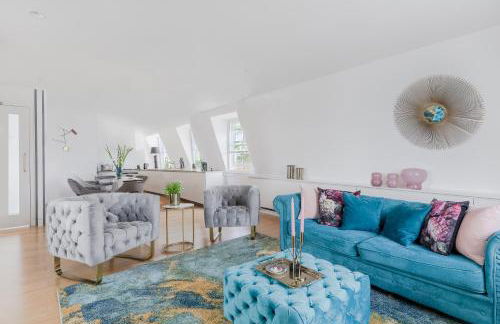
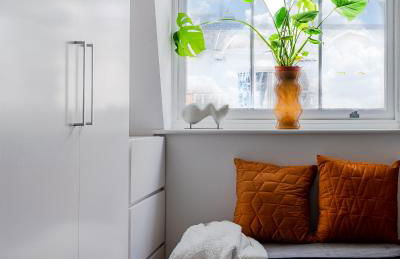
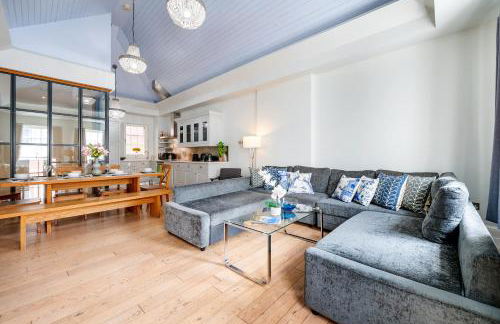
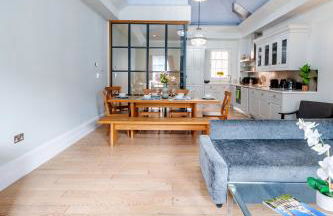
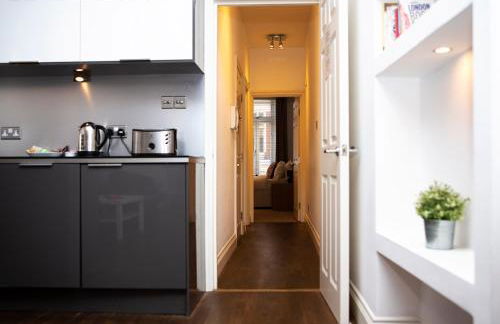
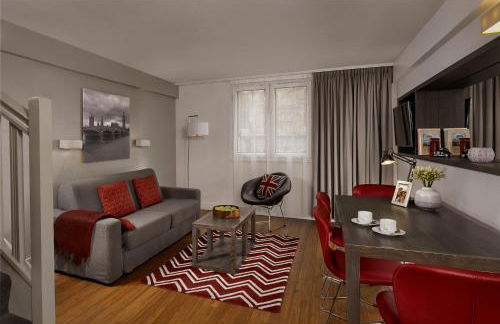
Central London (West End) two bedroom flat
Londra - Charing - Al centro
- 2 camere
- 4 persone
- Parcheggio
- Ascensore
46 recensioni


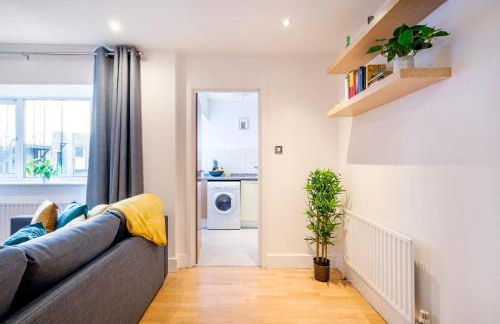
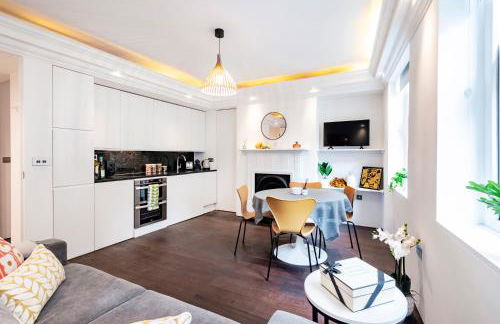
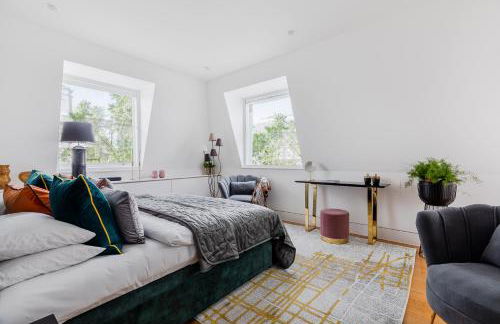
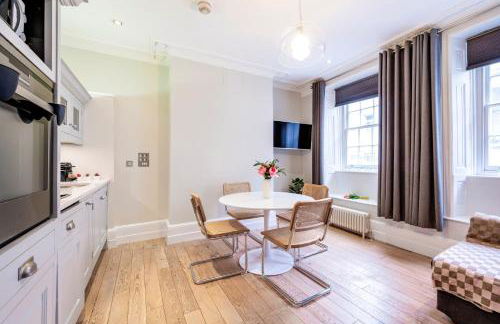
Stunning Covent Garden DREAM COME TRUE Super Quiet HOTEL Alike HOME
Londra - Charing - Al centro
- 167 M2
- 3 camere
- 6 persone
- Aria condizionata
- Riscaldamento
- Ascensore
7 recensioni


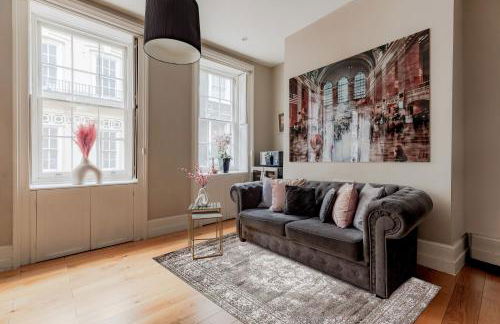
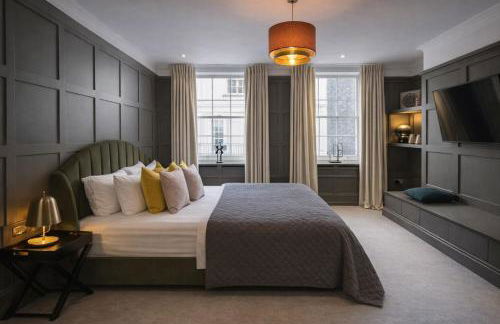
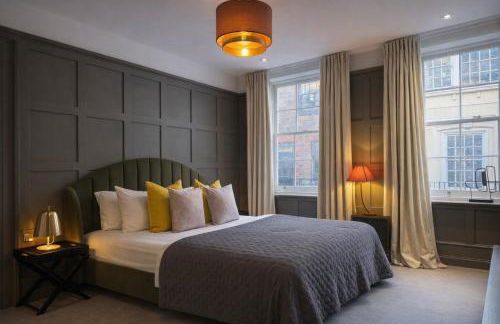
Welcome London - The York
Londra - Charing - Al centro
- 146 M2
- 3 camere
- 8 persone
- Riscaldamento
- Ascensore
371 recensioni

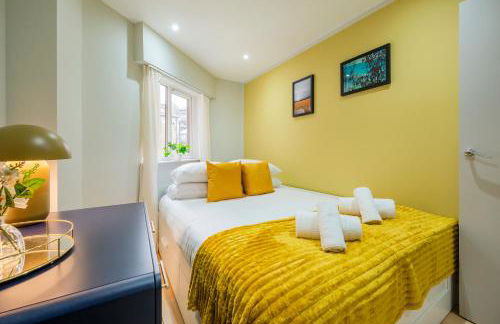


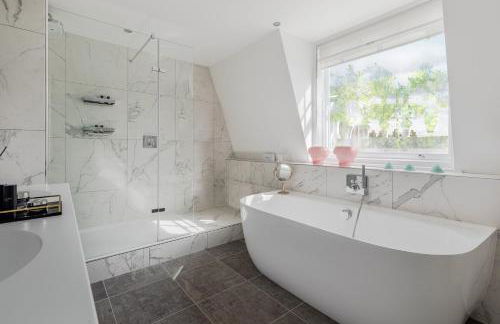
Welcome London The Garrick
Londra - Charing - Al centro
- 85 M2
- 3 camere
- 7 persone
- Riscaldamento
- Ascensore
27 recensioni


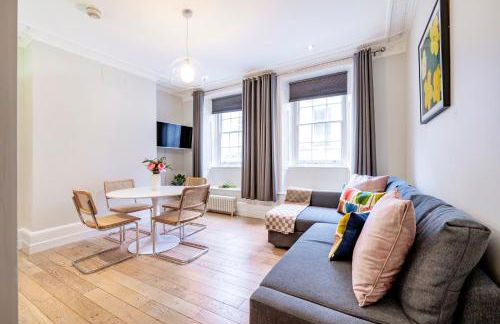
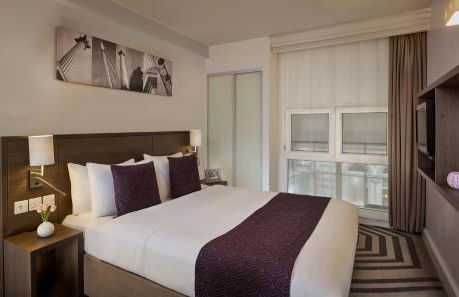
1st Class Covent Garden Residences for 1st Class Guests
Londra - Charing - Al centro
- 190 M2
- 3 camere
- 6 persone
58 recensioni


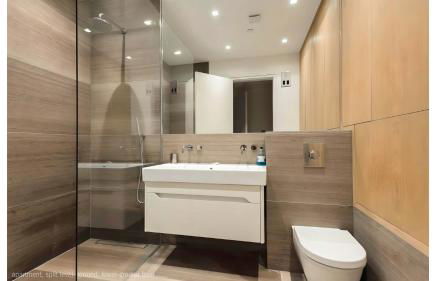
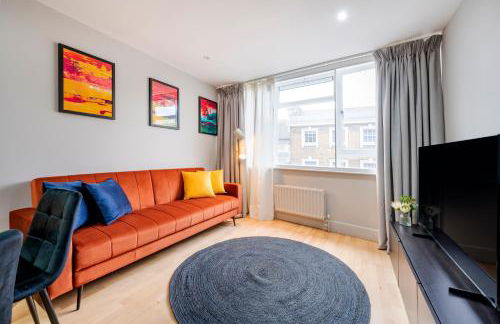
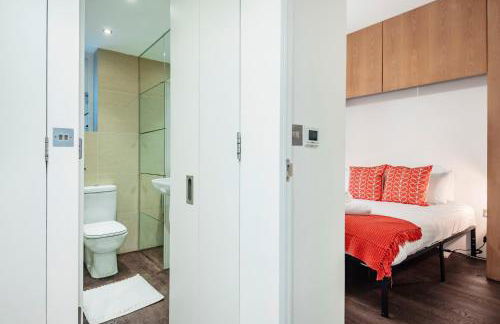
Apt 3, Trafalgar Sq Duplex, 3rd & 4th floor by Indigo Flats
Londra - Charing - Al centro
- 65 M2
- 2 camere
- 7 persone
- Riscaldamento
101 recensioni


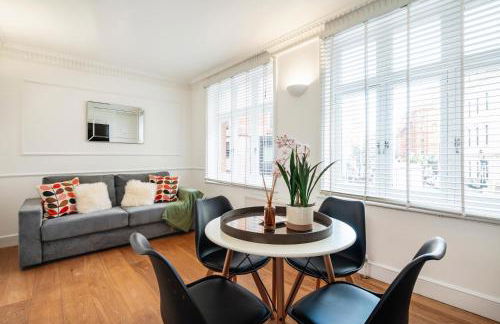
Welcome London St Martin's
Londra - Charing - Al centro
- 60 M2
- 2 camere
- 6 persone
- Riscaldamento
105 recensioni


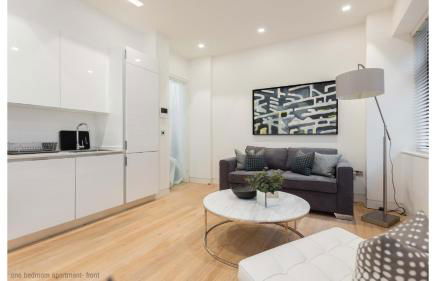
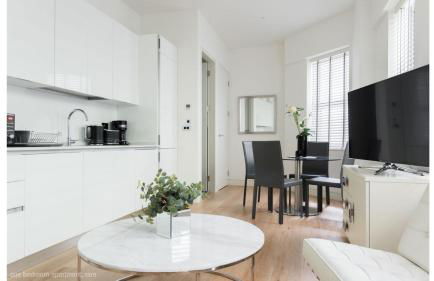
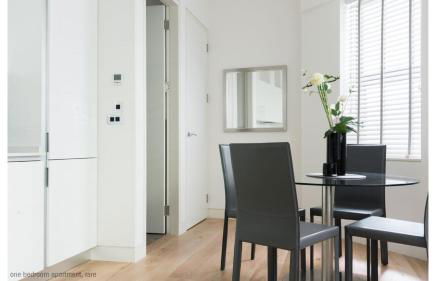
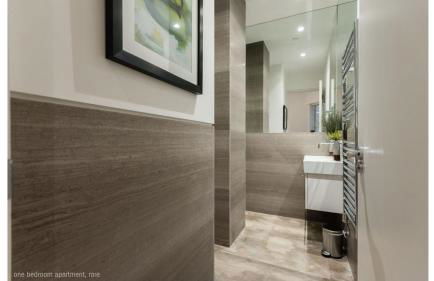
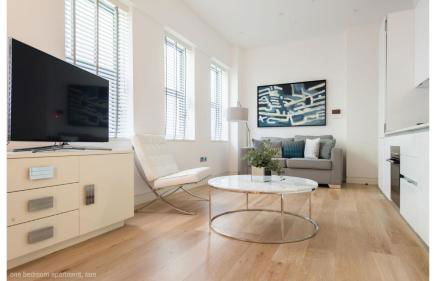
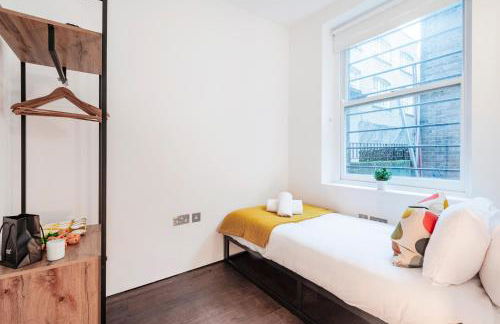
Welcome London National Gallery
Londra - Charing - Al centro
- 42 M2
- 1 camera
- 4 persone
- Riscaldamento
74 recensioni

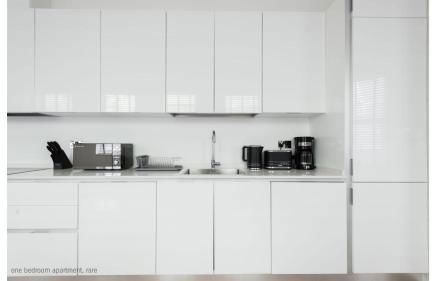
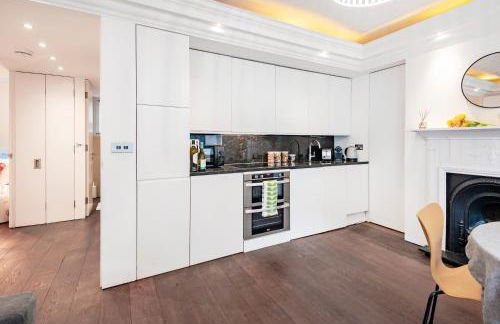
Apt 1, Trafalgar Square 1st Floor by Indigo Flats
Londra - Charing - Al centro
- 65 M2
- 1 camera
- 4 persone
- Riscaldamento
- Terrazza
- Giardino
92 recensioni

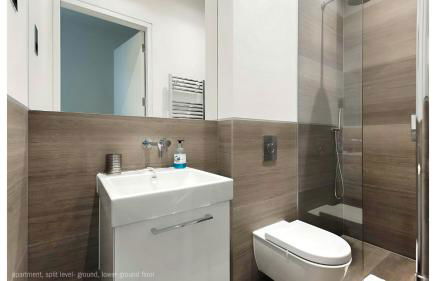
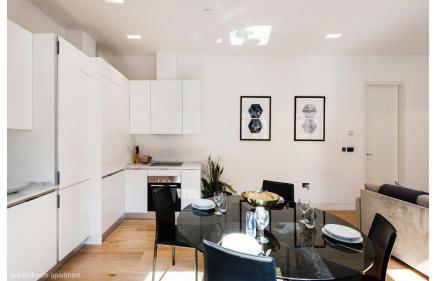
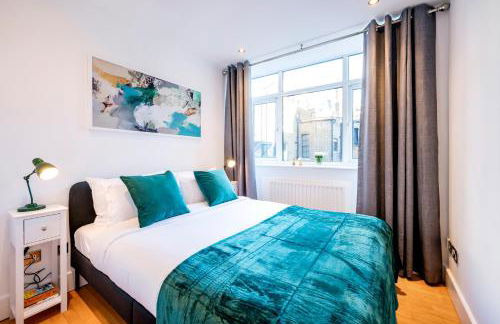
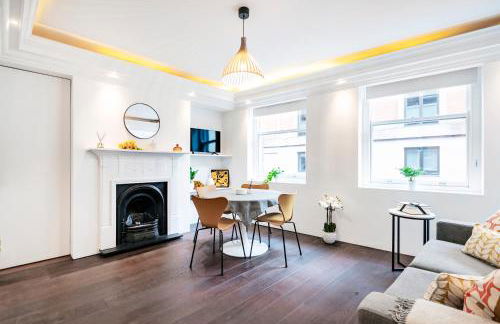
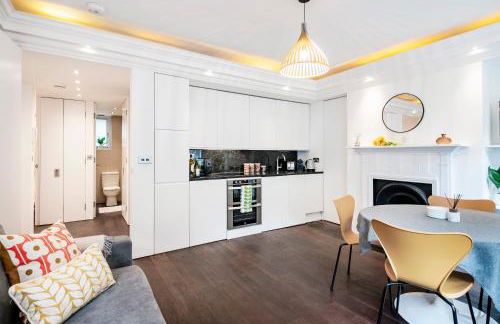
Apt 2, Trafalgar Square 2nd Floor by Indigo Flats
Londra - Charing - Al centro
- 45 M2
- 1 camera
- 5 persone
- Riscaldamento
116 recensioni


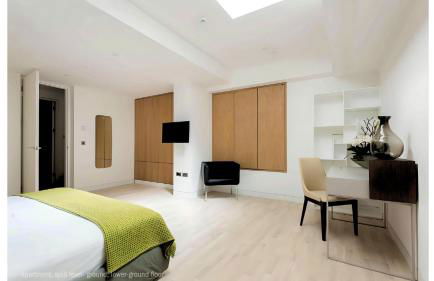
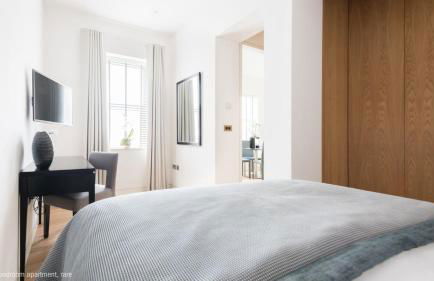
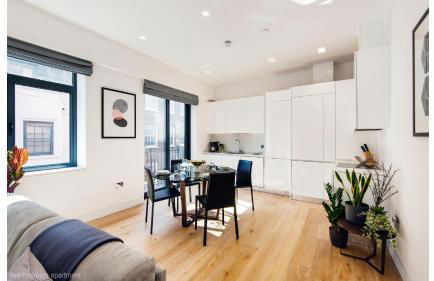
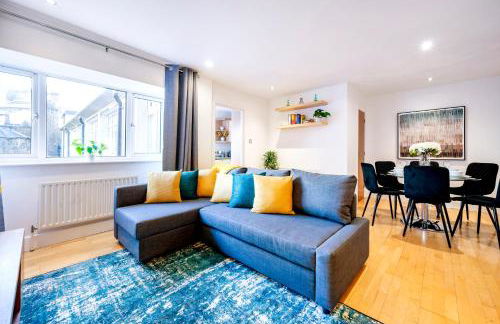
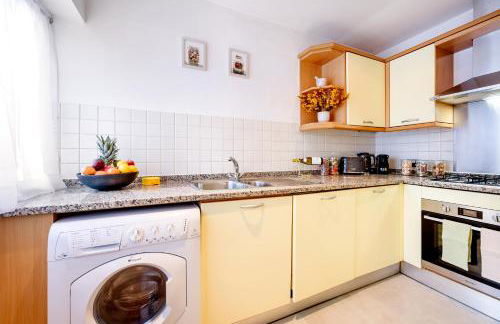
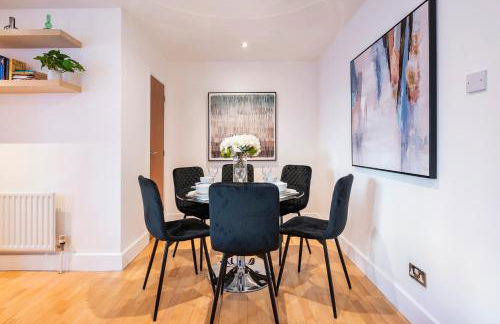
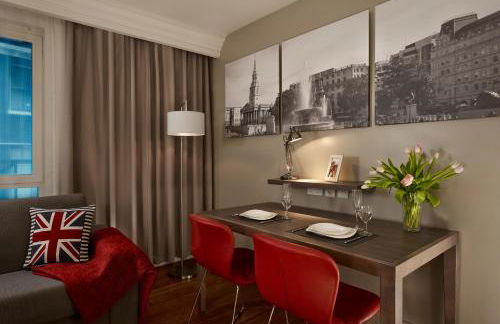
2BR Harry Potter Inspired House - Covent Garden
Londra - Charing - Al centro
- 71 M2
- 2 camere
- 6 persone
- Riscaldamento
46 recensioni


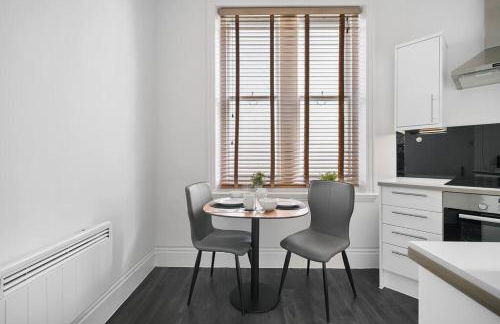
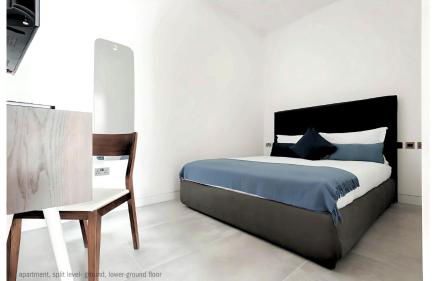
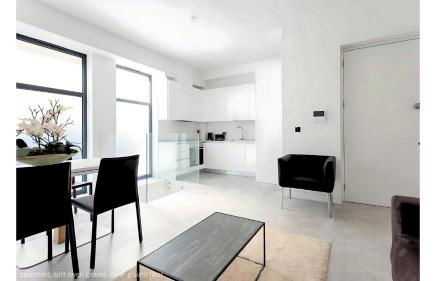
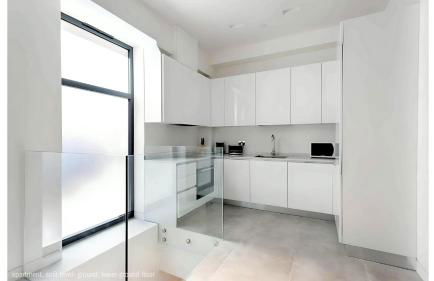
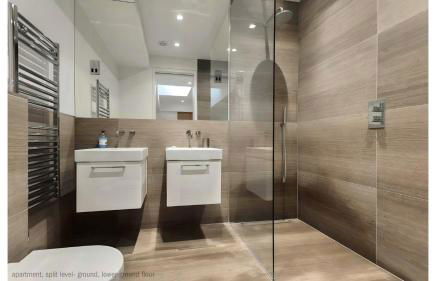
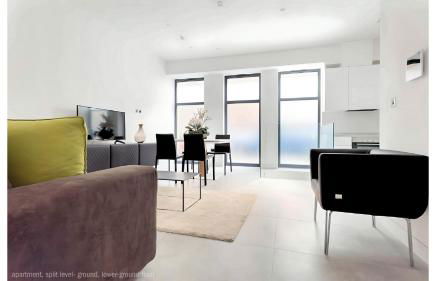
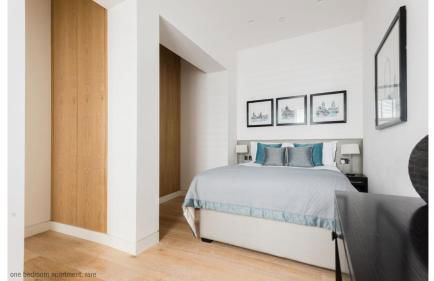
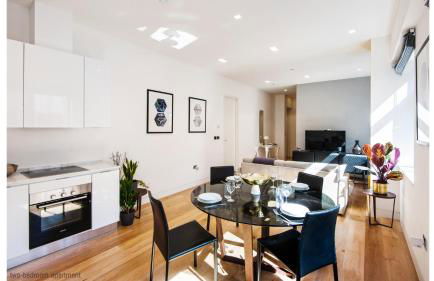
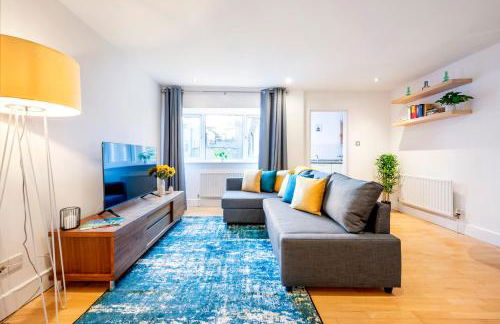
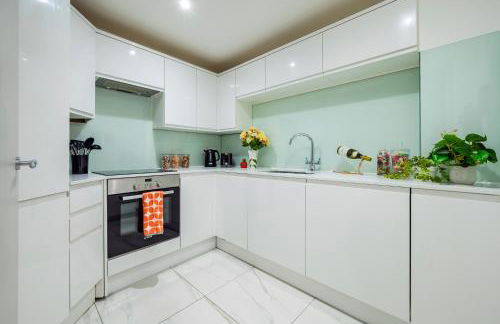
Modern Apartment & Rooms at Charing Cross
Londra - Charing - Al centro
- 90 M2
- 2 camere
- 4 persone
- Aria condizionata
- Riscaldamento
- Parcheggio
70 recensioni


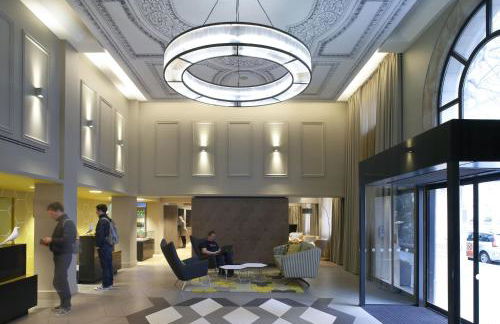
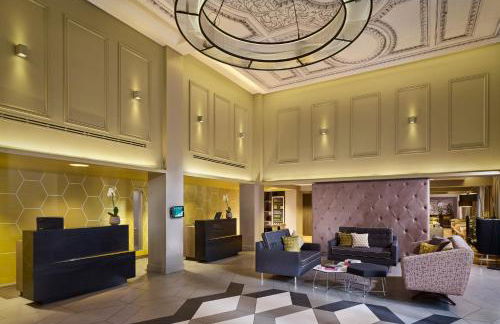


Citadines Trafalgar Square London
Londra - Charing - Al centro
- 70 M2
- 2 camere
- 6 persone
- Aria condizionata
- Riscaldamento
- Ascensore
4047 recensioni