
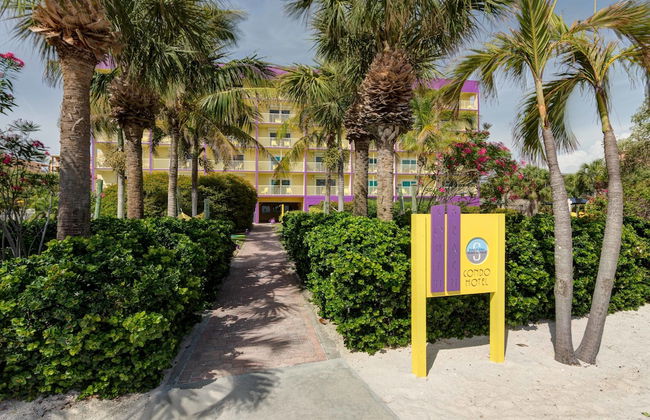
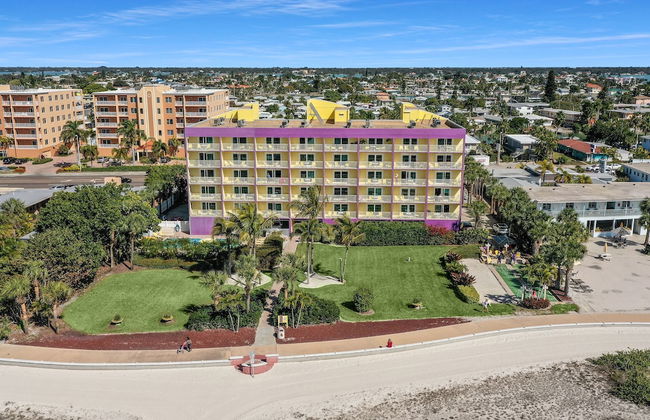
59884 Appartements à Floride

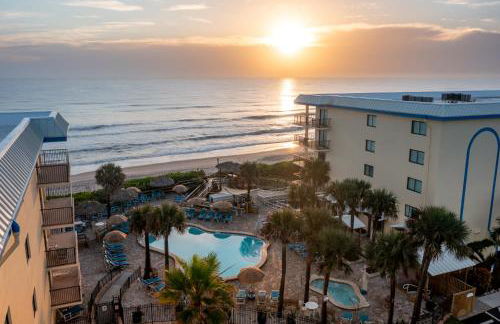

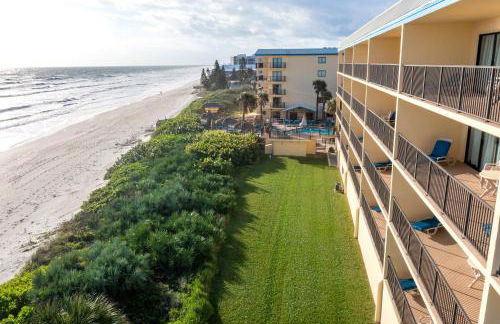

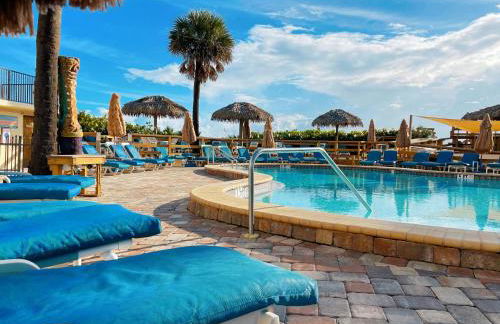

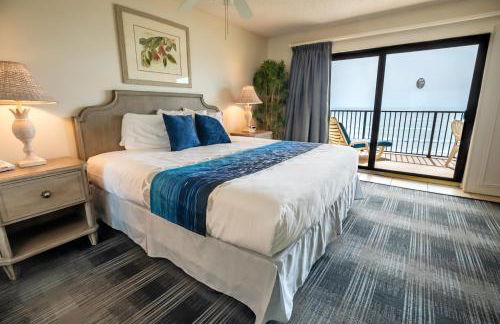

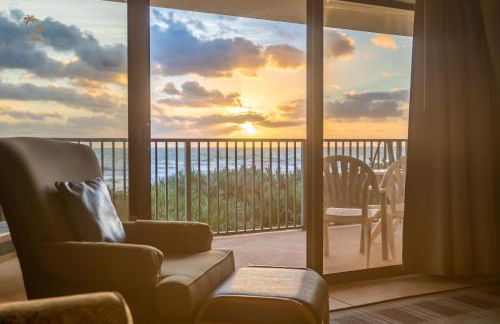


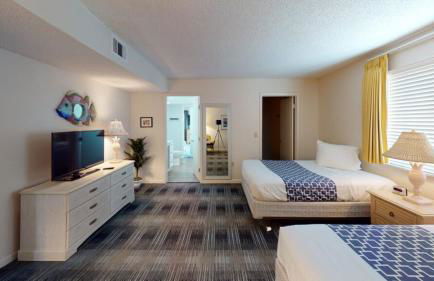

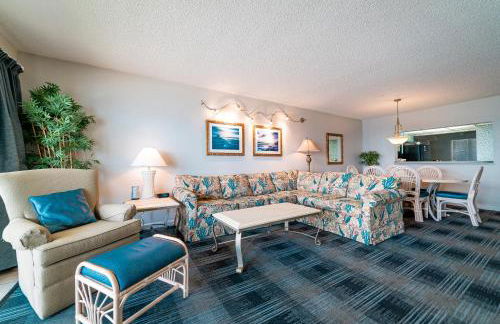

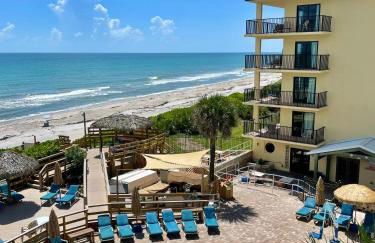


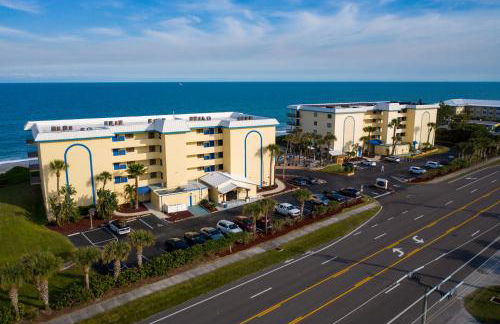


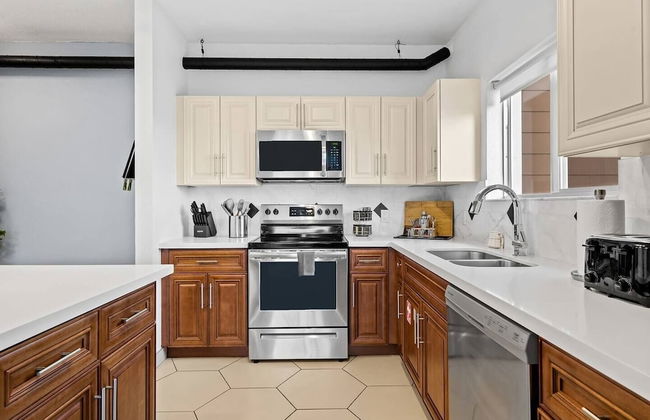
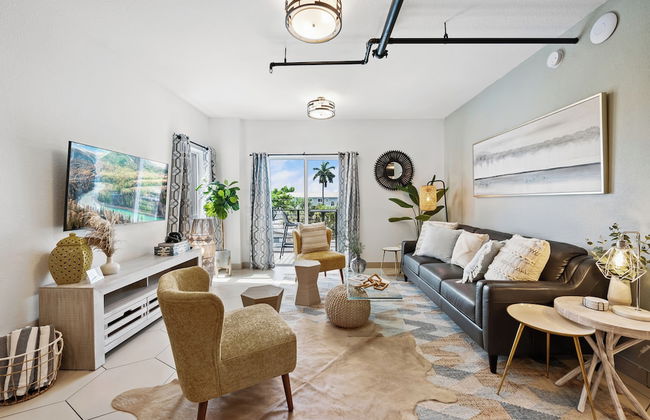
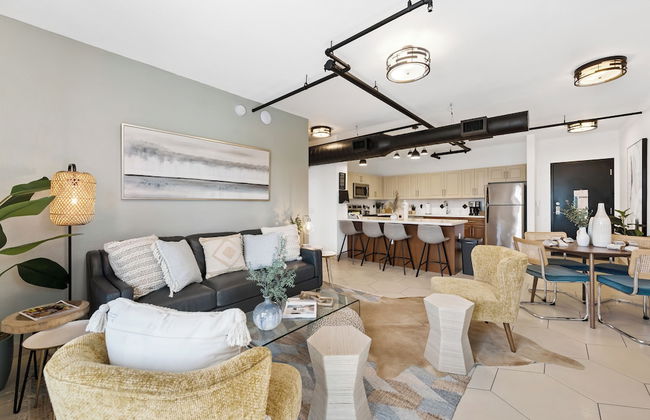
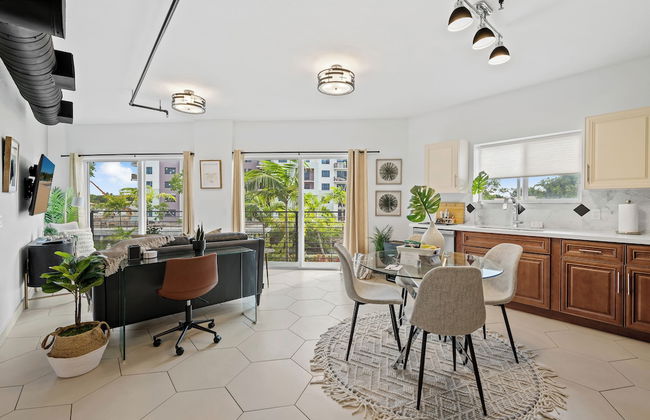
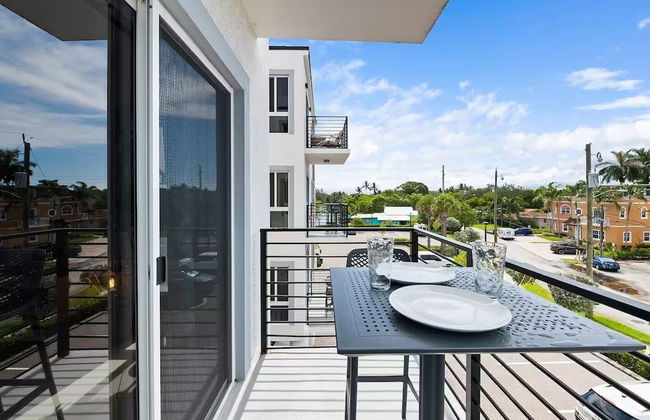
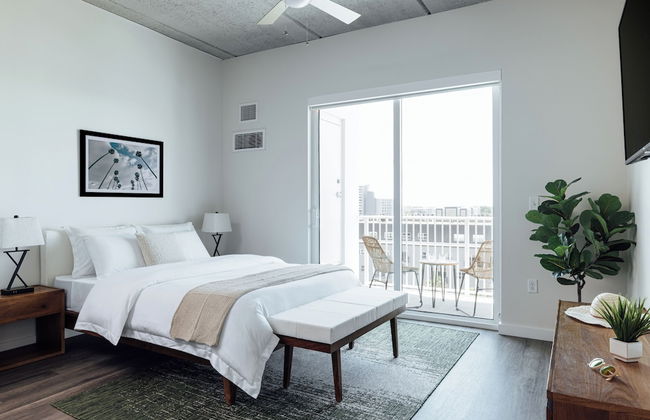
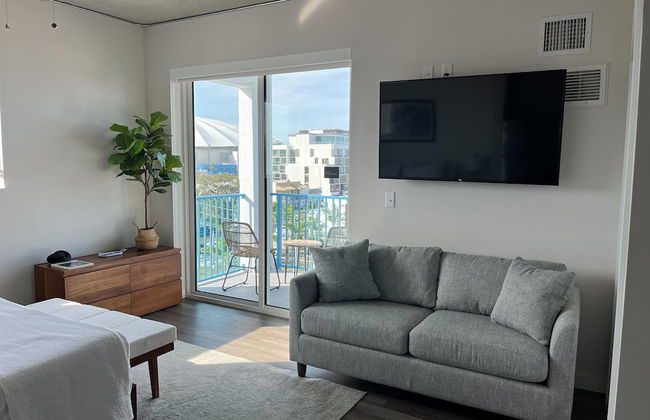
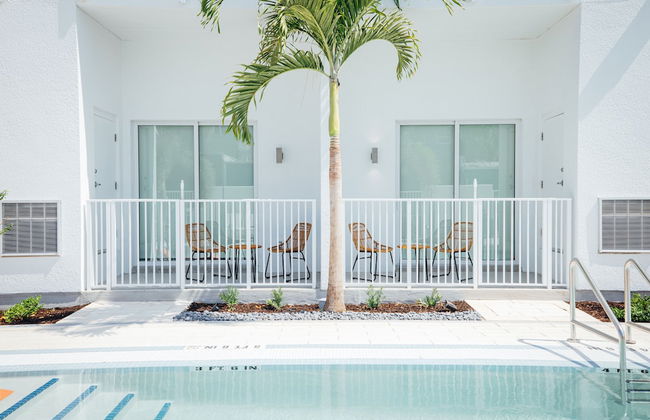
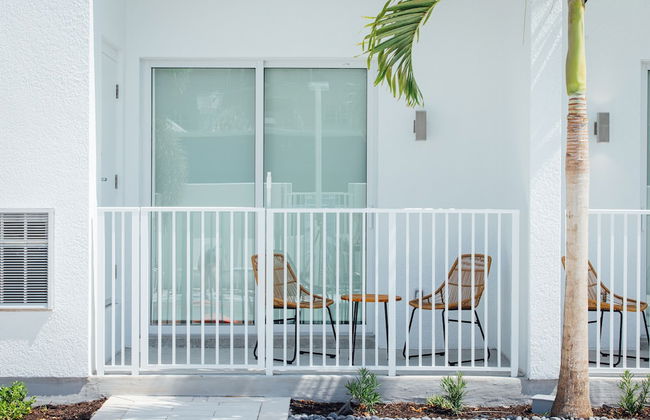
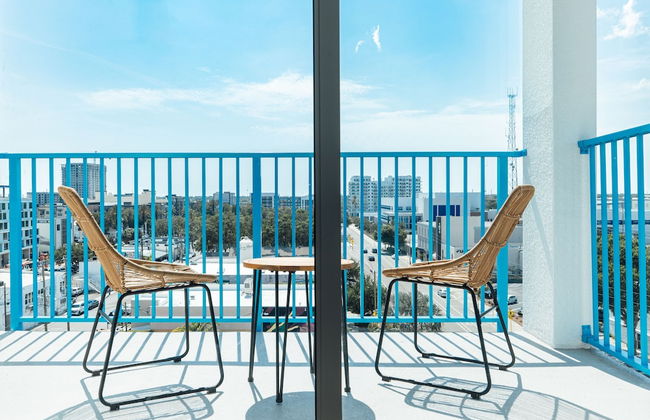
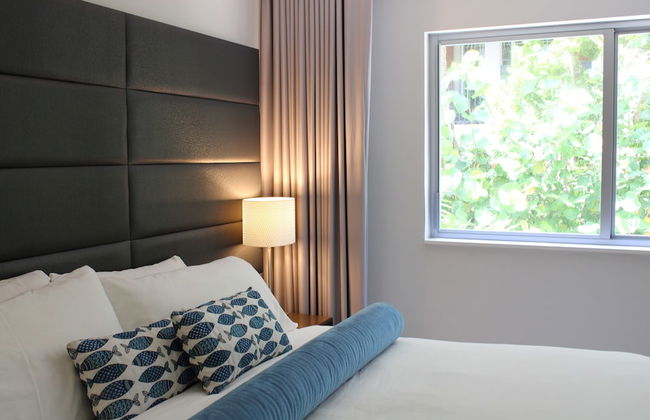
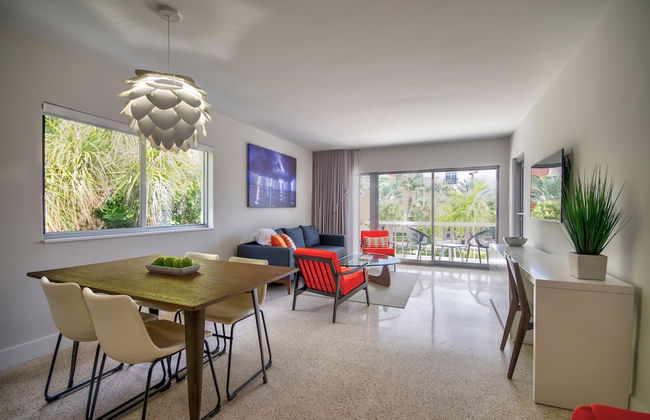
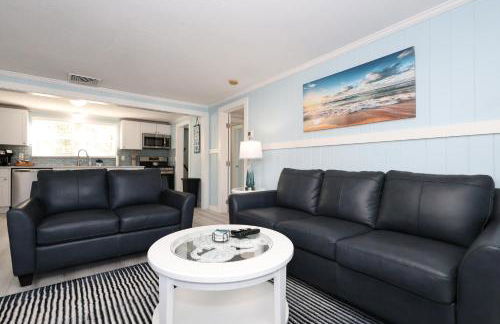
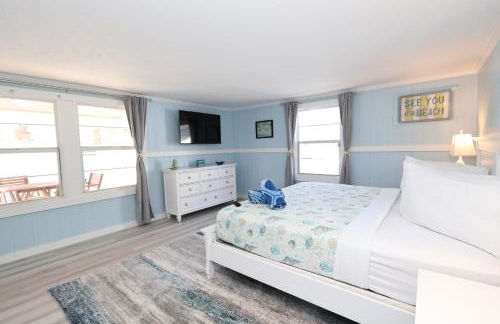
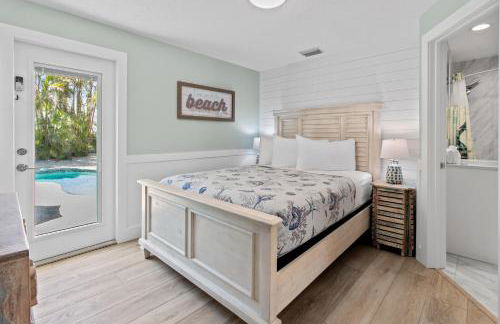
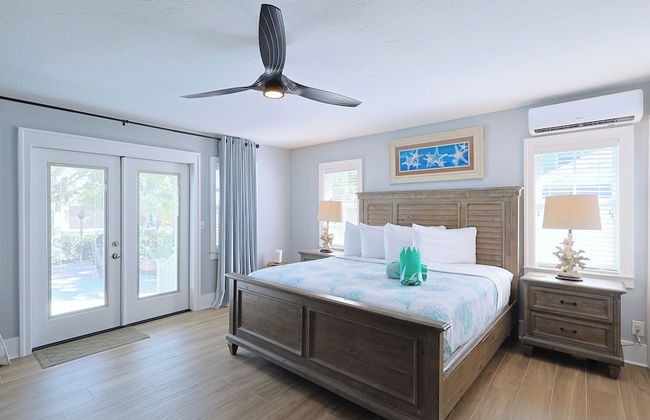
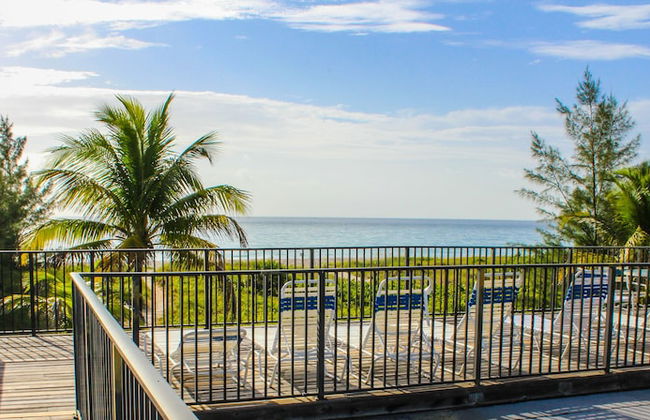
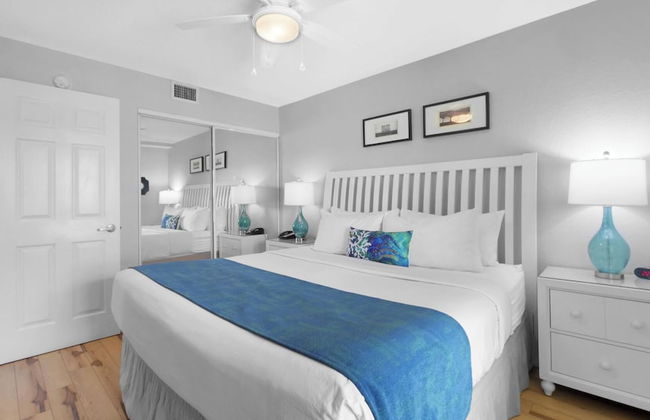
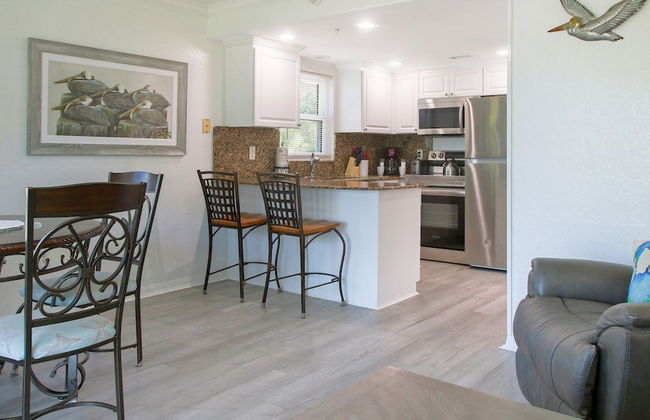
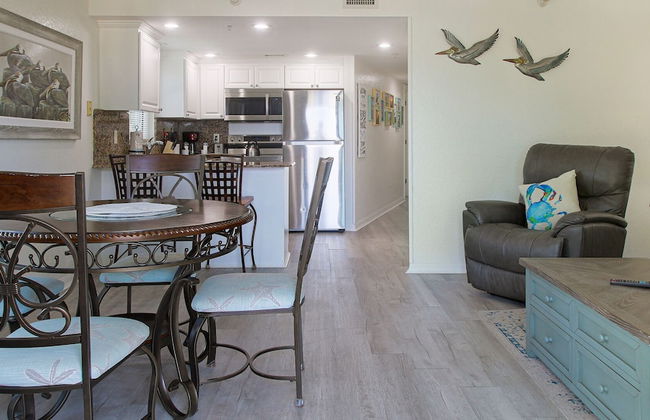
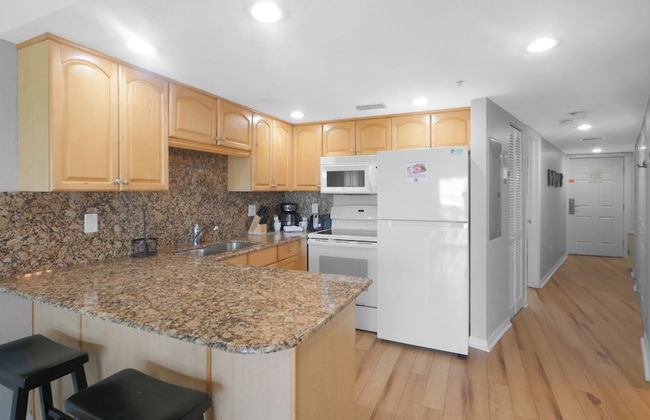
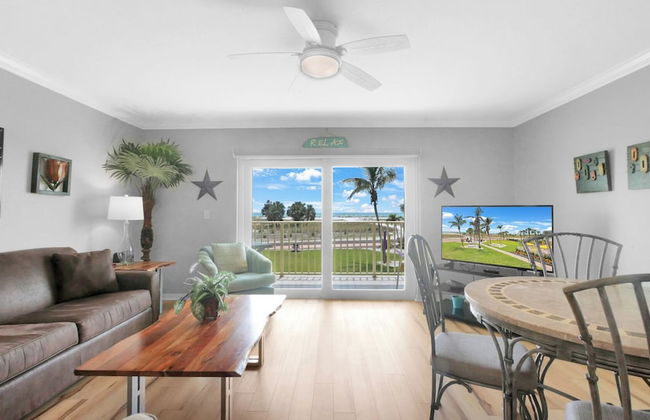
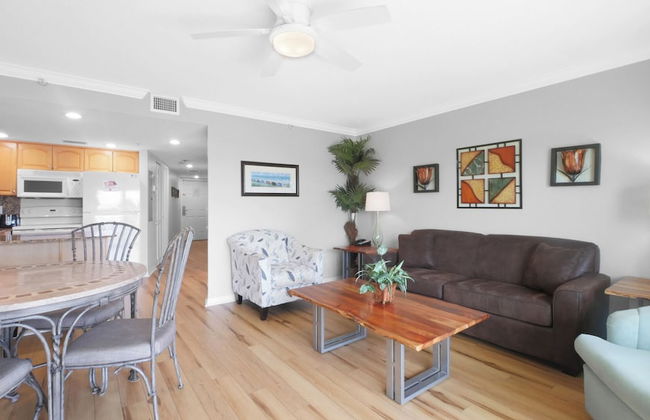
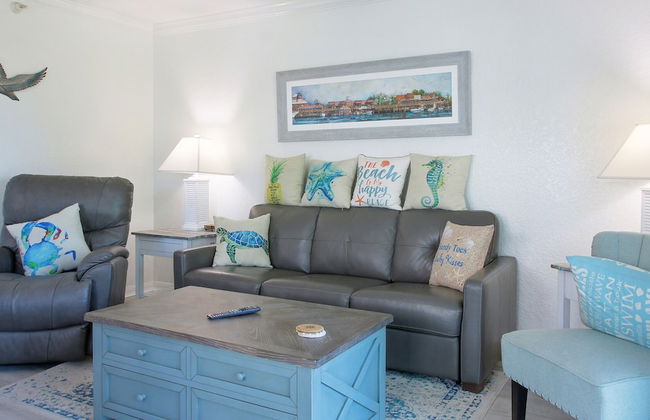
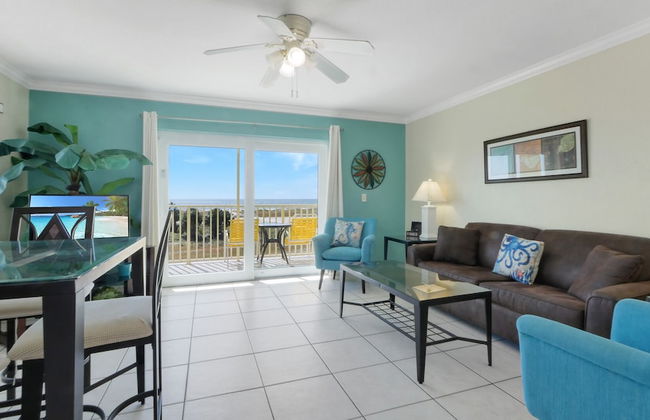
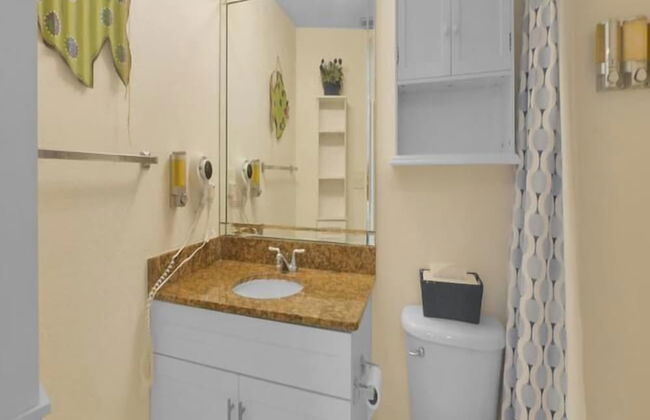
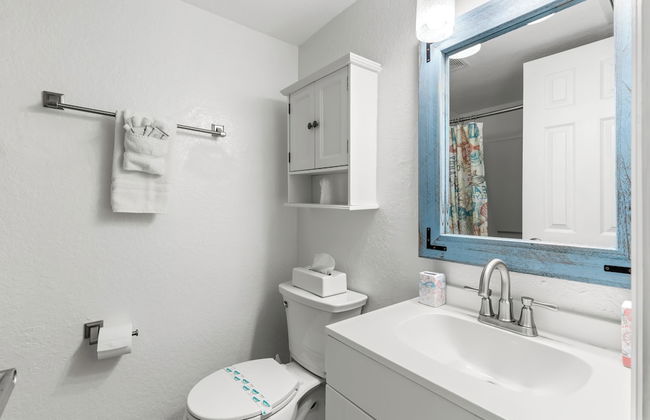
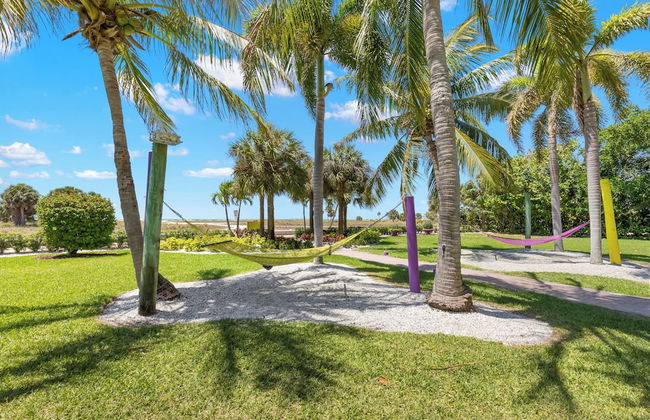
Las Olas Beach Club of Satellite Beach
Satellite Beach
- 130 M2
- 2 chambres
- 6 personnes
- Air conditionné
- Le chauffage
- Terrasse
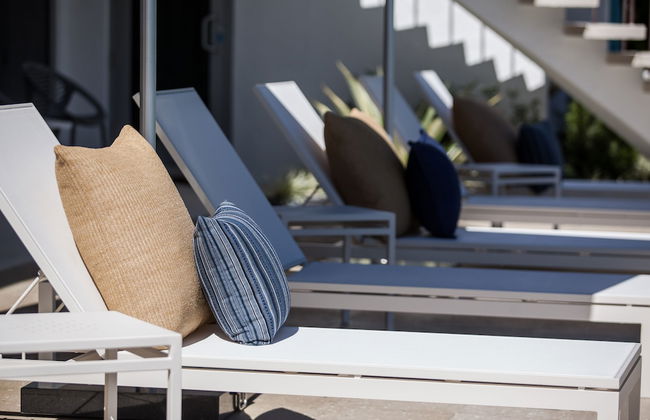
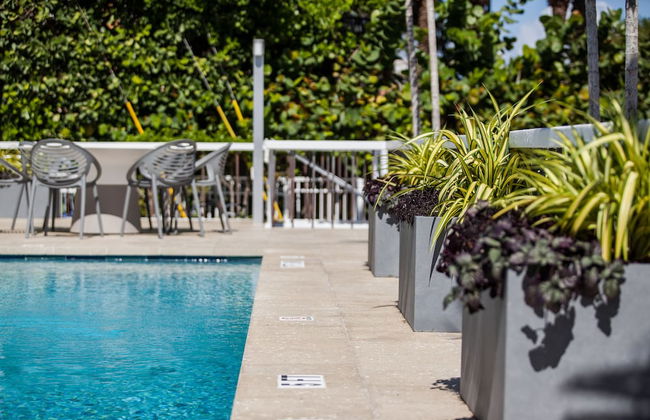
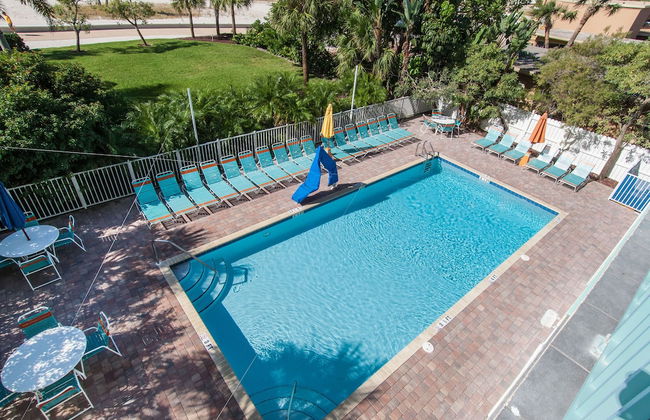
- Piscine
- Parking
- Ascenseur
- Balcon
- Jardin
- Tv
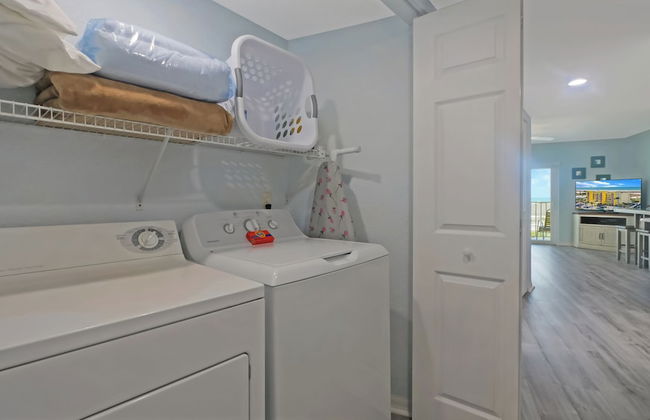
- Machine à laver
- Barbecue
- Serviettes
- Feuilles
28 avis


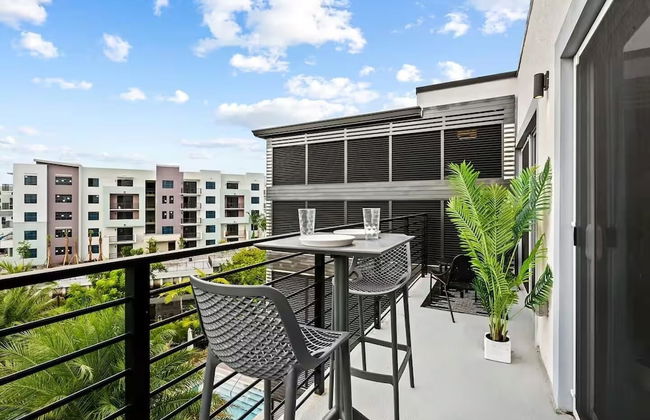
Vista Cay Commons by OVH360
Orlando - À 13.5 km du centre
- 130 M2
- 6 personnes
- Air conditionné
- Le chauffage
- Piscine
- Parking
- Ascenseur
- Balcon
- Tv
- Machine à laver
- Serviettes
- Feuilles
49 avis


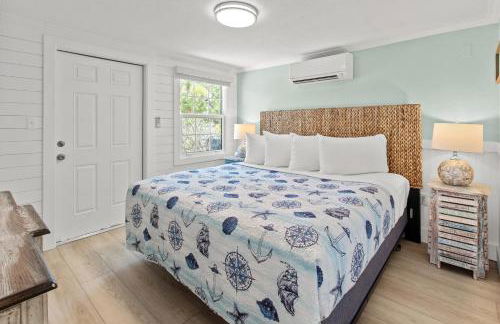
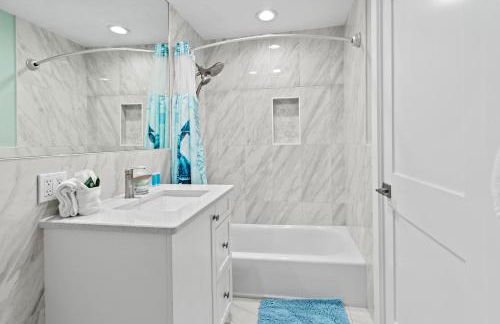
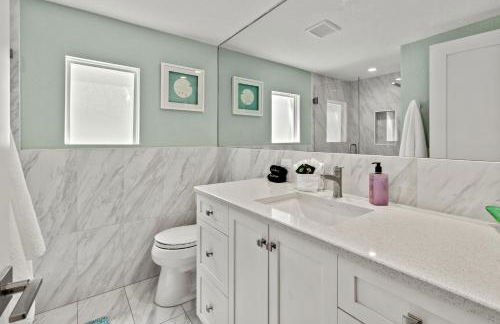
Wilton River Suites (Adults Only)
Fort Lauderdale - À 4 km du centre
- 107 M2
- 4 personnes
- Air conditionné
- Le chauffage
- Piscine
- Parking
- Ascenseur
- Balcon
- Jardin
- Tv
- Machine à laver
- Barbecue
- Serviettes
- Feuilles
20 avis


The Inn On Siesta Key
Sarasota - Sarasota Beach - À 7.3 km du centre
- 102 M2
- 8 personnes
- Air conditionné
- Le chauffage
- Terrasse
- Piscine
- Parking
- Balcon
- Jardin
- Tv
- Barbecue
- Serviettes
- Feuilles
175 avis


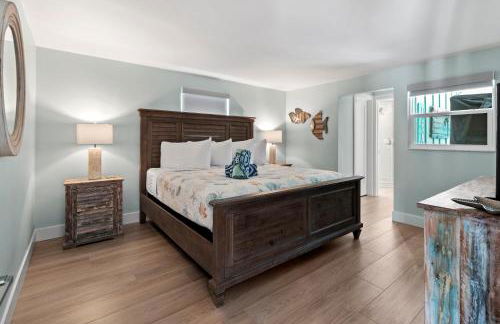
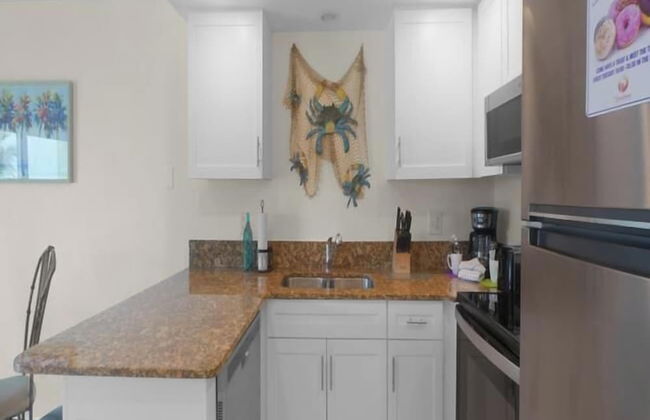
Sabine Yacht & Racquet by Southern Vacation Rentals
Gulf Breeze - Villa Sabine
- 120 M2
- 2 chambres
- 6 personnes
- Air conditionné
- Le chauffage
- Piscine
- Parking
- Ascenseur
- Balcon
- Tv
- Machine à laver
- Serviettes
- Feuilles
24 avis


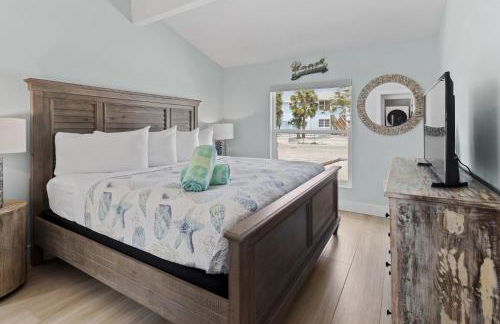
Ocean's Reach Condominiums
Sanibel - À 1.2 km du centre
- 89 M2
- 6 personnes
- Air conditionné
- Terrasse
- Piscine
- Parking
- Ascenseur
- Jardin
- Tv
- Machine à laver
- Barbecue
- Serviettes
- Feuilles
103 avis


Vistalmar Beach Resort
Deerfield Beach - À 1.8 km du centre
- 6 personnes
- Air conditionné
- Le chauffage
- Terrasse
- Piscine
- Parking
- Ascenseur
- Balcon
- Tv
- Barbecue
- Serviettes
- Feuilles
262 avis


Atlantic Terrace
Daytona - Ocean View Halifax Estates - À 8.9 km du centre
- 131 M2
- 6 personnes
- Air conditionné
- Le chauffage
- Terrasse
- Piscine
- Parking
- Ascenseur
- Balcon
- Tv
- Machine à laver
- Barbecue
- Serviettes
- Feuilles
134 avis
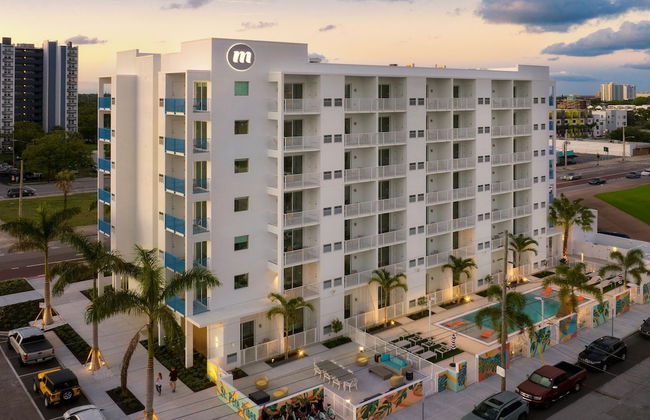


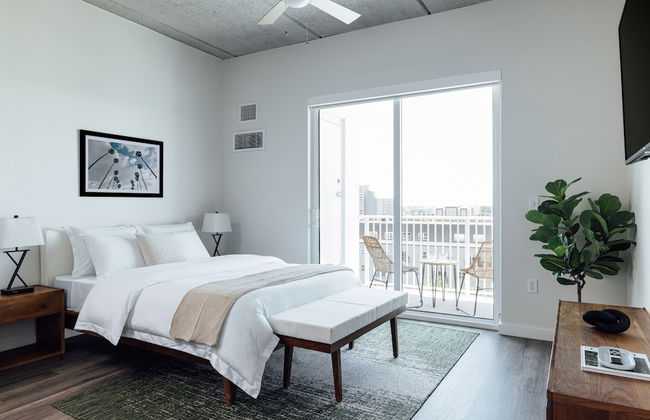


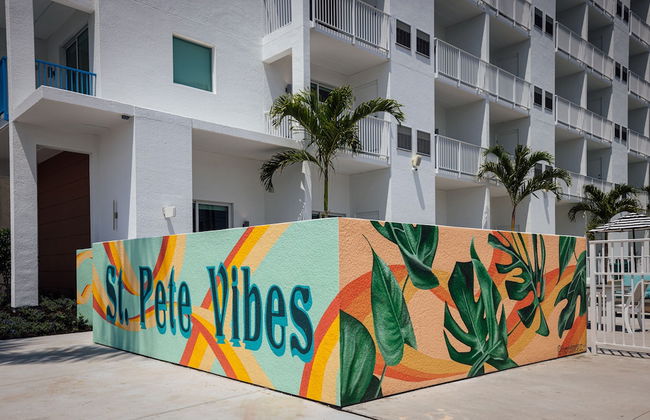


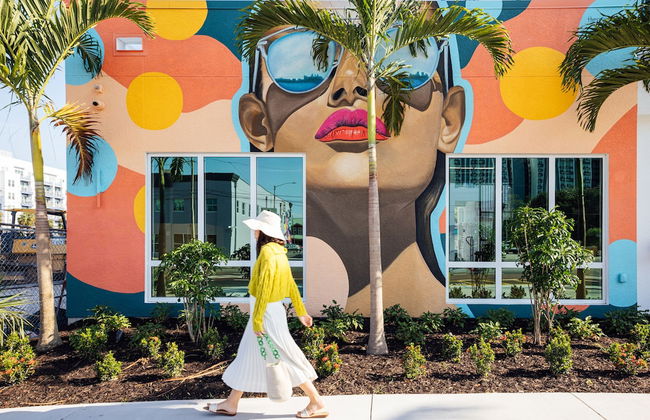
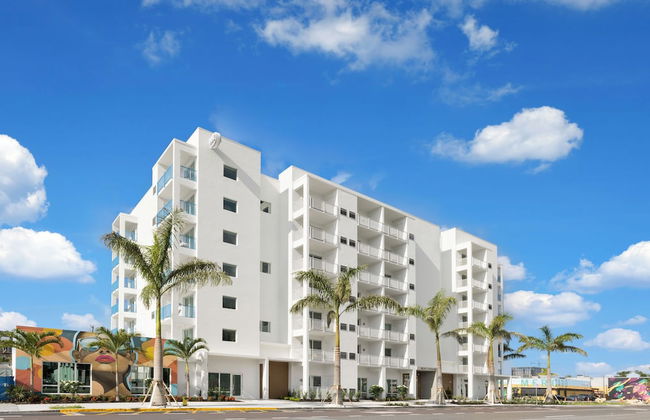


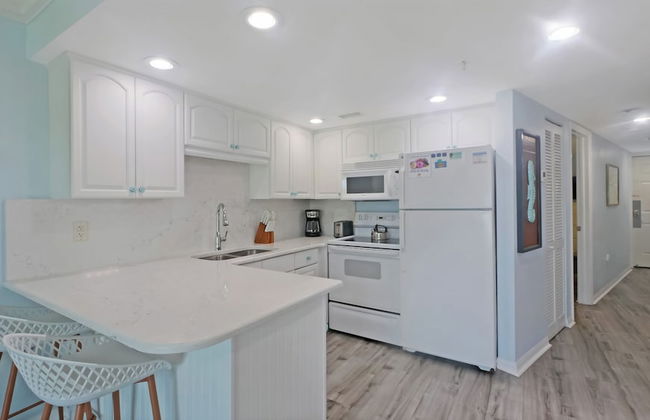
Mint House St. Petersburg Downtown by Kasa
St-Petersburg - À 550 m du centre
- 32 M2
- 4 personnes
- Cuisinette
- Air conditionné
- Le chauffage
- Terrasse
- Piscine
- Parking
- Ascenseur
- Tv
- Machine à laver
- Cheminée
- Barbecue
- Serviettes
- Feuilles
606 avis


Marriott's Sabal Palms 2BR Apartment with Resort Access
Orlando - À 23 km du centre
- 116 M2
- 2 chambres
- 6 personnes
- Air conditionné
- Le chauffage
- Terrasse
- Piscine
- Parking
- Ascenseur
- Balcon
- Jardin
- Tv
- Machine à laver
- Cheminée
- Barbecue
- Serviettes
- Feuilles
190 avis


The Berkley, Orlando
Kissimmee - À 22 km du centre
- 197 M2
- 10 personnes
- Air conditionné
- Le chauffage
- Terrasse
- Piscine
- Parking
- Ascenseur
- Tv
- Machine à laver
- Barbecue
- Serviettes
- Feuilles
1757 avis


The Elmar Boutique Hotel
Lauderdale-by-the-Sea
- 46 M2
- 3 personnes
- Cuisinette
- Air conditionné
- Le chauffage
- Piscine
- Parking
- Tv
- Serviettes
- Feuilles
52 avis


Tropical Villas of Venice Beach
Venice - Dans le centre
- 6 personnes
- Cuisinette
- Air conditionné
- Le chauffage
- Terrasse
- Piscine
- Parking
- Jardin
- Tv
- Machine à laver
- Barbecue
- Serviettes
- Feuilles
230 avis


Siesta Key Island Rentals
Sarasota - Sarasota Beach - À 7.4 km du centre
- 167 M2
- 4 chambres
- 10 personnes
- Air conditionné
- Le chauffage
- Terrasse
- Piscine
- Parking
- Balcon
- Jardin
- Tv
- Machine à laver
- Barbecue
- Serviettes
- Feuilles
30 avis


Sand Dune Shores
West Palm Beach - Sand Dune Shores Resort - À 7.1 km du centre
- 68 M2
- 6 personnes
- Air conditionné
- Le chauffage
- Terrasse
- Piscine
- Parking
- Tv
- Barbecue
- Serviettes
- Feuilles
92 avis


The Islands of Islamorada
Islamorada
- 10 personnes
- Air conditionné
- Le chauffage
- Piscine
- Parking
- Ascenseur
- Balcon
- Jardin
- Tv
- Cheminée
- Barbecue
- Serviettes
- Feuilles
61 avis


Wonderful 4Bd w Pool Close to Disney at Storeylake 2669
Kissimmee - À 5.2 km du centre
- 212 M2
- 4 chambres
- 12 personnes
- Air conditionné
- Le chauffage
- Piscine
- Parking
- Balcon
- Jardin
- Tv
- Machine à laver
- Serviettes
- Feuilles
26 avis


Estrella del Mar
Panama City - À 11.2 km du centre
- 101 M2
- 2 chambres
- 6 personnes
- Air conditionné
- Le chauffage
- Terrasse
- Parking
- Jardin
- Barbecue
10 avis


Marriott's Royal Palms 2BR Apartment with Resort Access
Orlando - Royal Palms - À 22.6 km du centre
- 152 M2
- 2 chambres
- 8 personnes
- Air conditionné
- Le chauffage
- Terrasse
- Piscine
- Parking
- Ascenseur
- Balcon
- Jardin
- Tv
- Machine à laver
- Cheminée
- Barbecue
- Serviettes
- Feuilles
55 avis


Crystal Palms Treasure Island Retreat Steps from the Beach
Treasure Island
- 72 M2
- 2 chambres
- 6 personnes
- Air conditionné
- Le chauffage
- Terrasse
- Piscine
- Parking
- Ascenseur
- Balcon
- Jardin
- Tv
- Machine à laver
- Barbecue
- Serviettes
- Feuilles
1070 avis