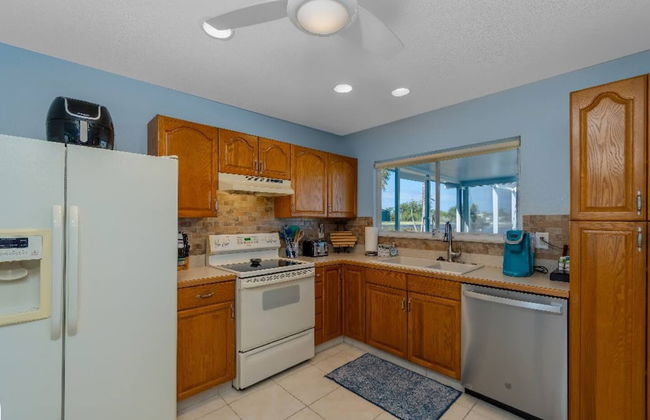
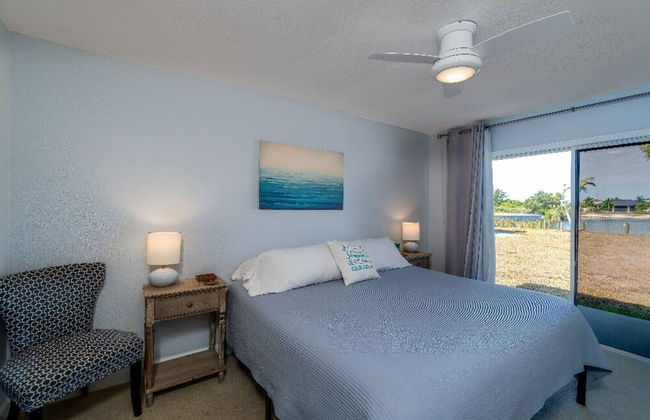
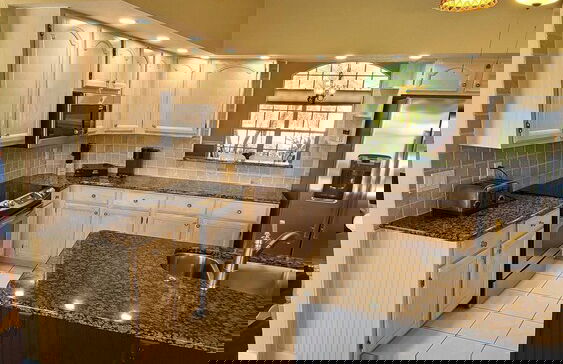
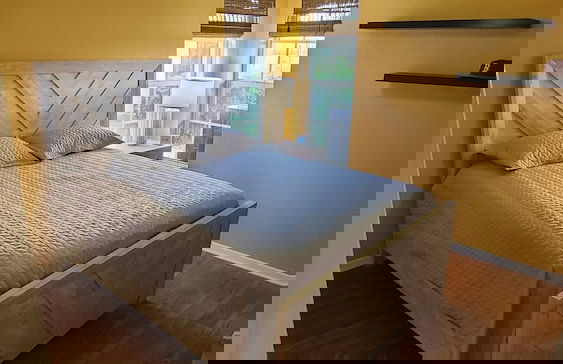
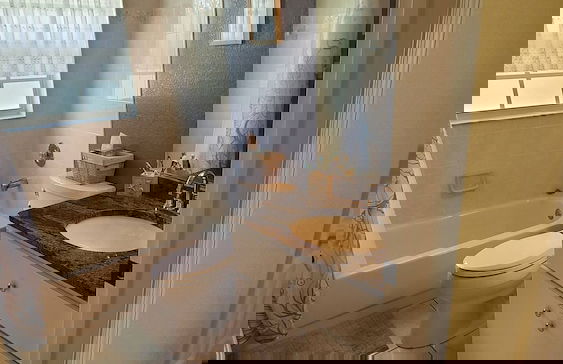
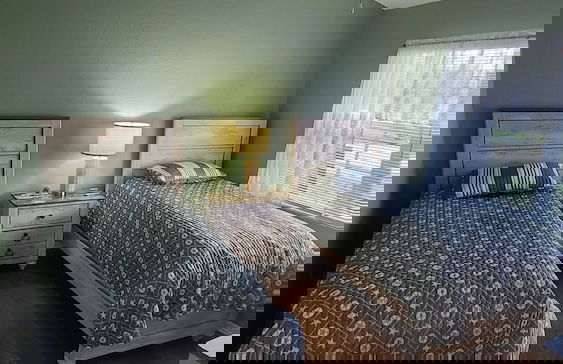
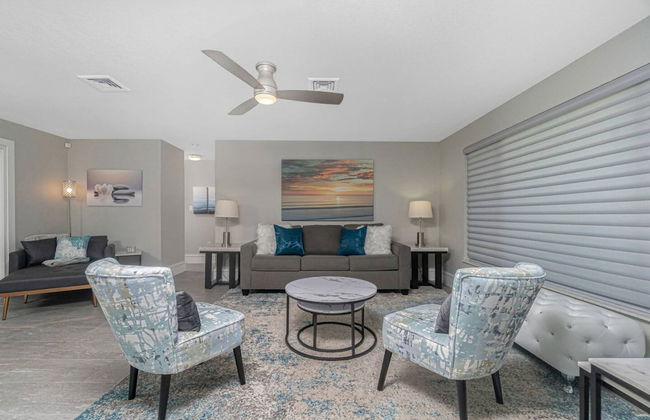
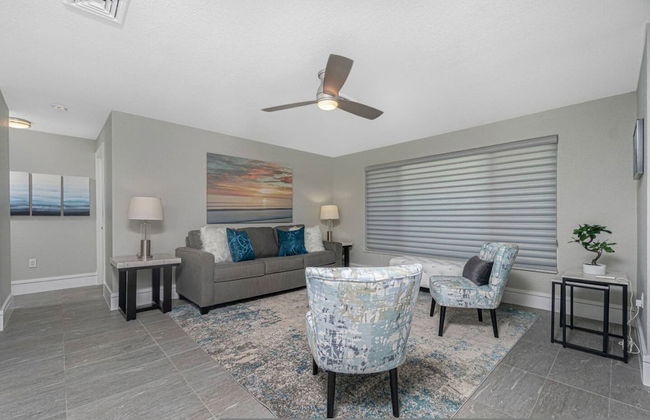
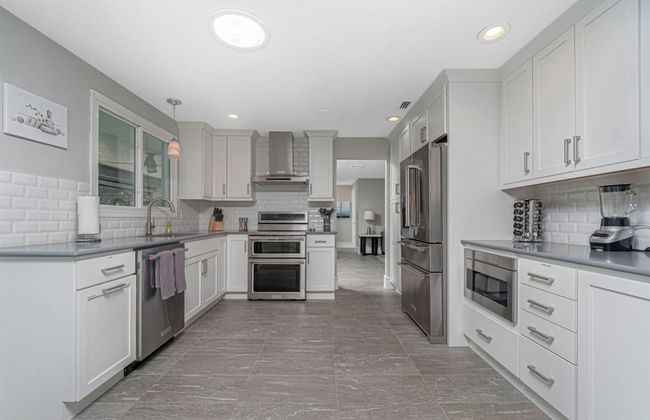
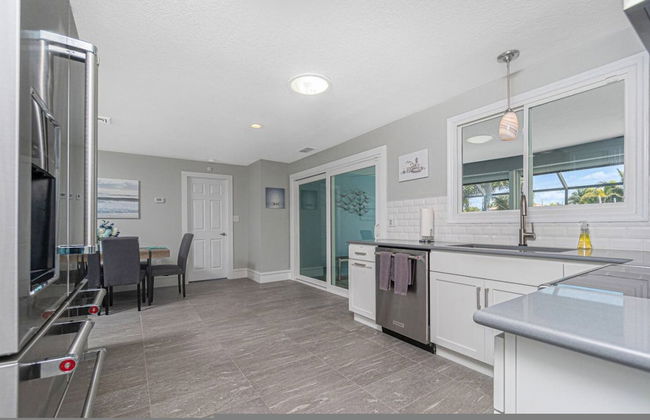
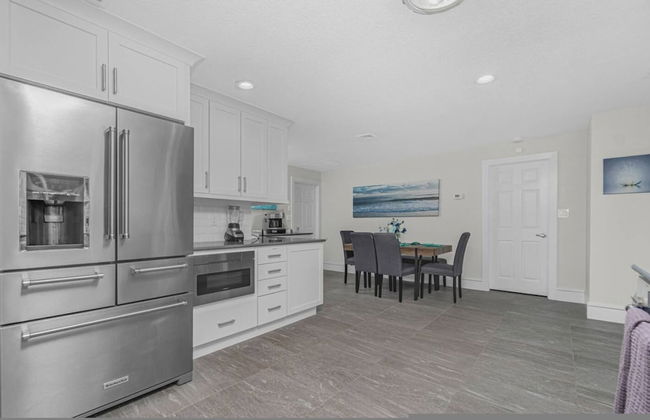
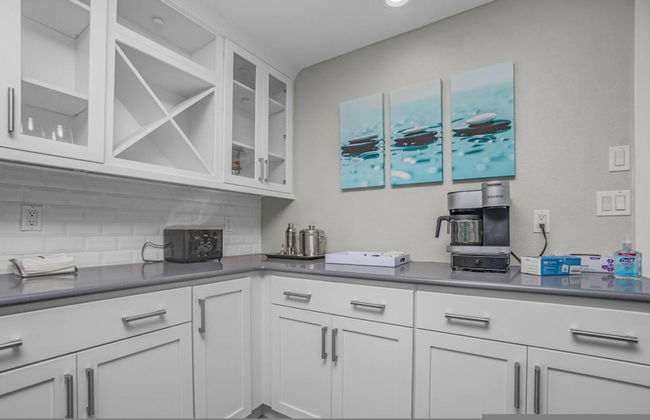
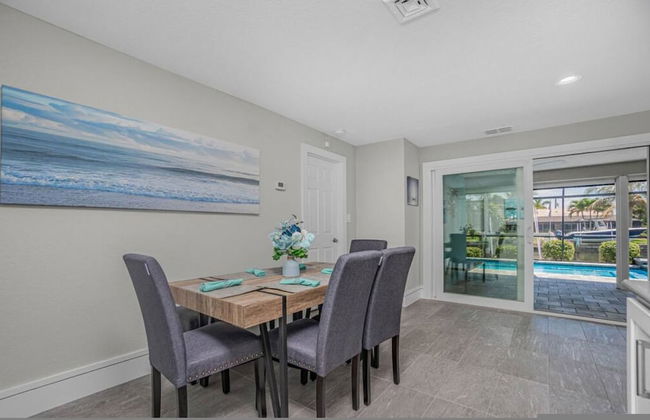
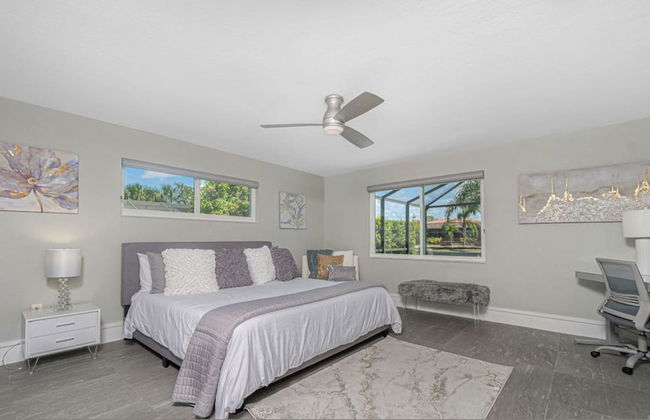
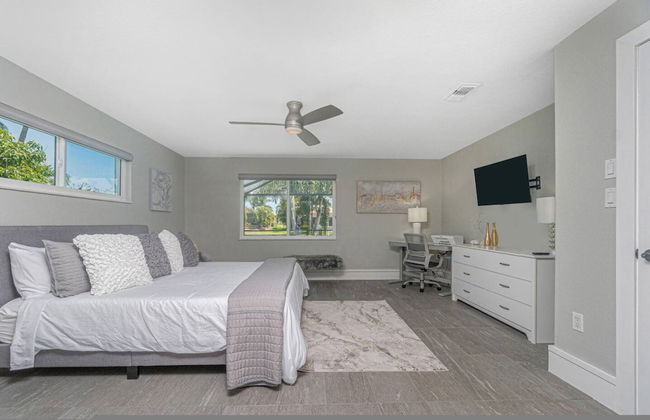
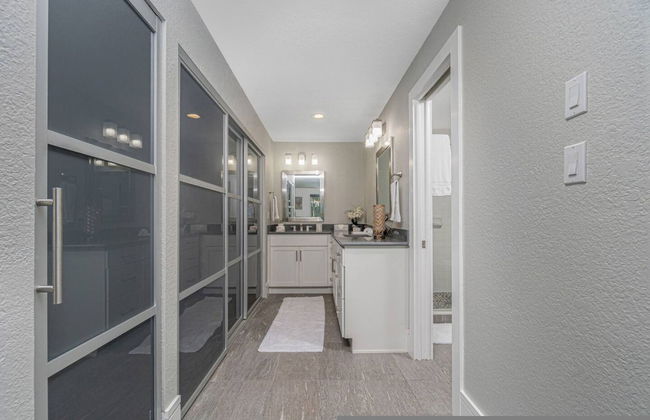
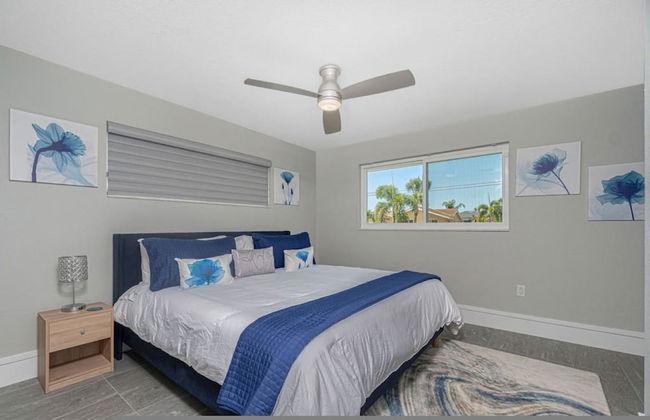
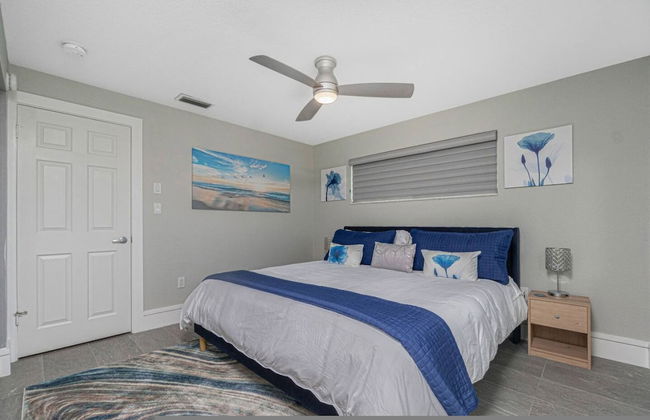
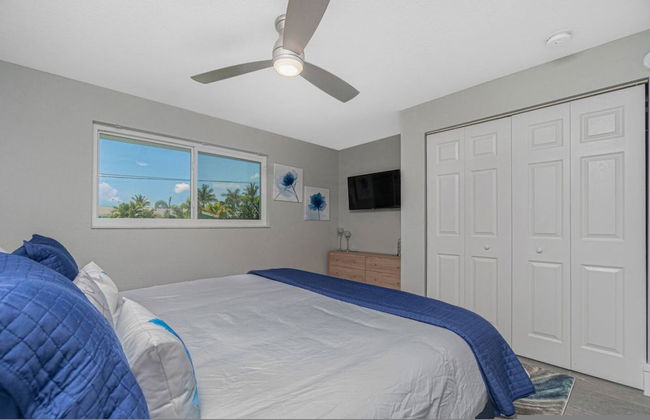
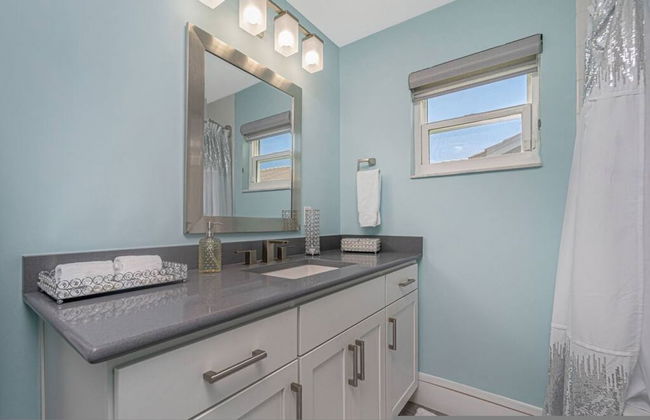
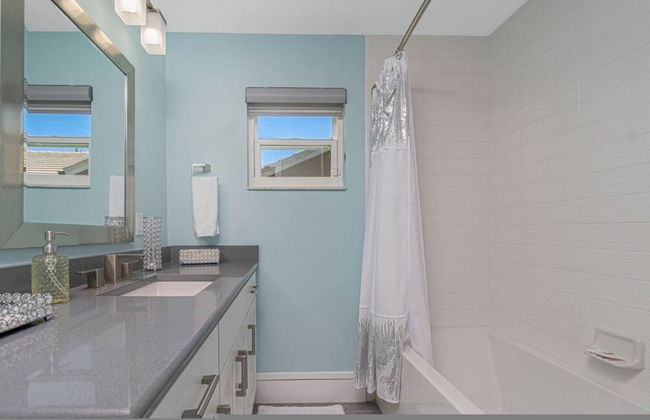
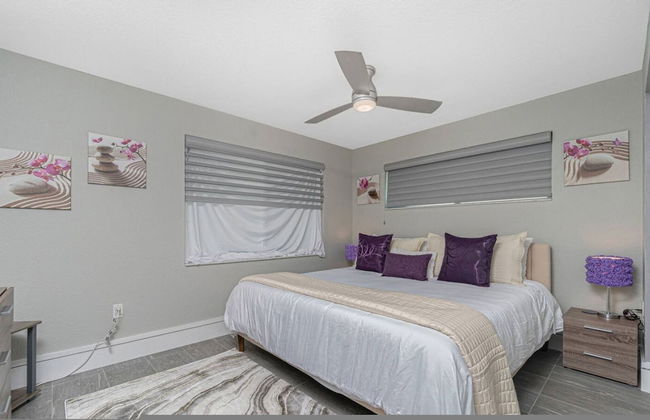
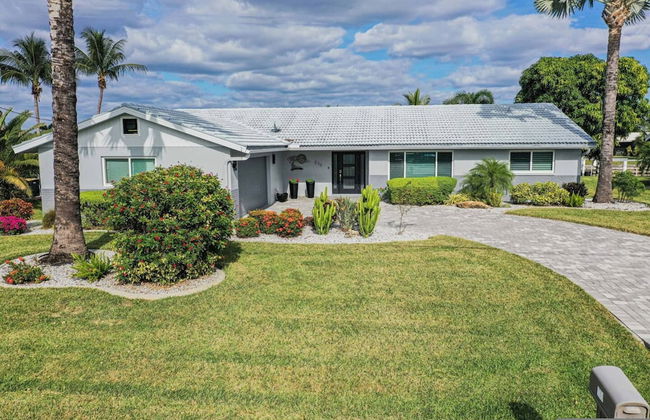
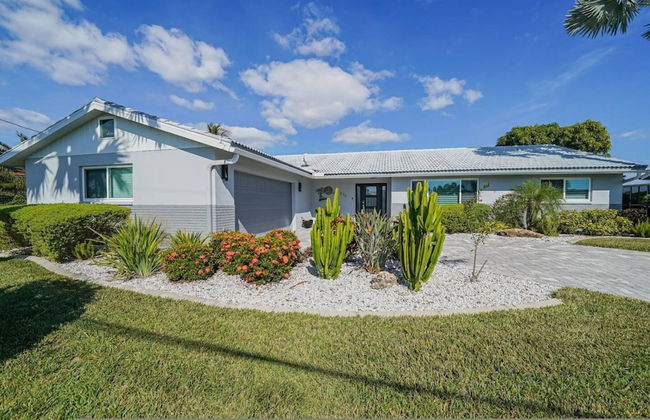
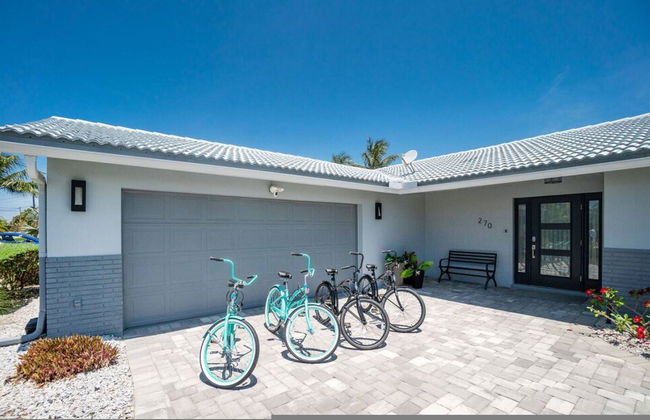
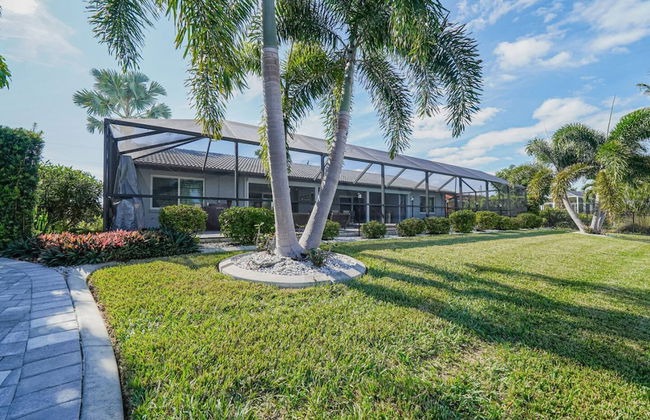
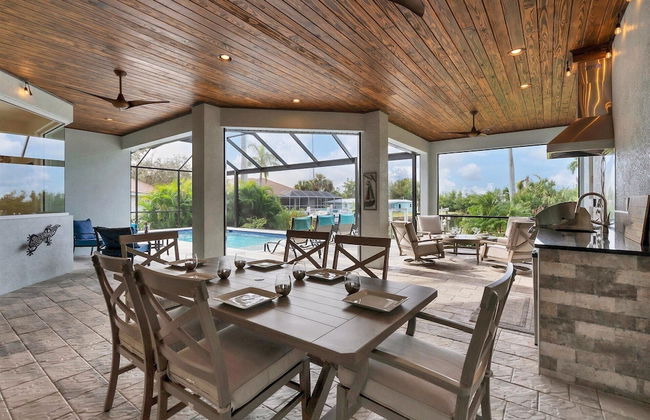
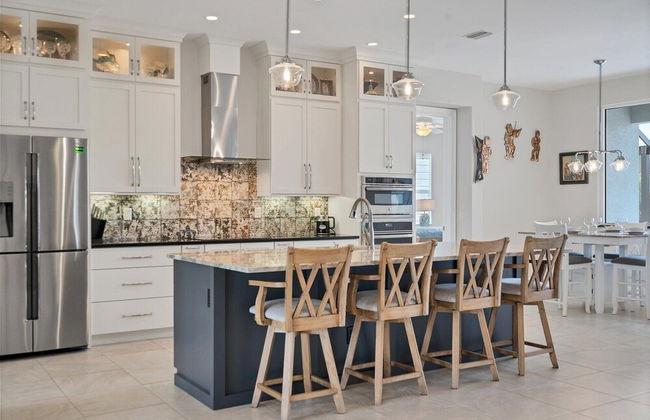
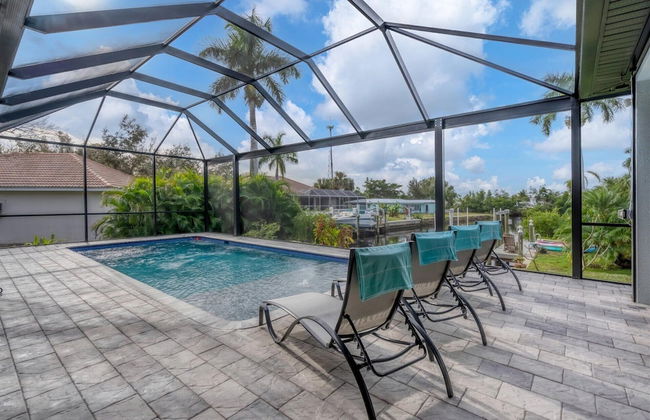
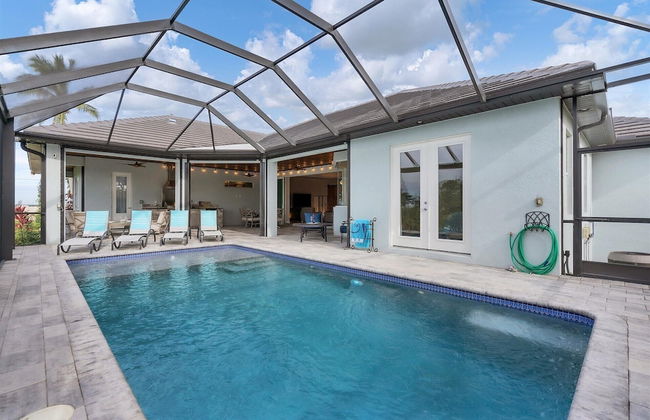
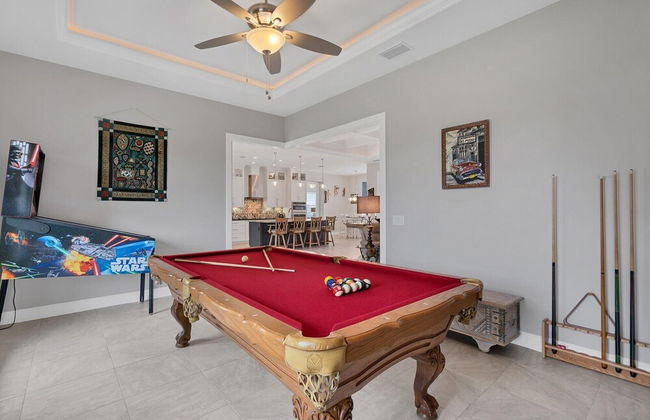
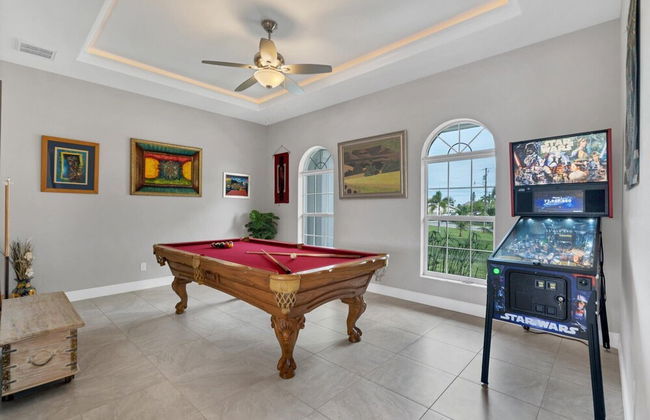
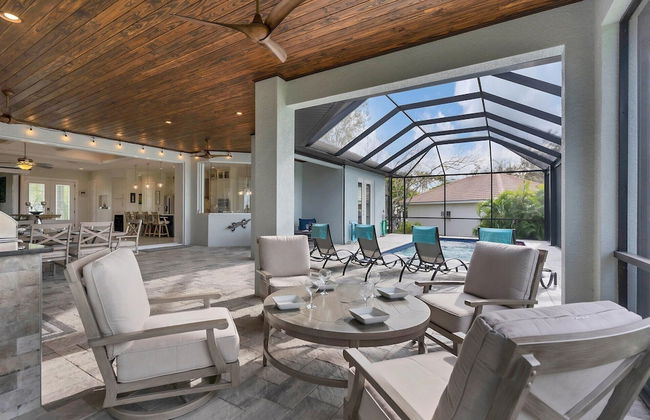
123 Appartements à Charlotte


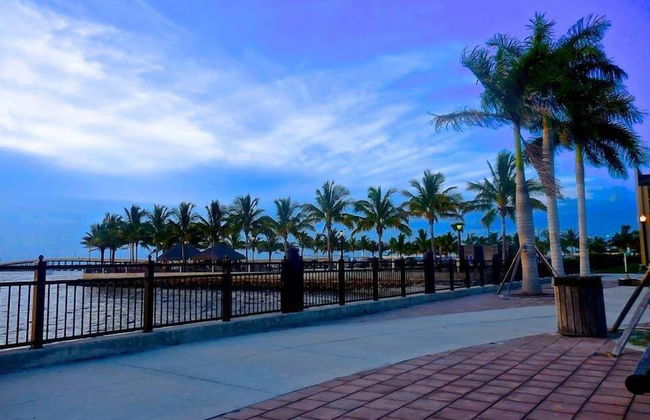
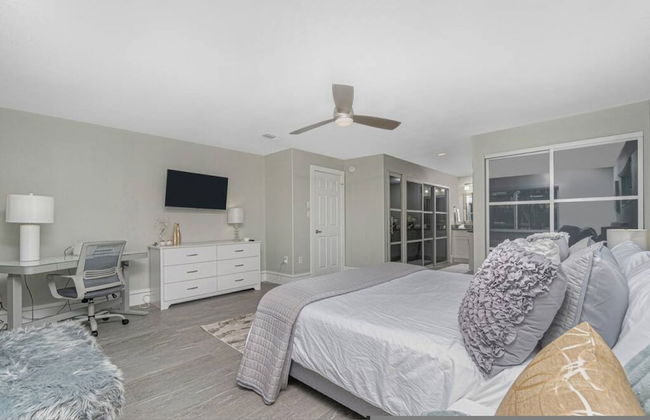
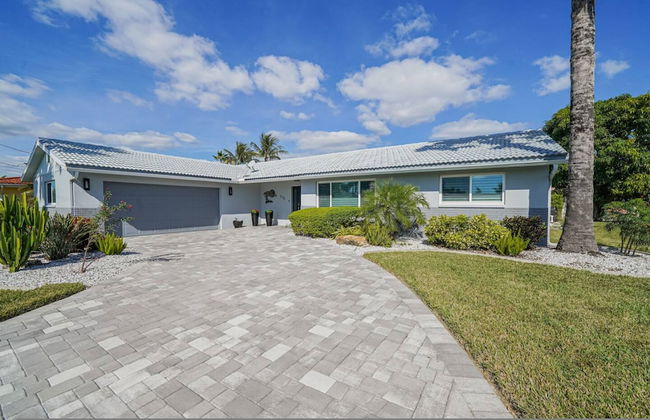
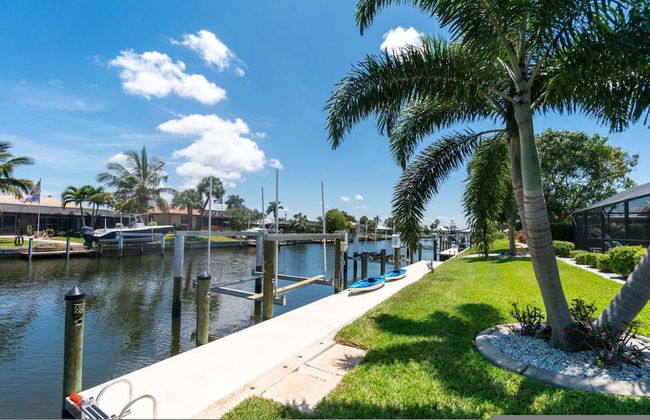
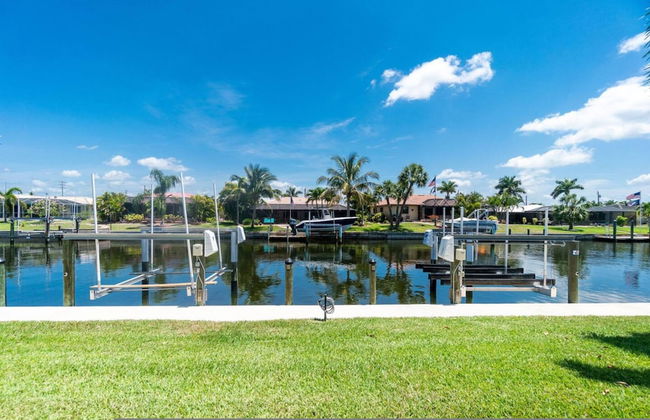
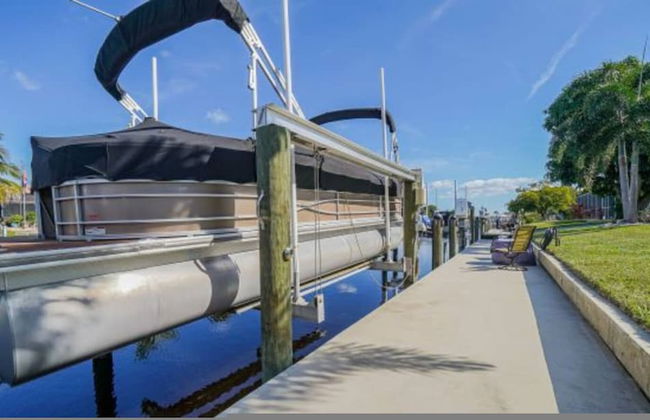
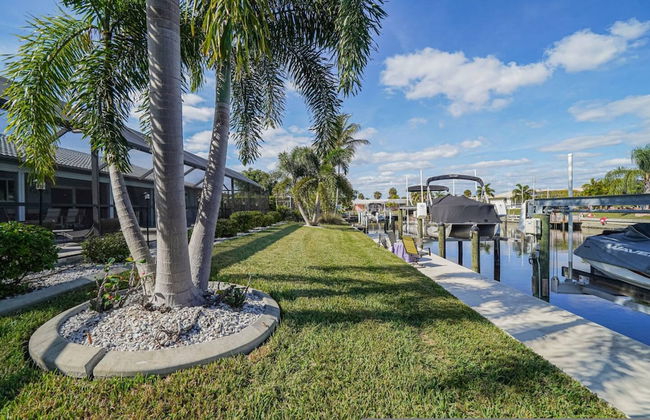
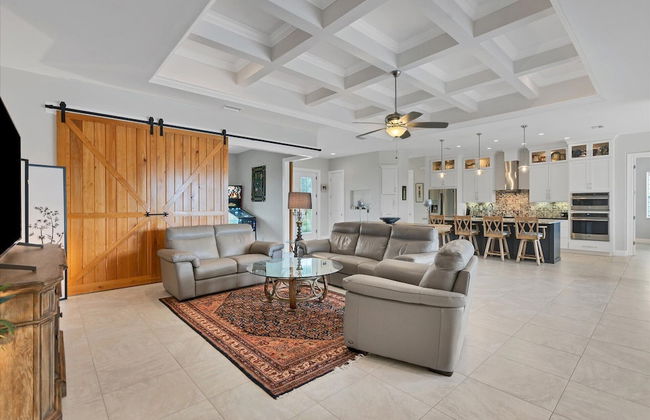
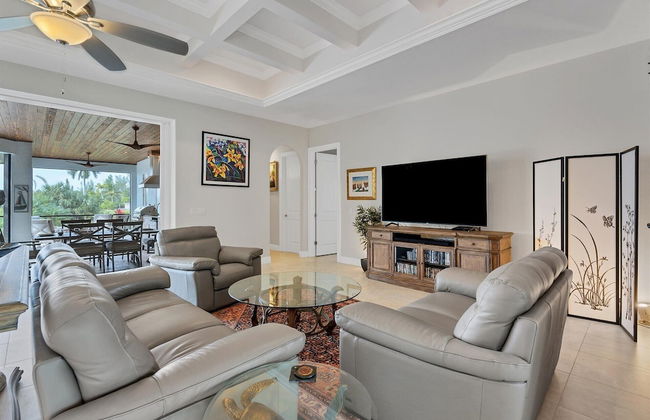
Chadwick Cove Resort & Marina
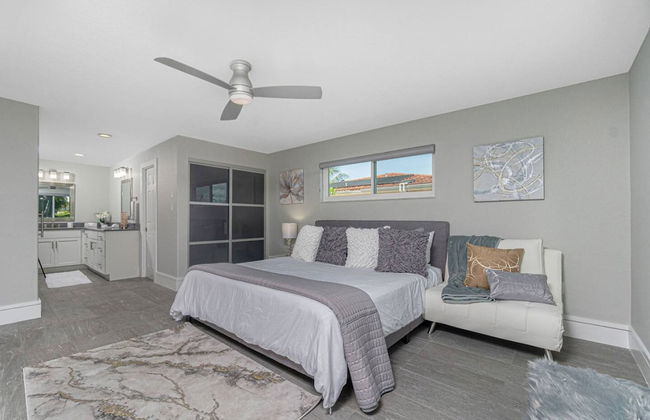
Englewood
- 130 M2
- 10 personnes
- Air conditionné
- Le chauffage
- Parking
- Balcon
- Tv
- Cheminée
- Barbecue
- Serviettes
- Feuilles
5 avis

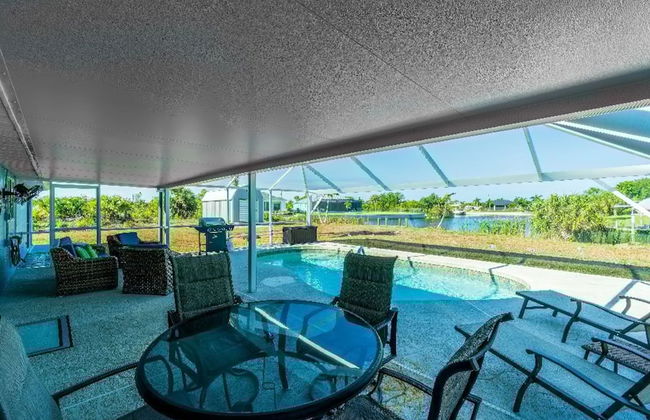


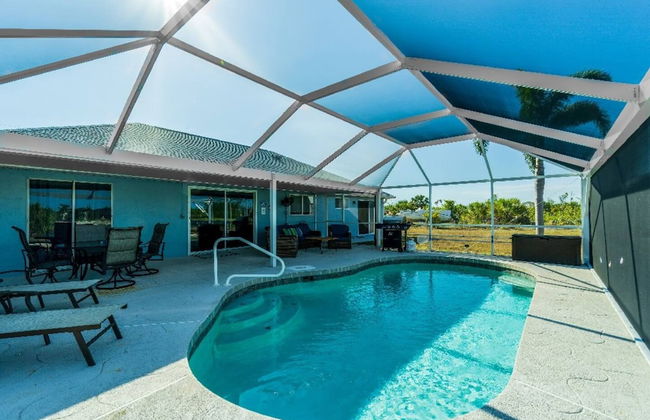


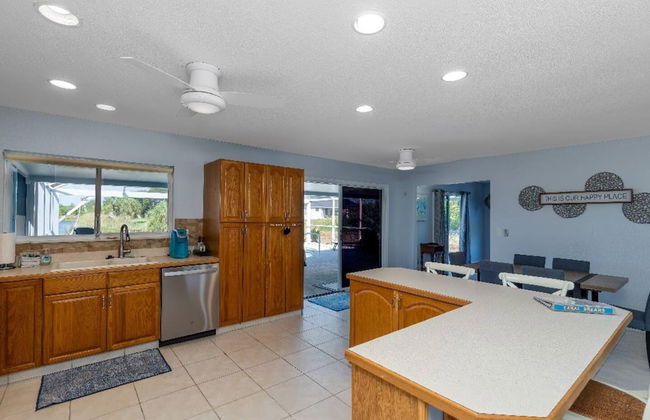


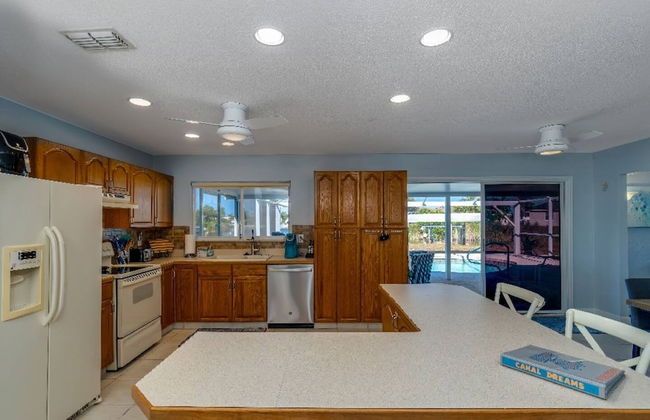
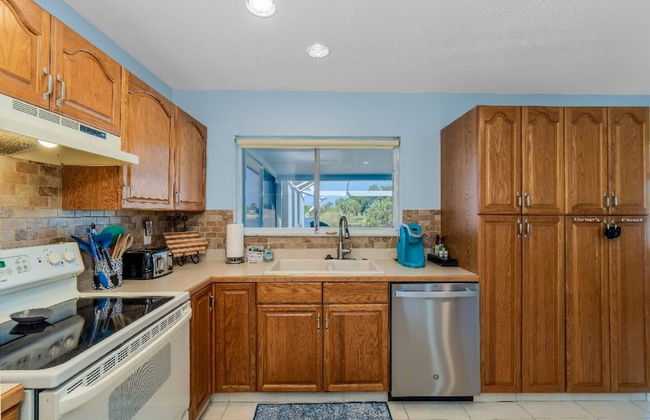


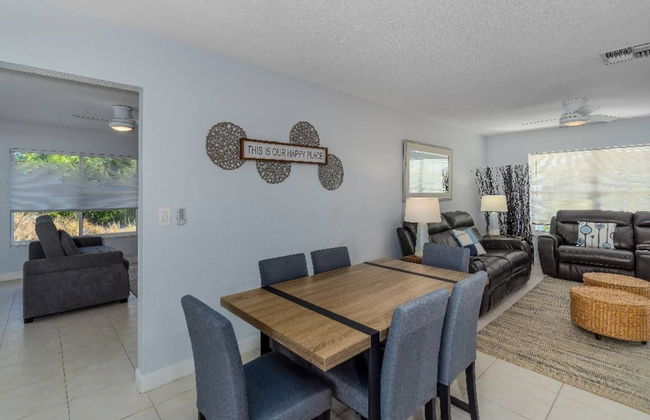


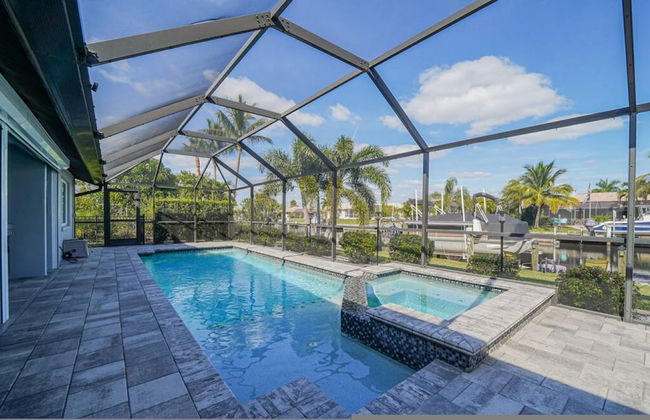
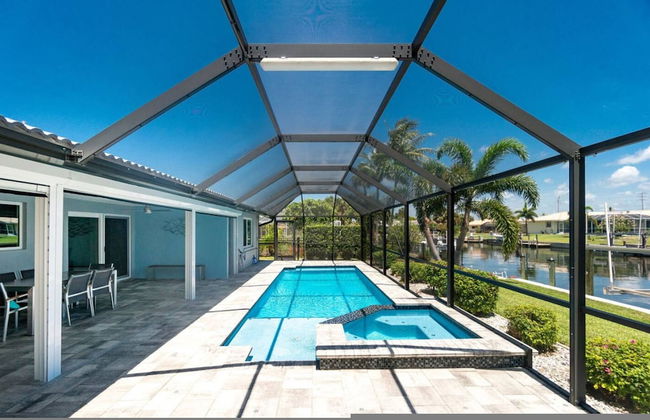
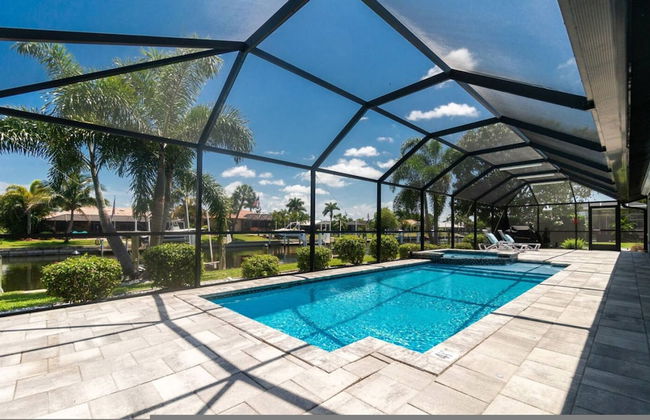
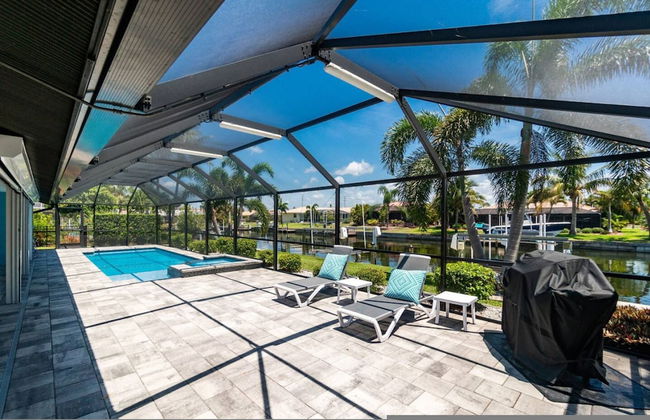
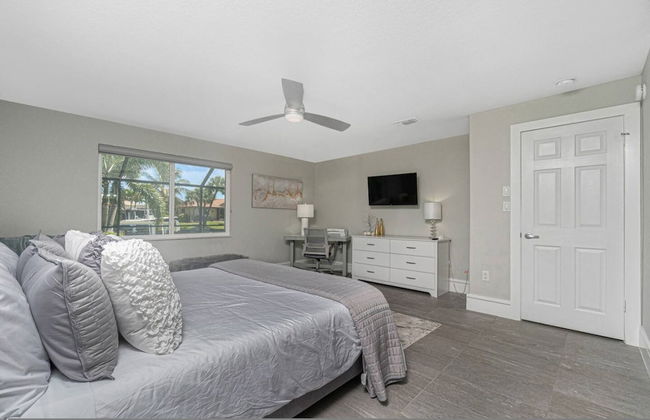
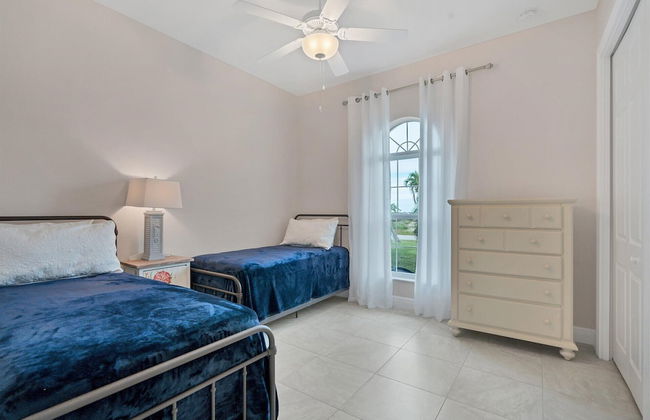
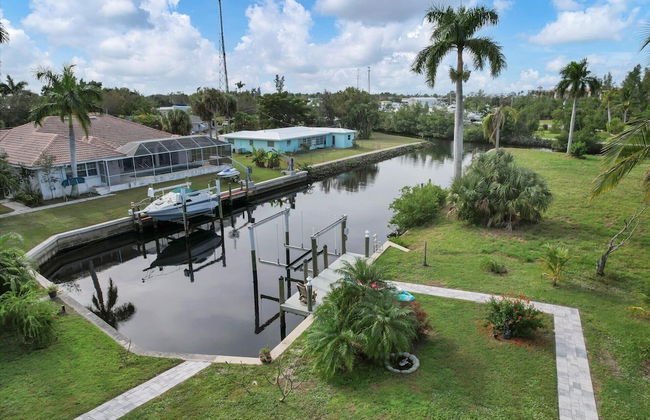
Canal Dreams 3 BR 2 BA Pool Home on the Canal
Port Charlotte
- 139 M2
- 6 personnes
- Air conditionné
- Le chauffage
- Piscine
- Balcon
- Jardin
- Tv
- Machine à laver
- Barbecue
- Serviettes
- Feuilles
1 avis


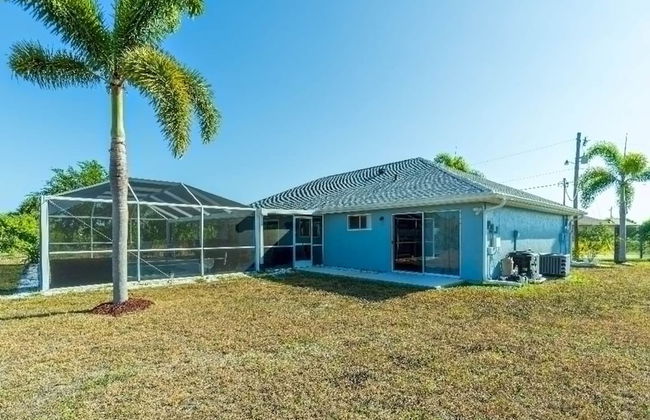
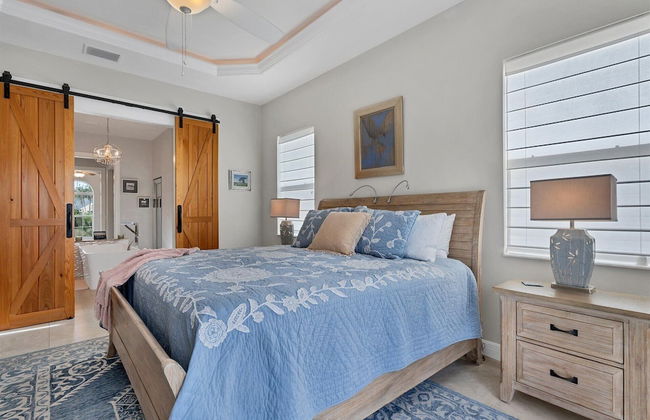
Gogo House in Port Charlotte
Port Charlotte
- 148 M2
- 6 personnes
- Air conditionné
- Le chauffage
- Piscine
- Balcon
- Tv
- Machine à laver
- Barbecue
- Serviettes
- Feuilles


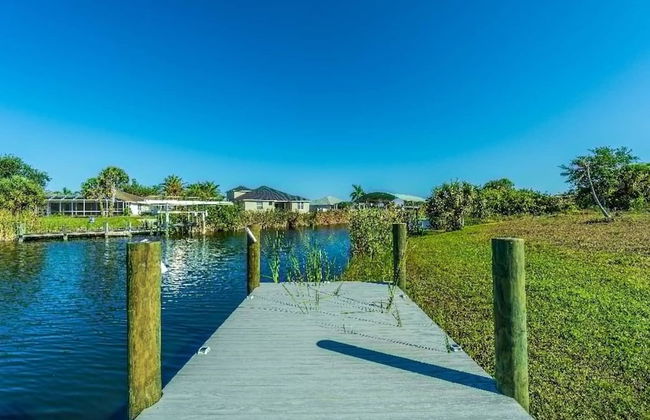
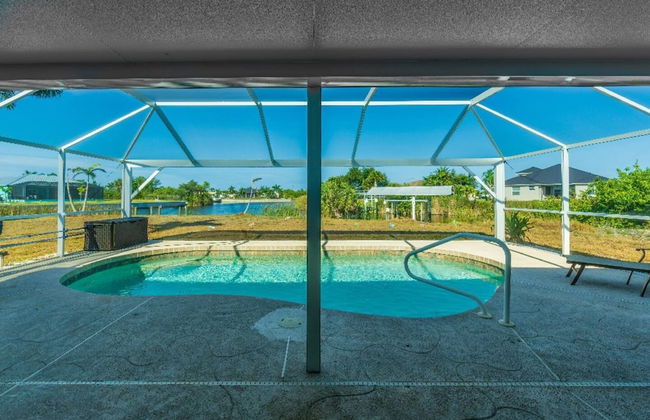
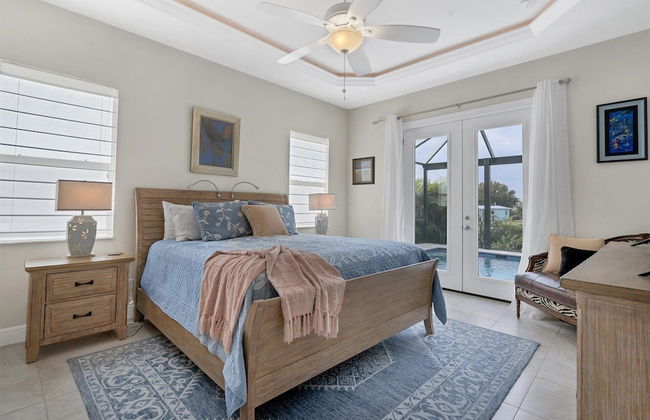
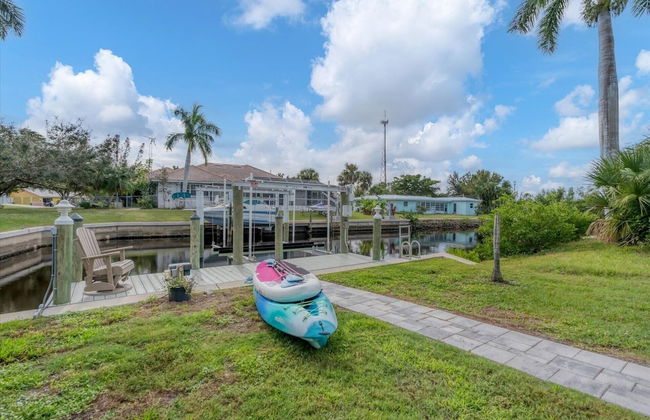
V Tropical-waterfront-free Heated Pool- Beach and Fishing Gear Bikes Kayaks
Punta - À 1.5 km du centre
- 182 M2
- 8 personnes
- Air conditionné
- Le chauffage
- Piscine
- Parking
- Jardin
- Tv
- Machine à laver
- Cheminée
- Serviettes
- Feuilles


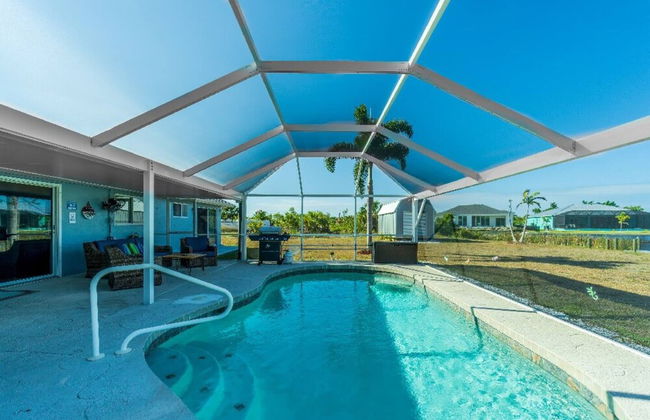
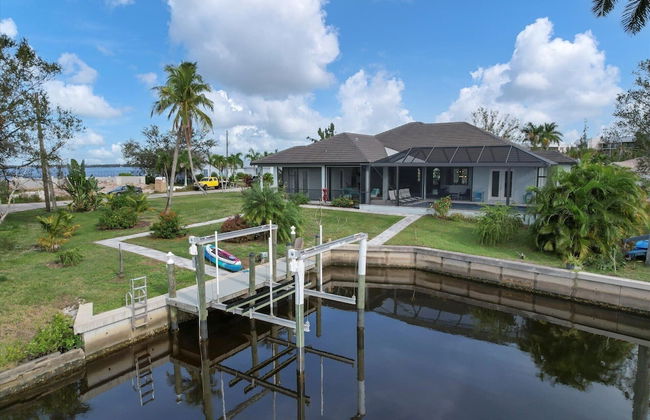
Broadmoor House 3BR 2BA w Heated Pool Sleeps 6
Rotonda West
- 157 M2
- 6 personnes
- Air conditionné
- Le chauffage
- Piscine
- Balcon
- Tv
- Machine à laver
- Barbecue
- Serviettes
- Feuilles


Sunny Breezes Villa in Port Charlotte
Port Charlotte
- 185 M2
- 6 personnes
- Air conditionné
- Le chauffage
- Piscine
- Tv
- Machine à laver
- Barbecue
- Serviettes
- Feuilles


Sunset Serenity in Port Charlotte
Port Charlotte
- 287 M2
- 10 personnes
- Air conditionné
- Le chauffage
- Piscine
- Balcon
- Tv
- Machine à laver
- Barbecue
- Serviettes
- Feuilles


V Capri - Waterfront-free Heated Pool Bikes Kayaks Fishing Beach Gear
Punta - À 2.2 km du centre
- 165 M2
- 8 personnes
- Air conditionné
- Le chauffage
- Piscine
- Parking
- Jardin
- Tv
- Machine à laver
- Barbecue
- Serviettes
- Feuilles


V Hibiscus Free Heated Pool Dock Bikes Kayaks Fishing Gear-walk to Fishermen s Village
Punta - À 960 m du centre
- 233 M2
- 10 personnes
- Air conditionné
- Le chauffage
- Piscine
- Parking
- Jardin
- Tv
- Machine à laver
- Barbecue
- Serviettes
- Feuilles


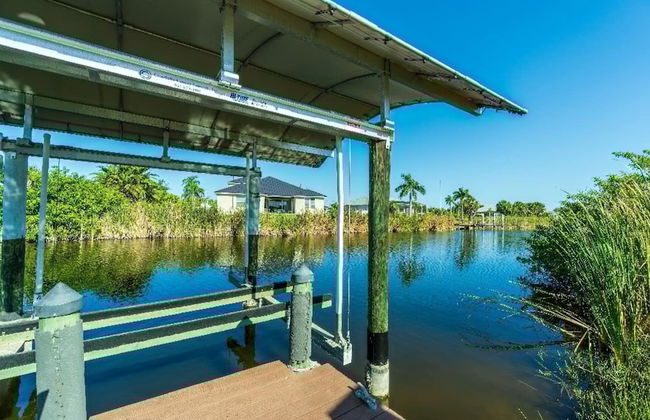
V Tranquility - Waterfront Villa Free Heated Pool Beach Fishing Gear Kayaks Bikes Dock
Punta - À 2.1 km du centre
- 180 M2
- 9 personnes
- Air conditionné
- Le chauffage
- Piscine
- Parking
- Jardin
- Tv
- Machine à laver
- Barbecue
- Serviettes
- Feuilles


618 via Tunis
Punta - À 1.6 km du centre
- 192 M2
- 6 personnes
- Air conditionné
- Le chauffage
- Piscine
- Parking
- Balcon
- Tv
- Machine à laver
- Serviettes
- Feuilles


Big House on the Myakka Sleeps 12 Heated Pool Spa
Port Charlotte
- 696 M2
- 12 personnes
- Air conditionné
- Le chauffage
- Piscine
- Balcon
- Jardin
- Tv
- Machine à laver
- Barbecue
- Serviettes
- Feuilles