
8 Apartments in Warren


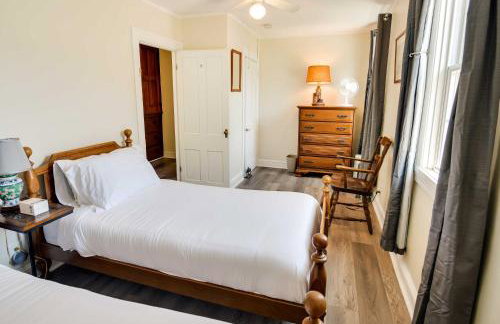
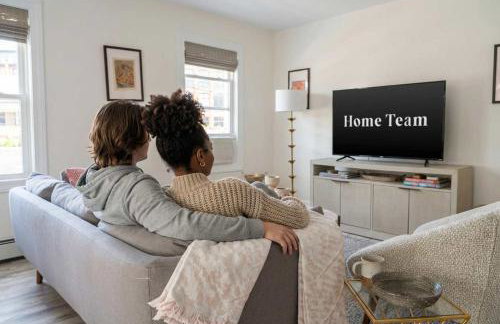
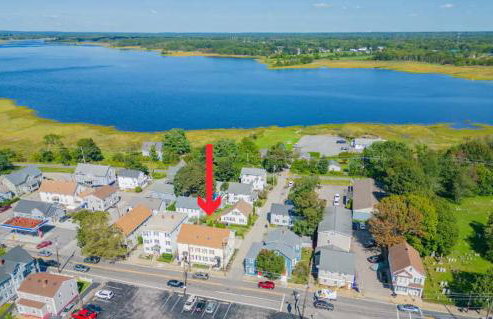
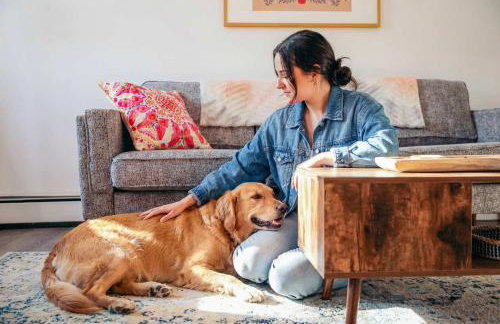
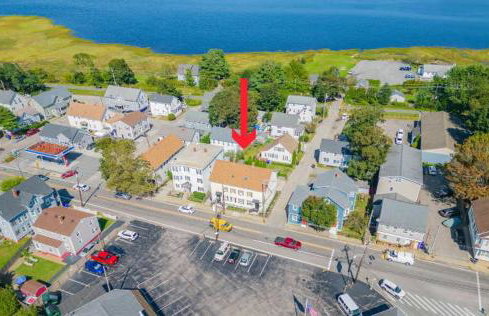
Seaside Stay in Historic Warren
Warren
- 149 M2
- 3 bedrooms
- 6 people
- Air conditioning
- Heating
- Parking
- Garden
1 review


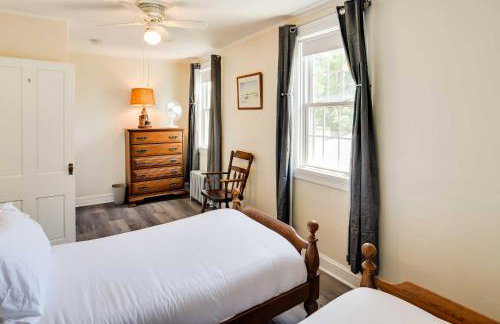

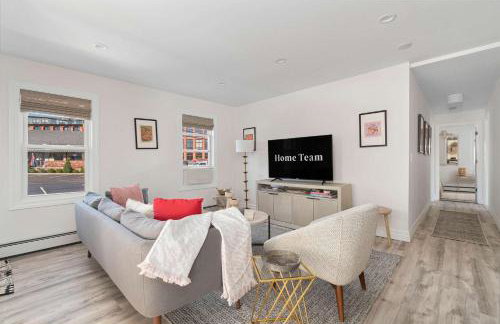
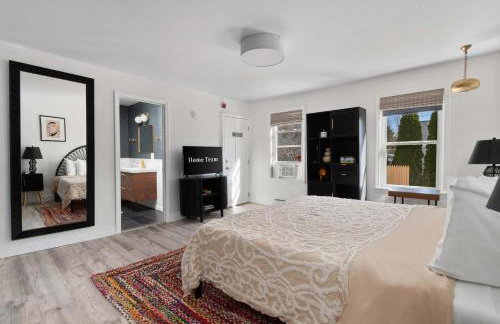
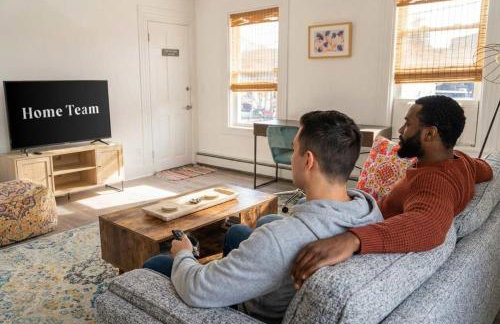
Warren Vacation Rental, Walk to Warren Town Beach
Warren
- 140 M2
- 3 bedrooms
- 6 people
- Heating
- Parking
1 review


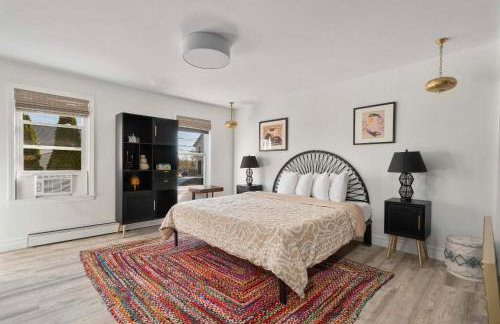
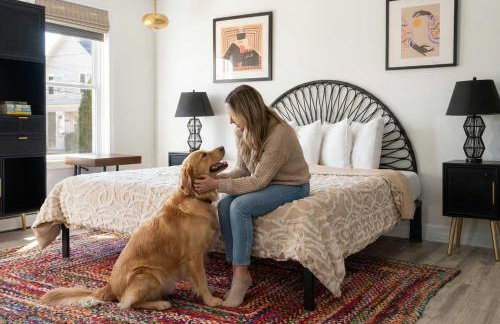

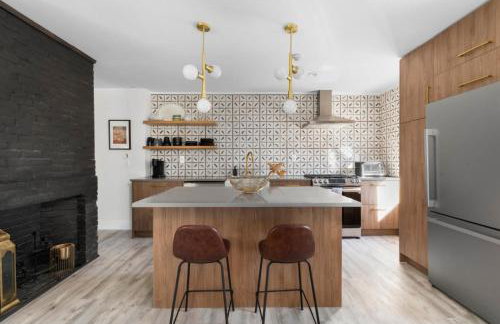
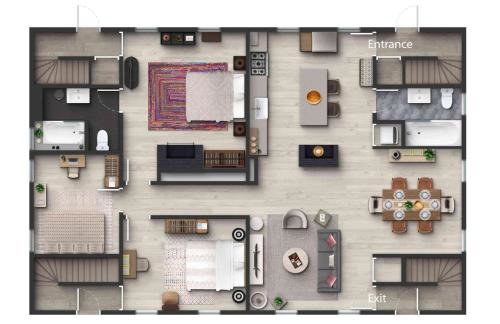


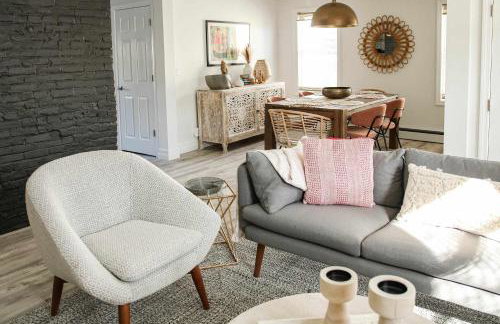


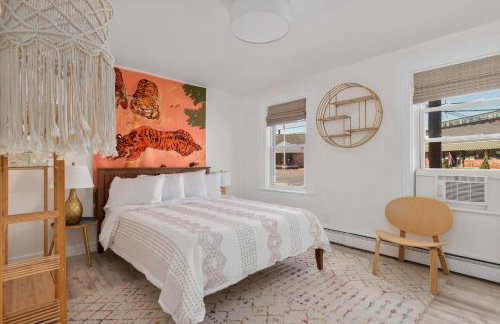


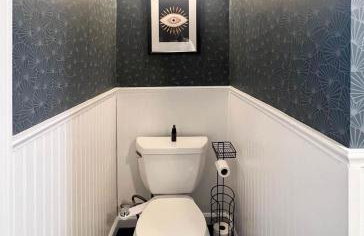
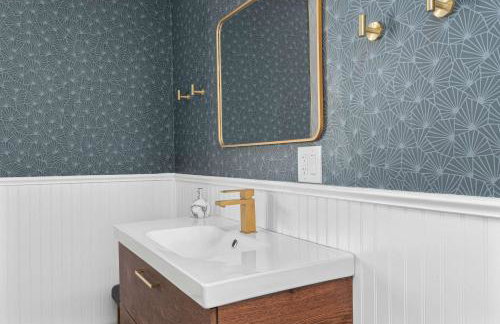


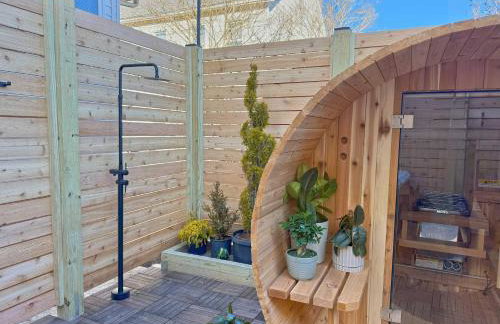
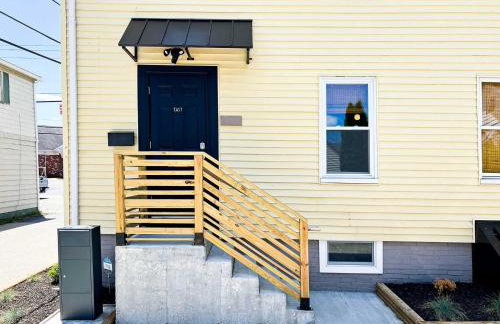
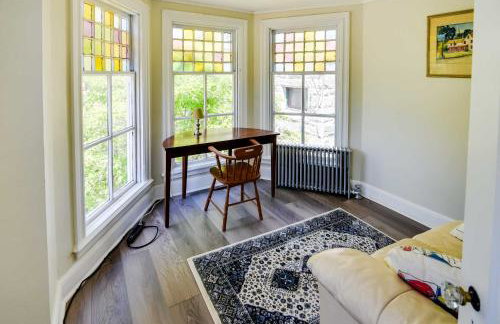
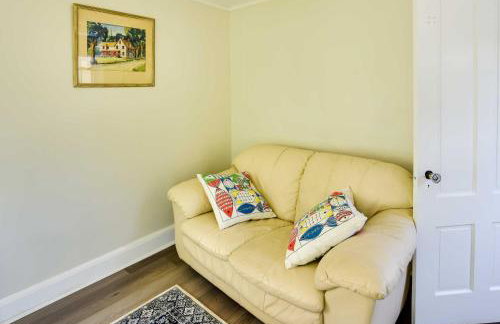
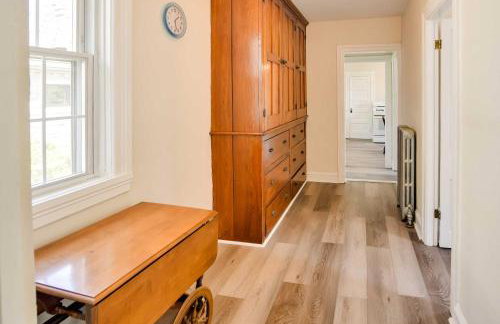
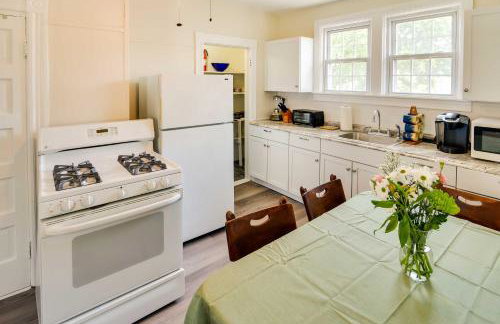
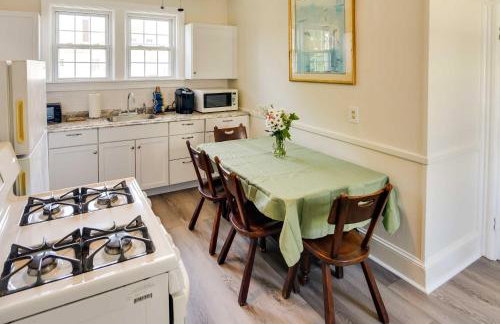
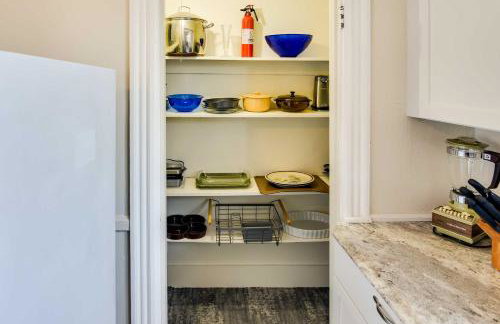
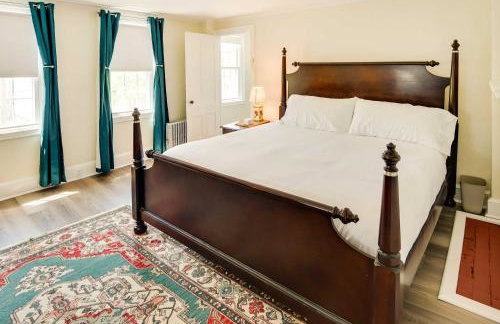
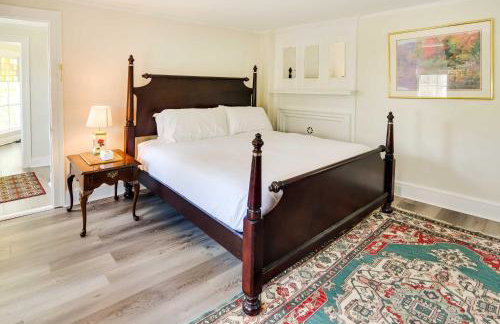
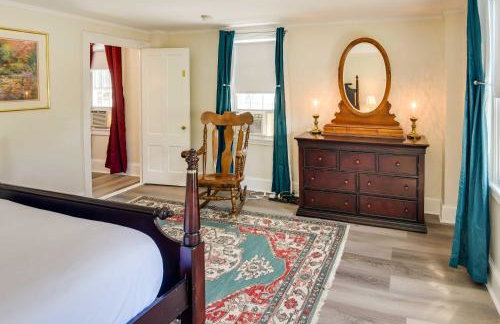
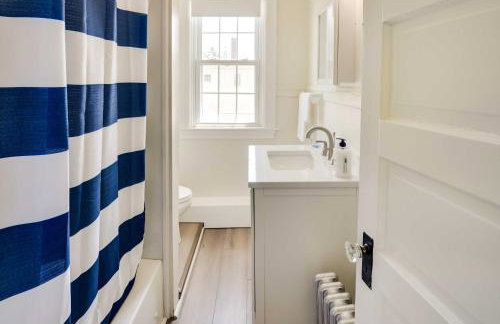
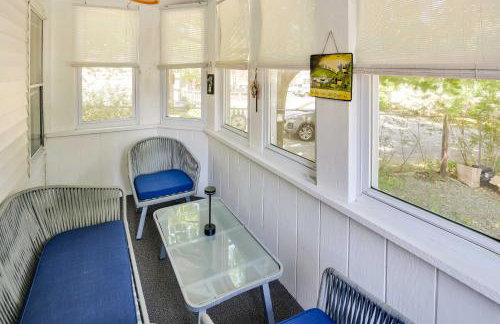
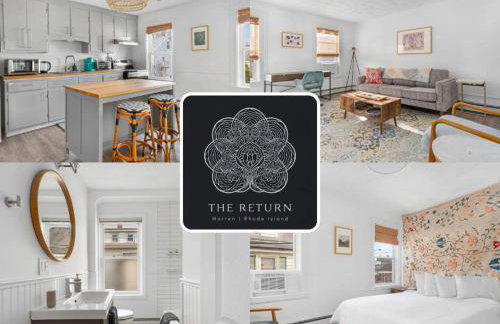
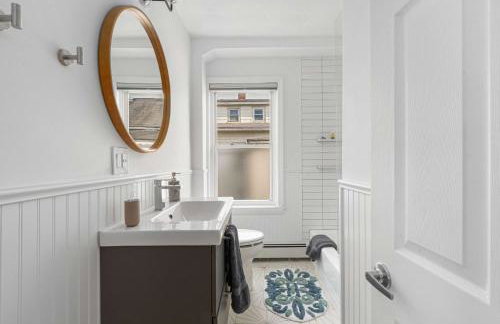
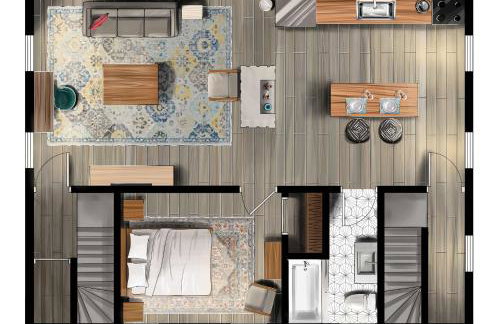
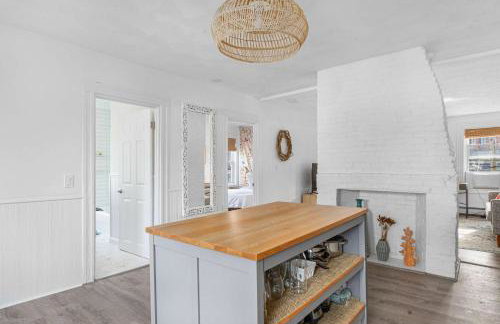
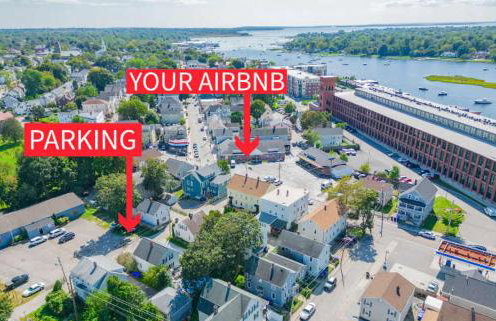
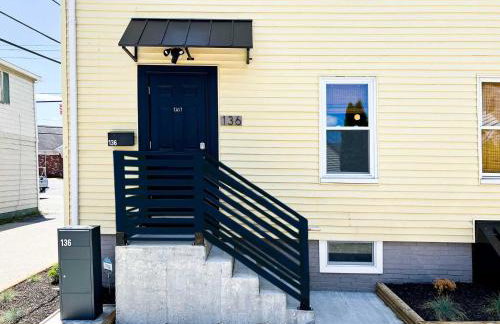
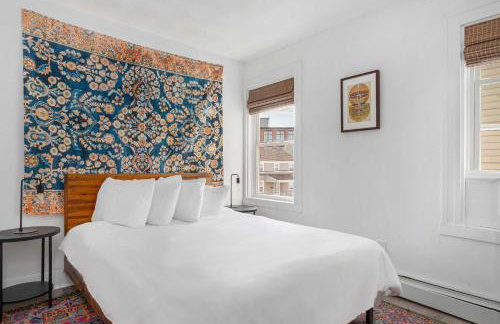
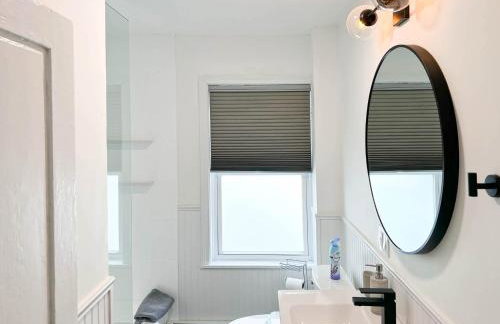
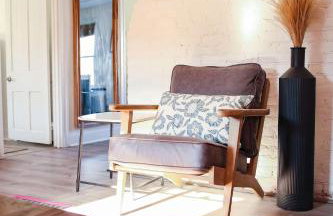
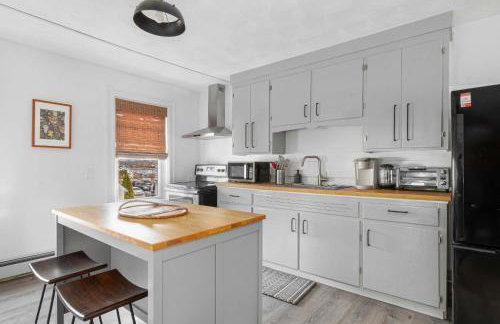
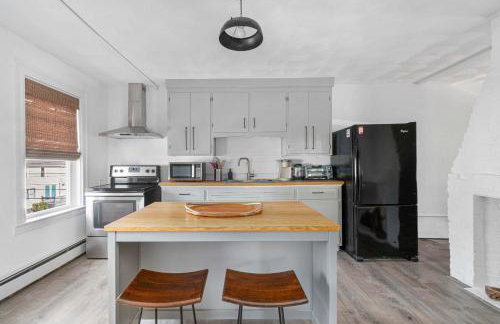
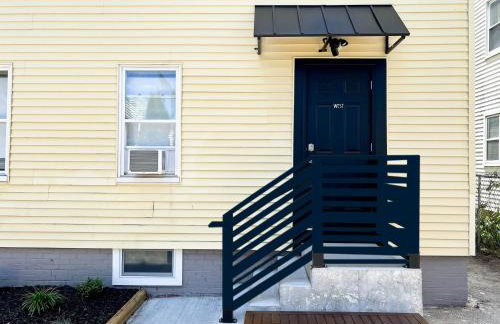
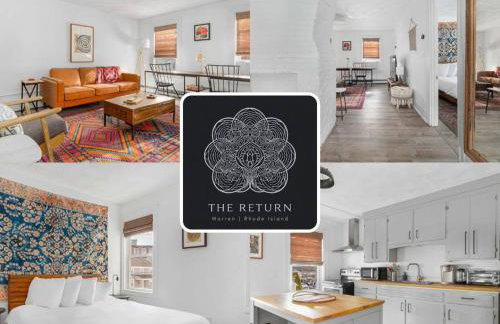
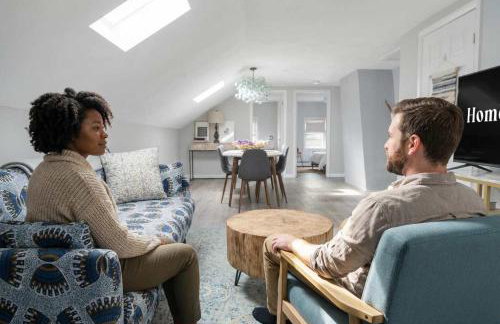
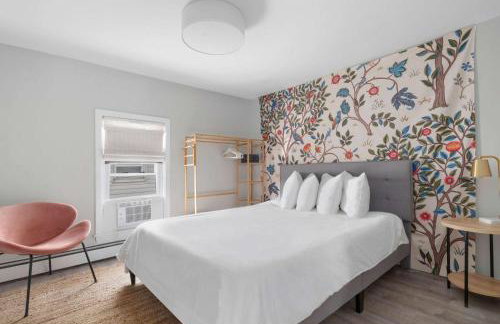
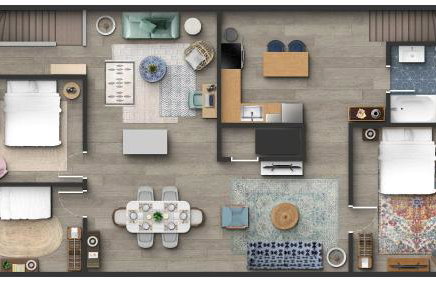
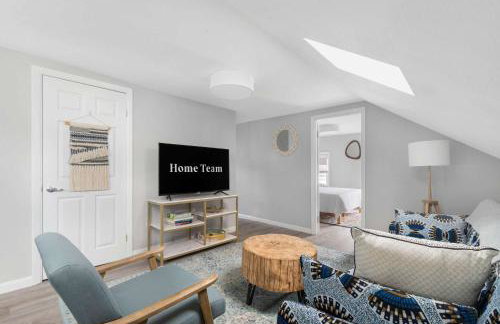
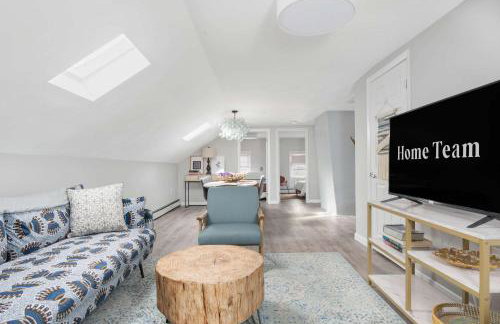
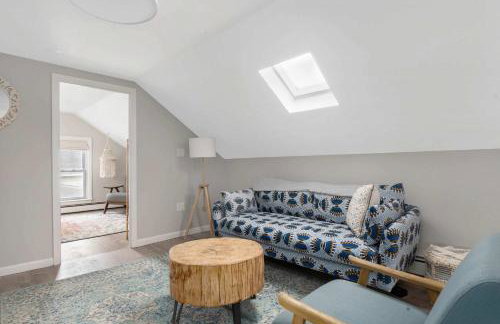
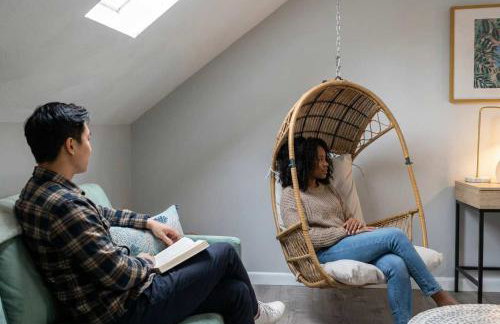
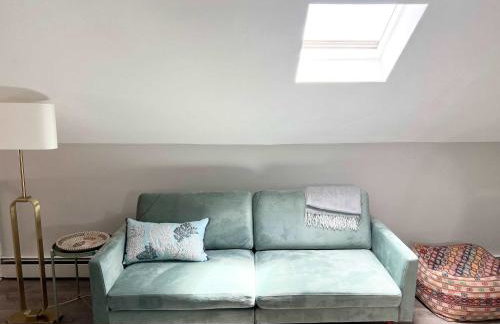
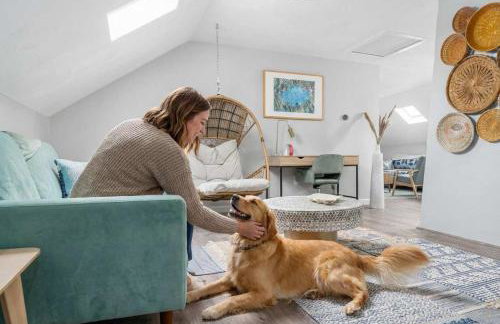
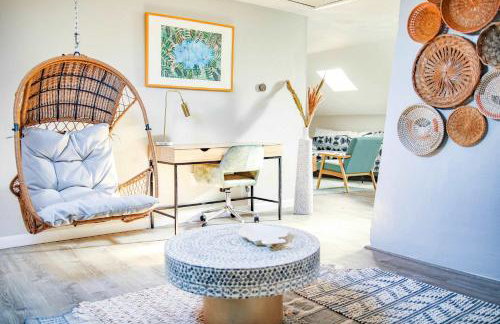
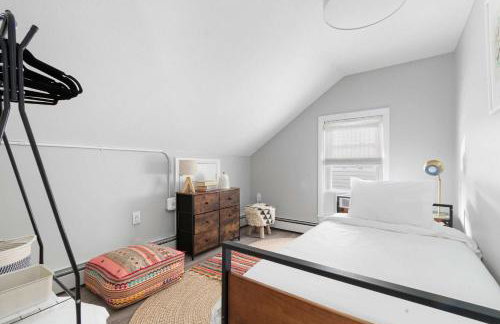
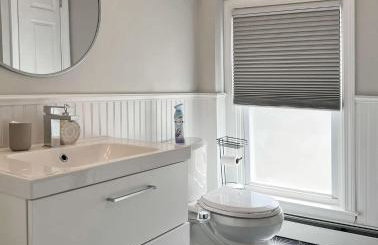
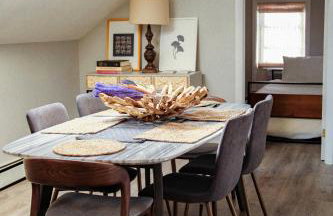
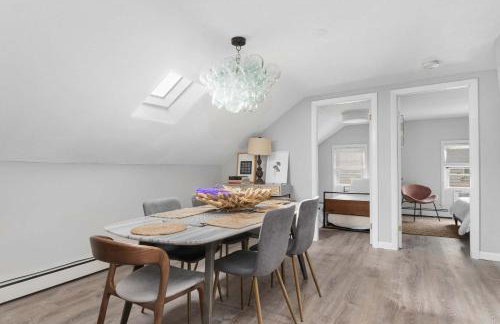
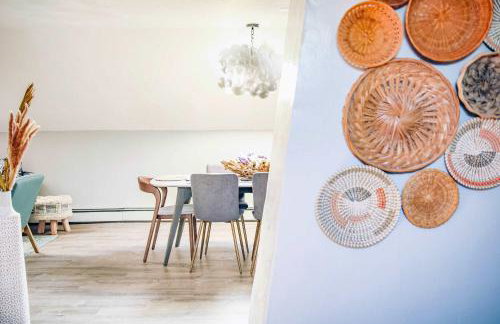
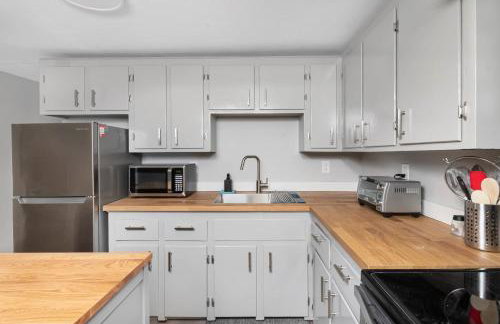
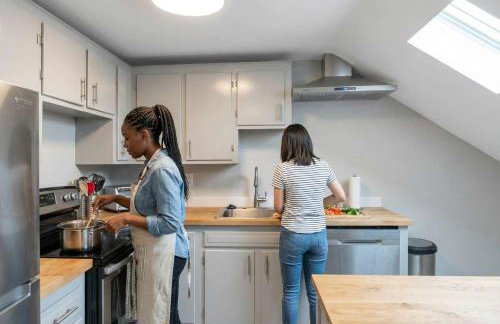
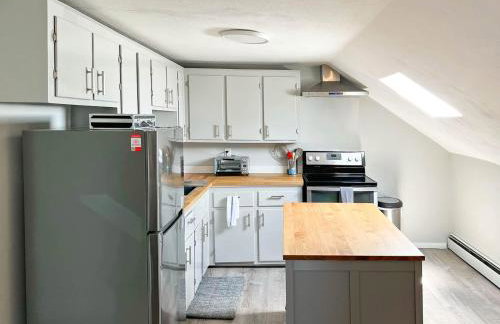
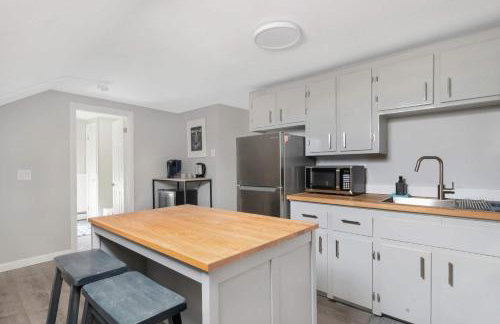
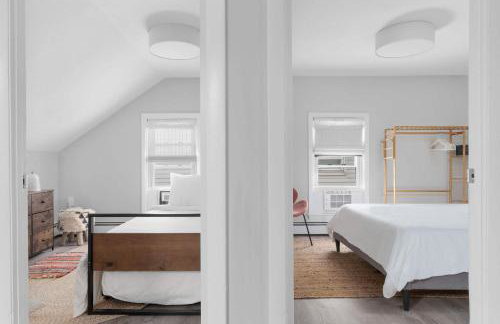
The Return to Self - Walk to Historic Downtown
Warren
- 84 M2
- 3 bedrooms
- 6 people
- Air conditioning
- Heating
- Parking
- Garden


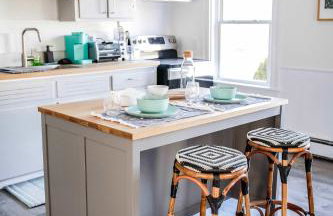


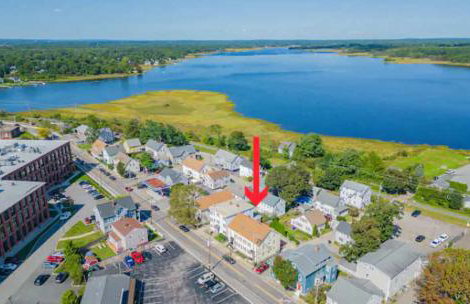

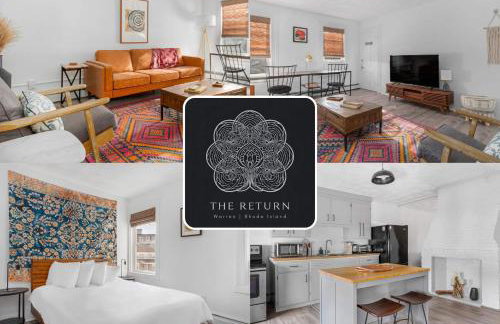


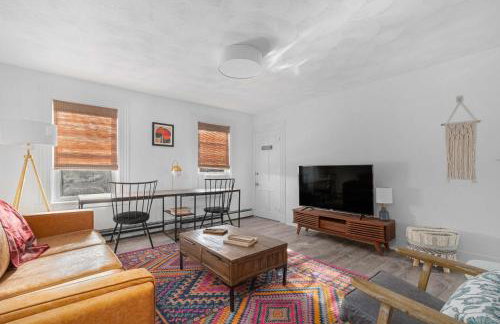


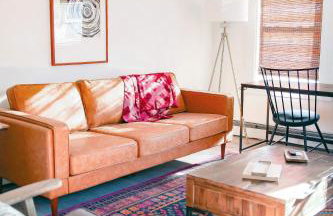


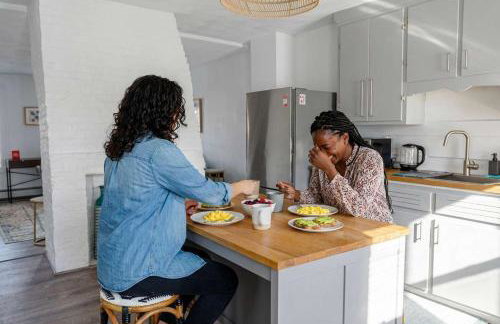

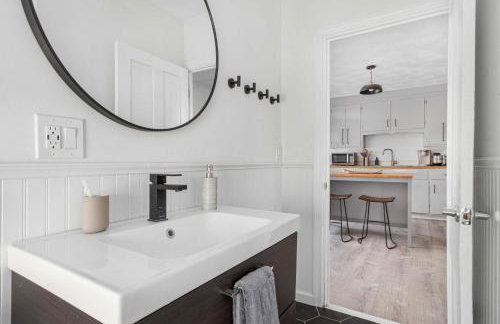
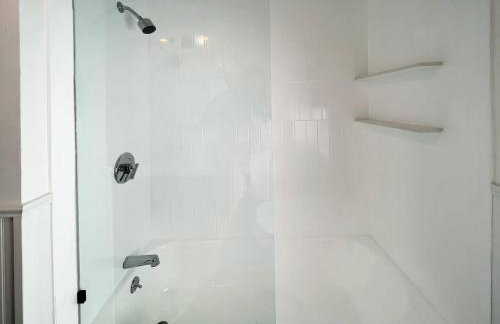


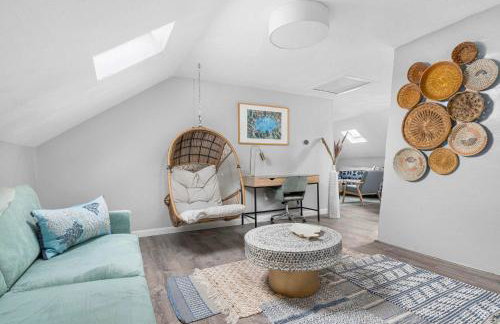
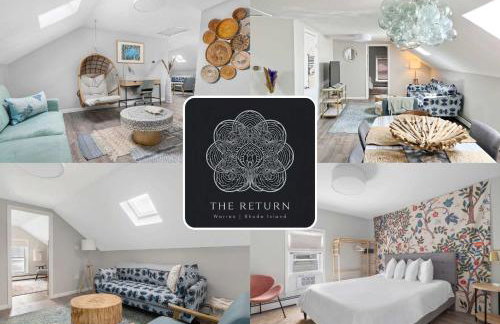

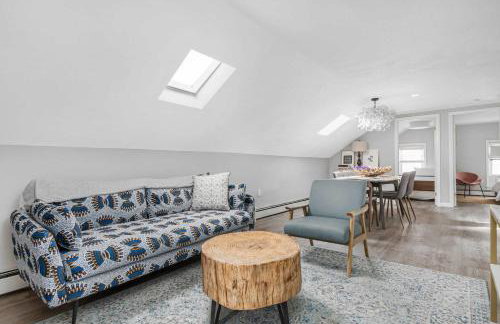

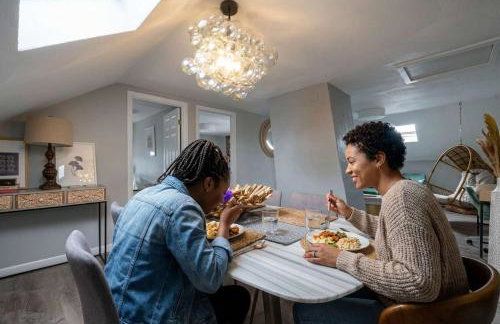
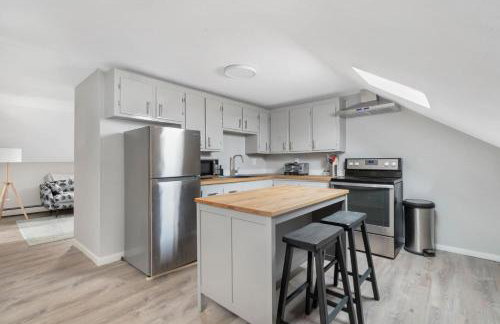
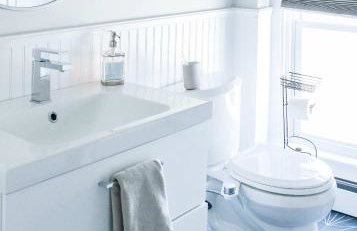


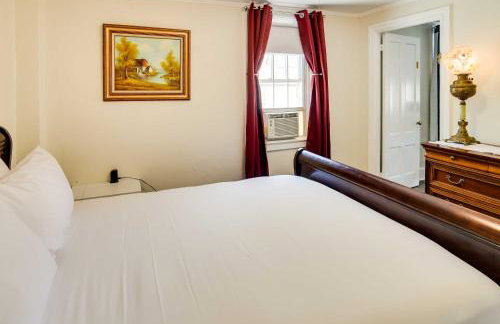
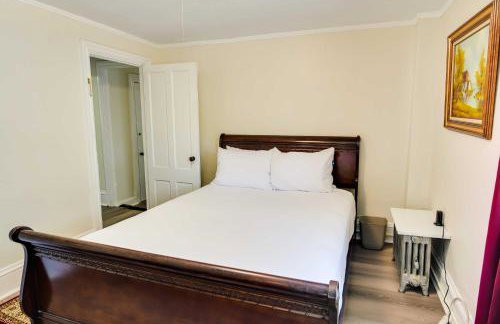
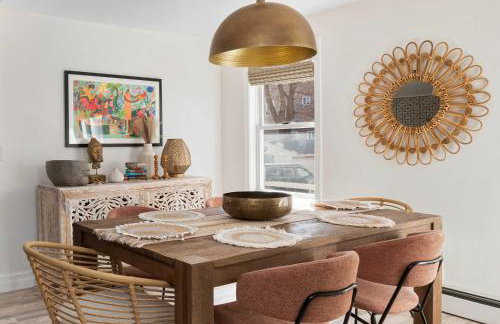
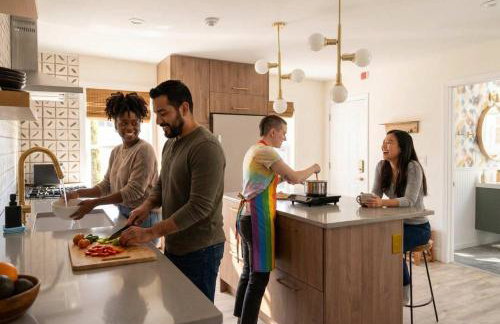
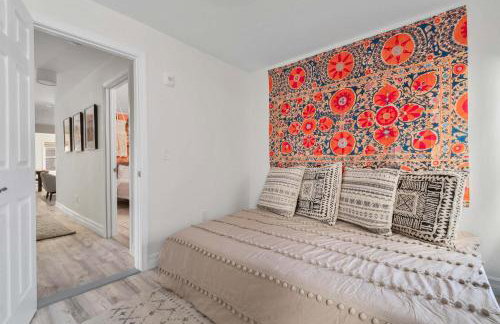
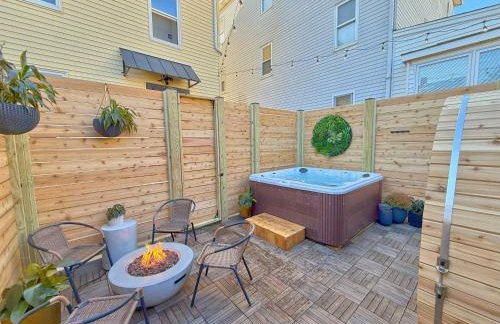
The Return to Water - Sleeps 6 - Newly Renovated
Warren
- 111 M2
- 3 bedrooms
- Air conditioning
- Heating
- Parking
- Garden


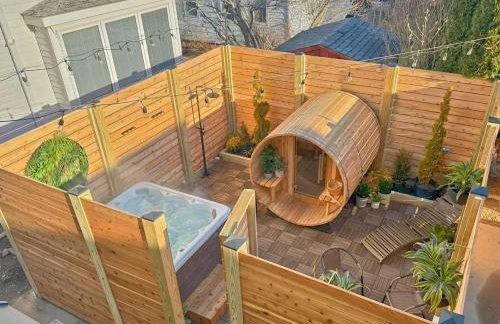
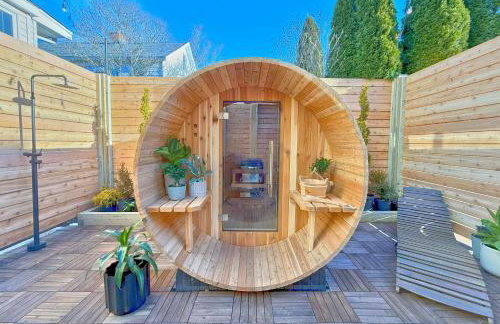
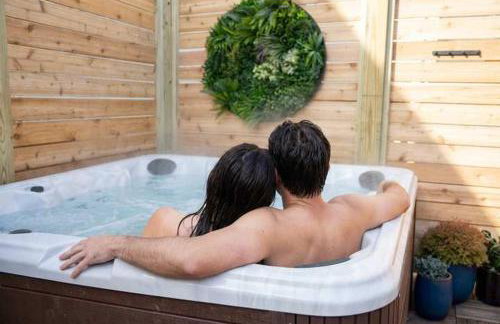
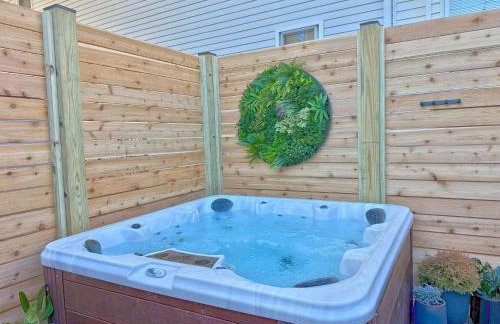
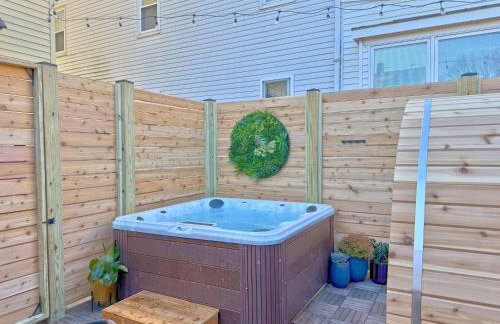
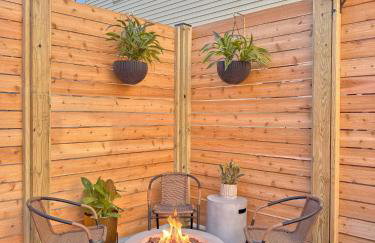
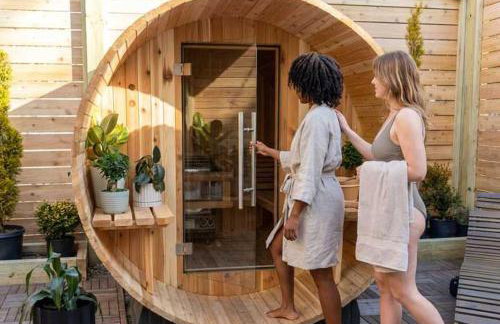
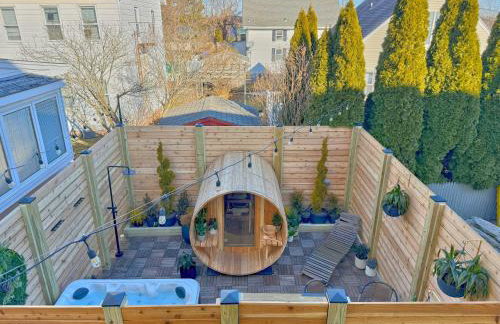
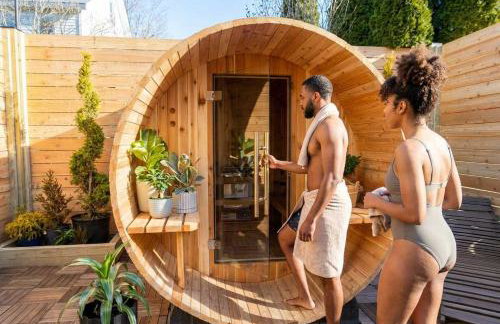
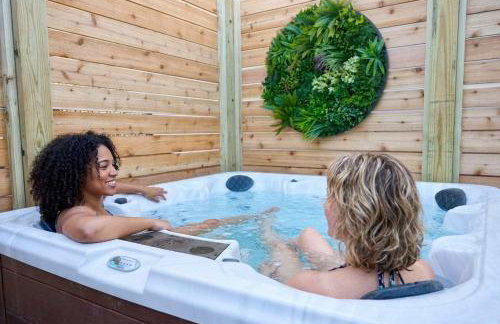
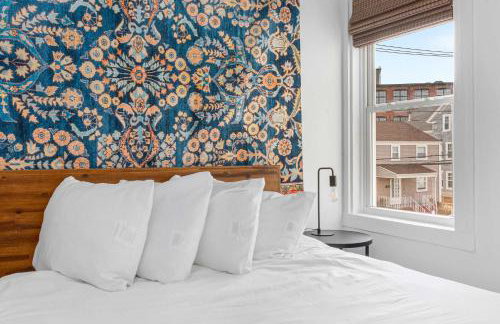
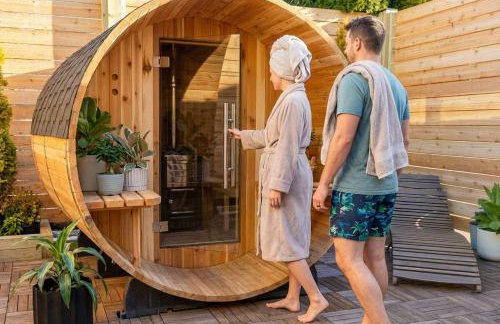
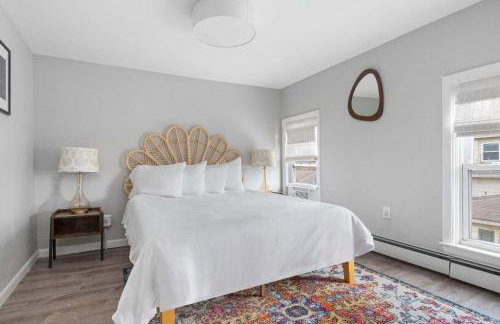
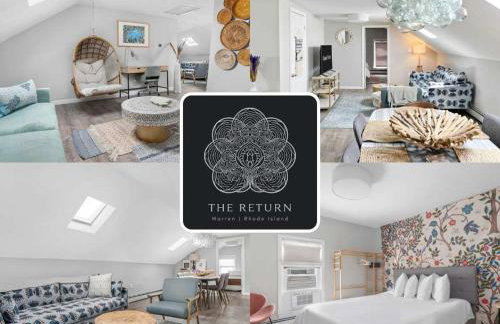
The Return - Multi-Unit Retreat - Sleeps 16 - Spa
Warren
- 325 M2
- 8 bedrooms
- Air conditioning
- Heating
- Parking
- Garden