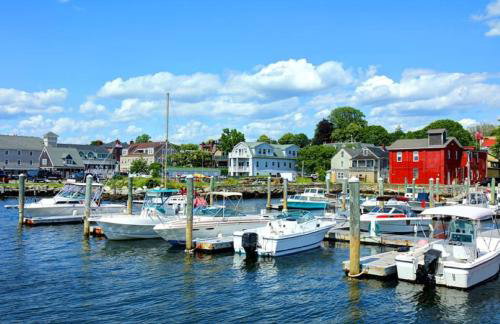
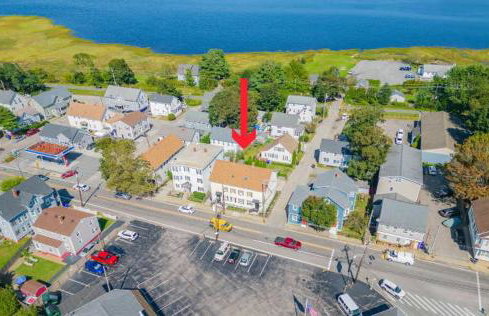
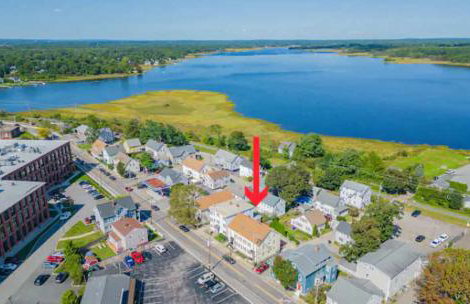
14 Apartments in Bristol


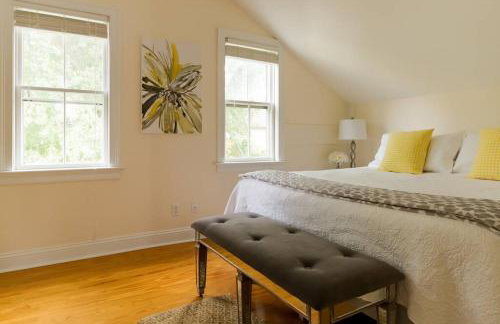


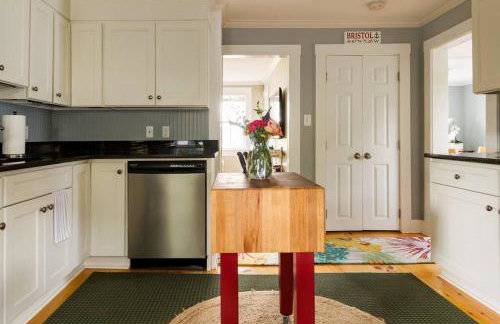

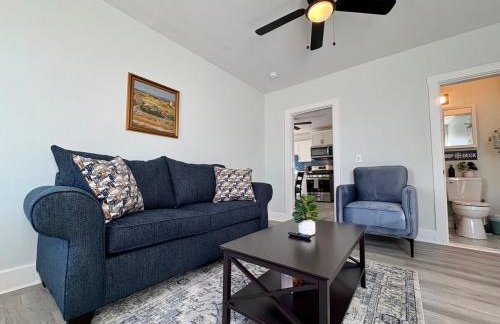
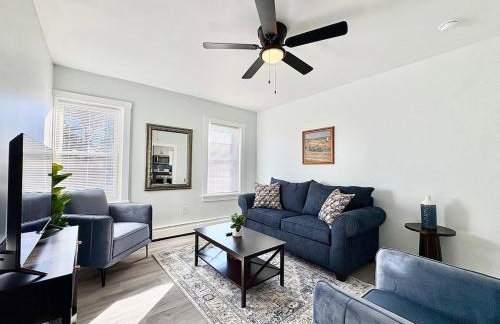
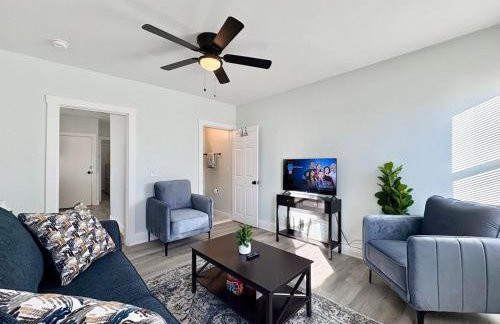
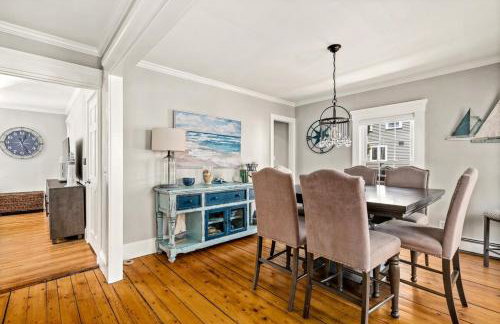
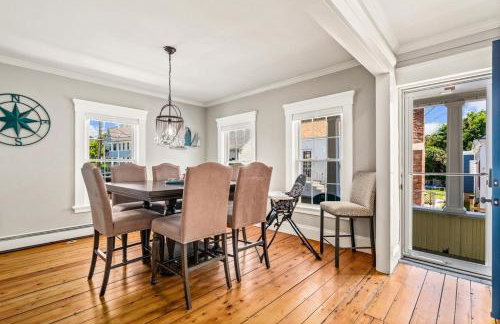
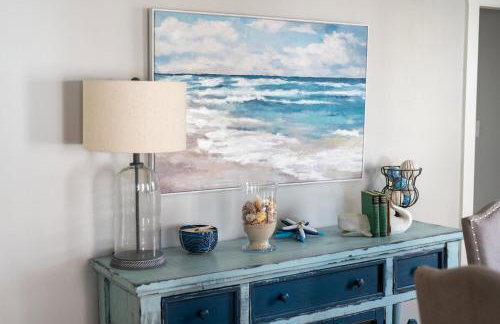
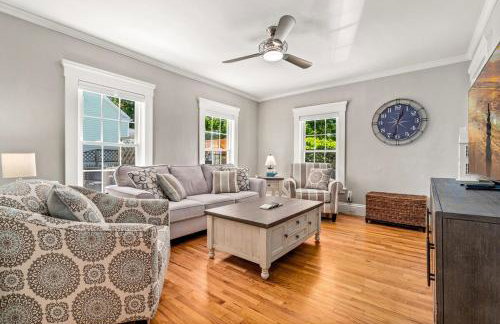
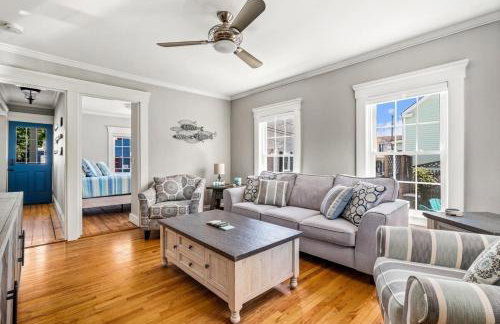
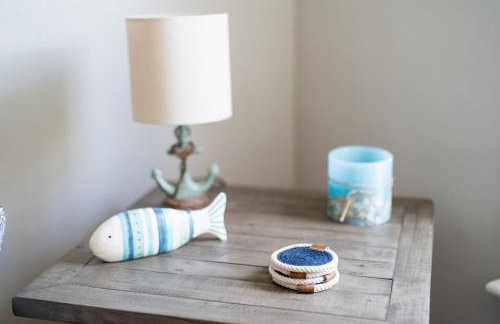
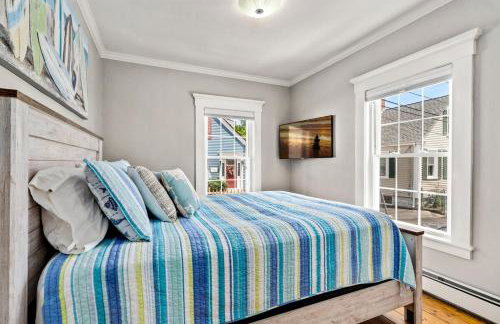
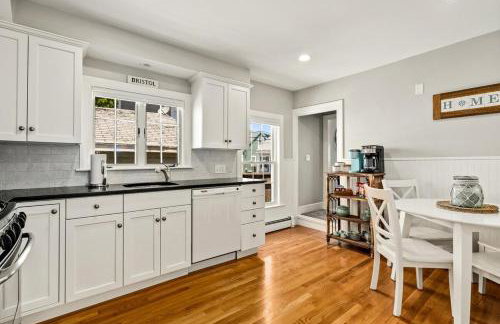
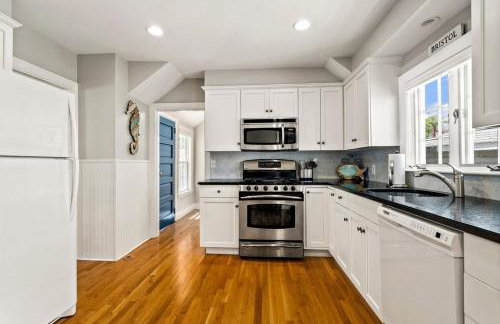
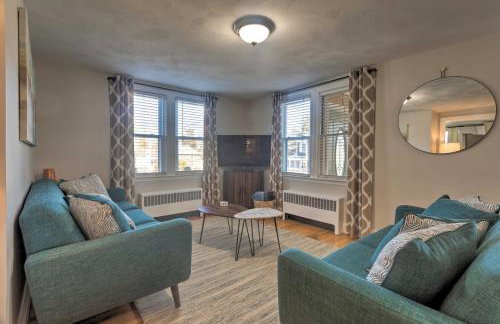
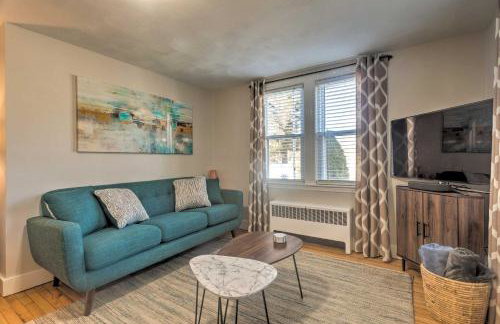
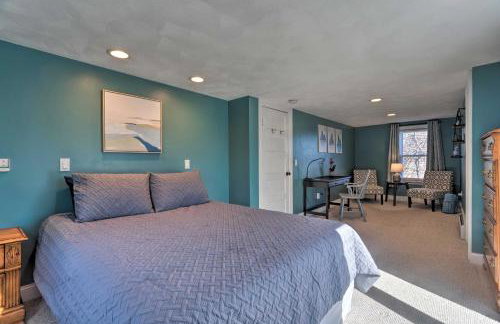
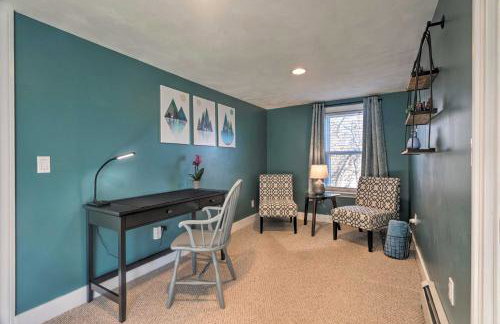
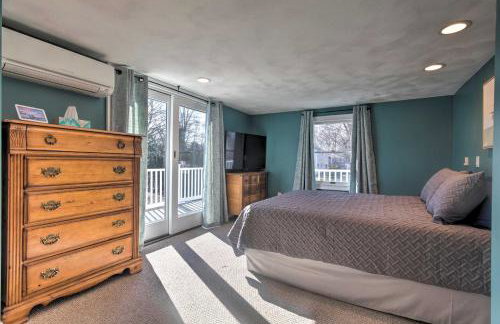
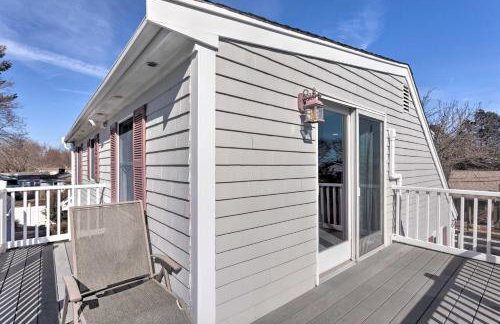
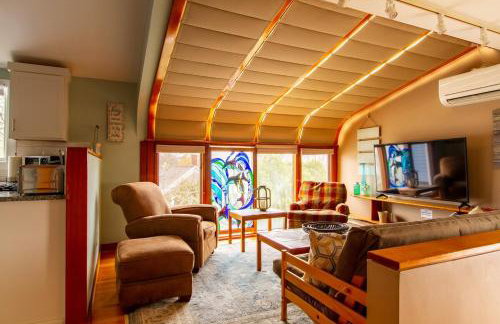
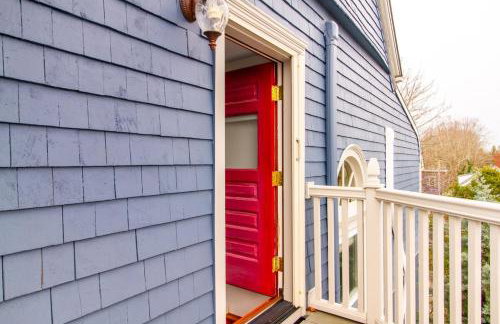
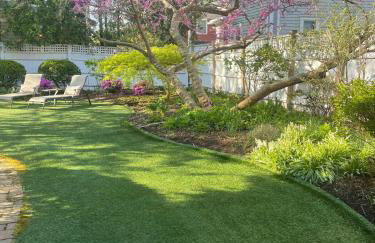
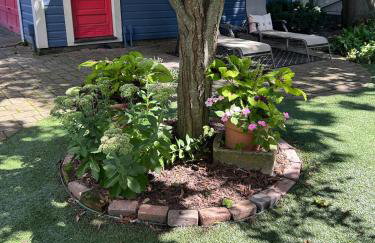
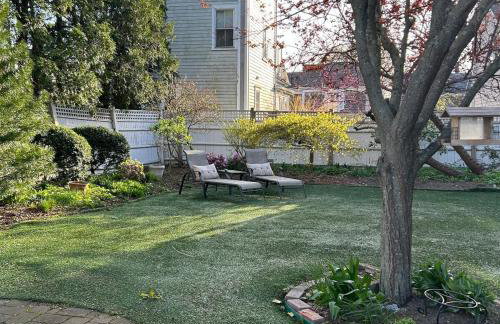
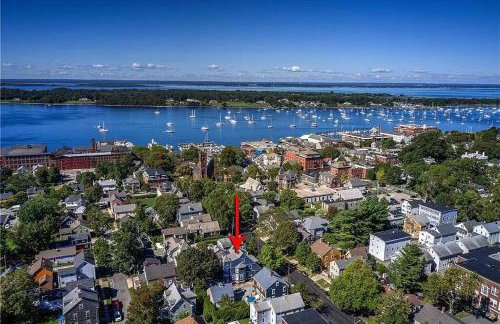
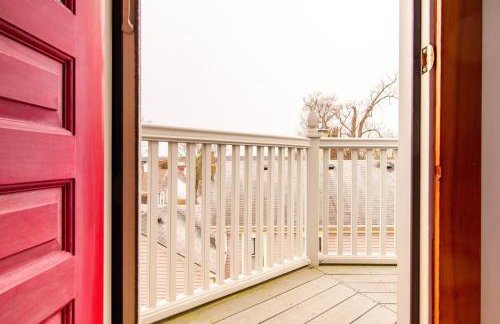
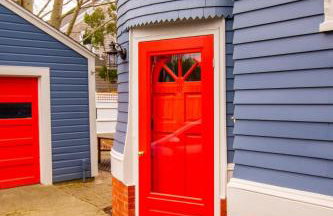
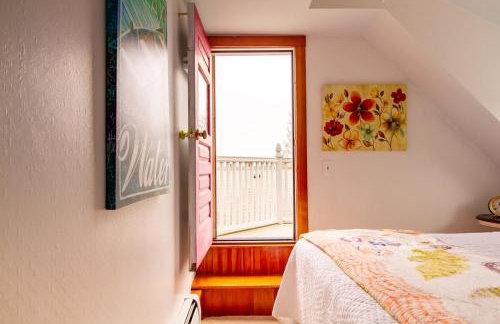
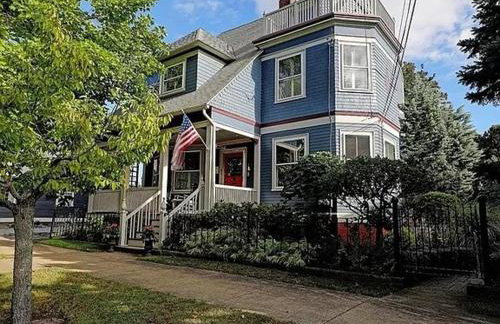
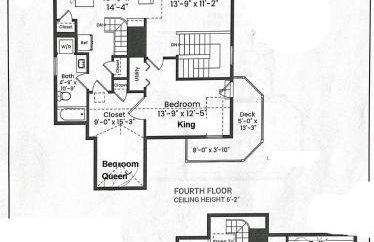
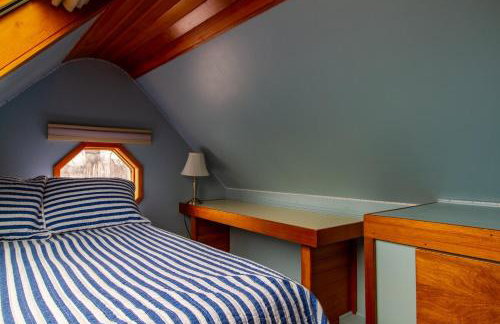
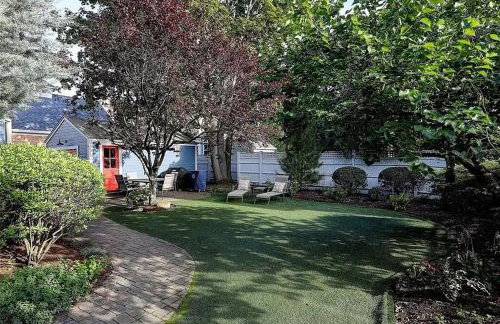
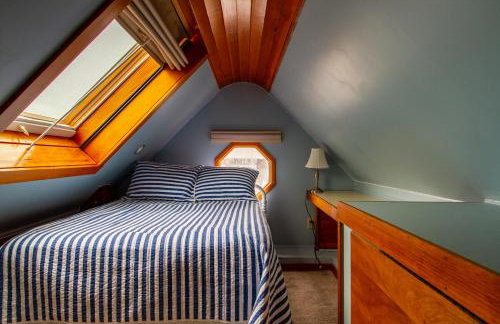
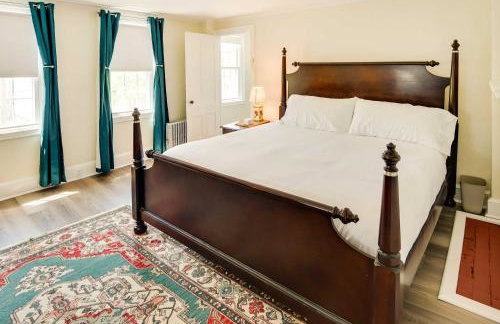
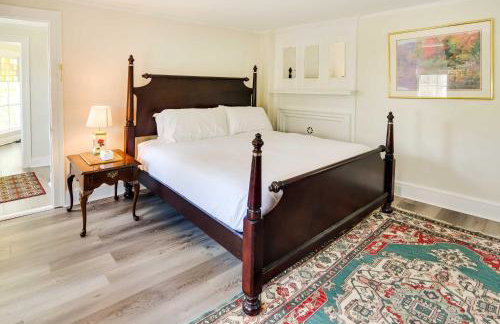
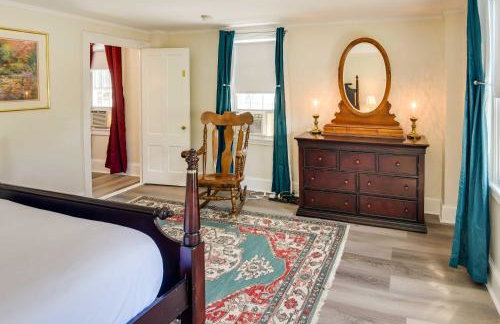
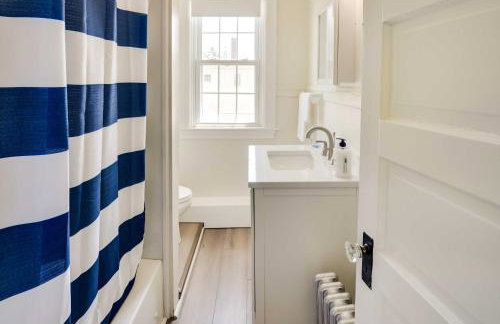
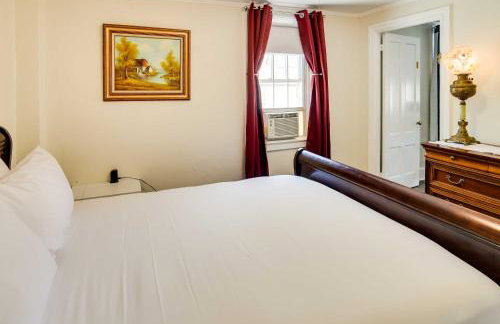
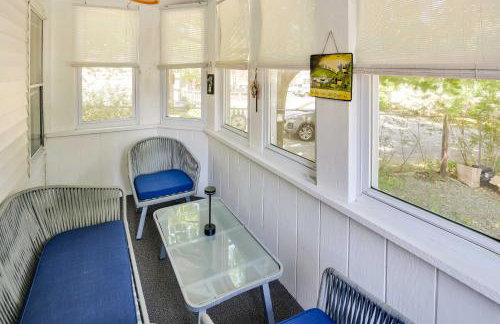
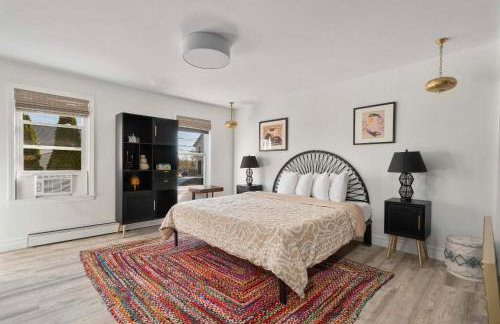
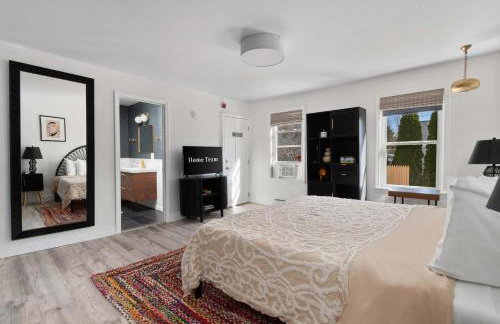
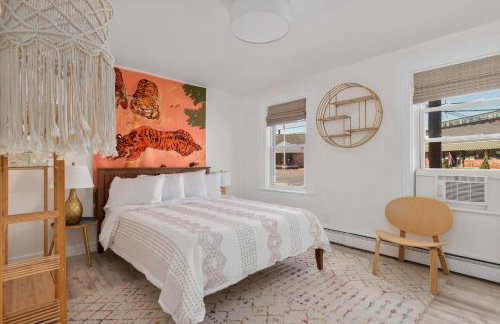
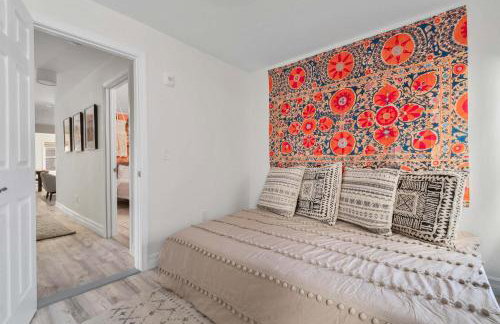
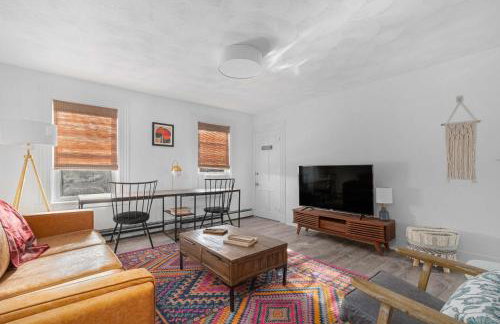
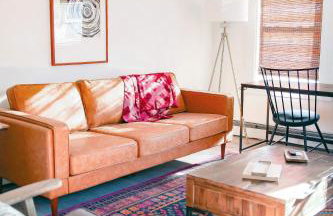
The Seaport House - Near Newport
Bristol
- 151 M2
- 3 bedrooms
- 7 people
- Air conditioning
- Parking
- Garden
- Barbecue
6 reviews
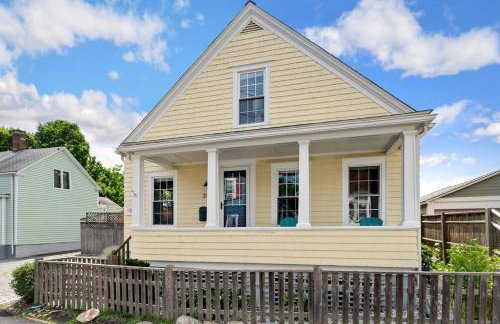
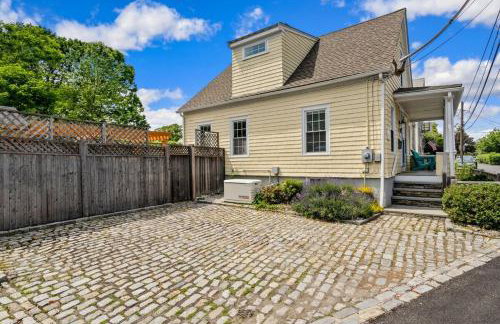
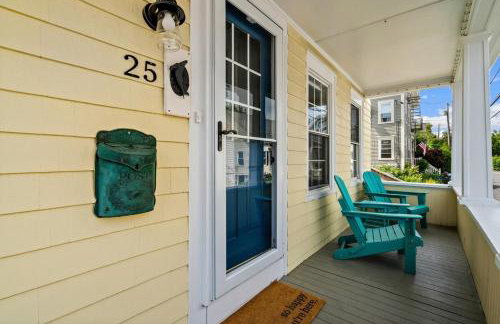
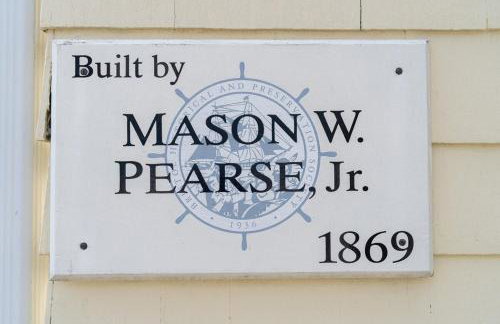


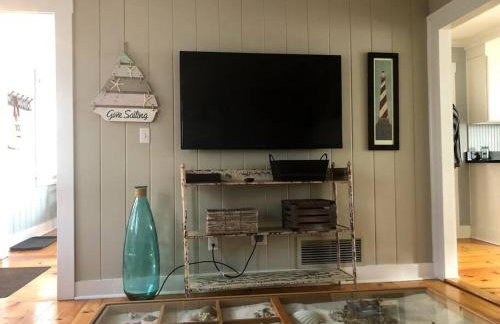
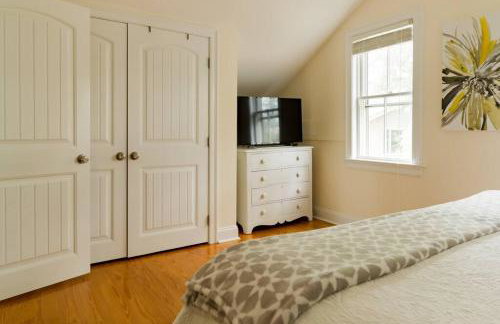
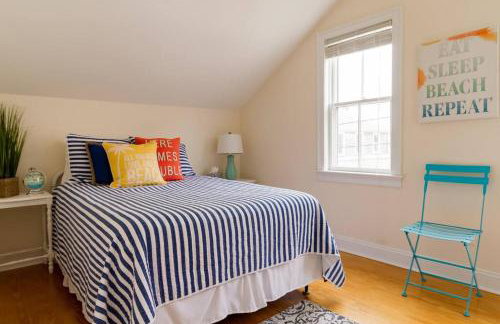
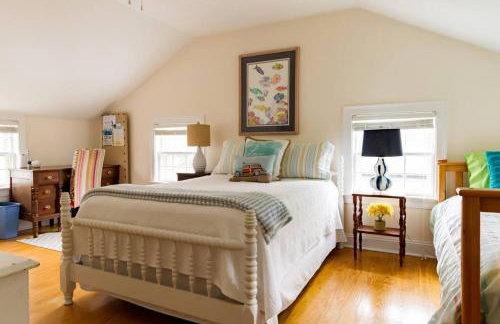
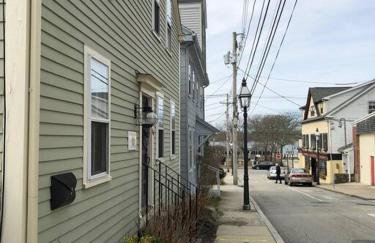
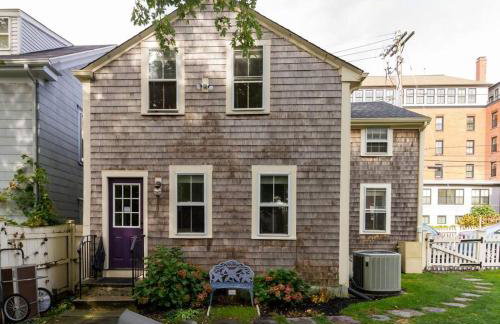
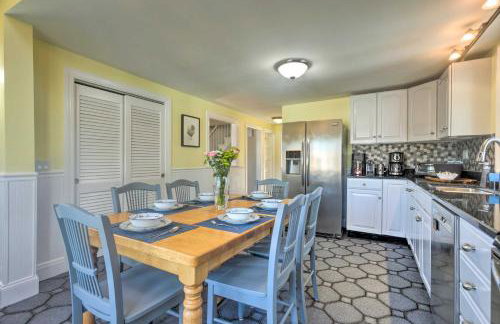
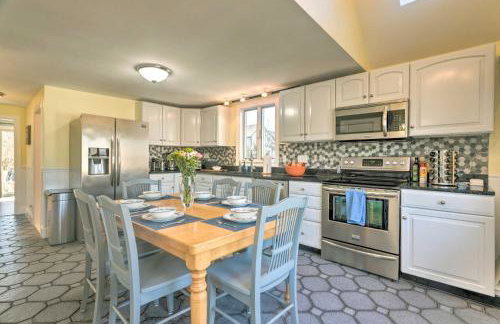
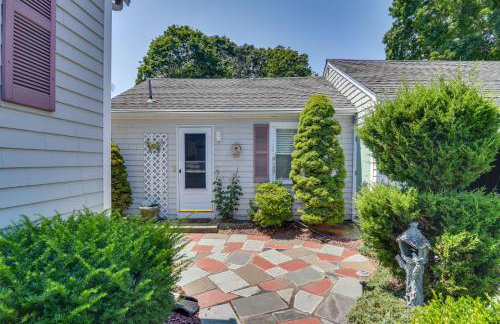
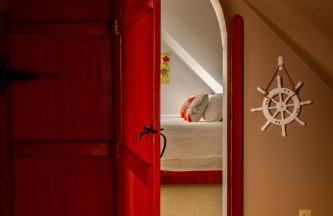
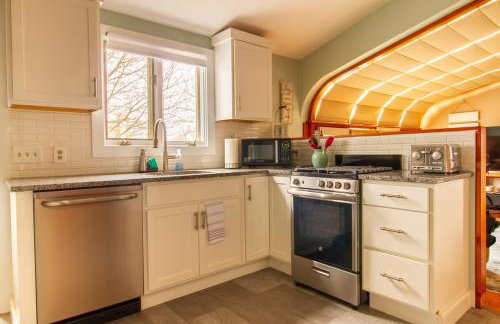
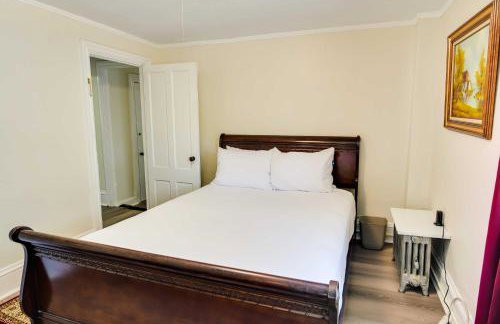
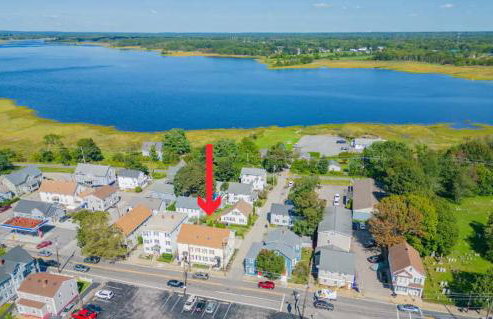
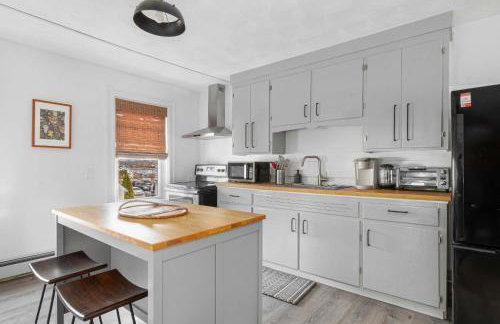
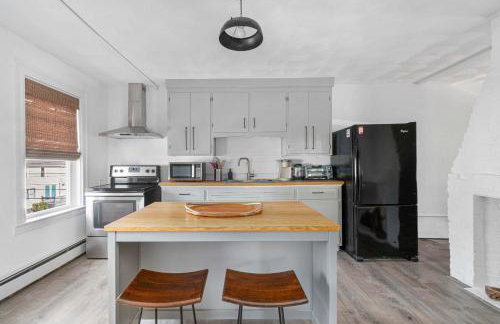
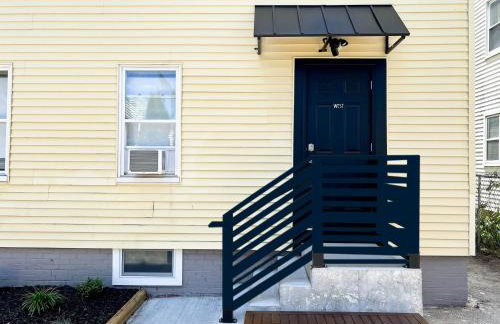
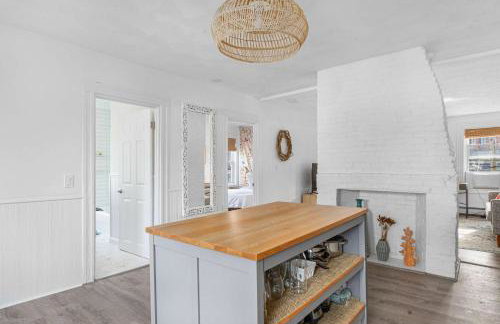
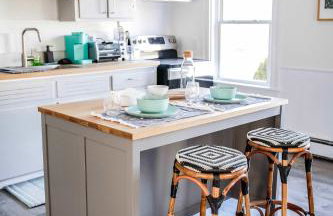
Beautiful Cottage in Downtown Bristol
Bristol
- 137 M2
- 3 bedrooms
- 8 people
- Air conditioning
- Heating
- Barbecue
4 reviews
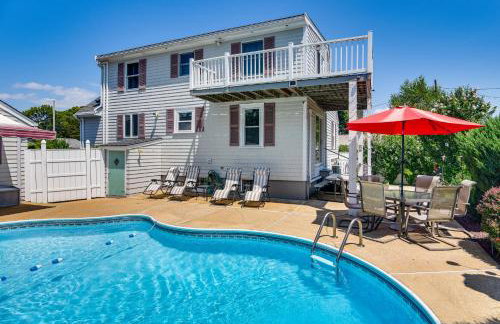


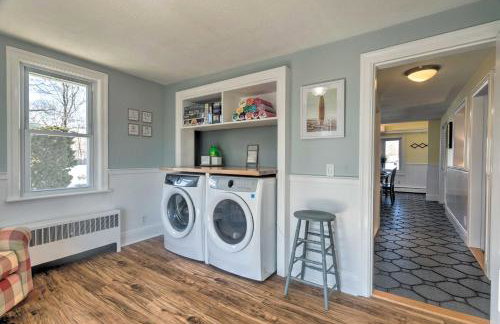
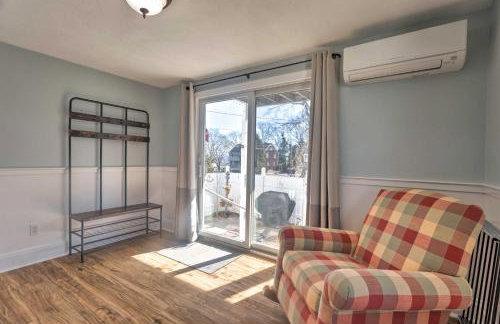
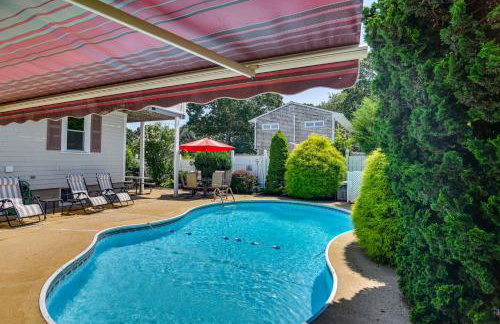

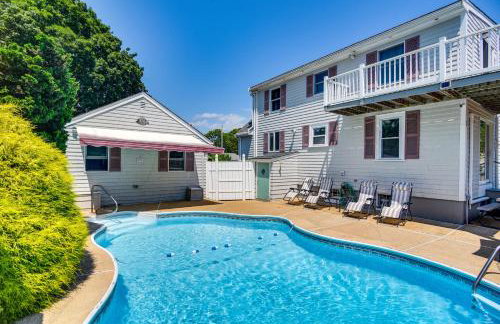
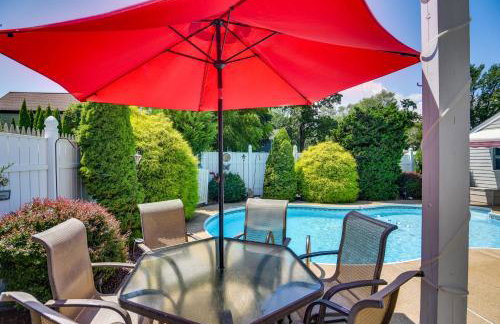
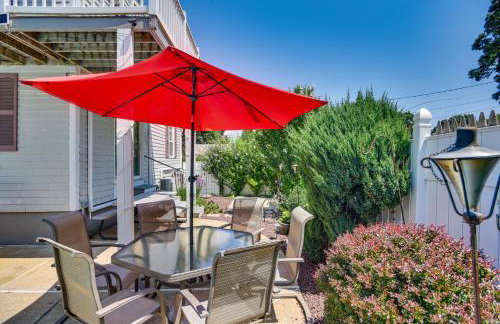

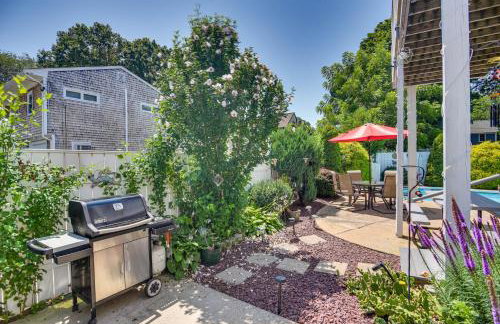
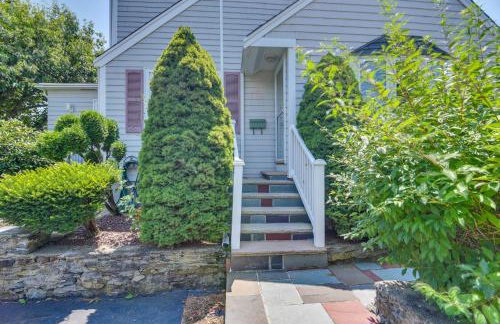
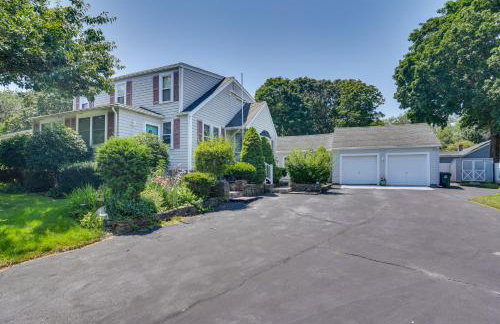
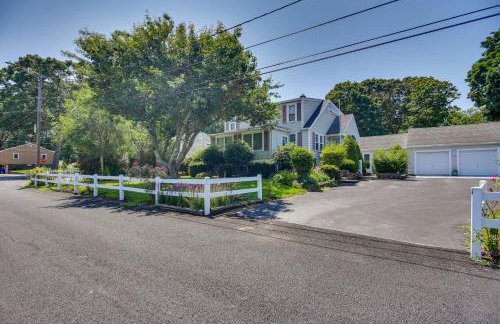
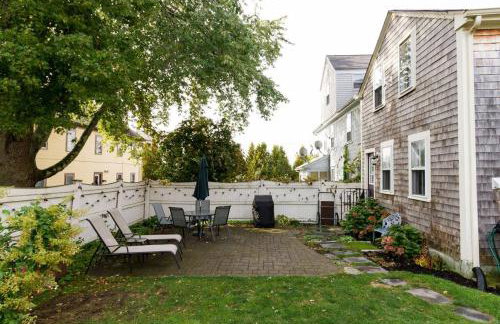
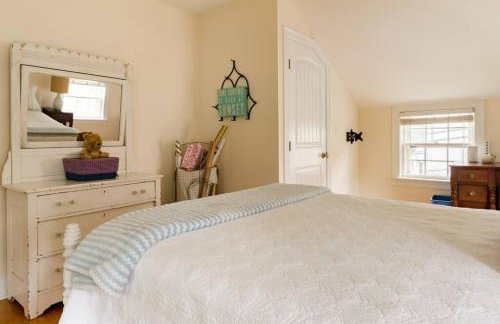
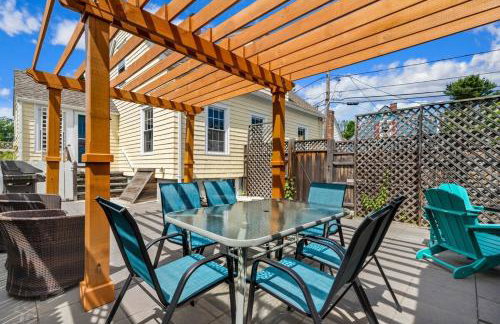
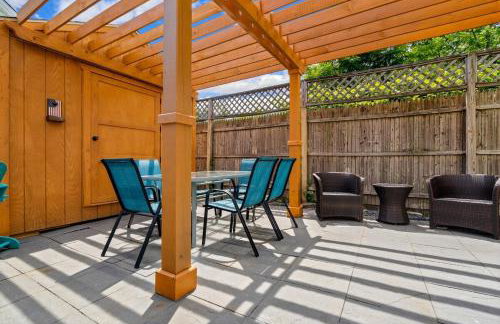
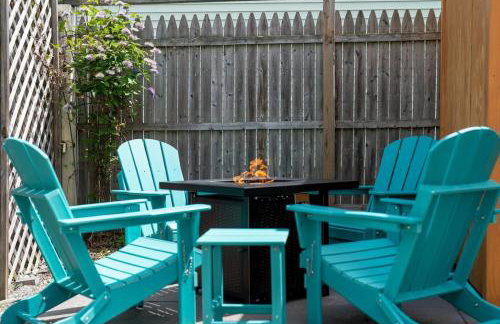
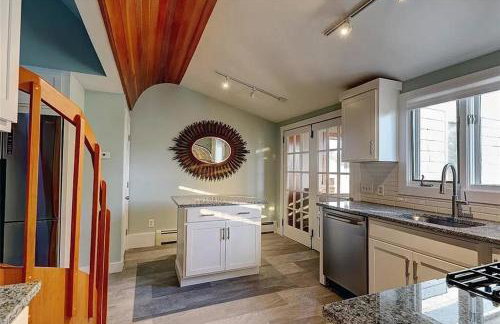
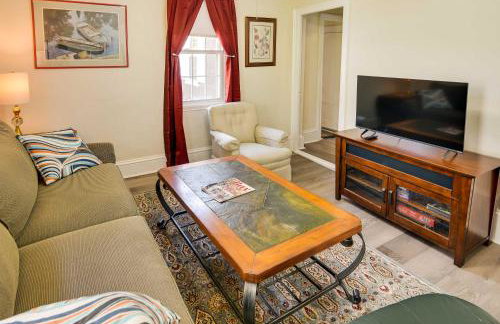
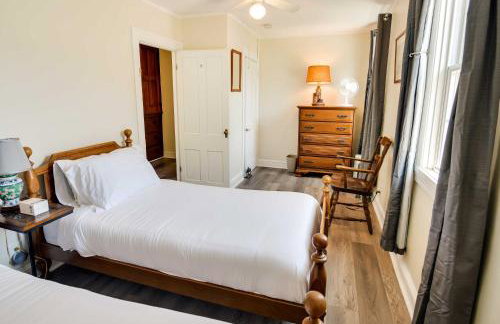
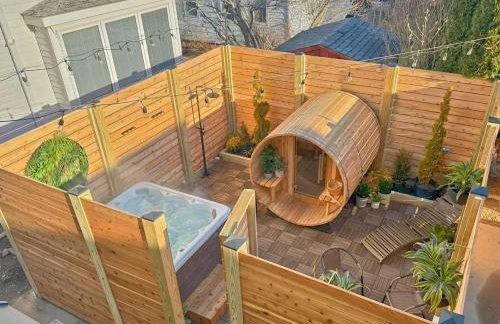
3 Mi to Dtwn & Beach! Bristol Home w/ Patio
Bristol
- 166 M2
- 4 bedrooms
- 8 people
- Heating
- Terrace
- Swimming pool
- Parking
- Garden
2 reviews


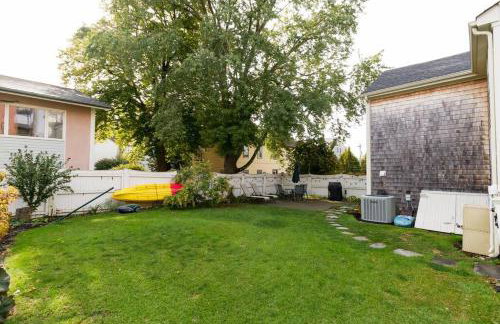
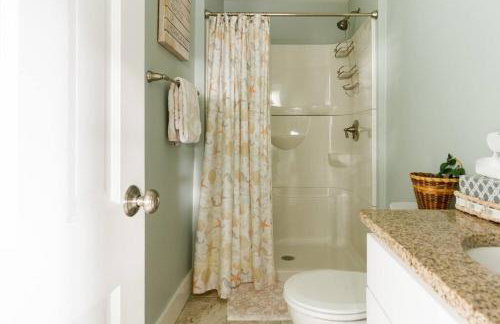
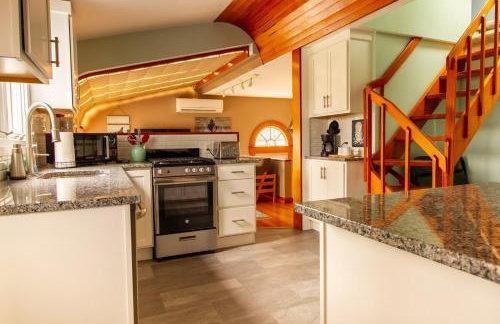
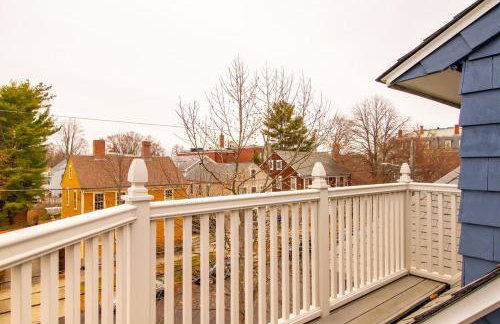
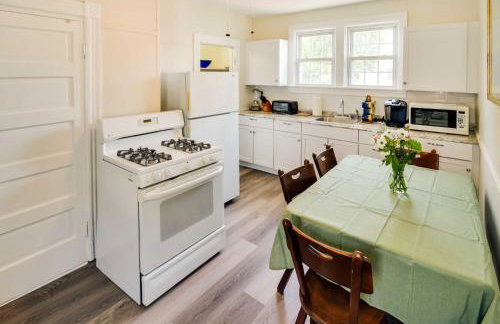
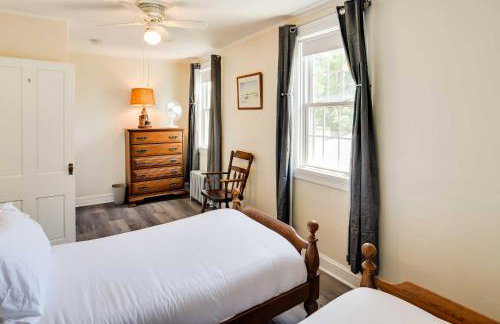
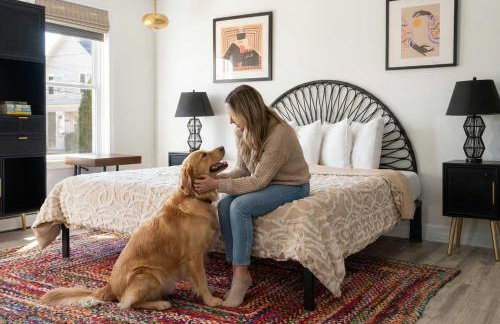
Seaside Stay in Historic Warren
Warren
- 149 M2
- 3 bedrooms
- 6 people
- Air conditioning
- Heating
- Parking
- Garden
1 review


Historic Warren Vacation Rental: Walk to Beaches!
Warren
- 173 M2
- 2 bedrooms
- 4 people
- Heating
- Parking
4 reviews


Bristol, RI The Ship of Dreams-Historical District
Bristol
- 117 M2
- 3 bedrooms
- 6 people
- Air conditioning
- Parking
- Garden
- Barbecue
1 review


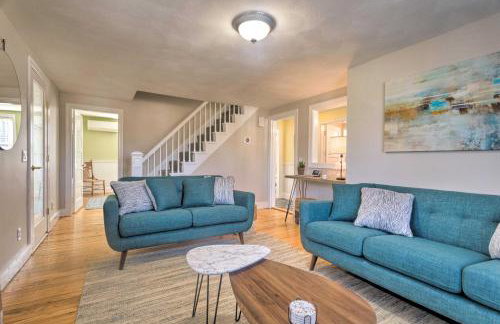
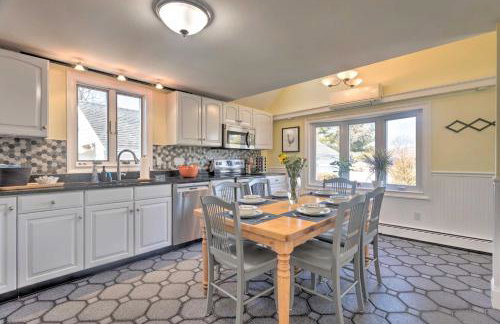
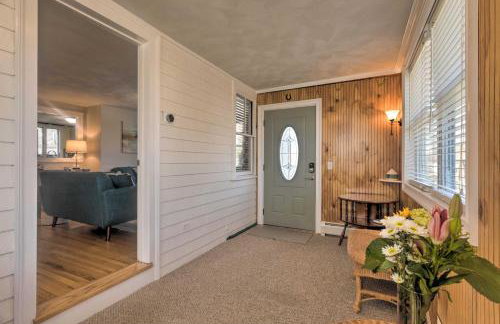
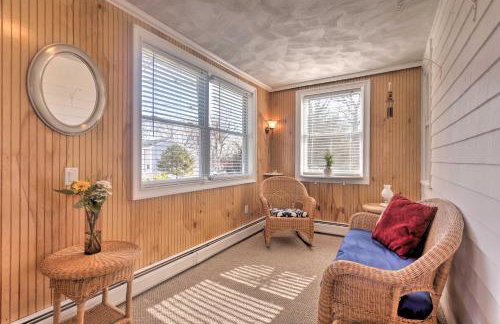
Warren Vacation Rental, Walk to Warren Town Beach
Warren
- 140 M2
- 3 bedrooms
- 6 people
- Heating
- Parking
1 review


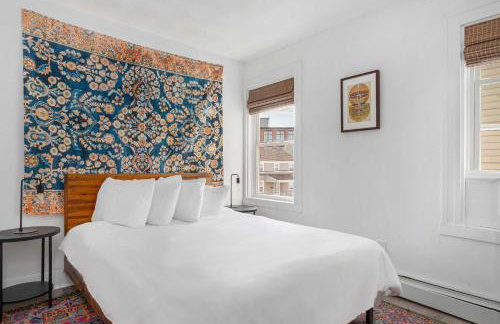
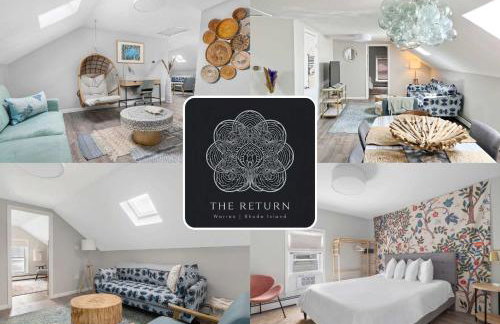
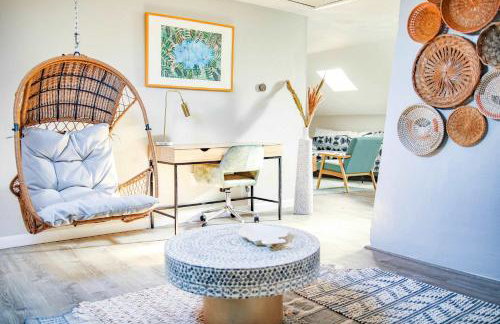
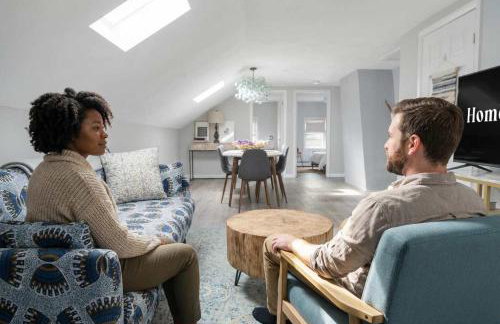
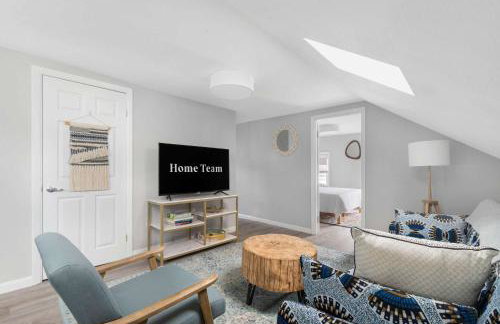
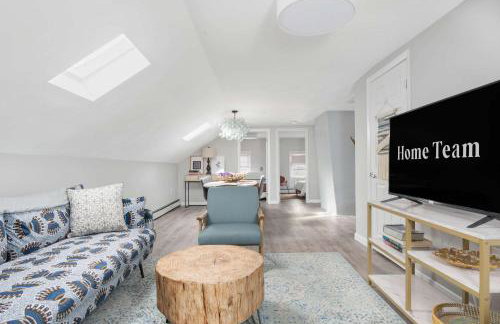
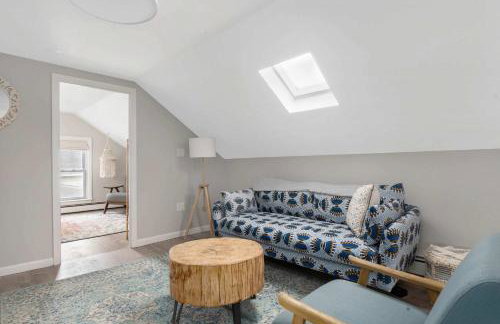
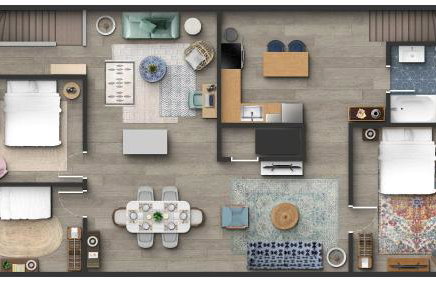
The Return to Self - Walk to Historic Downtown
Warren
- 84 M2
- 3 bedrooms
- 6 people
- Air conditioning
- Heating
- Parking
- Garden


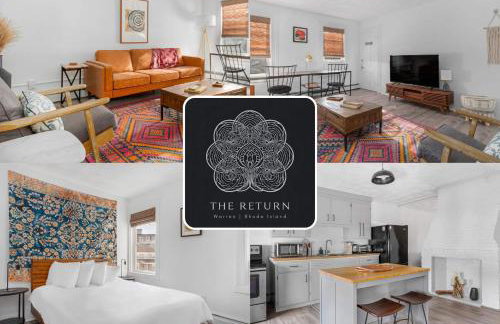
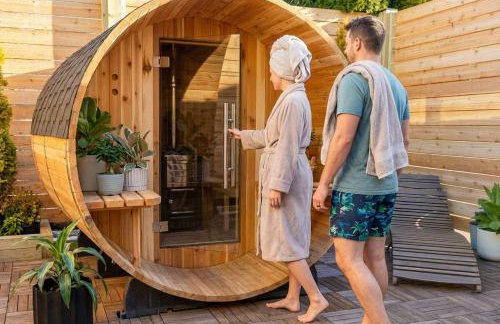
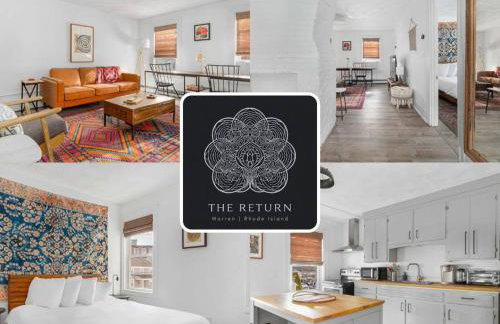
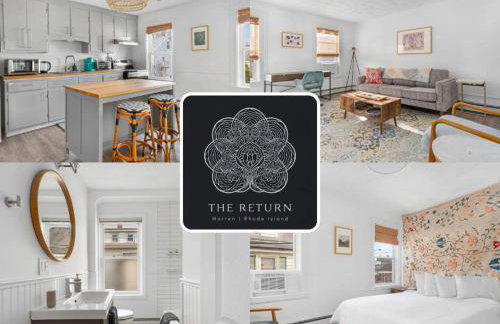
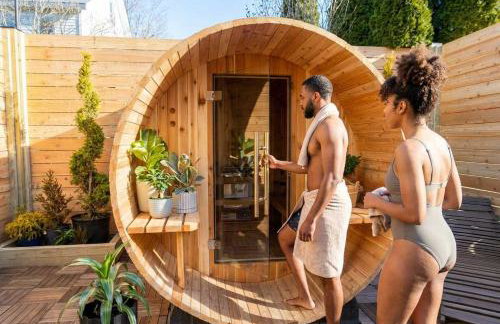
The Return - Multi-Unit Retreat - Sleeps 16 - Spa
Warren
- 325 M2
- 8 bedrooms
- 16 people
- Air conditioning
- Heating
- Parking
- Garden


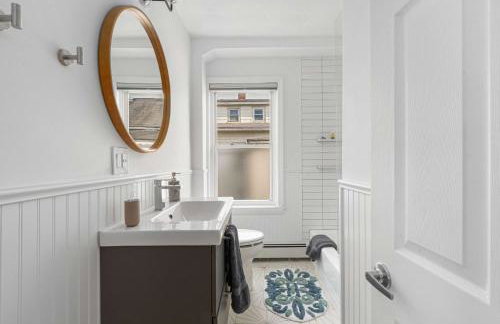
The Return to Woods - Newly Designed & Renovated
Warren
- 92 M2
- 2 people
- Air conditioning
- Heating
- Parking
- Garden


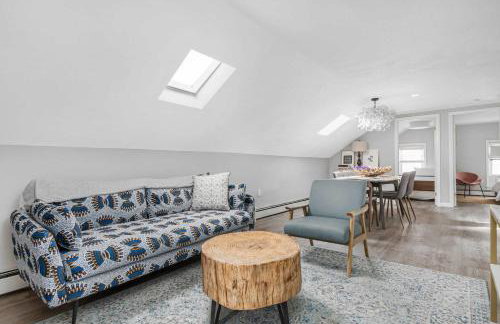


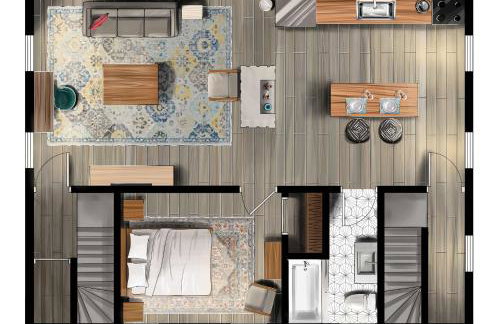
The Return to Water - Sleeps 6 - Newly Renovated
Warren
- 112 M2
- 3 bedrooms
- 6 people
- Air conditioning
- Heating
- Parking
- Garden


The Return to the Marshlands - Newly Renovated
Warren
- 92 M2
- 2 people
- Air conditioning
- Heating
- Parking
- Garden