
143 Apartments in Transylvania


Foxhunt at Sapphire Valley
Sapphire - 520 m from Ski Sapphire
- 121 M2
- 6 people
- Air conditioning
- Heating
- Swimming pool
- Parking
- Balcony
- Tv
- Washing machine
- Fireplace
- Barbecue
- Bath linen
- Bed linen
470 reviews


Twin Creeks Lodge by Avantstay 33 Acre Retreat
Brevard
- 318 M2
- 4 bedrooms
- 12 people
- Air conditioning
- Heating
- Parking
- Balcony
- Tv
- Washing machine
- Fireplace
- Barbecue
- Bed linen
2 reviews


Life's Good Retreat Bear Cottage
Brevard
- 67 M2
- 2 bedrooms
- 4 people
- Air conditioning
- Heating
- Parking
6 reviews


Riversong Falls
Lake Toxaway
- 12 M2
- 3 bedrooms
- 6 people
- Air conditioning
- Terrace
- Swimming pool
- Parking
2 reviews


Quaint Mtn Cabin: Tiny Living Near Big Adventure
Brevard
- 70 M2
- 1 bedroom
- 4 people
- Heating
- Terrace
- Parking
10 reviews


Life's Good Creek Side Retreat
Brevard
- 67 M2
- 2 bedrooms
- 4 people
- Air conditioning
- Heating
- Parking
11 reviews

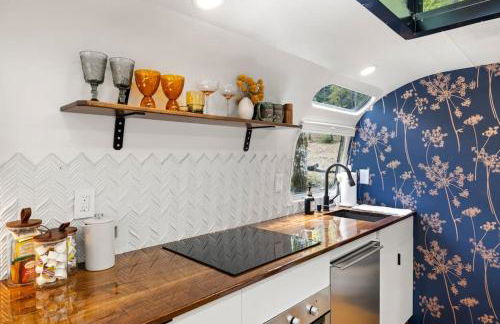
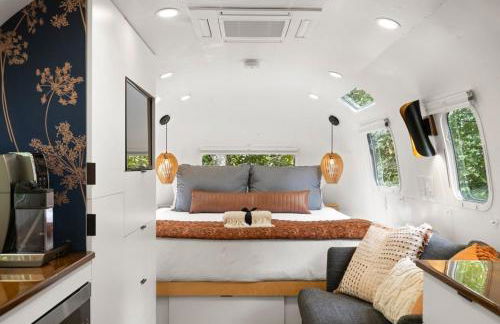

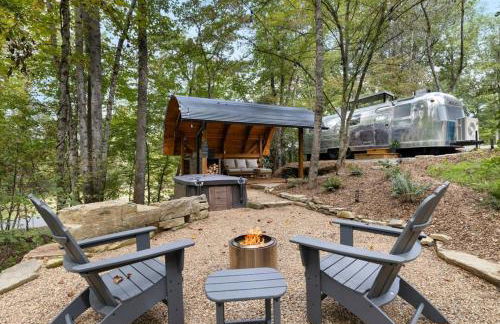
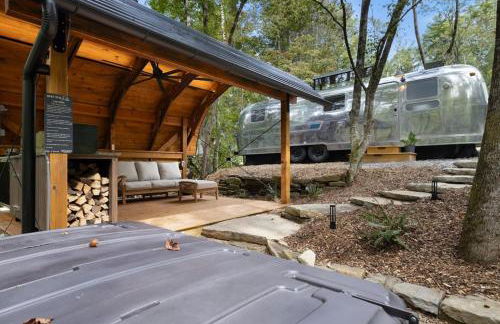
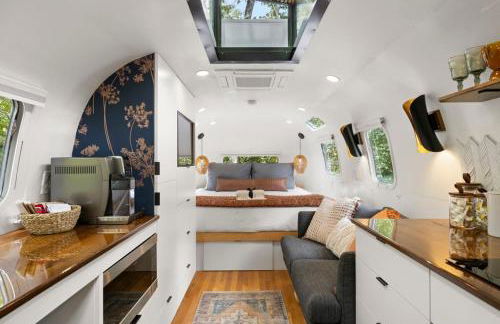
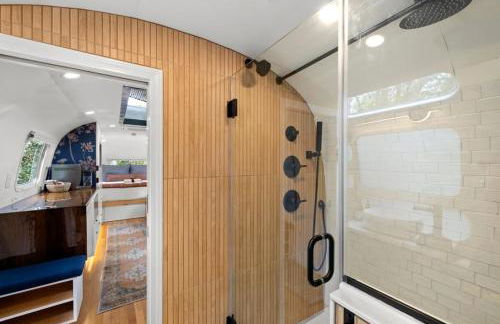
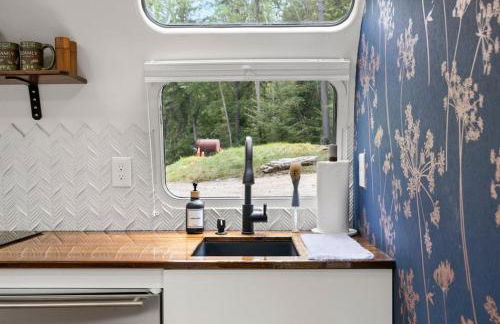


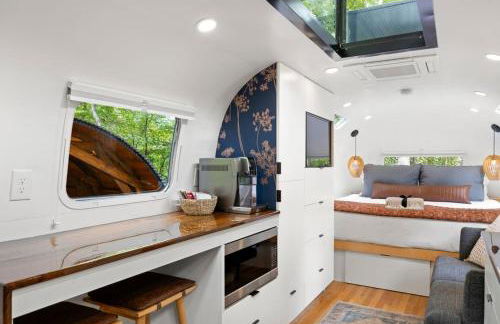
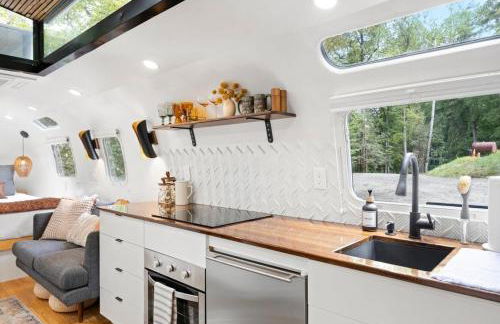
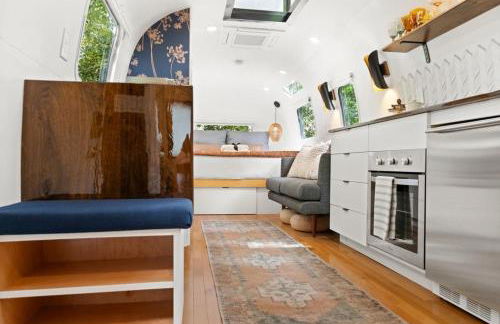
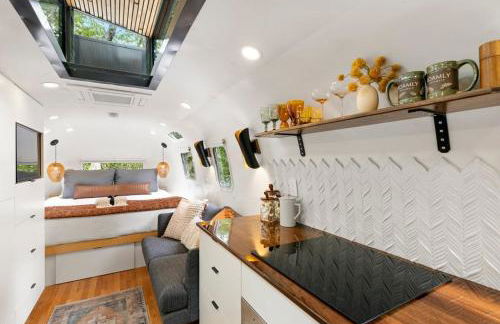
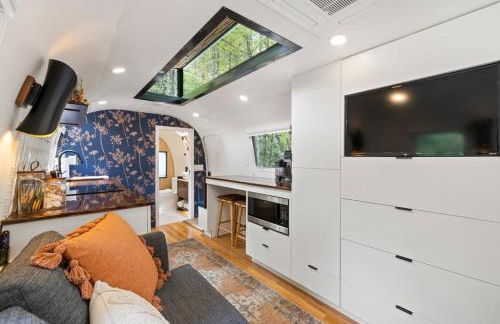
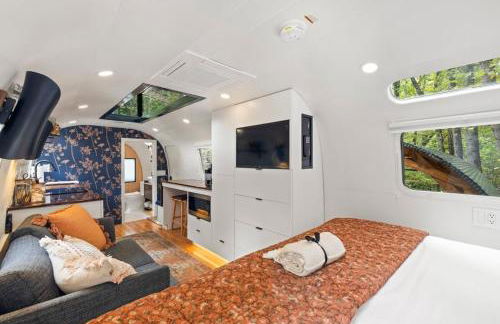
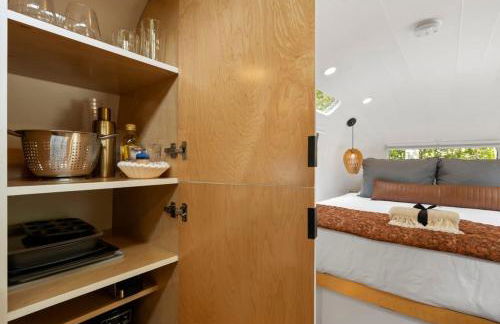
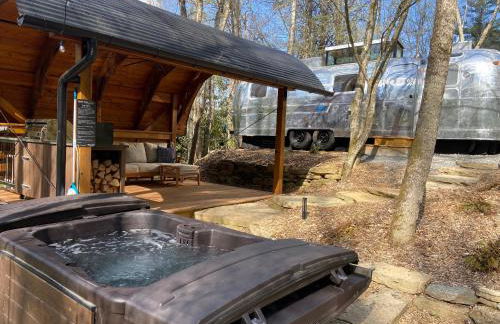
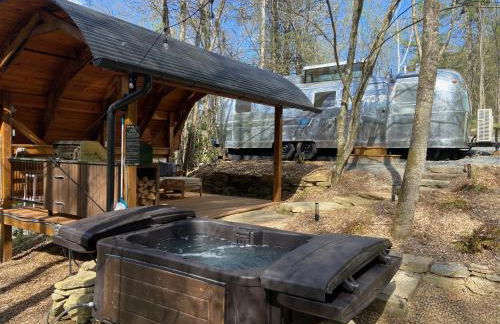
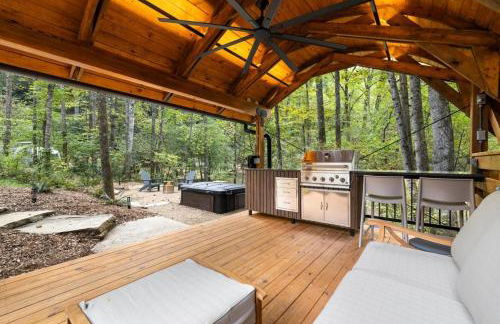


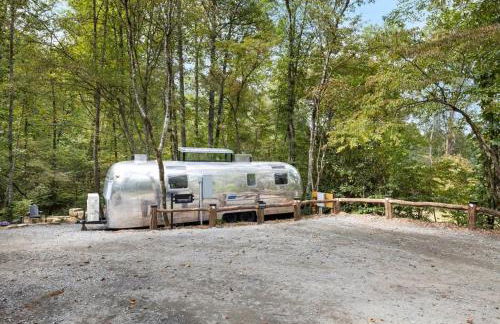


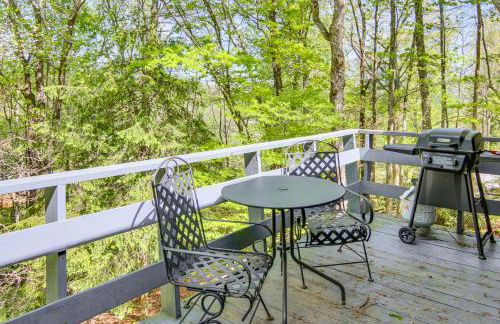
Luxury Airstream w hot tub, king bed, & grill
Pisgah
- 25 M2
- 1 bedroom
- 2 people
- Air conditioning
- Heating
- Barbecue
6 reviews


Downtown Brevard 5BR Retreat & Cyclists Dream
Brevard
- 204 M2
- 5 bedrooms
- 10 people
- Air conditioning
- Heating
- Terrace
- Parking
- Garden
- Barbecue
2 reviews


Private Mountain Getaway in Little River Valley
Penrose
- 84 M2
- 1 bedroom
- 4 people
- Air conditioning
- Heating
- Parking
3 reviews


Peace of Heaven in Connestee · Peace of Heaven in Connestee Fall
Brevard
- 244 M2
- 4 bedrooms
- 9 people
- Heating
- Parking
- Barbecue
3 reviews


Walkable Downtown 5BR - Hot Tub and Resort Access
Brevard
- 200 M2
- 5 bedrooms
- 10 people
- Air conditioning
- Heating
- Terrace
- Parking
- Garden
- Barbecue
2 reviews


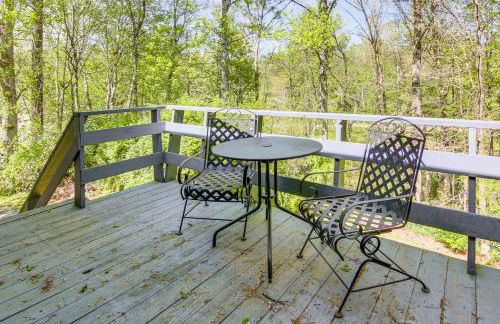
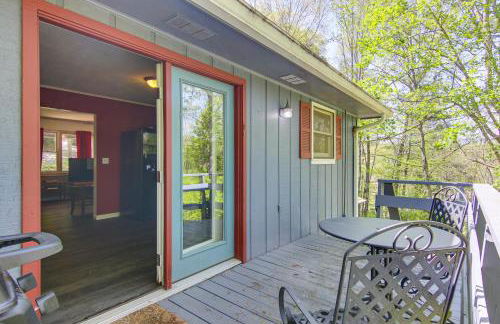
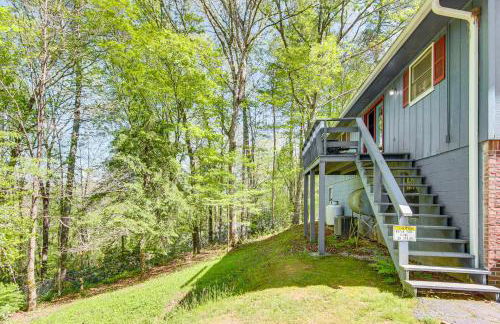
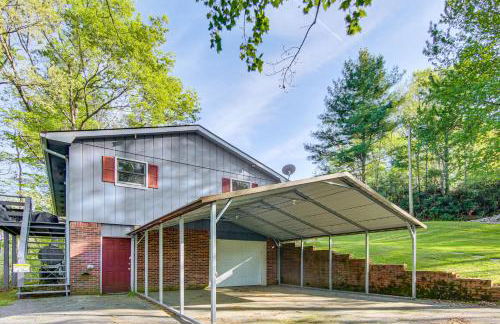

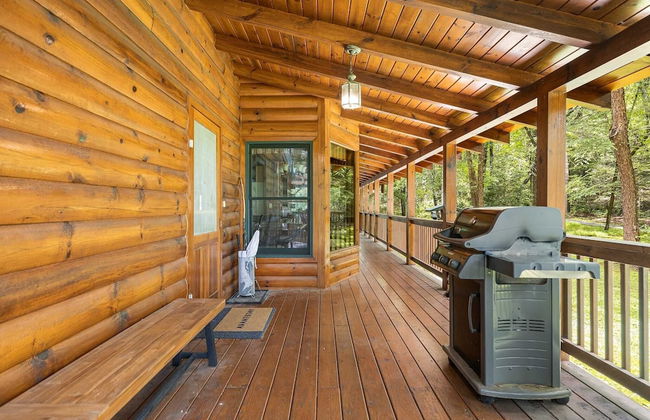
1 Mi to Pisgah Nat’l Forest: Wooded Haven w/ Deck
Pisgah
- 130 M2
- 3 bedrooms
- 6 people
- Heating
- Terrace
- Parking
6 reviews


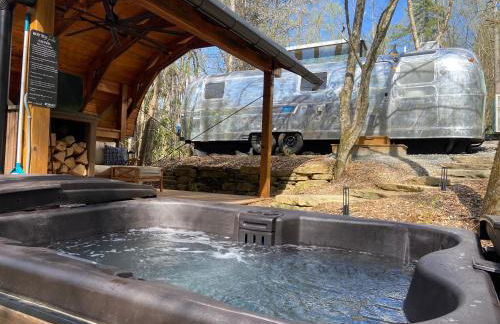
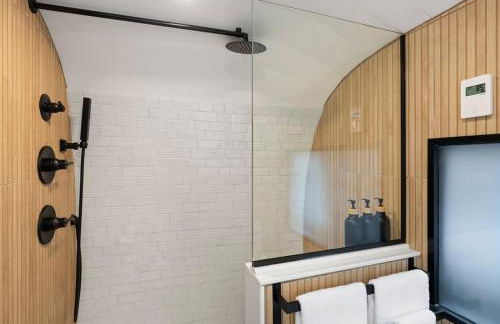
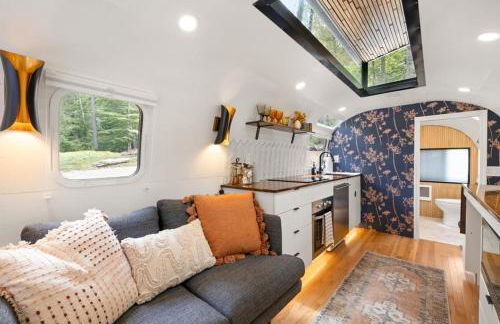
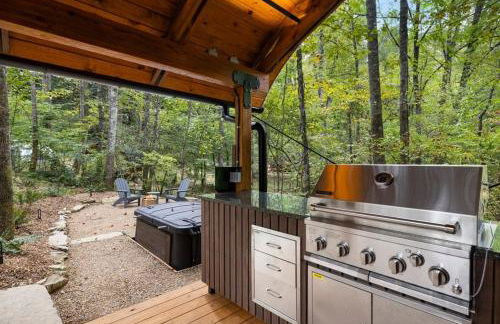
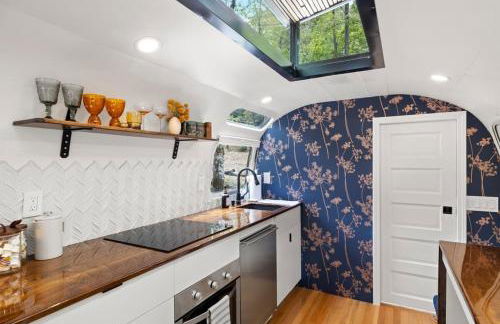
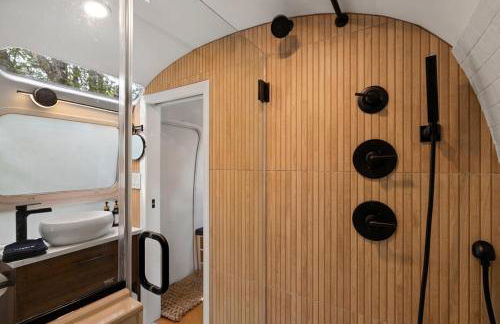
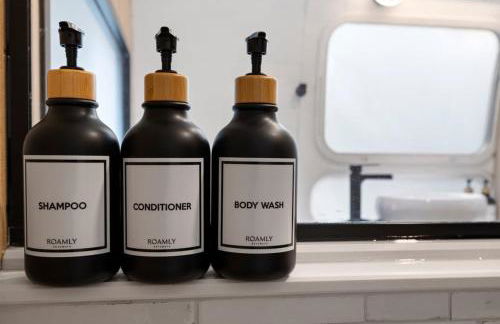
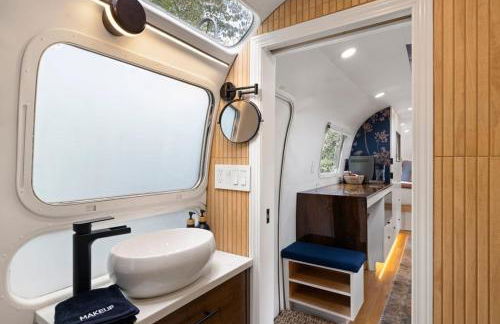
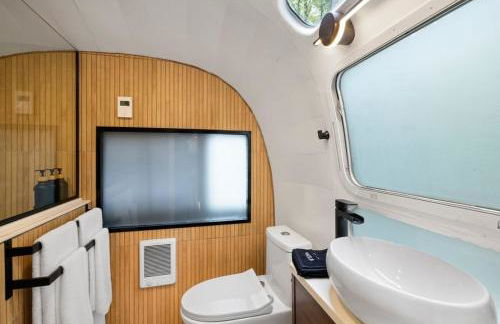
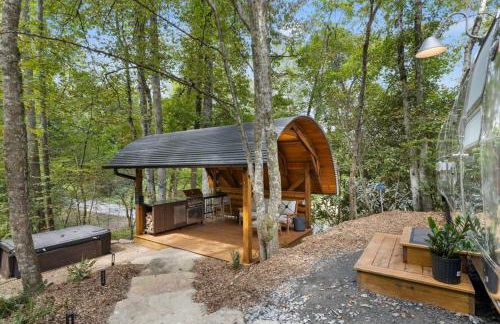
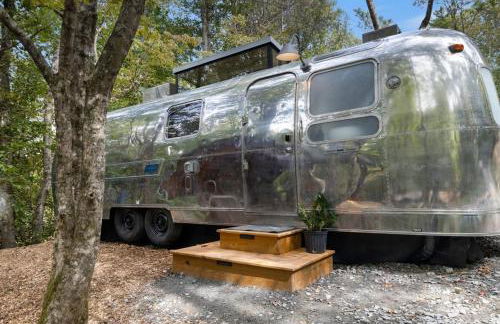
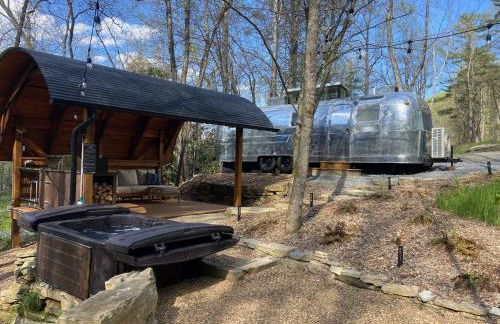
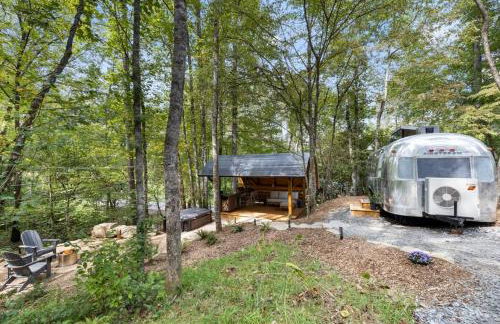
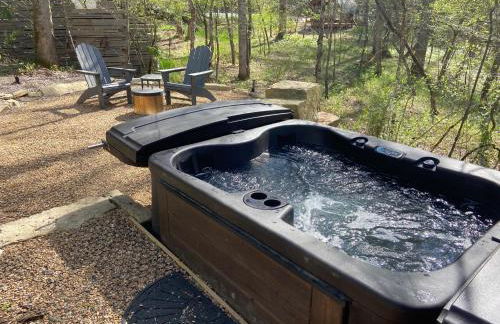
Airstream w Bathtub, River, & Hot Tub
Pisgah
- 25 M2
- 1 bedroom
- 2 people
- Air conditioning
- Heating
- Barbecue
5 reviews


The Deep Forest Green Cottage · The Deep Forest Green Cottage
Cedar Mountain
- 78 M2
- 2 bedrooms
- 6 people
- Heating
- Parking
2 reviews