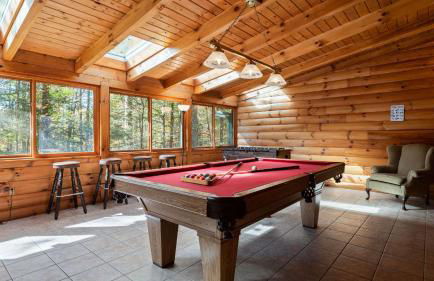
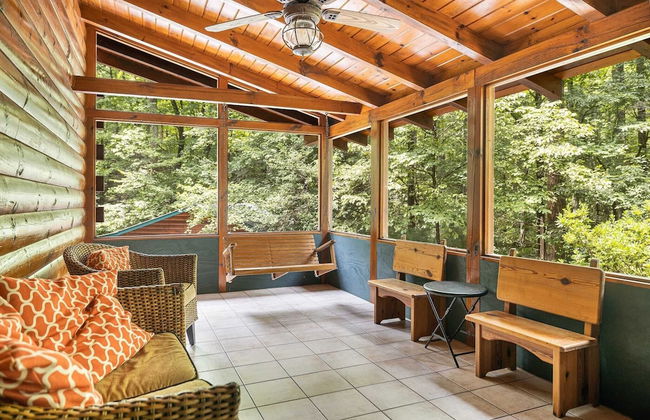
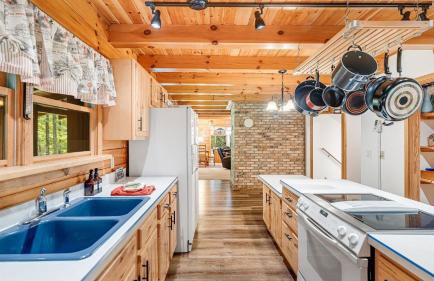
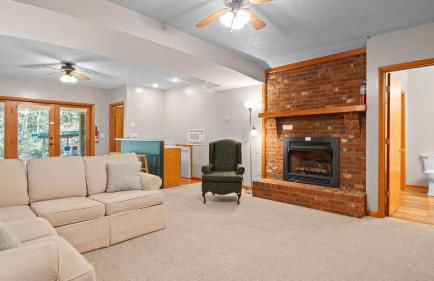
68 Apartments in Brevard
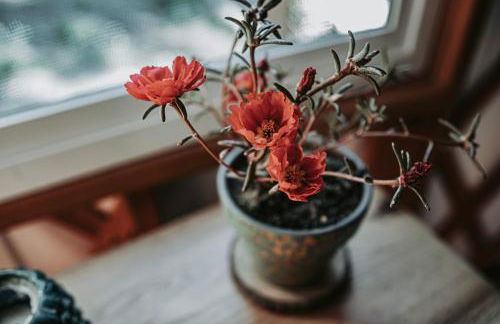
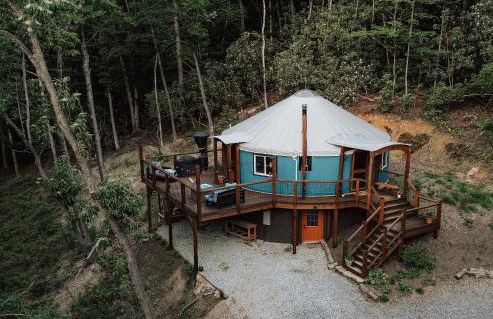
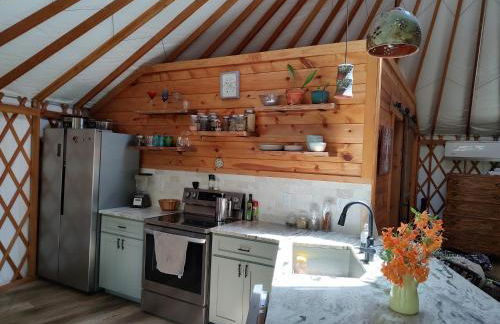
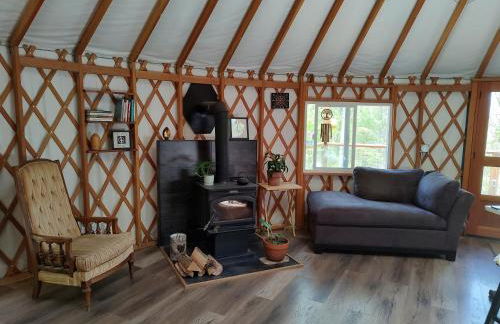
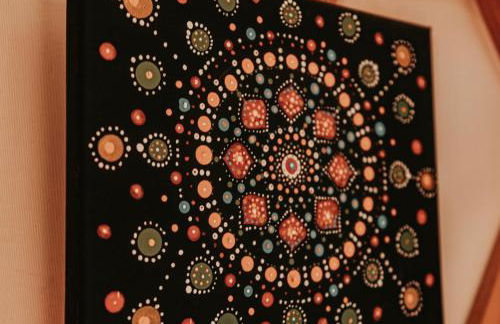
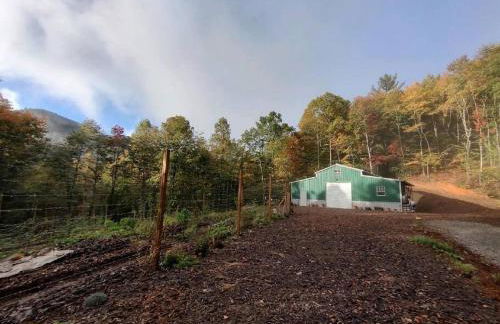
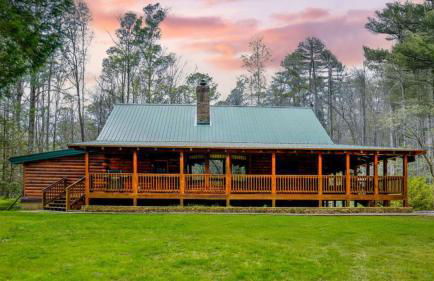
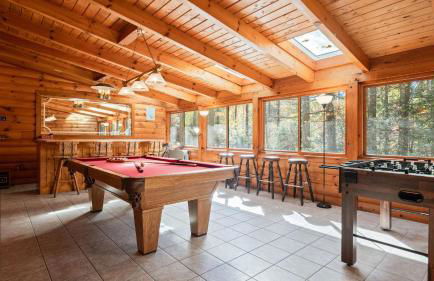
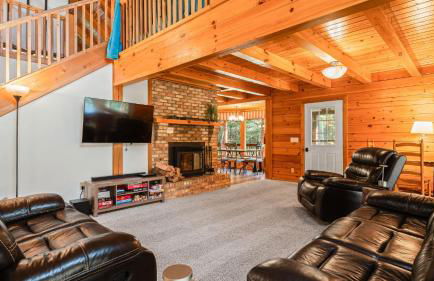
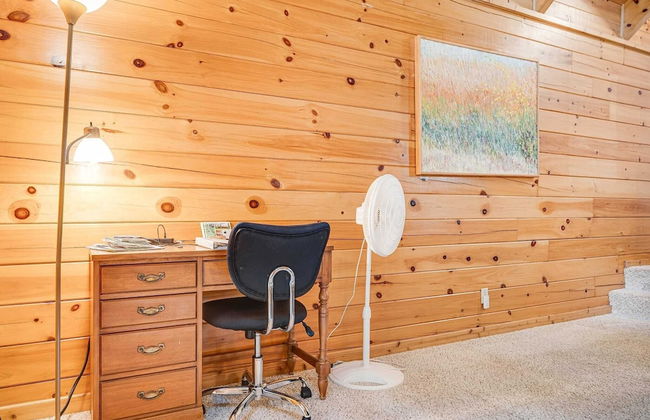
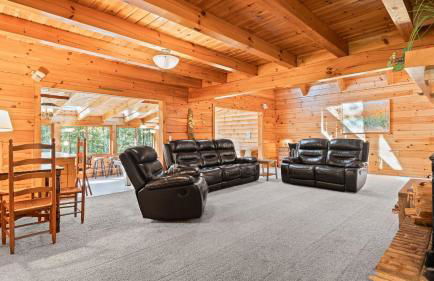
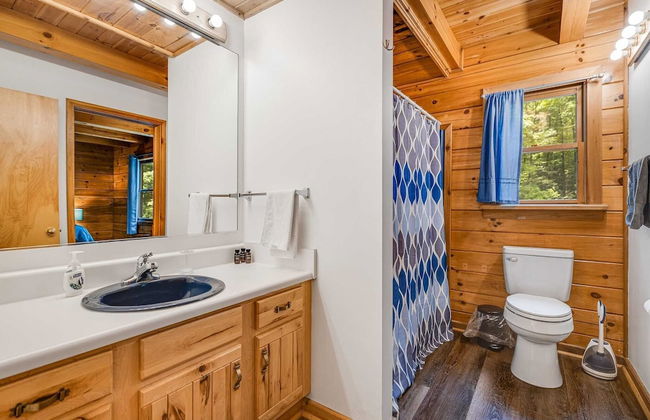
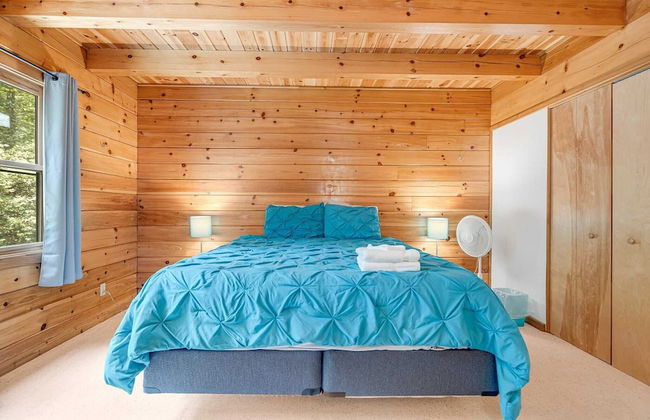
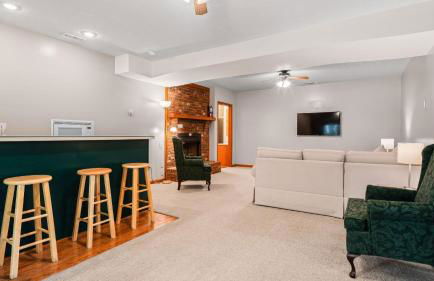
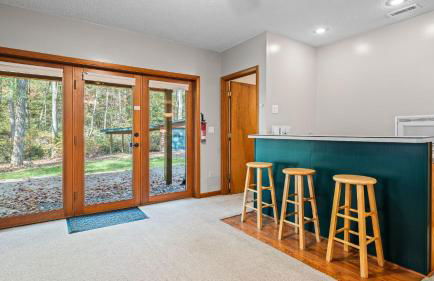
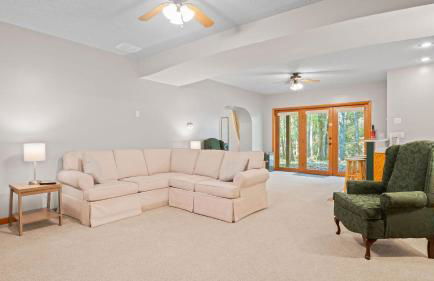
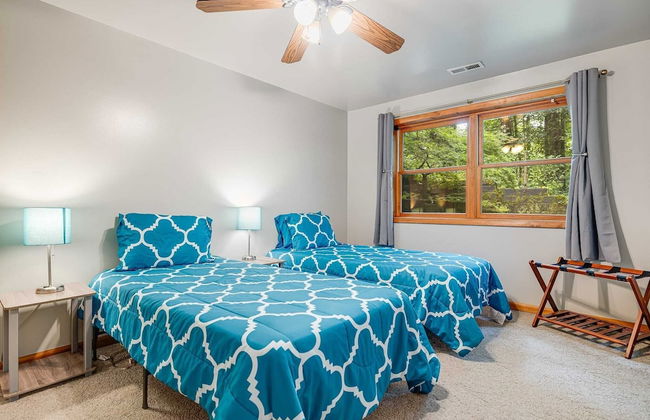
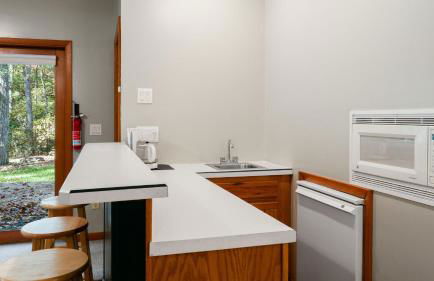
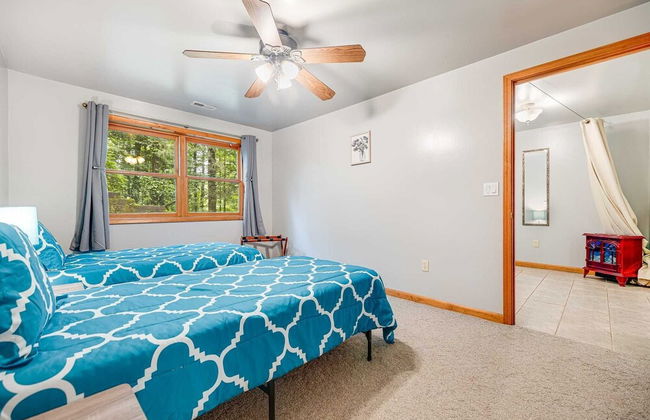
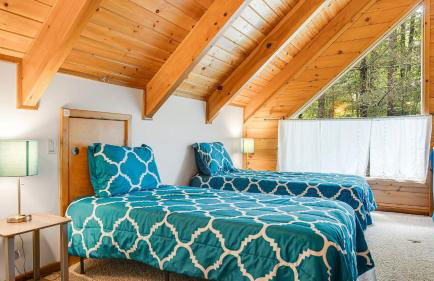
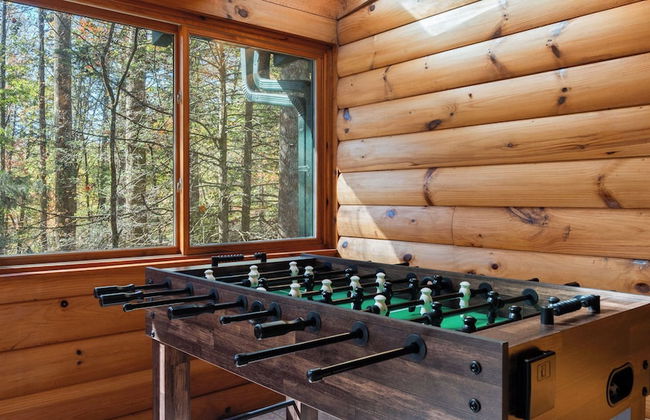
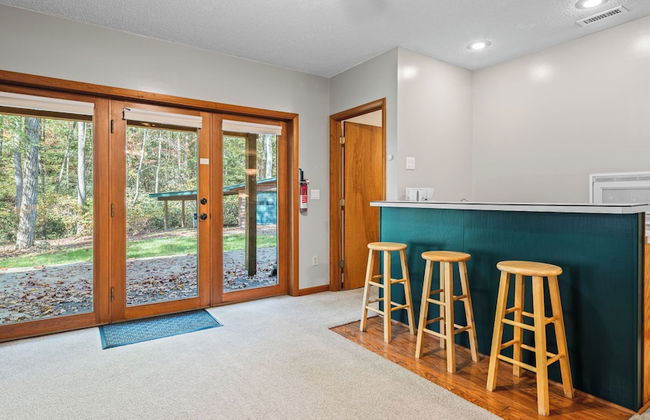
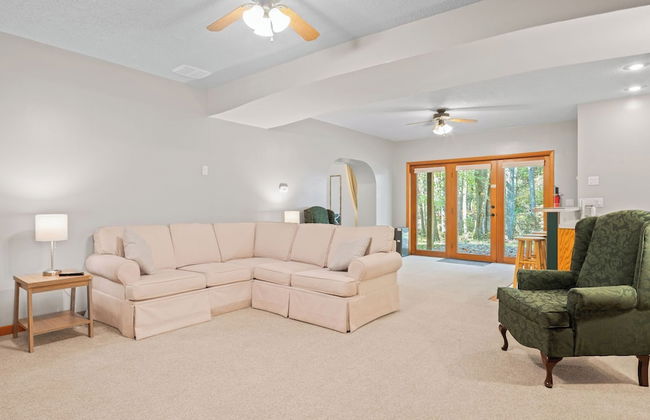
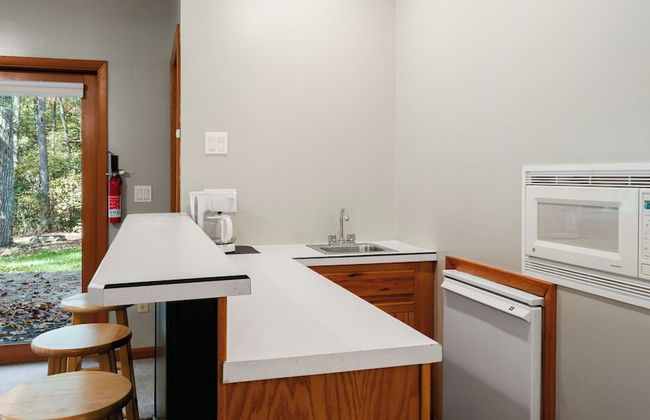
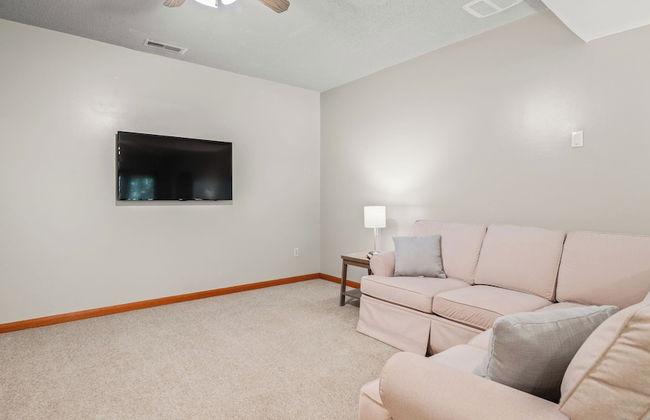
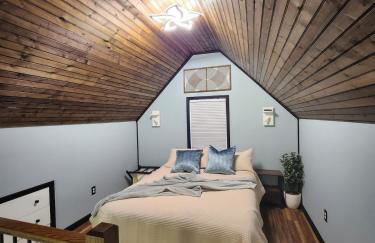
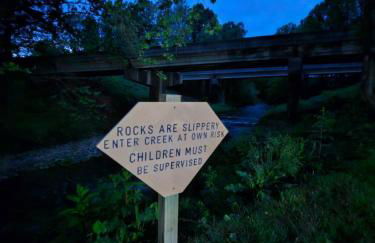
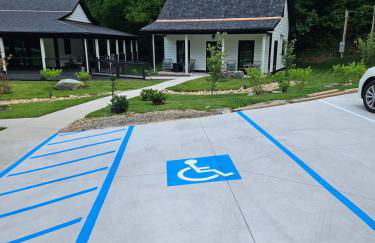
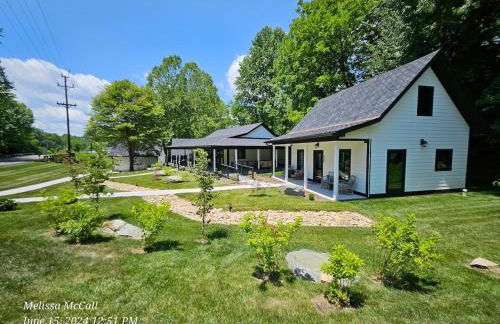
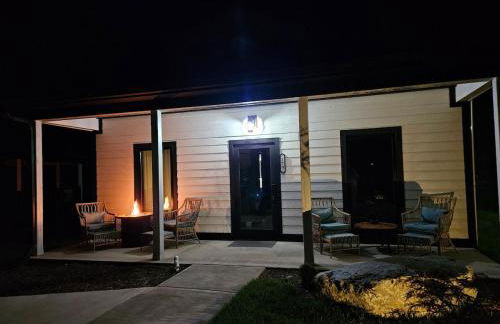
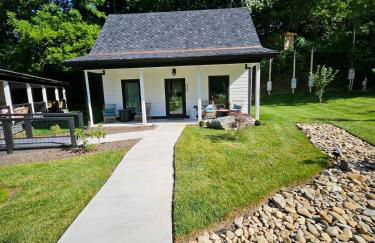
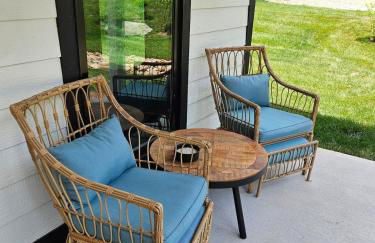
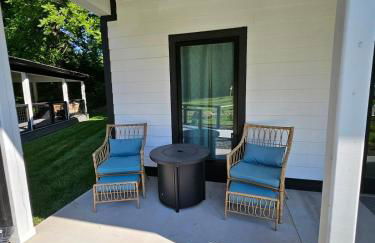
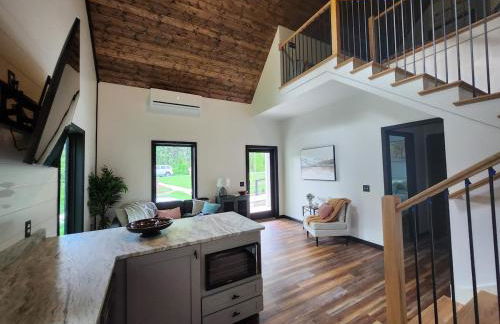
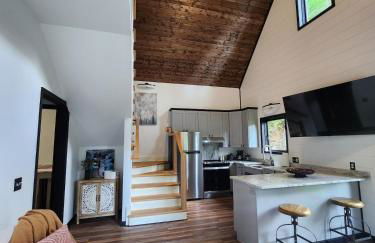
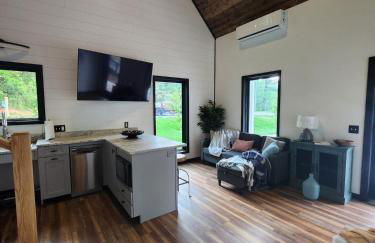
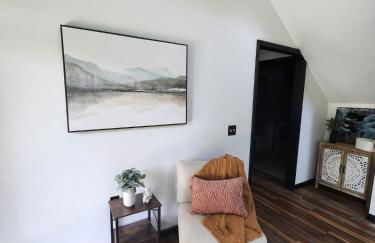
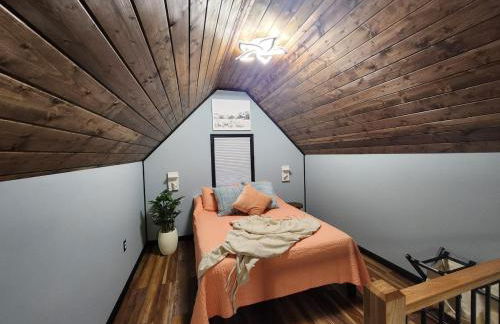
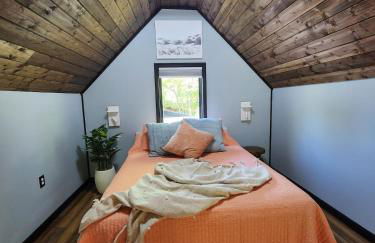
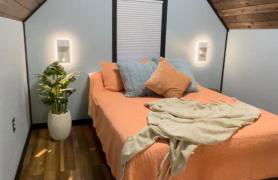
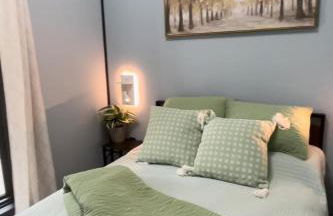
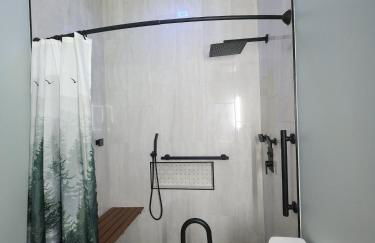
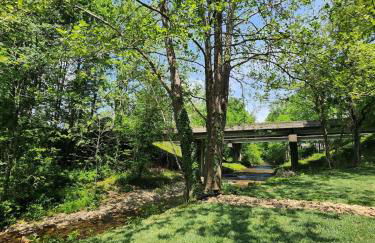
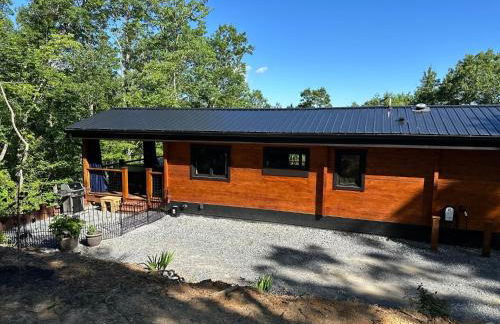
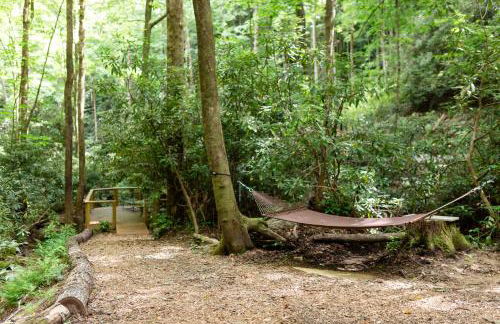
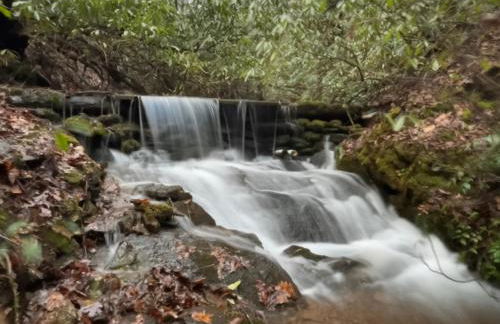
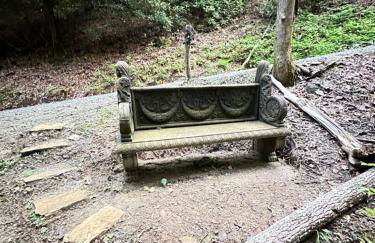
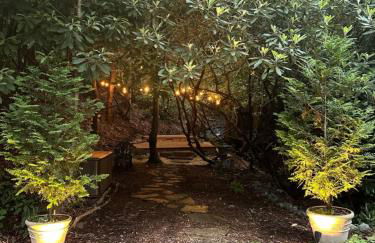
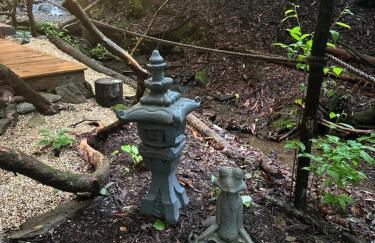
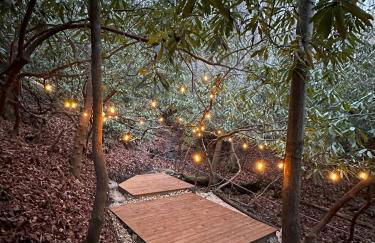
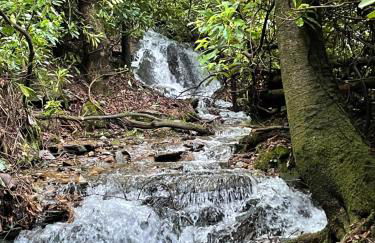
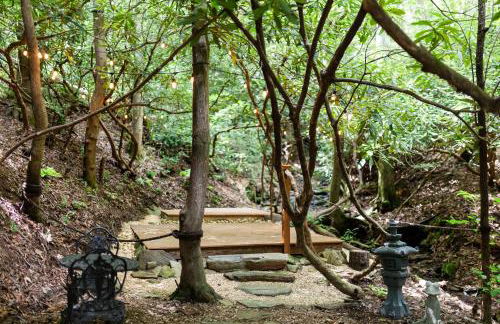
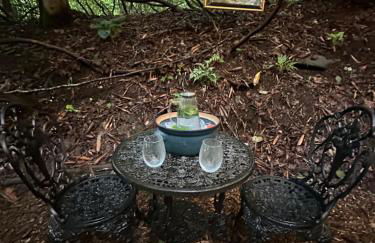
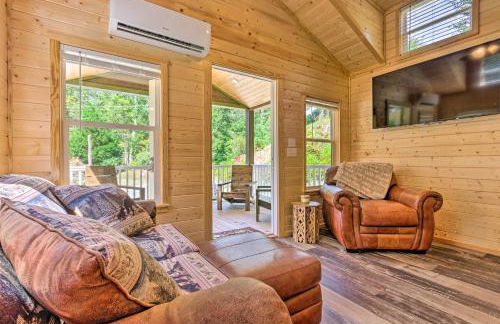
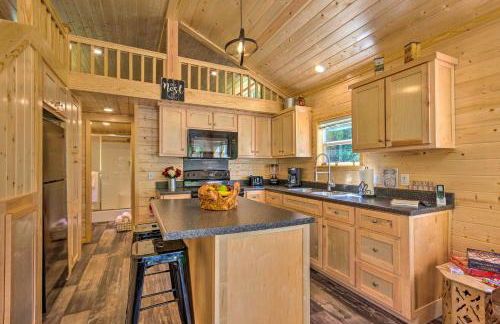
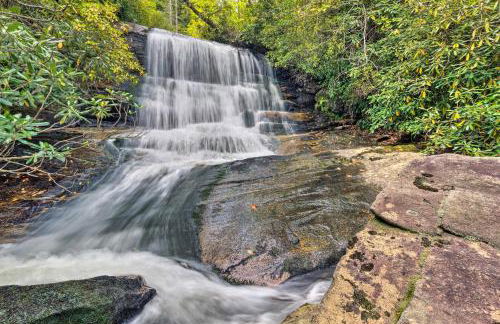
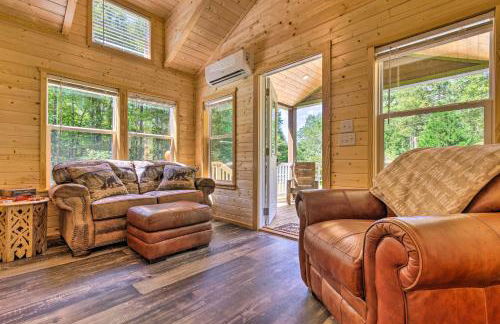
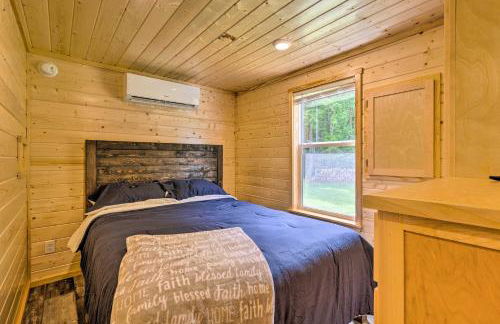
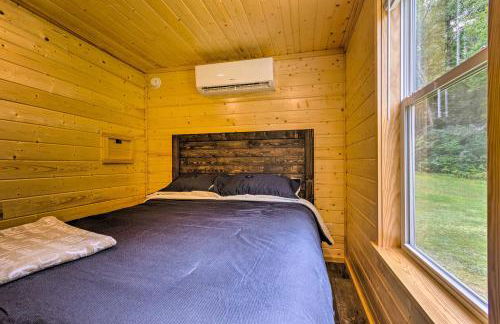
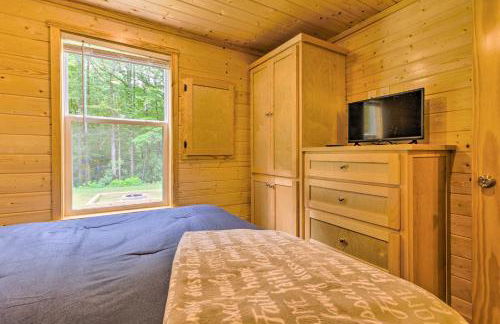
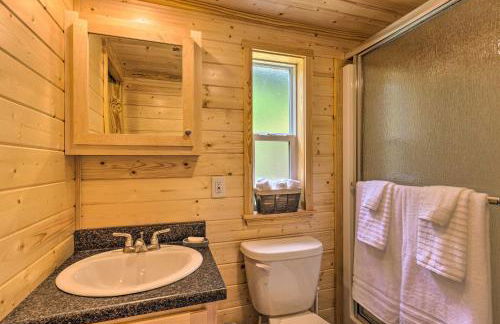
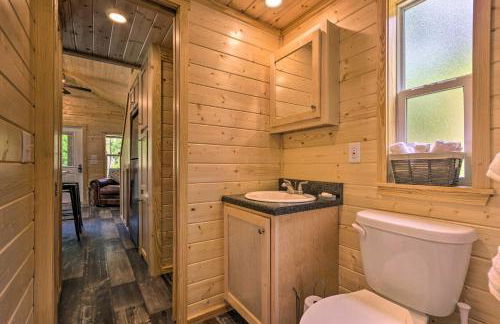
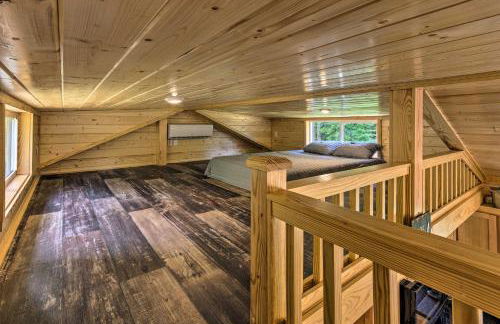
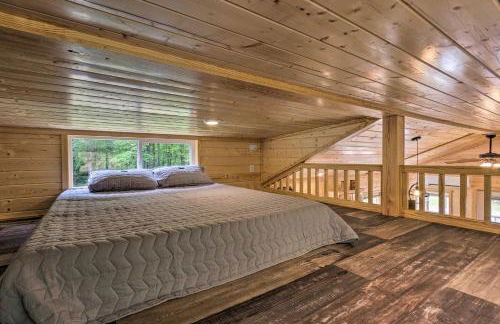
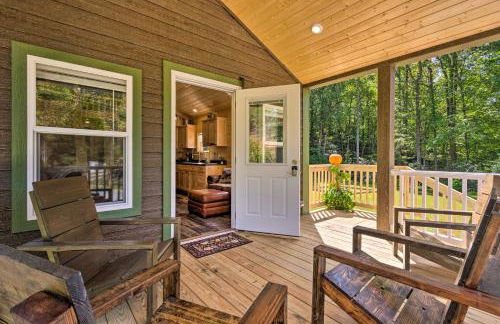
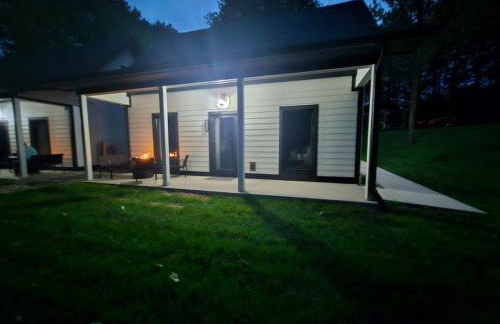
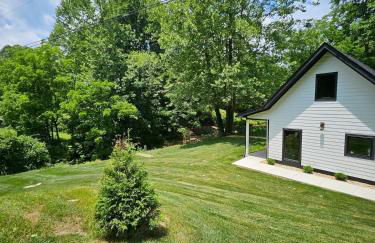
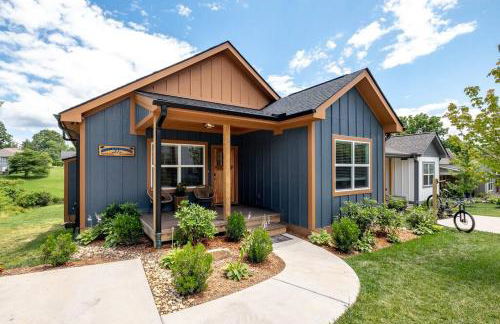
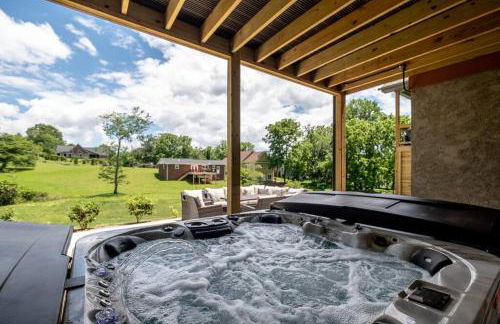
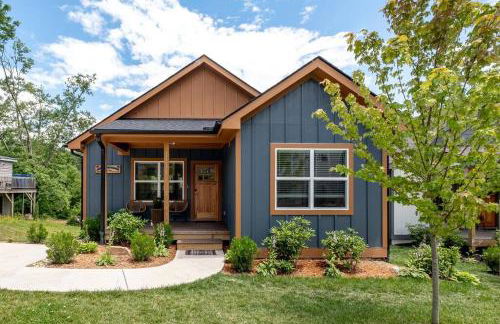
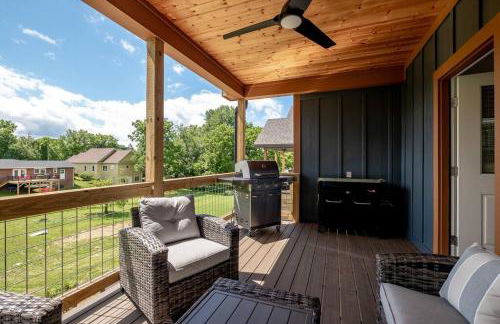
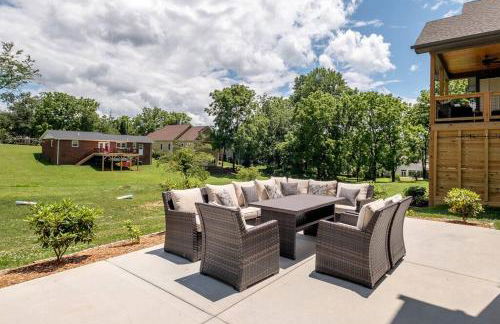
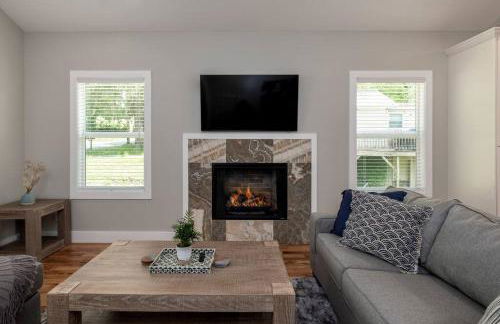
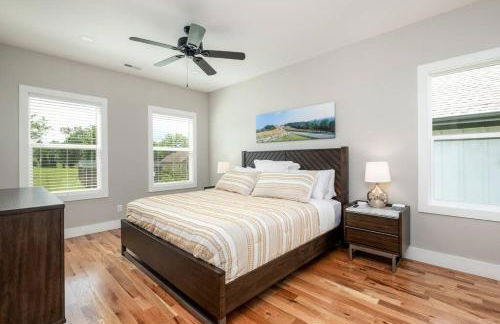
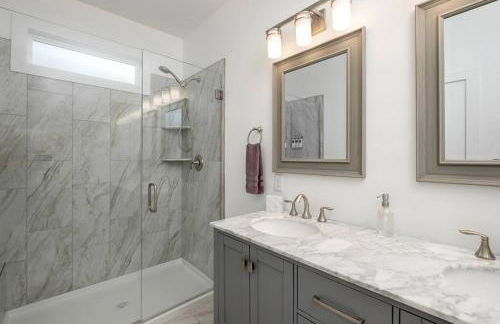
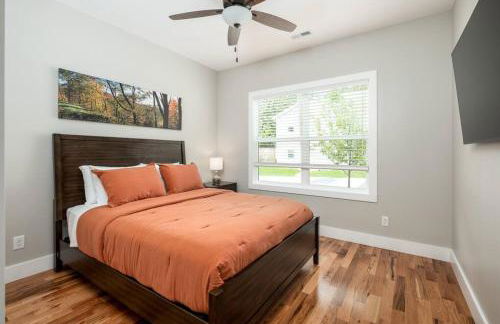
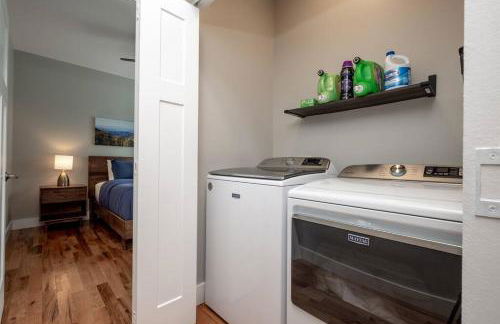
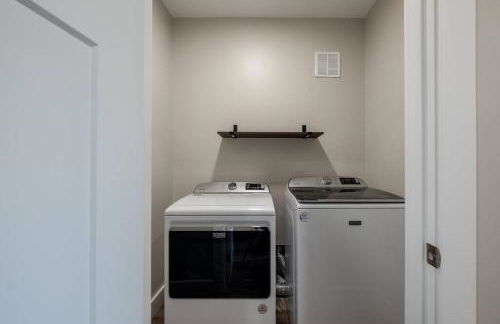
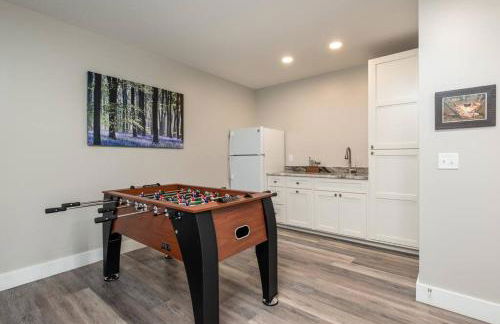
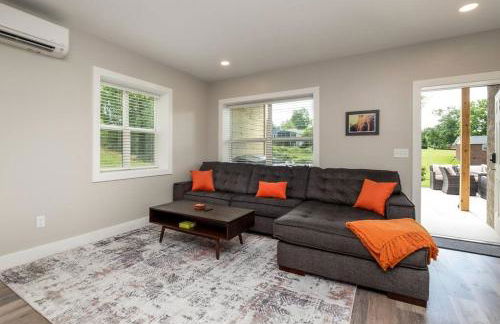
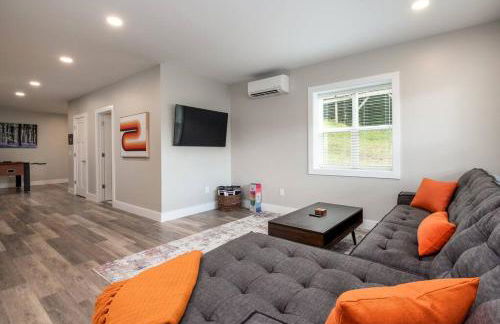
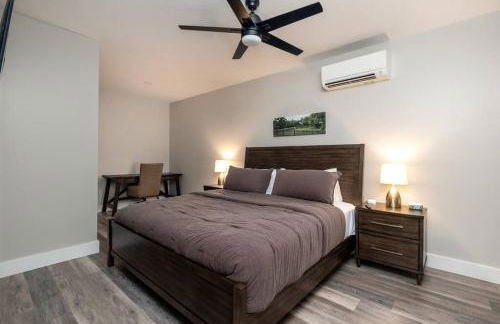
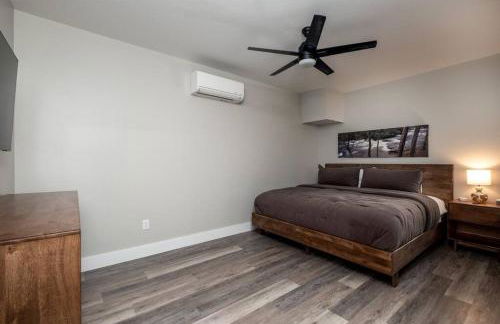
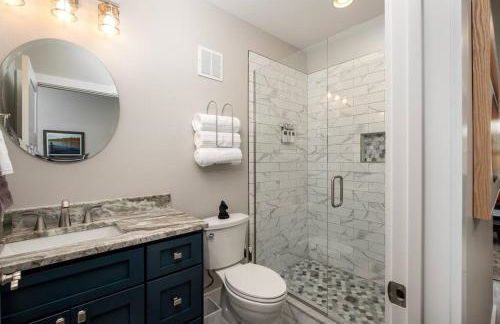
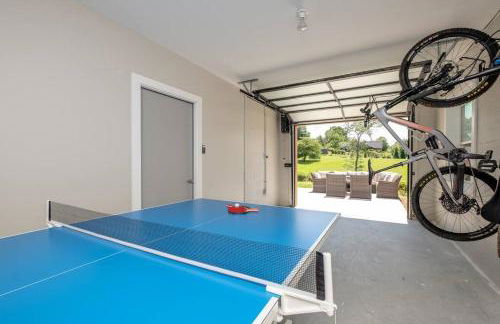
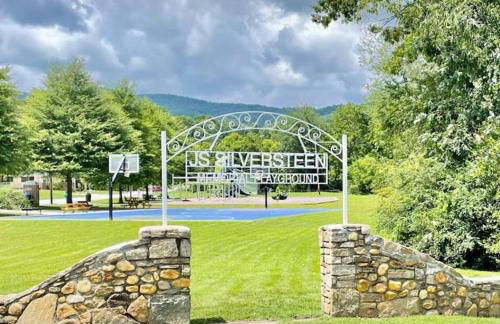
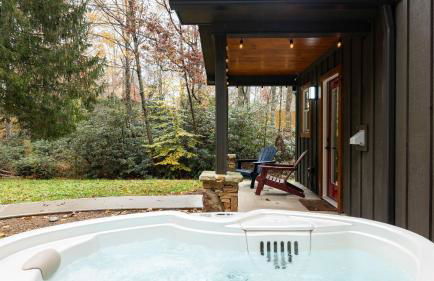
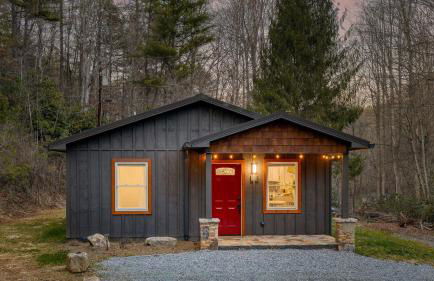
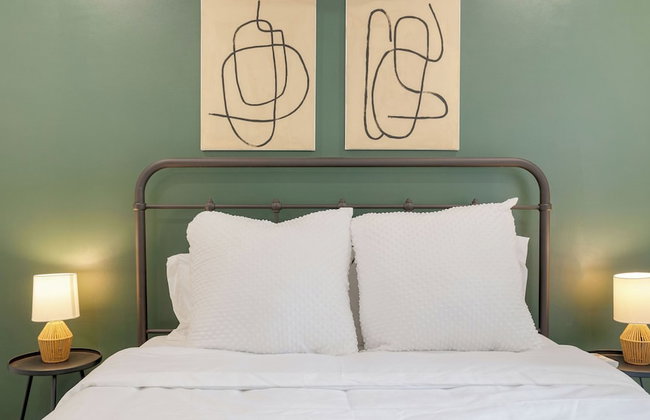
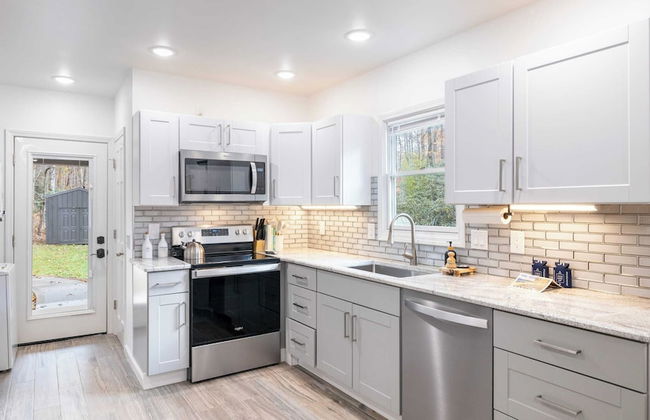
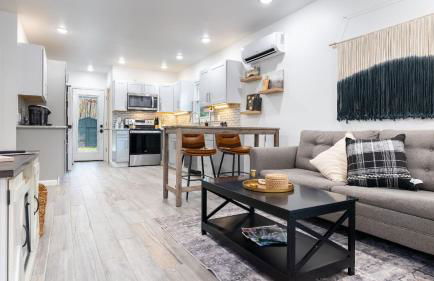
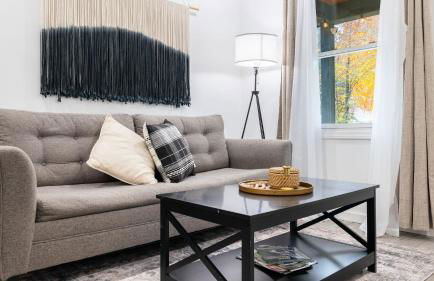
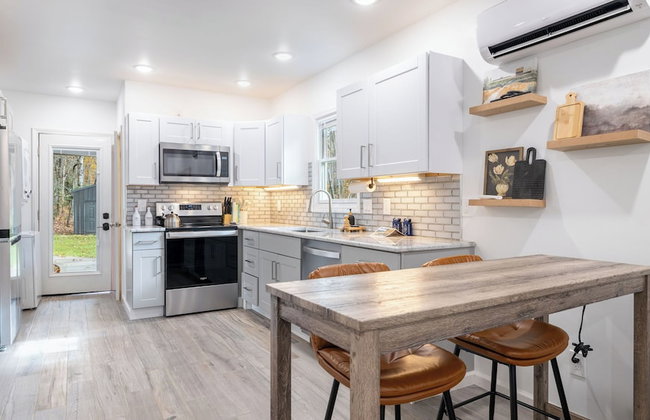
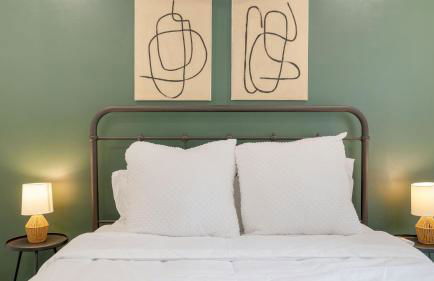
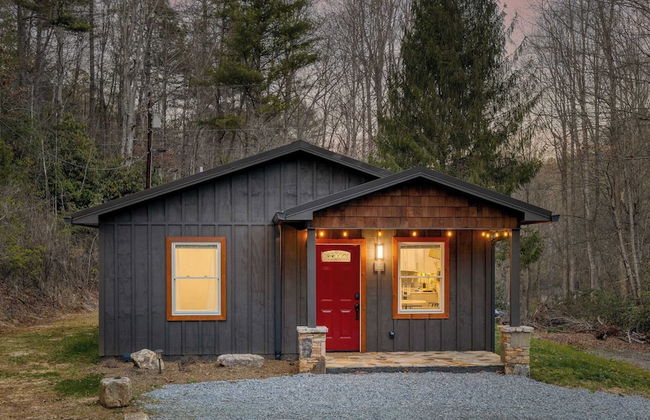
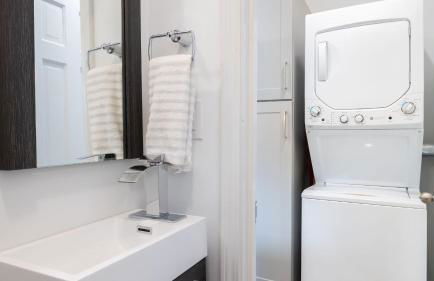
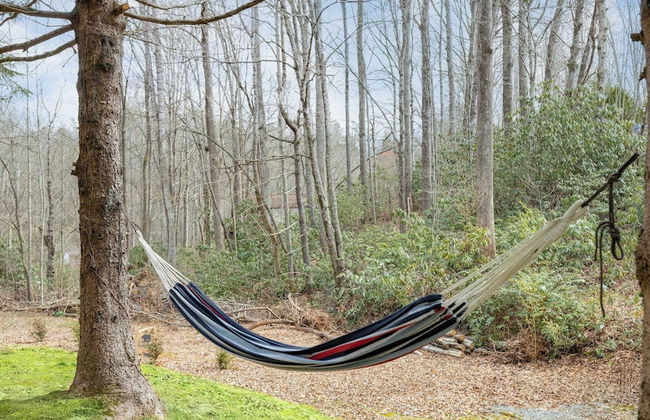
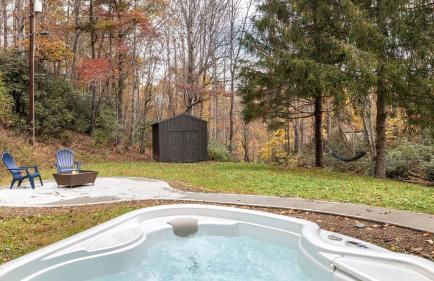
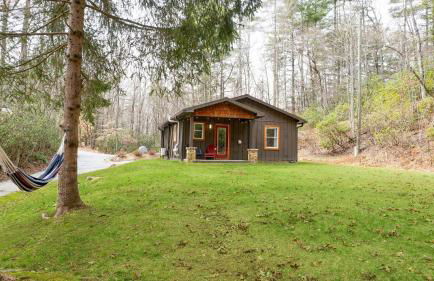
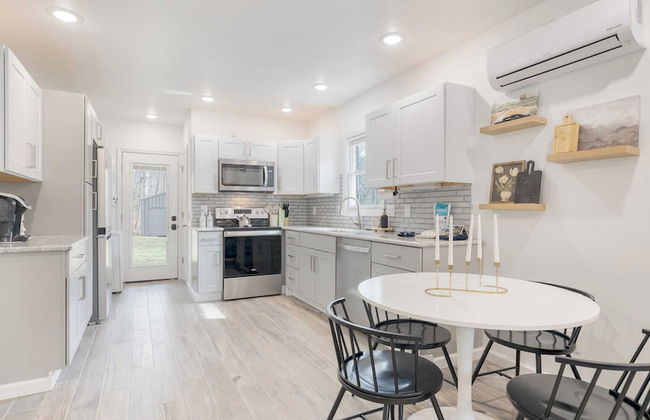
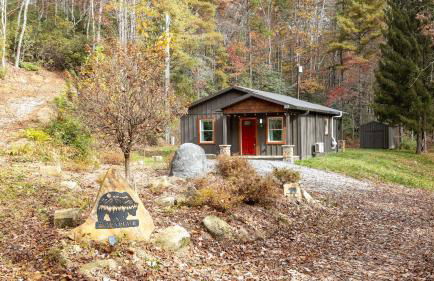
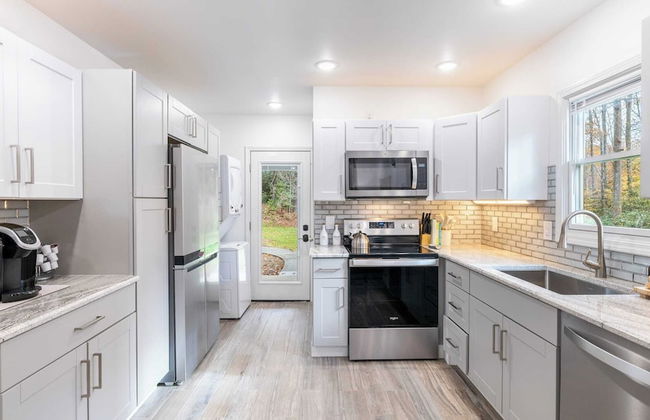
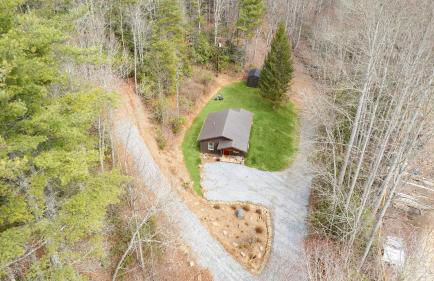
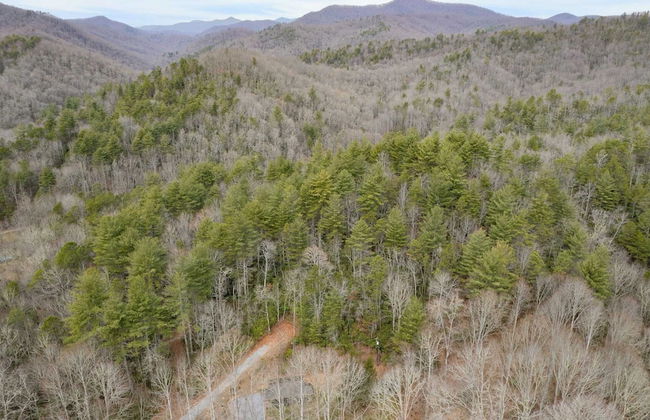
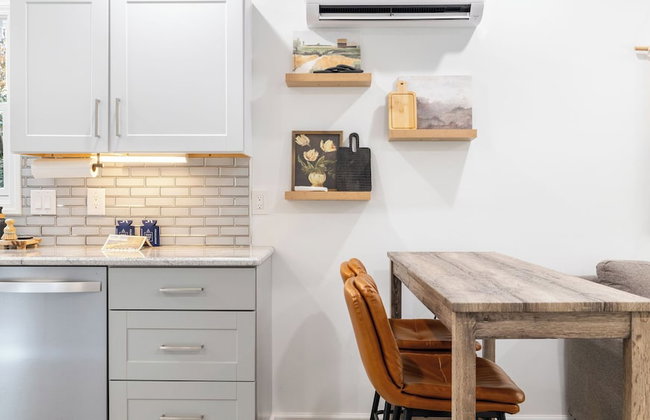
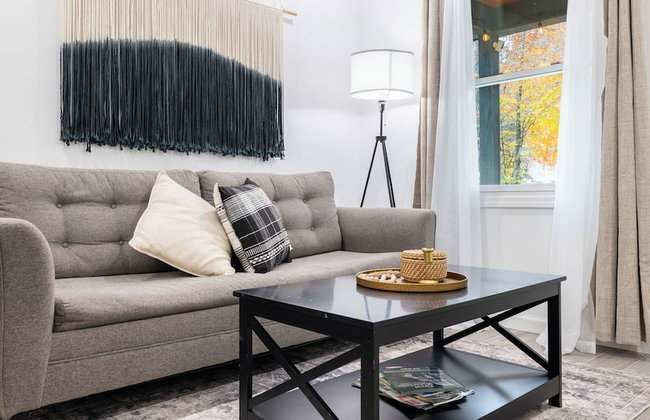
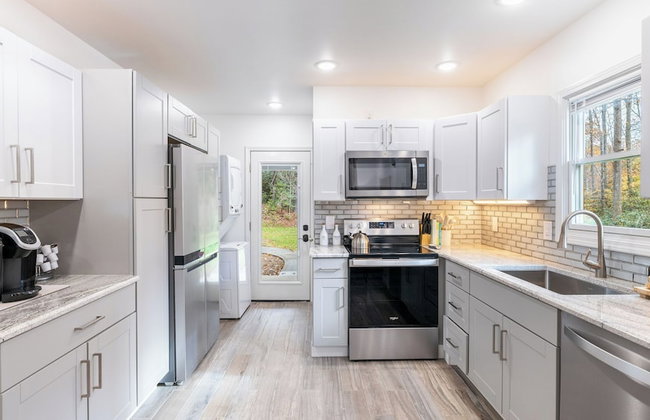
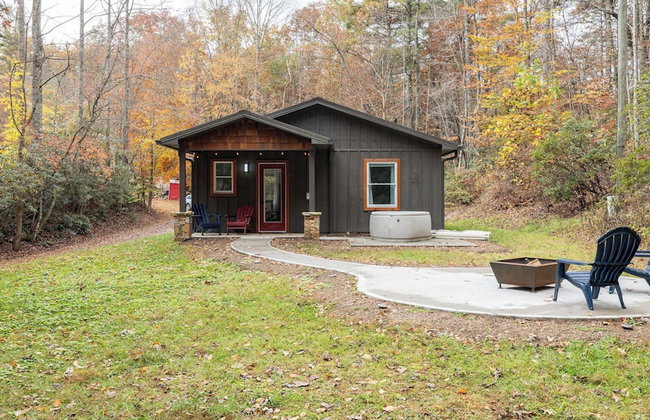
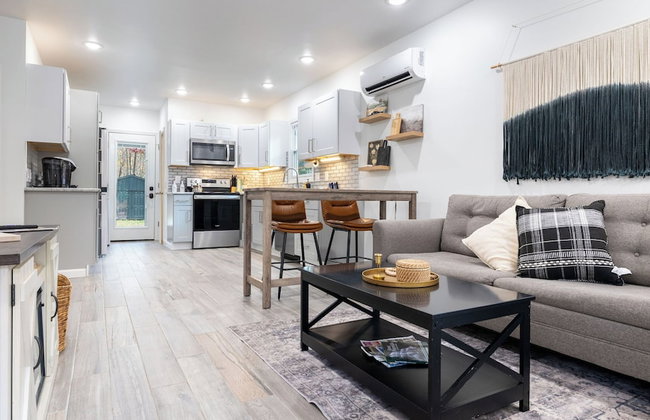
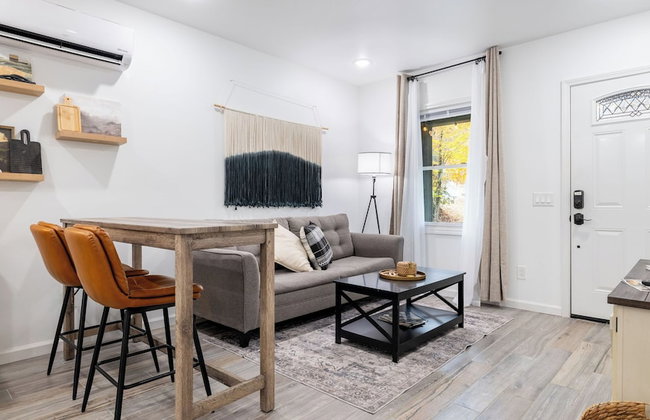
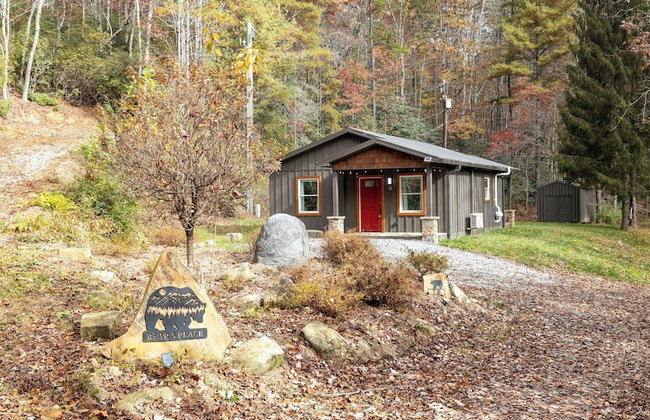
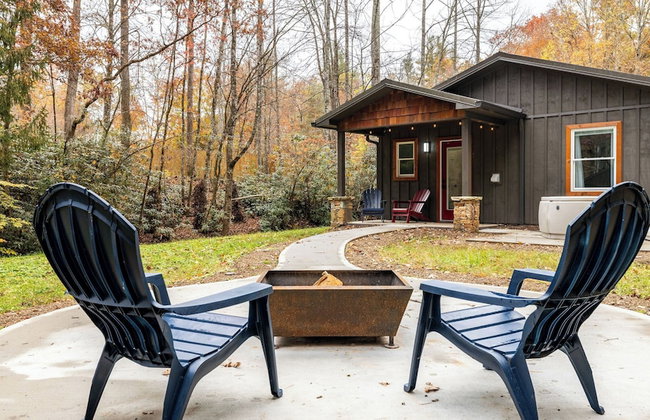
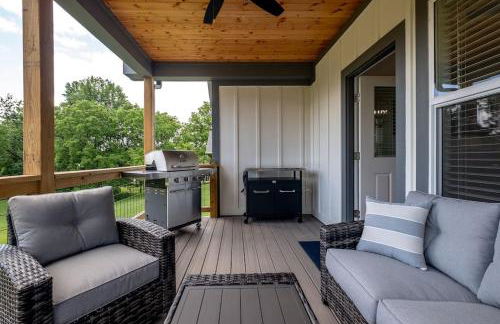
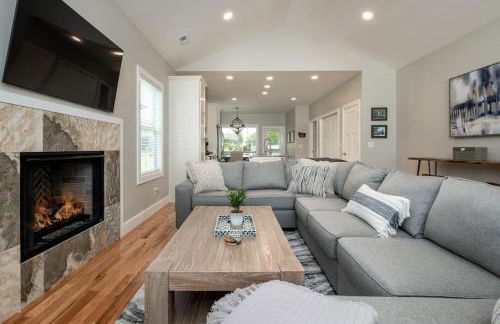
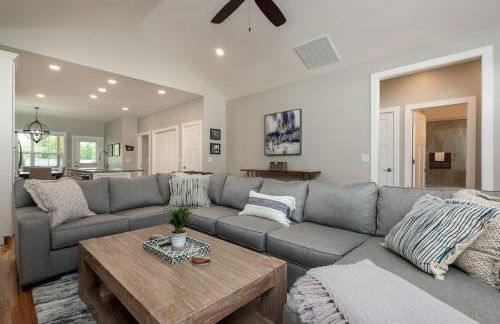
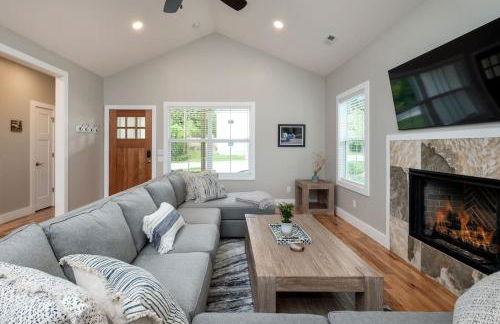
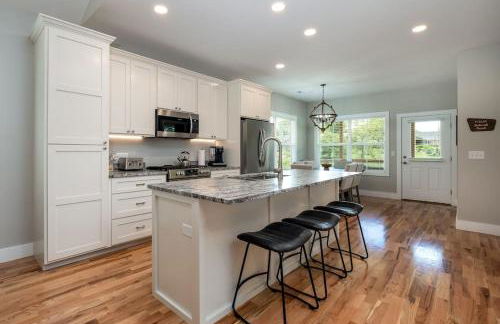
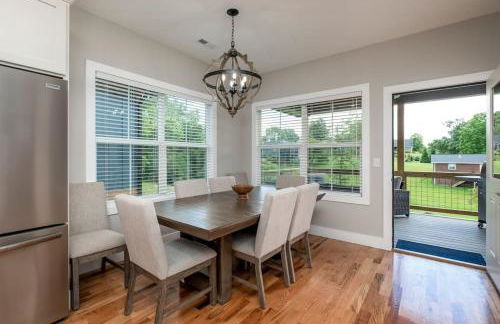
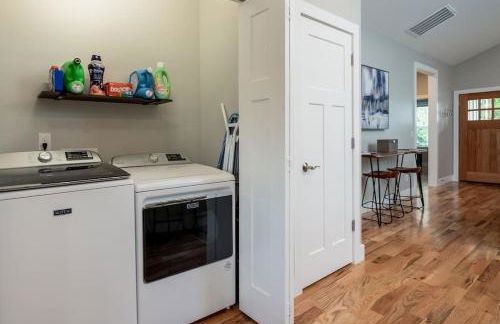
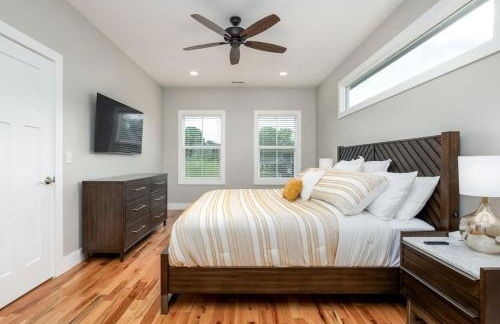
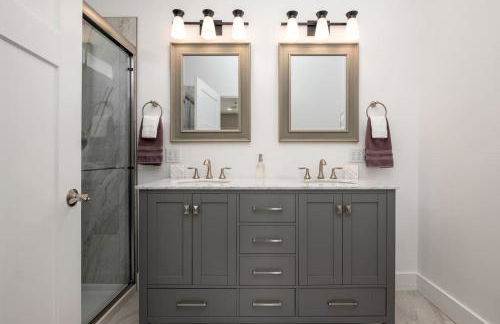
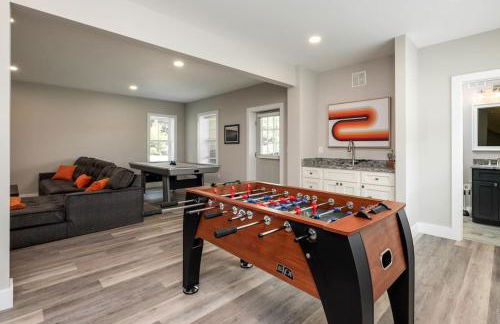
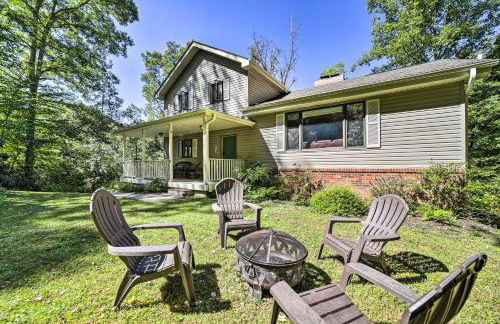
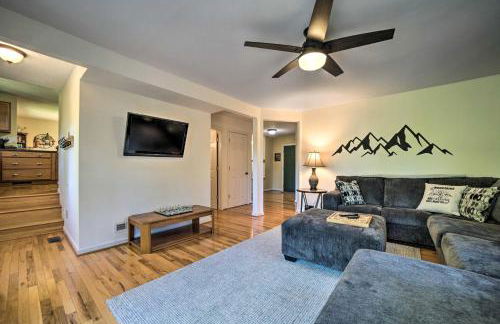
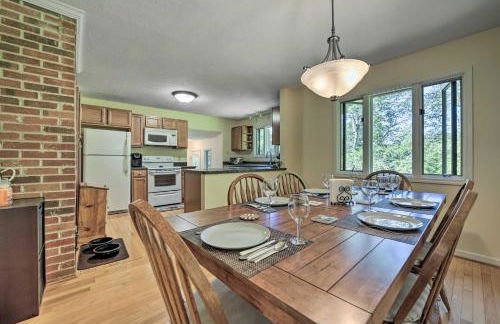
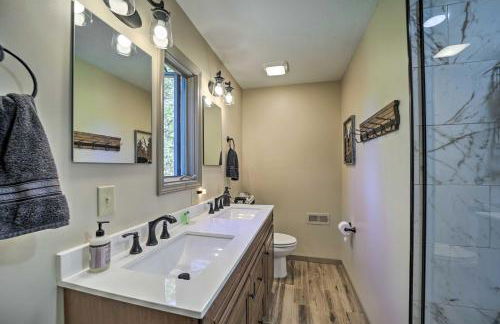
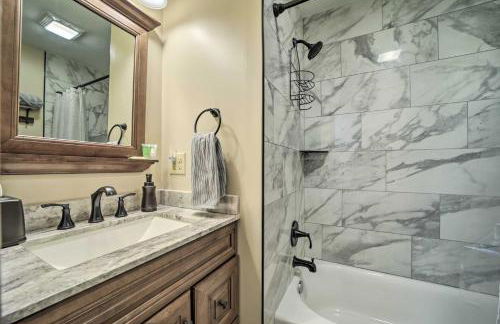
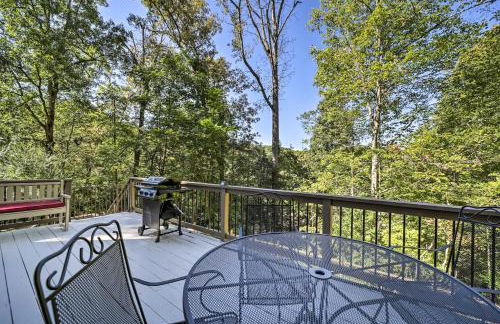
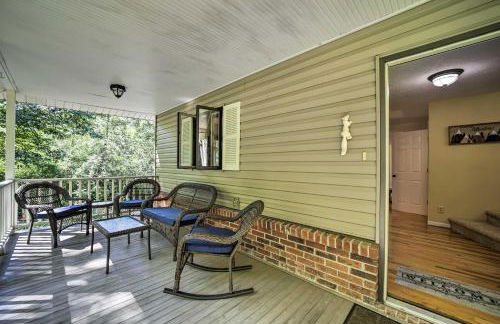
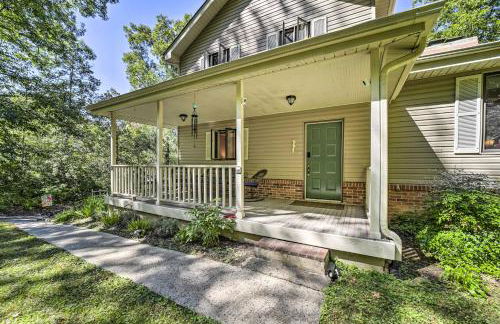
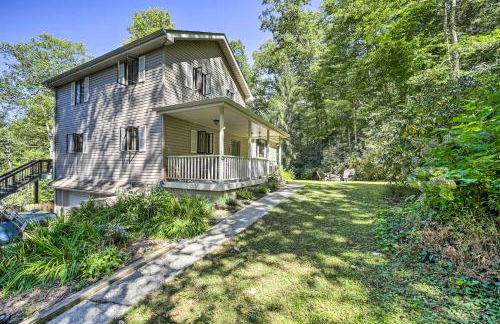
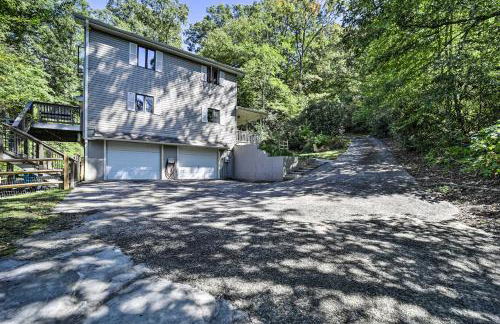
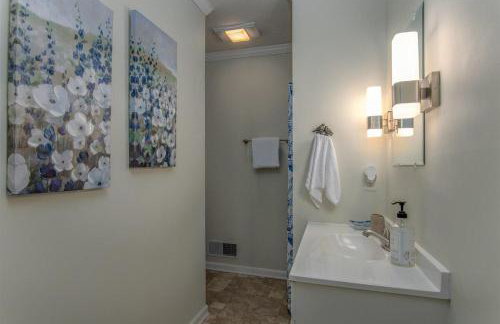
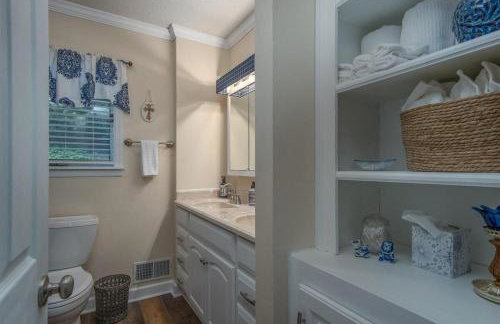
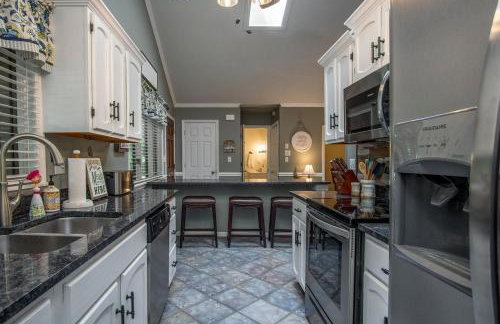
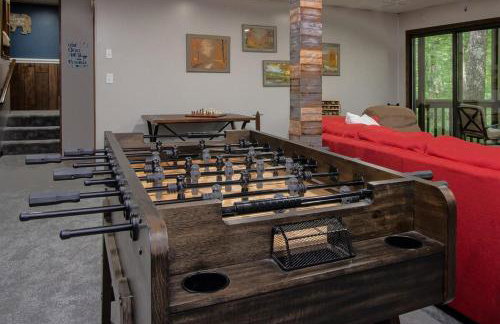
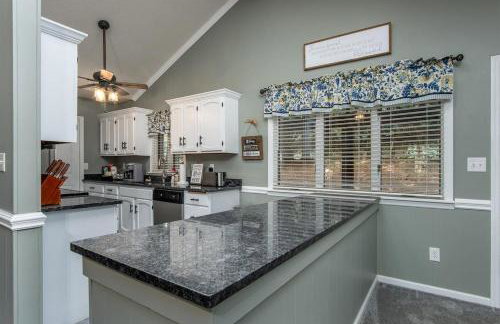
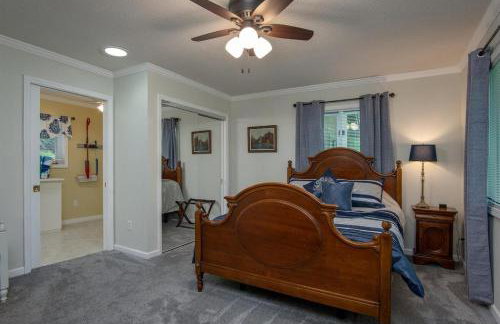
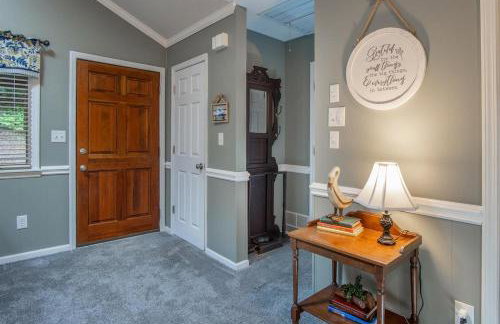
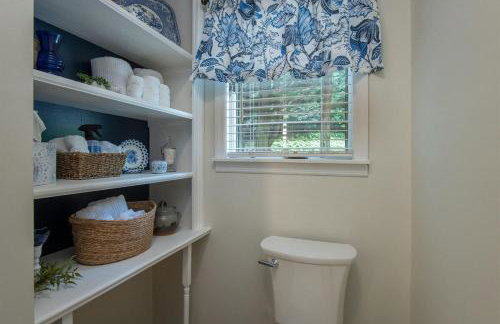
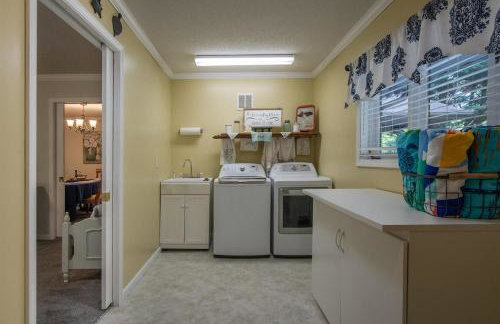
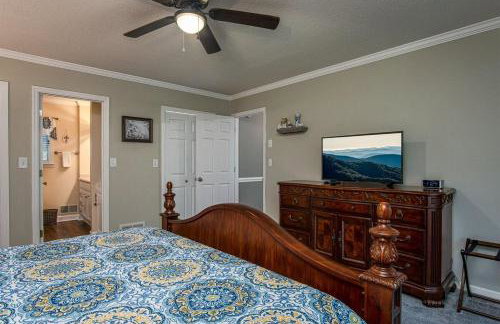
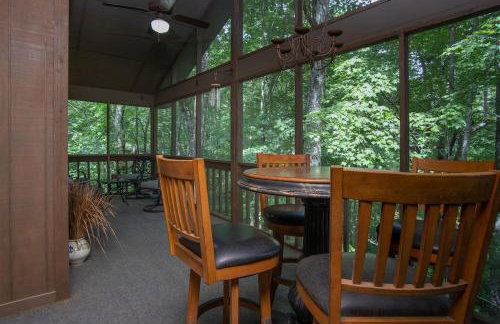
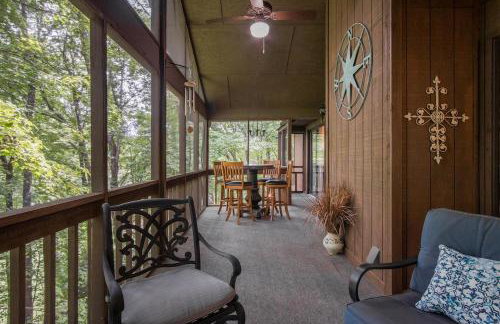
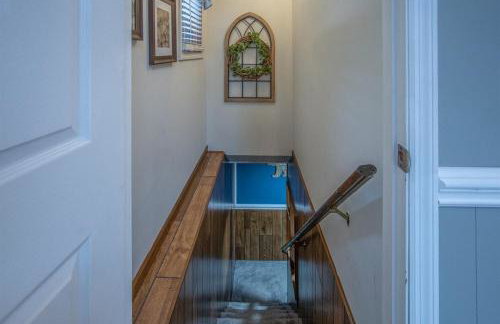
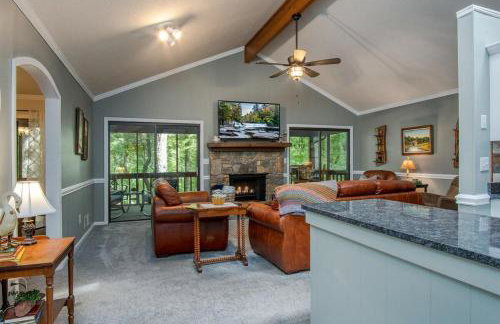
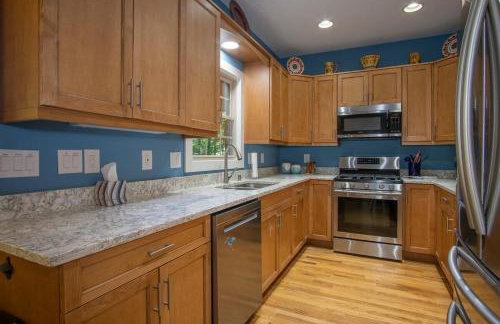
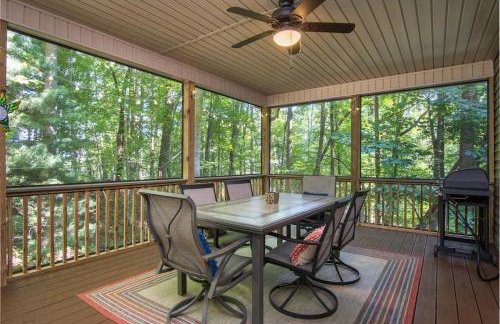
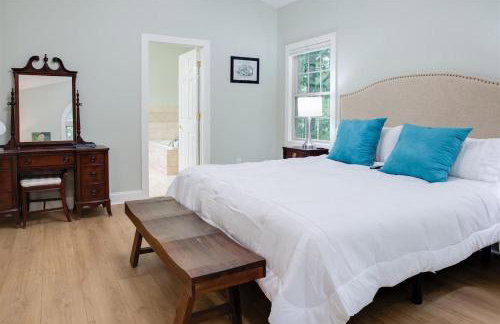
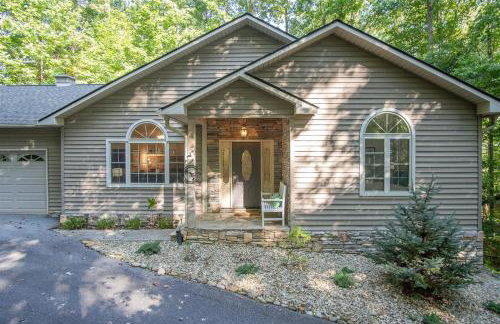
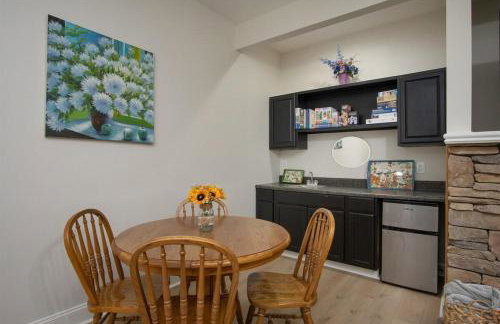
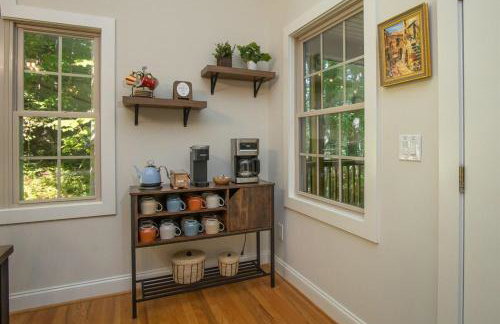
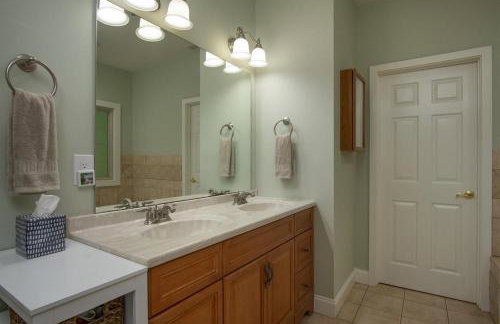
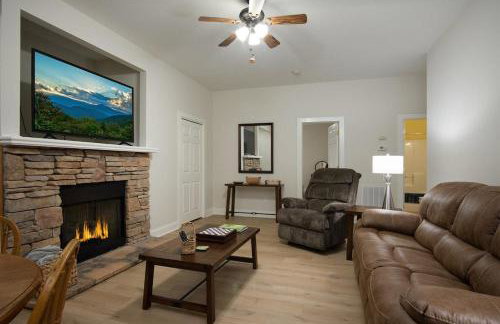
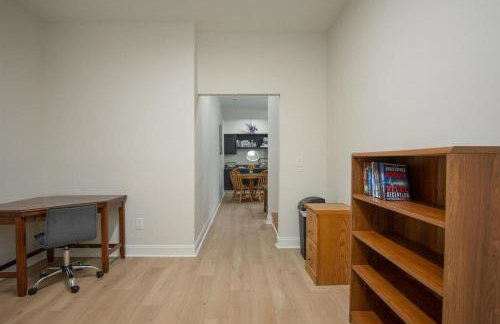
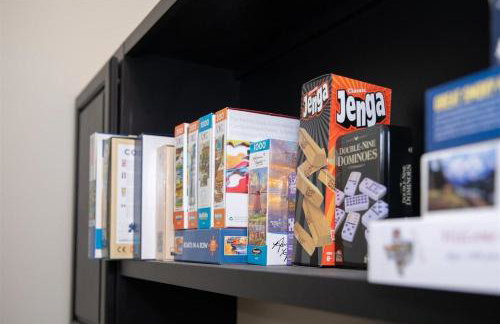
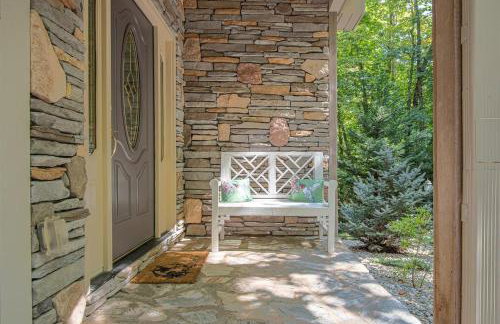
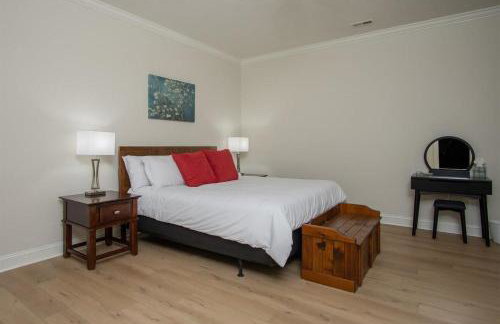
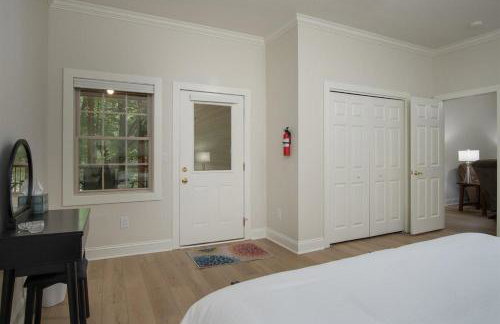
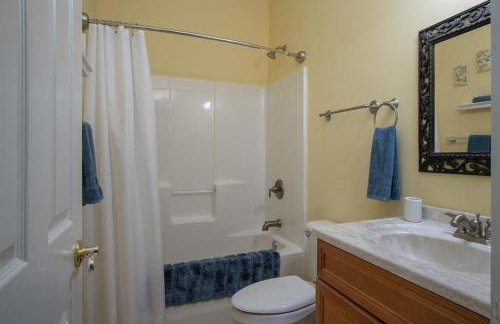
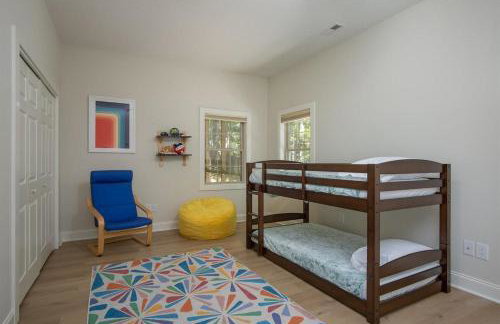
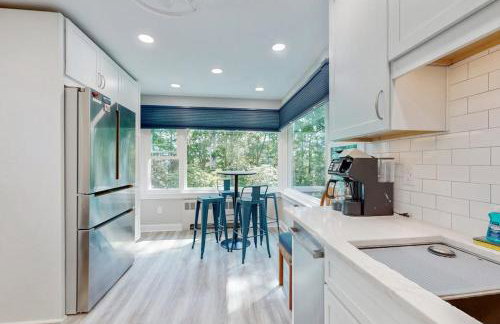
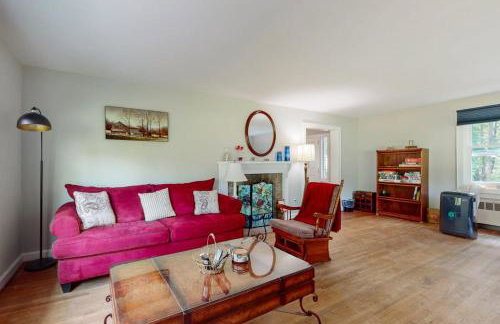
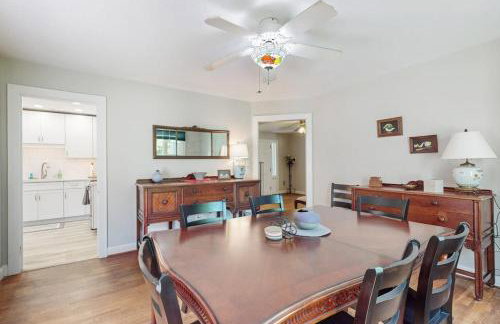
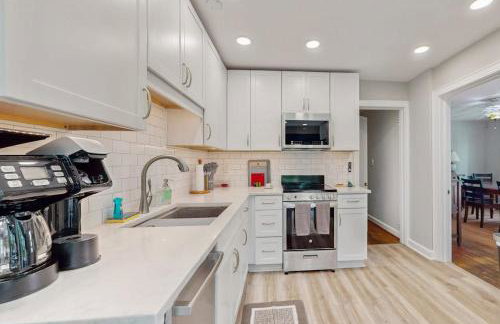
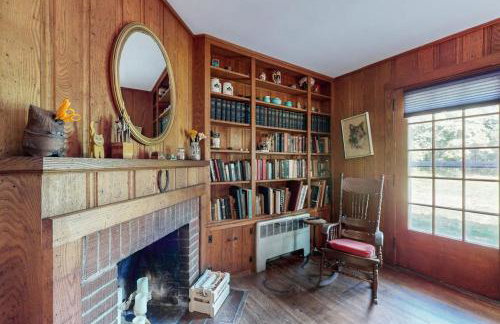
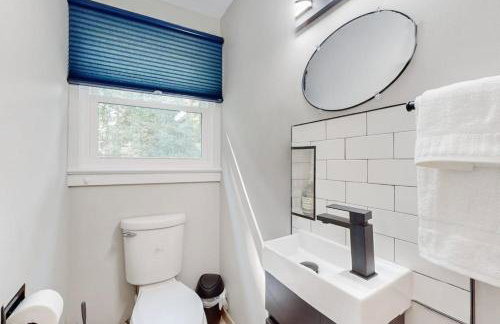
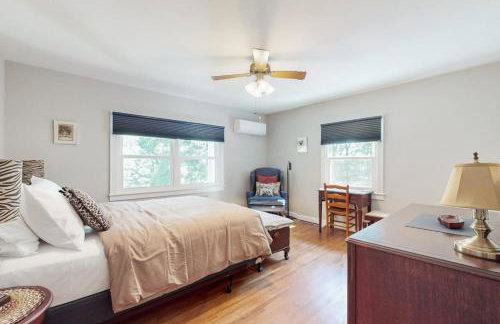
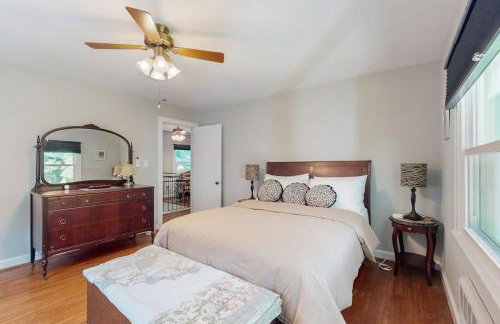
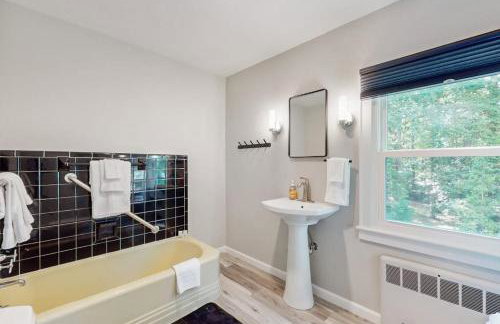
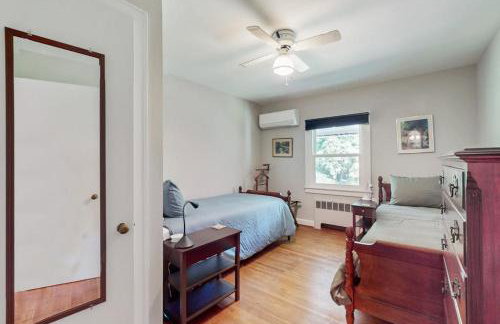
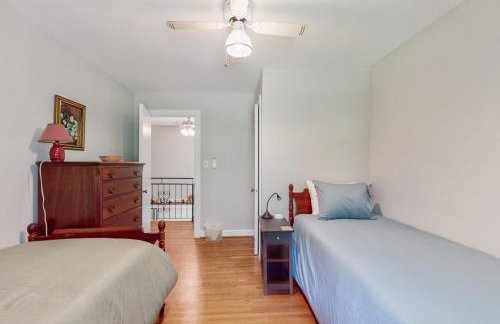
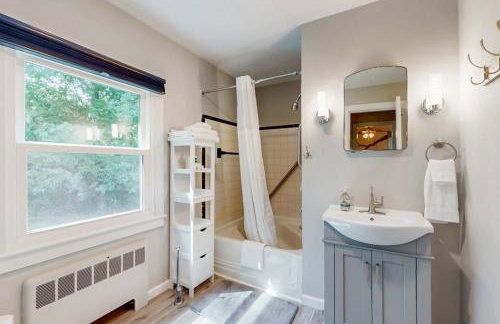
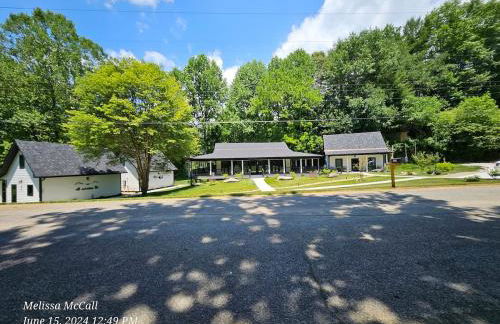
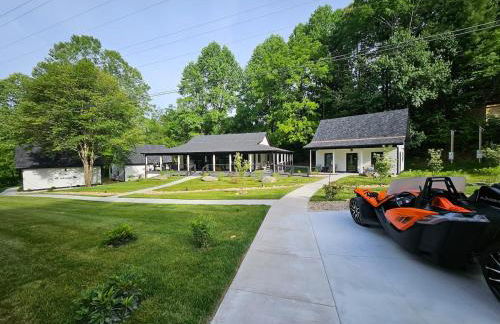
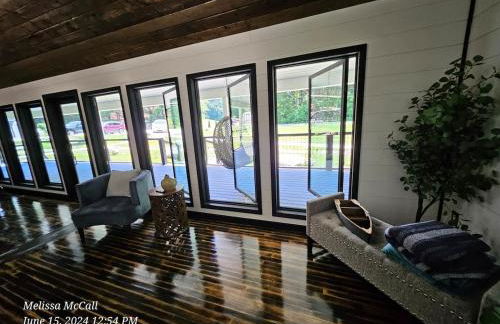
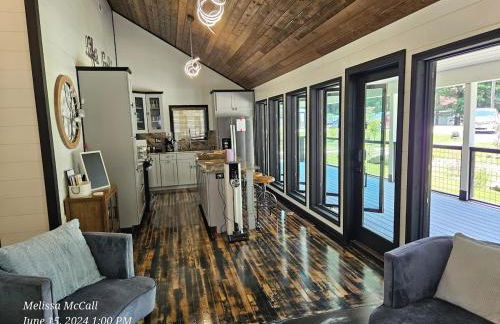
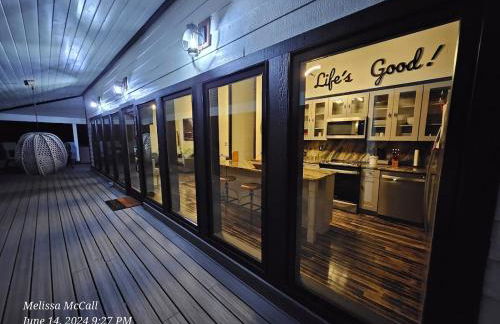
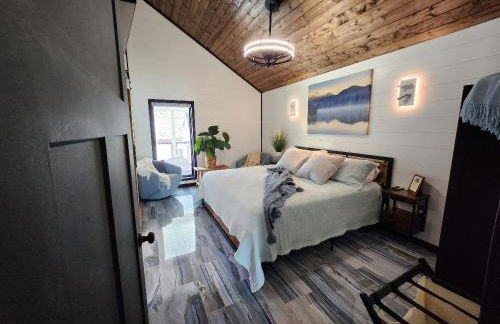
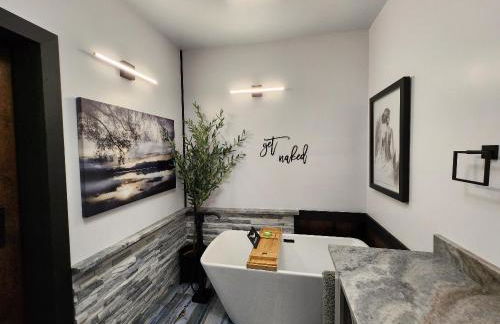
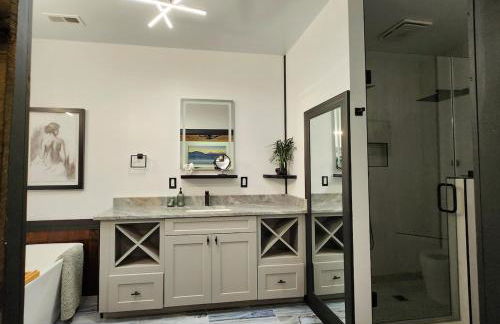
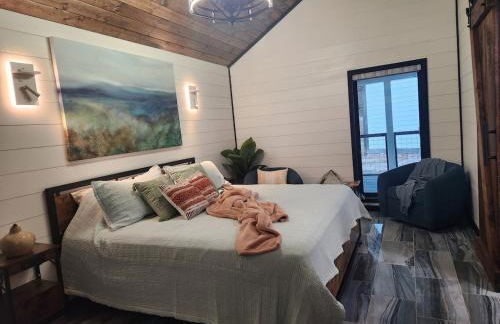
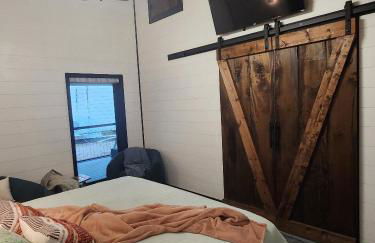
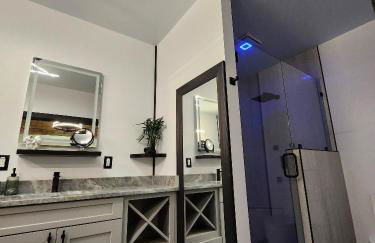
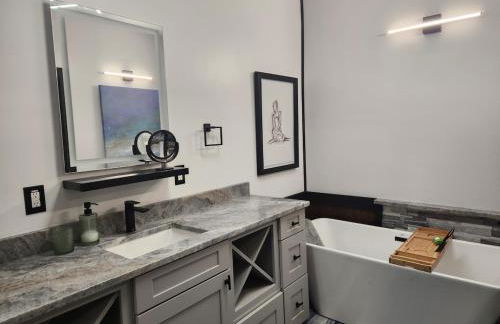
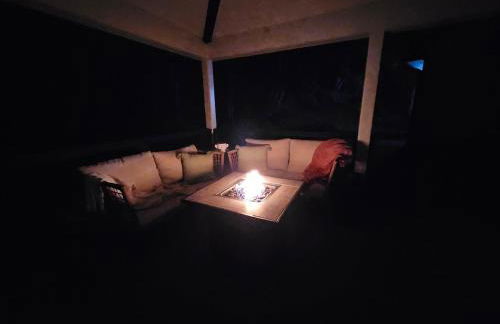
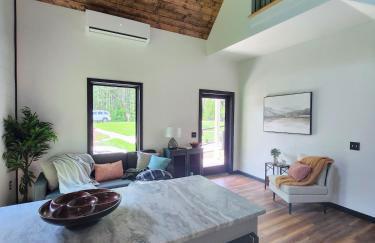
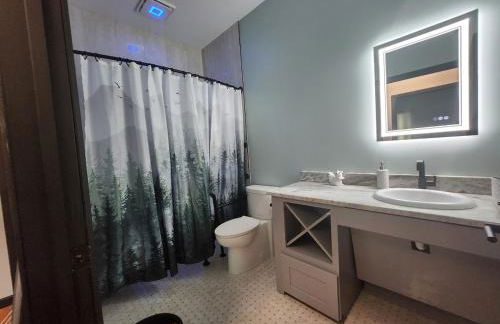
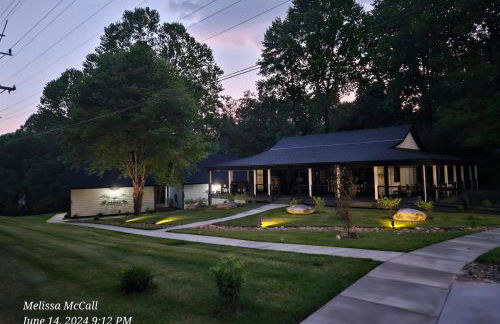
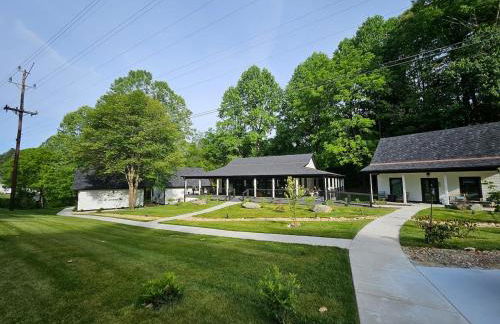
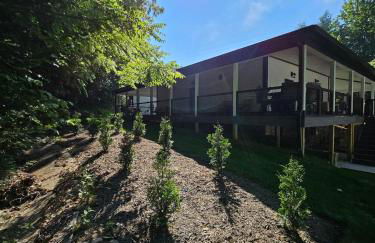
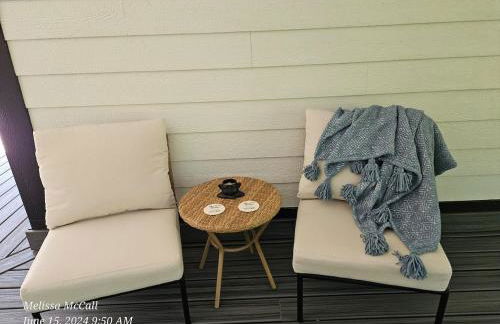
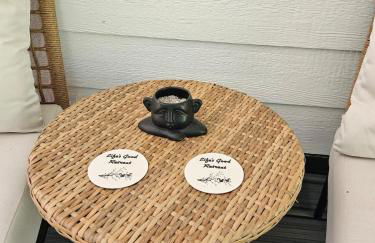
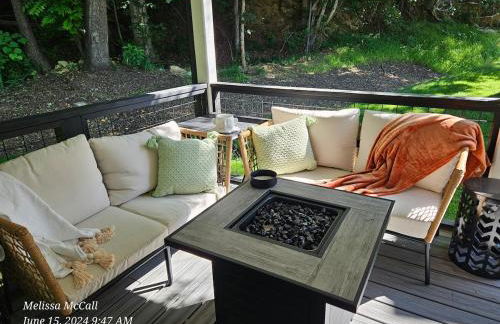
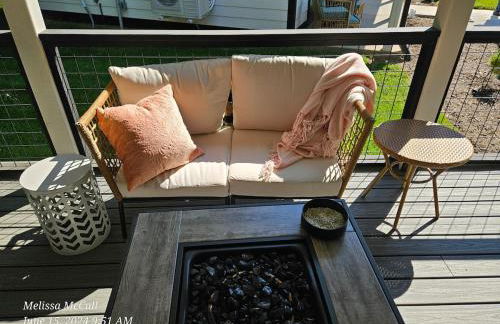
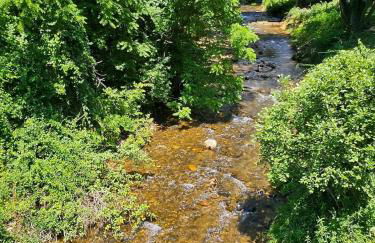
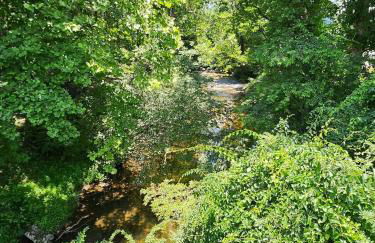
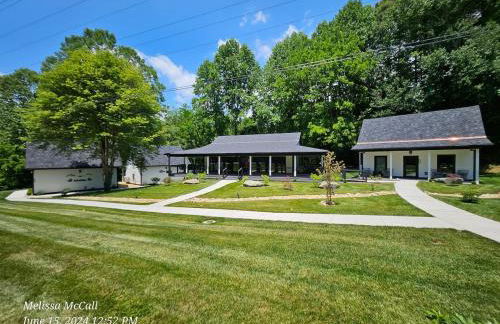
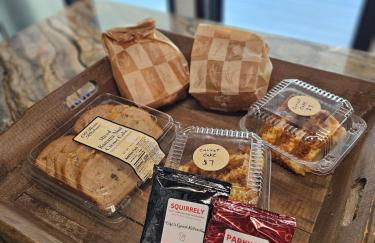
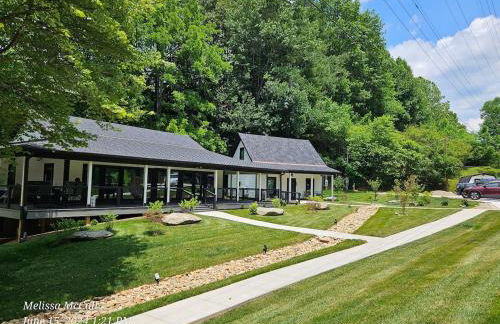
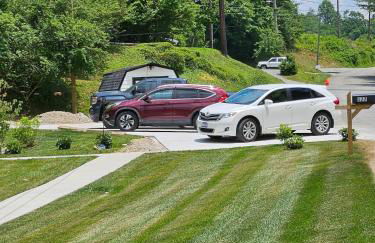
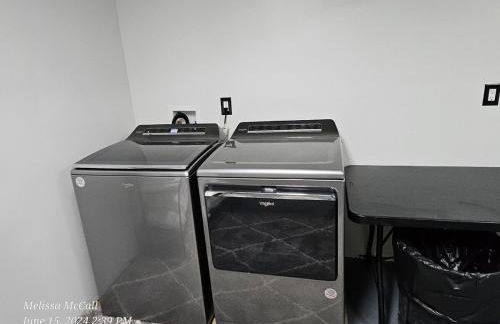
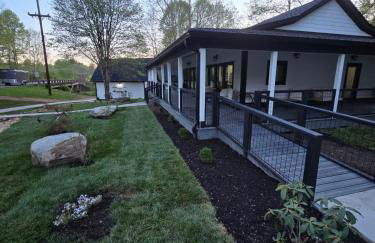
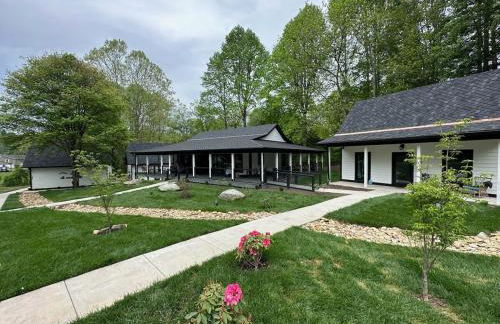
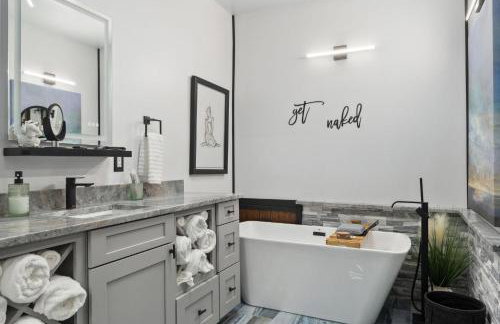
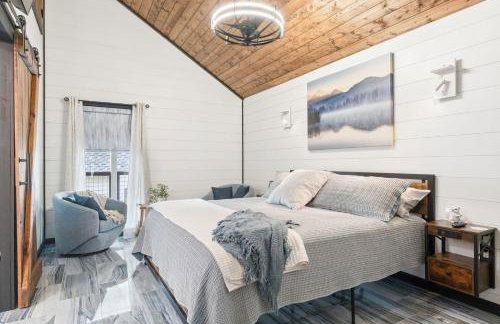
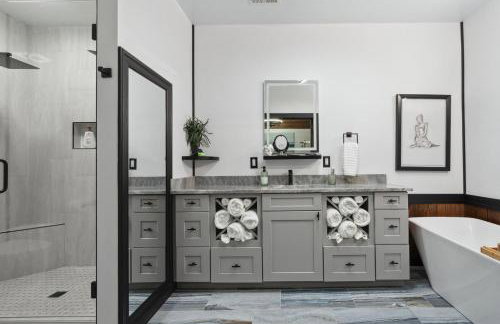
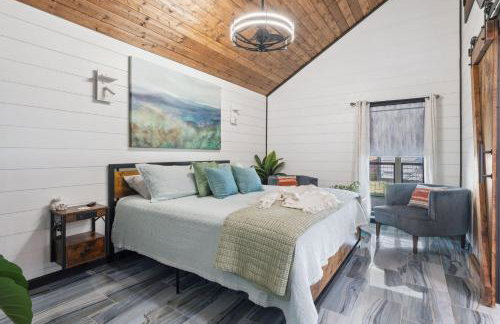
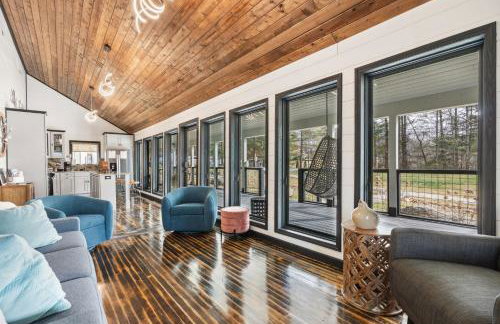
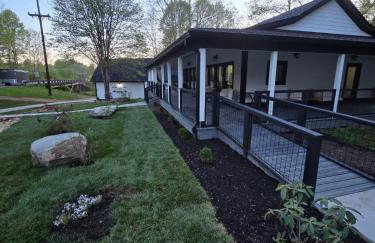
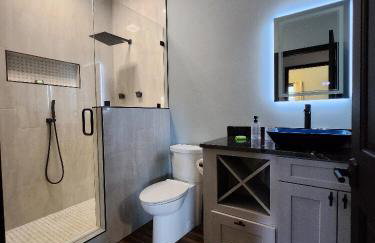
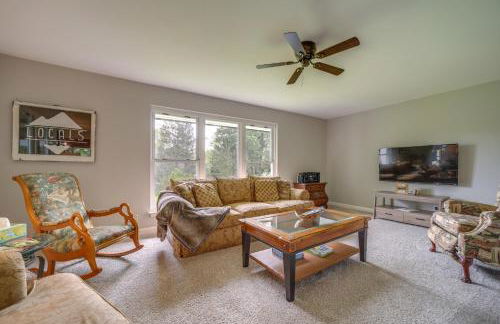
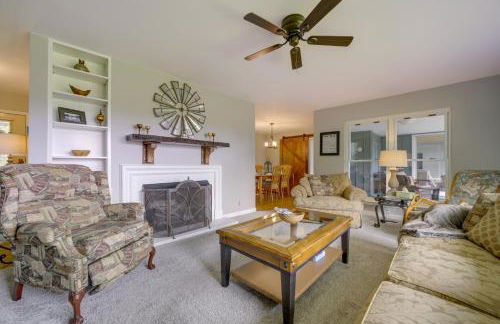
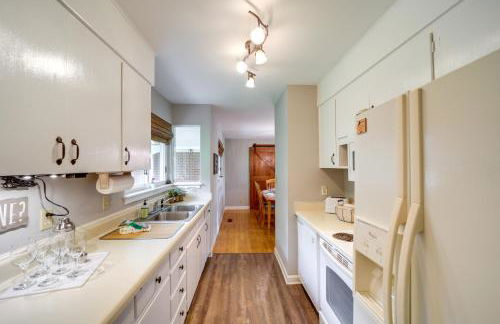
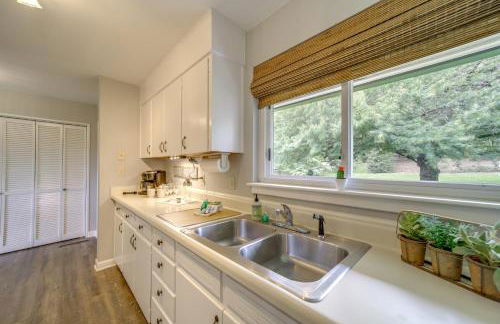
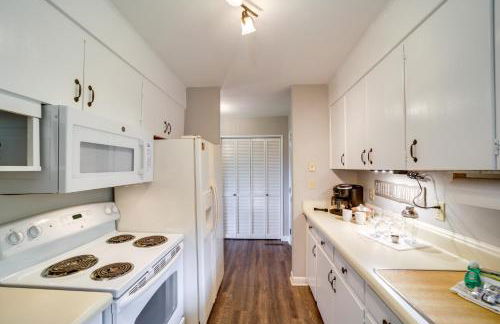
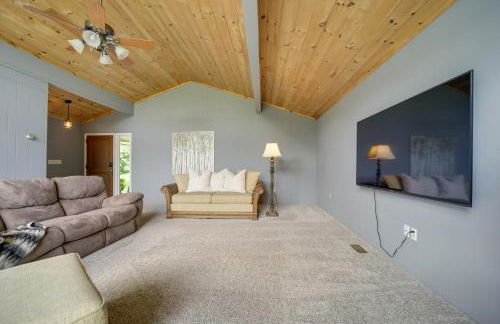
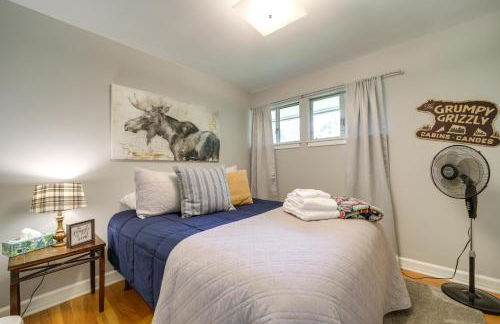
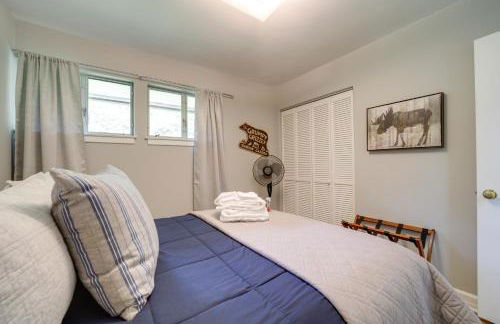
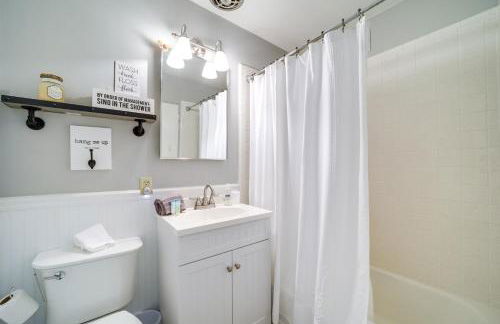
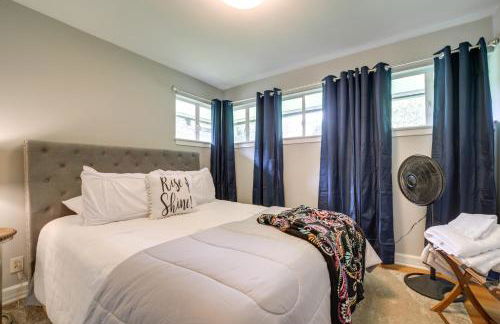
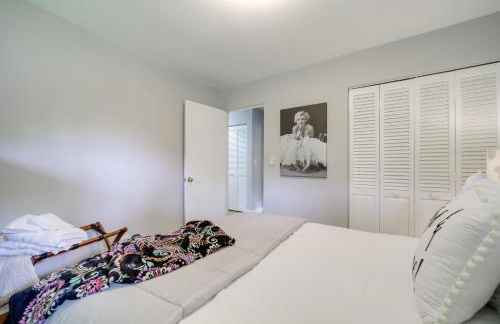
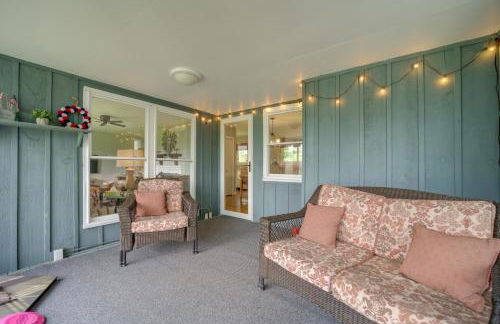
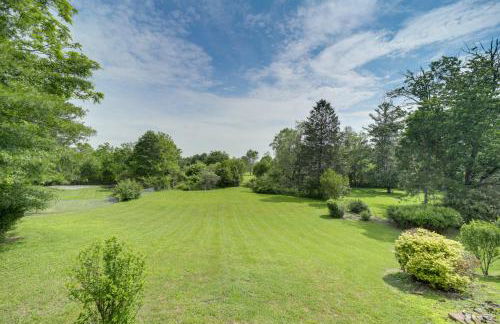
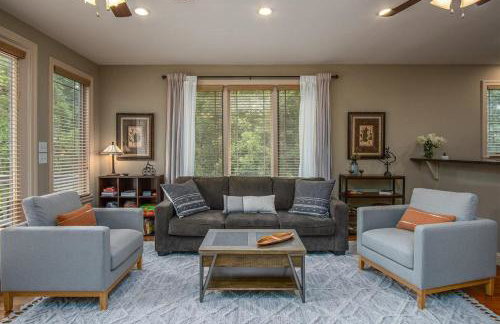
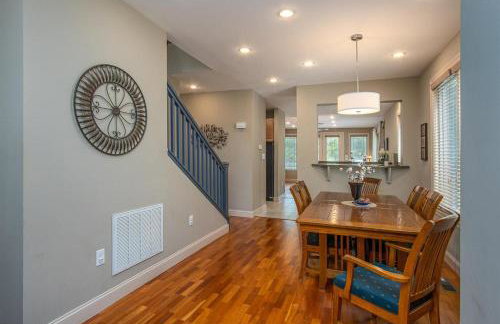
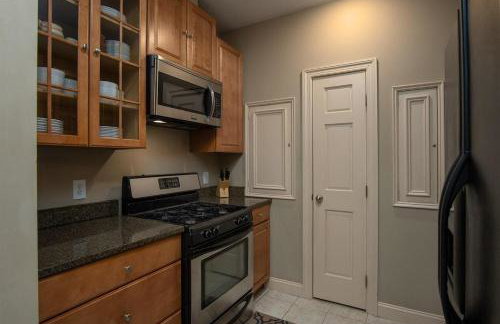
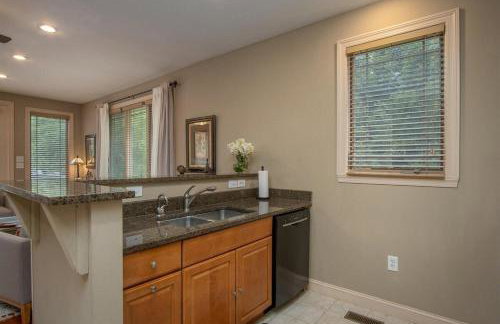
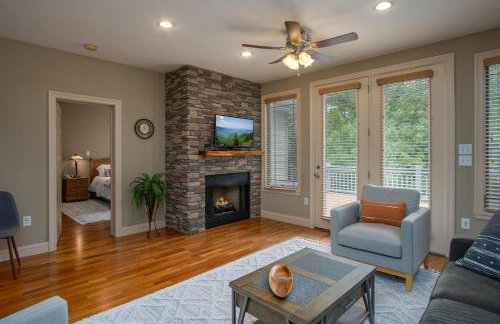
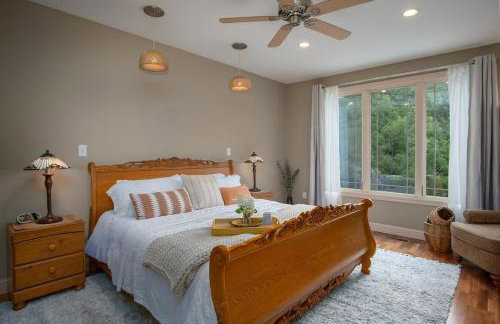
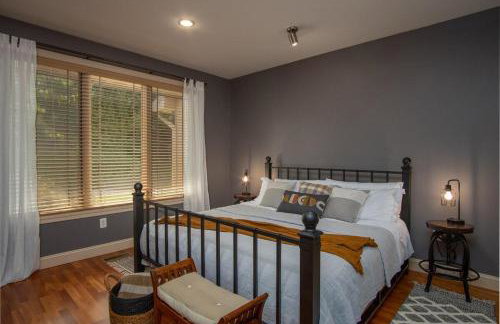
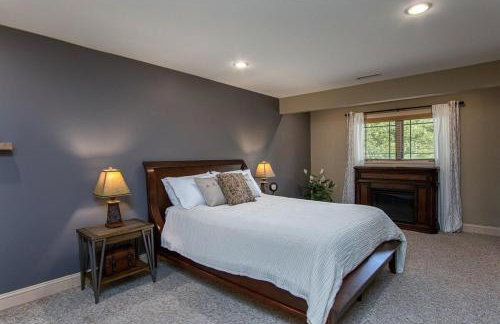
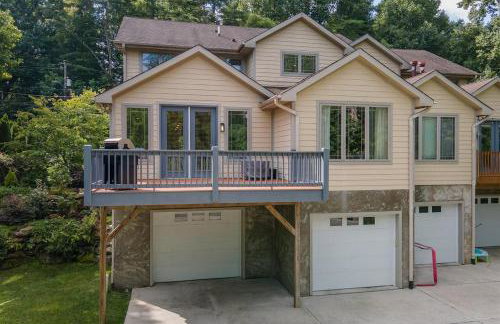
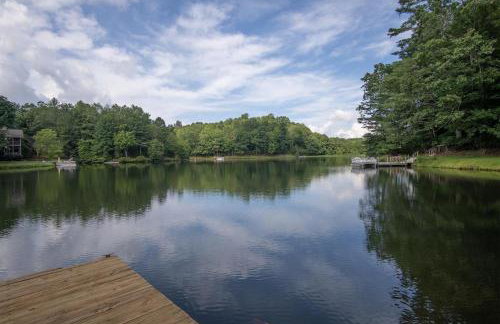
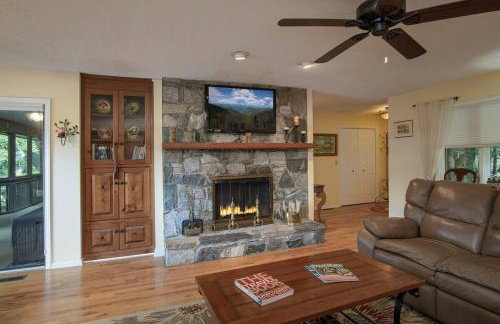
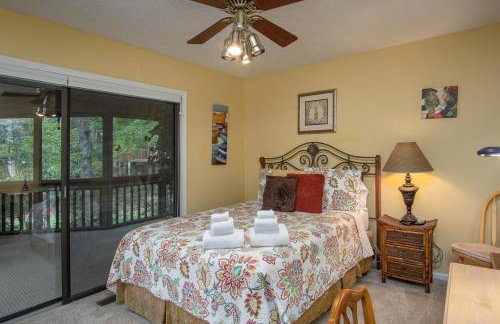
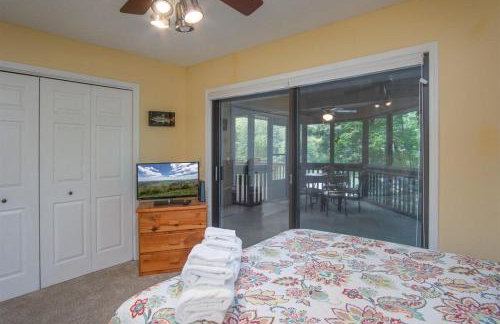
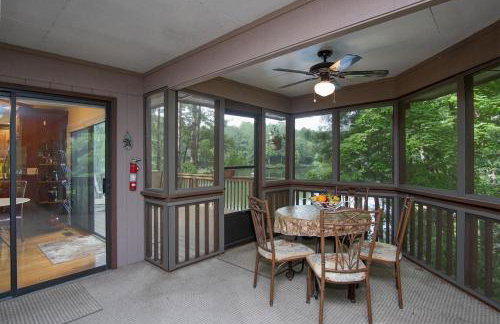
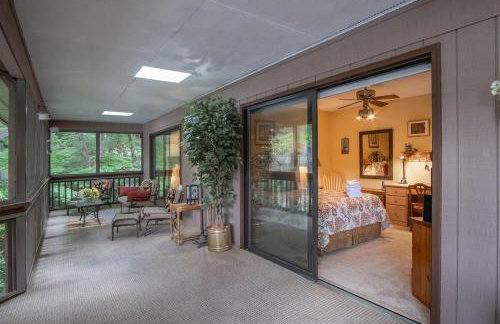
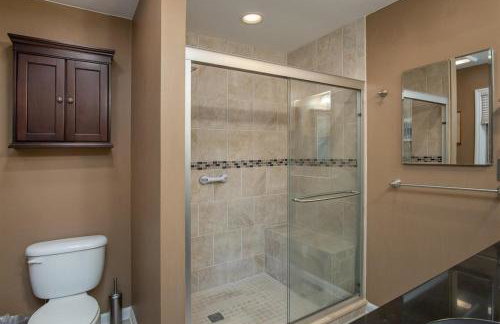
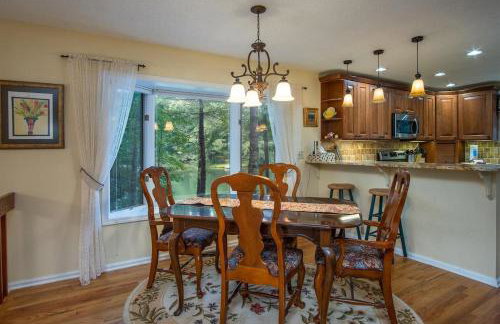
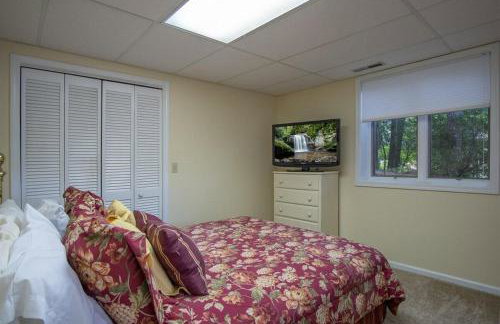
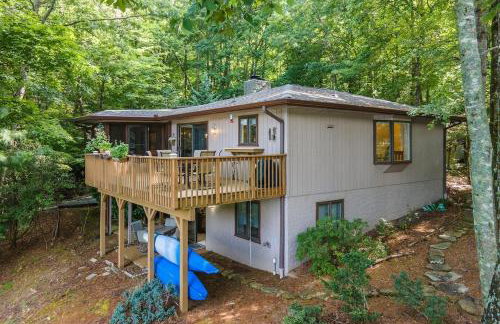
Healing Acres - Photo 1
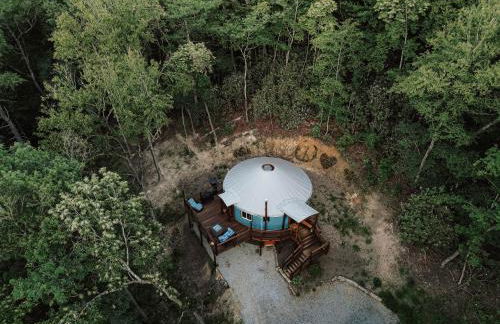
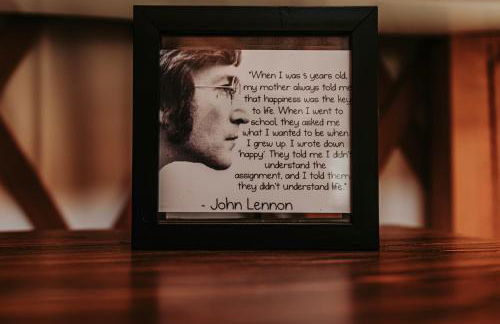
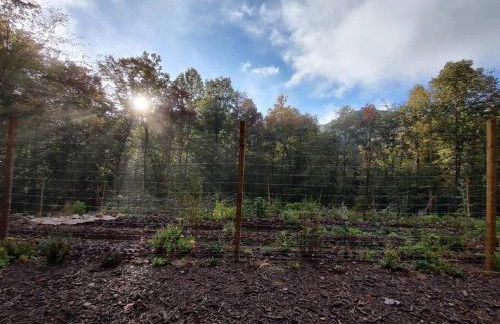
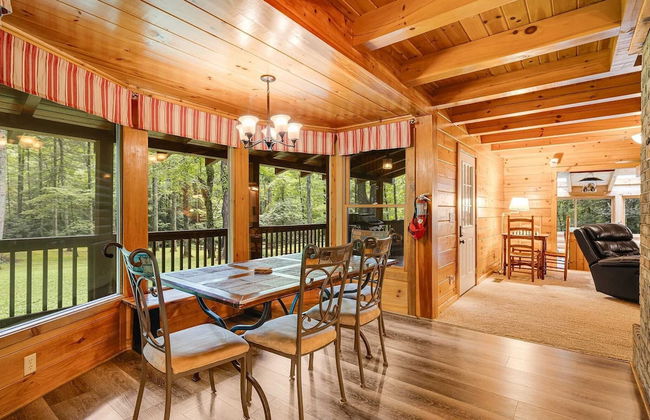
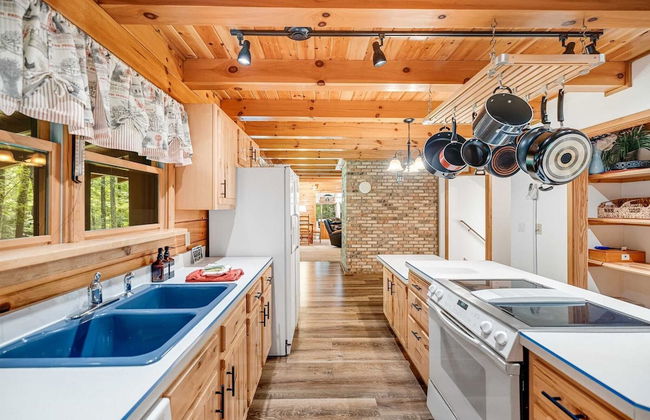
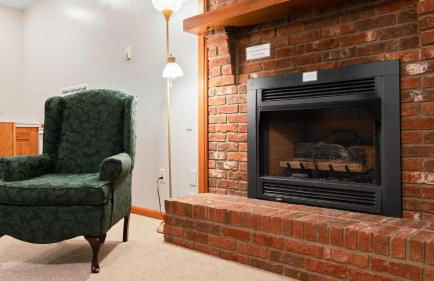
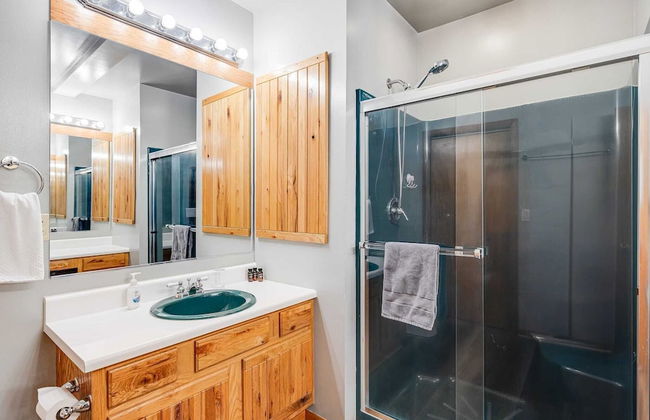
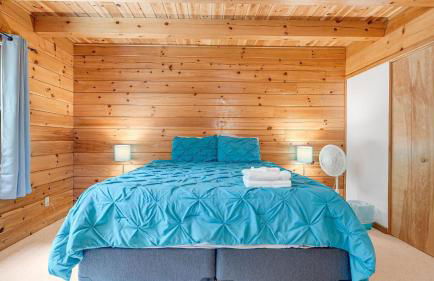
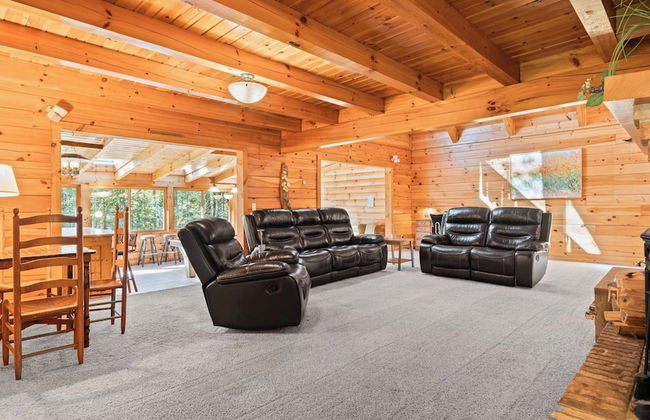
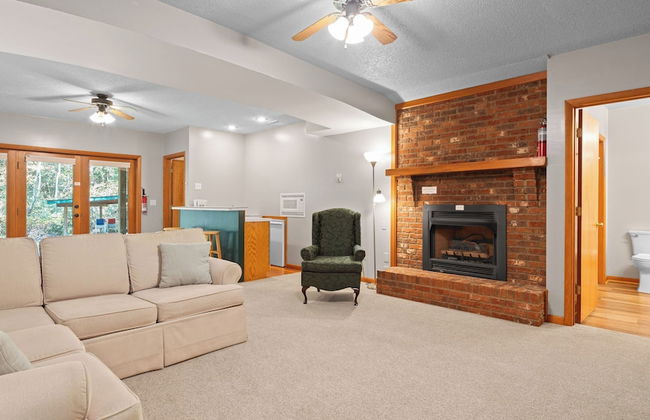
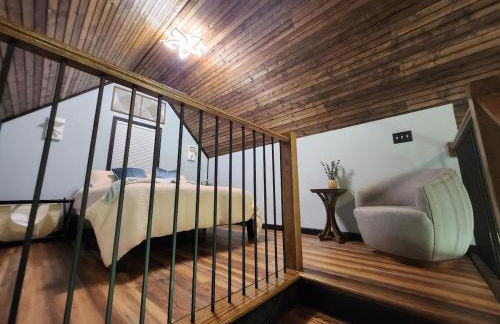
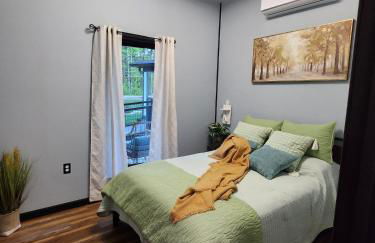
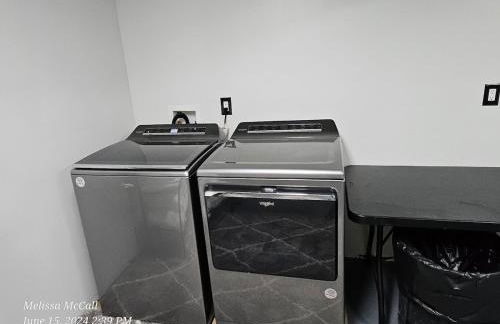
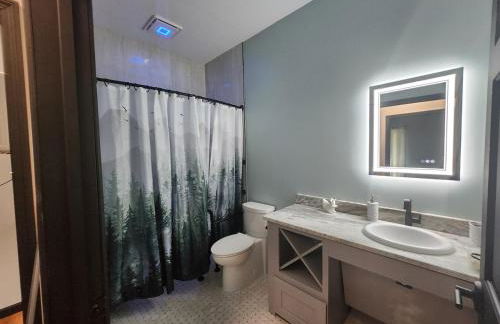
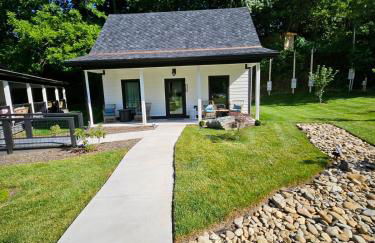
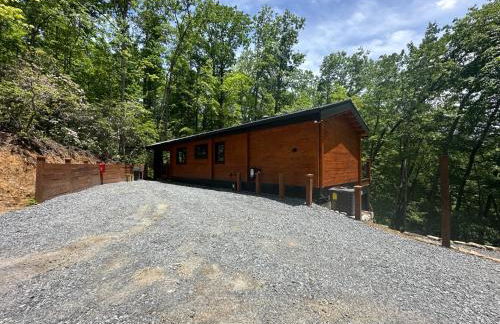
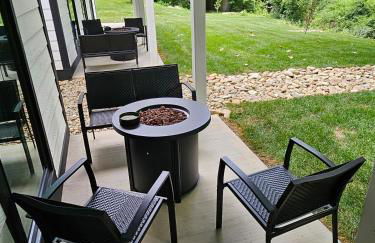
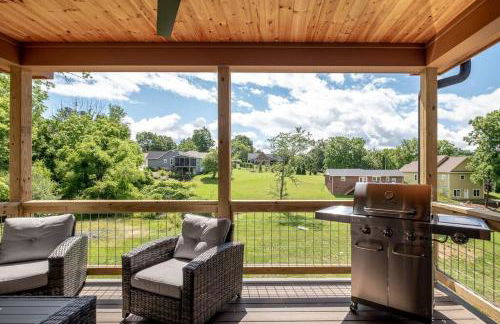
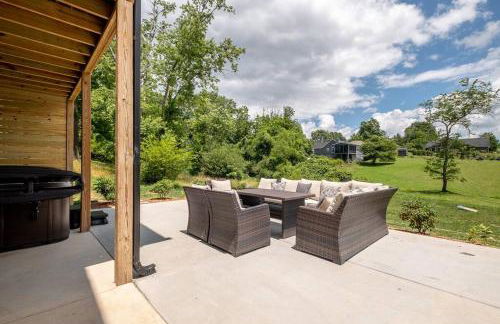
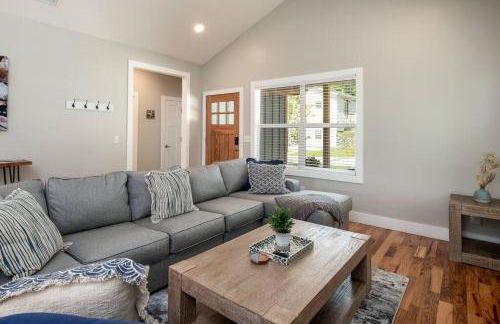
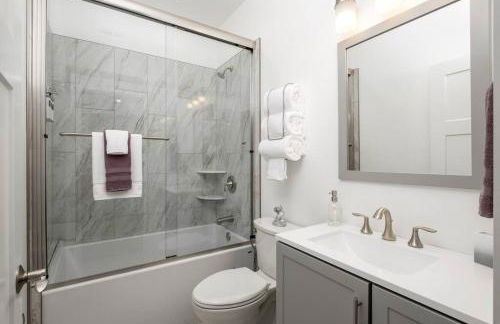
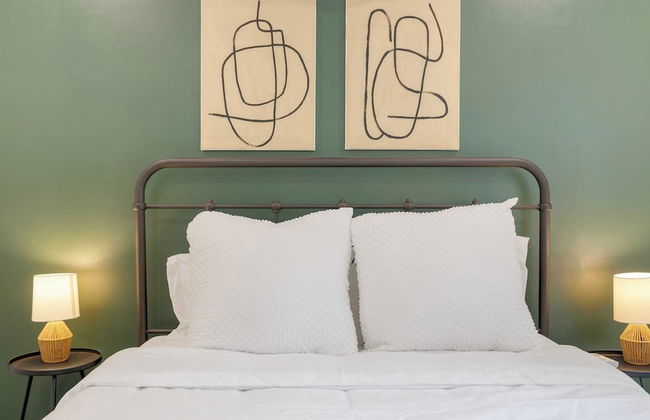
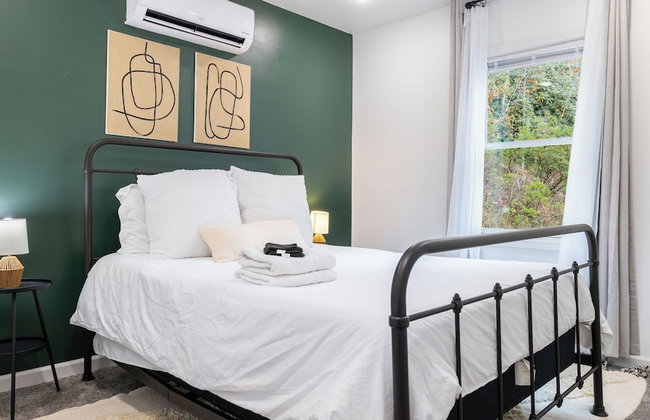
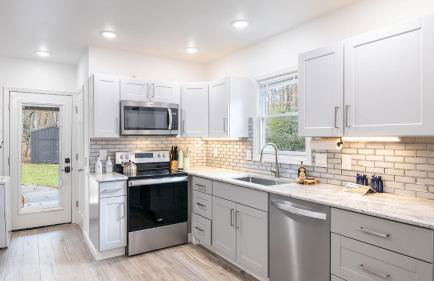
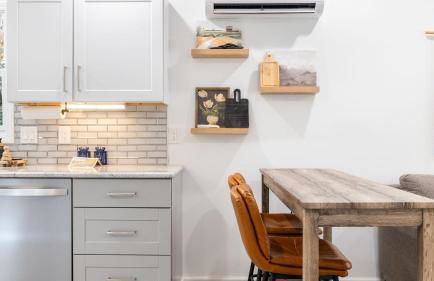
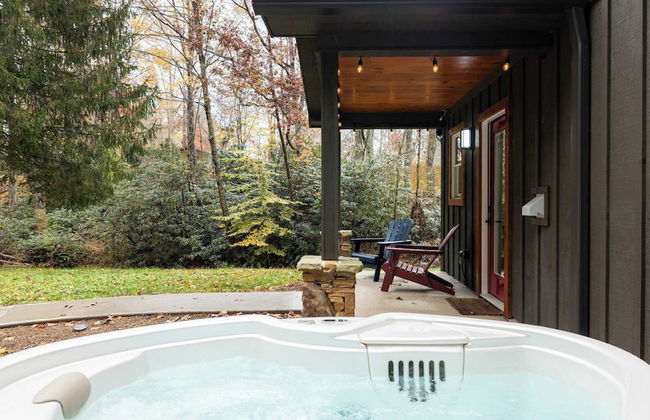
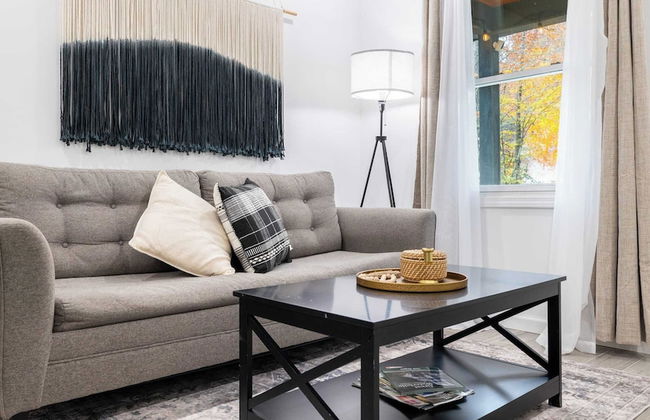
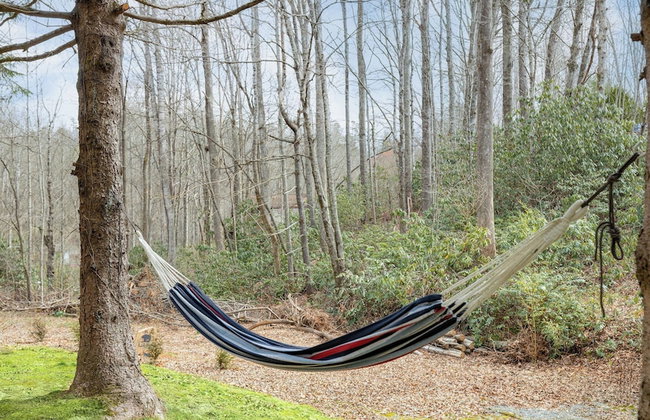
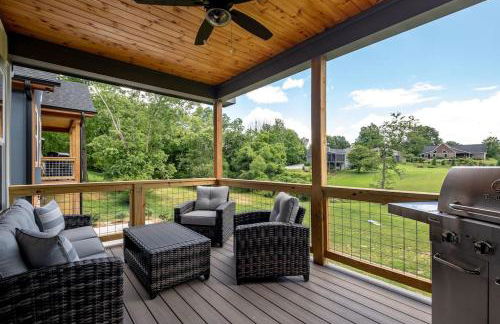
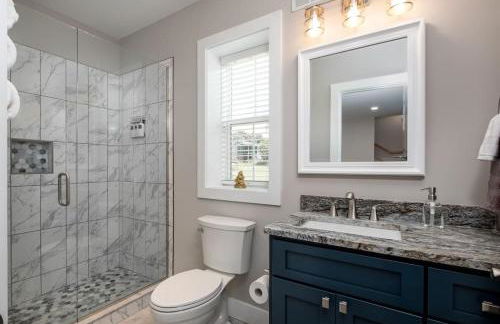
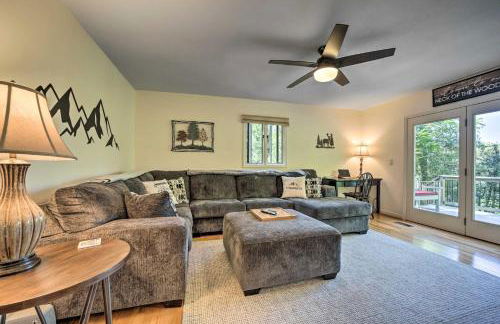
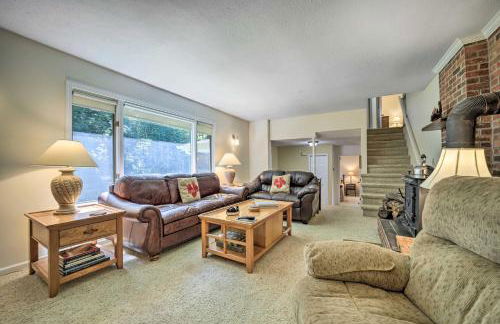
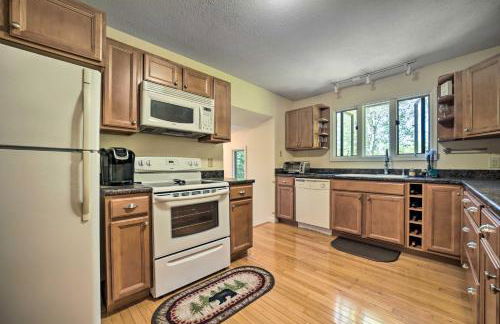
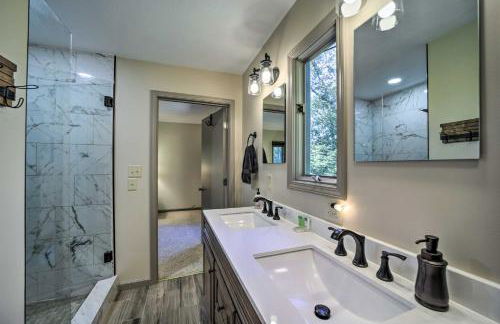
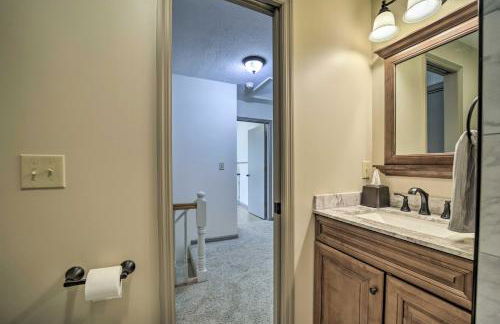
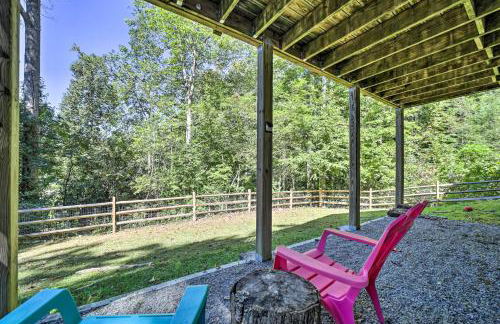
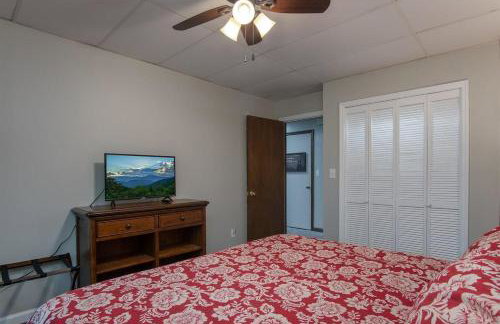
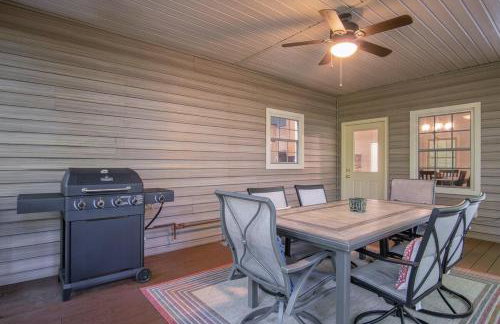
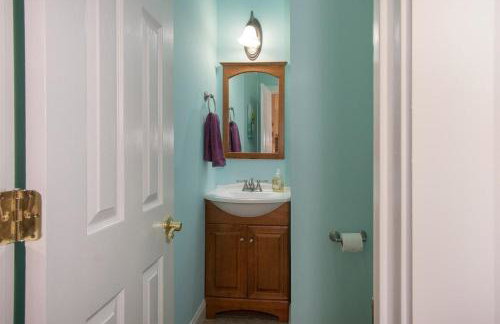
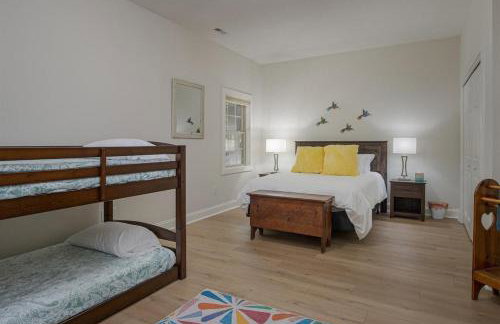
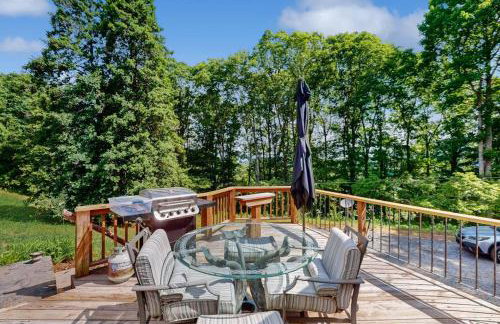
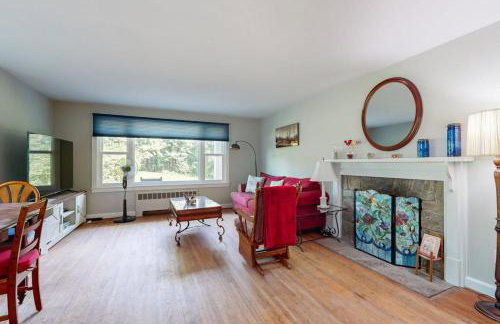
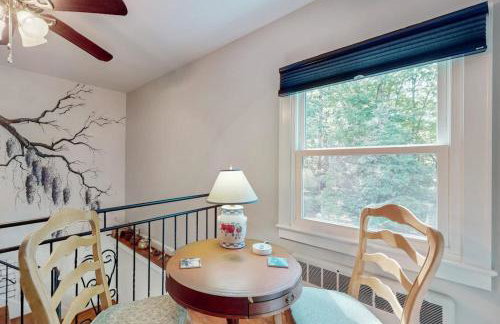
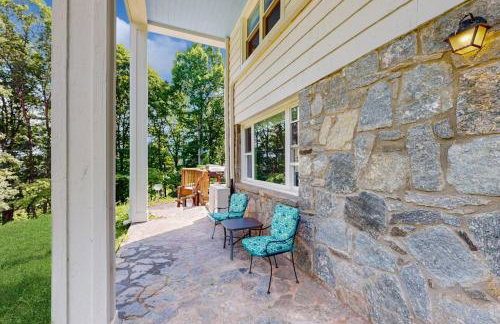
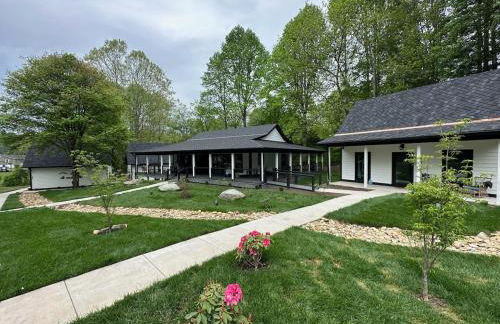
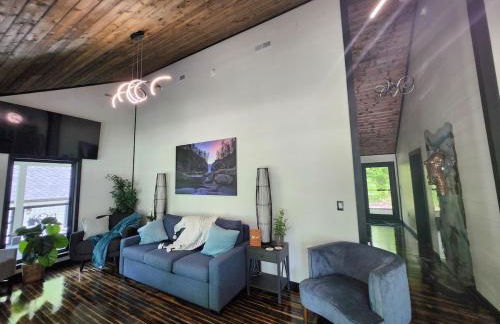
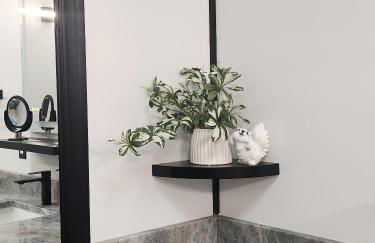
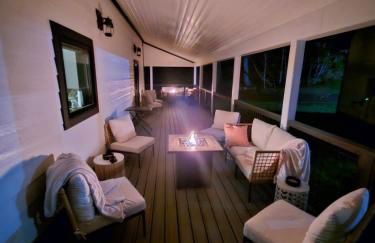
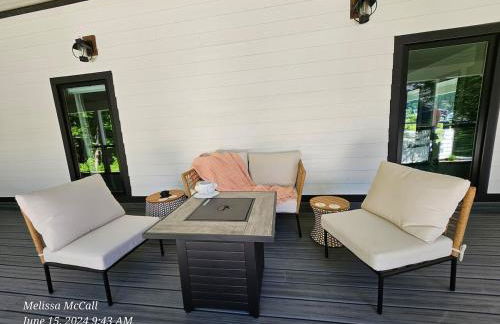
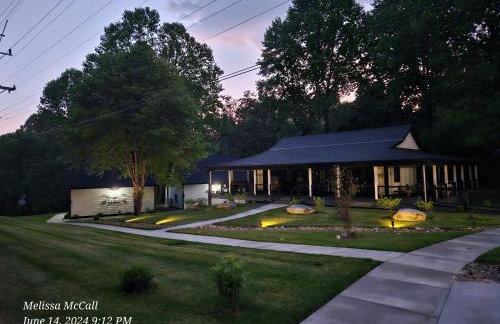
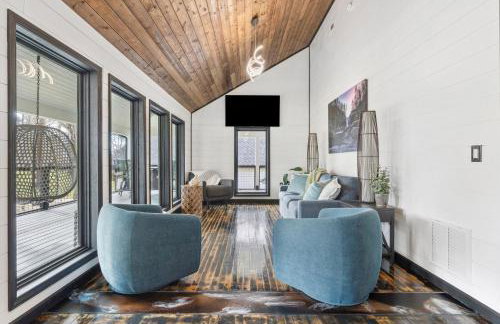
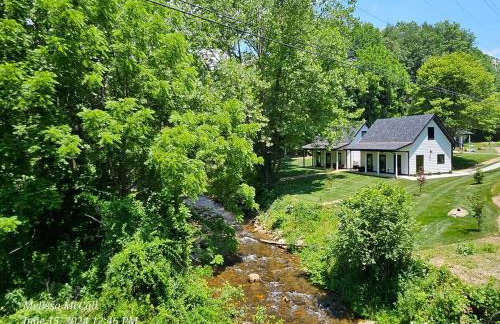
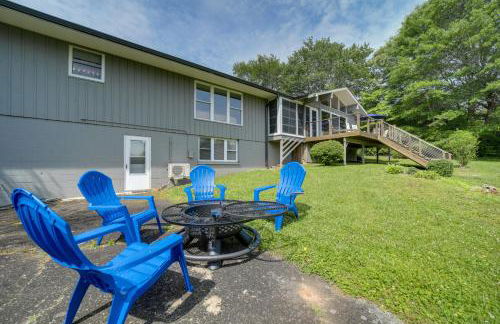
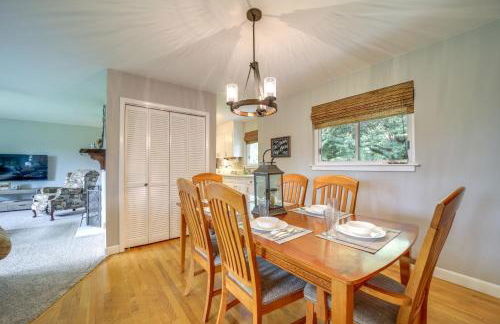
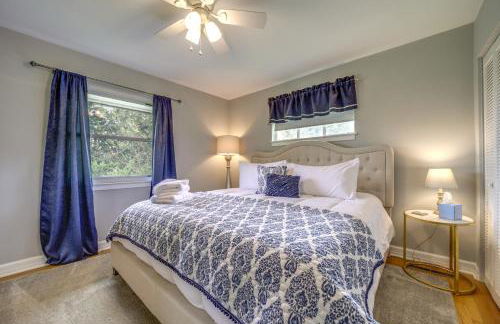
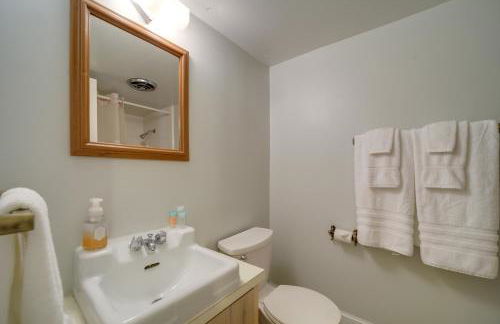
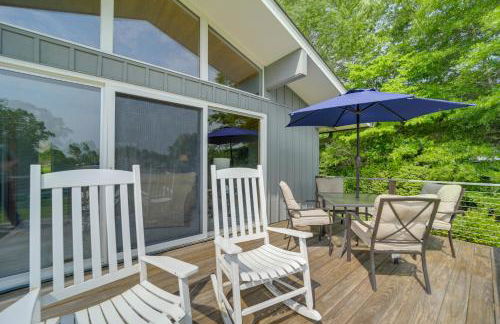
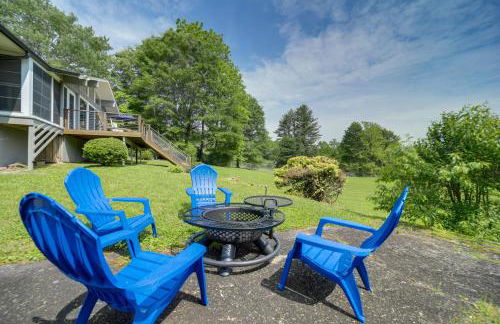
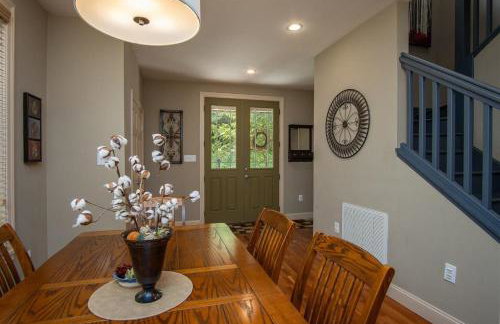
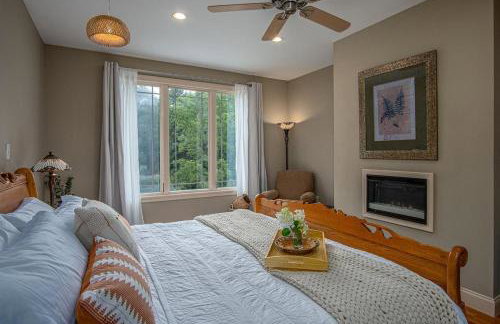
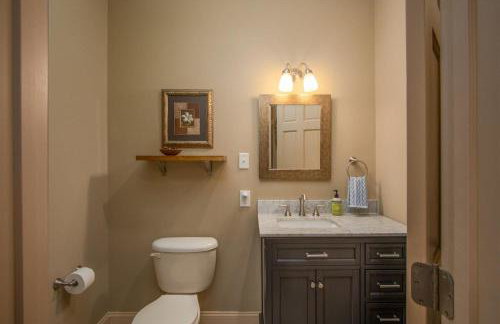
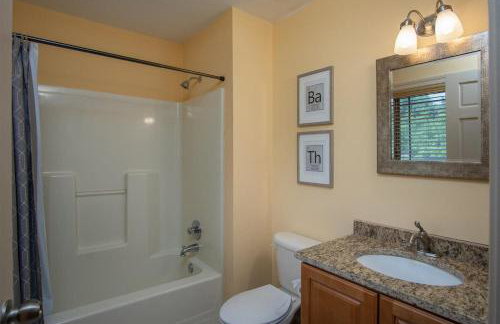
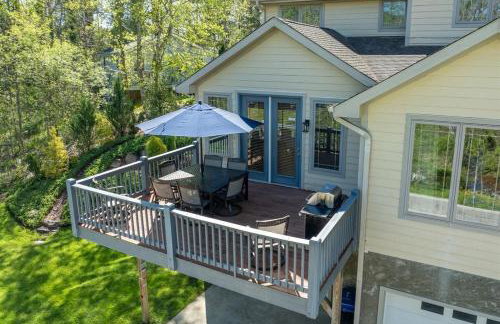
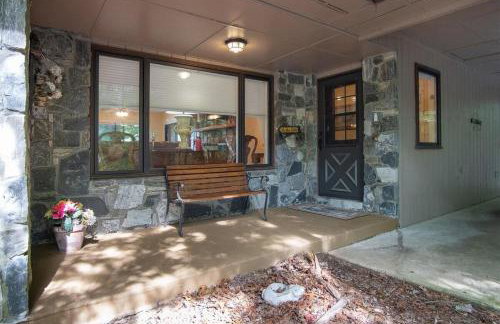
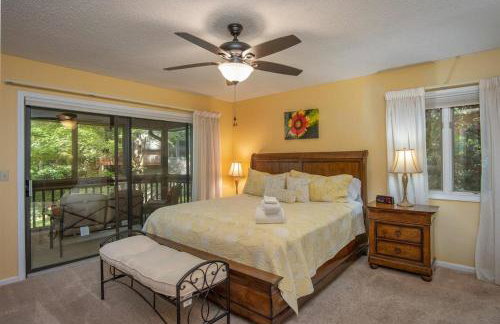
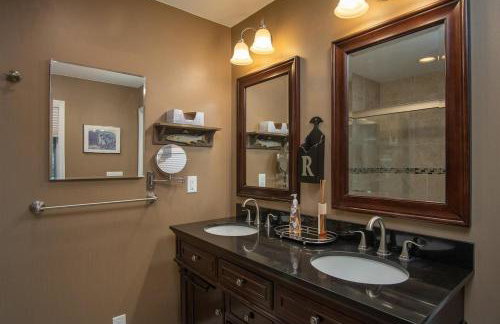
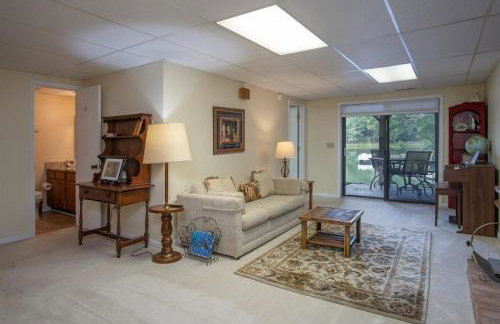
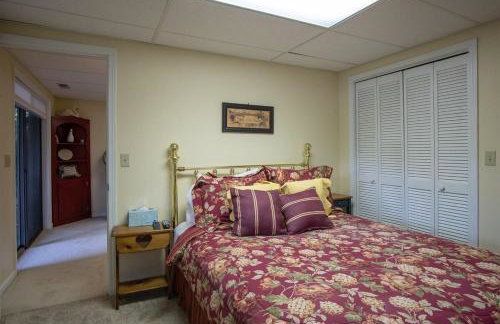
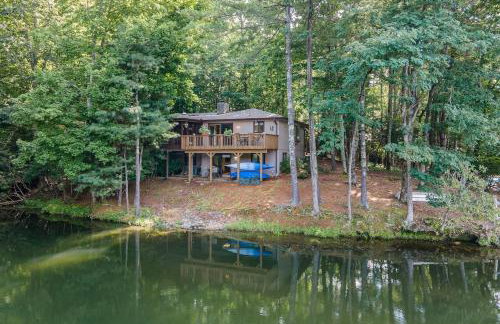
Healing Acres - Photo 2
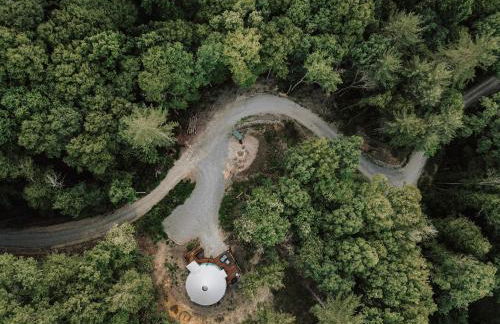
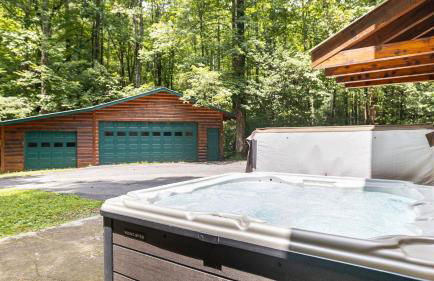
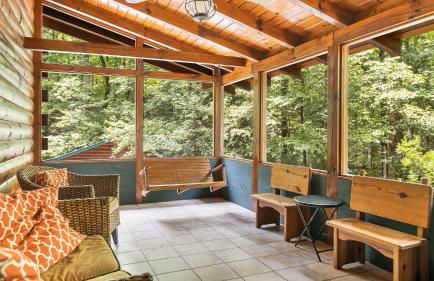
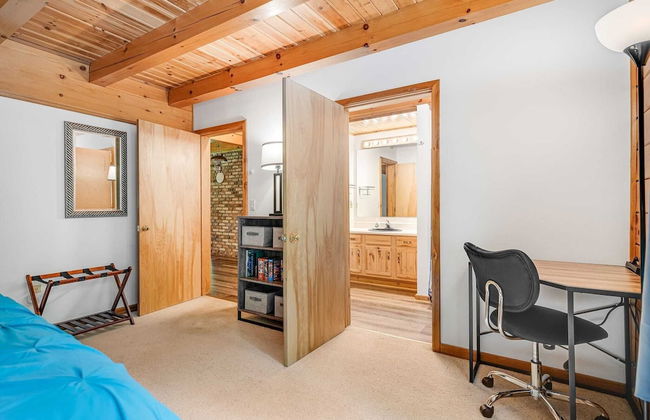
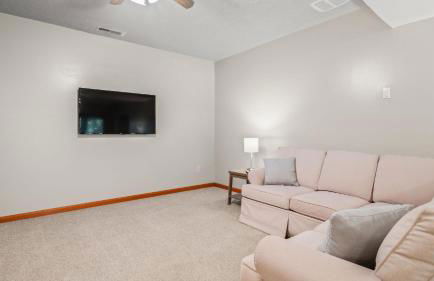
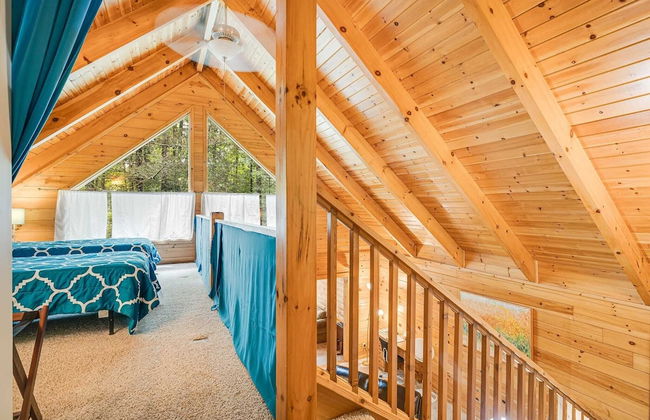
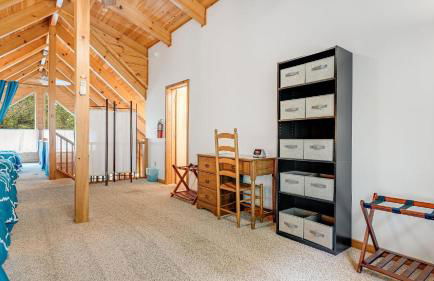
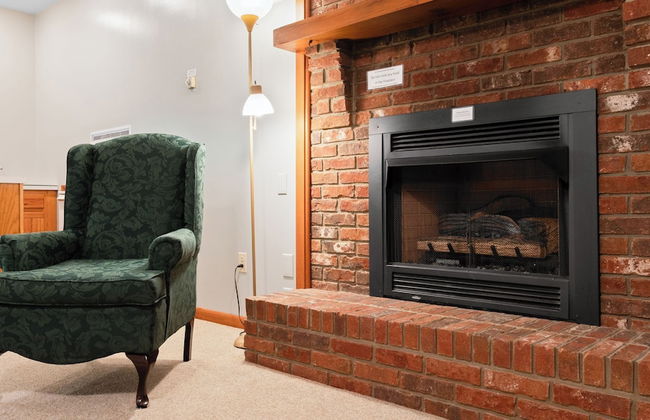
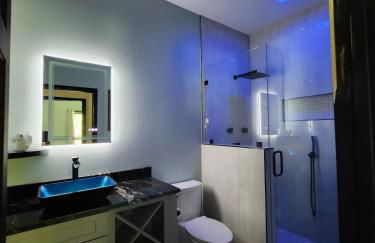
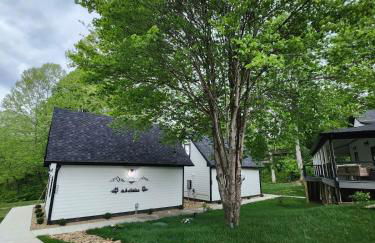
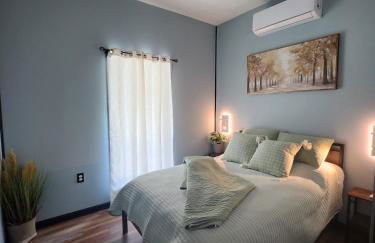
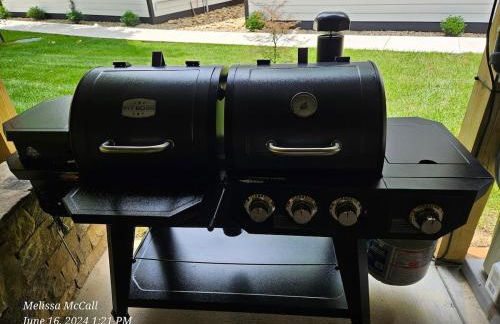
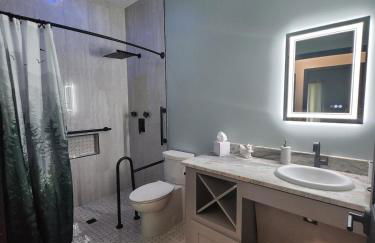
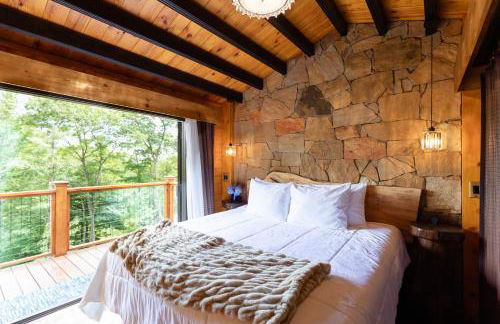
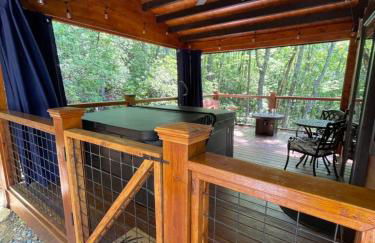
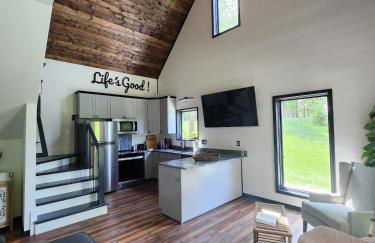
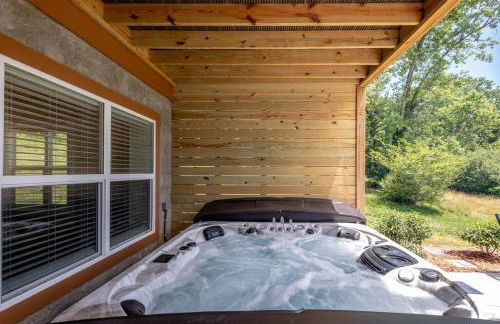
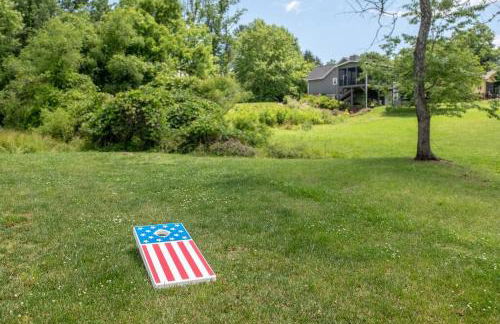
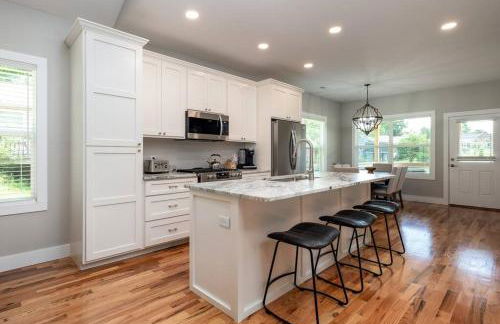
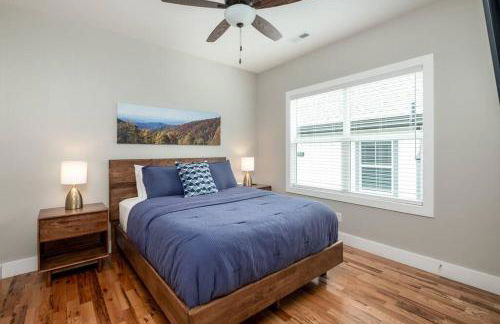
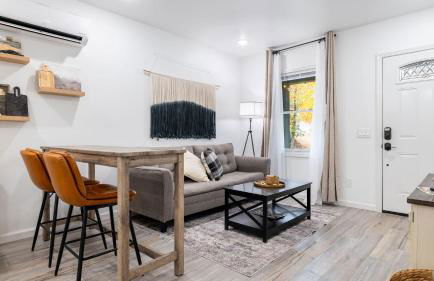
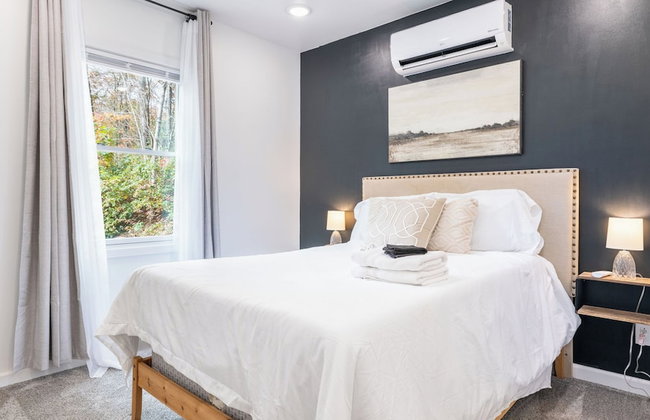
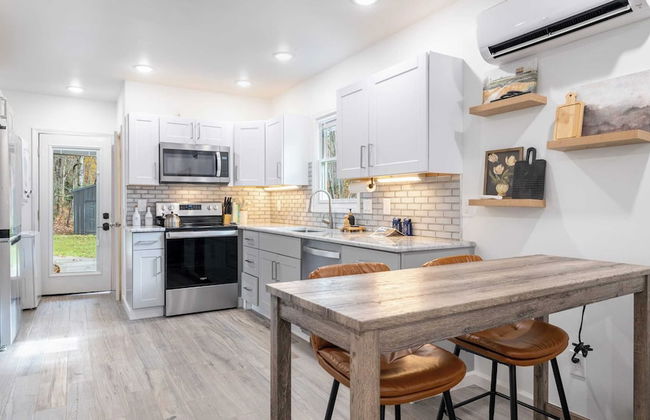
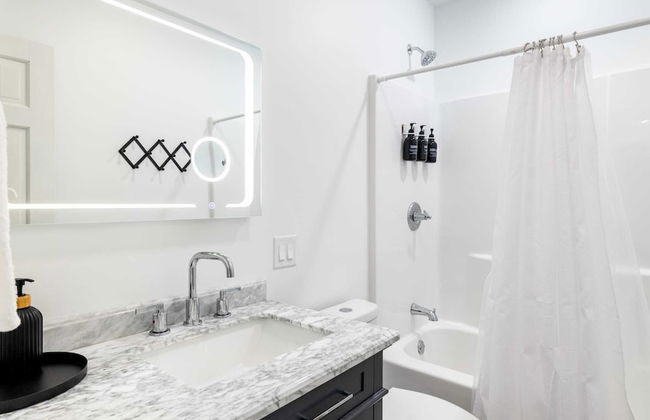
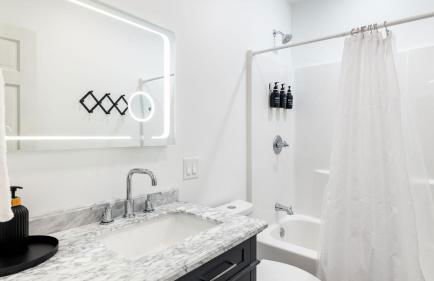
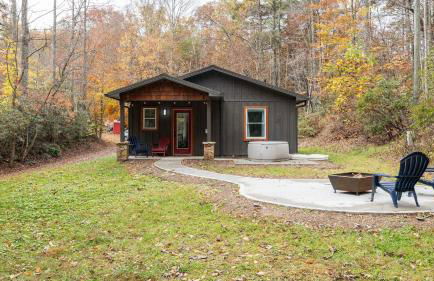
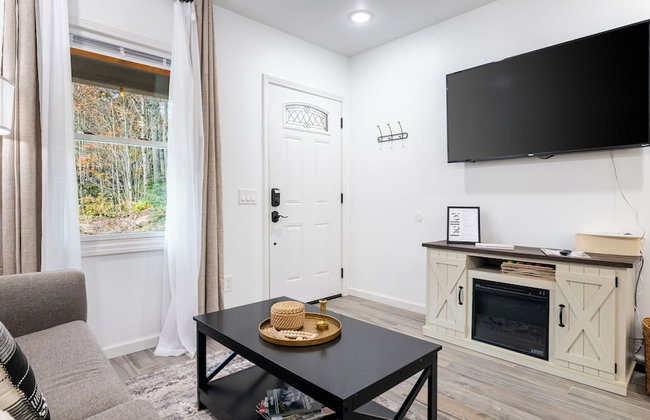
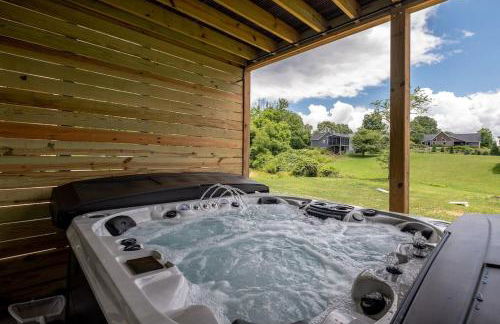
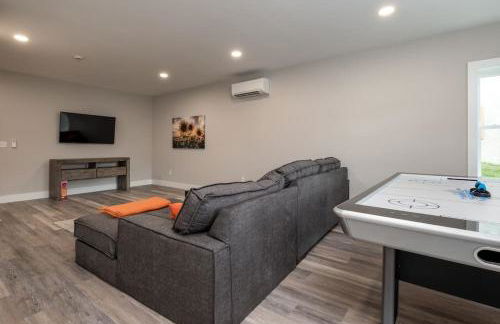
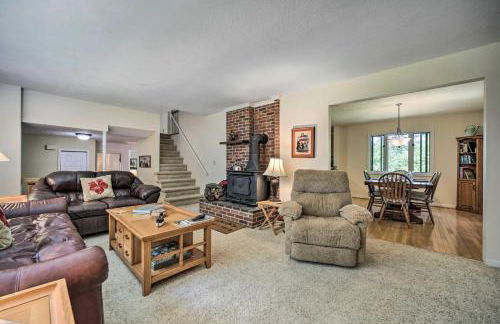
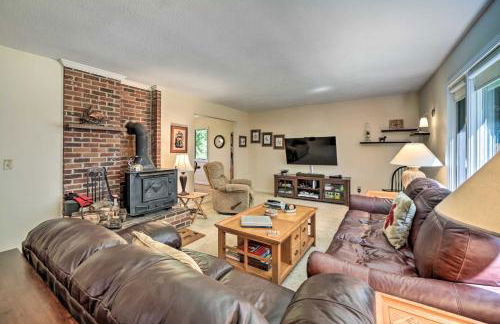
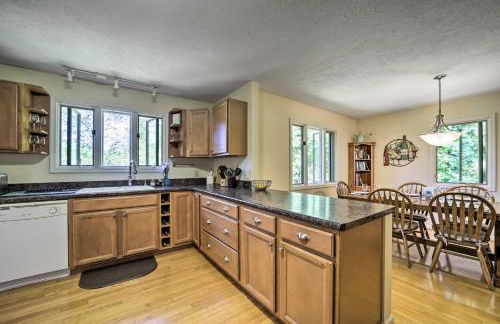
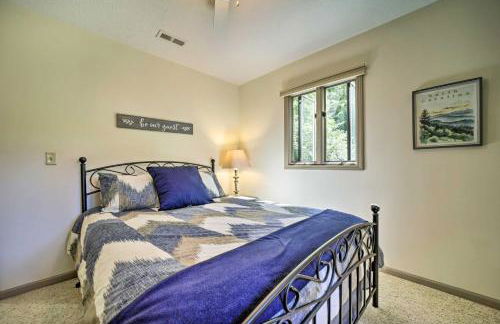
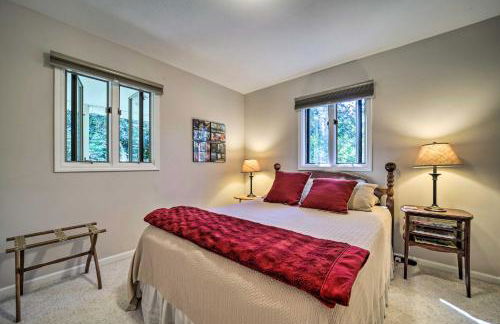
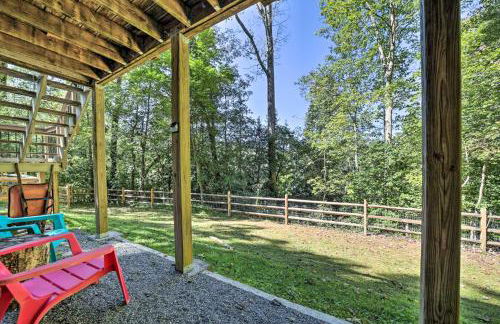
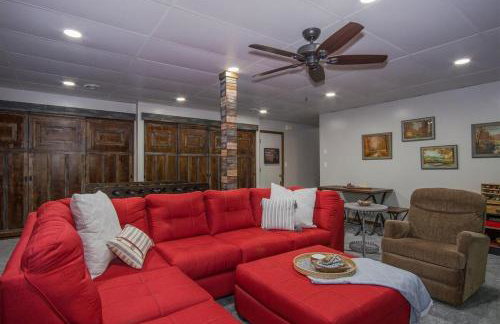
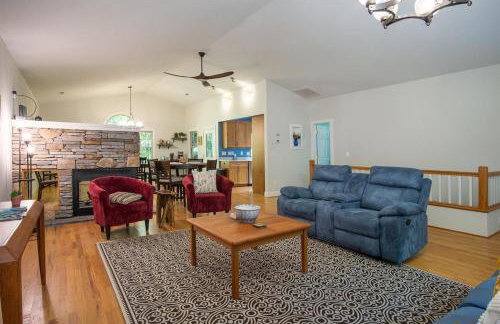
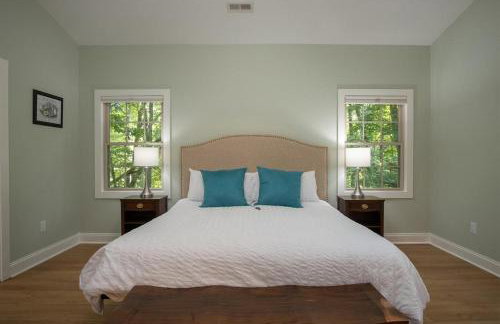
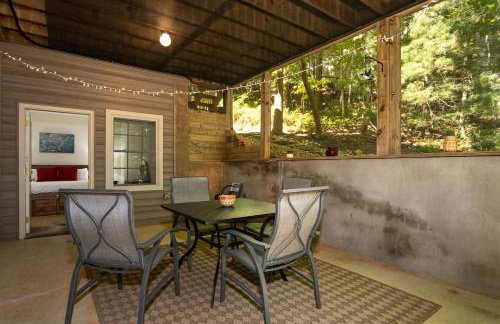
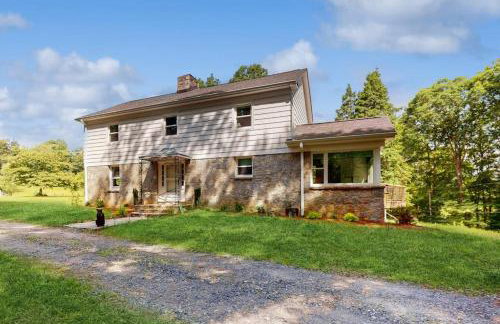
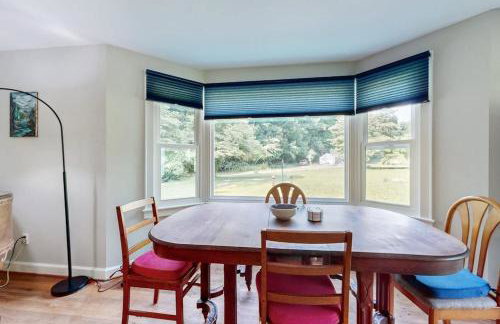
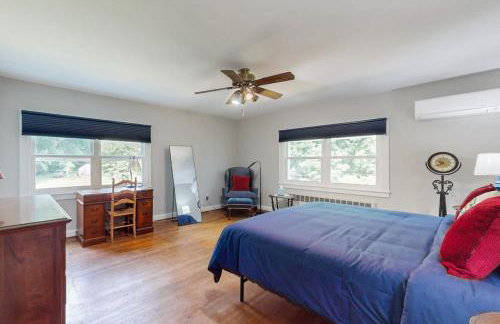
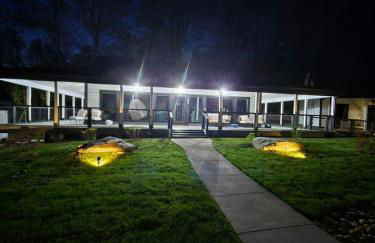
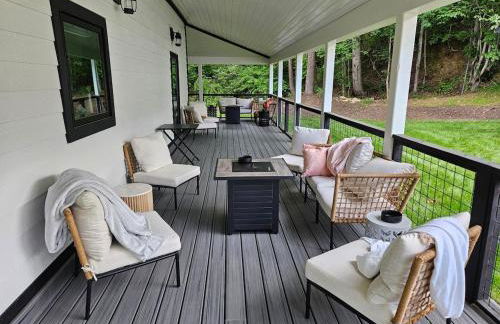
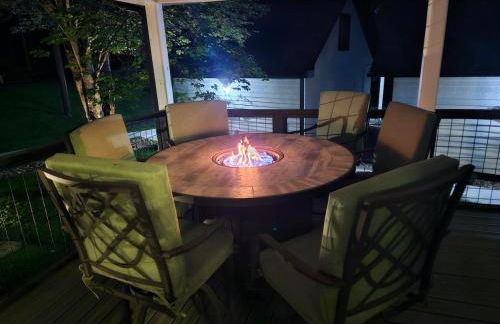
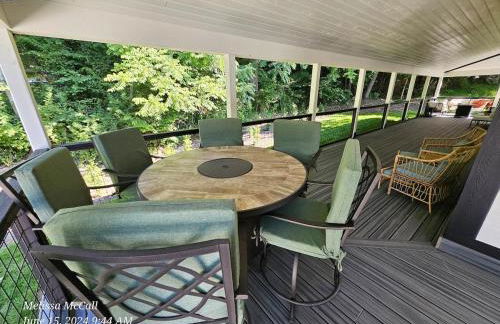
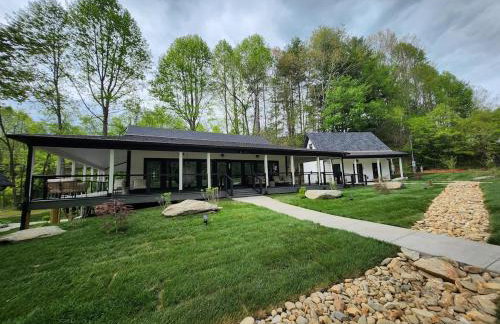
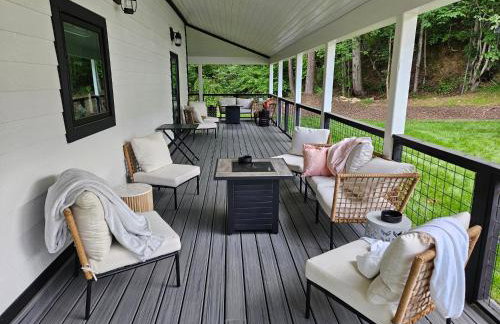
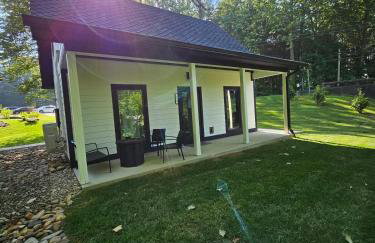
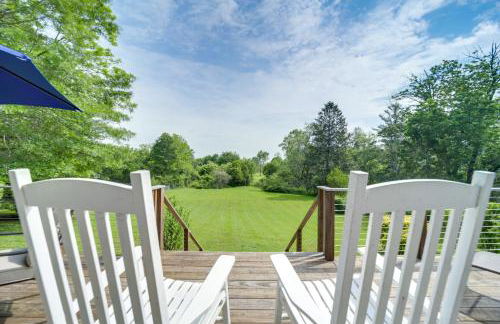
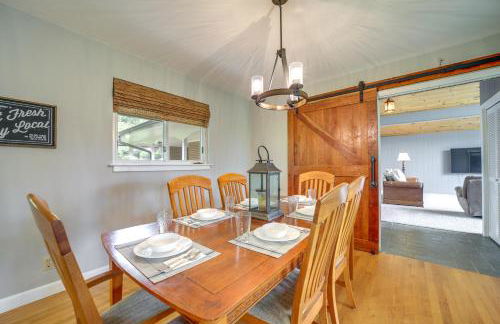
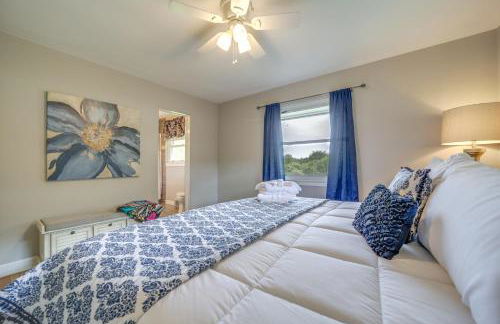
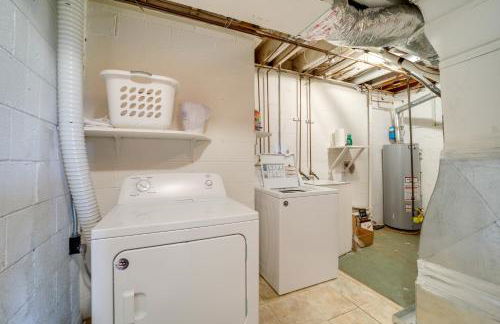
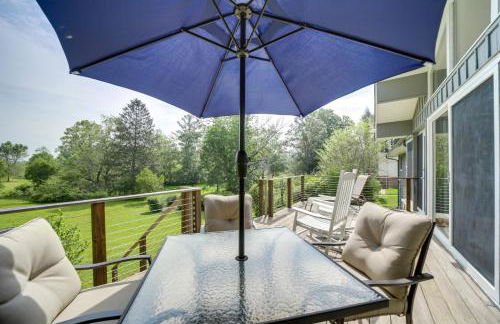
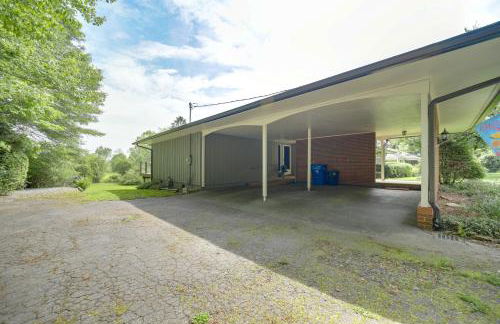
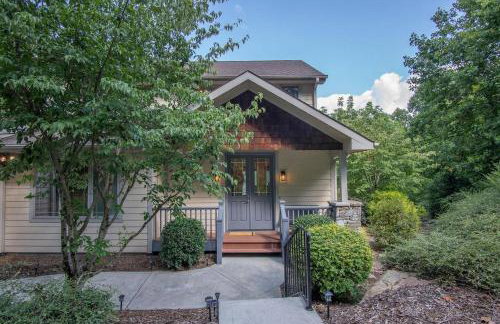
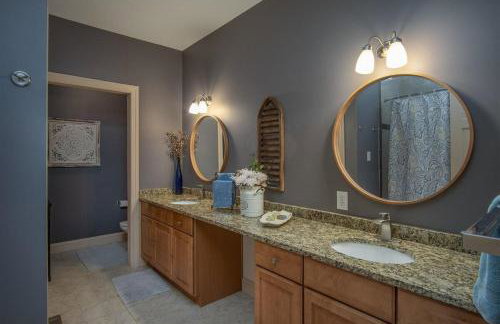
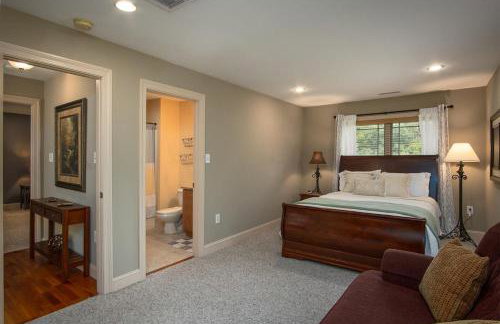
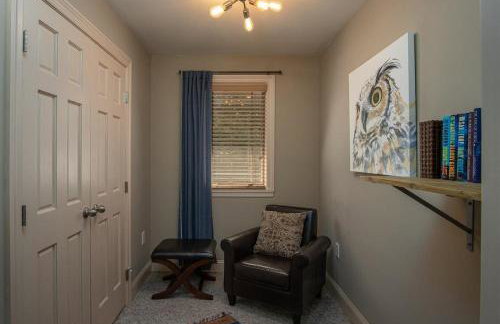
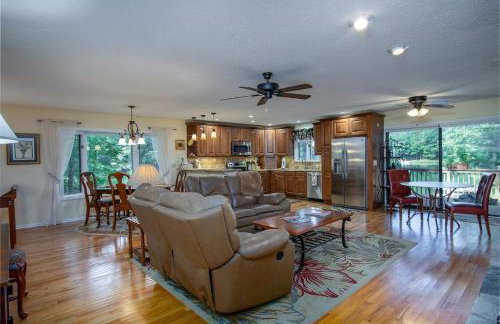
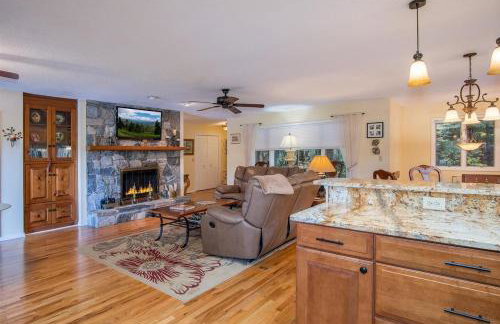
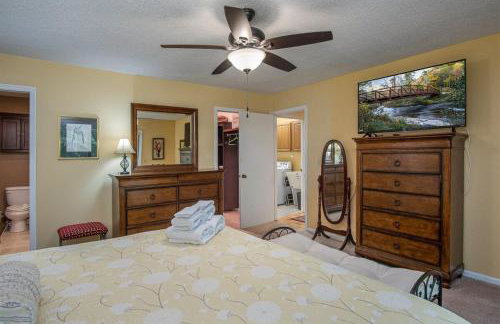
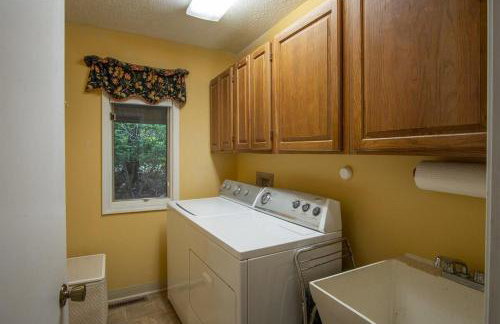
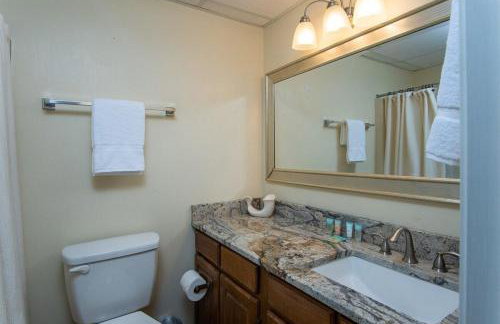
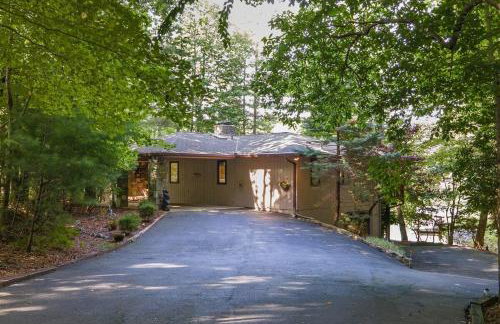
Healing Acres - Photo 3
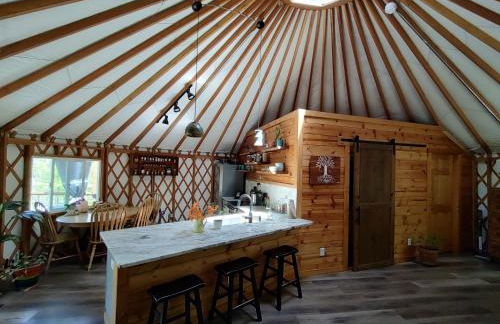
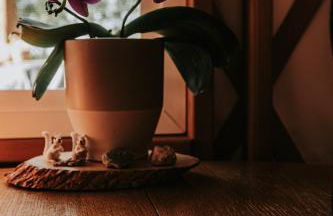
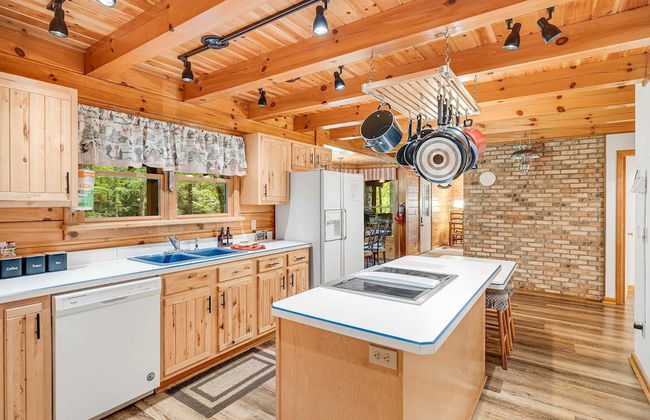
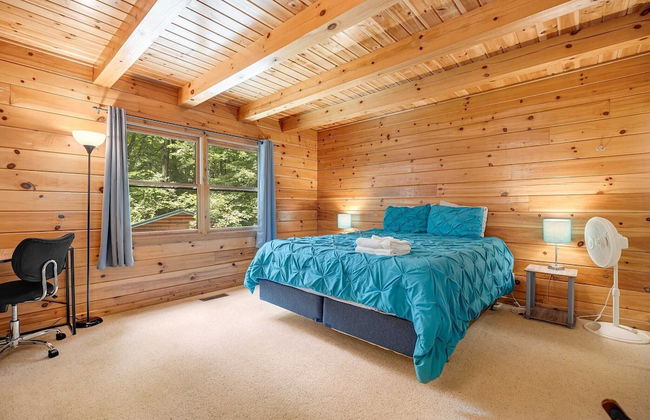
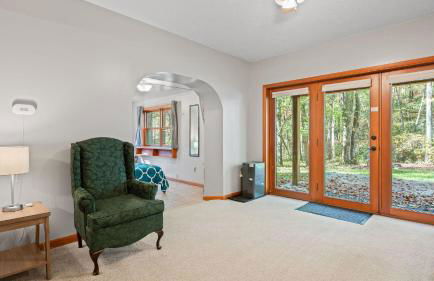
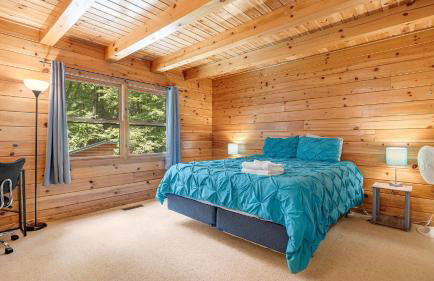
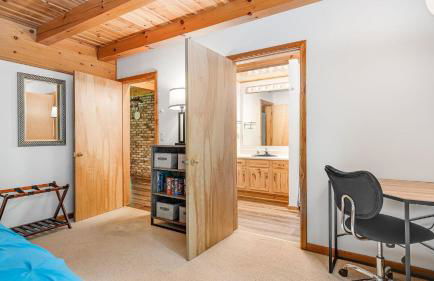
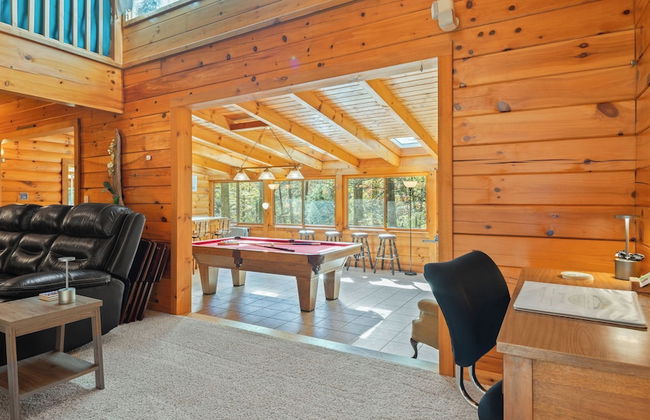
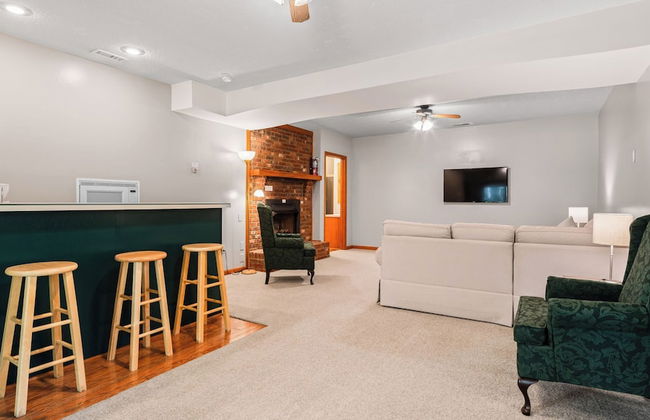
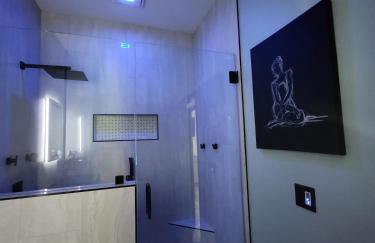
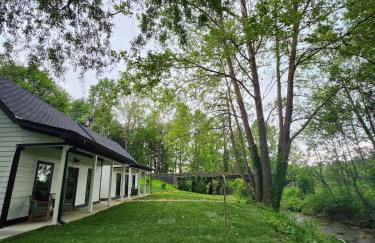
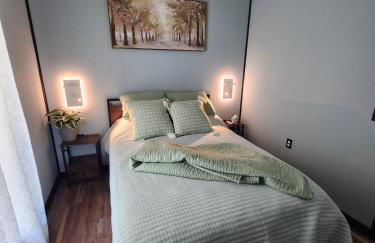
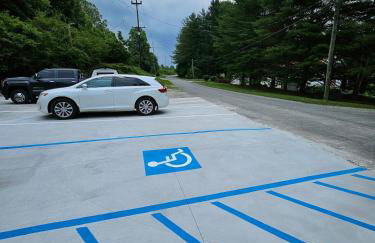
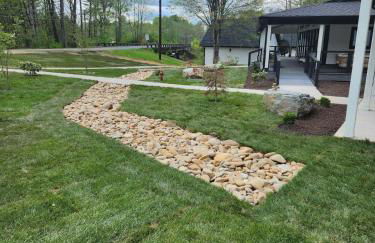
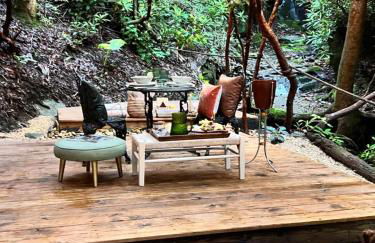
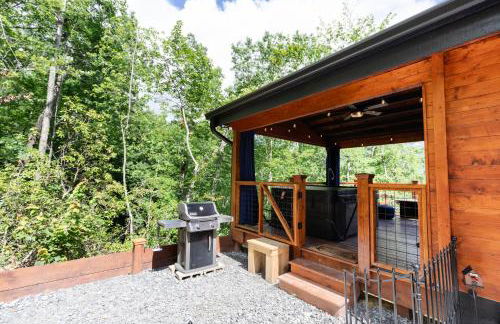
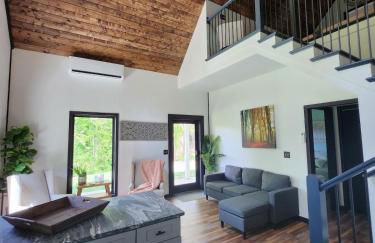
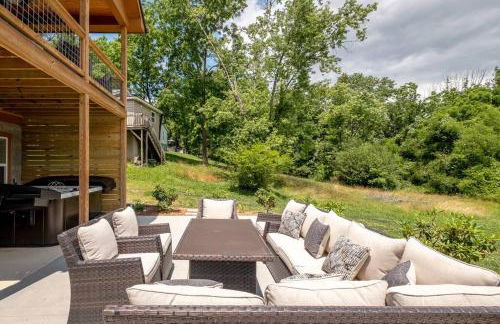
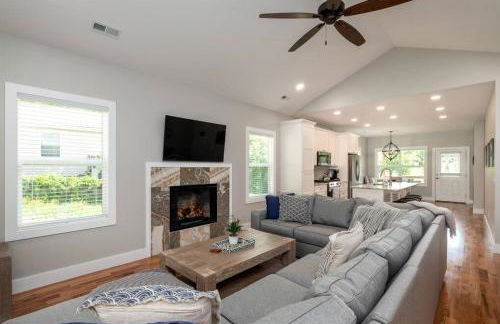
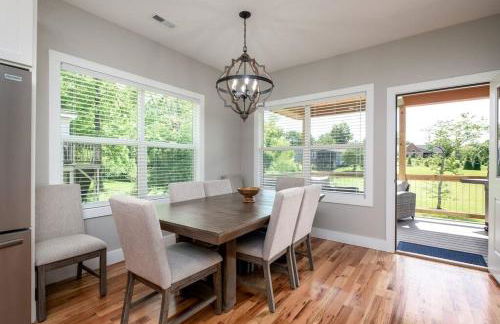
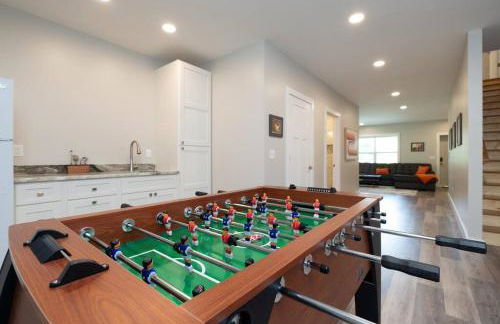
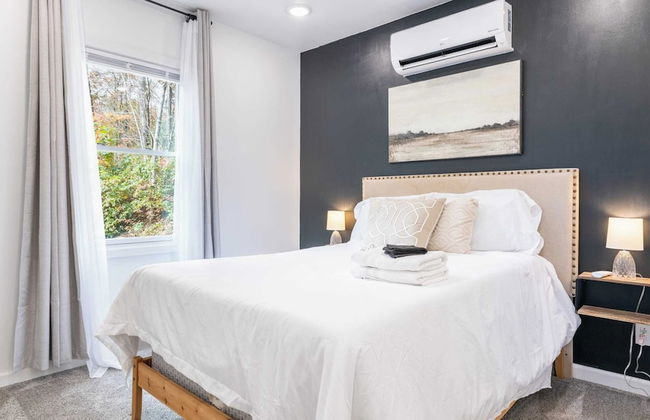
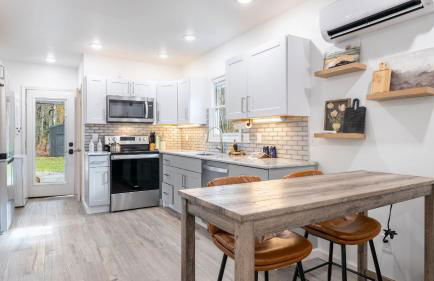
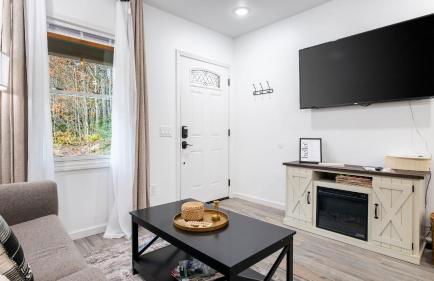
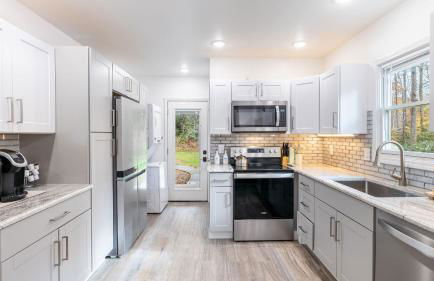
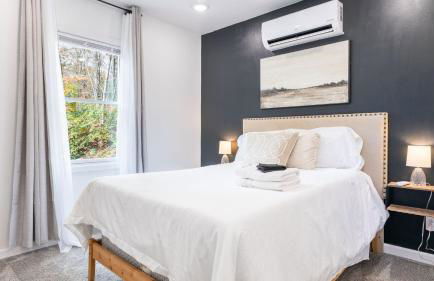
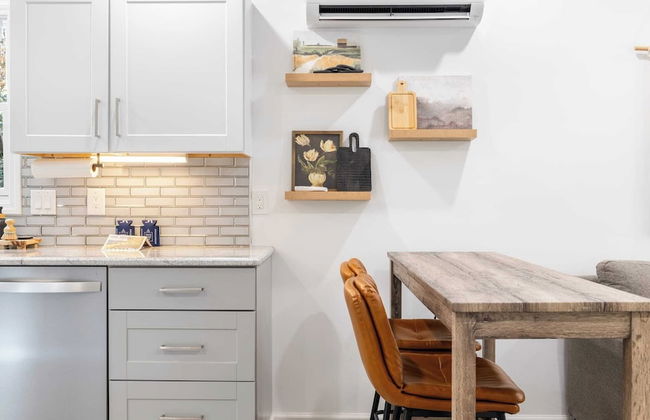
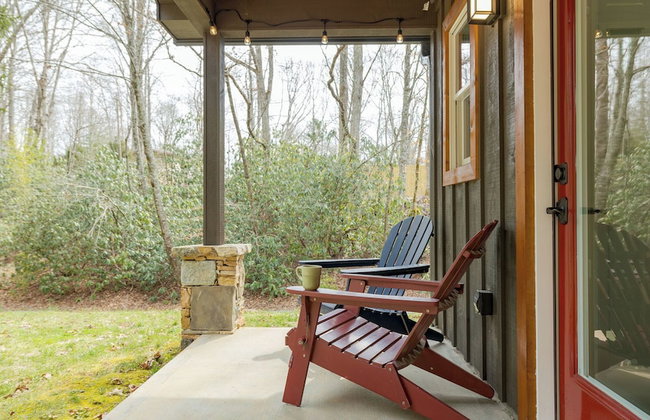
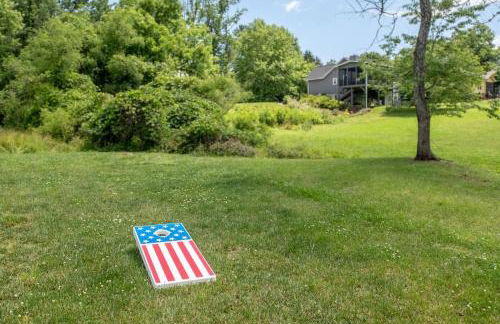
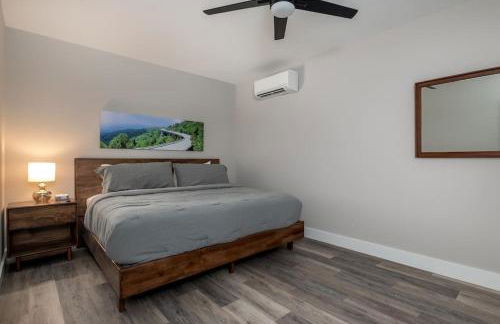
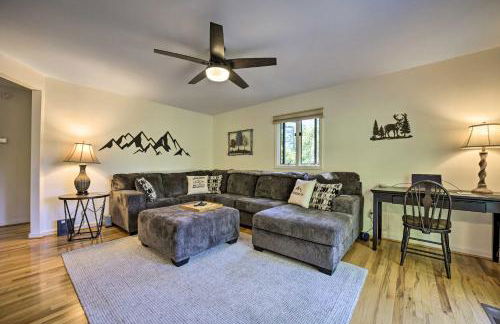
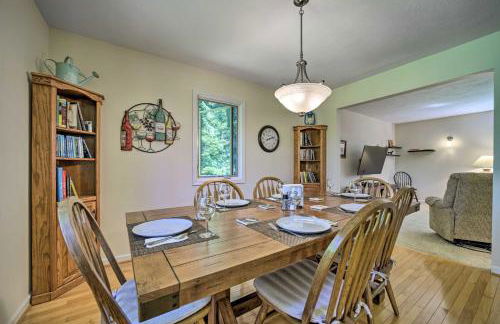
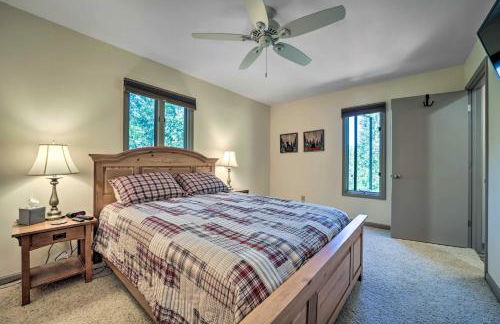
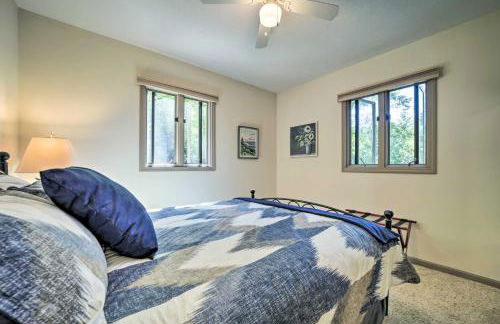
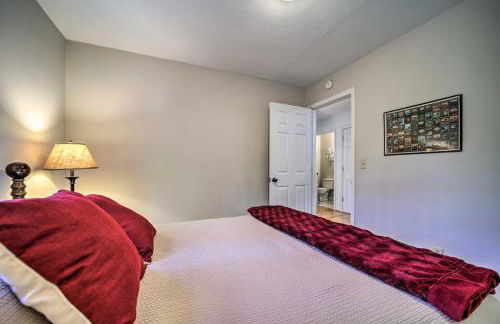
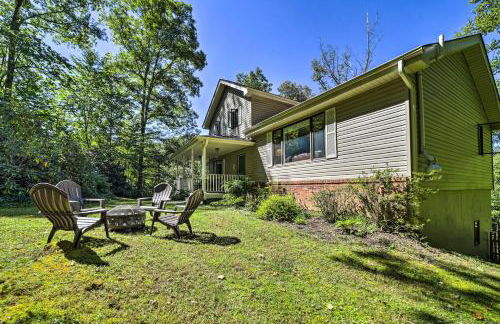
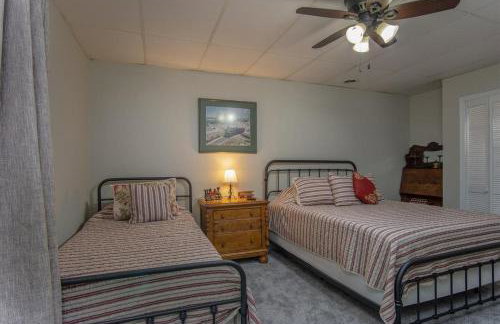
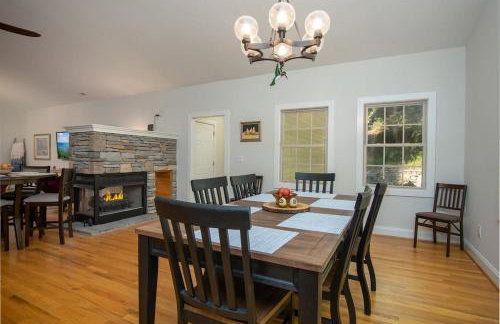
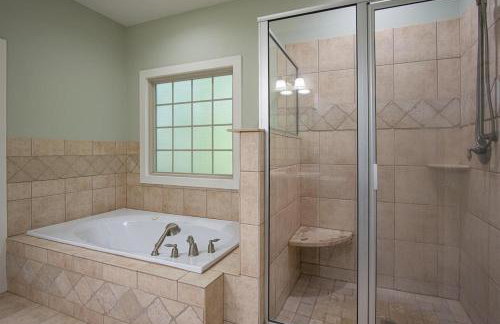
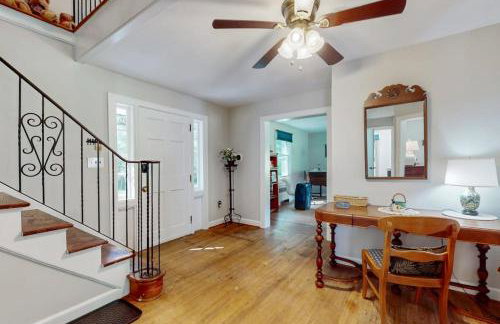
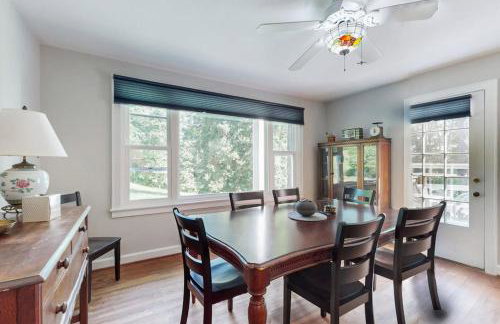
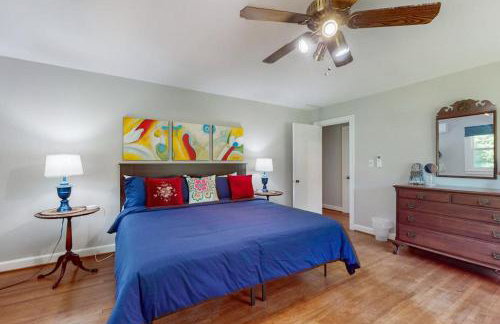
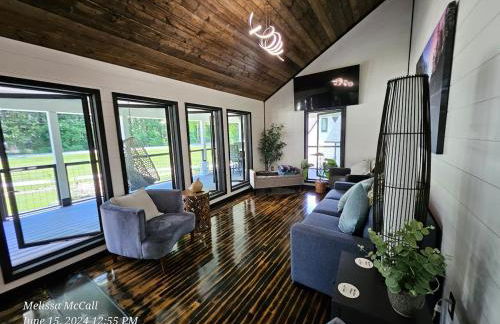
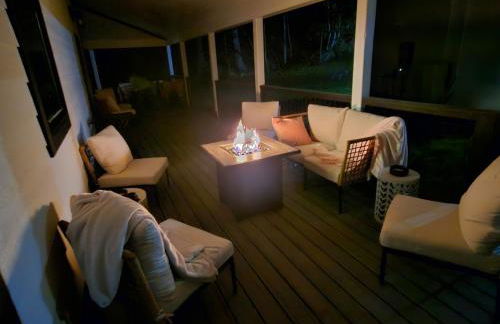
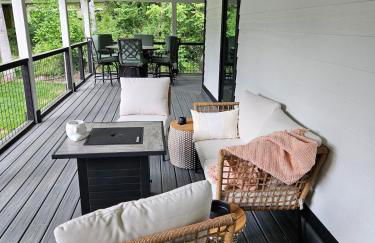
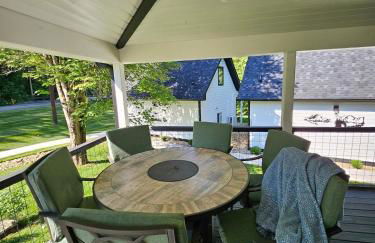
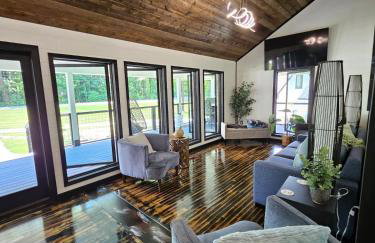
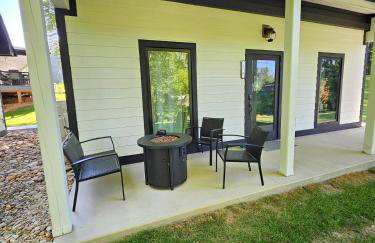
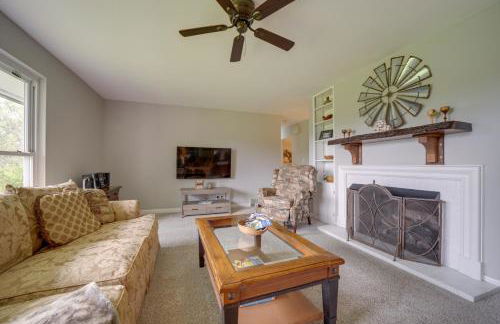
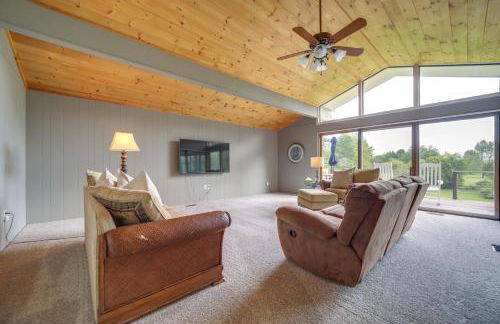
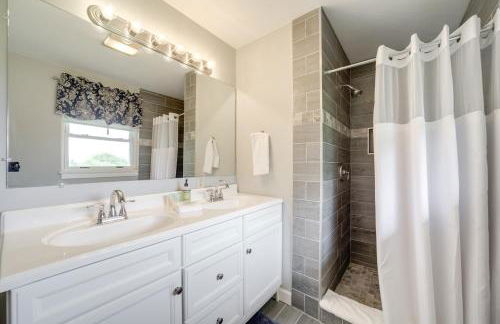
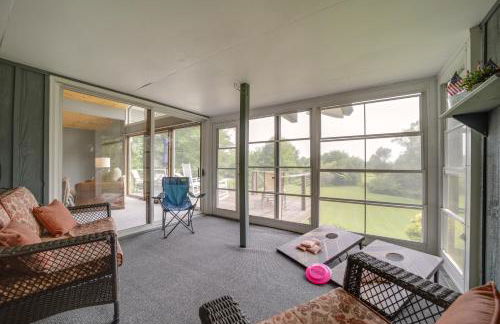
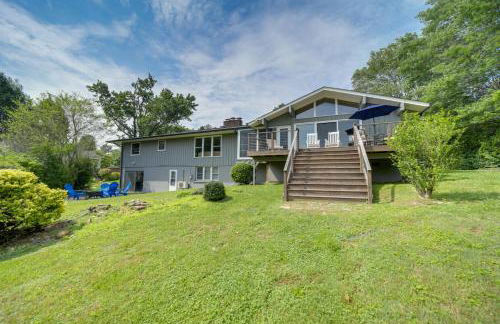
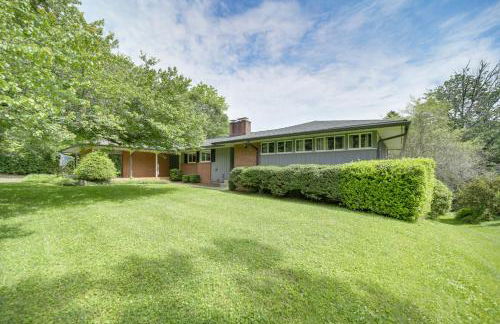
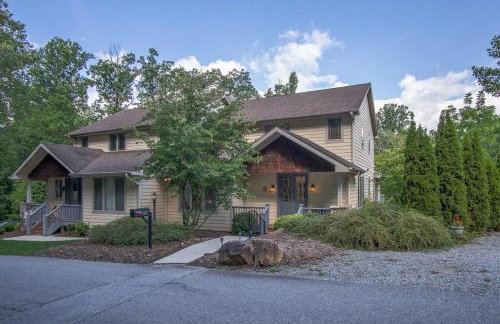
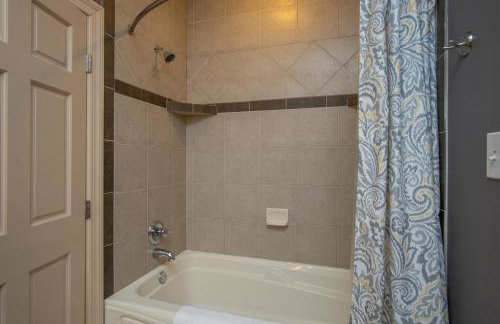
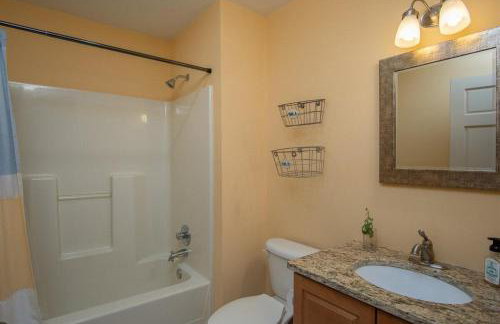
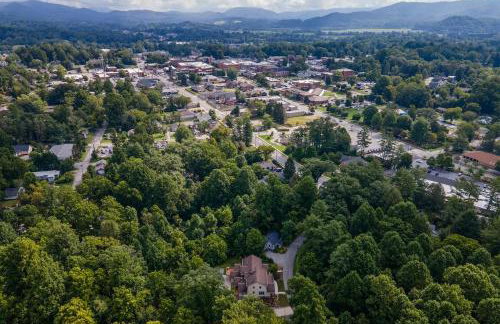
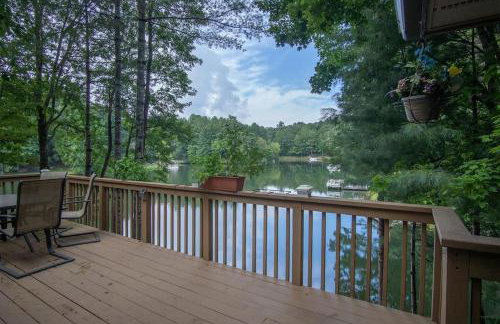
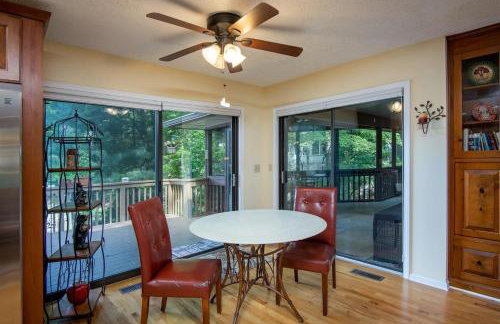
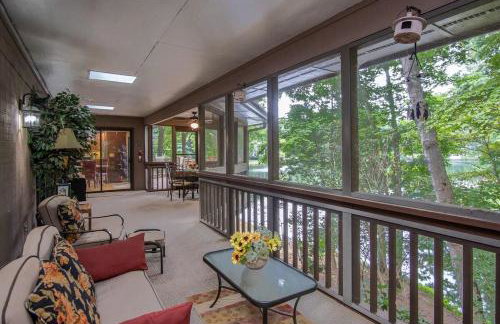
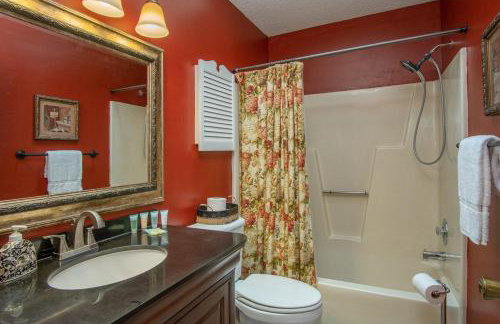
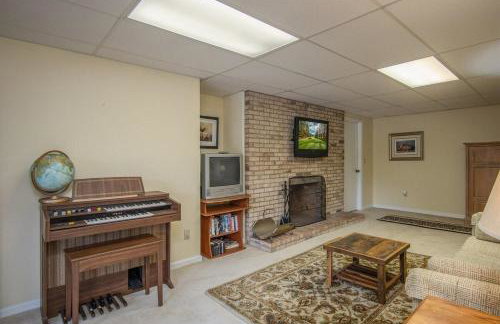
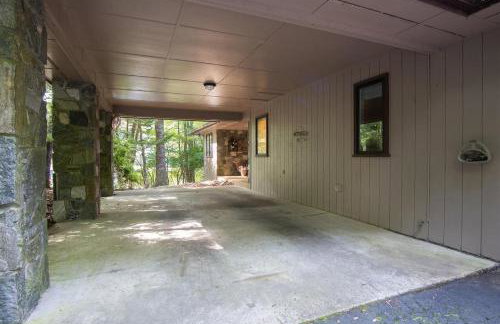
Healing Acres - Photo 4
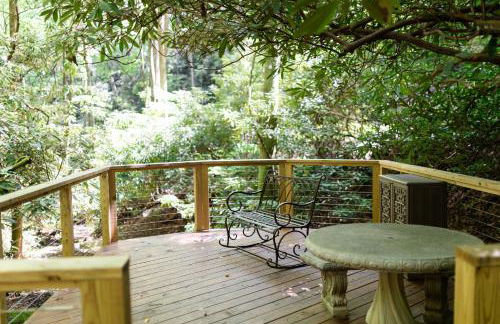
Healing Acres - Photo 5
Healing Acres - Photo 6
Healing Acres - Photo 7
Healing Acres - Photo 8
Healing Acres - Photo 9
Healing Acres - Photo 10
Healing Acres - Photo 11
Healing Acres - Photo 12
Healing Acres - Photo 13
Healing Acres - Photo 14
Healing Acres - Photo 15
Healing Acres - Photo 16
Healing Acres - Photo 17
Healing Acres - Photo 18
Healing Acres - Photo 19
Healing Acres - Photo 20
Healing Acres - Photo 21
Healing Acres - Photo 22
Healing Acres - Photo 23
Healing Acres - Photo 24
Healing Acres - Photo 25
Healing Acres - Photo 26
Healing Acres - Photo 27
Healing Acres - Photo 28
Healing Acres - Photo 29
Healing Acres - Photo 30
Healing Acres - Photo 31
Healing Acres - Photo 32
Healing Acres - Photo 33
Healing Acres - Photo 34
Healing Acres - Photo 35
Healing Acres - Photo 36
Healing Acres - Photo 37
Healing Acres - Photo 38
Healing Acres - Photo 39
Healing Acres - Photo 40
Healing Acres - Photo 41
Healing Acres - Photo 42
Healing Acres - Photo 43
Healing Acres - Photo 44
Healing Acres - Photo 45
Healing Acres - Photo 46
Healing Acres - Photo 47
Healing Acres - Photo 48
Healing Acres - Photo 49
Healing Acres - Photo 50
Healing Acres - Photo 51
Healing Acres - Photo 52
Healing Acres - Photo 53
Healing Acres - Photo 54
Healing Acres - Photo 55
Healing Acres - Photo 56
Healing Acres - Photo 57
Healing Acres - Photo 58
Healing Acres - Photo 59
Healing Acres - Photo 60
Healing Acres - Photo 61

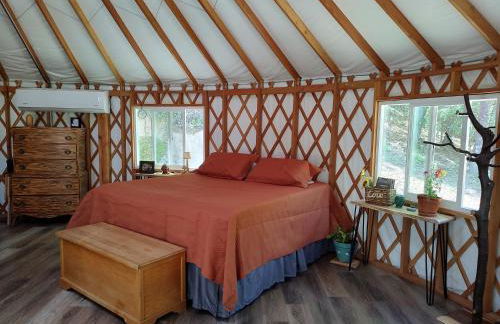
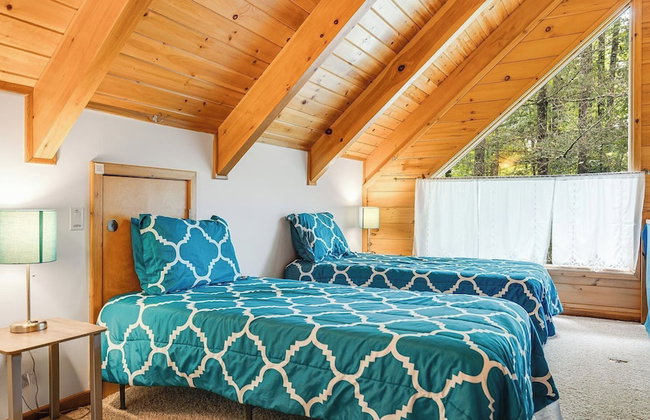
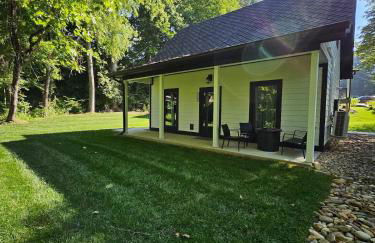
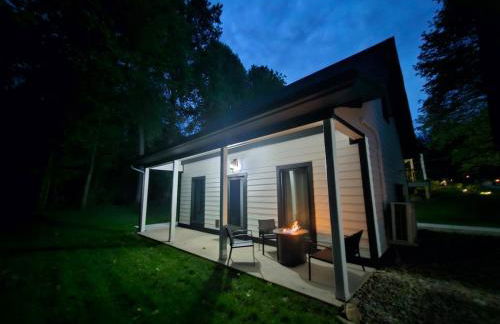
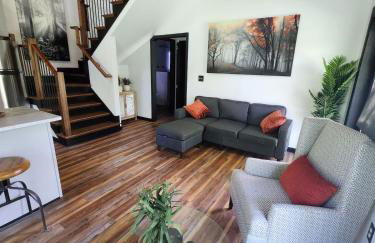
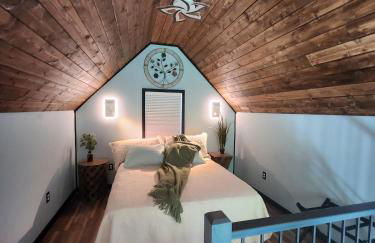
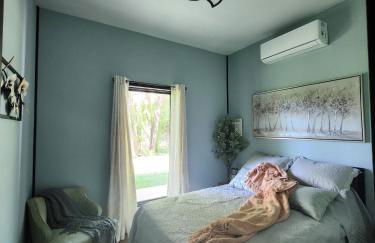
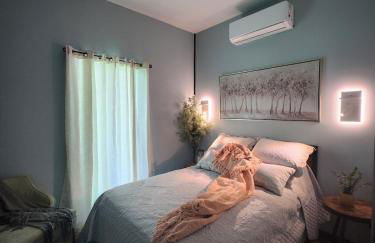
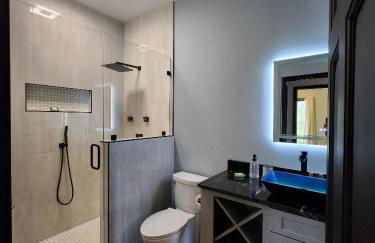
Healing Acres

Brevard

  • 65 M2
  • 1 bedroom
  • 4 people
  • Air conditioning
  • Parking
  • Garden
10Superb | 19 reviews
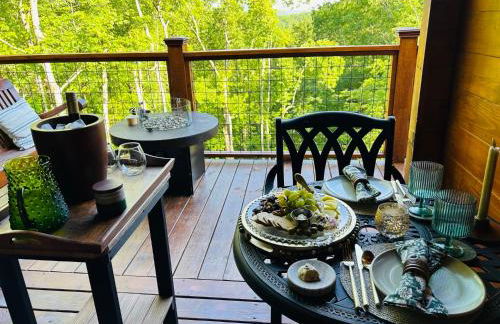
Twin Creeks Lodge by Avantstay 33 Acre Retreat - Photo 1
Twin Creeks Lodge by Avantstay 33 Acre Retreat - Photo 2
Twin Creeks Lodge by Avantstay 33 Acre Retreat - Photo 3
Twin Creeks Lodge by Avantstay 33 Acre Retreat - Photo 4
Twin Creeks Lodge by Avantstay 33 Acre Retreat - Photo 5
Twin Creeks Lodge by Avantstay 33 Acre Retreat - Photo 6
Twin Creeks Lodge by Avantstay 33 Acre Retreat - Photo 7
Twin Creeks Lodge by Avantstay 33 Acre Retreat - Photo 8
Twin Creeks Lodge by Avantstay 33 Acre Retreat - Photo 9
Twin Creeks Lodge by Avantstay 33 Acre Retreat - Photo 10
Twin Creeks Lodge by Avantstay 33 Acre Retreat - Photo 11
Twin Creeks Lodge by Avantstay 33 Acre Retreat - Photo 12
Twin Creeks Lodge by Avantstay 33 Acre Retreat - Photo 13
Twin Creeks Lodge by Avantstay 33 Acre Retreat - Photo 14
Twin Creeks Lodge by Avantstay 33 Acre Retreat - Photo 15
Twin Creeks Lodge by Avantstay 33 Acre Retreat - Photo 16
Twin Creeks Lodge by Avantstay 33 Acre Retreat - Photo 17
Twin Creeks Lodge by Avantstay 33 Acre Retreat - Photo 18
Twin Creeks Lodge by Avantstay 33 Acre Retreat - Photo 19
Twin Creeks Lodge by Avantstay 33 Acre Retreat - Photo 20
Twin Creeks Lodge by Avantstay 33 Acre Retreat - Photo 21
Twin Creeks Lodge by Avantstay 33 Acre Retreat - Photo 22
Twin Creeks Lodge by Avantstay 33 Acre Retreat - Photo 23
Twin Creeks Lodge by Avantstay 33 Acre Retreat - Photo 24
Twin Creeks Lodge by Avantstay 33 Acre Retreat - Photo 25
Twin Creeks Lodge by Avantstay 33 Acre Retreat - Photo 26
Twin Creeks Lodge by Avantstay 33 Acre Retreat - Photo 27
Twin Creeks Lodge by Avantstay 33 Acre Retreat - Photo 28
Twin Creeks Lodge by Avantstay 33 Acre Retreat - Photo 29
Twin Creeks Lodge by Avantstay 33 Acre Retreat - Photo 30
Twin Creeks Lodge by Avantstay 33 Acre Retreat - Photo 31
Twin Creeks Lodge by Avantstay 33 Acre Retreat - Photo 32
Twin Creeks Lodge by Avantstay 33 Acre Retreat - Photo 33
Twin Creeks Lodge by Avantstay 33 Acre Retreat - Photo 34
Twin Creeks Lodge by Avantstay 33 Acre Retreat - Photo 35
Twin Creeks Lodge by Avantstay 33 Acre Retreat - Photo 36
Twin Creeks Lodge by Avantstay 33 Acre Retreat - Photo 37
Twin Creeks Lodge by Avantstay 33 Acre Retreat - Photo 38
Twin Creeks Lodge by Avantstay 33 Acre Retreat - Photo 39
Twin Creeks Lodge by Avantstay 33 Acre Retreat - Photo 40
Twin Creeks Lodge by Avantstay 33 Acre Retreat - Photo 41
Twin Creeks Lodge by Avantstay 33 Acre Retreat - Photo 42
Twin Creeks Lodge by Avantstay 33 Acre Retreat - Photo 43
Twin Creeks Lodge by Avantstay 33 Acre Retreat - Photo 44
Twin Creeks Lodge by Avantstay 33 Acre Retreat - Photo 45
Twin Creeks Lodge by Avantstay 33 Acre Retreat - Photo 46
Twin Creeks Lodge by Avantstay 33 Acre Retreat - Photo 47
Twin Creeks Lodge by Avantstay 33 Acre Retreat - Photo 48
Twin Creeks Lodge by Avantstay 33 Acre Retreat - Photo 49
Twin Creeks Lodge by Avantstay 33 Acre Retreat - Photo 50
Twin Creeks Lodge by Avantstay 33 Acre Retreat - Photo 51
Twin Creeks Lodge by Avantstay 33 Acre Retreat - Photo 52
Twin Creeks Lodge by Avantstay 33 Acre Retreat - Photo 53
Twin Creeks Lodge by Avantstay 33 Acre Retreat - Photo 54
Twin Creeks Lodge by Avantstay 33 Acre Retreat - Photo 55
Twin Creeks Lodge by Avantstay 33 Acre Retreat - Photo 56
Twin Creeks Lodge by Avantstay 33 Acre Retreat - Photo 57
Twin Creeks Lodge by Avantstay 33 Acre Retreat - Photo 58
Twin Creeks Lodge by Avantstay 33 Acre Retreat - Photo 59
Twin Creeks Lodge by Avantstay 33 Acre Retreat - Photo 60
Twin Creeks Lodge by Avantstay 33 Acre Retreat - Photo 61
Twin Creeks Lodge by Avantstay 33 Acre Retreat - Photo 62
Twin Creeks Lodge by Avantstay 33 Acre Retreat - Photo 63
Twin Creeks Lodge by Avantstay 33 Acre Retreat - Photo 64
Twin Creeks Lodge by Avantstay 33 Acre Retreat - Photo 65
Twin Creeks Lodge by Avantstay 33 Acre Retreat - Photo 66
Twin Creeks Lodge by Avantstay 33 Acre Retreat - Photo 67
Twin Creeks Lodge by Avantstay 33 Acre Retreat - Photo 68
Twin Creeks Lodge by Avantstay 33 Acre Retreat - Photo 69
Twin Creeks Lodge by Avantstay 33 Acre Retreat - Photo 70
Twin Creeks Lodge by Avantstay 33 Acre Retreat - Photo 71
Twin Creeks Lodge by Avantstay 33 Acre Retreat - Photo 72
Twin Creeks Lodge by Avantstay 33 Acre Retreat - Photo 73
Twin Creeks Lodge by Avantstay 33 Acre Retreat - Photo 74
Twin Creeks Lodge by Avantstay 33 Acre Retreat - Photo 75
Twin Creeks Lodge by Avantstay 33 Acre Retreat - Photo 76
Twin Creeks Lodge by Avantstay 33 Acre Retreat - Photo 77
Twin Creeks Lodge by Avantstay 33 Acre Retreat - Photo 78
Twin Creeks Lodge by Avantstay 33 Acre Retreat - Photo 79
Twin Creeks Lodge by Avantstay 33 Acre Retreat - Photo 80
Twin Creeks Lodge by Avantstay 33 Acre Retreat - Photo 81
Twin Creeks Lodge by Avantstay 33 Acre Retreat - Photo 82
Twin Creeks Lodge by Avantstay 33 Acre Retreat - Photo 83
Twin Creeks Lodge by Avantstay 33 Acre Retreat - Photo 84
Twin Creeks Lodge by Avantstay 33 Acre Retreat - Photo 85
Twin Creeks Lodge by Avantstay 33 Acre Retreat - Photo 86
Twin Creeks Lodge by Avantstay 33 Acre Retreat - Photo 87
Twin Creeks Lodge by Avantstay 33 Acre Retreat - Photo 88
Twin Creeks Lodge by Avantstay 33 Acre Retreat - Photo 89
Twin Creeks Lodge by Avantstay 33 Acre Retreat - Photo 90
Twin Creeks Lodge by Avantstay 33 Acre Retreat - Photo 91
Twin Creeks Lodge by Avantstay 33 Acre Retreat - Photo 92
Twin Creeks Lodge by Avantstay 33 Acre Retreat - Photo 93
Twin Creeks Lodge by Avantstay 33 Acre Retreat - Photo 94
Twin Creeks Lodge by Avantstay 33 Acre Retreat - Photo 95
Twin Creeks Lodge by Avantstay 33 Acre Retreat - Photo 96
Twin Creeks Lodge by Avantstay 33 Acre Retreat - Photo 97
Twin Creeks Lodge by Avantstay 33 Acre Retreat - Photo 98
Twin Creeks Lodge by Avantstay 33 Acre Retreat - Photo 99
Twin Creeks Lodge by Avantstay 33 Acre Retreat - Photo 100
Twin Creeks Lodge by Avantstay 33 Acre Retreat - Photo 101
Twin Creeks Lodge by Avantstay 33 Acre Retreat - Photo 102
Twin Creeks Lodge by Avantstay 33 Acre Retreat - Photo 103
Twin Creeks Lodge by Avantstay 33 Acre Retreat - Photo 104
Twin Creeks Lodge by Avantstay 33 Acre Retreat - Photo 105
Twin Creeks Lodge by Avantstay 33 Acre Retreat - Photo 106

Twin Creeks Lodge by Avantstay 33 Acre Retreat

Brevard

  • 318 M2
  • 4 bedrooms
  • 12 people
  • Air conditioning
  • Heating
  • Parking
  • Balcony
  • Tv
  • Washing machine
  • Fireplace
  • Barbecue
  • Bed linen
10Superb | 2 reviews
Life's Good Retreat Bear Cottage - Photo 1
Life's Good Retreat Bear Cottage - Photo 2
Life's Good Retreat Bear Cottage - Photo 3
Life's Good Retreat Bear Cottage - Photo 4
Life's Good Retreat Bear Cottage - Photo 5
Life's Good Retreat Bear Cottage - Photo 6
Life's Good Retreat Bear Cottage - Photo 7
Life's Good Retreat Bear Cottage - Photo 8
Life's Good Retreat Bear Cottage - Photo 9
Life's Good Retreat Bear Cottage - Photo 10
Life's Good Retreat Bear Cottage - Photo 11
Life's Good Retreat Bear Cottage - Photo 12
Life's Good Retreat Bear Cottage - Photo 13
Life's Good Retreat Bear Cottage - Photo 14
Life's Good Retreat Bear Cottage - Photo 15
Life's Good Retreat Bear Cottage - Photo 16
Life's Good Retreat Bear Cottage - Photo 17
Life's Good Retreat Bear Cottage - Photo 18
Life's Good Retreat Bear Cottage - Photo 19
Life's Good Retreat Bear Cottage - Photo 20
Life's Good Retreat Bear Cottage - Photo 21
Life's Good Retreat Bear Cottage - Photo 22
Life's Good Retreat Bear Cottage - Photo 23
Life's Good Retreat Bear Cottage - Photo 24
Life's Good Retreat Bear Cottage - Photo 25
Life's Good Retreat Bear Cottage - Photo 26
Life's Good Retreat Bear Cottage - Photo 27
Life's Good Retreat Bear Cottage - Photo 28
Life's Good Retreat Bear Cottage - Photo 29
Life's Good Retreat Bear Cottage - Photo 30
Life's Good Retreat Bear Cottage - Photo 31
Life's Good Retreat Bear Cottage - Photo 32
Life's Good Retreat Bear Cottage - Photo 33
Life's Good Retreat Bear Cottage - Photo 34
Life's Good Retreat Bear Cottage - Photo 35
Life's Good Retreat Bear Cottage - Photo 36
Life's Good Retreat Bear Cottage - Photo 37
Life's Good Retreat Bear Cottage - Photo 38
Life's Good Retreat Bear Cottage - Photo 39
Life's Good Retreat Bear Cottage - Photo 40
Life's Good Retreat Bear Cottage - Photo 41
Life's Good Retreat Bear Cottage - Photo 42
Life's Good Retreat Bear Cottage - Photo 43
Life's Good Retreat Bear Cottage - Photo 44
Life's Good Retreat Bear Cottage - Photo 45
Life's Good Retreat Bear Cottage - Photo 46

Life's Good Retreat Bear Cottage

Brevard

  • 67 M2
  • 2 bedrooms
  • 4 people
  • Air conditioning
  • Heating
  • Parking
10Superb | 7 reviews
Life's Especially Good Retreat - Photo 1
Life's Especially Good Retreat - Photo 2
Life's Especially Good Retreat - Photo 3
Life's Especially Good Retreat - Photo 4
Life's Especially Good Retreat - Photo 5
Life's Especially Good Retreat - Photo 6
Life's Especially Good Retreat - Photo 7
Life's Especially Good Retreat - Photo 8
Life's Especially Good Retreat - Photo 9
Life's Especially Good Retreat - Photo 10
Life's Especially Good Retreat - Photo 11
Life's Especially Good Retreat - Photo 12
Life's Especially Good Retreat - Photo 13
Life's Especially Good Retreat - Photo 14
Life's Especially Good Retreat - Photo 15
Life's Especially Good Retreat - Photo 16
Life's Especially Good Retreat - Photo 17
Life's Especially Good Retreat - Photo 18
Life's Especially Good Retreat - Photo 19
Life's Especially Good Retreat - Photo 20
Life's Especially Good Retreat - Photo 21
Life's Especially Good Retreat - Photo 22
Life's Especially Good Retreat - Photo 23
Life's Especially Good Retreat - Photo 24
Life's Especially Good Retreat - Photo 25
Life's Especially Good Retreat - Photo 26
Life's Especially Good Retreat - Photo 27
Life's Especially Good Retreat - Photo 28
Life's Especially Good Retreat - Photo 29
Life's Especially Good Retreat - Photo 30
Life's Especially Good Retreat - Photo 31
Life's Especially Good Retreat - Photo 32
Life's Especially Good Retreat - Photo 33
Life's Especially Good Retreat - Photo 34
Life's Especially Good Retreat - Photo 35
Life's Especially Good Retreat - Photo 36
Life's Especially Good Retreat - Photo 37

Life's Especially Good Retreat

Brevard

  • 67 M2
  • 2 bedrooms
  • 4 people
  • Air conditioning
  • Heating
  • Parking
9.8Exceptional | 7 reviews
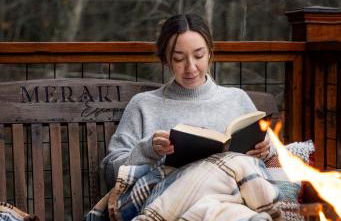
Meraki Escape - Photo 1
Meraki Escape - Photo 2
Meraki Escape - Photo 3
Meraki Escape - Photo 4
Meraki Escape - Photo 5
Meraki Escape - Photo 6
Meraki Escape - Photo 7
Meraki Escape - Photo 8
Meraki Escape - Photo 9
Meraki Escape - Photo 10
Meraki Escape - Photo 11
Meraki Escape - Photo 12
Meraki Escape - Photo 13
Meraki Escape - Photo 14
Meraki Escape - Photo 15
Meraki Escape - Photo 16
Meraki Escape - Photo 17
Meraki Escape - Photo 18
Meraki Escape - Photo 19
Meraki Escape - Photo 20
Meraki Escape - Photo 21
Meraki Escape - Photo 22
Meraki Escape - Photo 23
Meraki Escape - Photo 24
Meraki Escape - Photo 25
Meraki Escape - Photo 26
Meraki Escape - Photo 27
Meraki Escape - Photo 28
Meraki Escape - Photo 29
Meraki Escape - Photo 30
Meraki Escape - Photo 31
Meraki Escape - Photo 32
Meraki Escape - Photo 33
Meraki Escape - Photo 34
Meraki Escape - Photo 35
Meraki Escape - Photo 36
Meraki Escape - Photo 37
Meraki Escape - Photo 38
Meraki Escape - Photo 39
Meraki Escape - Photo 40
Meraki Escape - Photo 41
Meraki Escape - Photo 42
Meraki Escape - Photo 43
Meraki Escape - Photo 44
Meraki Escape - Photo 45
Meraki Escape - Photo 46
Meraki Escape - Photo 47
Meraki Escape - Photo 48
Meraki Escape - Photo 49
Meraki Escape - Photo 50
Meraki Escape - Photo 51
Meraki Escape - Photo 52
Meraki Escape - Photo 53
Meraki Escape - Photo 54
Meraki Escape - Photo 55
Meraki Escape - Photo 56

Meraki Escape

Brevard

  • 50 M2
  • 1 bedroom
  • 2 people
  • Air conditioning
  • Terrace
  • Parking
  • Garden
  • Barbecue
10Superb | 7 reviews
Quaint Mtn Cabin: Tiny Living Near Big Adventure - Photo 1
Quaint Mtn Cabin: Tiny Living Near Big Adventure - Photo 2
Quaint Mtn Cabin: Tiny Living Near Big Adventure - Photo 3
Quaint Mtn Cabin: Tiny Living Near Big Adventure - Photo 4
Quaint Mtn Cabin: Tiny Living Near Big Adventure - Photo 5
Quaint Mtn Cabin: Tiny Living Near Big Adventure - Photo 6
Quaint Mtn Cabin: Tiny Living Near Big Adventure - Photo 7
Quaint Mtn Cabin: Tiny Living Near Big Adventure - Photo 8
Quaint Mtn Cabin: Tiny Living Near Big Adventure - Photo 9
Quaint Mtn Cabin: Tiny Living Near Big Adventure - Photo 10
Quaint Mtn Cabin: Tiny Living Near Big Adventure - Photo 11
Quaint Mtn Cabin: Tiny Living Near Big Adventure - Photo 12
Quaint Mtn Cabin: Tiny Living Near Big Adventure - Photo 13
Quaint Mtn Cabin: Tiny Living Near Big Adventure - Photo 14
Quaint Mtn Cabin: Tiny Living Near Big Adventure - Photo 15
Quaint Mtn Cabin: Tiny Living Near Big Adventure - Photo 16
Quaint Mtn Cabin: Tiny Living Near Big Adventure - Photo 17
Quaint Mtn Cabin: Tiny Living Near Big Adventure - Photo 18
Quaint Mtn Cabin: Tiny Living Near Big Adventure - Photo 19
Quaint Mtn Cabin: Tiny Living Near Big Adventure - Photo 20
Quaint Mtn Cabin: Tiny Living Near Big Adventure - Photo 21
Quaint Mtn Cabin: Tiny Living Near Big Adventure - Photo 22
Quaint Mtn Cabin: Tiny Living Near Big Adventure - Photo 23
Quaint Mtn Cabin: Tiny Living Near Big Adventure - Photo 24

Quaint Mtn Cabin: Tiny Living Near Big Adventure

Brevard

  • 70 M2
  • 1 bedroom
  • 4 people
  • Heating
  • Terrace
  • Parking
9.2Exceptional | 10 reviews
Life's Good Creek Side Retreat - Photo 1
Life's Good Creek Side Retreat - Photo 2
Life's Good Creek Side Retreat - Photo 3
Life's Good Creek Side Retreat - Photo 4
Life's Good Creek Side Retreat - Photo 5
Life's Good Creek Side Retreat - Photo 6
Life's Good Creek Side Retreat - Photo 7
Life's Good Creek Side Retreat - Photo 8
Life's Good Creek Side Retreat - Photo 9
Life's Good Creek Side Retreat - Photo 10
Life's Good Creek Side Retreat - Photo 11
Life's Good Creek Side Retreat - Photo 12
Life's Good Creek Side Retreat - Photo 13
Life's Good Creek Side Retreat - Photo 14
Life's Good Creek Side Retreat - Photo 15
Life's Good Creek Side Retreat - Photo 16
Life's Good Creek Side Retreat - Photo 17
Life's Good Creek Side Retreat - Photo 18
Life's Good Creek Side Retreat - Photo 19
Life's Good Creek Side Retreat - Photo 20
Life's Good Creek Side Retreat - Photo 21
Life's Good Creek Side Retreat - Photo 22
Life's Good Creek Side Retreat - Photo 23
Life's Good Creek Side Retreat - Photo 24
Life's Good Creek Side Retreat - Photo 25
Life's Good Creek Side Retreat - Photo 26
Life's Good Creek Side Retreat - Photo 27
Life's Good Creek Side Retreat - Photo 28
Life's Good Creek Side Retreat - Photo 29

Life's Good Creek Side Retreat

Brevard

  • 67 M2
  • 2 bedrooms
  • 4 people
  • Air conditioning
  • Heating
  • Parking
9.2Exceptional | 12 reviews
Downtown Brevard 5BR Retreat & Cyclists Dream - Photo 1
Downtown Brevard 5BR Retreat & Cyclists Dream - Photo 2
Downtown Brevard 5BR Retreat & Cyclists Dream - Photo 3
Downtown Brevard 5BR Retreat & Cyclists Dream - Photo 4
Downtown Brevard 5BR Retreat & Cyclists Dream - Photo 5
Downtown Brevard 5BR Retreat & Cyclists Dream - Photo 6
Downtown Brevard 5BR Retreat & Cyclists Dream - Photo 7
Downtown Brevard 5BR Retreat & Cyclists Dream - Photo 8
Downtown Brevard 5BR Retreat & Cyclists Dream - Photo 9
Downtown Brevard 5BR Retreat & Cyclists Dream - Photo 10
Downtown Brevard 5BR Retreat & Cyclists Dream - Photo 11
Downtown Brevard 5BR Retreat & Cyclists Dream - Photo 12
Downtown Brevard 5BR Retreat & Cyclists Dream - Photo 13
Downtown Brevard 5BR Retreat & Cyclists Dream - Photo 14
Downtown Brevard 5BR Retreat & Cyclists Dream - Photo 15
Downtown Brevard 5BR Retreat & Cyclists Dream - Photo 16
Downtown Brevard 5BR Retreat & Cyclists Dream - Photo 17
Downtown Brevard 5BR Retreat & Cyclists Dream - Photo 18
Downtown Brevard 5BR Retreat & Cyclists Dream - Photo 19
Downtown Brevard 5BR Retreat & Cyclists Dream - Photo 20
Downtown Brevard 5BR Retreat & Cyclists Dream - Photo 21
Downtown Brevard 5BR Retreat & Cyclists Dream - Photo 22
Downtown Brevard 5BR Retreat & Cyclists Dream - Photo 23
Downtown Brevard 5BR Retreat & Cyclists Dream - Photo 24
Downtown Brevard 5BR Retreat & Cyclists Dream - Photo 25
Downtown Brevard 5BR Retreat & Cyclists Dream - Photo 26
Downtown Brevard 5BR Retreat & Cyclists Dream - Photo 27
Downtown Brevard 5BR Retreat & Cyclists Dream - Photo 28
Downtown Brevard 5BR Retreat & Cyclists Dream - Photo 29
Downtown Brevard 5BR Retreat & Cyclists Dream - Photo 30
Downtown Brevard 5BR Retreat & Cyclists Dream - Photo 31
Downtown Brevard 5BR Retreat & Cyclists Dream - Photo 32
Downtown Brevard 5BR Retreat & Cyclists Dream - Photo 33
Downtown Brevard 5BR Retreat & Cyclists Dream - Photo 34
Downtown Brevard 5BR Retreat & Cyclists Dream - Photo 35
Downtown Brevard 5BR Retreat & Cyclists Dream - Photo 36
Downtown Brevard 5BR Retreat & Cyclists Dream - Photo 37
Downtown Brevard 5BR Retreat & Cyclists Dream - Photo 38
Downtown Brevard 5BR Retreat & Cyclists Dream - Photo 39
Downtown Brevard 5BR Retreat & Cyclists Dream - Photo 40
Downtown Brevard 5BR Retreat & Cyclists Dream - Photo 41
Downtown Brevard 5BR Retreat & Cyclists Dream - Photo 42

Downtown Brevard 5BR Retreat & Cyclists Dream

Brevard

  • 204 M2
  • 5 bedrooms
  • 10 people
  • Air conditioning
  • Heating
  • Terrace
  • Parking
  • Garden
  • Barbecue
10Superb | 2 reviews
Bears Place by Avantstay Cozy Mountain Cabin in Brevard + Firepit - Photo 1
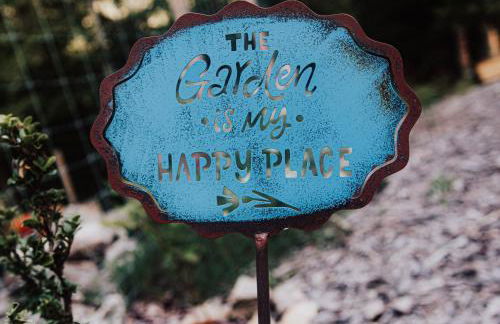
Bears Place by Avantstay Cozy Mountain Cabin in Brevard + Firepit - Photo 2
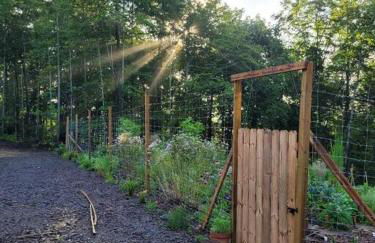
Bears Place by Avantstay Cozy Mountain Cabin in Brevard + Firepit - Photo 3
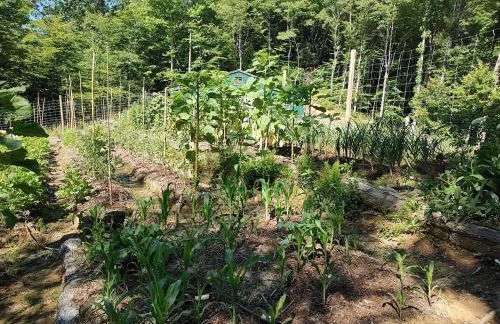
Bears Place by Avantstay Cozy Mountain Cabin in Brevard + Firepit - Photo 4
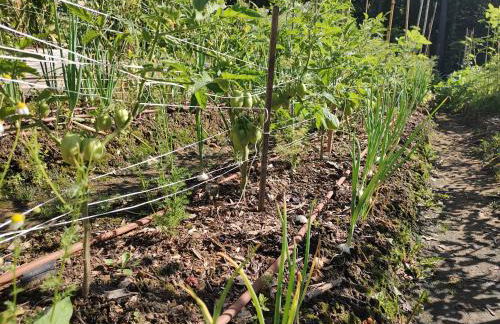
Bears Place by Avantstay Cozy Mountain Cabin in Brevard + Firepit - Photo 5
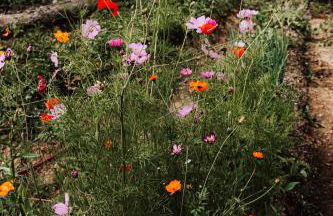
Bears Place by Avantstay Cozy Mountain Cabin in Brevard + Firepit - Photo 6
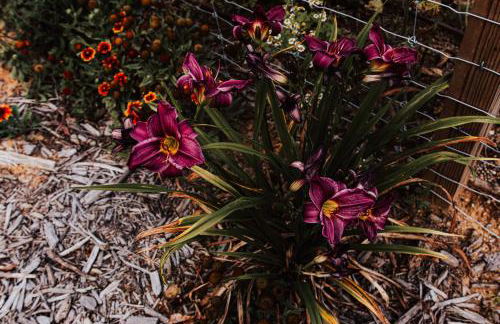
Bears Place by Avantstay Cozy Mountain Cabin in Brevard + Firepit - Photo 7
Bears Place by Avantstay Cozy Mountain Cabin in Brevard + Firepit - Photo 8
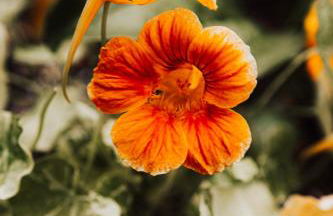
Bears Place by Avantstay Cozy Mountain Cabin in Brevard + Firepit - Photo 9
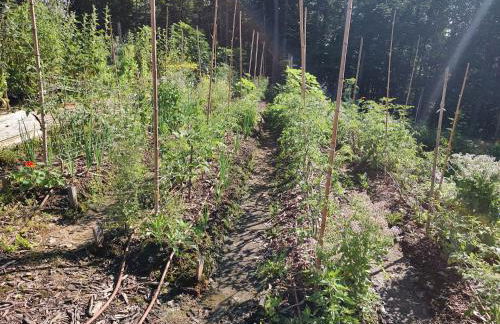
Bears Place by Avantstay Cozy Mountain Cabin in Brevard + Firepit - Photo 10
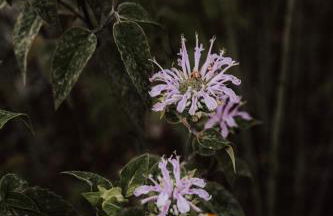
Bears Place by Avantstay Cozy Mountain Cabin in Brevard + Firepit - Photo 11
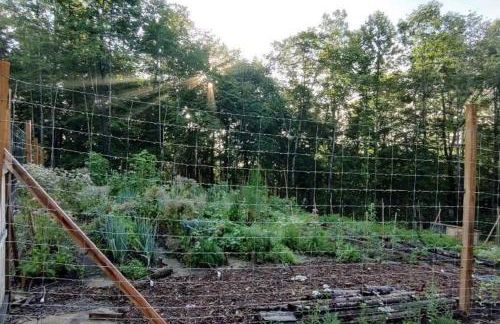
Bears Place by Avantstay Cozy Mountain Cabin in Brevard + Firepit - Photo 12
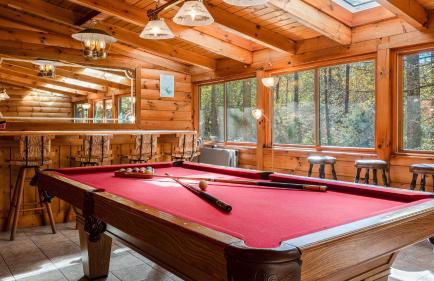
Bears Place by Avantstay Cozy Mountain Cabin in Brevard + Firepit - Photo 13
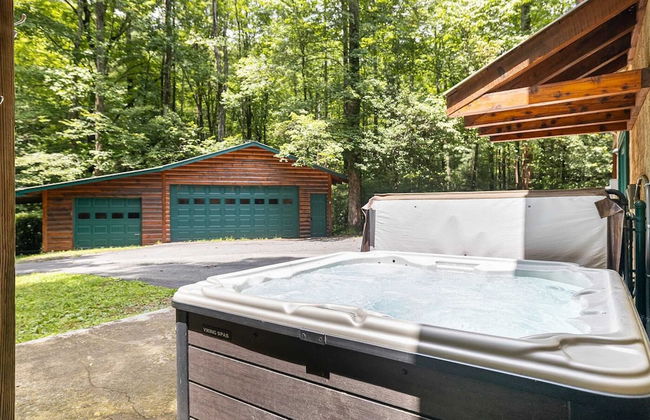
Bears Place by Avantstay Cozy Mountain Cabin in Brevard + Firepit - Photo 14
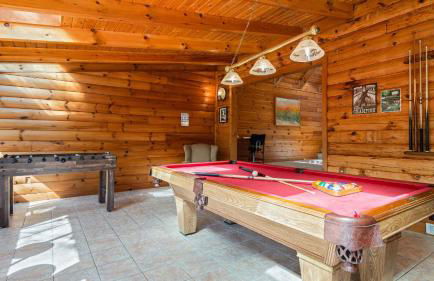
Bears Place by Avantstay Cozy Mountain Cabin in Brevard + Firepit - Photo 15
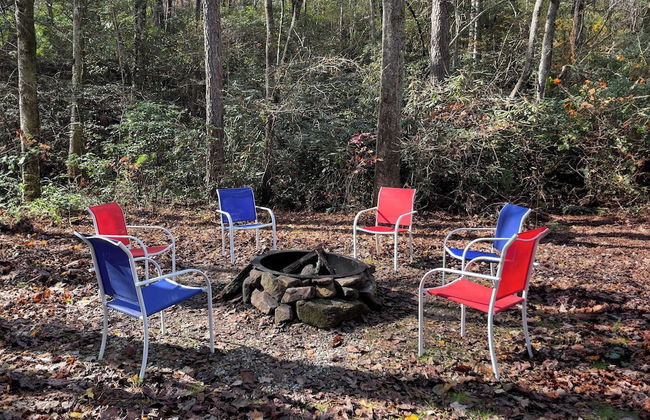
Bears Place by Avantstay Cozy Mountain Cabin in Brevard + Firepit - Photo 16
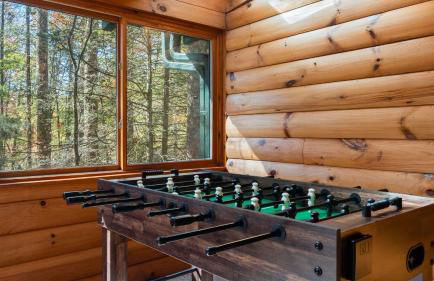
Bears Place by Avantstay Cozy Mountain Cabin in Brevard + Firepit - Photo 17
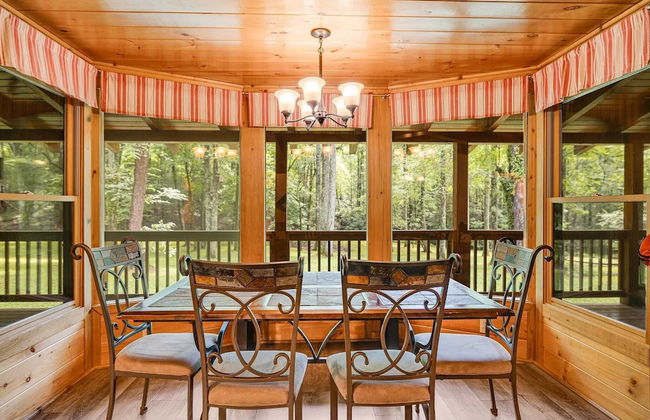
Bears Place by Avantstay Cozy Mountain Cabin in Brevard + Firepit - Photo 18
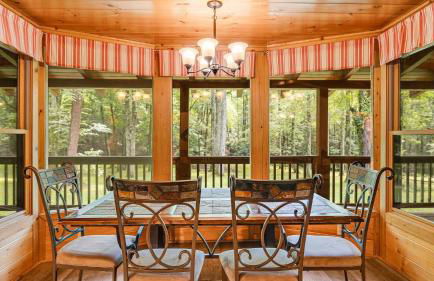
Bears Place by Avantstay Cozy Mountain Cabin in Brevard + Firepit - Photo 19
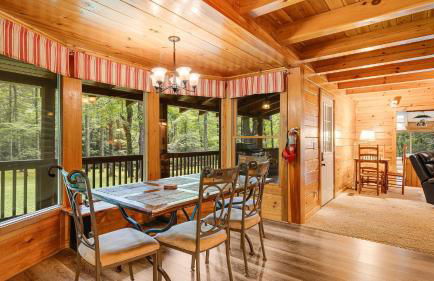
Bears Place by Avantstay Cozy Mountain Cabin in Brevard + Firepit - Photo 20
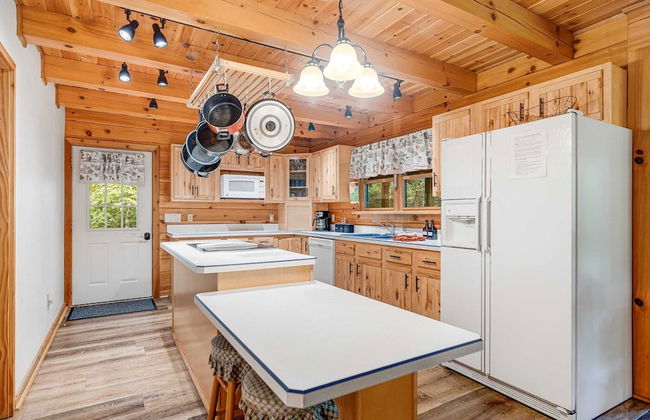
Bears Place by Avantstay Cozy Mountain Cabin in Brevard + Firepit - Photo 21
Bears Place by Avantstay Cozy Mountain Cabin in Brevard + Firepit - Photo 22
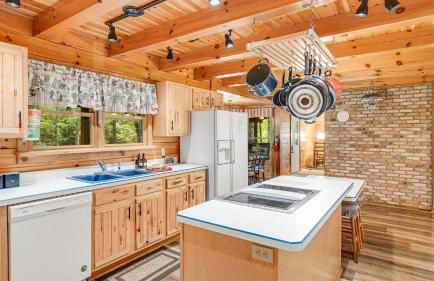
Bears Place by Avantstay Cozy Mountain Cabin in Brevard + Firepit - Photo 23
Bears Place by Avantstay Cozy Mountain Cabin in Brevard + Firepit - Photo 24
Bears Place by Avantstay Cozy Mountain Cabin in Brevard + Firepit - Photo 25
Bears Place by Avantstay Cozy Mountain Cabin in Brevard + Firepit - Photo 26
Bears Place by Avantstay Cozy Mountain Cabin in Brevard + Firepit - Photo 27
Bears Place by Avantstay Cozy Mountain Cabin in Brevard + Firepit - Photo 28
Bears Place by Avantstay Cozy Mountain Cabin in Brevard + Firepit - Photo 29
Bears Place by Avantstay Cozy Mountain Cabin in Brevard + Firepit - Photo 30
Bears Place by Avantstay Cozy Mountain Cabin in Brevard + Firepit - Photo 31
Bears Place by Avantstay Cozy Mountain Cabin in Brevard + Firepit - Photo 32
Bears Place by Avantstay Cozy Mountain Cabin in Brevard + Firepit - Photo 33
Bears Place by Avantstay Cozy Mountain Cabin in Brevard + Firepit - Photo 34
Bears Place by Avantstay Cozy Mountain Cabin in Brevard + Firepit - Photo 35
Bears Place by Avantstay Cozy Mountain Cabin in Brevard + Firepit - Photo 36
Bears Place by Avantstay Cozy Mountain Cabin in Brevard + Firepit - Photo 37
Bears Place by Avantstay Cozy Mountain Cabin in Brevard + Firepit - Photo 38
Bears Place by Avantstay Cozy Mountain Cabin in Brevard + Firepit - Photo 39
Bears Place by Avantstay Cozy Mountain Cabin in Brevard + Firepit - Photo 40
Bears Place by Avantstay Cozy Mountain Cabin in Brevard + Firepit - Photo 41
Bears Place by Avantstay Cozy Mountain Cabin in Brevard + Firepit - Photo 42
Bears Place by Avantstay Cozy Mountain Cabin in Brevard + Firepit - Photo 43
Bears Place by Avantstay Cozy Mountain Cabin in Brevard + Firepit - Photo 44
Bears Place by Avantstay Cozy Mountain Cabin in Brevard + Firepit - Photo 45
Bears Place by Avantstay Cozy Mountain Cabin in Brevard + Firepit - Photo 46
Bears Place by Avantstay Cozy Mountain Cabin in Brevard + Firepit - Photo 47
Bears Place by Avantstay Cozy Mountain Cabin in Brevard + Firepit - Photo 48
Bears Place by Avantstay Cozy Mountain Cabin in Brevard + Firepit - Photo 49
Bears Place by Avantstay Cozy Mountain Cabin in Brevard + Firepit - Photo 50
Bears Place by Avantstay Cozy Mountain Cabin in Brevard + Firepit - Photo 51
Bears Place by Avantstay Cozy Mountain Cabin in Brevard + Firepit - Photo 52
Bears Place by Avantstay Cozy Mountain Cabin in Brevard + Firepit - Photo 53
Bears Place by Avantstay Cozy Mountain Cabin in Brevard + Firepit - Photo 54
Bears Place by Avantstay Cozy Mountain Cabin in Brevard + Firepit - Photo 55
Bears Place by Avantstay Cozy Mountain Cabin in Brevard + Firepit - Photo 56
Bears Place by Avantstay Cozy Mountain Cabin in Brevard + Firepit - Photo 57
Bears Place by Avantstay Cozy Mountain Cabin in Brevard + Firepit - Photo 58
Bears Place by Avantstay Cozy Mountain Cabin in Brevard + Firepit - Photo 59
Bears Place by Avantstay Cozy Mountain Cabin in Brevard + Firepit - Photo 60
Bears Place by Avantstay Cozy Mountain Cabin in Brevard + Firepit - Photo 61
Bears Place by Avantstay Cozy Mountain Cabin in Brevard + Firepit - Photo 62
Bears Place by Avantstay Cozy Mountain Cabin in Brevard + Firepit - Photo 63
Bears Place by Avantstay Cozy Mountain Cabin in Brevard + Firepit - Photo 64
Bears Place by Avantstay Cozy Mountain Cabin in Brevard + Firepit - Photo 65
Bears Place by Avantstay Cozy Mountain Cabin in Brevard + Firepit - Photo 66
Bears Place by Avantstay Cozy Mountain Cabin in Brevard + Firepit - Photo 67
Bears Place by Avantstay Cozy Mountain Cabin in Brevard + Firepit - Photo 68
Bears Place by Avantstay Cozy Mountain Cabin in Brevard + Firepit - Photo 69
Bears Place by Avantstay Cozy Mountain Cabin in Brevard + Firepit - Photo 70
Bears Place by Avantstay Cozy Mountain Cabin in Brevard + Firepit - Photo 71
Bears Place by Avantstay Cozy Mountain Cabin in Brevard + Firepit - Photo 72
Bears Place by Avantstay Cozy Mountain Cabin in Brevard + Firepit - Photo 73
Bears Place by Avantstay Cozy Mountain Cabin in Brevard + Firepit - Photo 74
Bears Place by Avantstay Cozy Mountain Cabin in Brevard + Firepit - Photo 75
Bears Place by Avantstay Cozy Mountain Cabin in Brevard + Firepit - Photo 76
Bears Place by Avantstay Cozy Mountain Cabin in Brevard + Firepit - Photo 77
Bears Place by Avantstay Cozy Mountain Cabin in Brevard + Firepit - Photo 78
Bears Place by Avantstay Cozy Mountain Cabin in Brevard + Firepit - Photo 79
Bears Place by Avantstay Cozy Mountain Cabin in Brevard + Firepit - Photo 80

Bears Place by Avantstay Cozy Mountain Cabin in Brevard + Firepit

Brevard

  • 59 M2
  • 2 bedrooms
  • 6 people
  • Air conditioning
  • Heating
  • Terrace
  • Parking
  • Washing machine
  • Fireplace
  • Barbecue
  • Bath linen
  • Bed linen
9Exceptional | 2 reviews
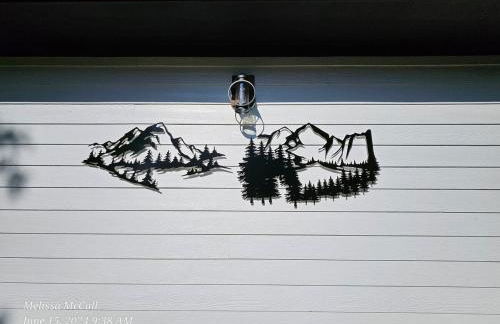
Walkable Downtown 5BR - Hot Tub and Resort Access - Photo 1
Walkable Downtown 5BR - Hot Tub and Resort Access - Photo 2
Walkable Downtown 5BR - Hot Tub and Resort Access - Photo 3
Walkable Downtown 5BR - Hot Tub and Resort Access - Photo 4
Walkable Downtown 5BR - Hot Tub and Resort Access - Photo 5
Walkable Downtown 5BR - Hot Tub and Resort Access - Photo 6
Walkable Downtown 5BR - Hot Tub and Resort Access - Photo 7
Walkable Downtown 5BR - Hot Tub and Resort Access - Photo 8
Walkable Downtown 5BR - Hot Tub and Resort Access - Photo 9
Walkable Downtown 5BR - Hot Tub and Resort Access - Photo 10
Walkable Downtown 5BR - Hot Tub and Resort Access - Photo 11
Walkable Downtown 5BR - Hot Tub and Resort Access - Photo 12
Walkable Downtown 5BR - Hot Tub and Resort Access - Photo 13
Walkable Downtown 5BR - Hot Tub and Resort Access - Photo 14
Walkable Downtown 5BR - Hot Tub and Resort Access - Photo 15
Walkable Downtown 5BR - Hot Tub and Resort Access - Photo 16
Walkable Downtown 5BR - Hot Tub and Resort Access - Photo 17
Walkable Downtown 5BR - Hot Tub and Resort Access - Photo 18
Walkable Downtown 5BR - Hot Tub and Resort Access - Photo 19
Walkable Downtown 5BR - Hot Tub and Resort Access - Photo 20
Walkable Downtown 5BR - Hot Tub and Resort Access - Photo 21
Walkable Downtown 5BR - Hot Tub and Resort Access - Photo 22
Walkable Downtown 5BR - Hot Tub and Resort Access - Photo 23
Walkable Downtown 5BR - Hot Tub and Resort Access - Photo 24
Walkable Downtown 5BR - Hot Tub and Resort Access - Photo 25
Walkable Downtown 5BR - Hot Tub and Resort Access - Photo 26
Walkable Downtown 5BR - Hot Tub and Resort Access - Photo 27
Walkable Downtown 5BR - Hot Tub and Resort Access - Photo 28
Walkable Downtown 5BR - Hot Tub and Resort Access - Photo 29
Walkable Downtown 5BR - Hot Tub and Resort Access - Photo 30
Walkable Downtown 5BR - Hot Tub and Resort Access - Photo 31
Walkable Downtown 5BR - Hot Tub and Resort Access - Photo 32
Walkable Downtown 5BR - Hot Tub and Resort Access - Photo 33
Walkable Downtown 5BR - Hot Tub and Resort Access - Photo 34
Walkable Downtown 5BR - Hot Tub and Resort Access - Photo 35

Walkable Downtown 5BR - Hot Tub and Resort Access

Brevard

  • 200 M2
  • 5 bedrooms
  • 10 people
  • Air conditioning
  • Heating
  • Terrace
  • Parking
  • Garden
  • Barbecue
9.5Exceptional | 2 reviews
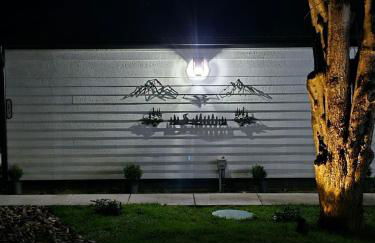
Brevard Retreat ~ 3 Mi to Downtown! - Photo 1
Brevard Retreat ~ 3 Mi to Downtown! - Photo 2
Brevard Retreat ~ 3 Mi to Downtown! - Photo 3
Brevard Retreat ~ 3 Mi to Downtown! - Photo 4
Brevard Retreat ~ 3 Mi to Downtown! - Photo 5
Brevard Retreat ~ 3 Mi to Downtown! - Photo 6
Brevard Retreat ~ 3 Mi to Downtown! - Photo 7
Brevard Retreat ~ 3 Mi to Downtown! - Photo 8
Brevard Retreat ~ 3 Mi to Downtown! - Photo 9
Brevard Retreat ~ 3 Mi to Downtown! - Photo 10
Brevard Retreat ~ 3 Mi to Downtown! - Photo 11
Brevard Retreat ~ 3 Mi to Downtown! - Photo 12
Brevard Retreat ~ 3 Mi to Downtown! - Photo 13
Brevard Retreat ~ 3 Mi to Downtown! - Photo 14
Brevard Retreat ~ 3 Mi to Downtown! - Photo 15
Brevard Retreat ~ 3 Mi to Downtown! - Photo 16
Brevard Retreat ~ 3 Mi to Downtown! - Photo 17
Brevard Retreat ~ 3 Mi to Downtown! - Photo 18
Brevard Retreat ~ 3 Mi to Downtown! - Photo 19
Brevard Retreat ~ 3 Mi to Downtown! - Photo 20
Brevard Retreat ~ 3 Mi to Downtown! - Photo 21
Brevard Retreat ~ 3 Mi to Downtown! - Photo 22
Brevard Retreat ~ 3 Mi to Downtown! - Photo 23
Brevard Retreat ~ 3 Mi to Downtown! - Photo 24
Brevard Retreat ~ 3 Mi to Downtown! - Photo 25
Brevard Retreat ~ 3 Mi to Downtown! - Photo 26
Brevard Retreat ~ 3 Mi to Downtown! - Photo 27
Brevard Retreat ~ 3 Mi to Downtown! - Photo 28
Brevard Retreat ~ 3 Mi to Downtown! - Photo 29
Brevard Retreat ~ 3 Mi to Downtown! - Photo 30
Brevard Retreat ~ 3 Mi to Downtown! - Photo 31
Brevard Retreat ~ 3 Mi to Downtown! - Photo 32
Brevard Retreat ~ 3 Mi to Downtown! - Photo 33

Brevard Retreat ~ 3 Mi to Downtown!

Brevard

  • 167 M2
  • 3 bedrooms
  • 6 people
  • Heating
  • Parking
10Superb | 2 reviews
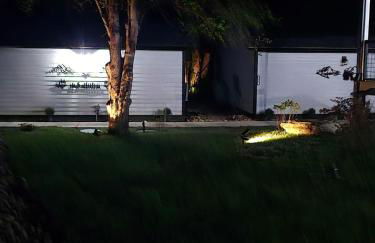
Peace of Heaven in Connestee · Peace of Heaven in Connestee Fall - Photo 1
Peace of Heaven in Connestee · Peace of Heaven in Connestee Fall - Photo 2
Peace of Heaven in Connestee · Peace of Heaven in Connestee Fall - Photo 3
Peace of Heaven in Connestee · Peace of Heaven in Connestee Fall - Photo 4
Peace of Heaven in Connestee · Peace of Heaven in Connestee Fall - Photo 5
Peace of Heaven in Connestee · Peace of Heaven in Connestee Fall - Photo 6
Peace of Heaven in Connestee · Peace of Heaven in Connestee Fall - Photo 7
Peace of Heaven in Connestee · Peace of Heaven in Connestee Fall - Photo 8
Peace of Heaven in Connestee · Peace of Heaven in Connestee Fall - Photo 9
Peace of Heaven in Connestee · Peace of Heaven in Connestee Fall - Photo 10
Peace of Heaven in Connestee · Peace of Heaven in Connestee Fall - Photo 11
Peace of Heaven in Connestee · Peace of Heaven in Connestee Fall - Photo 12
Peace of Heaven in Connestee · Peace of Heaven in Connestee Fall - Photo 13
Peace of Heaven in Connestee · Peace of Heaven in Connestee Fall - Photo 14
Peace of Heaven in Connestee · Peace of Heaven in Connestee Fall - Photo 15
Peace of Heaven in Connestee · Peace of Heaven in Connestee Fall - Photo 16
Peace of Heaven in Connestee · Peace of Heaven in Connestee Fall - Photo 17
Peace of Heaven in Connestee · Peace of Heaven in Connestee Fall - Photo 18
Peace of Heaven in Connestee · Peace of Heaven in Connestee Fall - Photo 19
Peace of Heaven in Connestee · Peace of Heaven in Connestee Fall - Photo 20
Peace of Heaven in Connestee · Peace of Heaven in Connestee Fall - Photo 21
Peace of Heaven in Connestee · Peace of Heaven in Connestee Fall - Photo 22
Peace of Heaven in Connestee · Peace of Heaven in Connestee Fall - Photo 23
Peace of Heaven in Connestee · Peace of Heaven in Connestee Fall - Photo 24
Peace of Heaven in Connestee · Peace of Heaven in Connestee Fall - Photo 25
Peace of Heaven in Connestee · Peace of Heaven in Connestee Fall - Photo 26
Peace of Heaven in Connestee · Peace of Heaven in Connestee Fall - Photo 27
Peace of Heaven in Connestee · Peace of Heaven in Connestee Fall - Photo 28
Peace of Heaven in Connestee · Peace of Heaven in Connestee Fall - Photo 29
Peace of Heaven in Connestee · Peace of Heaven in Connestee Fall - Photo 30
Peace of Heaven in Connestee · Peace of Heaven in Connestee Fall - Photo 31
Peace of Heaven in Connestee · Peace of Heaven in Connestee Fall - Photo 32
Peace of Heaven in Connestee · Peace of Heaven in Connestee Fall - Photo 33
Peace of Heaven in Connestee · Peace of Heaven in Connestee Fall - Photo 34
Peace of Heaven in Connestee · Peace of Heaven in Connestee Fall - Photo 35
Peace of Heaven in Connestee · Peace of Heaven in Connestee Fall - Photo 36
Peace of Heaven in Connestee · Peace of Heaven in Connestee Fall - Photo 37
Peace of Heaven in Connestee · Peace of Heaven in Connestee Fall - Photo 38
Peace of Heaven in Connestee · Peace of Heaven in Connestee Fall - Photo 39

Peace of Heaven in Connestee · Peace of Heaven in Connestee Fall

Brevard

  • 244 M2
  • 4 bedrooms
  • 9 people
  • Heating
  • Parking
  • Barbecue
10Superb | 3 reviews
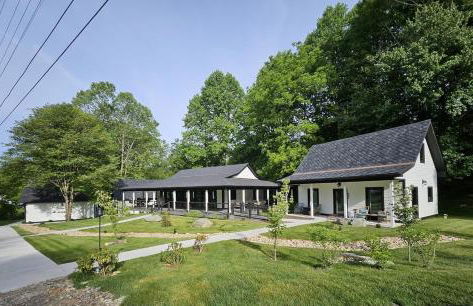
Hummingbird Hideaway · Hummingbird Hideaway in Connestee Falls - Photo 1
Hummingbird Hideaway · Hummingbird Hideaway in Connestee Falls - Photo 2
Hummingbird Hideaway · Hummingbird Hideaway in Connestee Falls - Photo 3
Hummingbird Hideaway · Hummingbird Hideaway in Connestee Falls - Photo 4
Hummingbird Hideaway · Hummingbird Hideaway in Connestee Falls - Photo 5
Hummingbird Hideaway · Hummingbird Hideaway in Connestee Falls - Photo 6
Hummingbird Hideaway · Hummingbird Hideaway in Connestee Falls - Photo 7
Hummingbird Hideaway · Hummingbird Hideaway in Connestee Falls - Photo 8
Hummingbird Hideaway · Hummingbird Hideaway in Connestee Falls - Photo 9
Hummingbird Hideaway · Hummingbird Hideaway in Connestee Falls - Photo 10
Hummingbird Hideaway · Hummingbird Hideaway in Connestee Falls - Photo 11
Hummingbird Hideaway · Hummingbird Hideaway in Connestee Falls - Photo 12
Hummingbird Hideaway · Hummingbird Hideaway in Connestee Falls - Photo 13
Hummingbird Hideaway · Hummingbird Hideaway in Connestee Falls - Photo 14
Hummingbird Hideaway · Hummingbird Hideaway in Connestee Falls - Photo 15
Hummingbird Hideaway · Hummingbird Hideaway in Connestee Falls - Photo 16
Hummingbird Hideaway · Hummingbird Hideaway in Connestee Falls - Photo 17
Hummingbird Hideaway · Hummingbird Hideaway in Connestee Falls - Photo 18
Hummingbird Hideaway · Hummingbird Hideaway in Connestee Falls - Photo 19
Hummingbird Hideaway · Hummingbird Hideaway in Connestee Falls - Photo 20
Hummingbird Hideaway · Hummingbird Hideaway in Connestee Falls - Photo 21
Hummingbird Hideaway · Hummingbird Hideaway in Connestee Falls - Photo 22
Hummingbird Hideaway · Hummingbird Hideaway in Connestee Falls - Photo 23
Hummingbird Hideaway · Hummingbird Hideaway in Connestee Falls - Photo 24
Hummingbird Hideaway · Hummingbird Hideaway in Connestee Falls - Photo 25
Hummingbird Hideaway · Hummingbird Hideaway in Connestee Falls - Photo 26
Hummingbird Hideaway · Hummingbird Hideaway in Connestee Falls - Photo 27
Hummingbird Hideaway · Hummingbird Hideaway in Connestee Falls - Photo 28
Hummingbird Hideaway · Hummingbird Hideaway in Connestee Falls - Photo 29
Hummingbird Hideaway · Hummingbird Hideaway in Connestee Falls - Photo 30
Hummingbird Hideaway · Hummingbird Hideaway in Connestee Falls - Photo 31
Hummingbird Hideaway · Hummingbird Hideaway in Connestee Falls - Photo 32
Hummingbird Hideaway · Hummingbird Hideaway in Connestee Falls - Photo 33
Hummingbird Hideaway · Hummingbird Hideaway in Connestee Falls - Photo 34
Hummingbird Hideaway · Hummingbird Hideaway in Connestee Falls - Photo 35

Hummingbird Hideaway · Hummingbird Hideaway in Connestee Falls

Brevard

  • 274 M2
  • 3 bedrooms
  • 8 people
  • Heating
  • Parking
  • Barbecue
9.3Exceptional | 3 reviews
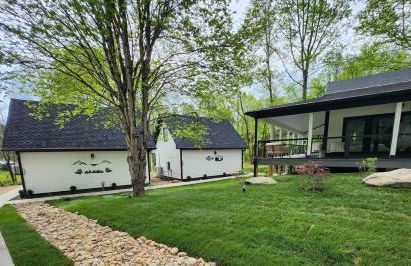
Fieldcrest - Photo 1
Fieldcrest - Photo 2
Fieldcrest - Photo 3
Fieldcrest - Photo 4
Fieldcrest - Photo 5
Fieldcrest - Photo 6
Fieldcrest - Photo 7
Fieldcrest - Photo 8
Fieldcrest - Photo 9
Fieldcrest - Photo 10
Fieldcrest - Photo 11
Fieldcrest - Photo 12
Fieldcrest - Photo 13
Fieldcrest - Photo 14
Fieldcrest - Photo 15
Fieldcrest - Photo 16
Fieldcrest - Photo 17
Fieldcrest - Photo 18
Fieldcrest - Photo 19
Fieldcrest - Photo 20
Fieldcrest - Photo 21
Fieldcrest - Photo 22
Fieldcrest - Photo 23
Fieldcrest - Photo 24
Fieldcrest - Photo 25
Fieldcrest - Photo 26
Fieldcrest - Photo 27
Fieldcrest - Photo 28

Fieldcrest

Brevard

  • 207 M2
  • 3 bedrooms
  • 7 people
  • Air conditioning
  • Heating
  • Garden
  • Barbecue
8.5Very good | 4 reviews
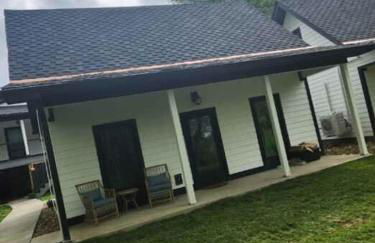
Life's Good Retreat - Photo 1
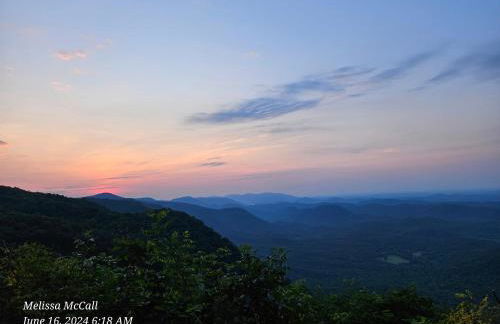
Life's Good Retreat - Photo 2
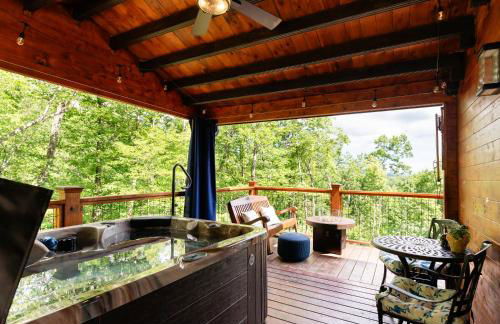
Life's Good Retreat - Photo 3
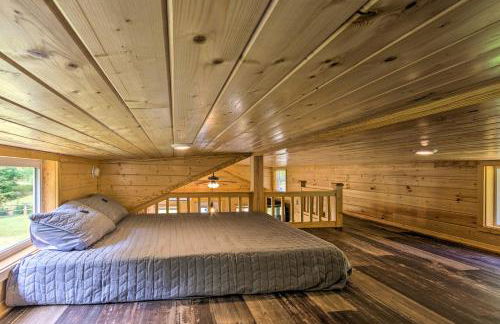
Life's Good Retreat - Photo 4
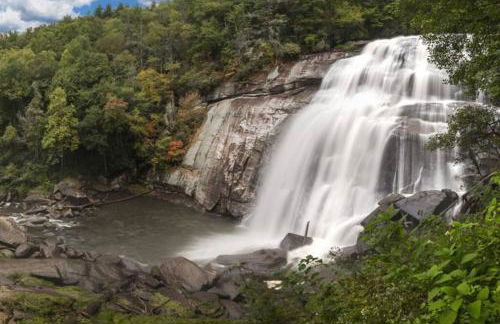
Life's Good Retreat - Photo 5
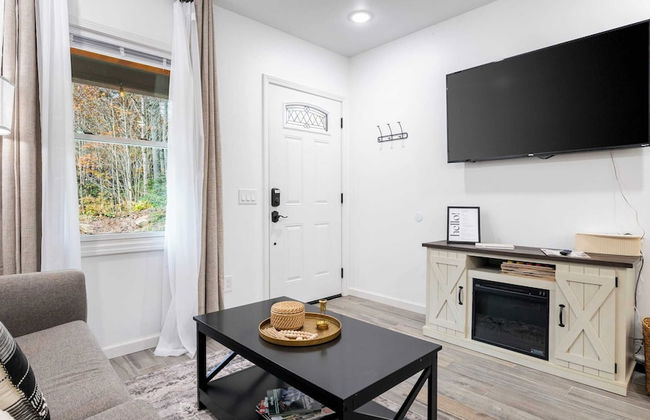
Life's Good Retreat - Photo 6
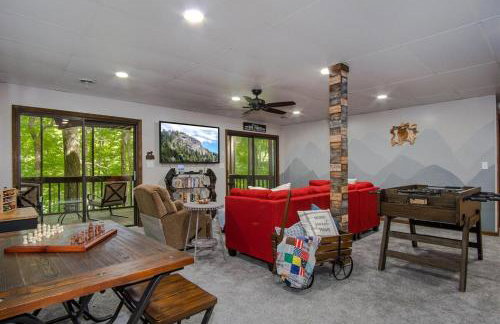
Life's Good Retreat - Photo 7
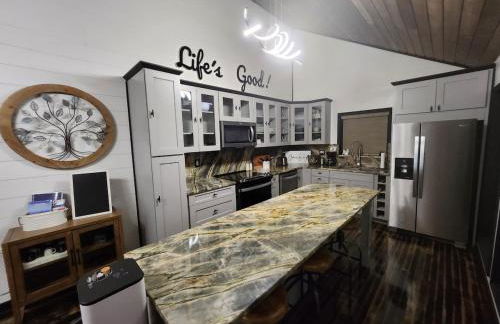
Life's Good Retreat - Photo 8
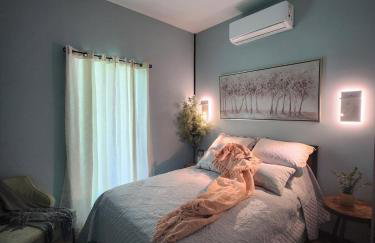
Life's Good Retreat - Photo 9
Life's Good Retreat - Photo 10
Life's Good Retreat - Photo 11
Life's Good Retreat - Photo 12
Life's Good Retreat - Photo 13
Life's Good Retreat - Photo 14
Life's Good Retreat - Photo 15
Life's Good Retreat - Photo 16
Life's Good Retreat - Photo 17
Life's Good Retreat - Photo 18
Life's Good Retreat - Photo 19
Life's Good Retreat - Photo 20
Life's Good Retreat - Photo 21
Life's Good Retreat - Photo 22
Life's Good Retreat - Photo 23
Life's Good Retreat - Photo 24
Life's Good Retreat - Photo 25
Life's Good Retreat - Photo 26
Life's Good Retreat - Photo 27
Life's Good Retreat - Photo 28
Life's Good Retreat - Photo 29
Life's Good Retreat - Photo 30
Life's Good Retreat - Photo 31
Life's Good Retreat - Photo 32
Life's Good Retreat - Photo 33
Life's Good Retreat - Photo 34
Life's Good Retreat - Photo 35
Life's Good Retreat - Photo 36
Life's Good Retreat - Photo 37
Life's Good Retreat - Photo 38
Life's Good Retreat - Photo 39
Life's Good Retreat - Photo 40
Life's Good Retreat - Photo 41
Life's Good Retreat - Photo 42
Life's Good Retreat - Photo 43
Life's Good Retreat - Photo 44
Life's Good Retreat - Photo 45
Life's Good Retreat - Photo 46
Life's Good Retreat - Photo 47
Life's Good Retreat - Photo 48
Life's Good Retreat - Photo 49
Life's Good Retreat - Photo 50
Life's Good Retreat - Photo 51
Life's Good Retreat - Photo 52
Life's Good Retreat - Photo 53
Life's Good Retreat - Photo 54
Life's Good Retreat - Photo 55
Life's Good Retreat - Photo 56
Life's Good Retreat - Photo 57
Life's Good Retreat - Photo 58
Life's Good Retreat - Photo 59
Life's Good Retreat - Photo 60
Life's Good Retreat - Photo 61
Life's Good Retreat - Photo 62
Life's Good Retreat - Photo 63
Life's Good Retreat - Photo 64
Life's Good Retreat - Photo 65
Life's Good Retreat - Photo 66
Life's Good Retreat - Photo 67
Life's Good Retreat - Photo 68
Life's Good Retreat - Photo 69
Life's Good Retreat - Photo 70
Life's Good Retreat - Photo 71
Life's Good Retreat - Photo 72
Life's Good Retreat - Photo 73
Life's Good Retreat - Photo 74
Life's Good Retreat - Photo 75
Life's Good Retreat - Photo 76
Life's Good Retreat - Photo 77
Life's Good Retreat - Photo 78
Life's Good Retreat - Photo 79
Life's Good Retreat - Photo 80

Life's Good Retreat

Brevard

  • 283 M2
  • 8 bedrooms
  • 18 people
  • Air conditioning
  • Heating
  • Parking
10Superb | 1 review
Life's Good Retreat Main House - Photo 1
Life's Good Retreat Main House - Photo 2
Life's Good Retreat Main House - Photo 3
Life's Good Retreat Main House - Photo 4
Life's Good Retreat Main House - Photo 5
Life's Good Retreat Main House - Photo 6
Life's Good Retreat Main House - Photo 7
Life's Good Retreat Main House - Photo 8
Life's Good Retreat Main House - Photo 9
Life's Good Retreat Main House - Photo 10
Life's Good Retreat Main House - Photo 11
Life's Good Retreat Main House - Photo 12
Life's Good Retreat Main House - Photo 13
Life's Good Retreat Main House - Photo 14
Life's Good Retreat Main House - Photo 15
Life's Good Retreat Main House - Photo 16
Life's Good Retreat Main House - Photo 17
Life's Good Retreat Main House - Photo 18
Life's Good Retreat Main House - Photo 19
Life's Good Retreat Main House - Photo 20
Life's Good Retreat Main House - Photo 21
Life's Good Retreat Main House - Photo 22
Life's Good Retreat Main House - Photo 23
Life's Good Retreat Main House - Photo 24
Life's Good Retreat Main House - Photo 25
Life's Good Retreat Main House - Photo 26
Life's Good Retreat Main House - Photo 27
Life's Good Retreat Main House - Photo 28
Life's Good Retreat Main House - Photo 29
Life's Good Retreat Main House - Photo 30
Life's Good Retreat Main House - Photo 31
Life's Good Retreat Main House - Photo 32
Life's Good Retreat Main House - Photo 33
Life's Good Retreat Main House - Photo 34
Life's Good Retreat Main House - Photo 35
Life's Good Retreat Main House - Photo 36
Life's Good Retreat Main House - Photo 37
Life's Good Retreat Main House - Photo 38
Life's Good Retreat Main House - Photo 39
Life's Good Retreat Main House - Photo 40
Life's Good Retreat Main House - Photo 41

Life's Good Retreat Main House

Brevard

  • 114 M2
  • 3 bedrooms
  • 6 people
  • Air conditioning
  • Heating
  • Parking
10Superb | 1 review
Life's Good Friends Retreat - Photo 1
Life's Good Friends Retreat - Photo 2
Life's Good Friends Retreat - Photo 3
Life's Good Friends Retreat - Photo 4
Life's Good Friends Retreat - Photo 5
Life's Good Friends Retreat - Photo 6
Life's Good Friends Retreat - Photo 7
Life's Good Friends Retreat - Photo 8
Life's Good Friends Retreat - Photo 9
Life's Good Friends Retreat - Photo 10
Life's Good Friends Retreat - Photo 11
Life's Good Friends Retreat - Photo 12
Life's Good Friends Retreat - Photo 13
Life's Good Friends Retreat - Photo 14
Life's Good Friends Retreat - Photo 15
Life's Good Friends Retreat - Photo 16
Life's Good Friends Retreat - Photo 17
Life's Good Friends Retreat - Photo 18
Life's Good Friends Retreat - Photo 19
Life's Good Friends Retreat - Photo 20
Life's Good Friends Retreat - Photo 21
Life's Good Friends Retreat - Photo 22
Life's Good Friends Retreat - Photo 23
Life's Good Friends Retreat - Photo 24
Life's Good Friends Retreat - Photo 25
Life's Good Friends Retreat - Photo 26
Life's Good Friends Retreat - Photo 27
Life's Good Friends Retreat - Photo 28
Life's Good Friends Retreat - Photo 29
Life's Good Friends Retreat - Photo 30
Life's Good Friends Retreat - Photo 31
Life's Good Friends Retreat - Photo 32

Life's Good Friends Retreat

Brevard

  • 67 M2
  • 8 people
  • Air conditioning
  • Heating
  • Parking
10Superb | 1 review
Centrally Located Brevard Home w/ Deck & Fire Pit! - Photo 1
Centrally Located Brevard Home w/ Deck & Fire Pit! - Photo 2
Centrally Located Brevard Home w/ Deck & Fire Pit! - Photo 3
Centrally Located Brevard Home w/ Deck & Fire Pit! - Photo 4
Centrally Located Brevard Home w/ Deck & Fire Pit! - Photo 5
Centrally Located Brevard Home w/ Deck & Fire Pit! - Photo 6
Centrally Located Brevard Home w/ Deck & Fire Pit! - Photo 7
Centrally Located Brevard Home w/ Deck & Fire Pit! - Photo 8
Centrally Located Brevard Home w/ Deck & Fire Pit! - Photo 9
Centrally Located Brevard Home w/ Deck & Fire Pit! - Photo 10
Centrally Located Brevard Home w/ Deck & Fire Pit! - Photo 11
Centrally Located Brevard Home w/ Deck & Fire Pit! - Photo 12
Centrally Located Brevard Home w/ Deck & Fire Pit! - Photo 13
Centrally Located Brevard Home w/ Deck & Fire Pit! - Photo 14
Centrally Located Brevard Home w/ Deck & Fire Pit! - Photo 15
Centrally Located Brevard Home w/ Deck & Fire Pit! - Photo 16
Centrally Located Brevard Home w/ Deck & Fire Pit! - Photo 17
Centrally Located Brevard Home w/ Deck & Fire Pit! - Photo 18
Centrally Located Brevard Home w/ Deck & Fire Pit! - Photo 19
Centrally Located Brevard Home w/ Deck & Fire Pit! - Photo 20
Centrally Located Brevard Home w/ Deck & Fire Pit! - Photo 21
Centrally Located Brevard Home w/ Deck & Fire Pit! - Photo 22
Centrally Located Brevard Home w/ Deck & Fire Pit! - Photo 23
Centrally Located Brevard Home w/ Deck & Fire Pit! - Photo 24
Centrally Located Brevard Home w/ Deck & Fire Pit! - Photo 25
Centrally Located Brevard Home w/ Deck & Fire Pit! - Photo 26
Centrally Located Brevard Home w/ Deck & Fire Pit! - Photo 27
Centrally Located Brevard Home w/ Deck & Fire Pit! - Photo 28
Centrally Located Brevard Home w/ Deck & Fire Pit! - Photo 29
Centrally Located Brevard Home w/ Deck & Fire Pit! - Photo 30
Centrally Located Brevard Home w/ Deck & Fire Pit! - Photo 31

Centrally Located Brevard Home w/ Deck & Fire Pit!

Brevard

  • 223 M2
  • 3 bedrooms
  • 6 people
  • Heating
  • Parking
10Superb | 1 review
Brevard Basecamp · Brevard Basecamp fireplace in Primary BR - Photo 1
Brevard Basecamp · Brevard Basecamp fireplace in Primary BR - Photo 2
Brevard Basecamp · Brevard Basecamp fireplace in Primary BR - Photo 3
Brevard Basecamp · Brevard Basecamp fireplace in Primary BR - Photo 4
Brevard Basecamp · Brevard Basecamp fireplace in Primary BR - Photo 5
Brevard Basecamp · Brevard Basecamp fireplace in Primary BR - Photo 6
Brevard Basecamp · Brevard Basecamp fireplace in Primary BR - Photo 7
Brevard Basecamp · Brevard Basecamp fireplace in Primary BR - Photo 8
Brevard Basecamp · Brevard Basecamp fireplace in Primary BR - Photo 9
Brevard Basecamp · Brevard Basecamp fireplace in Primary BR - Photo 10
Brevard Basecamp · Brevard Basecamp fireplace in Primary BR - Photo 11
Brevard Basecamp · Brevard Basecamp fireplace in Primary BR - Photo 12
Brevard Basecamp · Brevard Basecamp fireplace in Primary BR - Photo 13
Brevard Basecamp · Brevard Basecamp fireplace in Primary BR - Photo 14
Brevard Basecamp · Brevard Basecamp fireplace in Primary BR - Photo 15
Brevard Basecamp · Brevard Basecamp fireplace in Primary BR - Photo 16
Brevard Basecamp · Brevard Basecamp fireplace in Primary BR - Photo 17
Brevard Basecamp · Brevard Basecamp fireplace in Primary BR - Photo 18
Brevard Basecamp · Brevard Basecamp fireplace in Primary BR - Photo 19
Brevard Basecamp · Brevard Basecamp fireplace in Primary BR - Photo 20
Brevard Basecamp · Brevard Basecamp fireplace in Primary BR - Photo 21
Brevard Basecamp · Brevard Basecamp fireplace in Primary BR - Photo 22

Brevard Basecamp · Brevard Basecamp fireplace in Primary BR

Brevard

  • 269 M2
  • 4 bedrooms
  • 8 people
  • Heating
  • Parking
  • Barbecue
10Superb | 1 review
Connestee Lakefront Retreat · Lakefront Retreat in Connestee Fal - Photo 1
Connestee Lakefront Retreat · Lakefront Retreat in Connestee Fal - Photo 2
Connestee Lakefront Retreat · Lakefront Retreat in Connestee Fal - Photo 3
Connestee Lakefront Retreat · Lakefront Retreat in Connestee Fal - Photo 4
Connestee Lakefront Retreat · Lakefront Retreat in Connestee Fal - Photo 5
Connestee Lakefront Retreat · Lakefront Retreat in Connestee Fal - Photo 6
Connestee Lakefront Retreat · Lakefront Retreat in Connestee Fal - Photo 7
Connestee Lakefront Retreat · Lakefront Retreat in Connestee Fal - Photo 8
Connestee Lakefront Retreat · Lakefront Retreat in Connestee Fal - Photo 9
Connestee Lakefront Retreat · Lakefront Retreat in Connestee Fal - Photo 10
Connestee Lakefront Retreat · Lakefront Retreat in Connestee Fal - Photo 11
Connestee Lakefront Retreat · Lakefront Retreat in Connestee Fal - Photo 12
Connestee Lakefront Retreat · Lakefront Retreat in Connestee Fal - Photo 13
Connestee Lakefront Retreat · Lakefront Retreat in Connestee Fal - Photo 14
Connestee Lakefront Retreat · Lakefront Retreat in Connestee Fal - Photo 15
Connestee Lakefront Retreat · Lakefront Retreat in Connestee Fal - Photo 16
Connestee Lakefront Retreat · Lakefront Retreat in Connestee Fal - Photo 17
Connestee Lakefront Retreat · Lakefront Retreat in Connestee Fal - Photo 18
Connestee Lakefront Retreat · Lakefront Retreat in Connestee Fal - Photo 19
Connestee Lakefront Retreat · Lakefront Retreat in Connestee Fal - Photo 20
Connestee Lakefront Retreat · Lakefront Retreat in Connestee Fal - Photo 21
Connestee Lakefront Retreat · Lakefront Retreat in Connestee Fal - Photo 22
Connestee Lakefront Retreat · Lakefront Retreat in Connestee Fal - Photo 23
Connestee Lakefront Retreat · Lakefront Retreat in Connestee Fal - Photo 24
Connestee Lakefront Retreat · Lakefront Retreat in Connestee Fal - Photo 25
Connestee Lakefront Retreat · Lakefront Retreat in Connestee Fal - Photo 26
Connestee Lakefront Retreat · Lakefront Retreat in Connestee Fal - Photo 27
Connestee Lakefront Retreat · Lakefront Retreat in Connestee Fal - Photo 28
Connestee Lakefront Retreat · Lakefront Retreat in Connestee Fal - Photo 29
Connestee Lakefront Retreat · Lakefront Retreat in Connestee Fal - Photo 30
Connestee Lakefront Retreat · Lakefront Retreat in Connestee Fal - Photo 31
Connestee Lakefront Retreat · Lakefront Retreat in Connestee Fal - Photo 32
Connestee Lakefront Retreat · Lakefront Retreat in Connestee Fal - Photo 33
Connestee Lakefront Retreat · Lakefront Retreat in Connestee Fal - Photo 34
Connestee Lakefront Retreat · Lakefront Retreat in Connestee Fal - Photo 35

Connestee Lakefront Retreat · Lakefront Retreat in Connestee Fal

Brevard

  • 196 M2
  • 3 bedrooms
  • 8 people
  • Heating
  • Parking
10Superb | 1 review