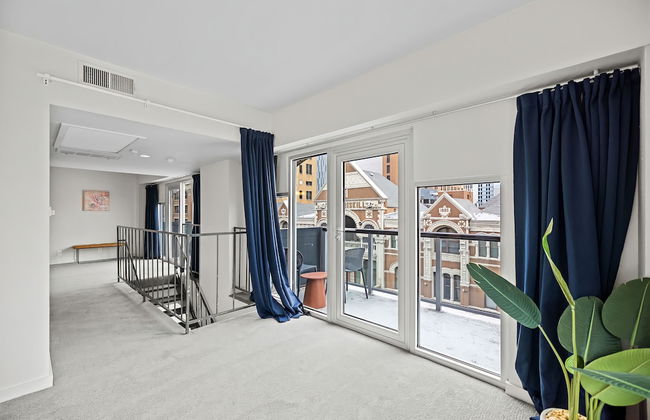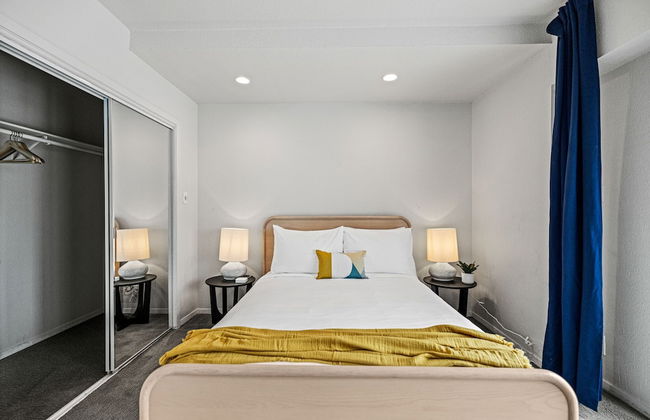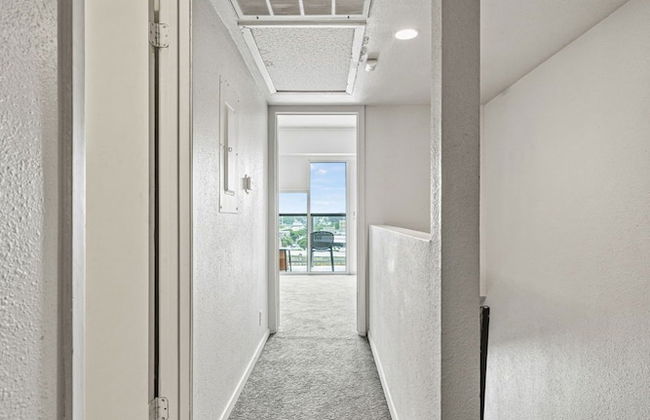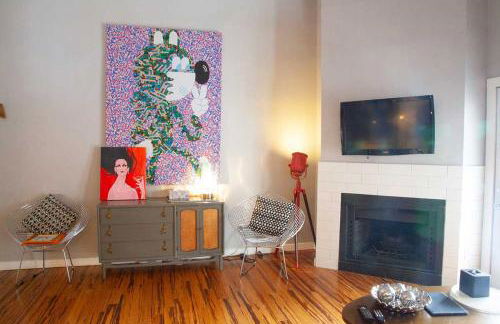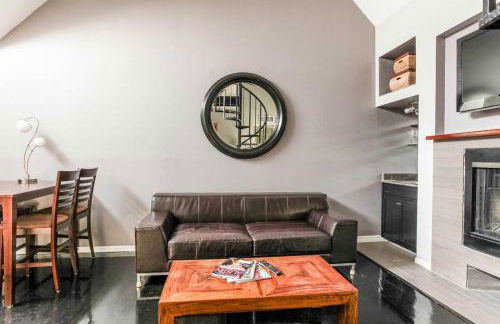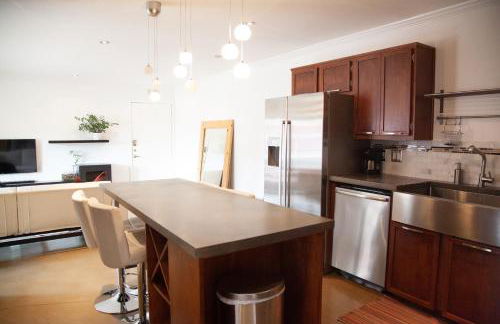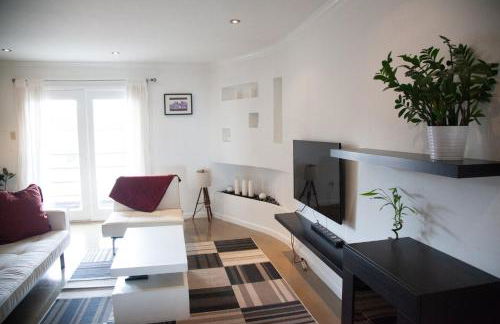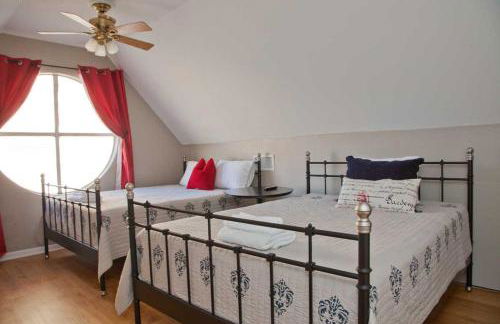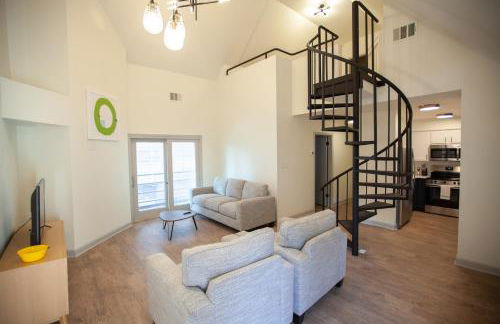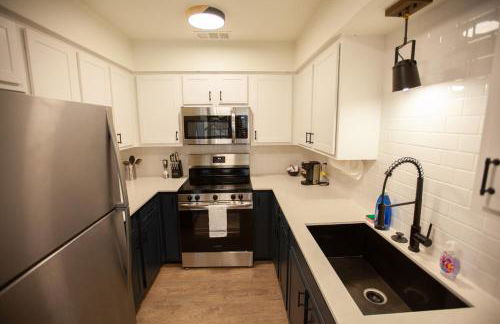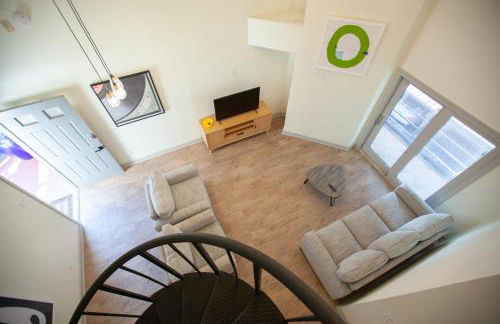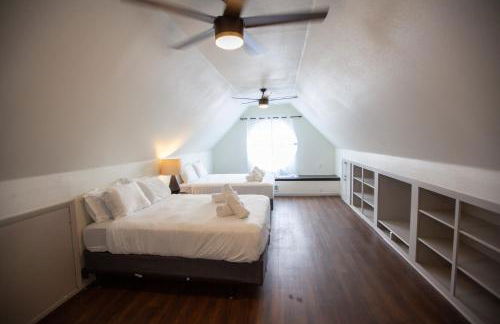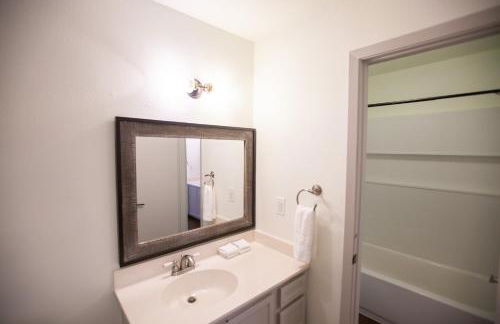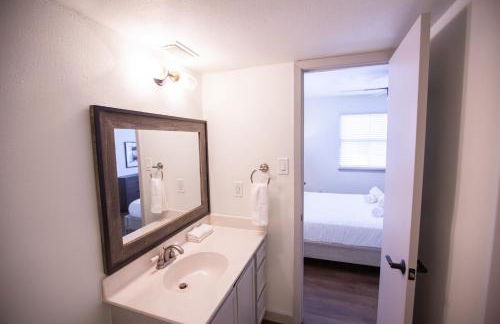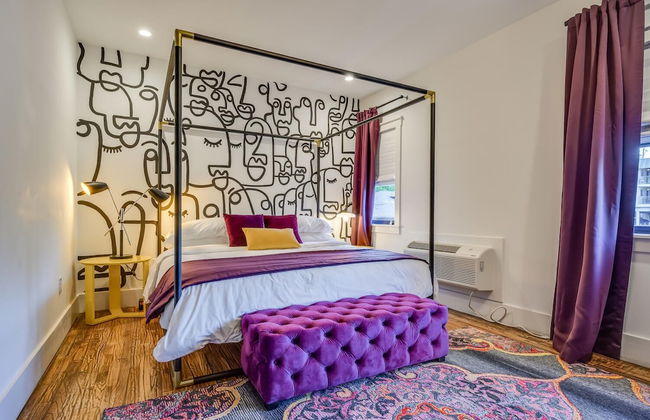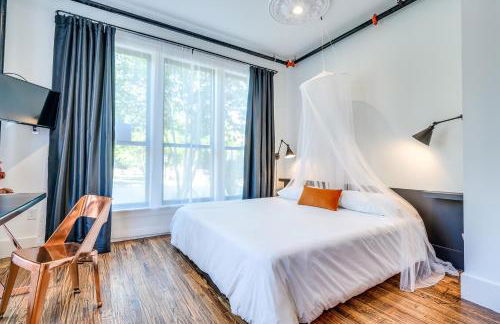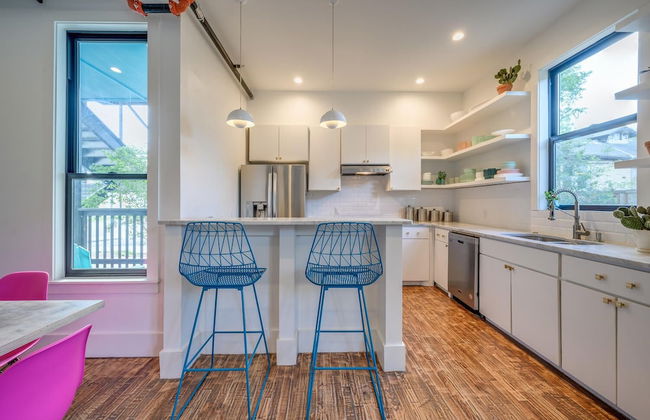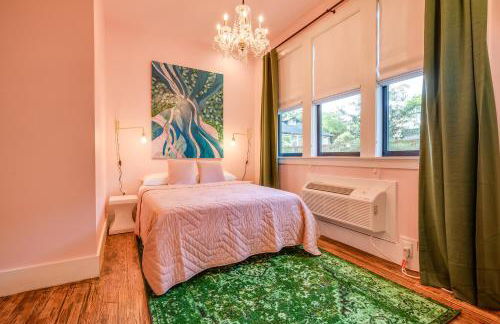
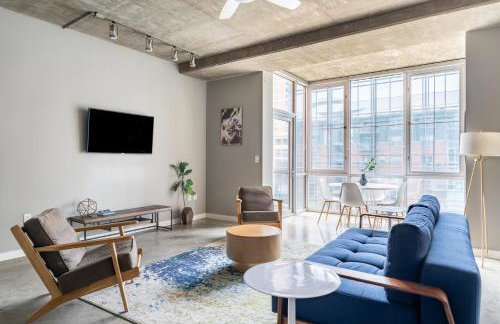
23 Apartments in Downtown Austin
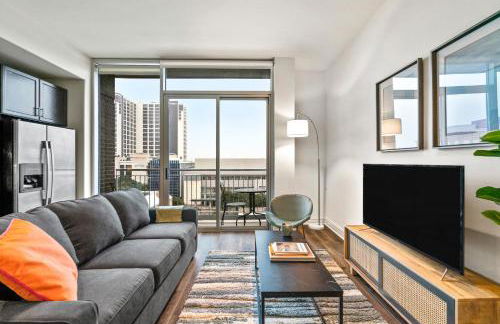
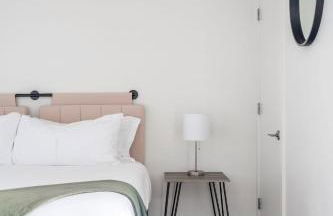
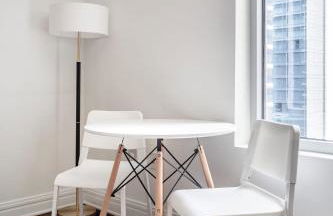
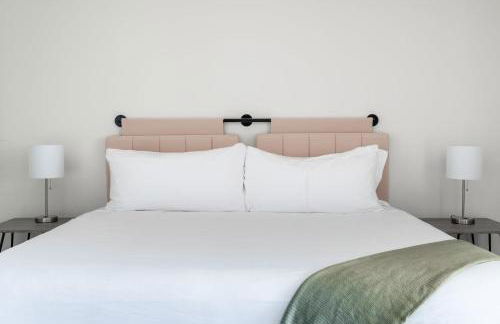
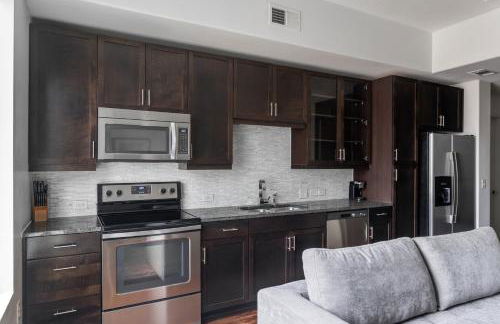
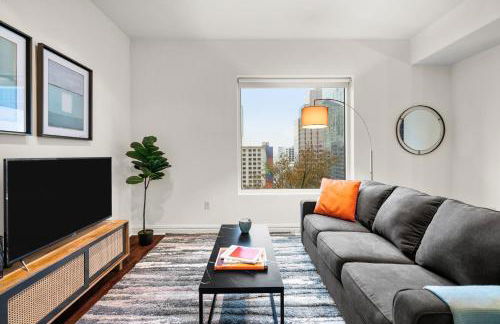
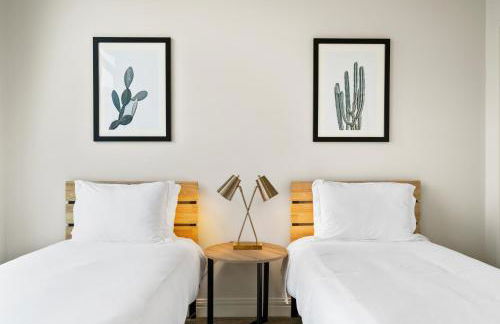
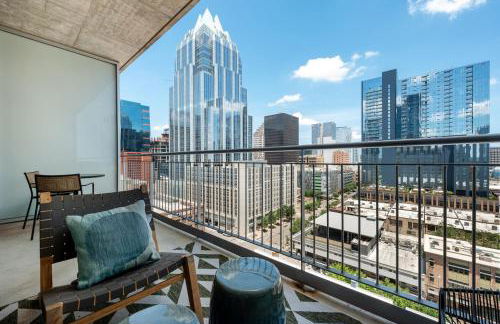
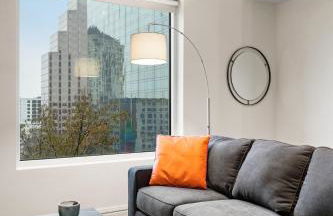
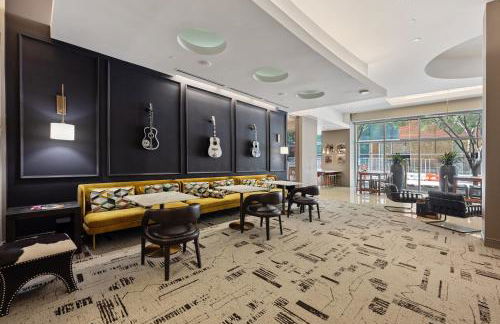
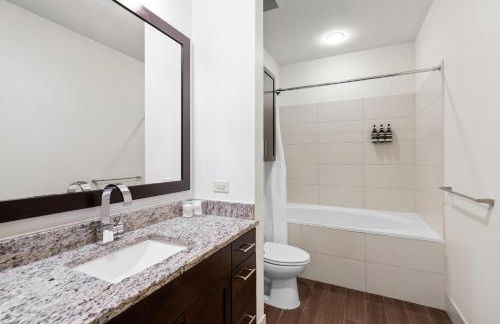
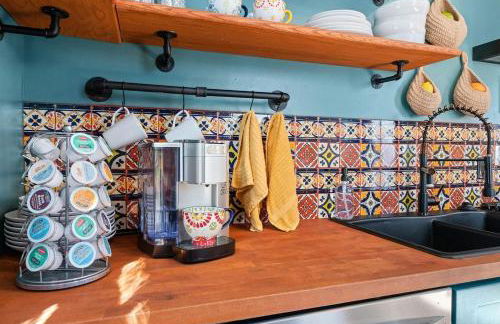
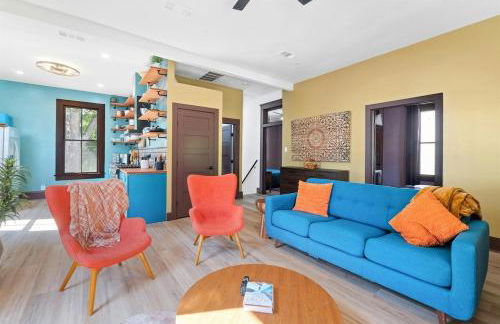
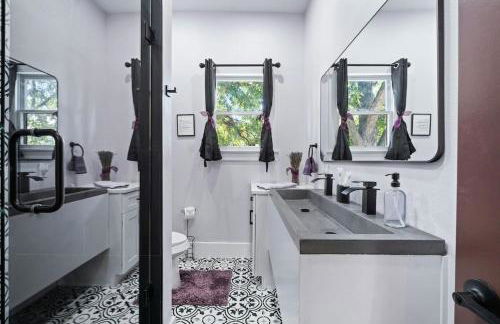
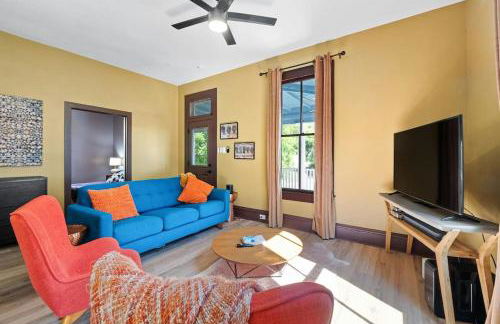
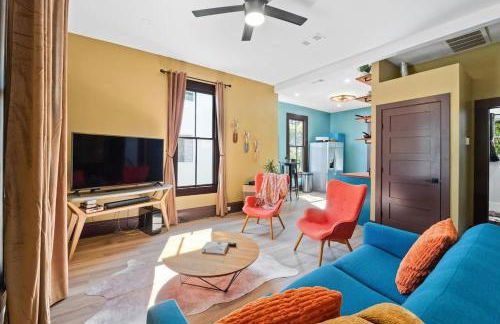
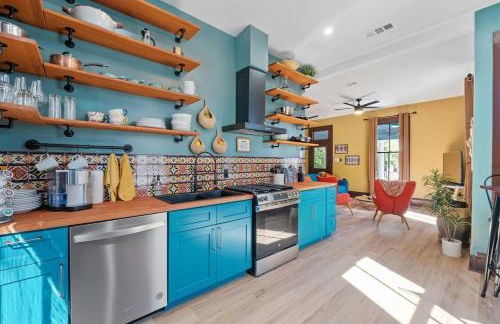
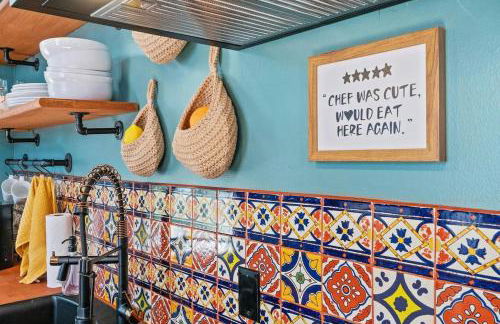
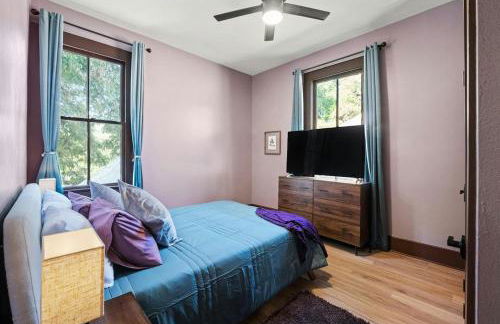
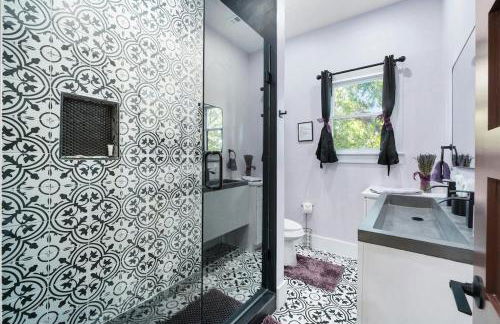
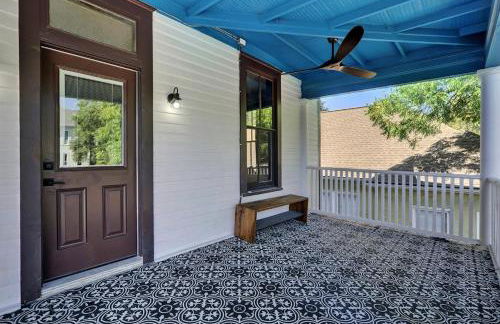
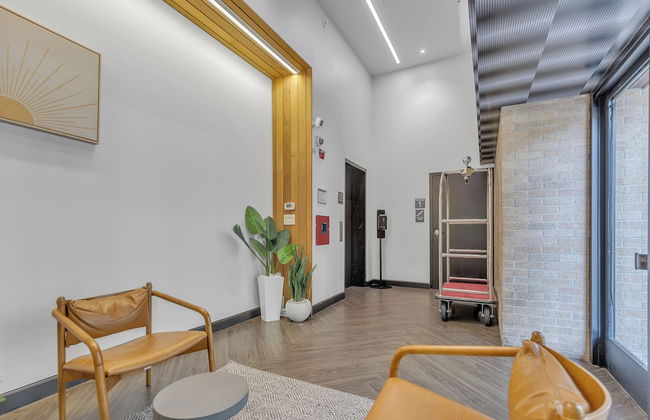
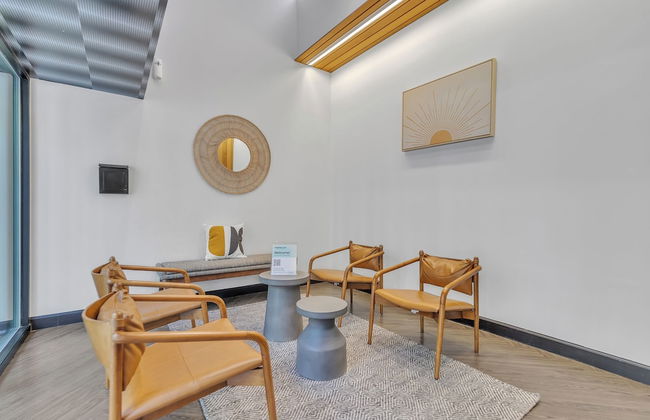
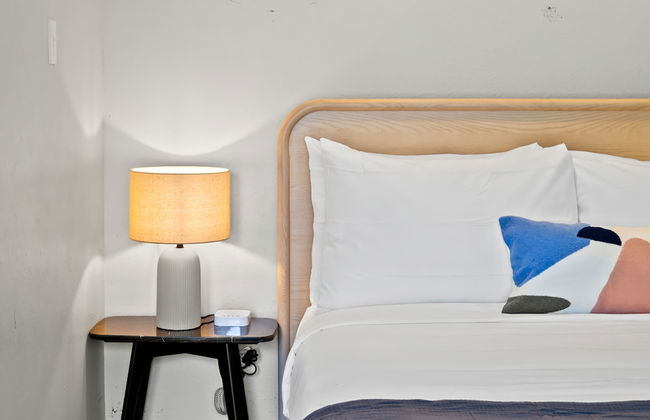
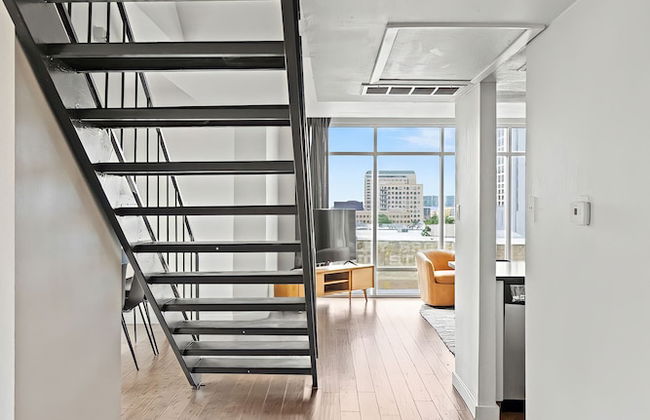
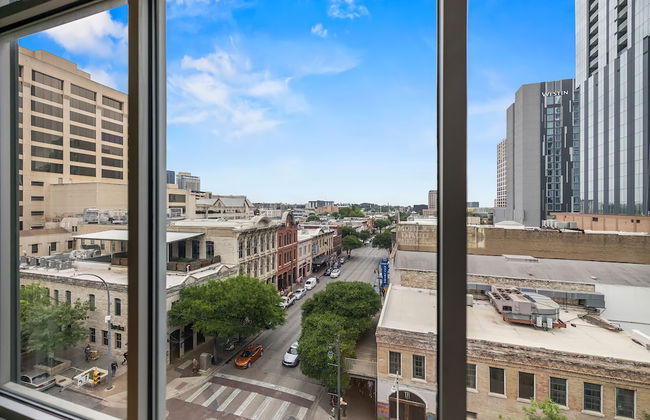
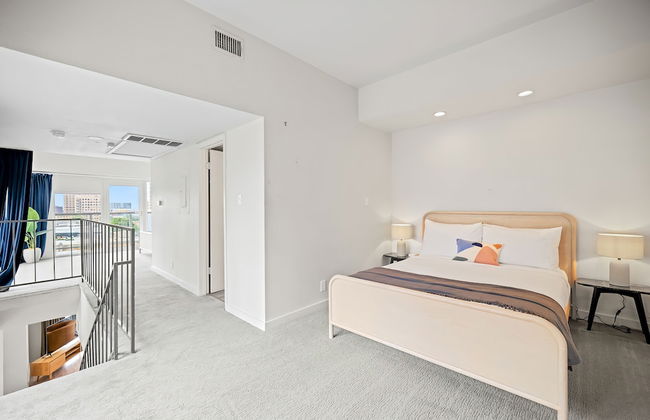
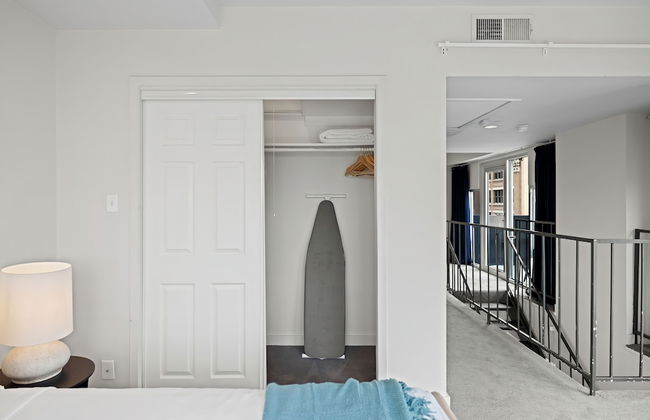
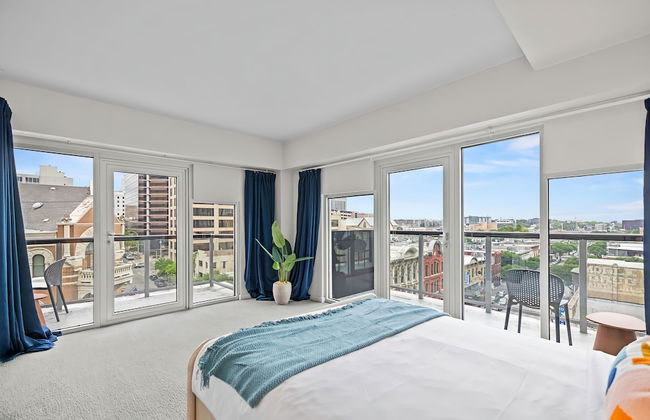
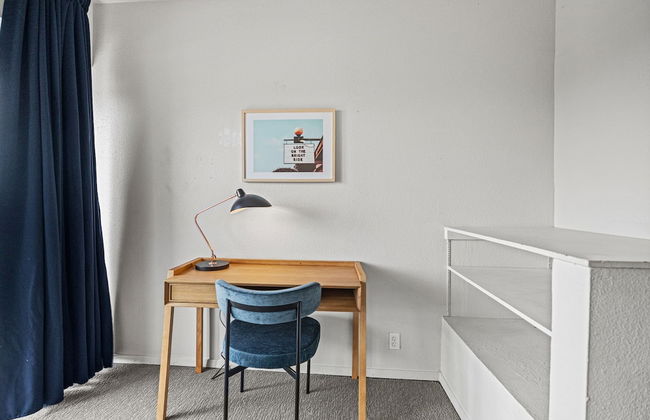
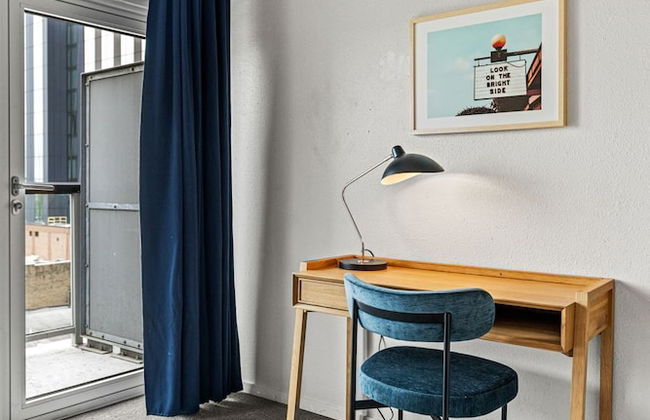
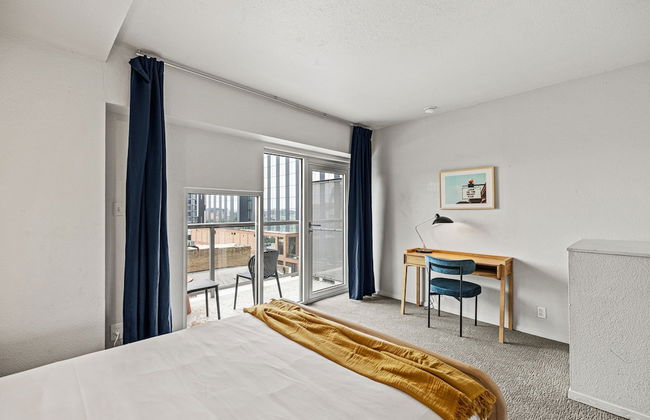
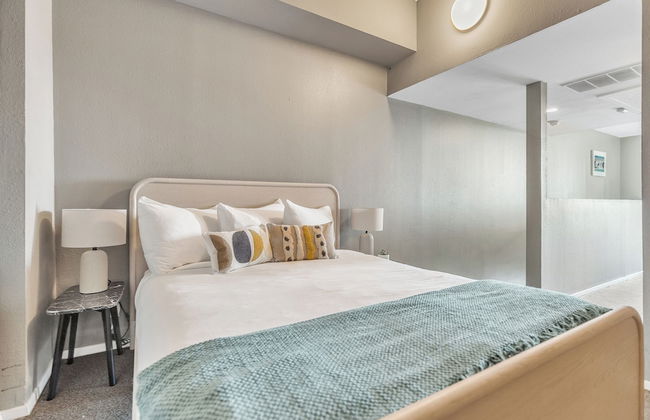
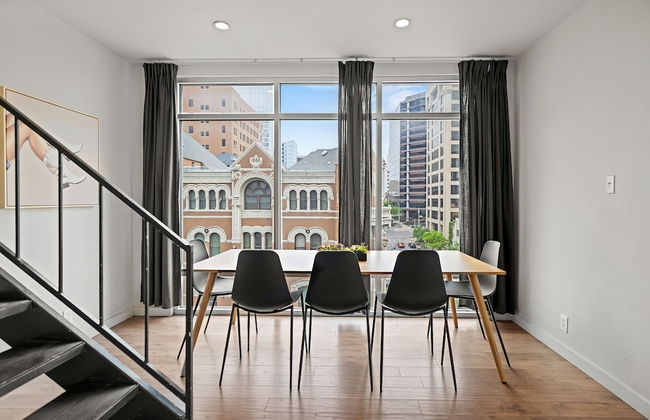
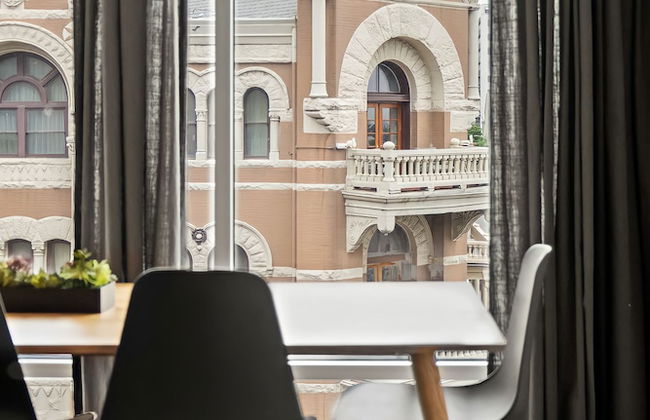
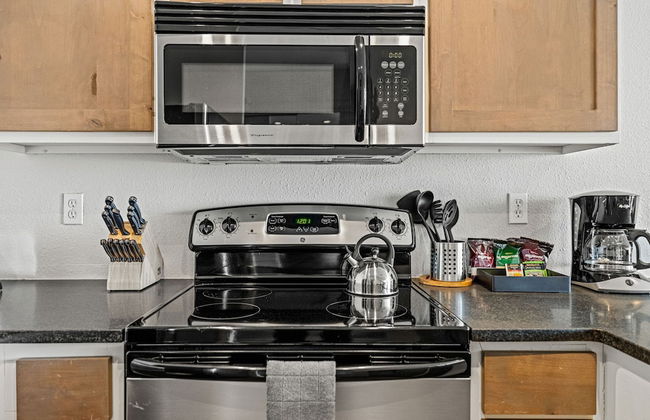
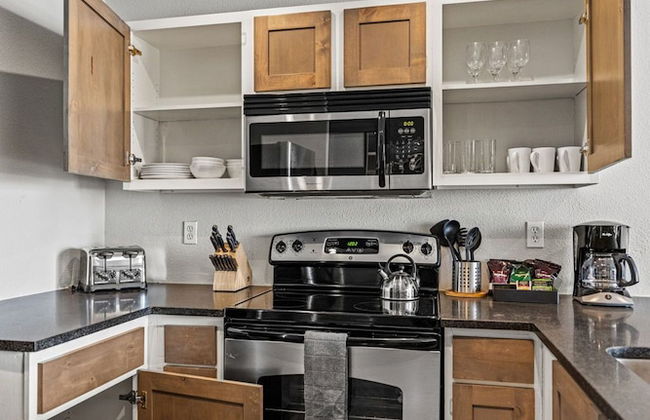
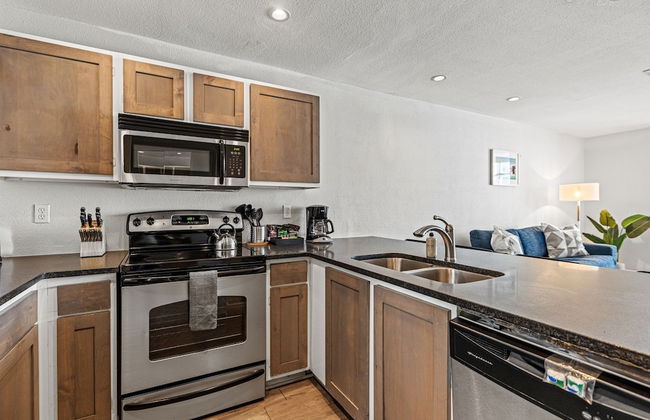
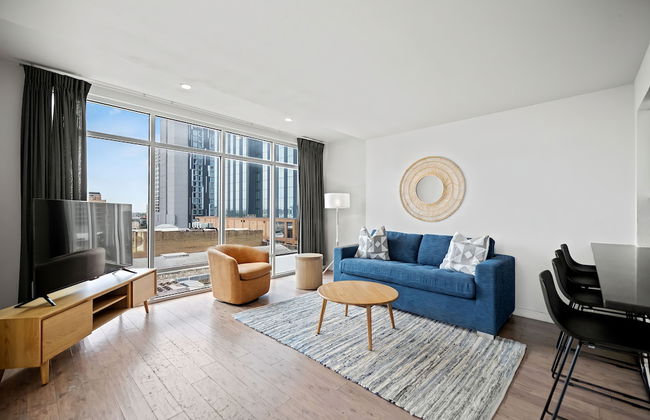
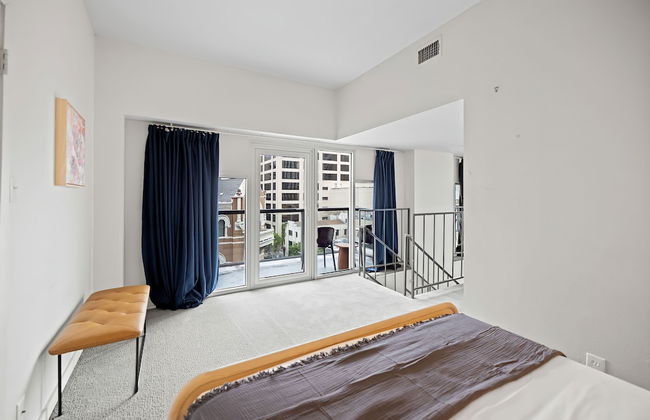
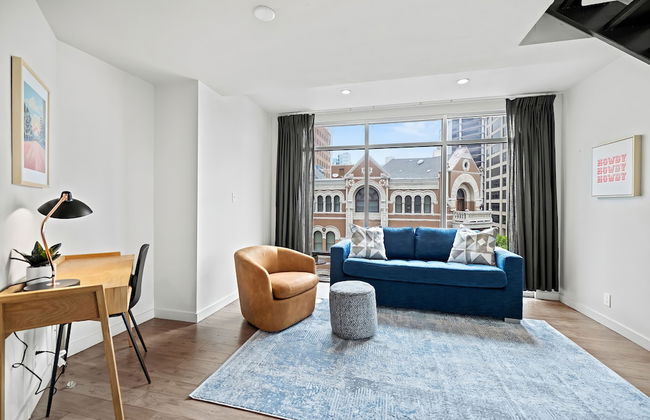
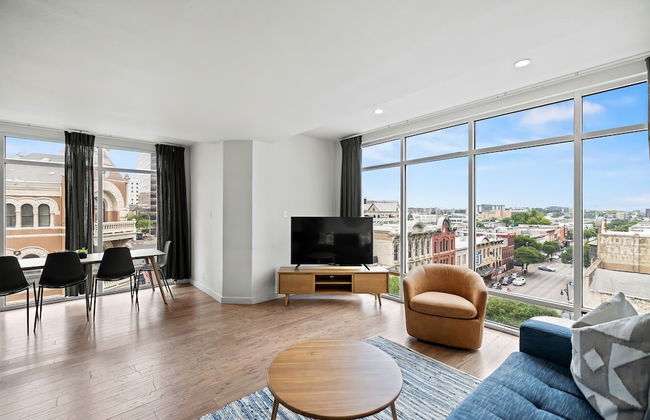
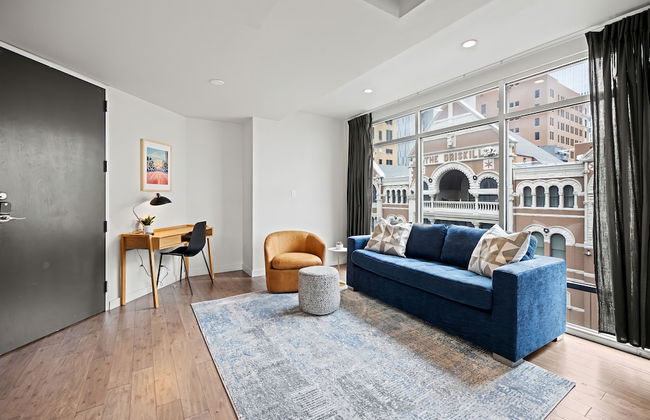
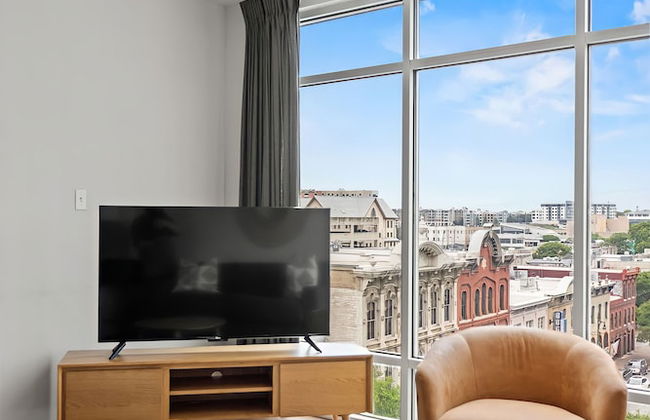
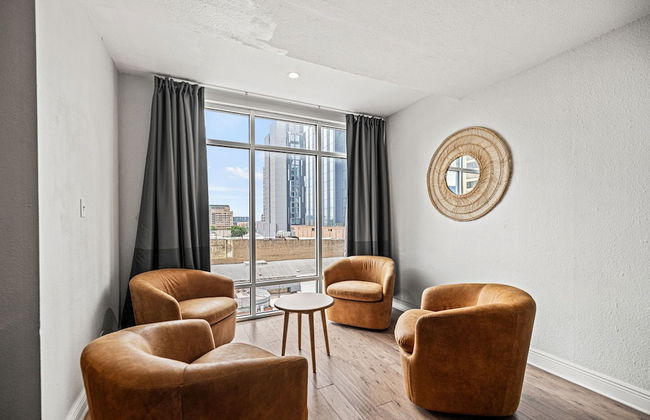
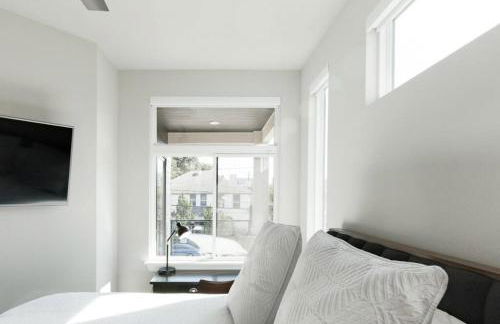
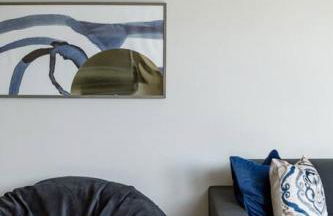
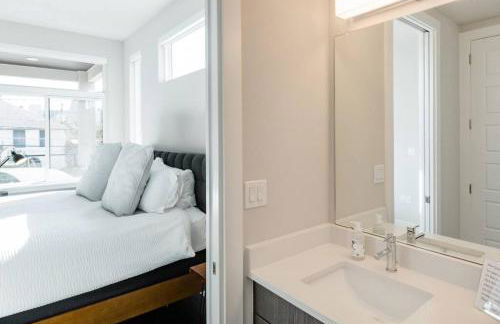
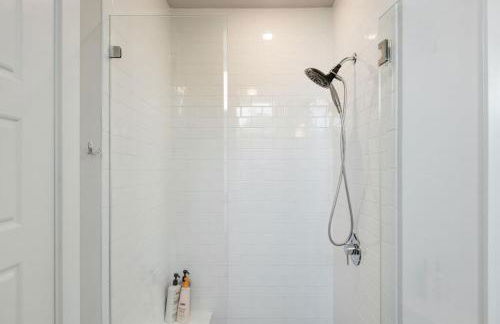
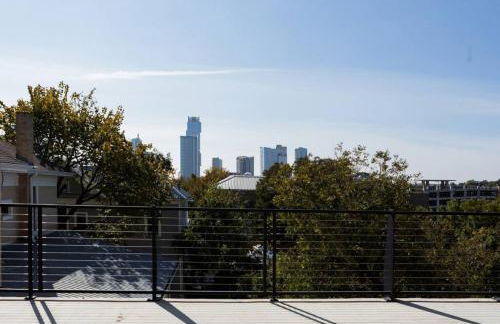
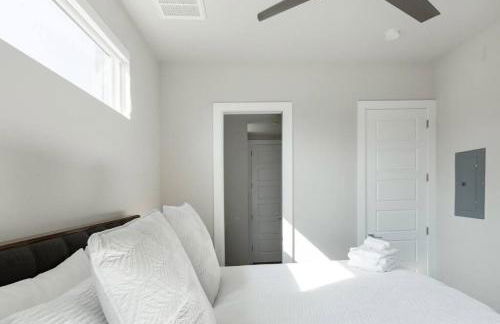
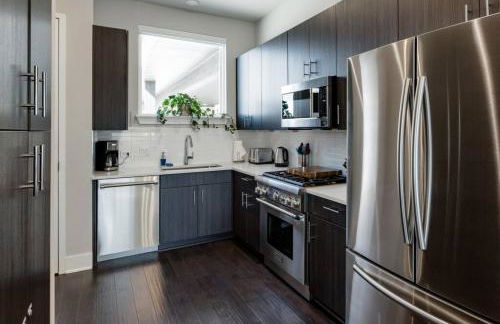
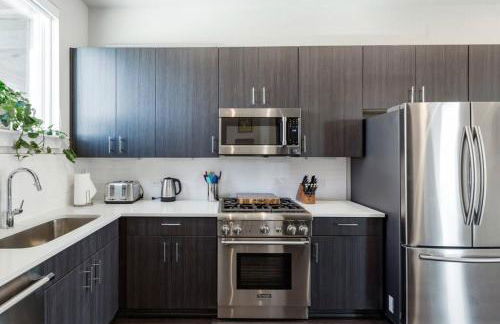
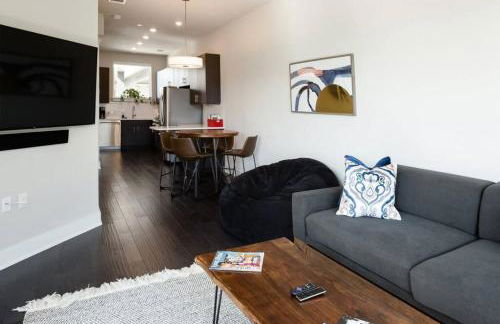
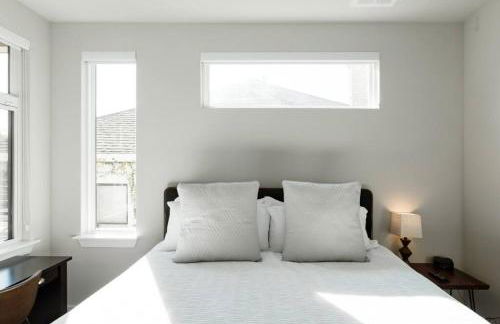
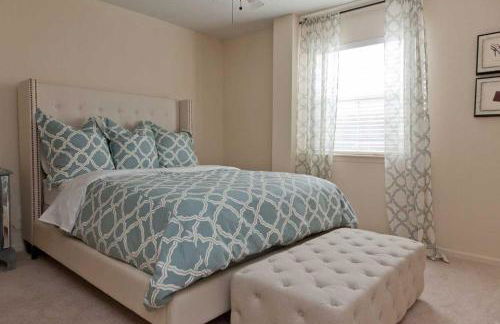
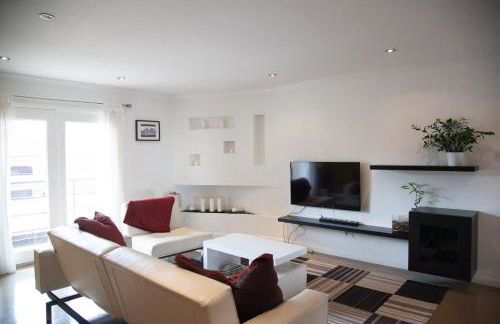
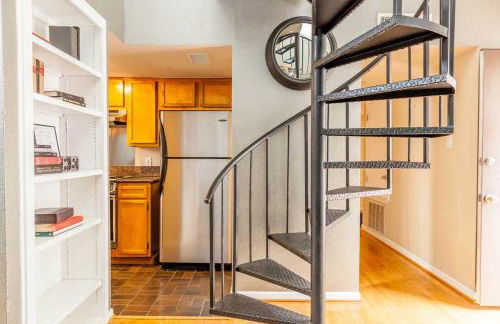
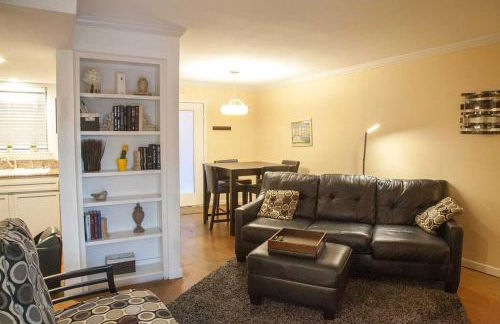
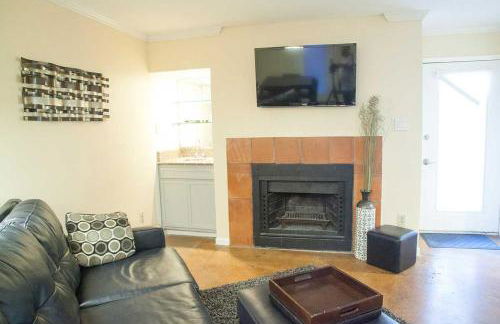
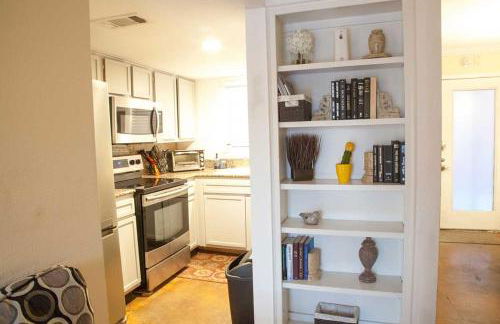
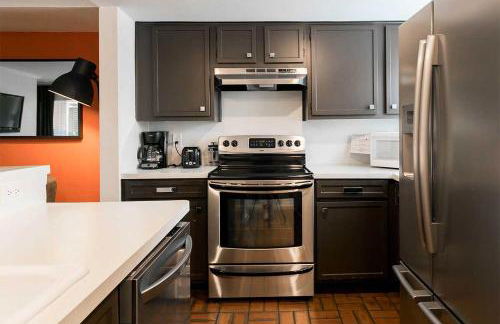
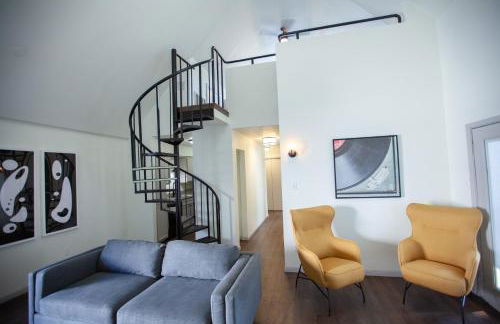
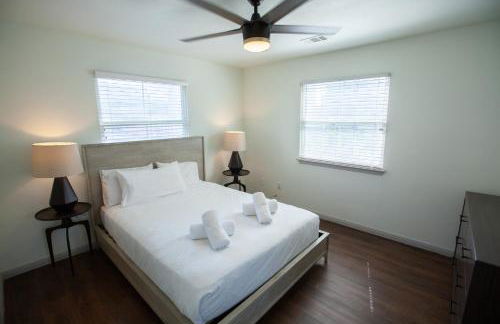
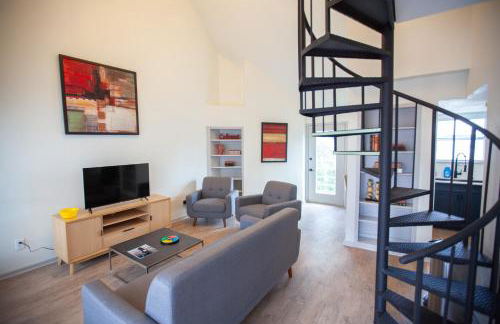
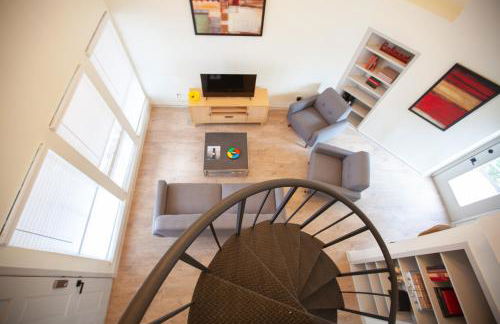
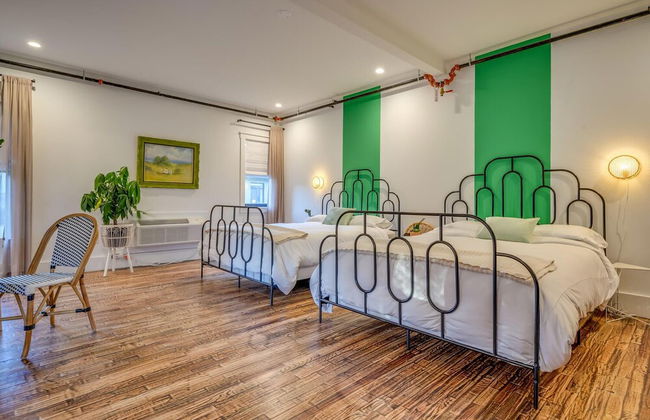
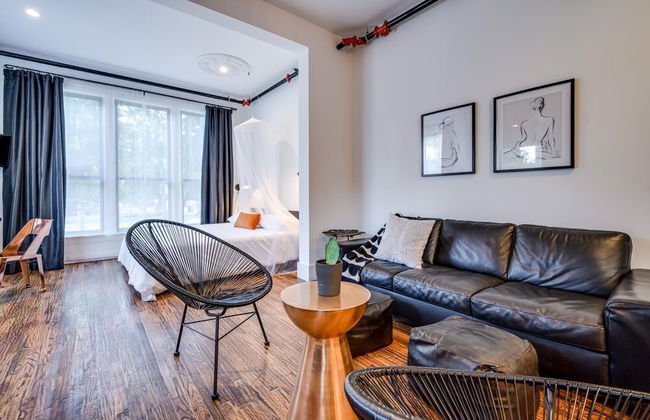
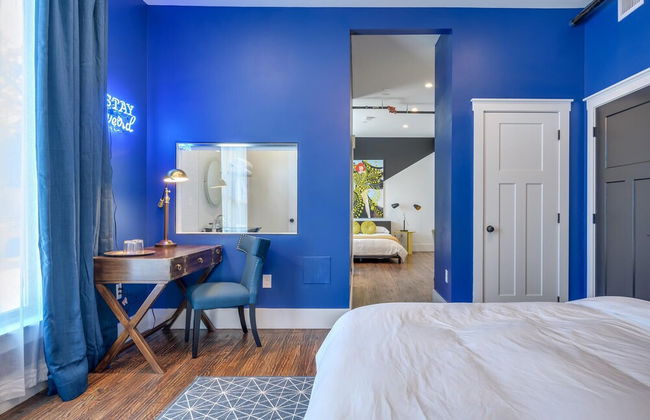
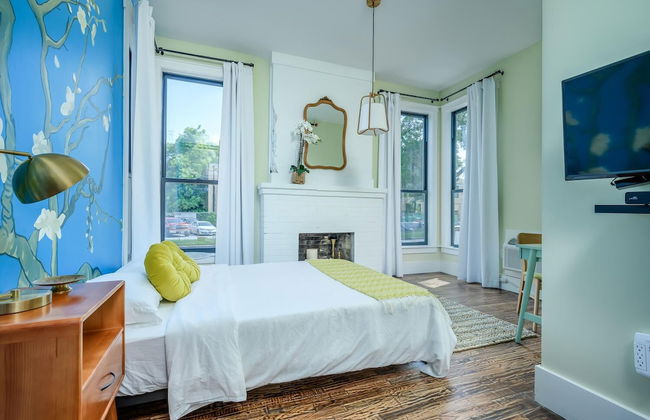
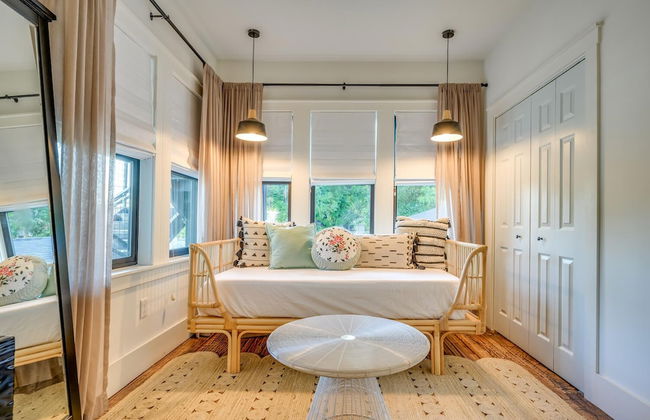
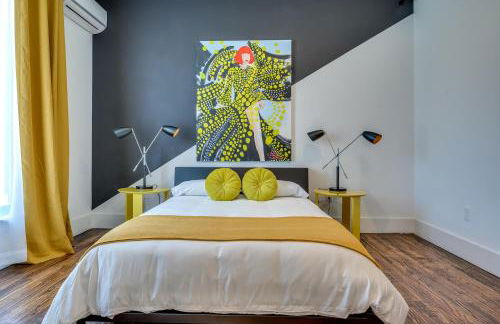
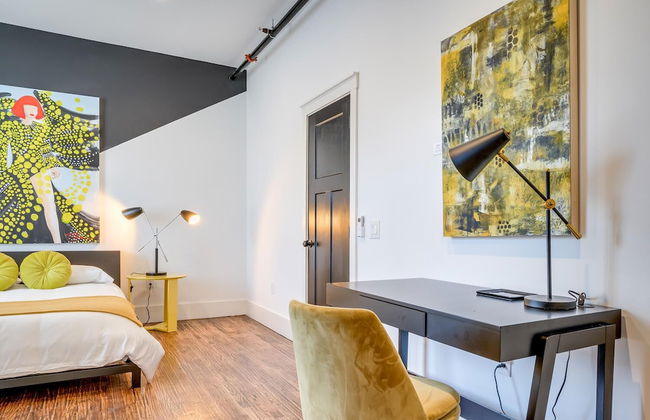
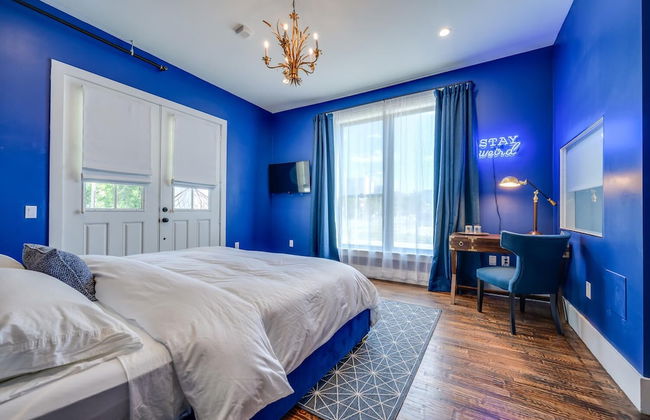
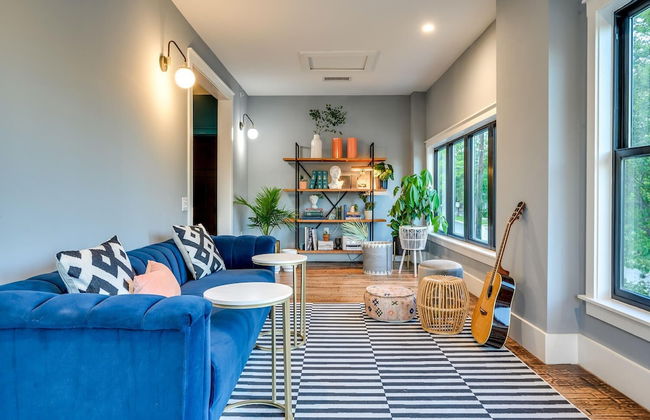
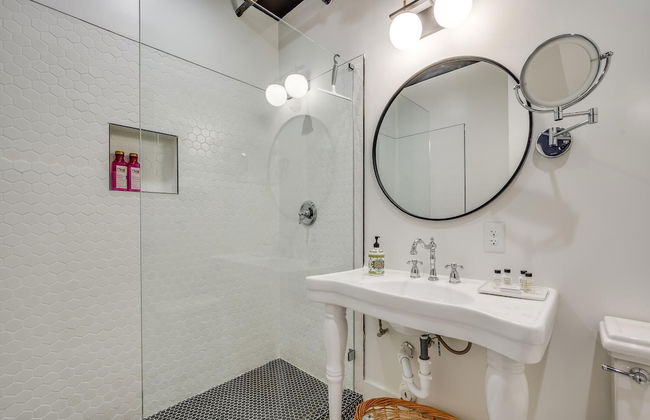
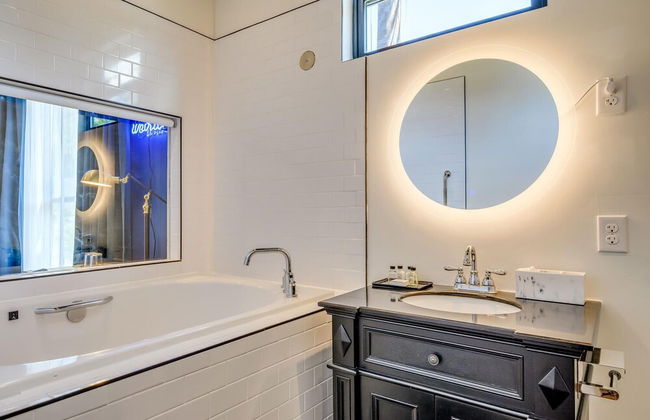
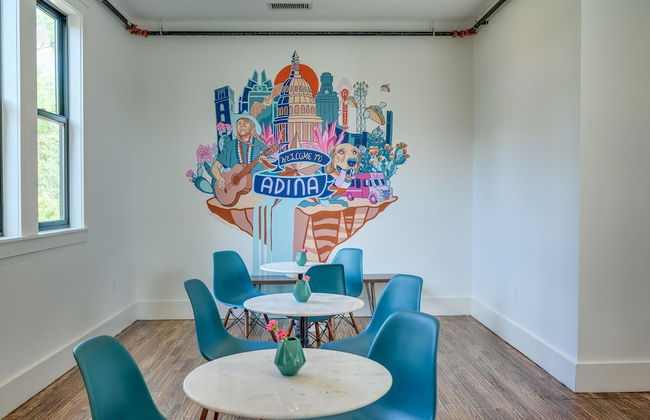
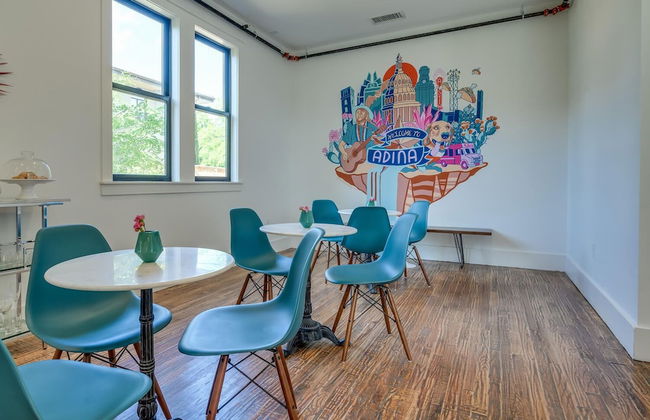
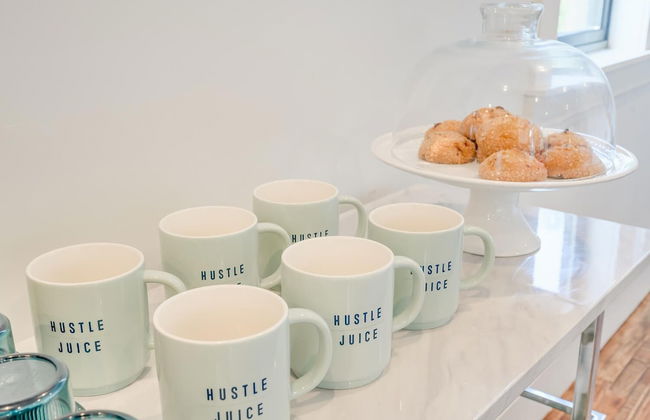
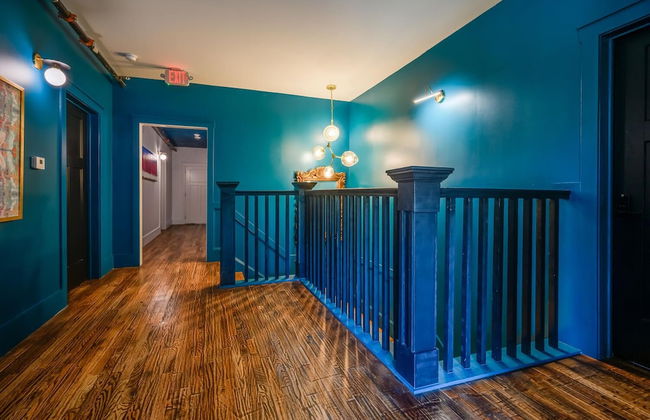
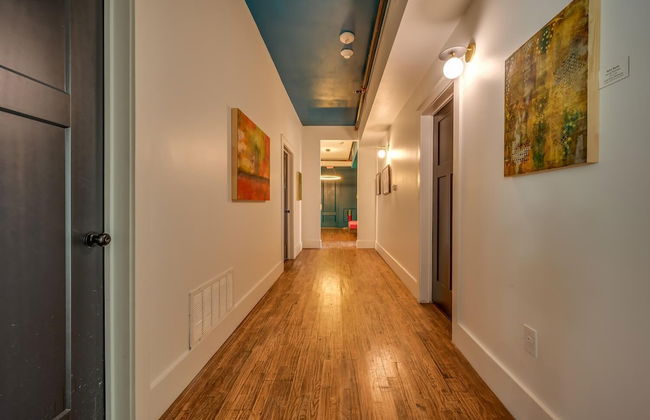
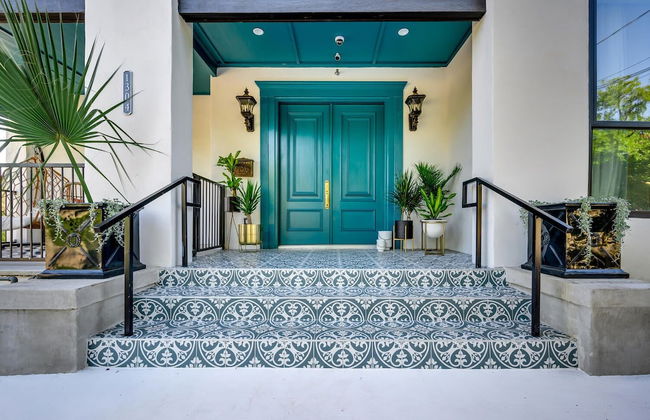
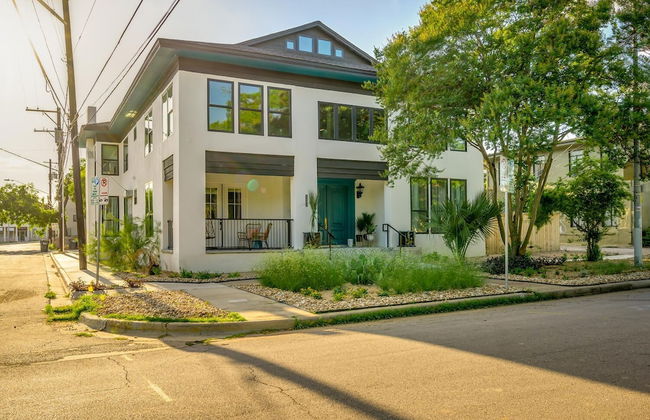
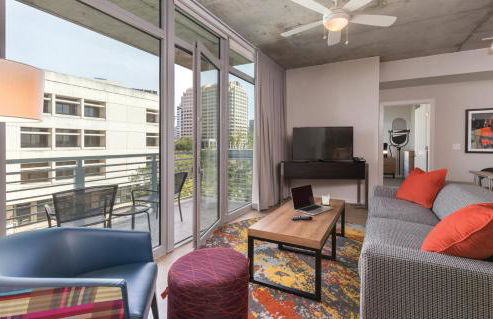
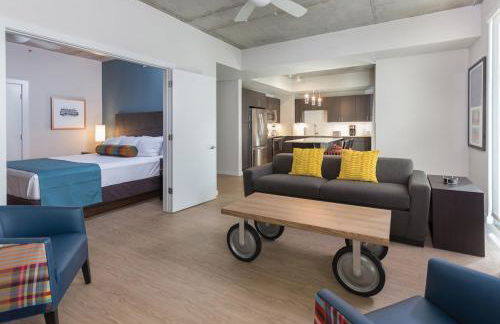
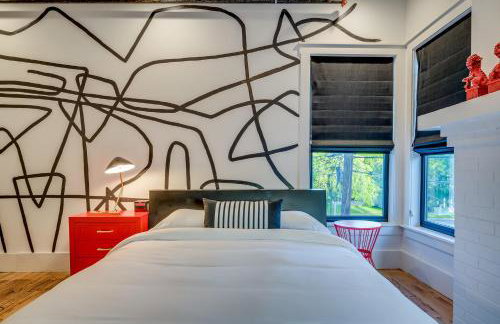
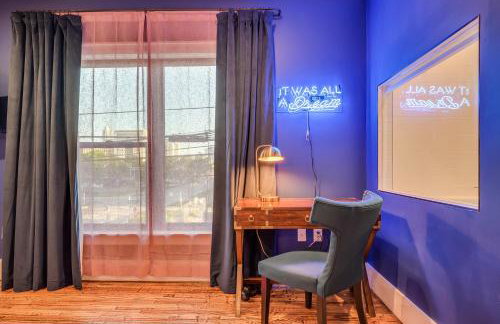
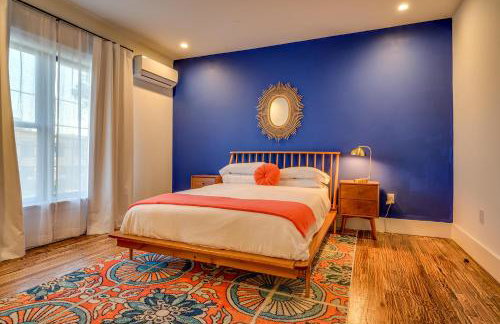
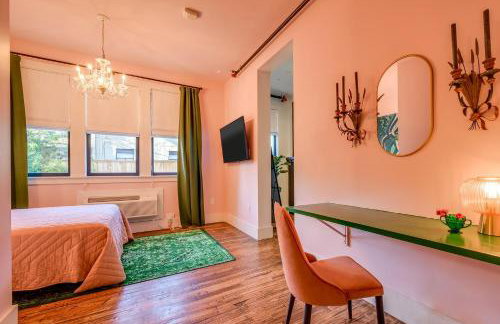
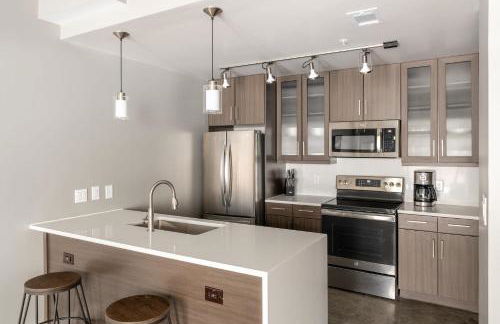
Kasa Downtown Austin - Photo 1
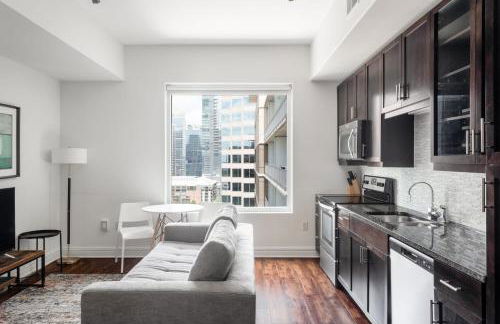
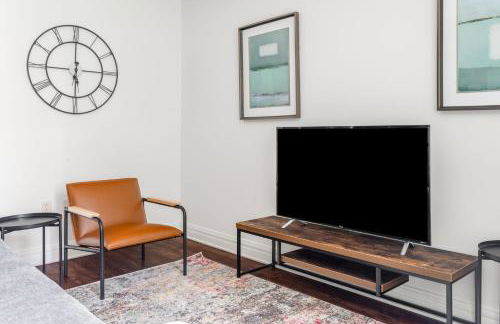
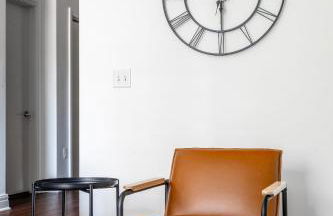
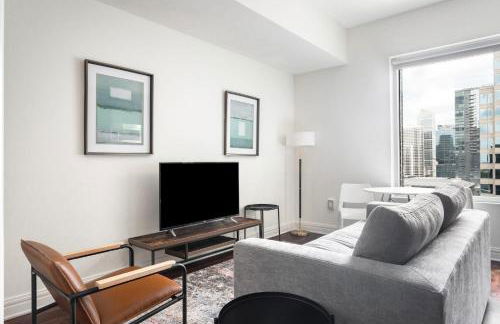
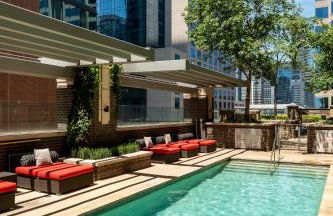
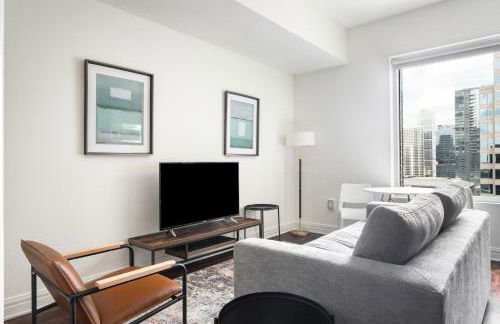
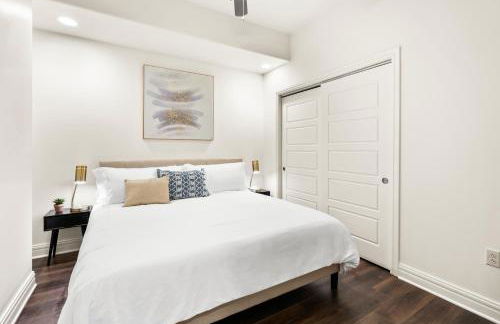
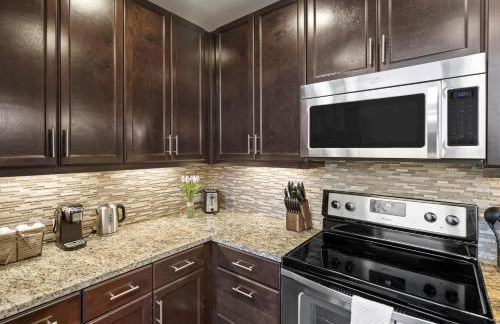
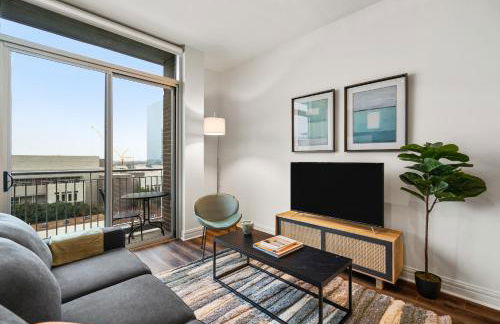
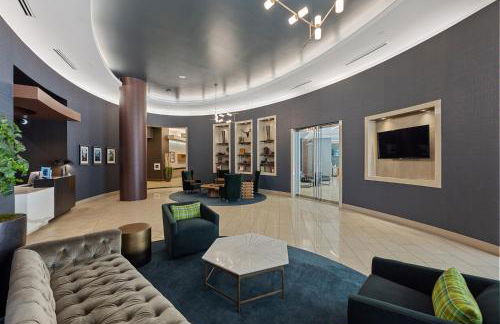
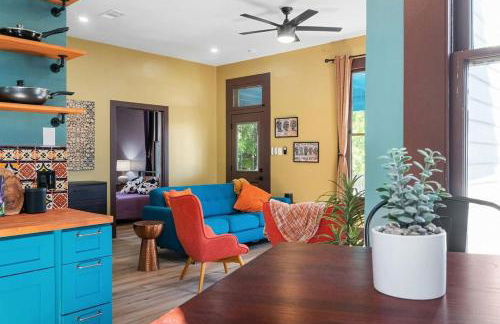
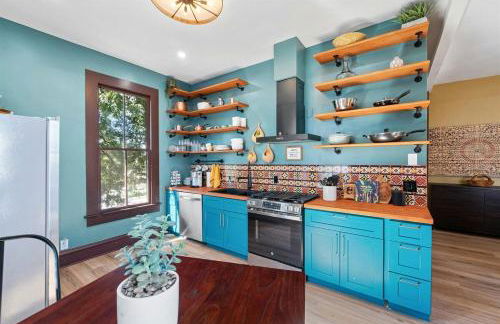
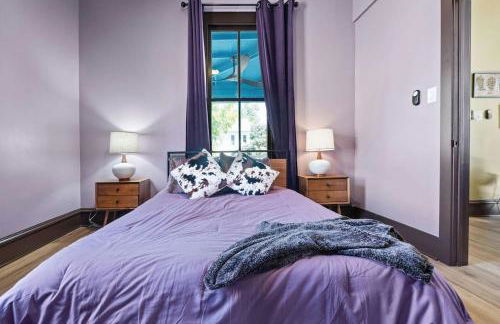
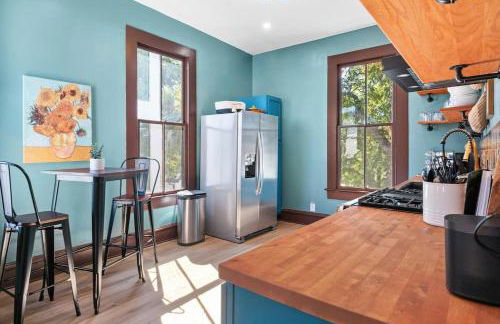
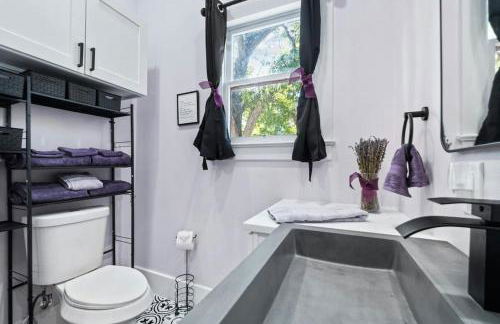
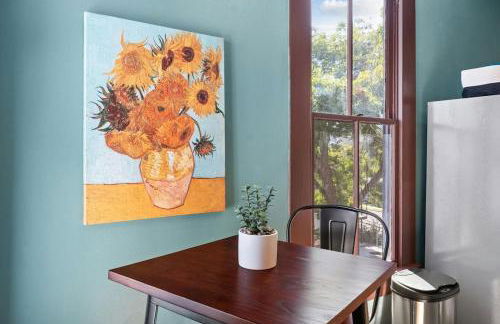
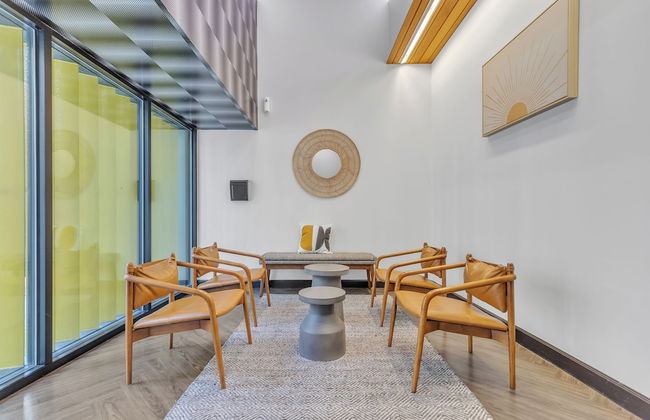
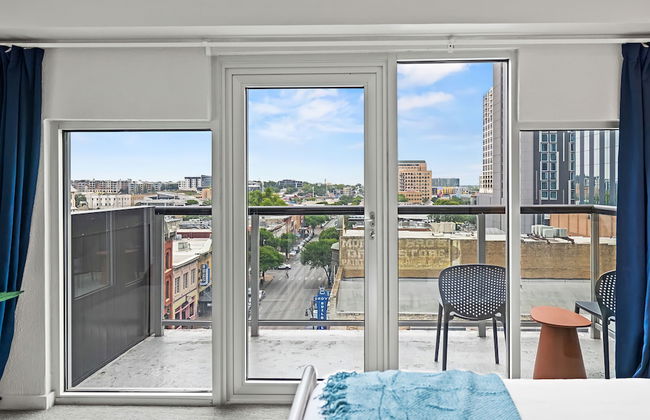
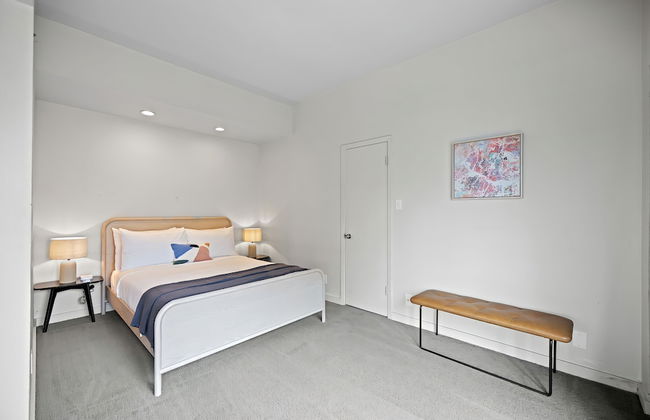
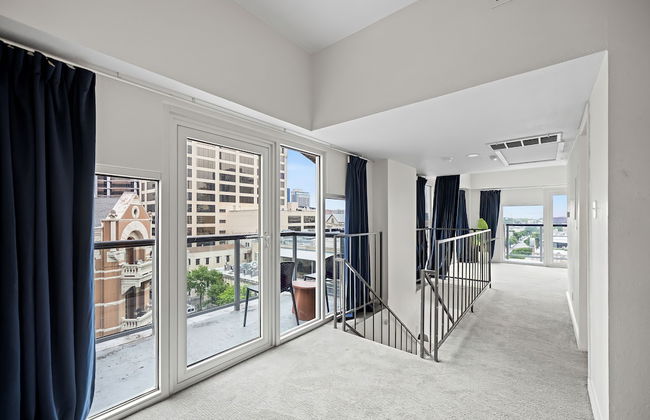
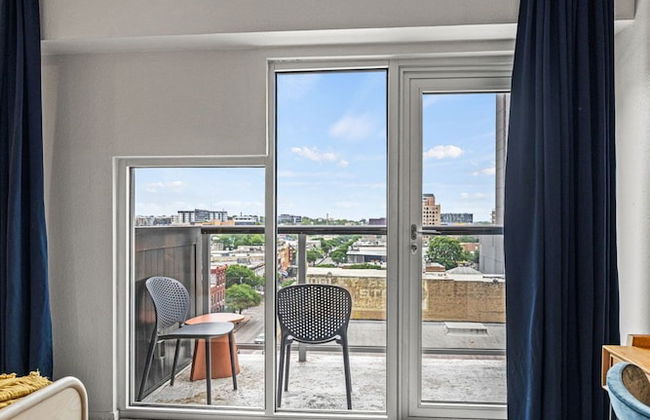
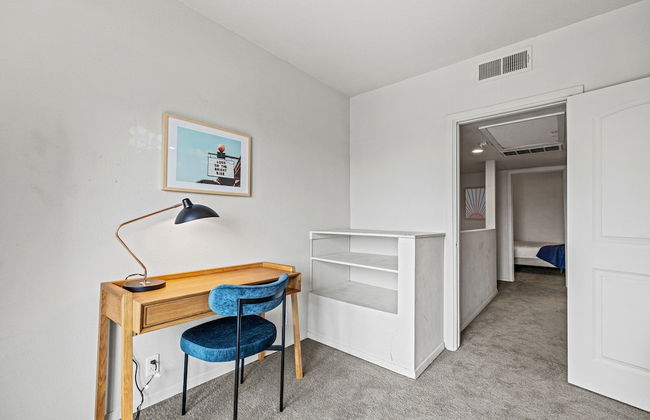
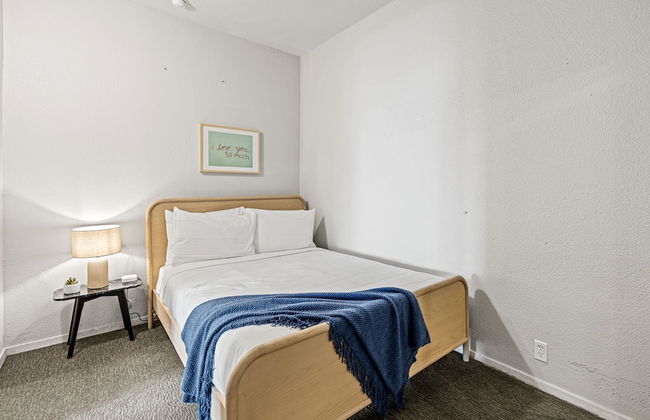
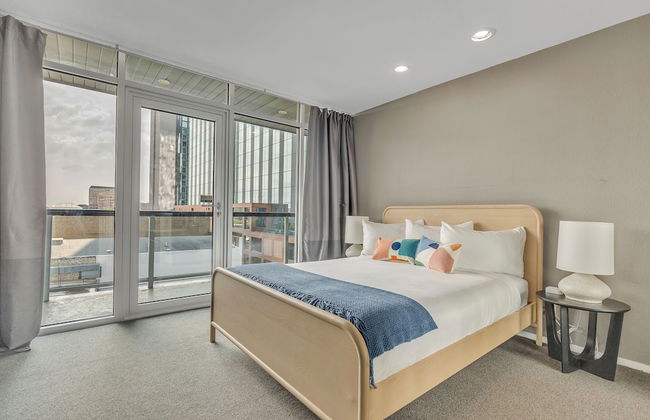
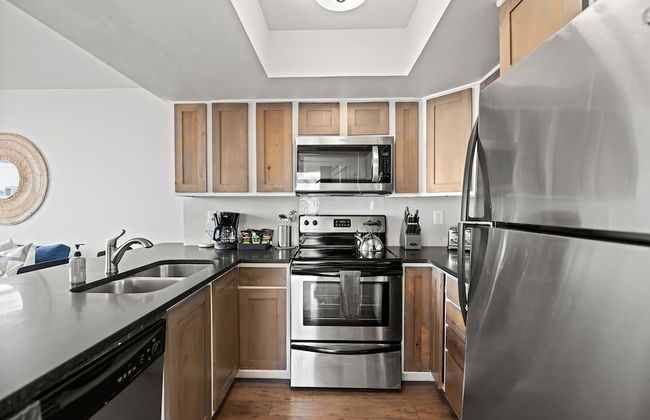
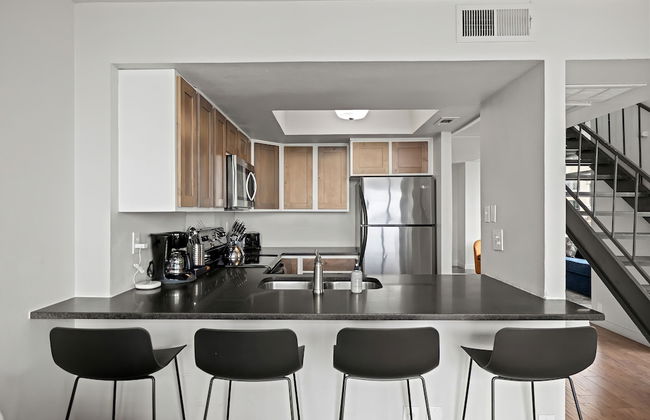
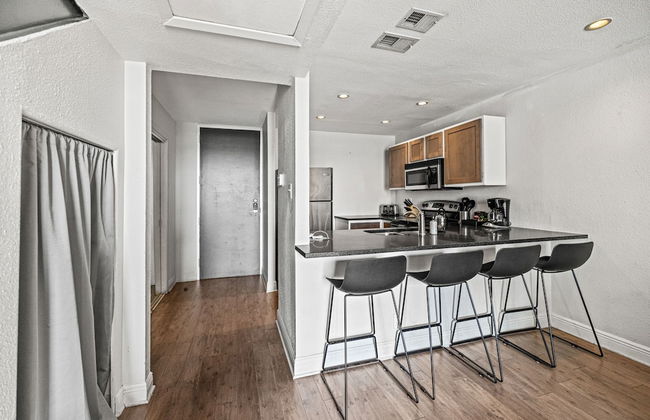
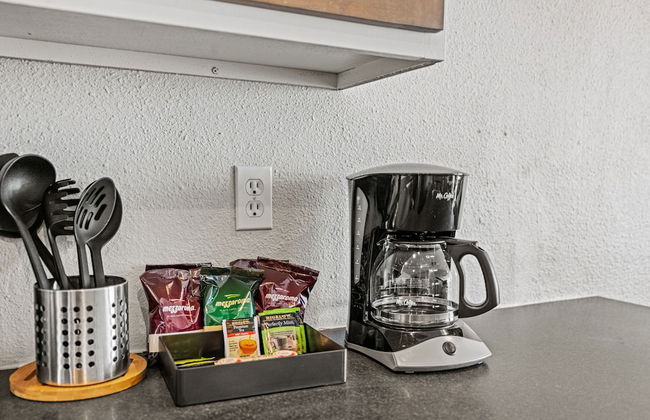
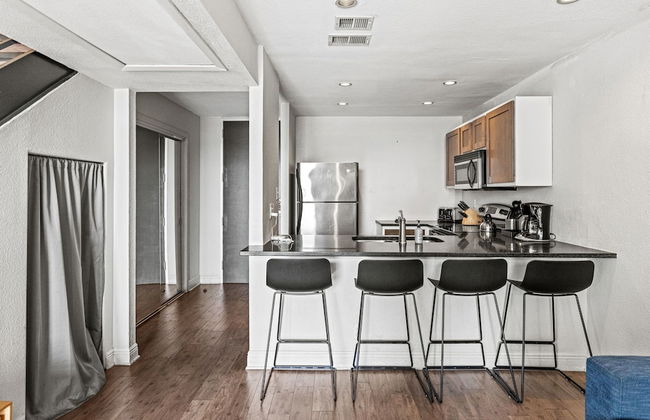
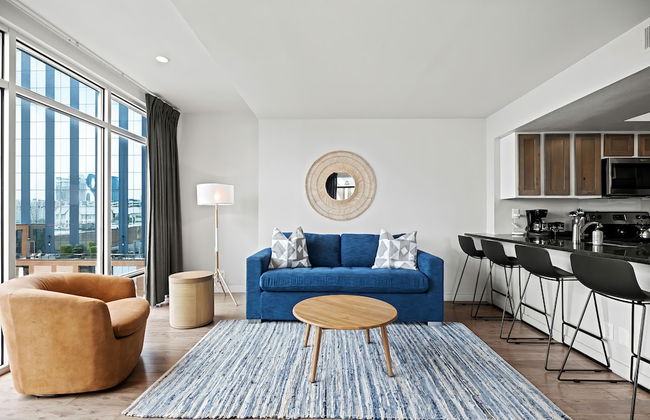
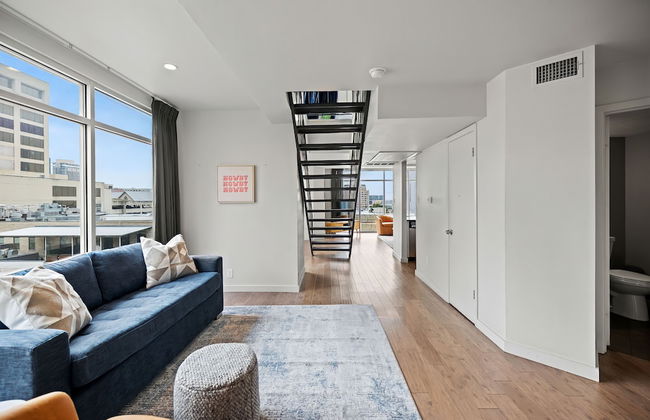
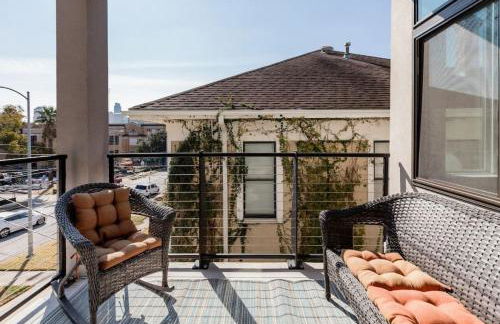
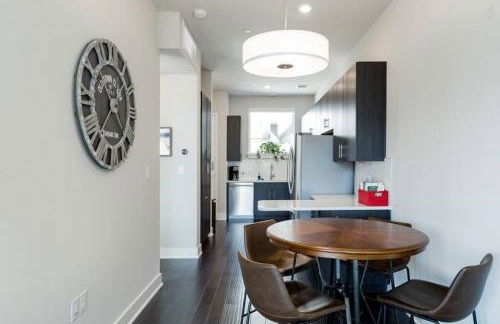
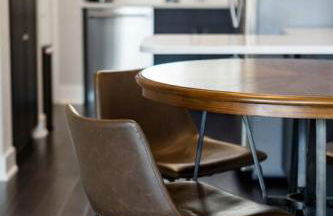
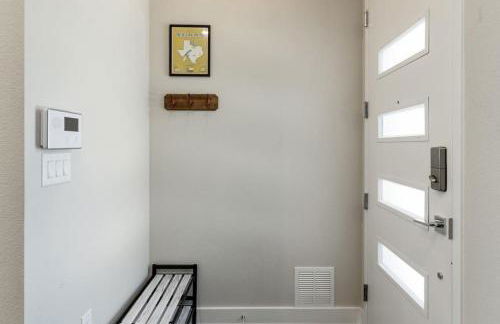
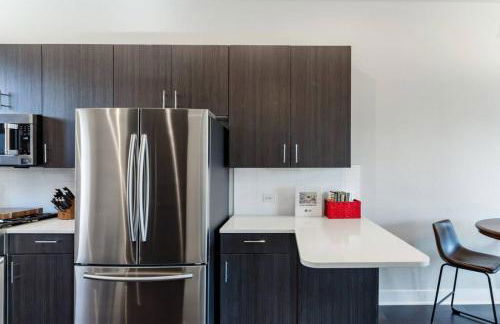
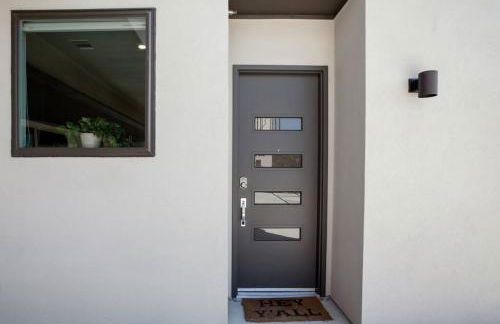
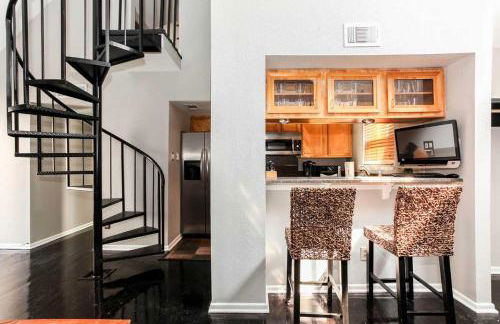
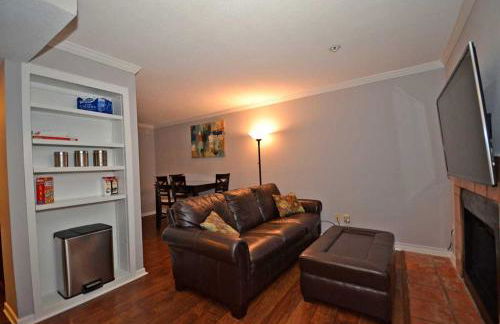
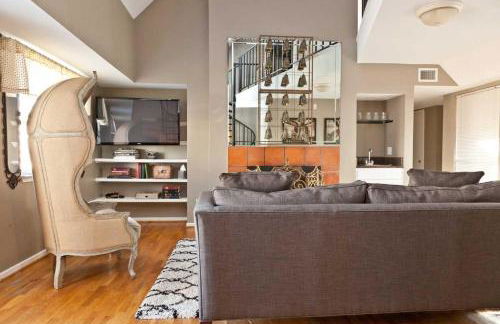
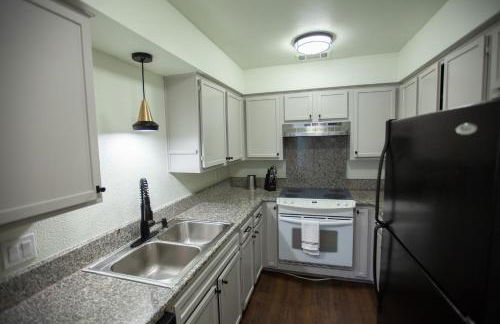
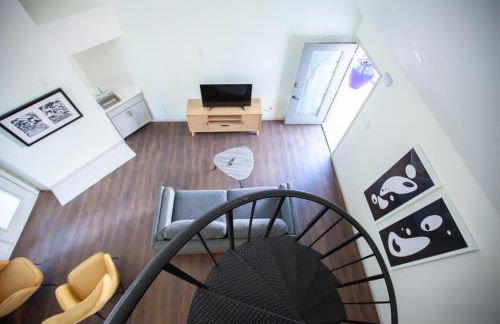
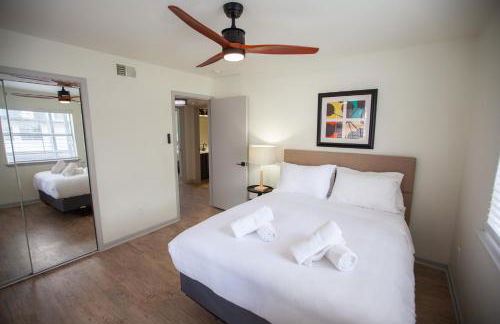
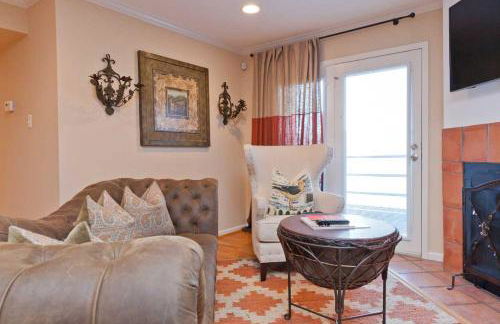
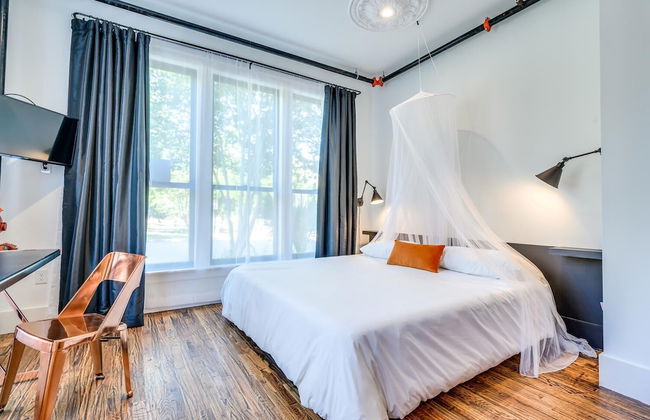
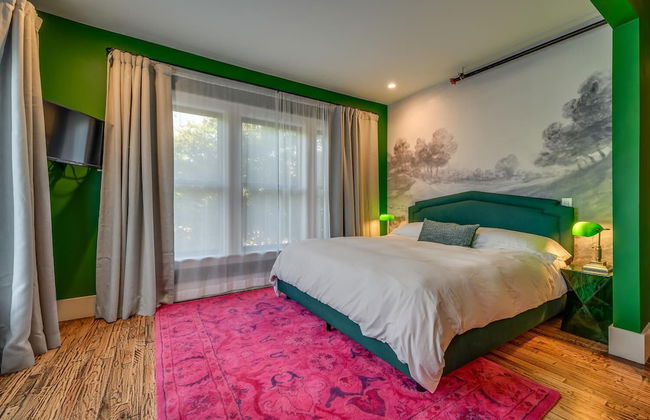
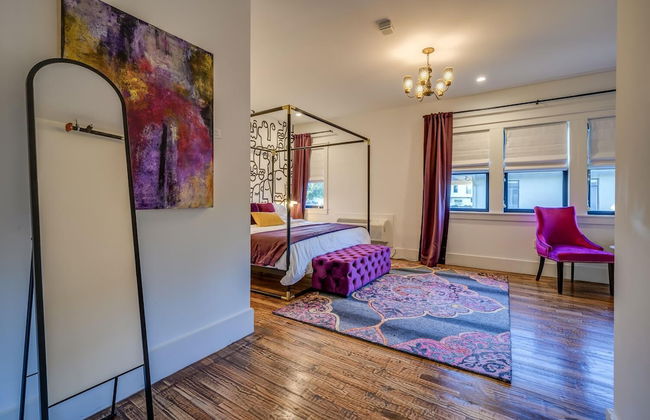
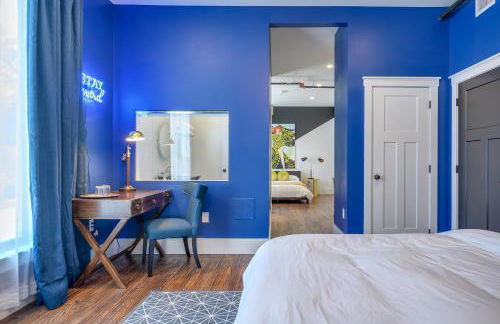
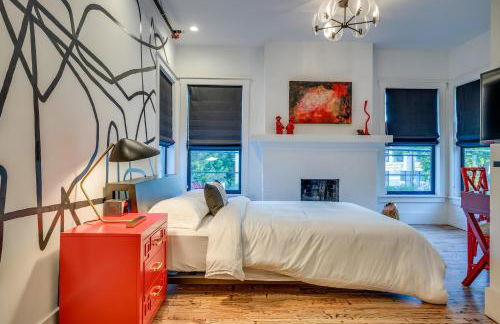
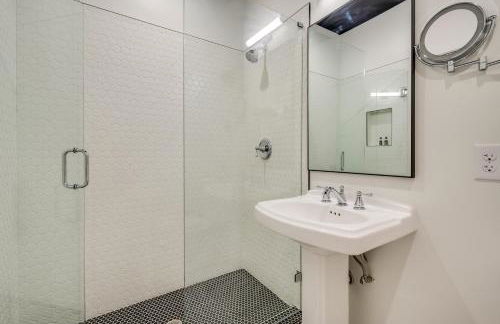
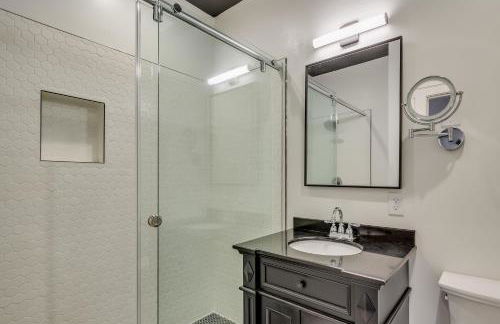
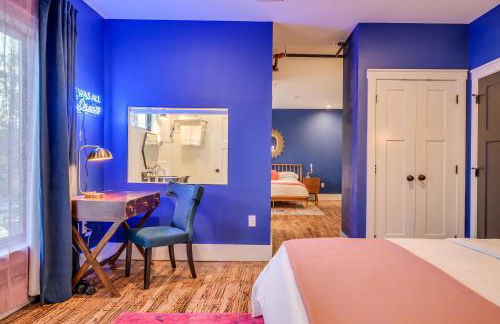
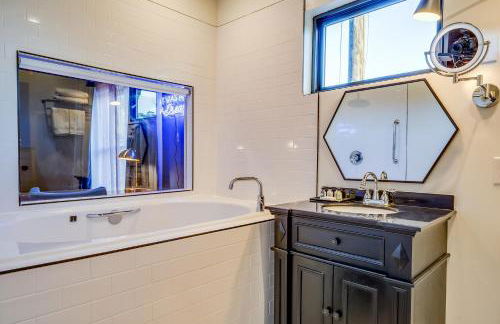
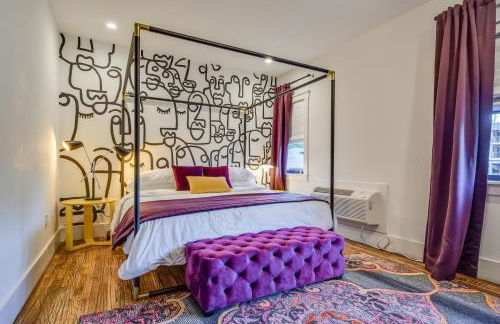
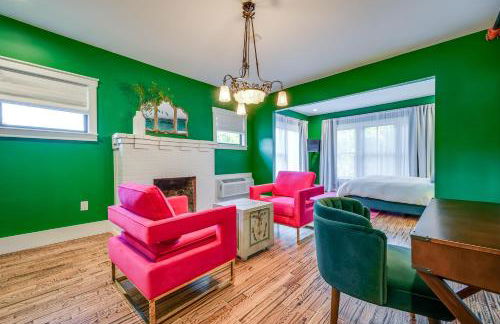
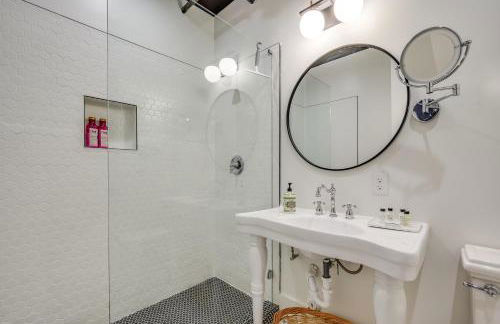
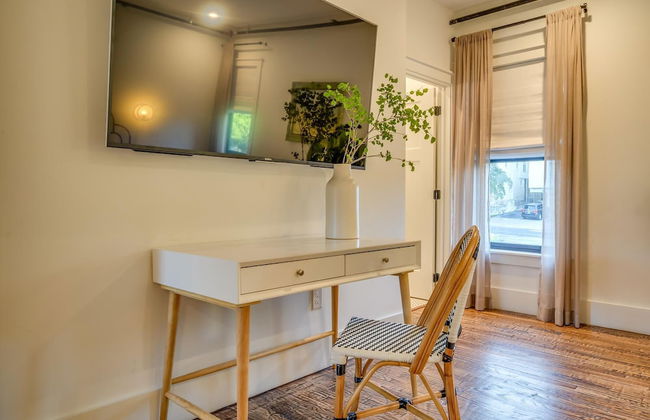
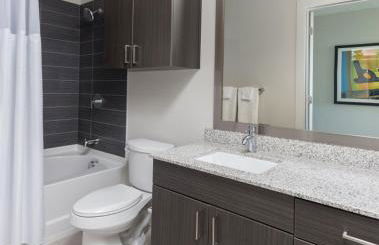
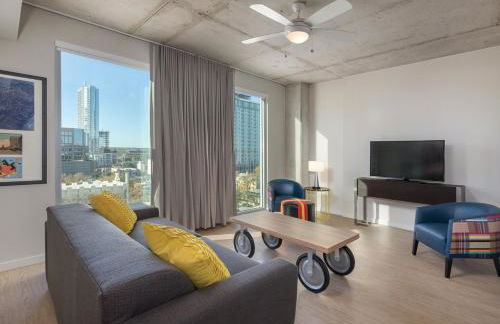
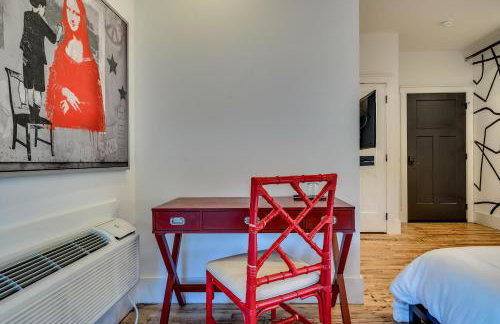
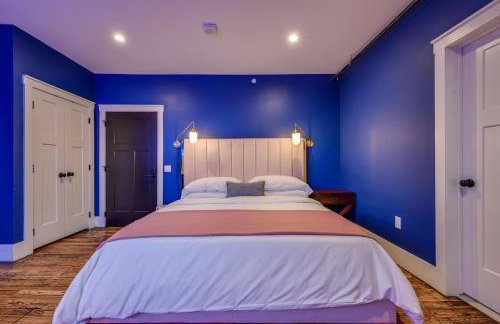
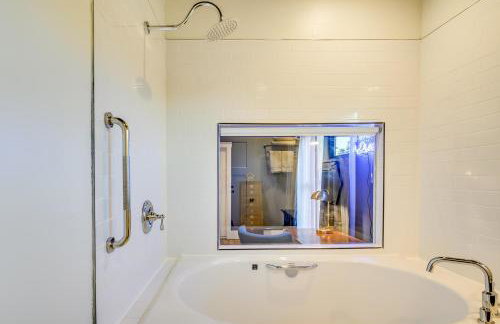
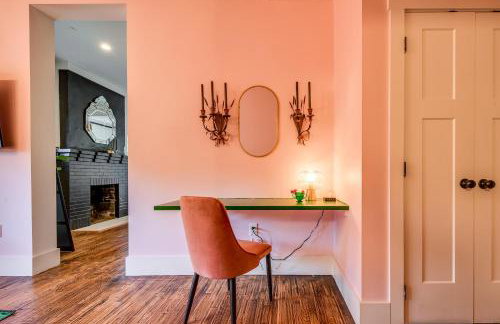
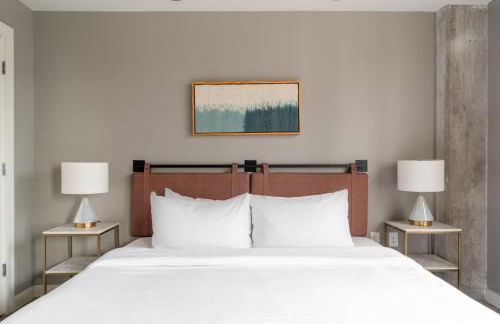
Kasa Downtown Austin - Photo 2
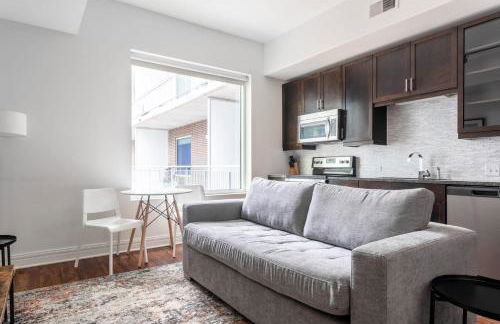
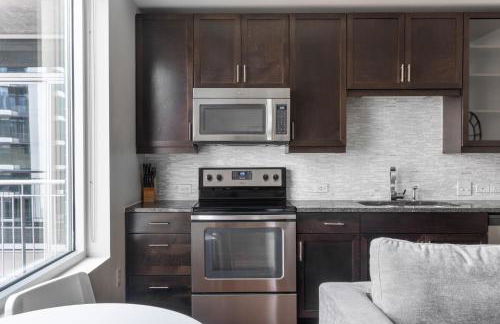
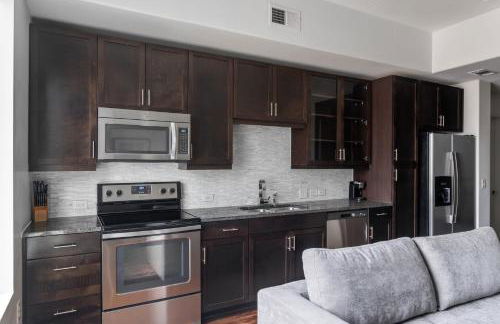
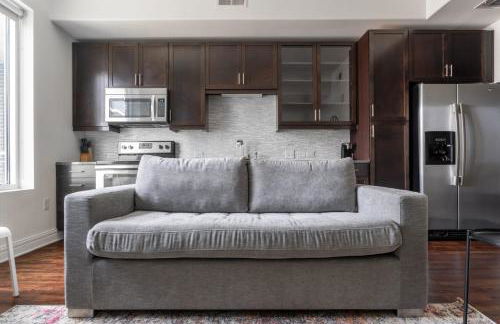
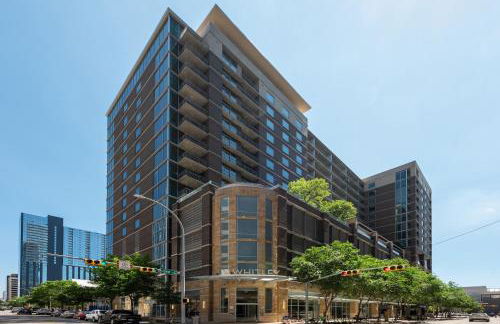
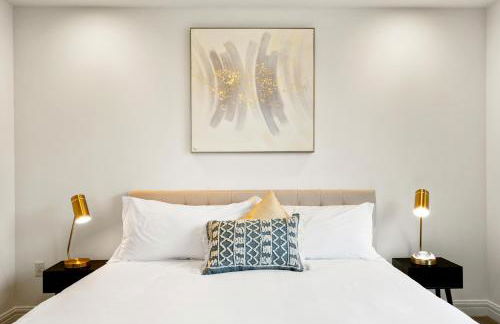
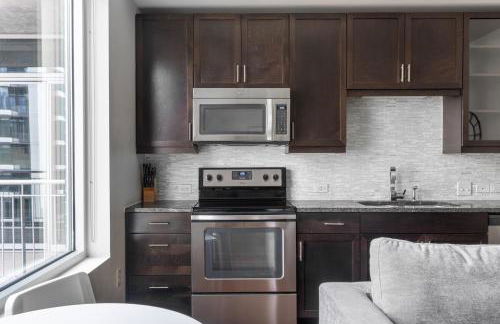
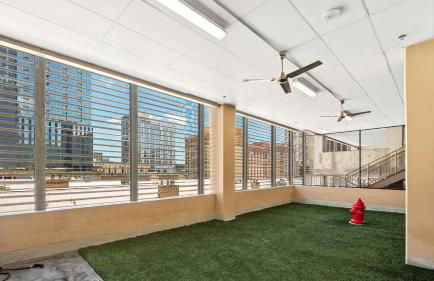
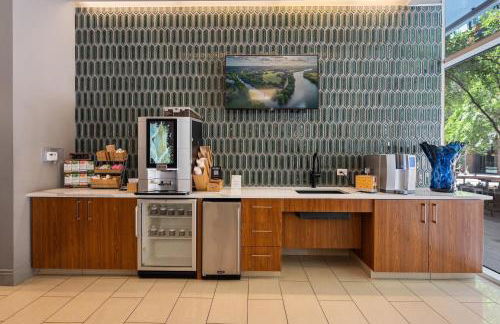
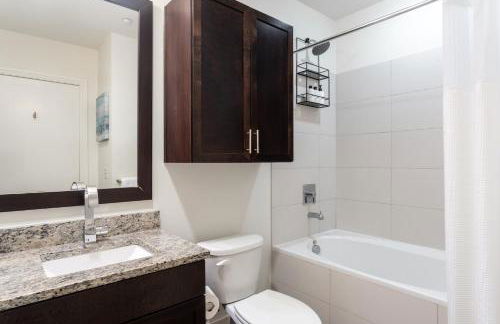
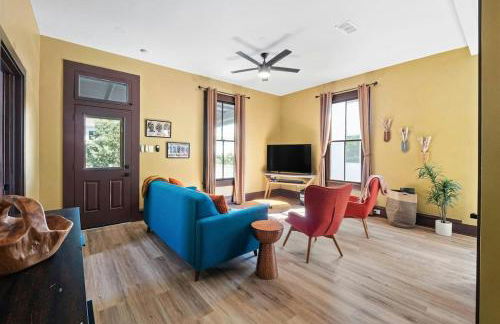
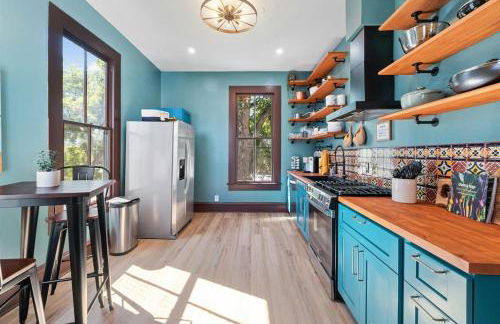
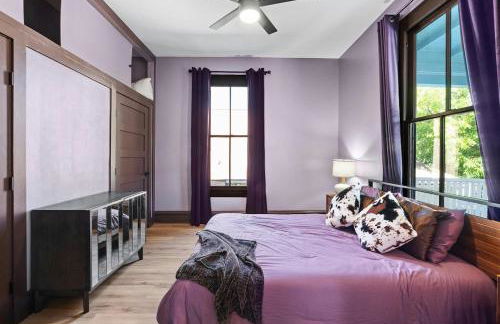
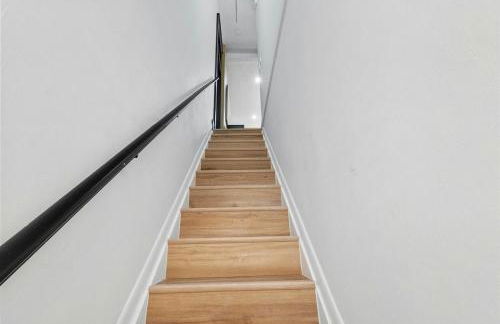
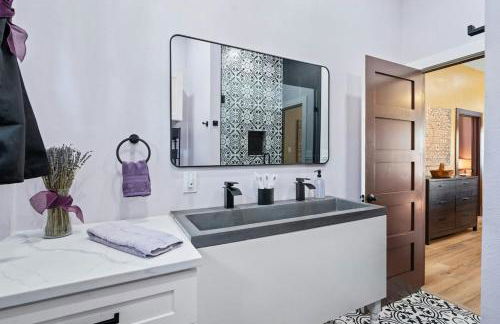
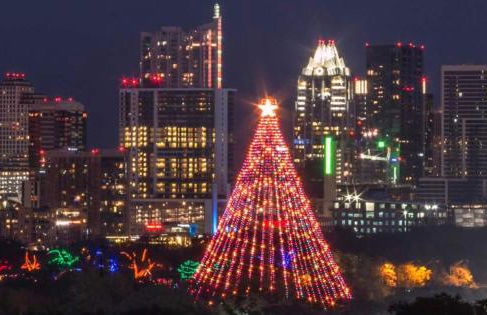
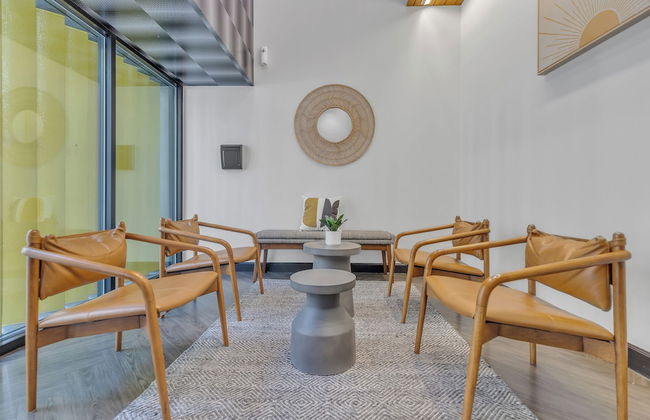
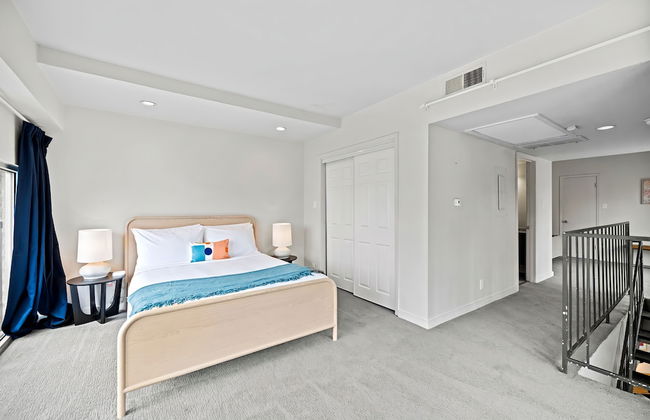
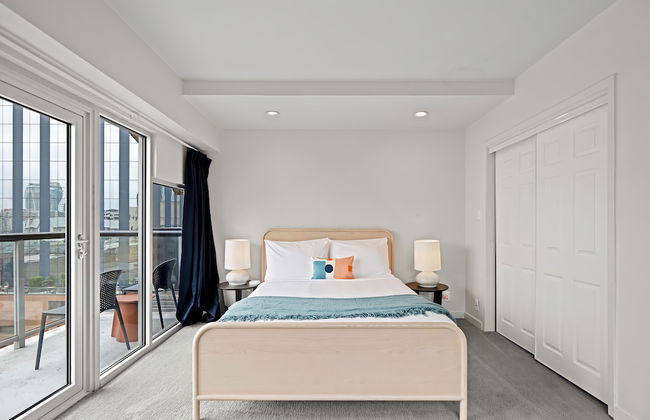
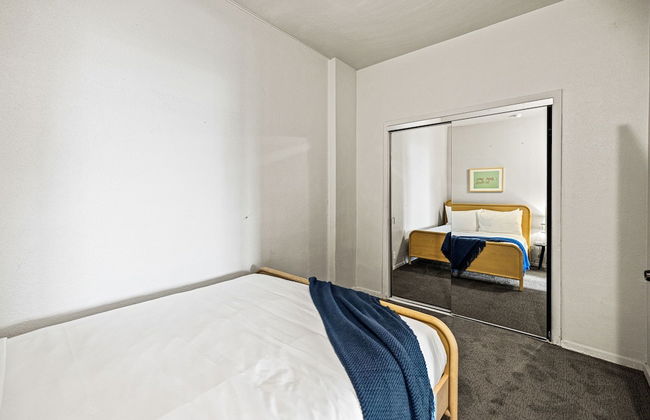
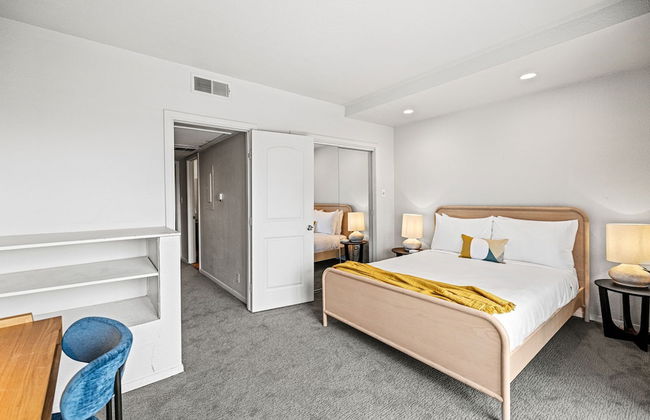
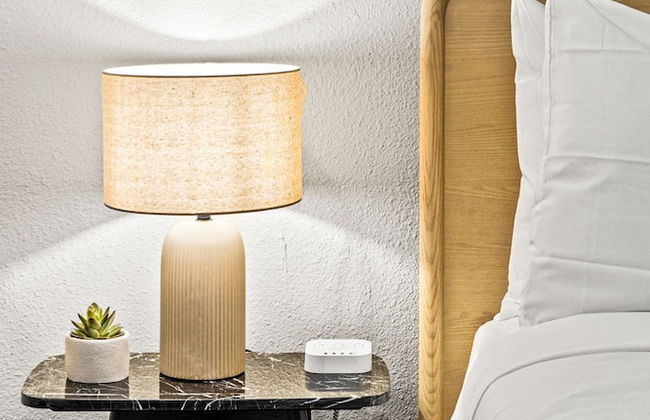
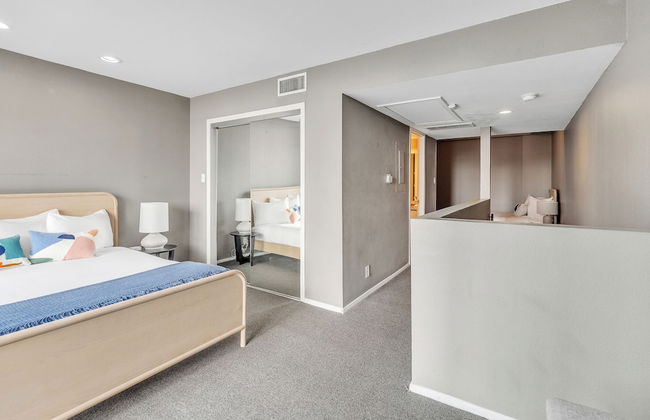
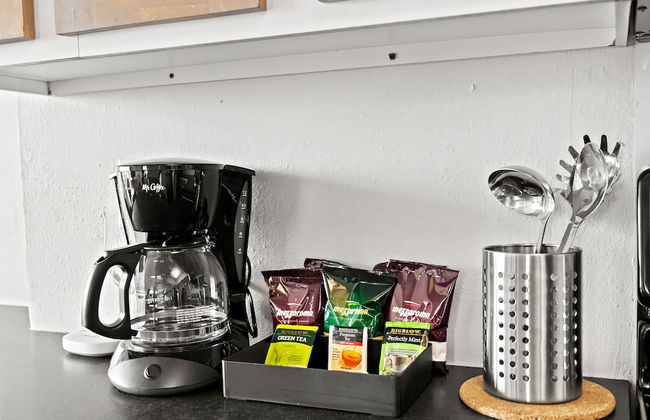
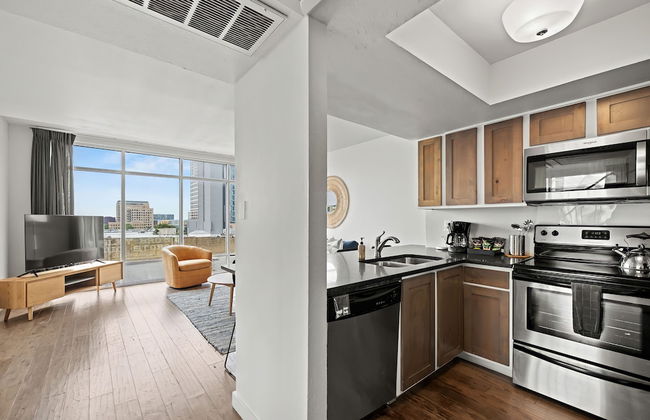
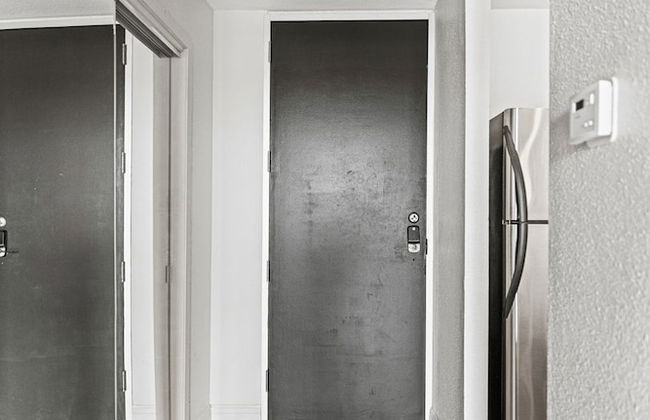
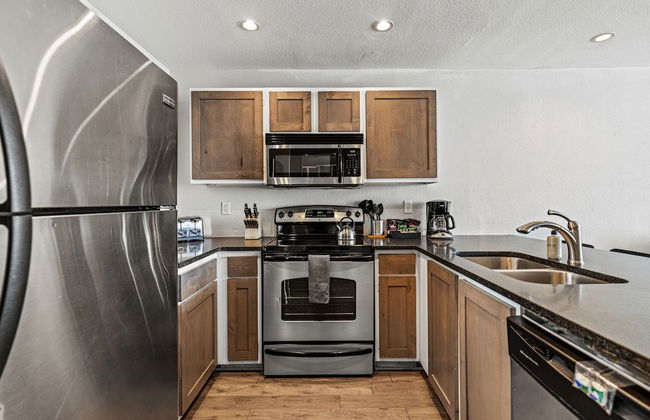
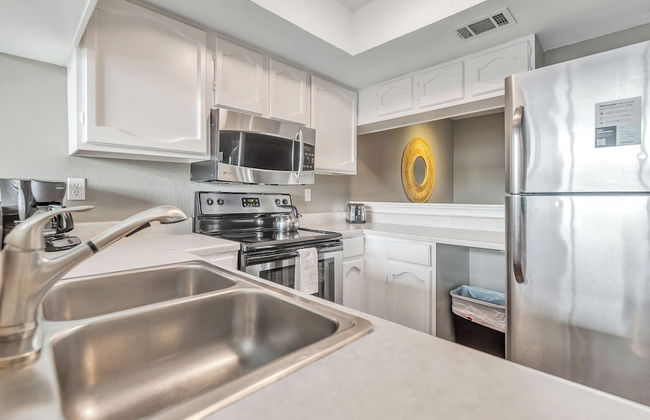
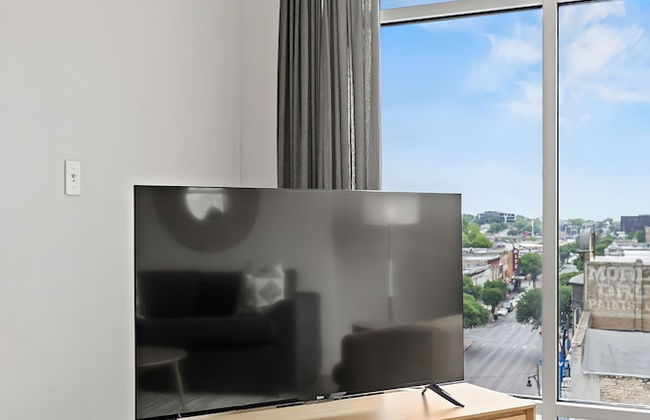
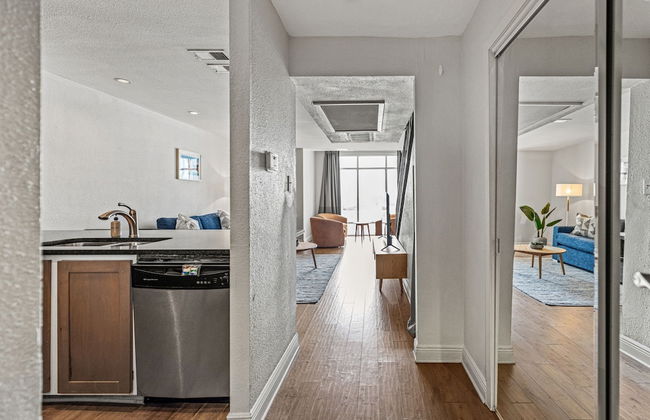
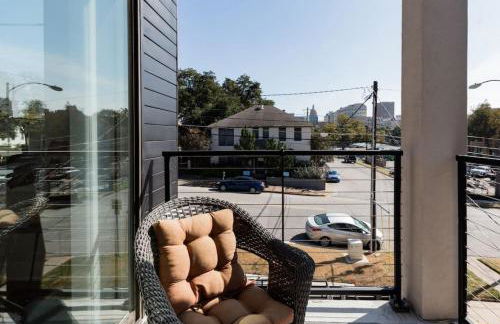
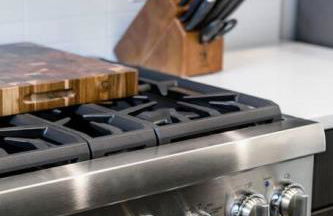
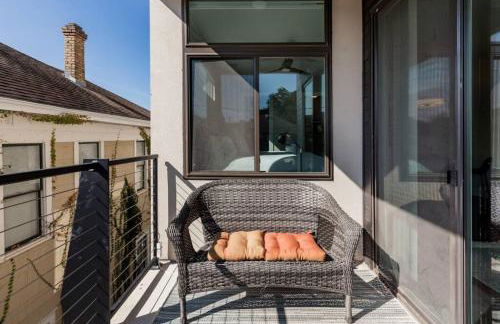
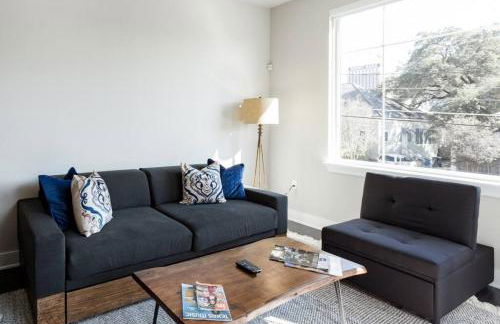
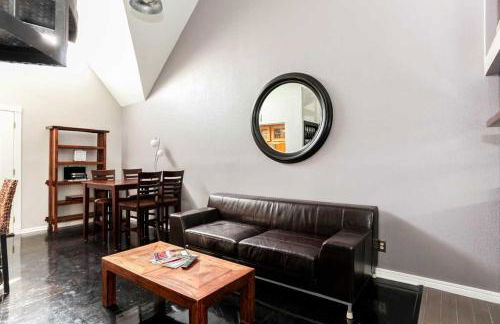
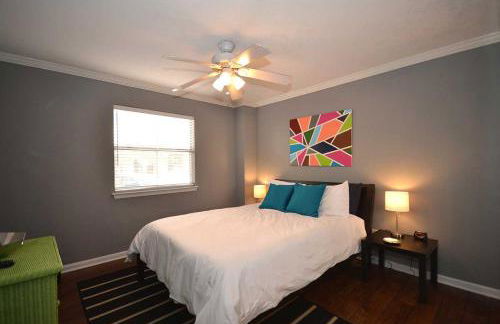
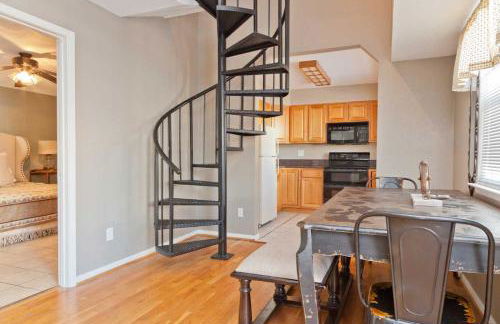
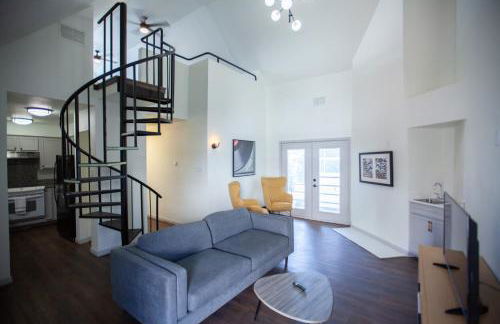
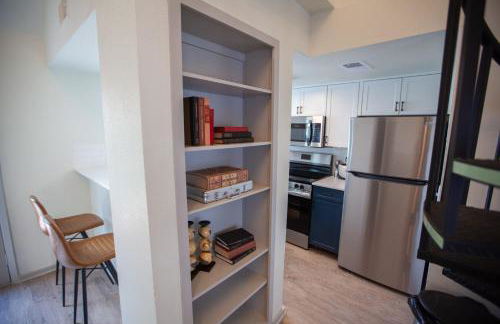
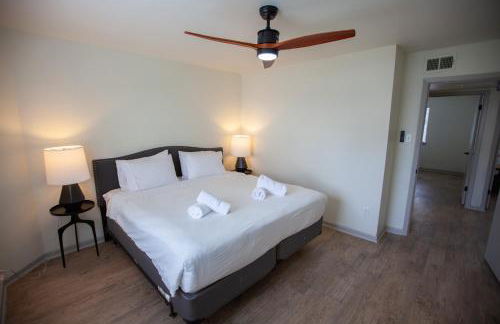
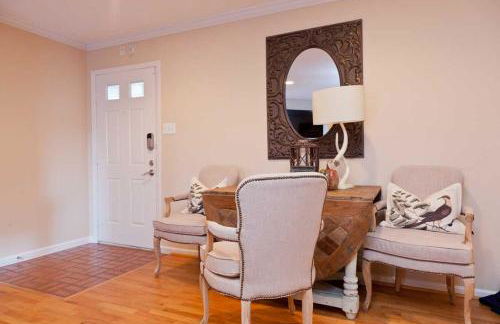
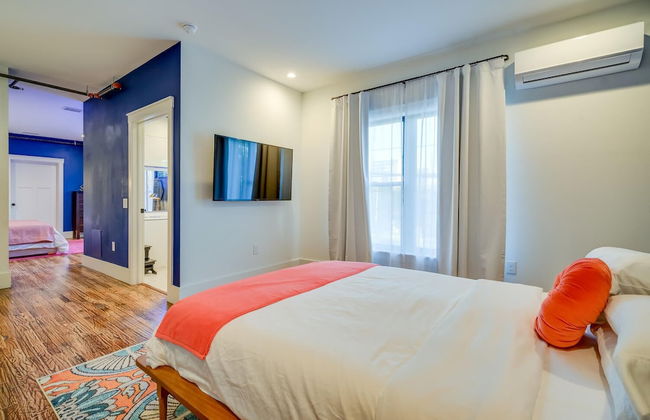
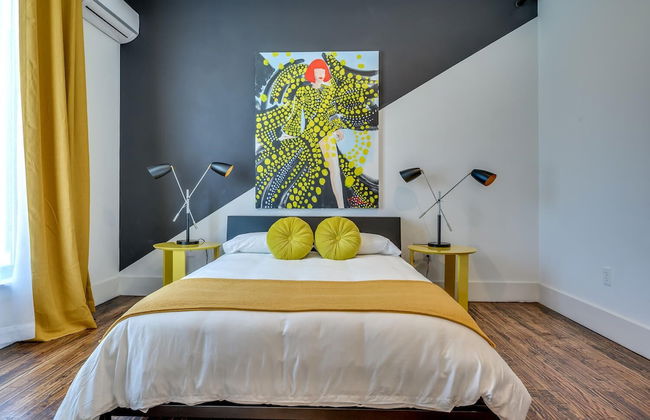
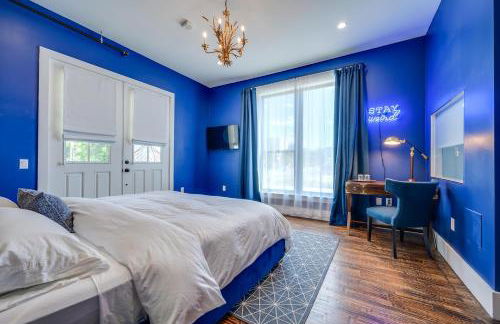
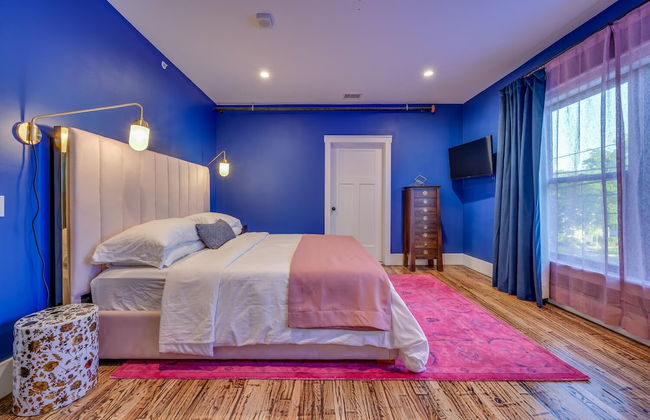
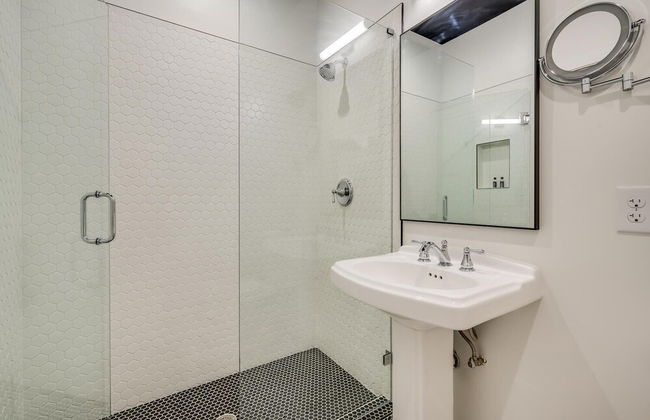
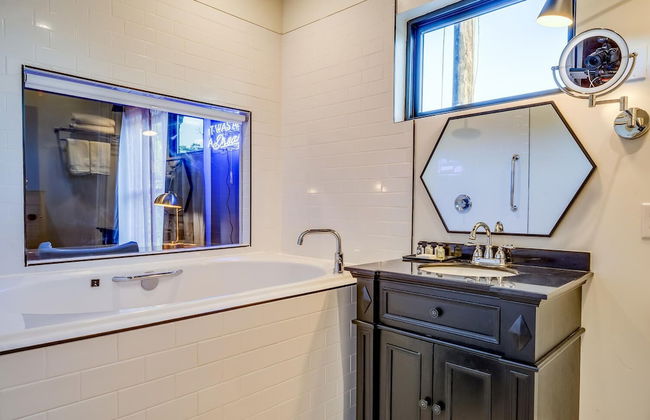
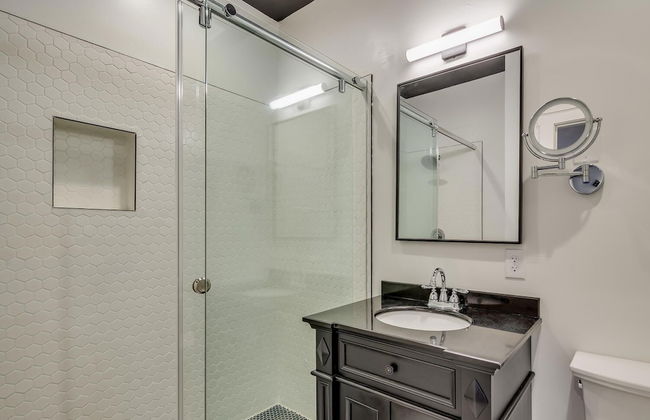
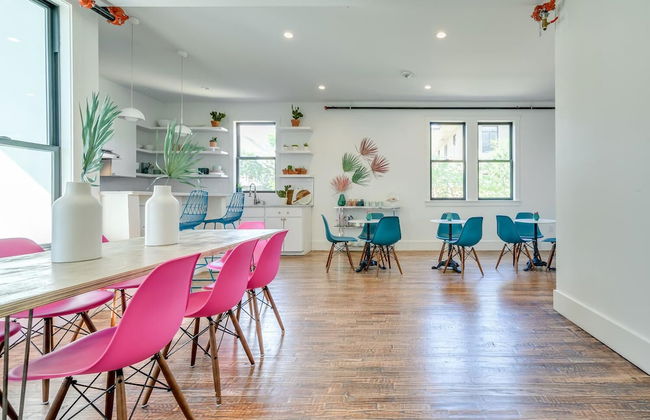
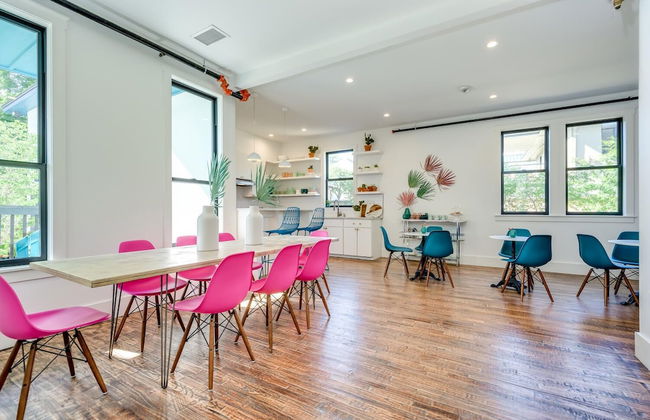
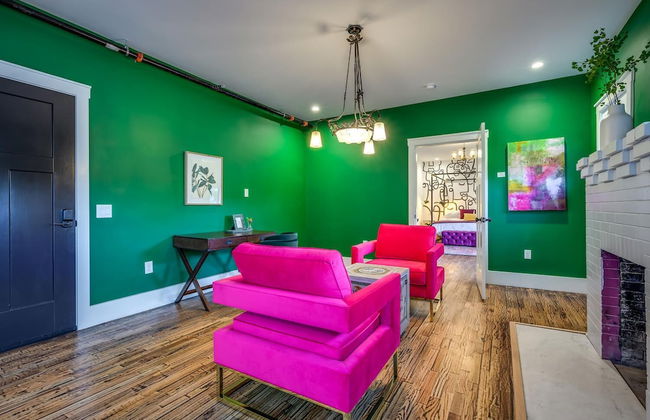
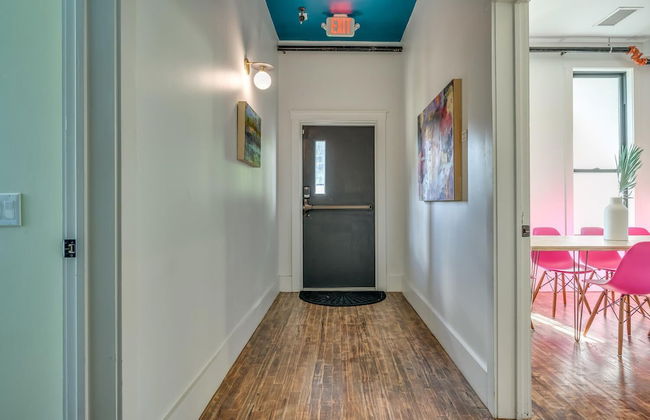
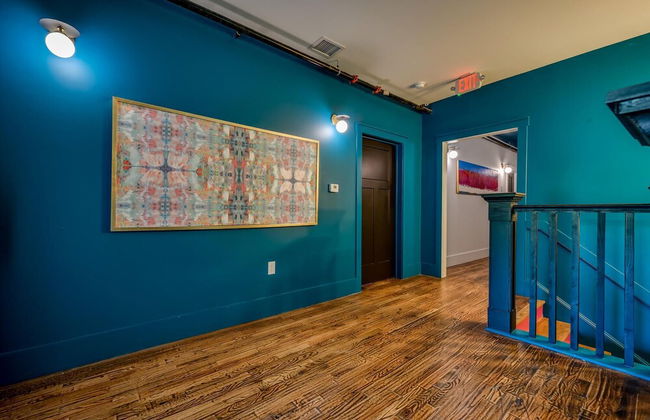
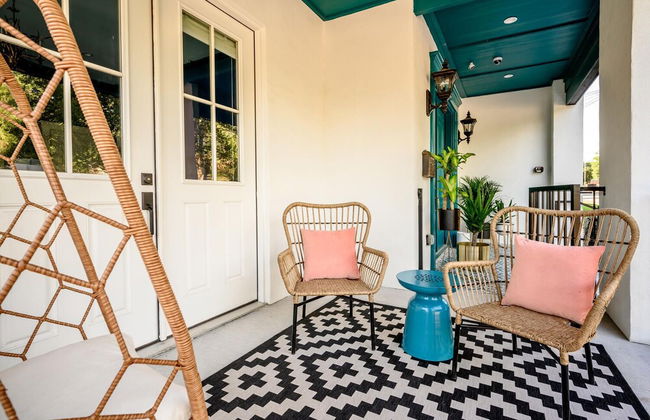
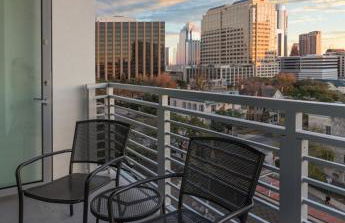
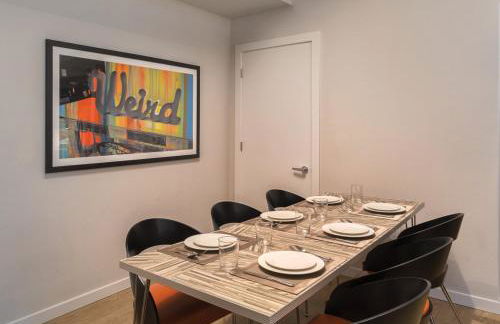
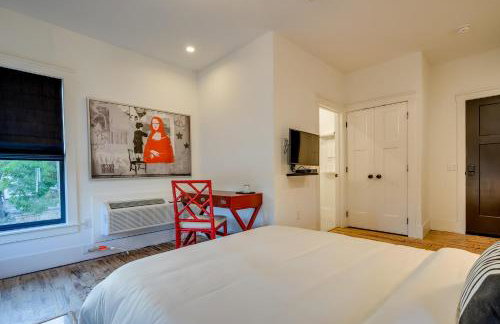
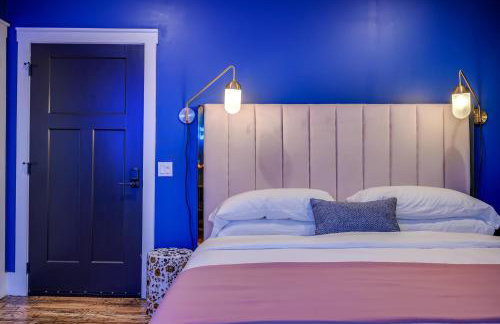
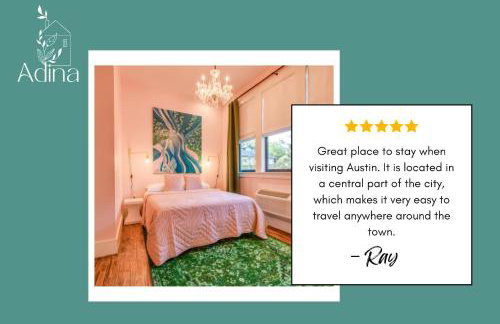
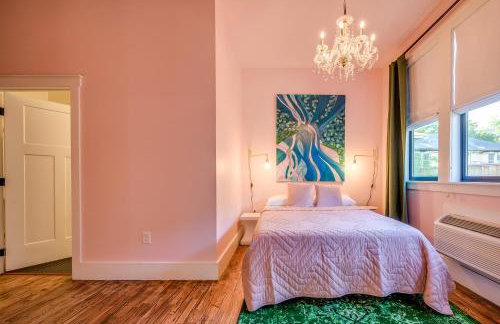
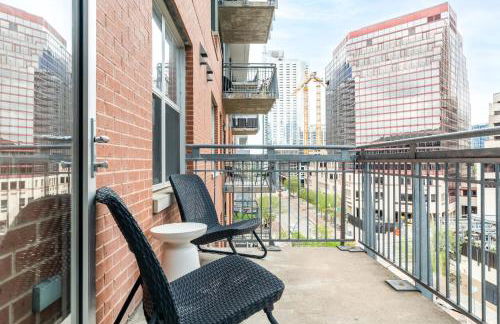
Kasa Downtown Austin - Photo 3
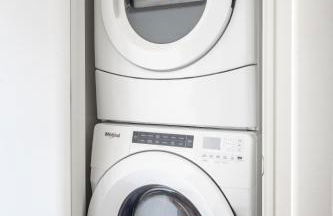
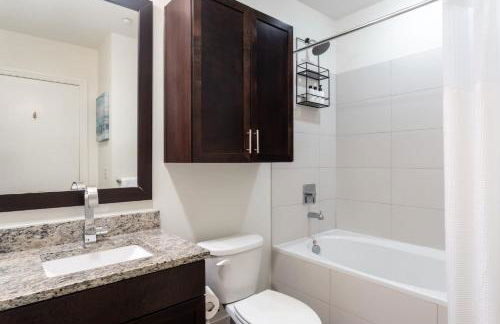
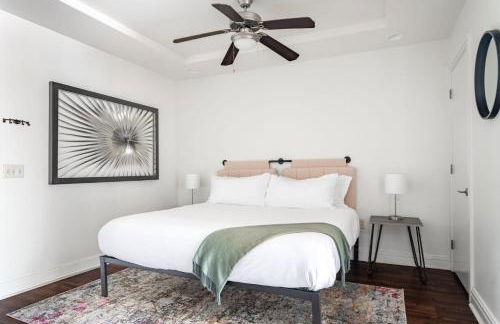
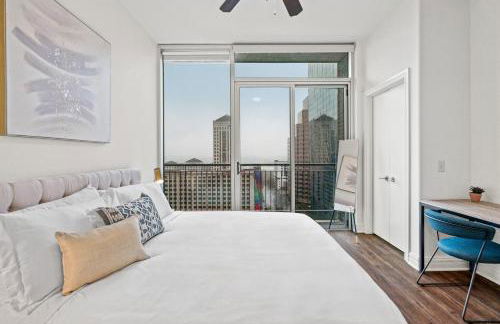
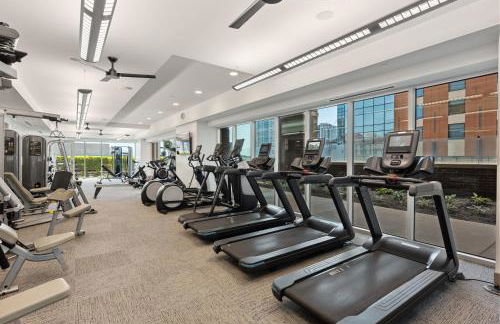
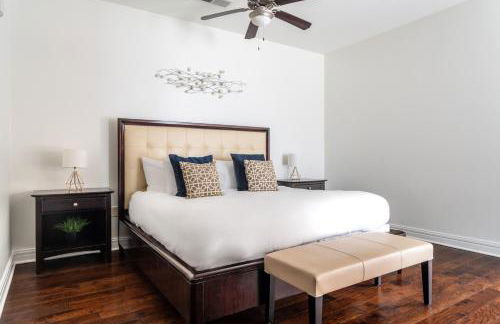
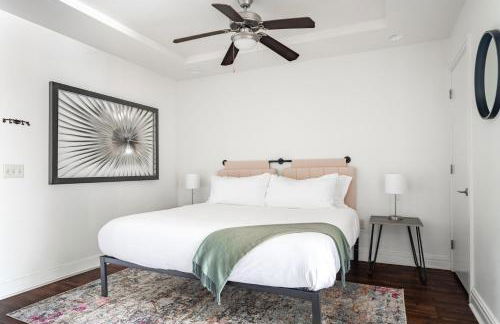
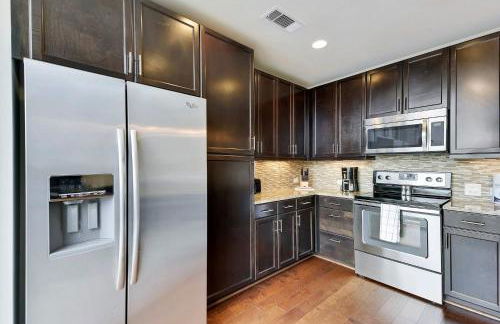
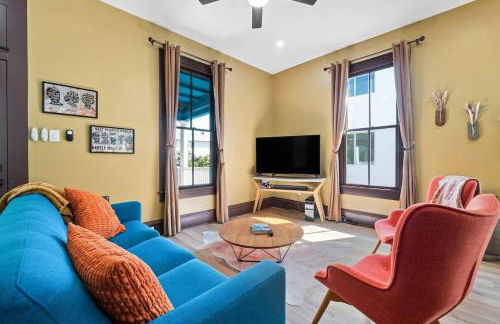
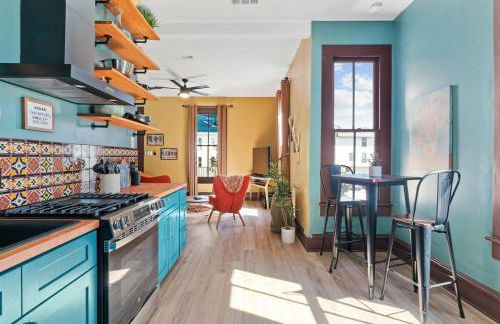
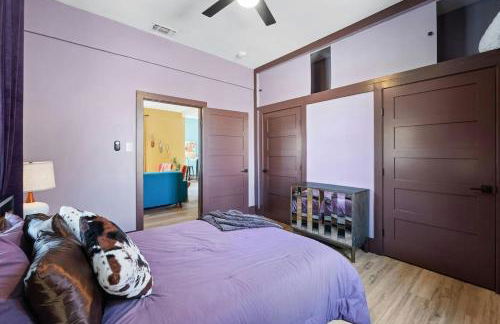
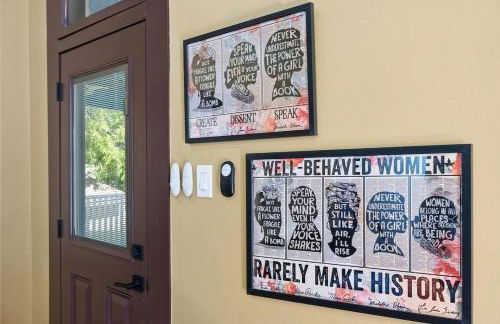
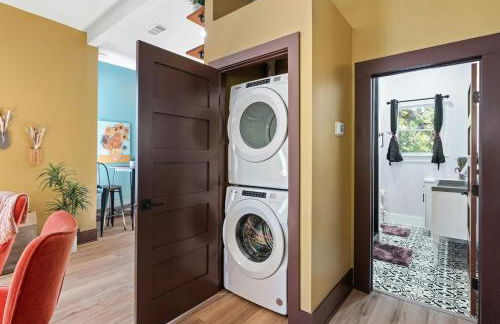
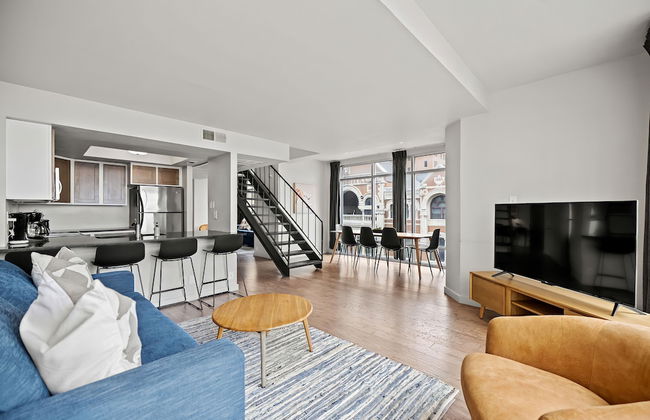
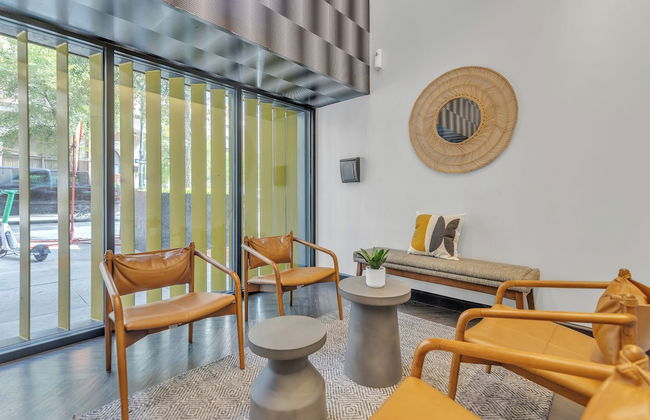
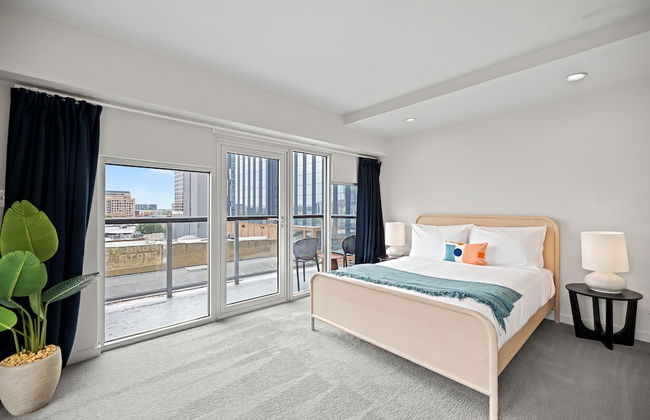
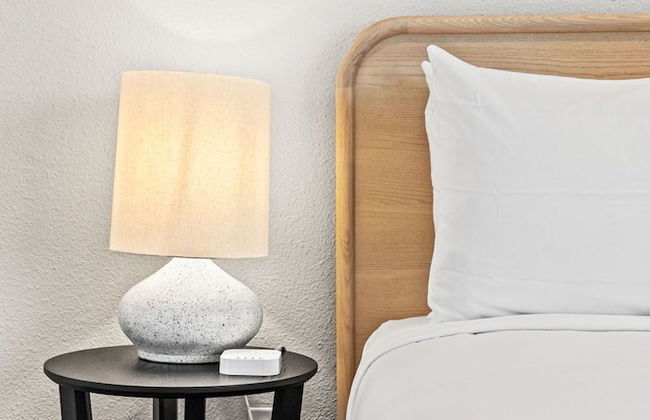
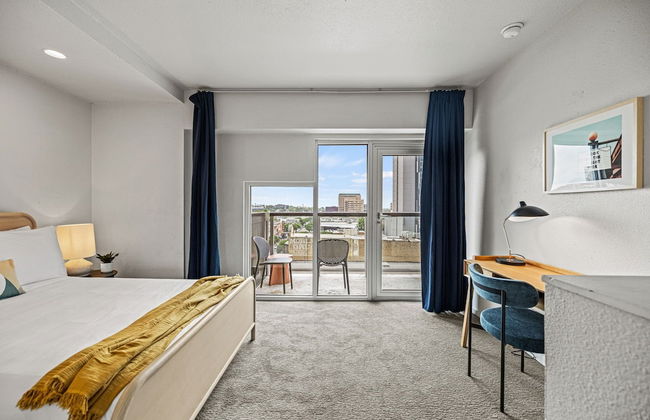
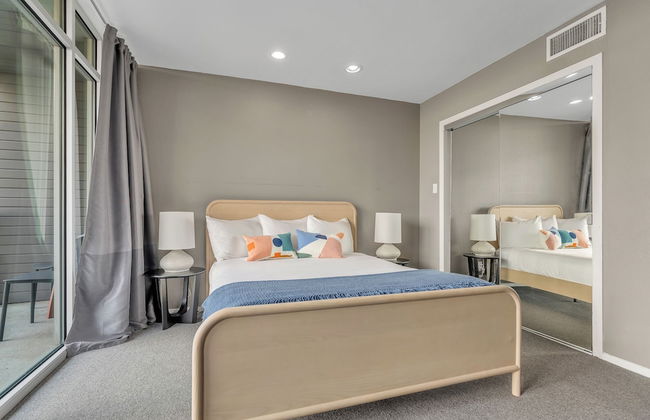
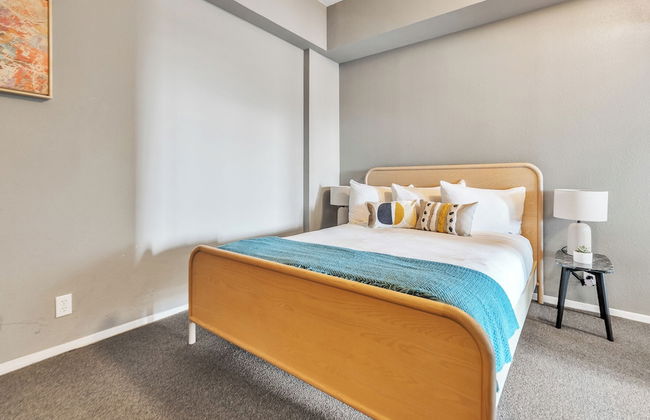
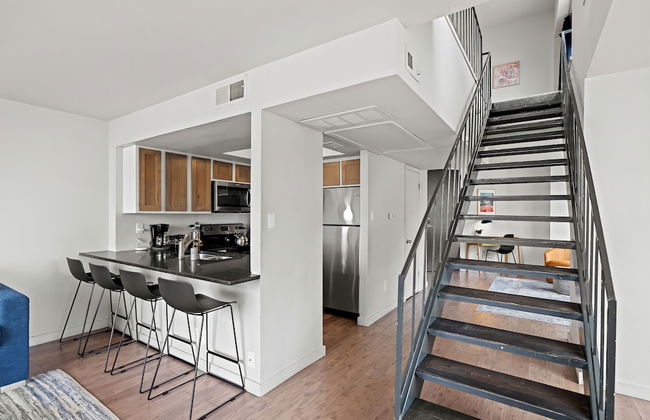
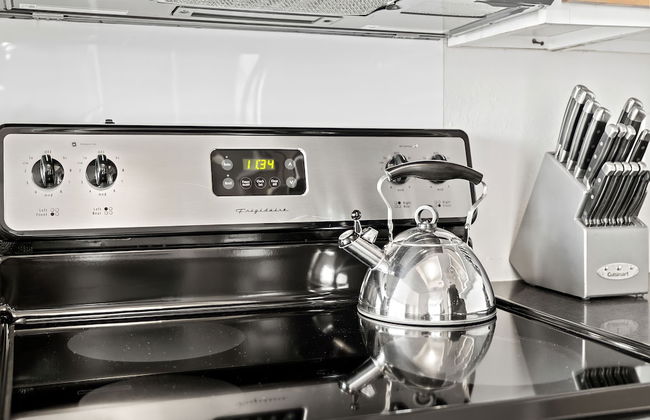
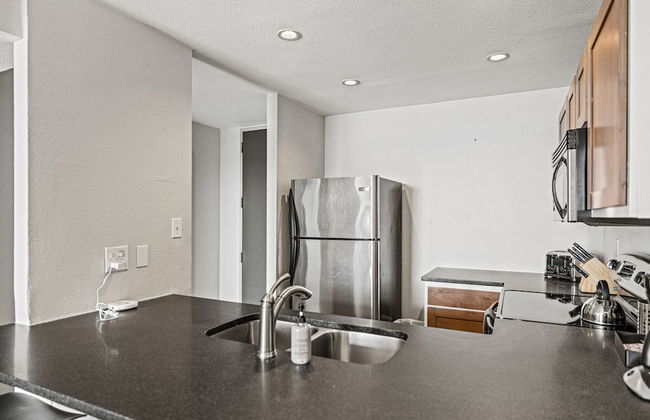
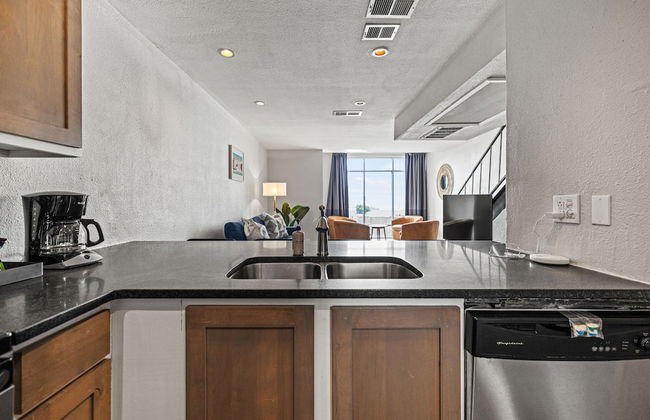
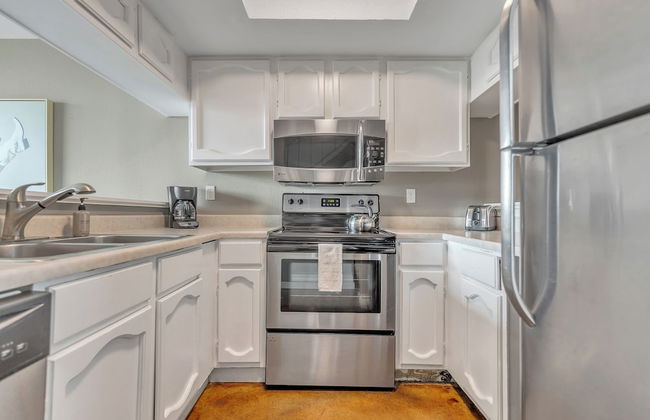
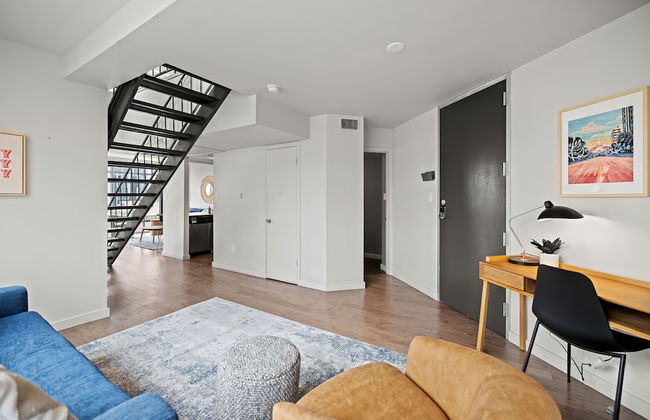
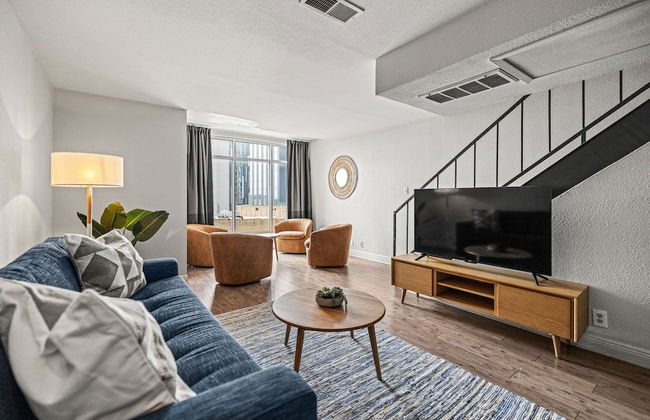
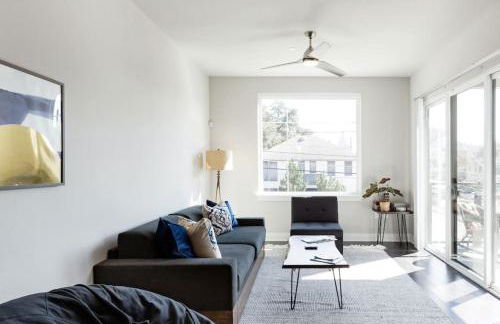
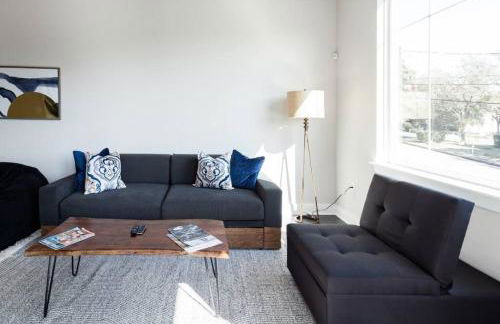
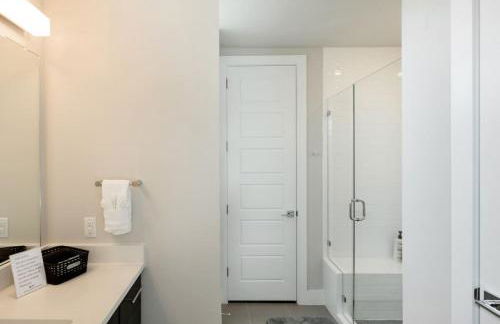
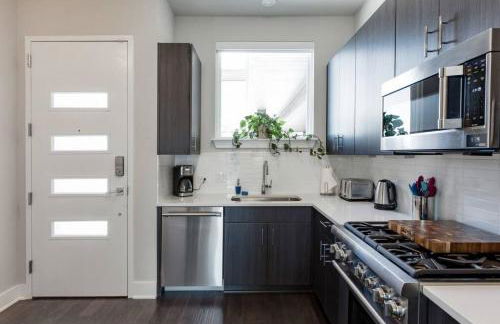
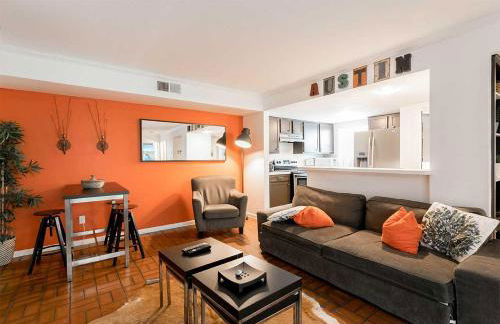
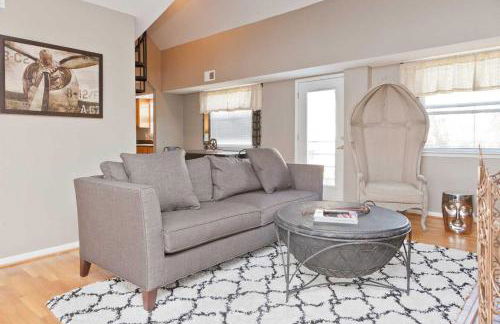
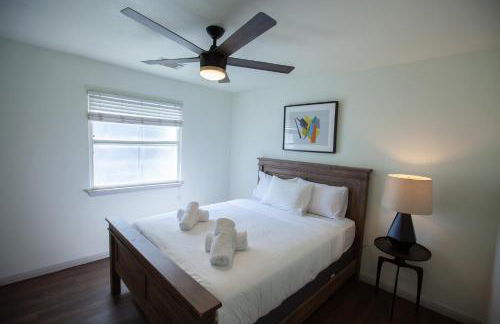
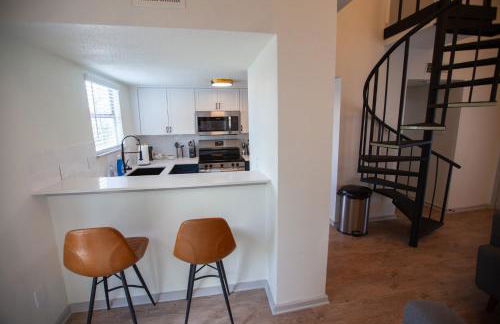
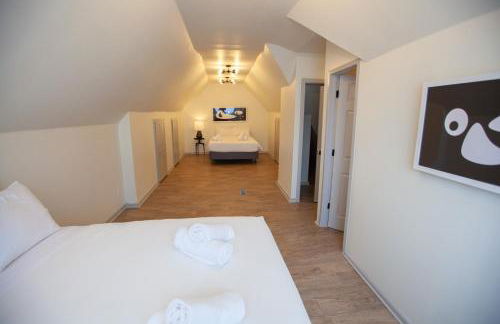
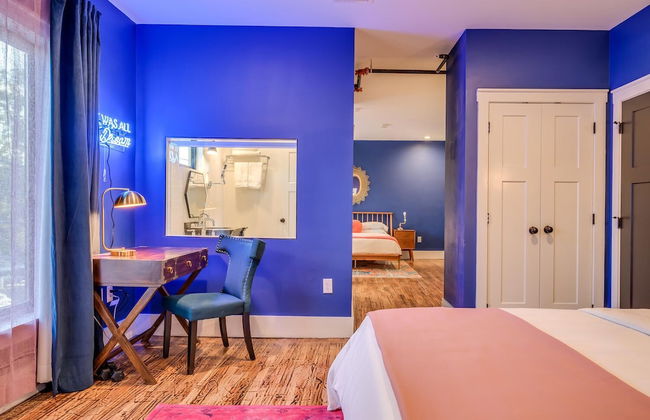
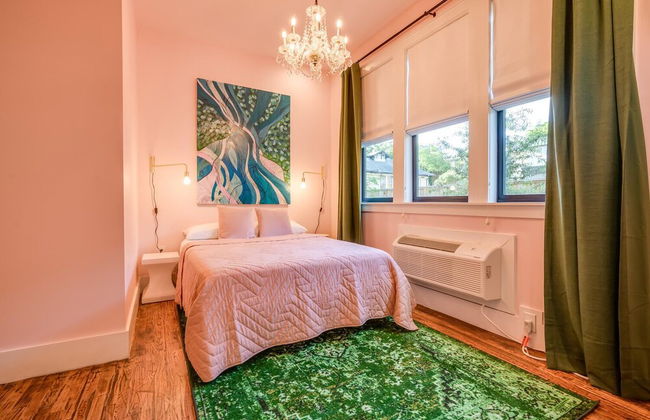
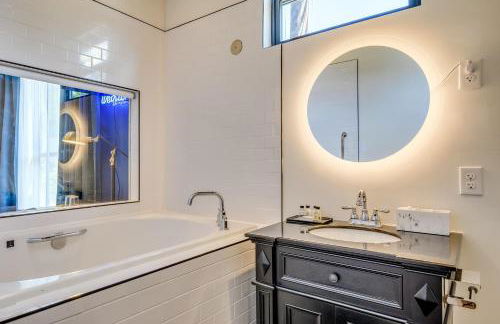
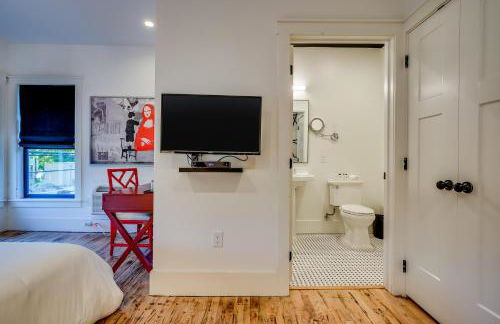
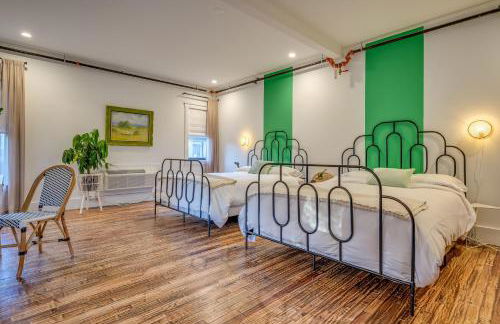
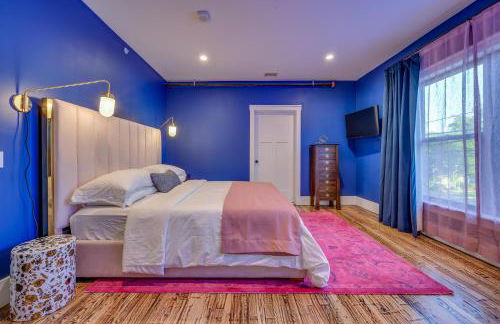
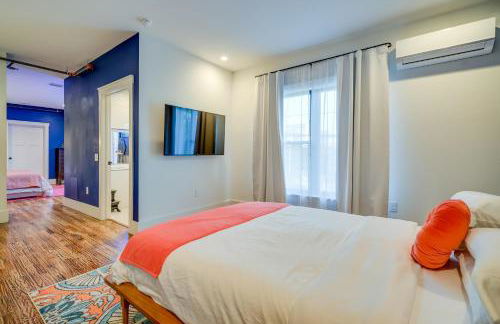
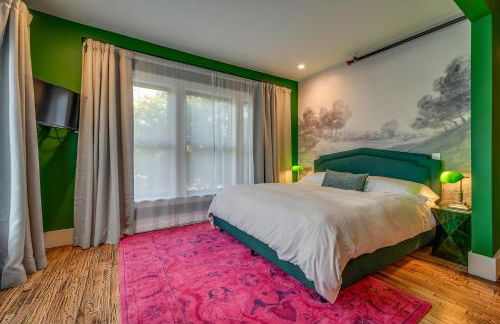
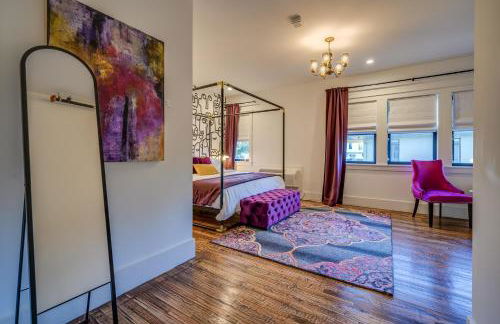
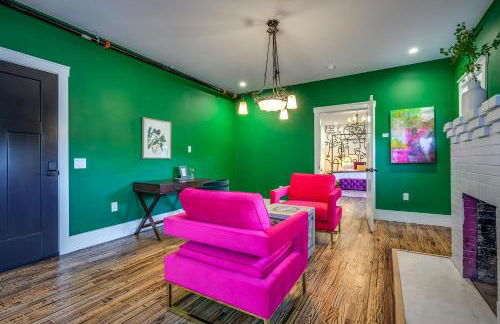
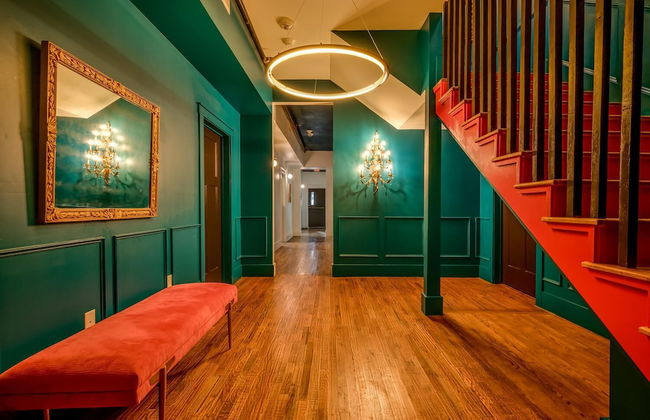
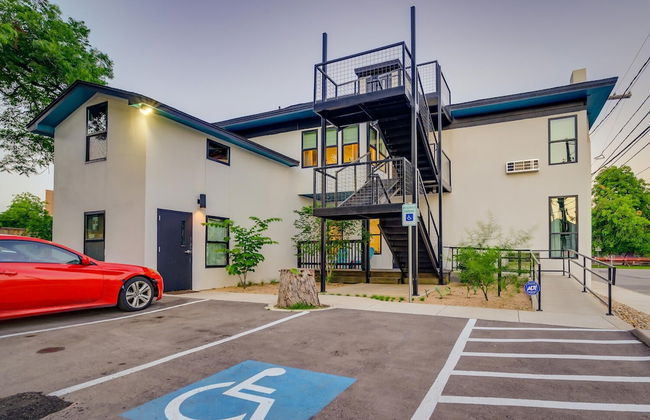
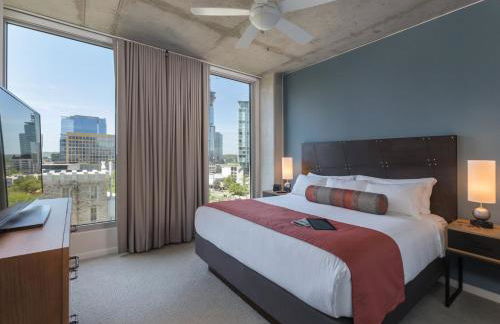
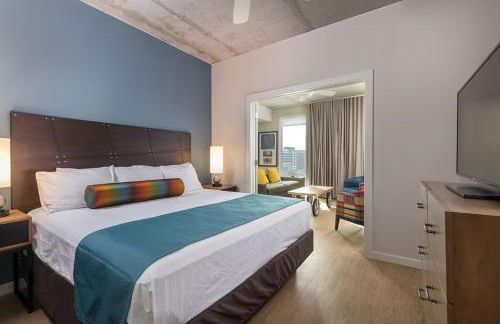
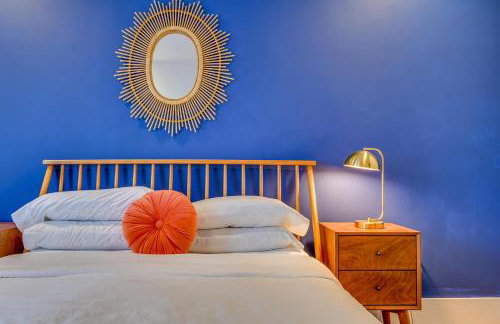
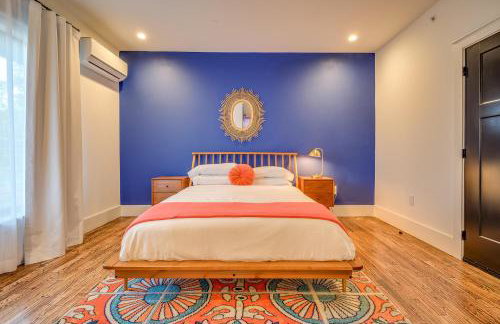
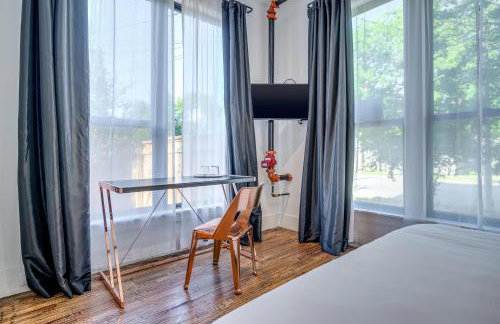
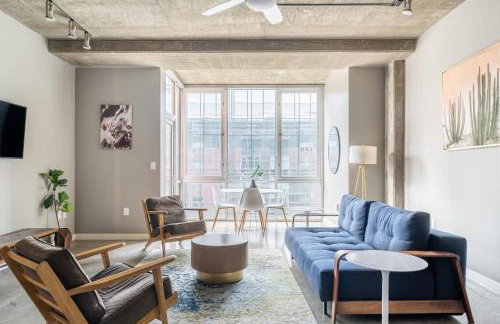
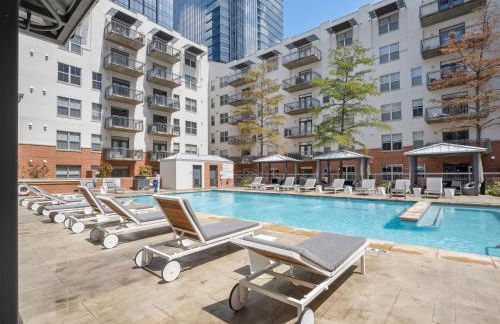
Kasa Downtown Austin - Photo 4
Kasa Downtown Austin - Photo 5
Kasa Downtown Austin - Photo 6
Kasa Downtown Austin - Photo 7
Kasa Downtown Austin - Photo 8
Kasa Downtown Austin - Photo 9
Kasa Downtown Austin - Photo 10
Kasa Downtown Austin - Photo 11
Kasa Downtown Austin - Photo 12
Kasa Downtown Austin - Photo 13
Kasa Downtown Austin - Photo 14
Kasa Downtown Austin - Photo 15
Kasa Downtown Austin - Photo 16
Kasa Downtown Austin - Photo 17
Kasa Downtown Austin - Photo 18
Kasa Downtown Austin - Photo 19
Kasa Downtown Austin - Photo 20
Kasa Downtown Austin - Photo 21
Kasa Downtown Austin - Photo 22
Kasa Downtown Austin - Photo 23
Kasa Downtown Austin - Photo 24
Kasa Downtown Austin - Photo 25
Kasa Downtown Austin - Photo 26
Kasa Downtown Austin - Photo 27
Kasa Downtown Austin - Photo 28
Kasa Downtown Austin - Photo 29
Kasa Downtown Austin - Photo 30
Kasa Downtown Austin - Photo 31
Kasa Downtown Austin - Photo 32
Kasa Downtown Austin - Photo 33
Kasa Downtown Austin - Photo 34
Kasa Downtown Austin - Photo 35
Kasa Downtown Austin - Photo 36
Kasa Downtown Austin - Photo 37
Kasa Downtown Austin - Photo 38
Kasa Downtown Austin - Photo 39
Kasa Downtown Austin - Photo 40
Kasa Downtown Austin - Photo 41
Kasa Downtown Austin - Photo 42
Kasa Downtown Austin - Photo 43
Kasa Downtown Austin - Photo 44
Kasa Downtown Austin - Photo 45
Kasa Downtown Austin - Photo 46
Kasa Downtown Austin - Photo 47

Kasa Downtown Austin

Austin - Downtown Austin - In the center

  • 92 M2
  • 2 bedrooms
  • 6 people
  • Air conditioning
  • Heating
  • Terrace
  • Swimming pool
  • Parking
  • Elevator
  • Balcony
  • Garden
  • Tv
  • Washing machine
  • Barbecue
  • Bath linen
  • Bed linen
9Exceptional | 669 reviews
Kasa 2nd Street Austin - Photo 1
Kasa 2nd Street Austin - Photo 2
Kasa 2nd Street Austin - Photo 3
Kasa 2nd Street Austin - Photo 4
Kasa 2nd Street Austin - Photo 5
Kasa 2nd Street Austin - Photo 6
Kasa 2nd Street Austin - Photo 7
Kasa 2nd Street Austin - Photo 8
Kasa 2nd Street Austin - Photo 9
Kasa 2nd Street Austin - Photo 10
Kasa 2nd Street Austin - Photo 11
Kasa 2nd Street Austin - Photo 12
Kasa 2nd Street Austin - Photo 13
Kasa 2nd Street Austin - Photo 14
Kasa 2nd Street Austin - Photo 15
Kasa 2nd Street Austin - Photo 16
Kasa 2nd Street Austin - Photo 17
Kasa 2nd Street Austin - Photo 18
Kasa 2nd Street Austin - Photo 19
Kasa 2nd Street Austin - Photo 20
Kasa 2nd Street Austin - Photo 21
Kasa 2nd Street Austin - Photo 22
Kasa 2nd Street Austin - Photo 23
Kasa 2nd Street Austin - Photo 24
Kasa 2nd Street Austin - Photo 25
Kasa 2nd Street Austin - Photo 26
Kasa 2nd Street Austin - Photo 27
Kasa 2nd Street Austin - Photo 28
Kasa 2nd Street Austin - Photo 29
Kasa 2nd Street Austin - Photo 30
Kasa 2nd Street Austin - Photo 31
Kasa 2nd Street Austin - Photo 32
Kasa 2nd Street Austin - Photo 33
Kasa 2nd Street Austin - Photo 34
Kasa 2nd Street Austin - Photo 35
Kasa 2nd Street Austin - Photo 36
Kasa 2nd Street Austin - Photo 37
Kasa 2nd Street Austin - Photo 38
Kasa 2nd Street Austin - Photo 39
Kasa 2nd Street Austin - Photo 40
Kasa 2nd Street Austin - Photo 41
Kasa 2nd Street Austin - Photo 42
Kasa 2nd Street Austin - Photo 43
Kasa 2nd Street Austin - Photo 44
Kasa 2nd Street Austin - Photo 45
Kasa 2nd Street Austin - Photo 46
Kasa 2nd Street Austin - Photo 47
Kasa 2nd Street Austin - Photo 48
Kasa 2nd Street Austin - Photo 49
Kasa 2nd Street Austin - Photo 50
Kasa 2nd Street Austin - Photo 51
Kasa 2nd Street Austin - Photo 52
Kasa 2nd Street Austin - Photo 53
Kasa 2nd Street Austin - Photo 54
Kasa 2nd Street Austin - Photo 55
Kasa 2nd Street Austin - Photo 56
Kasa 2nd Street Austin - Photo 57
Kasa 2nd Street Austin - Photo 58
Kasa 2nd Street Austin - Photo 59
Kasa 2nd Street Austin - Photo 60
Kasa 2nd Street Austin - Photo 61
Kasa 2nd Street Austin - Photo 62
Kasa 2nd Street Austin - Photo 63
Kasa 2nd Street Austin - Photo 64
Kasa 2nd Street Austin - Photo 65
Kasa 2nd Street Austin - Photo 66
Kasa 2nd Street Austin - Photo 67
Kasa 2nd Street Austin - Photo 68
Kasa 2nd Street Austin - Photo 69
Kasa 2nd Street Austin - Photo 70
Kasa 2nd Street Austin - Photo 71
Kasa 2nd Street Austin - Photo 72
Kasa 2nd Street Austin - Photo 73
Kasa 2nd Street Austin - Photo 74
Kasa 2nd Street Austin - Photo 75
Kasa 2nd Street Austin - Photo 76
Kasa 2nd Street Austin - Photo 77
Kasa 2nd Street Austin - Photo 78
Kasa 2nd Street Austin - Photo 79
Kasa 2nd Street Austin - Photo 80
Kasa 2nd Street Austin - Photo 81
Kasa 2nd Street Austin - Photo 82
Kasa 2nd Street Austin - Photo 83
Kasa 2nd Street Austin - Photo 84
Kasa 2nd Street Austin - Photo 85
Kasa 2nd Street Austin - Photo 86
Kasa 2nd Street Austin - Photo 87
Kasa 2nd Street Austin - Photo 88
Kasa 2nd Street Austin - Photo 89
Kasa 2nd Street Austin - Photo 90
Kasa 2nd Street Austin - Photo 91
Kasa 2nd Street Austin - Photo 92
Kasa 2nd Street Austin - Photo 93
Kasa 2nd Street Austin - Photo 94
Kasa 2nd Street Austin - Photo 95
Kasa 2nd Street Austin - Photo 96
Kasa 2nd Street Austin - Photo 97
Kasa 2nd Street Austin - Photo 98
Kasa 2nd Street Austin - Photo 99
Kasa 2nd Street Austin - Photo 100
Kasa 2nd Street Austin - Photo 101

Kasa 2nd Street Austin

Austin - Downtown Austin - In the center

  • 95 M2
  • 2 bedrooms
  • 6 people
  • Air conditioning
  • Heating
  • Terrace
  • Swimming pool
  • Parking
  • Elevator
  • Balcony
  • Garden
  • Tv
  • Washing machine
  • Barbecue
  • Bath linen
  • Bed linen
9Exceptional | 1002 reviews
Placemakr Austin Downtown, Apartments by Hilton - Photo 1
Placemakr Austin Downtown, Apartments by Hilton - Photo 2
Placemakr Austin Downtown, Apartments by Hilton - Photo 3
Placemakr Austin Downtown, Apartments by Hilton - Photo 4
Placemakr Austin Downtown, Apartments by Hilton - Photo 5
Placemakr Austin Downtown, Apartments by Hilton - Photo 6
Placemakr Austin Downtown, Apartments by Hilton - Photo 7
Placemakr Austin Downtown, Apartments by Hilton - Photo 8
Placemakr Austin Downtown, Apartments by Hilton - Photo 9
Placemakr Austin Downtown, Apartments by Hilton - Photo 10
Placemakr Austin Downtown, Apartments by Hilton - Photo 11
Placemakr Austin Downtown, Apartments by Hilton - Photo 12
Placemakr Austin Downtown, Apartments by Hilton - Photo 13
Placemakr Austin Downtown, Apartments by Hilton - Photo 14
Placemakr Austin Downtown, Apartments by Hilton - Photo 15
Placemakr Austin Downtown, Apartments by Hilton - Photo 16
Placemakr Austin Downtown, Apartments by Hilton - Photo 17
Placemakr Austin Downtown, Apartments by Hilton - Photo 18
Placemakr Austin Downtown, Apartments by Hilton - Photo 19
Placemakr Austin Downtown, Apartments by Hilton - Photo 20
Placemakr Austin Downtown, Apartments by Hilton - Photo 21
Placemakr Austin Downtown, Apartments by Hilton - Photo 22
Placemakr Austin Downtown, Apartments by Hilton - Photo 23
Placemakr Austin Downtown, Apartments by Hilton - Photo 24
Placemakr Austin Downtown, Apartments by Hilton - Photo 25
Placemakr Austin Downtown, Apartments by Hilton - Photo 26
Placemakr Austin Downtown, Apartments by Hilton - Photo 27
Placemakr Austin Downtown, Apartments by Hilton - Photo 28
Placemakr Austin Downtown, Apartments by Hilton - Photo 29
Placemakr Austin Downtown, Apartments by Hilton - Photo 30
Placemakr Austin Downtown, Apartments by Hilton - Photo 31
Placemakr Austin Downtown, Apartments by Hilton - Photo 32
Placemakr Austin Downtown, Apartments by Hilton - Photo 33
Placemakr Austin Downtown, Apartments by Hilton - Photo 34
Placemakr Austin Downtown, Apartments by Hilton - Photo 35
Placemakr Austin Downtown, Apartments by Hilton - Photo 36
Placemakr Austin Downtown, Apartments by Hilton - Photo 37
Placemakr Austin Downtown, Apartments by Hilton - Photo 38
Placemakr Austin Downtown, Apartments by Hilton - Photo 39
Placemakr Austin Downtown, Apartments by Hilton - Photo 40
Placemakr Austin Downtown, Apartments by Hilton - Photo 41
Placemakr Austin Downtown, Apartments by Hilton - Photo 42
Placemakr Austin Downtown, Apartments by Hilton - Photo 43
Placemakr Austin Downtown, Apartments by Hilton - Photo 44
Placemakr Austin Downtown, Apartments by Hilton - Photo 45
Placemakr Austin Downtown, Apartments by Hilton - Photo 46
Placemakr Austin Downtown, Apartments by Hilton - Photo 47
Placemakr Austin Downtown, Apartments by Hilton - Photo 48
Placemakr Austin Downtown, Apartments by Hilton - Photo 49
Placemakr Austin Downtown, Apartments by Hilton - Photo 50
Placemakr Austin Downtown, Apartments by Hilton - Photo 51
Placemakr Austin Downtown, Apartments by Hilton - Photo 52
Placemakr Austin Downtown, Apartments by Hilton - Photo 53
Placemakr Austin Downtown, Apartments by Hilton - Photo 54
Placemakr Austin Downtown, Apartments by Hilton - Photo 55
Placemakr Austin Downtown, Apartments by Hilton - Photo 56
Placemakr Austin Downtown, Apartments by Hilton - Photo 57
Placemakr Austin Downtown, Apartments by Hilton - Photo 58
Placemakr Austin Downtown, Apartments by Hilton - Photo 59
Placemakr Austin Downtown, Apartments by Hilton - Photo 60
Placemakr Austin Downtown, Apartments by Hilton - Photo 61
Placemakr Austin Downtown, Apartments by Hilton - Photo 62
Placemakr Austin Downtown, Apartments by Hilton - Photo 63
Placemakr Austin Downtown, Apartments by Hilton - Photo 64
Placemakr Austin Downtown, Apartments by Hilton - Photo 65
Placemakr Austin Downtown, Apartments by Hilton - Photo 66
Placemakr Austin Downtown, Apartments by Hilton - Photo 67

Placemakr Austin Downtown, Apartments by Hilton

Austin - Downtown Austin - 280 m from the center

  • 79 M2
  • 4 people
  • Air conditioning
  • Heating
  • Terrace
  • Swimming pool
  • Parking
  • Elevator
  • Balcony
  • Tv
  • Washing machine
  • Fireplace
  • Barbecue
  • Bath linen
  • Bed linen
9Exceptional | 858 reviews
Kasa Lady Bird Lake Austin - Photo 1
Kasa Lady Bird Lake Austin - Photo 2
Kasa Lady Bird Lake Austin - Photo 3
Kasa Lady Bird Lake Austin - Photo 4
Kasa Lady Bird Lake Austin - Photo 5
Kasa Lady Bird Lake Austin - Photo 6
Kasa Lady Bird Lake Austin - Photo 7
Kasa Lady Bird Lake Austin - Photo 8
Kasa Lady Bird Lake Austin - Photo 9
Kasa Lady Bird Lake Austin - Photo 10
Kasa Lady Bird Lake Austin - Photo 11
Kasa Lady Bird Lake Austin - Photo 12
Kasa Lady Bird Lake Austin - Photo 13
Kasa Lady Bird Lake Austin - Photo 14
Kasa Lady Bird Lake Austin - Photo 15
Kasa Lady Bird Lake Austin - Photo 16
Kasa Lady Bird Lake Austin - Photo 17
Kasa Lady Bird Lake Austin - Photo 18
Kasa Lady Bird Lake Austin - Photo 19
Kasa Lady Bird Lake Austin - Photo 20
Kasa Lady Bird Lake Austin - Photo 21
Kasa Lady Bird Lake Austin - Photo 22
Kasa Lady Bird Lake Austin - Photo 23
Kasa Lady Bird Lake Austin - Photo 24
Kasa Lady Bird Lake Austin - Photo 25
Kasa Lady Bird Lake Austin - Photo 26
Kasa Lady Bird Lake Austin - Photo 27
Kasa Lady Bird Lake Austin - Photo 28
Kasa Lady Bird Lake Austin - Photo 29
Kasa Lady Bird Lake Austin - Photo 30
Kasa Lady Bird Lake Austin - Photo 31
Kasa Lady Bird Lake Austin - Photo 32
Kasa Lady Bird Lake Austin - Photo 33
Kasa Lady Bird Lake Austin - Photo 34
Kasa Lady Bird Lake Austin - Photo 35
Kasa Lady Bird Lake Austin - Photo 36
Kasa Lady Bird Lake Austin - Photo 37
Kasa Lady Bird Lake Austin - Photo 38
Kasa Lady Bird Lake Austin - Photo 39
Kasa Lady Bird Lake Austin - Photo 40
Kasa Lady Bird Lake Austin - Photo 41
Kasa Lady Bird Lake Austin - Photo 42
Kasa Lady Bird Lake Austin - Photo 43
Kasa Lady Bird Lake Austin - Photo 44
Kasa Lady Bird Lake Austin - Photo 45
Kasa Lady Bird Lake Austin - Photo 46
Kasa Lady Bird Lake Austin - Photo 47
Kasa Lady Bird Lake Austin - Photo 48
Kasa Lady Bird Lake Austin - Photo 49
Kasa Lady Bird Lake Austin - Photo 50
Kasa Lady Bird Lake Austin - Photo 51
Kasa Lady Bird Lake Austin - Photo 52
Kasa Lady Bird Lake Austin - Photo 53
Kasa Lady Bird Lake Austin - Photo 54
Kasa Lady Bird Lake Austin - Photo 55
Kasa Lady Bird Lake Austin - Photo 56
Kasa Lady Bird Lake Austin - Photo 57
Kasa Lady Bird Lake Austin - Photo 58
Kasa Lady Bird Lake Austin - Photo 59
Kasa Lady Bird Lake Austin - Photo 60
Kasa Lady Bird Lake Austin - Photo 61
Kasa Lady Bird Lake Austin - Photo 62
Kasa Lady Bird Lake Austin - Photo 63
Kasa Lady Bird Lake Austin - Photo 64
Kasa Lady Bird Lake Austin - Photo 65
Kasa Lady Bird Lake Austin - Photo 66
Kasa Lady Bird Lake Austin - Photo 67
Kasa Lady Bird Lake Austin - Photo 68
Kasa Lady Bird Lake Austin - Photo 69
Kasa Lady Bird Lake Austin - Photo 70
Kasa Lady Bird Lake Austin - Photo 71
Kasa Lady Bird Lake Austin - Photo 72
Kasa Lady Bird Lake Austin - Photo 73
Kasa Lady Bird Lake Austin - Photo 74
Kasa Lady Bird Lake Austin - Photo 75
Kasa Lady Bird Lake Austin - Photo 76
Kasa Lady Bird Lake Austin - Photo 77
Kasa Lady Bird Lake Austin - Photo 78
Kasa Lady Bird Lake Austin - Photo 79
Kasa Lady Bird Lake Austin - Photo 80
Kasa Lady Bird Lake Austin - Photo 81
Kasa Lady Bird Lake Austin - Photo 82
Kasa Lady Bird Lake Austin - Photo 83
Kasa Lady Bird Lake Austin - Photo 84
Kasa Lady Bird Lake Austin - Photo 85
Kasa Lady Bird Lake Austin - Photo 86
Kasa Lady Bird Lake Austin - Photo 87
Kasa Lady Bird Lake Austin - Photo 88
Kasa Lady Bird Lake Austin - Photo 89
Kasa Lady Bird Lake Austin - Photo 90
Kasa Lady Bird Lake Austin - Photo 91
Kasa Lady Bird Lake Austin - Photo 92
Kasa Lady Bird Lake Austin - Photo 93
Kasa Lady Bird Lake Austin - Photo 94
Kasa Lady Bird Lake Austin - Photo 95
Kasa Lady Bird Lake Austin - Photo 96
Kasa Lady Bird Lake Austin - Photo 97
Kasa Lady Bird Lake Austin - Photo 98
Kasa Lady Bird Lake Austin - Photo 99
Kasa Lady Bird Lake Austin - Photo 100
Kasa Lady Bird Lake Austin - Photo 101
Kasa Lady Bird Lake Austin - Photo 102
Kasa Lady Bird Lake Austin - Photo 103
Kasa Lady Bird Lake Austin - Photo 104
Kasa Lady Bird Lake Austin - Photo 105
Kasa Lady Bird Lake Austin - Photo 106
Kasa Lady Bird Lake Austin - Photo 107
Kasa Lady Bird Lake Austin - Photo 108
Kasa Lady Bird Lake Austin - Photo 109
Kasa Lady Bird Lake Austin - Photo 110
Kasa Lady Bird Lake Austin - Photo 111
Kasa Lady Bird Lake Austin - Photo 112
Kasa Lady Bird Lake Austin - Photo 113
Kasa Lady Bird Lake Austin - Photo 114

Kasa Lady Bird Lake Austin

Austin - Downtown Austin - In the center

  • 99 M2
  • 2 bedrooms
  • 6 people
  • Kitchenette
  • Air conditioning
  • Heating
  • Terrace
  • Swimming pool
  • Parking
  • Elevator
  • Balcony
  • Garden
  • Tv
  • Washing machine
  • Fireplace
  • Barbecue
  • Bath linen
  • Bed linen
8.6Very good | 163 reviews
Capitol View Condos - Downtown Austin - Lone Star - Photo 1
Capitol View Condos - Downtown Austin - Lone Star - Photo 2
Capitol View Condos - Downtown Austin - Lone Star - Photo 3
Capitol View Condos - Downtown Austin - Lone Star - Photo 4
Capitol View Condos - Downtown Austin - Lone Star - Photo 5
Capitol View Condos - Downtown Austin - Lone Star - Photo 6
Capitol View Condos - Downtown Austin - Lone Star - Photo 7
Capitol View Condos - Downtown Austin - Lone Star - Photo 8
Capitol View Condos - Downtown Austin - Lone Star - Photo 9
Capitol View Condos - Downtown Austin - Lone Star - Photo 10
Capitol View Condos - Downtown Austin - Lone Star - Photo 11
Capitol View Condos - Downtown Austin - Lone Star - Photo 12
Capitol View Condos - Downtown Austin - Lone Star - Photo 13
Capitol View Condos - Downtown Austin - Lone Star - Photo 14
Capitol View Condos - Downtown Austin - Lone Star - Photo 15
Capitol View Condos - Downtown Austin - Lone Star - Photo 16
Capitol View Condos - Downtown Austin - Lone Star - Photo 17
Capitol View Condos - Downtown Austin - Lone Star - Photo 18
Capitol View Condos - Downtown Austin - Lone Star - Photo 19
Capitol View Condos - Downtown Austin - Lone Star - Photo 20
Capitol View Condos - Downtown Austin - Lone Star - Photo 21
Capitol View Condos - Downtown Austin - Lone Star - Photo 22
Capitol View Condos - Downtown Austin - Lone Star - Photo 23
Capitol View Condos - Downtown Austin - Lone Star - Photo 24
Capitol View Condos - Downtown Austin - Lone Star - Photo 25
Capitol View Condos - Downtown Austin - Lone Star - Photo 26
Capitol View Condos - Downtown Austin - Lone Star - Photo 27
Capitol View Condos - Downtown Austin - Lone Star - Photo 28
Capitol View Condos - Downtown Austin - Lone Star - Photo 29
Capitol View Condos - Downtown Austin - Lone Star - Photo 30
Capitol View Condos - Downtown Austin - Lone Star - Photo 31
Capitol View Condos - Downtown Austin - Lone Star - Photo 32
Capitol View Condos - Downtown Austin - Lone Star - Photo 33
Capitol View Condos - Downtown Austin - Lone Star - Photo 34
Capitol View Condos - Downtown Austin - Lone Star - Photo 35
Capitol View Condos - Downtown Austin - Lone Star - Photo 36
Capitol View Condos - Downtown Austin - Lone Star - Photo 37
Capitol View Condos - Downtown Austin - Lone Star - Photo 38
Capitol View Condos - Downtown Austin - Lone Star - Photo 39
Capitol View Condos - Downtown Austin - Lone Star - Photo 40
Capitol View Condos - Downtown Austin - Lone Star - Photo 41
Capitol View Condos - Downtown Austin - Lone Star - Photo 42

Capitol View Condos - Downtown Austin - Lone Star

Austin - Downtown Austin - 760 m from the center

  • 69 M2
  • 1 bedroom
  • 4 people
  • Air conditioning
  • Heating
  • Parking
  • Tv
  • Washing machine
  • Bath linen
10Superb | 8 reviews
Historic French Royal Estate Near Capitol & UT Perfect Austin Getaway - Photo 1
Historic French Royal Estate Near Capitol & UT Perfect Austin Getaway - Photo 2
Historic French Royal Estate Near Capitol & UT Perfect Austin Getaway - Photo 3
Historic French Royal Estate Near Capitol & UT Perfect Austin Getaway - Photo 4
Historic French Royal Estate Near Capitol & UT Perfect Austin Getaway - Photo 5
Historic French Royal Estate Near Capitol & UT Perfect Austin Getaway - Photo 6
Historic French Royal Estate Near Capitol & UT Perfect Austin Getaway - Photo 7
Historic French Royal Estate Near Capitol & UT Perfect Austin Getaway - Photo 8
Historic French Royal Estate Near Capitol & UT Perfect Austin Getaway - Photo 9
Historic French Royal Estate Near Capitol & UT Perfect Austin Getaway - Photo 10
Historic French Royal Estate Near Capitol & UT Perfect Austin Getaway - Photo 11
Historic French Royal Estate Near Capitol & UT Perfect Austin Getaway - Photo 12
Historic French Royal Estate Near Capitol & UT Perfect Austin Getaway - Photo 13
Historic French Royal Estate Near Capitol & UT Perfect Austin Getaway - Photo 14
Historic French Royal Estate Near Capitol & UT Perfect Austin Getaway - Photo 15
Historic French Royal Estate Near Capitol & UT Perfect Austin Getaway - Photo 16
Historic French Royal Estate Near Capitol & UT Perfect Austin Getaway - Photo 17
Historic French Royal Estate Near Capitol & UT Perfect Austin Getaway - Photo 18
Historic French Royal Estate Near Capitol & UT Perfect Austin Getaway - Photo 19
Historic French Royal Estate Near Capitol & UT Perfect Austin Getaway - Photo 20
Historic French Royal Estate Near Capitol & UT Perfect Austin Getaway - Photo 21
Historic French Royal Estate Near Capitol & UT Perfect Austin Getaway - Photo 22
Historic French Royal Estate Near Capitol & UT Perfect Austin Getaway - Photo 23
Historic French Royal Estate Near Capitol & UT Perfect Austin Getaway - Photo 24
Historic French Royal Estate Near Capitol & UT Perfect Austin Getaway - Photo 25
Historic French Royal Estate Near Capitol & UT Perfect Austin Getaway - Photo 26
Historic French Royal Estate Near Capitol & UT Perfect Austin Getaway - Photo 27
Historic French Royal Estate Near Capitol & UT Perfect Austin Getaway - Photo 28
Historic French Royal Estate Near Capitol & UT Perfect Austin Getaway - Photo 29
Historic French Royal Estate Near Capitol & UT Perfect Austin Getaway - Photo 30
Historic French Royal Estate Near Capitol & UT Perfect Austin Getaway - Photo 31
Historic French Royal Estate Near Capitol & UT Perfect Austin Getaway - Photo 32
Historic French Royal Estate Near Capitol & UT Perfect Austin Getaway - Photo 33
Historic French Royal Estate Near Capitol & UT Perfect Austin Getaway - Photo 34

Historic French Royal Estate Near Capitol & UT Perfect Austin Getaway

Austin - Downtown Austin - 440 m from the center

  • 84 M2
  • 2 bedrooms
  • 5 people
  • Air conditioning
  • Terrace
  • Parking
  • Garden
9.4Exceptional | 12 reviews
Littlefield Lofts, hosted by Placemakr - 6th Street - Photo 1
Littlefield Lofts, hosted by Placemakr - 6th Street - Photo 2
Littlefield Lofts, hosted by Placemakr - 6th Street - Photo 3
Littlefield Lofts, hosted by Placemakr - 6th Street - Photo 4
Littlefield Lofts, hosted by Placemakr - 6th Street - Photo 5
Littlefield Lofts, hosted by Placemakr - 6th Street - Photo 6
Littlefield Lofts, hosted by Placemakr - 6th Street - Photo 7
Littlefield Lofts, hosted by Placemakr - 6th Street - Photo 8
Littlefield Lofts, hosted by Placemakr - 6th Street - Photo 9
Littlefield Lofts, hosted by Placemakr - 6th Street - Photo 10
Littlefield Lofts, hosted by Placemakr - 6th Street - Photo 11
Littlefield Lofts, hosted by Placemakr - 6th Street - Photo 12
Littlefield Lofts, hosted by Placemakr - 6th Street - Photo 13
Littlefield Lofts, hosted by Placemakr - 6th Street - Photo 14
Littlefield Lofts, hosted by Placemakr - 6th Street - Photo 15
Littlefield Lofts, hosted by Placemakr - 6th Street - Photo 16
Littlefield Lofts, hosted by Placemakr - 6th Street - Photo 17
Littlefield Lofts, hosted by Placemakr - 6th Street - Photo 18
Littlefield Lofts, hosted by Placemakr - 6th Street - Photo 19
Littlefield Lofts, hosted by Placemakr - 6th Street - Photo 20
Littlefield Lofts, hosted by Placemakr - 6th Street - Photo 21
Littlefield Lofts, hosted by Placemakr - 6th Street - Photo 22
Littlefield Lofts, hosted by Placemakr - 6th Street - Photo 23
Littlefield Lofts, hosted by Placemakr - 6th Street - Photo 24
Littlefield Lofts, hosted by Placemakr - 6th Street - Photo 25
Littlefield Lofts, hosted by Placemakr - 6th Street - Photo 26
Littlefield Lofts, hosted by Placemakr - 6th Street - Photo 27
Littlefield Lofts, hosted by Placemakr - 6th Street - Photo 28
Littlefield Lofts, hosted by Placemakr - 6th Street - Photo 29
Littlefield Lofts, hosted by Placemakr - 6th Street - Photo 30
Littlefield Lofts, hosted by Placemakr - 6th Street - Photo 31
Littlefield Lofts, hosted by Placemakr - 6th Street - Photo 32
Littlefield Lofts, hosted by Placemakr - 6th Street - Photo 33
Littlefield Lofts, hosted by Placemakr - 6th Street - Photo 34
Littlefield Lofts, hosted by Placemakr - 6th Street - Photo 35
Littlefield Lofts, hosted by Placemakr - 6th Street - Photo 36
Littlefield Lofts, hosted by Placemakr - 6th Street - Photo 37
Littlefield Lofts, hosted by Placemakr - 6th Street - Photo 38
Littlefield Lofts, hosted by Placemakr - 6th Street - Photo 39
Littlefield Lofts, hosted by Placemakr - 6th Street - Photo 40
Littlefield Lofts, hosted by Placemakr - 6th Street - Photo 41
Littlefield Lofts, hosted by Placemakr - 6th Street - Photo 42
Littlefield Lofts, hosted by Placemakr - 6th Street - Photo 43
Littlefield Lofts, hosted by Placemakr - 6th Street - Photo 44
Littlefield Lofts, hosted by Placemakr - 6th Street - Photo 45
Littlefield Lofts, hosted by Placemakr - 6th Street - Photo 46
Littlefield Lofts, hosted by Placemakr - 6th Street - Photo 47
Littlefield Lofts, hosted by Placemakr - 6th Street - Photo 48
Littlefield Lofts, hosted by Placemakr - 6th Street - Photo 49
Littlefield Lofts, hosted by Placemakr - 6th Street - Photo 50
Littlefield Lofts, hosted by Placemakr - 6th Street - Photo 51
Littlefield Lofts, hosted by Placemakr - 6th Street - Photo 52
Littlefield Lofts, hosted by Placemakr - 6th Street - Photo 53
Littlefield Lofts, hosted by Placemakr - 6th Street - Photo 54
Littlefield Lofts, hosted by Placemakr - 6th Street - Photo 55
Littlefield Lofts, hosted by Placemakr - 6th Street - Photo 56
Littlefield Lofts, hosted by Placemakr - 6th Street - Photo 57
Littlefield Lofts, hosted by Placemakr - 6th Street - Photo 58
Littlefield Lofts, hosted by Placemakr - 6th Street - Photo 59
Littlefield Lofts, hosted by Placemakr - 6th Street - Photo 60
Littlefield Lofts, hosted by Placemakr - 6th Street - Photo 61
Littlefield Lofts, hosted by Placemakr - 6th Street - Photo 62
Littlefield Lofts, hosted by Placemakr - 6th Street - Photo 63
Littlefield Lofts, hosted by Placemakr - 6th Street - Photo 64
Littlefield Lofts, hosted by Placemakr - 6th Street - Photo 65
Littlefield Lofts, hosted by Placemakr - 6th Street - Photo 66
Littlefield Lofts, hosted by Placemakr - 6th Street - Photo 67
Littlefield Lofts, hosted by Placemakr - 6th Street - Photo 68
Littlefield Lofts, hosted by Placemakr - 6th Street - Photo 69
Littlefield Lofts, hosted by Placemakr - 6th Street - Photo 70
Littlefield Lofts, hosted by Placemakr - 6th Street - Photo 71
Littlefield Lofts, hosted by Placemakr - 6th Street - Photo 72
Littlefield Lofts, hosted by Placemakr - 6th Street - Photo 73
Littlefield Lofts, hosted by Placemakr - 6th Street - Photo 74
Littlefield Lofts, hosted by Placemakr - 6th Street - Photo 75
Littlefield Lofts, hosted by Placemakr - 6th Street - Photo 76
Littlefield Lofts, hosted by Placemakr - 6th Street - Photo 77
Littlefield Lofts, hosted by Placemakr - 6th Street - Photo 78
Littlefield Lofts, hosted by Placemakr - 6th Street - Photo 79
Littlefield Lofts, hosted by Placemakr - 6th Street - Photo 80

Littlefield Lofts, hosted by Placemakr - 6th Street

Austin - Downtown Austin - In the center

  • 135 M2
  • 8 people
  • Air conditioning
  • Heating
  • Parking
  • Elevator
  • Balcony
  • Tv
  • Bath linen
  • Bed linen
7Good | 82 reviews
Downtown Austin Suite Retreat - Photo 1
Downtown Austin Suite Retreat - Photo 2
Downtown Austin Suite Retreat - Photo 3
Downtown Austin Suite Retreat - Photo 4
Downtown Austin Suite Retreat - Photo 5
Downtown Austin Suite Retreat - Photo 6
Downtown Austin Suite Retreat - Photo 7
Downtown Austin Suite Retreat - Photo 8
Downtown Austin Suite Retreat - Photo 9
Downtown Austin Suite Retreat - Photo 10
Downtown Austin Suite Retreat - Photo 11
Downtown Austin Suite Retreat - Photo 12
Downtown Austin Suite Retreat - Photo 13
Downtown Austin Suite Retreat - Photo 14
Downtown Austin Suite Retreat - Photo 15
Downtown Austin Suite Retreat - Photo 16
Downtown Austin Suite Retreat - Photo 17
Downtown Austin Suite Retreat - Photo 18
Downtown Austin Suite Retreat - Photo 19
Downtown Austin Suite Retreat - Photo 20
Downtown Austin Suite Retreat - Photo 21
Downtown Austin Suite Retreat - Photo 22
Downtown Austin Suite Retreat - Photo 23
Downtown Austin Suite Retreat - Photo 24
Downtown Austin Suite Retreat - Photo 25

Downtown Austin Suite Retreat

Austin - Downtown Austin - 810 m from the center

  • 74 M2
  • 1 bedroom
  • 4 people
  • Air conditioning
  • Heating
  • Parking
8.9Very good | 36 reviews
Capitol View Condos by One Fine Bnb - Paramount - Photo 1
Capitol View Condos by One Fine Bnb - Paramount - Photo 2
Capitol View Condos by One Fine Bnb - Paramount - Photo 3
Capitol View Condos by One Fine Bnb - Paramount - Photo 4
Capitol View Condos by One Fine Bnb - Paramount - Photo 5
Capitol View Condos by One Fine Bnb - Paramount - Photo 6
Capitol View Condos by One Fine Bnb - Paramount - Photo 7
Capitol View Condos by One Fine Bnb - Paramount - Photo 8
Capitol View Condos by One Fine Bnb - Paramount - Photo 9
Capitol View Condos by One Fine Bnb - Paramount - Photo 10
Capitol View Condos by One Fine Bnb - Paramount - Photo 11
Capitol View Condos by One Fine Bnb - Paramount - Photo 12
Capitol View Condos by One Fine Bnb - Paramount - Photo 13
Capitol View Condos by One Fine Bnb - Paramount - Photo 14
Capitol View Condos by One Fine Bnb - Paramount - Photo 15
Capitol View Condos by One Fine Bnb - Paramount - Photo 16
Capitol View Condos by One Fine Bnb - Paramount - Photo 17
Capitol View Condos by One Fine Bnb - Paramount - Photo 18
Capitol View Condos by One Fine Bnb - Paramount - Photo 19
Capitol View Condos by One Fine Bnb - Paramount - Photo 20
Capitol View Condos by One Fine Bnb - Paramount - Photo 21
Capitol View Condos by One Fine Bnb - Paramount - Photo 22
Capitol View Condos by One Fine Bnb - Paramount - Photo 23
Capitol View Condos by One Fine Bnb - Paramount - Photo 24
Capitol View Condos by One Fine Bnb - Paramount - Photo 25
Capitol View Condos by One Fine Bnb - Paramount - Photo 26
Capitol View Condos by One Fine Bnb - Paramount - Photo 27
Capitol View Condos by One Fine Bnb - Paramount - Photo 28
Capitol View Condos by One Fine Bnb - Paramount - Photo 29
Capitol View Condos by One Fine Bnb - Paramount - Photo 30

Capitol View Condos by One Fine Bnb - Paramount

Austin - Downtown Austin - 750 m from the center

  • 69 M2
  • 4 people
  • Air conditioning
  • Heating
9.8Exceptional | 4 reviews
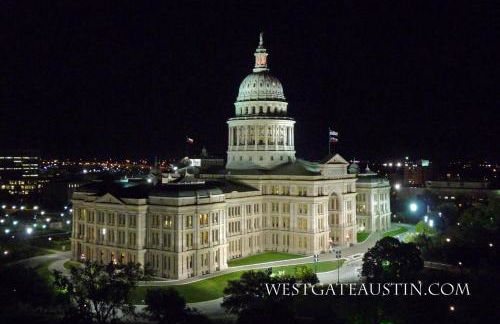
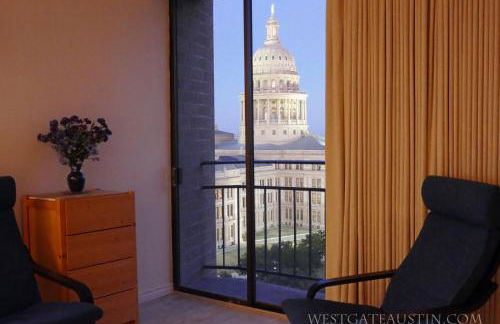
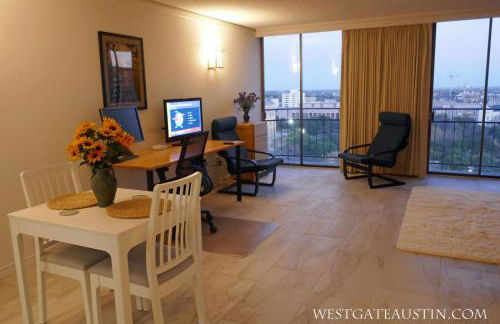
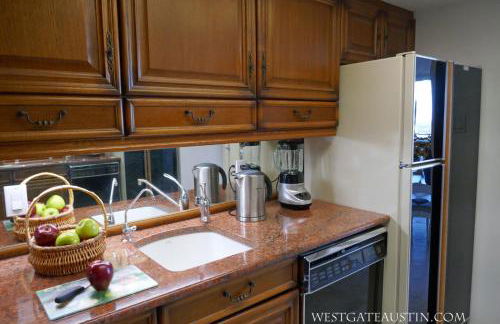
WestgateAustin - Downtown Austin, Capitol Next Door, 30 Day Rental - Photo 1
WestgateAustin - Downtown Austin, Capitol Next Door, 30 Day Rental - Photo 2
WestgateAustin - Downtown Austin, Capitol Next Door, 30 Day Rental - Photo 3
WestgateAustin - Downtown Austin, Capitol Next Door, 30 Day Rental - Photo 4
WestgateAustin - Downtown Austin, Capitol Next Door, 30 Day Rental - Photo 5
WestgateAustin - Downtown Austin, Capitol Next Door, 30 Day Rental - Photo 6
WestgateAustin - Downtown Austin, Capitol Next Door, 30 Day Rental - Photo 7
WestgateAustin - Downtown Austin, Capitol Next Door, 30 Day Rental - Photo 8
WestgateAustin - Downtown Austin, Capitol Next Door, 30 Day Rental - Photo 9
WestgateAustin - Downtown Austin, Capitol Next Door, 30 Day Rental - Photo 10
WestgateAustin - Downtown Austin, Capitol Next Door, 30 Day Rental - Photo 11
WestgateAustin - Downtown Austin, Capitol Next Door, 30 Day Rental - Photo 12

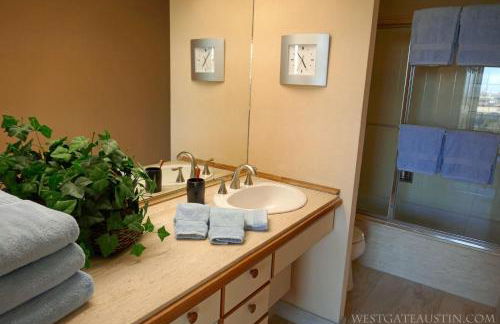
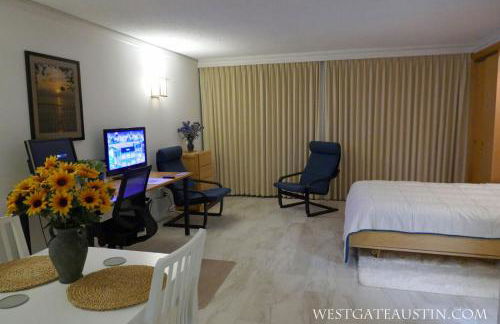
WestgateAustin - Downtown Austin, Capitol Next Door, 30 Day Rental

Austin - Downtown Austin - 230 m from the center

  • 48 M2
  • 2 people
  • Air conditioning
  • Heating
  • Swimming pool
  • Parking
  • Elevator
10Superb | 1 review
Kasa at The Waller Austin - Photo 1
Kasa at The Waller Austin - Photo 2
Kasa at The Waller Austin - Photo 3
Kasa at The Waller Austin - Photo 4
Kasa at The Waller Austin - Photo 5
Kasa at The Waller Austin - Photo 6
Kasa at The Waller Austin - Photo 7
Kasa at The Waller Austin - Photo 8
Kasa at The Waller Austin - Photo 9
Kasa at The Waller Austin - Photo 10
Kasa at The Waller Austin - Photo 11
Kasa at The Waller Austin - Photo 12
Kasa at The Waller Austin - Photo 13
Kasa at The Waller Austin - Photo 14
Kasa at The Waller Austin - Photo 15
Kasa at The Waller Austin - Photo 16
Kasa at The Waller Austin - Photo 17
Kasa at The Waller Austin - Photo 18
Kasa at The Waller Austin - Photo 19
Kasa at The Waller Austin - Photo 20
Kasa at The Waller Austin - Photo 21
Kasa at The Waller Austin - Photo 22
Kasa at The Waller Austin - Photo 23
Kasa at The Waller Austin - Photo 24
Kasa at The Waller Austin - Photo 25
Kasa at The Waller Austin - Photo 26
Kasa at The Waller Austin - Photo 27
Kasa at The Waller Austin - Photo 28
Kasa at The Waller Austin - Photo 29
Kasa at The Waller Austin - Photo 30
Kasa at The Waller Austin - Photo 31
Kasa at The Waller Austin - Photo 32
Kasa at The Waller Austin - Photo 33

Kasa at The Waller Austin

Austin - Downtown Austin - 420 m from the center

  • 120 M2
  • 3 bedrooms
  • 6 people
  • Air conditioning
  • Heating
  • Terrace
  • Swimming pool
  • Parking
  • Elevator
  • Garden
  • Barbecue
5.9Acceptable | 8 reviews
Onyx Hotels - Photo 1
Onyx Hotels - Photo 2
Onyx Hotels - Photo 3
Onyx Hotels - Photo 4
Onyx Hotels - Photo 5
Onyx Hotels - Photo 6
Onyx Hotels - Photo 7
Onyx Hotels - Photo 8
Onyx Hotels - Photo 9
Onyx Hotels - Photo 10
Onyx Hotels - Photo 11
Onyx Hotels - Photo 12
Onyx Hotels - Photo 13
Onyx Hotels - Photo 14
Onyx Hotels - Photo 15
Onyx Hotels - Photo 16
Onyx Hotels - Photo 17
Onyx Hotels - Photo 18
Onyx Hotels - Photo 19
Onyx Hotels - Photo 20
Onyx Hotels - Photo 21
Onyx Hotels - Photo 22
Onyx Hotels - Photo 23
Onyx Hotels - Photo 24
Onyx Hotels - Photo 25
Onyx Hotels - Photo 26
Onyx Hotels - Photo 27
Onyx Hotels - Photo 28
Onyx Hotels - Photo 29
Onyx Hotels - Photo 30
Onyx Hotels - Photo 31
Onyx Hotels - Photo 32
Onyx Hotels - Photo 33
Onyx Hotels - Photo 34
Onyx Hotels - Photo 35
Onyx Hotels - Photo 36
Onyx Hotels - Photo 37
Onyx Hotels - Photo 38
Onyx Hotels - Photo 39
Onyx Hotels - Photo 40
Onyx Hotels - Photo 41
Onyx Hotels - Photo 42
Onyx Hotels - Photo 43
Onyx Hotels - Photo 44

Onyx Hotels

Austin - Downtown Austin - In the center

  • 4 bedrooms
  • 10 people
  • Air conditioning
  • Heating
  • Swimming pool
  • Parking
  • Garden
6.3Pleasant | 3 reviews
Private Suite in Historic Austin B&B Sleeps 2 - Photo 1
Private Suite in Historic Austin B&B Sleeps 2 - Photo 2
Private Suite in Historic Austin B&B Sleeps 2 - Photo 3
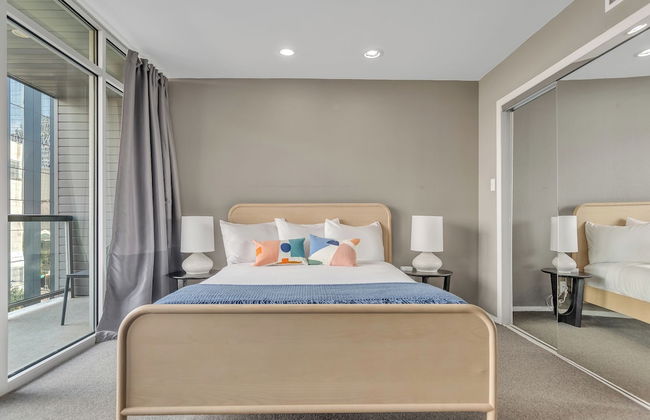
Private Suite in Historic Austin B&B Sleeps 2 - Photo 4
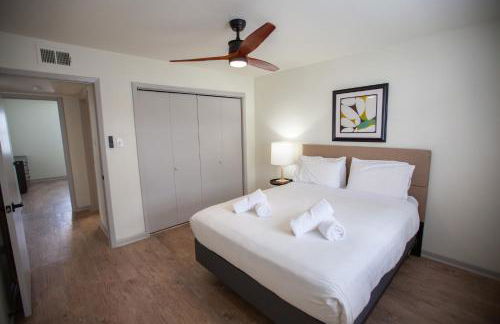
Private Suite in Historic Austin B&B Sleeps 2 - Photo 5
Private Suite in Historic Austin B&B Sleeps 2 - Photo 6
Private Suite in Historic Austin B&B Sleeps 2 - Photo 7
Private Suite in Historic Austin B&B Sleeps 2 - Photo 8
Private Suite in Historic Austin B&B Sleeps 2 - Photo 9
Private Suite in Historic Austin B&B Sleeps 2 - Photo 10
Private Suite in Historic Austin B&B Sleeps 2 - Photo 11
Private Suite in Historic Austin B&B Sleeps 2 - Photo 12
Private Suite in Historic Austin B&B Sleeps 2 - Photo 13
Private Suite in Historic Austin B&B Sleeps 2 - Photo 14
Private Suite in Historic Austin B&B Sleeps 2 - Photo 15
Private Suite in Historic Austin B&B Sleeps 2 - Photo 16
Private Suite in Historic Austin B&B Sleeps 2 - Photo 17
Private Suite in Historic Austin B&B Sleeps 2 - Photo 18
Private Suite in Historic Austin B&B Sleeps 2 - Photo 19
Private Suite in Historic Austin B&B Sleeps 2 - Photo 20
Private Suite in Historic Austin B&B Sleeps 2 - Photo 21
Private Suite in Historic Austin B&B Sleeps 2 - Photo 22
Private Suite in Historic Austin B&B Sleeps 2 - Photo 23
Private Suite in Historic Austin B&B Sleeps 2 - Photo 24
Private Suite in Historic Austin B&B Sleeps 2 - Photo 25
Private Suite in Historic Austin B&B Sleeps 2 - Photo 26
Private Suite in Historic Austin B&B Sleeps 2 - Photo 27
Private Suite in Historic Austin B&B Sleeps 2 - Photo 28

Private Suite in Historic Austin B&B Sleeps 2

Austin - Downtown Austin - 680 m from the center

  • 65 M2
  • 2 people
  • Air conditioning
  • Heating
  • Parking
7Good | 1 review
7 Private Suites Sleeps 25 Walkable to SXSW - Photo 1
7 Private Suites Sleeps 25 Walkable to SXSW - Photo 2
7 Private Suites Sleeps 25 Walkable to SXSW - Photo 3
7 Private Suites Sleeps 25 Walkable to SXSW - Photo 4
7 Private Suites Sleeps 25 Walkable to SXSW - Photo 5
7 Private Suites Sleeps 25 Walkable to SXSW - Photo 6
7 Private Suites Sleeps 25 Walkable to SXSW - Photo 7
7 Private Suites Sleeps 25 Walkable to SXSW - Photo 8
7 Private Suites Sleeps 25 Walkable to SXSW - Photo 9
7 Private Suites Sleeps 25 Walkable to SXSW - Photo 10
7 Private Suites Sleeps 25 Walkable to SXSW - Photo 11
7 Private Suites Sleeps 25 Walkable to SXSW - Photo 12
7 Private Suites Sleeps 25 Walkable to SXSW - Photo 13
7 Private Suites Sleeps 25 Walkable to SXSW - Photo 14
7 Private Suites Sleeps 25 Walkable to SXSW - Photo 15
7 Private Suites Sleeps 25 Walkable to SXSW - Photo 16
7 Private Suites Sleeps 25 Walkable to SXSW - Photo 17
7 Private Suites Sleeps 25 Walkable to SXSW - Photo 18
7 Private Suites Sleeps 25 Walkable to SXSW - Photo 19
7 Private Suites Sleeps 25 Walkable to SXSW - Photo 20
7 Private Suites Sleeps 25 Walkable to SXSW - Photo 21
7 Private Suites Sleeps 25 Walkable to SXSW - Photo 22
7 Private Suites Sleeps 25 Walkable to SXSW - Photo 23
7 Private Suites Sleeps 25 Walkable to SXSW - Photo 24
7 Private Suites Sleeps 25 Walkable to SXSW - Photo 25
7 Private Suites Sleeps 25 Walkable to SXSW - Photo 26
7 Private Suites Sleeps 25 Walkable to SXSW - Photo 27
7 Private Suites Sleeps 25 Walkable to SXSW - Photo 28
7 Private Suites Sleeps 25 Walkable to SXSW - Photo 29
7 Private Suites Sleeps 25 Walkable to SXSW - Photo 30
7 Private Suites Sleeps 25 Walkable to SXSW - Photo 31
7 Private Suites Sleeps 25 Walkable to SXSW - Photo 32
7 Private Suites Sleeps 25 Walkable to SXSW - Photo 33
7 Private Suites Sleeps 25 Walkable to SXSW - Photo 34
7 Private Suites Sleeps 25 Walkable to SXSW - Photo 35
7 Private Suites Sleeps 25 Walkable to SXSW - Photo 36
7 Private Suites Sleeps 25 Walkable to SXSW - Photo 37
7 Private Suites Sleeps 25 Walkable to SXSW - Photo 38
7 Private Suites Sleeps 25 Walkable to SXSW - Photo 39
7 Private Suites Sleeps 25 Walkable to SXSW - Photo 40
7 Private Suites Sleeps 25 Walkable to SXSW - Photo 41
7 Private Suites Sleeps 25 Walkable to SXSW - Photo 42
7 Private Suites Sleeps 25 Walkable to SXSW - Photo 43
7 Private Suites Sleeps 25 Walkable to SXSW - Photo 44
7 Private Suites Sleeps 25 Walkable to SXSW - Photo 45
7 Private Suites Sleeps 25 Walkable to SXSW - Photo 46
7 Private Suites Sleeps 25 Walkable to SXSW - Photo 47
7 Private Suites Sleeps 25 Walkable to SXSW - Photo 48
7 Private Suites Sleeps 25 Walkable to SXSW - Photo 49
7 Private Suites Sleeps 25 Walkable to SXSW - Photo 50
7 Private Suites Sleeps 25 Walkable to SXSW - Photo 51
7 Private Suites Sleeps 25 Walkable to SXSW - Photo 52
7 Private Suites Sleeps 25 Walkable to SXSW - Photo 53
7 Private Suites Sleeps 25 Walkable to SXSW - Photo 54
7 Private Suites Sleeps 25 Walkable to SXSW - Photo 55
7 Private Suites Sleeps 25 Walkable to SXSW - Photo 56
7 Private Suites Sleeps 25 Walkable to SXSW - Photo 57
7 Private Suites Sleeps 25 Walkable to SXSW - Photo 58
7 Private Suites Sleeps 25 Walkable to SXSW - Photo 59
7 Private Suites Sleeps 25 Walkable to SXSW - Photo 60
7 Private Suites Sleeps 25 Walkable to SXSW - Photo 61
7 Private Suites Sleeps 25 Walkable to SXSW - Photo 62
7 Private Suites Sleeps 25 Walkable to SXSW - Photo 63
7 Private Suites Sleeps 25 Walkable to SXSW - Photo 64
7 Private Suites Sleeps 25 Walkable to SXSW - Photo 65
7 Private Suites Sleeps 25 Walkable to SXSW - Photo 66
7 Private Suites Sleeps 25 Walkable to SXSW - Photo 67
7 Private Suites Sleeps 25 Walkable to SXSW - Photo 68
7 Private Suites Sleeps 25 Walkable to SXSW - Photo 69
7 Private Suites Sleeps 25 Walkable to SXSW - Photo 70
7 Private Suites Sleeps 25 Walkable to SXSW - Photo 71
7 Private Suites Sleeps 25 Walkable to SXSW - Photo 72
7 Private Suites Sleeps 25 Walkable to SXSW - Photo 73
7 Private Suites Sleeps 25 Walkable to SXSW - Photo 74
7 Private Suites Sleeps 25 Walkable to SXSW - Photo 75
7 Private Suites Sleeps 25 Walkable to SXSW - Photo 76
7 Private Suites Sleeps 25 Walkable to SXSW - Photo 77
7 Private Suites Sleeps 25 Walkable to SXSW - Photo 78
7 Private Suites Sleeps 25 Walkable to SXSW - Photo 79
7 Private Suites Sleeps 25 Walkable to SXSW - Photo 80
7 Private Suites Sleeps 25 Walkable to SXSW - Photo 81
7 Private Suites Sleeps 25 Walkable to SXSW - Photo 82
7 Private Suites Sleeps 25 Walkable to SXSW - Photo 83
7 Private Suites Sleeps 25 Walkable to SXSW - Photo 84
7 Private Suites Sleeps 25 Walkable to SXSW - Photo 85
7 Private Suites Sleeps 25 Walkable to SXSW - Photo 86
7 Private Suites Sleeps 25 Walkable to SXSW - Photo 87
7 Private Suites Sleeps 25 Walkable to SXSW - Photo 88
7 Private Suites Sleeps 25 Walkable to SXSW - Photo 89
7 Private Suites Sleeps 25 Walkable to SXSW - Photo 90
7 Private Suites Sleeps 25 Walkable to SXSW - Photo 91
7 Private Suites Sleeps 25 Walkable to SXSW - Photo 92
7 Private Suites Sleeps 25 Walkable to SXSW - Photo 93
7 Private Suites Sleeps 25 Walkable to SXSW - Photo 94
7 Private Suites Sleeps 25 Walkable to SXSW - Photo 95
7 Private Suites Sleeps 25 Walkable to SXSW - Photo 96
7 Private Suites Sleeps 25 Walkable to SXSW - Photo 97

7 Private Suites Sleeps 25 Walkable to SXSW

Austin - Downtown Austin - 680 m from the center

  • 467 M2
  • 7 bedrooms
  • 25 people
  • Air conditioning
  • Heating
  • Parking
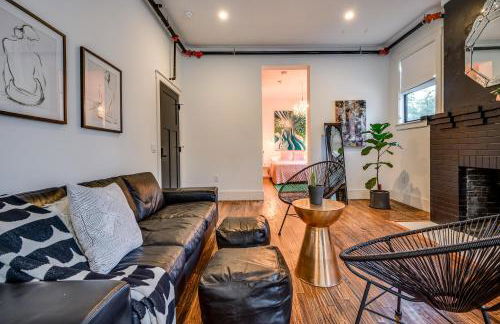
Explore Austin in 1BD condo with resort amenities - Photo 1
Explore Austin in 1BD condo with resort amenities - Photo 2
Explore Austin in 1BD condo with resort amenities - Photo 3
Explore Austin in 1BD condo with resort amenities - Photo 4
Explore Austin in 1BD condo with resort amenities - Photo 5
Explore Austin in 1BD condo with resort amenities - Photo 6
Explore Austin in 1BD condo with resort amenities - Photo 7
Explore Austin in 1BD condo with resort amenities - Photo 8
Explore Austin in 1BD condo with resort amenities - Photo 9
Explore Austin in 1BD condo with resort amenities - Photo 10
Explore Austin in 1BD condo with resort amenities - Photo 11
Explore Austin in 1BD condo with resort amenities - Photo 12
Explore Austin in 1BD condo with resort amenities - Photo 13
Explore Austin in 1BD condo with resort amenities - Photo 14
Explore Austin in 1BD condo with resort amenities - Photo 15
Explore Austin in 1BD condo with resort amenities - Photo 16
Explore Austin in 1BD condo with resort amenities - Photo 17
Explore Austin in 1BD condo with resort amenities - Photo 18
Explore Austin in 1BD condo with resort amenities - Photo 19
Explore Austin in 1BD condo with resort amenities - Photo 20
Explore Austin in 1BD condo with resort amenities - Photo 21
Explore Austin in 1BD condo with resort amenities - Photo 22
Explore Austin in 1BD condo with resort amenities - Photo 23
Explore Austin in 1BD condo with resort amenities - Photo 24
Explore Austin in 1BD condo with resort amenities - Photo 25

Explore Austin in 1BD condo with resort amenities

Austin - Downtown Austin - In the center

  • 60 M2
  • 4 people
  • Air conditioning
  • Swimming pool
Stay in this 2BD resort condo to visit Austin gym and pool onsite - Photo 1
Stay in this 2BD resort condo to visit Austin gym and pool onsite - Photo 2
Stay in this 2BD resort condo to visit Austin gym and pool onsite - Photo 3
Stay in this 2BD resort condo to visit Austin gym and pool onsite - Photo 4
Stay in this 2BD resort condo to visit Austin gym and pool onsite - Photo 5
Stay in this 2BD resort condo to visit Austin gym and pool onsite - Photo 6
Stay in this 2BD resort condo to visit Austin gym and pool onsite - Photo 7
Stay in this 2BD resort condo to visit Austin gym and pool onsite - Photo 8
Stay in this 2BD resort condo to visit Austin gym and pool onsite - Photo 9
Stay in this 2BD resort condo to visit Austin gym and pool onsite - Photo 10
Stay in this 2BD resort condo to visit Austin gym and pool onsite - Photo 11
Stay in this 2BD resort condo to visit Austin gym and pool onsite - Photo 12
Stay in this 2BD resort condo to visit Austin gym and pool onsite - Photo 13
Stay in this 2BD resort condo to visit Austin gym and pool onsite - Photo 14
Stay in this 2BD resort condo to visit Austin gym and pool onsite - Photo 15
Stay in this 2BD resort condo to visit Austin gym and pool onsite - Photo 16
Stay in this 2BD resort condo to visit Austin gym and pool onsite - Photo 17
Stay in this 2BD resort condo to visit Austin gym and pool onsite - Photo 18
Stay in this 2BD resort condo to visit Austin gym and pool onsite - Photo 19
Stay in this 2BD resort condo to visit Austin gym and pool onsite - Photo 20
Stay in this 2BD resort condo to visit Austin gym and pool onsite - Photo 21
Stay in this 2BD resort condo to visit Austin gym and pool onsite - Photo 22
Stay in this 2BD resort condo to visit Austin gym and pool onsite - Photo 23
Stay in this 2BD resort condo to visit Austin gym and pool onsite - Photo 24
Stay in this 2BD resort condo to visit Austin gym and pool onsite - Photo 25
Stay in this 2BD resort condo to visit Austin gym and pool onsite - Photo 26
Stay in this 2BD resort condo to visit Austin gym and pool onsite - Photo 27
Stay in this 2BD resort condo to visit Austin gym and pool onsite - Photo 28
Stay in this 2BD resort condo to visit Austin gym and pool onsite - Photo 29

Stay in this 2BD resort condo to visit Austin gym and pool onsite

Austin - Downtown Austin - In the center

  • 1000 M2
  • 2 bedrooms
  • 6 people
  • Air conditioning
  • Swimming pool
See all Austin has to offer in this Studio Apt with pool and gym onsite - Photo 1
See all Austin has to offer in this Studio Apt with pool and gym onsite - Photo 2
See all Austin has to offer in this Studio Apt with pool and gym onsite - Photo 3
See all Austin has to offer in this Studio Apt with pool and gym onsite - Photo 4
See all Austin has to offer in this Studio Apt with pool and gym onsite - Photo 5
See all Austin has to offer in this Studio Apt with pool and gym onsite - Photo 6
See all Austin has to offer in this Studio Apt with pool and gym onsite - Photo 7
See all Austin has to offer in this Studio Apt with pool and gym onsite - Photo 8
See all Austin has to offer in this Studio Apt with pool and gym onsite - Photo 9
See all Austin has to offer in this Studio Apt with pool and gym onsite - Photo 10
See all Austin has to offer in this Studio Apt with pool and gym onsite - Photo 11
See all Austin has to offer in this Studio Apt with pool and gym onsite - Photo 12
See all Austin has to offer in this Studio Apt with pool and gym onsite - Photo 13
See all Austin has to offer in this Studio Apt with pool and gym onsite - Photo 14
See all Austin has to offer in this Studio Apt with pool and gym onsite - Photo 15
See all Austin has to offer in this Studio Apt with pool and gym onsite - Photo 16
See all Austin has to offer in this Studio Apt with pool and gym onsite - Photo 17
See all Austin has to offer in this Studio Apt with pool and gym onsite - Photo 18
See all Austin has to offer in this Studio Apt with pool and gym onsite - Photo 19
See all Austin has to offer in this Studio Apt with pool and gym onsite - Photo 20
See all Austin has to offer in this Studio Apt with pool and gym onsite - Photo 21
See all Austin has to offer in this Studio Apt with pool and gym onsite - Photo 22
See all Austin has to offer in this Studio Apt with pool and gym onsite - Photo 23

See all Austin has to offer in this Studio Apt with pool and gym onsite

Austin - Downtown Austin - In the center

  • 64 M2
  • 4 people
  • Air conditioning
  • Swimming pool
Private Suite in Historic Austin B&B 201 - Sleeps 2 - Photo 1
Private Suite in Historic Austin B&B 201 - Sleeps 2 - Photo 2
Private Suite in Historic Austin B&B 201 - Sleeps 2 - Photo 3
Private Suite in Historic Austin B&B 201 - Sleeps 2 - Photo 4
Private Suite in Historic Austin B&B 201 - Sleeps 2 - Photo 5
Private Suite in Historic Austin B&B 201 - Sleeps 2 - Photo 6
Private Suite in Historic Austin B&B 201 - Sleeps 2 - Photo 7
Private Suite in Historic Austin B&B 201 - Sleeps 2 - Photo 8
Private Suite in Historic Austin B&B 201 - Sleeps 2 - Photo 9
Private Suite in Historic Austin B&B 201 - Sleeps 2 - Photo 10
Private Suite in Historic Austin B&B 201 - Sleeps 2 - Photo 11
Private Suite in Historic Austin B&B 201 - Sleeps 2 - Photo 12
Private Suite in Historic Austin B&B 201 - Sleeps 2 - Photo 13
Private Suite in Historic Austin B&B 201 - Sleeps 2 - Photo 14
Private Suite in Historic Austin B&B 201 - Sleeps 2 - Photo 15
Private Suite in Historic Austin B&B 201 - Sleeps 2 - Photo 16
Private Suite in Historic Austin B&B 201 - Sleeps 2 - Photo 17
Private Suite in Historic Austin B&B 201 - Sleeps 2 - Photo 18
Private Suite in Historic Austin B&B 201 - Sleeps 2 - Photo 19
Private Suite in Historic Austin B&B 201 - Sleeps 2 - Photo 20
Private Suite in Historic Austin B&B 201 - Sleeps 2 - Photo 21
Private Suite in Historic Austin B&B 201 - Sleeps 2 - Photo 22
Private Suite in Historic Austin B&B 201 - Sleeps 2 - Photo 23
Private Suite in Historic Austin B&B 201 - Sleeps 2 - Photo 24
Private Suite in Historic Austin B&B 201 - Sleeps 2 - Photo 25
Private Suite in Historic Austin B&B 201 - Sleeps 2 - Photo 26
Private Suite in Historic Austin B&B 201 - Sleeps 2 - Photo 27
Private Suite in Historic Austin B&B 201 - Sleeps 2 - Photo 28
Private Suite in Historic Austin B&B 201 - Sleeps 2 - Photo 29

Private Suite in Historic Austin B&B 201 - Sleeps 2

Austin - Downtown Austin - 680 m from the center

  • 65 M2
  • 2 people
  • Air conditioning
  • Heating
  • Parking
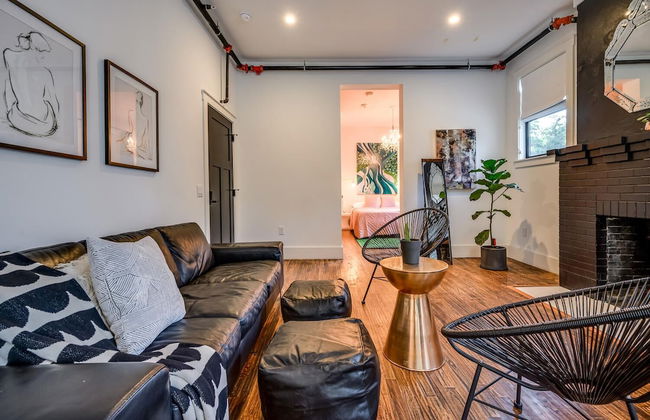
Private Suite in Historic Austin B&B- Sleeps 4 - Photo 1
Private Suite in Historic Austin B&B- Sleeps 4 - Photo 2
Private Suite in Historic Austin B&B- Sleeps 4 - Photo 3
Private Suite in Historic Austin B&B- Sleeps 4 - Photo 4
Private Suite in Historic Austin B&B- Sleeps 4 - Photo 5
Private Suite in Historic Austin B&B- Sleeps 4 - Photo 6
Private Suite in Historic Austin B&B- Sleeps 4 - Photo 7
Private Suite in Historic Austin B&B- Sleeps 4 - Photo 8
Private Suite in Historic Austin B&B- Sleeps 4 - Photo 9
Private Suite in Historic Austin B&B- Sleeps 4 - Photo 10
Private Suite in Historic Austin B&B- Sleeps 4 - Photo 11
Private Suite in Historic Austin B&B- Sleeps 4 - Photo 12
Private Suite in Historic Austin B&B- Sleeps 4 - Photo 13
Private Suite in Historic Austin B&B- Sleeps 4 - Photo 14
Private Suite in Historic Austin B&B- Sleeps 4 - Photo 15
Private Suite in Historic Austin B&B- Sleeps 4 - Photo 16
Private Suite in Historic Austin B&B- Sleeps 4 - Photo 17
Private Suite in Historic Austin B&B- Sleeps 4 - Photo 18
Private Suite in Historic Austin B&B- Sleeps 4 - Photo 19
Private Suite in Historic Austin B&B- Sleeps 4 - Photo 20
Private Suite in Historic Austin B&B- Sleeps 4 - Photo 21
Private Suite in Historic Austin B&B- Sleeps 4 - Photo 22
Private Suite in Historic Austin B&B- Sleeps 4 - Photo 23
Private Suite in Historic Austin B&B- Sleeps 4 - Photo 24
Private Suite in Historic Austin B&B- Sleeps 4 - Photo 25
Private Suite in Historic Austin B&B- Sleeps 4 - Photo 26
Private Suite in Historic Austin B&B- Sleeps 4 - Photo 27
Private Suite in Historic Austin B&B- Sleeps 4 - Photo 28
Private Suite in Historic Austin B&B- Sleeps 4 - Photo 29
Private Suite in Historic Austin B&B- Sleeps 4 - Photo 30
Private Suite in Historic Austin B&B- Sleeps 4 - Photo 31

Private Suite in Historic Austin B&B- Sleeps 4

Austin - Downtown Austin - 680 m from the center

  • 65 M2
  • 1 bedroom
  • 4 people
  • Air conditioning
  • Heating
  • Parking
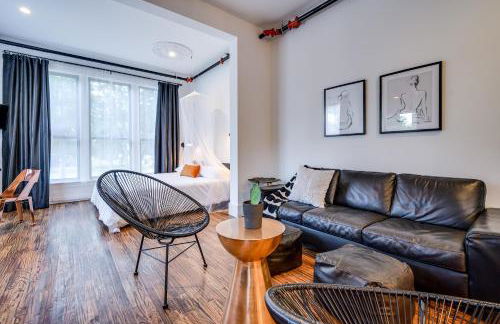
Private Suite in Historic Austin B&B 103 - Sleeps 4 - Photo 1
Private Suite in Historic Austin B&B 103 - Sleeps 4 - Photo 2
Private Suite in Historic Austin B&B 103 - Sleeps 4 - Photo 3
Private Suite in Historic Austin B&B 103 - Sleeps 4 - Photo 4
Private Suite in Historic Austin B&B 103 - Sleeps 4 - Photo 5
Private Suite in Historic Austin B&B 103 - Sleeps 4 - Photo 6
Private Suite in Historic Austin B&B 103 - Sleeps 4 - Photo 7
Private Suite in Historic Austin B&B 103 - Sleeps 4 - Photo 8
Private Suite in Historic Austin B&B 103 - Sleeps 4 - Photo 9
Private Suite in Historic Austin B&B 103 - Sleeps 4 - Photo 10
Private Suite in Historic Austin B&B 103 - Sleeps 4 - Photo 11
Private Suite in Historic Austin B&B 103 - Sleeps 4 - Photo 12
Private Suite in Historic Austin B&B 103 - Sleeps 4 - Photo 13
Private Suite in Historic Austin B&B 103 - Sleeps 4 - Photo 14
Private Suite in Historic Austin B&B 103 - Sleeps 4 - Photo 15
Private Suite in Historic Austin B&B 103 - Sleeps 4 - Photo 16
Private Suite in Historic Austin B&B 103 - Sleeps 4 - Photo 17
Private Suite in Historic Austin B&B 103 - Sleeps 4 - Photo 18
Private Suite in Historic Austin B&B 103 - Sleeps 4 - Photo 19
Private Suite in Historic Austin B&B 103 - Sleeps 4 - Photo 20
Private Suite in Historic Austin B&B 103 - Sleeps 4 - Photo 21
Private Suite in Historic Austin B&B 103 - Sleeps 4 - Photo 22
Private Suite in Historic Austin B&B 103 - Sleeps 4 - Photo 23
Private Suite in Historic Austin B&B 103 - Sleeps 4 - Photo 24
Private Suite in Historic Austin B&B 103 - Sleeps 4 - Photo 25
Private Suite in Historic Austin B&B 103 - Sleeps 4 - Photo 26
Private Suite in Historic Austin B&B 103 - Sleeps 4 - Photo 27
Private Suite in Historic Austin B&B 103 - Sleeps 4 - Photo 28
Private Suite in Historic Austin B&B 103 - Sleeps 4 - Photo 29
Private Suite in Historic Austin B&B 103 - Sleeps 4 - Photo 30

Private Suite in Historic Austin B&B 103 - Sleeps 4

Austin - Downtown Austin - 680 m from the center

  • 65 M2
  • 1 bedroom
  • 4 people
  • Air conditioning
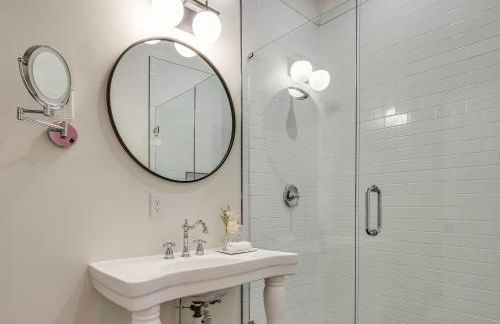
  • Heating
  • Parking