
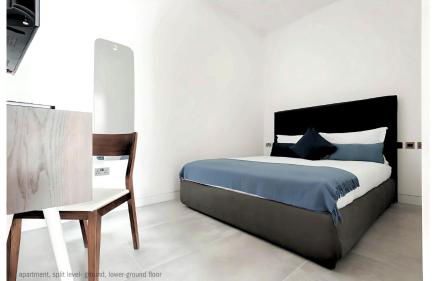
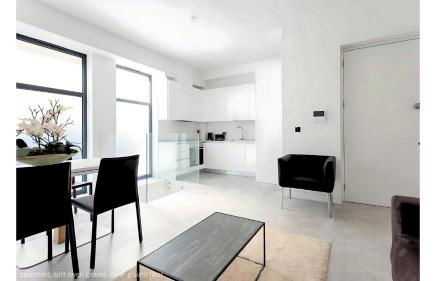
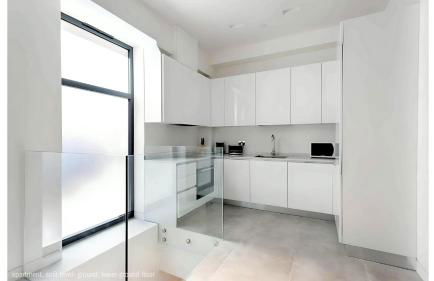
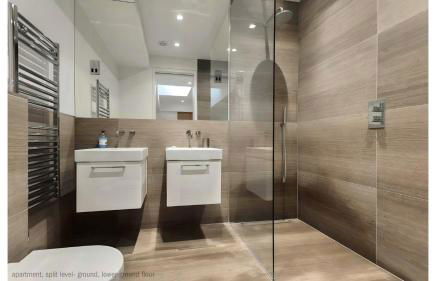
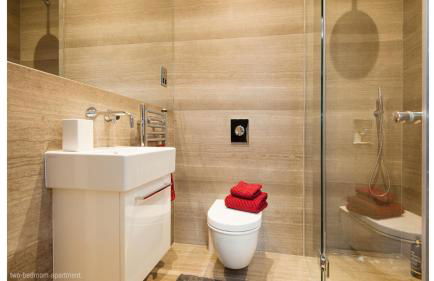
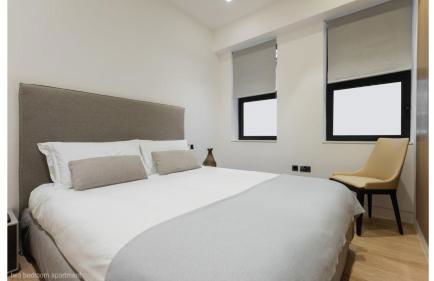
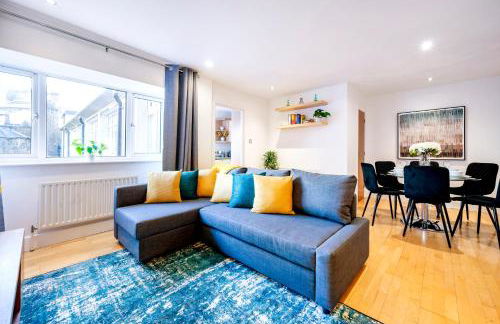
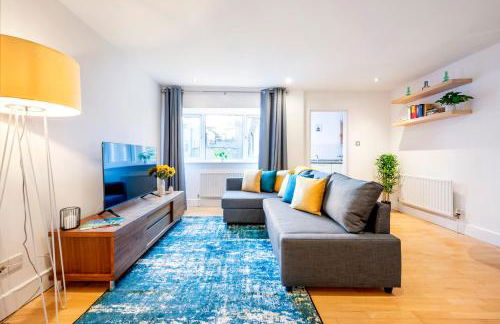
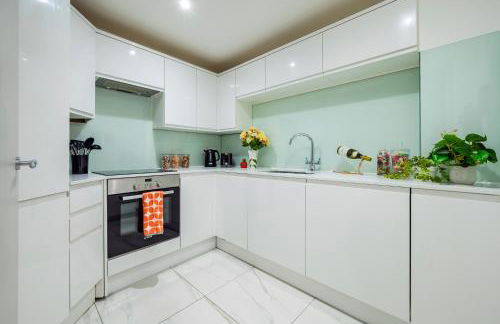
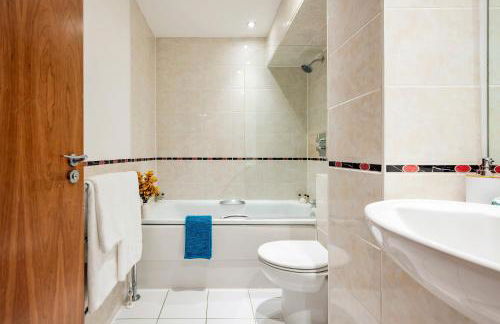
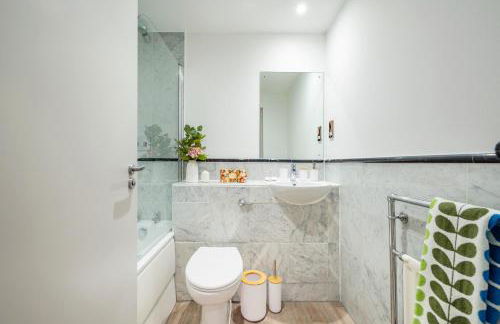
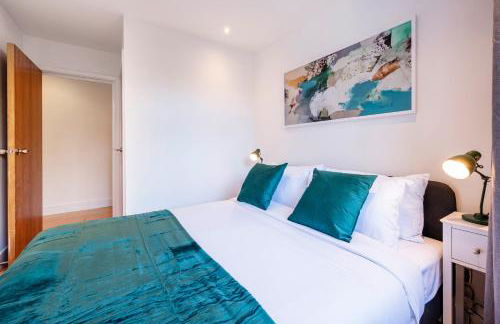
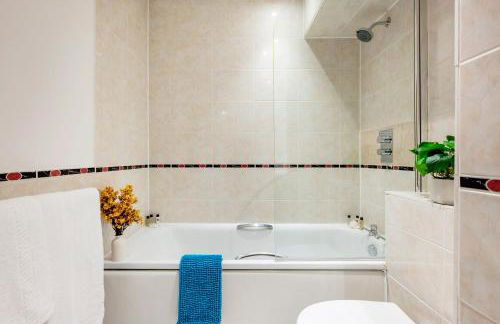
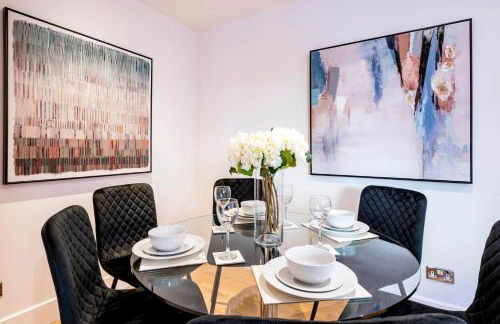
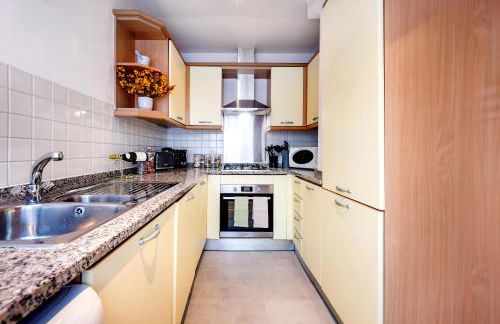
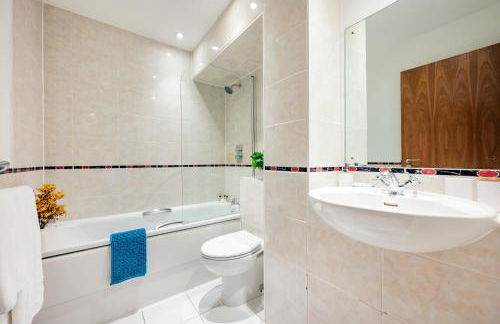
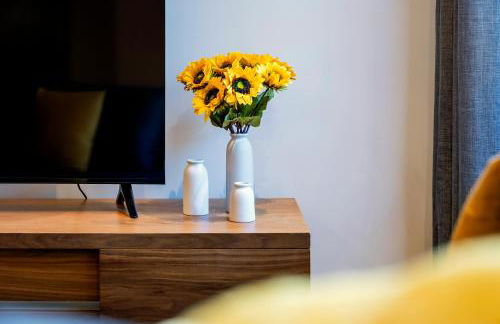
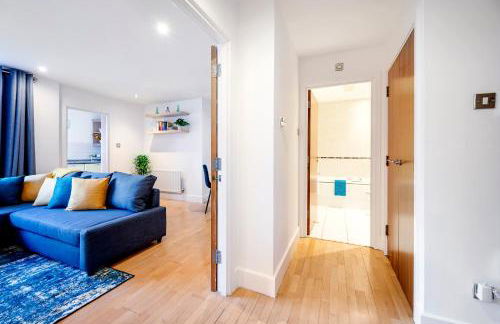
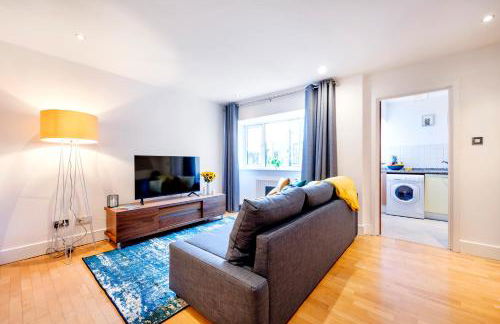
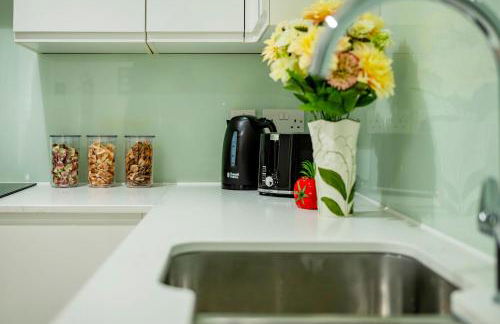
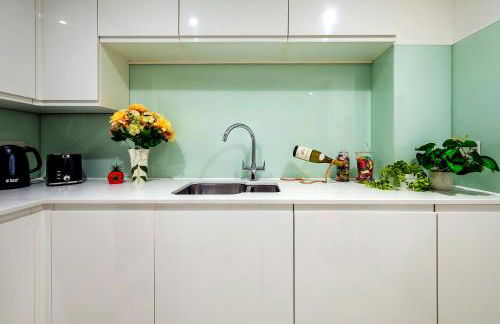
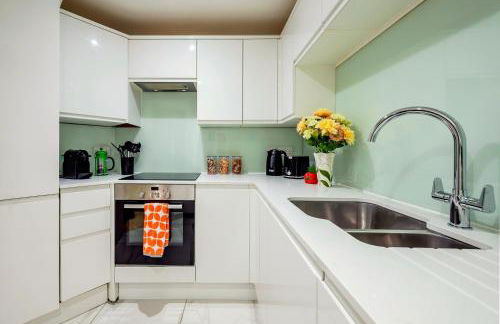
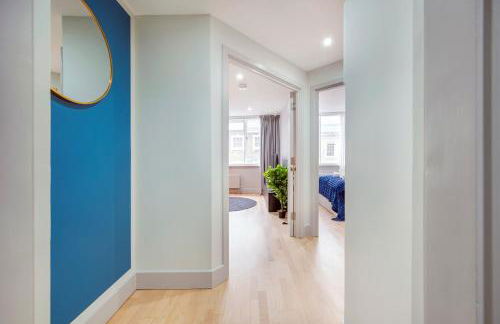
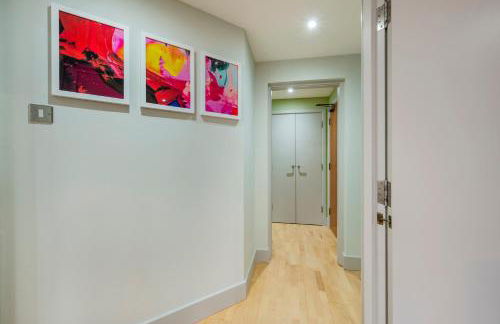
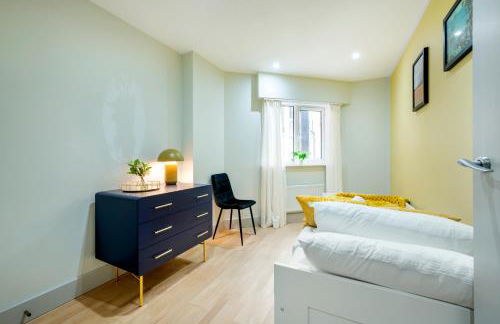
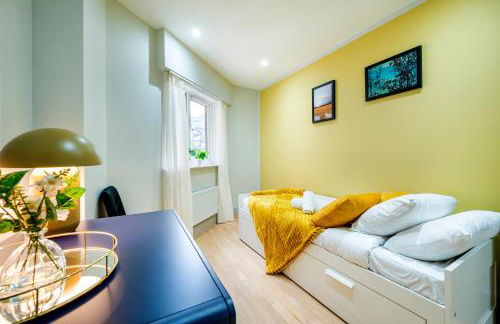
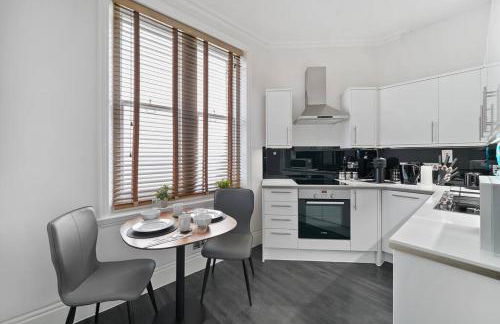
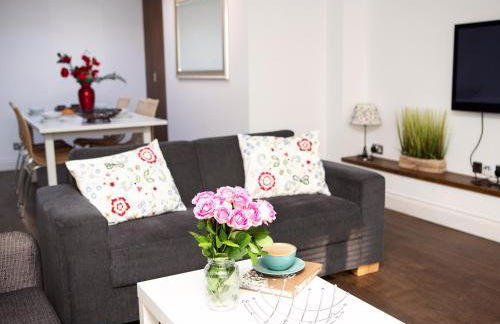
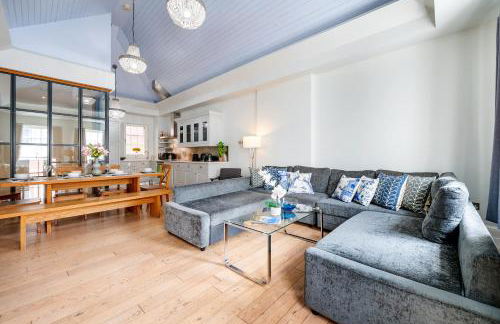
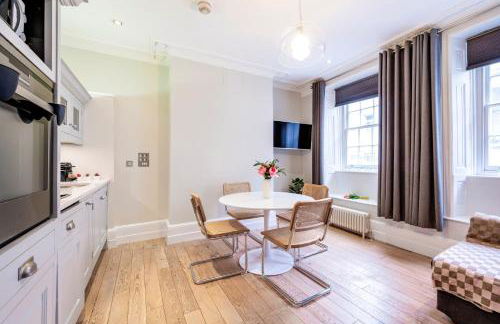
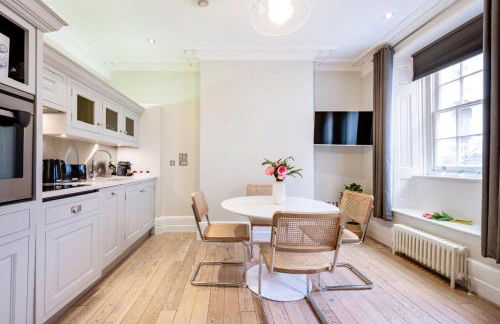
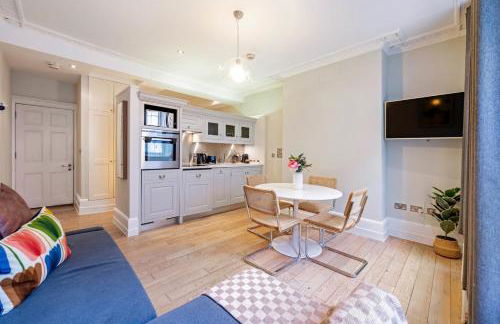
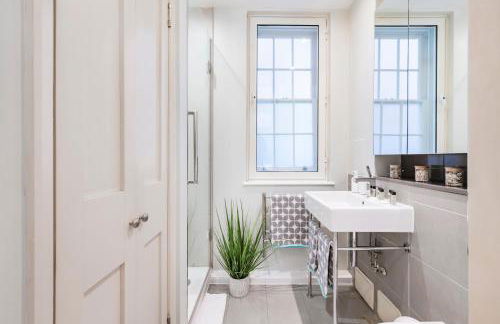
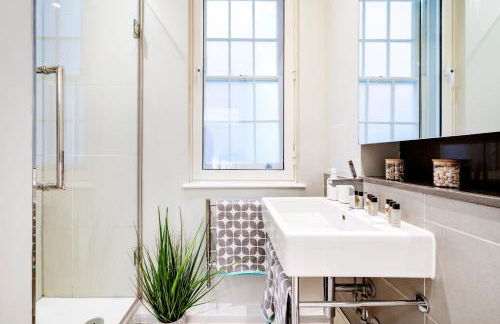
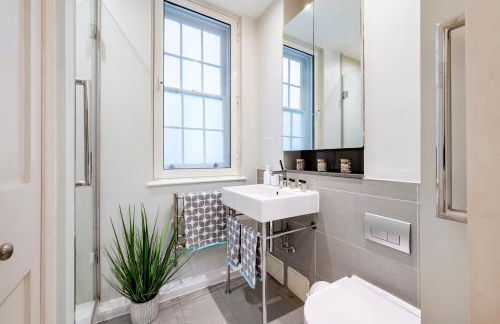
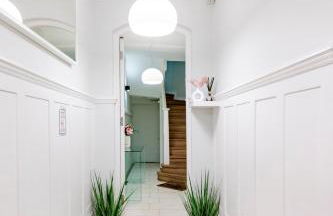
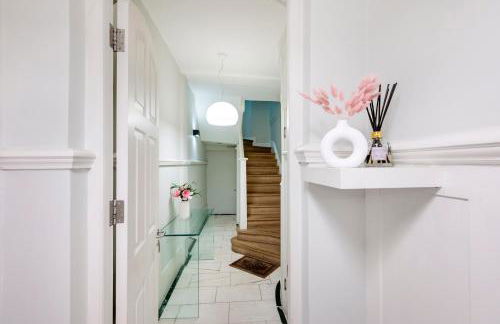
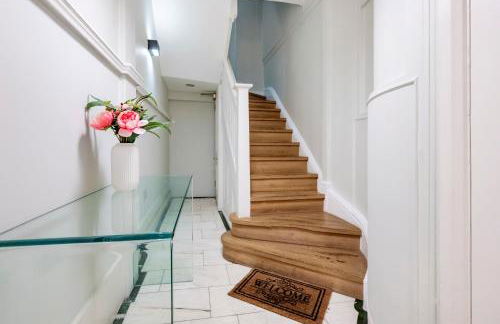
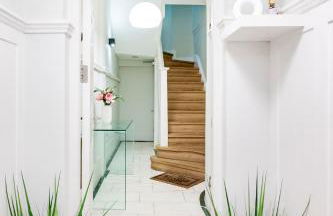
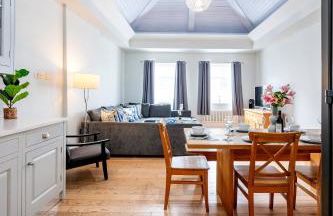
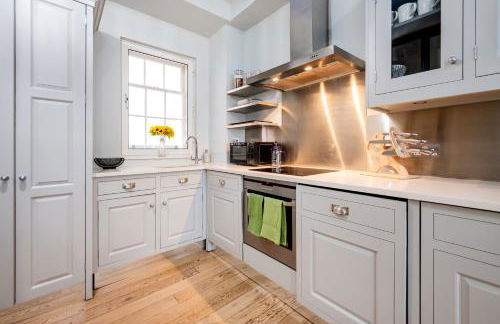
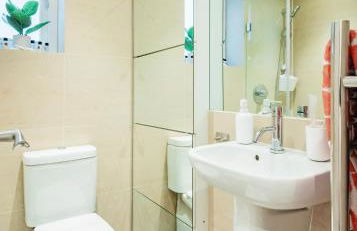
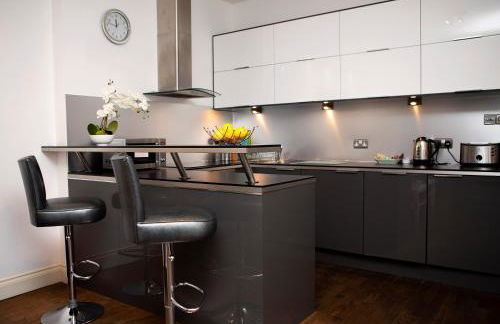
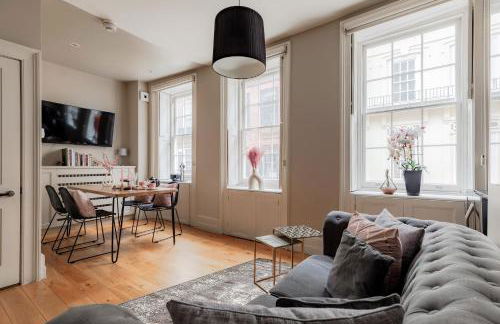
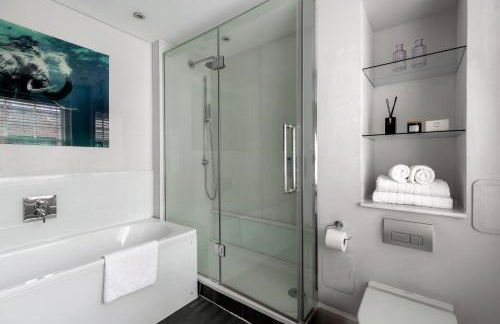
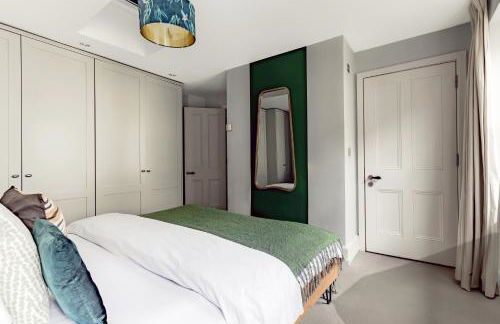
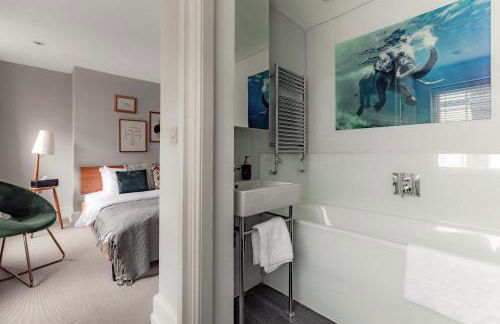
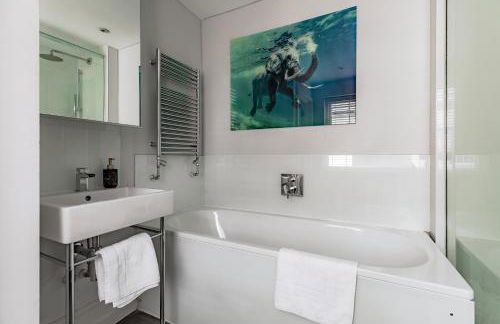
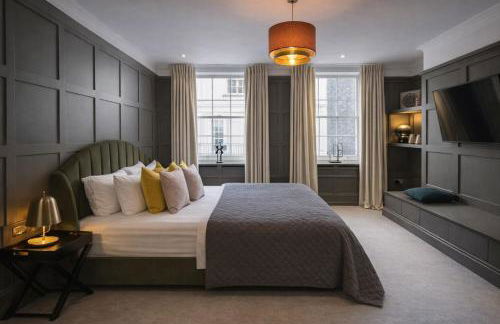
49 Apartments in Charing
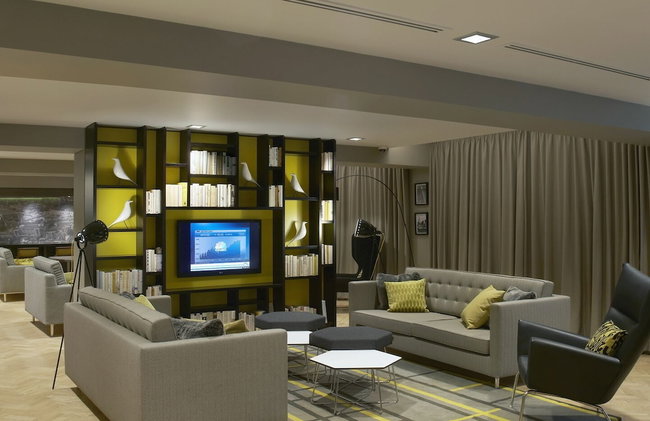


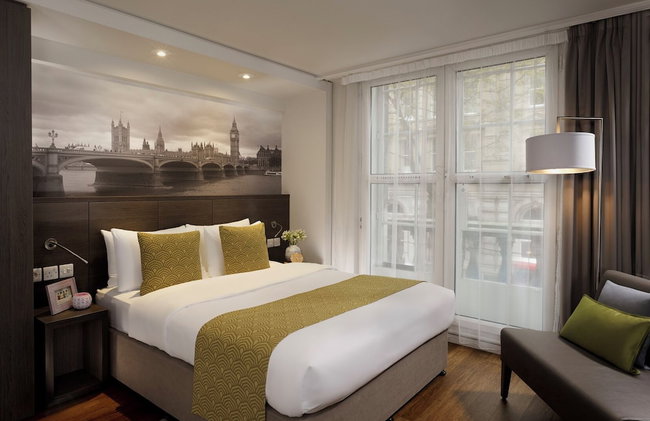


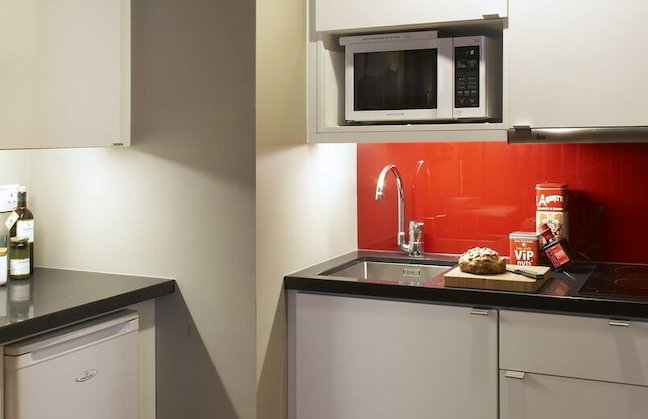


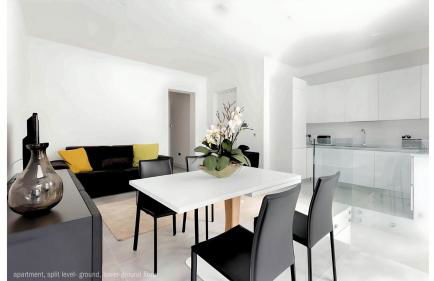
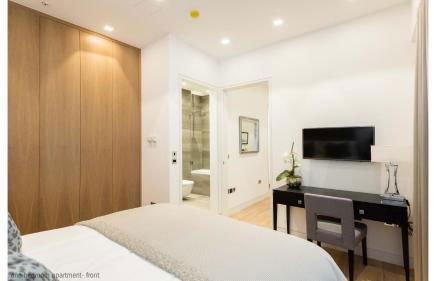
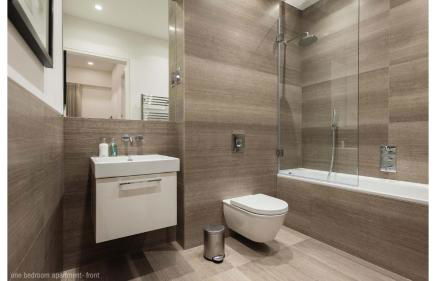
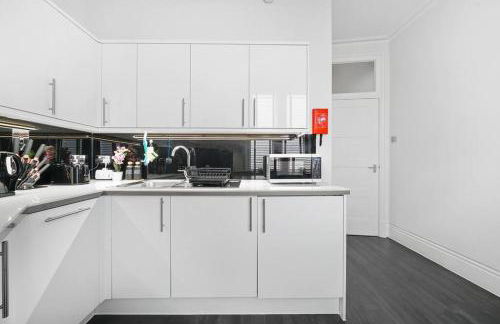
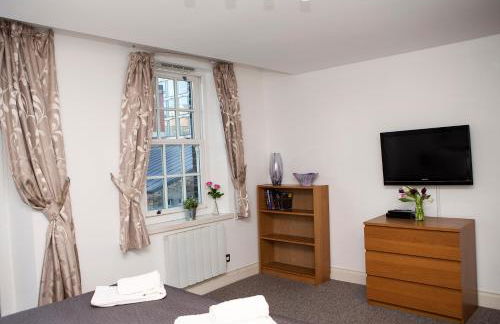
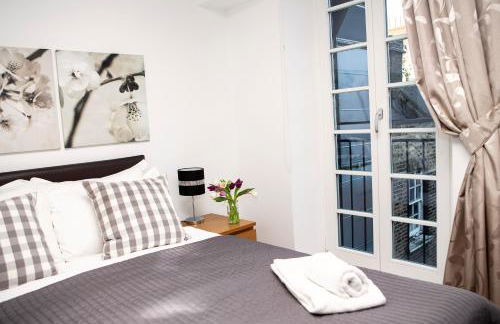
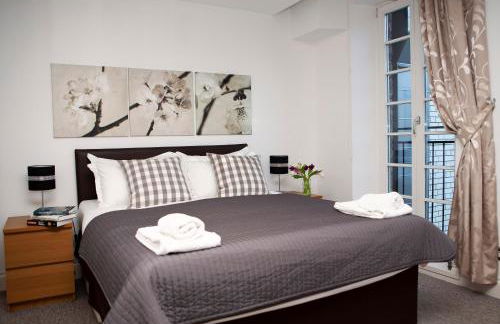
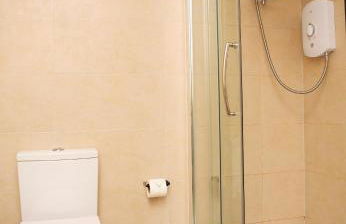
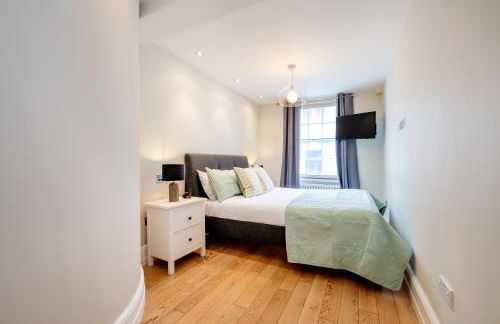
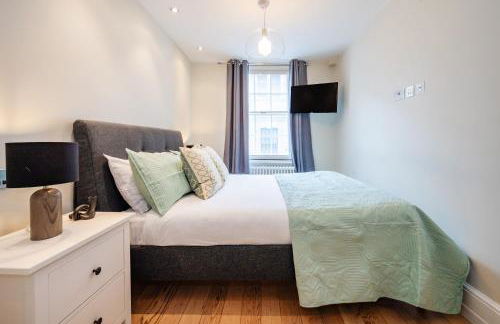
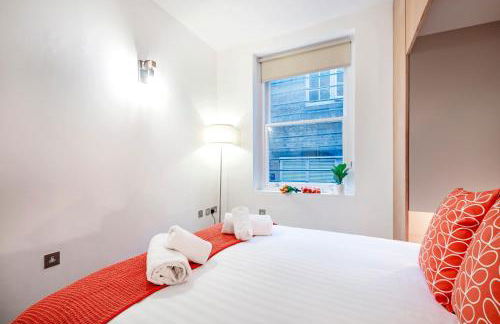
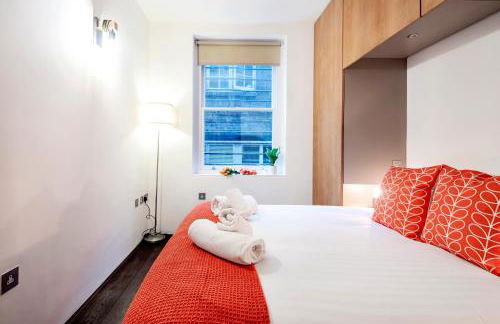
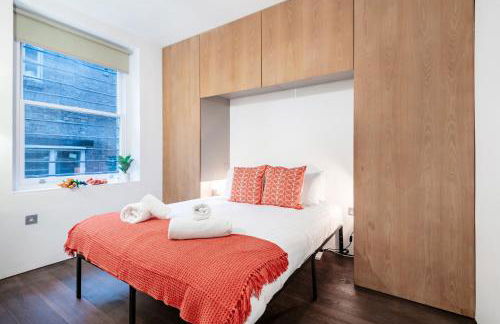
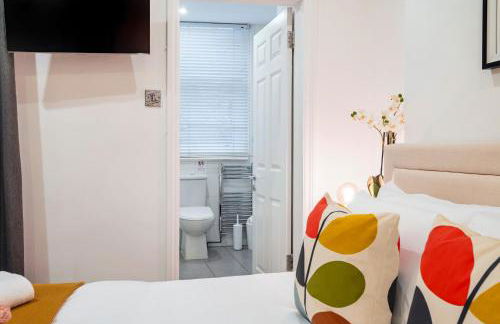
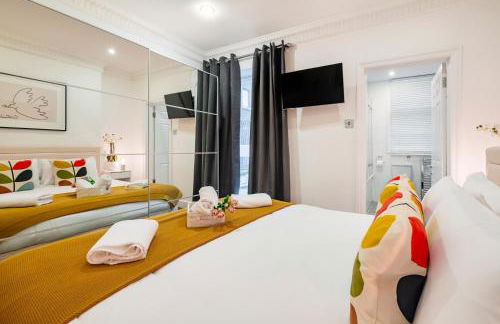
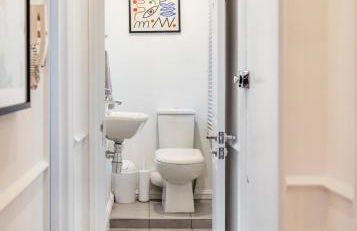
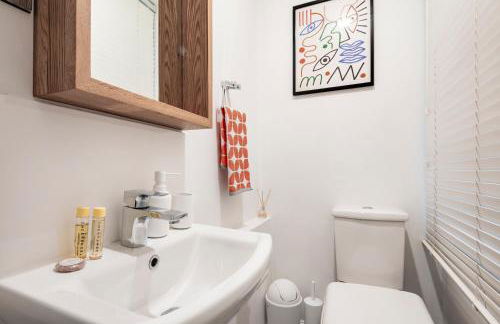
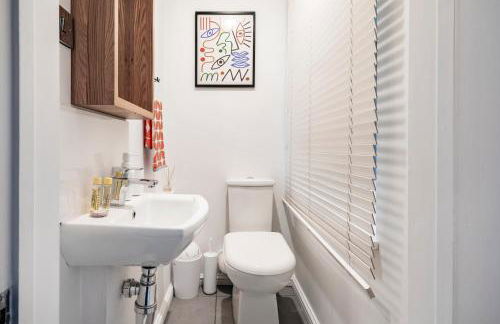
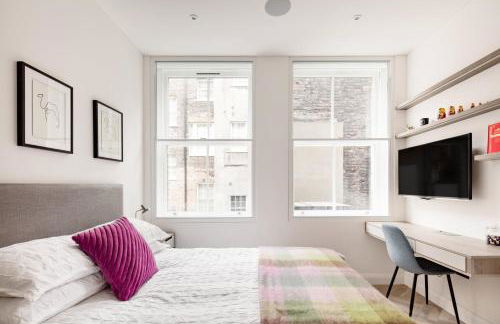
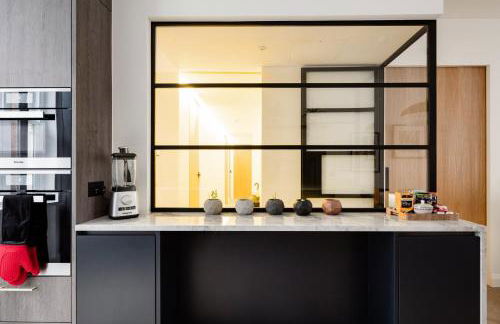
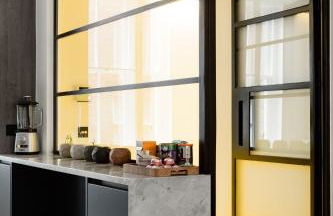
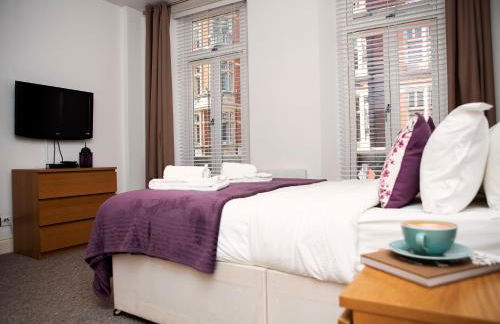
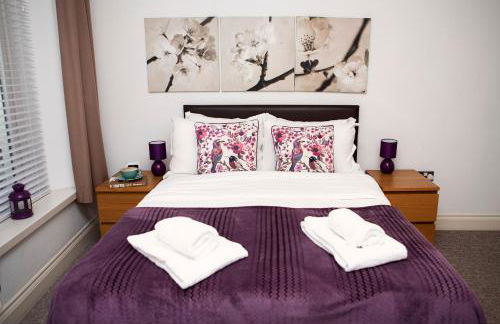
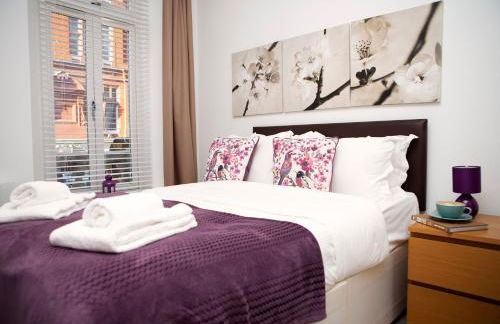
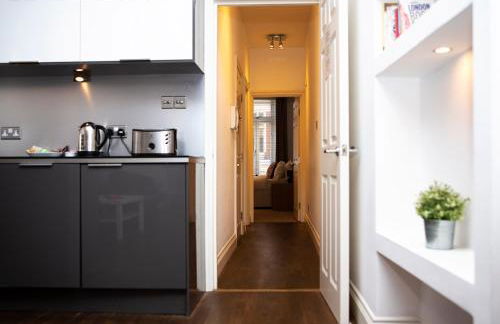
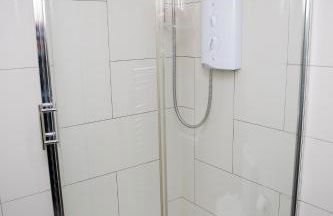
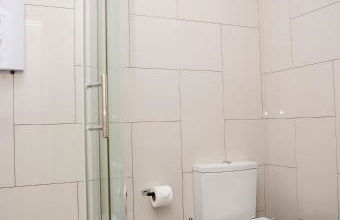
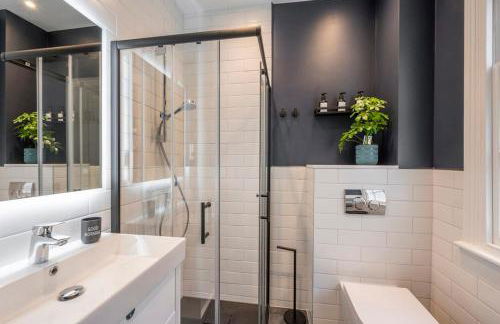
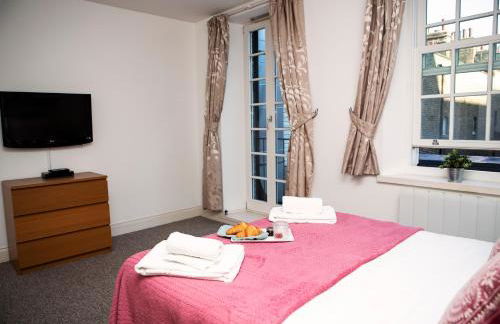
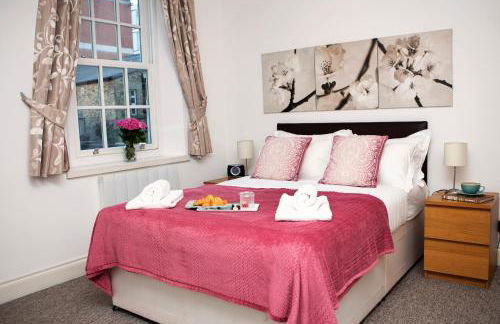
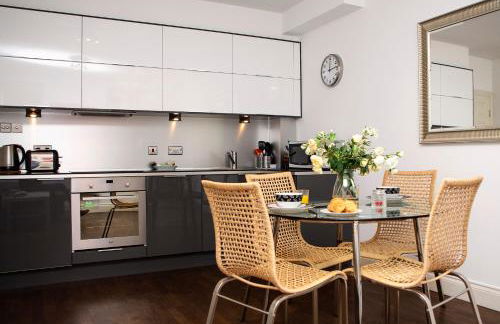
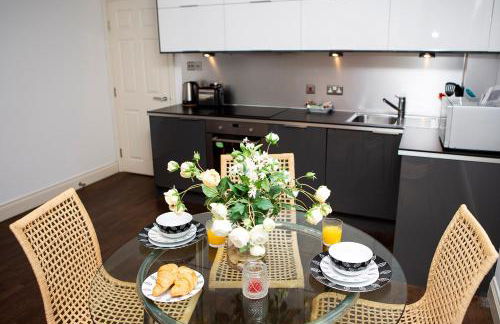
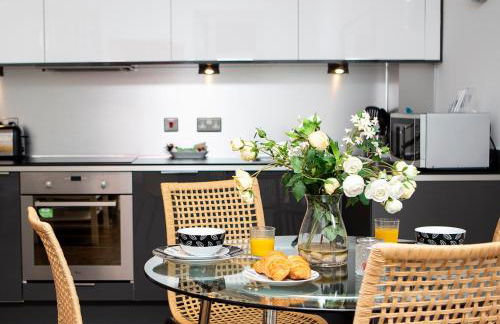
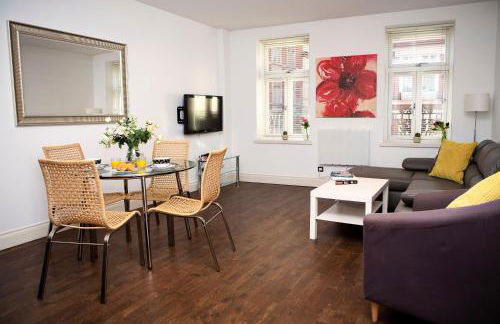
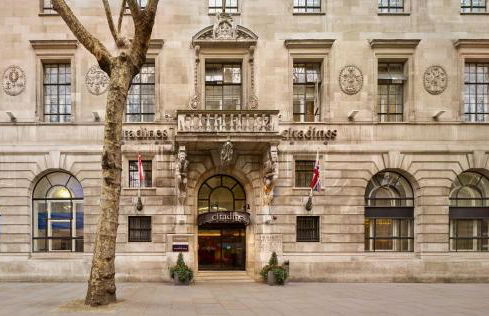
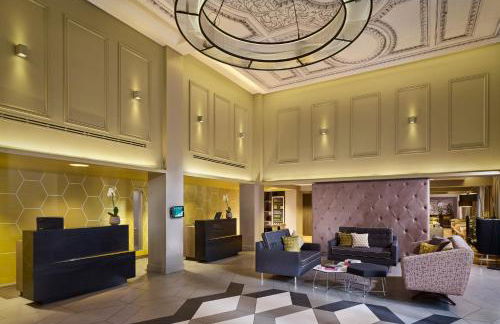
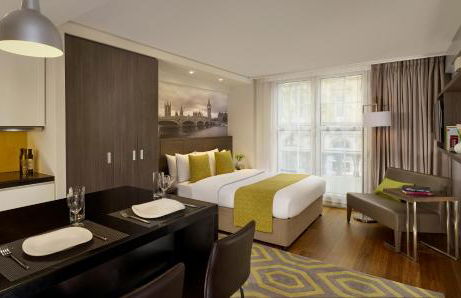
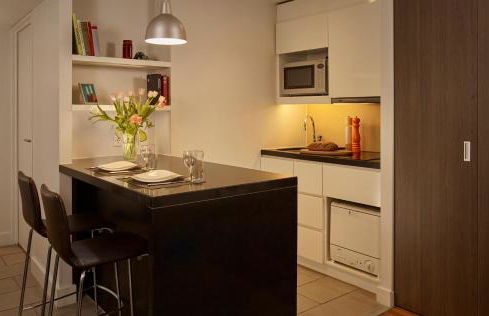
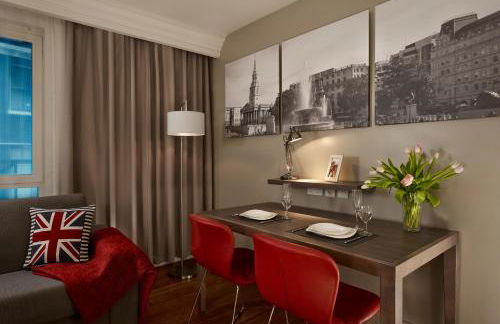
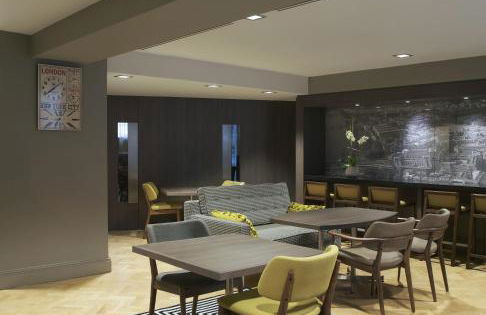
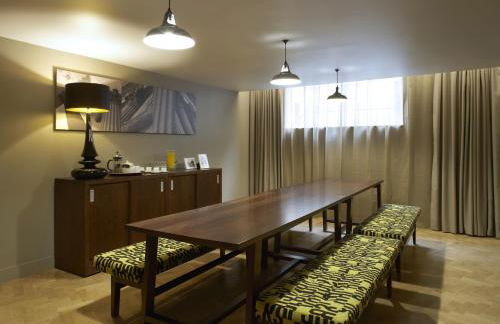
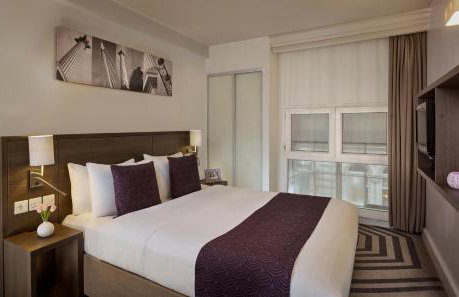
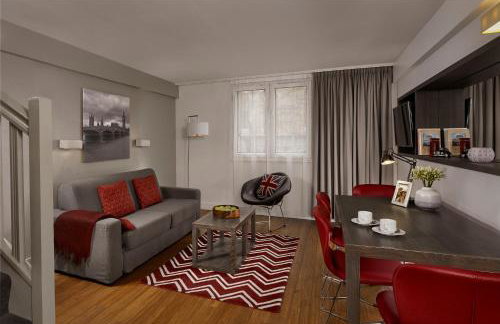
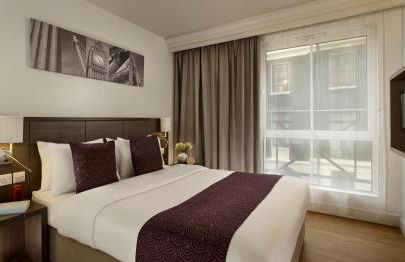
Citadines Trafalgar Square London
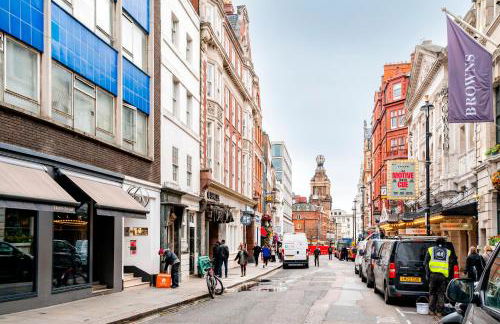
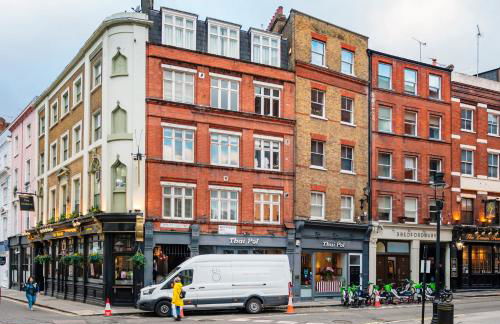
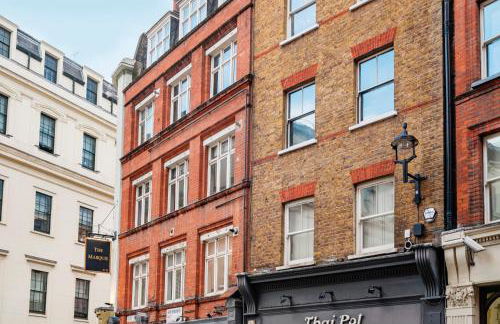
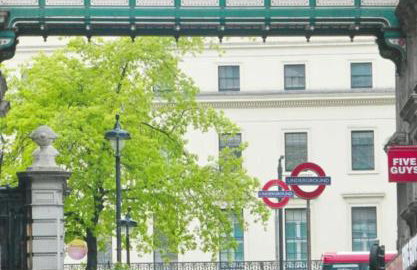
London - Charing - In the center
- 70 M2
- 6 people
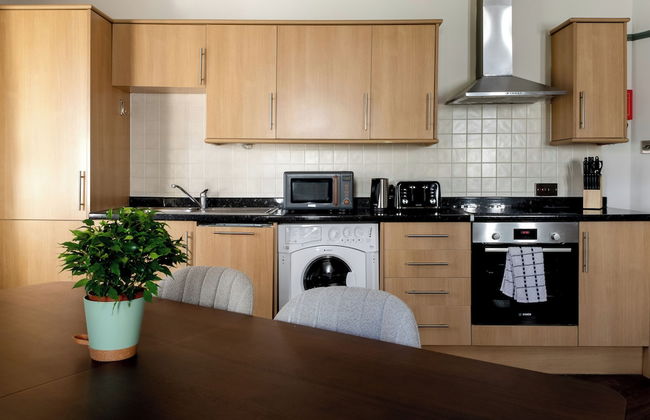
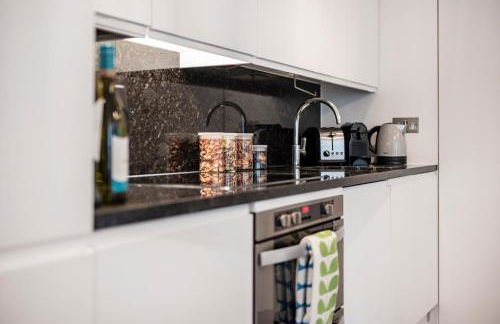
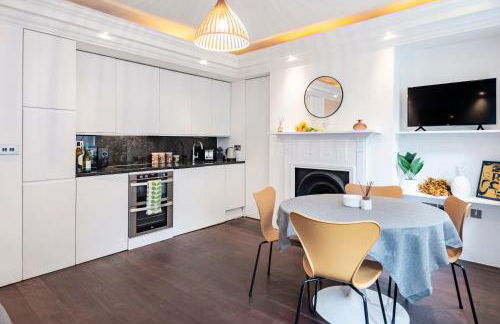
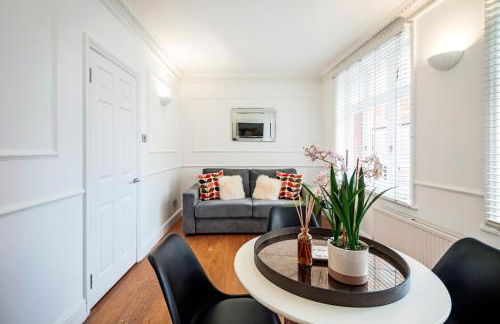
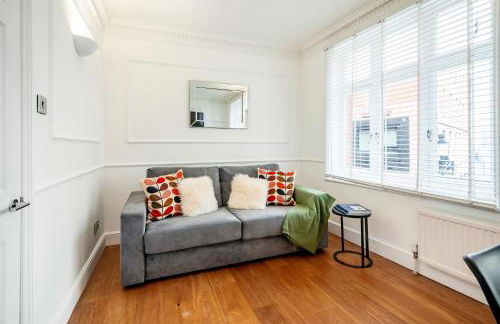
- Kitchenette
- Air conditioning
- Heating
- Elevator
- Tv
- Bath linen
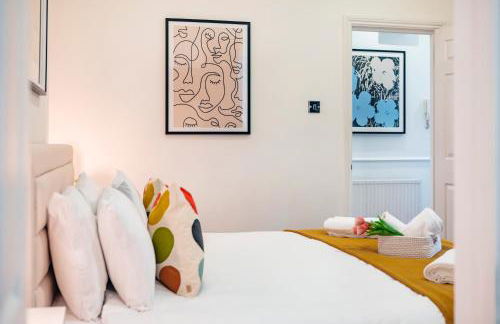
- Bed linen
3898 reviews


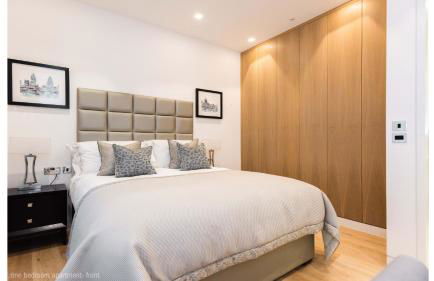
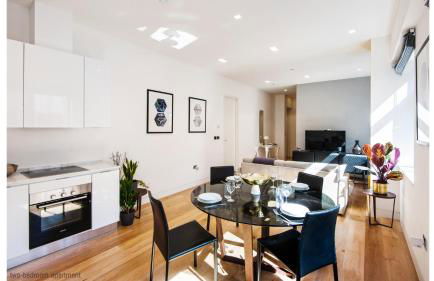
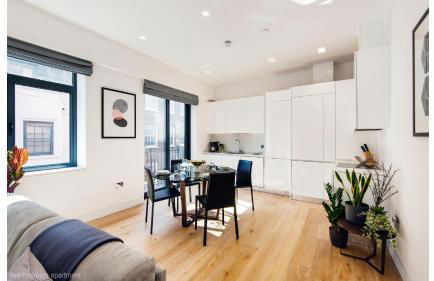
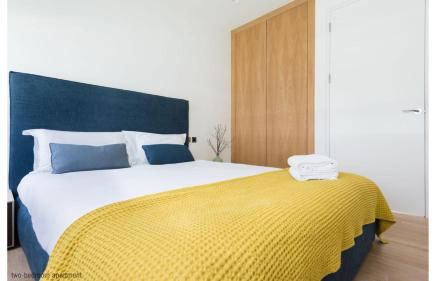
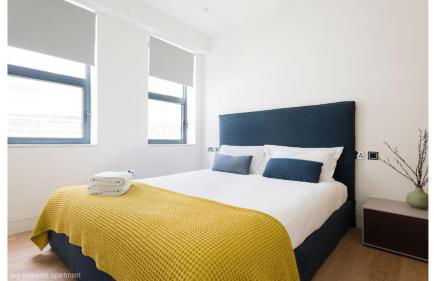
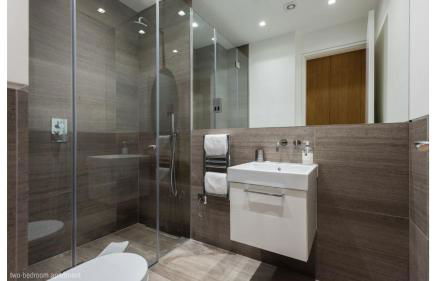
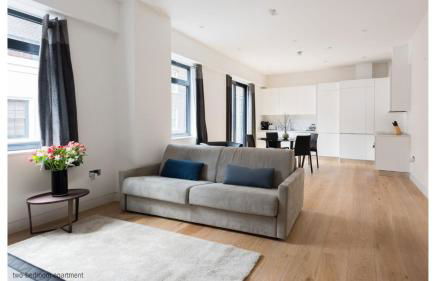
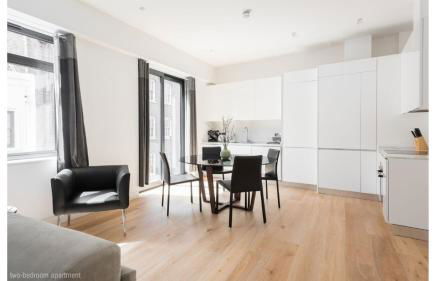
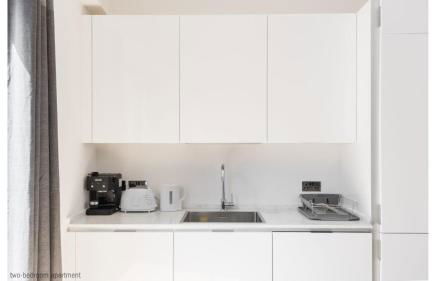
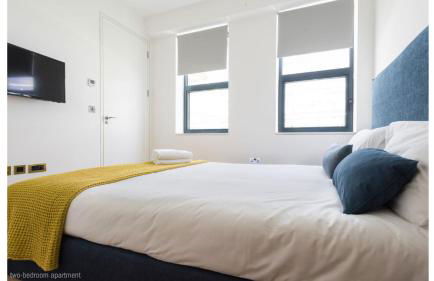
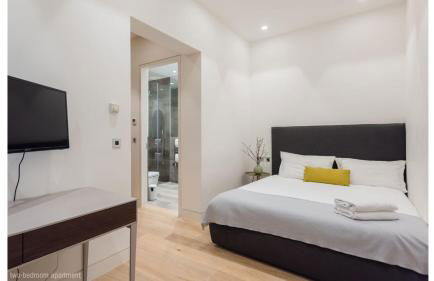
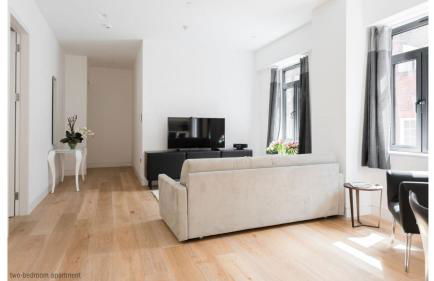
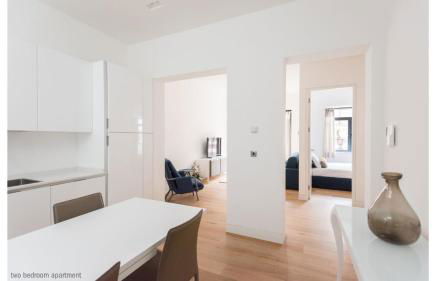
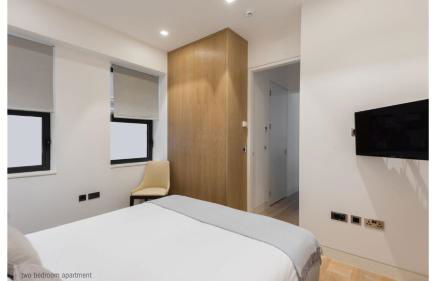
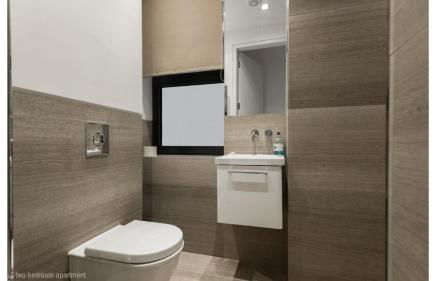
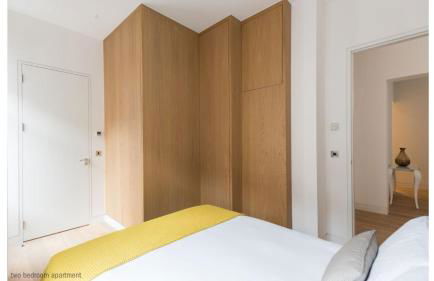
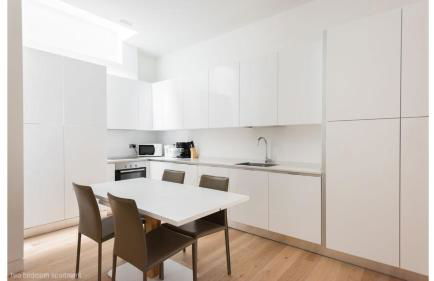
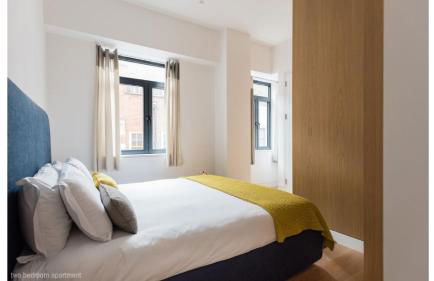
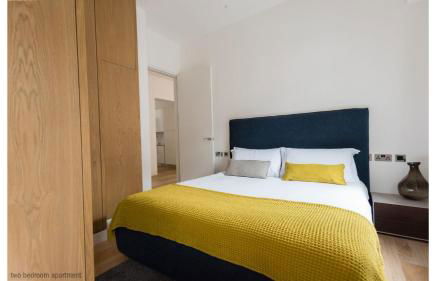
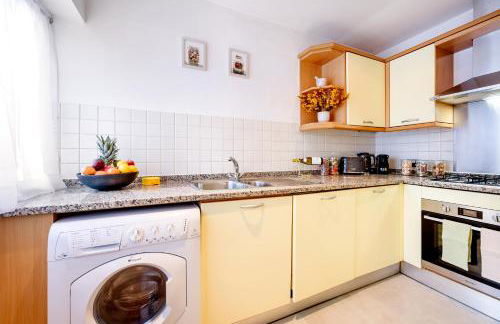
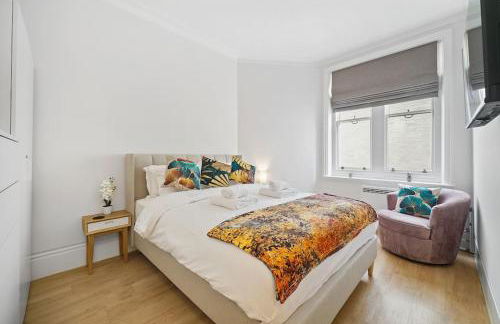
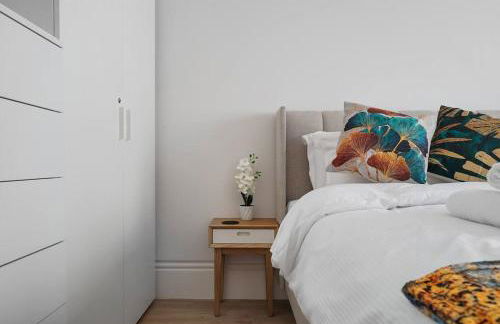
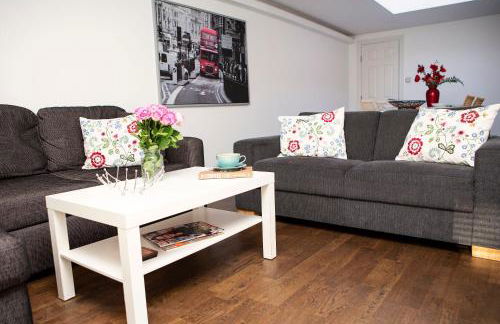
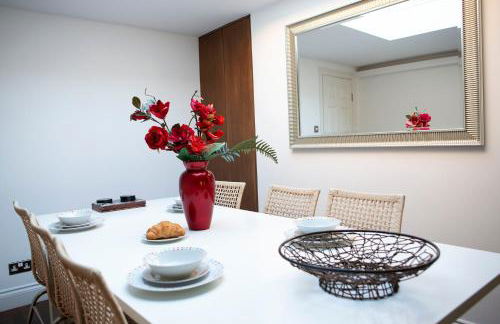
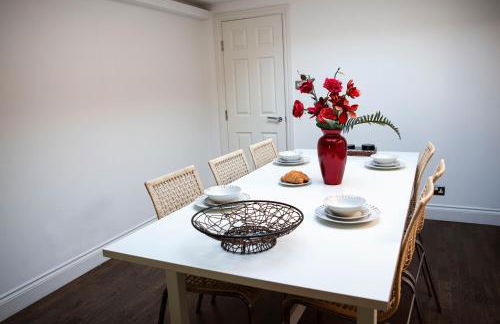
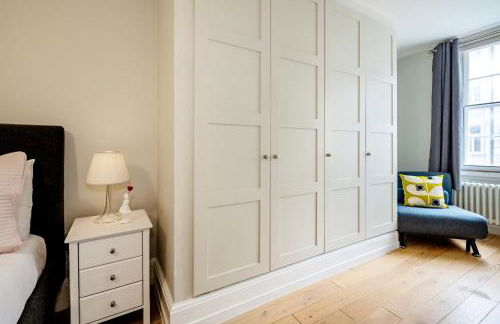
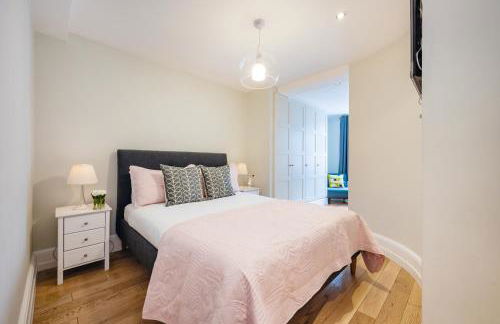
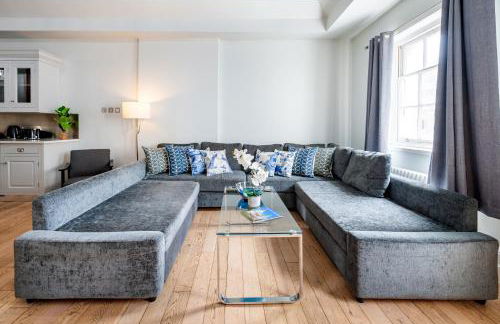
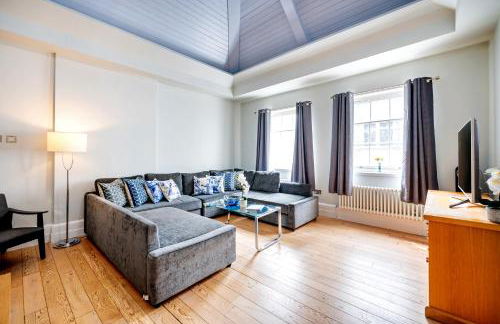
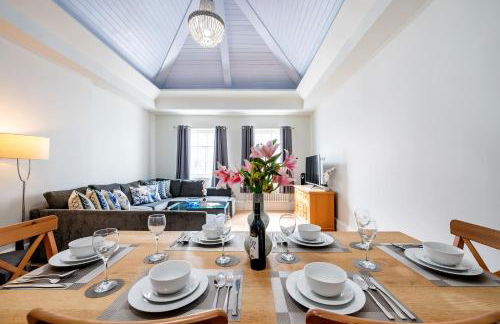
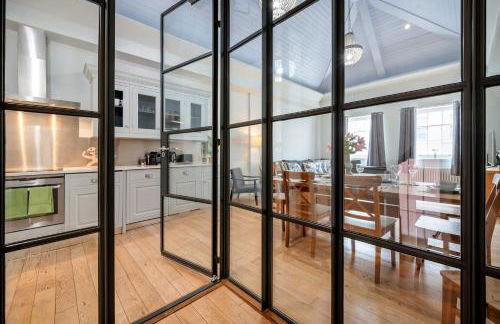
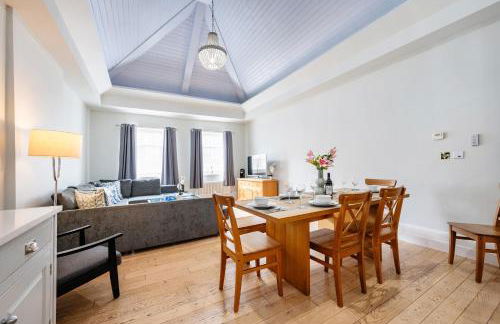
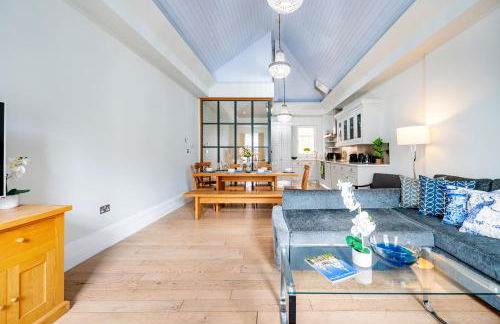
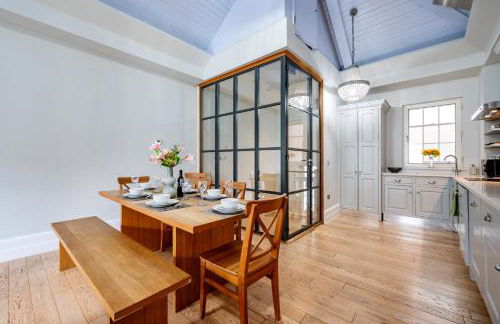
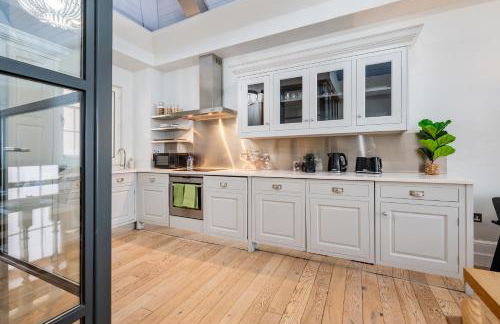
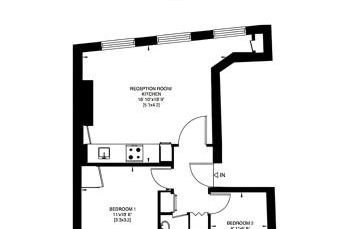
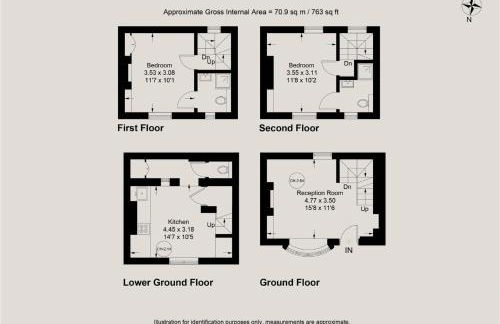
Round House Apartments
London - Charing - In the center
- 71 M2
- 2 bedrooms
- 6 people
- Kitchenette
- Heating
- Tv
- Washing machine
- Bath linen
- Bed linen
15 reviews


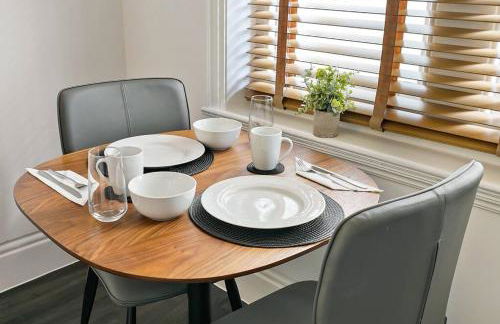
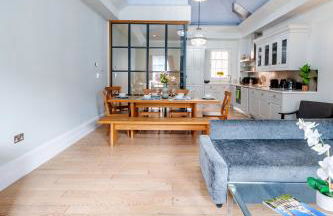
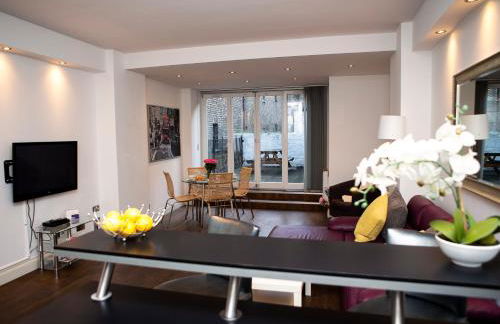
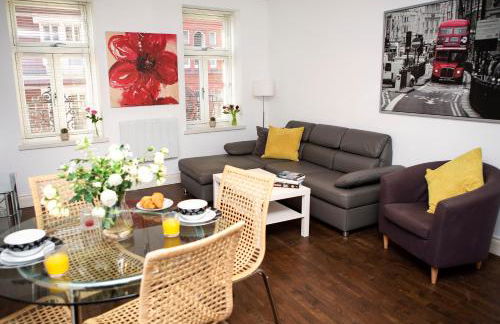
Central London (West End) two bedroom flat
London - Charing - In the center
- 2 bedrooms
- 4 people
- Parking
- Elevator
46 reviews


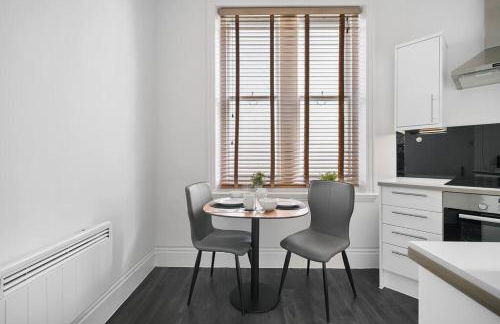
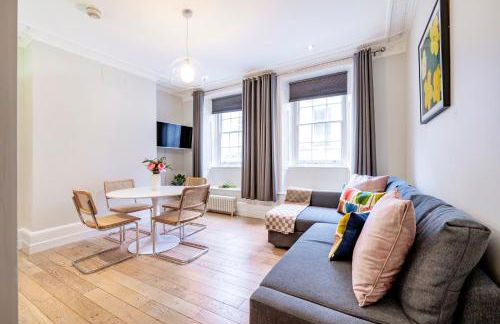
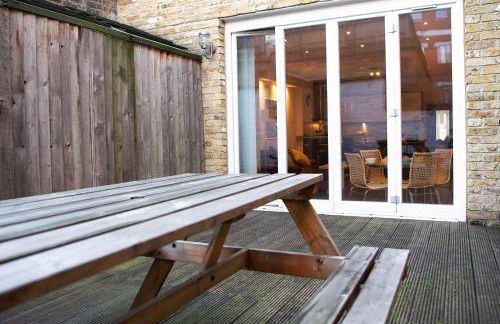
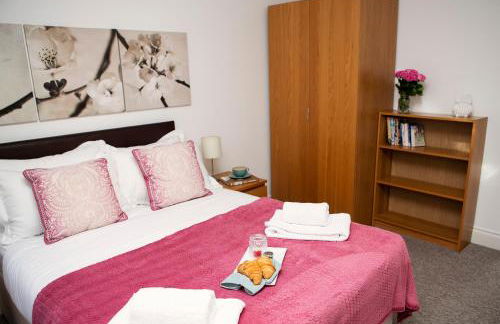
Welcome London Trafalgar Townhouse
London - Charing - In the center
- 312 M2
- 5 bedrooms
- 10 people
- Heating
- Terrace
21 reviews


Welcome London The York
London - Charing - In the center
- 146 M2
- 3 bedrooms
- 8 people
- Heating
- Elevator
464 reviews


Welcome London The Garrick
London - Charing - In the center
- 85 M2
- 3 bedrooms
- 7 people
- Heating
- Elevator
38 reviews


Apt 3, Trafalgar Sq Duplex, 3rd & 4th floor by Indigo Flats
London - Charing - In the center
- 65 M2
- 2 bedrooms
- 7 people
- Heating
106 reviews


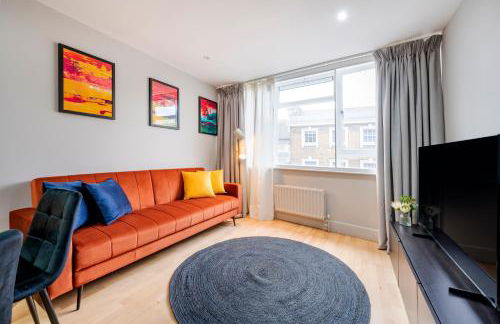
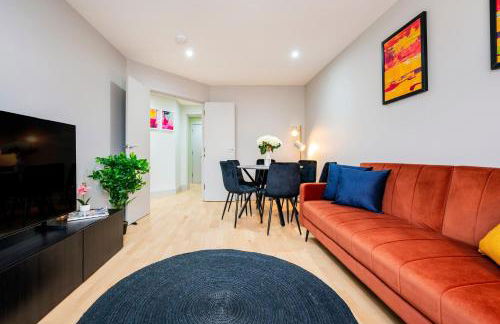
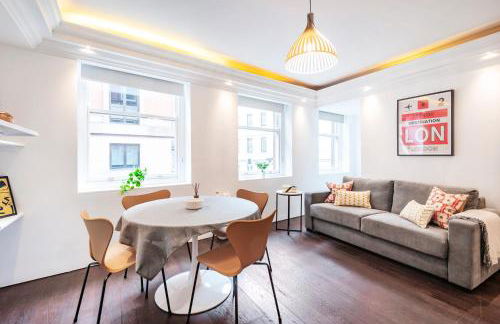
Stunning Covent Garden DREAM COME TRUE Super Quiet HOTEL Alike HOME
London - Charing - In the center
- 167 M2
- 3 bedrooms
- 6 people
- Air conditioning
- Heating
- Elevator
5 reviews


Welcome London Trafalgar & Covent Garden
London - Charing - In the center
- 43 M2
- 2 bedrooms
- 4 people
- Heating
41 reviews


Welcome London National Gallery
London - Charing - In the center
- 42 M2
- 1 bedroom
- 4 people
- Heating
88 reviews


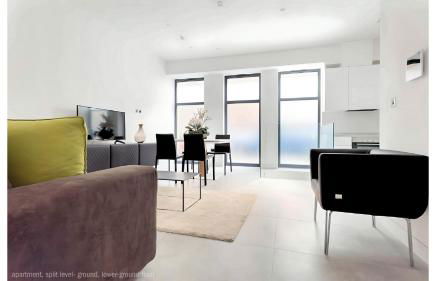
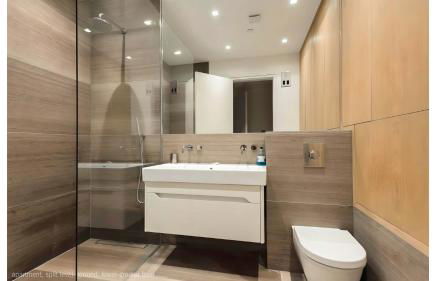
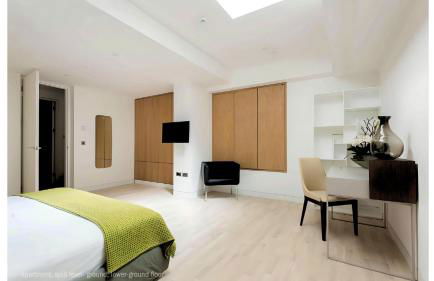
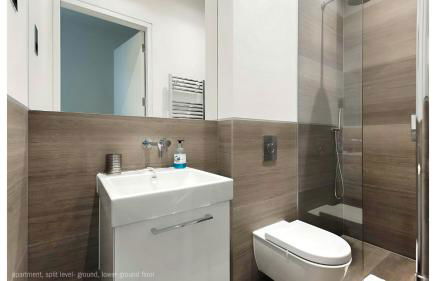
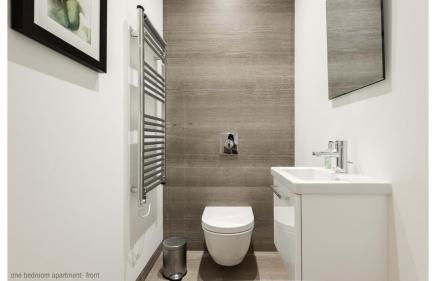
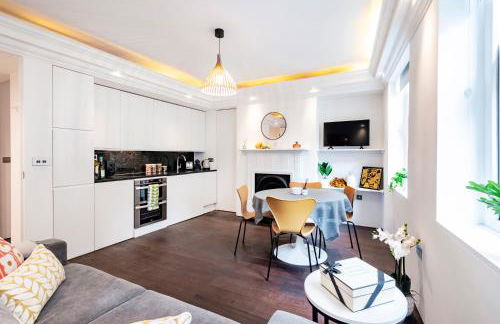
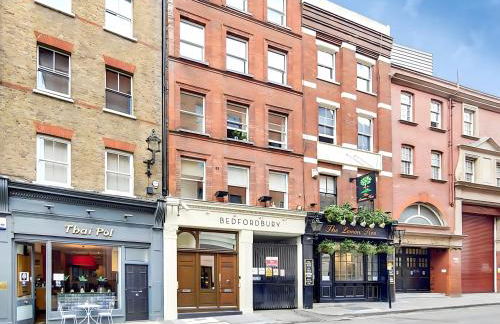
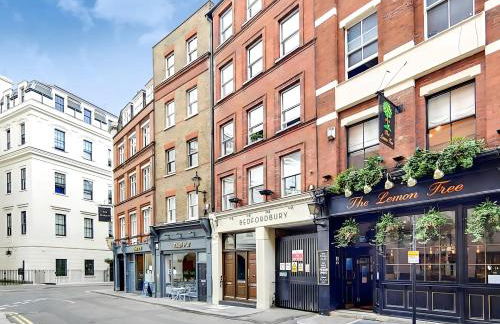
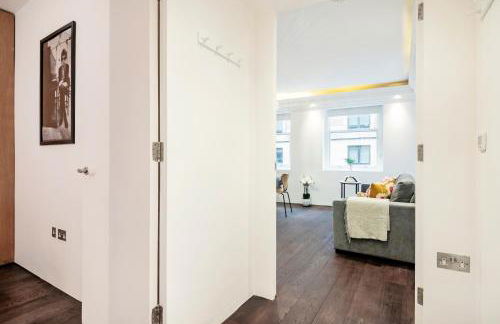
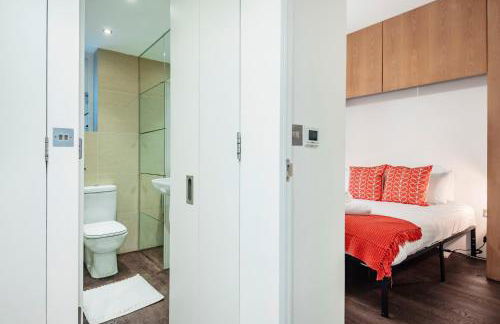
Modern Apartment & Rooms at Charing Cross
London - Charing - In the center
- 90 M2
- 2 bedrooms
- 4 people
- Air conditioning
- Heating
75 reviews


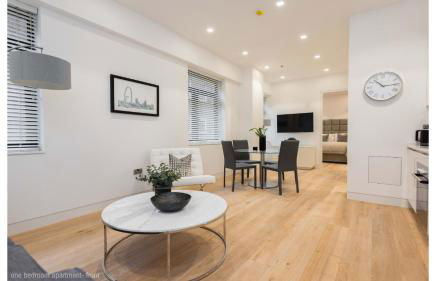
Apt 1, Trafalgar Square 1st Floor by Indigo Flats
London - Charing - In the center
- 65 M2
- 1 bedroom
- 4 people
- Heating
- Terrace
- Garden
99 reviews


1st Class Covent Garden Residences for 1st Class Guests
London - Charing - In the center
- 190 M2
- 3 bedrooms
- 6 people
55 reviews


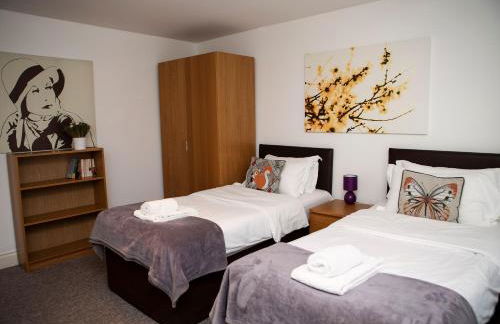
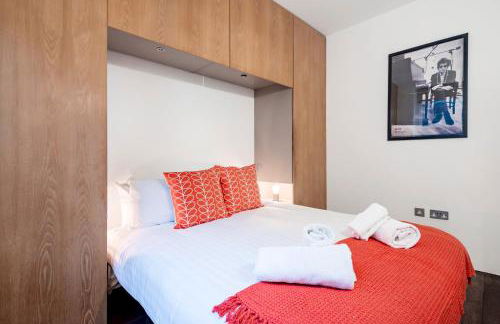
2-Bedroom Harry Potter-Inspired House - Sleeps 6
London - Charing - In the center
- 71 M2
- 2 bedrooms
- 6 people
- Heating
48 reviews


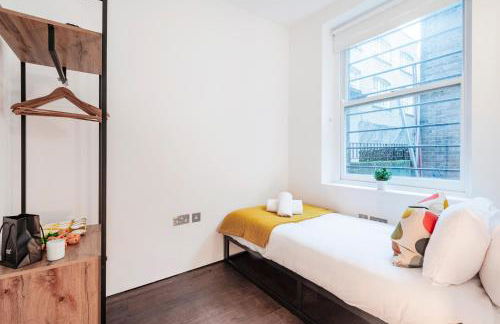
Apt 2, Trafalgar Square 2nd Floor by Indigo Flats
London - Charing - In the center
- 45 M2
- 1 bedroom
- 5 people
- Heating
123 reviews


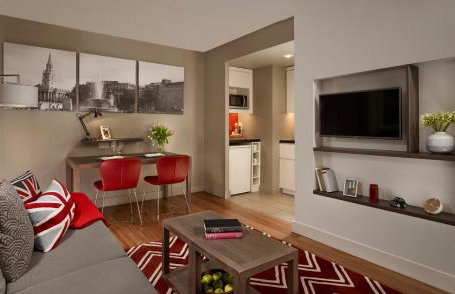

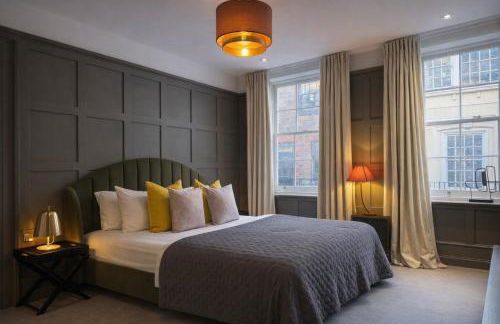
Citadines Trafalgar Square London
London - Charing - In the center
- 70 M2
- 2 bedrooms
- 6 people
- Air conditioning
- Heating
- Elevator
3817 reviews