
159 Apartments near Trafalgar Square
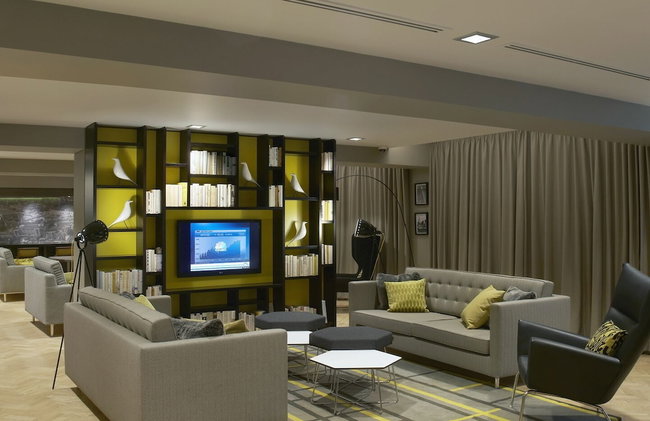

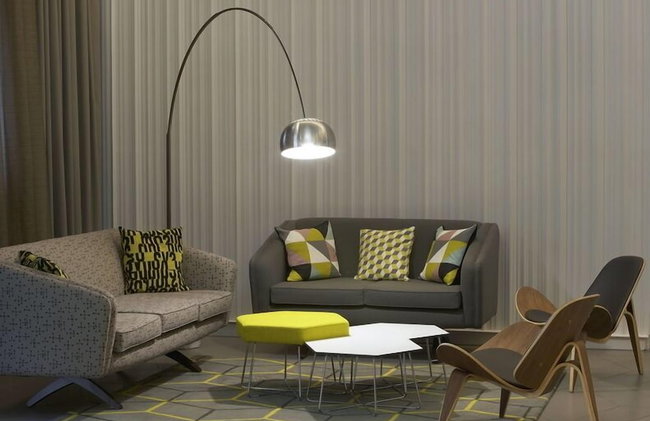


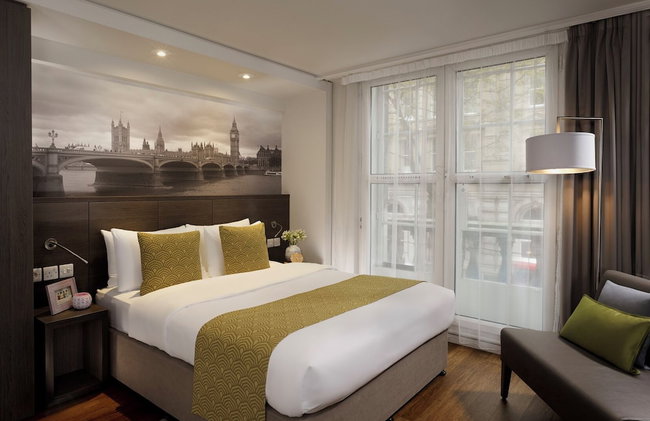

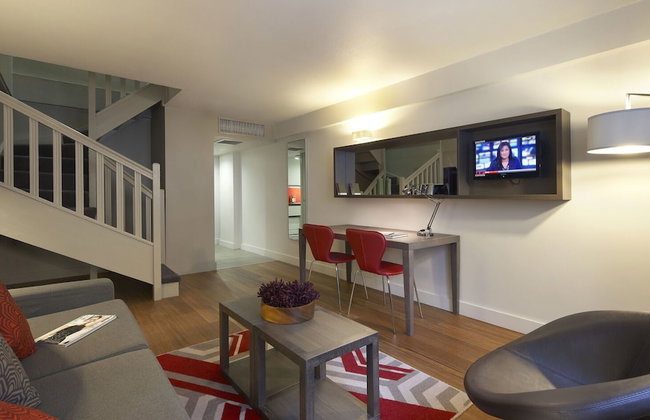
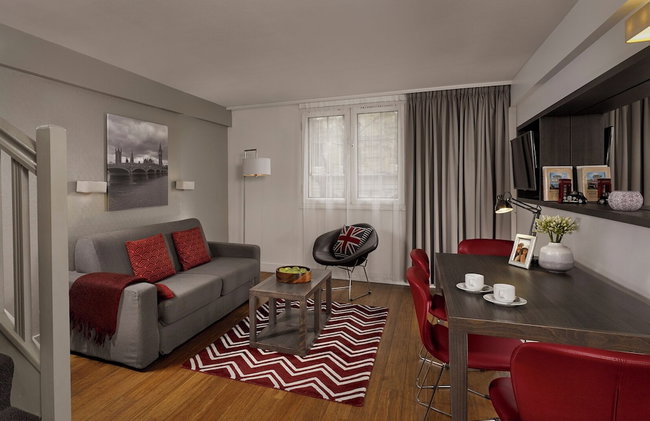
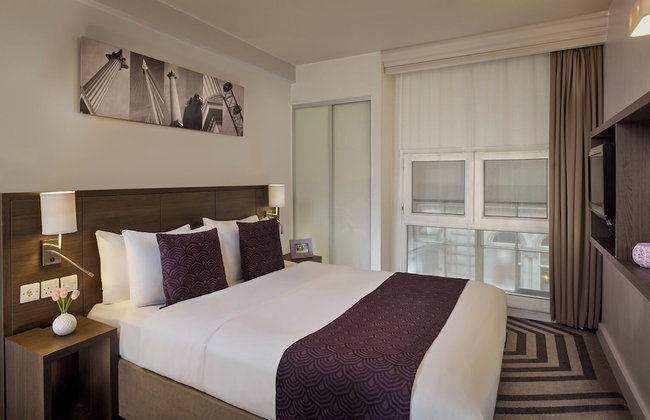


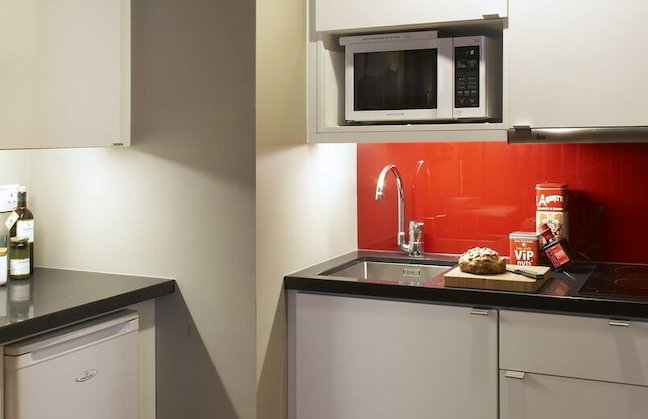


Citadines Trafalgar Square London
London - Charing - In the center
- 70 M2
- 6 people
- Kitchenette
- Air conditioning
- Heating
- Elevator
- Tv
- Bath linen
- Bed linen
3898 reviews


Cockspur Street
London - St James's - In the center
- 116 M2
- 6 people
- Air conditioning
- Elevator
- Tv
- Washing machine
- Bath linen
- Bed linen
2 reviews
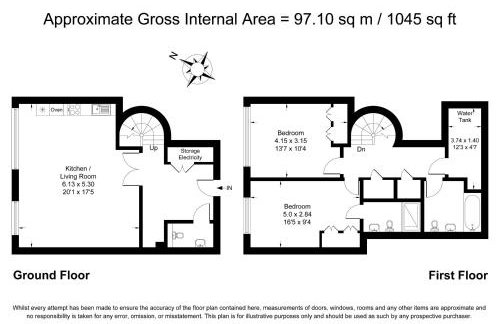
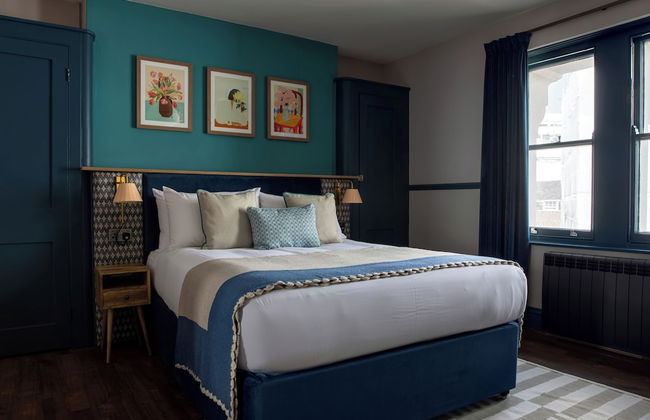
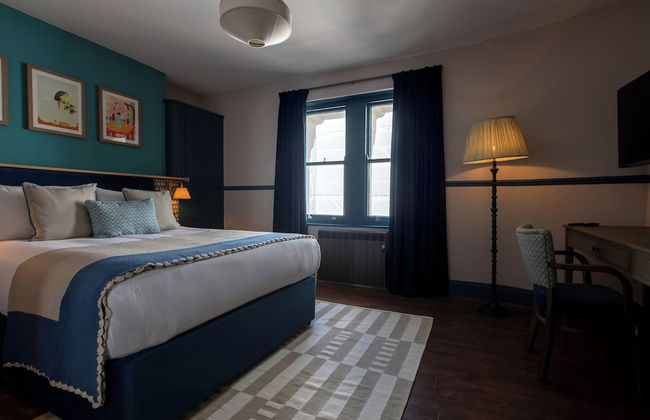
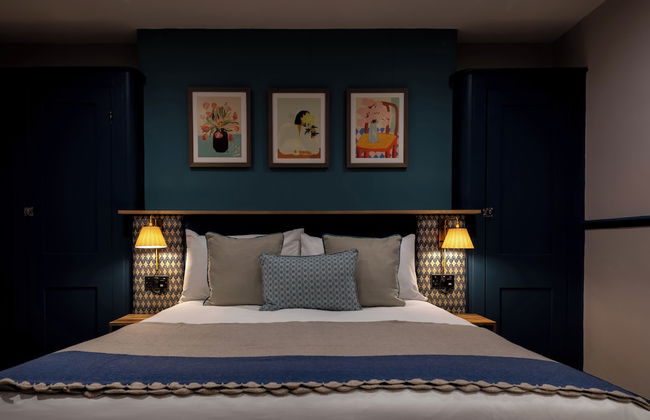
Bull Inn Court - Walking distance to Covent Garden Square
London - Covent Garden - In the center
- 97 M2
- 2 bedrooms
- 4 people
- Heating
- Elevator
25 reviews


Prime West End The Covent Garden Design Flat
London - Covent Garden - In the center
- 70 M2
- 2 bedrooms
- 4 people
- Air conditioning
- Elevator
21 reviews


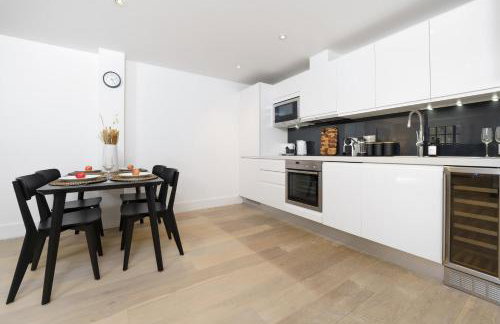
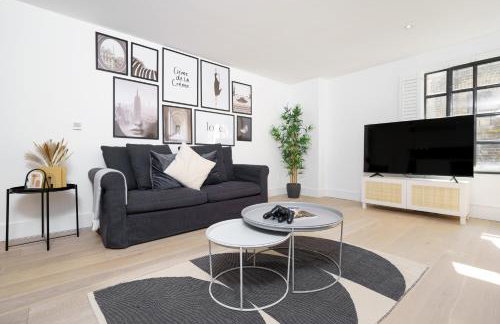
Round House Apartments
London - Charing - In the center
- 71 M2
- 2 bedrooms
- 6 people
- Kitchenette
- Heating
- Tv
- Washing machine
- Bath linen
- Bed linen
15 reviews


Apt with Aircon 3 Bedr, 4 Beds, 2 Bath Trafalgar SQ
London - St James's - In the center
- 111 M2
- 3 bedrooms
- 8 people
- Air conditioning
- Heating
- Elevator
35 reviews


City Centre Hideaway 100m from Trafalgar Square
London - Westminster - In the center
- 57 M2
- 2 bedrooms
- 4 people
- Air conditioning
- Heating
28 reviews


301 Self contained studio in heart of London
London - Leicester - In the center
- 15 M2
- 1 bedroom
- 2 people
- Air conditioning
- Heating
- Elevator
46 reviews


Central London (West End) two bedroom flat
London - Charing - In the center
- 2 bedrooms
- 4 people
- Parking
- Elevator
46 reviews


Basic Apartment for Two Amazing Location
London - Westminster - In the center
- 2 people
- Heating
- Tv
- Bath linen
- Bed linen
10 reviews


Welcome London Trafalgar Townhouse
London - Charing - In the center
- 312 M2
- 5 bedrooms
- 10 people
- Heating
- Terrace
21 reviews

Trafalgar SQ 1 Bedr, 3 Beds sleeps 6
London - Covent Garden - In the center
- 80 M2
- 1 bedroom
- 6 people
- Heating
- Elevator
81 reviews


Welcome London Savoy Strand
London - Covent Garden - In the center
- 90 M2
- 2 bedrooms
- 6 people
- Heating
- Terrace
- Parking
42 reviews


Leicester Square Apartments by Joivy
London - Leicester - In the center
- 50 M2
- 1 bedroom
- 3 people
- Heating
- Tv
- Washing machine
- Bath linen
- Bed linen
337 reviews


Aircon 2 Bedr, 3 Beds, 2 Bath Covent Garden, Subway
London - Covent Garden - In the center
- 90 M2
- 2 bedrooms
- 6 people
- Air conditioning
- Heating
83 reviews


Welcome London The York
London - Charing - In the center
- 146 M2
- 3 bedrooms
- 8 people
- Heating
- Elevator
464 reviews


Heart of London's West End / Pro Host
London - Leicester - In the center
- 56 M2
- 1 bedroom
- 4 people
- Heating
97 reviews