94 Appartamenti vicino a First Flight Airport
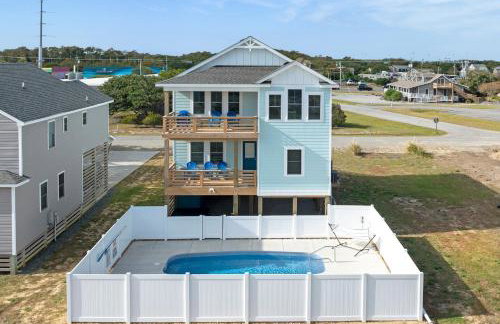
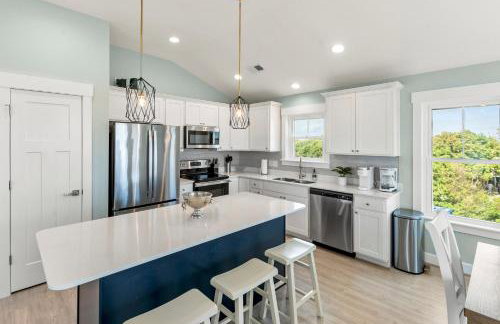
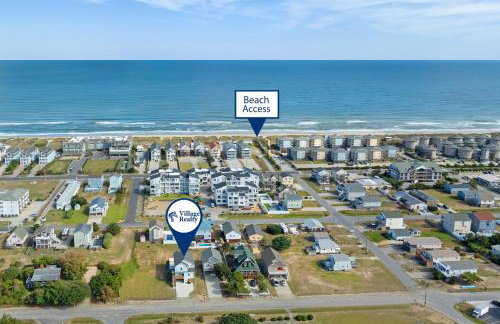
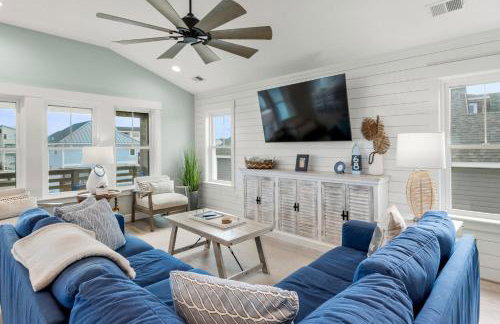
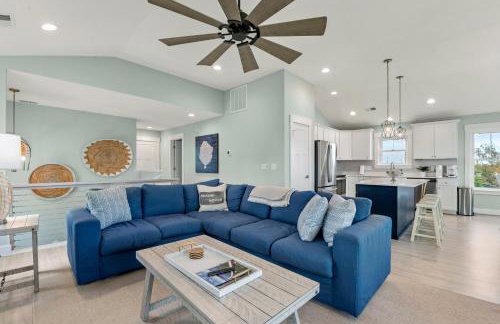
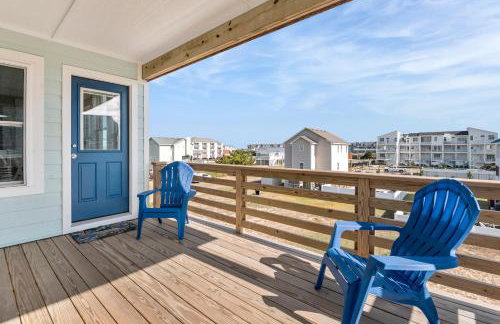
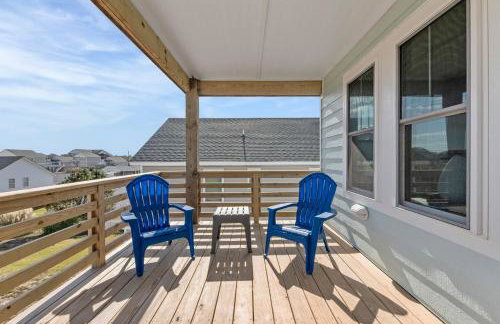
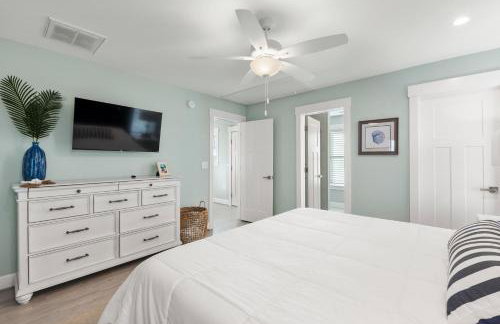
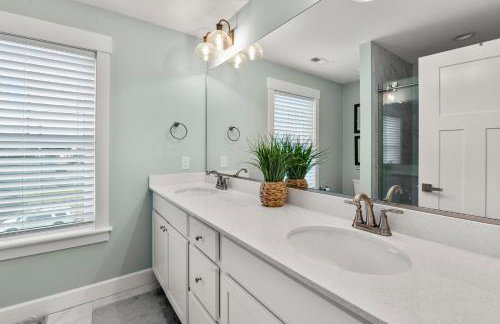
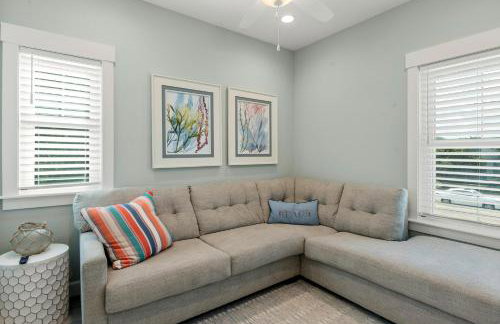
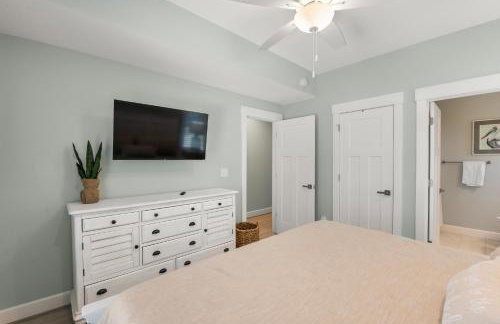
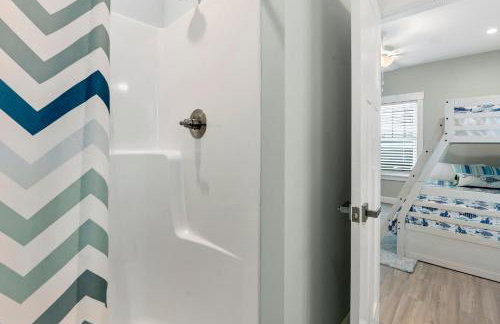
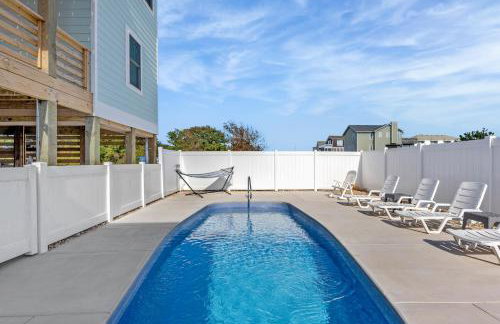
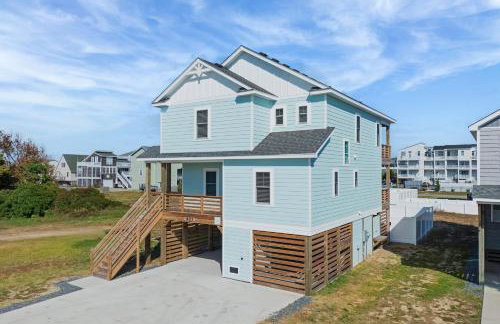
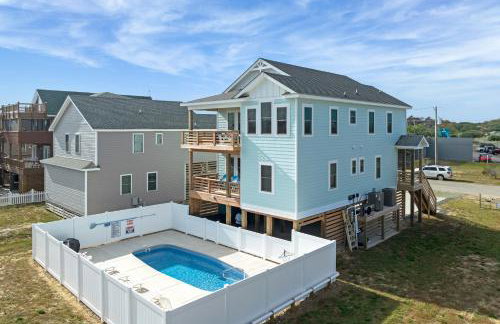
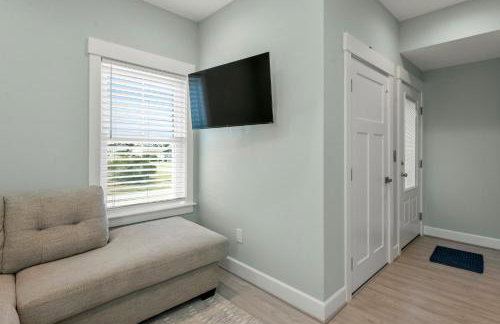
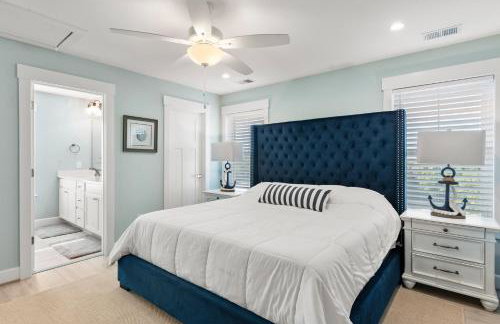
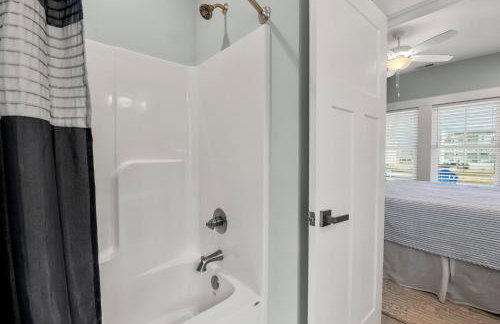
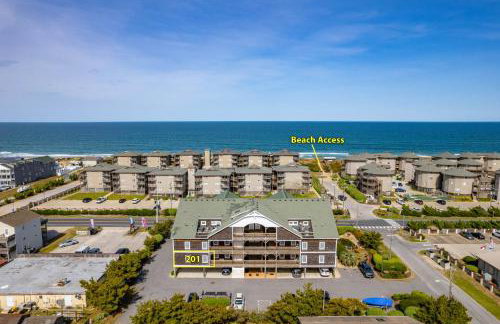
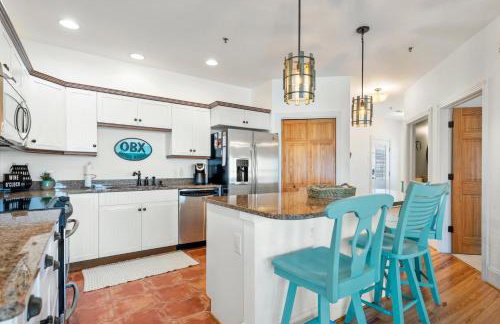
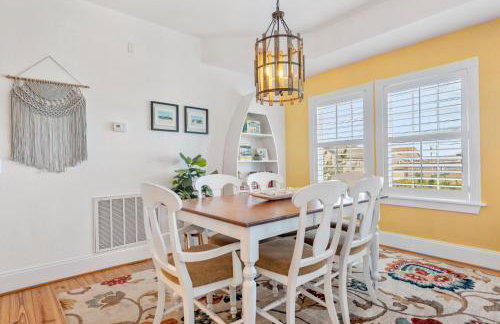
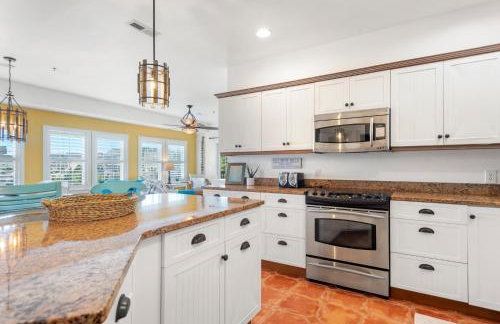
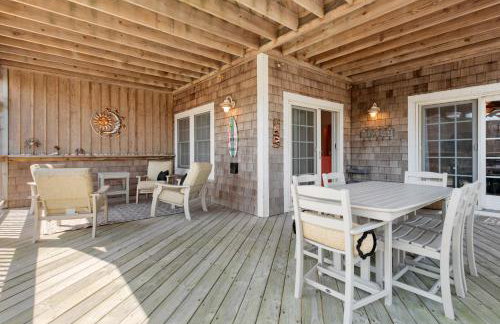
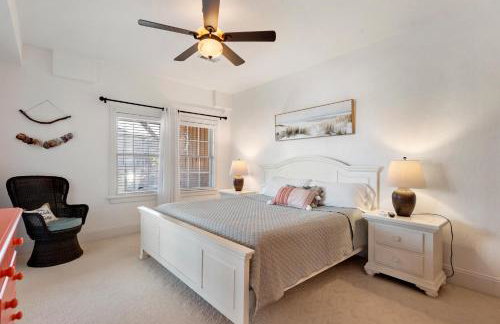
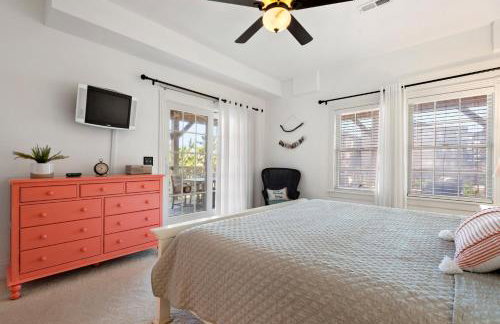
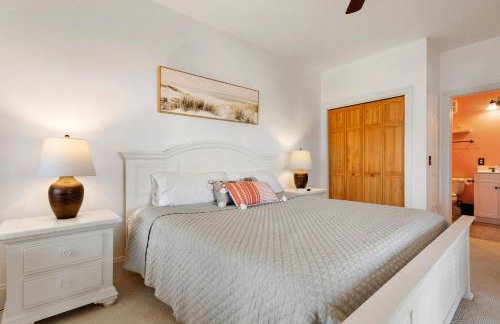
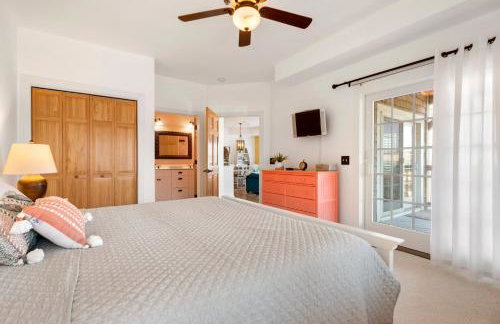
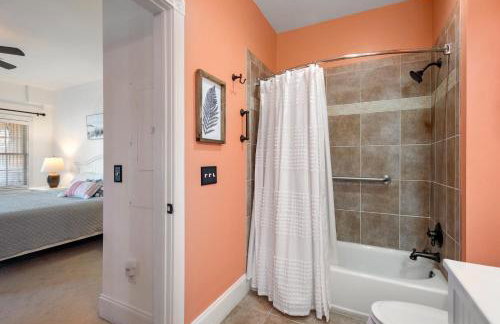
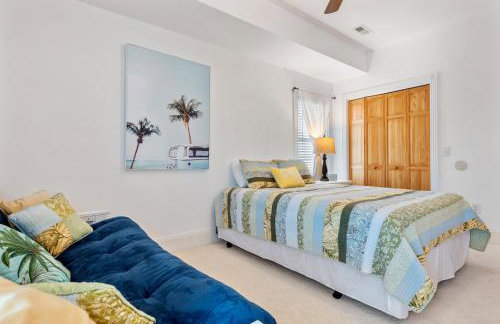
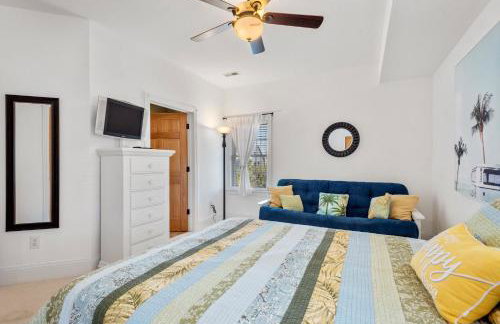
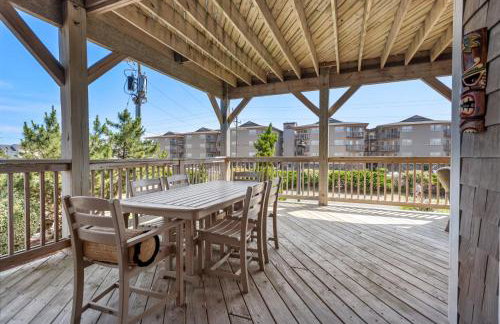
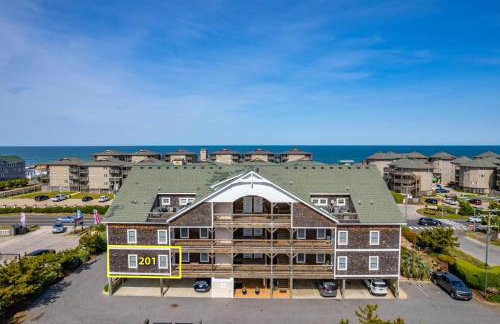
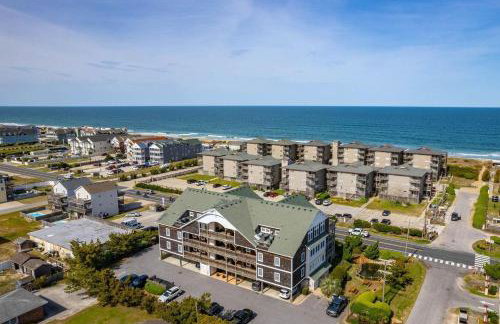
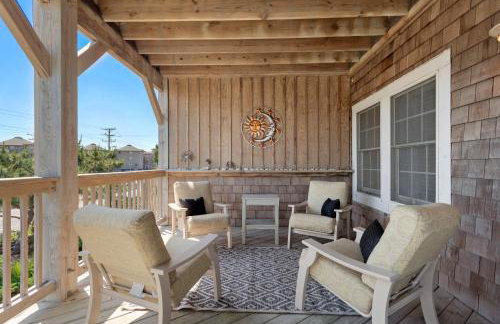
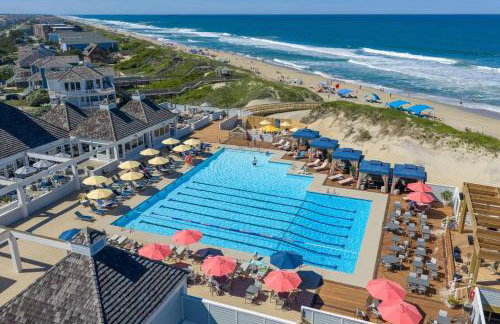
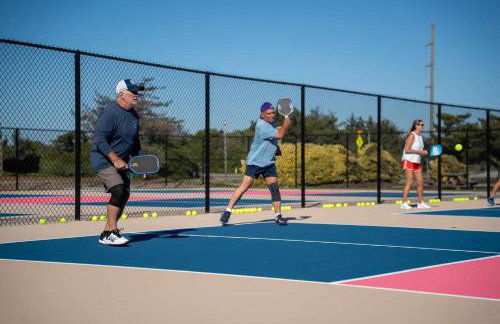
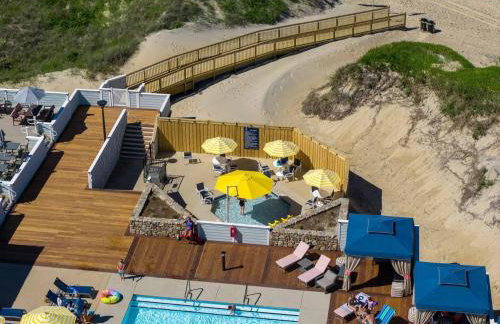
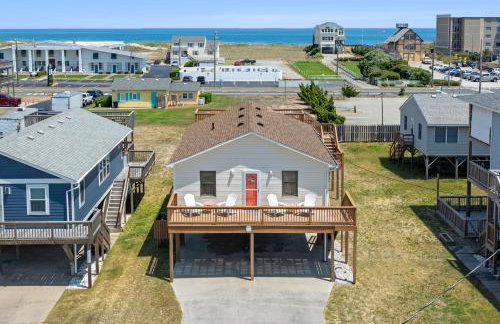
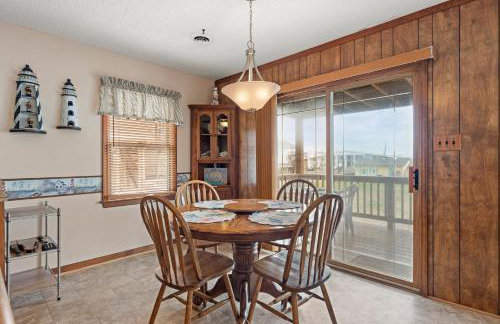
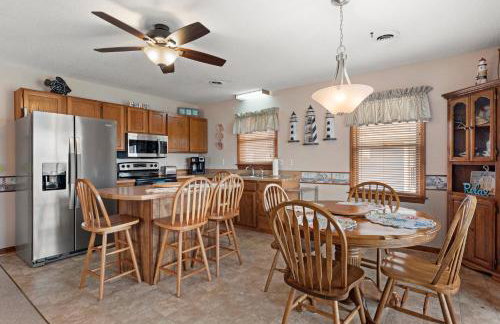
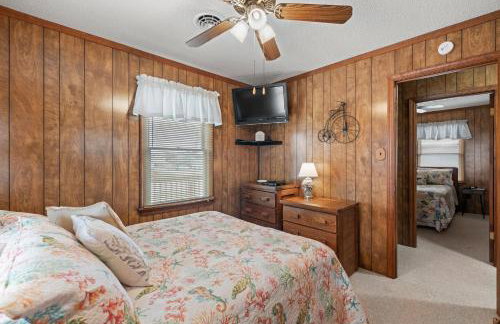
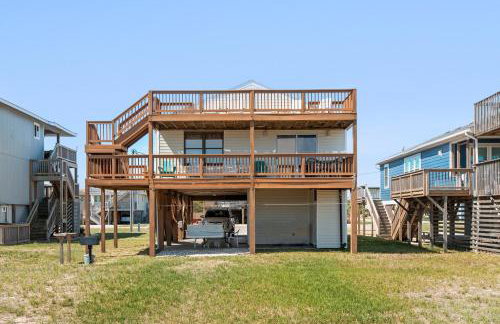
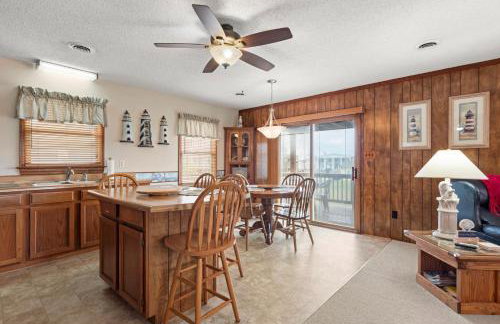
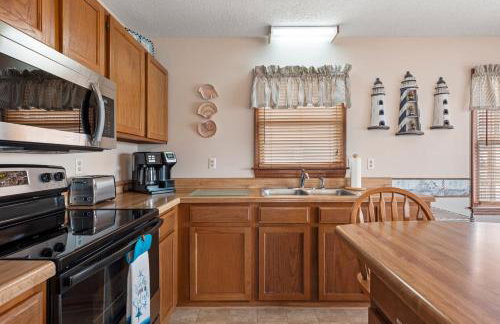
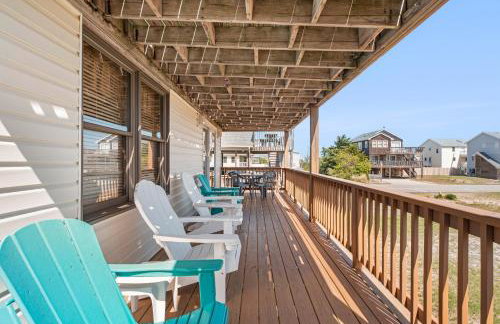
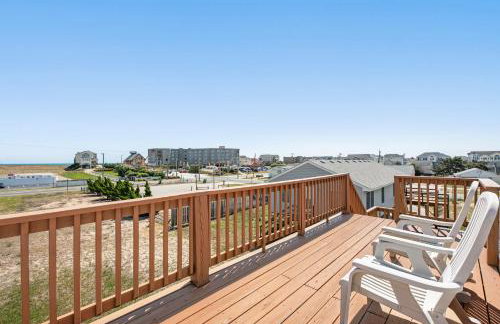
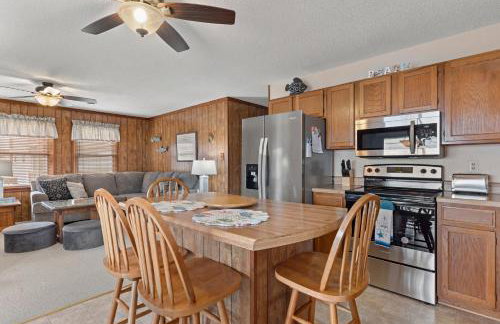
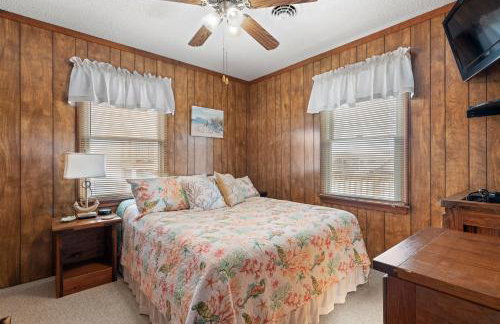
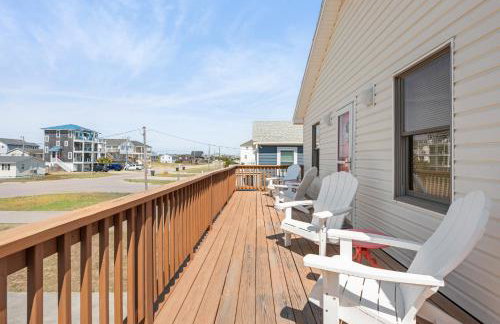
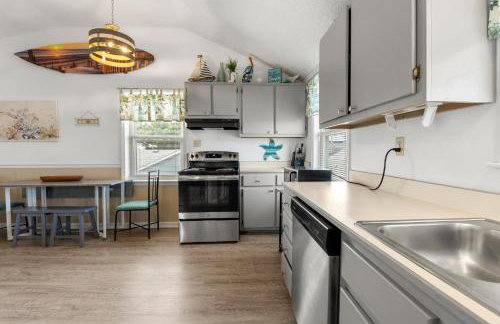
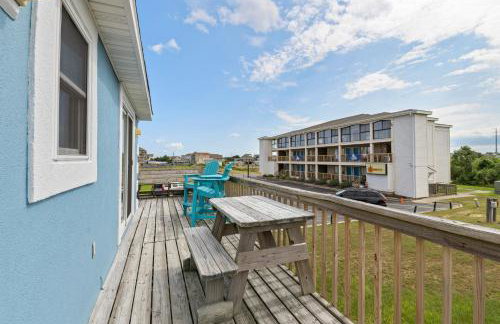
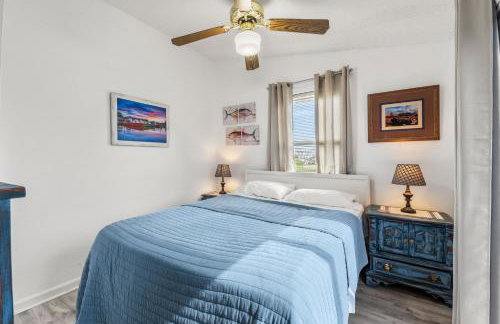
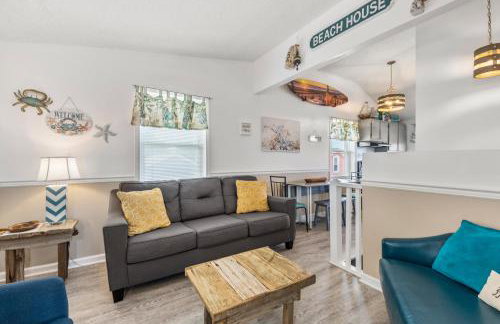
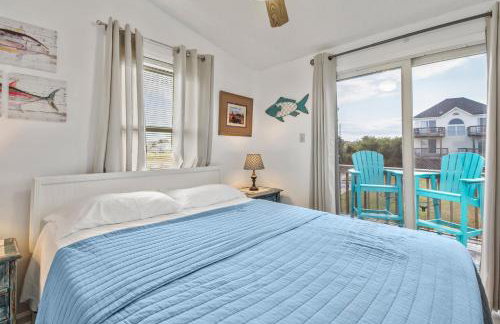
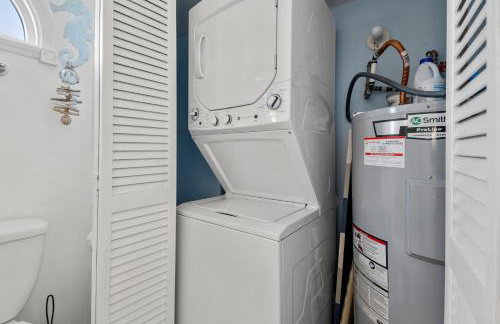
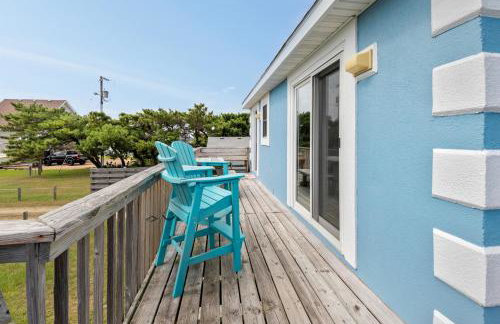
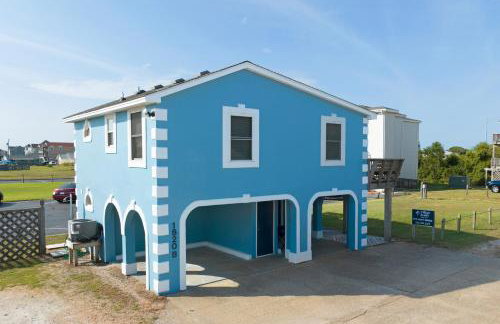
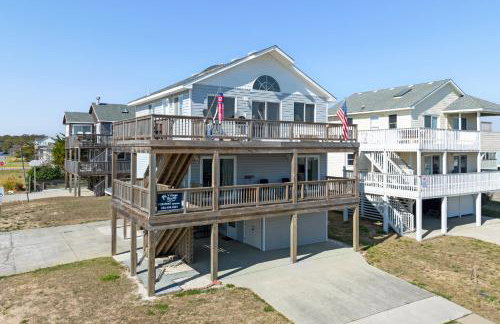
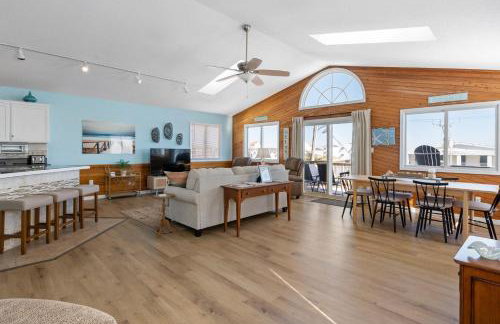
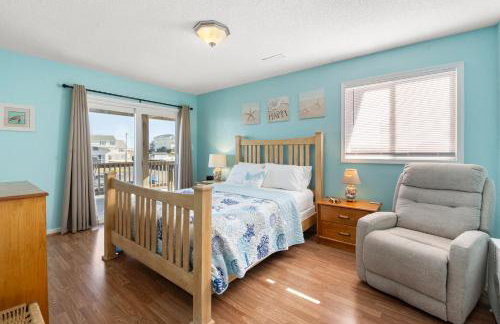
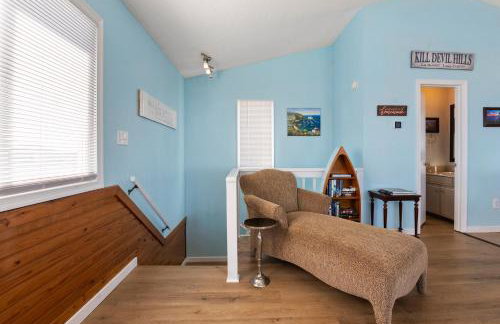
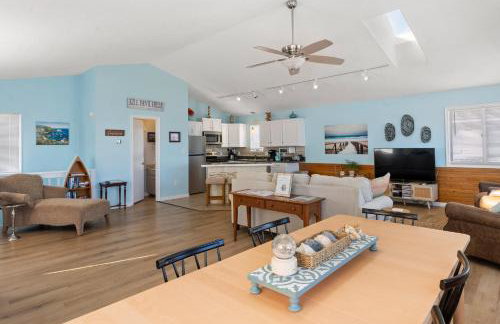
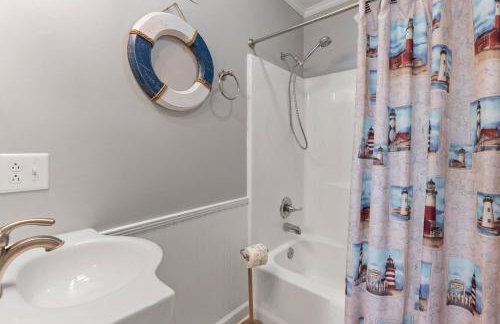
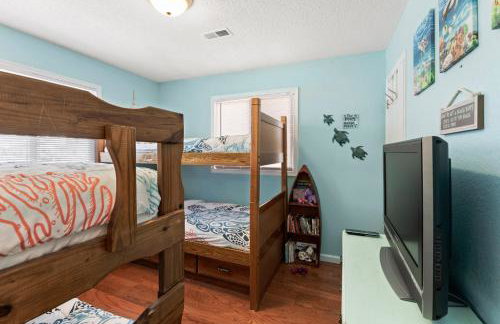
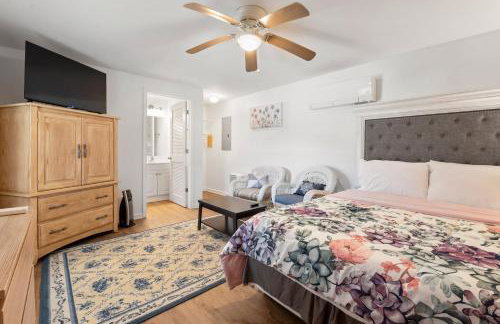
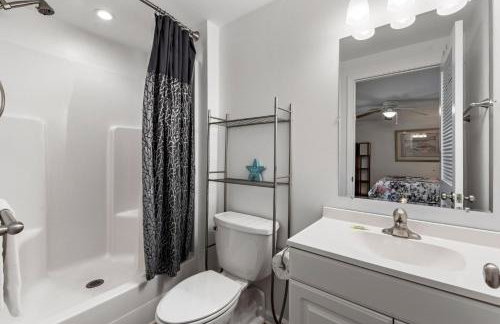
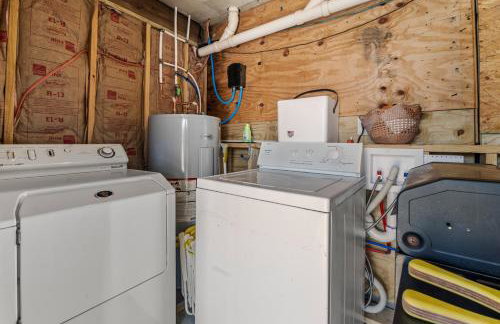
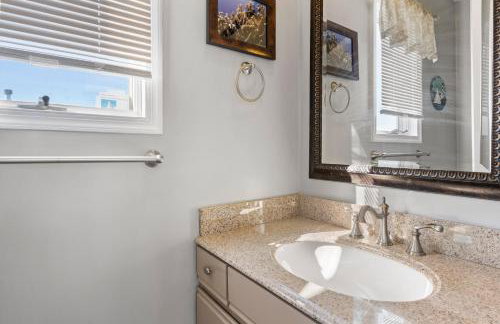
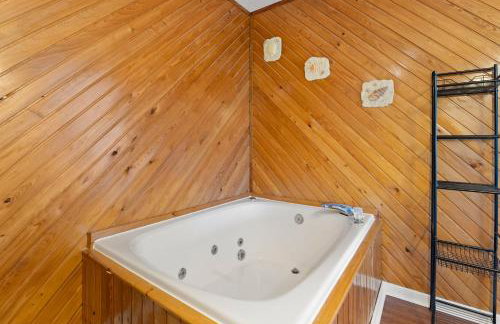
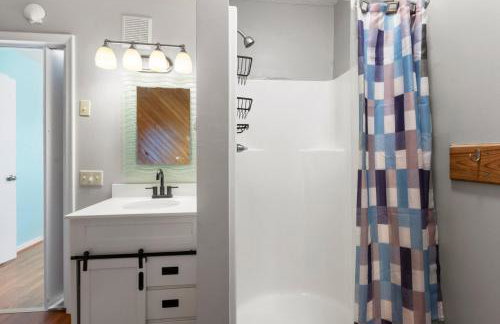
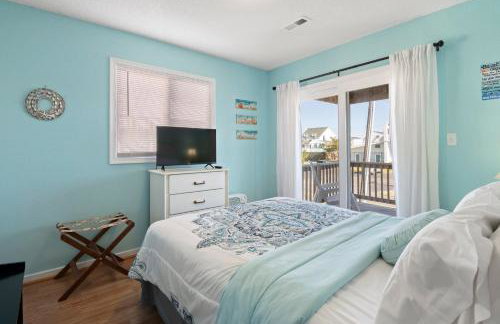
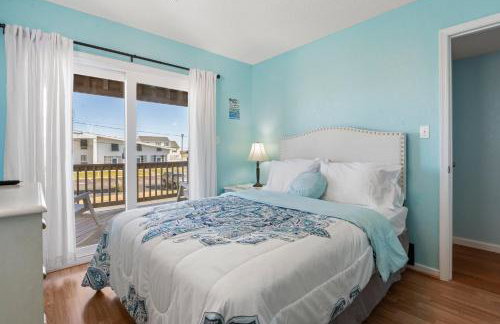
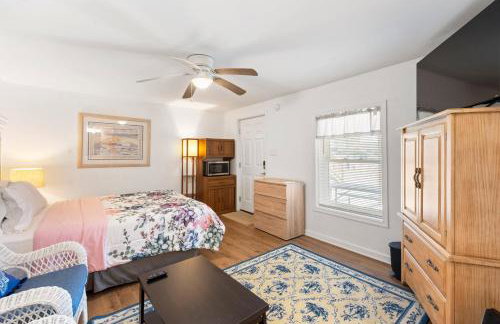
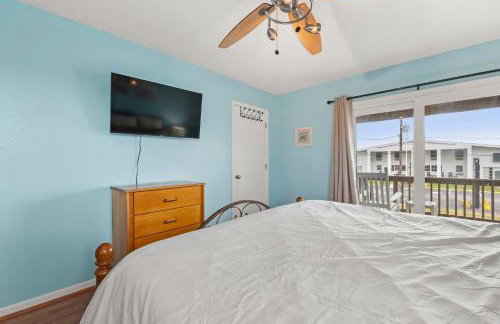
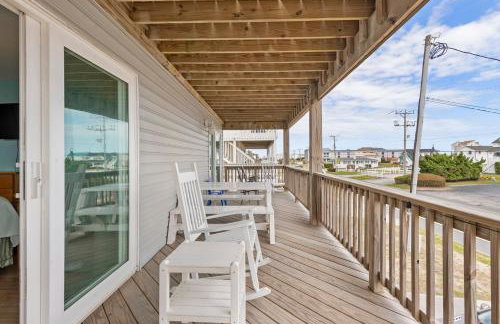
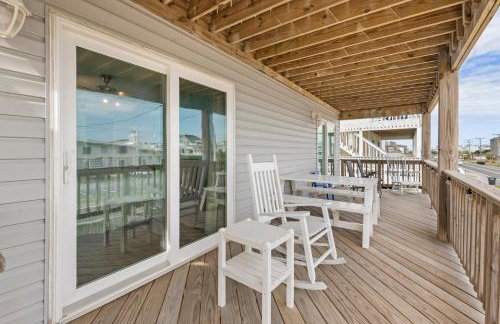
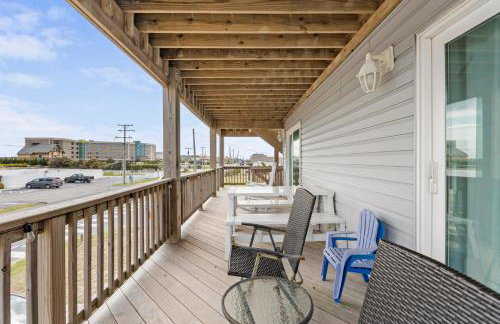
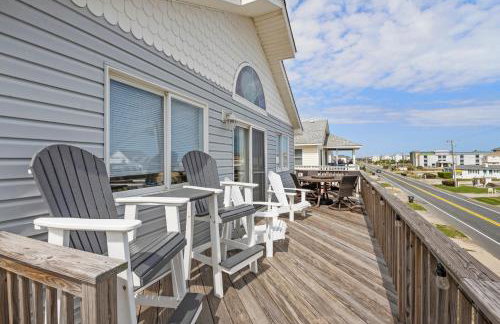
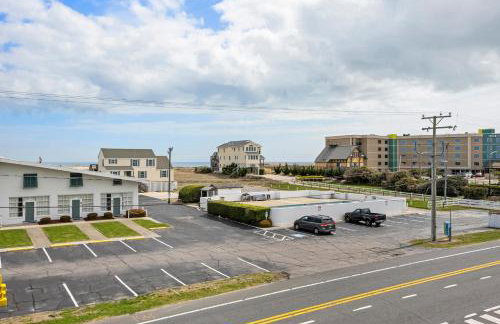
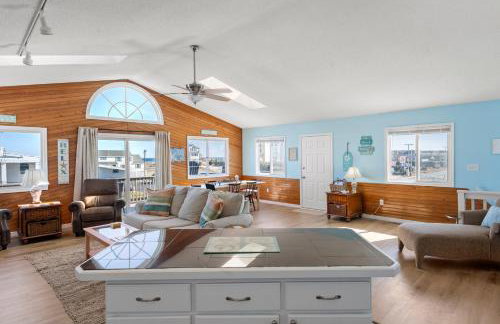
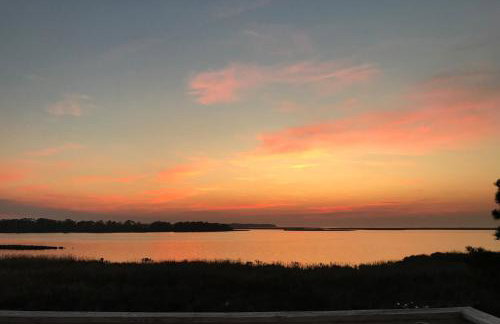
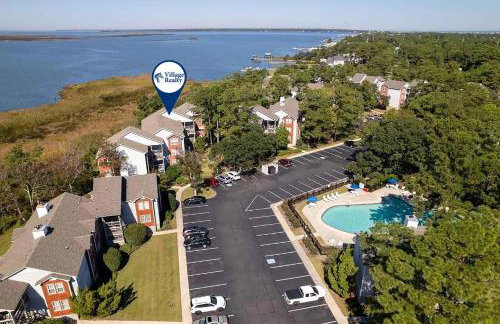
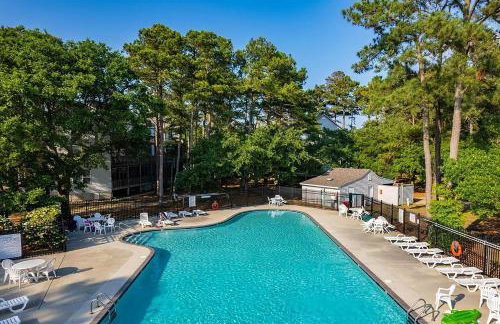
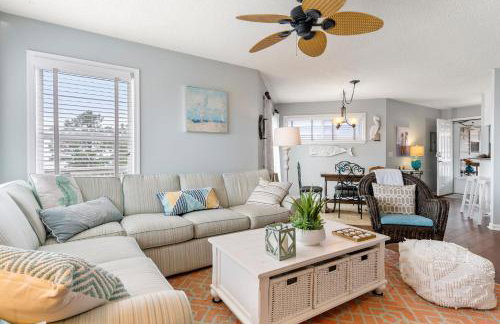
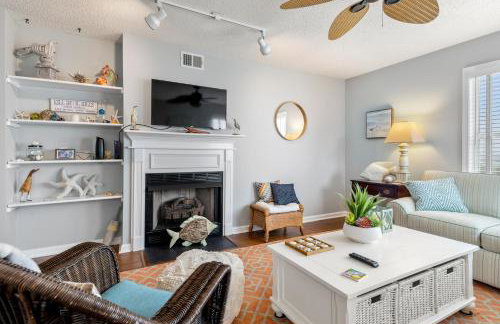
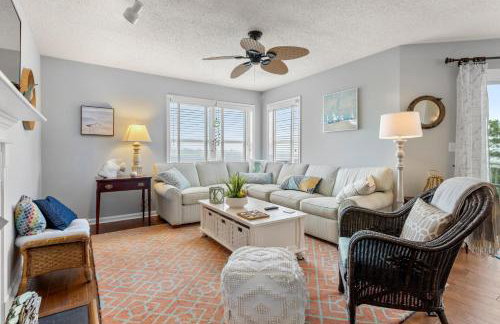
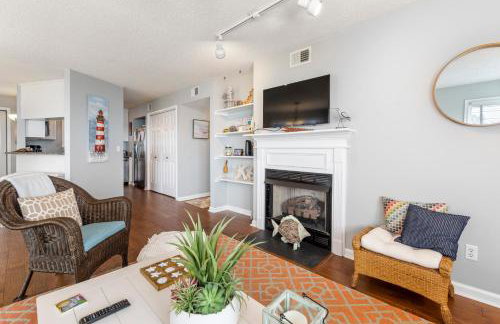
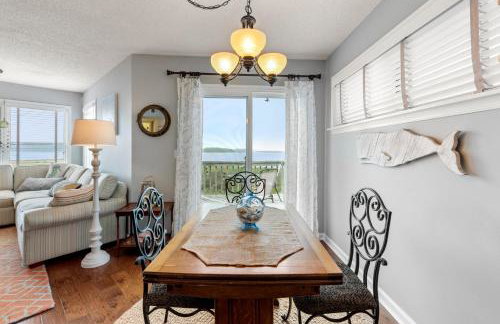
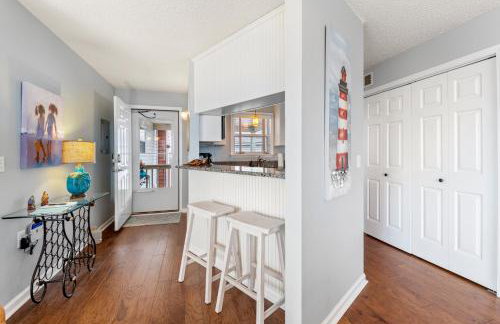
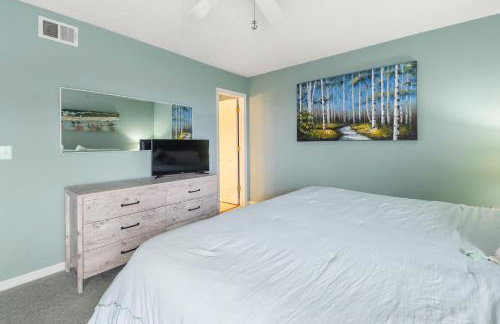
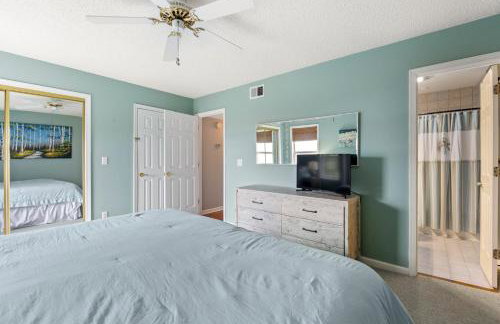
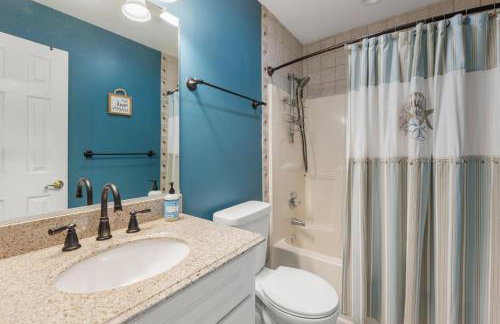
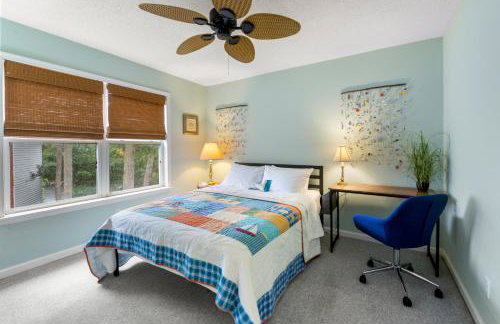
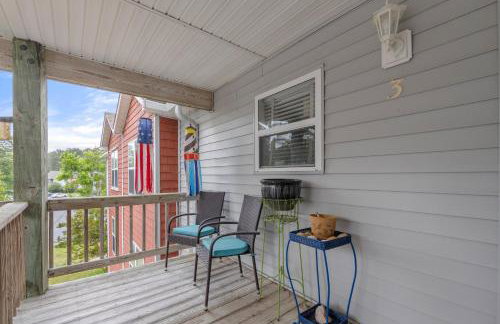
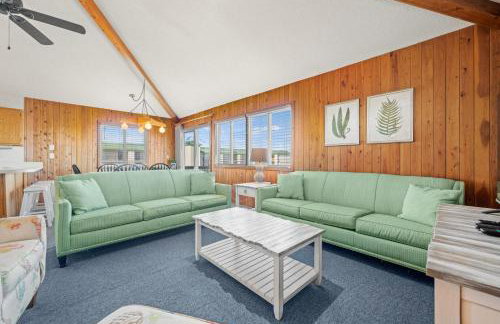
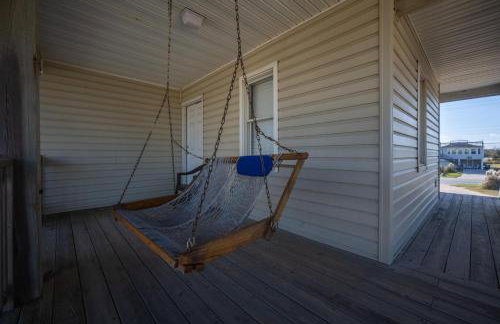
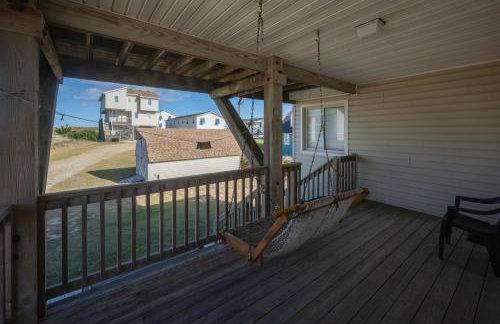
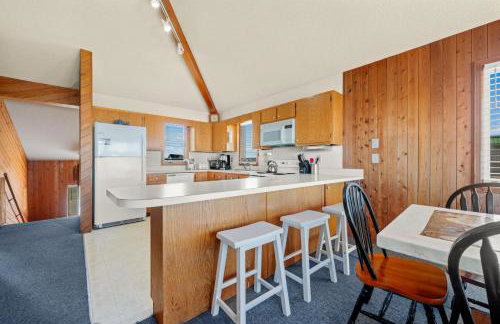
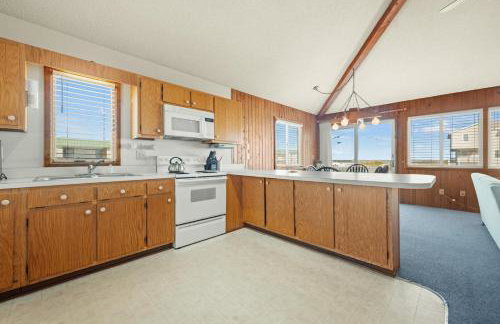
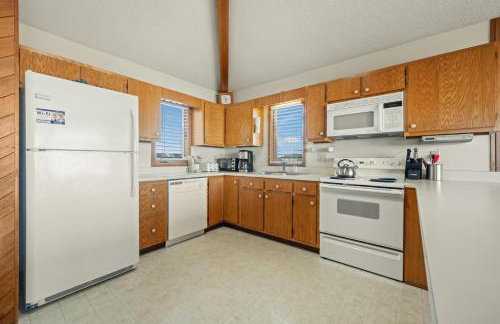
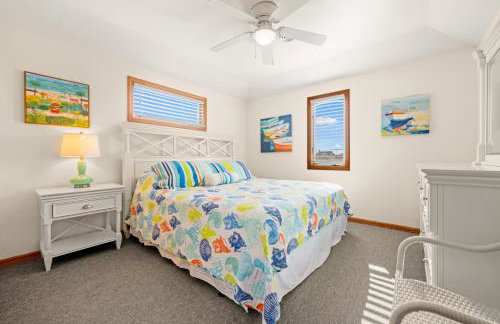
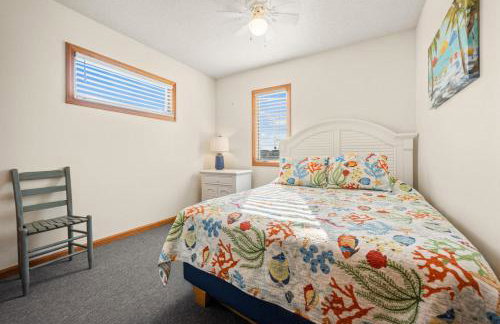
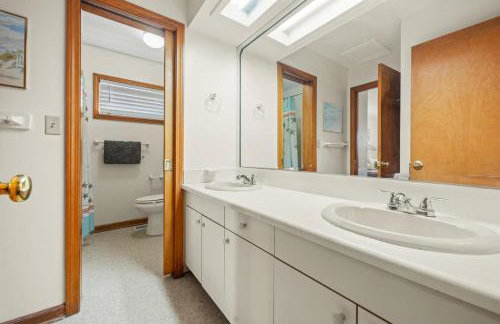
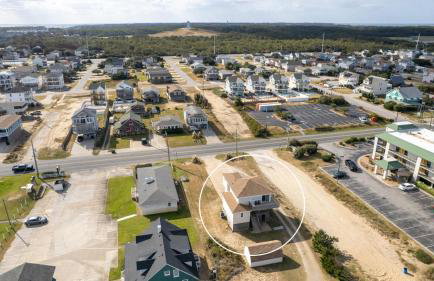
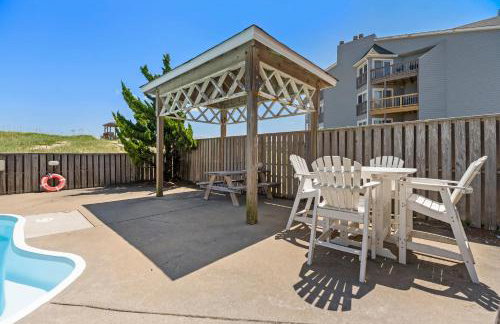
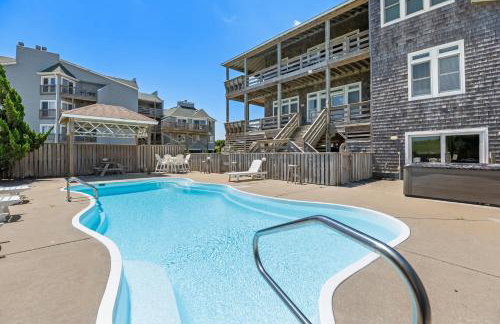
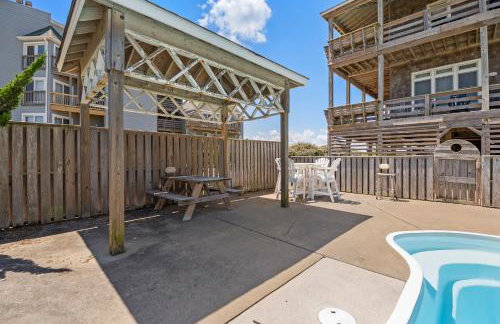
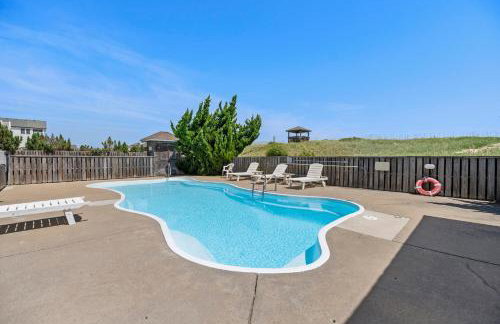
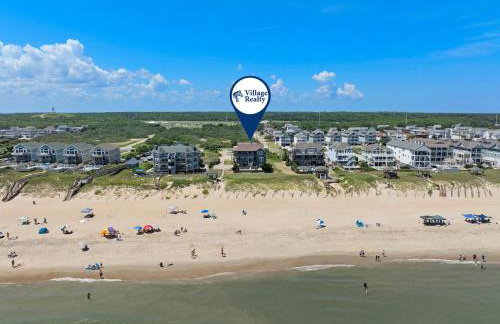
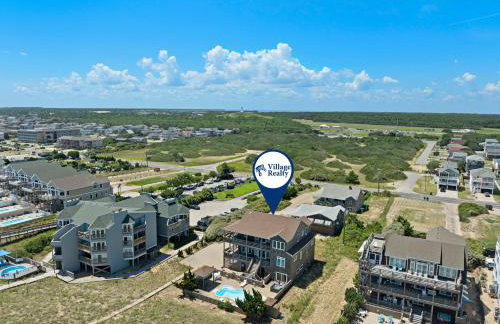
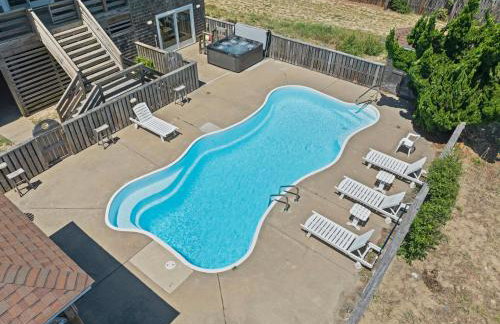
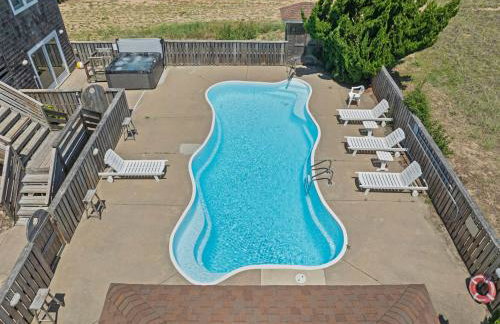
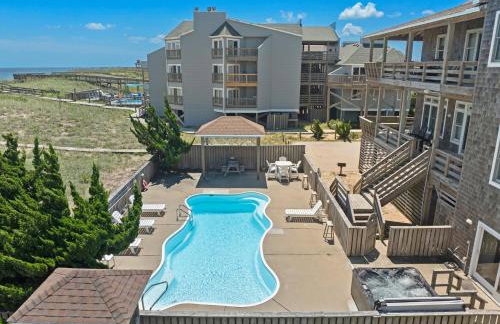
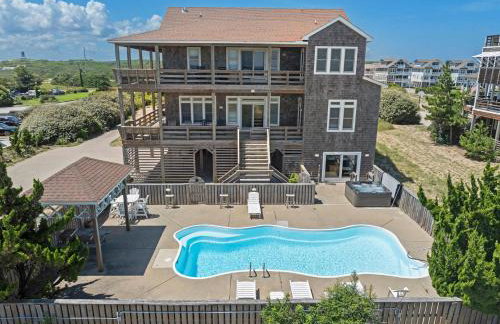
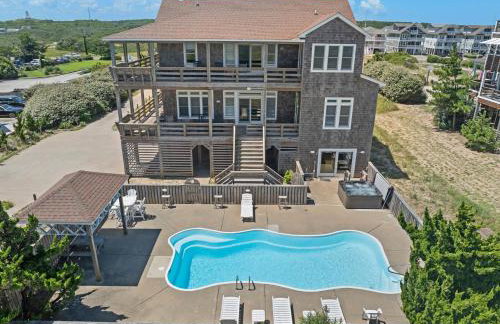
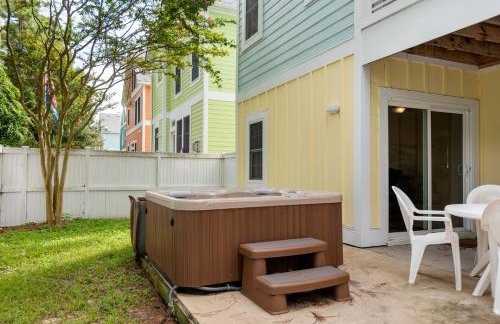
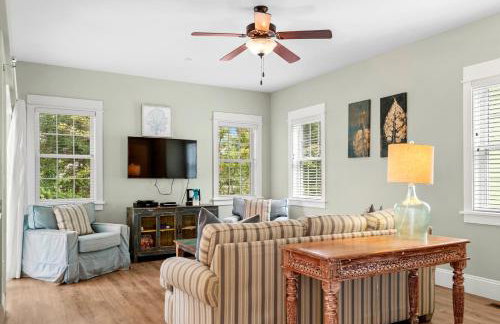
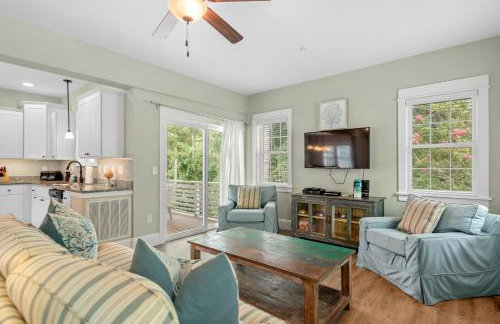
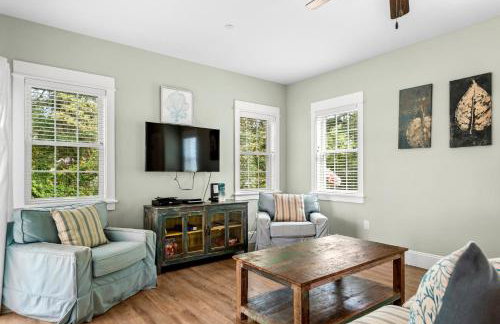
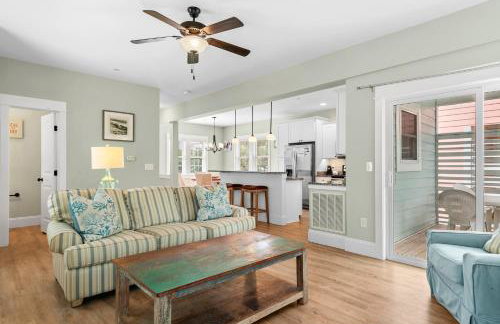
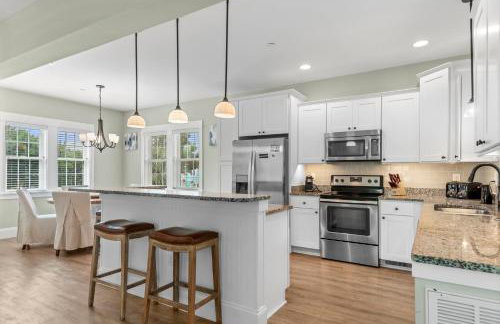
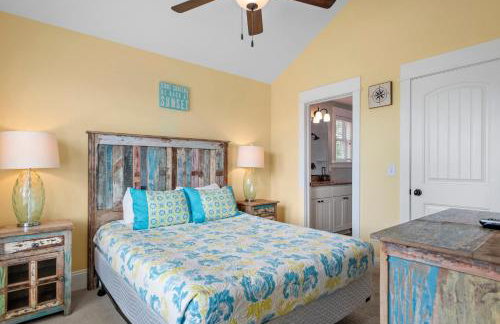
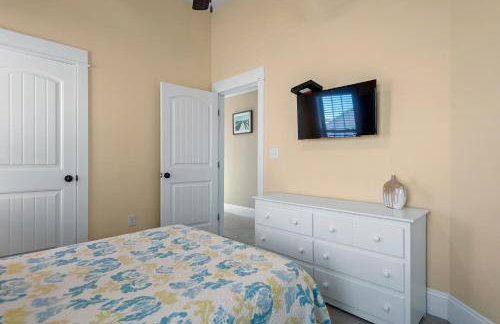
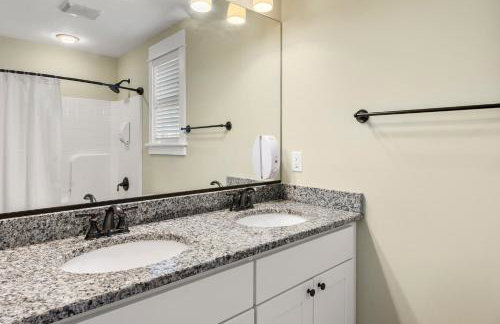
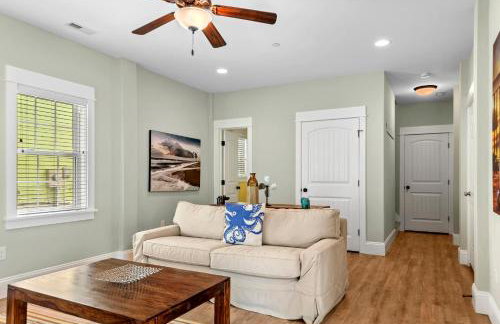
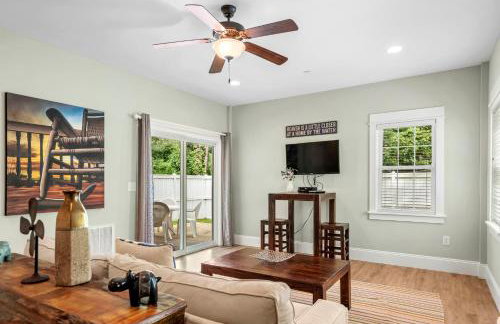
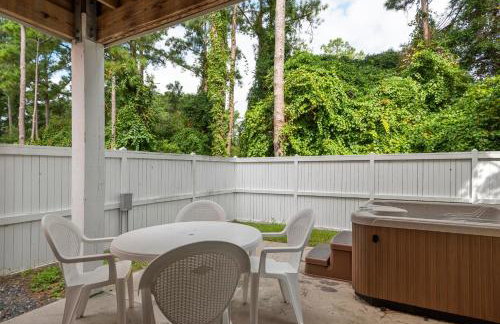
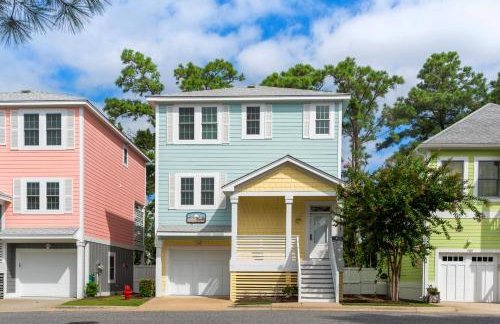
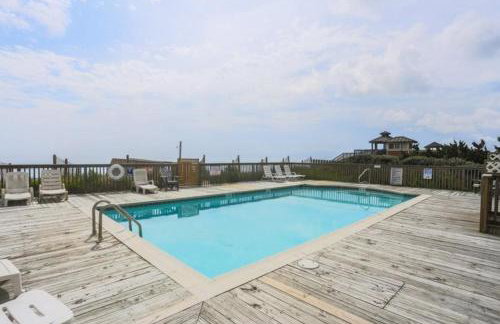
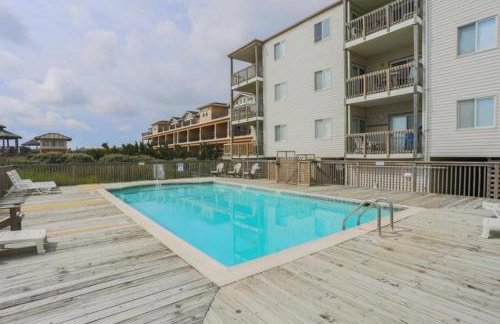
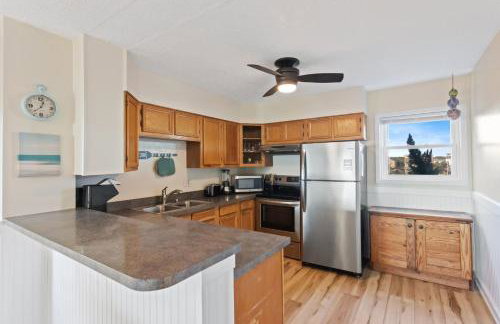
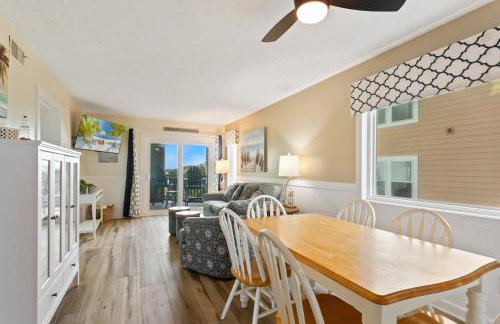
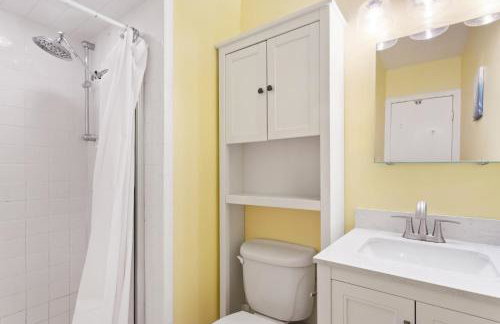
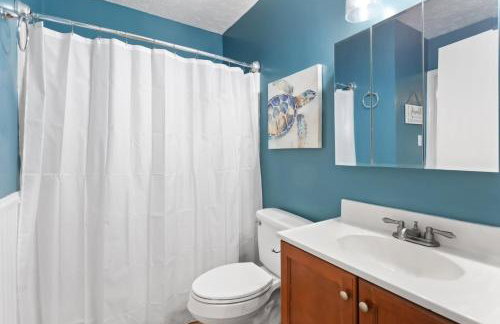
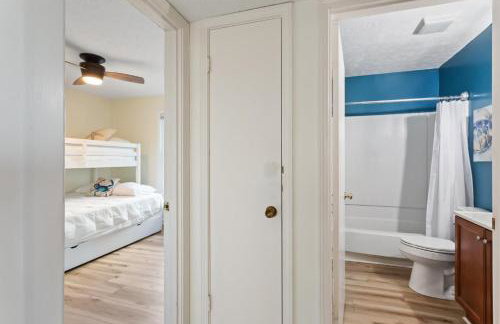
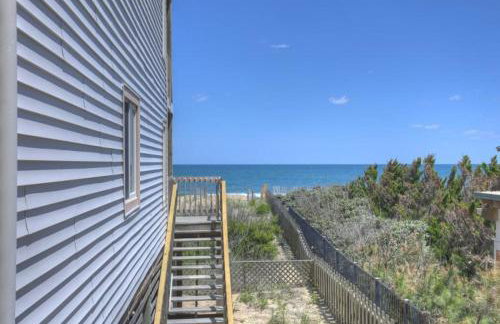
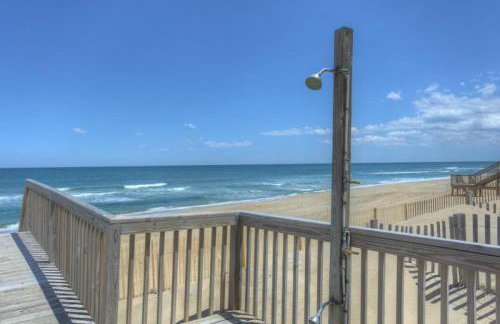
Breeze On Inn - Foto 1
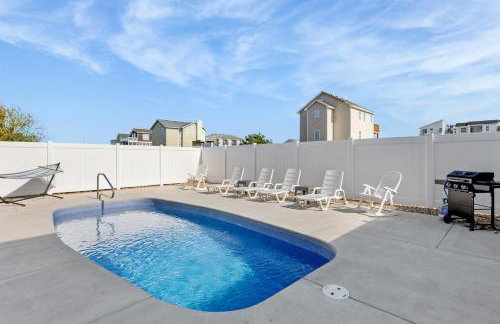
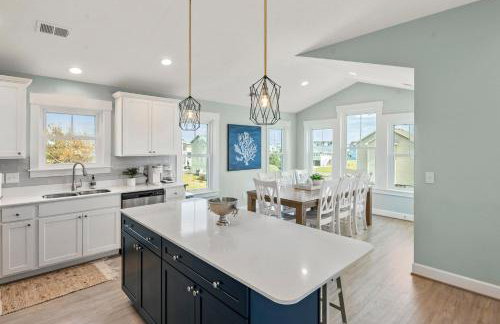
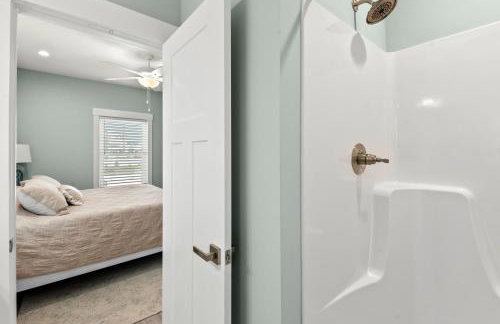
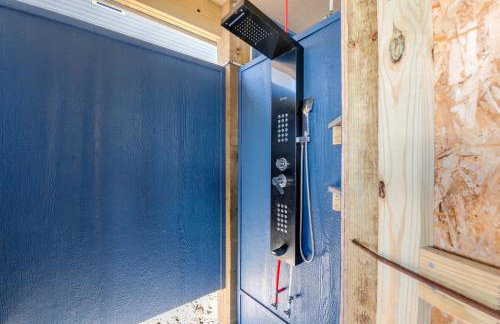
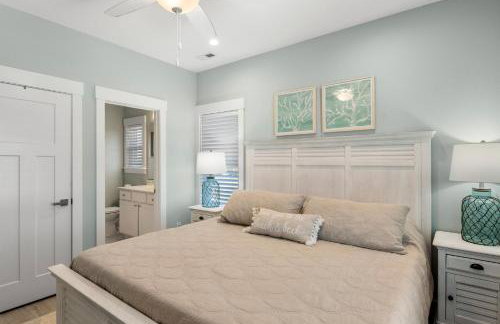
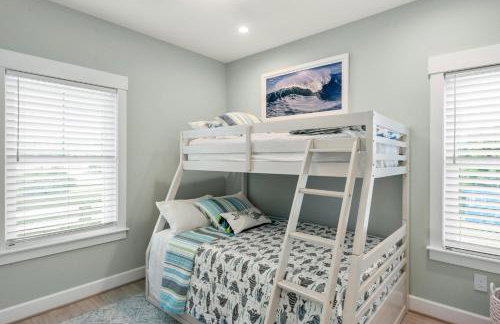
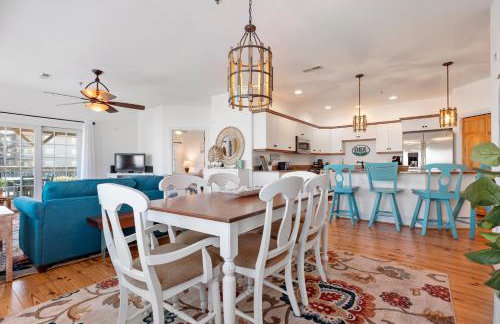
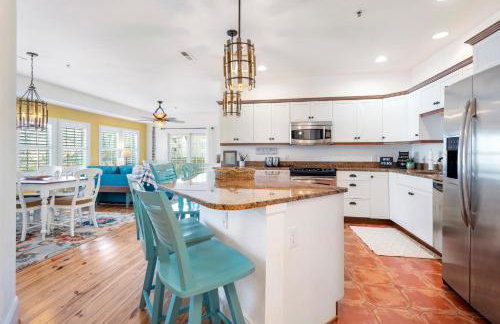
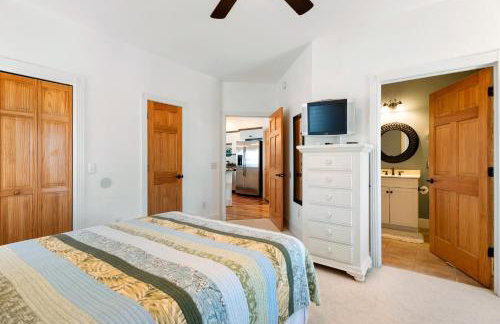
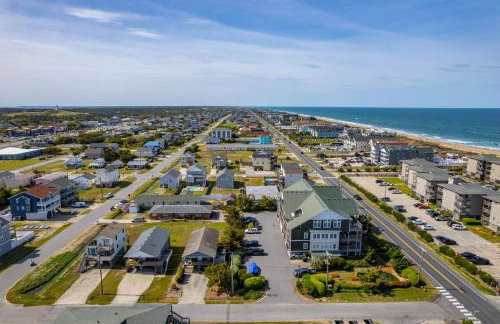
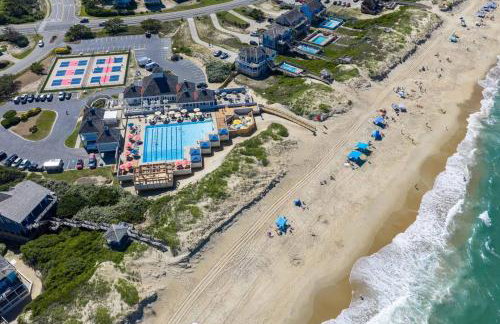
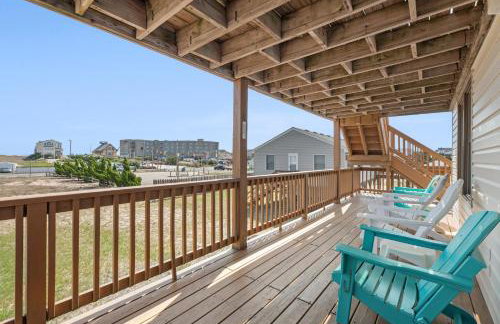
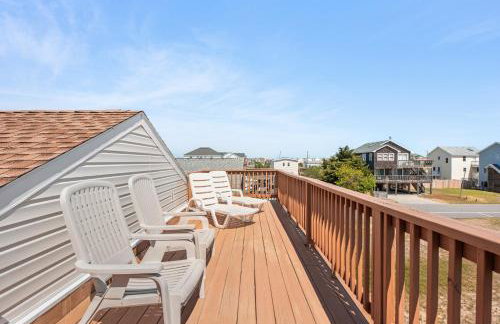
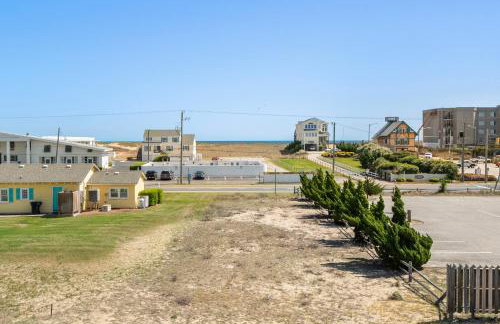
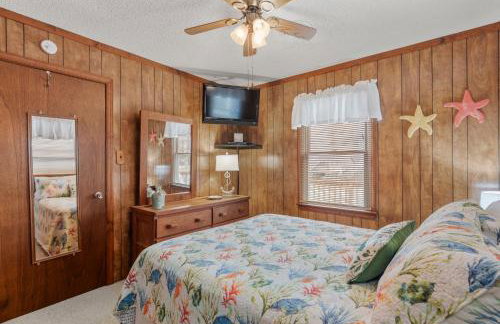
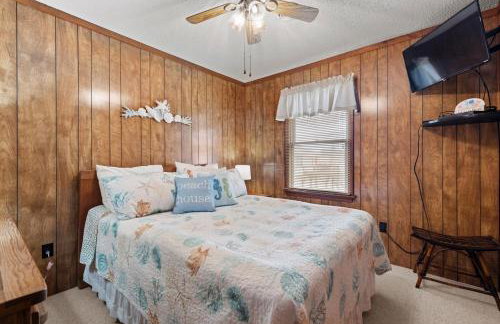
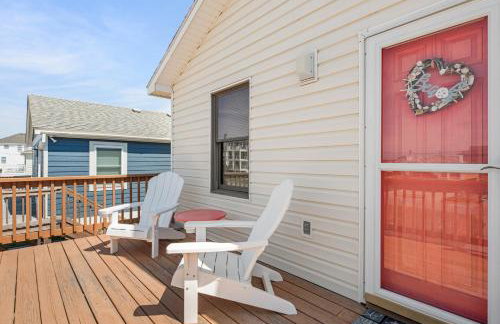
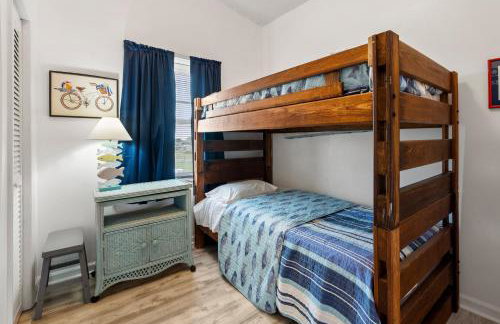
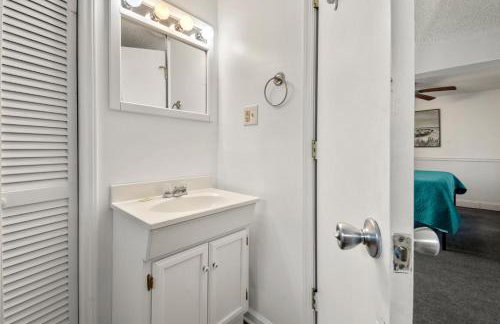
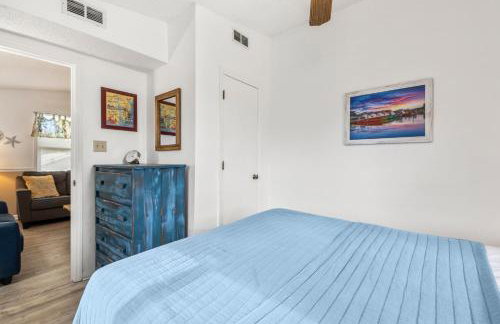
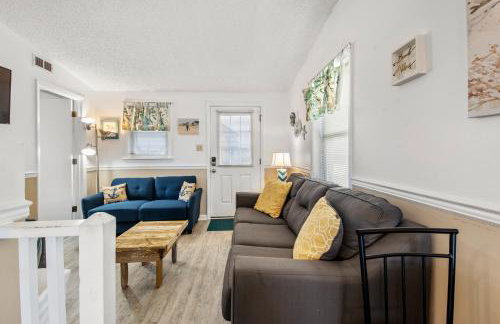
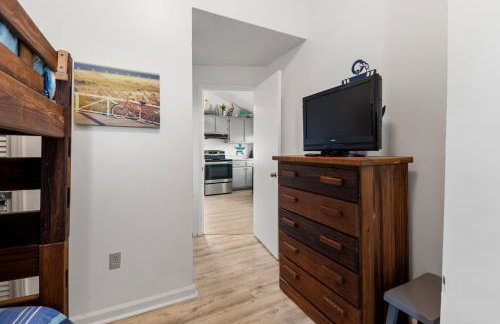
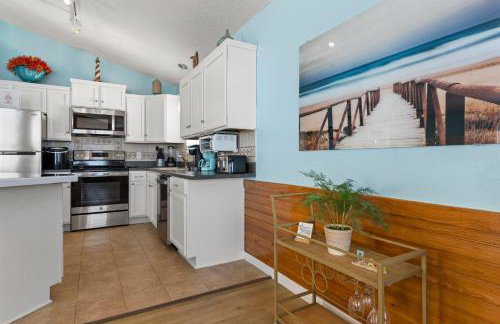
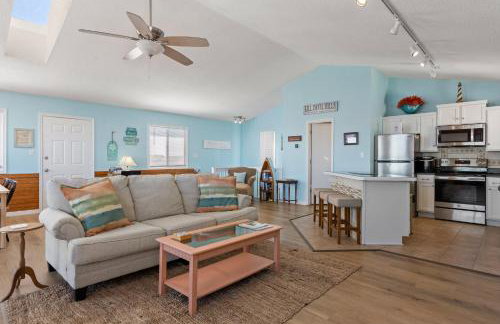
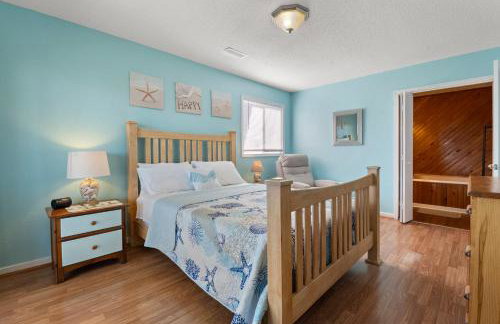
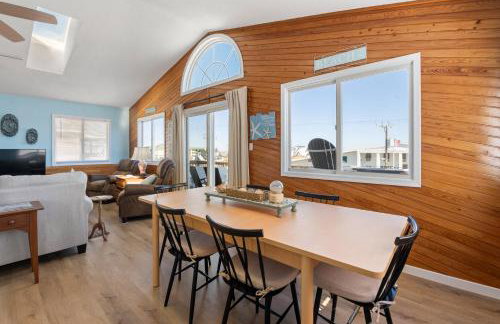
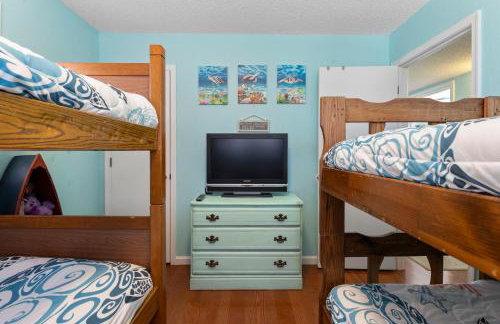
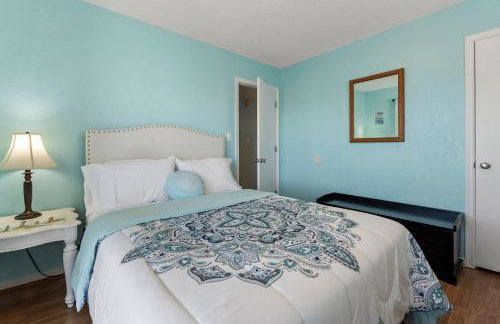
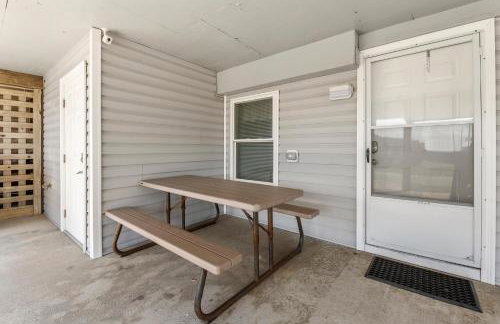
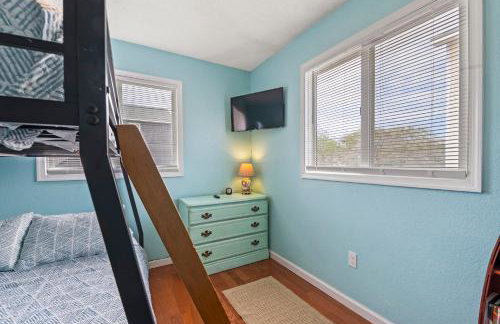
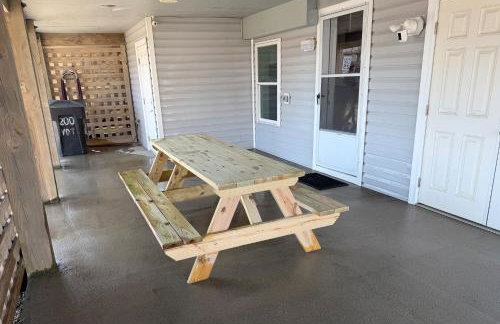
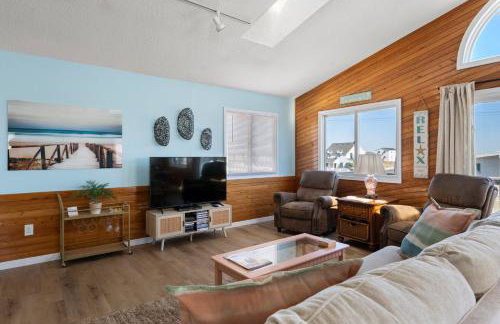
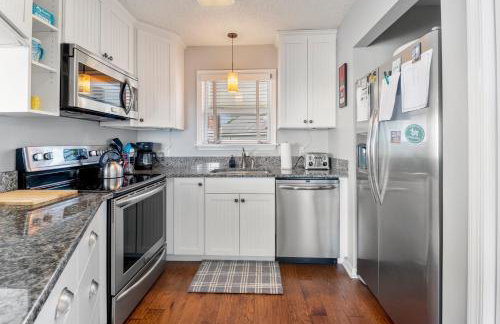
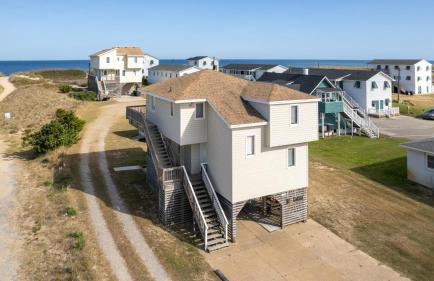
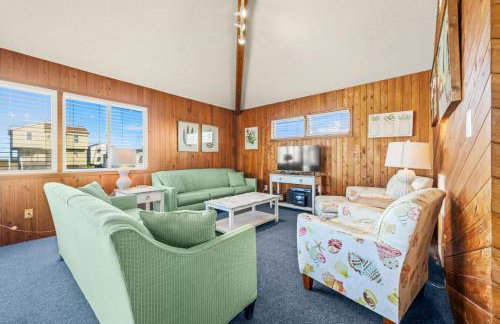
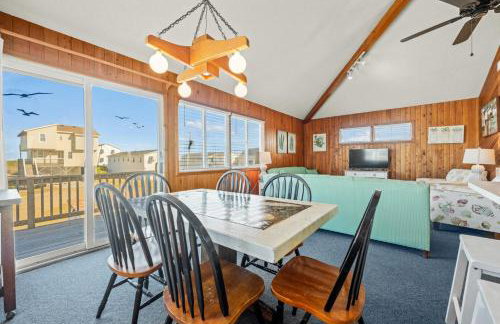
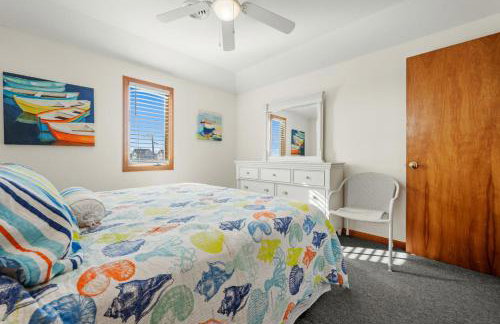
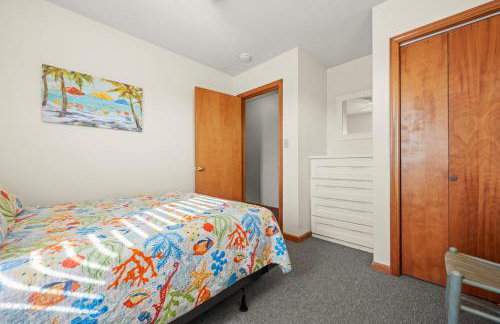
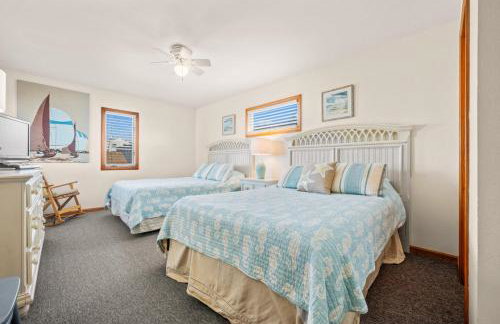
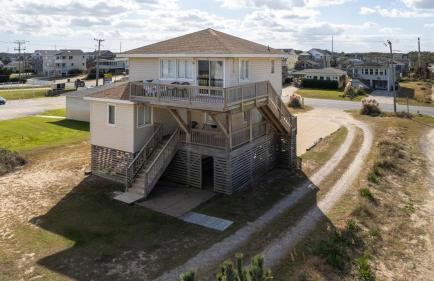
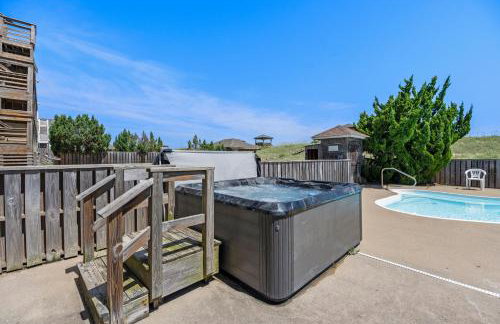
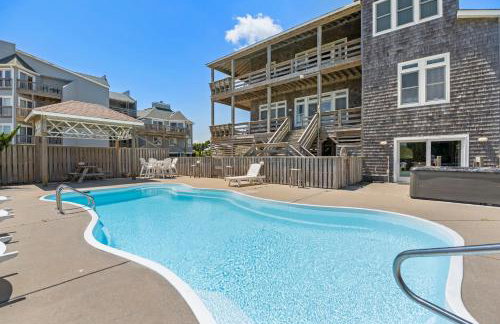
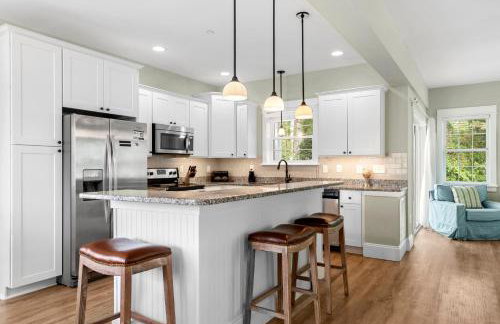
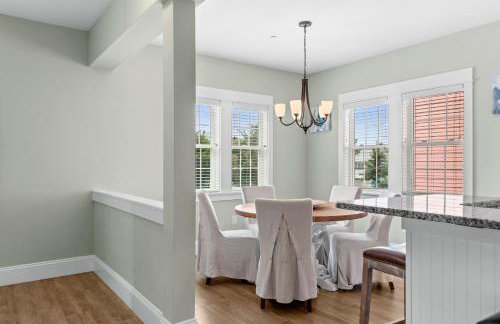
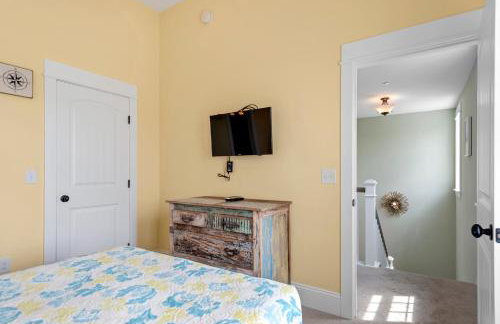
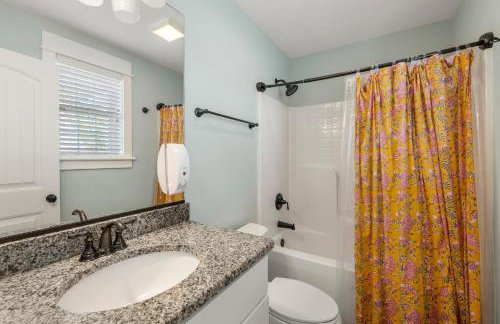
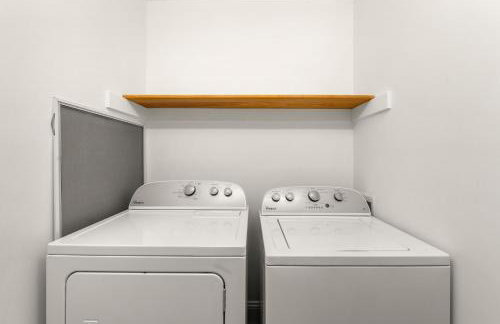
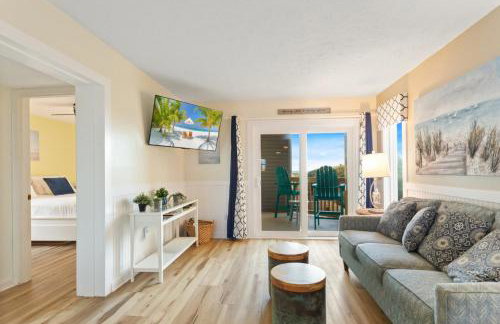
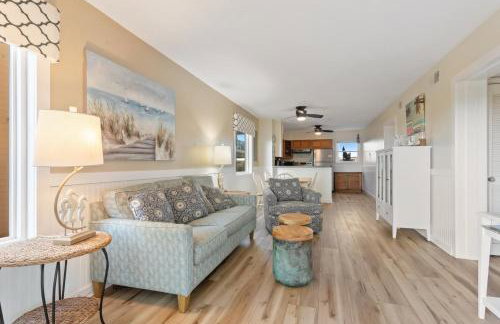
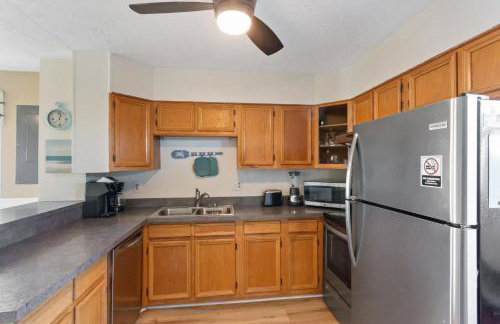
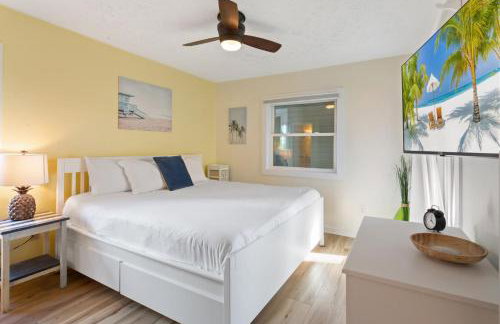
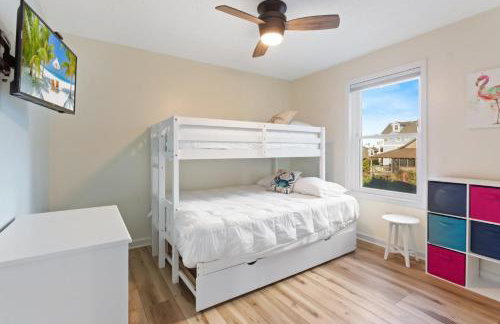
Breeze On Inn - Foto 2
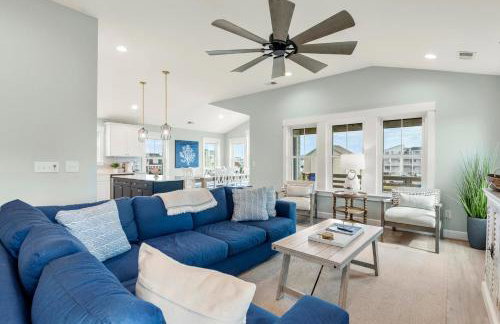
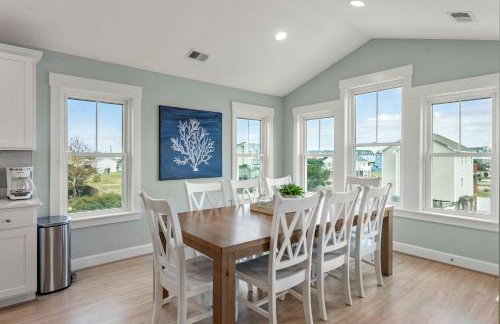
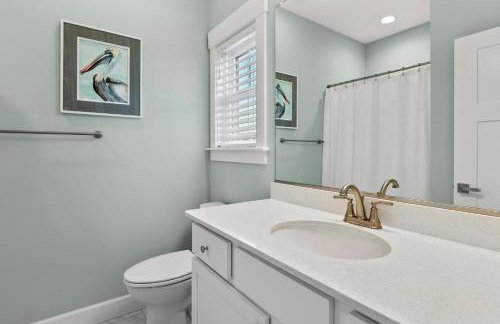
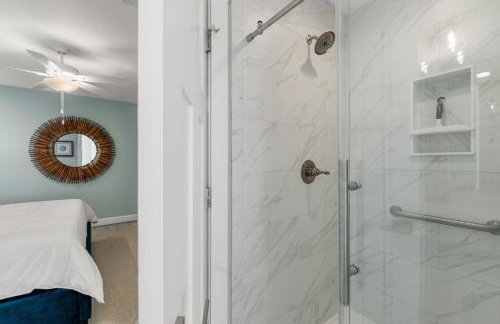
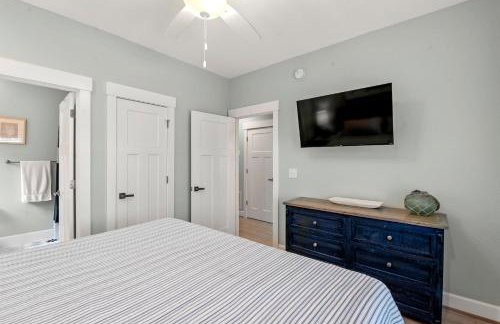
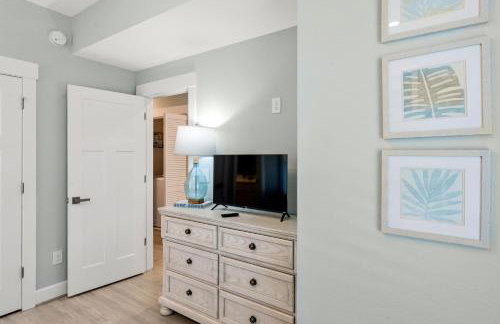
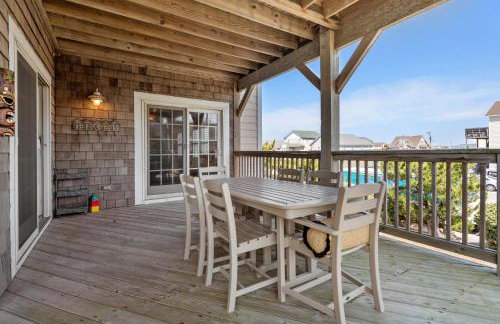
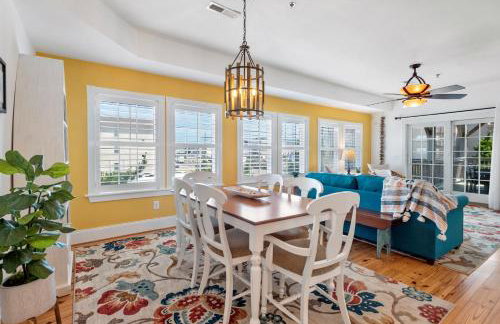
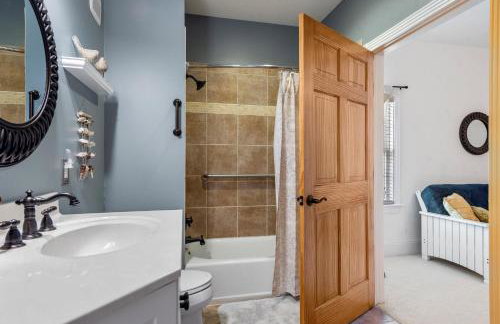
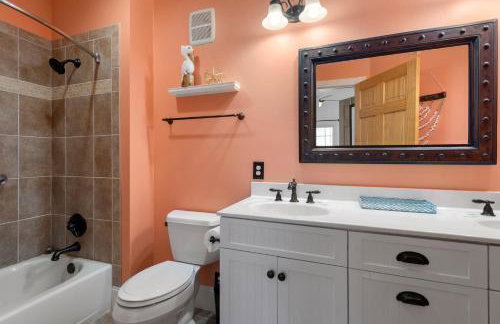
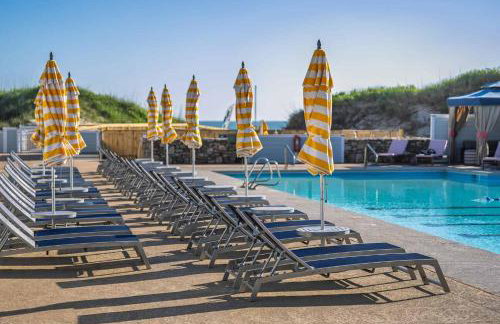
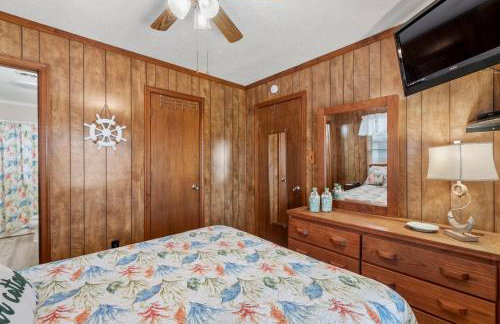
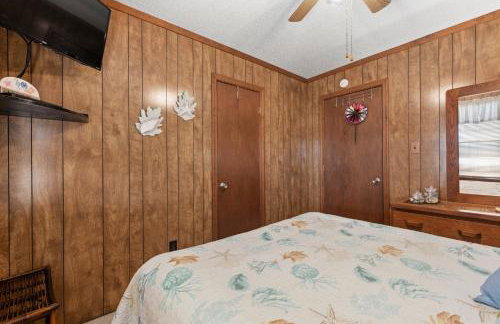
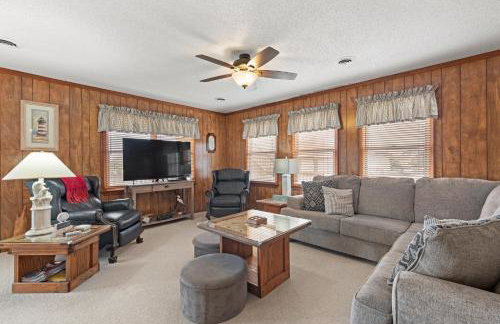
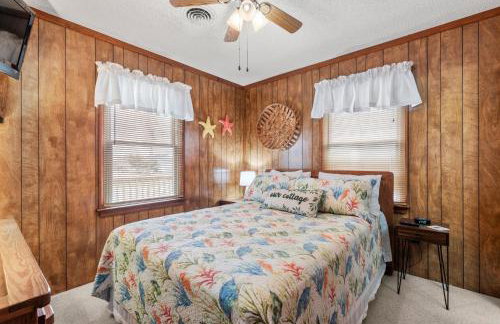
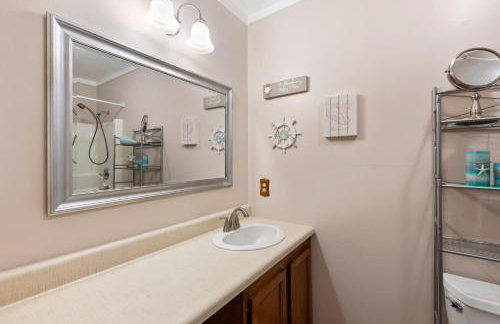
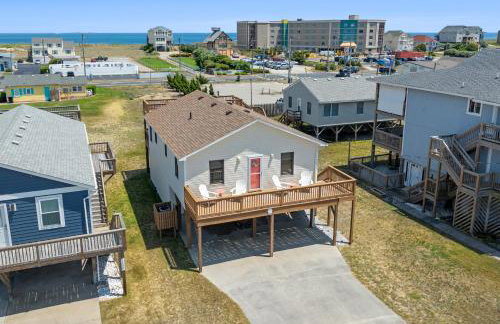
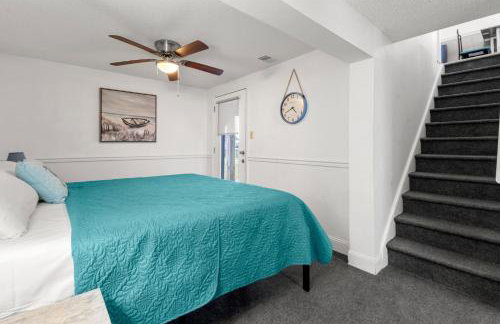
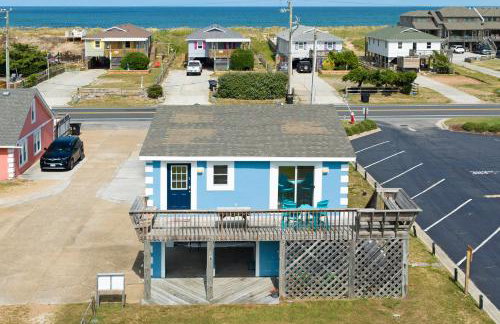
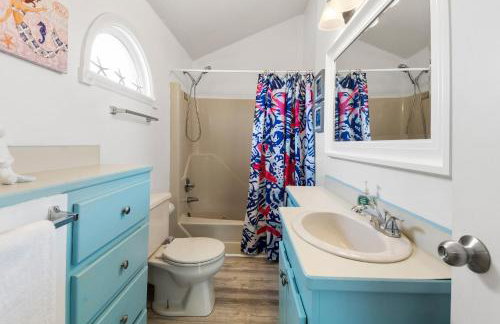
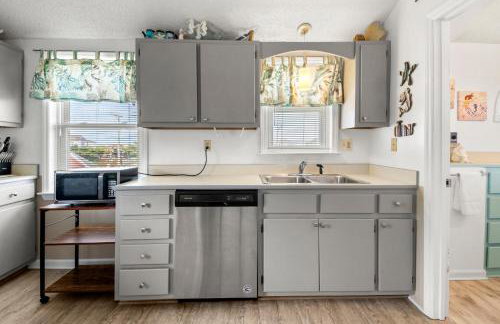
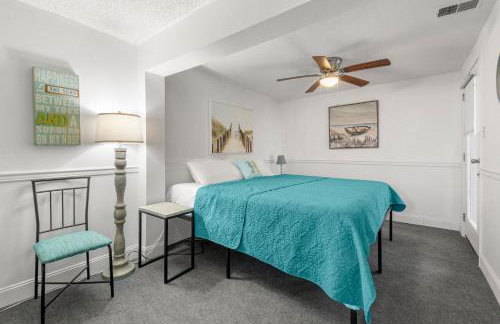
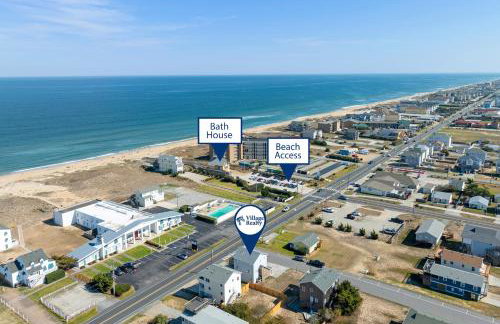
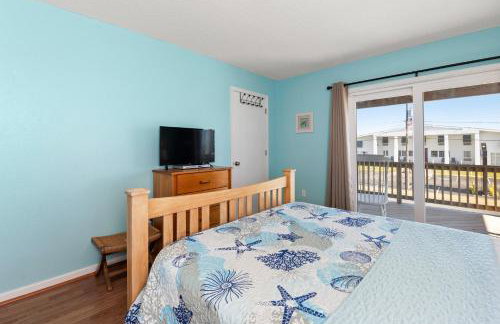
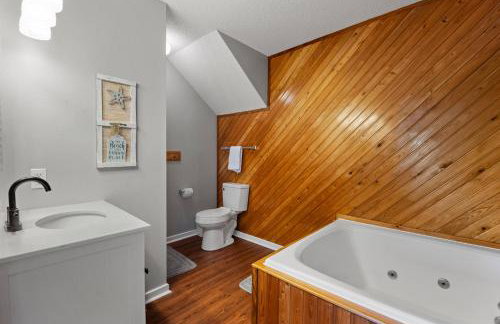
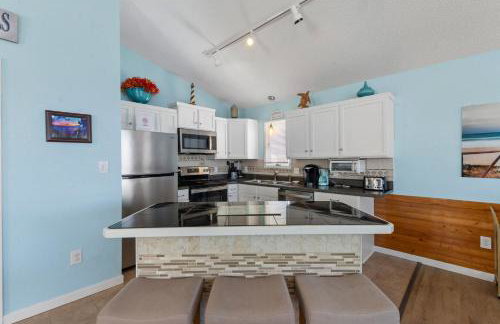
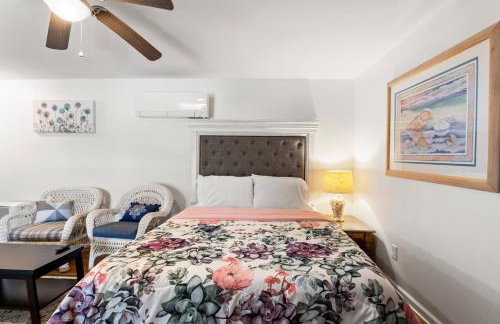
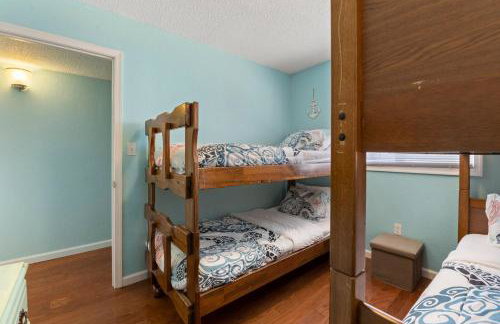
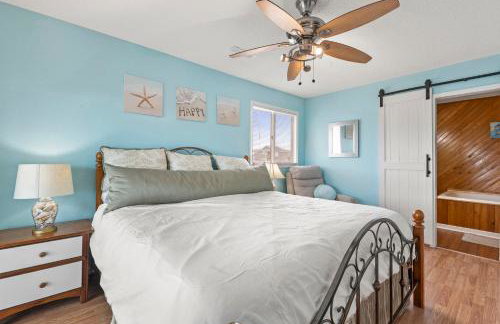
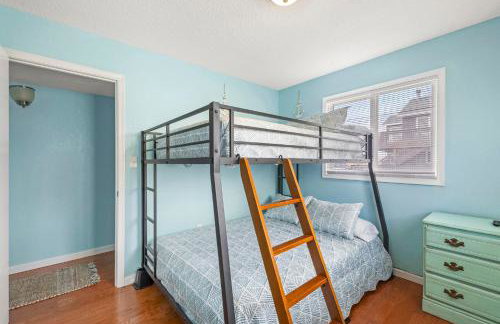
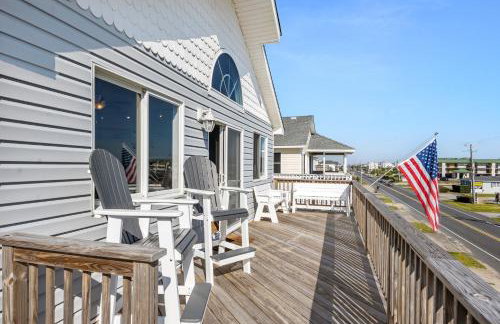
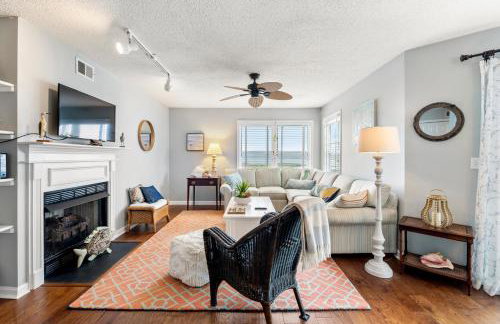
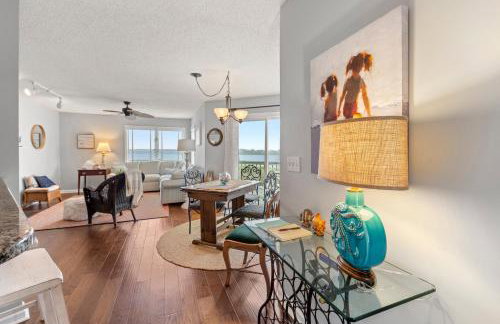
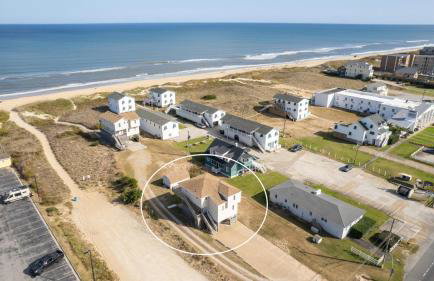
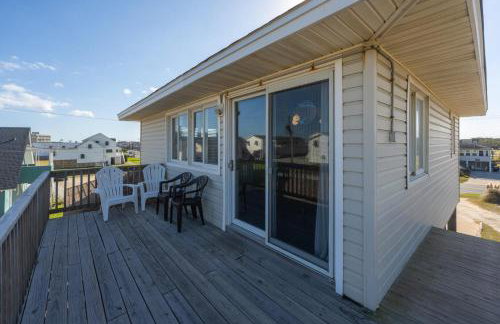
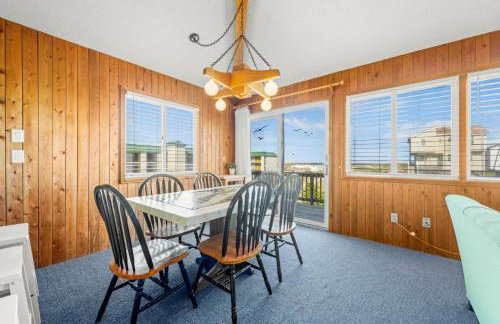
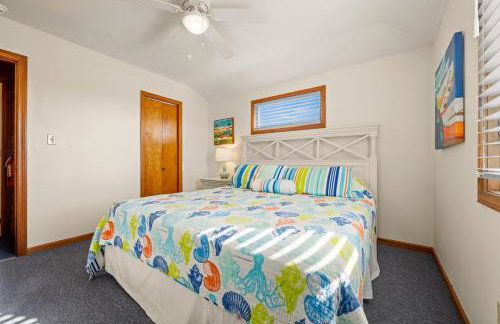
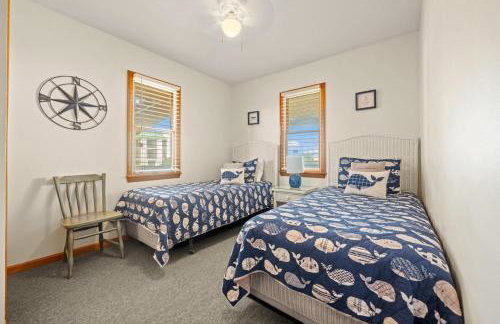
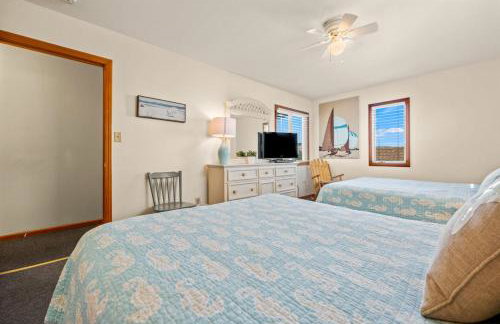
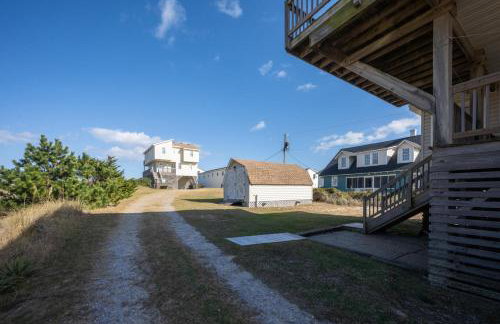
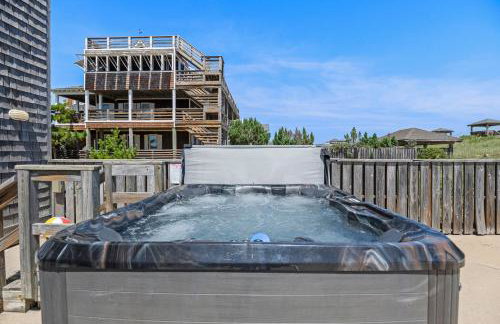
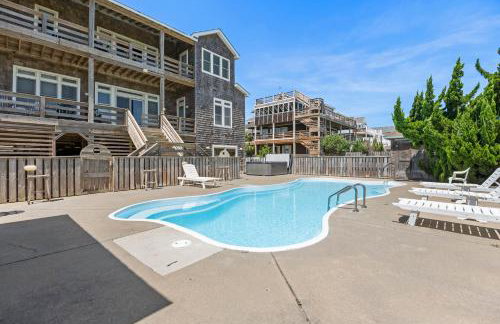
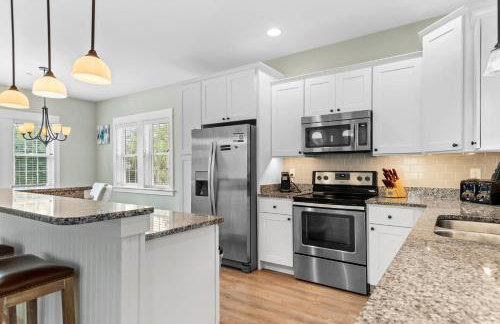
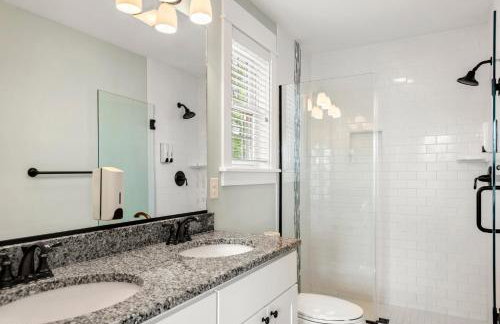
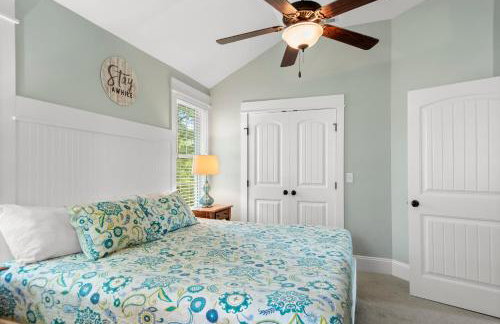
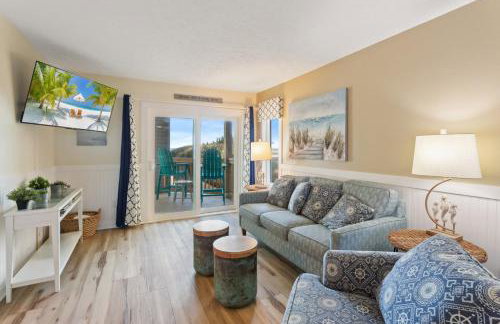
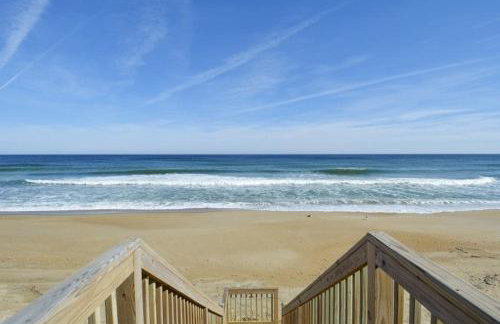
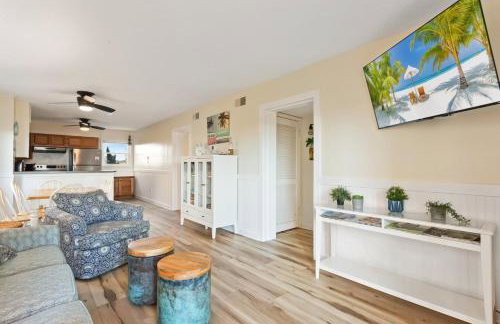
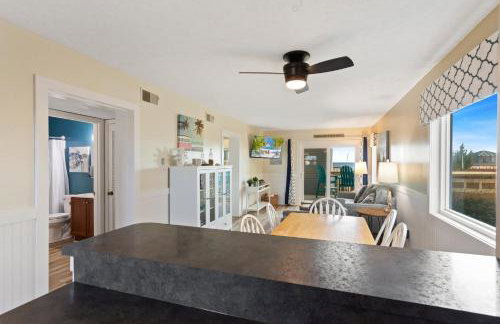
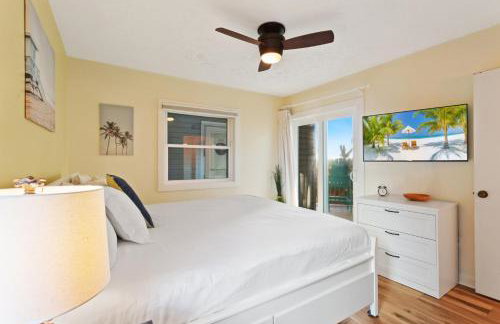
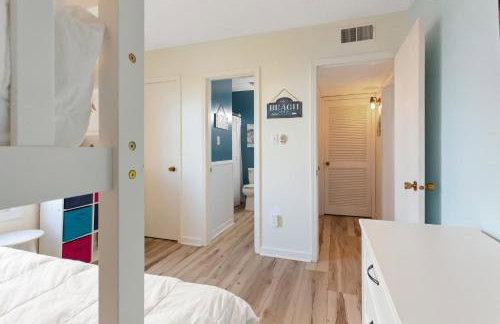
Breeze On Inn - Foto 3
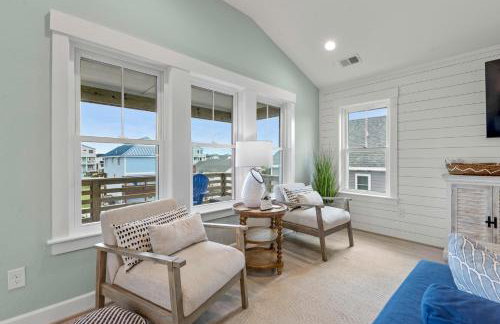
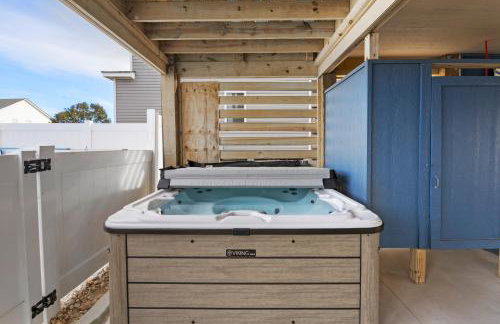
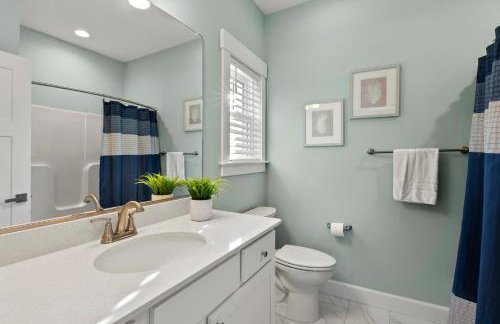
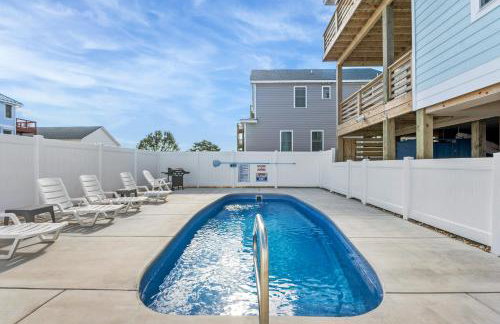
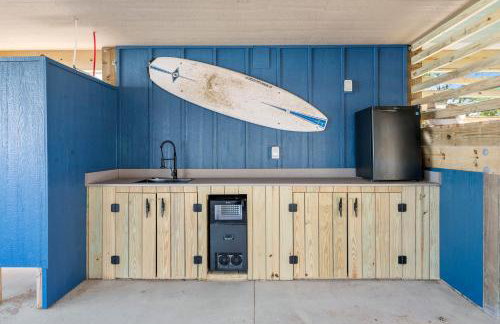
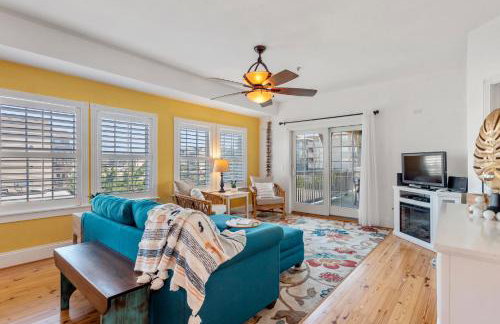
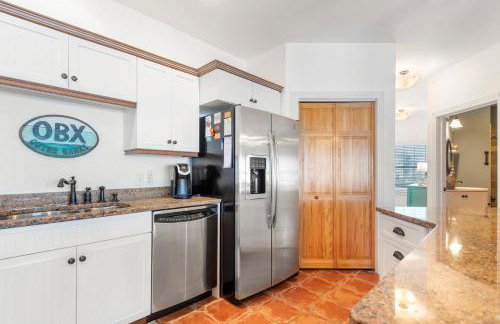
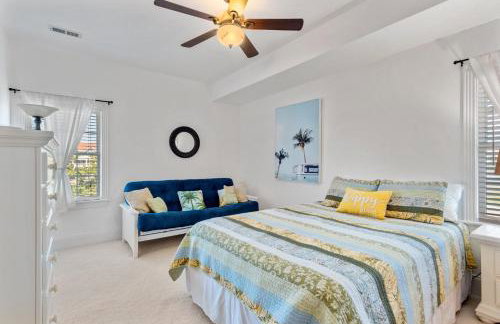
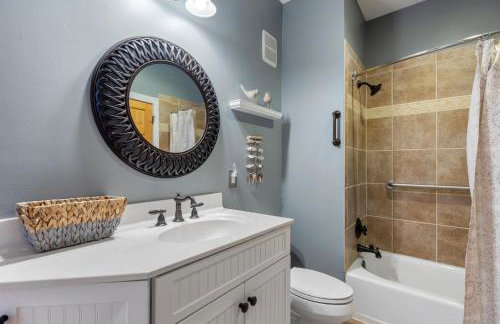
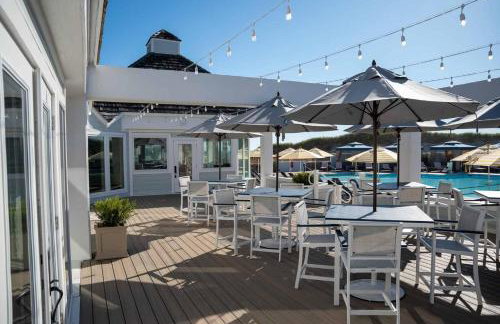
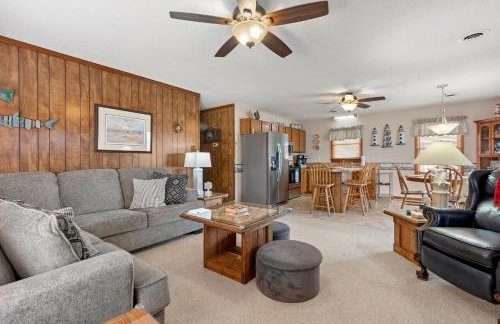
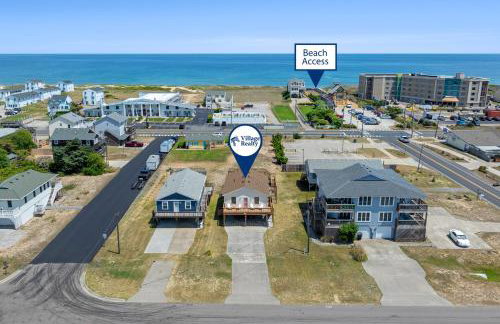
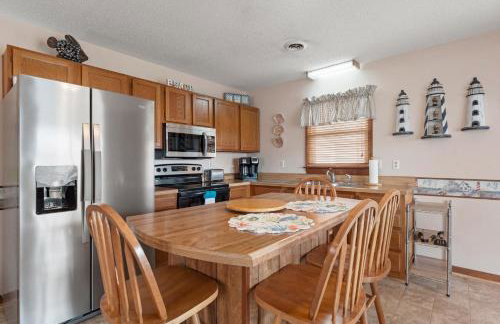
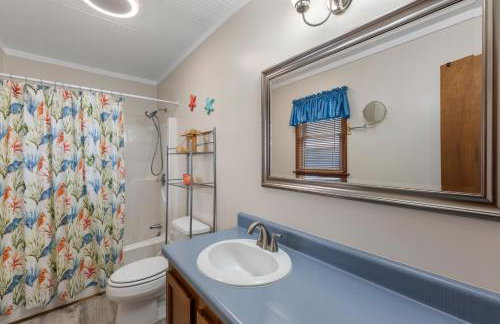
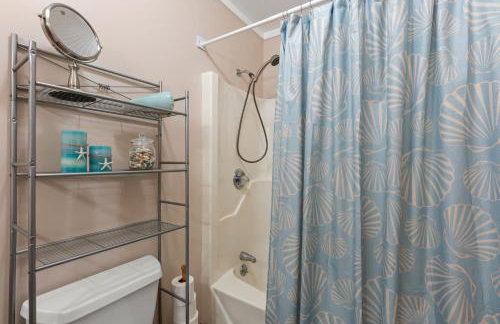
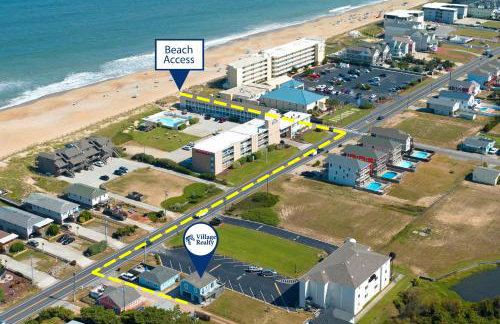
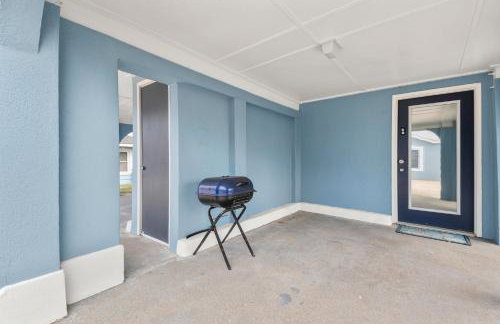
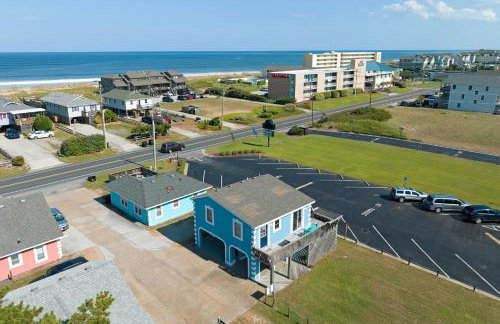
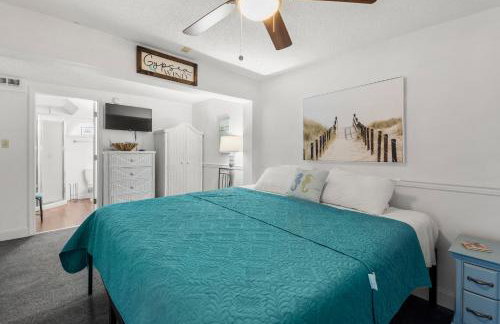
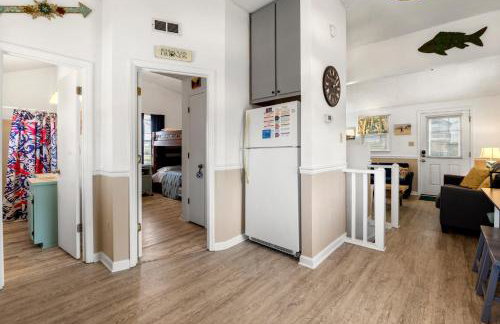
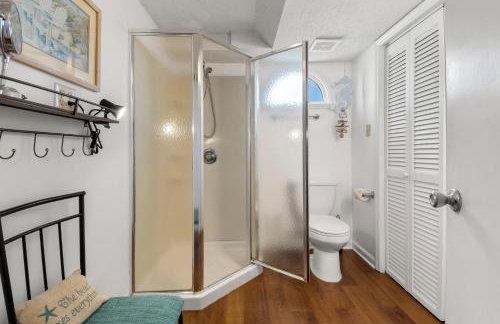
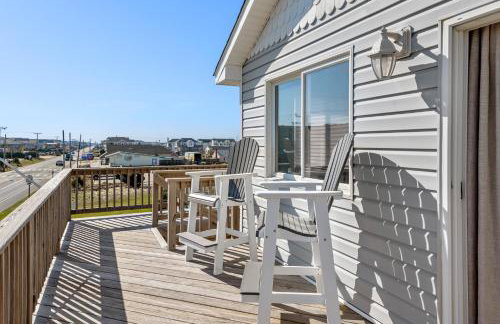
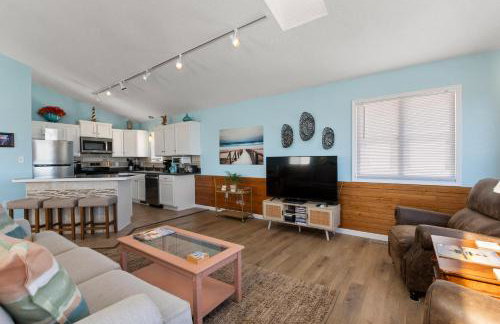
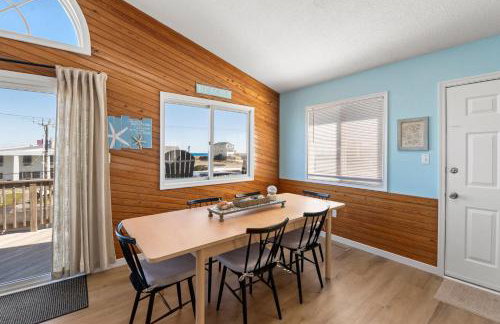
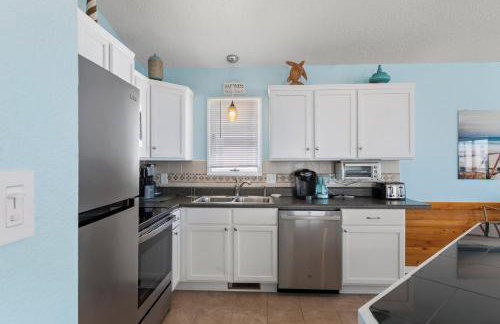
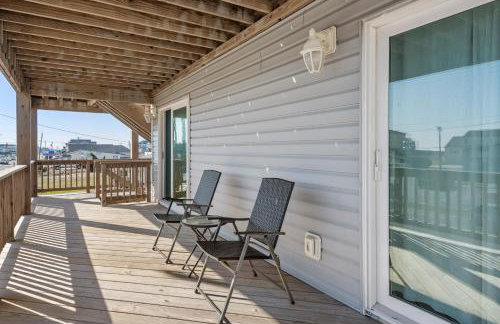
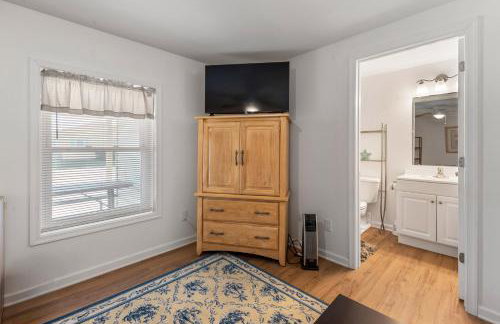
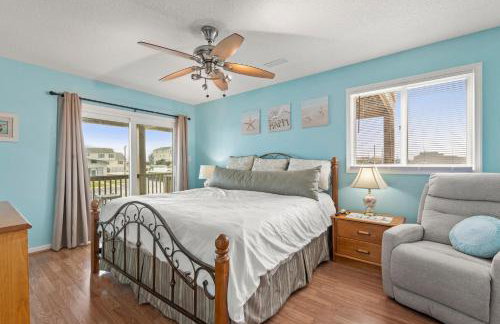
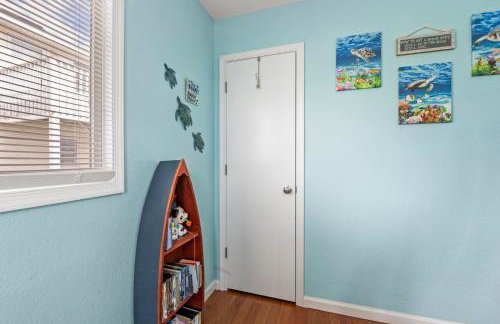
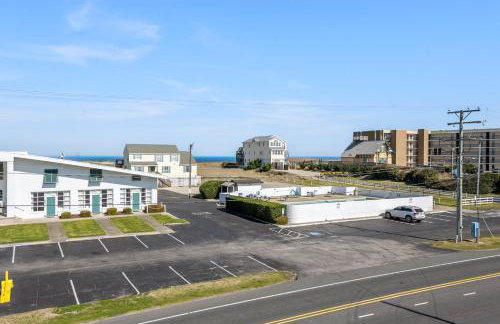
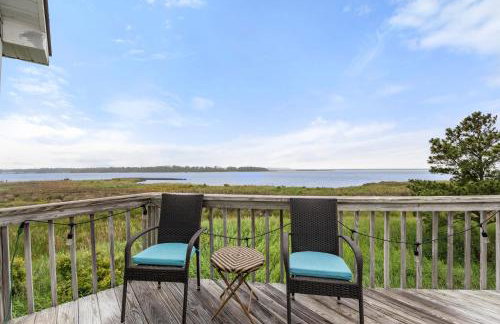
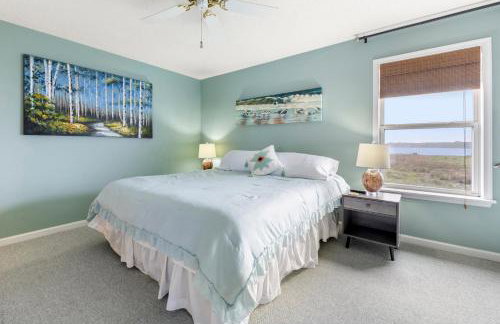
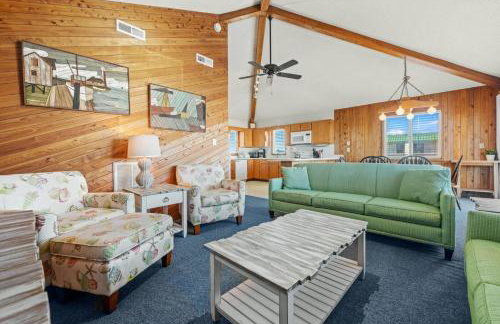
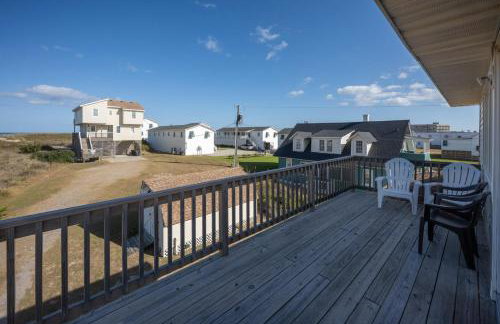
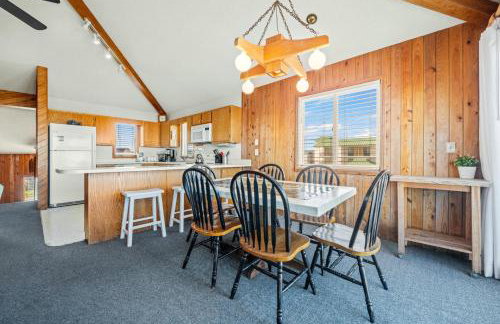
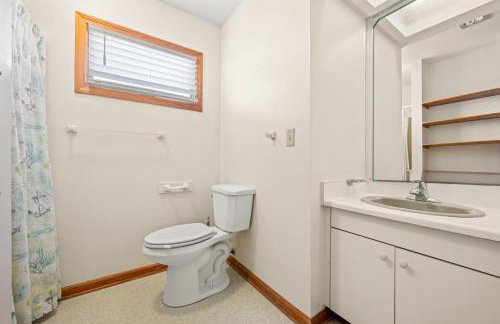
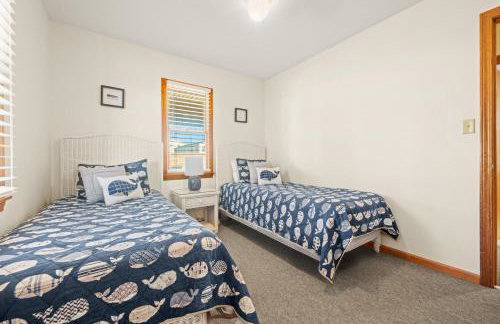
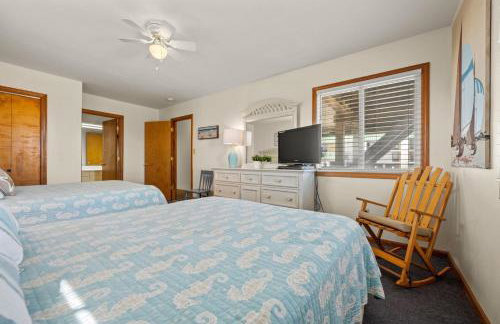
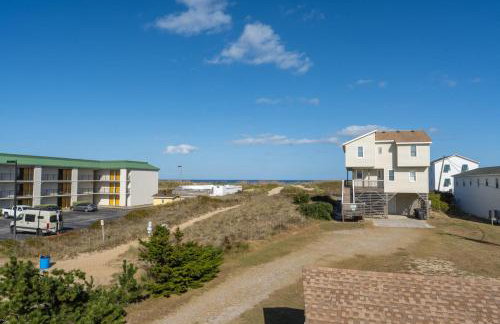
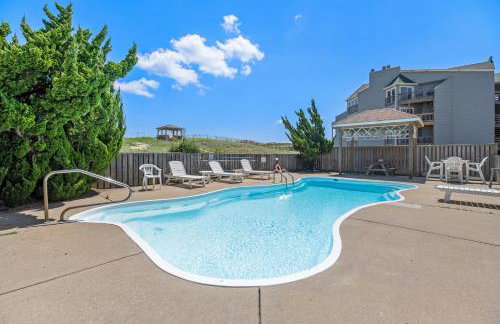
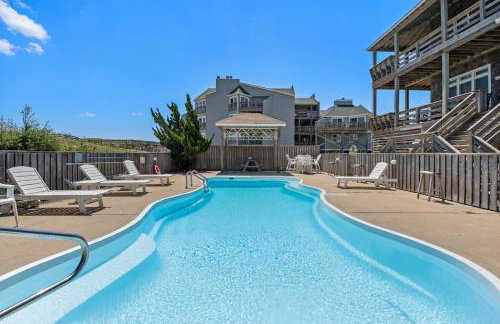
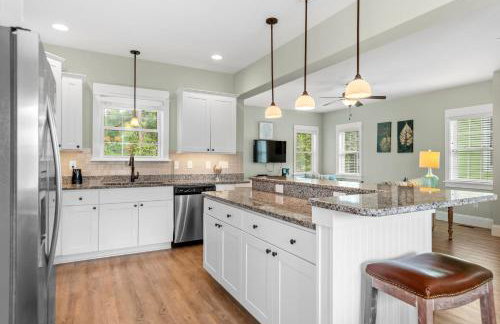
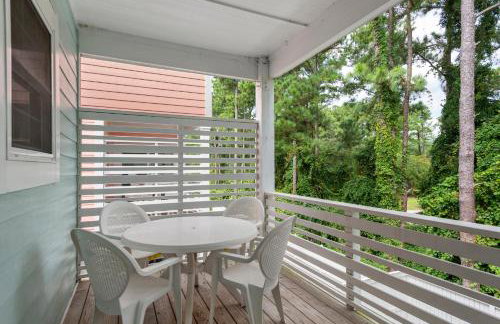
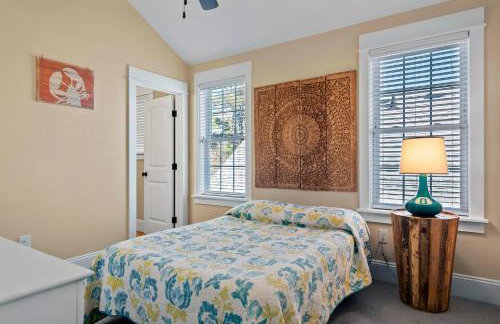
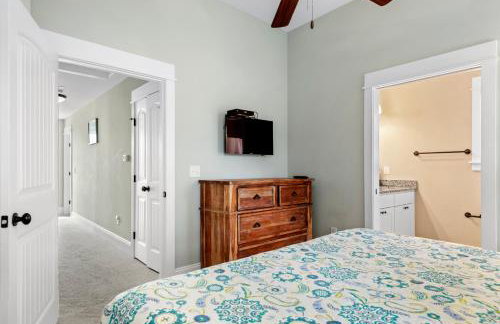
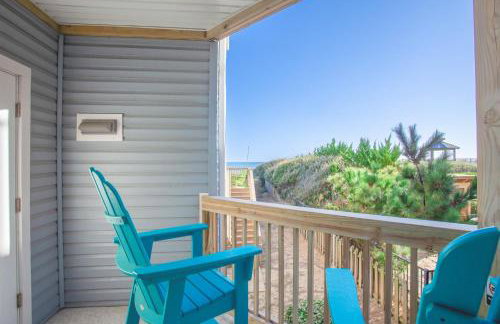
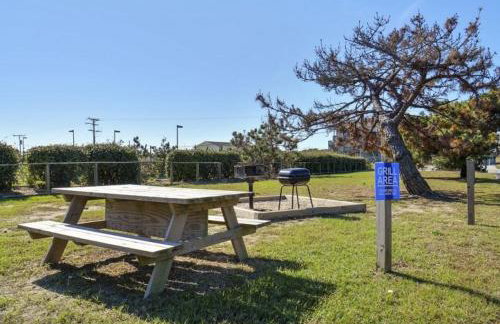
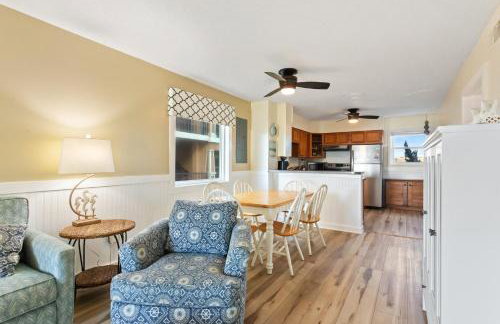
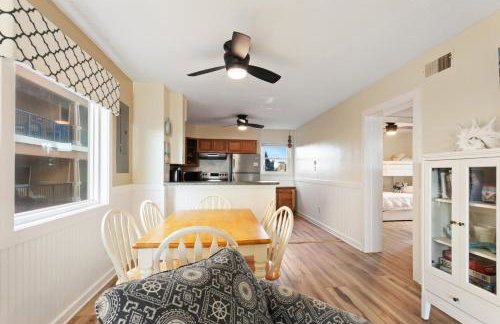
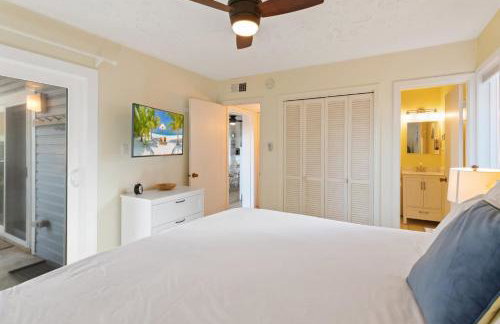
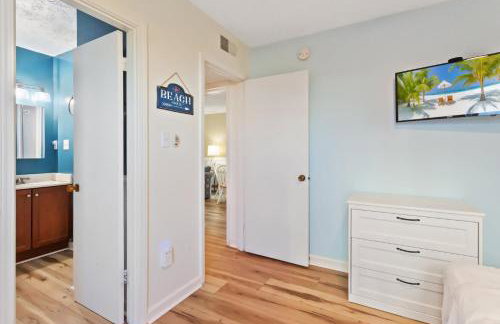
Breeze On Inn - Foto 4
Breeze On Inn - Foto 5
Breeze On Inn - Foto 6
Breeze On Inn - Foto 7
Breeze On Inn - Foto 8
Breeze On Inn - Foto 9
Breeze On Inn - Foto 10
Breeze On Inn - Foto 11
Breeze On Inn - Foto 12
Breeze On Inn - Foto 13
Breeze On Inn - Foto 14
Breeze On Inn - Foto 15
Breeze On Inn - Foto 16
Breeze On Inn - Foto 17
Breeze On Inn - Foto 18
Breeze On Inn - Foto 19
Breeze On Inn - Foto 20
Breeze On Inn - Foto 21
Breeze On Inn - Foto 22
Breeze On Inn - Foto 23
Breeze On Inn - Foto 24
Breeze On Inn - Foto 25
Breeze On Inn - Foto 26
Breeze On Inn - Foto 27
Breeze On Inn - Foto 28
Breeze On Inn - Foto 29
Breeze On Inn - Foto 30
Breeze On Inn - Foto 31
Breeze On Inn - Foto 32
Breeze On Inn - Foto 33
Breeze On Inn - Foto 34
Breeze On Inn - Foto 35
Breeze On Inn - Foto 36
Breeze On Inn - Foto 37
Breeze On Inn - Foto 38

Breeze On Inn

Kill Devil Hills

  • 167 M2
  • 4 camere
  • 8 persone
  • Aria condizionata
  • Riscaldamento
  • Piscina
  • Parcheggio
  • Giardino
10Magnifico | 10 recensioni
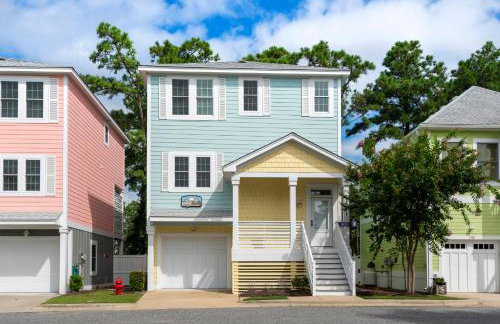
Hamilton Cay at Bermuda Bay by Kees Vacations - Foto 1
Hamilton Cay at Bermuda Bay by Kees Vacations - Foto 2
Hamilton Cay at Bermuda Bay by Kees Vacations - Foto 3
Hamilton Cay at Bermuda Bay by Kees Vacations - Foto 4
Hamilton Cay at Bermuda Bay by Kees Vacations - Foto 5
Hamilton Cay at Bermuda Bay by Kees Vacations - Foto 6
Hamilton Cay at Bermuda Bay by Kees Vacations - Foto 7
Hamilton Cay at Bermuda Bay by Kees Vacations - Foto 8
Hamilton Cay at Bermuda Bay by Kees Vacations - Foto 9
Hamilton Cay at Bermuda Bay by Kees Vacations - Foto 10
Hamilton Cay at Bermuda Bay by Kees Vacations - Foto 11
Hamilton Cay at Bermuda Bay by Kees Vacations - Foto 12
Hamilton Cay at Bermuda Bay by Kees Vacations - Foto 13
Hamilton Cay at Bermuda Bay by Kees Vacations - Foto 14
Hamilton Cay at Bermuda Bay by Kees Vacations - Foto 15
Hamilton Cay at Bermuda Bay by Kees Vacations - Foto 16
Hamilton Cay at Bermuda Bay by Kees Vacations - Foto 17
Hamilton Cay at Bermuda Bay by Kees Vacations - Foto 18
Hamilton Cay at Bermuda Bay by Kees Vacations - Foto 19
Hamilton Cay at Bermuda Bay by Kees Vacations - Foto 20
Hamilton Cay at Bermuda Bay by Kees Vacations - Foto 21
Hamilton Cay at Bermuda Bay by Kees Vacations - Foto 22
Hamilton Cay at Bermuda Bay by Kees Vacations - Foto 23
Hamilton Cay at Bermuda Bay by Kees Vacations - Foto 24
Hamilton Cay at Bermuda Bay by Kees Vacations - Foto 25
Hamilton Cay at Bermuda Bay by Kees Vacations - Foto 26
Hamilton Cay at Bermuda Bay by Kees Vacations - Foto 27
Hamilton Cay at Bermuda Bay by Kees Vacations - Foto 28
Hamilton Cay at Bermuda Bay by Kees Vacations - Foto 29
Hamilton Cay at Bermuda Bay by Kees Vacations - Foto 30
Hamilton Cay at Bermuda Bay by Kees Vacations - Foto 31
Hamilton Cay at Bermuda Bay by Kees Vacations - Foto 32
Hamilton Cay at Bermuda Bay by Kees Vacations - Foto 33
Hamilton Cay at Bermuda Bay by Kees Vacations - Foto 34
Hamilton Cay at Bermuda Bay by Kees Vacations - Foto 35
Hamilton Cay at Bermuda Bay by Kees Vacations - Foto 36

Hamilton Cay at Bermuda Bay by Kees Vacations

Kill Devil Hills

  • 130 M2
  • 4 persone
  • Aria condizionata
  • Riscaldamento
  • Piscina
  • Parcheggio
  • Ascensore
  • Barbecue
8.9Molto buono | 14 recensioni
Crystal Cove - Foto 1
Crystal Cove - Foto 2
Crystal Cove - Foto 3
Crystal Cove - Foto 4
Crystal Cove - Foto 5
Crystal Cove - Foto 6
Crystal Cove - Foto 7
Crystal Cove - Foto 8
Crystal Cove - Foto 9
Crystal Cove - Foto 10
Crystal Cove - Foto 11
Crystal Cove - Foto 12
Crystal Cove - Foto 13
Crystal Cove - Foto 14
Crystal Cove - Foto 15
Crystal Cove - Foto 16
Crystal Cove - Foto 17
Crystal Cove - Foto 18
Crystal Cove - Foto 19
Crystal Cove - Foto 20
Crystal Cove - Foto 21
Crystal Cove - Foto 22
Crystal Cove - Foto 23
Crystal Cove - Foto 24
Crystal Cove - Foto 25
Crystal Cove - Foto 26
Crystal Cove - Foto 27
Crystal Cove - Foto 28
Crystal Cove - Foto 29
Crystal Cove - Foto 30
Crystal Cove - Foto 31
Crystal Cove - Foto 32
Crystal Cove - Foto 33
Crystal Cove - Foto 34
Crystal Cove - Foto 35
Crystal Cove - Foto 36
Crystal Cove - Foto 37
Crystal Cove - Foto 38
Crystal Cove - Foto 39
Crystal Cove - Foto 40
Crystal Cove - Foto 41
Crystal Cove - Foto 42
Crystal Cove - Foto 43

Crystal Cove

Kill Devil Hills

  • 195 M2
  • 4 camere
  • 8 persone
  • Aria condizionata
  • Riscaldamento
  • Piscina
  • Parcheggio
  • Ascensore
  • Giardino
  • Barbecue
10Magnifico | 2 recensioni
Hamilton Cay Reserve at Bermuda Bay by KEES Vacations - Foto 1
Hamilton Cay Reserve at Bermuda Bay by KEES Vacations - Foto 2
Hamilton Cay Reserve at Bermuda Bay by KEES Vacations - Foto 3
Hamilton Cay Reserve at Bermuda Bay by KEES Vacations - Foto 4
Hamilton Cay Reserve at Bermuda Bay by KEES Vacations - Foto 5
Hamilton Cay Reserve at Bermuda Bay by KEES Vacations - Foto 6
Hamilton Cay Reserve at Bermuda Bay by KEES Vacations - Foto 7
Hamilton Cay Reserve at Bermuda Bay by KEES Vacations - Foto 8
Hamilton Cay Reserve at Bermuda Bay by KEES Vacations - Foto 9
Hamilton Cay Reserve at Bermuda Bay by KEES Vacations - Foto 10
Hamilton Cay Reserve at Bermuda Bay by KEES Vacations - Foto 11
Hamilton Cay Reserve at Bermuda Bay by KEES Vacations - Foto 12
Hamilton Cay Reserve at Bermuda Bay by KEES Vacations - Foto 13
Hamilton Cay Reserve at Bermuda Bay by KEES Vacations - Foto 14
Hamilton Cay Reserve at Bermuda Bay by KEES Vacations - Foto 15
Hamilton Cay Reserve at Bermuda Bay by KEES Vacations - Foto 16
Hamilton Cay Reserve at Bermuda Bay by KEES Vacations - Foto 17
Hamilton Cay Reserve at Bermuda Bay by KEES Vacations - Foto 18
Hamilton Cay Reserve at Bermuda Bay by KEES Vacations - Foto 19
Hamilton Cay Reserve at Bermuda Bay by KEES Vacations - Foto 20
Hamilton Cay Reserve at Bermuda Bay by KEES Vacations - Foto 21
Hamilton Cay Reserve at Bermuda Bay by KEES Vacations - Foto 22
Hamilton Cay Reserve at Bermuda Bay by KEES Vacations - Foto 23
Hamilton Cay Reserve at Bermuda Bay by KEES Vacations - Foto 24
Hamilton Cay Reserve at Bermuda Bay by KEES Vacations - Foto 25
Hamilton Cay Reserve at Bermuda Bay by KEES Vacations - Foto 26
Hamilton Cay Reserve at Bermuda Bay by KEES Vacations - Foto 27
Hamilton Cay Reserve at Bermuda Bay by KEES Vacations - Foto 28
Hamilton Cay Reserve at Bermuda Bay by KEES Vacations - Foto 29
Hamilton Cay Reserve at Bermuda Bay by KEES Vacations - Foto 30
Hamilton Cay Reserve at Bermuda Bay by KEES Vacations - Foto 31
Hamilton Cay Reserve at Bermuda Bay by KEES Vacations - Foto 32
Hamilton Cay Reserve at Bermuda Bay by KEES Vacations - Foto 33
Hamilton Cay Reserve at Bermuda Bay by KEES Vacations - Foto 34
Hamilton Cay Reserve at Bermuda Bay by KEES Vacations - Foto 35
Hamilton Cay Reserve at Bermuda Bay by KEES Vacations - Foto 36
Hamilton Cay Reserve at Bermuda Bay by KEES Vacations - Foto 37
Hamilton Cay Reserve at Bermuda Bay by KEES Vacations - Foto 38
Hamilton Cay Reserve at Bermuda Bay by KEES Vacations - Foto 39
Hamilton Cay Reserve at Bermuda Bay by KEES Vacations - Foto 40
Hamilton Cay Reserve at Bermuda Bay by KEES Vacations - Foto 41
Hamilton Cay Reserve at Bermuda Bay by KEES Vacations - Foto 42
Hamilton Cay Reserve at Bermuda Bay by KEES Vacations - Foto 43
Hamilton Cay Reserve at Bermuda Bay by KEES Vacations - Foto 44
Hamilton Cay Reserve at Bermuda Bay by KEES Vacations - Foto 45
Hamilton Cay Reserve at Bermuda Bay by KEES Vacations - Foto 46
Hamilton Cay Reserve at Bermuda Bay by KEES Vacations - Foto 47
Hamilton Cay Reserve at Bermuda Bay by KEES Vacations - Foto 48
Hamilton Cay Reserve at Bermuda Bay by KEES Vacations - Foto 49
Hamilton Cay Reserve at Bermuda Bay by KEES Vacations - Foto 50
Hamilton Cay Reserve at Bermuda Bay by KEES Vacations - Foto 51
Hamilton Cay Reserve at Bermuda Bay by KEES Vacations - Foto 52
Hamilton Cay Reserve at Bermuda Bay by KEES Vacations - Foto 53
Hamilton Cay Reserve at Bermuda Bay by KEES Vacations - Foto 54

Hamilton Cay Reserve at Bermuda Bay by KEES Vacations

Kill Devil Hills

  • 135 M2
  • 3 camere
  • 6 persone
  • Aria condizionata
  • Piscina
  • Parcheggio
  • Ascensore
8.6Molto buono | 17 recensioni
Captain Stews - Foto 1
Captain Stews - Foto 2
Captain Stews - Foto 3
Captain Stews - Foto 4
Captain Stews - Foto 5
Captain Stews - Foto 6
Captain Stews - Foto 7
Captain Stews - Foto 8
Captain Stews - Foto 9
Captain Stews - Foto 10
Captain Stews - Foto 11
Captain Stews - Foto 12
Captain Stews - Foto 13
Captain Stews - Foto 14
Captain Stews - Foto 15
Captain Stews - Foto 16
Captain Stews - Foto 17
Captain Stews - Foto 18
Captain Stews - Foto 19
Captain Stews - Foto 20
Captain Stews - Foto 21
Captain Stews - Foto 22
Captain Stews - Foto 23
Captain Stews - Foto 24
Captain Stews - Foto 25
Captain Stews - Foto 26
Captain Stews - Foto 27
Captain Stews - Foto 28
Captain Stews - Foto 29
Captain Stews - Foto 30
Captain Stews - Foto 31
Captain Stews - Foto 32

Captain Stews

Kill Devil Hills

  • 119 M2
  • 2 camere
  • 4 persone
  • Aria condizionata
  • Riscaldamento
  • Parcheggio
  • Ascensore
  • Giardino
  • Barbecue
9.7Eccezionale | 3 recensioni
Summer Days 4 Bedroom Oceanfront Home - Foto 1
Summer Days 4 Bedroom Oceanfront Home - Foto 2
Summer Days 4 Bedroom Oceanfront Home - Foto 3
Summer Days 4 Bedroom Oceanfront Home - Foto 4
Summer Days 4 Bedroom Oceanfront Home - Foto 5
Summer Days 4 Bedroom Oceanfront Home - Foto 6
Summer Days 4 Bedroom Oceanfront Home - Foto 7
Summer Days 4 Bedroom Oceanfront Home - Foto 8
Summer Days 4 Bedroom Oceanfront Home - Foto 9
Summer Days 4 Bedroom Oceanfront Home - Foto 10
Summer Days 4 Bedroom Oceanfront Home - Foto 11
Summer Days 4 Bedroom Oceanfront Home - Foto 12
Summer Days 4 Bedroom Oceanfront Home - Foto 13
Summer Days 4 Bedroom Oceanfront Home - Foto 14
Summer Days 4 Bedroom Oceanfront Home - Foto 15
Summer Days 4 Bedroom Oceanfront Home - Foto 16
Summer Days 4 Bedroom Oceanfront Home - Foto 17
Summer Days 4 Bedroom Oceanfront Home - Foto 18
Summer Days 4 Bedroom Oceanfront Home - Foto 19
Summer Days 4 Bedroom Oceanfront Home - Foto 20
Summer Days 4 Bedroom Oceanfront Home - Foto 21
Summer Days 4 Bedroom Oceanfront Home - Foto 22
Summer Days 4 Bedroom Oceanfront Home - Foto 23
Summer Days 4 Bedroom Oceanfront Home - Foto 24
Summer Days 4 Bedroom Oceanfront Home - Foto 25
Summer Days 4 Bedroom Oceanfront Home - Foto 26
Summer Days 4 Bedroom Oceanfront Home - Foto 27
Summer Days 4 Bedroom Oceanfront Home - Foto 28
Summer Days 4 Bedroom Oceanfront Home - Foto 29
Summer Days 4 Bedroom Oceanfront Home - Foto 30
Summer Days 4 Bedroom Oceanfront Home - Foto 31
Summer Days 4 Bedroom Oceanfront Home - Foto 32
Summer Days 4 Bedroom Oceanfront Home - Foto 33
Summer Days 4 Bedroom Oceanfront Home - Foto 34
Summer Days 4 Bedroom Oceanfront Home - Foto 35
Summer Days 4 Bedroom Oceanfront Home - Foto 36
Summer Days 4 Bedroom Oceanfront Home - Foto 37
Summer Days 4 Bedroom Oceanfront Home - Foto 38
Summer Days 4 Bedroom Oceanfront Home - Foto 39
Summer Days 4 Bedroom Oceanfront Home - Foto 40
Summer Days 4 Bedroom Oceanfront Home - Foto 41
Summer Days 4 Bedroom Oceanfront Home - Foto 42
Summer Days 4 Bedroom Oceanfront Home - Foto 43
Summer Days 4 Bedroom Oceanfront Home - Foto 44
Summer Days 4 Bedroom Oceanfront Home - Foto 45
Summer Days 4 Bedroom Oceanfront Home - Foto 46
Summer Days 4 Bedroom Oceanfront Home - Foto 47

Summer Days 4 Bedroom Oceanfront Home

Kill Devil Hills

  • 152 M2
  • 4 camere
  • 8 persone
  • Aria condizionata
  • Piscina
  • Parcheggio
  • Barbecue
8.9Molto buono | 7 recensioni
Coastal Dream - Foto 1
Coastal Dream - Foto 2
Coastal Dream - Foto 3
Coastal Dream - Foto 4
Coastal Dream - Foto 5
Coastal Dream - Foto 6
Coastal Dream - Foto 7
Coastal Dream - Foto 8
Coastal Dream - Foto 9
Coastal Dream - Foto 10
Coastal Dream - Foto 11
Coastal Dream - Foto 12
Coastal Dream - Foto 13
Coastal Dream - Foto 14
Coastal Dream - Foto 15
Coastal Dream - Foto 16
Coastal Dream - Foto 17
Coastal Dream - Foto 18
Coastal Dream - Foto 19
Coastal Dream - Foto 20
Coastal Dream - Foto 21
Coastal Dream - Foto 22
Coastal Dream - Foto 23
Coastal Dream - Foto 24
Coastal Dream - Foto 25
Coastal Dream - Foto 26
Coastal Dream - Foto 27
Coastal Dream - Foto 28
Coastal Dream - Foto 29

Coastal Dream

Kill Devil Hills

  • 97 M2
  • 3 camere
  • 6 persone
  • Aria condizionata
  • Riscaldamento
  • Parcheggio
  • Giardino
  • Barbecue
8.9Molto buono | 7 recensioni
Beach Daze - Foto 1
Beach Daze - Foto 2
Beach Daze - Foto 3
Beach Daze - Foto 4
Beach Daze - Foto 5
Beach Daze - Foto 6
Beach Daze - Foto 7
Beach Daze - Foto 8
Beach Daze - Foto 9
Beach Daze - Foto 10
Beach Daze - Foto 11
Beach Daze - Foto 12
Beach Daze - Foto 13
Beach Daze - Foto 14
Beach Daze - Foto 15
Beach Daze - Foto 16
Beach Daze - Foto 17
Beach Daze - Foto 18
Beach Daze - Foto 19
Beach Daze - Foto 20
Beach Daze - Foto 21
Beach Daze - Foto 22
Beach Daze - Foto 23
Beach Daze - Foto 24
Beach Daze - Foto 25
Beach Daze - Foto 26
Beach Daze - Foto 27
Beach Daze - Foto 28
Beach Daze - Foto 29
Beach Daze - Foto 30
Beach Daze - Foto 31
Beach Daze - Foto 32
Beach Daze - Foto 33
Beach Daze - Foto 34
Beach Daze - Foto 35

Beach Daze

Kill Devil Hills

  • 142 M2
  • 3 camere
  • 6 persone
  • Aria condizionata
  • Riscaldamento
  • Piscina
  • Parcheggio
  • Giardino
  • Barbecue
9Eccezionale | 2 recensioni
Gypsea Wind - Foto 1
Gypsea Wind - Foto 2
Gypsea Wind - Foto 3
Gypsea Wind - Foto 4
Gypsea Wind - Foto 5
Gypsea Wind - Foto 6
Gypsea Wind - Foto 7
Gypsea Wind - Foto 8
Gypsea Wind - Foto 9
Gypsea Wind - Foto 10
Gypsea Wind - Foto 11
Gypsea Wind - Foto 12
Gypsea Wind - Foto 13
Gypsea Wind - Foto 14
Gypsea Wind - Foto 15
Gypsea Wind - Foto 16
Gypsea Wind - Foto 17
Gypsea Wind - Foto 18
Gypsea Wind - Foto 19
Gypsea Wind - Foto 20
Gypsea Wind - Foto 21
Gypsea Wind - Foto 22
Gypsea Wind - Foto 23
Gypsea Wind - Foto 24

Gypsea Wind

Kill Devil Hills

  • 3 camere
  • 6 persone
  • Aria condizionata
  • Riscaldamento
  • Parcheggio
9.3Eccezionale | 3 recensioni
Coasties Ocean Breeze - Foto 1
Coasties Ocean Breeze - Foto 2
Coasties Ocean Breeze - Foto 3
Coasties Ocean Breeze - Foto 4
Coasties Ocean Breeze - Foto 5
Coasties Ocean Breeze - Foto 6
Coasties Ocean Breeze - Foto 7
Coasties Ocean Breeze - Foto 8
Coasties Ocean Breeze - Foto 9
Coasties Ocean Breeze - Foto 10
Coasties Ocean Breeze - Foto 11
Coasties Ocean Breeze - Foto 12
Coasties Ocean Breeze - Foto 13
Coasties Ocean Breeze - Foto 14
Coasties Ocean Breeze - Foto 15
Coasties Ocean Breeze - Foto 16
Coasties Ocean Breeze - Foto 17
Coasties Ocean Breeze - Foto 18
Coasties Ocean Breeze - Foto 19
Coasties Ocean Breeze - Foto 20
Coasties Ocean Breeze - Foto 21
Coasties Ocean Breeze - Foto 22
Coasties Ocean Breeze - Foto 23
Coasties Ocean Breeze - Foto 24
Coasties Ocean Breeze - Foto 25
Coasties Ocean Breeze - Foto 26
Coasties Ocean Breeze - Foto 27
Coasties Ocean Breeze - Foto 28
Coasties Ocean Breeze - Foto 29
Coasties Ocean Breeze - Foto 30
Coasties Ocean Breeze - Foto 31
Coasties Ocean Breeze - Foto 32
Coasties Ocean Breeze - Foto 33
Coasties Ocean Breeze - Foto 34
Coasties Ocean Breeze - Foto 35
Coasties Ocean Breeze - Foto 36
Coasties Ocean Breeze - Foto 37
Coasties Ocean Breeze - Foto 38
Coasties Ocean Breeze - Foto 39
Coasties Ocean Breeze - Foto 40
Coasties Ocean Breeze - Foto 41
Coasties Ocean Breeze - Foto 42
Coasties Ocean Breeze - Foto 43
Coasties Ocean Breeze - Foto 44
Coasties Ocean Breeze - Foto 45
Coasties Ocean Breeze - Foto 46
Coasties Ocean Breeze - Foto 47
Coasties Ocean Breeze - Foto 48
Coasties Ocean Breeze - Foto 49
Coasties Ocean Breeze - Foto 50
Coasties Ocean Breeze - Foto 51
Coasties Ocean Breeze - Foto 52

Coasties Ocean Breeze

Kill Devil Hills

  • 161 M2
  • 8 persone
  • Aria condizionata
  • Riscaldamento
  • Parcheggio
  • Giardino
  • Barbecue
9Eccezionale | 2 recensioni
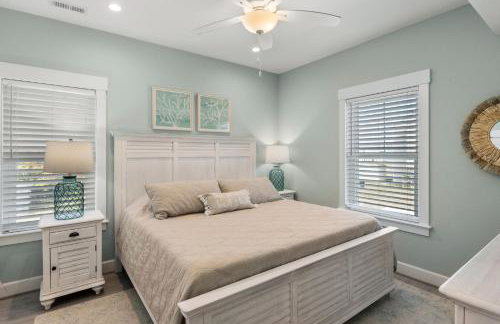
Oyster Pointe E3 - Foto 1
Oyster Pointe E3 - Foto 2
Oyster Pointe E3 - Foto 3
Oyster Pointe E3 - Foto 4
Oyster Pointe E3 - Foto 5
Oyster Pointe E3 - Foto 6
Oyster Pointe E3 - Foto 7
Oyster Pointe E3 - Foto 8
Oyster Pointe E3 - Foto 9
Oyster Pointe E3 - Foto 10
Oyster Pointe E3 - Foto 11
Oyster Pointe E3 - Foto 12
Oyster Pointe E3 - Foto 13
Oyster Pointe E3 - Foto 14
Oyster Pointe E3 - Foto 15
Oyster Pointe E3 - Foto 16
Oyster Pointe E3 - Foto 17
Oyster Pointe E3 - Foto 18
Oyster Pointe E3 - Foto 19
Oyster Pointe E3 - Foto 20
Oyster Pointe E3 - Foto 21
Oyster Pointe E3 - Foto 22
Oyster Pointe E3 - Foto 23

Oyster Pointe E3

Kill Devil Hills

  • 99 M2
  • 2 camere
  • 4 persone
  • Aria condizionata
  • Riscaldamento
  • Piscina
  • Parcheggio
  • Giardino
8.5Molto buono | 2 recensioni
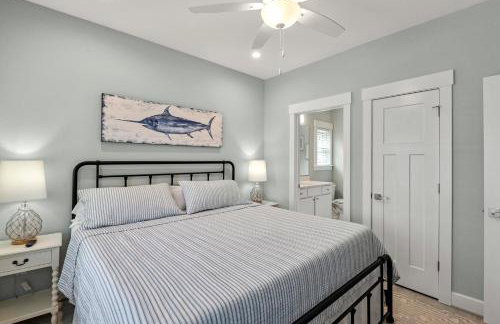
Oceanfront 2 Bedroom Condo at Golden Strand - Foto 1
Oceanfront 2 Bedroom Condo at Golden Strand - Foto 2
Oceanfront 2 Bedroom Condo at Golden Strand - Foto 3
Oceanfront 2 Bedroom Condo at Golden Strand - Foto 4
Oceanfront 2 Bedroom Condo at Golden Strand - Foto 5
Oceanfront 2 Bedroom Condo at Golden Strand - Foto 6
Oceanfront 2 Bedroom Condo at Golden Strand - Foto 7
Oceanfront 2 Bedroom Condo at Golden Strand - Foto 8
Oceanfront 2 Bedroom Condo at Golden Strand - Foto 9
Oceanfront 2 Bedroom Condo at Golden Strand - Foto 10
Oceanfront 2 Bedroom Condo at Golden Strand - Foto 11
Oceanfront 2 Bedroom Condo at Golden Strand - Foto 12
Oceanfront 2 Bedroom Condo at Golden Strand - Foto 13
Oceanfront 2 Bedroom Condo at Golden Strand - Foto 14
Oceanfront 2 Bedroom Condo at Golden Strand - Foto 15
Oceanfront 2 Bedroom Condo at Golden Strand - Foto 16
Oceanfront 2 Bedroom Condo at Golden Strand - Foto 17
Oceanfront 2 Bedroom Condo at Golden Strand - Foto 18
Oceanfront 2 Bedroom Condo at Golden Strand - Foto 19
Oceanfront 2 Bedroom Condo at Golden Strand - Foto 20
Oceanfront 2 Bedroom Condo at Golden Strand - Foto 21
Oceanfront 2 Bedroom Condo at Golden Strand - Foto 22
Oceanfront 2 Bedroom Condo at Golden Strand - Foto 23
Oceanfront 2 Bedroom Condo at Golden Strand - Foto 24
Oceanfront 2 Bedroom Condo at Golden Strand - Foto 25
Oceanfront 2 Bedroom Condo at Golden Strand - Foto 26
Oceanfront 2 Bedroom Condo at Golden Strand - Foto 27
Oceanfront 2 Bedroom Condo at Golden Strand - Foto 28
Oceanfront 2 Bedroom Condo at Golden Strand - Foto 29
Oceanfront 2 Bedroom Condo at Golden Strand - Foto 30
Oceanfront 2 Bedroom Condo at Golden Strand - Foto 31
Oceanfront 2 Bedroom Condo at Golden Strand - Foto 32
Oceanfront 2 Bedroom Condo at Golden Strand - Foto 33
Oceanfront 2 Bedroom Condo at Golden Strand - Foto 34
Oceanfront 2 Bedroom Condo at Golden Strand - Foto 35
Oceanfront 2 Bedroom Condo at Golden Strand - Foto 36
Oceanfront 2 Bedroom Condo at Golden Strand - Foto 37
Oceanfront 2 Bedroom Condo at Golden Strand - Foto 38

Oceanfront 2 Bedroom Condo at Golden Strand

Kill Devil Hills

  • 3 camere
  • 6 persone
  • Aria condizionata
  • Piscina
  • Parcheggio
  • Ascensore
  • Barbecue
7.3Buono | 9 recensioni
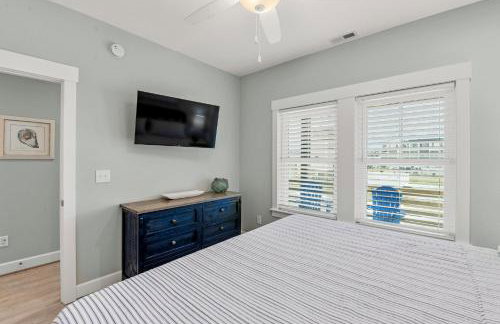
Summer Nights 4 Bedroom Oceanside Home - Foto 1
Summer Nights 4 Bedroom Oceanside Home - Foto 2
Summer Nights 4 Bedroom Oceanside Home - Foto 3
Summer Nights 4 Bedroom Oceanside Home - Foto 4
Summer Nights 4 Bedroom Oceanside Home - Foto 5
Summer Nights 4 Bedroom Oceanside Home - Foto 6
Summer Nights 4 Bedroom Oceanside Home - Foto 7
Summer Nights 4 Bedroom Oceanside Home - Foto 8
Summer Nights 4 Bedroom Oceanside Home - Foto 9
Summer Nights 4 Bedroom Oceanside Home - Foto 10
Summer Nights 4 Bedroom Oceanside Home - Foto 11
Summer Nights 4 Bedroom Oceanside Home - Foto 12
Summer Nights 4 Bedroom Oceanside Home - Foto 13
Summer Nights 4 Bedroom Oceanside Home - Foto 14
Summer Nights 4 Bedroom Oceanside Home - Foto 15
Summer Nights 4 Bedroom Oceanside Home - Foto 16
Summer Nights 4 Bedroom Oceanside Home - Foto 17
Summer Nights 4 Bedroom Oceanside Home - Foto 18
Summer Nights 4 Bedroom Oceanside Home - Foto 19
Summer Nights 4 Bedroom Oceanside Home - Foto 20
Summer Nights 4 Bedroom Oceanside Home - Foto 21
Summer Nights 4 Bedroom Oceanside Home - Foto 22
Summer Nights 4 Bedroom Oceanside Home - Foto 23
Summer Nights 4 Bedroom Oceanside Home - Foto 24
Summer Nights 4 Bedroom Oceanside Home - Foto 25
Summer Nights 4 Bedroom Oceanside Home - Foto 26
Summer Nights 4 Bedroom Oceanside Home - Foto 27
Summer Nights 4 Bedroom Oceanside Home - Foto 28
Summer Nights 4 Bedroom Oceanside Home - Foto 29
Summer Nights 4 Bedroom Oceanside Home - Foto 30
Summer Nights 4 Bedroom Oceanside Home - Foto 31
Summer Nights 4 Bedroom Oceanside Home - Foto 32
Summer Nights 4 Bedroom Oceanside Home - Foto 33
Summer Nights 4 Bedroom Oceanside Home - Foto 34
Summer Nights 4 Bedroom Oceanside Home - Foto 35
Summer Nights 4 Bedroom Oceanside Home - Foto 36
Summer Nights 4 Bedroom Oceanside Home - Foto 37
Summer Nights 4 Bedroom Oceanside Home - Foto 38
Summer Nights 4 Bedroom Oceanside Home - Foto 39
Summer Nights 4 Bedroom Oceanside Home - Foto 40
Summer Nights 4 Bedroom Oceanside Home - Foto 41
Summer Nights 4 Bedroom Oceanside Home - Foto 42
Summer Nights 4 Bedroom Oceanside Home - Foto 43

Summer Nights 4 Bedroom Oceanside Home

Kill Devil Hills

  • 152 M2
  • 4 camere
  • 8 persone
  • Aria condizionata
  • Piscina
  • Parcheggio
  • Barbecue
8.3Molto buono | 3 recensioni
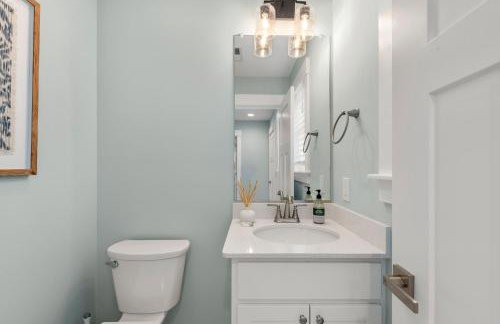
The E Gull Has Landed - Foto 1
The E Gull Has Landed - Foto 2
The E Gull Has Landed - Foto 3
The E Gull Has Landed - Foto 4
The E Gull Has Landed - Foto 5
The E Gull Has Landed - Foto 6
The E Gull Has Landed - Foto 7
The E Gull Has Landed - Foto 8
The E Gull Has Landed - Foto 9
The E Gull Has Landed - Foto 10
The E Gull Has Landed - Foto 11
The E Gull Has Landed - Foto 12
The E Gull Has Landed - Foto 13
The E Gull Has Landed - Foto 14
The E Gull Has Landed - Foto 15
The E Gull Has Landed - Foto 16
The E Gull Has Landed - Foto 17
The E Gull Has Landed - Foto 18
The E Gull Has Landed - Foto 19
The E Gull Has Landed - Foto 20
The E Gull Has Landed - Foto 21
The E Gull Has Landed - Foto 22
The E Gull Has Landed - Foto 23
The E Gull Has Landed - Foto 24
The E Gull Has Landed - Foto 25
The E Gull Has Landed - Foto 26
The E Gull Has Landed - Foto 27

The E Gull Has Landed

Kill Devil Hills

  • 3 camere
  • 6 persone
  • Aria condizionata
  • Riscaldamento
  • Piscina
  • Parcheggio
  • Giardino
7.3Buono | 7 recensioni
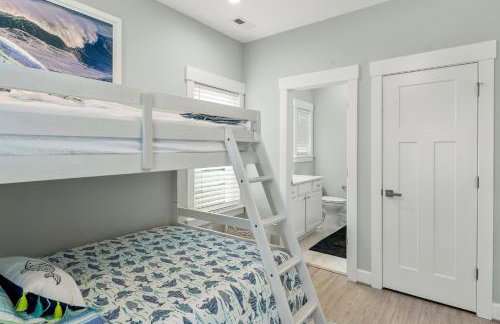
Keys to Serenity- Oceanfront Condo with views and Great Community Amenities! - Foto 1
Keys to Serenity- Oceanfront Condo with views and Great Community Amenities! - Foto 2
Keys to Serenity- Oceanfront Condo with views and Great Community Amenities! - Foto 3
Keys to Serenity- Oceanfront Condo with views and Great Community Amenities! - Foto 4
Keys to Serenity- Oceanfront Condo with views and Great Community Amenities! - Foto 5
Keys to Serenity- Oceanfront Condo with views and Great Community Amenities! - Foto 6
Keys to Serenity- Oceanfront Condo with views and Great Community Amenities! - Foto 7
Keys to Serenity- Oceanfront Condo with views and Great Community Amenities! - Foto 8
Keys to Serenity- Oceanfront Condo with views and Great Community Amenities! - Foto 9
Keys to Serenity- Oceanfront Condo with views and Great Community Amenities! - Foto 10
Keys to Serenity- Oceanfront Condo with views and Great Community Amenities! - Foto 11
Keys to Serenity- Oceanfront Condo with views and Great Community Amenities! - Foto 12
Keys to Serenity- Oceanfront Condo with views and Great Community Amenities! - Foto 13
Keys to Serenity- Oceanfront Condo with views and Great Community Amenities! - Foto 14
Keys to Serenity- Oceanfront Condo with views and Great Community Amenities! - Foto 15
Keys to Serenity- Oceanfront Condo with views and Great Community Amenities! - Foto 16
Keys to Serenity- Oceanfront Condo with views and Great Community Amenities! - Foto 17
Keys to Serenity- Oceanfront Condo with views and Great Community Amenities! - Foto 18
Keys to Serenity- Oceanfront Condo with views and Great Community Amenities! - Foto 19
Keys to Serenity- Oceanfront Condo with views and Great Community Amenities! - Foto 20
Keys to Serenity- Oceanfront Condo with views and Great Community Amenities! - Foto 21
Keys to Serenity- Oceanfront Condo with views and Great Community Amenities! - Foto 22
Keys to Serenity- Oceanfront Condo with views and Great Community Amenities! - Foto 23
Keys to Serenity- Oceanfront Condo with views and Great Community Amenities! - Foto 24
Keys to Serenity- Oceanfront Condo with views and Great Community Amenities! - Foto 25
Keys to Serenity- Oceanfront Condo with views and Great Community Amenities! - Foto 26
Keys to Serenity- Oceanfront Condo with views and Great Community Amenities! - Foto 27

Keys to Serenity- Oceanfront Condo with views and Great Community Amenities!

Kill Devil Hills

  • 68 M2
  • 2 persone
  • Aria condizionata
  • Riscaldamento
  • Piscina
  • Parcheggio
  • Ascensore
10Magnifico | 1 recensione
First Flight Retreat 105 - Foto 1
First Flight Retreat 105 - Foto 2
First Flight Retreat 105 - Foto 3
First Flight Retreat 105 - Foto 4
First Flight Retreat 105 - Foto 5
First Flight Retreat 105 - Foto 6
First Flight Retreat 105 - Foto 7
First Flight Retreat 105 - Foto 8
First Flight Retreat 105 - Foto 9
First Flight Retreat 105 - Foto 10
First Flight Retreat 105 - Foto 11
First Flight Retreat 105 - Foto 12
First Flight Retreat 105 - Foto 13
First Flight Retreat 105 - Foto 14
First Flight Retreat 105 - Foto 15
First Flight Retreat 105 - Foto 16
First Flight Retreat 105 - Foto 17
First Flight Retreat 105 - Foto 18
First Flight Retreat 105 - Foto 19
First Flight Retreat 105 - Foto 20
First Flight Retreat 105 - Foto 21

First Flight Retreat 105

Kill Devil Hills

  • 2 camere
  • 4 persone
  • Aria condizionata
  • Riscaldamento
  • Piscina
  • Parcheggio
  • Ascensore
  • Giardino
10Magnifico | 1 recensione
Four Roses - Foto 1
Four Roses - Foto 2
Four Roses - Foto 3
Four Roses - Foto 4
Four Roses - Foto 5
Four Roses - Foto 6
Four Roses - Foto 7
Four Roses - Foto 8
Four Roses - Foto 9
Four Roses - Foto 10
Four Roses - Foto 11
Four Roses - Foto 12
Four Roses - Foto 13
Four Roses - Foto 14
Four Roses - Foto 15
Four Roses - Foto 16
Four Roses - Foto 17
Four Roses - Foto 18
Four Roses - Foto 19
Four Roses - Foto 20
Four Roses - Foto 21
Four Roses - Foto 22
Four Roses - Foto 23
Four Roses - Foto 24
Four Roses - Foto 25
Four Roses - Foto 26
Four Roses - Foto 27
Four Roses - Foto 28
Four Roses - Foto 29
Four Roses - Foto 30
Four Roses - Foto 31
Four Roses - Foto 32
Four Roses - Foto 33
Four Roses - Foto 34
Four Roses - Foto 35
Four Roses - Foto 36
Four Roses - Foto 37
Four Roses - Foto 38
Four Roses - Foto 39
Four Roses - Foto 40
Four Roses - Foto 41
Four Roses - Foto 42
Four Roses - Foto 43
Four Roses - Foto 44
Four Roses - Foto 45
Four Roses - Foto 46
Four Roses - Foto 47
Four Roses - Foto 48
Four Roses - Foto 49
Four Roses - Foto 50
Four Roses - Foto 51
Four Roses - Foto 52
Four Roses - Foto 53
Four Roses - Foto 54
Four Roses - Foto 55
Four Roses - Foto 56
Four Roses - Foto 57
Four Roses - Foto 58
Four Roses - Foto 59
Four Roses - Foto 60
Four Roses - Foto 61
Four Roses - Foto 62
Four Roses - Foto 63
Four Roses - Foto 64
Four Roses - Foto 65
Four Roses - Foto 66
Four Roses - Foto 67
Four Roses - Foto 68
Four Roses - Foto 69
Four Roses - Foto 70
Four Roses - Foto 71
Four Roses - Foto 72
Four Roses - Foto 73
Four Roses - Foto 74
Four Roses - Foto 75
Four Roses - Foto 76
Four Roses - Foto 77
Four Roses - Foto 78
Four Roses - Foto 79
Four Roses - Foto 80

Four Roses

Kill Devil Hills

  • 6 camere
  • 12 persone
  • Aria condizionata
  • Riscaldamento
  • Piscina
  • Parcheggio
  • Ascensore
  • Giardino
  • Barbecue
10Magnifico | 1 recensione
Bay Breeze - Foto 1
Bay Breeze - Foto 2
Bay Breeze - Foto 3
Bay Breeze - Foto 4
Bay Breeze - Foto 5
Bay Breeze - Foto 6
Bay Breeze - Foto 7
Bay Breeze - Foto 8
Bay Breeze - Foto 9
Bay Breeze - Foto 10
Bay Breeze - Foto 11
Bay Breeze - Foto 12
Bay Breeze - Foto 13
Bay Breeze - Foto 14
Bay Breeze - Foto 15
Bay Breeze - Foto 16
Bay Breeze - Foto 17
Bay Breeze - Foto 18
Bay Breeze - Foto 19
Bay Breeze - Foto 20
Bay Breeze - Foto 21
Bay Breeze - Foto 22
Bay Breeze - Foto 23
Bay Breeze - Foto 24
Bay Breeze - Foto 25
Bay Breeze - Foto 26
Bay Breeze - Foto 27
Bay Breeze - Foto 28
Bay Breeze - Foto 29
Bay Breeze - Foto 30
Bay Breeze - Foto 31

Bay Breeze

Kill Devil Hills

  • 3 camere
  • 6 persone
  • Aria condizionata
  • Riscaldamento
  • Piscina
  • Parcheggio
  • Giardino
  • Barbecue
7.3Buono | 3 recensioni
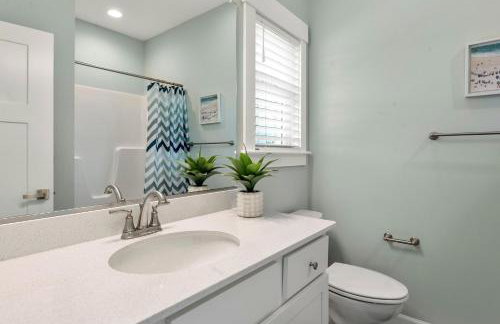
SO5A - Oceanside Bungalow - Foto 1
SO5A - Oceanside Bungalow - Foto 2
SO5A - Oceanside Bungalow - Foto 3
SO5A - Oceanside Bungalow - Foto 4
SO5A - Oceanside Bungalow - Foto 5
SO5A - Oceanside Bungalow - Foto 6
SO5A - Oceanside Bungalow - Foto 7
SO5A - Oceanside Bungalow - Foto 8
SO5A - Oceanside Bungalow - Foto 9
SO5A - Oceanside Bungalow - Foto 10
SO5A - Oceanside Bungalow - Foto 11
SO5A - Oceanside Bungalow - Foto 12
SO5A - Oceanside Bungalow - Foto 13
SO5A - Oceanside Bungalow - Foto 14
SO5A - Oceanside Bungalow - Foto 15
SO5A - Oceanside Bungalow - Foto 16
SO5A - Oceanside Bungalow - Foto 17
SO5A - Oceanside Bungalow - Foto 18
SO5A - Oceanside Bungalow - Foto 19
SO5A - Oceanside Bungalow - Foto 20
SO5A - Oceanside Bungalow - Foto 21
SO5A - Oceanside Bungalow - Foto 22
SO5A - Oceanside Bungalow - Foto 23
SO5A - Oceanside Bungalow - Foto 24
SO5A - Oceanside Bungalow - Foto 25
SO5A - Oceanside Bungalow - Foto 26
SO5A - Oceanside Bungalow - Foto 27
SO5A - Oceanside Bungalow - Foto 28
SO5A - Oceanside Bungalow - Foto 29
SO5A - Oceanside Bungalow - Foto 30
SO5A - Oceanside Bungalow - Foto 31
SO5A - Oceanside Bungalow - Foto 32
SO5A - Oceanside Bungalow - Foto 33
SO5A - Oceanside Bungalow - Foto 34

SO5A - Oceanside Bungalow

Kill Devil Hills

  • 83 M2
  • 2 camere
  • 4 persone
  • Aria condizionata
  • Riscaldamento
  • Parcheggio
7.5Buono | 2 recensioni
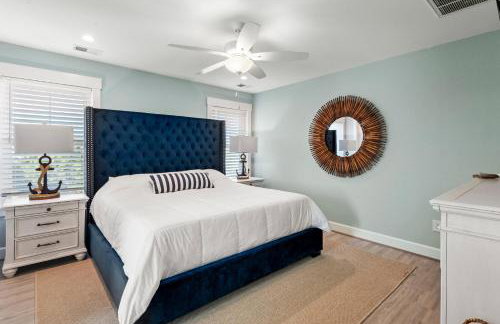
Crystal Shores 202 - Foto 1
Crystal Shores 202 - Foto 2
Crystal Shores 202 - Foto 3
Crystal Shores 202 - Foto 4
Crystal Shores 202 - Foto 5
Crystal Shores 202 - Foto 6
Crystal Shores 202 - Foto 7
Crystal Shores 202 - Foto 8
Crystal Shores 202 - Foto 9
Crystal Shores 202 - Foto 10
Crystal Shores 202 - Foto 11
Crystal Shores 202 - Foto 12
Crystal Shores 202 - Foto 13
Crystal Shores 202 - Foto 14
Crystal Shores 202 - Foto 15
Crystal Shores 202 - Foto 16
Crystal Shores 202 - Foto 17
Crystal Shores 202 - Foto 18
Crystal Shores 202 - Foto 19
Crystal Shores 202 - Foto 20
Crystal Shores 202 - Foto 21
Crystal Shores 202 - Foto 22
Crystal Shores 202 - Foto 23
Crystal Shores 202 - Foto 24
Crystal Shores 202 - Foto 25
Crystal Shores 202 - Foto 26
Crystal Shores 202 - Foto 27
Crystal Shores 202 - Foto 28
Crystal Shores 202 - Foto 29
Crystal Shores 202 - Foto 30
Crystal Shores 202 - Foto 31
Crystal Shores 202 - Foto 32
Crystal Shores 202 - Foto 33
Crystal Shores 202 - Foto 34
Crystal Shores 202 - Foto 35
Crystal Shores 202 - Foto 36
Crystal Shores 202 - Foto 37

Crystal Shores 202

Kill Devil Hills

  • 3 camere
  • 6 persone
  • Aria condizionata
  • Riscaldamento
  • Piscina
  • Parcheggio
  • Giardino
10Magnifico | 1 recensione