
12 Appartamenti a Westminster


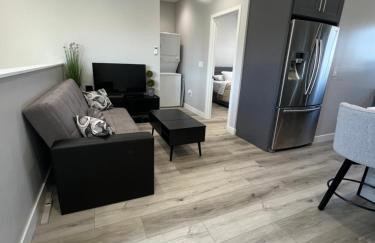
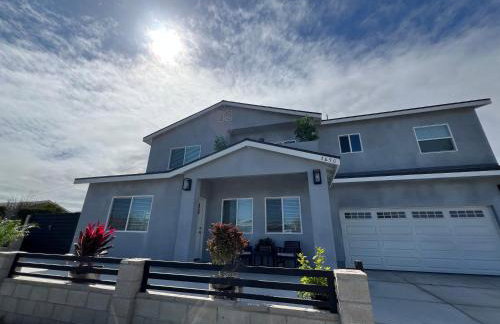
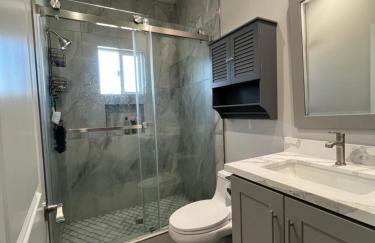
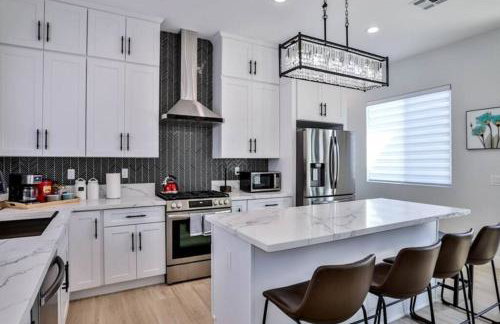
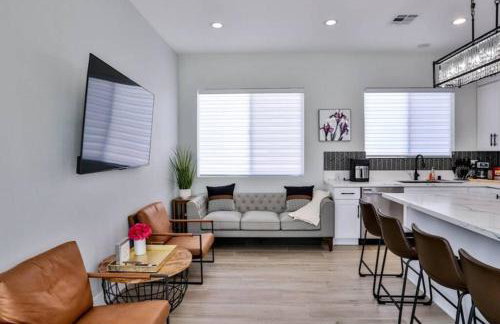
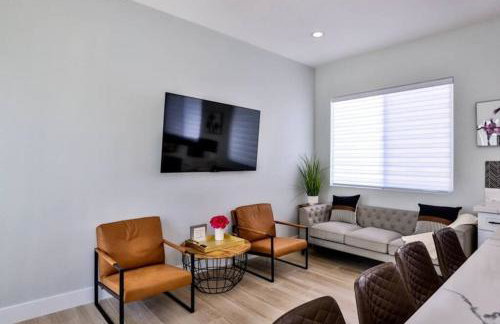
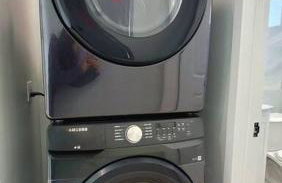
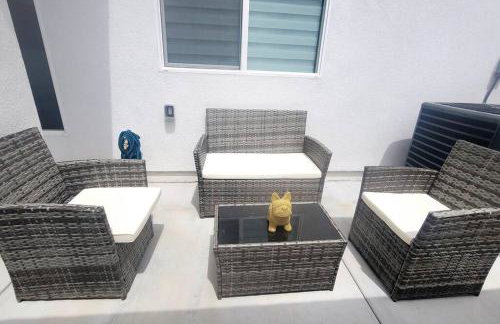
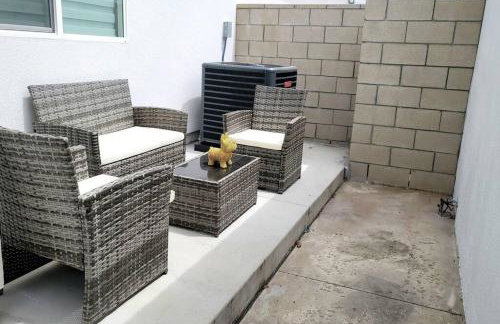
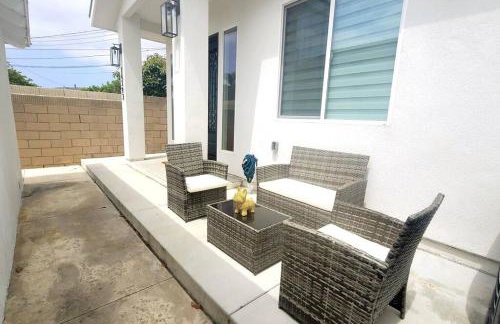
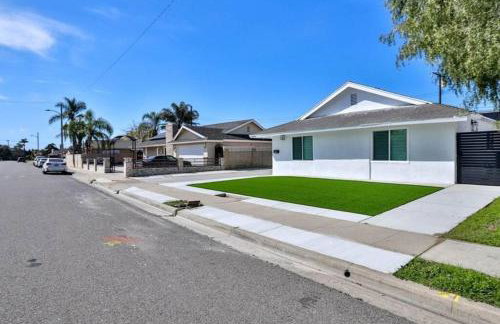
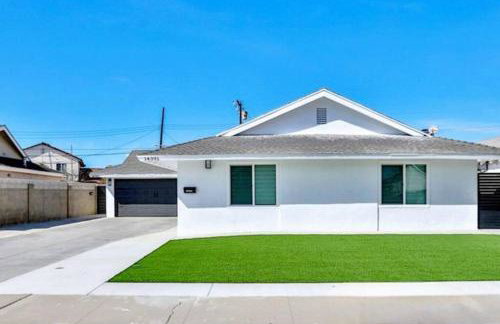
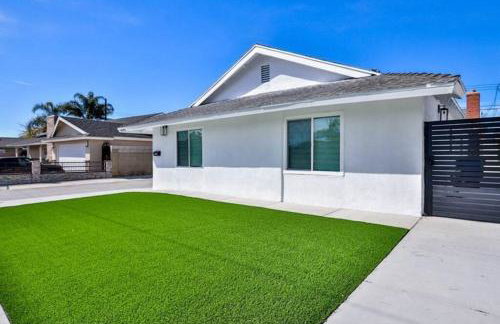
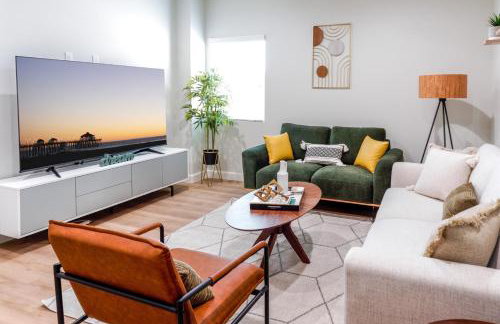
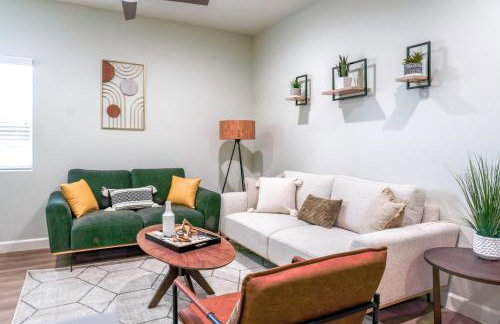
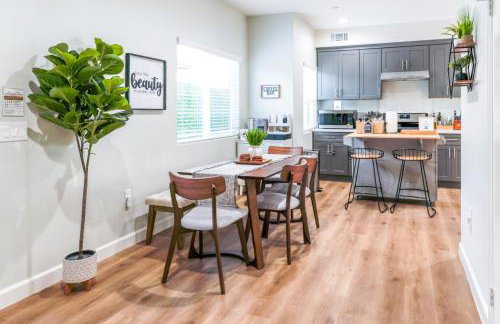
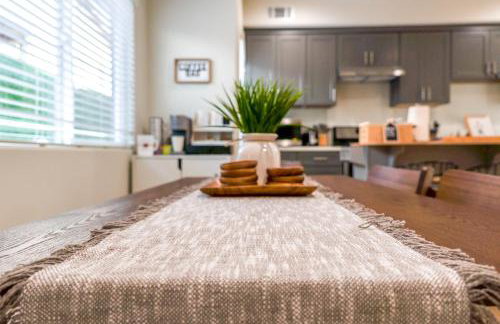
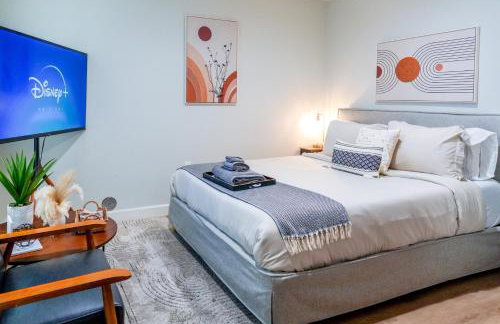
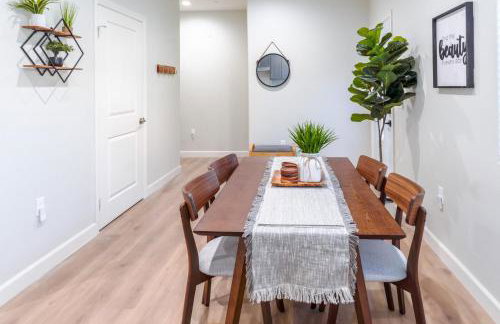
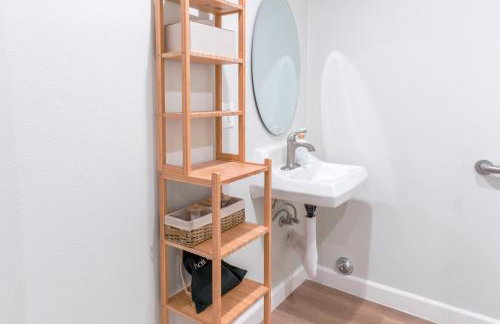
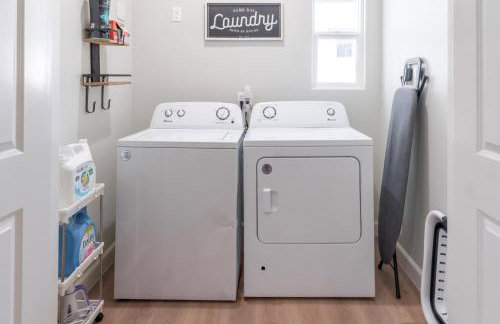
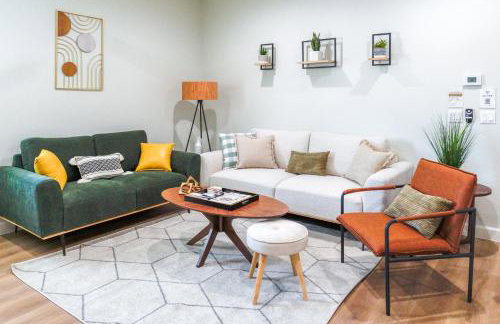
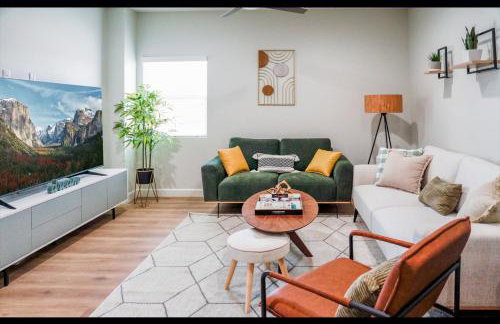
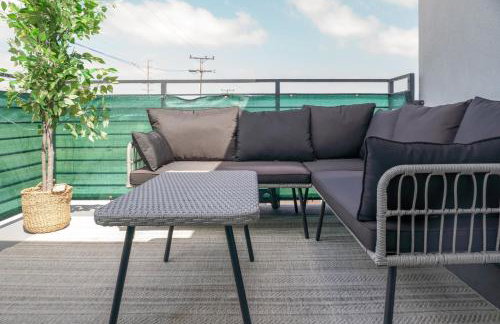
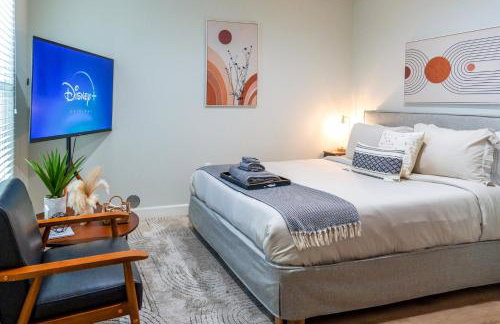
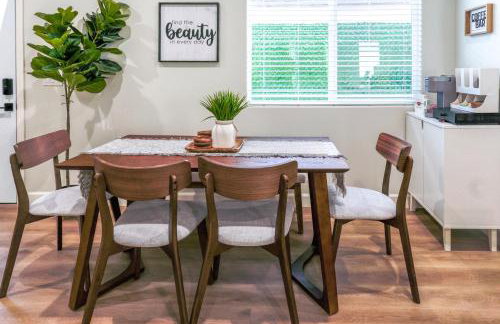
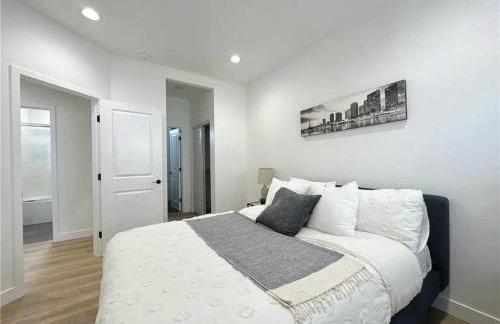
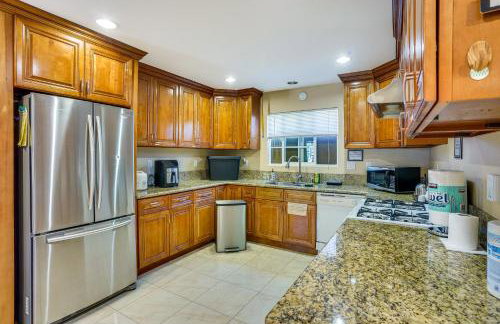
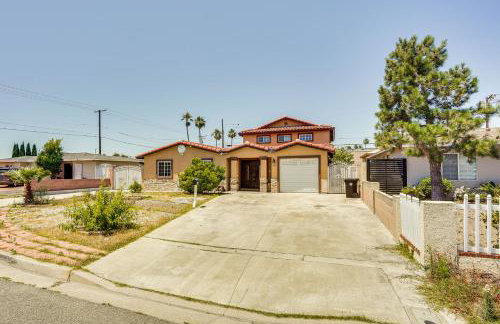
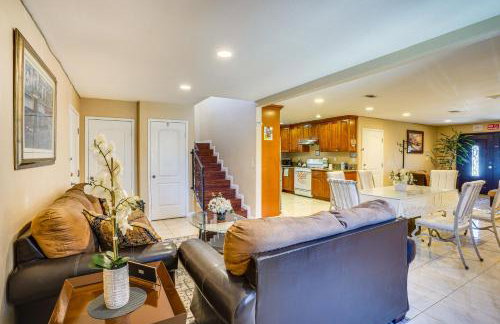
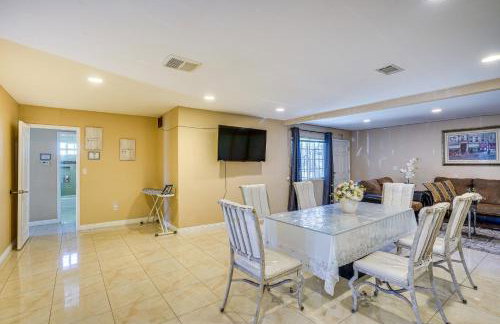
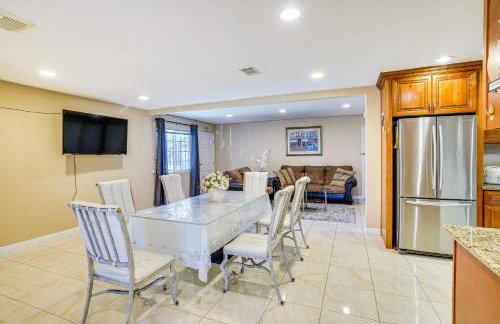
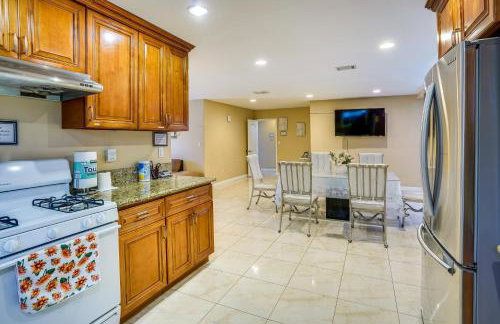
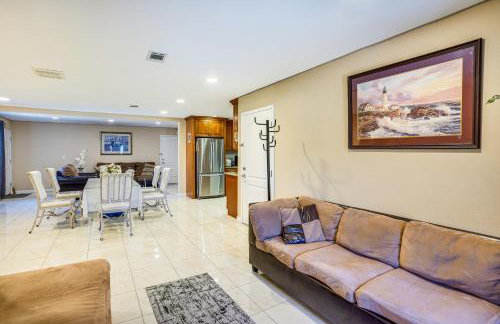
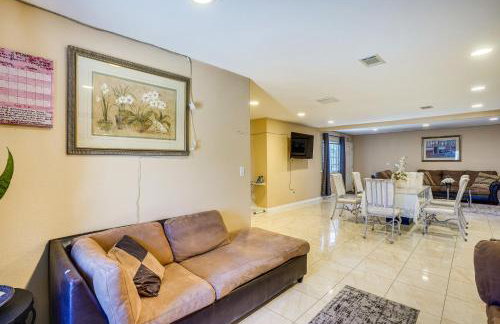
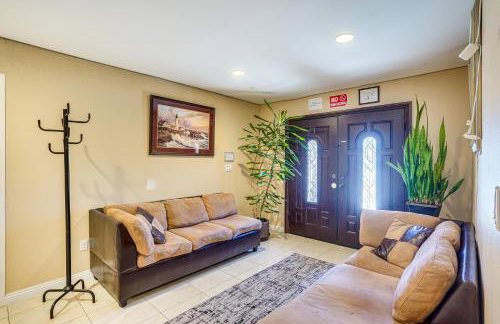
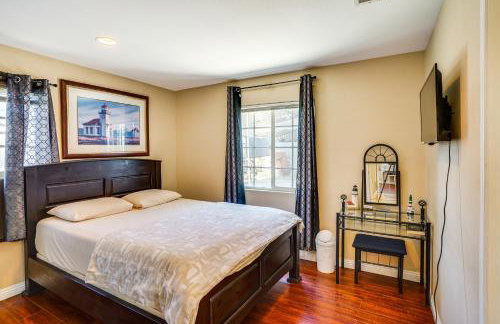
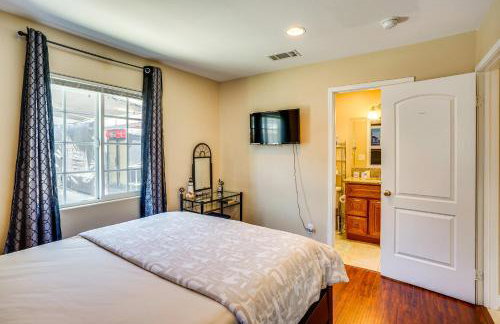
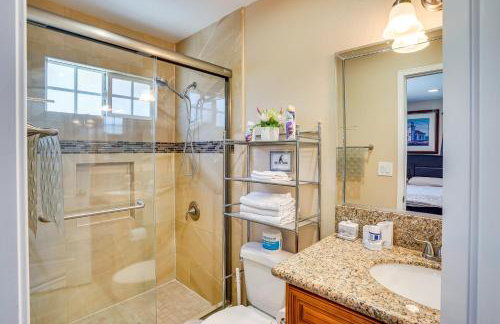
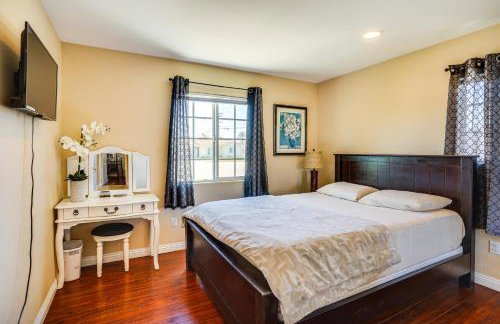
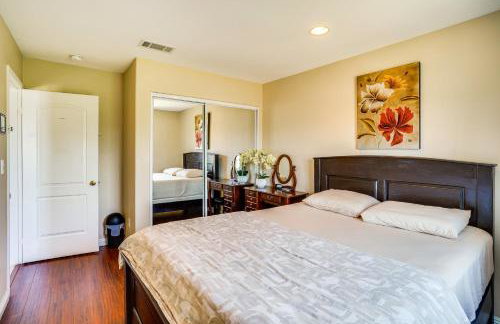
Disneyland Cozy Luxury Retreat I Sleeps 10, King Bed & EV Access
Westminster - 700 m dal centro
- 149 M2
- 3 camere
- 1 persona
- Aria condizionata
- Riscaldamento
- Parcheggio
- Giardino
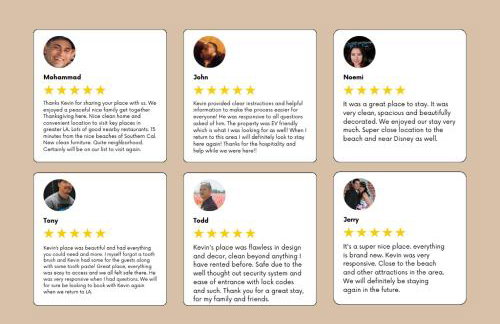
12 recensioni


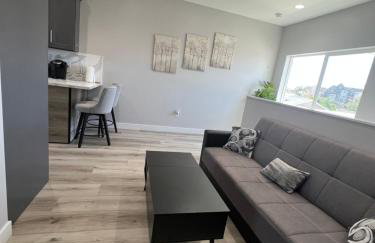
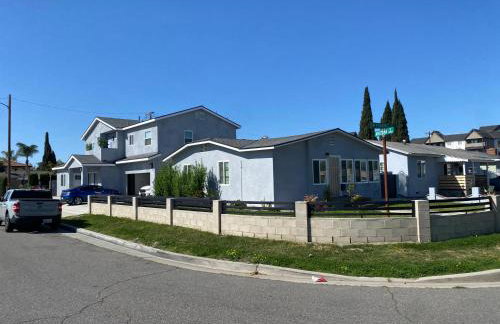
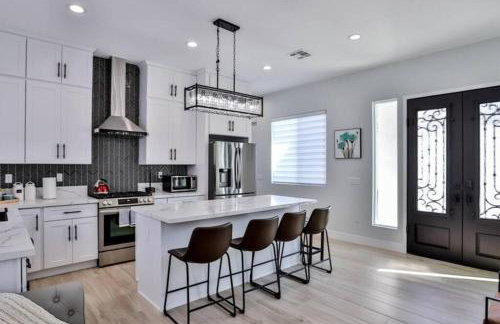
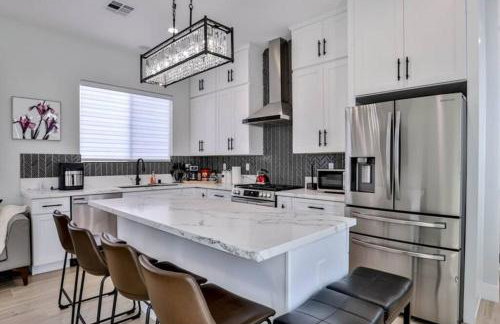
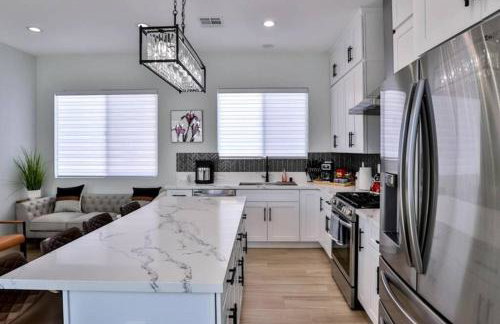
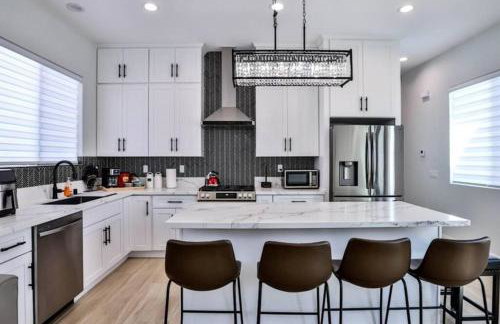
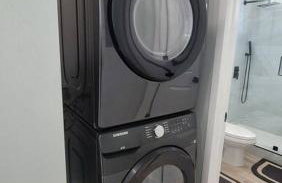
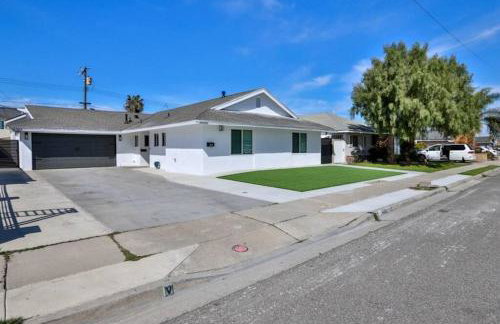
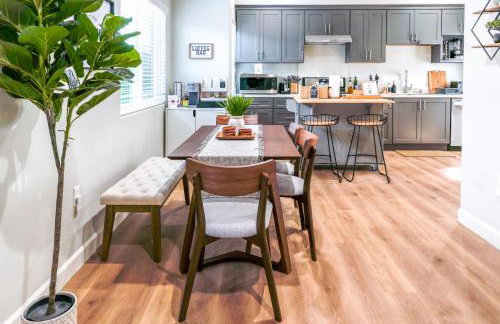
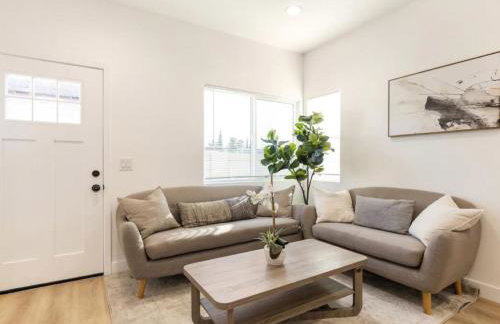
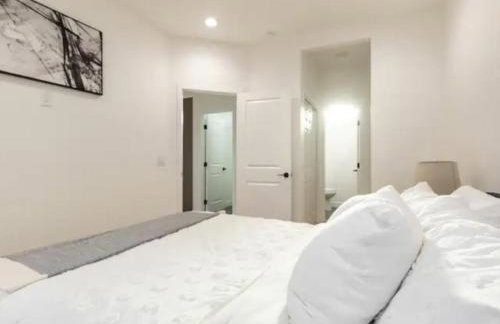
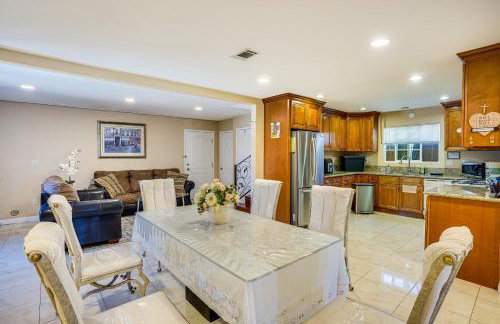
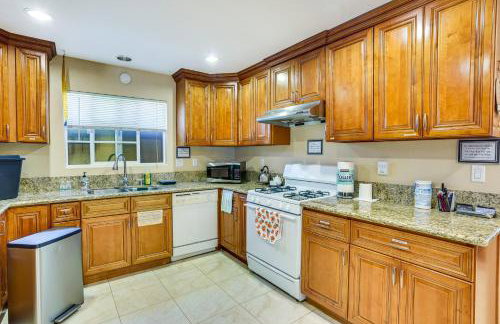
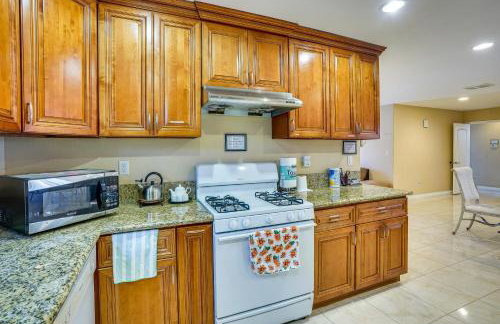
H&H Modern Lux 4BD 1 King Suite 3 Queen SoCal Disney
Westminster - Al centro
- 149 M2
- 4 camere
- Aria condizionata
- Parcheggio
30 recensioni
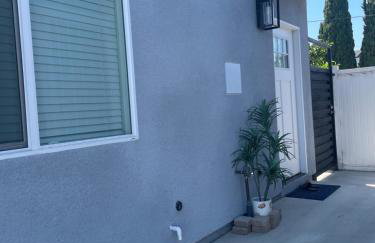
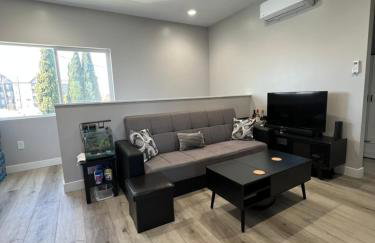
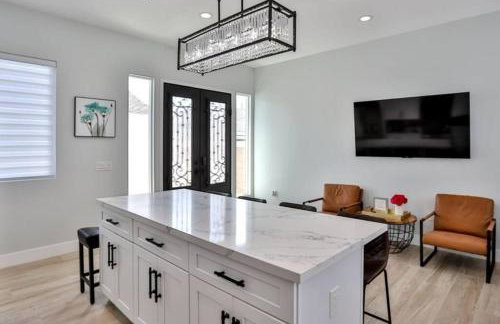
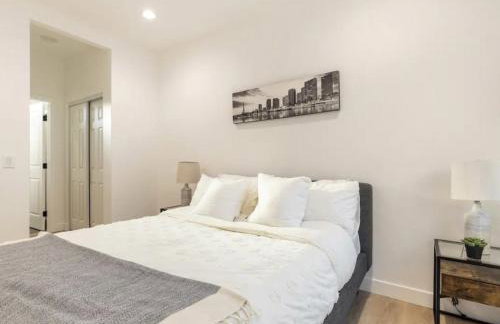
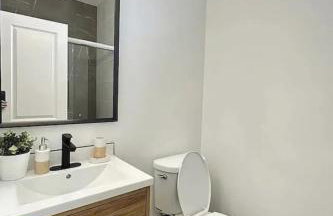
Vacation home
Westminster - 430 m dal centro
- 46 M2
- 1 camera
- 3 persone
- Aria condizionata
- Parcheggio
- Giardino
9 recensioni
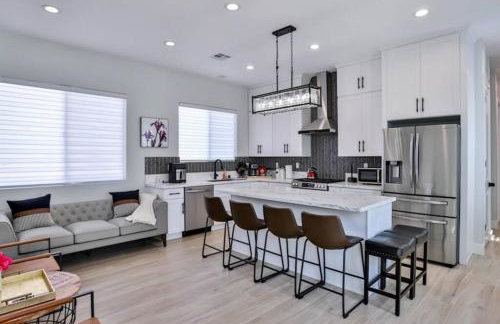


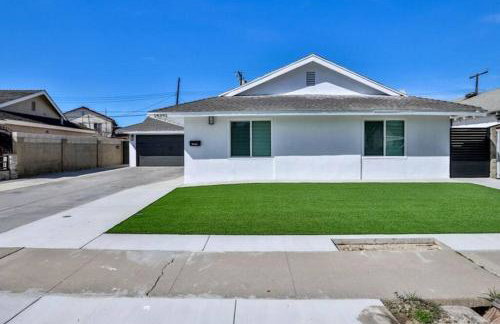


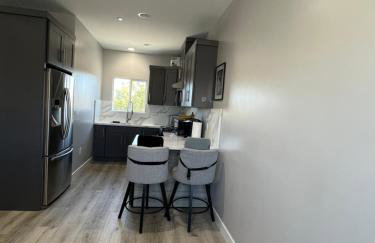
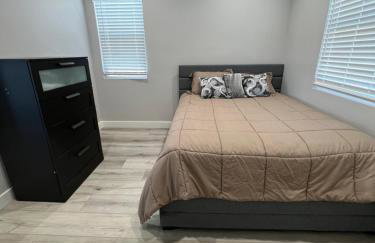
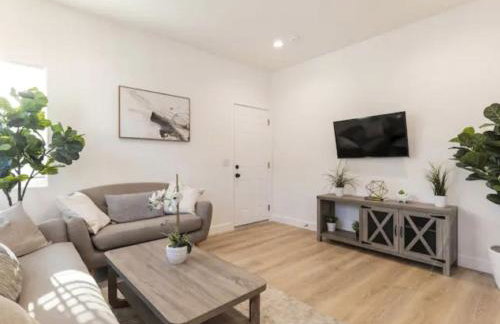
H&H New Built 2023 Hidden Gem Heart of OC 3 Queen Beds
Westminster - Al centro
- 92 M2
- 2 camere
- 5 persone
- Aria condizionata
- Riscaldamento
- Parcheggio
7 recensioni


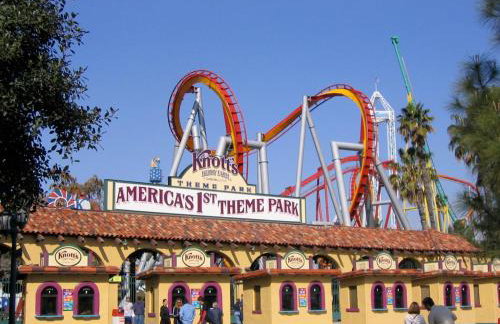
Explore SoCal! Cozy Retreat Near Disney and Beaches
Westminster - 2.7 km dal centro
- 65 M2
- 2 persone
- Riscaldamento
- Parcheggio
2 recensioni


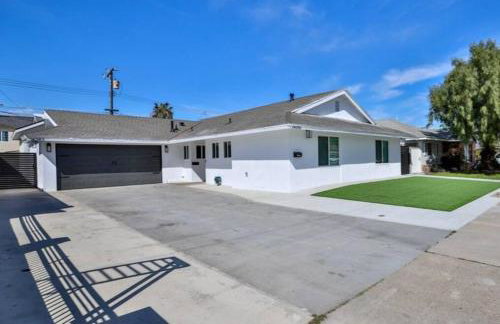
Amazing Value with High Comfort, 14 Guests for 4BR by Disneyland, Beaches, Rodeo 39 & More
Westminster - 710 m dal centro
- 149 M2
- 4 camere
- Aria condizionata
- Riscaldamento
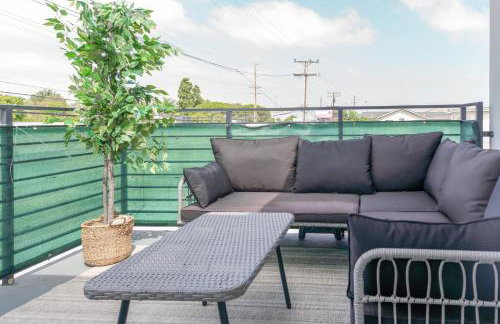
- Terrazza
- Parcheggio
- Giardino
5 recensioni


20 min to Disneyland - Spacious Family Home Near All the Fun
Westminster - 2.3 km dal centro
- 160 M2
- 4 camere
- 8 persone
- Aria condizionata
- Riscaldamento
- Parcheggio
- Giardino
- Barbecue
1 recensione

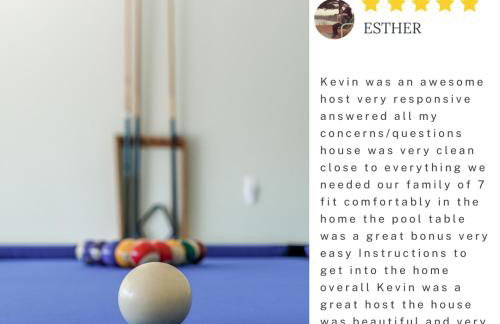
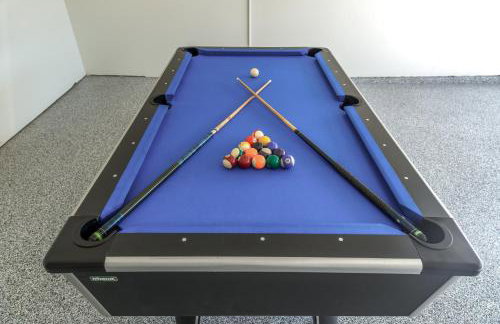

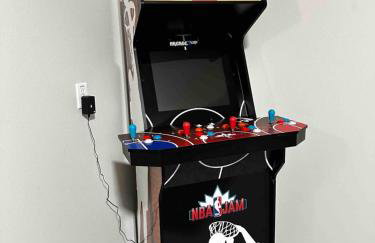
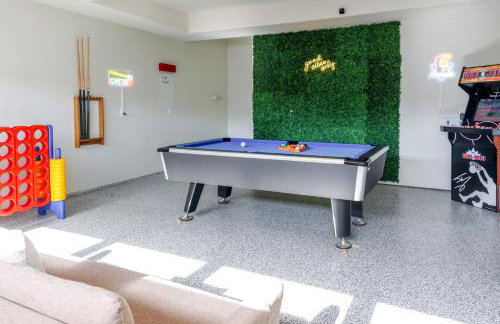
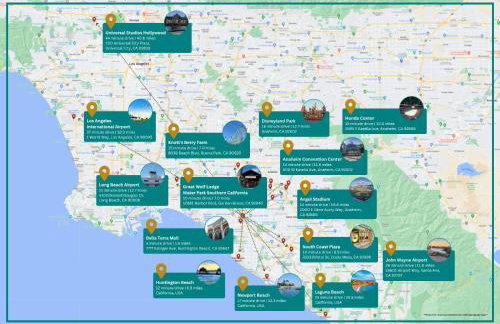


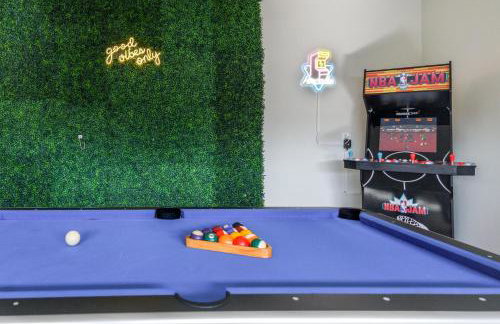
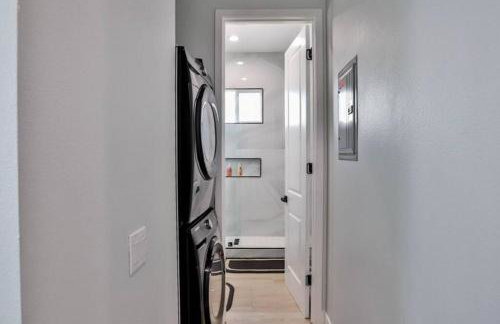
Luxury Disneyland Group Villa I Sleeps 22, Game Room, Pool Table & EV Access
Westminster - 700 m dal centro
- 288 M2
- 6 camere
- 22 persone
- Aria condizionata
- Riscaldamento
- Terrazza
- Parcheggio
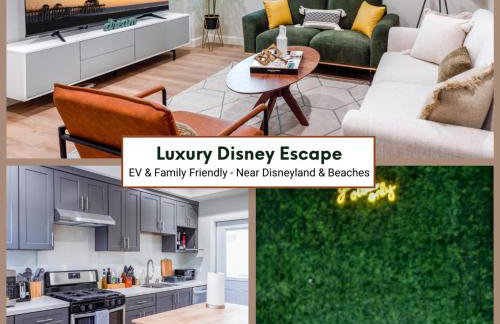
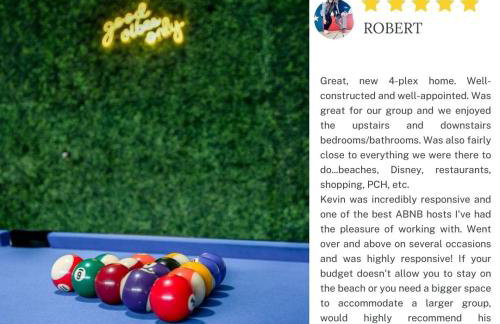


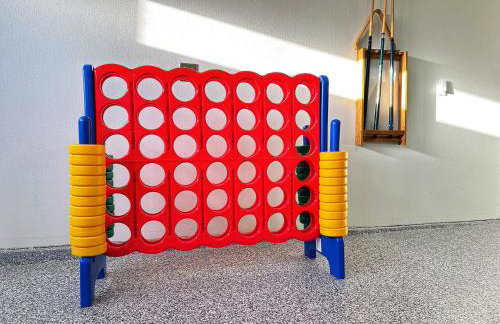


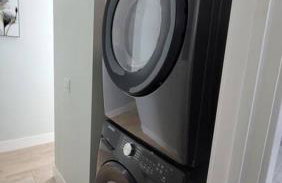
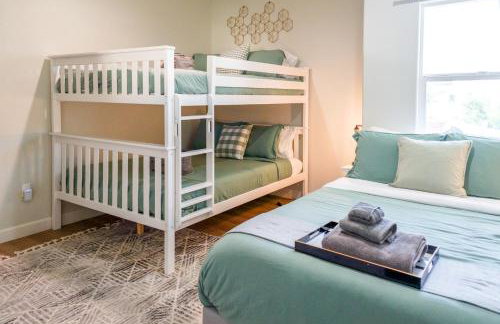
Disneyland Family Retreat I Sleeps 12, Game Room, Pool Table, King Bed & EV Access
Westminster - 710 m dal centro
- 145 M2
- 3 camere
- 1 persona
- Aria condizionata
- Riscaldamento
- Parcheggio
- Giardino


Holiday Home Modern Home by Interhome
Westminster - 2.3 km dal centro
- 90 M2
- 3 camere
- 4 persone
- Aria condizionata
- Parcheggio
- Giardino
- Barbecue


Westminster Apartment Near Beaches and Theme Parks!
Westminster - 810 m dal centro
- 130 M2
- 3 camere
- Riscaldamento
- Parcheggio


Westminster Apartment with Balcony, Near Disneyland!
Westminster - 810 m dal centro
- 56 M2
- 2 camere
- Riscaldamento
- Parcheggio