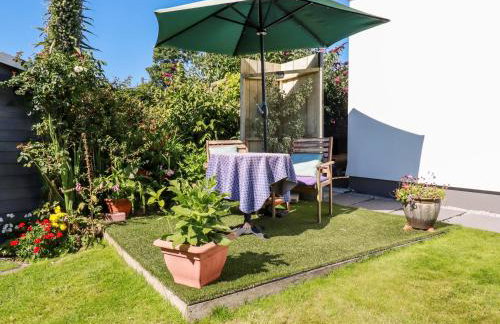
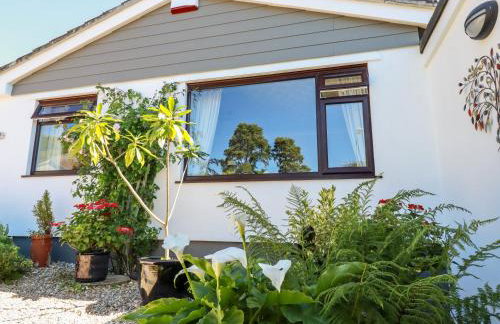
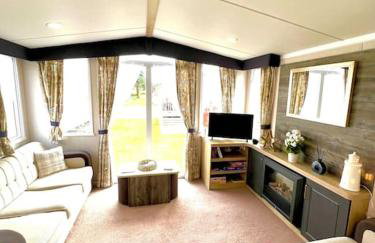
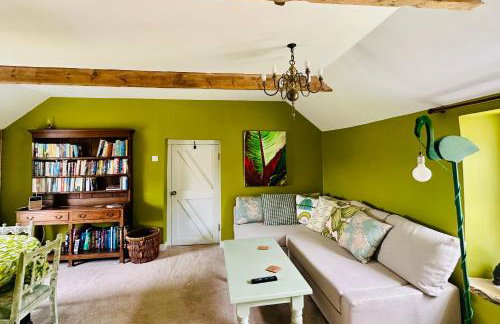
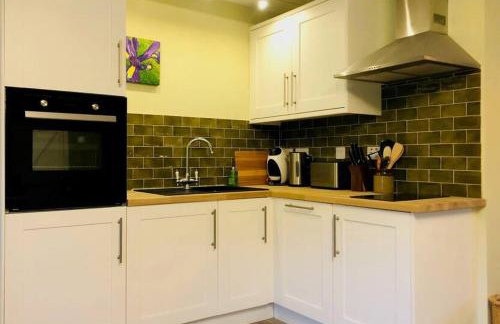
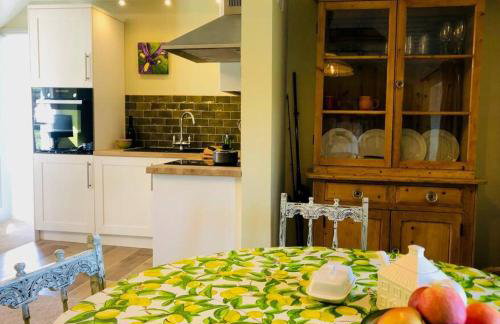
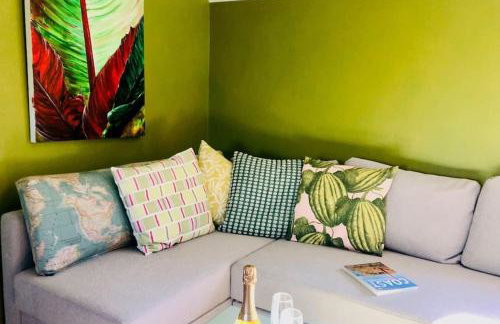
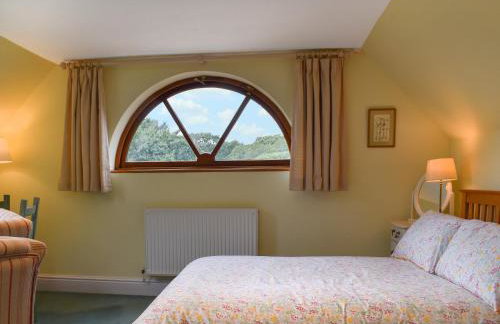
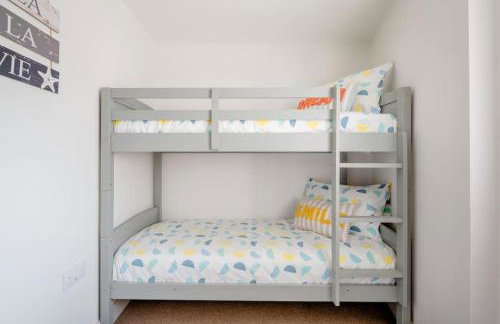
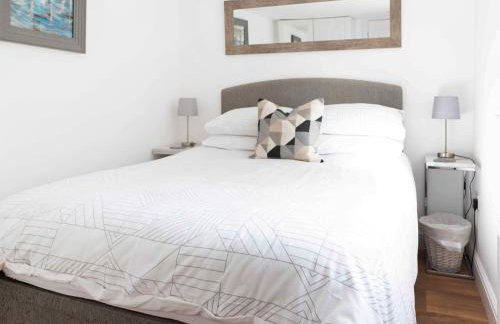
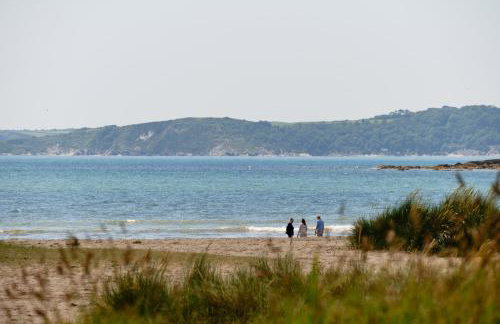
30 Appartamenti a Tywardreath
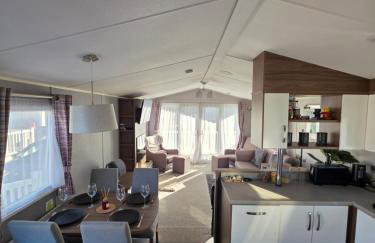


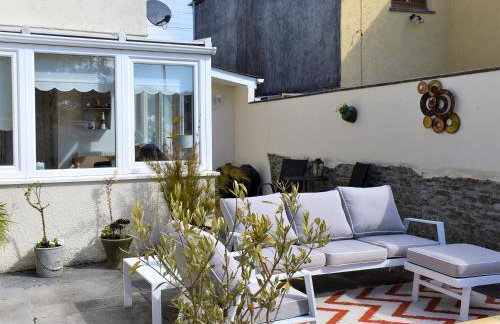
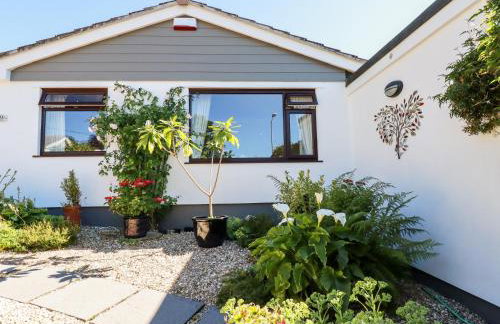
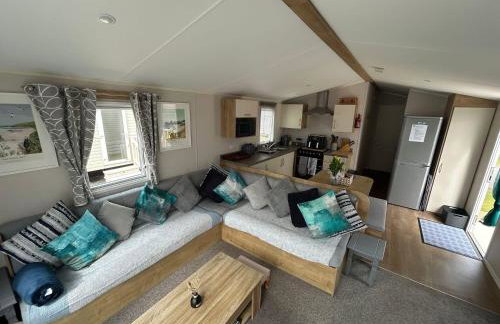
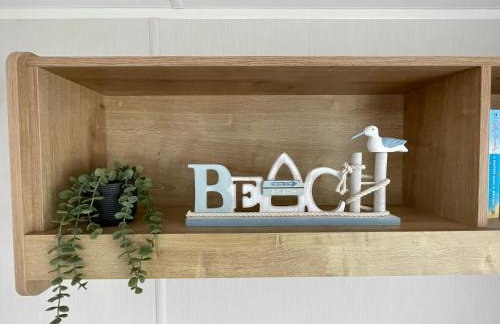
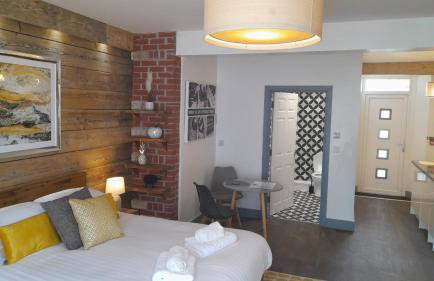
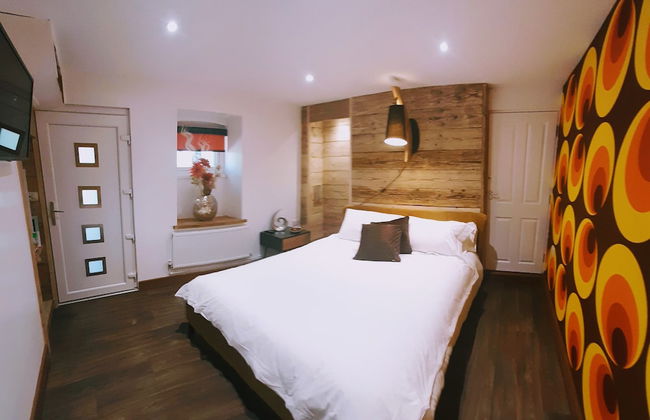
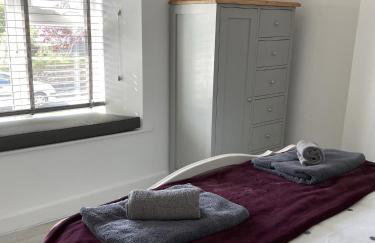
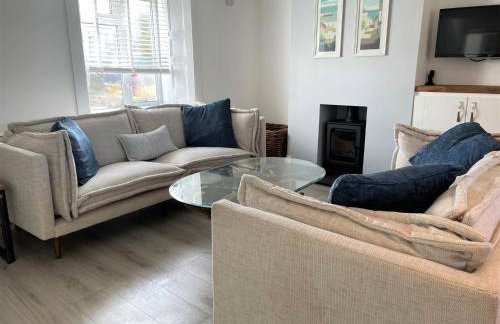
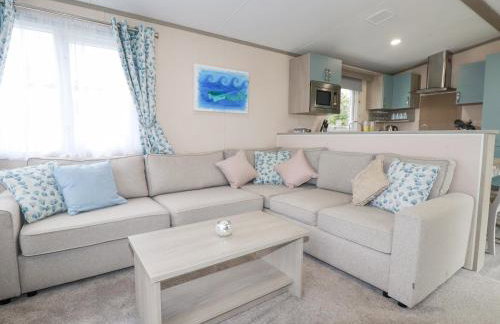
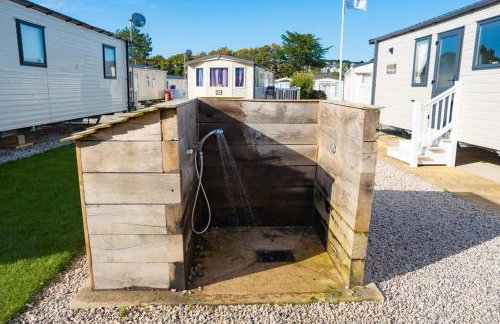
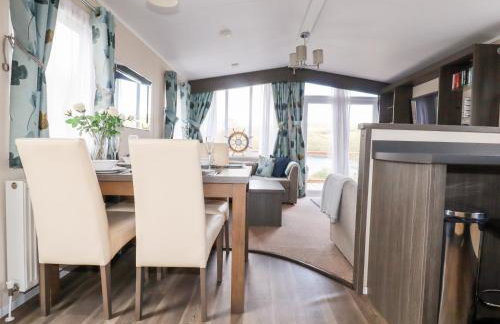
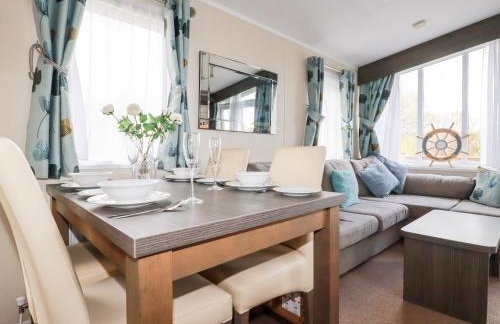
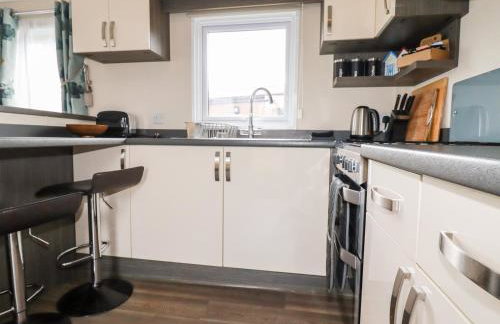
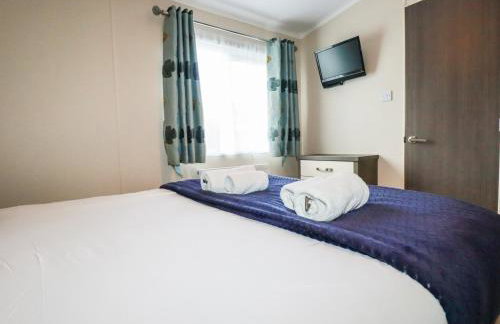
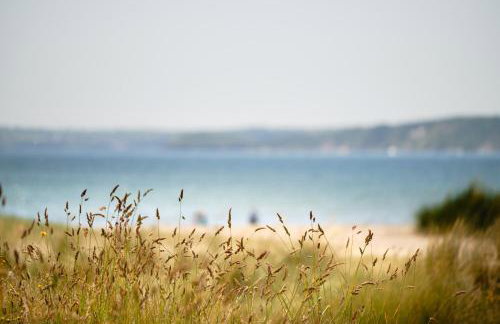
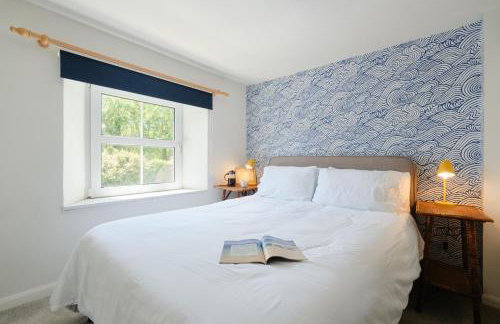
The Beach Retreat
Par - Tywardreath
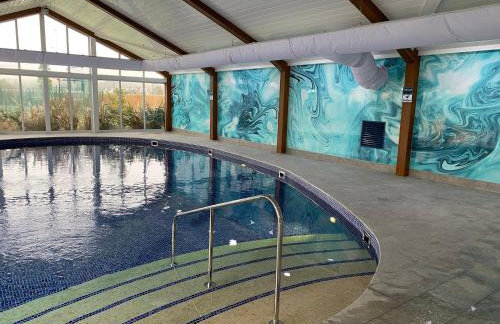
- 39 M2
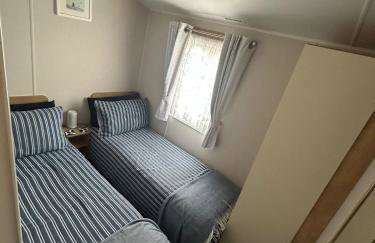
- 2 camere
- 6 persone
- Riscaldamento
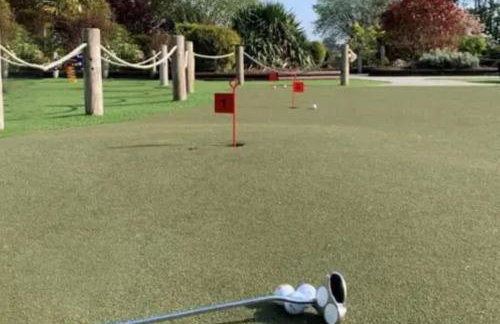
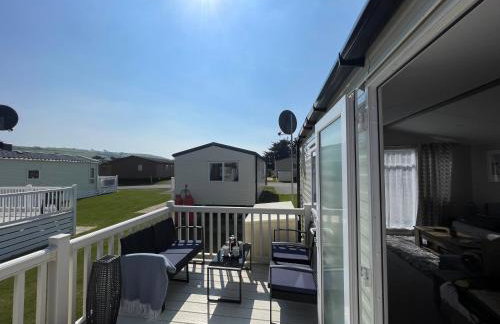
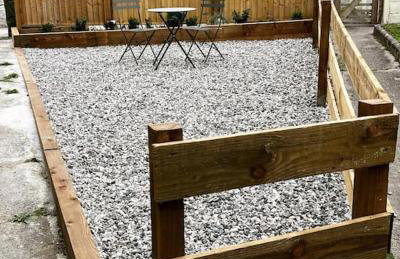
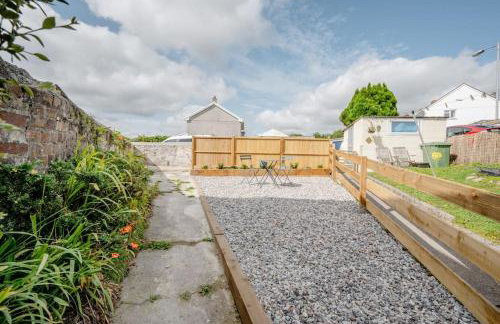
- Terrazza
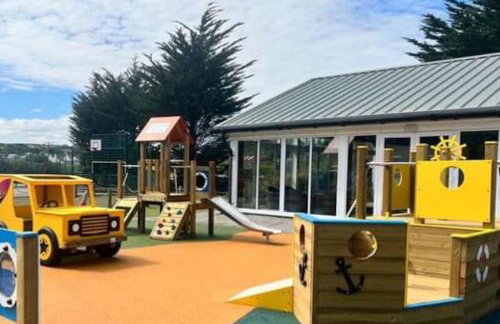
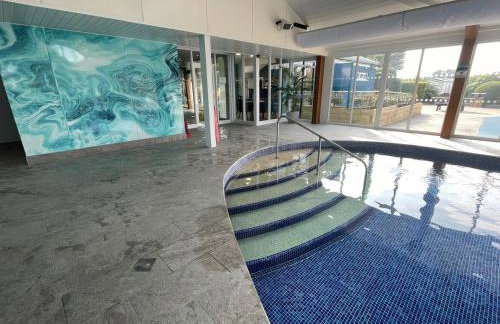
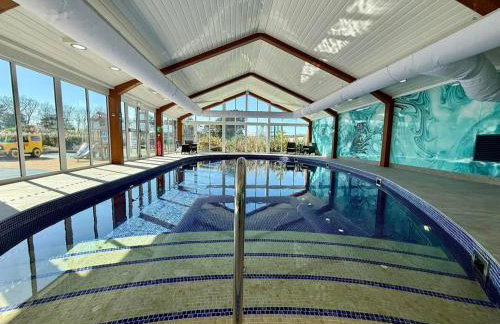
- Piscina
- Parcheggio
54 recensioni
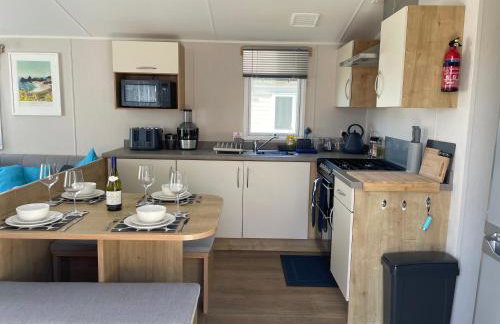


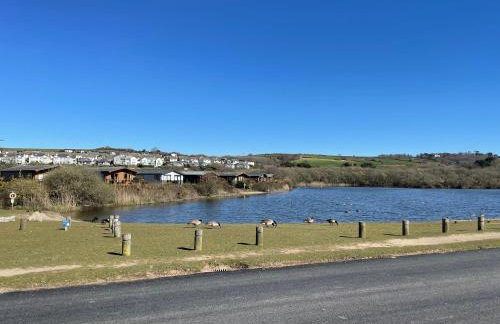


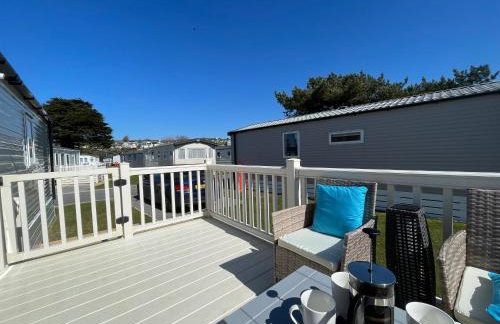
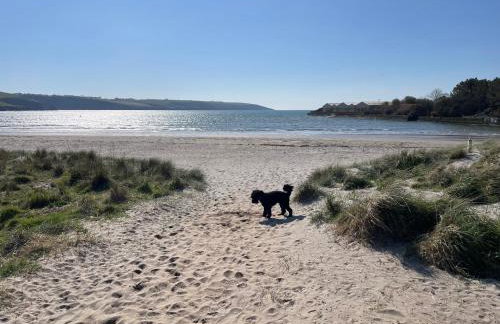


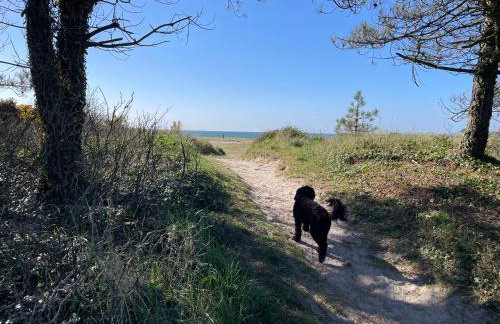

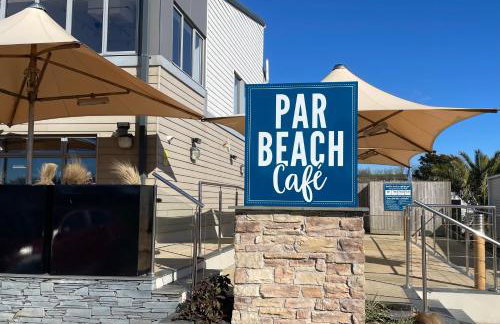

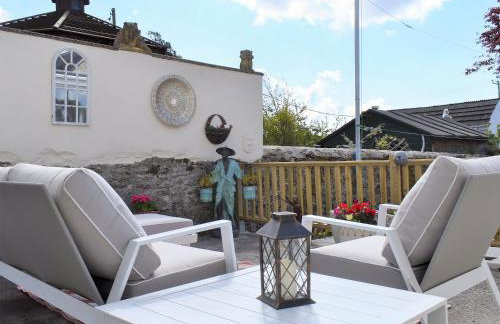
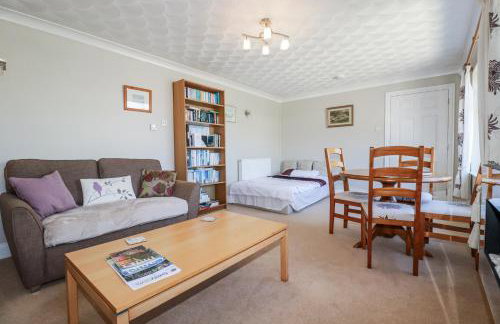
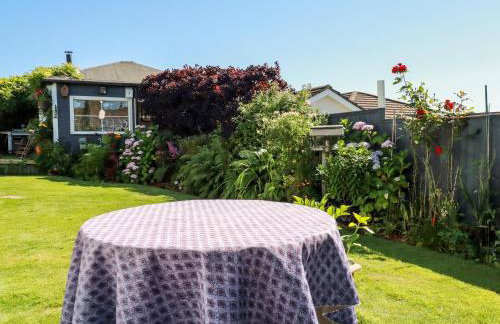
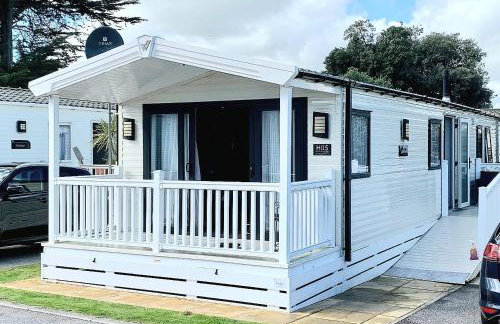
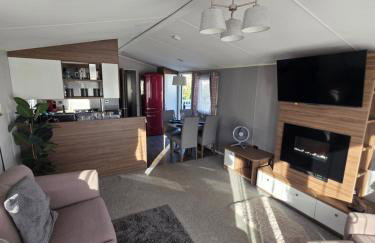
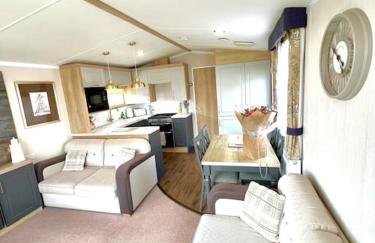
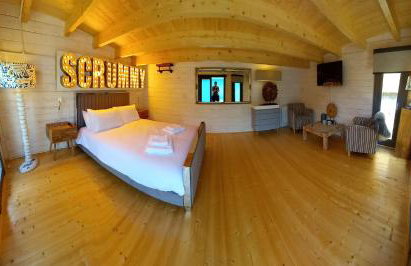
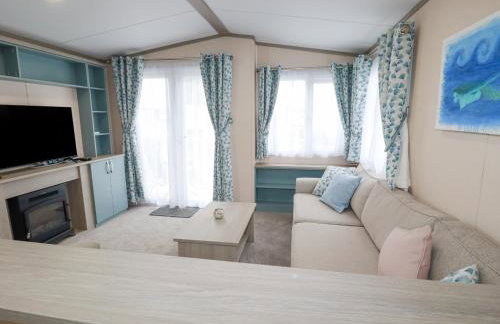
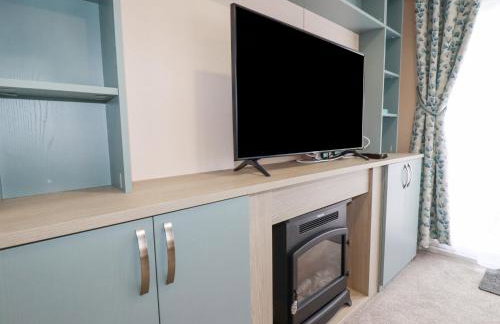
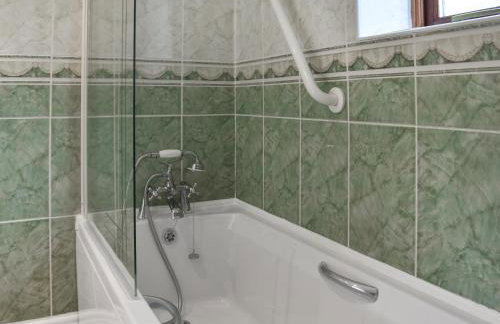
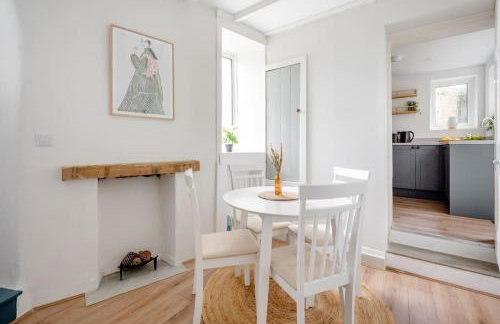
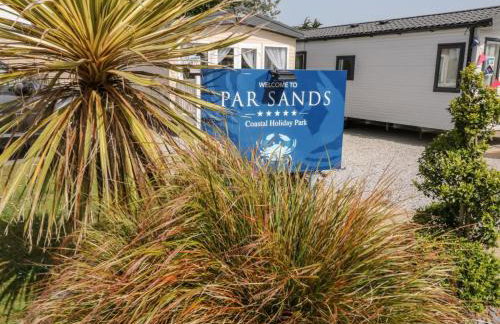
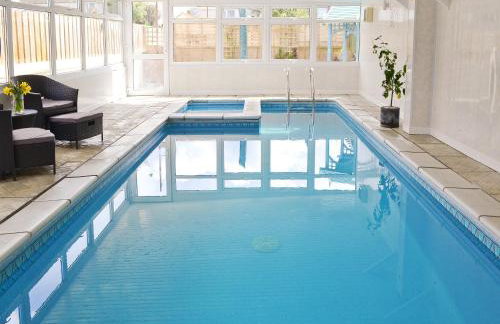
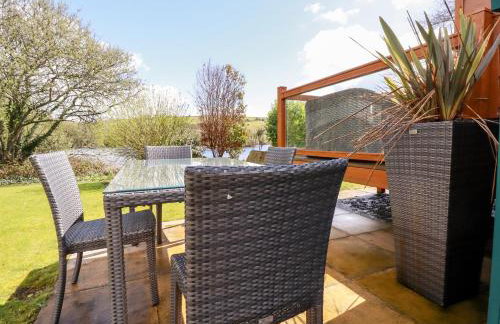
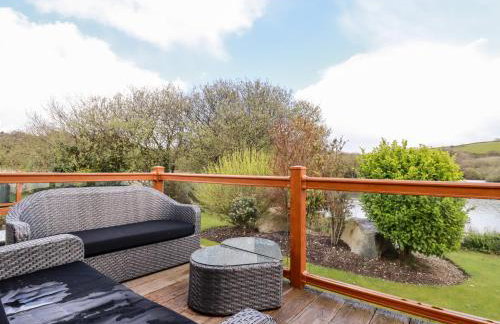
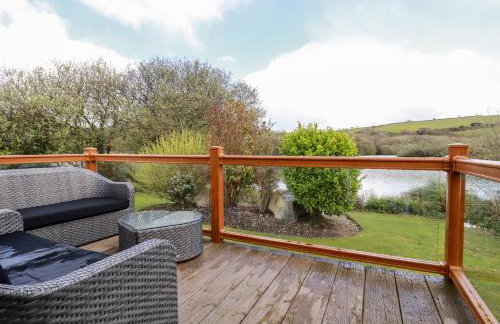
Golden Dunes Retreat, Dog-Friendly Stay at Par Sands Holiday Park, Cornwall
Par - Tywardreath
- 40 M2
- 2 camere
- 4 persone
- Riscaldamento
- Terrazza
- Piscina
- Parcheggio
- Giardino
21 recensioni


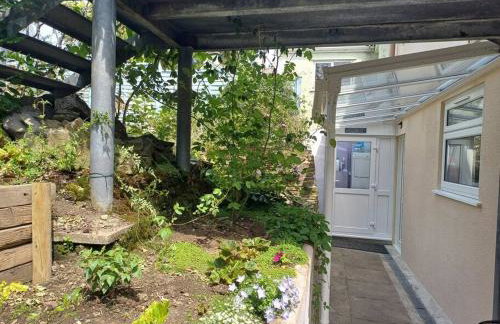


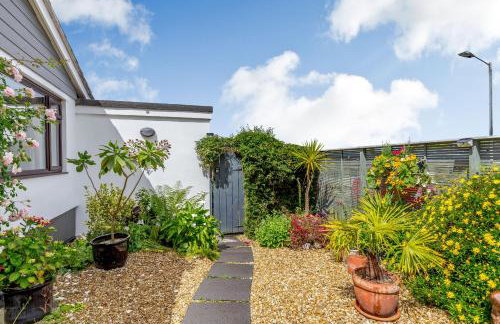
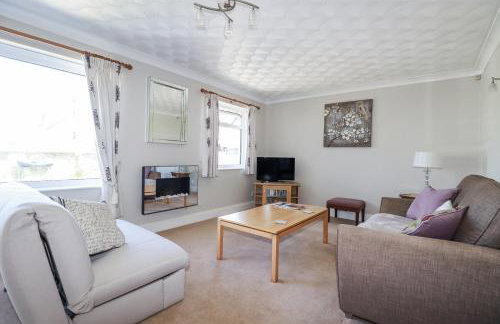
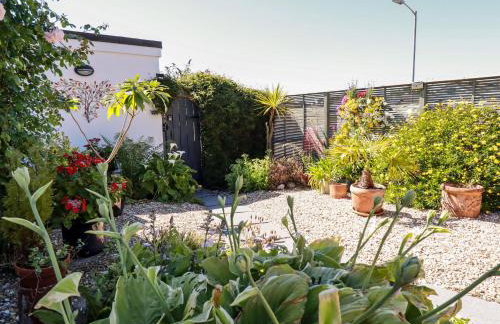
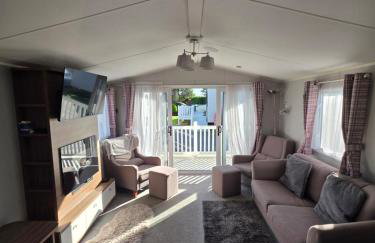
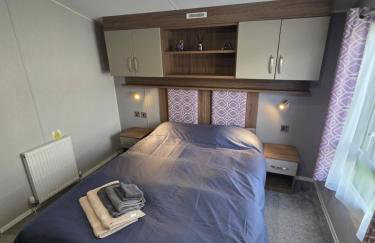
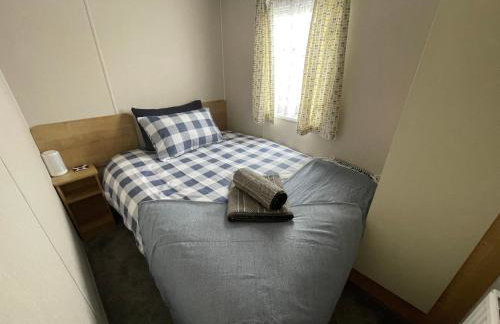
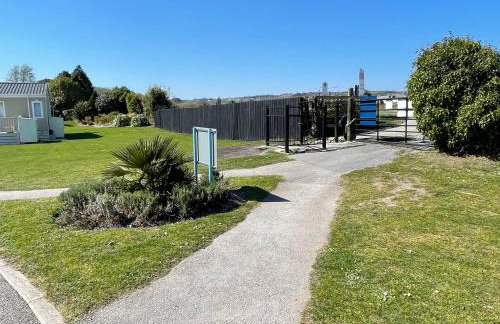
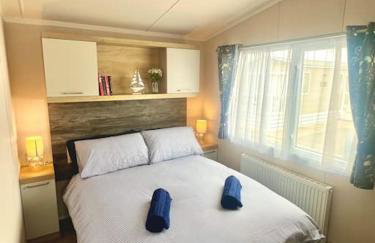
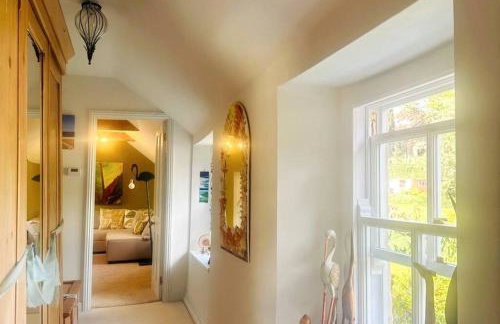
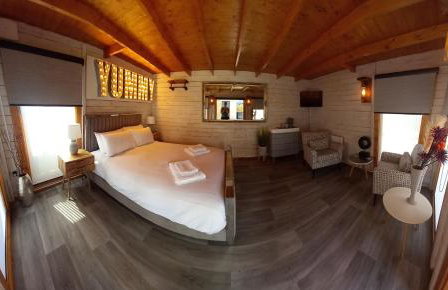
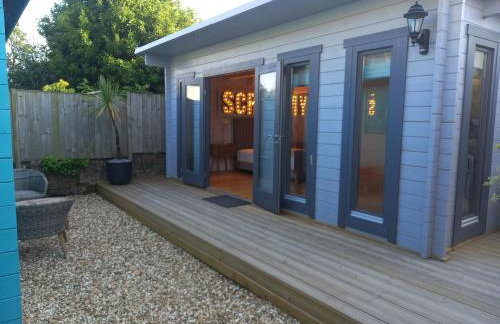
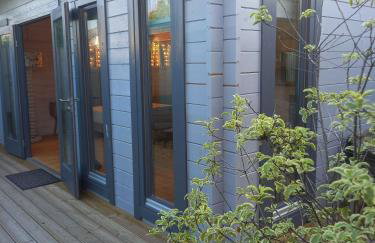
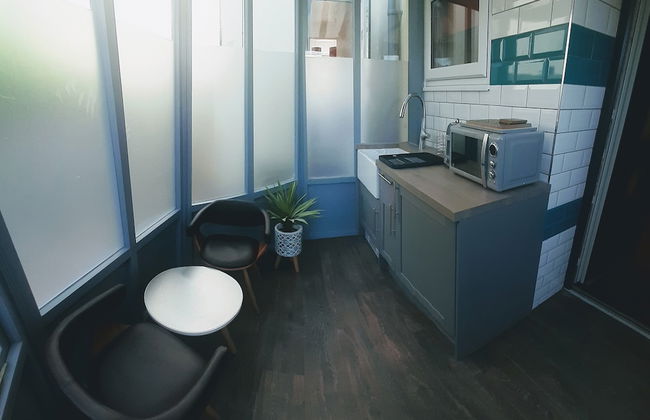
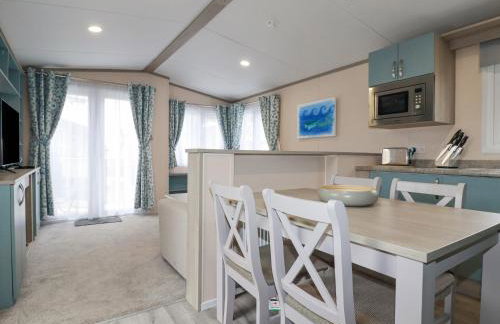
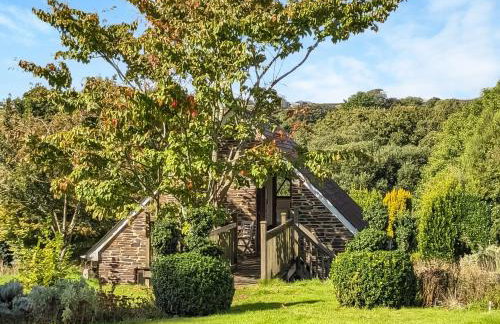
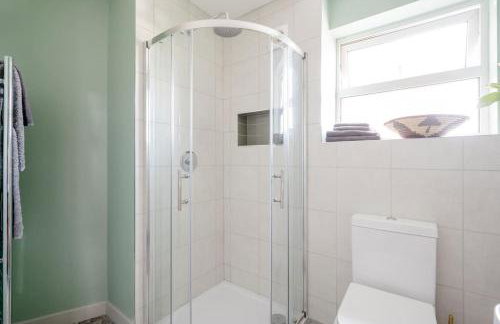
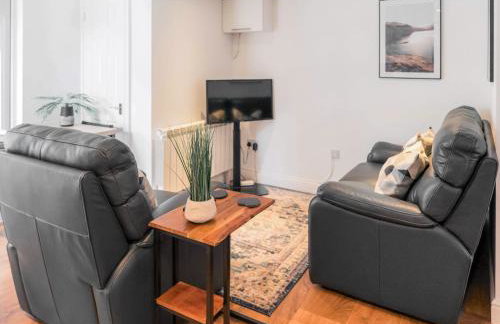
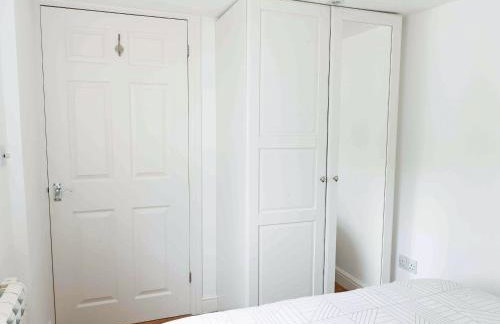
The Conifers 3 Room Small but Stylish Self Catering Bedsit Flat in Nature Reserve Free Eden taxi b4 9pm no lounge
Par - Tywardreath
- 14 M2
- 2 persone
- Riscaldamento
- Terrazza
- Parcheggio
- Giardino
44 recensioni
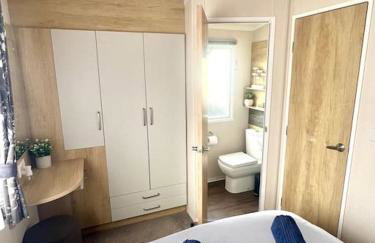
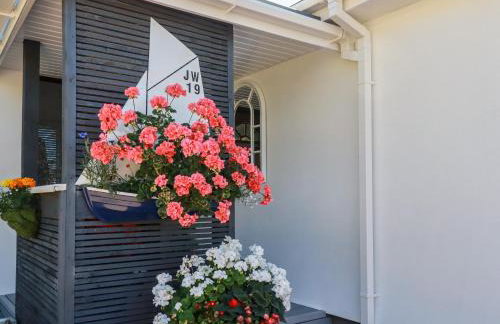
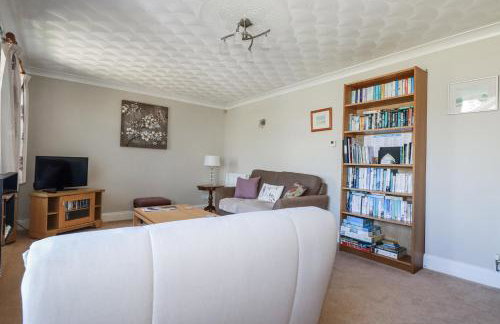
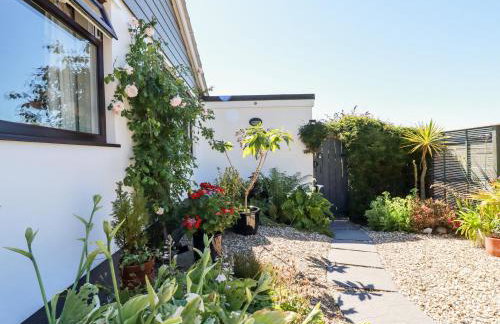
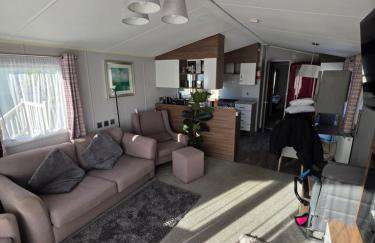
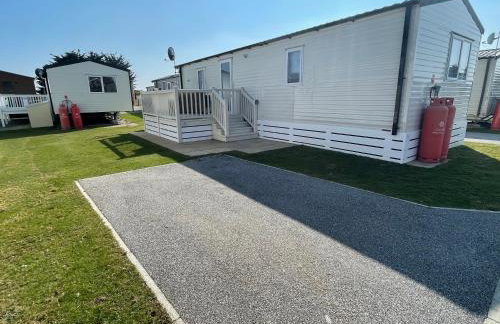
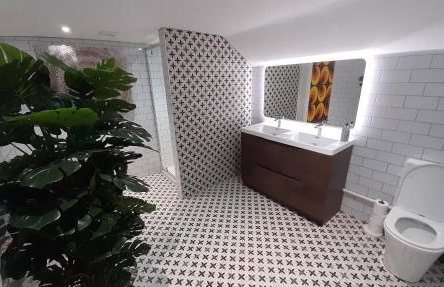
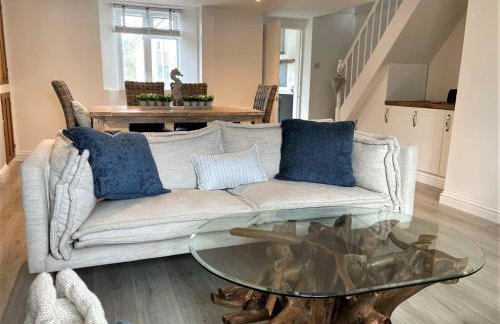
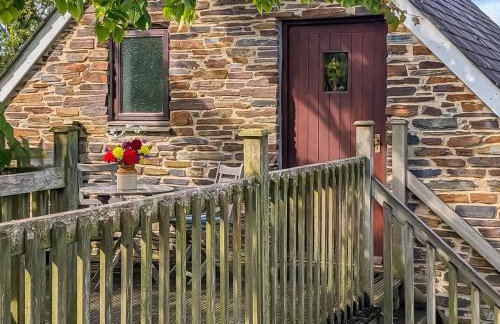
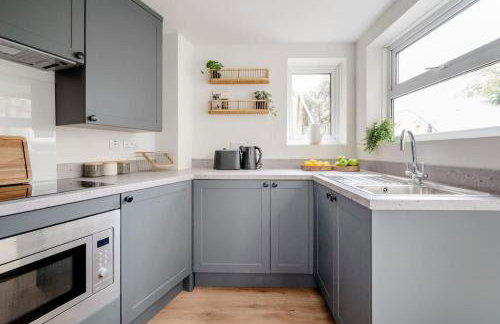
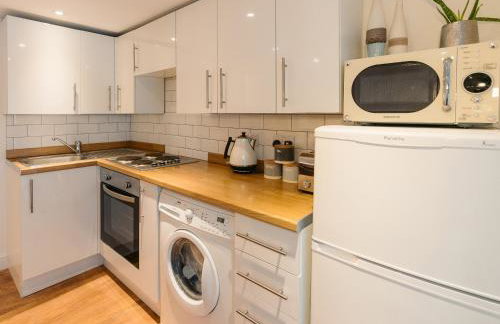
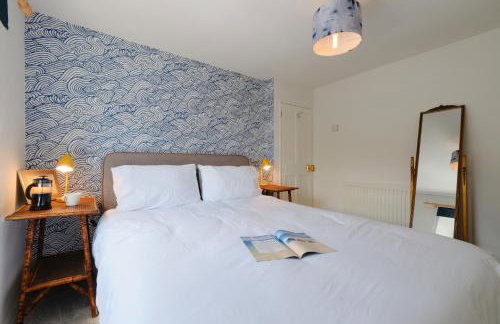
The Driftwood Den
Par - Tywardreath
- 2 camere
- 6 persone
- Riscaldamento
- Terrazza
- Piscina
- Parcheggio
- Giardino
38 recensioni
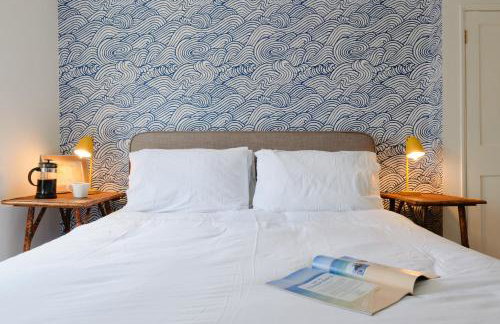
The Lobster Pot
Par - Tywardreath
- 40 M2
- 2 camere
- 6 persone
- Riscaldamento
- Terrazza
- Piscina
- Parcheggio
24 recensioni


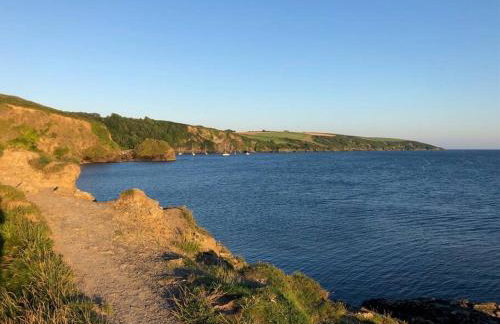
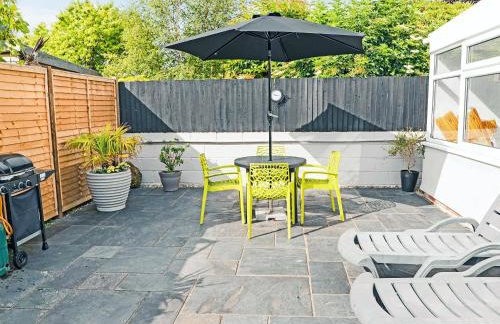
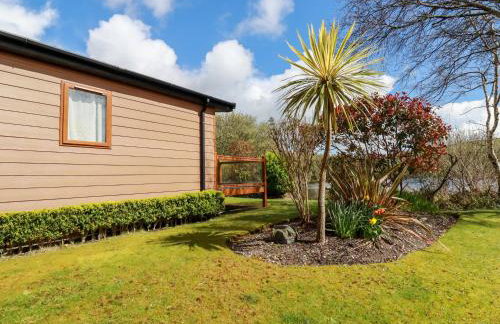
Exceptional retreat near Cornwall Coast
Par - Tywardreath
- 80 M2
- 2 persone
- Parcheggio
- Giardino
19 recensioni


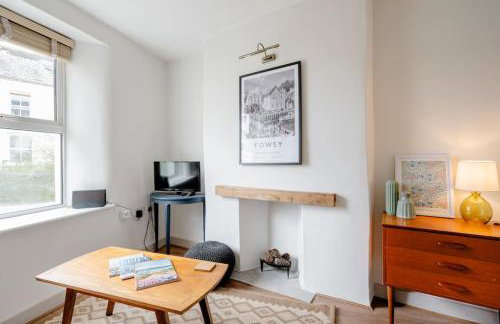
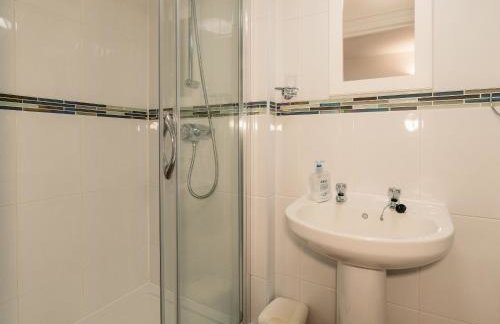
Sandy Toes Accommodation
Par - Tywardreath
- 25 M2
- 2 persone
- Cucinino
- Riscaldamento
- Parcheggio
- Tv
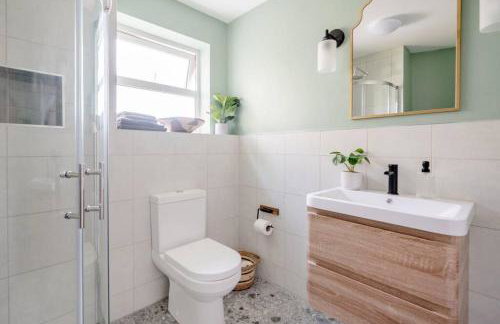
- Lino da bagno
262 recensioni
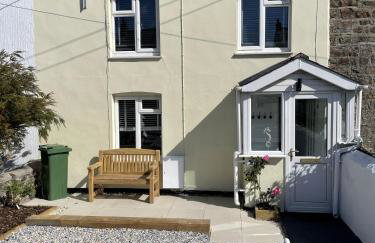
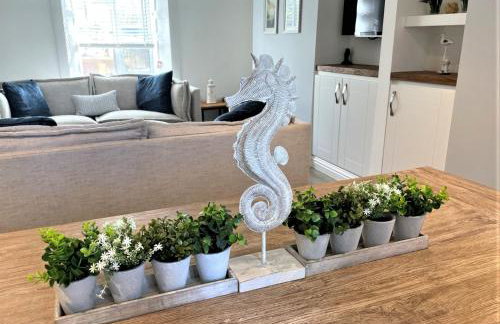


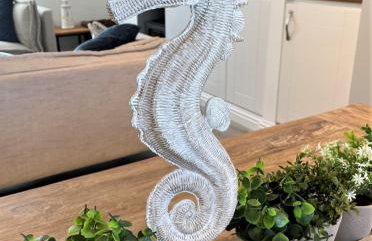
The Little Seahorse - Newly Renovated Cottage 5mins Walk The Beach with Hot Tub
Par - Tywardreath
- 93 M2
- 3 camere
- 6 persone
- Riscaldamento
- Parcheggio
- Barbecue
57 recensioni


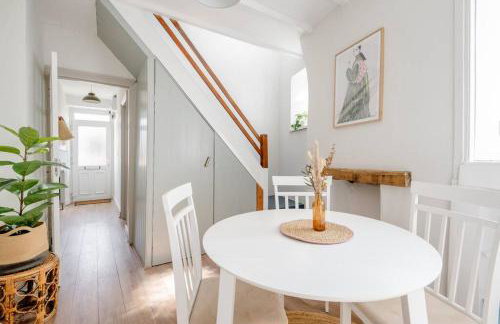


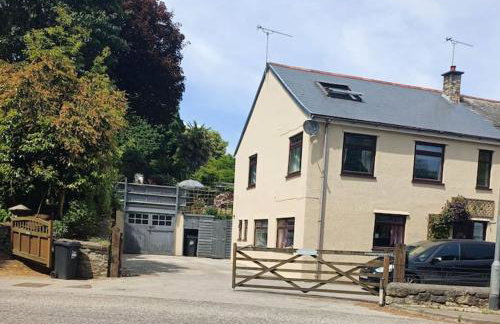
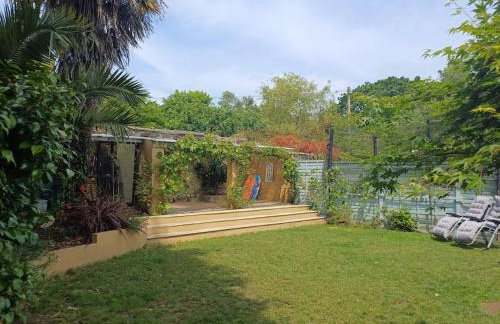
Cosy cottage near the coast
Par - Tywardreath
- 65 M2
- 2 camere
- 4 persone
- Terrazza
- Parcheggio
- Barbecue
8 recensioni
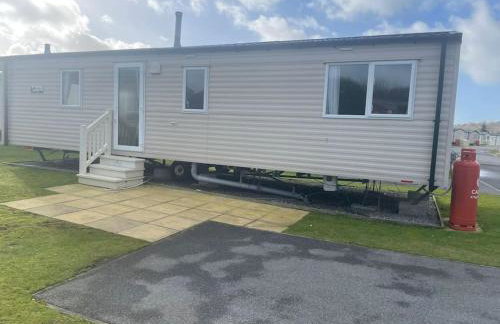

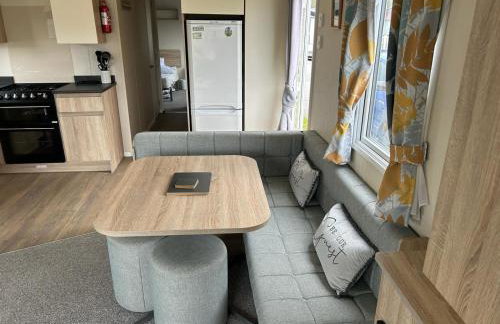
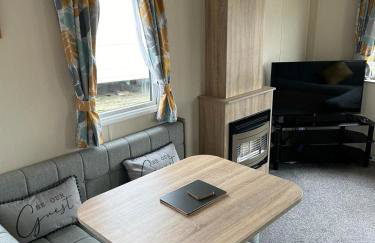
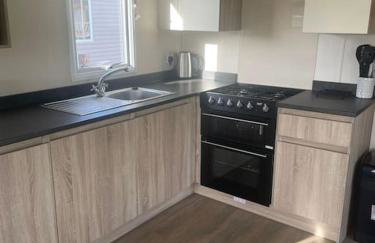


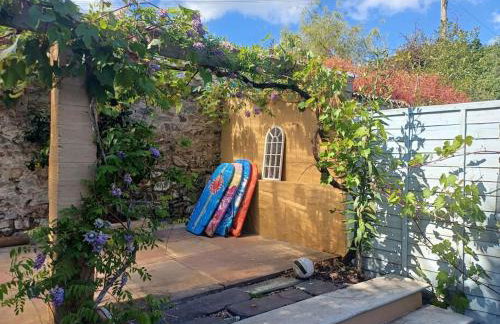
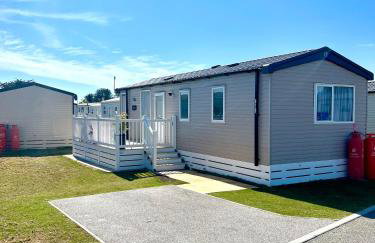
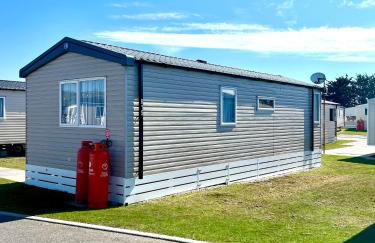
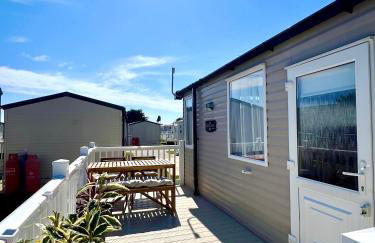
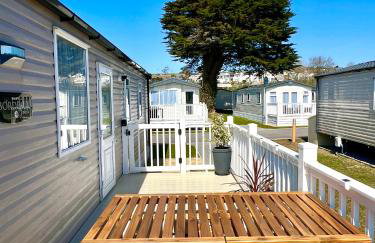
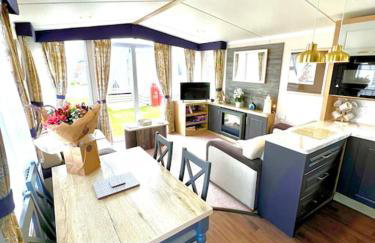
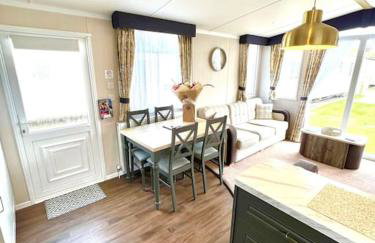
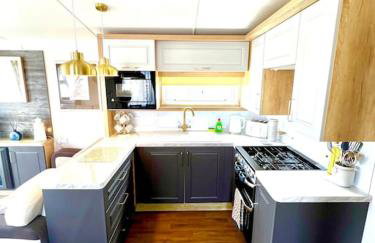
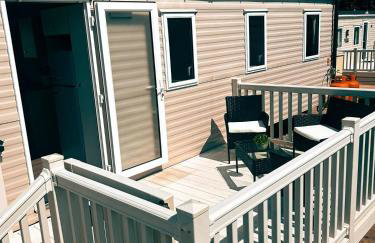
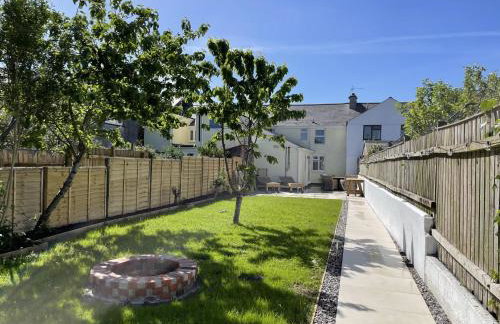
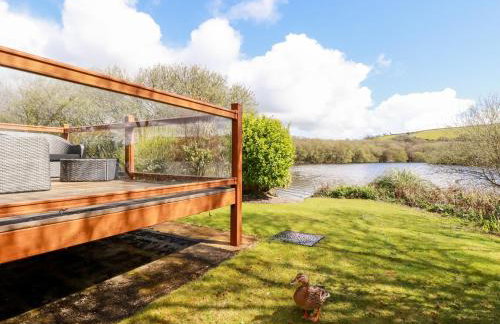
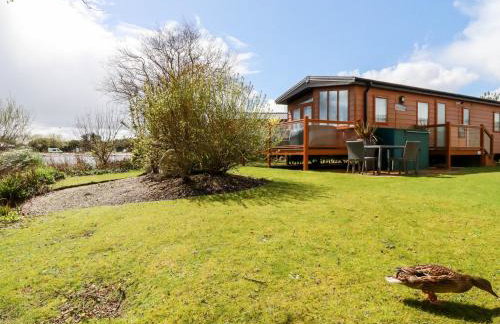
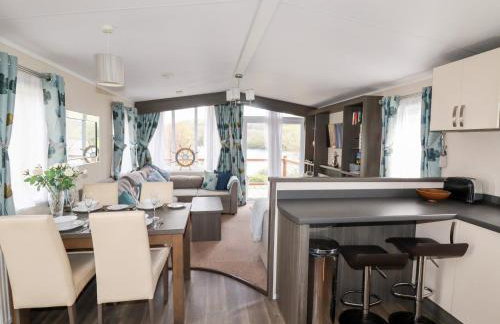
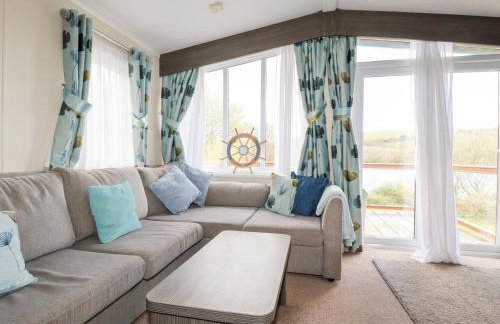
Delightful two bedroom caravan on Par Beach.
Par - Tywardreath
- 3 M2
- 2 camere
- 6 persone
- Riscaldamento
- Piscina
- Parcheggio
24 recensioni


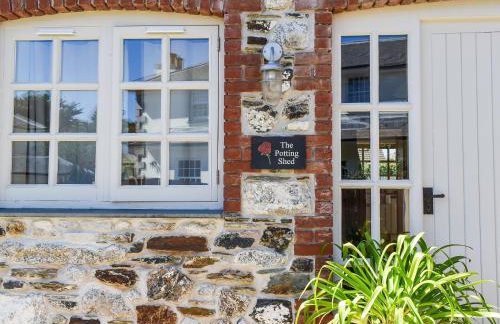
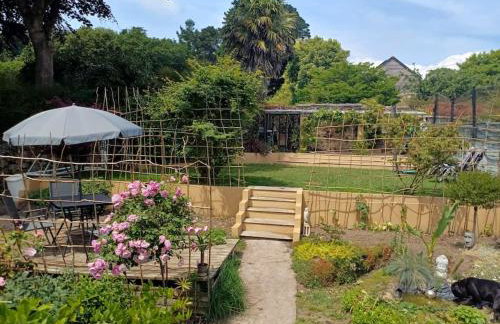
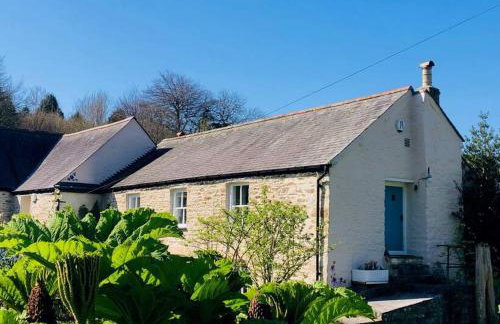
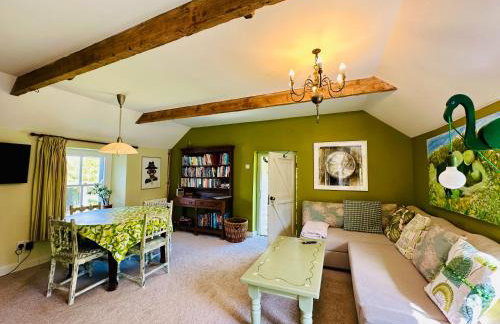
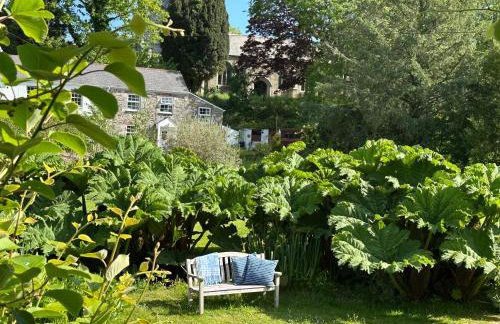
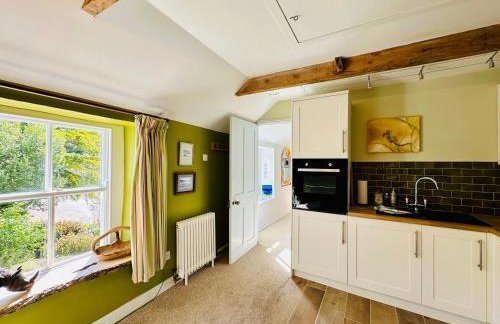
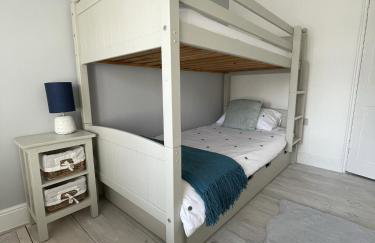
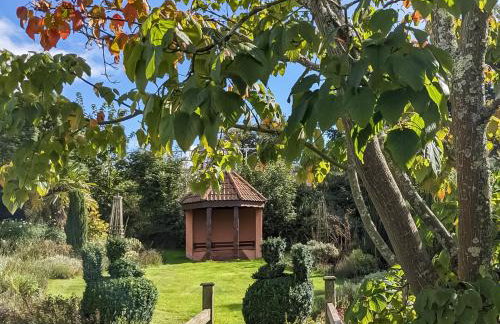
The Potting Shed
Par - Tywardreath
- 2 camere
- 4 persone
- Riscaldamento
- Parcheggio
- Giardino
- Barbecue
3 recensioni


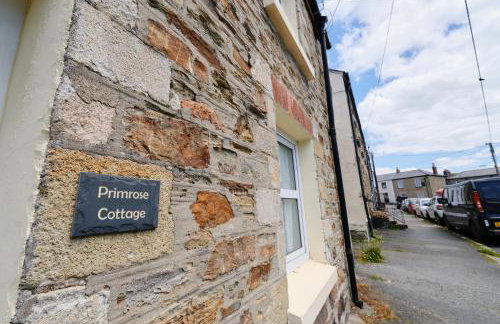
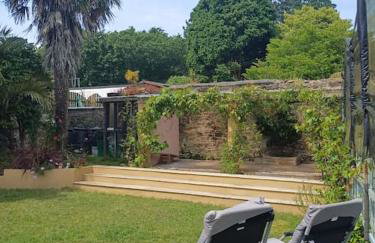
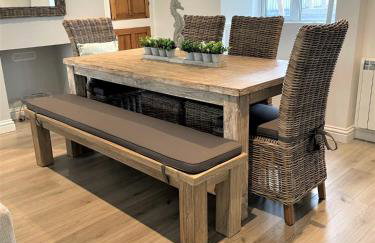
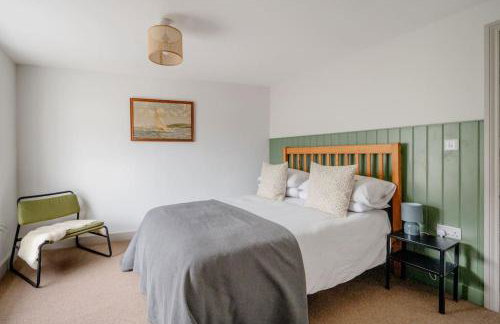
Finest Retreats - Primrose Cottage
Par - Tywardreath
- 120 M2
- 3 camere
- 6 persone
- Riscaldamento
- Terrazza
- Giardino
9 recensioni