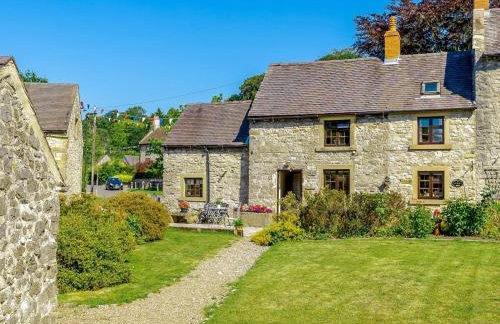
13 Appartamenti a Parwich


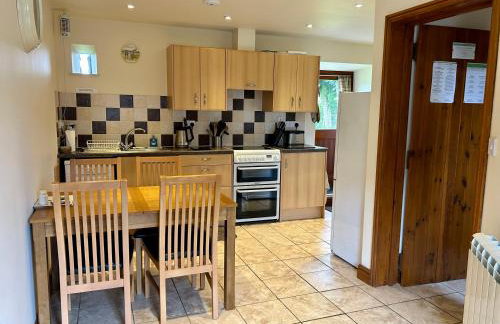


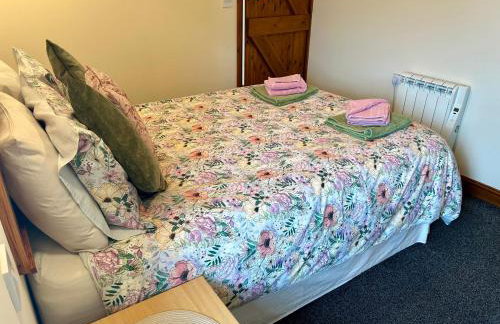
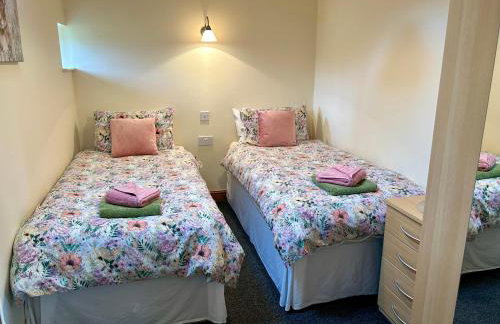


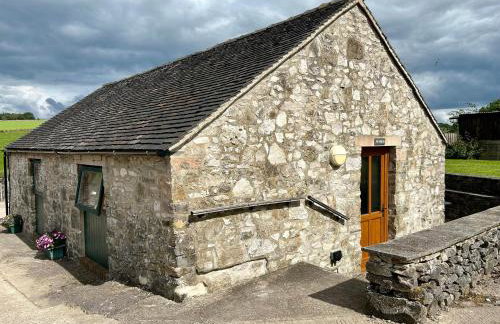
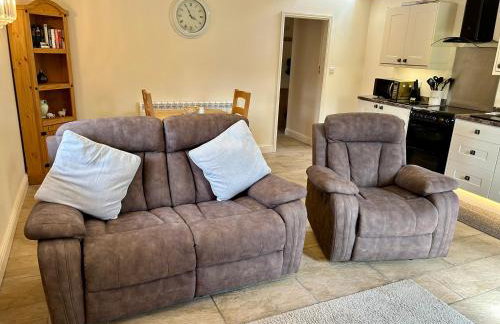
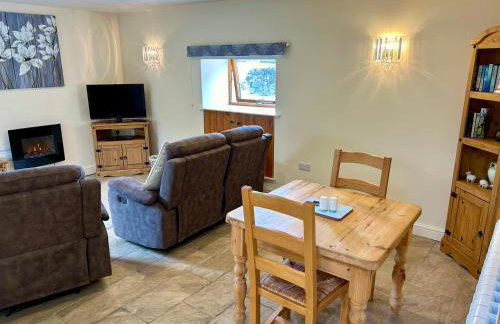


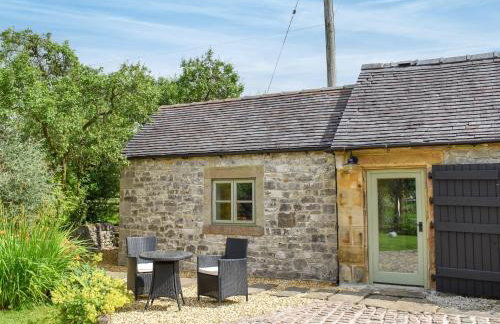


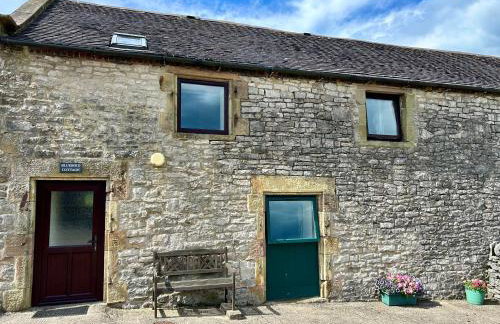


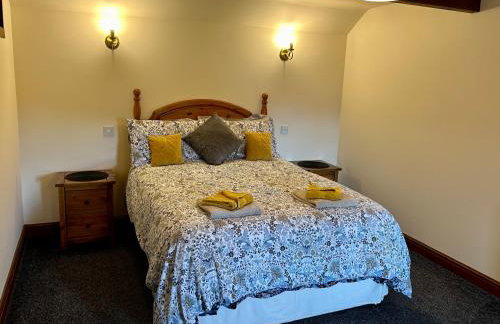
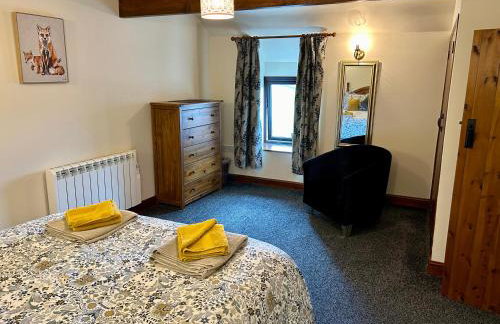


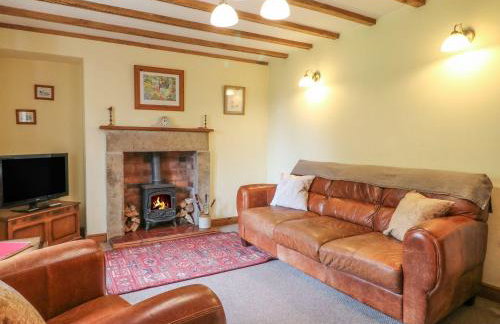
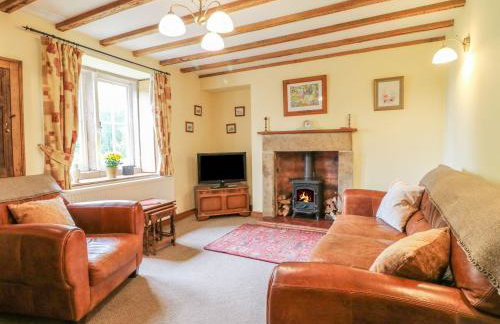
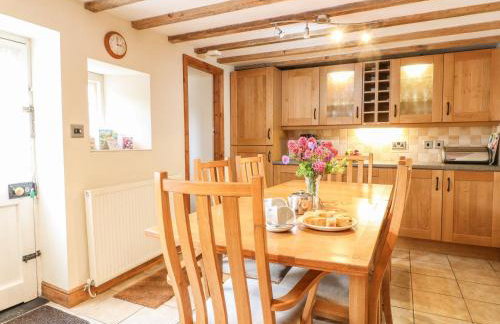


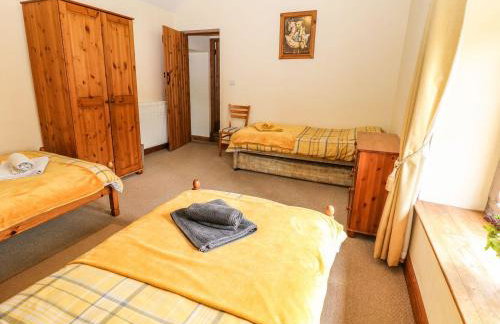


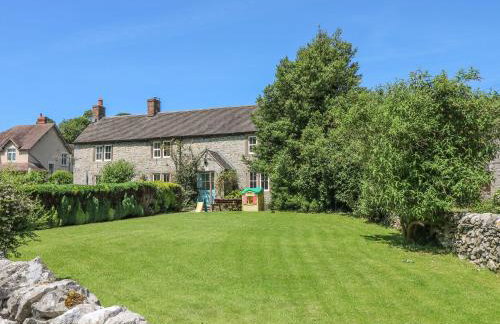

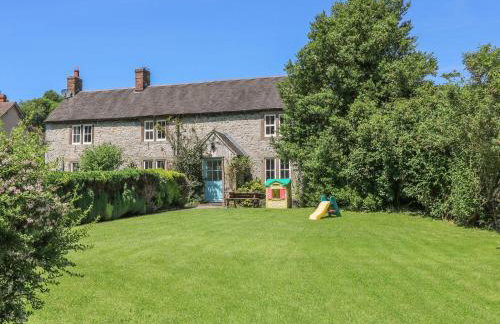


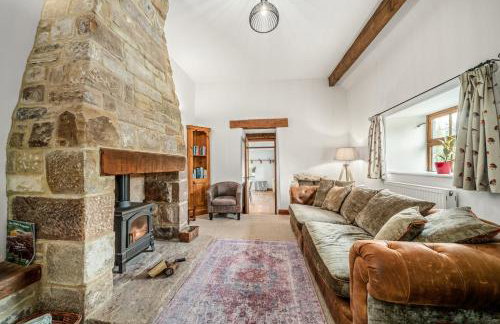

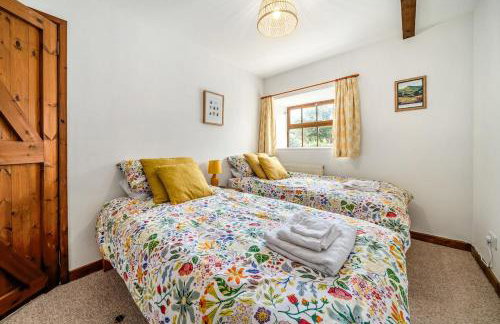
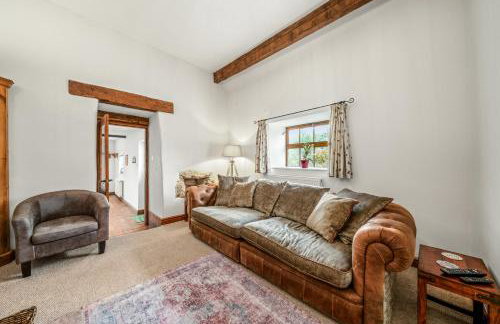


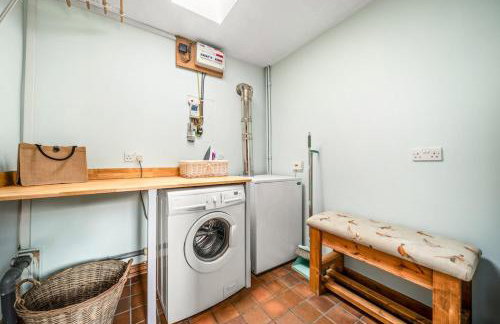


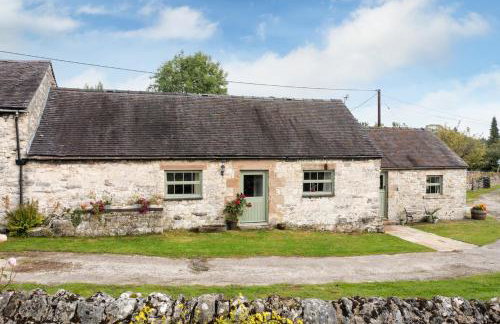


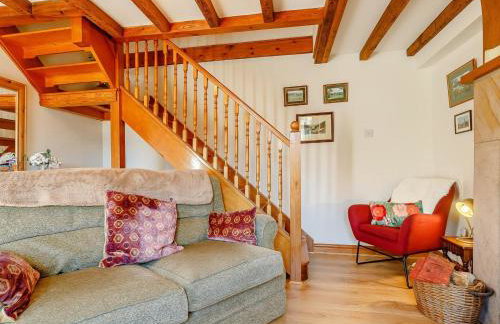
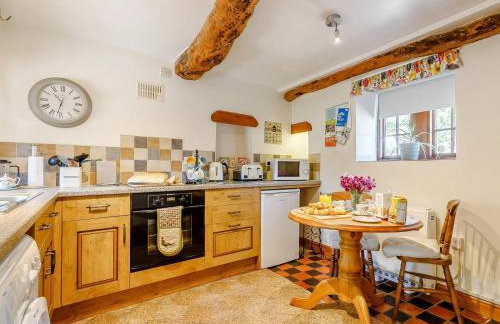
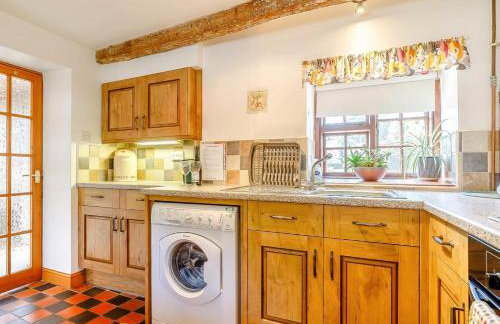
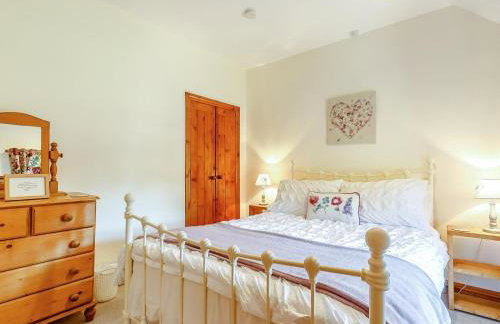
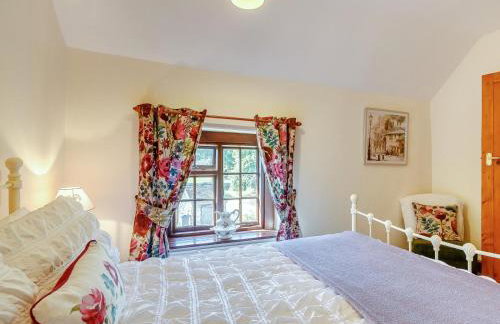
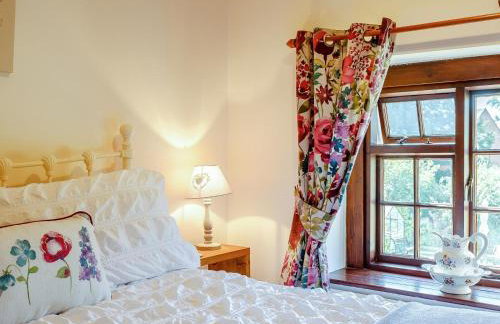
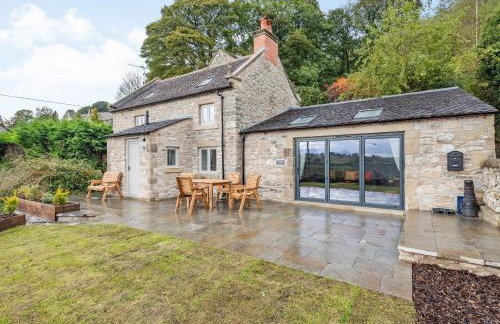
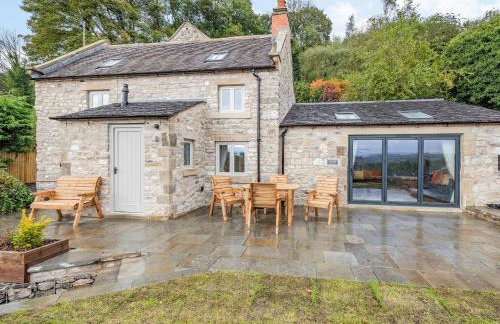
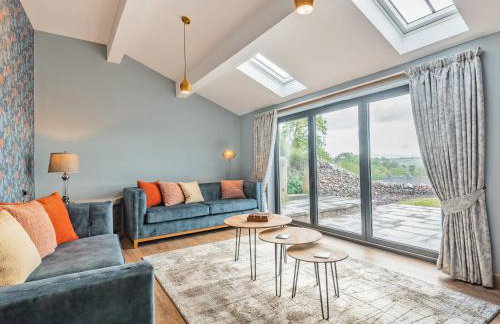
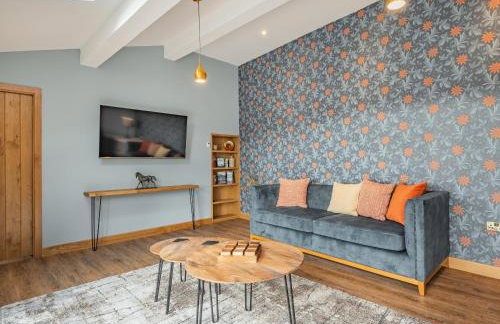
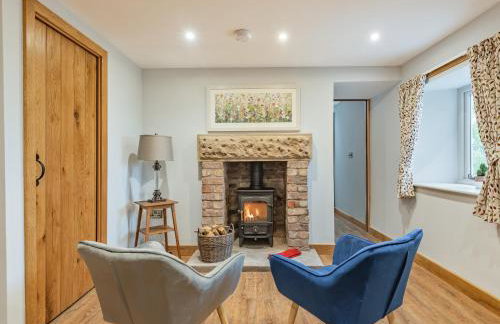
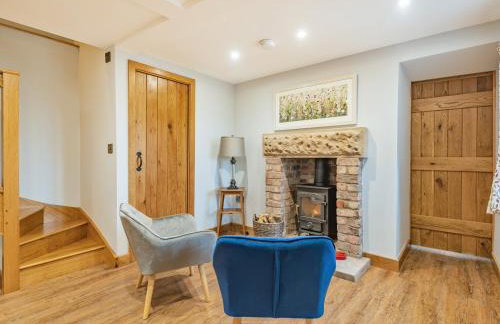
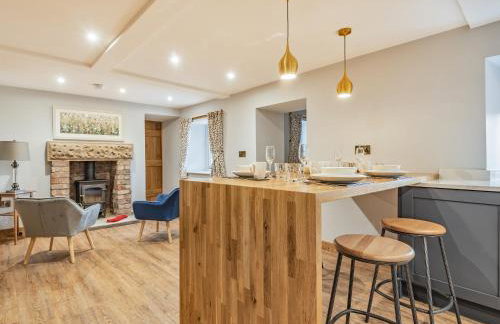
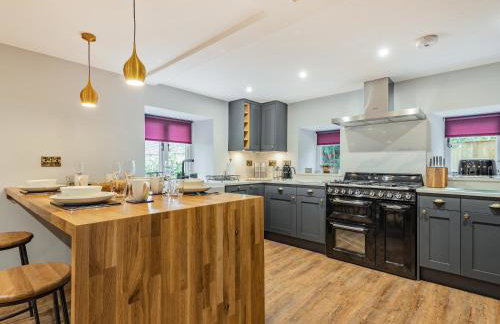
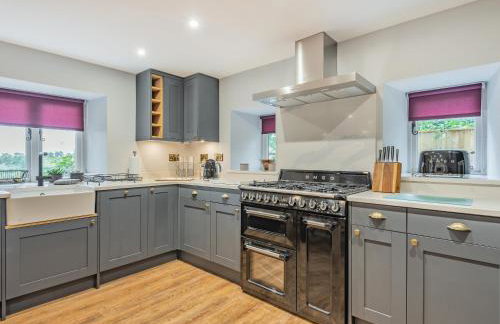
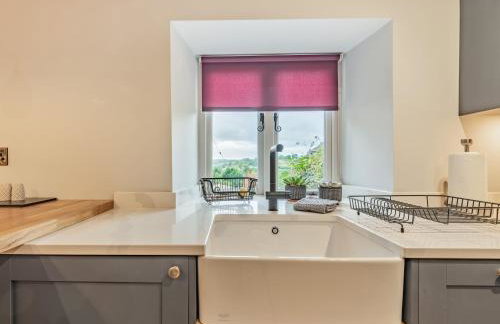
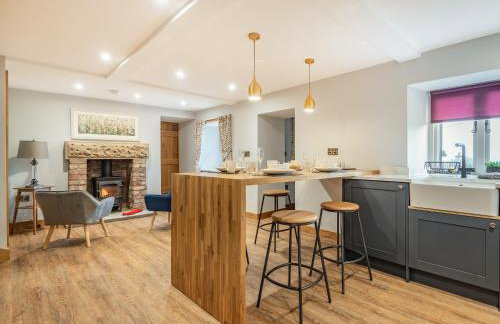
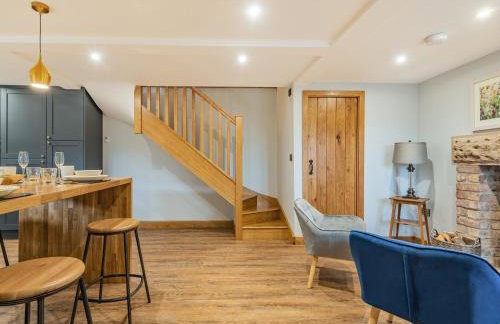
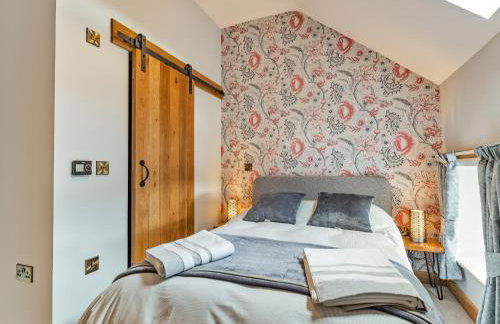
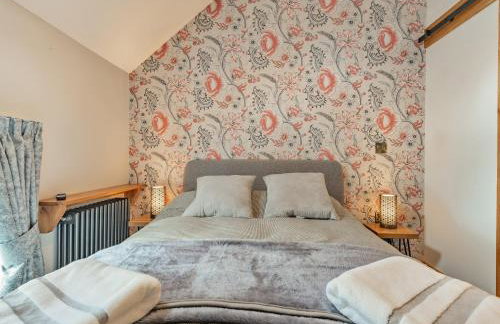
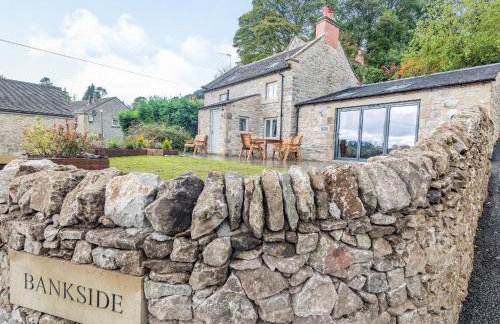
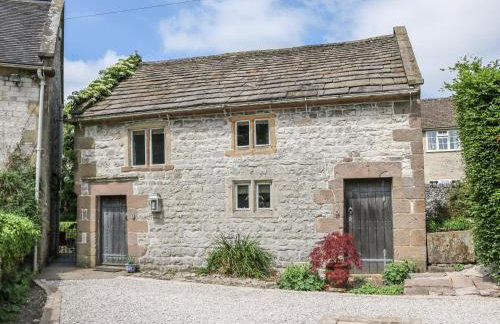
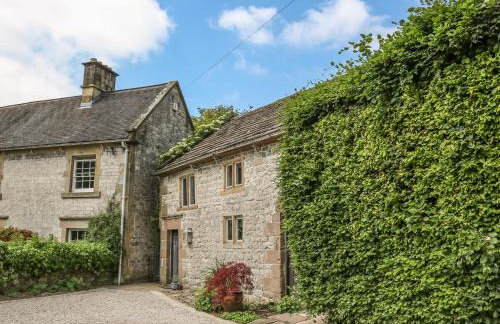
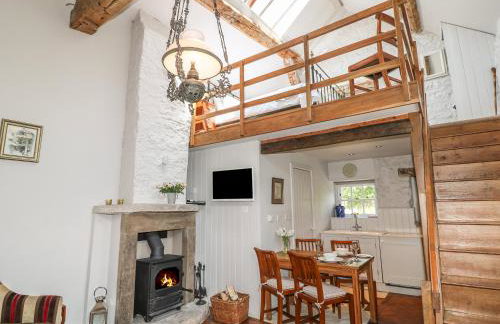
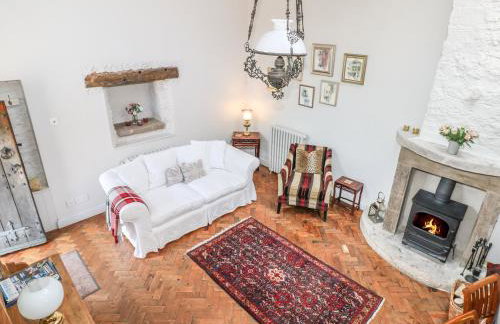
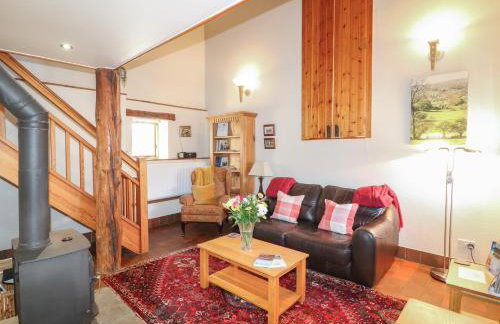
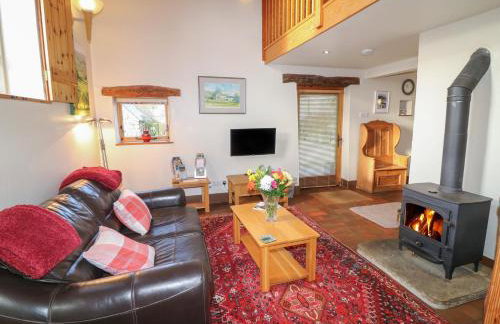
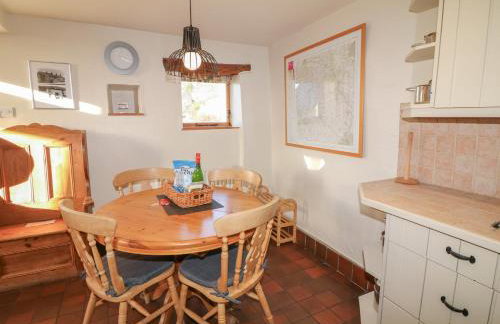
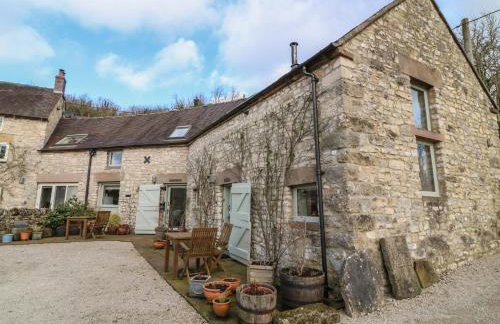
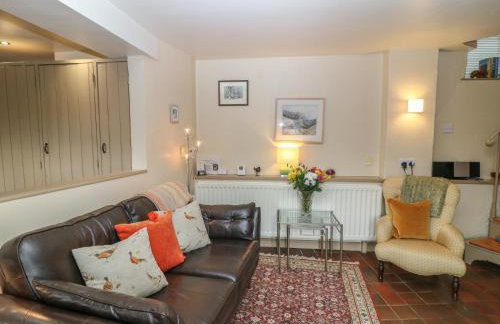
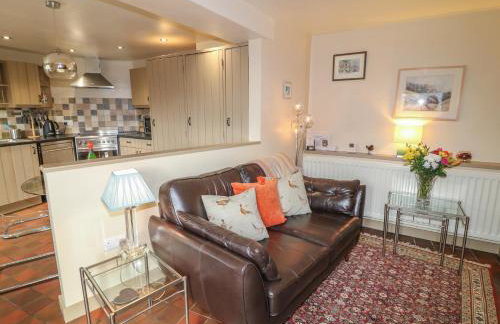
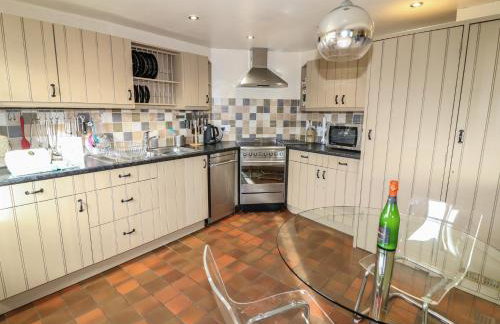
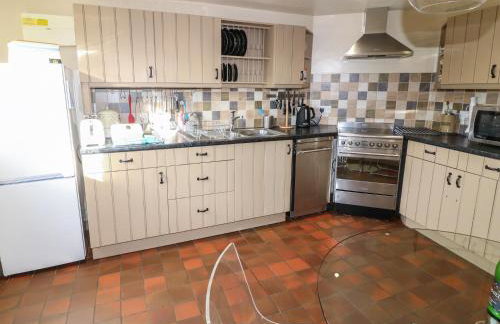
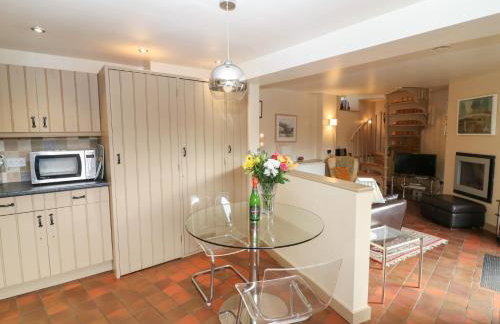
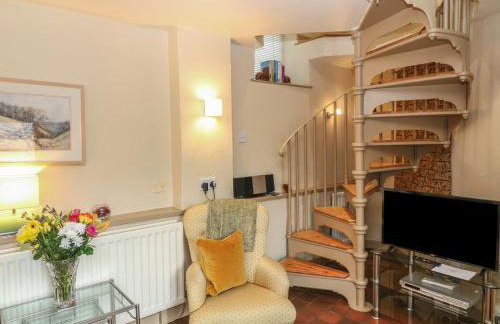
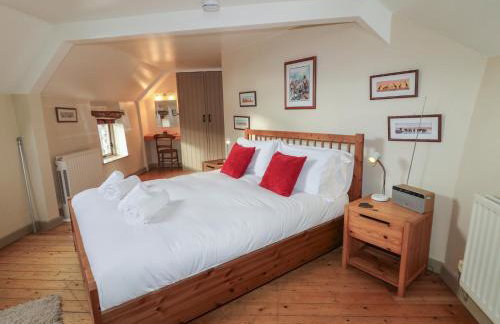
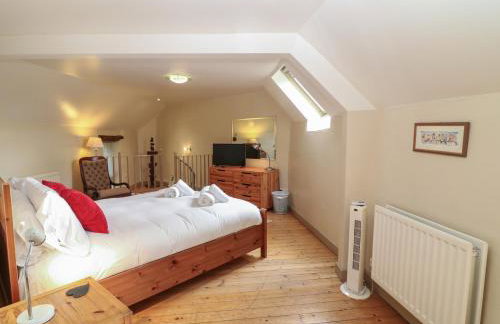
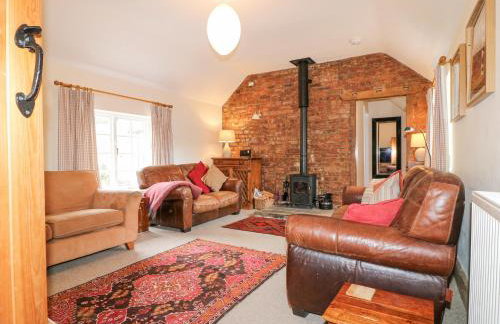
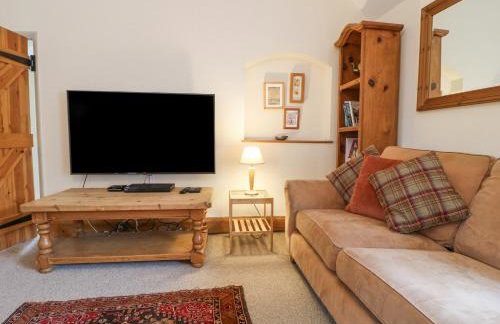
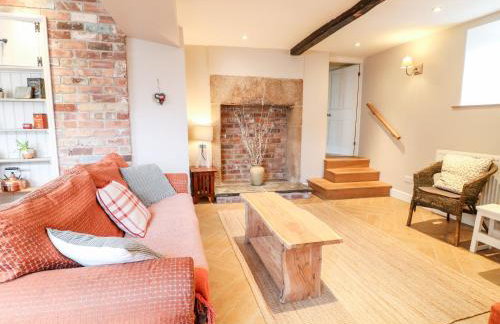
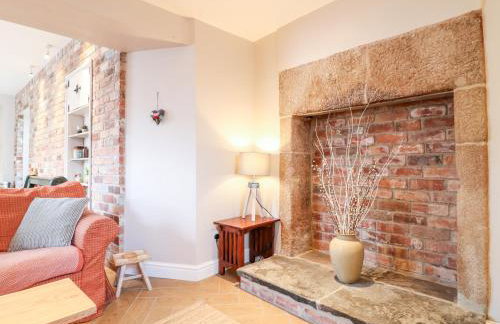
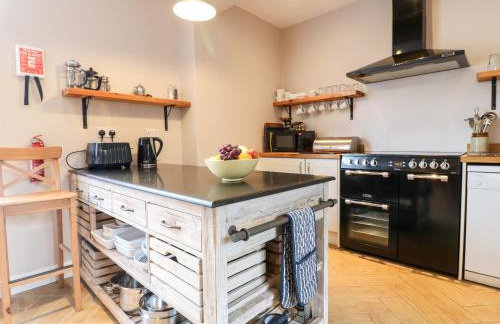
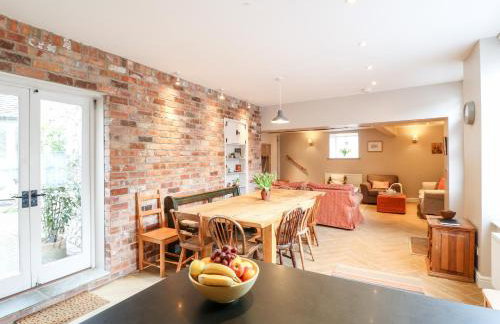
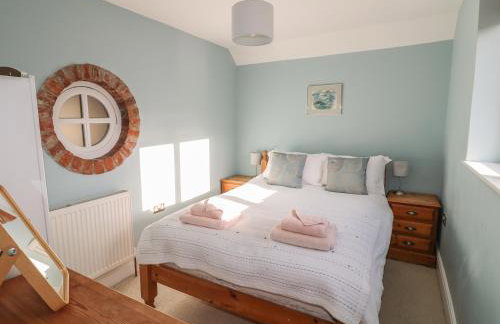
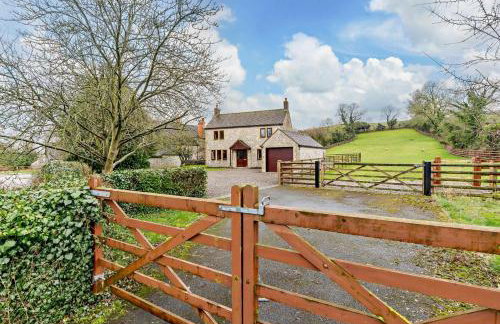
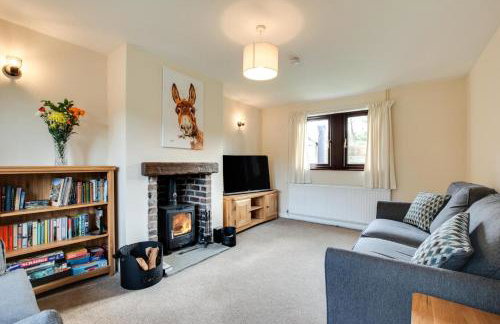
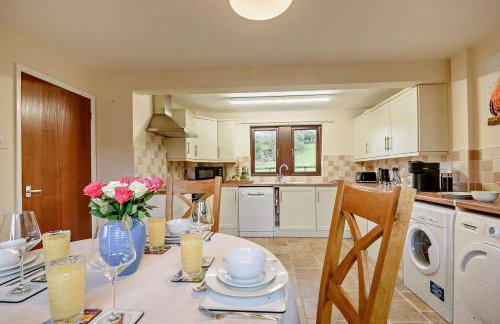
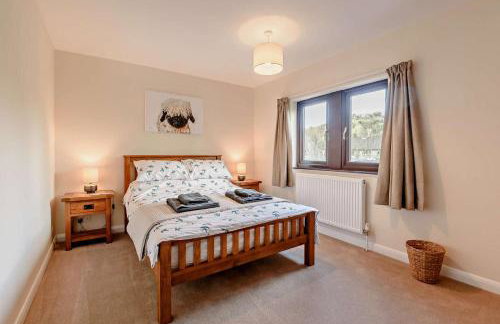
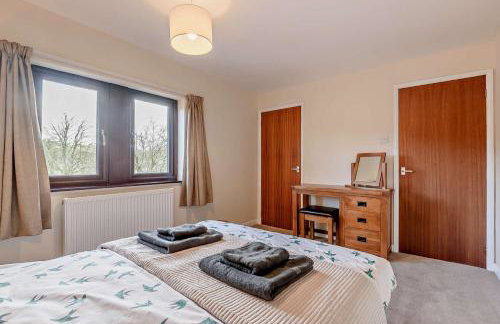
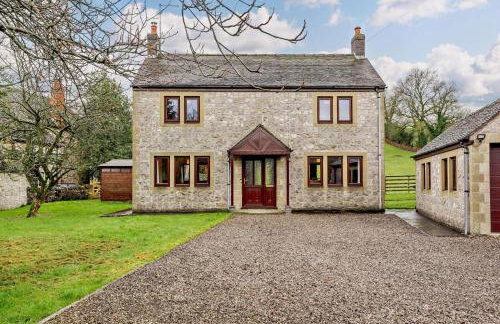
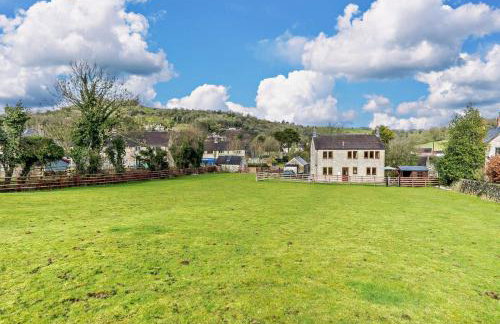
Cosy 2-Bedroom Retreat, Derbyshire Peak District
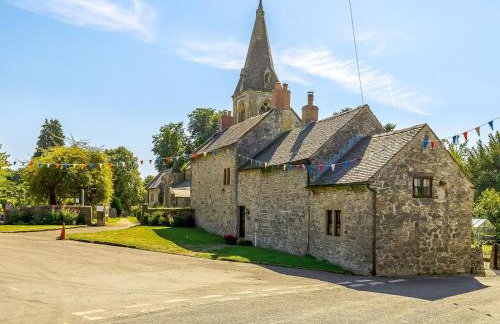
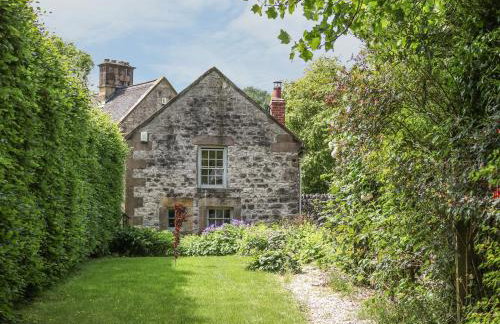
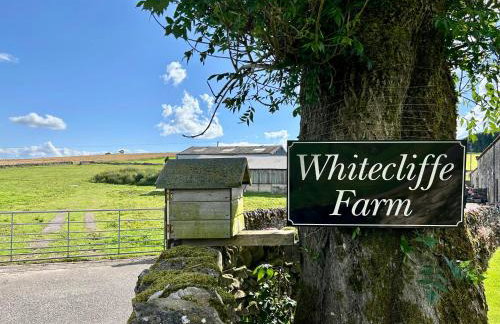
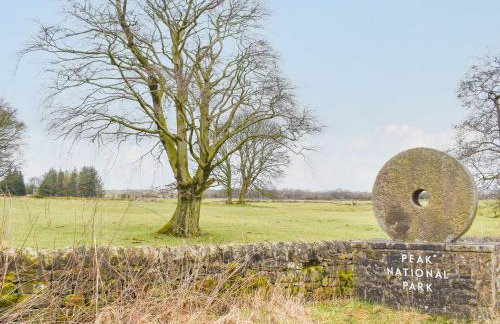
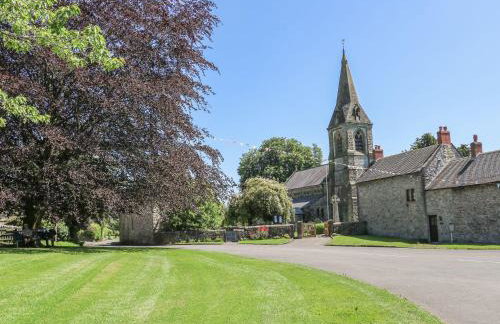
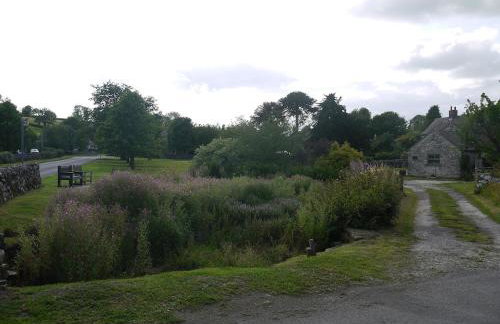
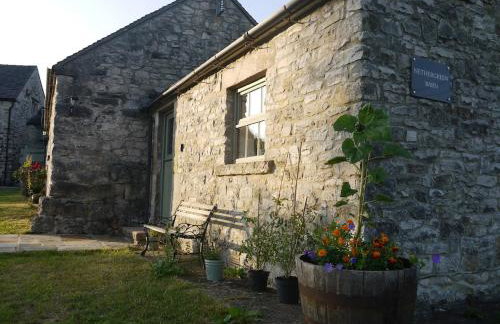
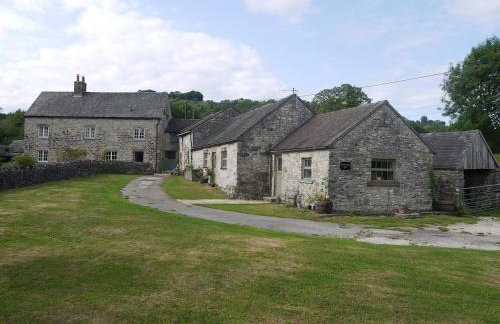
Ashbourne - Parwich
- 70 M2
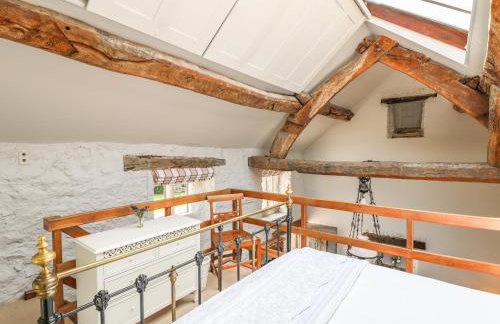
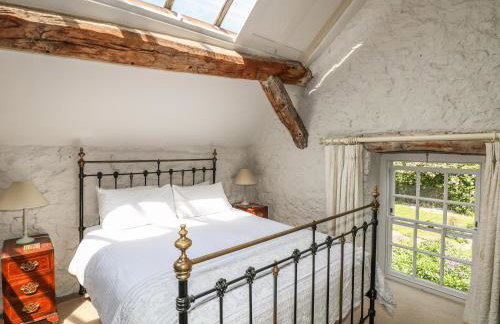
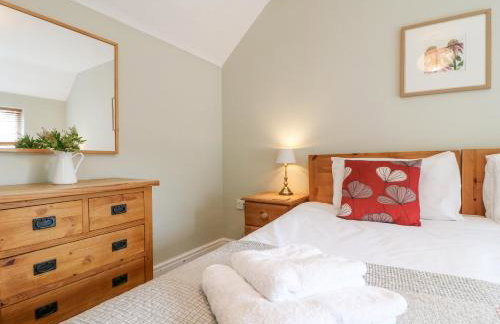
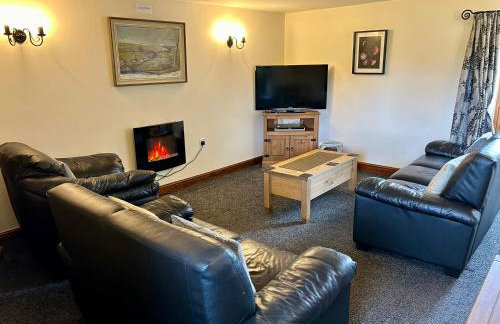
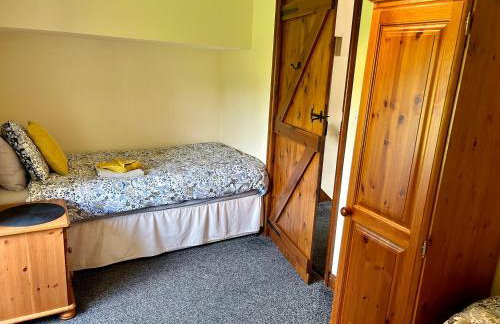
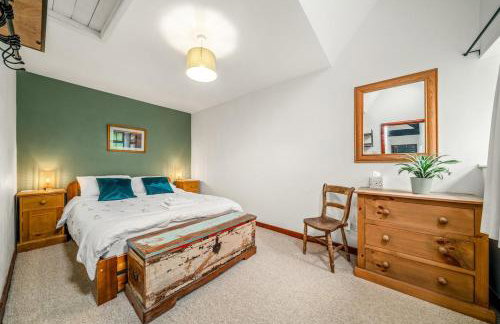
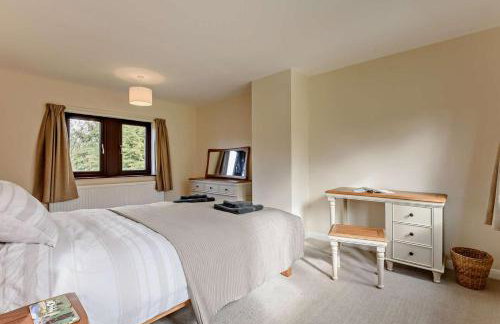
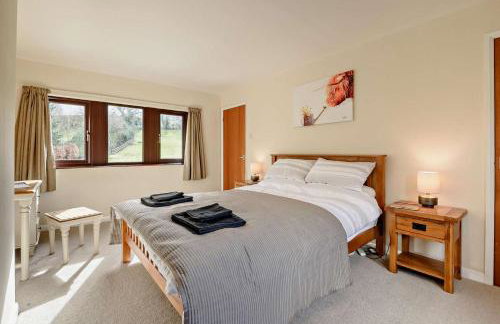
- 2 camere
- 5 persone
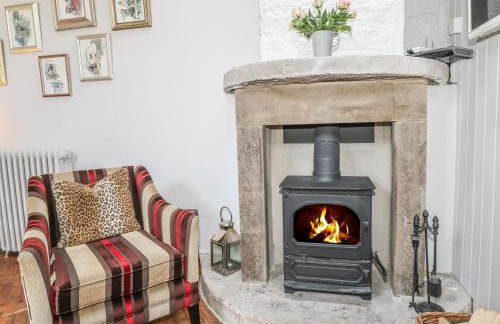
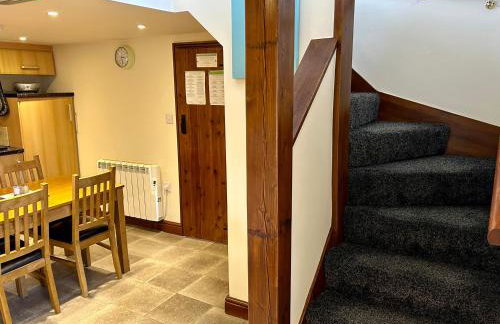
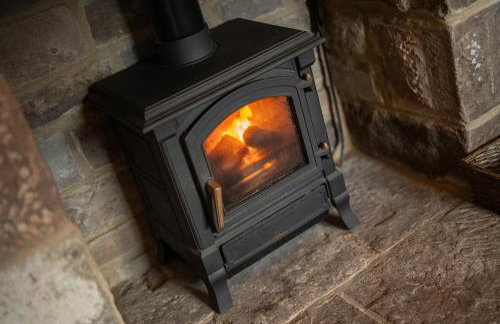
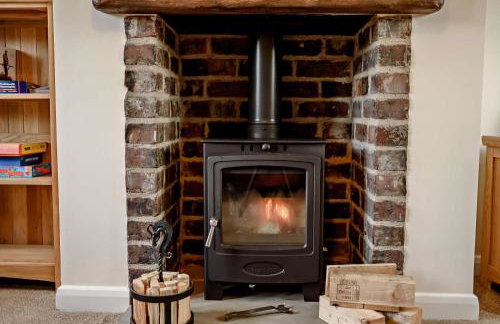
- Riscaldamento
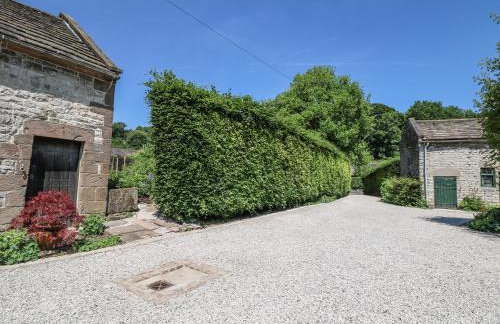
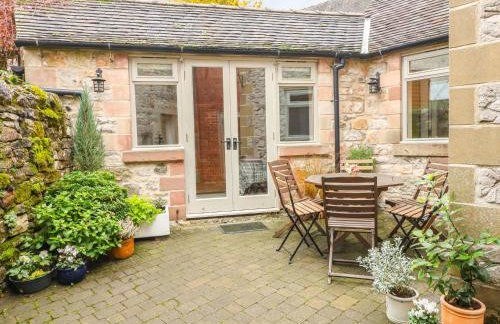
- Parcheggio
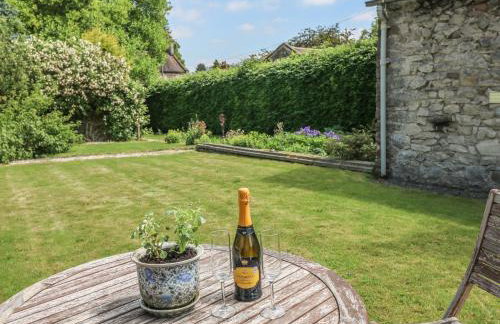
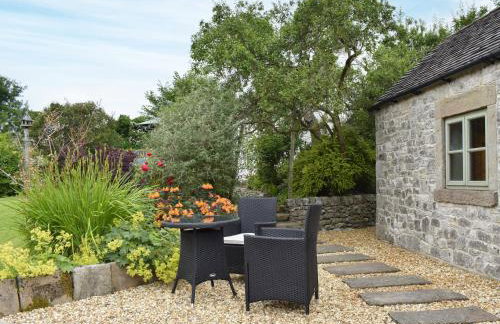
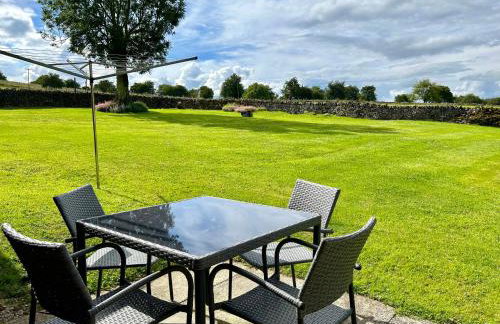
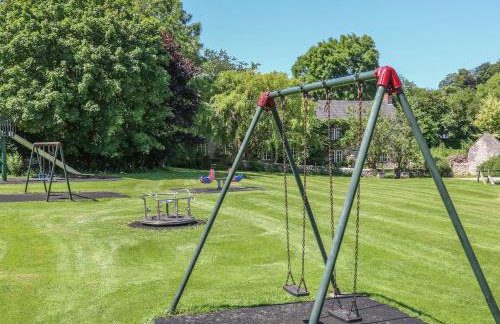
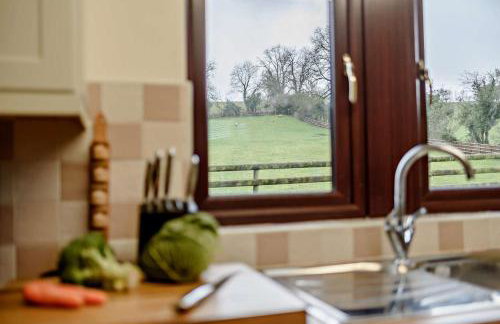
- Giardino
1 recensione


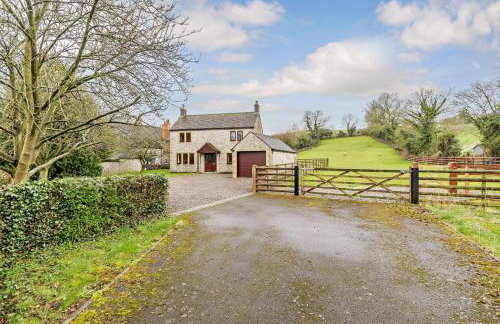
2 Bed in Parwich oc-c27468
Ashbourne - Parwich
- 2 camere
- 4 persone
- Riscaldamento
- Parcheggio
- Giardino
1 recensione