
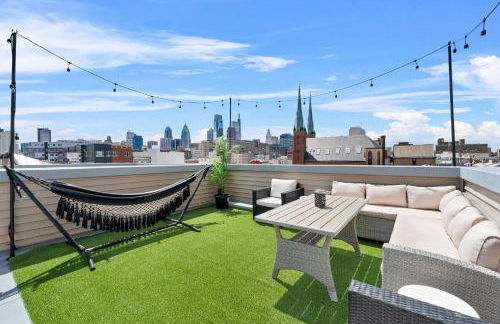
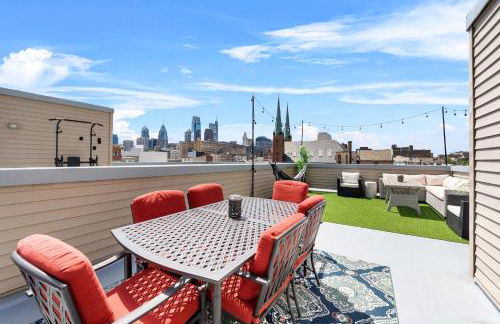

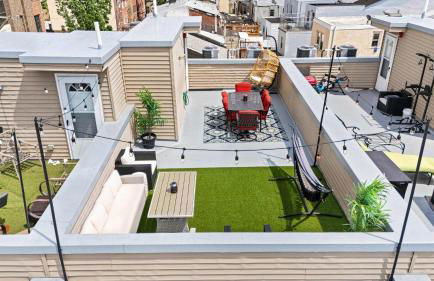


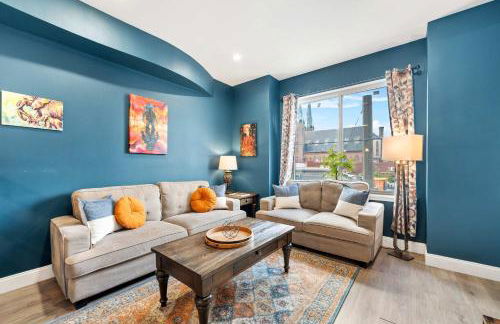
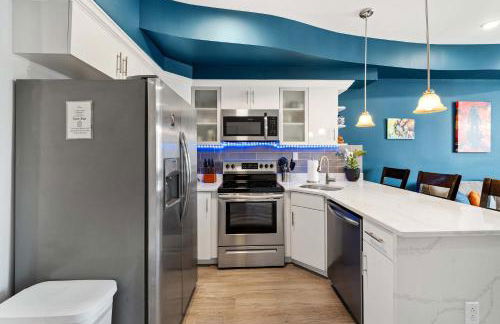


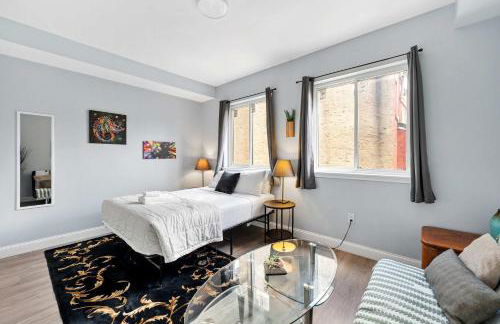

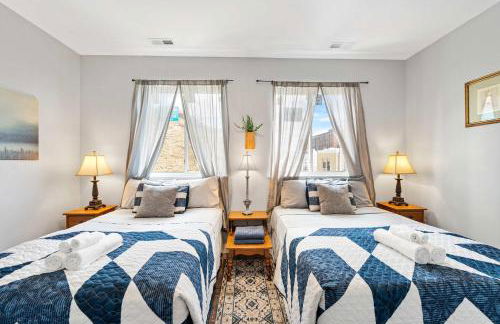


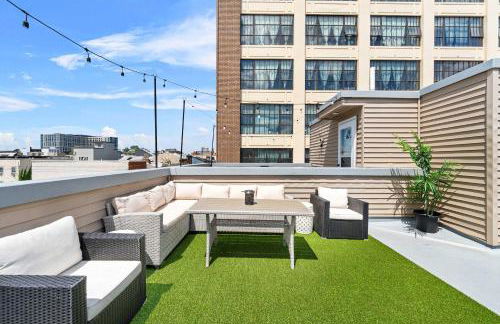


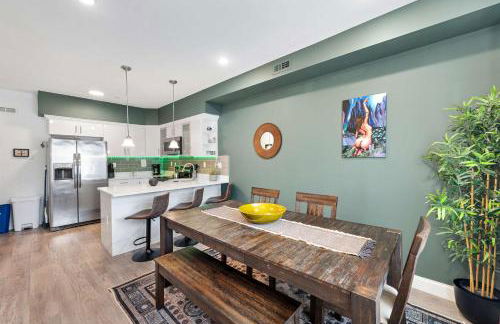
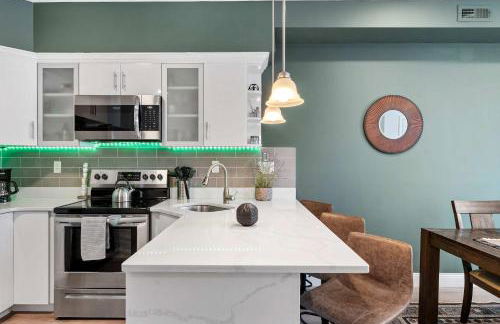


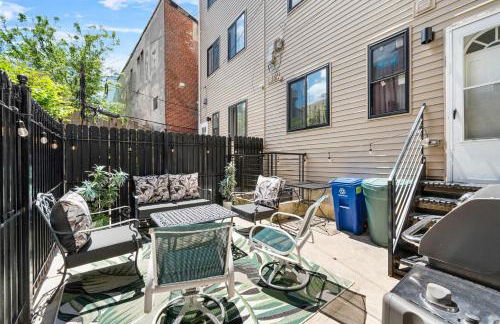


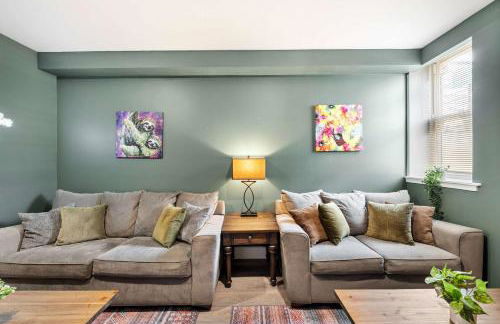


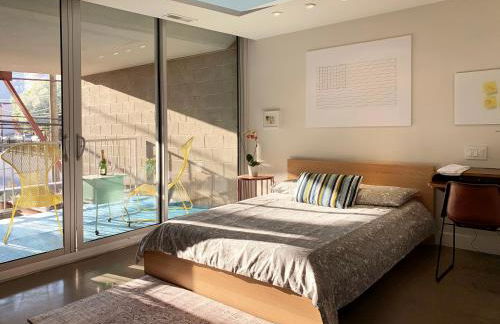
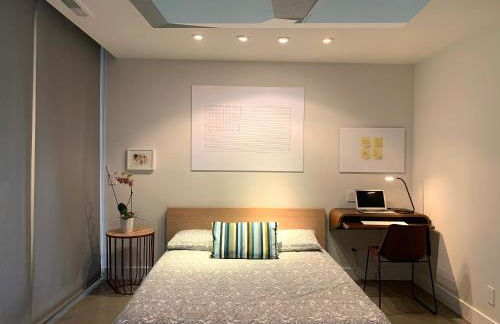
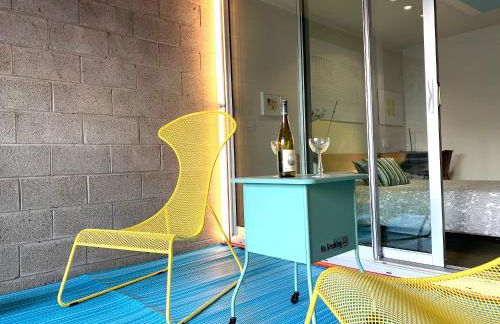
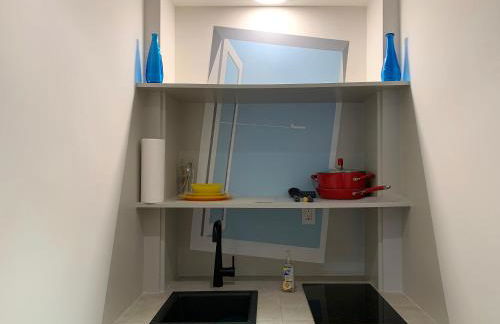
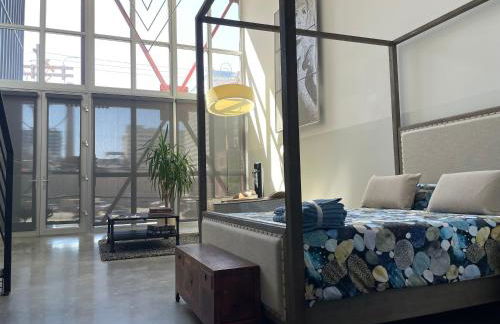
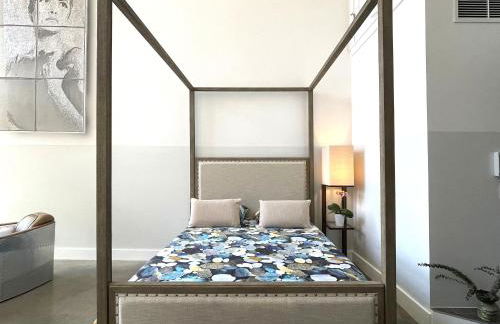
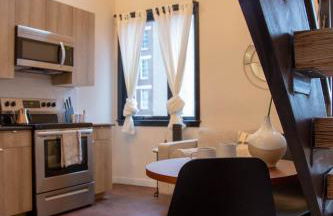
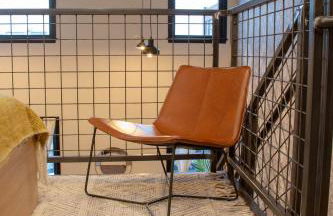
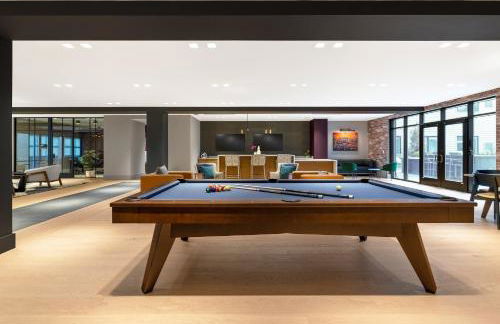
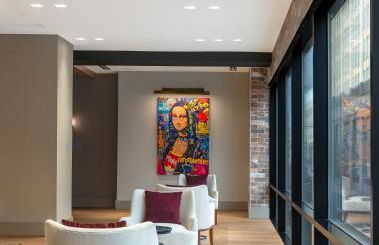
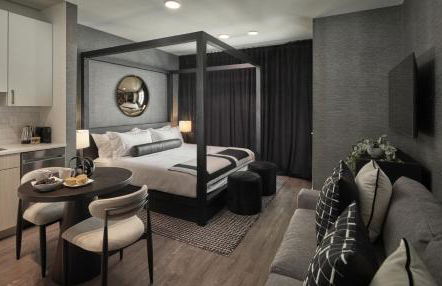
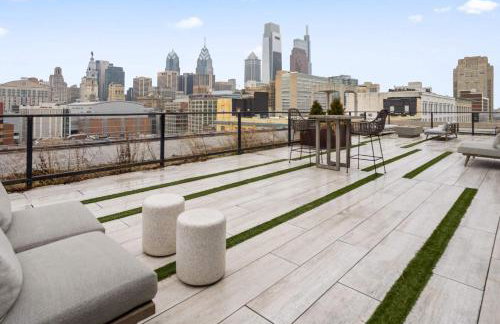
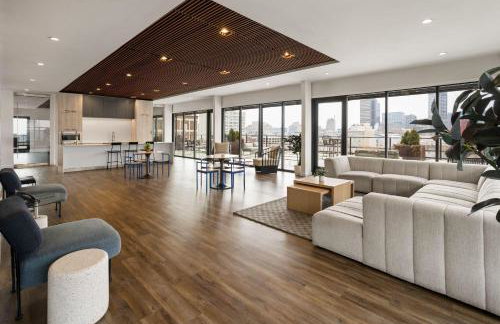
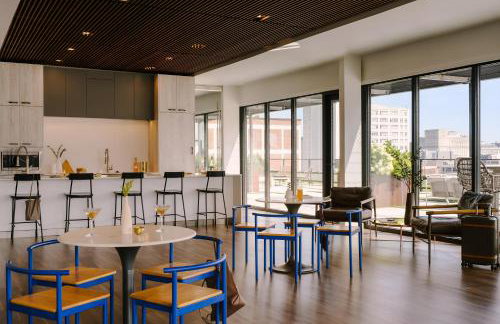
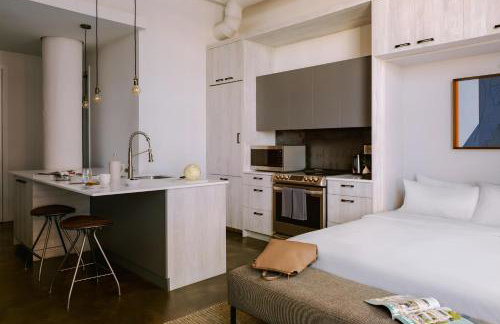
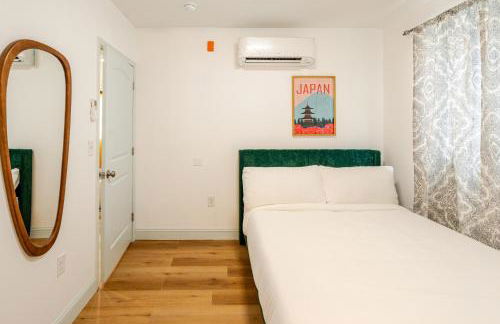
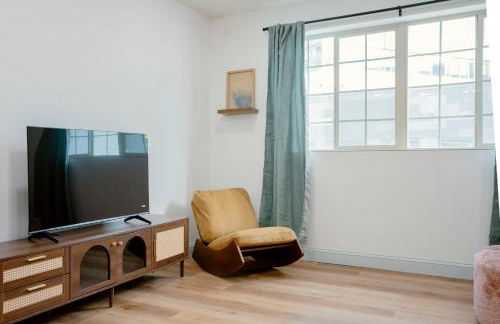
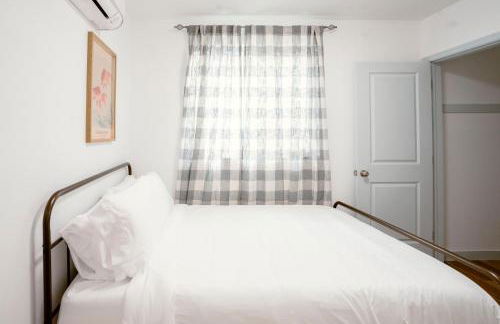
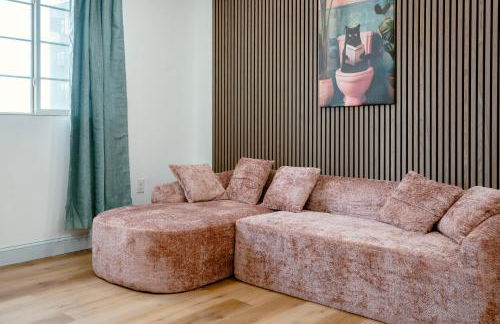
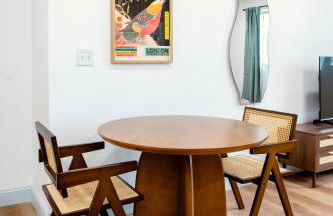
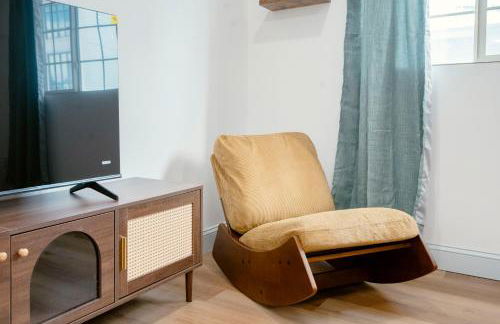
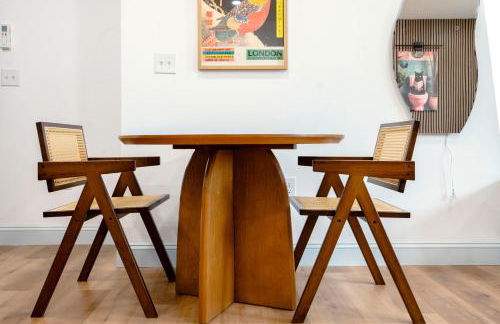
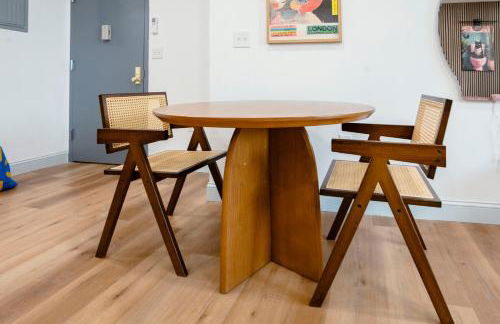
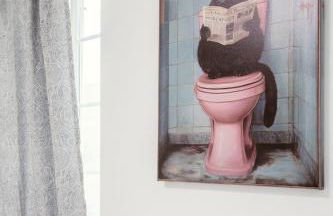
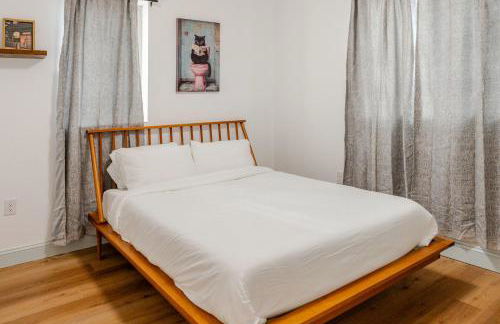
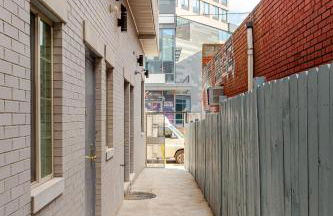
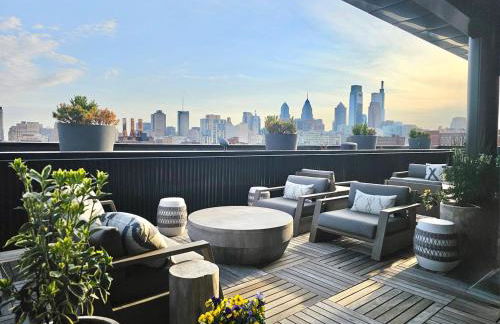
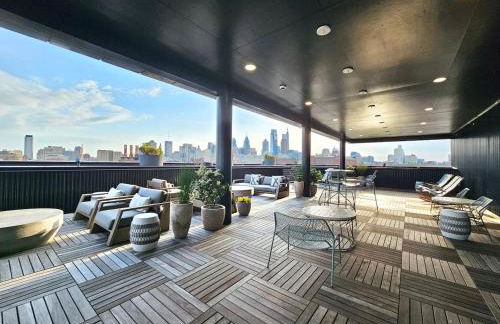
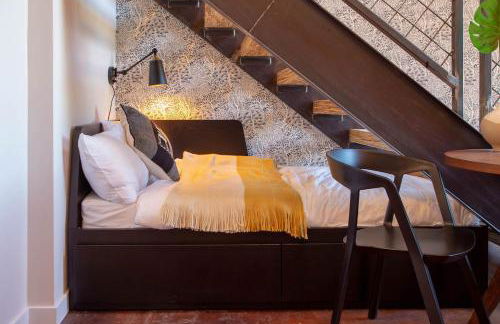
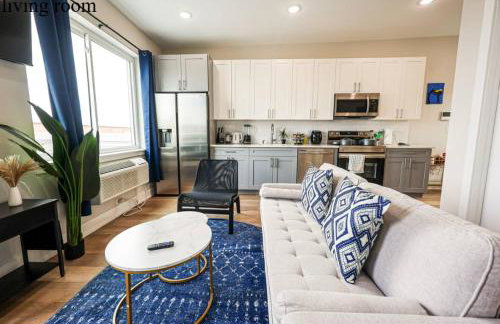
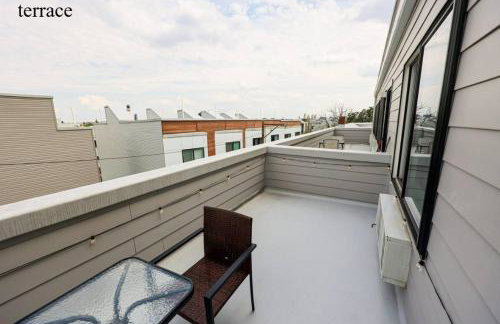
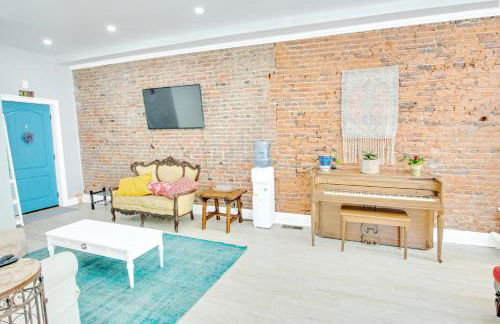
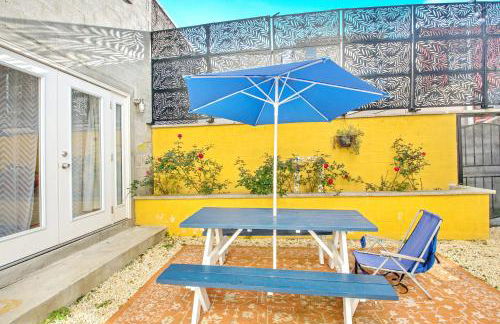
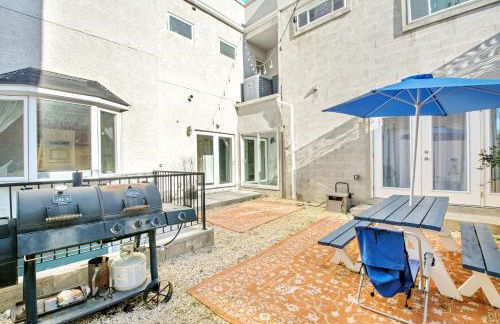
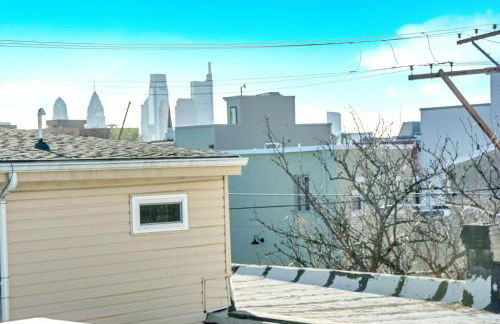
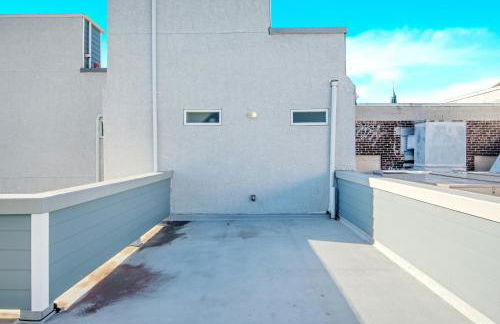
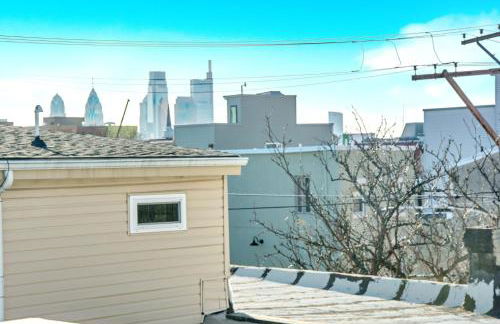
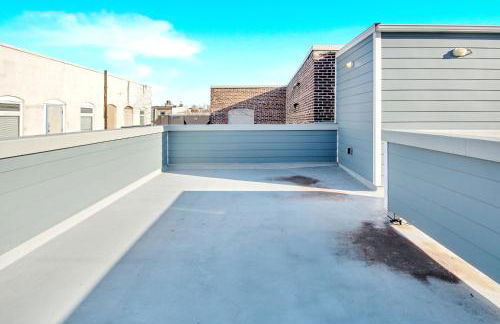
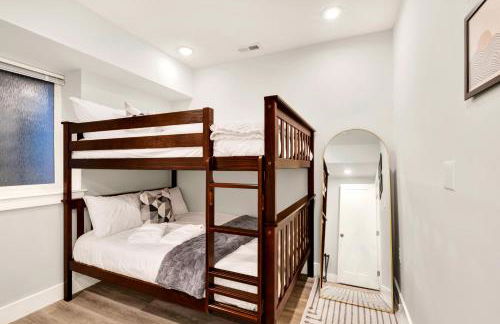
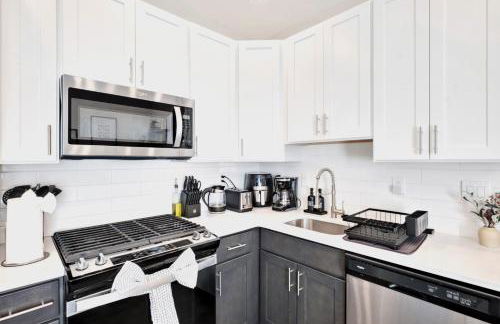
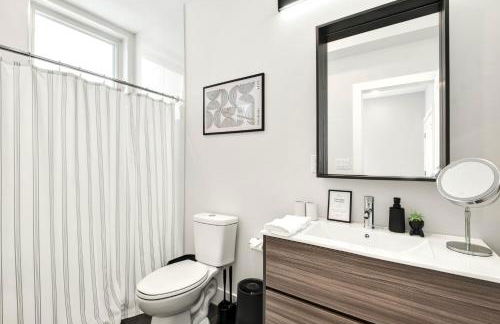
Brand New Dbl Unit Roofdeck Outdoor Patio
Filadelfia - North Philadelphia East - 740 m dal centro
- 198 M2
- 5 camere
- 19 persone
- Aria condizionata
- Riscaldamento
- Parcheggio


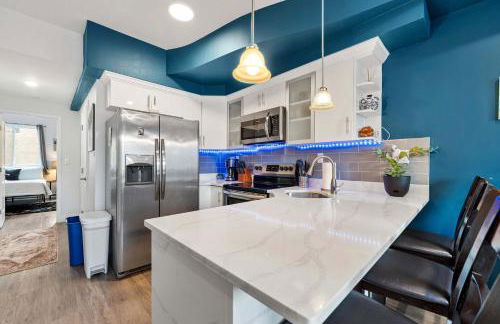
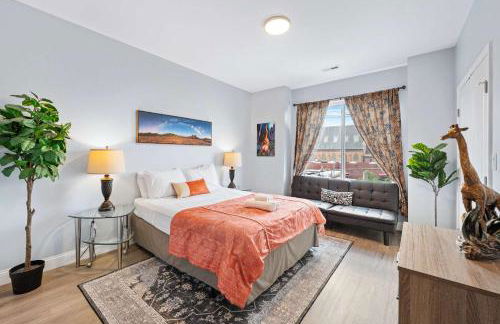
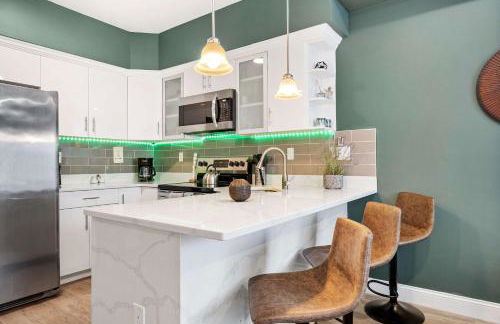
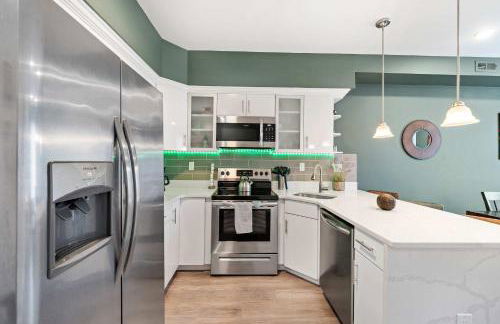
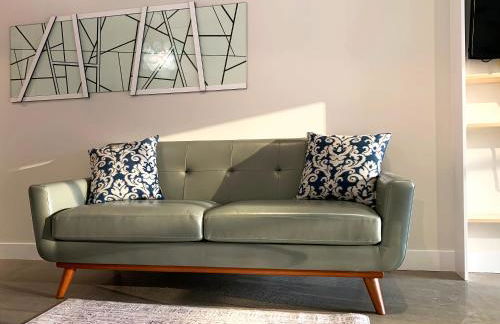
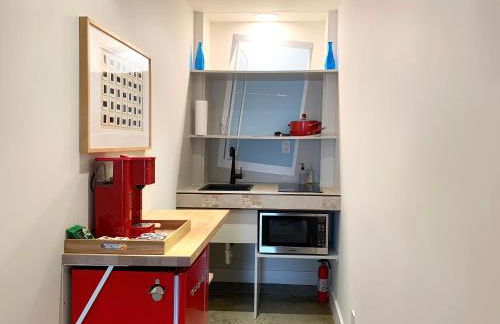
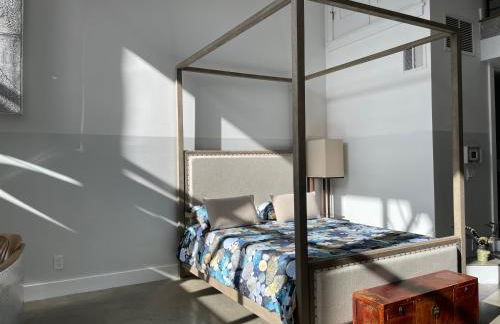
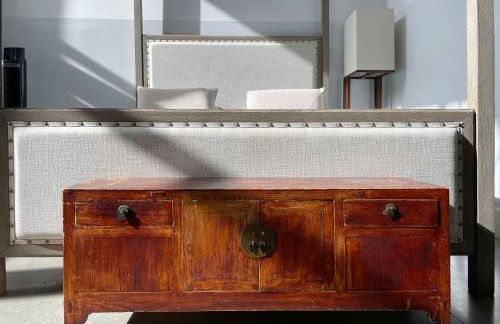
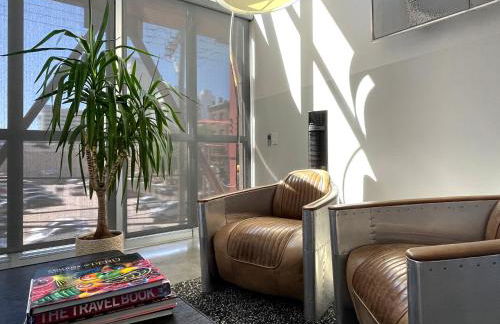
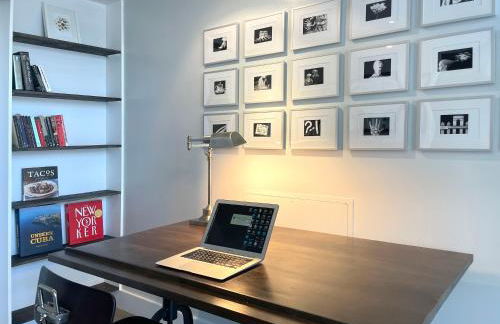
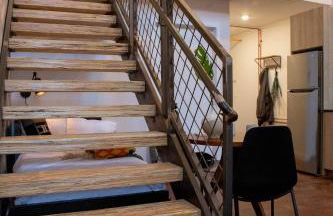
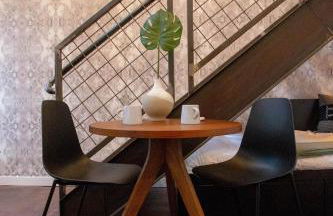
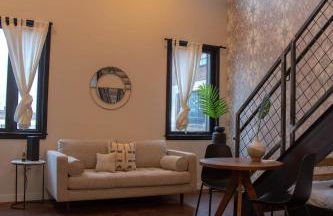
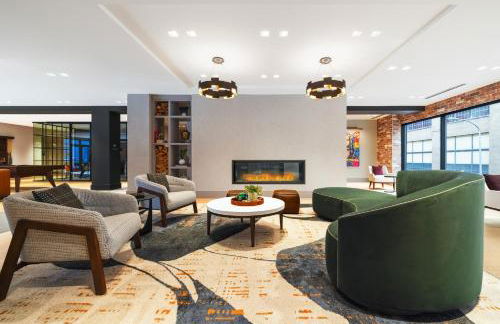
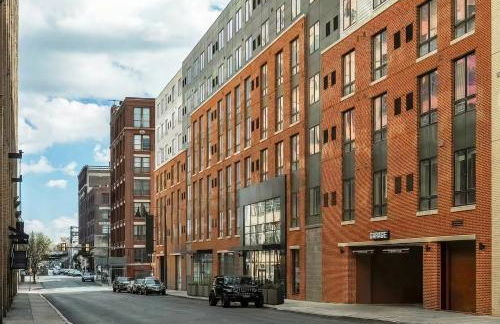
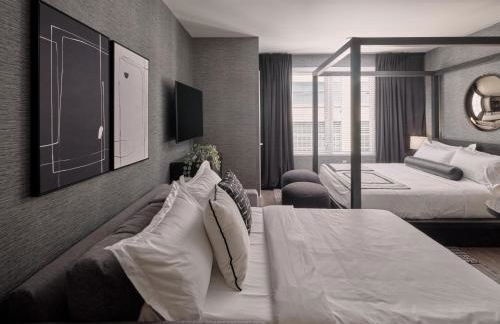
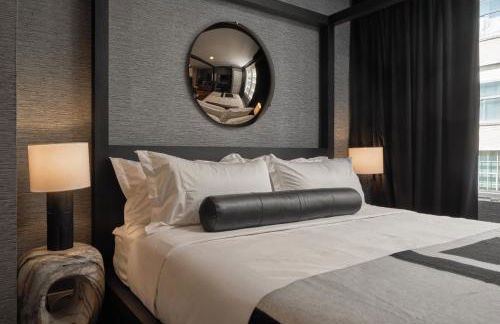
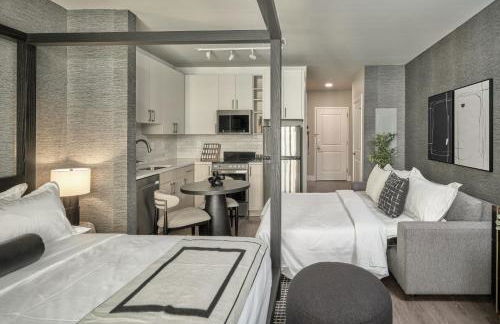
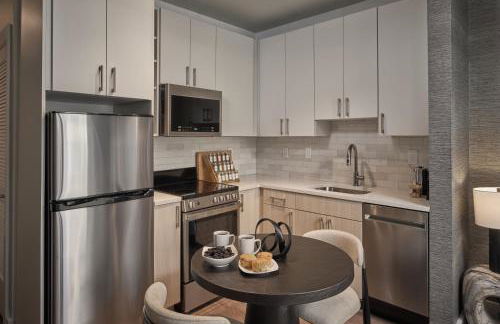
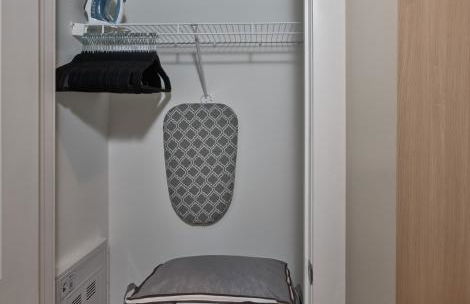
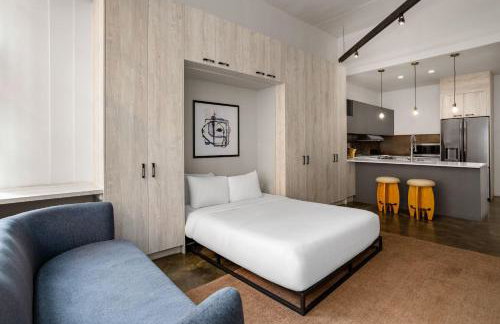
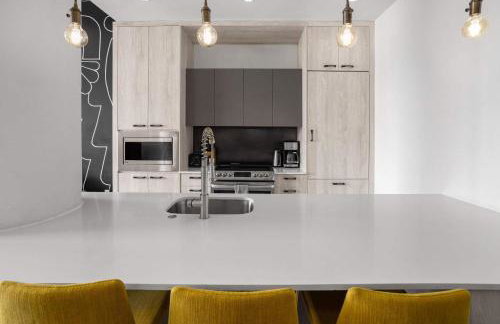
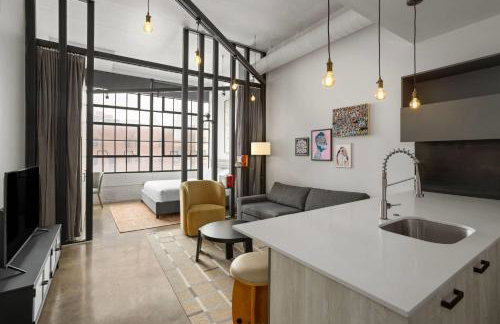
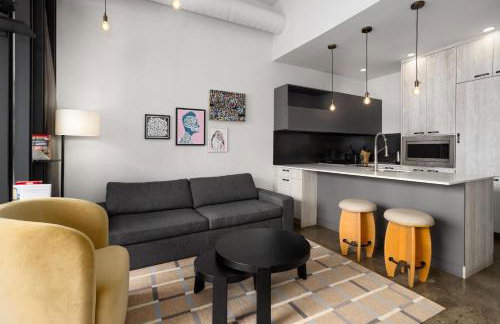
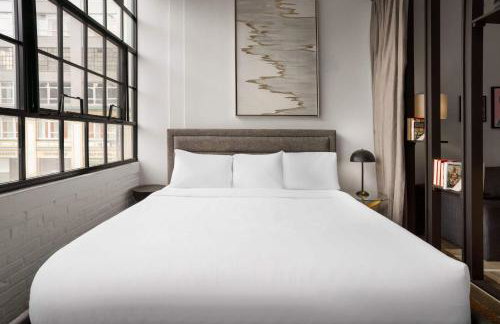
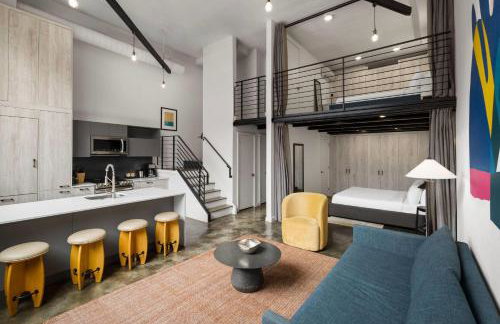
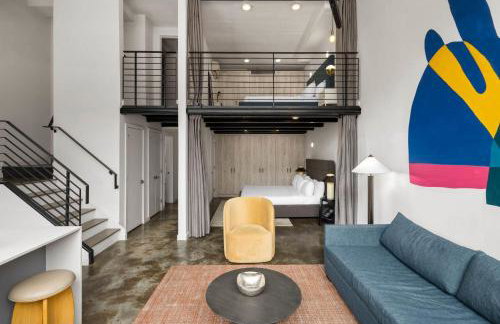
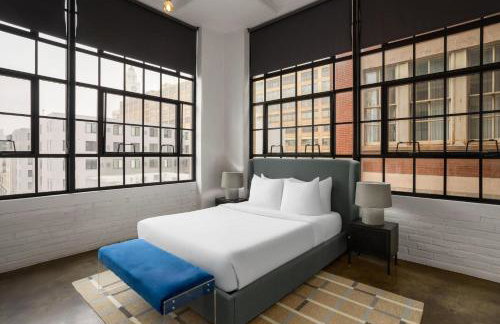
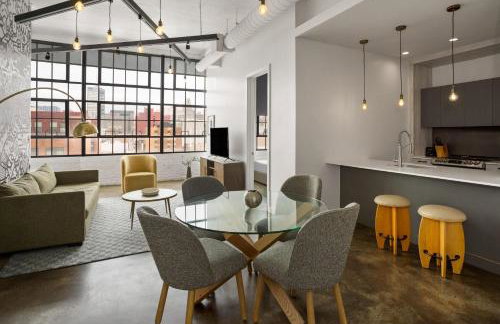
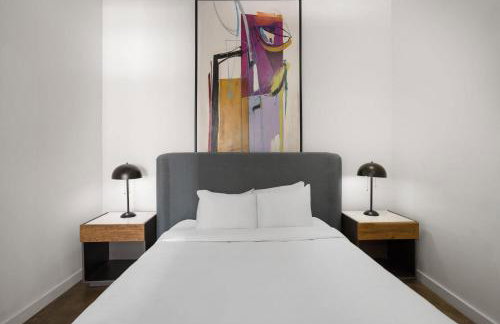
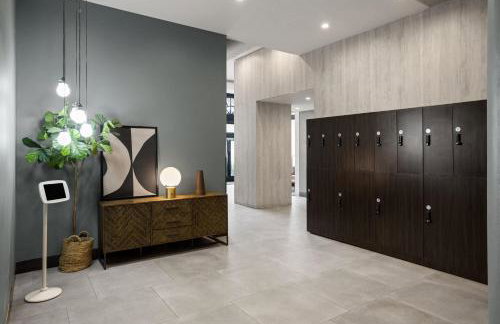
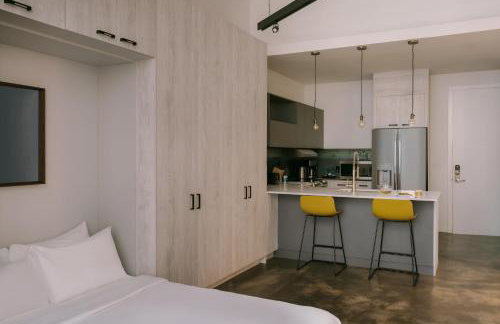
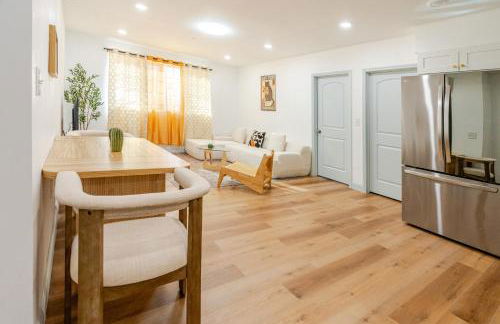
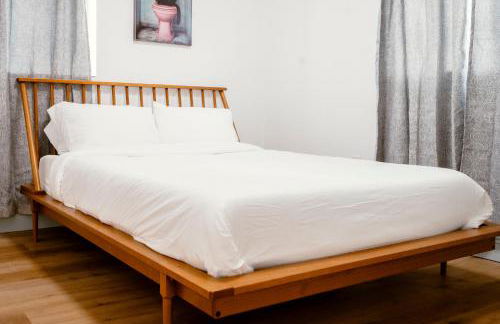
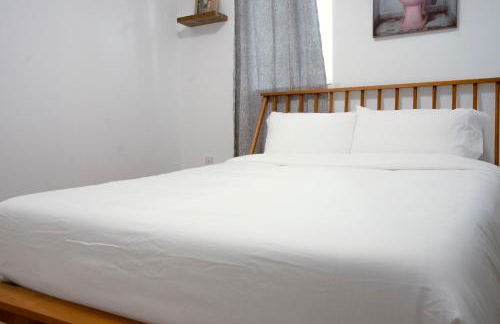
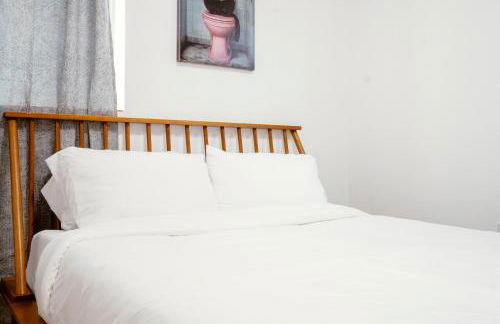
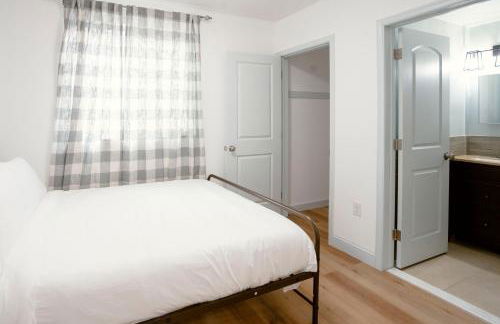
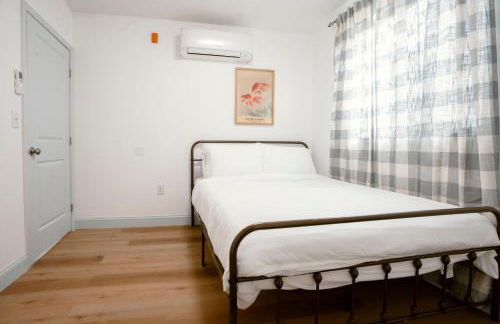
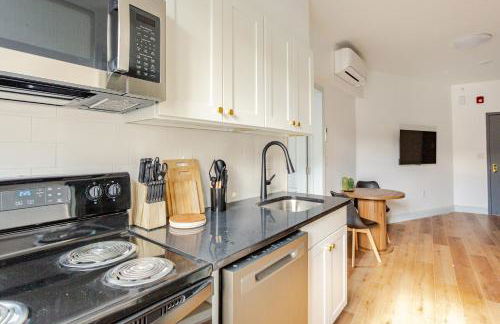
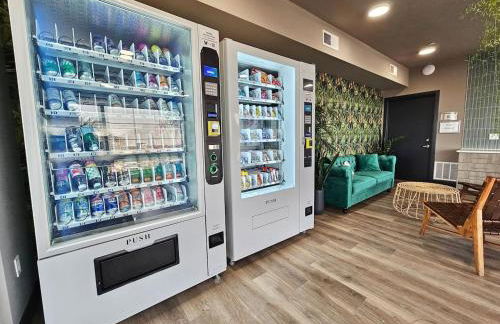
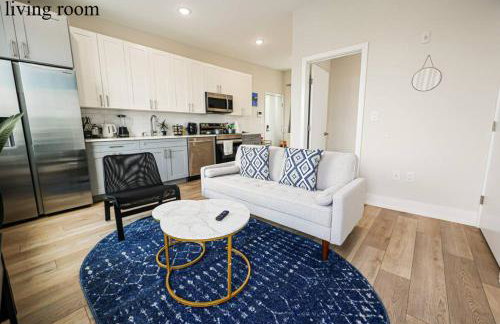
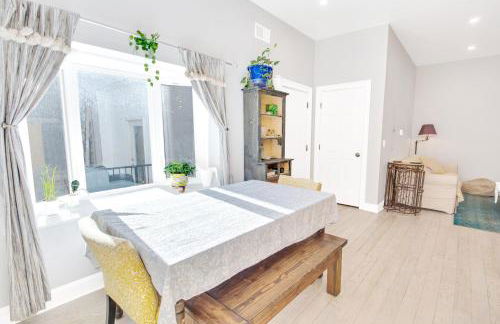
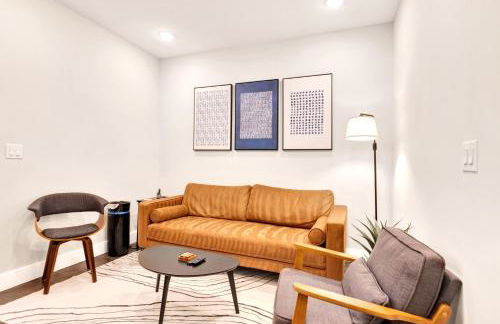
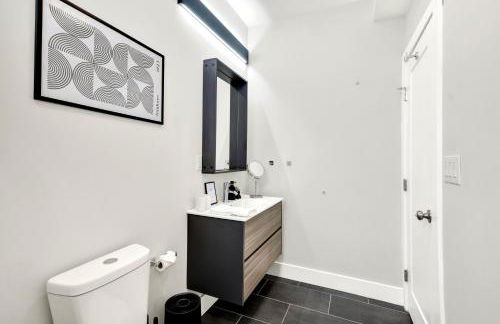
Sosuite at Independence Lofts - Callowhill
Filadelfia - North Philadelphia East - 790 m dal centro
- 111 M2
- 2 camere
- 6 persone
- Aria condizionata
- Riscaldamento
- Parcheggio
- Ascensore
- Balcone
- Tv
- Lavatrice
- Lino da bagno
- Lino da letto


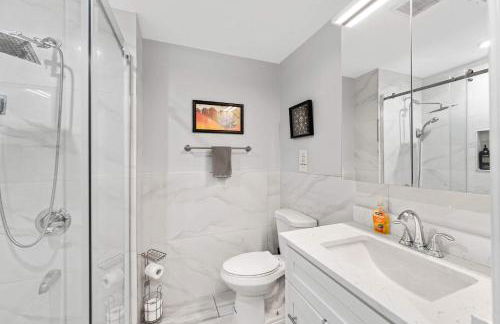
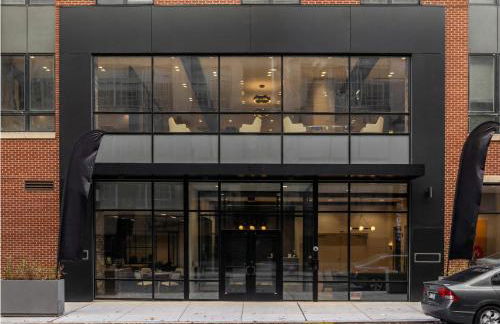
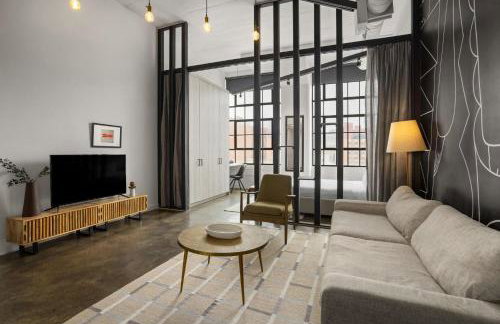
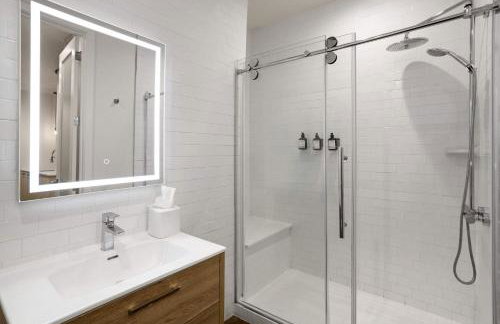
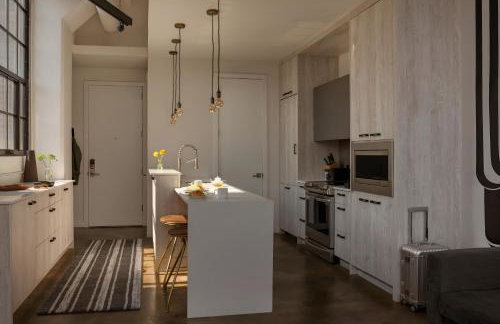
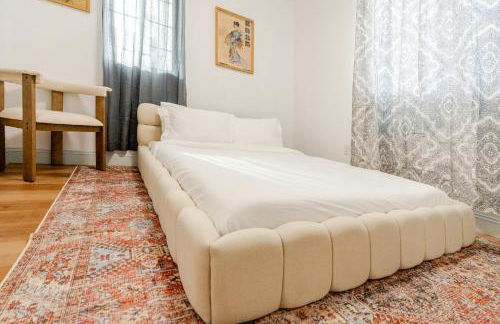
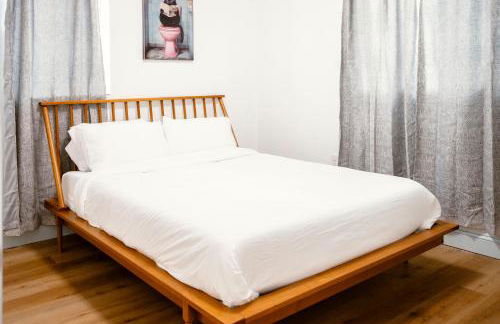
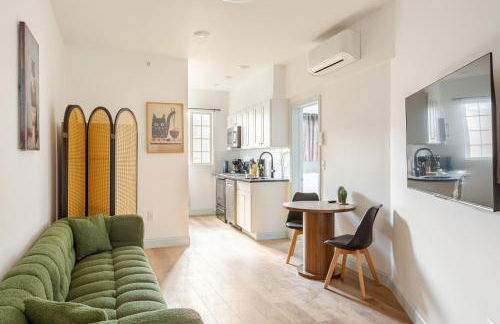
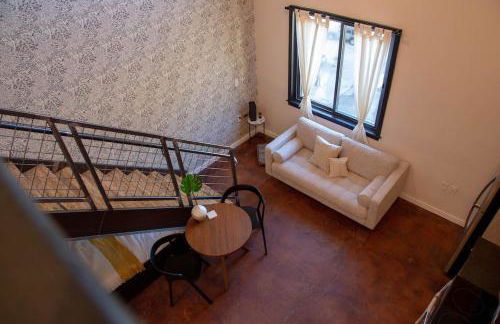
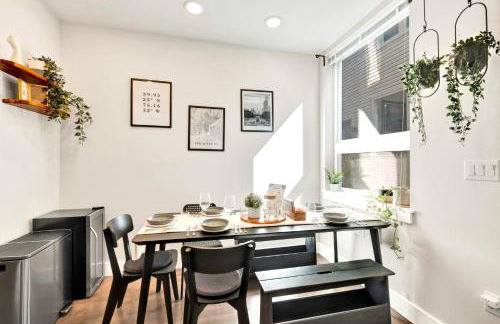
Loft Suite with private patio in Art Tower
Filadelfia - North Philadelphia East - 500 m dal centro
- 65 M2
- 2 persone
- Aria condizionata
- Riscaldamento
- Terrazza
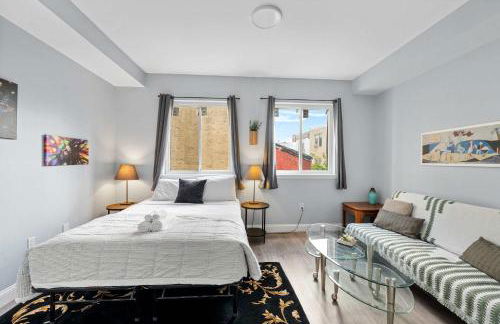
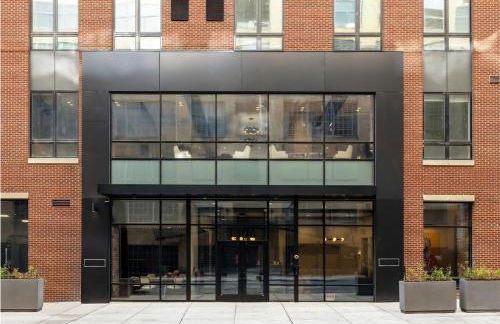
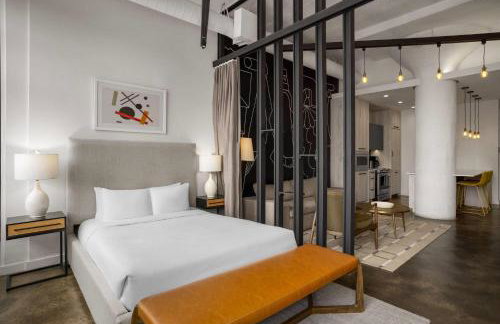
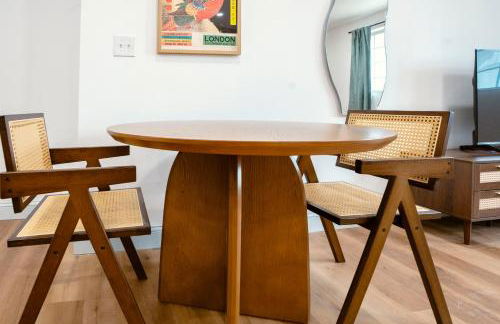
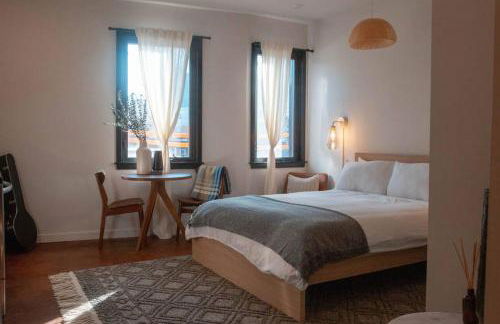
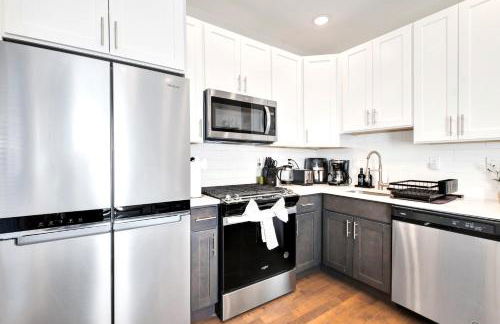
Duplex Suite in Art Tower
Filadelfia - North Philadelphia East - 500 m dal centro
- 139 M2
- 2 persone
- Aria condizionata
- Riscaldamento
- Parcheggio


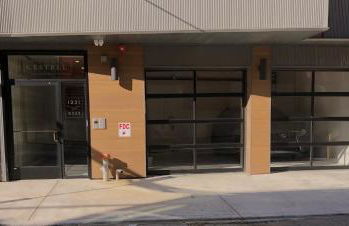
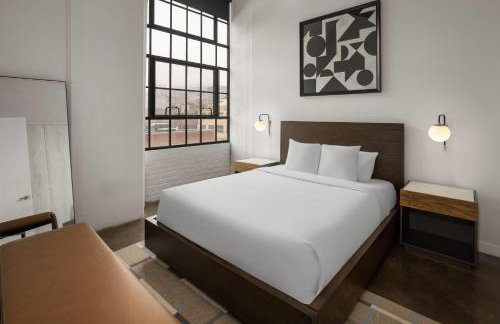
Viaduct Loft at Kestrel Hotel
Filadelfia - North Philadelphia East - 250 m dal centro
- 46 M2
- 1 camera
- 4 persone
- Aria condizionata
- Riscaldamento
- Parcheggio
- Ascensore
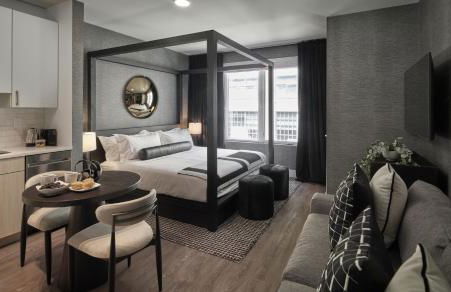


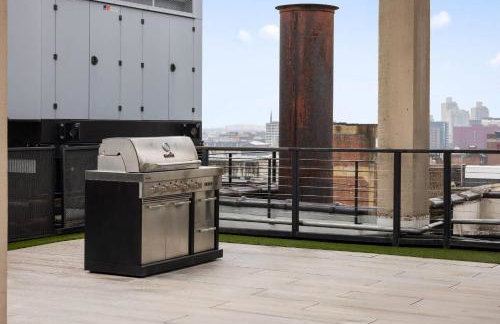
Luxury Apartments by Hyatus Center City
Filadelfia - North Philadelphia East - 290 m dal centro
- 42 M2
- 1 camera
- Aria condizionata
- Riscaldamento
- Parcheggio
- Ascensore
- Giardino
- Barbecue


The Heid Lofts by Reside, a Wyndham Residence
Filadelfia - North Philadelphia East - 250 m dal centro
- 87 M2
- 6 persone
- Aria condizionata
- Riscaldamento
- Terrazza
- Ascensore
- Giardino


Cozy Stay Near Fishtown - Close to Subway & Center City by Globenest
Filadelfia - North Philadelphia East - 1 km dal centro
- 3 M2
- 2 camere
- 4 persone
- Aria condizionata


Sosuite Studio Penthouse w W/d, Gym, On-site Bar
Filadelfia - North Philadelphia East - 770 m dal centro
- 3 persone
- Aria condizionata
- Riscaldamento
- Tv
- Lavatrice
- Lino da bagno
- Lino da letto


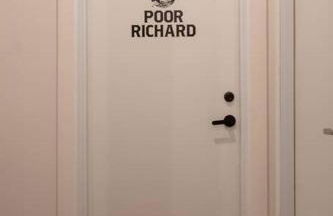


Poor Richard Studio at Kestrel Hotel
Filadelfia - North Philadelphia East - 250 m dal centro
- 42 M2
- 2 persone
- Aria condizionata
- Riscaldamento
- Parcheggio
- Ascensore


Siren's Cozy Cove Hideaway Mins from Downtown
Filadelfia - North Philadelphia East - 1.9 km dal centro
- 1 camera
- 3 persone
- Aria condizionata


1BR Apt King Bed FREE Parking Gym - RoofTop 609
Filadelfia - North Philadelphia East - 910 m dal centro
- 560 M2
- 2 persone
- Aria condizionata
- Ascensore


Mayor's Study Loft at Kestrel Hotel
Filadelfia - North Philadelphia East - 250 m dal centro
- 46 M2
- 1 camera
- 4 persone
- Aria condizionata
- Riscaldamento
- Parcheggio
- Ascensore


Rail Park Studio at Kestrel Hotel
Filadelfia - North Philadelphia East - 250 m dal centro
- 42 M2
- 2 persone
- Aria condizionata
- Riscaldamento
- Parcheggio
- Ascensore


New Modern Apt in Chinatown Parking Available
Filadelfia - North Philadelphia East - 300 m dal centro
- 650 M2
- 1 camera
- 4 persone
- Aria condizionata
- Riscaldamento

Central 1BR1BAKing BedWiFiWD
Filadelfia - North Philadelphia East - 3.3 km dal centro
- 47 M2
- 1 camera
- 2 persone
- Aria condizionata
- Riscaldamento
- Parcheggio


Spacious Oasis - Parking, Private Patio & Roofdeck
Filadelfia - North Philadelphia East - 3.4 km dal centro
- 1000 M2
- 3 camere
- 8 persone
- Aria condizionata
- Parcheggio


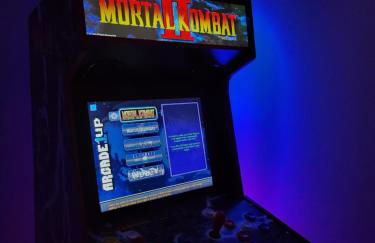
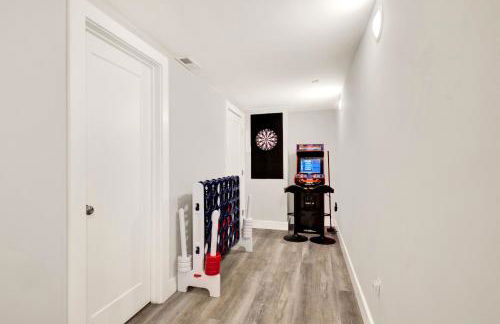


Spacious Center City 3BR 4BA with Arcade - Sleeps 8
Filadelfia - North Philadelphia East - 560 m dal centro
- 123 M2
- 3 camere
- Aria condizionata


Stay at Luna on 800 Callowhill
Filadelfia - North Philadelphia East - 580 m dal centro
- 149 M2
- 2 camere
- 6 persone
- Aria condizionata
- Riscaldamento
- Parcheggio


AF Stays - Philadelphia Callowhill
Filadelfia - North Philadelphia East - 270 m dal centro
- 46 M2
- 1 camera
- 2 persone
- Aria condizionata
- Riscaldamento
- Parcheggio