
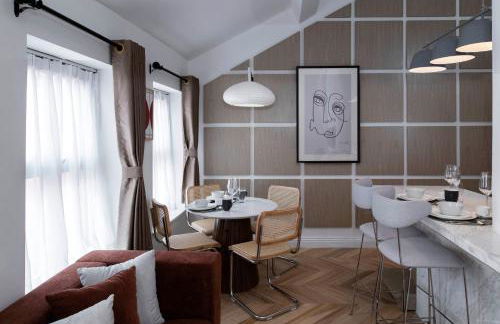
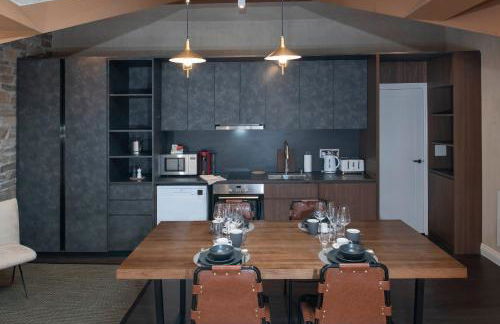
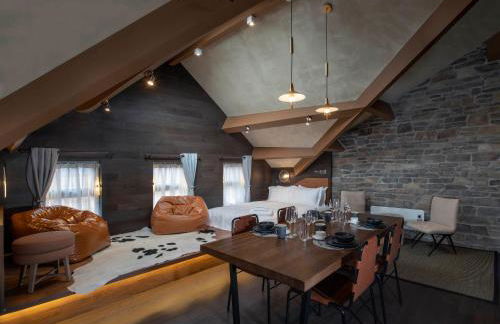
15 Appartamenti a Marybone
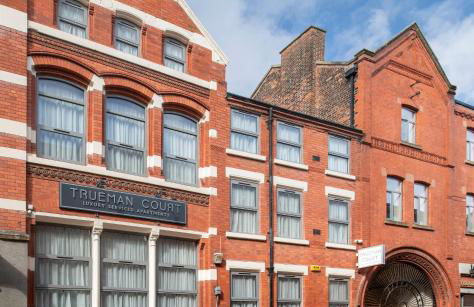


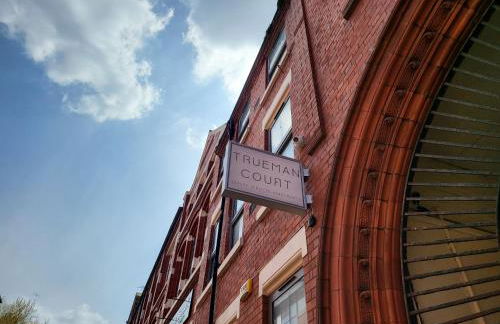


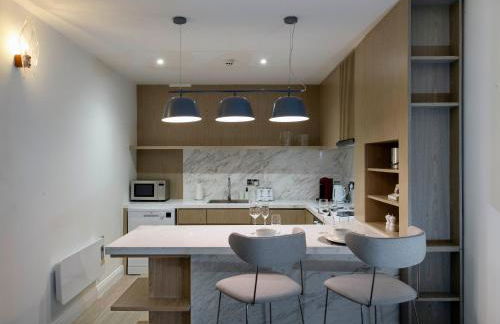


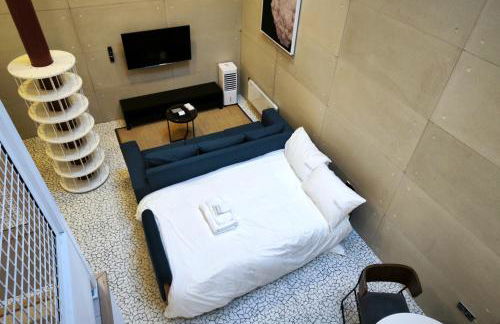


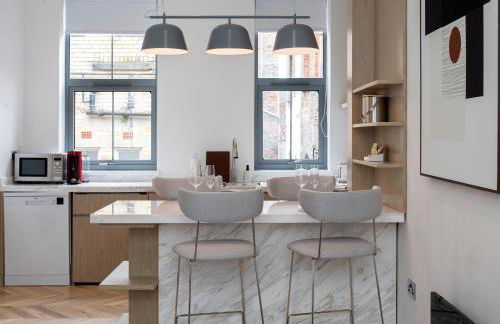

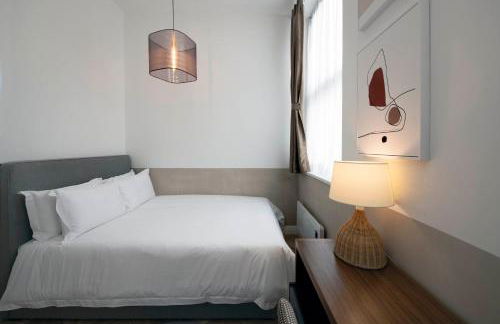


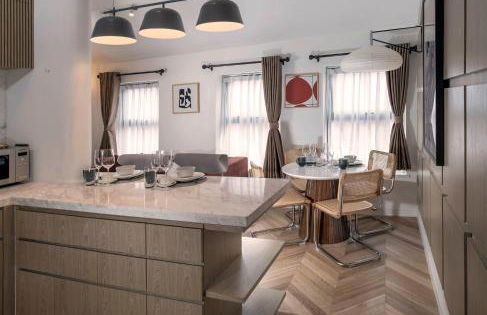


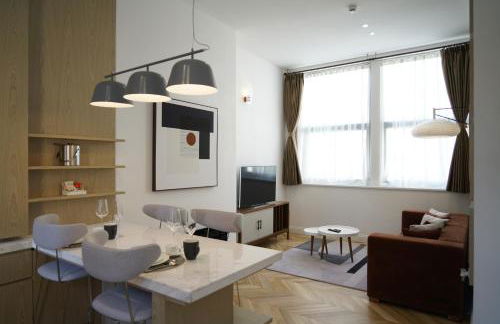


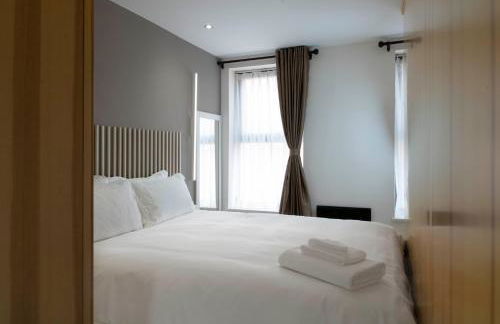

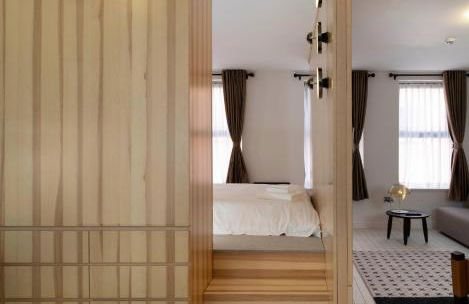


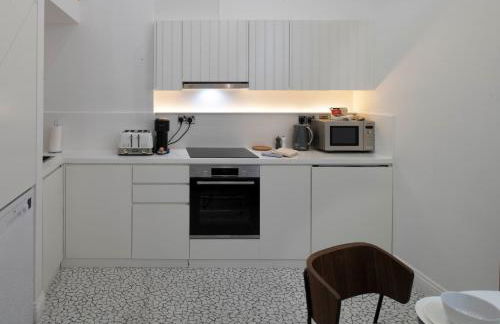


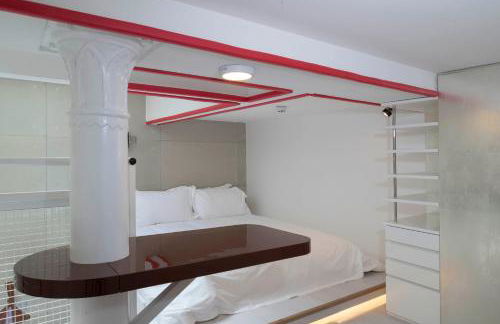


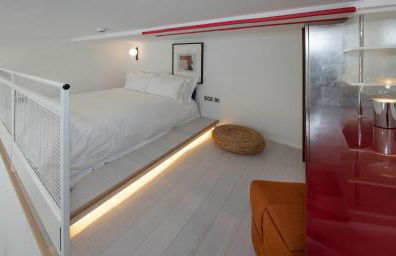

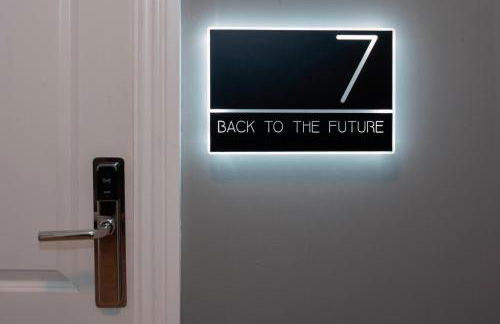


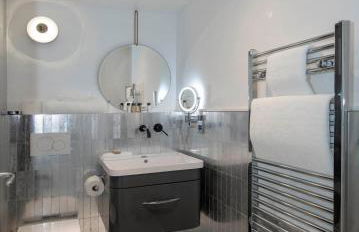


Trueman Court Luxury Serviced Apartments
Liverpool - Marybone - Al centro
- 70 M2
- 2 camere
- 4 persone
- Riscaldamento
- Parcheggio
- Tv
- Lino da bagno
- Lino da letto
53 recensioni


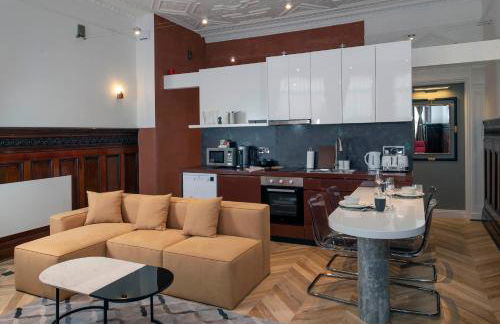
2 bedroom Central Flat with Parking
Liverpool - Marybone - Al centro
- 56 M2
- 5 persone
- Riscaldamento
- Parcheggio
- Tv
- Lino da bagno
- Lino da letto
2 recensioni


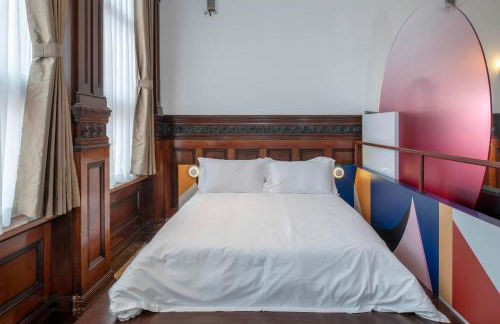
Central Liverpool 2-Bed Balcony Apartment by StaySavvy Accommodation
Liverpool - Marybone - Al centro
- 125 M2
- 2 camere
- 4 persone
- Riscaldamento
- Ascensore
2 recensioni


Spacious 3BR City Centre Apartment Free Parking
Liverpool - Marybone - Al centro
- 88 M2
- 3 camere
- 6 persone
- Parcheggio
- Ascensore
178 recensioni


picturesque - 2 bedroom central flat
Liverpool - Marybone - Al centro
- 60 M2
- 2 camere
- 5 persone
- Parcheggio
18 recensioni


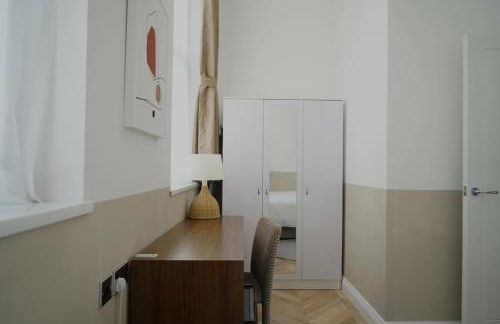
For Students Only Glassworks in Liverpool
Liverpool - Marybone - Al centro
- 13 M2
- 1 persona
- Cucinino
- Riscaldamento
- Tv
- Lino da bagno
- Lino da letto
4 recensioni

2-Bed City View with Balcony Liverpool by StaySavvy Accommodation
Liverpool - Marybone - Al centro
- 85 M2
- 2 camere
- 4 persone
- Riscaldamento
- Terrazza
- Ascensore
2 recensioni


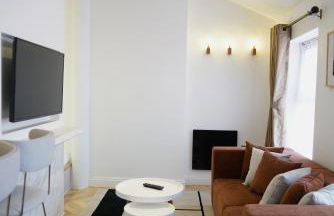
GuestReady - Modern stay in Bispham House
Liverpool - Marybone - Al centro
- 55 M2
- 2 camere
- 6 persone
- Ascensore
14 recensioni


Liverpool City Centre with Free Parking - Sleeps 6!
Liverpool - Marybone - Al centro
- 58 M2
- 2 camere
- 6 persone
- Riscaldamento
- Parcheggio
- Ascensore
- Giardino
6 recensioni


Liverpool City Centre - Free Parking - Sleeps 6!
Liverpool - Marybone - Al centro
- 62 M2
- 2 camere
- 6 persone
- Riscaldamento
- Parcheggio
- Ascensore
- Giardino
5 recensioni


The Reach
Liverpool - Marybone - Al centro
- 7 persone
- Riscaldamento
- Terrazza
- Parcheggio
- Ascensore
- Tv
- Lavatrice
- Lino da bagno
- Lino da letto
1 recensione


For Students Only Byrom Point in Liverpool
Liverpool - Marybone - Al centro
- 25 M2
- 2 persone
- Riscaldamento
- Ascensore
- Tv
- Lino da bagno
1 recensione


The Reach by Top House
Liverpool - Marybone - Al centro
- 7 persone
- Riscaldamento
- Parcheggio
- Tv
- Lino da bagno
- Lino da letto


Host Apartments Standish Street Place
Liverpool - Marybone - Al centro
- 6 persone
- Riscaldamento
- Parcheggio
- Balcone
- Tv
- Lavatrice
- Lino da bagno
- Lino da letto


Host Apartments Standish Street Living
Liverpool - Marybone - Al centro
- 6 persone
- Riscaldamento
- Parcheggio
- Balcone
- Tv
- Lavatrice
- Lino da bagno
- Lino da letto