
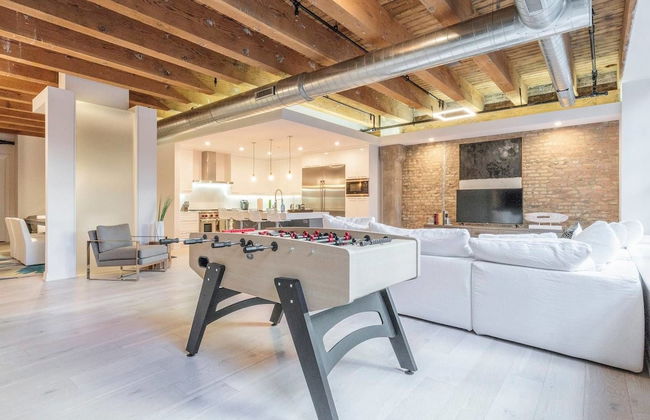
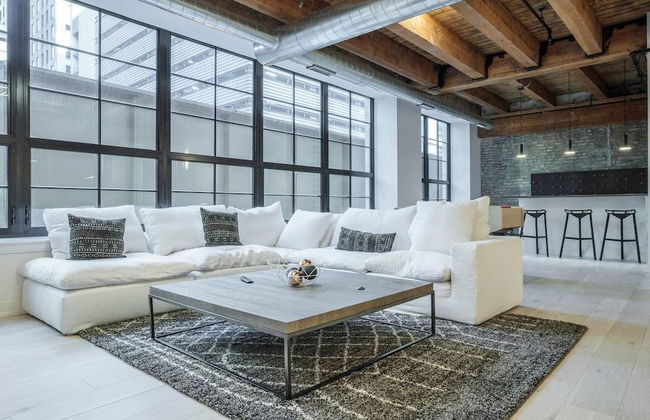
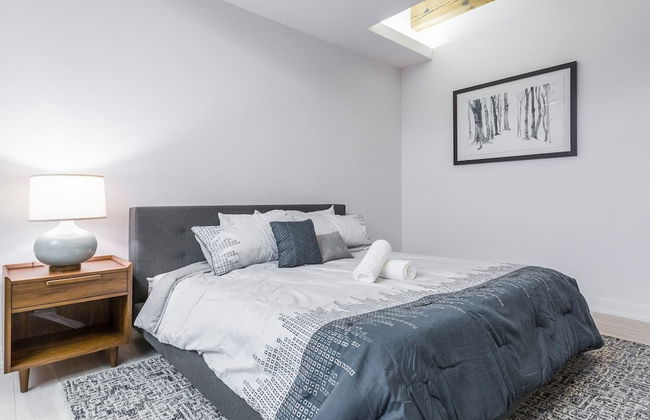
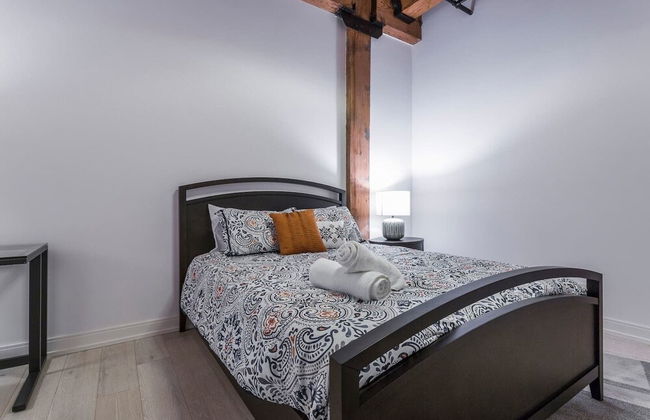
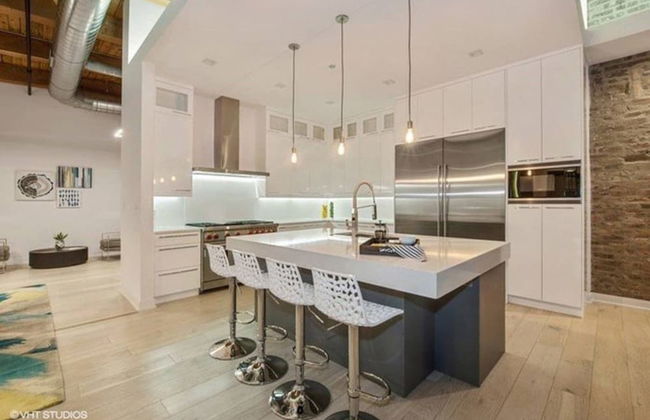
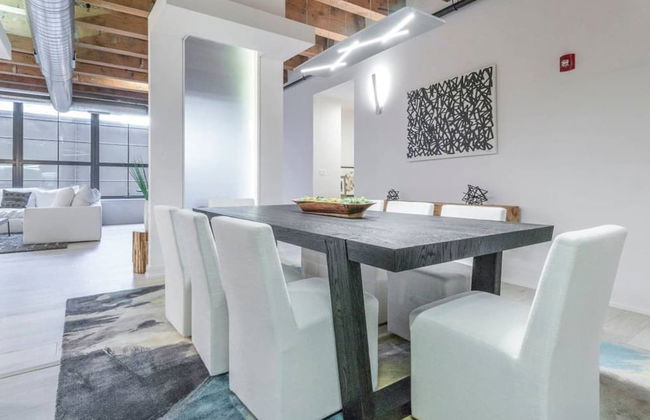
20 Appartamenti a Loop


Premier Penthouses and Apartment with Captivating Views of Millennium Park
Chicago - Loop - Al centro
- 246 M2
- 4 camere
- 9 persone
- Aria condizionata
- Terrazza
- Piscina
- Parcheggio
- Ascensore
- Giardino
- Barbecue
6 recensioni


Experience Downtown Chicago at Millennium - Luxury Apartments in The Loop
Chicago - Loop - Al centro
- 115 M2
- 2 camere
- 5 persone
- Aria condizionata
- Riscaldamento
- Terrazza
- Piscina
- Parcheggio
- Giardino
74 recensioni


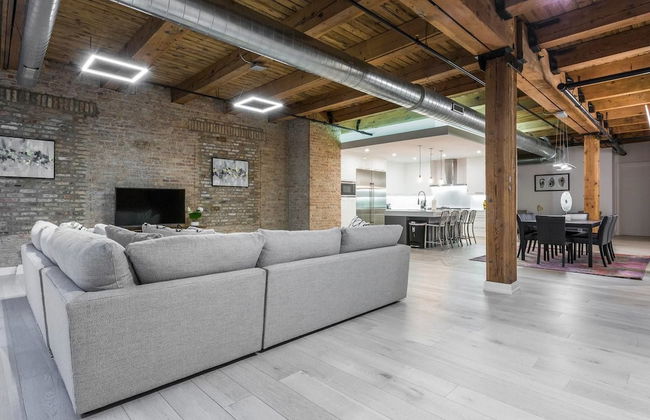
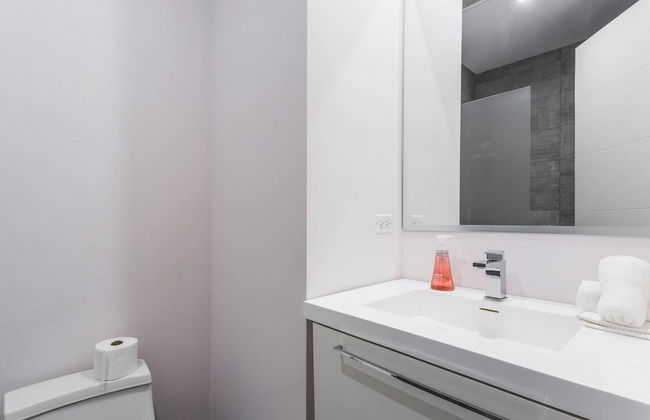
Spacious & Private 3 BDR Luxury Condo in Downtown
Chicago - Loop - Al centro
- 8 persone
- Aria condizionata
- Parcheggio
- Ascensore
- Tv
- Lavatrice
- Lino da bagno
- Lino da letto


Breathtaking 6 BDR Luxury Condo Downtown Chicago
Chicago - Loop - Al centro
- 16 persone
- Parcheggio
- Ascensore
- Tv
- Lavatrice


3 BDR Downtown Luxury Loft-spacious, Safe & Secure
Chicago - Loop - Al centro
- 10 persone
- Parcheggio
- Ascensore
- Tv
- Lavatrice


The Best View in America
Chicago - Loop - 670 m dal centro
- 2 camere
- 3 persone
- Aria condizionata
- Terrazza
- Piscina
- Parcheggio


Best skyrise in downtown Chicago
Chicago - Loop - Al centro
- 988 M2
- 2 camere
- 3 persone
- Aria condizionata
- Terrazza
- Piscina
- Parcheggio


Cozy 2 bedroom condo by lakeshore
Chicago - Loop - 810 m dal centro
- 1 camera
- 6 persone
- Aria condizionata
- Terrazza
- Piscina
- Parcheggio
- Ascensore
- Barbecue


Loop 1BR w Pool Gym nr Financial District CHI-261
Chicago - Loop - Al centro
- 73 M2
- 2 persone
- Aria condizionata
- Riscaldamento
- Piscina
- Ascensore
- Barbecue


Loop 1BR w Pool Gym nr Financial District CHI-282
Chicago - Loop - Al centro
- 78 M2
- 2 persone
- Aria condizionata
- Riscaldamento
- Piscina
- Ascensore
- Barbecue


Loop 1BR w Pool Gym nr Financial District CHI-251
Chicago - Loop - Al centro
- 68 M2
- 2 persone
- Aria condizionata
- Riscaldamento
- Piscina
- Ascensore
- Barbecue


Loop 1BR w gym pool lounge 1 block from L CHI-671
Chicago - Loop - Al centro
- 88 M2
- 2 persone
- Aria condizionata
- Riscaldamento
- Piscina
- Ascensore
- Barbecue


Loop Studio w Pool Gym nr Theatre District CHI-248
Chicago - Loop - Al centro
- 58 M2
- 2 persone
- Aria condizionata
- Piscina
- Ascensore
- Barbecue


Loop 1BR w Pool Gym Lounge nr Riverwalk CHI-632
Chicago - Loop - Al centro
- 88 M2
- 2 persone
- Aria condizionata
- Piscina
- Ascensore
- Barbecue


Loop studio w theater games nr Millennium Park CHI-1017
Chicago - Loop - Al centro
- 50 M2
- 2 persone
- Aria condizionata
- Riscaldamento
- Ascensore
- Barbecue


Loop jr 1br w game room nr park riverwalk CHI-1013
Chicago - Loop - Al centro
- 60 M2
- 2 persone
- Aria condizionata
- Riscaldamento
- Ascensore
- Barbecue


Blueground The Loop pool AC nr park CHI-1188
Chicago - Loop - Al centro
- 80 M2
- 2 persone
- Aria condizionata
- Ascensore
- Barbecue


Loop 1BR w Gym Pool WD nr Millennium Park CHI-227
Chicago - Loop - Al centro
- 60 M2
- 2 persone
- Aria condizionata
- Ascensore
- Barbecue


Spacious 3BR Retreat Near McCormick Place 2001 S State St 2A
Chicago - Loop - Al centro
- 1 camera
- 8 persone
- Aria condizionata
- Parcheggio