
239 Appartamenti a Lawrence


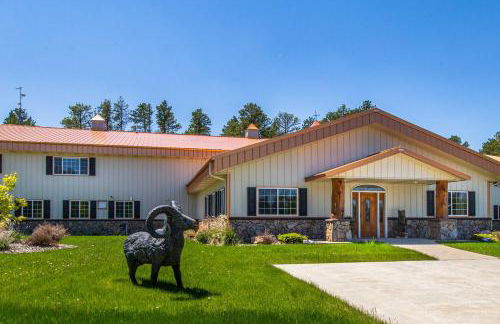
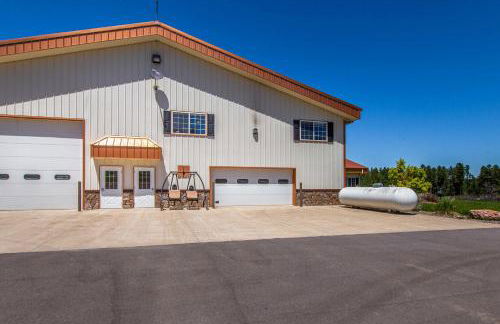
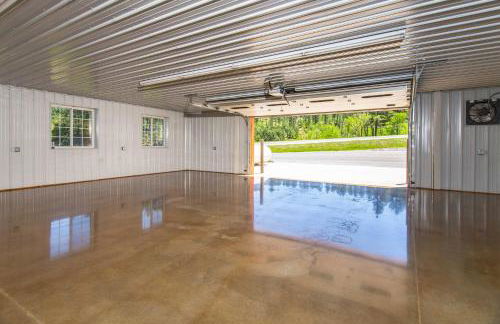
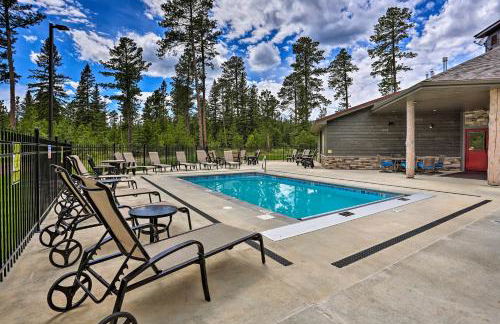
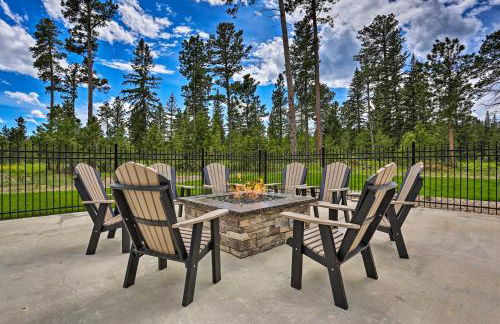
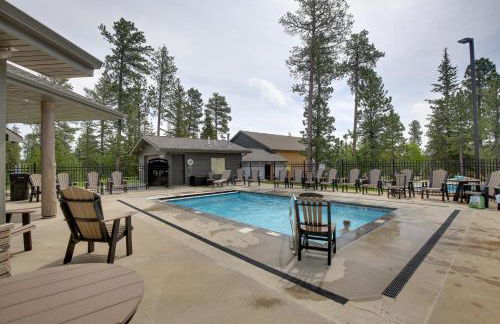
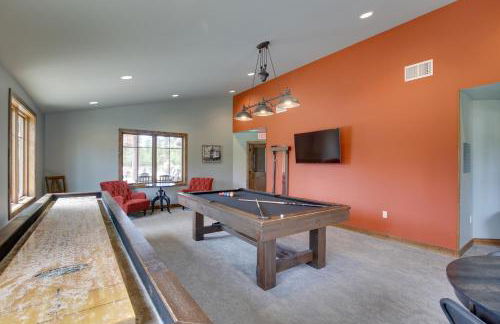
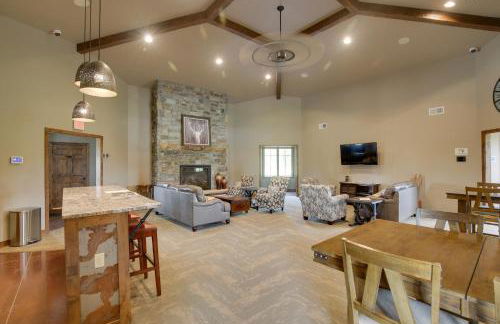
Elkhorn Ridge Resort
Spearfish
- 19 persone
- Riscaldamento
- Piscina
- Parcheggio
- Tv
- Focolare
- Lino da bagno
- Lino da letto
96 recensioni


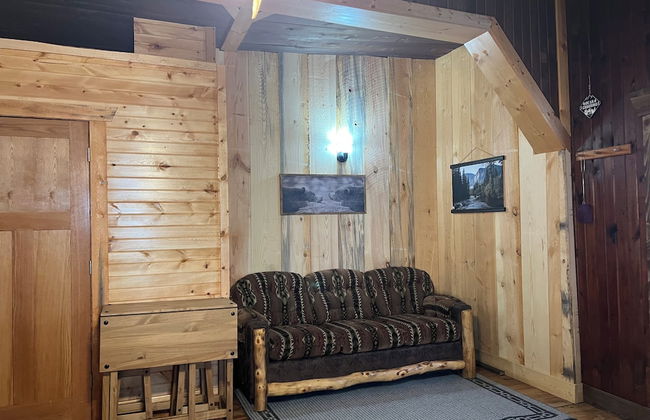
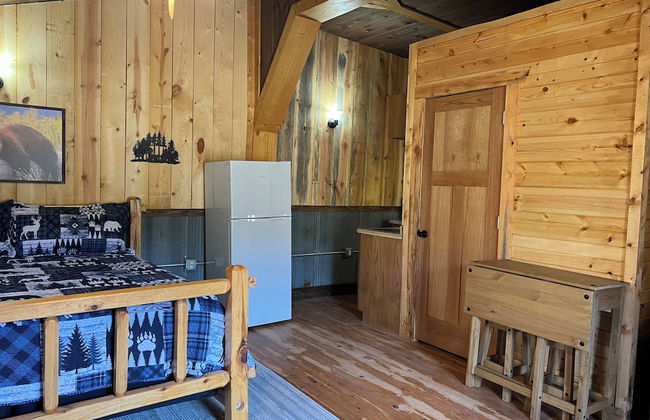
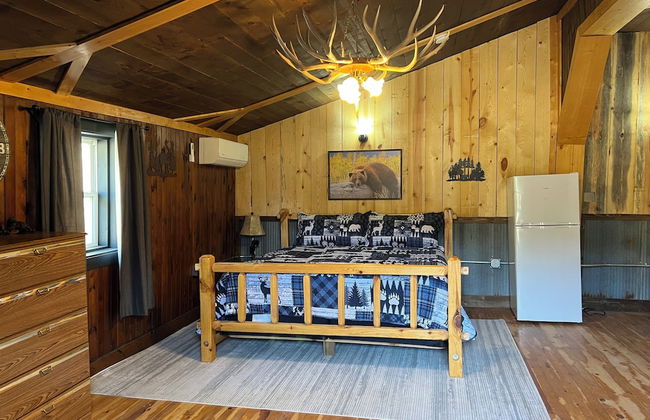
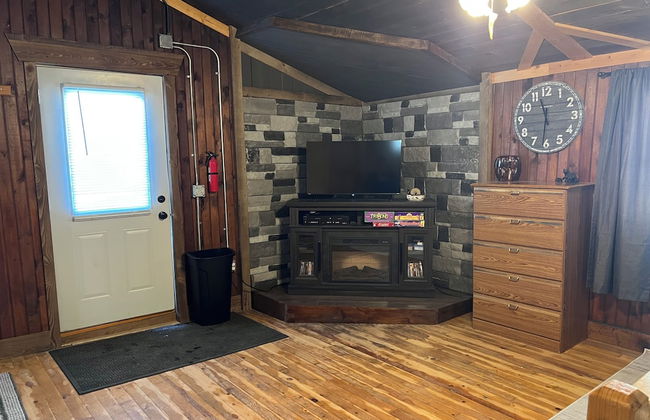
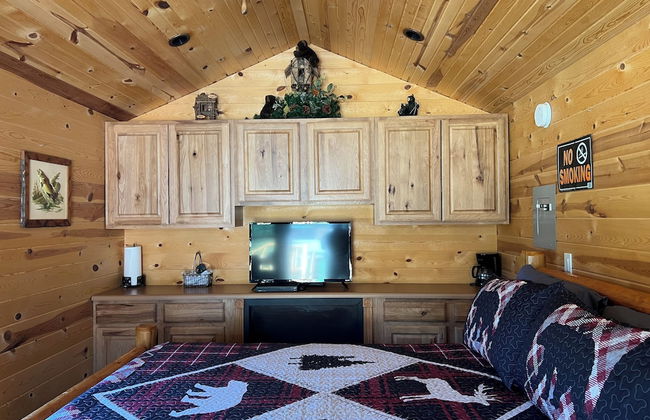
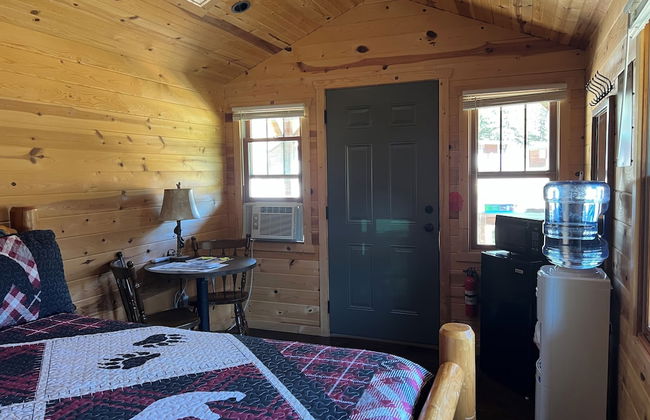


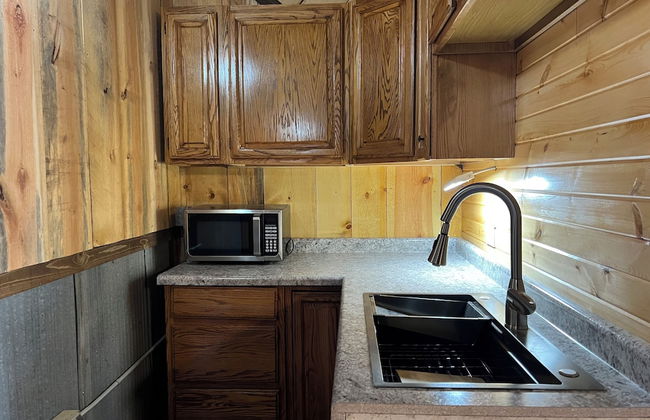
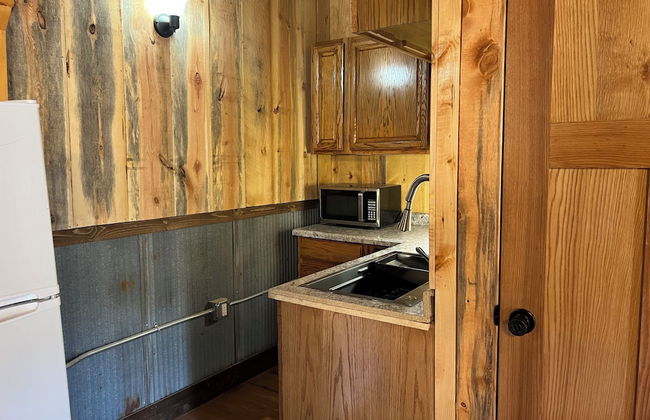


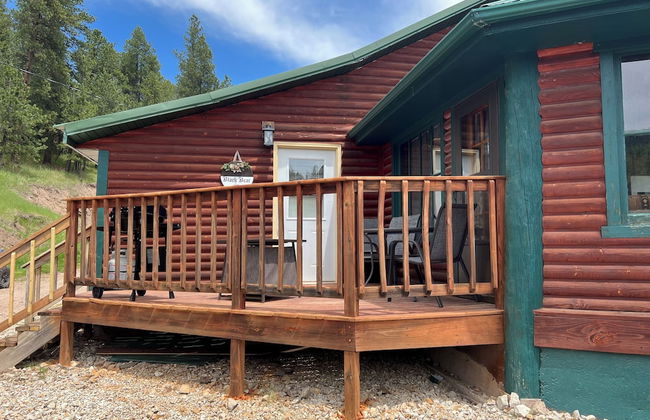


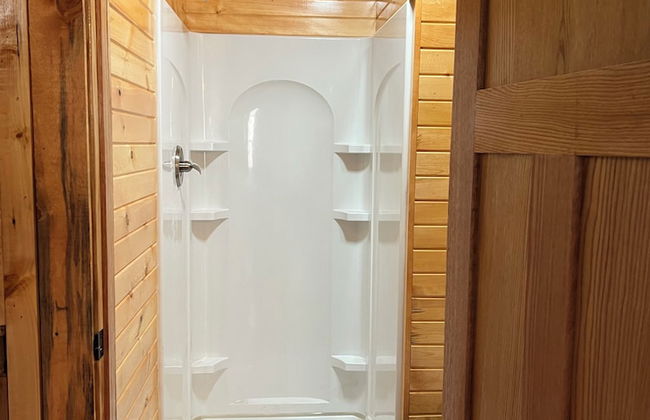


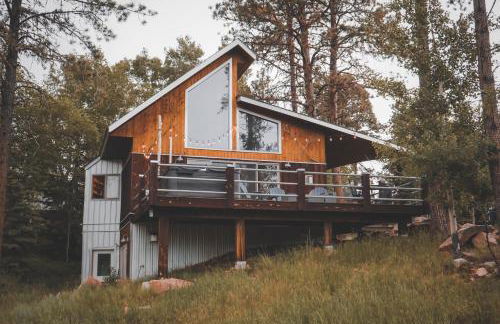
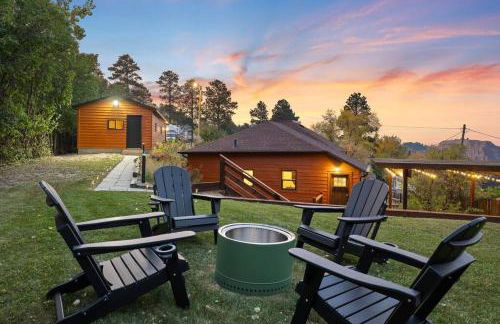
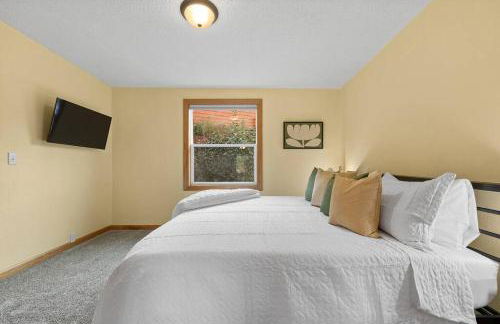
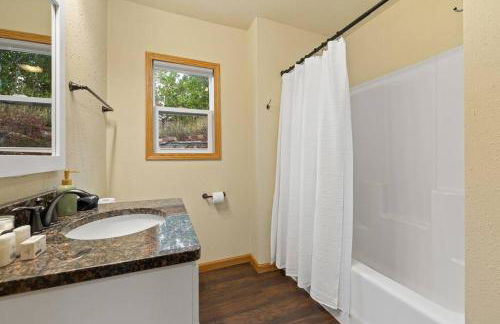
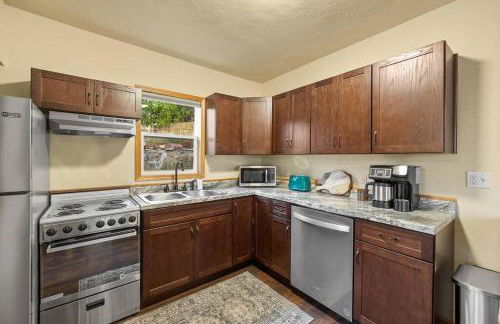
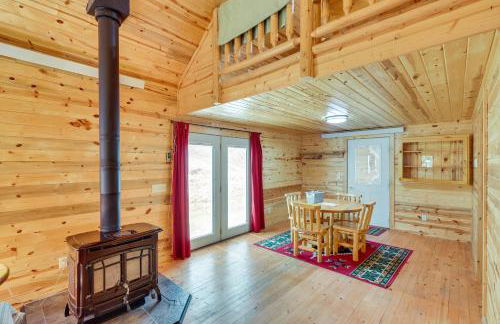
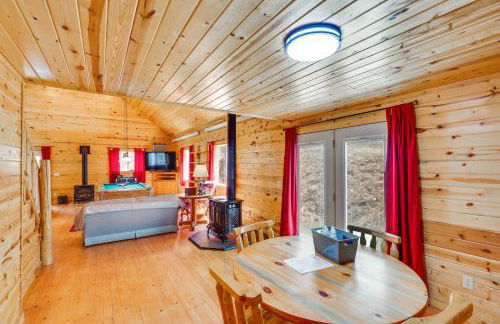
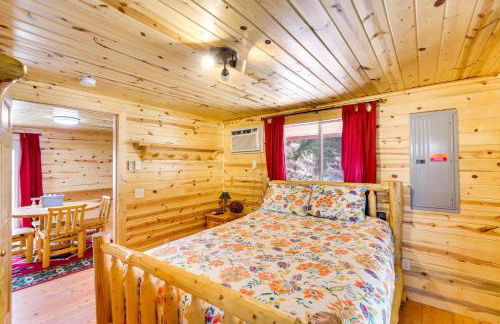
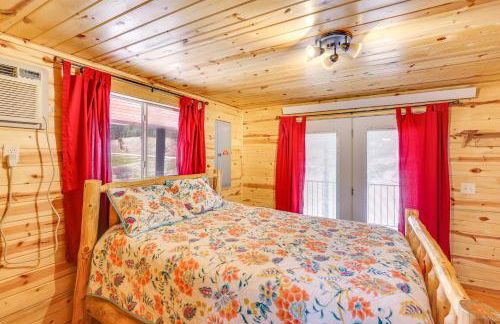
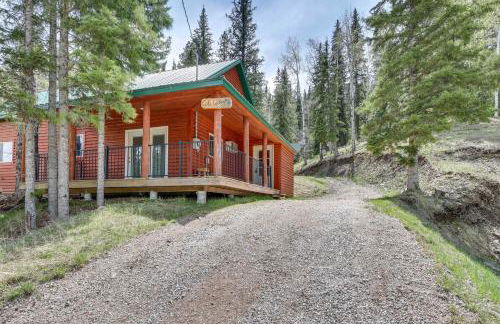
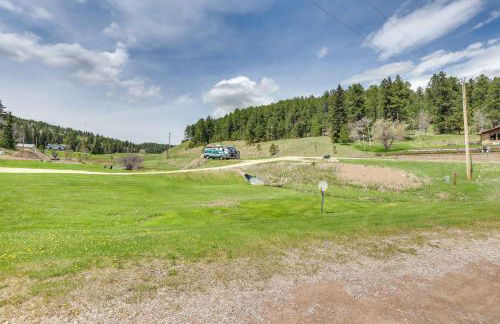
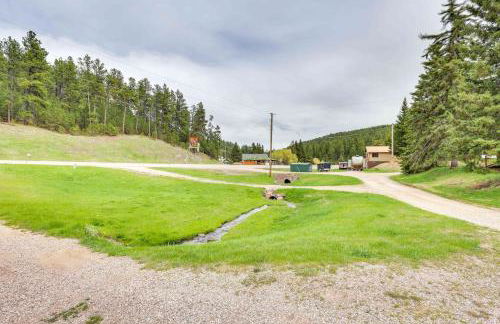
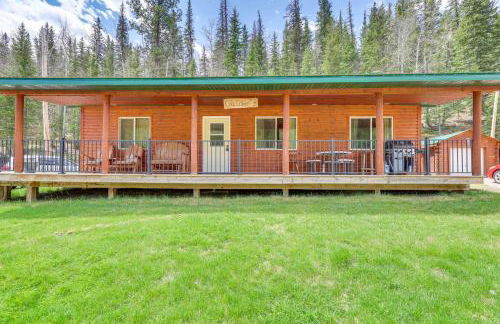
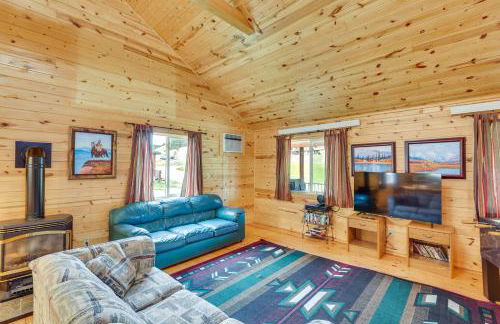
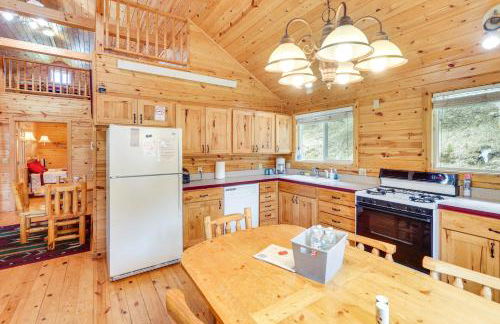
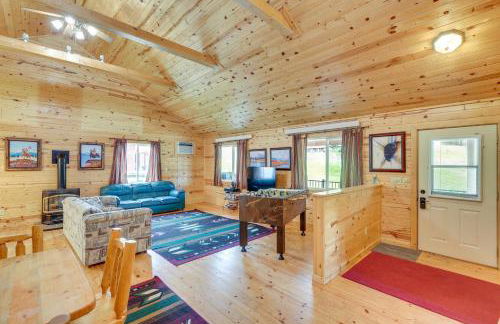
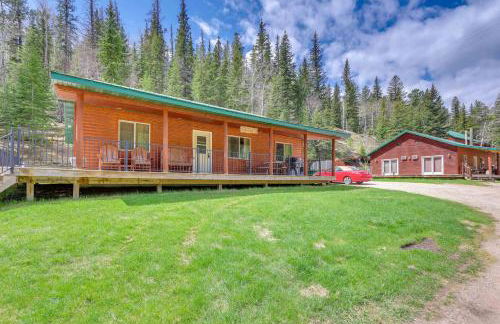
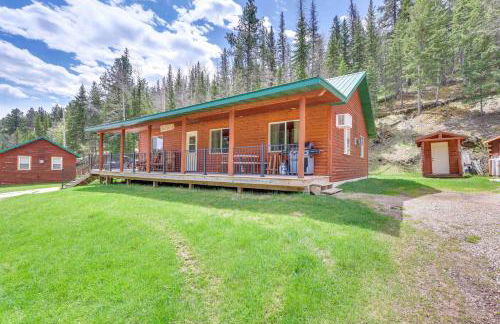
Galena Road Cabins
Deadwood
- 30 M2
- 5 persone
- Aria condizionata
- Riscaldamento
- Parcheggio
- Tv
- Focolare
- Barbecue
- Lino da bagno
- Lino da letto
21 recensioni


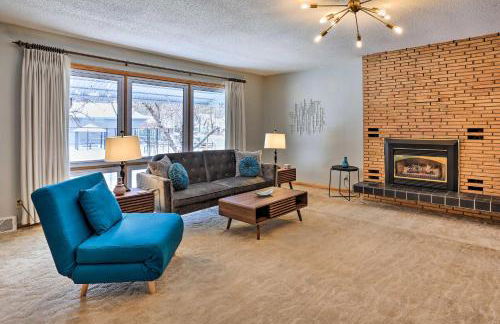
Spearfish Cottages
Spearfish
- 6 persone
- Aria condizionata
- Riscaldamento
- Parcheggio
- Tv
- Lino da bagno
- Lino da letto
436 recensioni


Centrally-Located Deadwood Apt with Mountain Views!
Spearfish
- 149 M2
- 2 camere
- 4 persone
- Parcheggio
14 recensioni


West Main Lodge, 3 bedroom
Lead - 5.8 km da Terry Peak
- 102 M2
- 3 camere
- 7 persone
- Aria condizionata
- Riscaldamento
- Terrazza
- Parcheggio
- Giardino
- Barbecue
6 recensioni


Scenic Lead Cabin Steps to Terry Peak Ski Area!
Lead - 3.3 km da Deer Mountain
- 56 M2
- 2 camere
- 5 persone
- Riscaldamento
- Parcheggio
8 recensioni
Modern Deadwood Apt with Mountain Views and Grill!
Spearfish
- 149 M2
- 1 camera
- 4 persone
- Parcheggio
6 recensioni


Divided Sky
Lead - 4 km da Deer Mountain
- 181 M2
- 3 camere
- 12 persone
- Aria condizionata
- Parcheggio
6 recensioni


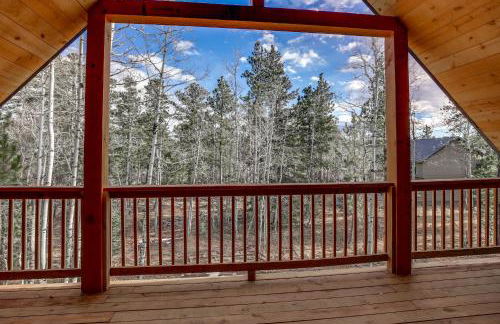
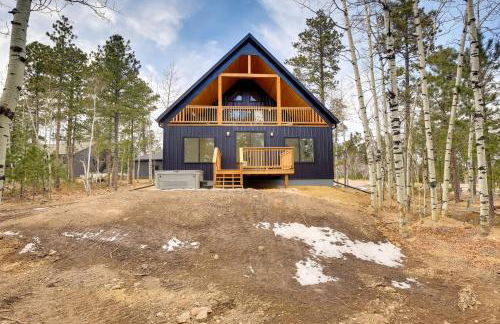

Tree House A-Frame Cabin at Powder House Pass
Lead - 1.8 km da Terry Peak
- 186 M2
- 3 camere
- 8 persone
- Riscaldamento
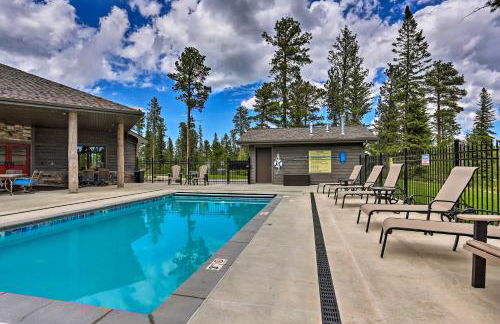
- Piscina
- Parcheggio
2 recensioni


Luxurious Lead Vacation Rental with Private Hot Tub!
Lead - 2 km da Terry Peak
- 362 M2
- 5 camere
- 15 persone
- Riscaldamento
- Piscina
- Parcheggio
2 recensioni


Lead Home with Pool Access 3 Mi to Terry Peak Mtn!
Lead - 3 km da Terry Peak
- 204 M2
- 6 camere
- 15 persone
- Riscaldamento
- Piscina
- Parcheggio
3 recensioni
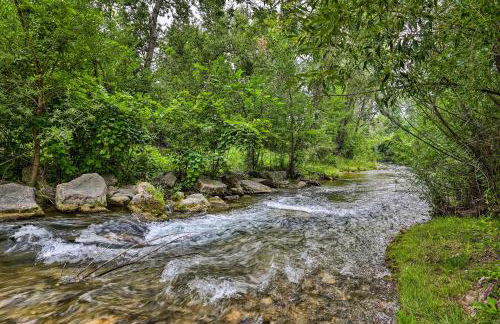

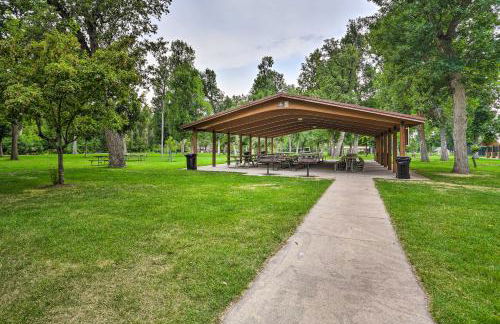
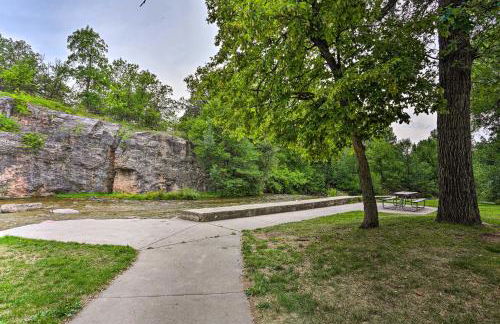
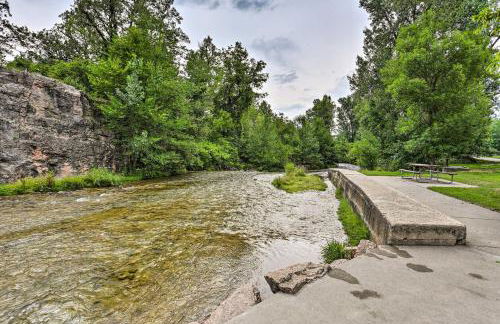
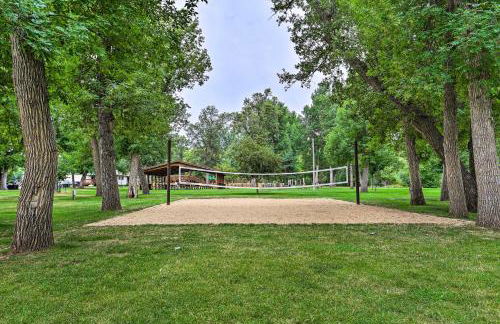
Central Creekfront Spearfish Apt by City Park
Spearfish
- 42 M2
- 2 persone
- Riscaldamento
- Parcheggio
11 recensioni


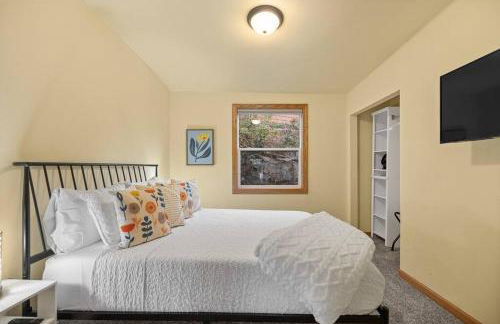
Majestic Retreat Studio
Deadwood
- 53 M2
- 1 camera
- 4 persone
- Aria condizionata
- Riscaldamento
- Parcheggio
2 recensioni

NEW! Cozy & Modern Spearfish Home Near Downtown!
Spearfish
- 242 M2
- 5 camere
- 12 persone
- Aria condizionata
- Riscaldamento
- Parcheggio
- Giardino
- Barbecue
3 recensioni
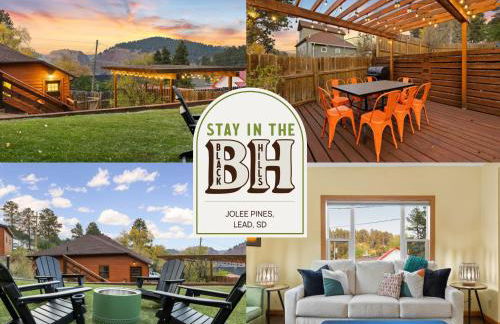
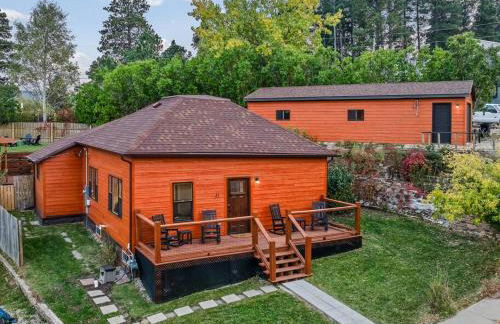
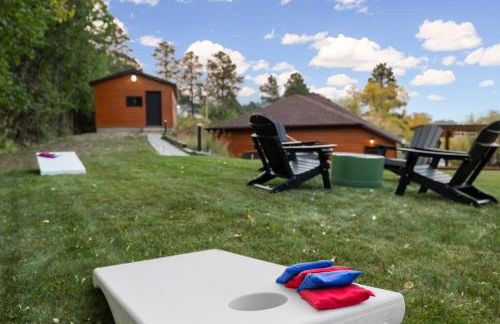
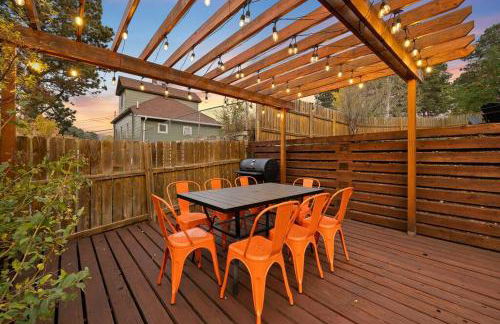


JoLee Pines, Close to Attractions, Great View
Lead - 5.4 km da Terry Peak
- 125 M2
- 1 camera
- 6 persone
- Terrazza
- Parcheggio
- Giardino
- Barbecue
3 recensioni

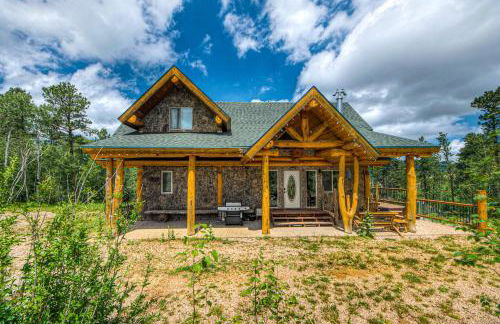
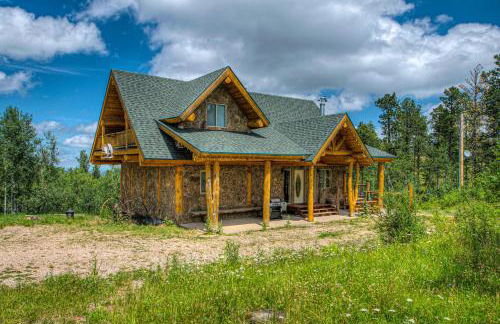
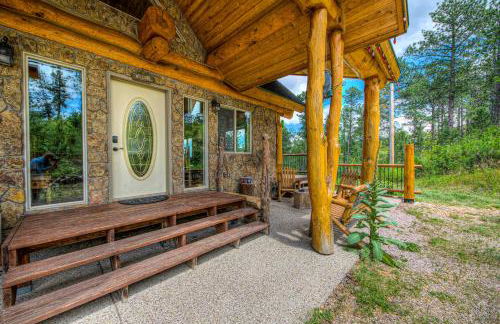
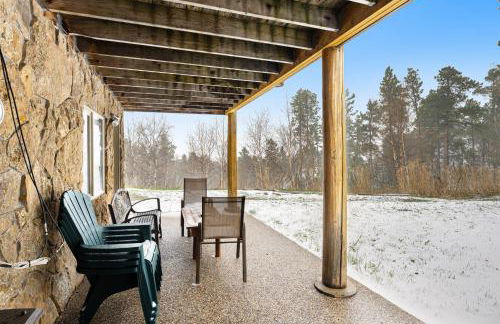
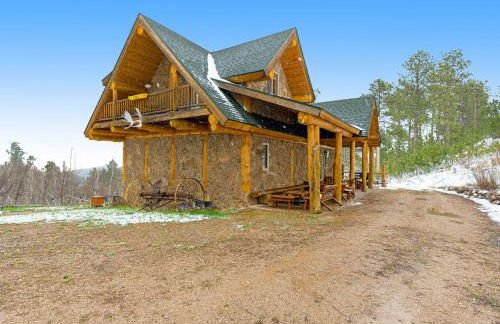
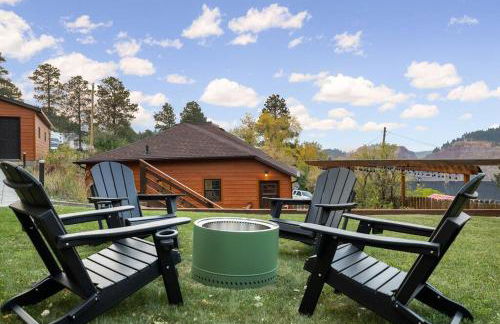
Hike, Unwind and Bring Your Pet Deadwood Cabin!
Deadwood
- 89 M2
- 1 camera
- 7 persone
- Riscaldamento
- Parcheggio
7 recensioni


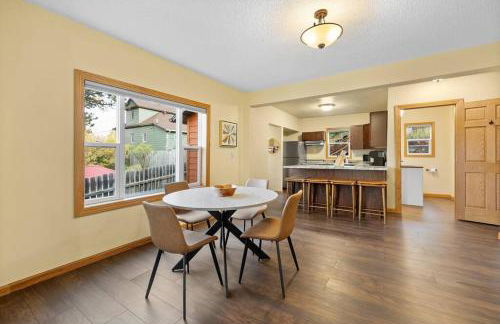
Deadwood Apartment - Walk to Historic Downtown!
Deadwood
- 82 M2
- 2 camere
- 4 persone
- Riscaldamento
- Parcheggio
9 recensioni


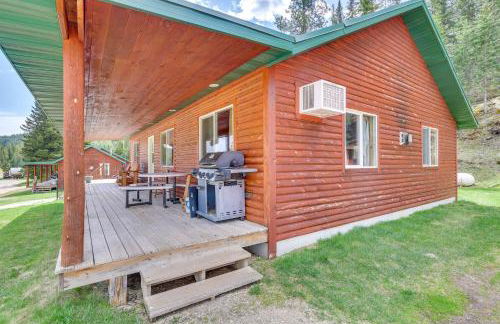
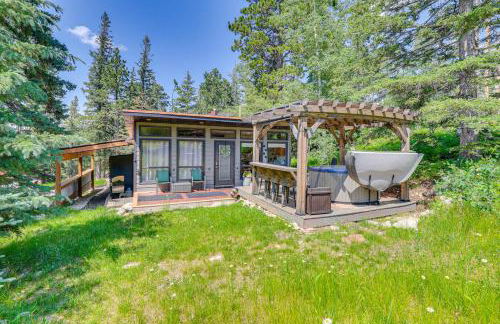
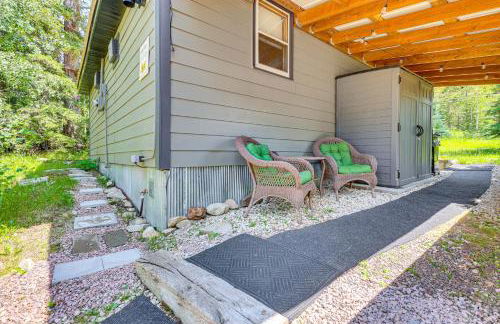
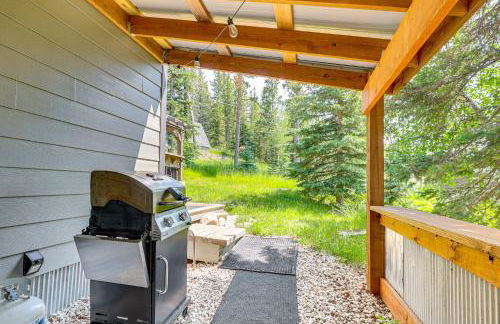
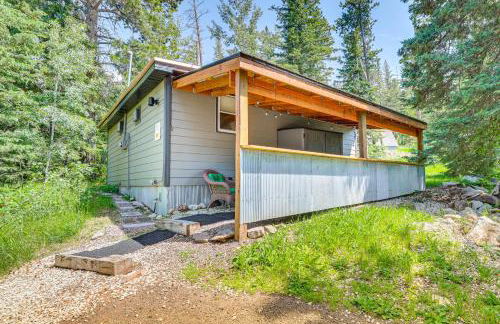
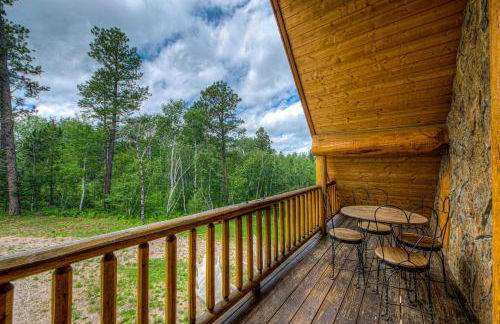
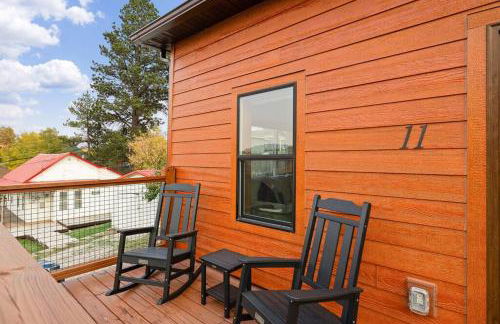
Wraparound Deck and Grill Deadwood Cabin
Deadwood
- 104 M2
- 2 camere
- 8 persone
- Riscaldamento
- Parcheggio
8 recensioni


