192 Appartamenti a Kenai Peninsula


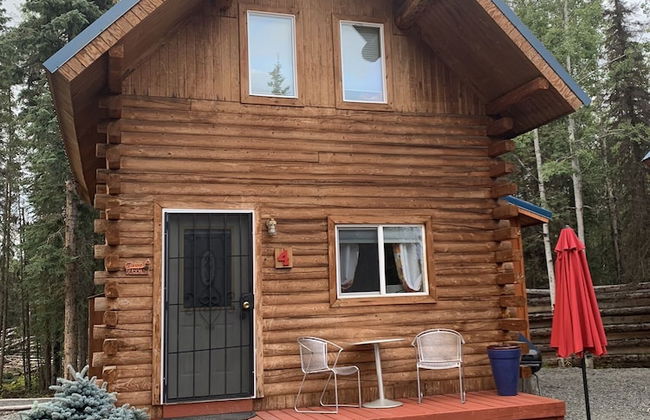
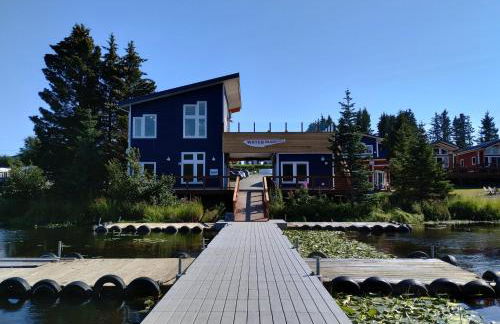
Lakeshore Lodging Cabins
Homer - 1.6 km dal centro
- 850 M2
- 1 camera
- 4 persone
- Riscaldamento
- Parcheggio
- Giardino
- Tv
- Lavatrice
- Focolare
- Lino da bagno
- Lino da letto
11 recensioni


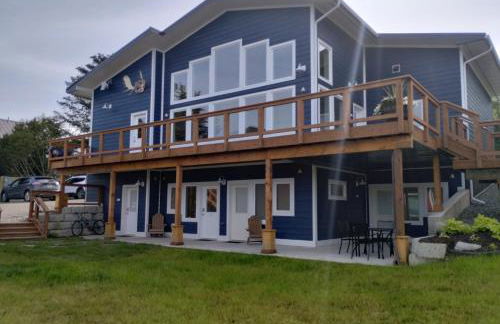
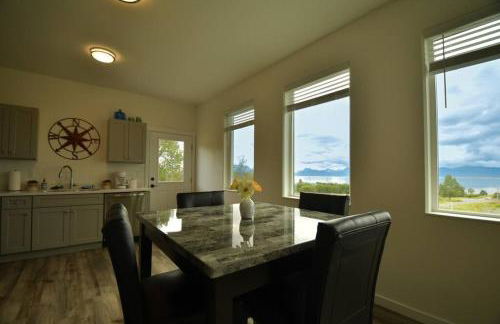
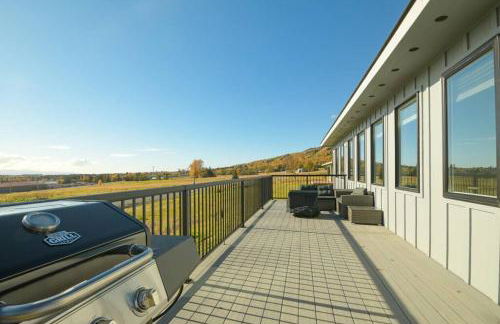
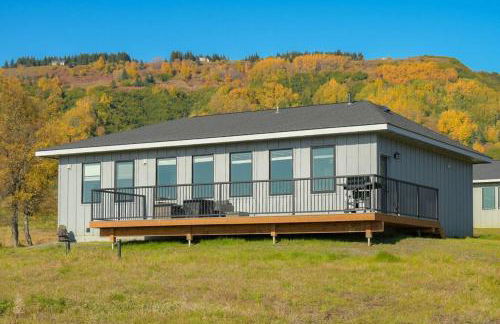
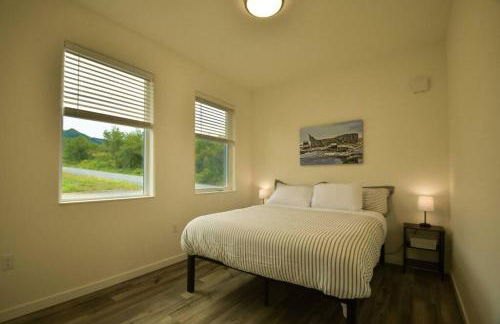
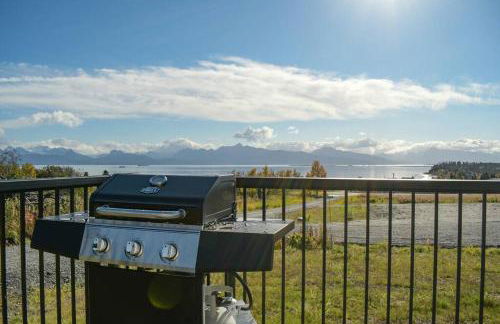
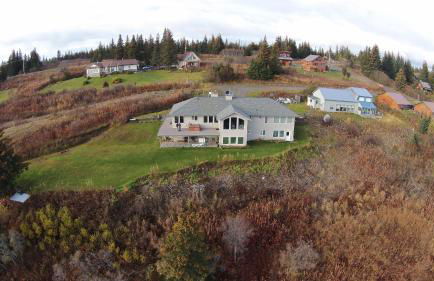
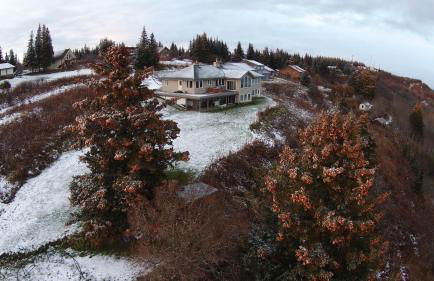
Bella Haven Estates
Soldotna - 6.1 km dal centro
- 54 M2
- 6 persone
- Riscaldamento
- Parcheggio
- Tv
- Lavatrice
- Focolare
- Barbecue
- Lino da bagno
23 recensioni
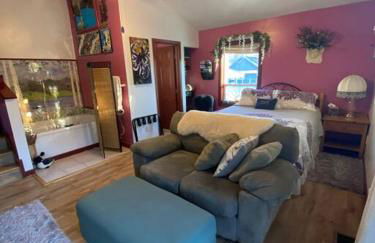
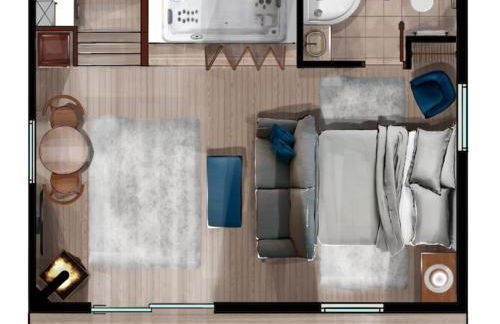
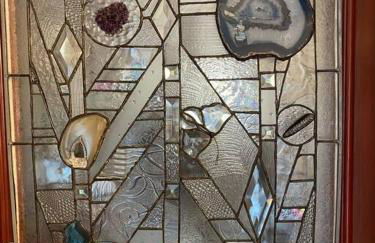


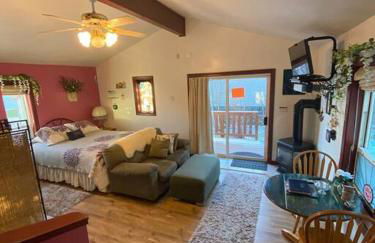
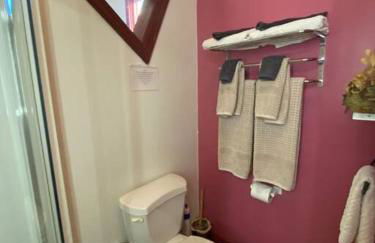
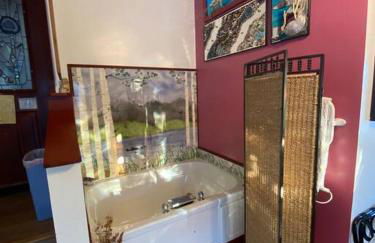
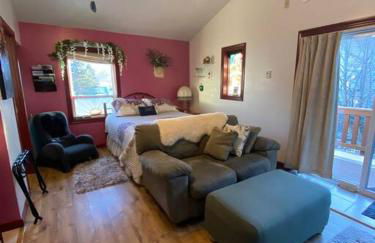

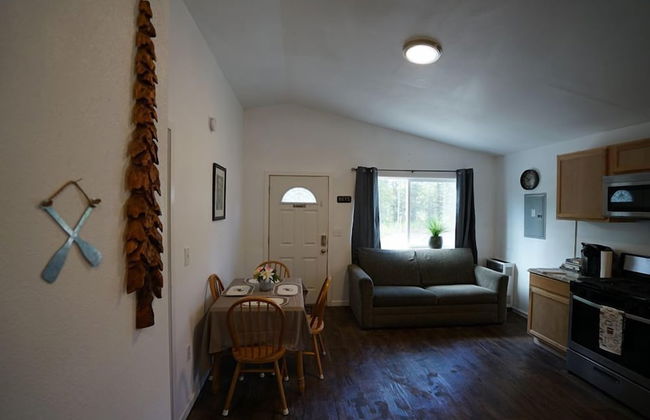
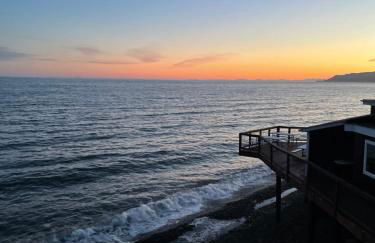
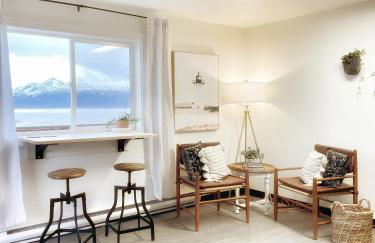
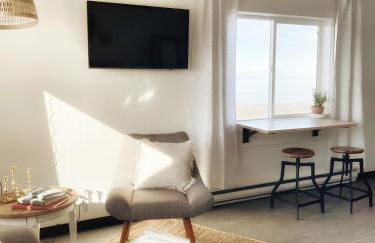
Studio-Alaska's Point of View-Private-intown
Seward - 470 m dal centro
- 22 M2
- 2 persone
- Riscaldamento
- Parcheggio
- Giardino
14 recensioni


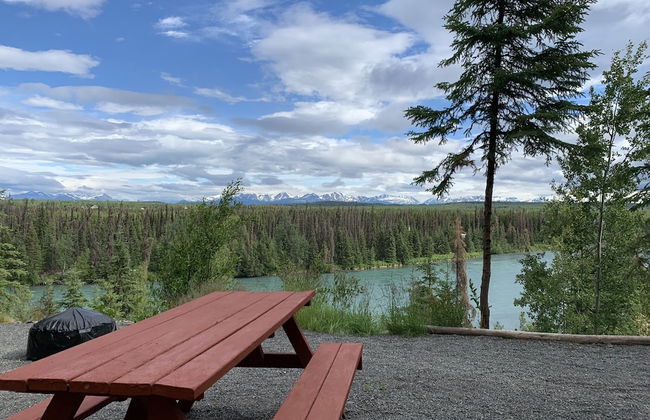
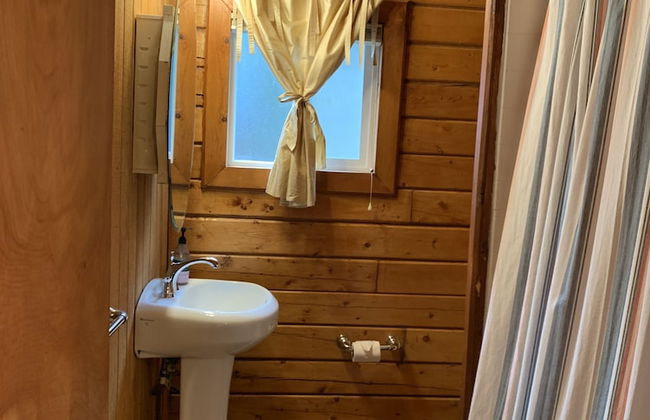


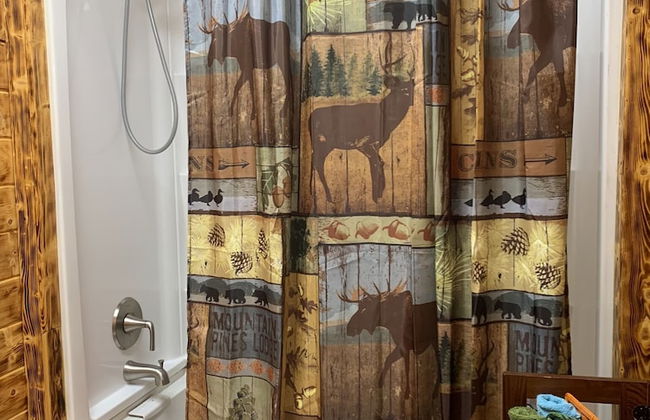


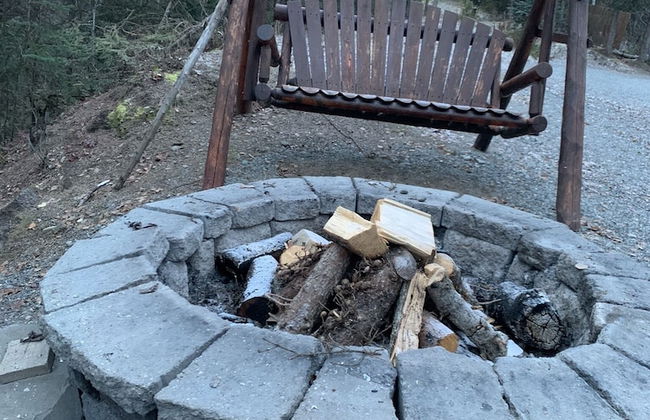


Joy's Kenai River Cabins
Sterling
- 46 M2
- 6 persone
- Cucinino
- Riscaldamento
- Parcheggio
- Giardino
- Focolare
- Barbecue
- Lino da bagno
- Lino da letto
3 recensioni


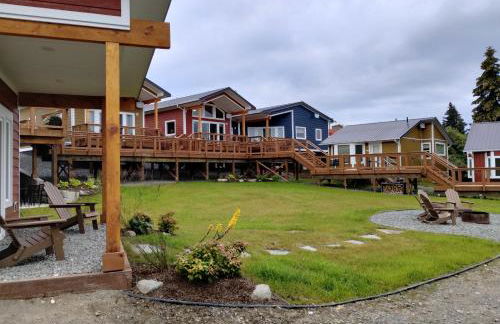
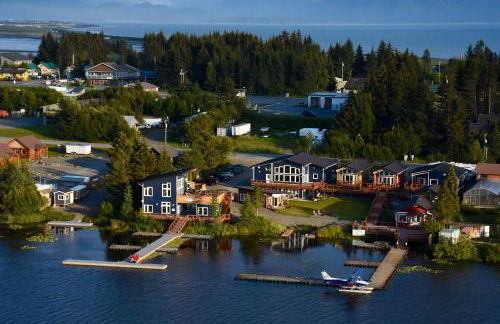
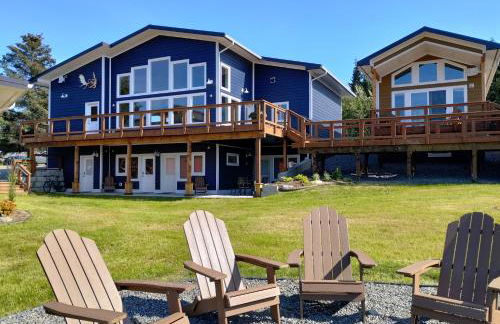
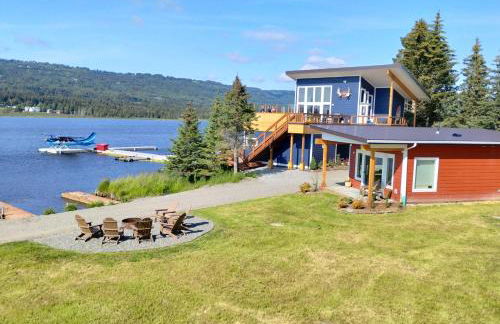
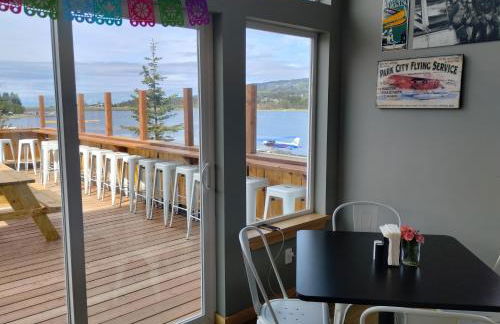
Leisure Suite - Homer Seaplane Base
Homer - 1.6 km dal centro
- 37 M2
- 4 persone
- Riscaldamento
- Parcheggio
- Barbecue
21 recensioni


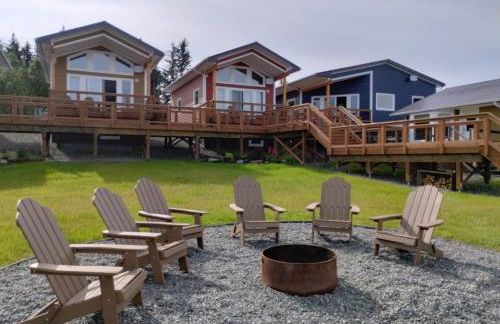
Lupine Cabin - Homer Seaplane Base
Homer - 1.6 km dal centro
- 65 M2
- 1 camera
- 2 persone
- Riscaldamento
- Terrazza
- Parcheggio
- Barbecue
6 recensioni


Glacier Creek Cabins
Seward - 7.3 km dal centro
- 56 M2
- 1 camera
- 3 persone
- Riscaldamento
- Terrazza
- Parcheggio
- Giardino
- Barbecue
19 recensioni


The Shack Inn
Homer - 6.8 km dal centro
- 60 M2
- 6 persone
- Riscaldamento
- Parcheggio
- Giardino
- Barbecue
70 recensioni


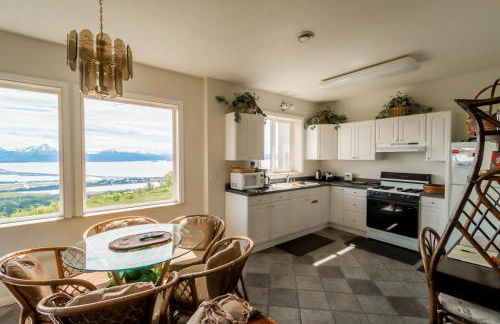
Apartment, walkout basement, Central Homer, Views!
Homer - 2.3 km dal centro
- 69 M2
- 2 camere
- 4 persone
- Riscaldamento
- Parcheggio
- Giardino
13 recensioni


Rockfish Retreat at Kachemak Bay Kabins
Homer - 6.1 km dal centro
- 2 camere
- 4 persone
- Parcheggio
- Giardino
- Barbecue
11 recensioni


Aloha Alaska Vacation Rentals
Homer - 2.2 km dal centro
- 65 M2
- 2 camere
- 6 persone
- Riscaldamento
- Parcheggio
- Giardino
- Barbecue
17 recensioni


Entire Tiny Home close to cruise ship terminal Alaska Railroad and downtown Seward
Seward - 820 m dal centro
- 33 M2
- 2 persone
- Riscaldamento
25 recensioni


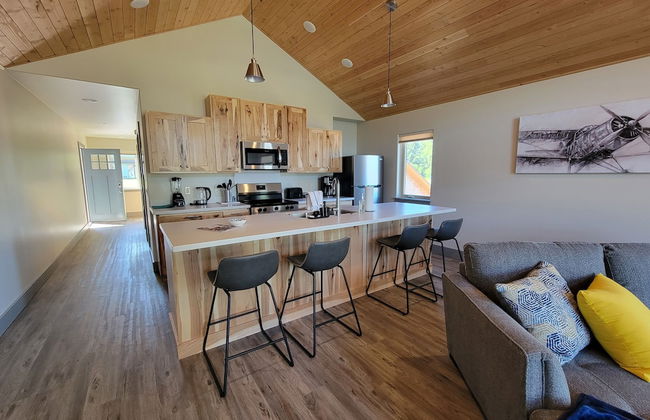
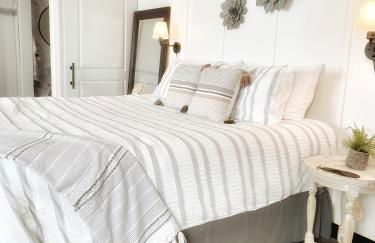
Lakeshore Lodging Suites
Homer - 1.6 km dal centro
- 93 M2
- 1 camera
- 4 persone
- Riscaldamento
- Terrazza
- Parcheggio
- Balcone
- Giardino
- Tv
- Lavatrice
- Lino da bagno
- Lino da letto
3 recensioni


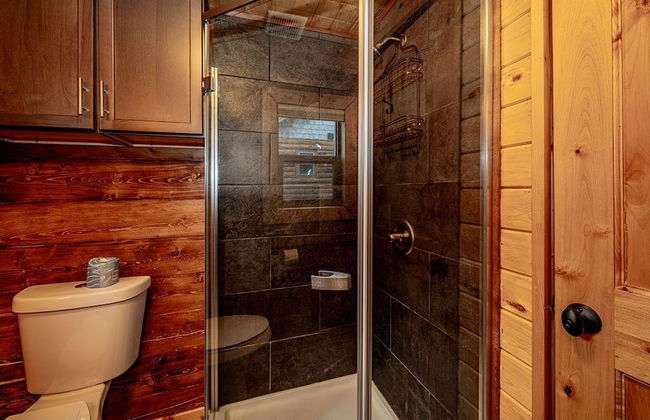
Alderwood Cabin - Homer Seaplane Base
Homer - 1.6 km dal centro
- 111 M2
- 2 camere
- 6 persone
- Riscaldamento
- Terrazza
- Parcheggio
- Barbecue
5 recensioni


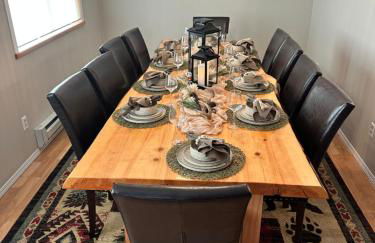
Oyster Lady Homer, AK
Homer - 1.2 km dal centro
- 89 M2
- 2 camere
- 6 persone
- Riscaldamento
- Parcheggio
- Giardino
26 recensioni


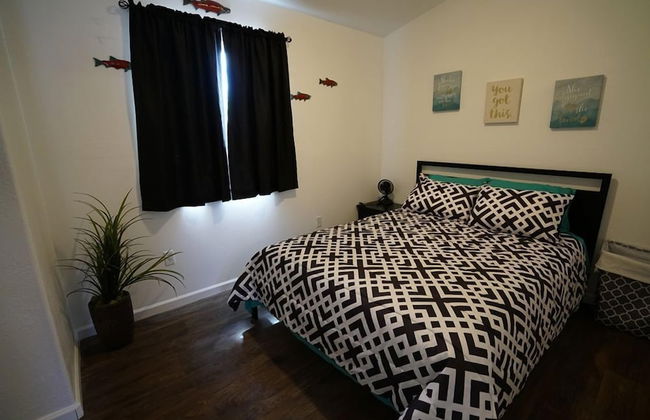
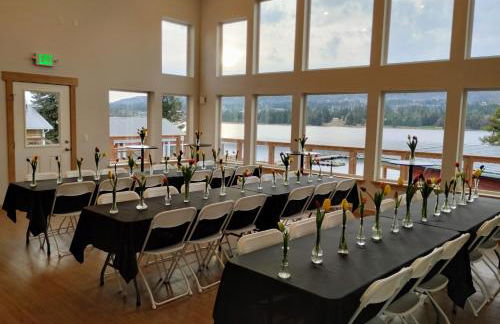
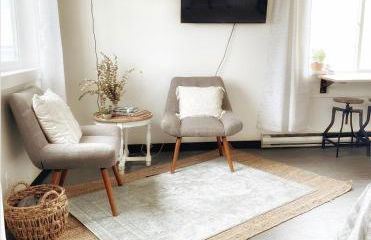
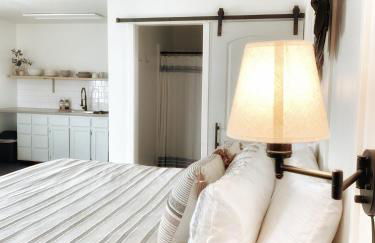
Alaska's Point of View
Seward - 490 m dal centro
- 93 M2
- 2 camere
- 4 persone
- Riscaldamento
- Parcheggio
- Giardino
- Barbecue
83 recensioni


Alaskan Suites
Homer - 4.8 km dal centro
- 63 M2
- 1 camera
- 6 persone
- Riscaldamento
- Parcheggio
- Giardino
- Barbecue
86 recensioni