
27 Appartamenti a Kane


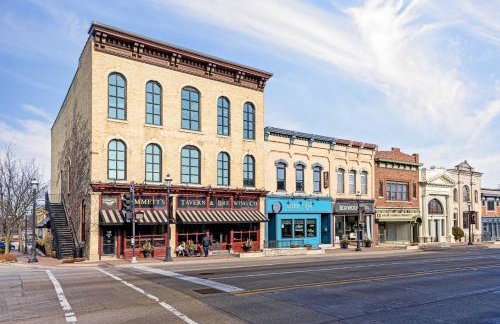


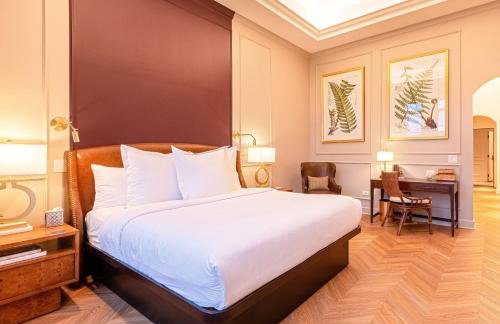
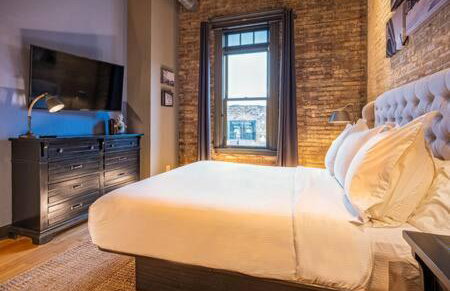
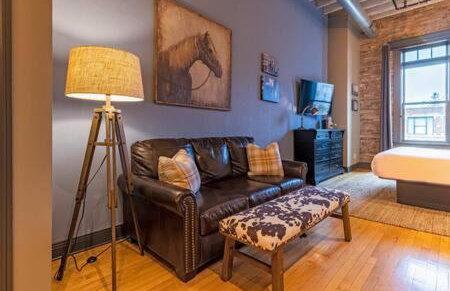
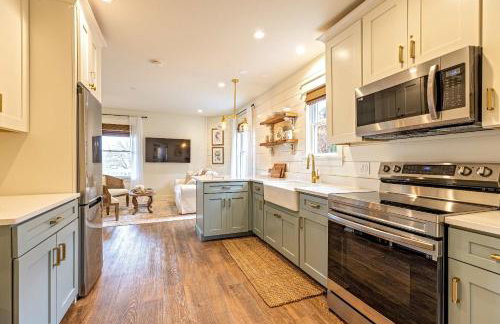
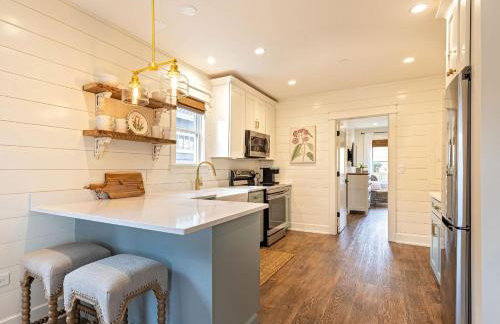
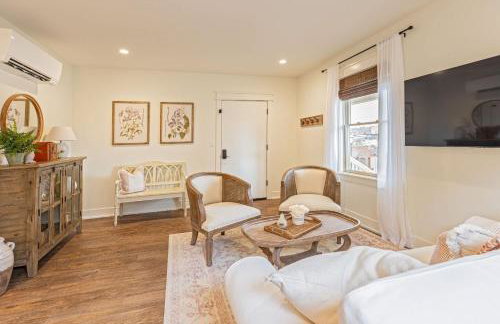
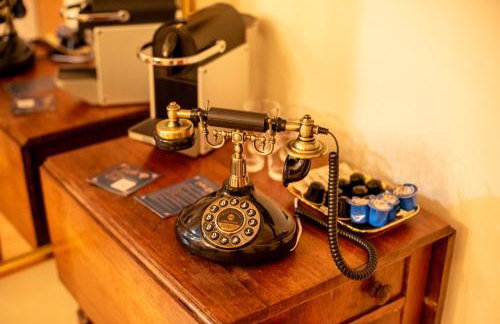
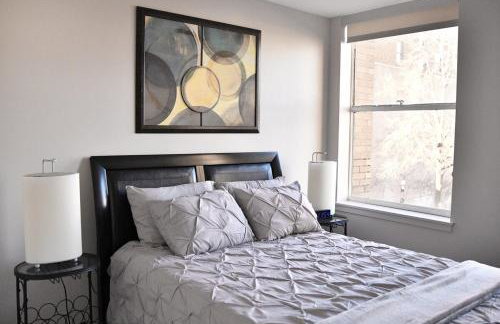
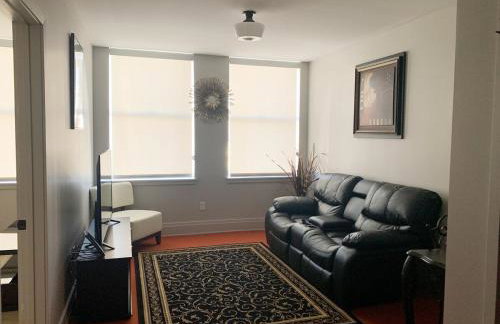
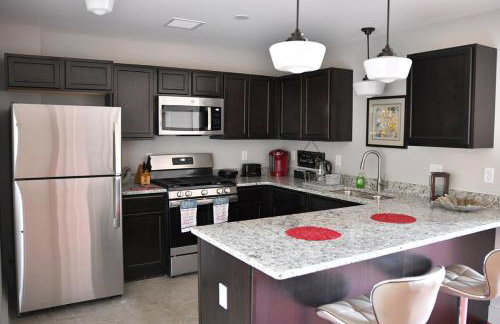
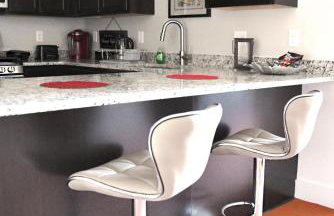
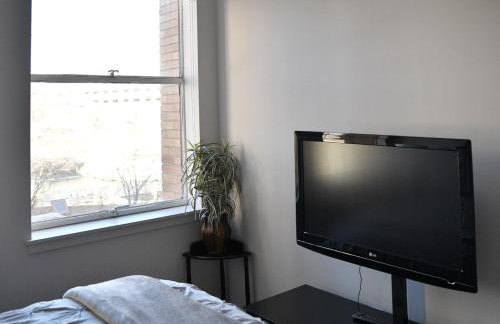
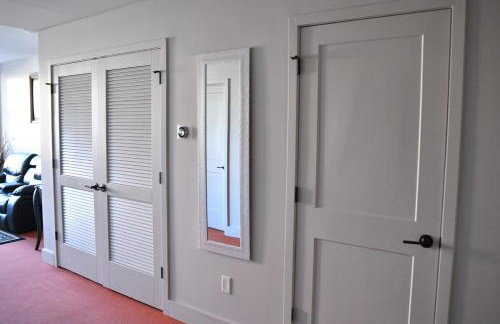
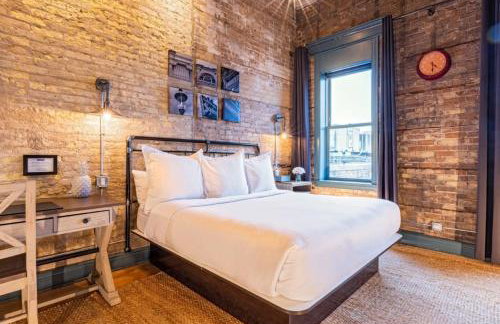
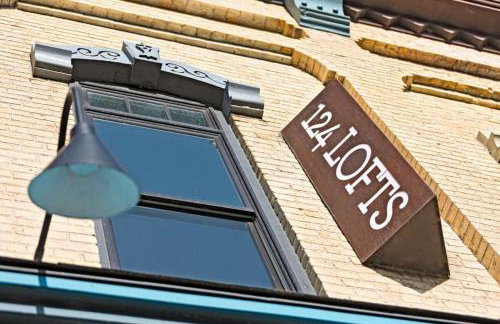
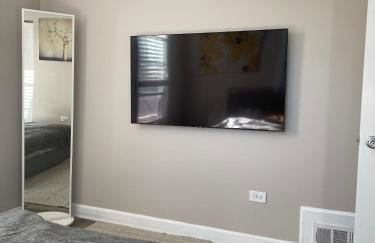
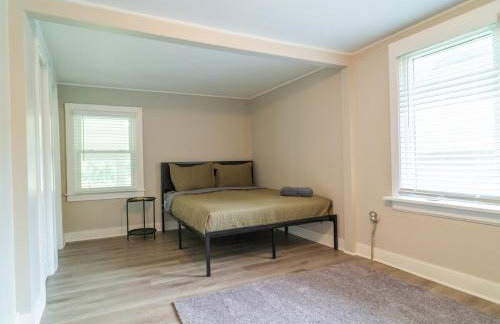
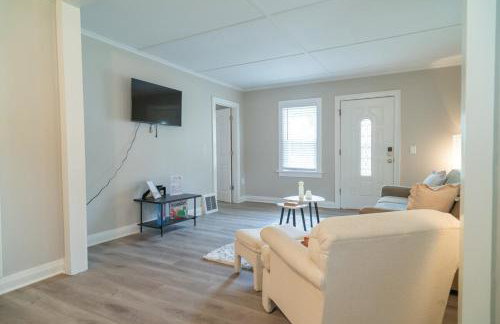
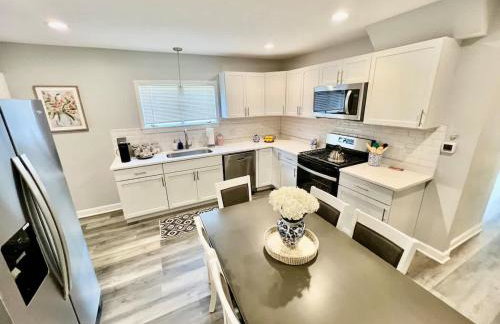
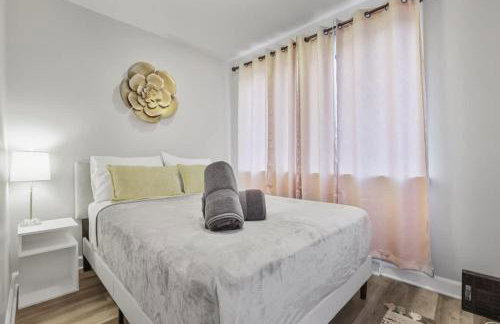
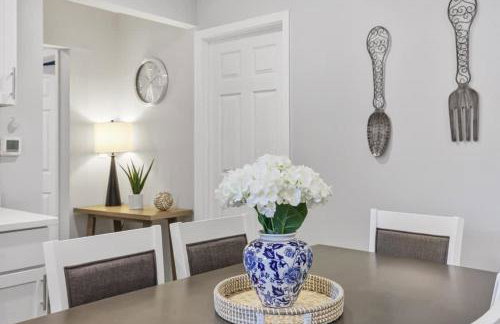
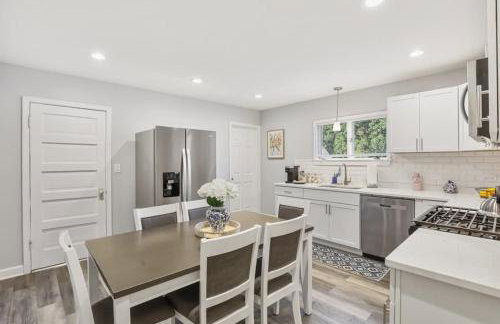
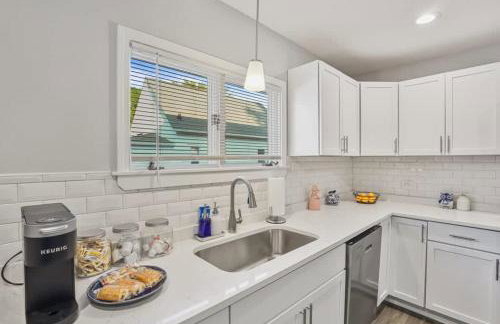
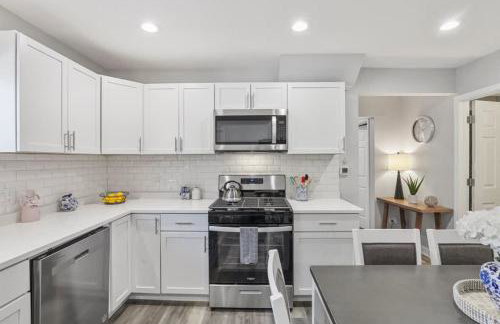
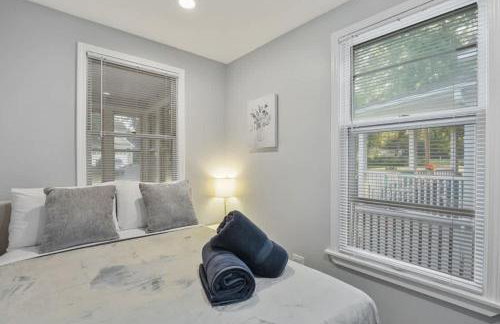
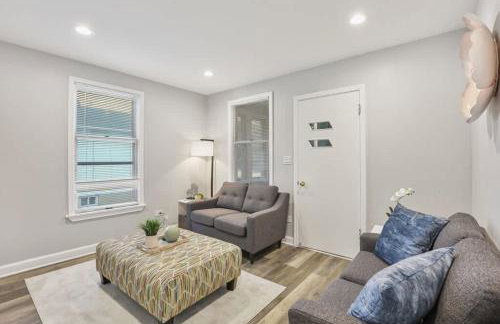
124 Lofts - Downtown Dundee - Walk to Dining
West Dundee
- 39 M2
- 2 persone
- Aria condizionata
- Riscaldamento
- Parcheggio
22 recensioni

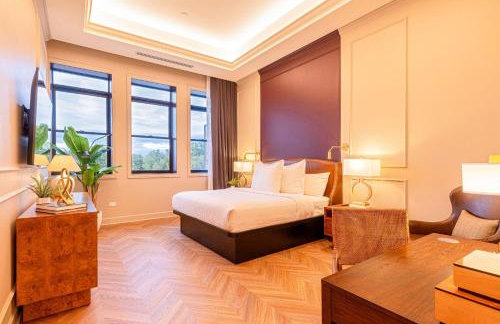


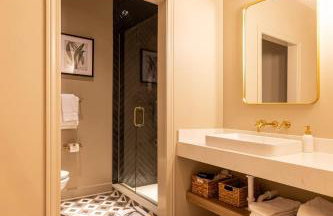

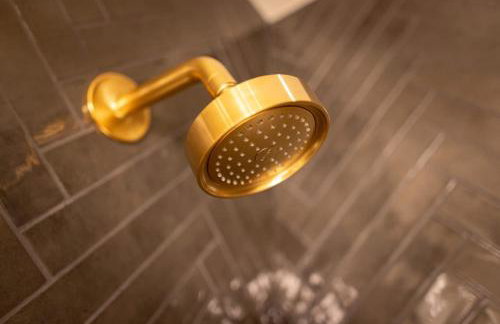


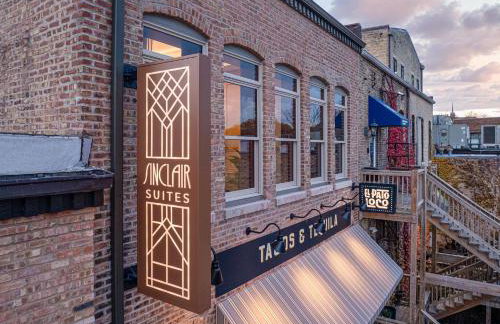

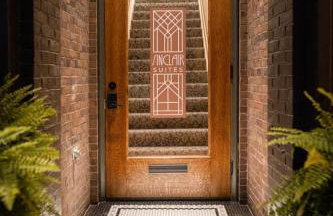
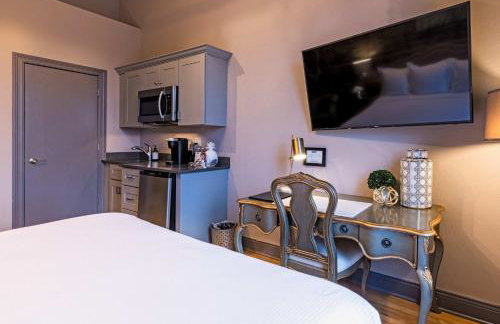
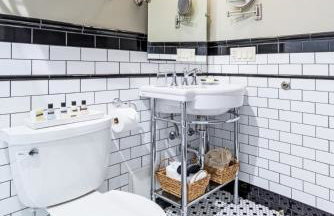
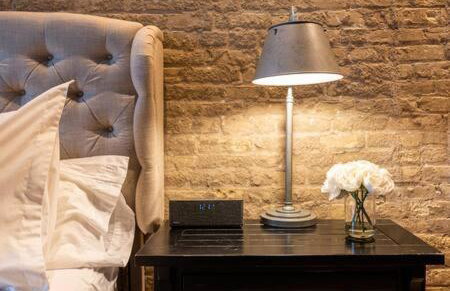
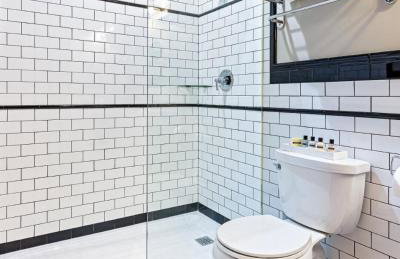
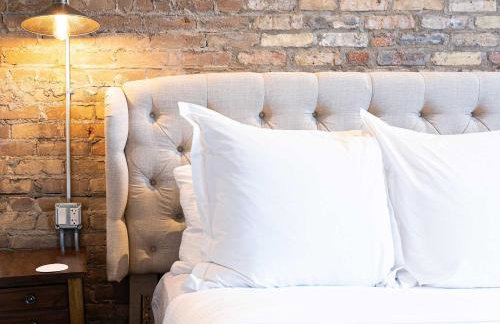
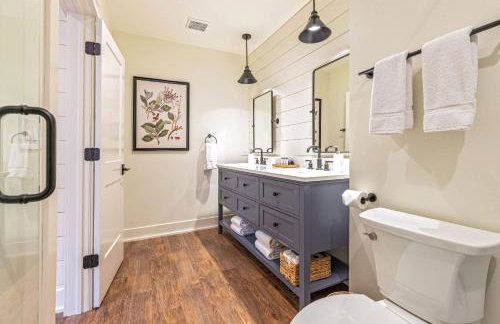
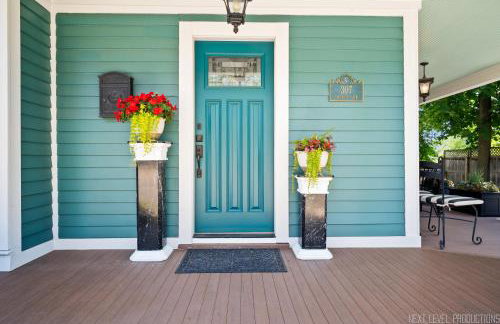
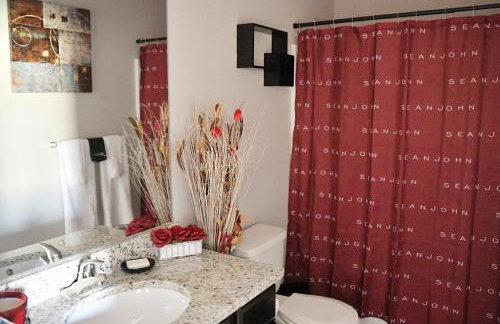
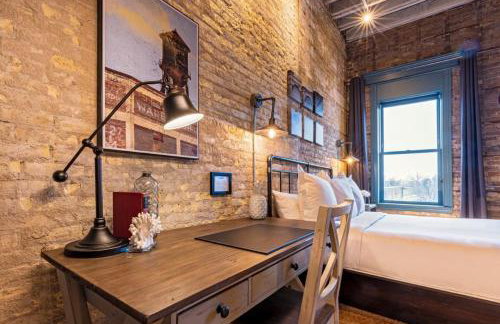
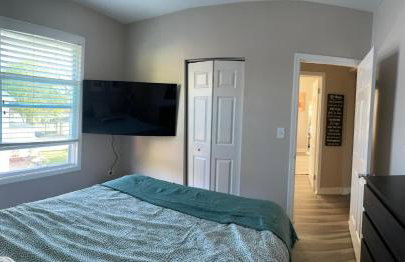
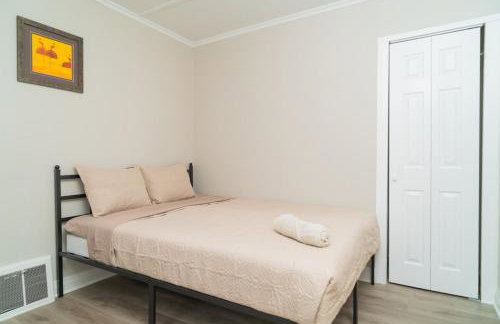
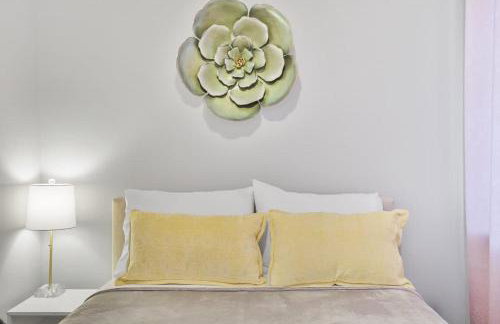
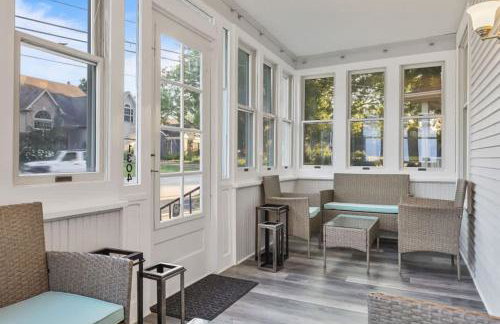
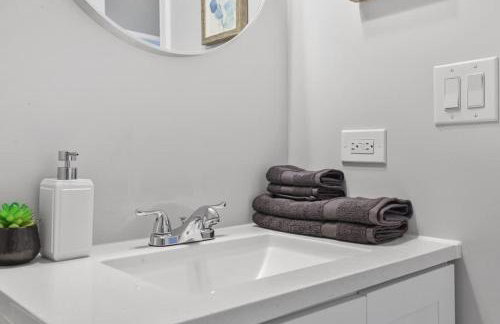
Sinclair Suites - Boutique Hotel West Dundee
West Dundee
- 35 M2
- 2 persone
- Aria condizionata
- Riscaldamento
- Parcheggio
16 recensioni


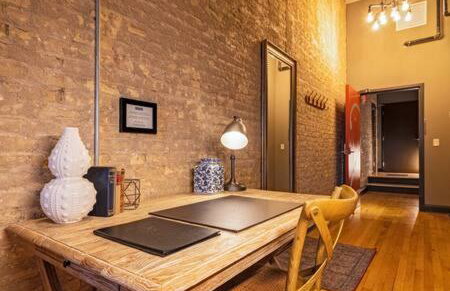


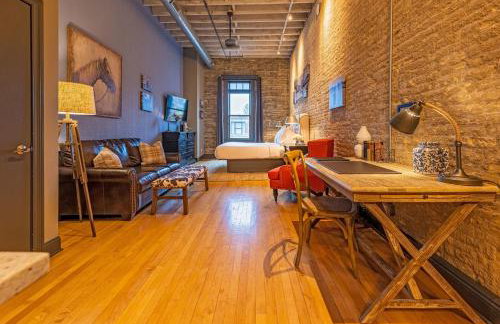

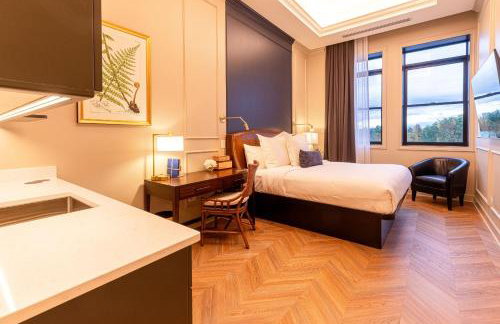
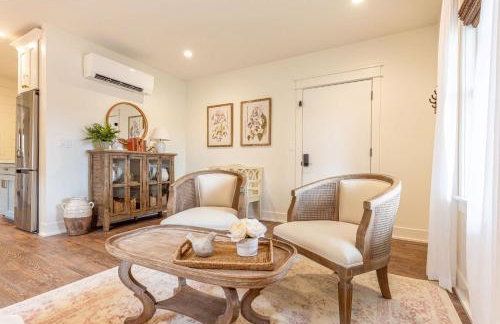
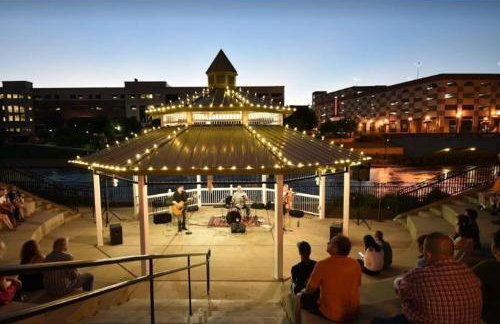
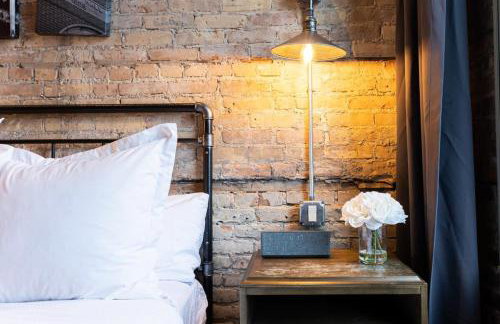
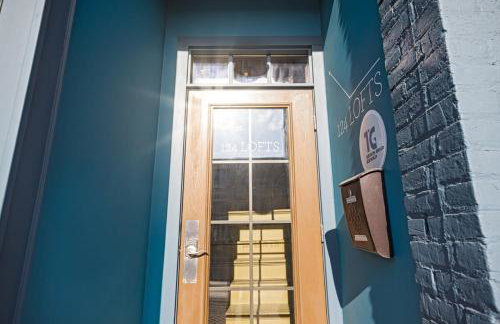
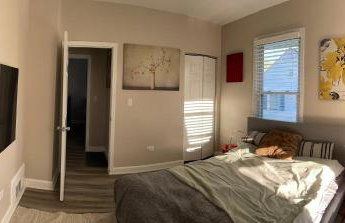
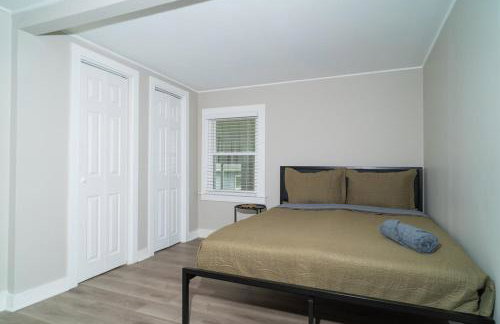
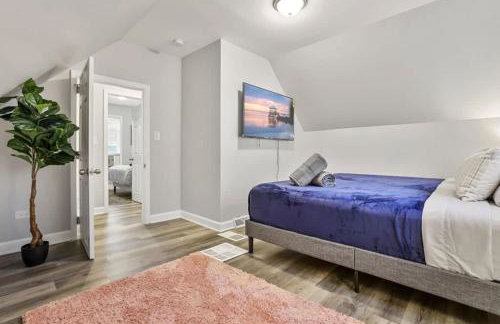
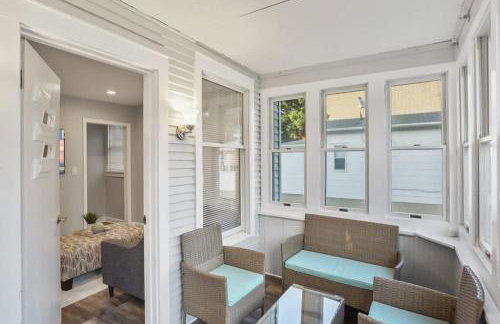
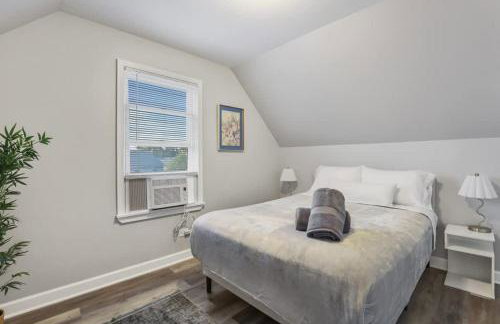
124 Lofts - Downtown Dundee - Walk to Dining
West Dundee
- 39 M2
- 2 persone
- Aria condizionata
- Riscaldamento
- Parcheggio
22 recensioni


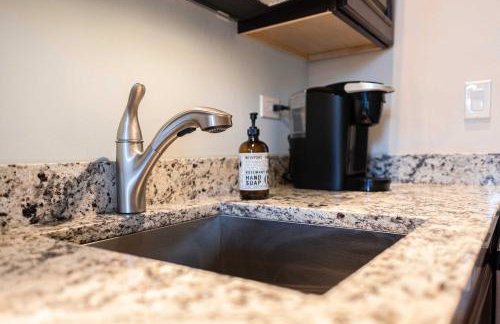
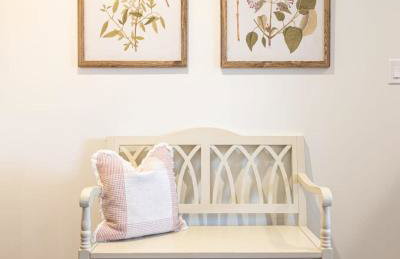
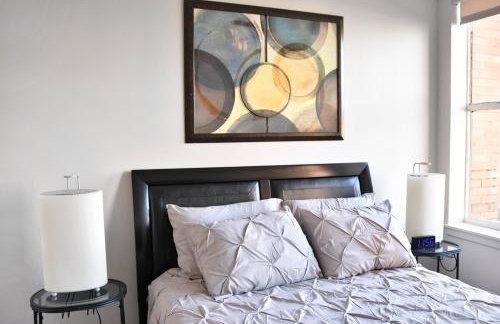
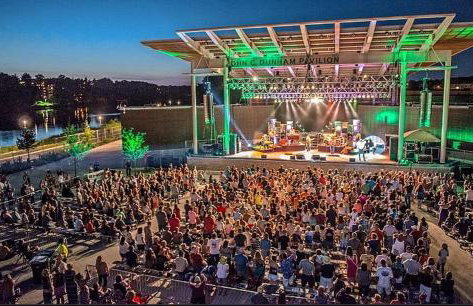
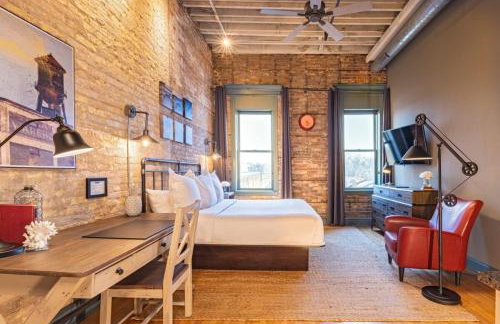
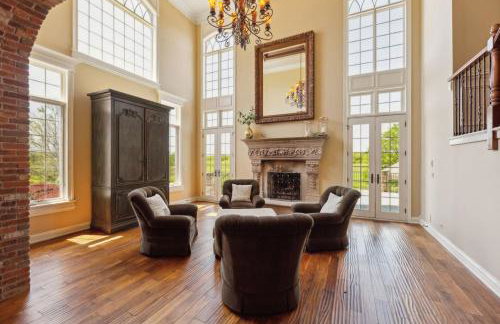
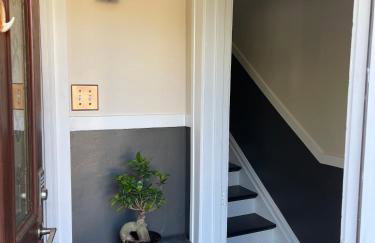
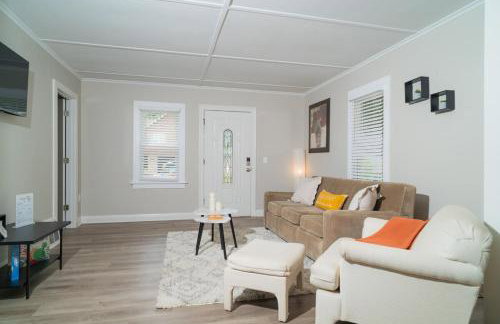
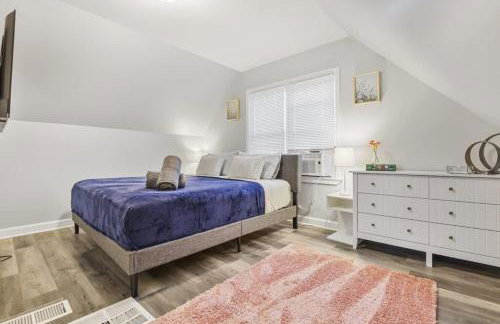
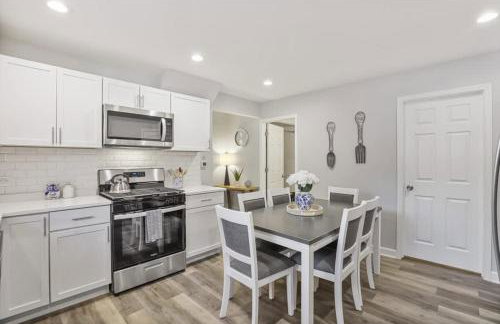
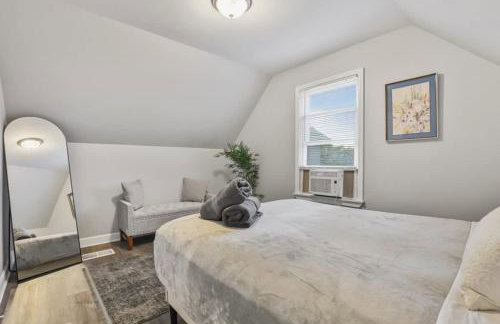
124 Lofts - Downtown Dundee - Walk to Dining
West Dundee
- 39 M2
- 2 persone
- Aria condizionata
- Riscaldamento
- Parcheggio
16 recensioni


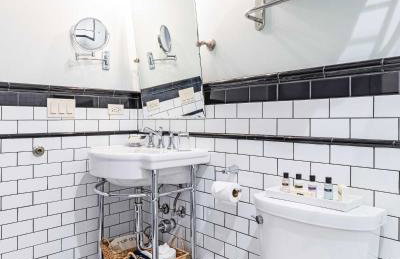
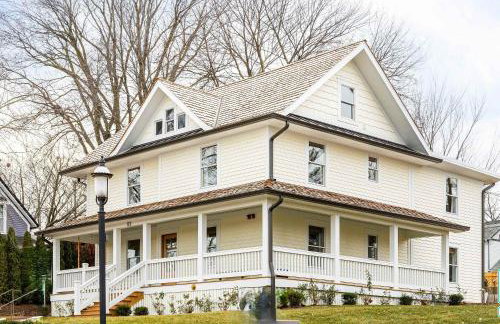
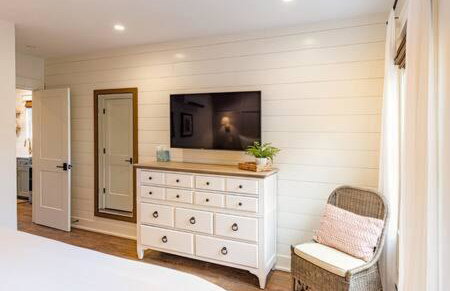
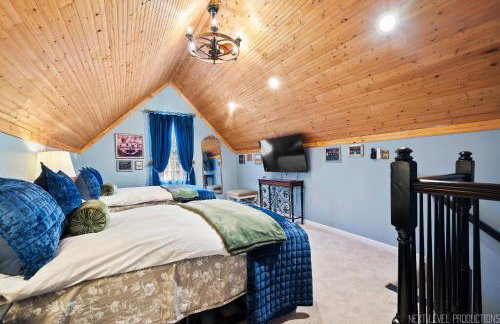
Kildahl House - Boutique Farmhouse Suite #3
West Dundee
- 53 M2
- 2 persone
- Aria condizionata
- Riscaldamento
- Parcheggio
- Giardino
7 recensioni


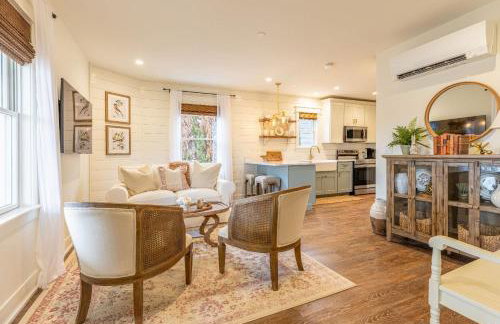
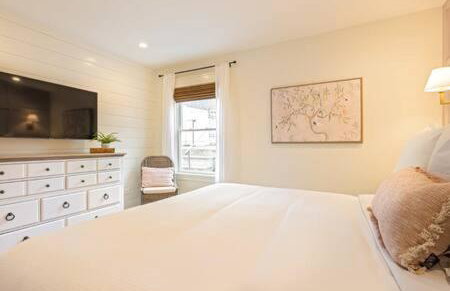
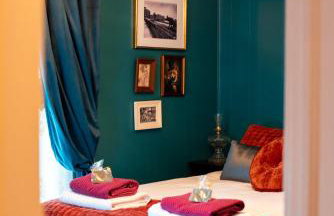
Kildahl House - Boutique Farmhouse Suite #2
West Dundee
- 53 M2
- 2 persone
- Aria condizionata
- Riscaldamento
- Parcheggio
- Giardino
6 recensioni


Beautiful Condo - King Bed - Free Waffle Breakfast
Geneva - 780 m dal centro
- 177 M2
- 3 camere
- 8 persone
- Aria condizionata
- Riscaldamento
- Terrazza
- Parcheggio
- Giardino
3 recensioni


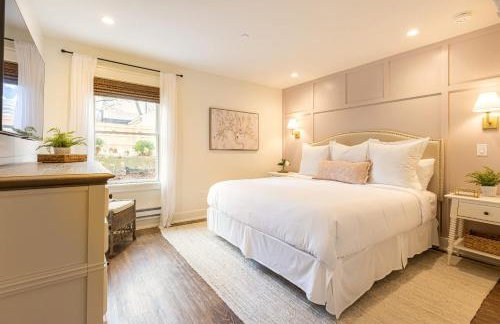
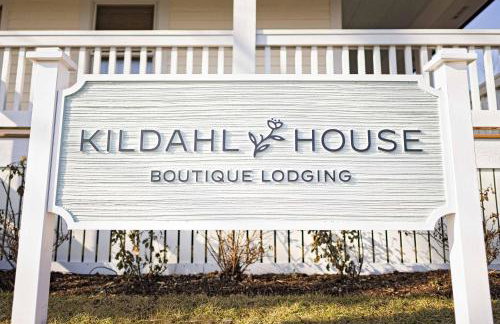
Kildahl House - Boutique Farmhouse Suite #4
West Dundee
- 53 M2
- 2 persone
- Aria condizionata
- Riscaldamento
- Parcheggio
- Giardino
6 recensioni


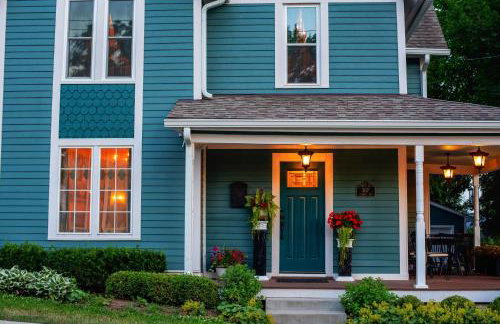
Kildahl House - Boutique Farmhouse Suite #1
West Dundee
- 53 M2
- 2 persone
- Aria condizionata
- Riscaldamento
- Parcheggio
- Giardino
6 recensioni


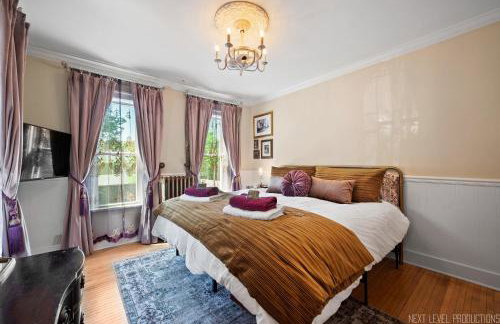


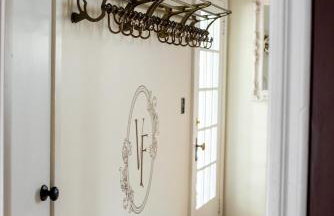


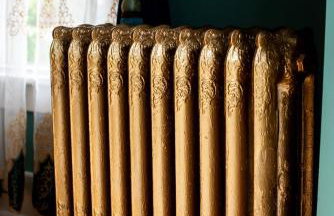
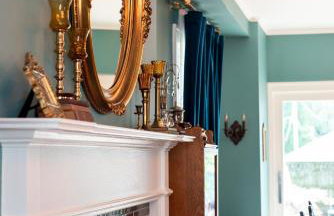


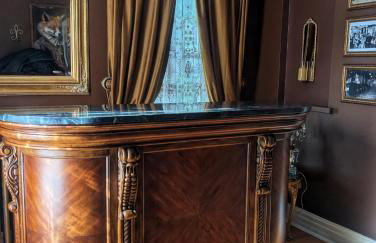
The Victorian Fox
St Charles - Heritage Square II - Al centro
- 256 M2
- 5 camere
- 12 persone
- Aria condizionata
- Riscaldamento
- Parcheggio
- Giardino
2 recensioni


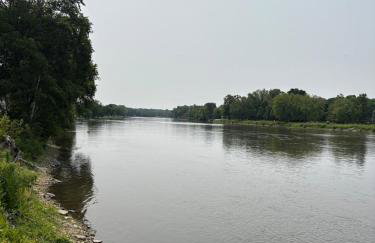
Downtown Aurora River Facing Gem
Aurora - Downtown Aurora - Al centro
- 76 M2
- 2 persone
- Aria condizionata
- Parcheggio
- Ascensore
6 recensioni


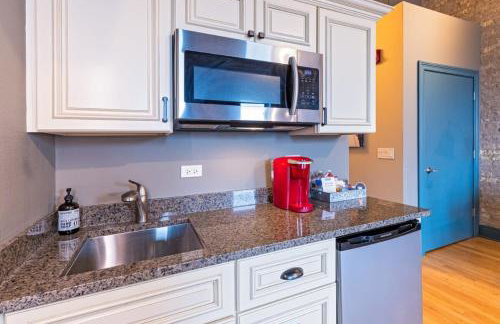
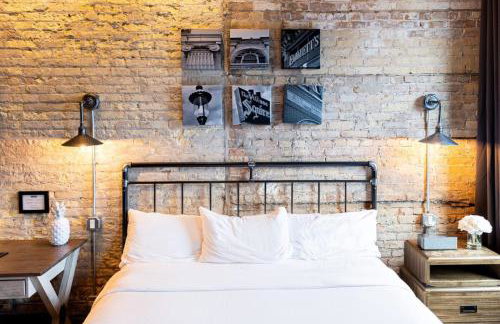

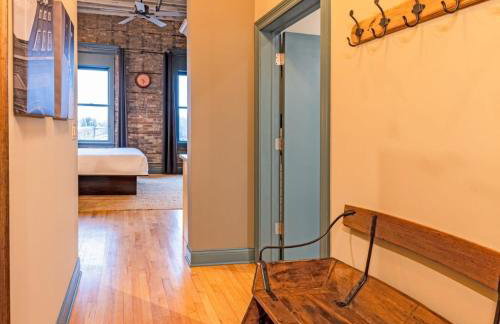


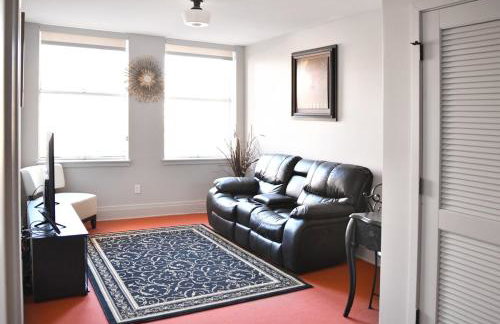
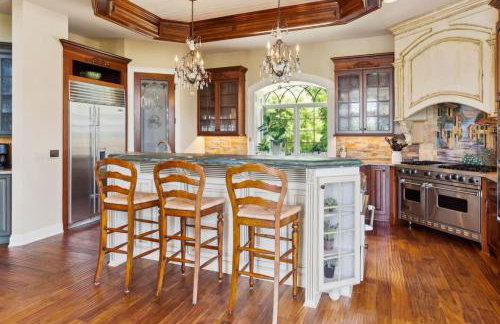
124 Lofts - Downtown Dundee - Walk to Dining
West Dundee
- 39 M2
- 2 persone
- Aria condizionata
- Riscaldamento
- Parcheggio
4 recensioni


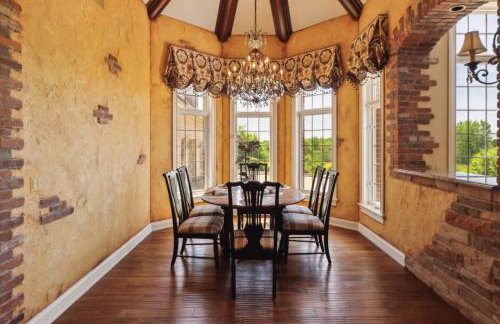

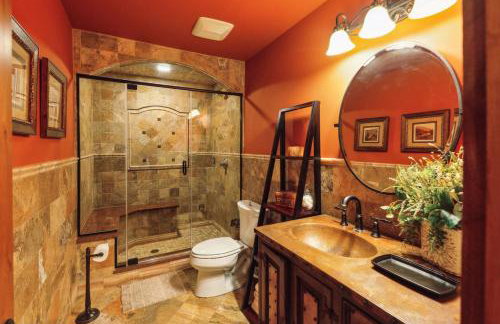
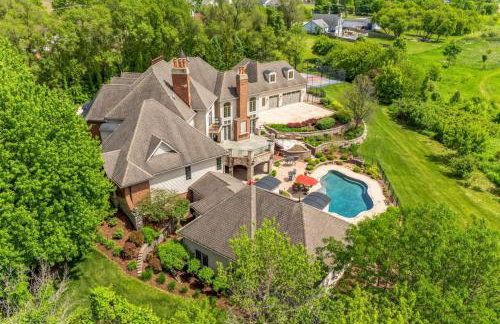
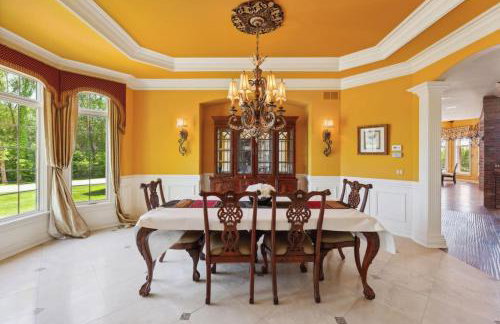


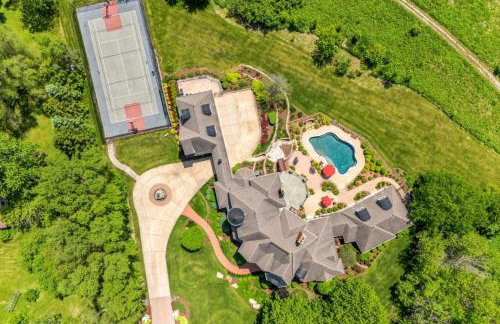


Grand Estate at the Preserve
St Charles - 6.3 km dal centro
- 1000 M2
- 6 camere
- 16 persone
- Aria condizionata
- Riscaldamento
1 recensione

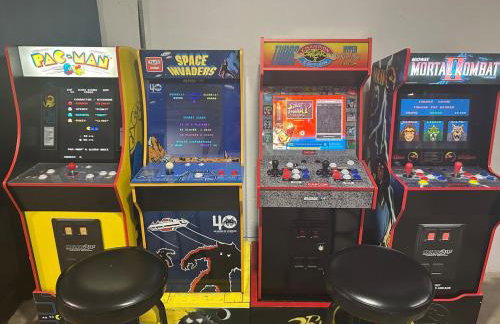
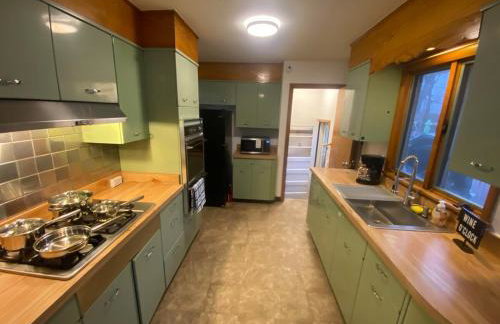
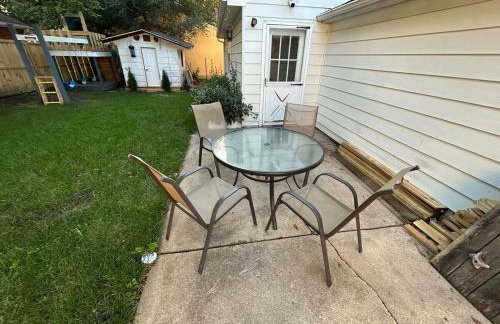
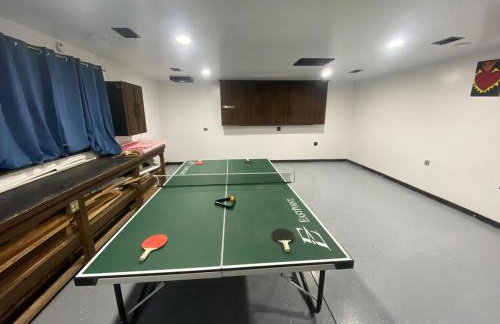
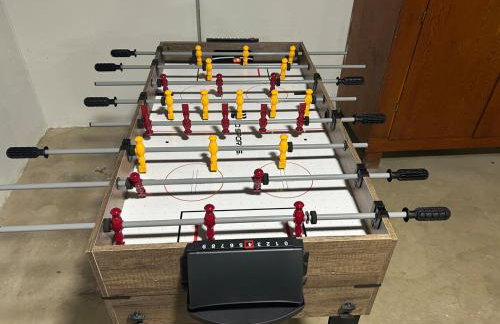


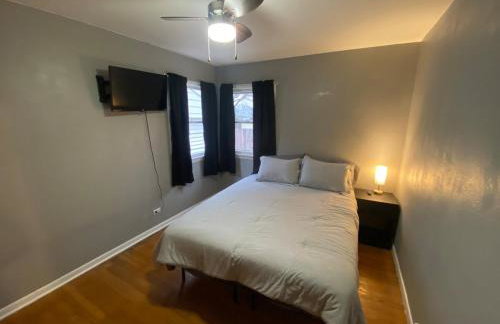
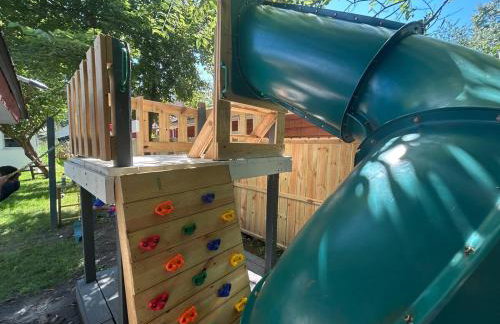
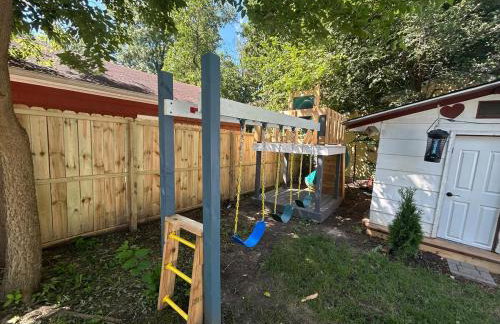

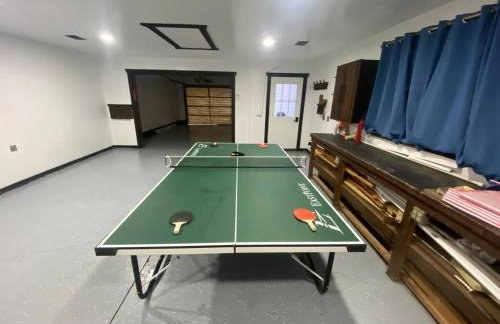
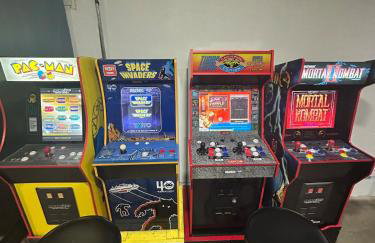
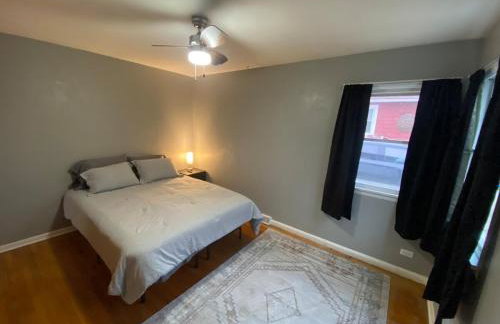
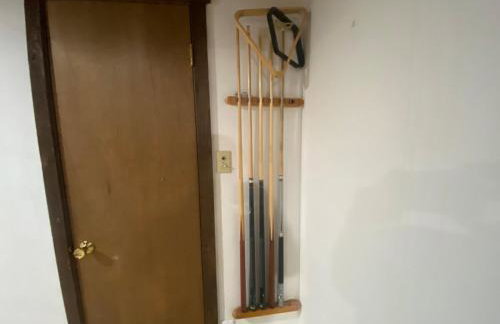

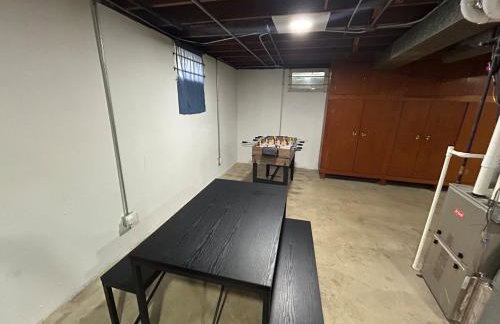
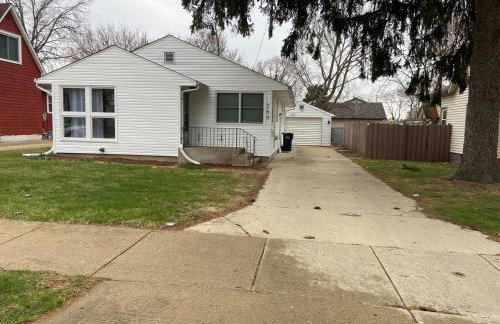
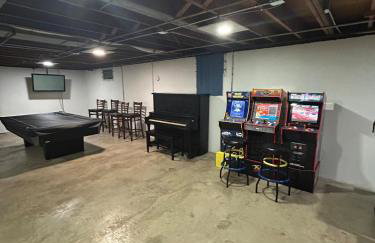
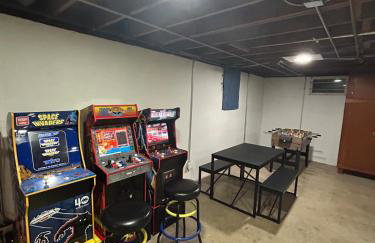
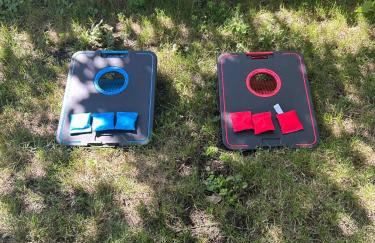
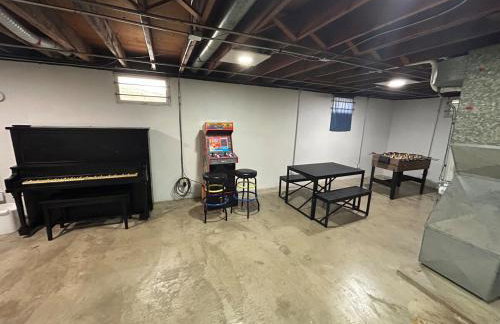
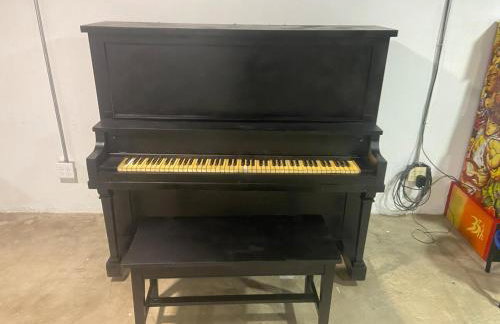


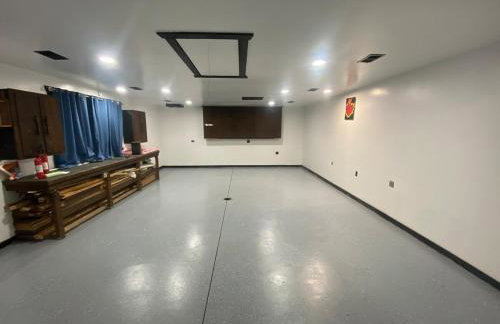

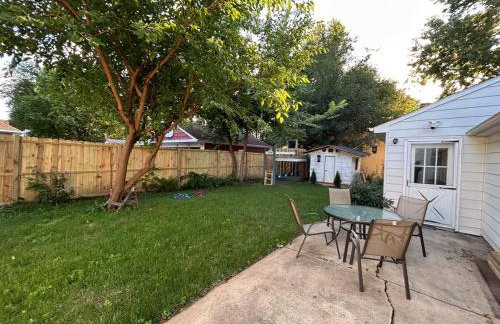


Spacious 3 Bedroom Home with Game Room and Parking
Elgin - 2.1 km dal centro
- 1000 M2
- 6 persone
- Aria condizionata
- Parcheggio
1 recensione


Cozy Condo in Beautiful Historic Neighborhood
Aurora - 1.8 km dal centro
- 100 M2
- 1 persona
- Aria condizionata
- Parcheggio


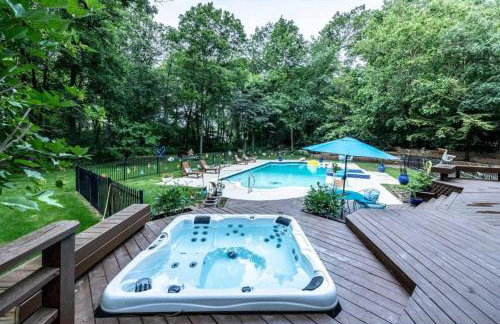
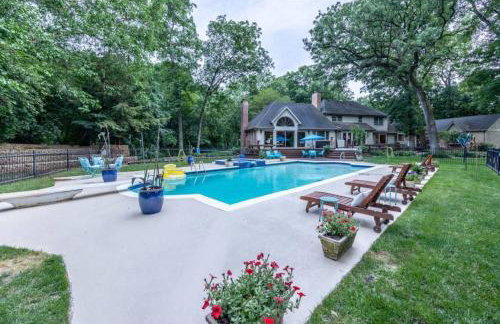


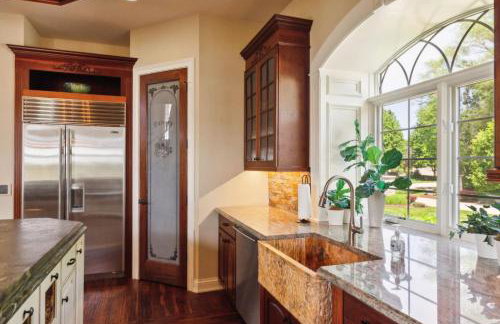
Luxury 5BR Villa with Pool, Hot Tub & Sauna
St Charles - 6.4 km dal centro
- 465 M2
- 5 camere
- 14 persone
- Aria condizionata
- Terrazza
- Piscina
- Parcheggio
- Giardino


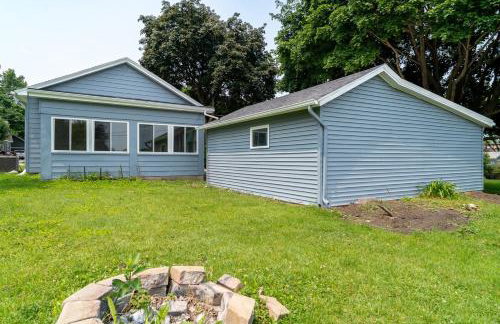


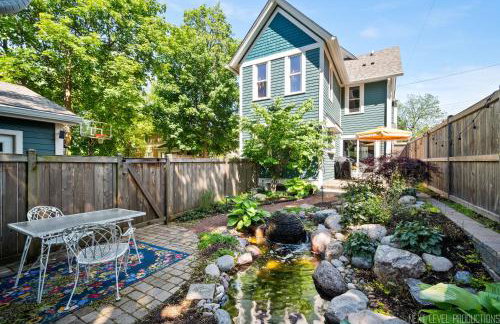
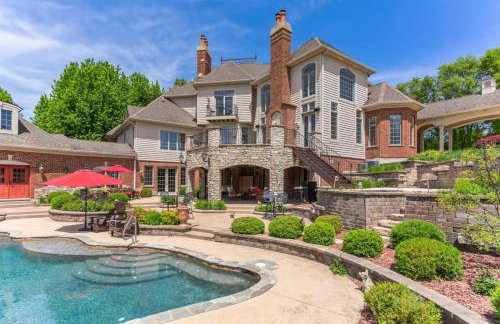
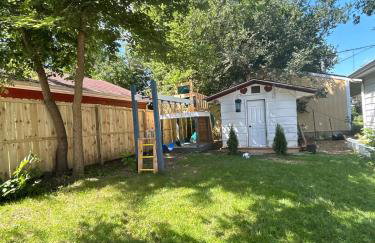
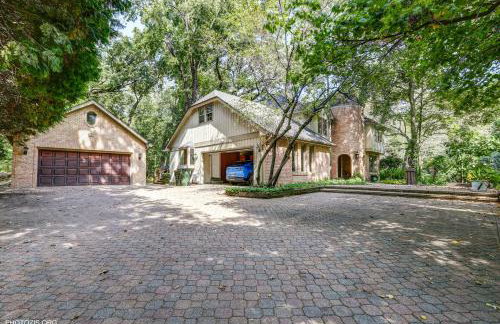
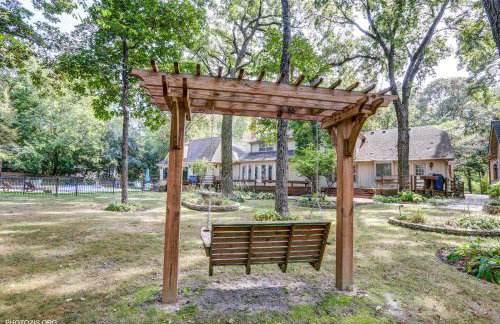
The Blue Garden Escape
St Charles - 620 m dal centro
- 500 M2
- 6 persone
- Aria condizionata
- Terrazza
- Parcheggio
- Giardino
- Barbecue


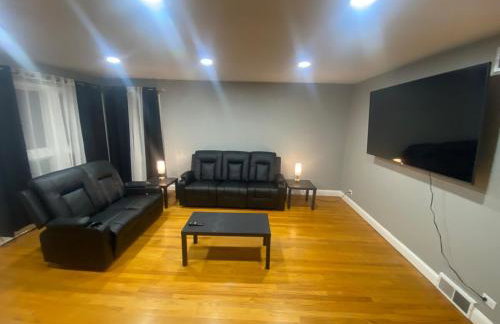
Large2BR/Great for Work Crews&Families/desk/Parkng
Aurora - 5.1 km dal centro
- 84 M2
- 2 camere
- 6 persone
- Aria condizionata
- Riscaldamento
- Parcheggio


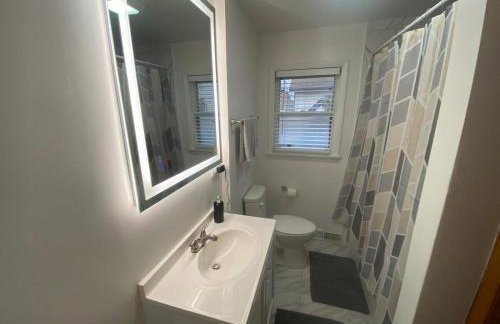
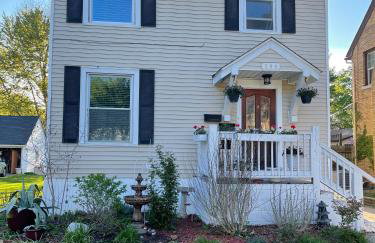
Cozy Chic 4BD 2BA Home in St Charles
St Charles - 990 m dal centro
- 11 M2
- 4 camere
- 8 persone
- Aria condizionata
- Riscaldamento
- Parcheggio