
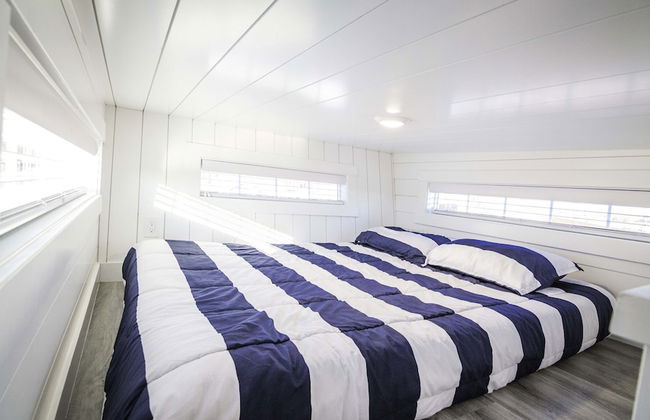
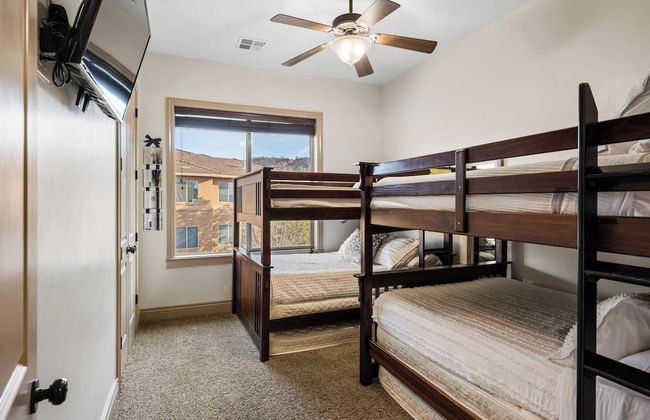
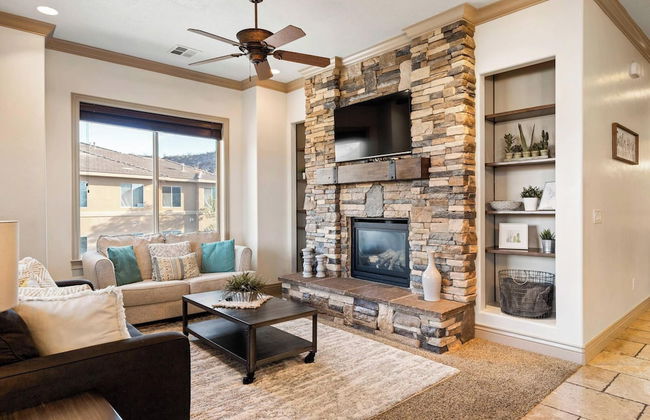
336 Appartamenti a Hurricane


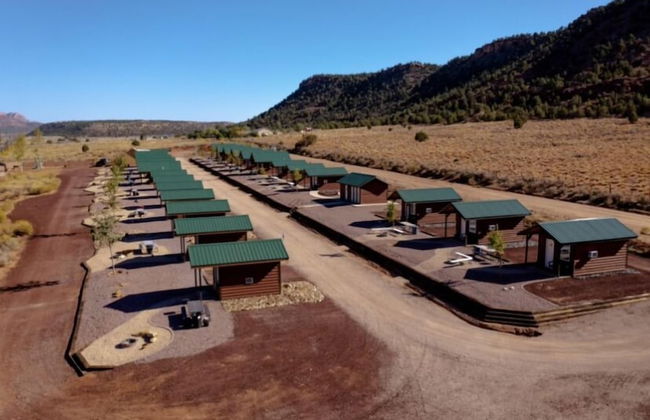


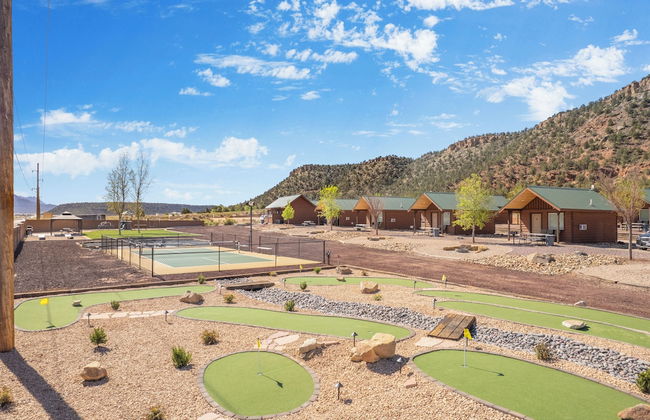


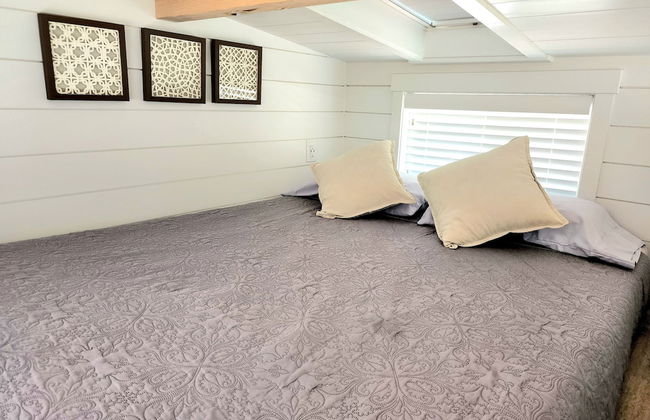
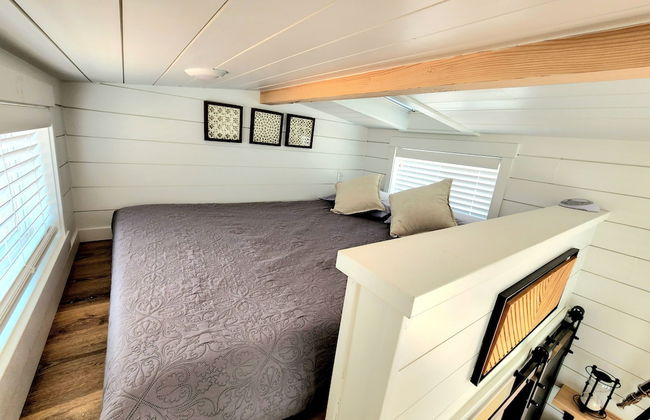
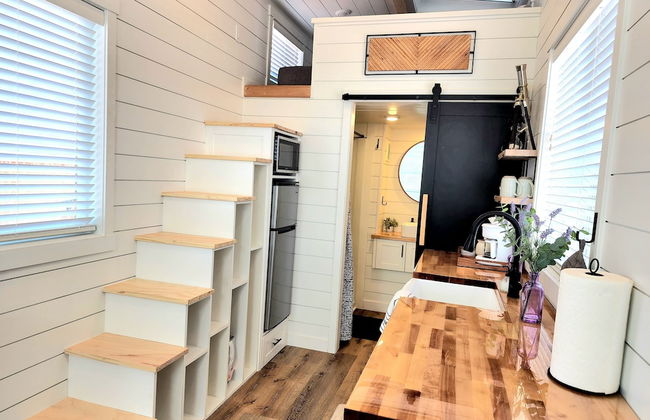
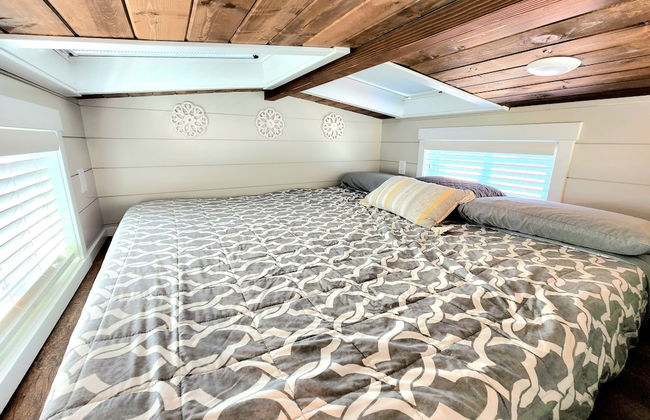
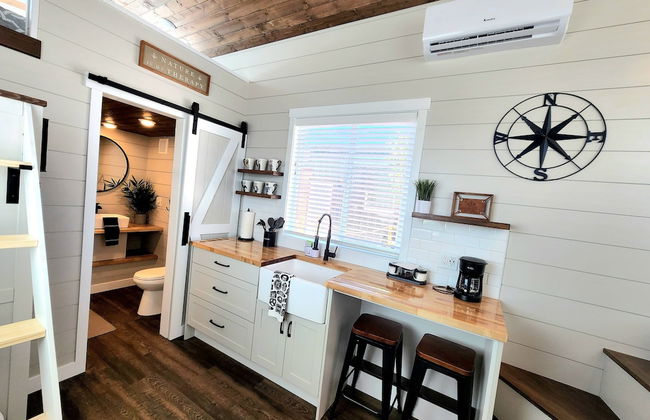
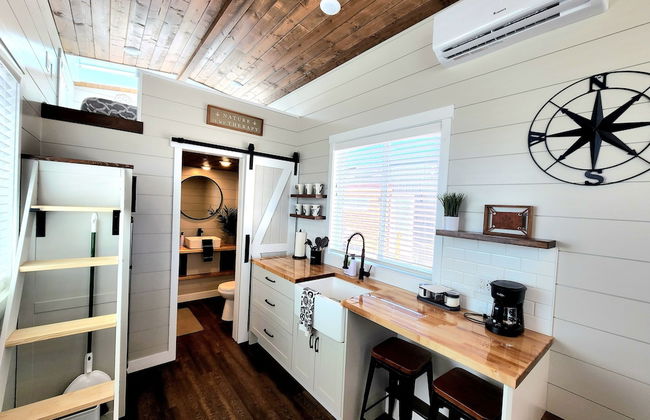
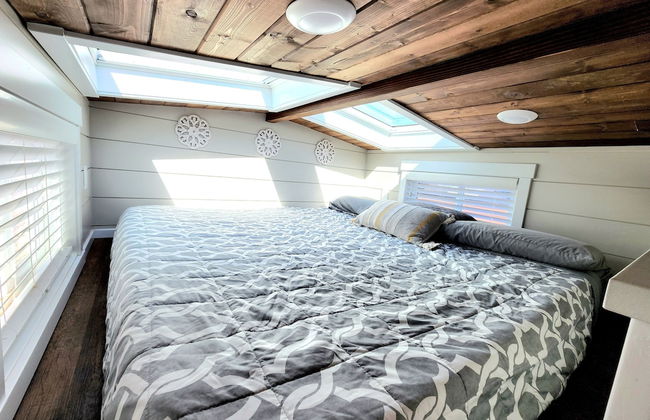
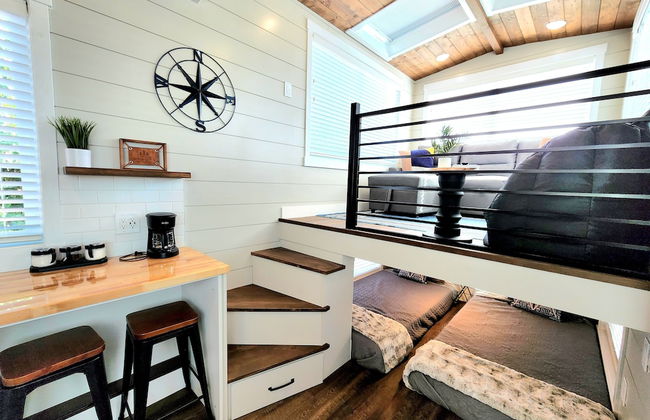
Gooseberry Lodges
Hurricane - 13.9 km dal centro
- 58 M2
- 8 persone
- Cucinino
- Aria condizionata
- Riscaldamento
- Terrazza
- Parcheggio
- Focolare
- Barbecue
- Lino da bagno
- Lino da letto
952 recensioni
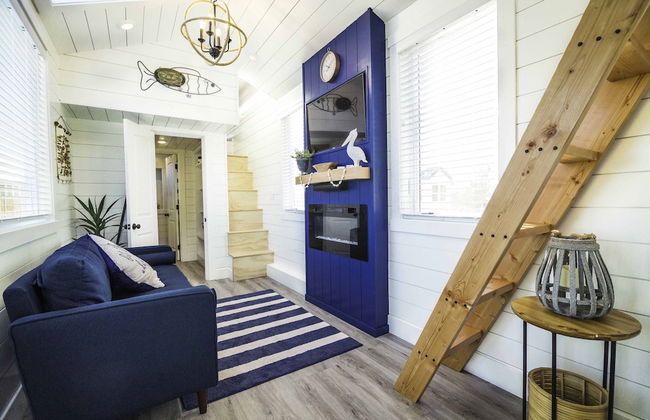

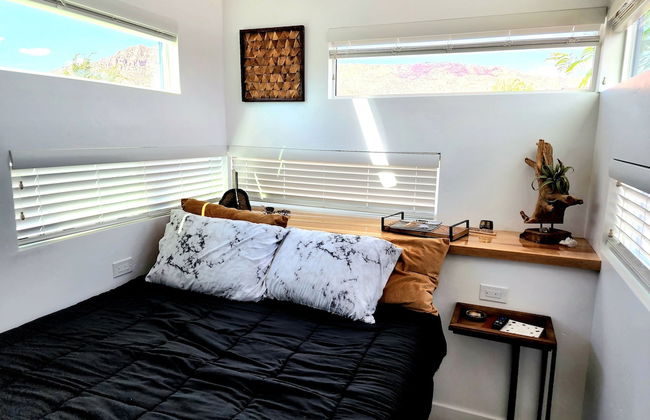

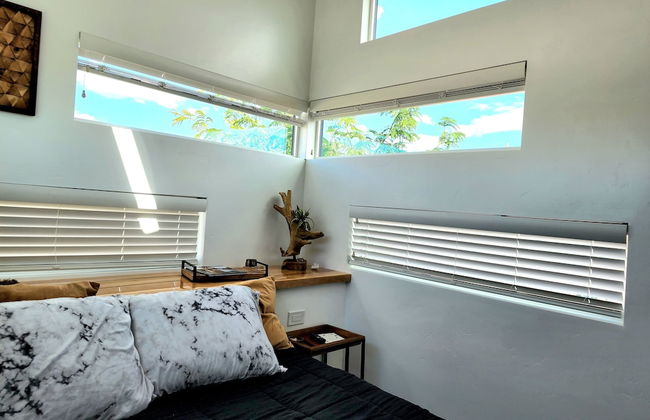

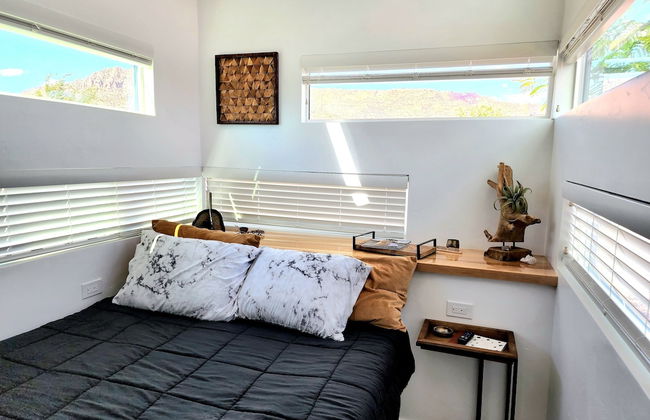

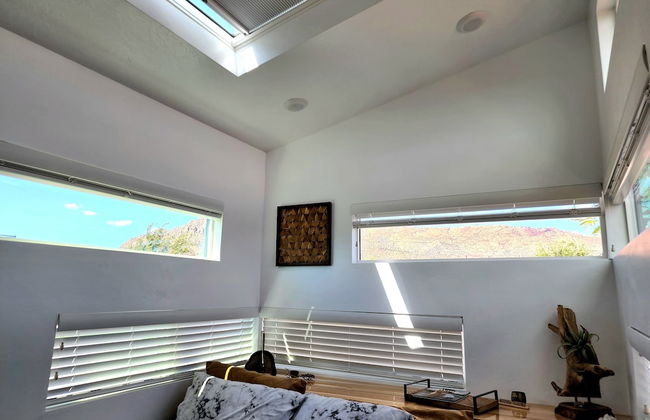

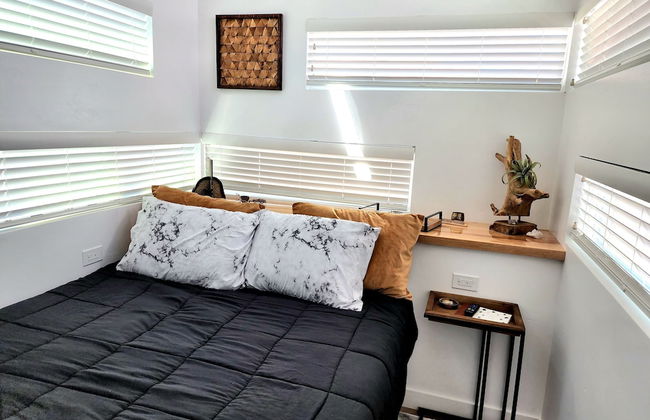


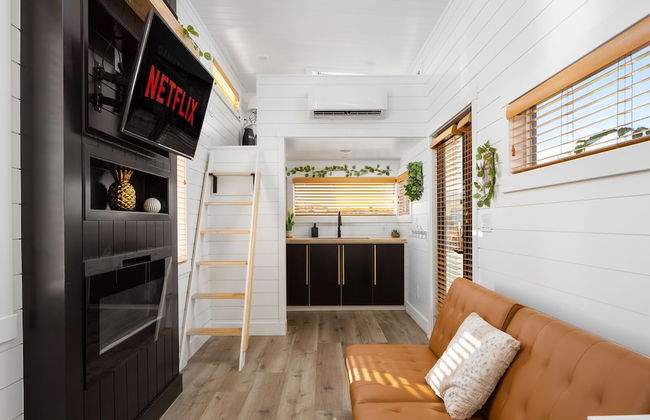


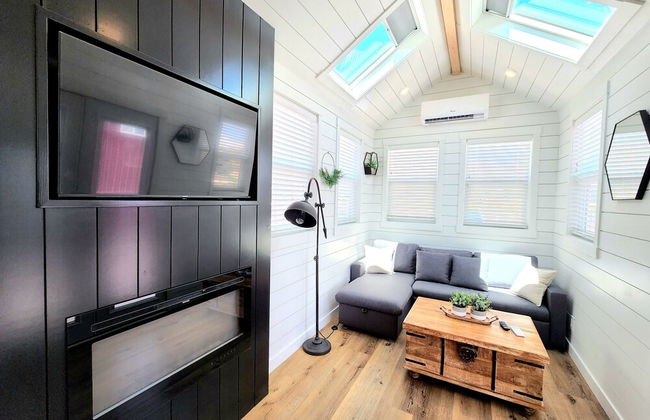


Zion's Tiny Getaway
Hurricane - 23.3 km dal centro
- 33 M2
- 2 camere
- 8 persone
- Aria condizionata
- Riscaldamento
- Parcheggio
- Tv
- Focolare
- Barbecue
- Lino da bagno
- Lino da letto
386 recensioni


Grandpa's Cabin
Hurricane - 22.6 km dal centro
- 5 persone
- Cucinino
- Aria condizionata
- Parcheggio
- Focolare
- Barbecue
- Lino da bagno
16 recensioni


Zion Escape-Private Hot Tub
Hurricane - 3.2 km dal centro
- 173 M2
- 3 camere
- 14 persone
- Aria condizionata
- Riscaldamento
- Terrazza
- Piscina
- Parcheggio
- Giardino
- Barbecue
39 recensioni


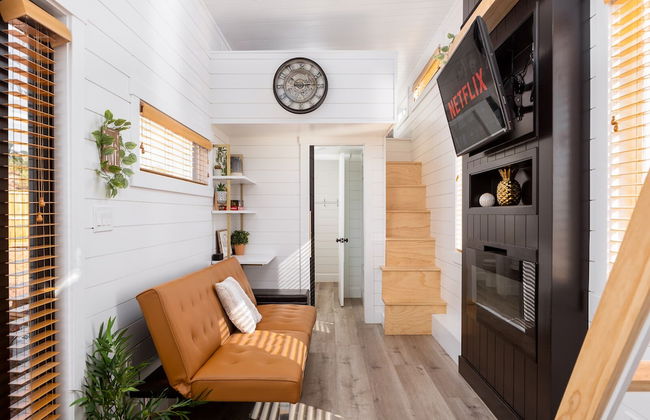
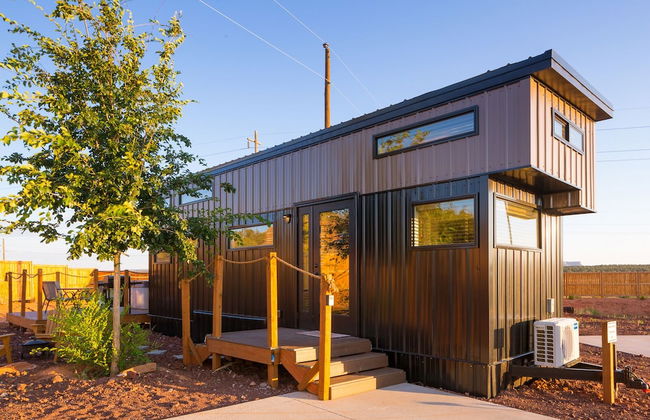
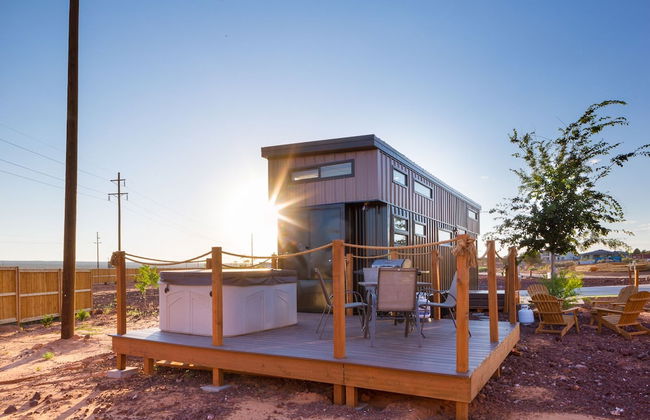
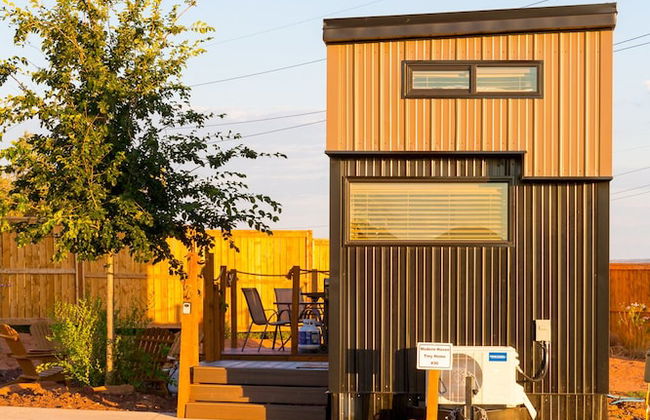
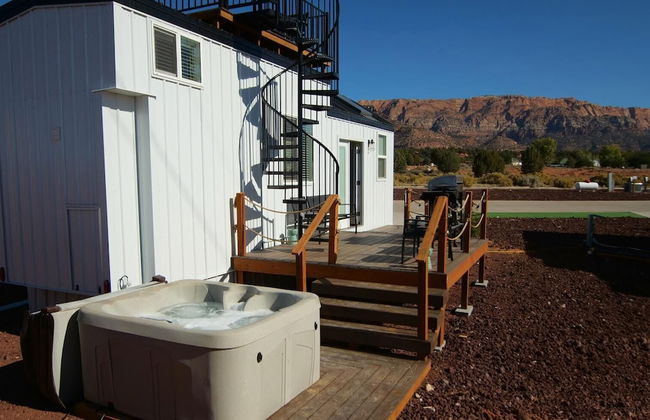
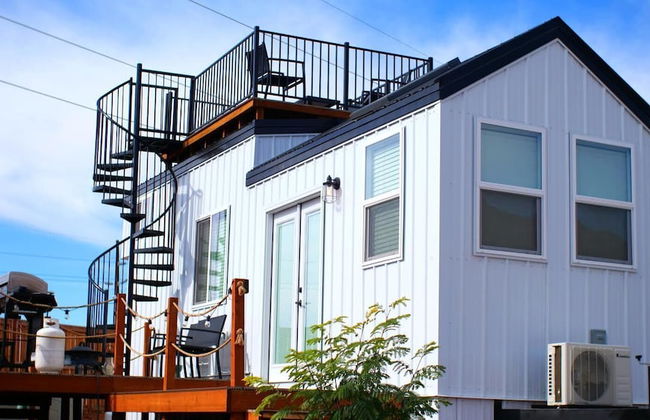
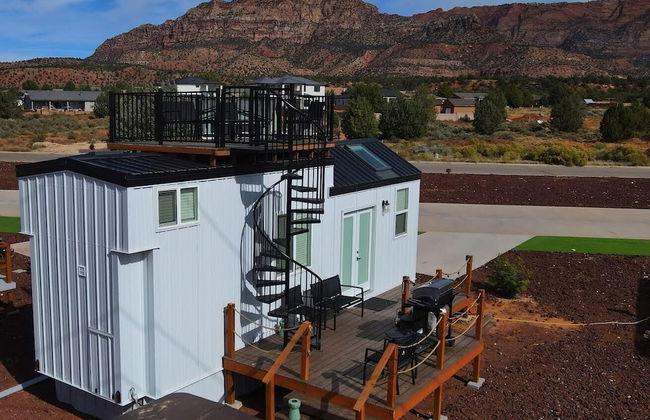
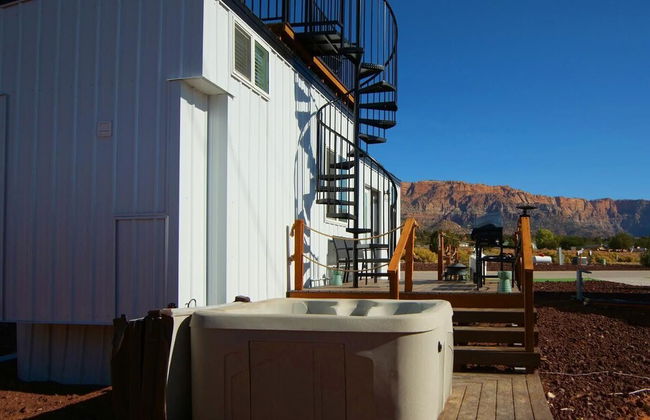
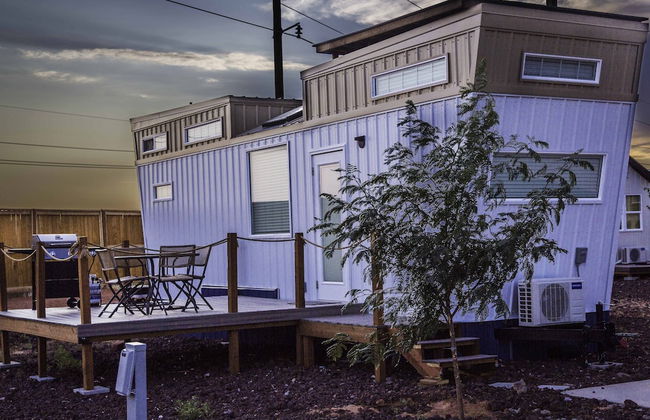
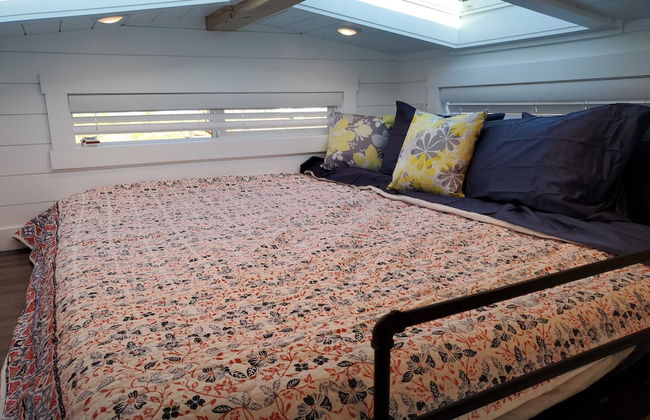
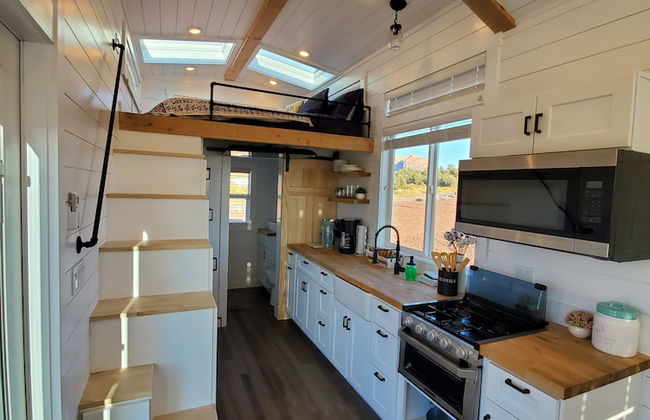
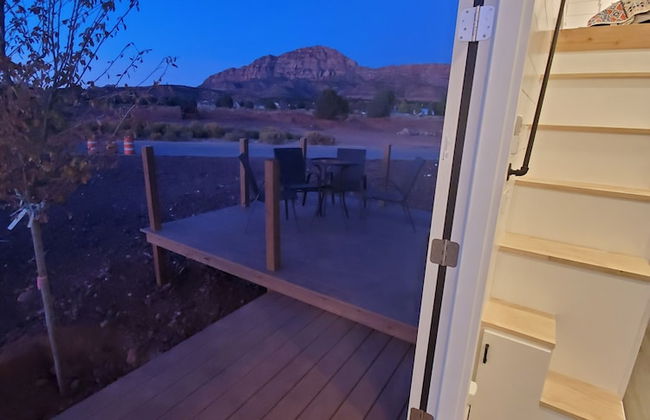
Access Zion & Bryce! Tiny Home with Rooftop Deck and Hot Tub
Hurricane - 890 m dal centro
- 37 M2
- 2 camere
- 4 persone
- Aria condizionata
- Riscaldamento
- Piscina
- Parcheggio
- Giardino
- Barbecue
6 recensioni


Sierra Sky - Patio with fireplace
Hurricane - 13.4 km dal centro
- 163 M2
- 3 camere
- 8 persone
- Aria condizionata
- Riscaldamento
- Piscina
- Parcheggio
- Tv
- Lavatrice
- Focolare
- Barbecue
- Lino da bagno
4 recensioni


Sonoro Sands
Hurricane - 13.3 km dal centro
- 102 M2
- 2 camere
- 8 persone
- Aria condizionata
- Piscina
- Parcheggio
6 recensioni


Wild West Oasis - Experienced Hosts, 2 King Suites
Hurricane - 11.1 km dal centro
- 197 M2
- 3 camere
- 14 persone
- Aria condizionata
- Riscaldamento
- Terrazza
- Piscina
- Parcheggio
- Giardino
- Barbecue
2 recensioni


The Condo at Coral Springs Resort
Hurricane - 13.4 km dal centro
- 141 M2
- 2 camere
- 6 persone
- Aria condizionata
- Piscina
- Parcheggio
- Giardino
28 recensioni


Hurricane Getaway with Yard - 25 Mi to Zion!
Hurricane - 2.9 km dal centro
- 88 M2
- 2 camere
- 4 persone
- Parcheggio
10 recensioni


H7-Heavenly-Ground Floor 3-bedroom Hillside View
Hurricane - 13.3 km dal centro
- 3 camere
- 12 persone
- Aria condizionata
- Piscina
- Parcheggio
16 recensioni


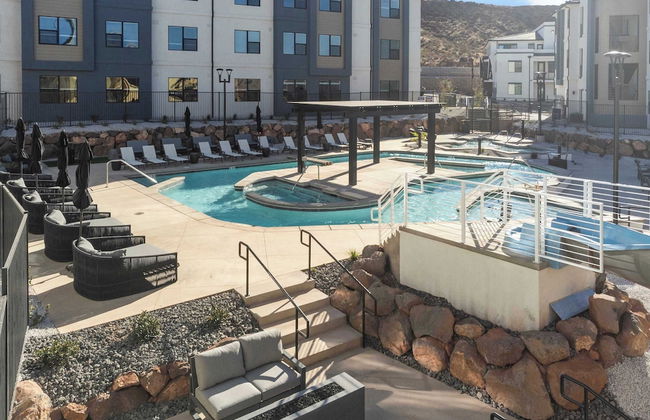
Zion Village Oasis by the Pool with Lazy River
Hurricane - 3.2 km dal centro
- 173 M2
- 3 camere
- 10 persone
- Aria condizionata
- Riscaldamento
- Piscina
13 recensioni


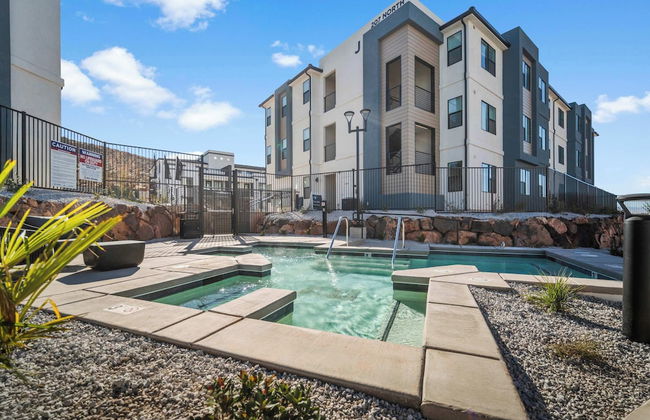
Zion Village Resort 415 Private Hot Tub, Ping Pong Table, and Community Pool access
Hurricane - 3.2 km dal centro
- 174 M2
- 3 camere
- 14 persone
- Aria condizionata
- Riscaldamento
- Piscina
- Parcheggio
- Ascensore
7 recensioni


Hurricane Homestead Rentals
Hurricane - Al centro
- 121 M2
- 4 camere
- 10 persone
- Aria condizionata
- Riscaldamento
- Parcheggio
- Giardino
- Barbecue
13 recensioni


Zion Red Villa at Sand Hollow with Private Pool and Hot Tub
Hurricane - 9.2 km dal centro
- 14 M2
- 6 camere
- 28 persone
- Aria condizionata
- Riscaldamento
- Terrazza
- Piscina
- Parcheggio
- Giardino
- Barbecue
2 recensioni


Zion's Pearl at Copper Rock!
Hurricane - 7.5 km dal centro
- 409 M2
- 5 camere
- 16 persone
- Aria condizionata
- Riscaldamento
- Terrazza
- Piscina
- Parcheggio
2 recensioni


The View - Resort Amenities & Epic Views
Hurricane - 13.5 km dal centro
- 158 M2
- 3 camere
- 12 persone
- Aria condizionata
- Riscaldamento
- Piscina
- Parcheggio
- Ascensore
- Balcone
- Tv
- Lavatrice
- Focolare
- Barbecue
- Lino da bagno
- Lino da letto
2 recensioni


Desert Ocean Vibes- Full Amenities
Hurricane - 13.3 km dal centro
- 163 M2
- 12 persone
- Aria condizionata
- Riscaldamento
- Parcheggio
- Balcone
- Tv
- Lavatrice
- Focolare
- Barbecue
- Lino da bagno
2 recensioni


Grandma's Southern Comfort Vacation Rental
Hurricane - 8.2 km dal centro
- 2 camere
- 4 persone
- Aria condizionata
- Riscaldamento
- Piscina
- Giardino
- Barbecue
6 recensioni


Angels Landing Tiny Home
Hurricane - 23.3 km dal centro
- 33 M2
- 3 camere
- 6 persone
- Aria condizionata
- Riscaldamento
- Parcheggio
12 recensioni