
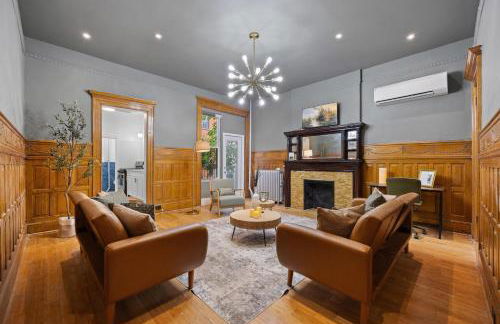
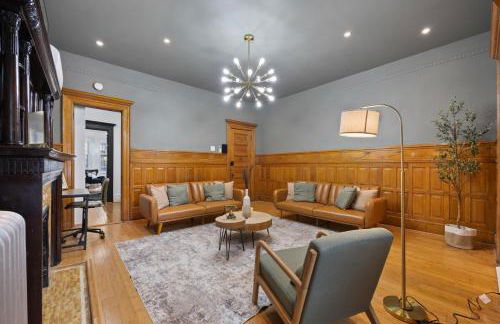
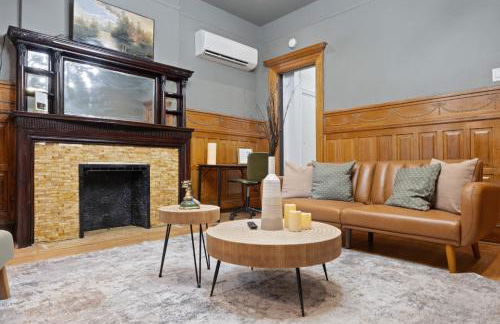
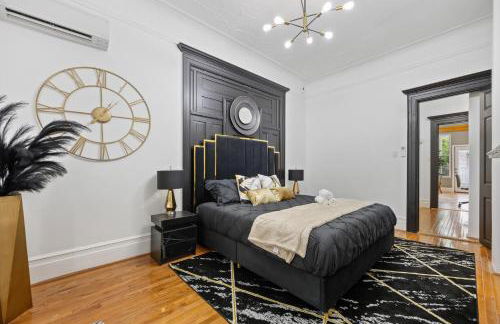
47 Appartamenti a Harlem
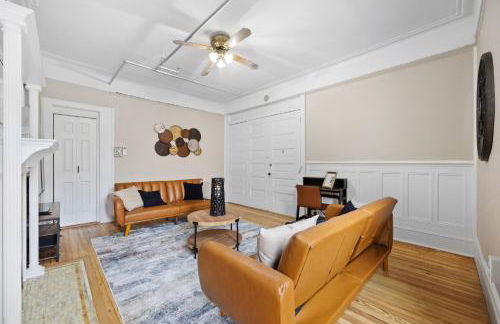
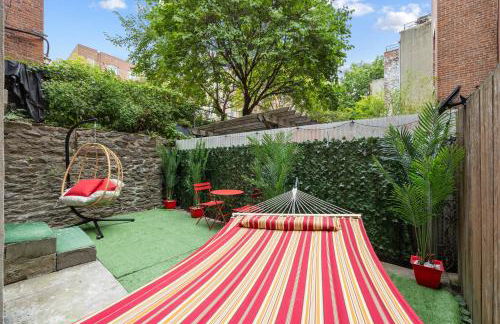
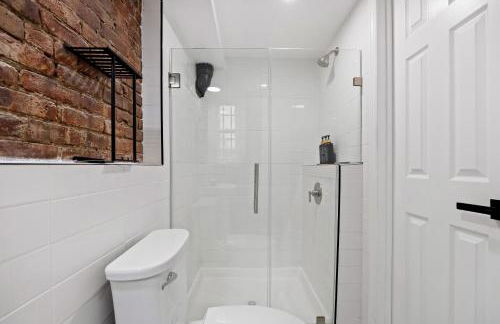
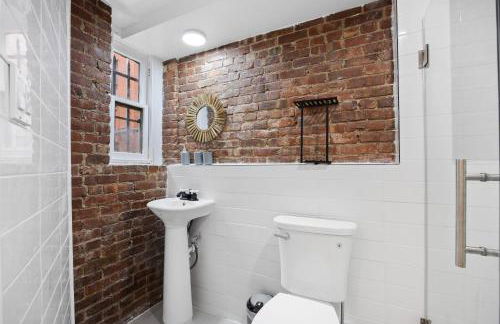
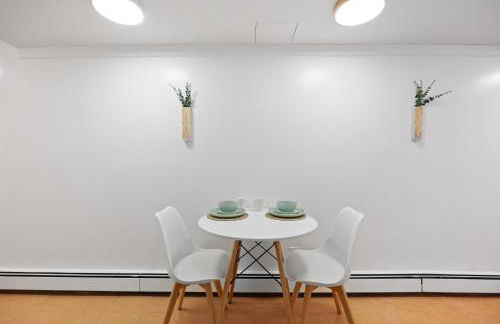
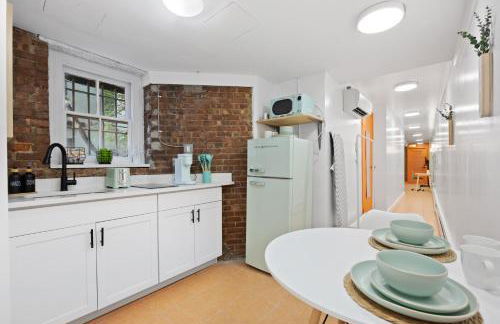
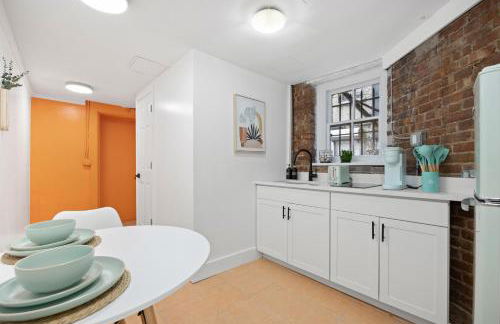
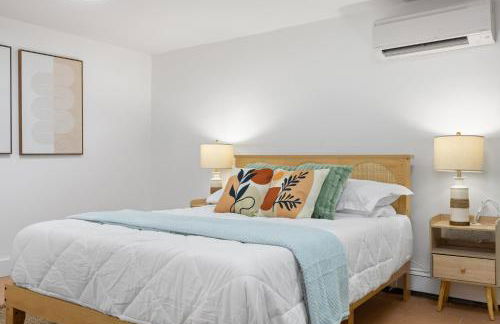
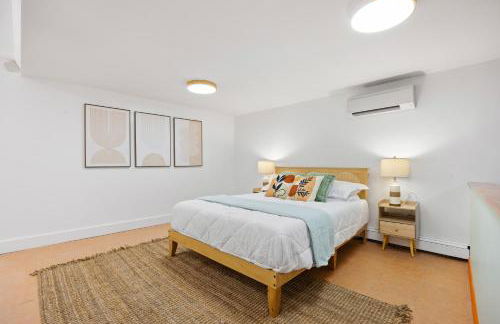

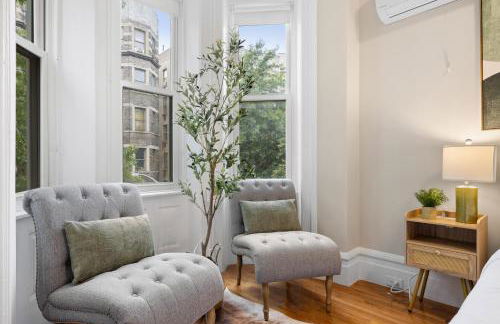


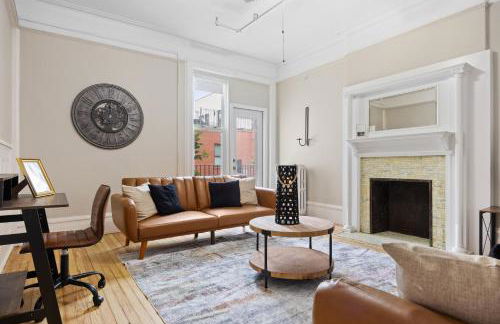
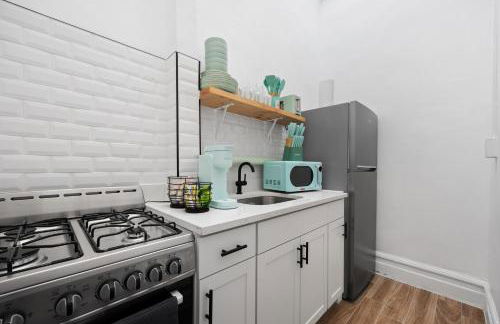
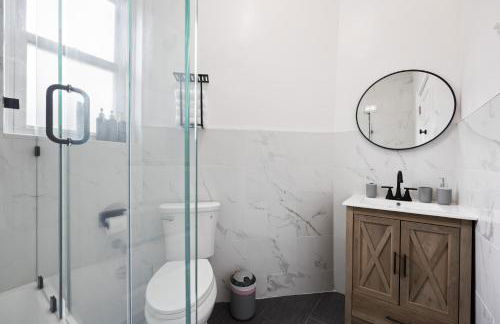
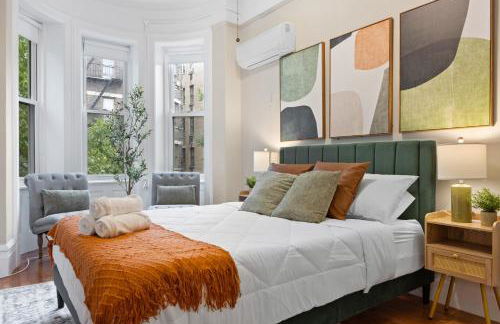
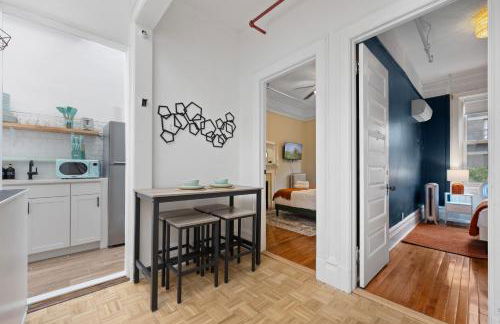
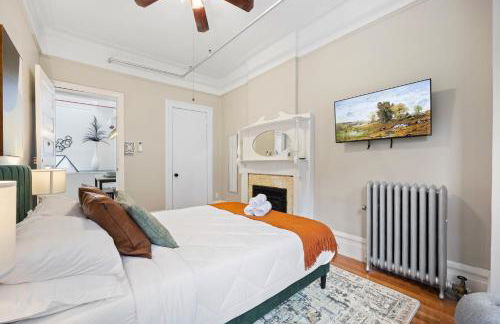
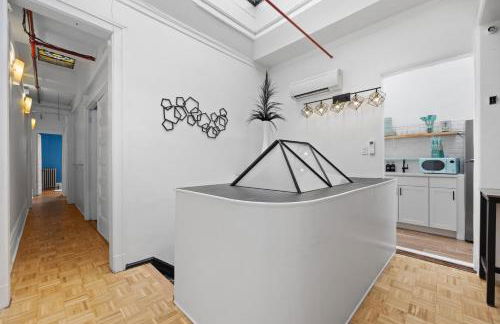
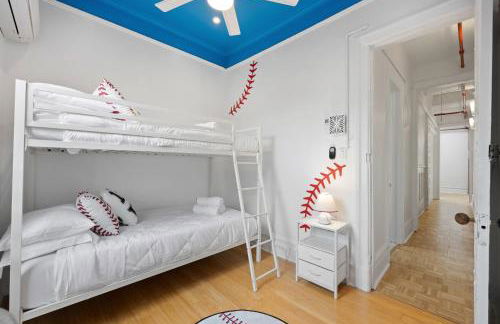
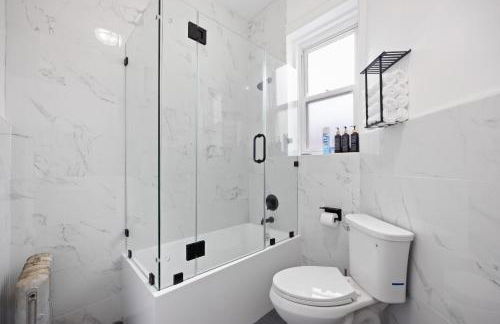
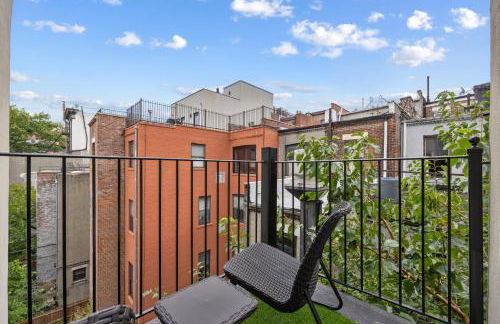
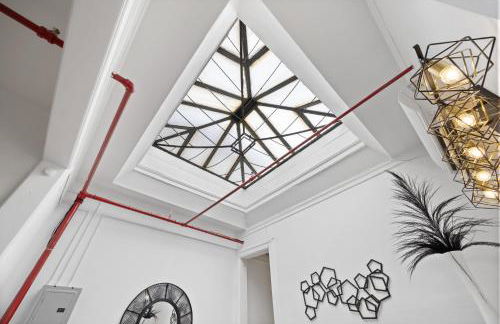
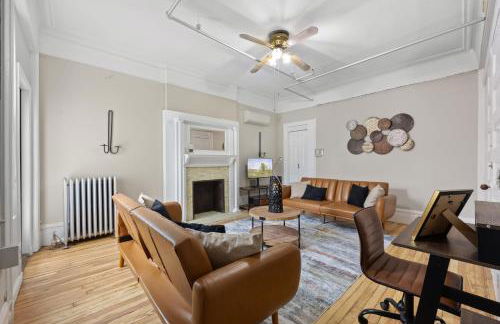

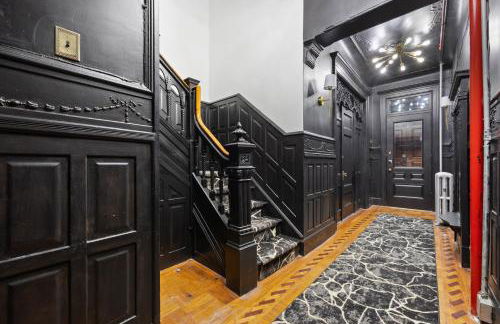
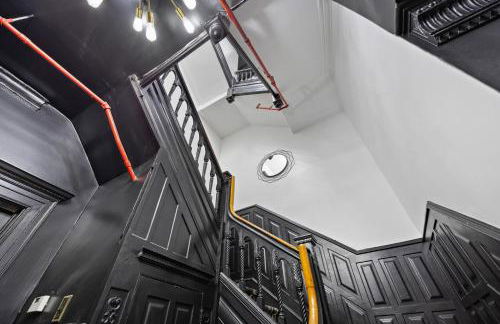
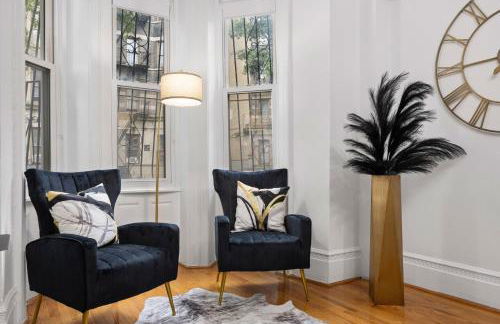
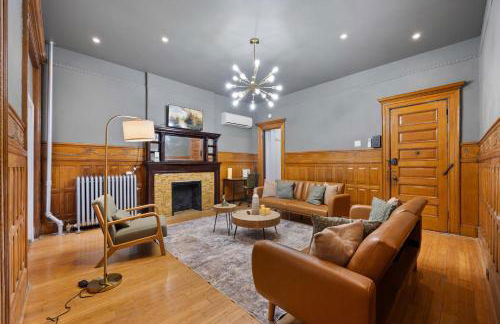

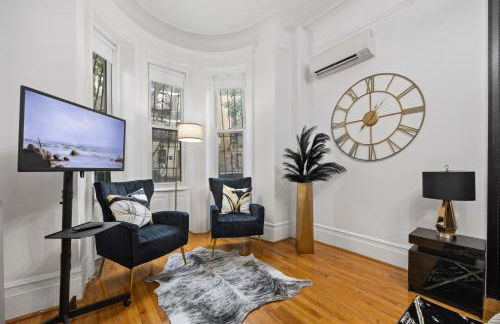
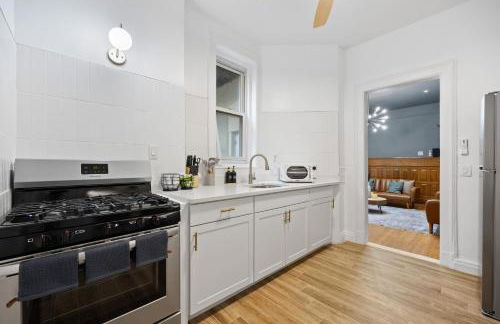
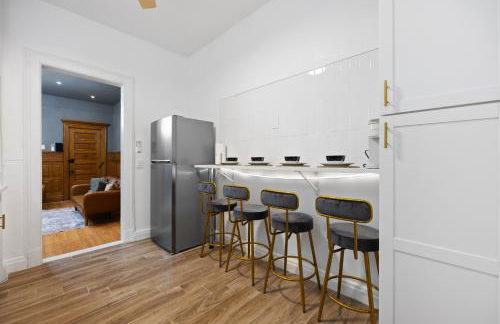
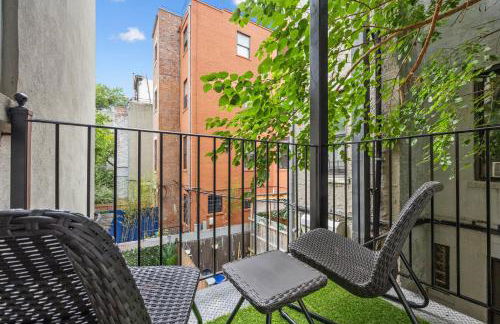
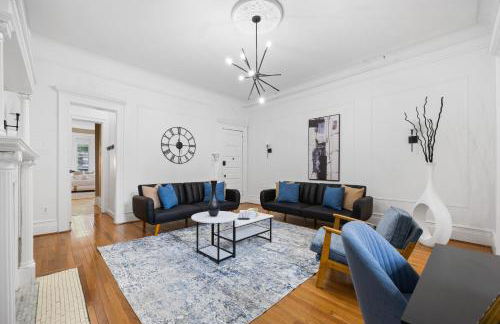
Vintage Luxe NY - Designer Lofts & Apartments NYC
New York - Harlem - 13 km dal centro
- 83 M2
- 3 camere
- 7 persone
- Aria condizionata
- Riscaldamento
- Terrazza
- Giardino
19 recensioni


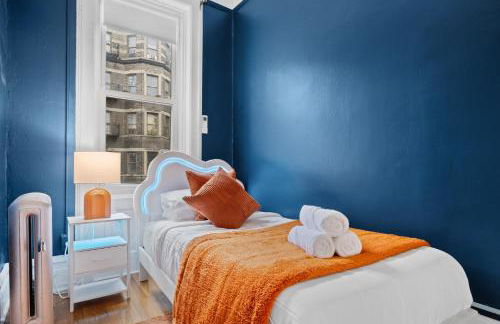
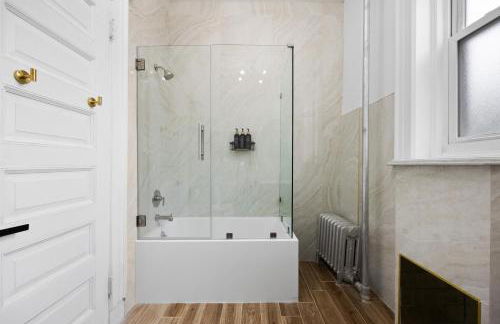
Lavender style Room in Geusthouse
New York - Harlem - 12.4 km dal centro
- 15 M2
- 2 persone
- Aria condizionata
- Riscaldamento
- Ascensore
41 recensioni


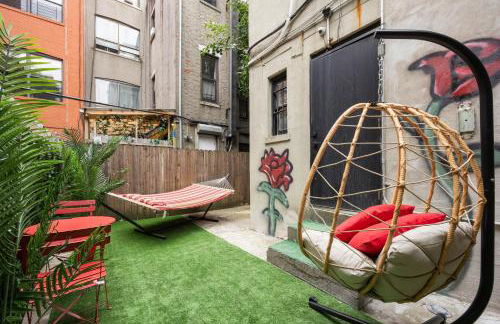
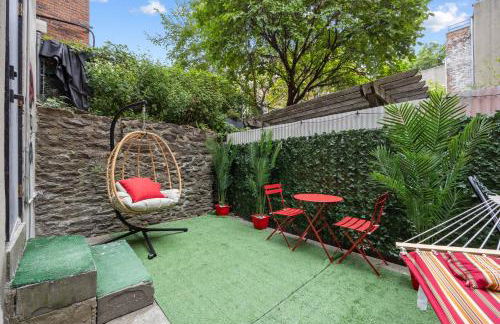
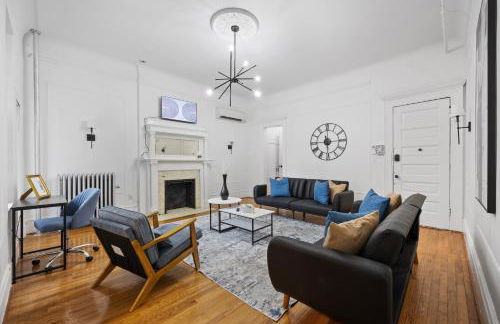
Large and Luxurious in Strivers Row
New York - Harlem - 12.2 km dal centro
- 116 M2
- 2 camere
- 4 persone
- Aria condizionata
- Terrazza
4 recensioni


Tropical style room in Geusthouse
New York - Harlem - 12.4 km dal centro
- 12 M2
- 2 persone
- Aria condizionata
- Riscaldamento
- Ascensore
34 recensioni


Sunlit 2BR Central Park North elevator & laundry
New York - Harlem - 10.2 km dal centro
- 60 M2
- 2 camere
- 4 persone
- Aria condizionata
- Riscaldamento
- Ascensore
11 recensioni


SWJ 1st - Near Most Attractions Walk to Train Times Sq near
New York - Harlem - 12.1 km dal centro
- 70 M2
- 2 camere
- 5 persone
- Aria condizionata
- Riscaldamento
13 recensioni


Modern Studio with Private Bathroom and Kitchen
New York - Harlem - 10.9 km dal centro
- 33 M2
- 2 persone
- Aria condizionata
- Riscaldamento
- Ascensore
9 recensioni


Lemon Vibes room in Guesthouse
New York - Harlem - 12.4 km dal centro
- 12 M2
- 2 persone
- Aria condizionata
- Riscaldamento
- Ascensore
44 recensioni


Blue style Room in Guesthouse
New York - Harlem - 12.4 km dal centro
- 20 M2
- 2 persone
- Aria condizionata
- Riscaldamento
43 recensioni


SWJ 4 - 25 Min to Times Sq Save on 2Day Stays
New York - Harlem - 12.1 km dal centro
- 3 camere
- 7 persone
- Aria condizionata
11 recensioni


3 BD Idyllic Haven next to Central Park
New York - Harlem - 10 km dal centro
- 65 M2
- 3 camere
- 7 persone
- Aria condizionata
14 recensioni


3BR apt two blocks to Central Park elevator, laundry, virtual doorman
New York - Harlem - 10.2 km dal centro
- 139 M2
- 3 camere
- 6 persone
- Aria condizionata
- Riscaldamento
- Ascensore
31 recensioni


Central Park north spacious residence
New York - Harlem - 10.2 km dal centro
- 60 M2
- 1 camera
- 2 persone
- Aria condizionata
- Parcheggio
- Ascensore
5 recensioni


SWJ 3rd - Sleeps 7,Close to LGA,Times Sq in 25 min
New York - Harlem - 12.1 km dal centro
- 3 camere
- 7 persone
- Aria condizionata
10 recensioni


SWJ 2nd - Times SQ, Brooklyn Bridge, LGA in 15 min
New York - Harlem - 12.1 km dal centro
- 65 M2
- 3 camere
- 7 persone
- Aria condizionata
- Parcheggio
18 recensioni


Adam Clayton Apartment
New York - Harlem - 10.6 km dal centro
- 700 M2
- 2 camere
- 4 persone
- Aria condizionata
- Parcheggio
27 recensioni


Great Looking Studio Apartment
New York - Harlem - 11.2 km dal centro
- 34 M2
- 2 persone
- Aria condizionata
- Riscaldamento
10 recensioni


Central Park North - Quiet Place
New York - Harlem - 10.2 km dal centro
- 74 M2
- 2 camere
- 5 persone
- Parcheggio
24 recensioni