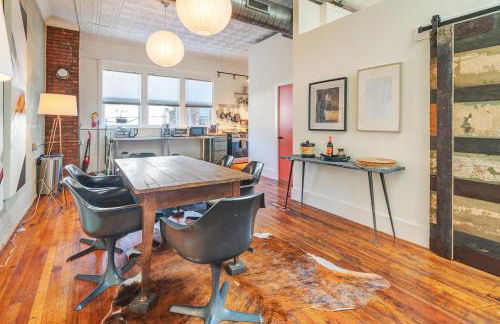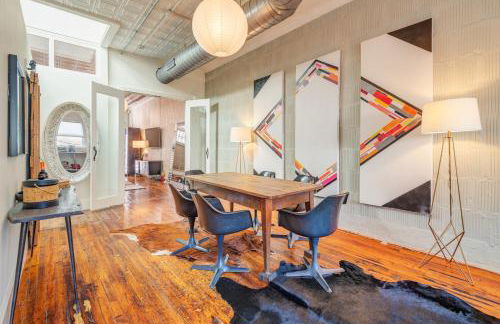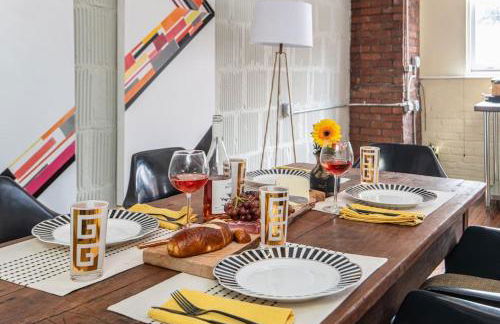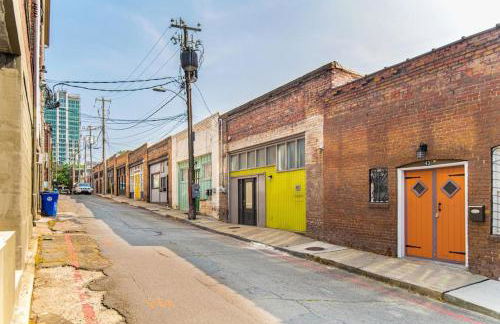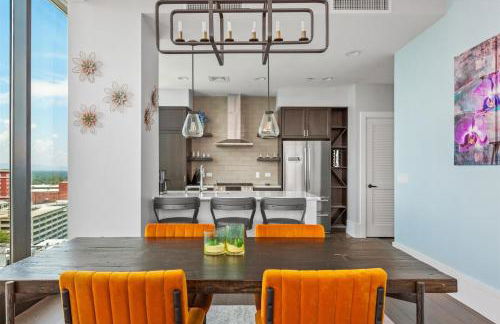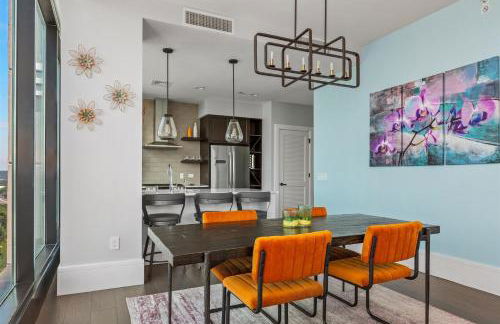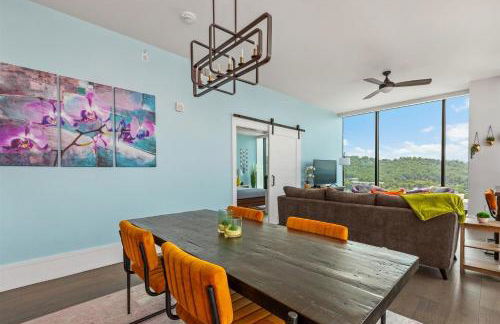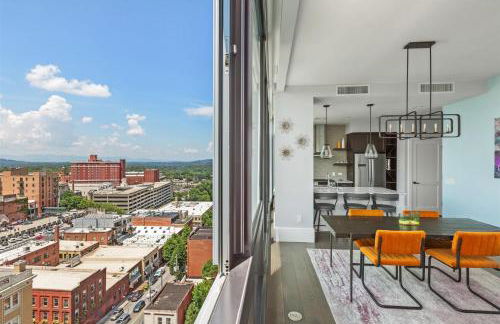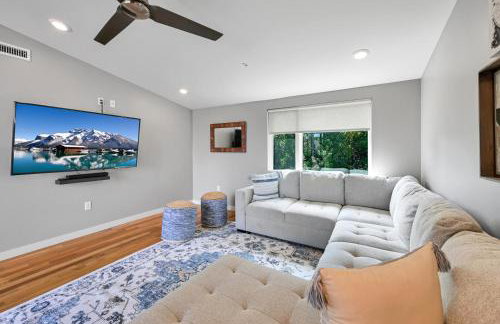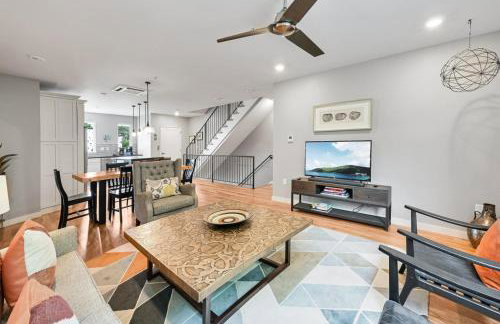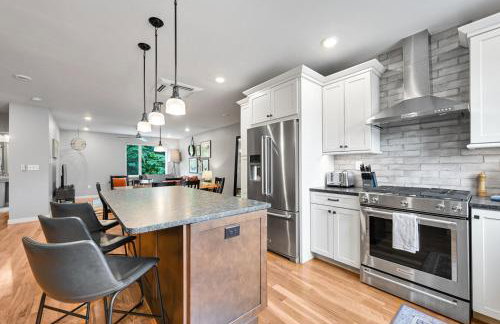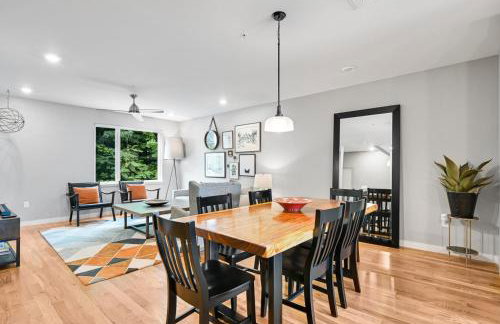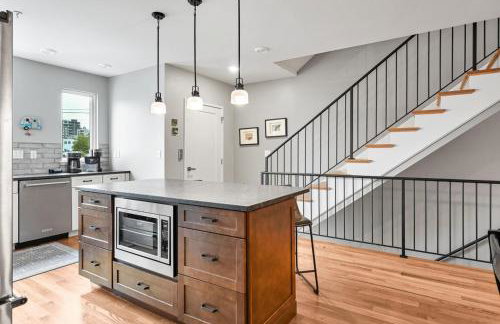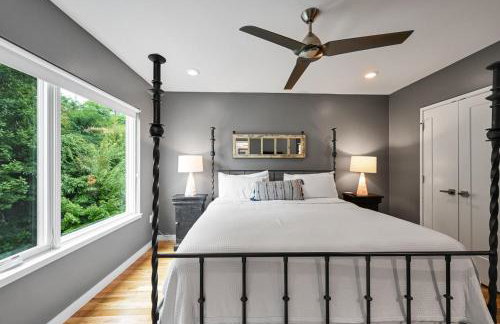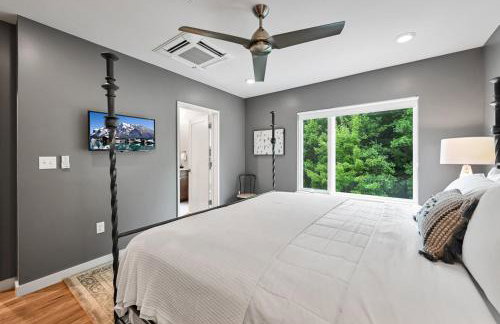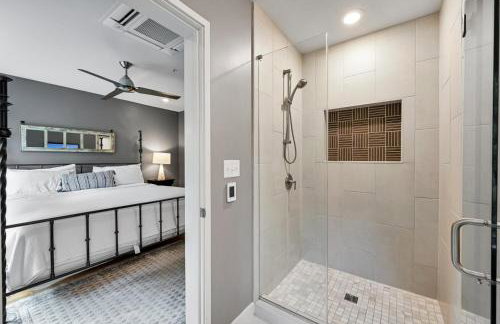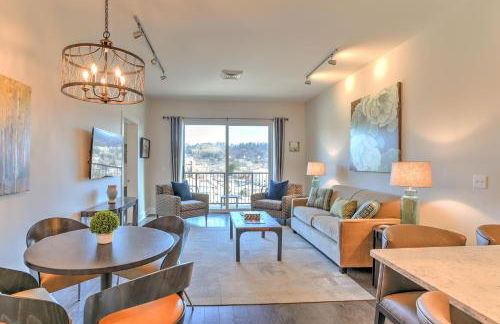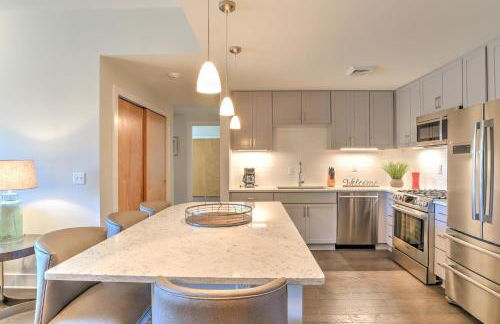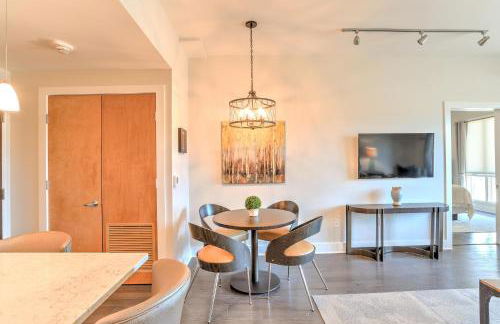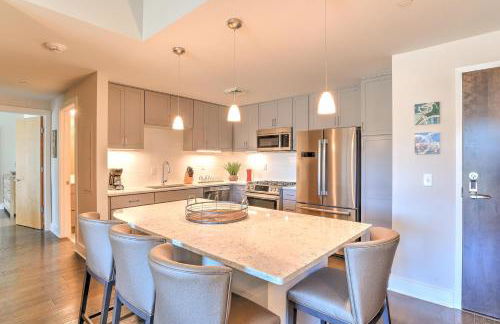
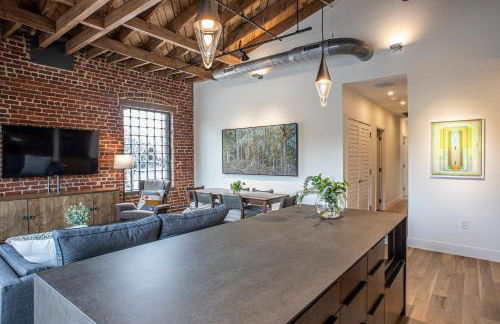
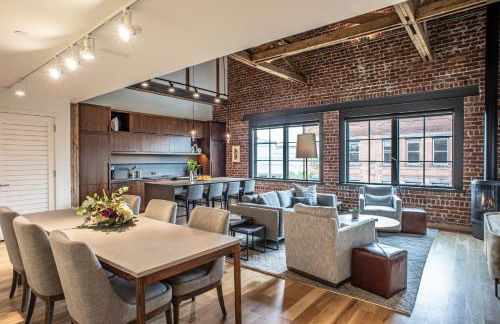
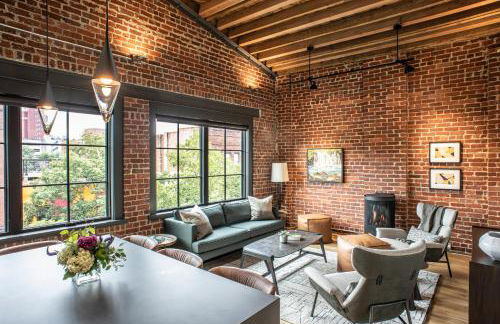
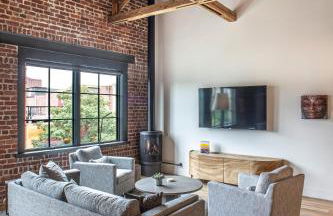
86 Appartamenti a Downtown Asheville
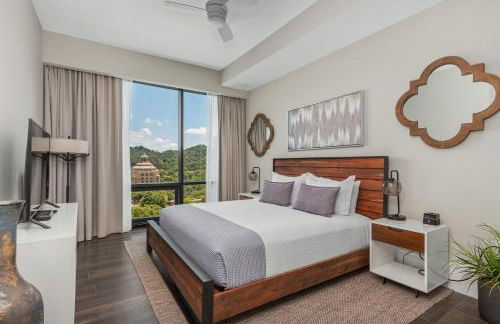
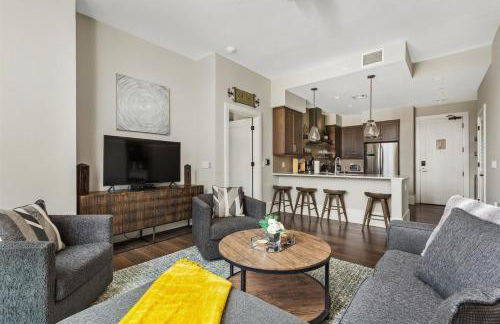
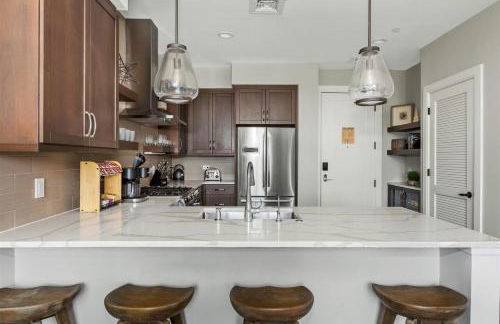
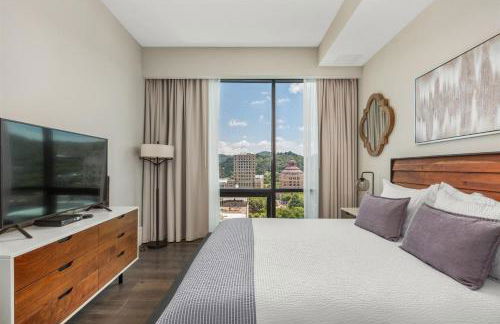
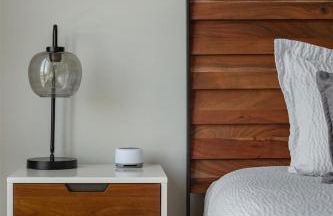
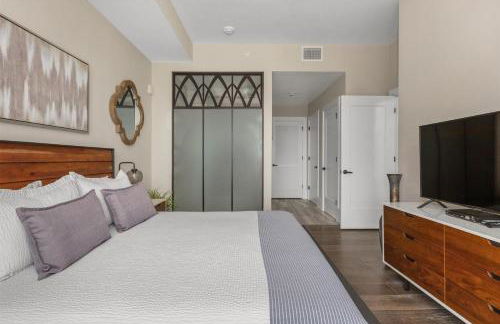
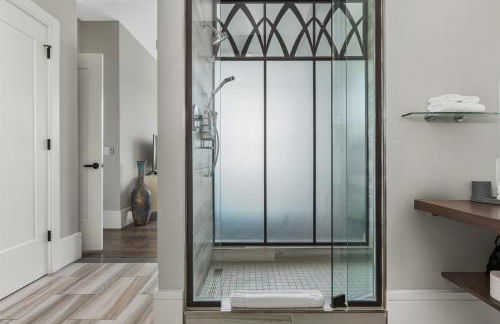
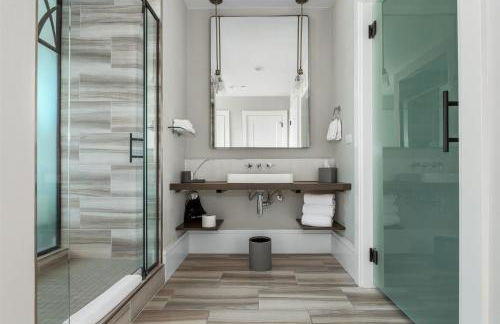
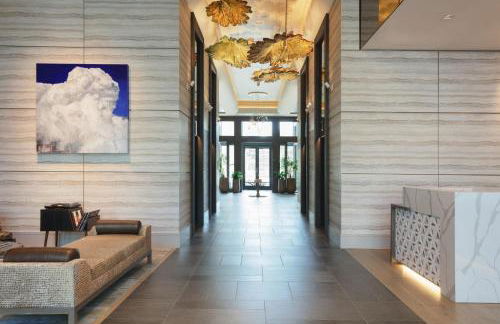
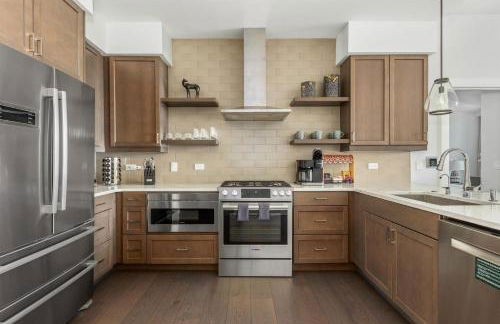
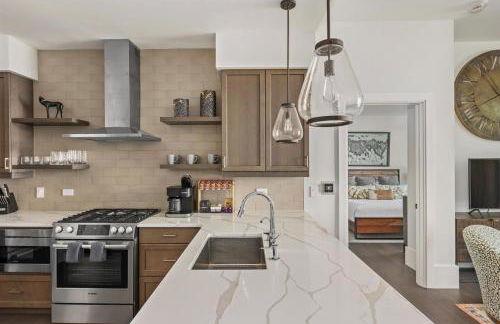
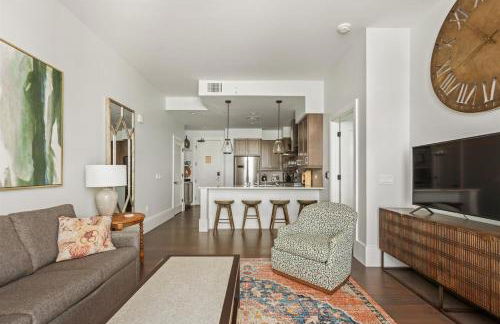
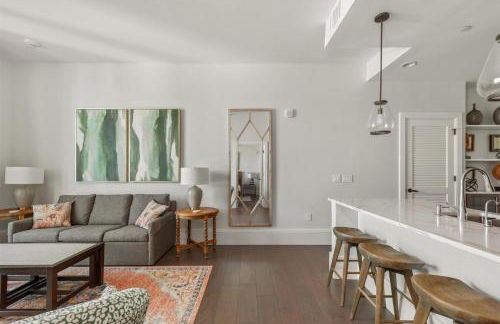
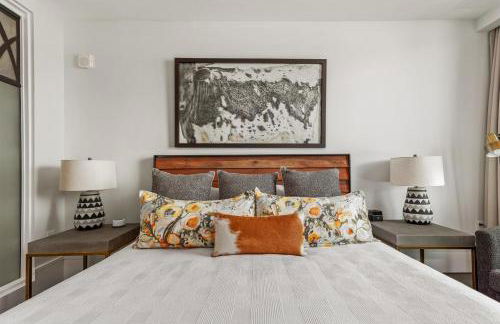
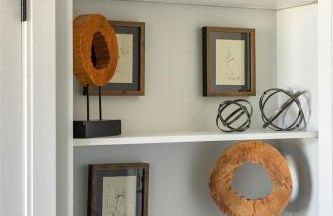
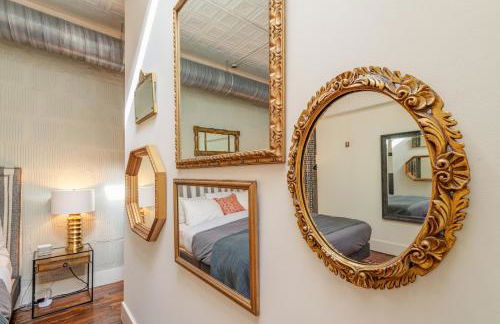
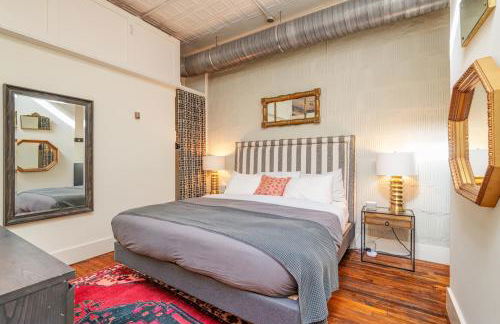
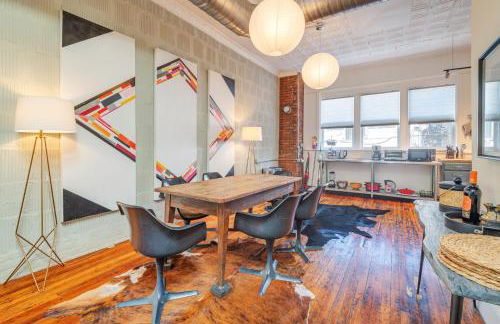
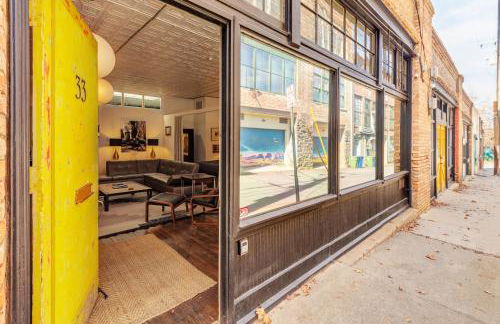
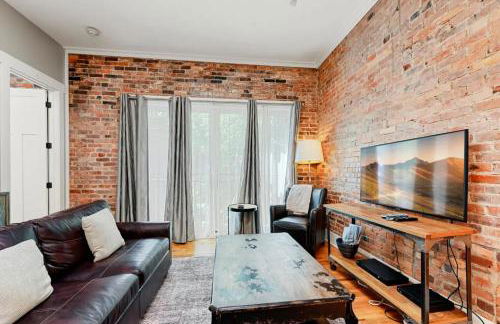
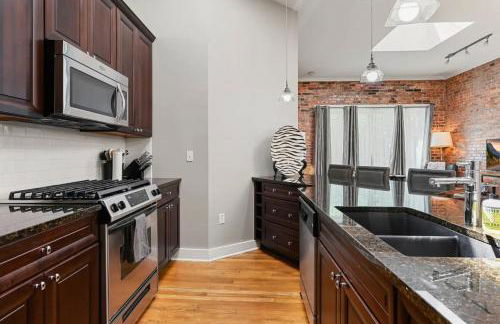
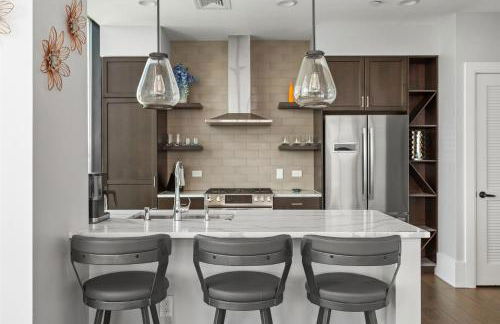
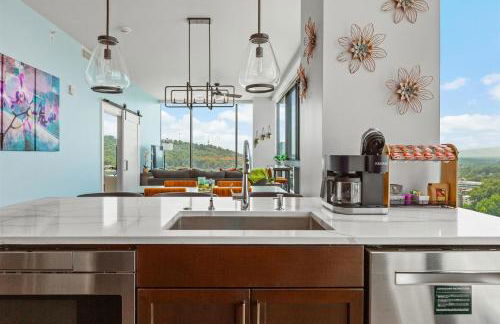
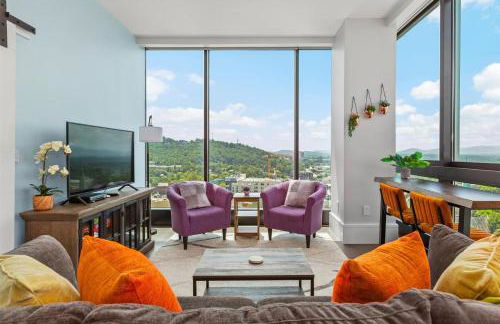
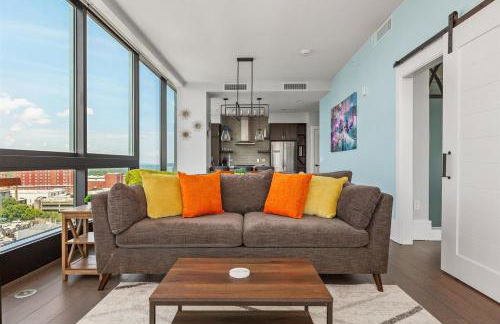
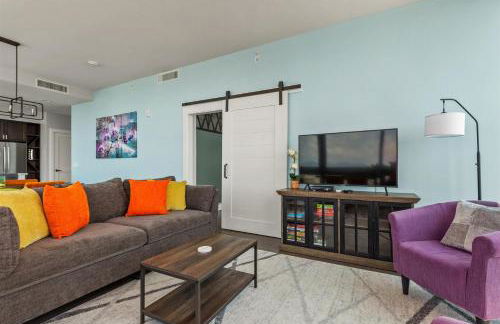
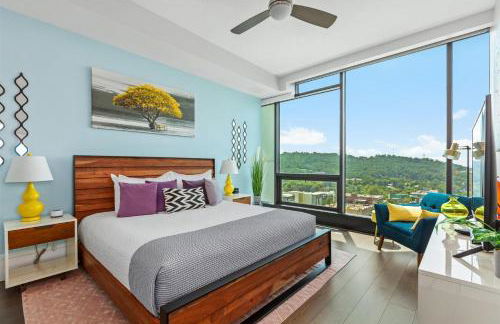
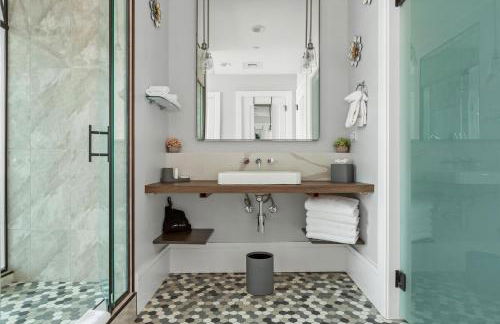
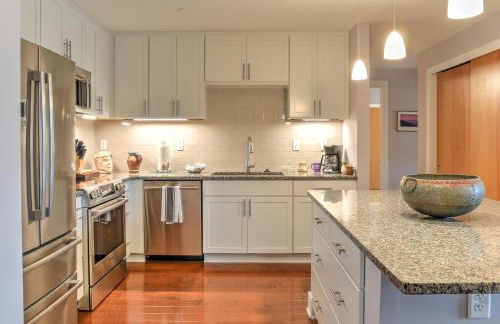
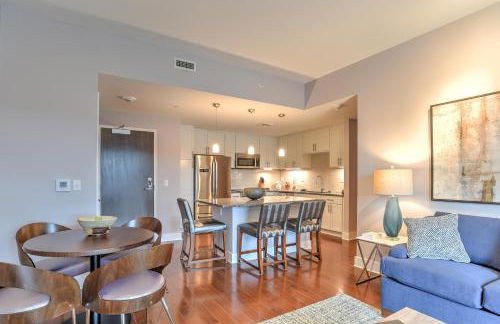
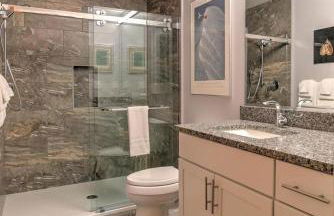
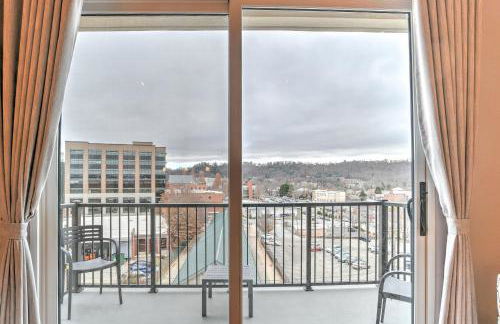
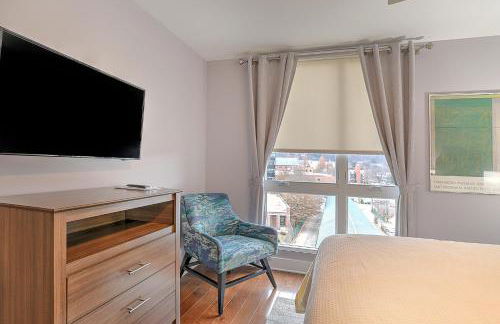
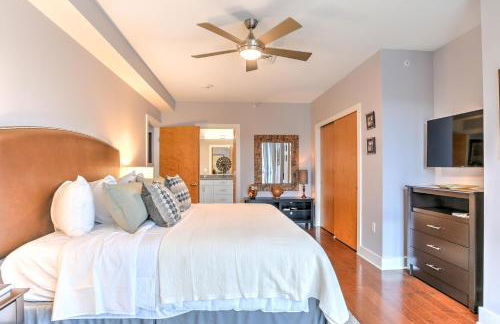
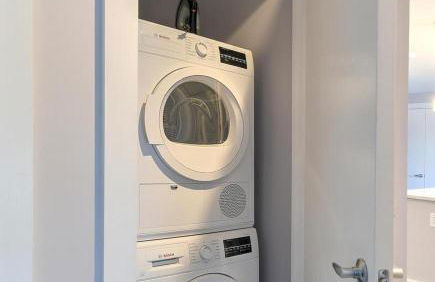
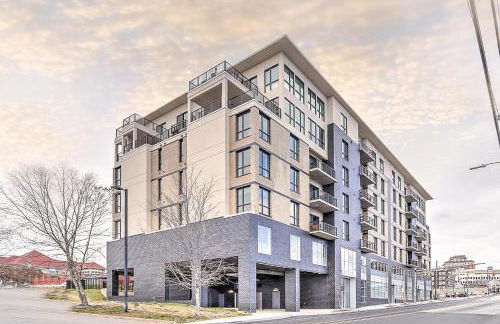
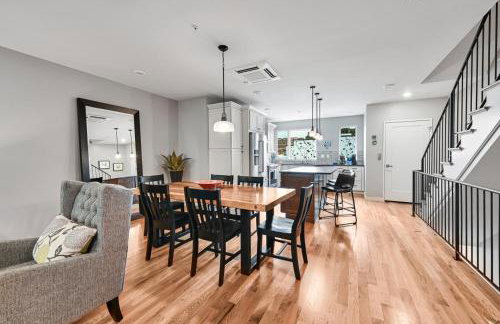
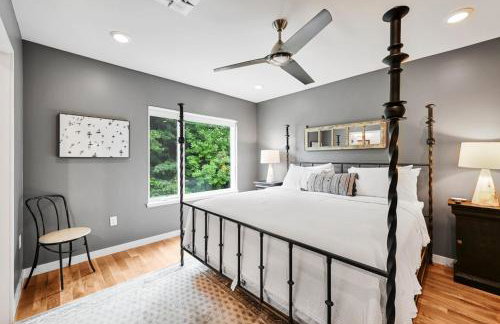
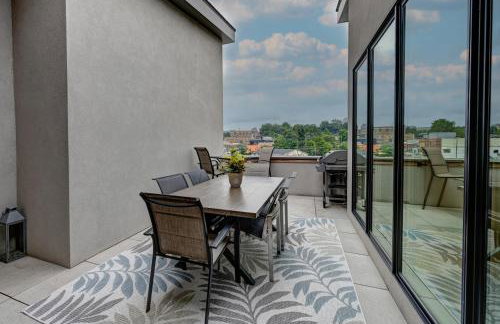
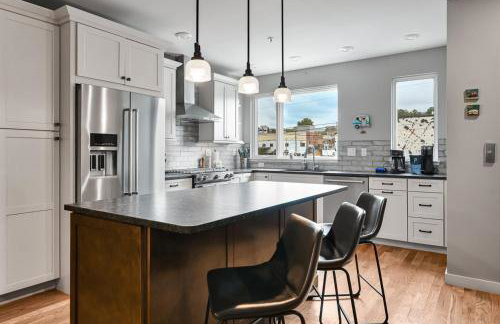
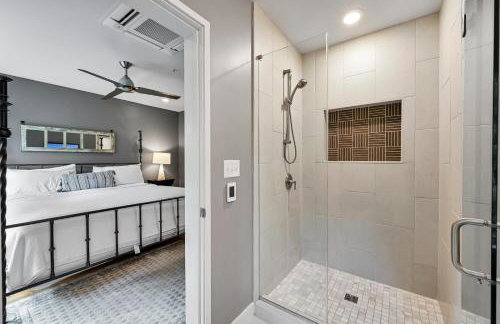
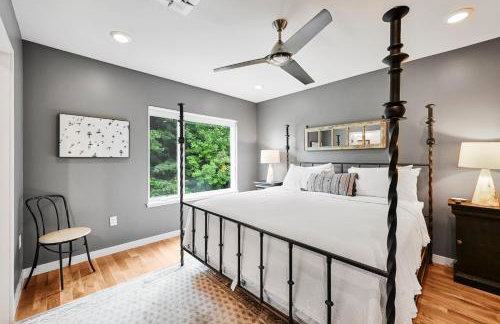
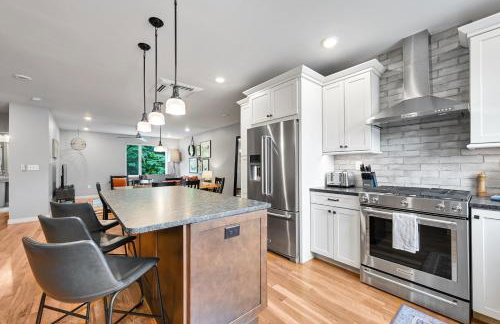
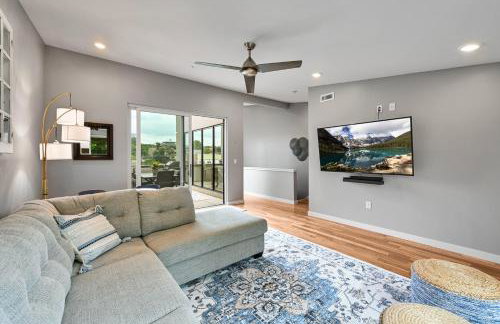
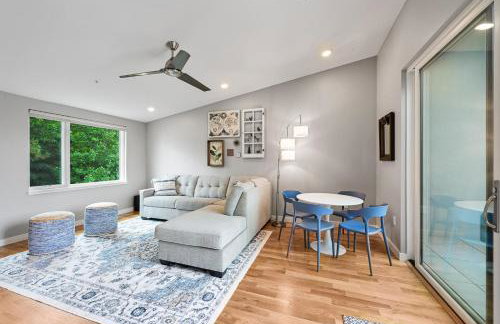
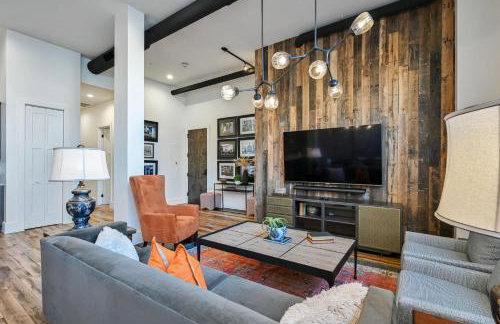
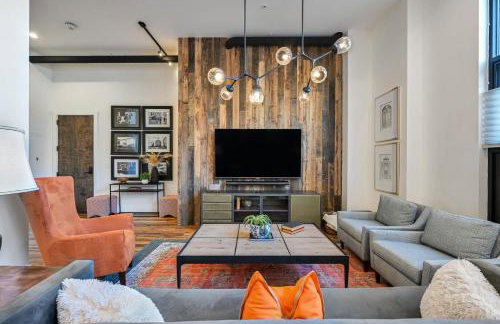
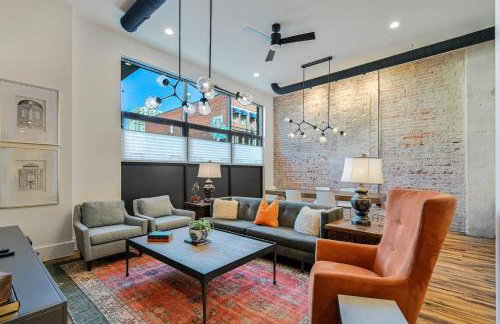
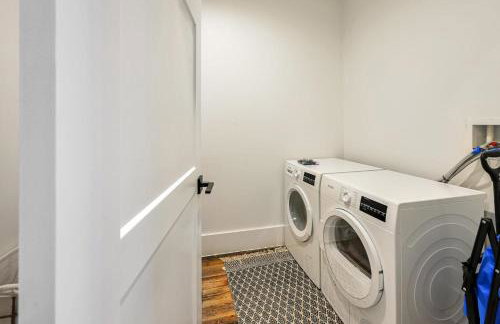
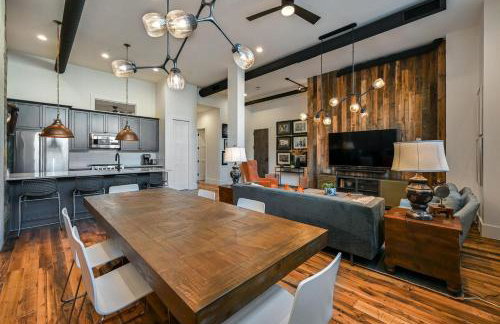
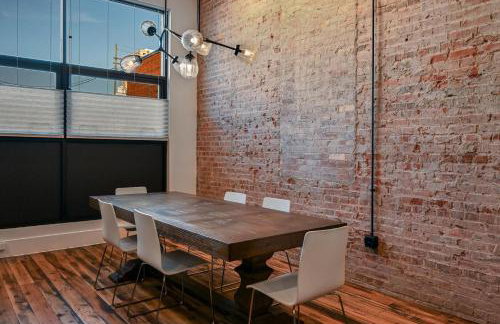
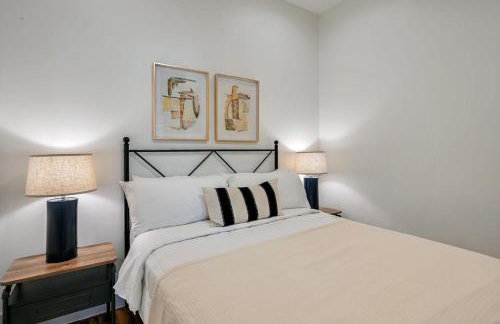
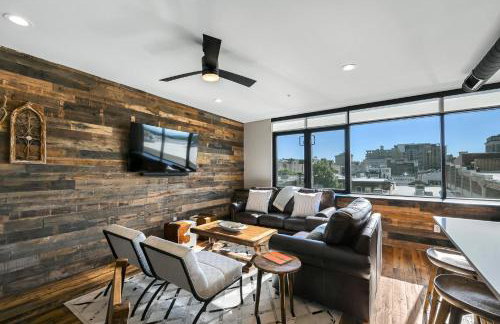
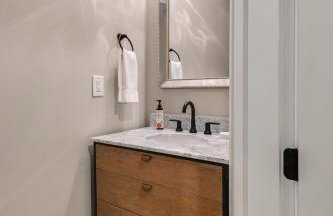
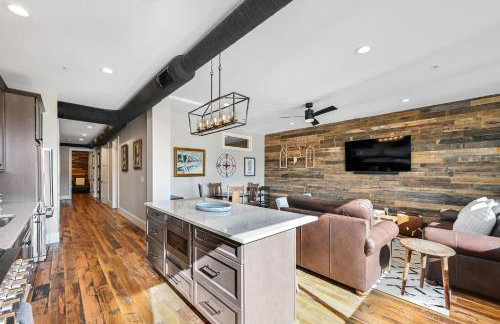
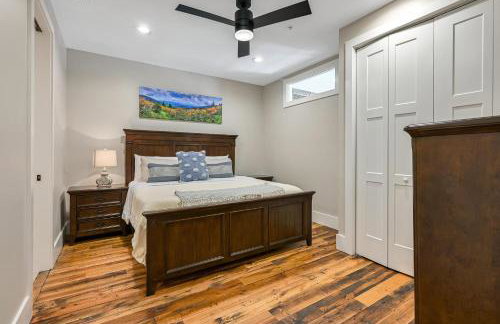
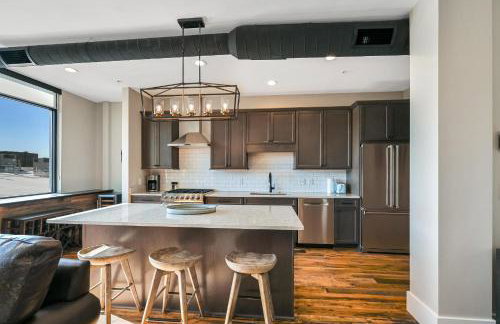
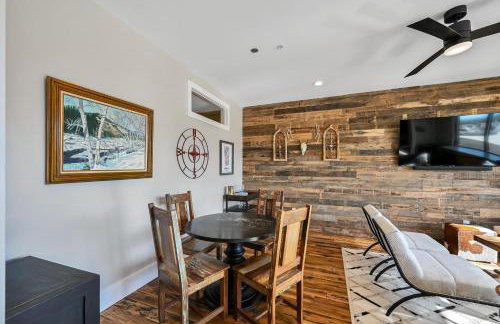
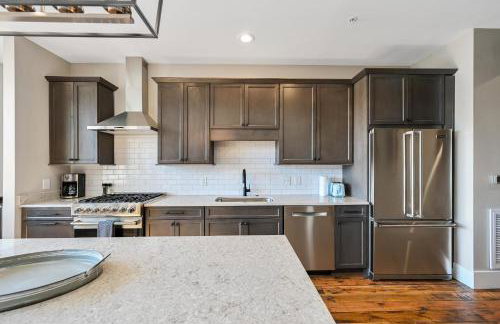
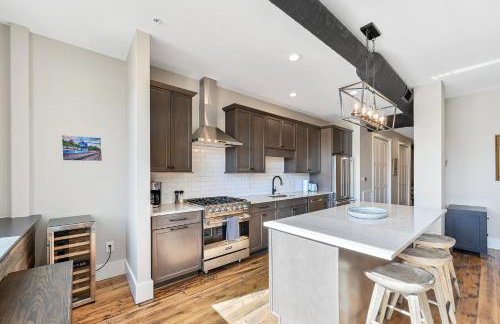
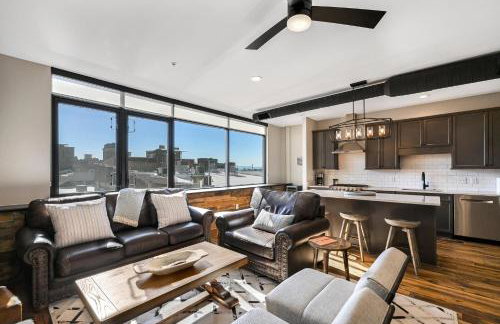
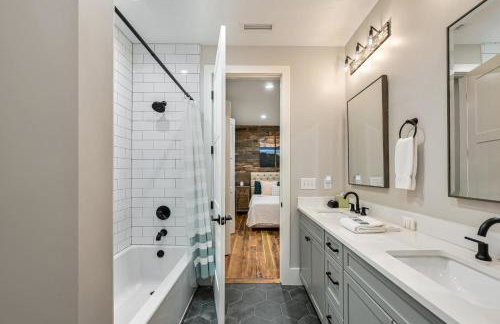
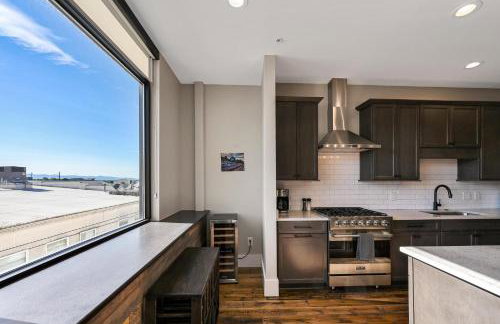
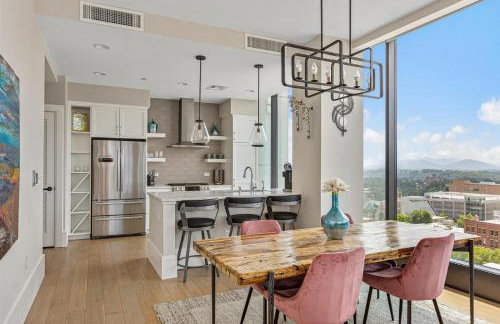
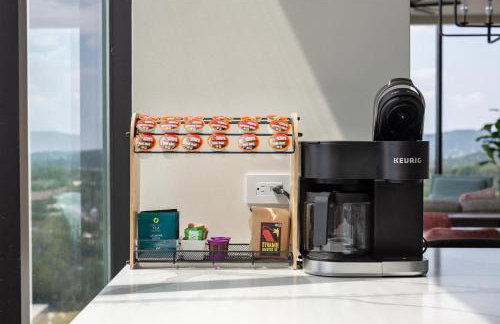
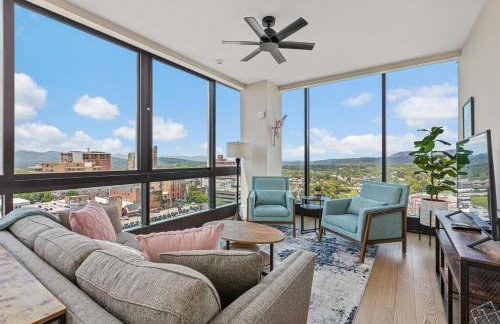
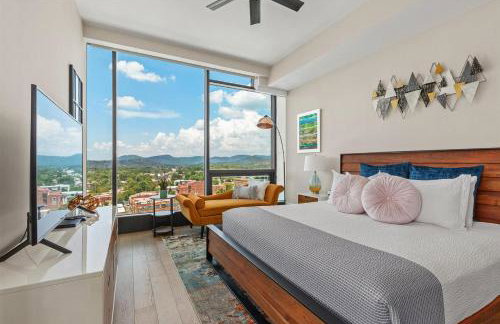
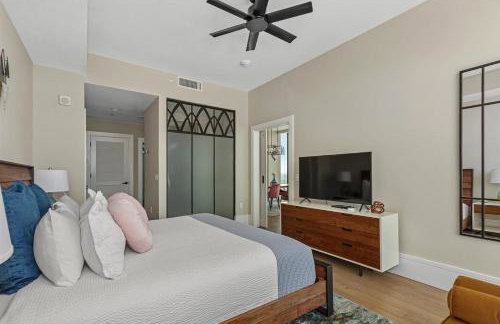
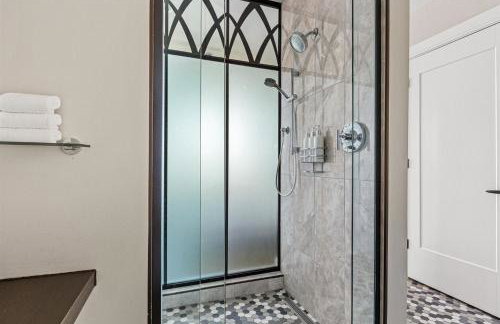
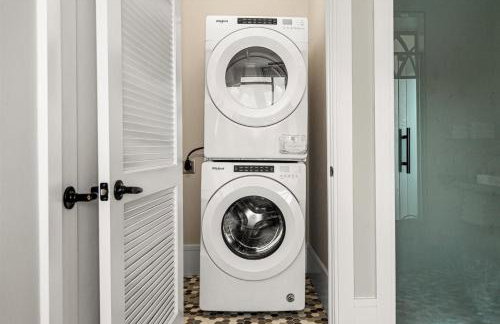
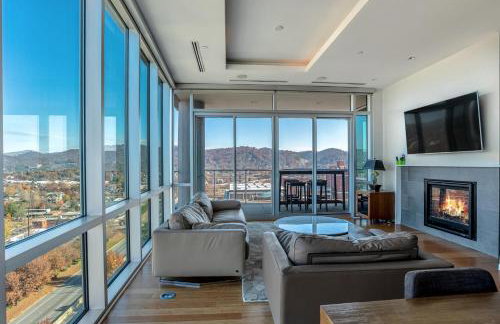
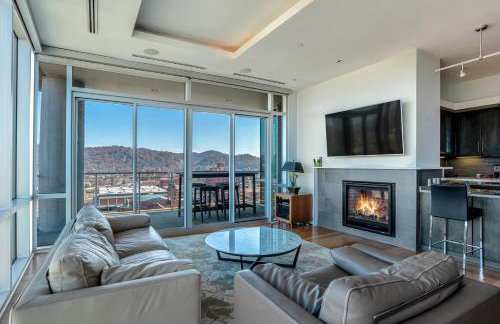
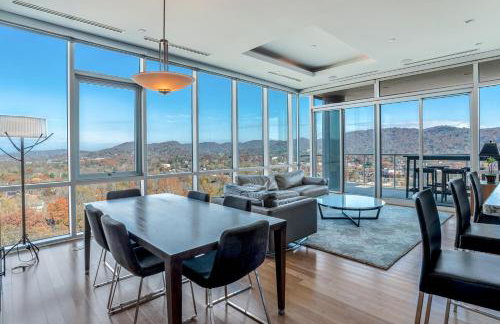
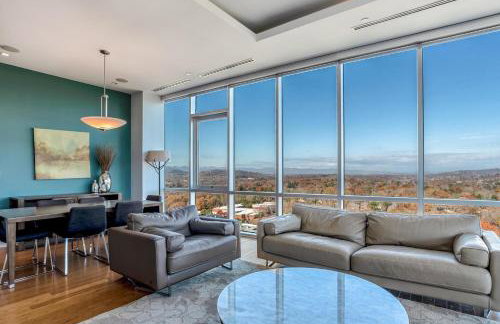
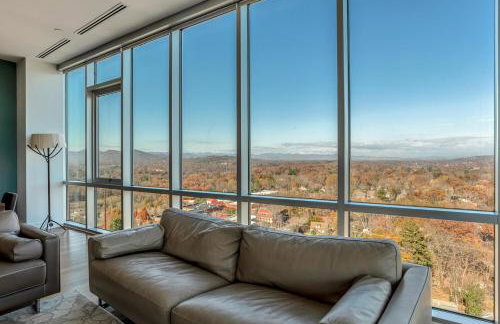
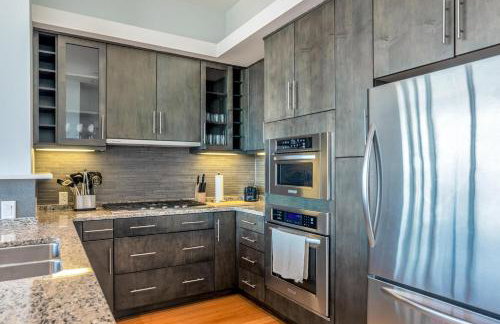
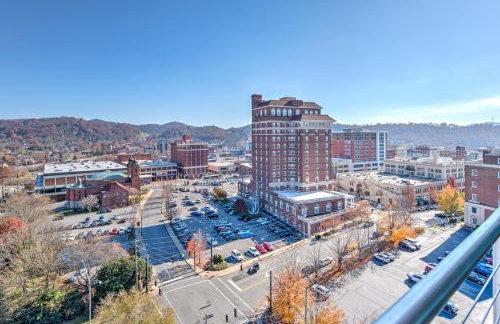
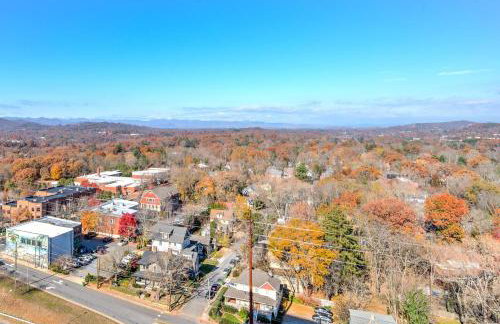
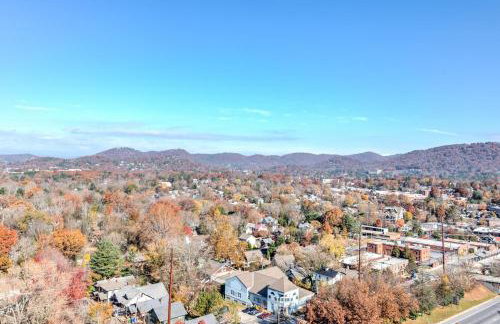
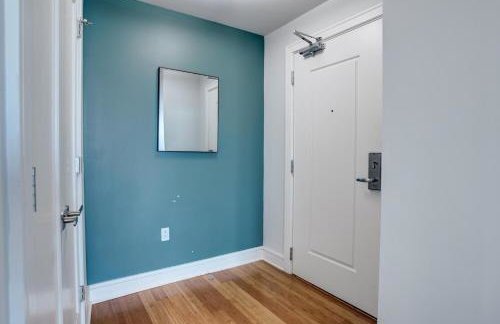
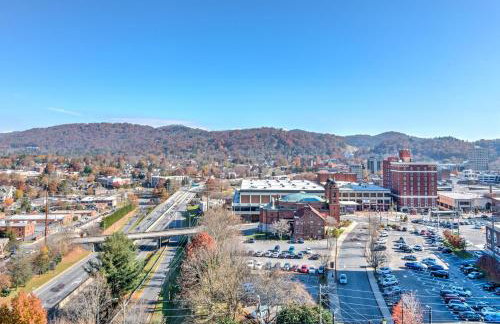
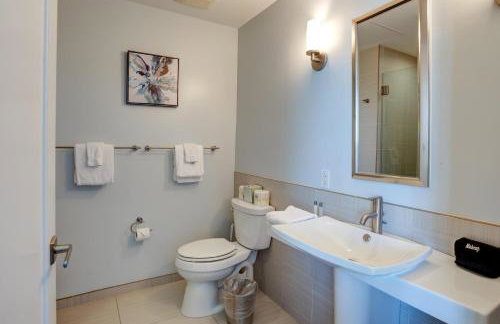
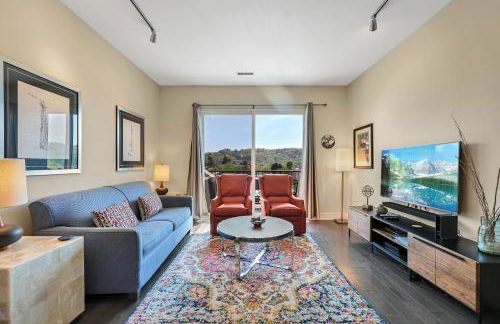
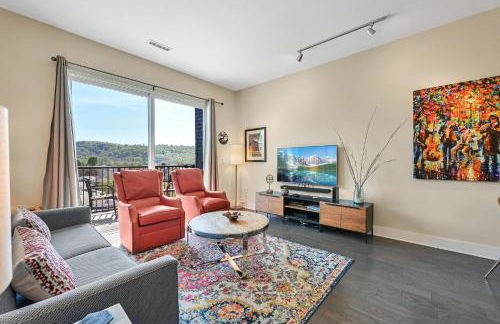
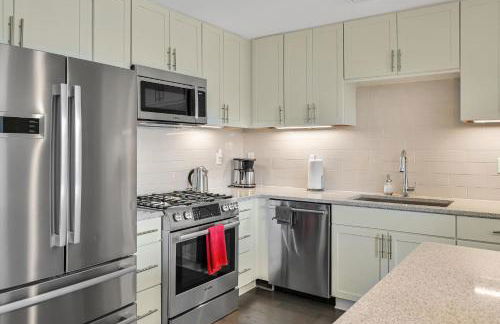
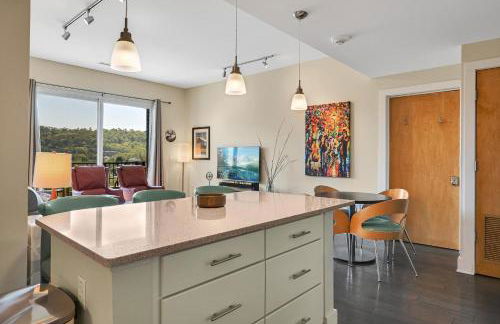
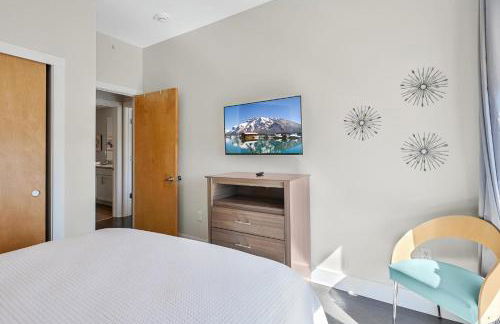
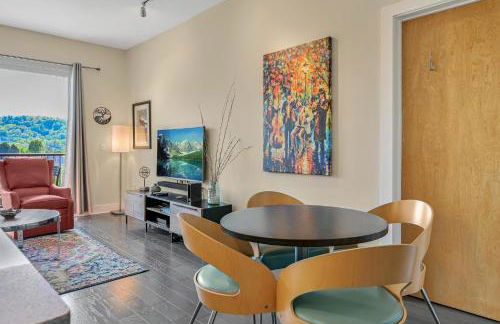
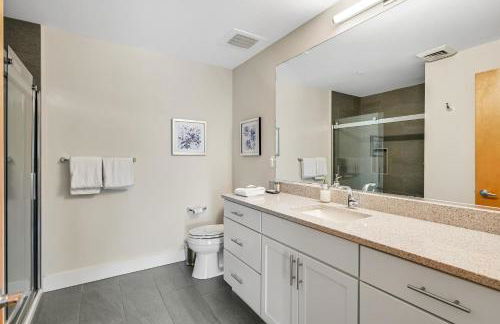
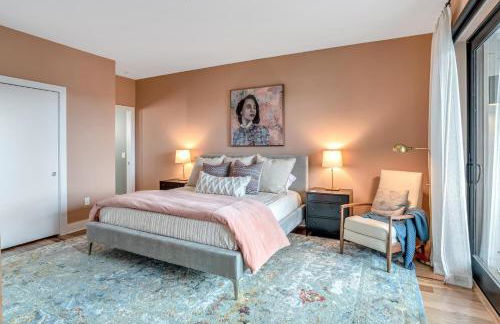
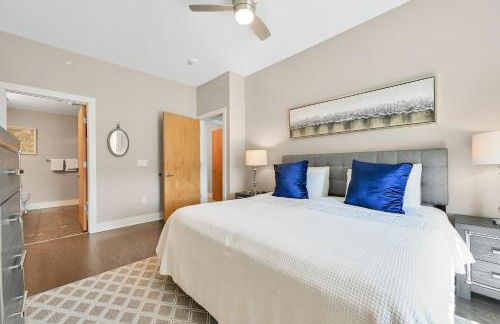
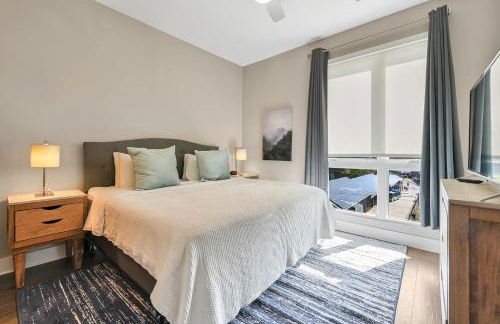
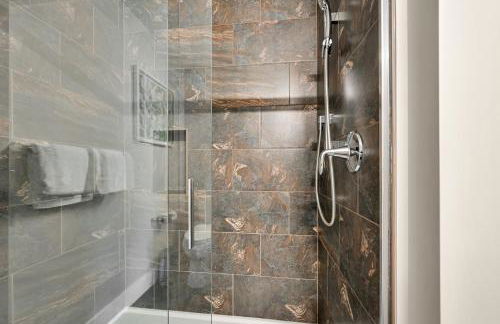
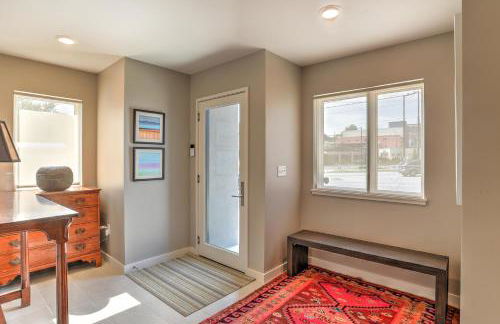
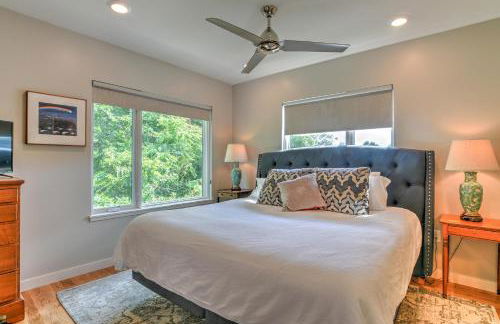
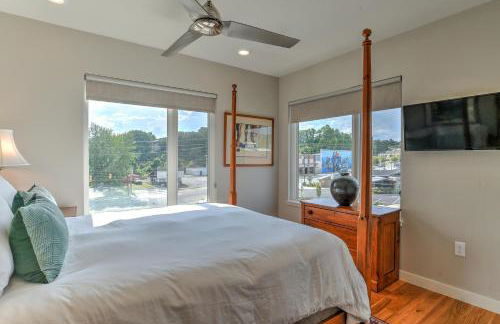
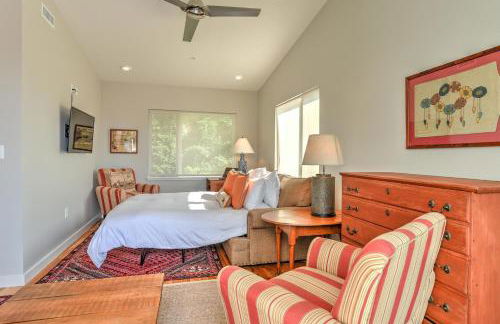
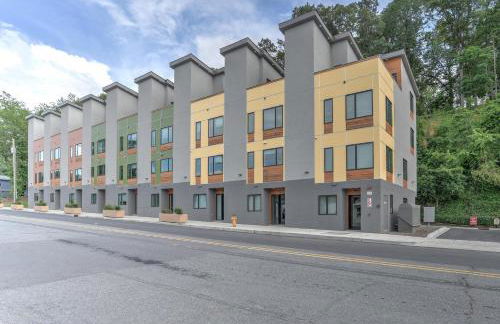
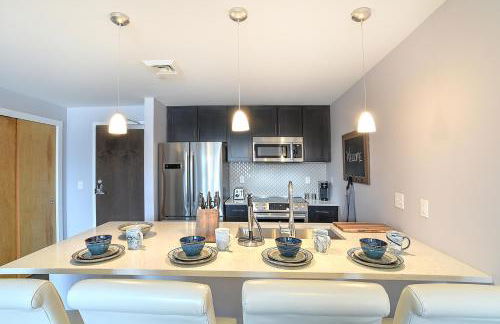
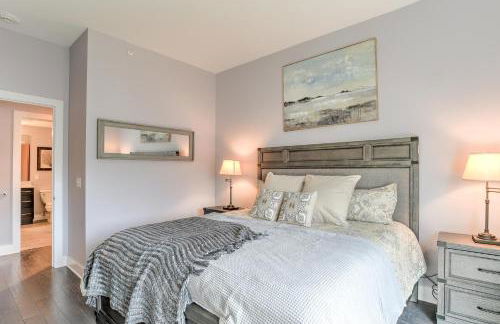
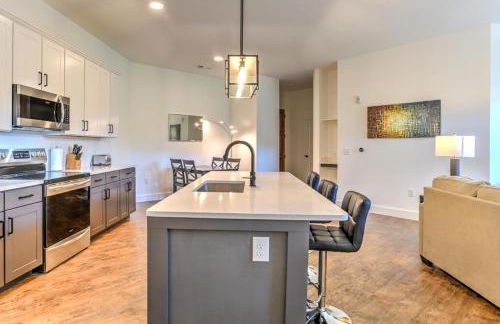
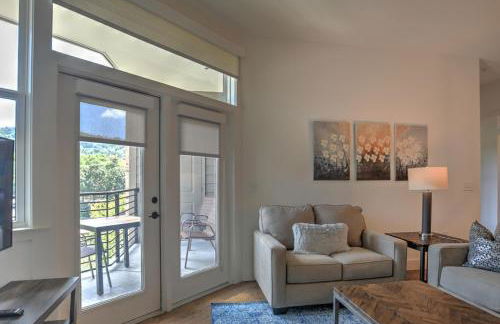
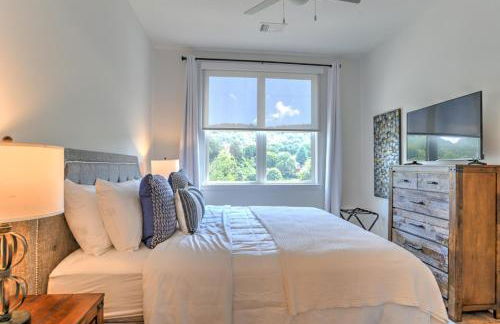
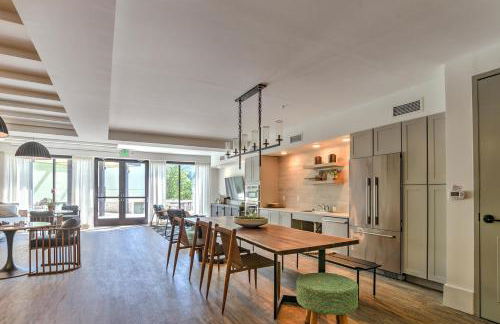
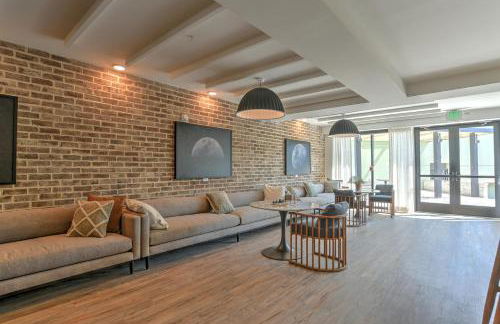
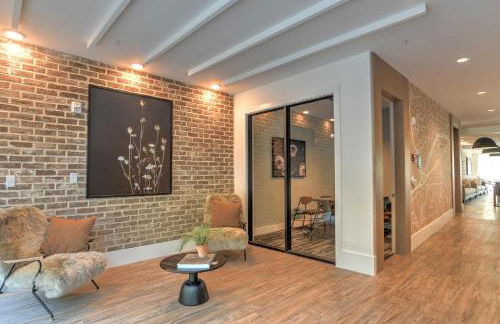
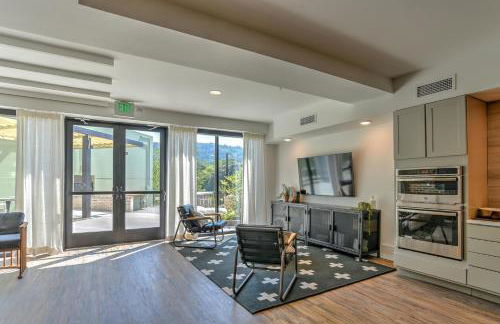
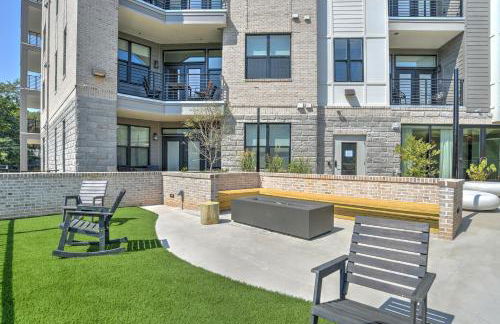
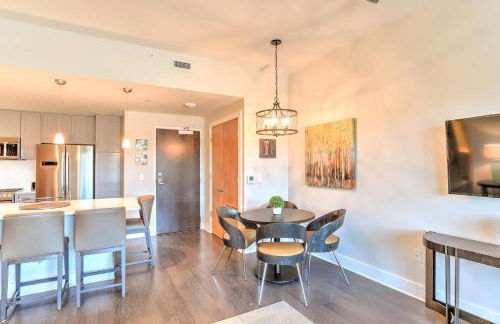
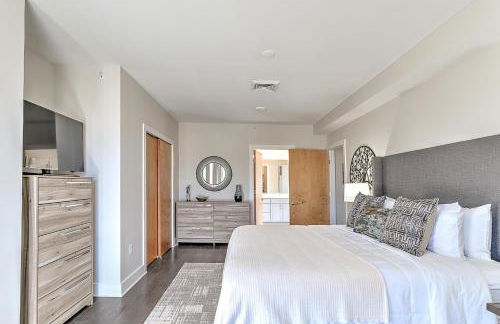
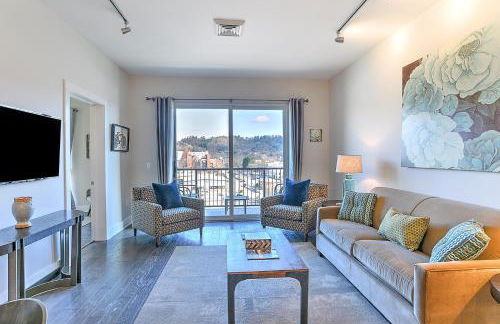
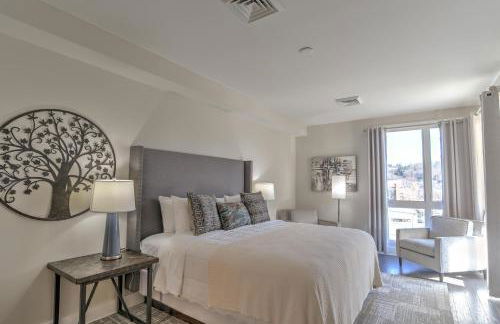
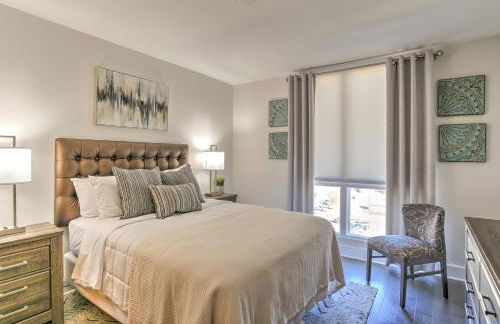
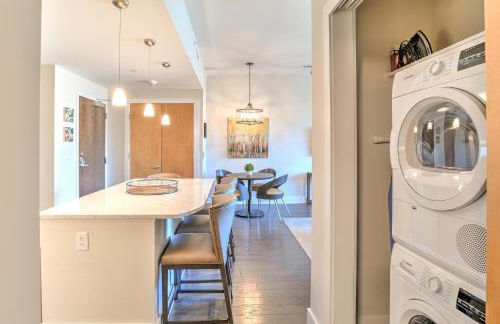
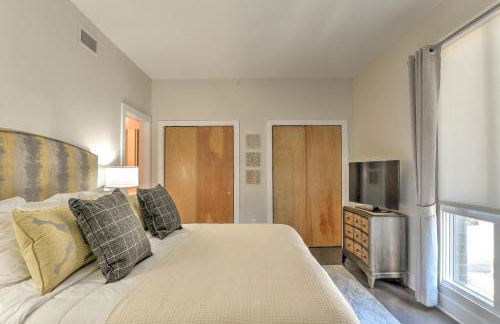
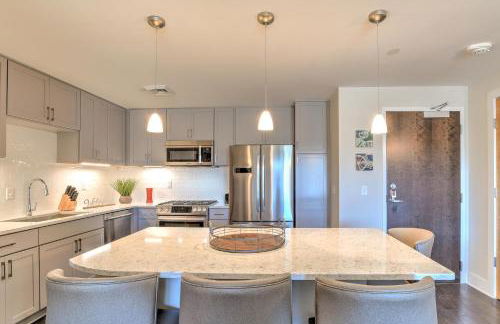
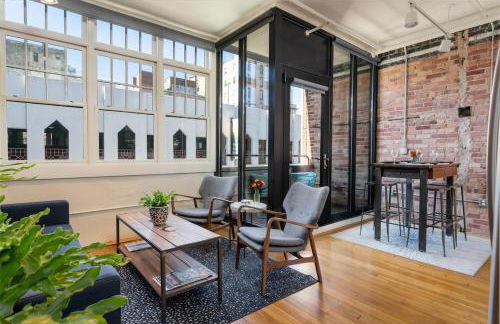
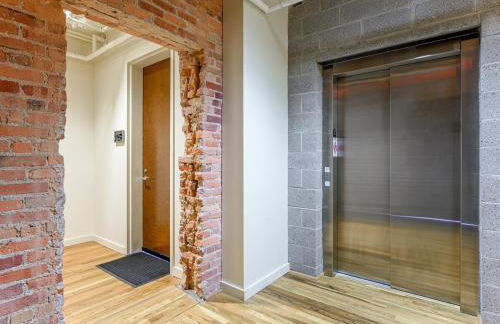
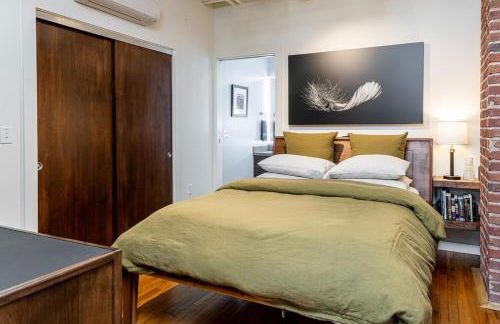
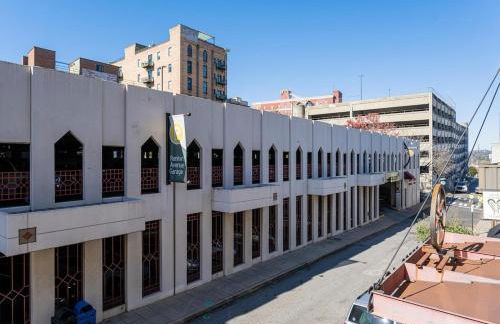
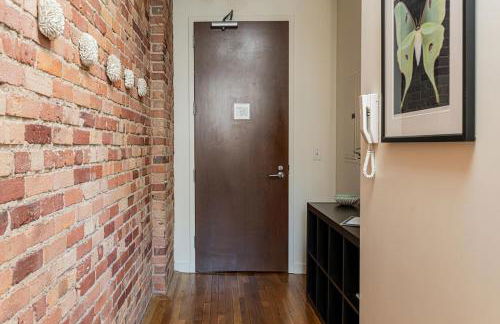
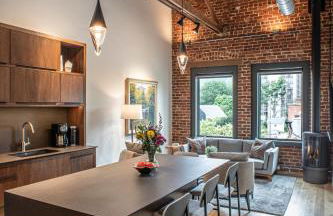
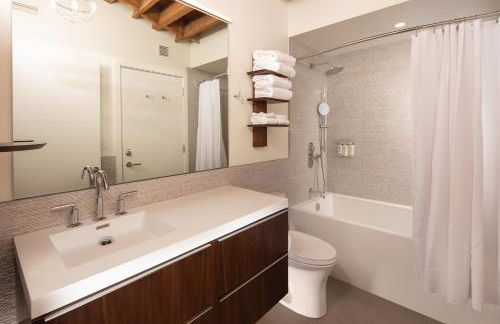
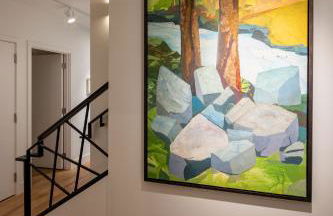
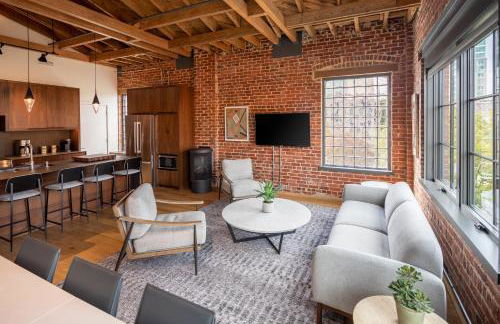
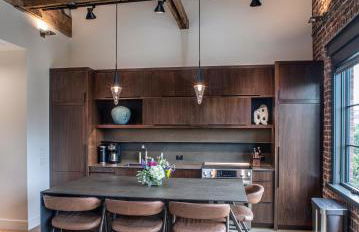
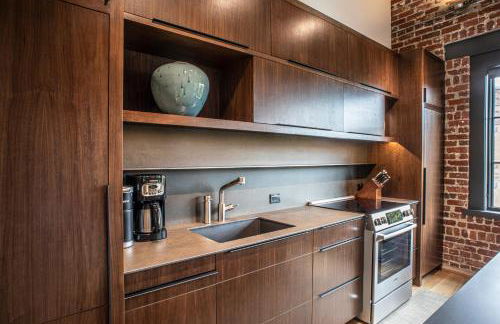
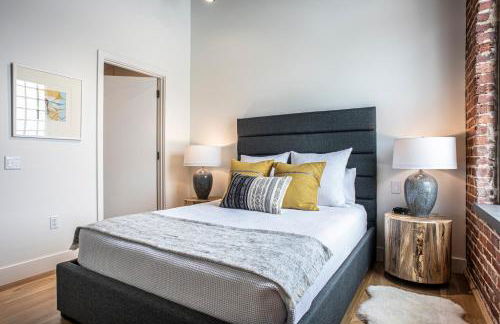
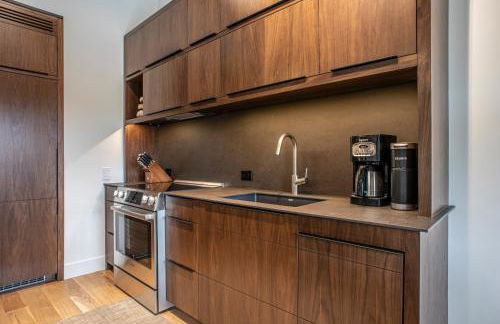
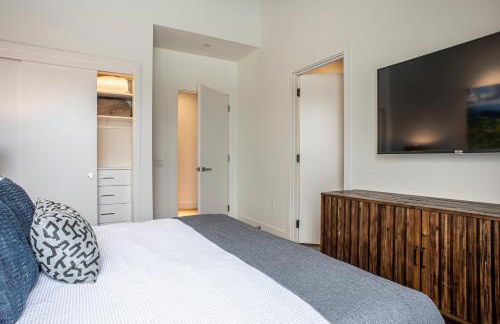
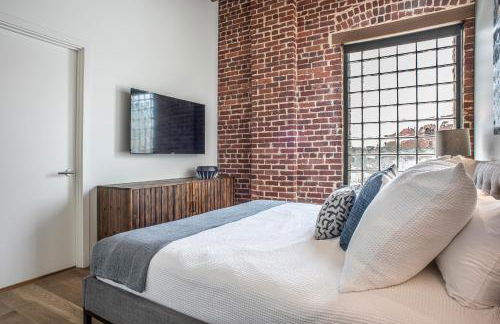
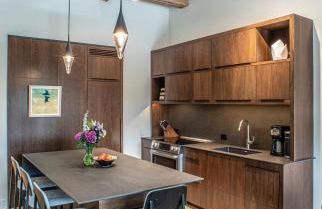
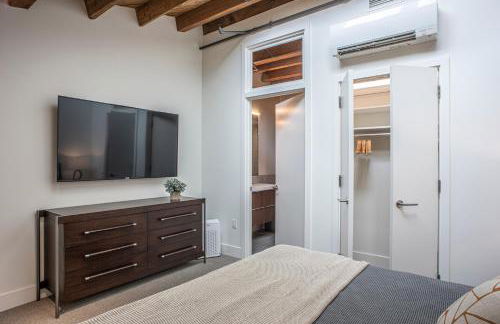
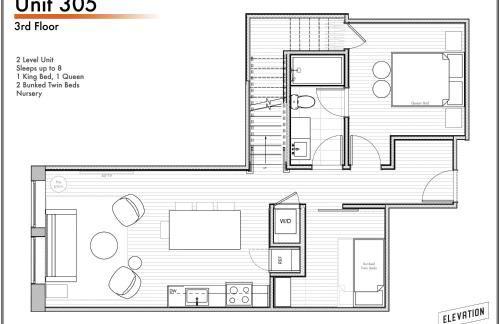
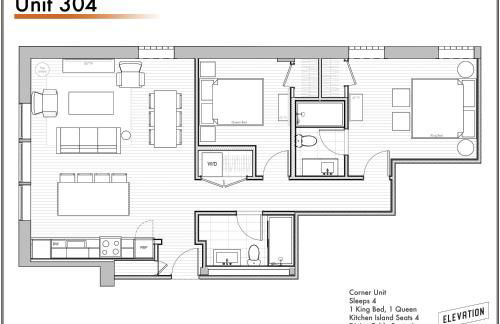
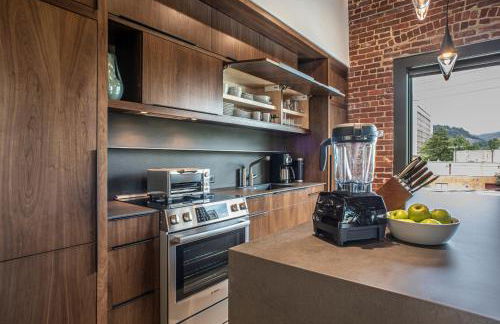
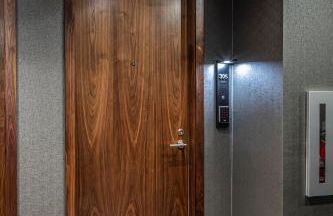
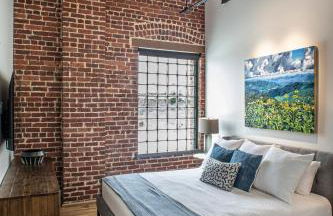
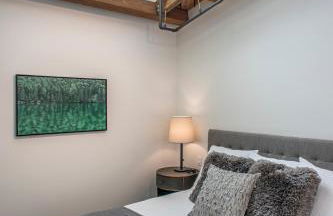
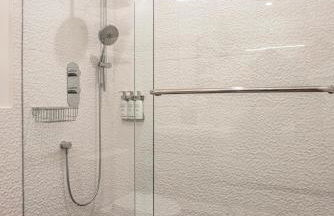
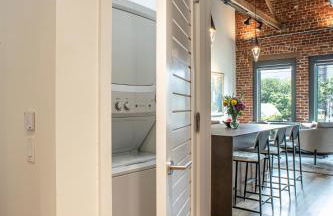
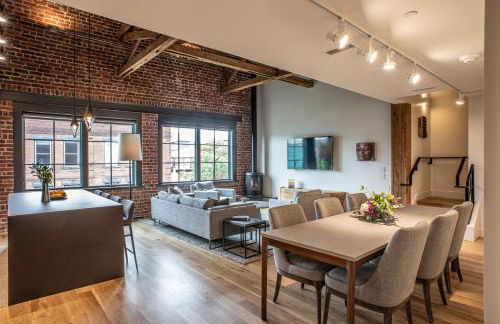
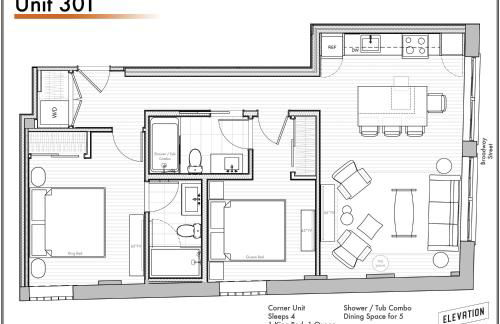
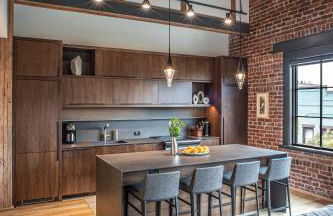
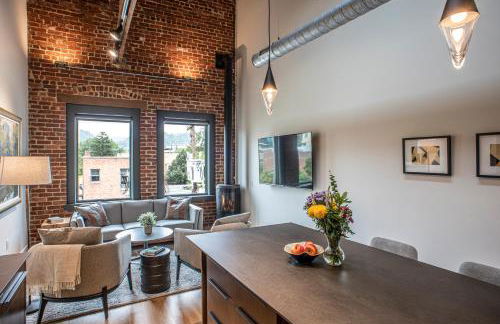
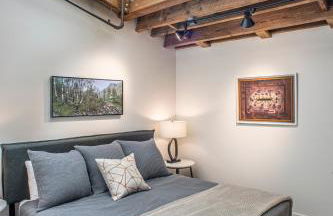
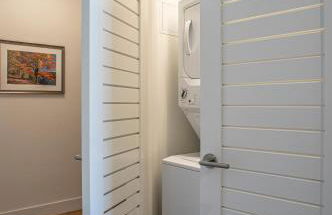
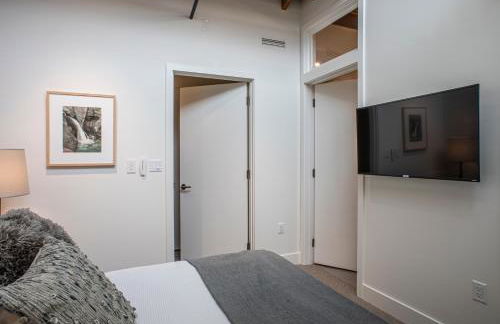
Elevation Lofts Hotel - Foto 1
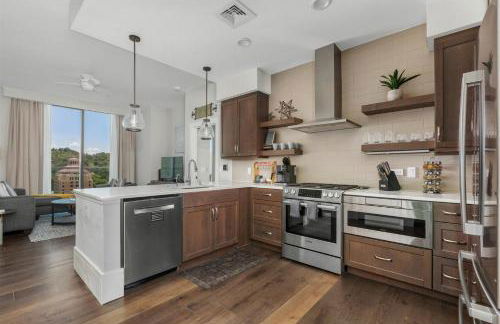
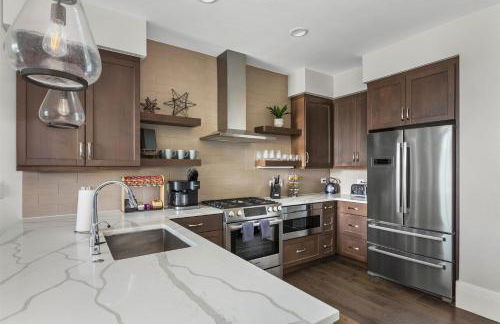
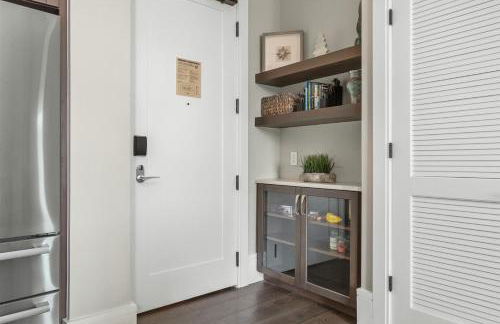
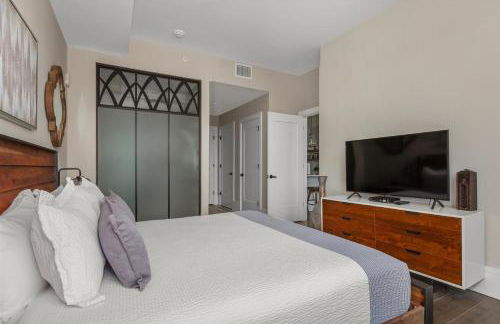
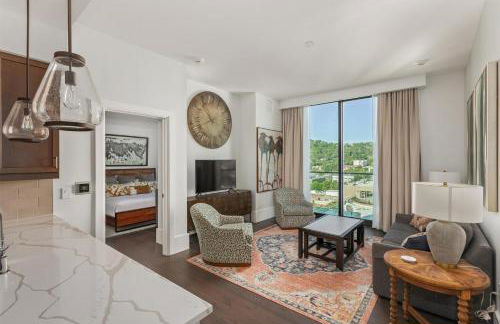
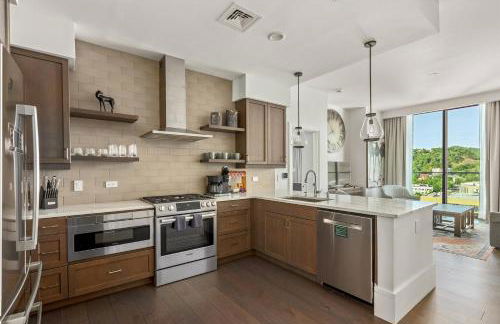
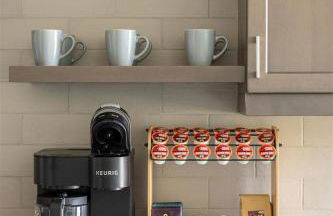
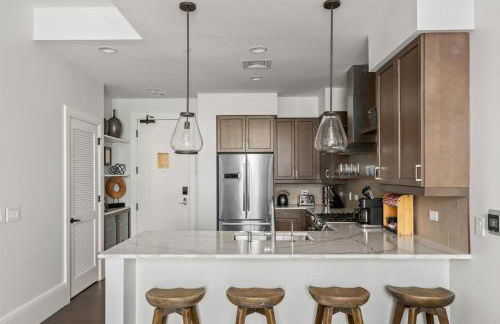
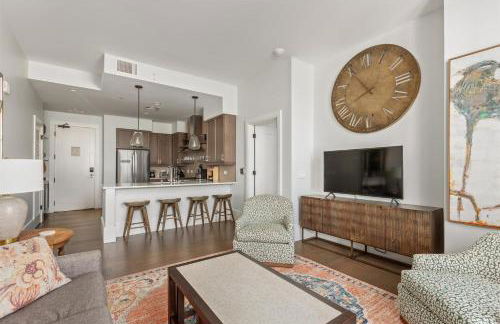
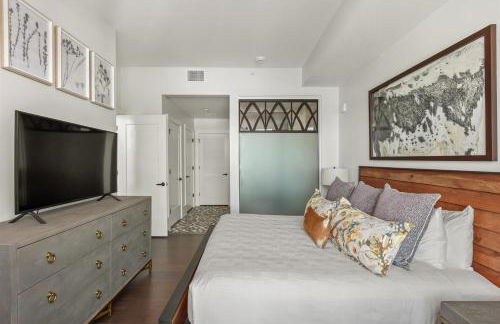
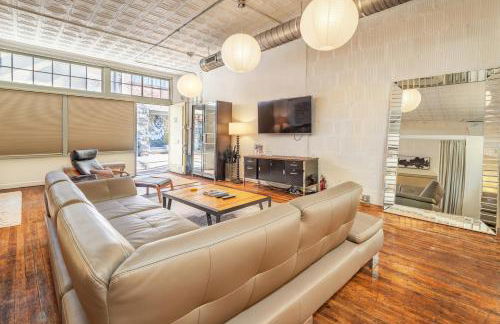
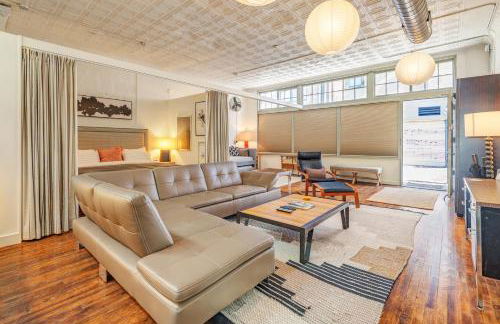
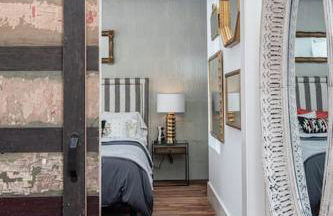
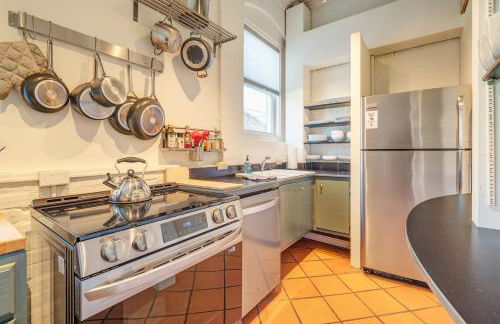
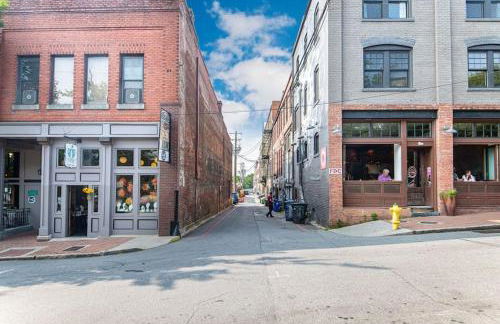
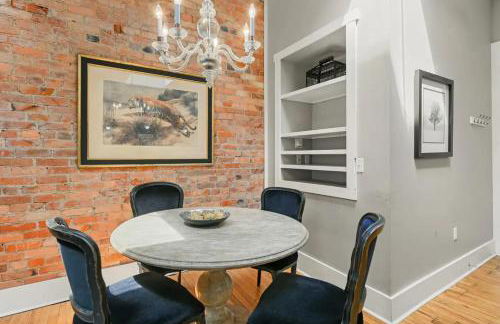
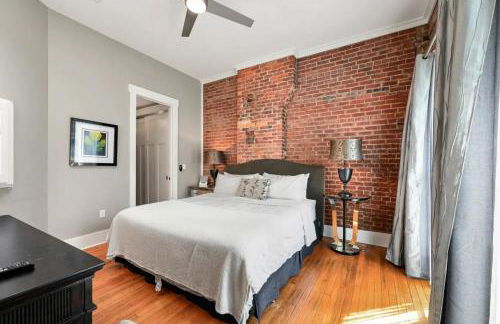
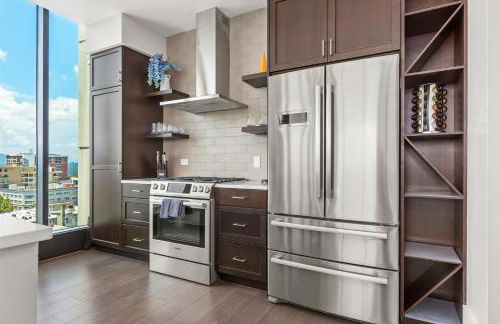
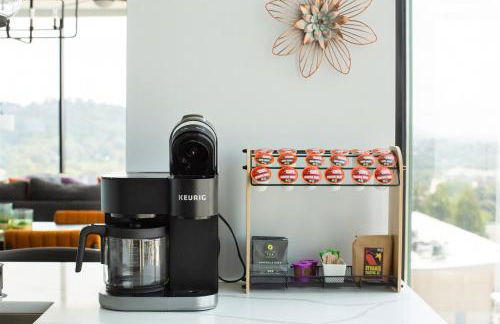
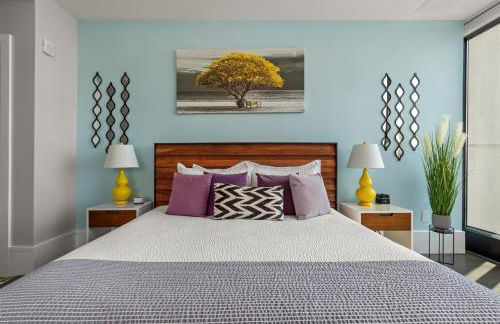
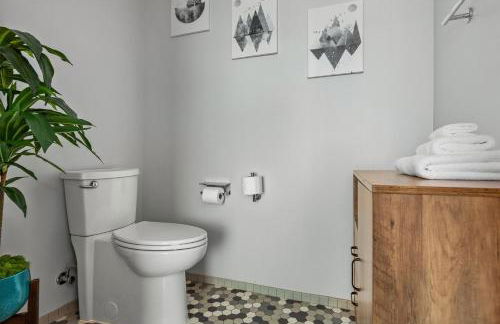
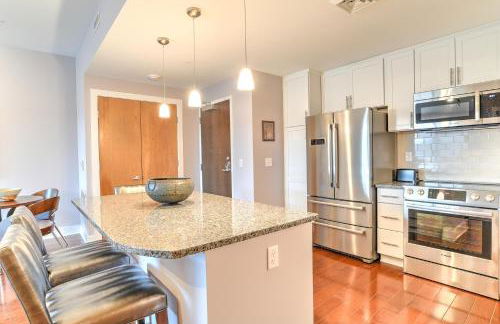
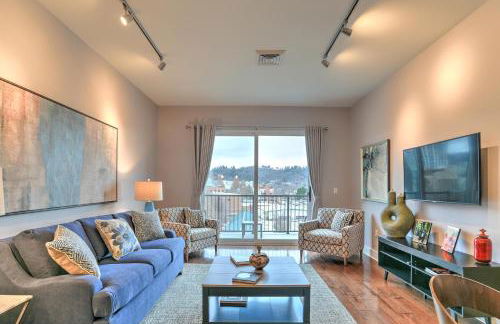
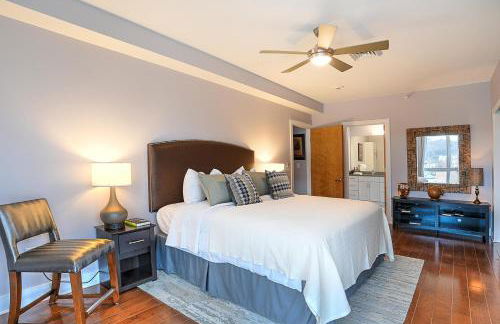
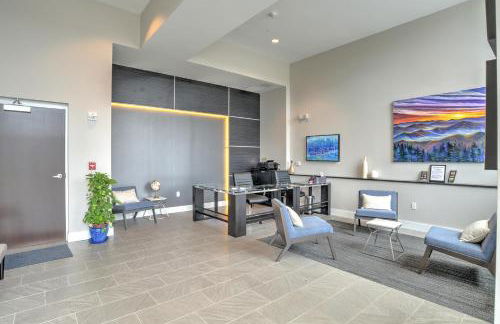
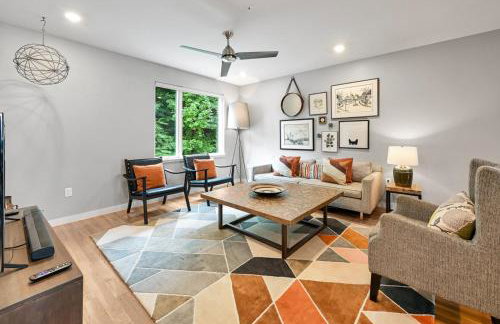
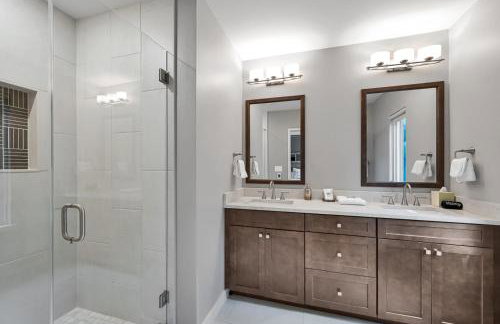
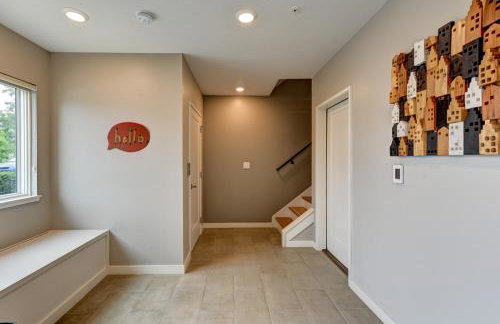
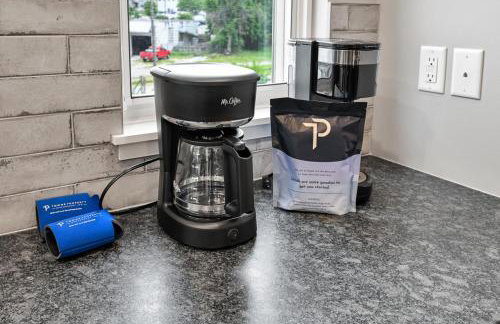
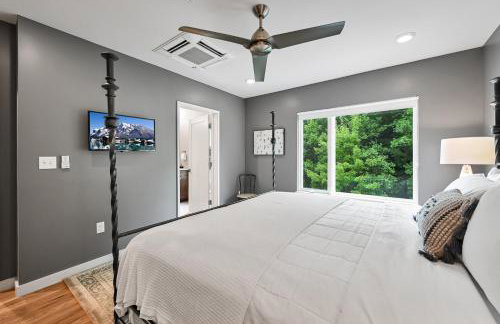
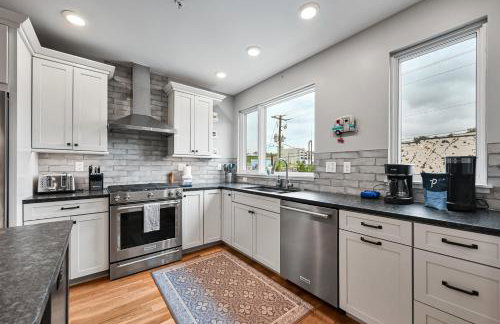
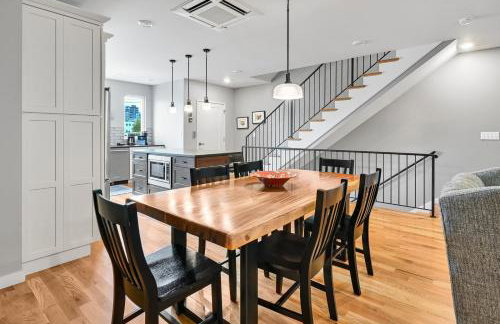
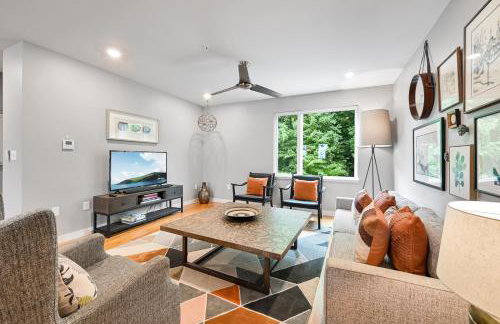
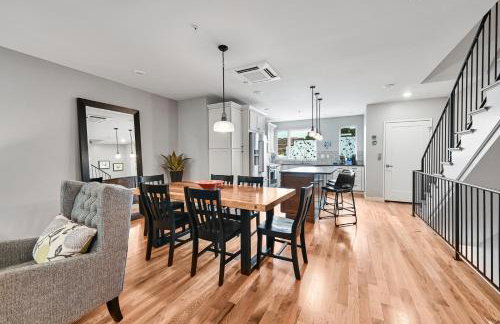
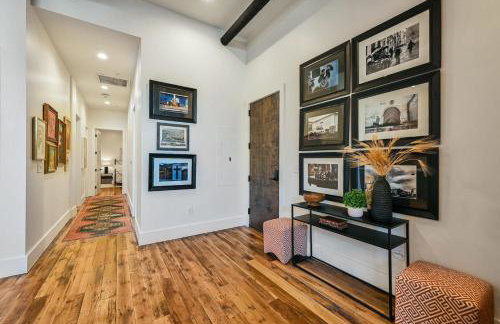
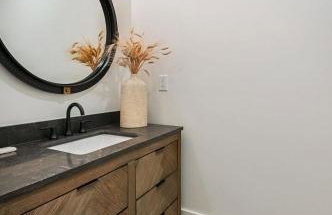
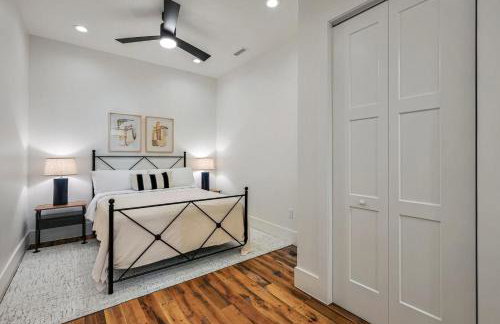
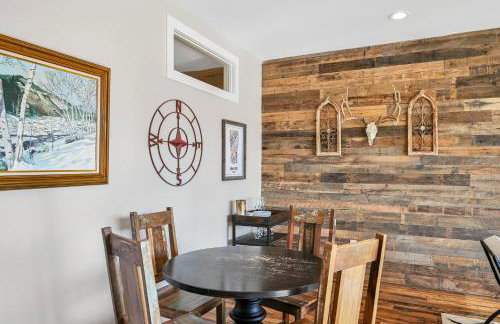
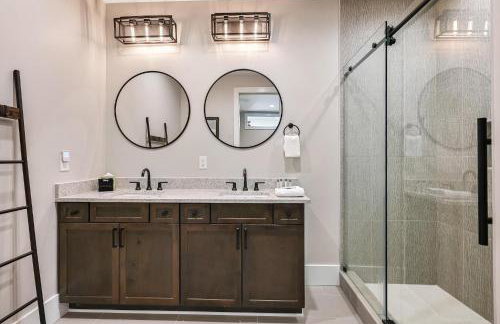
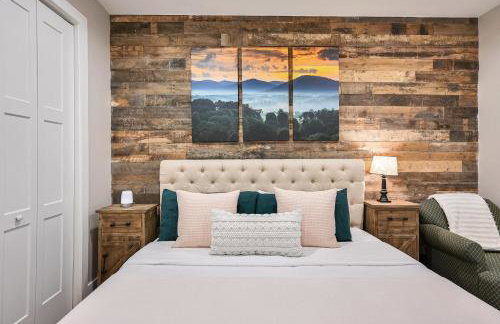
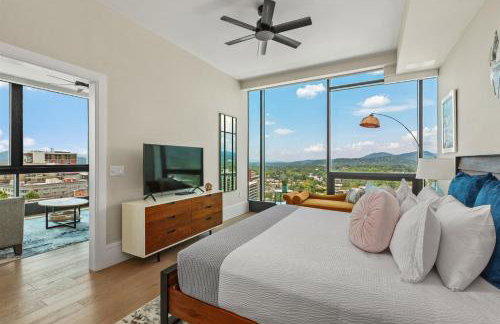
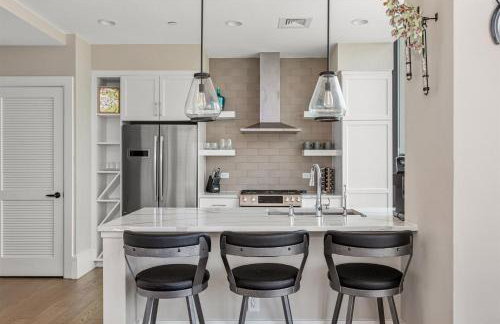
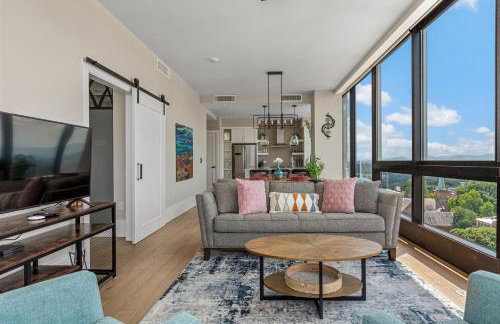
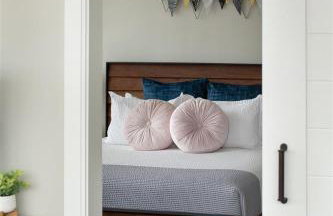
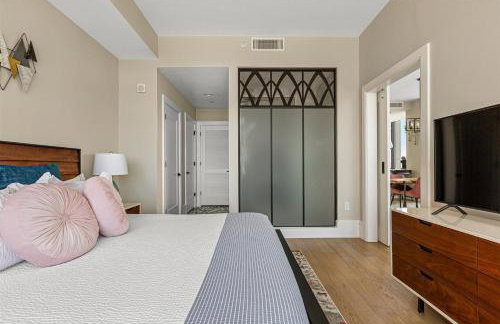
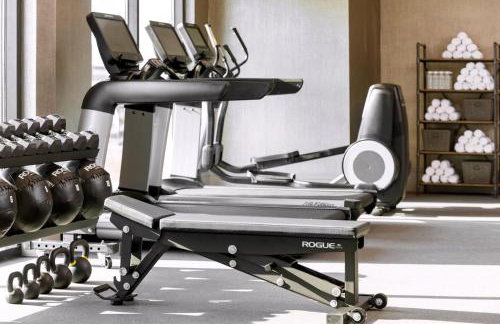
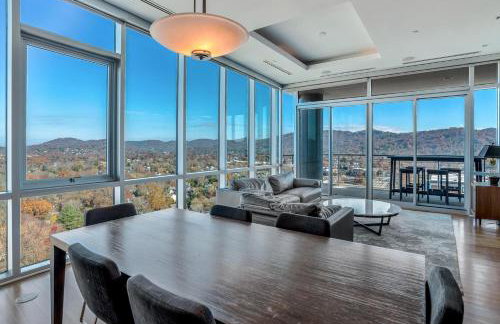
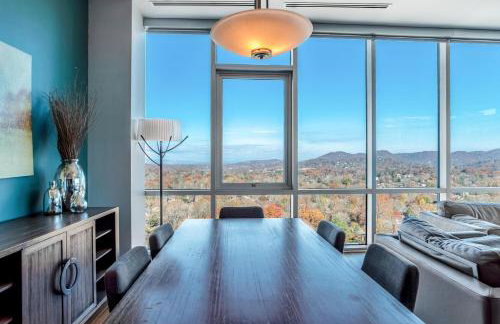
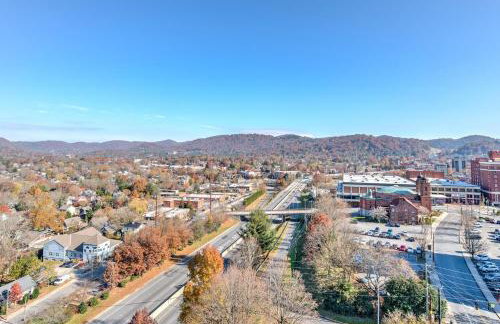
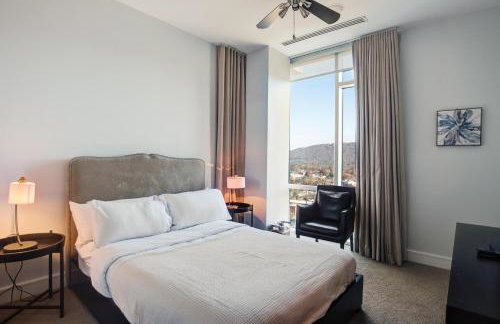
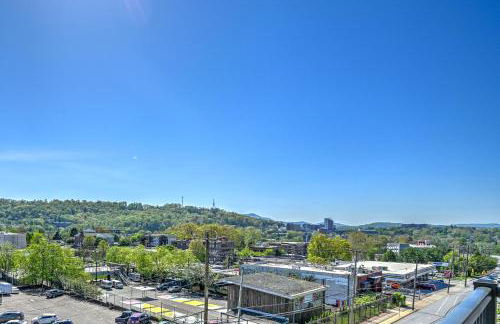
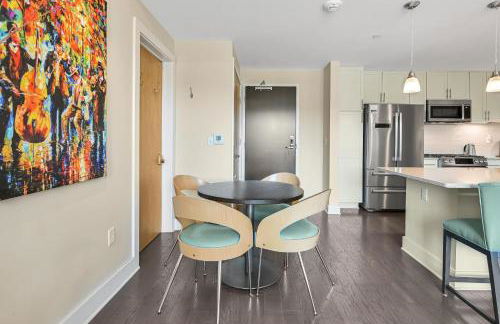
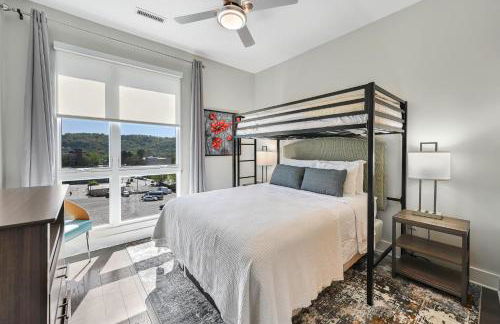
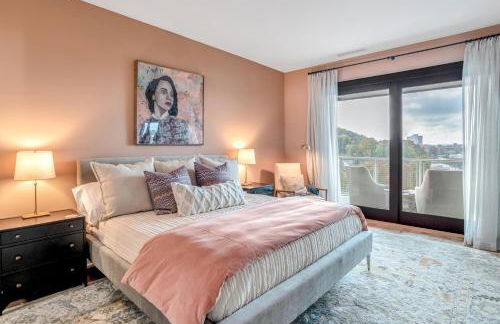
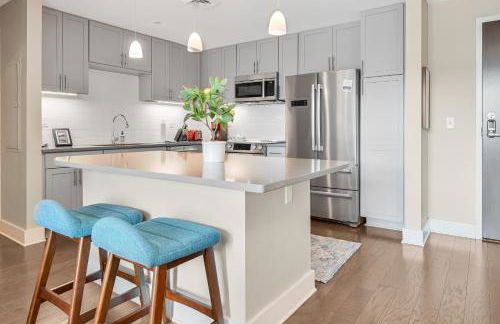
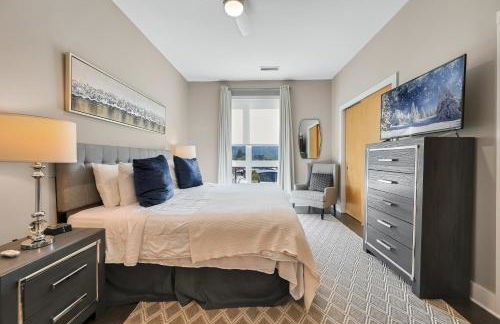
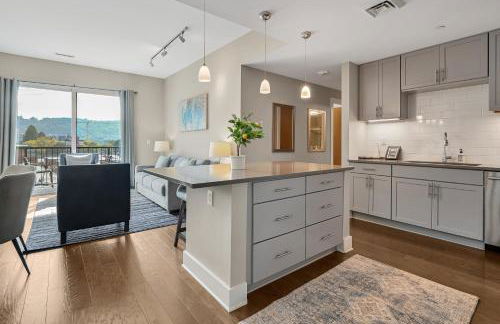
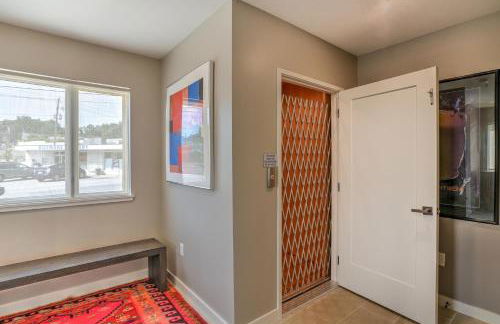
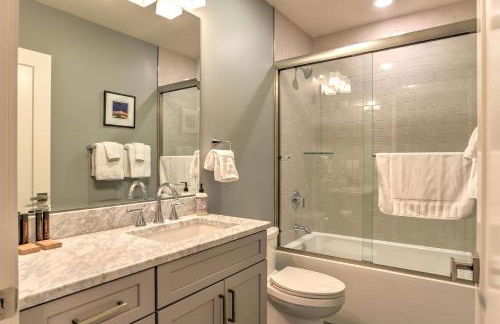
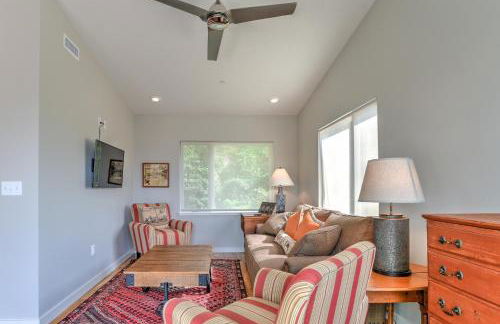
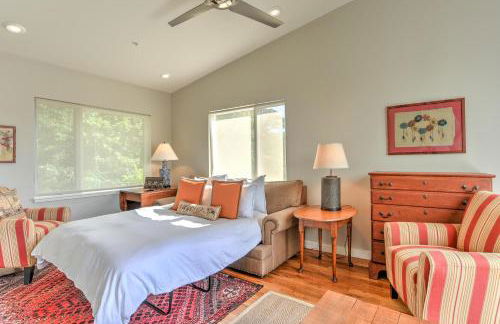
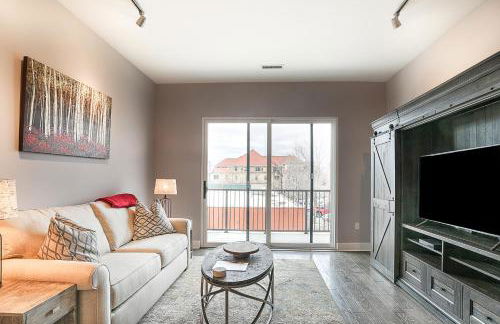
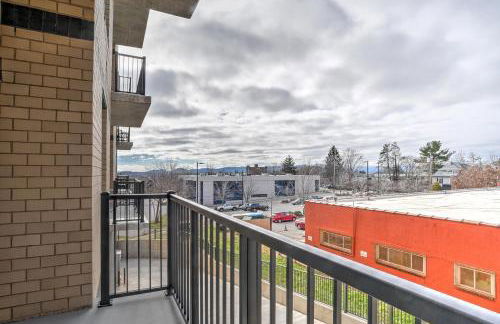
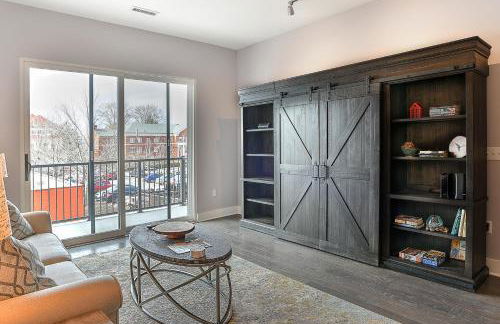
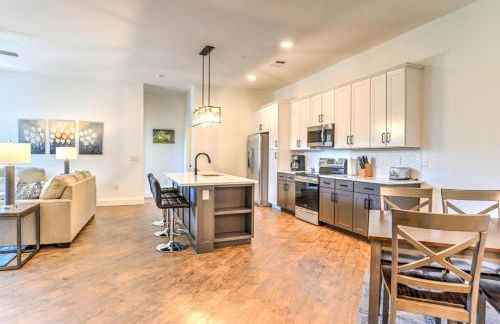
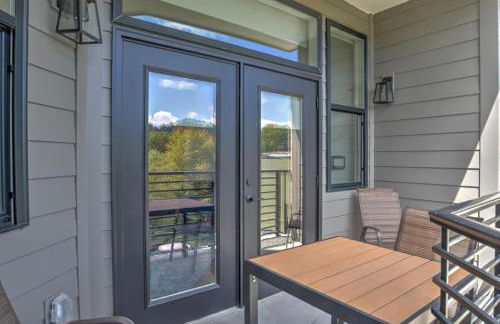
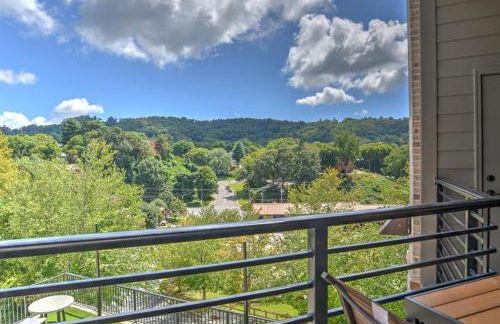
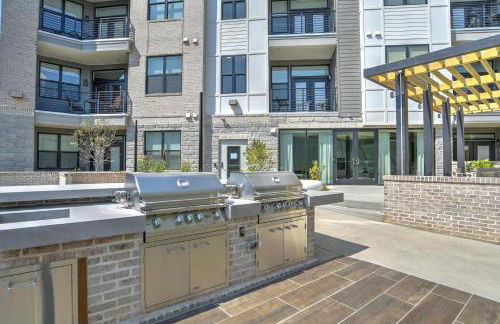
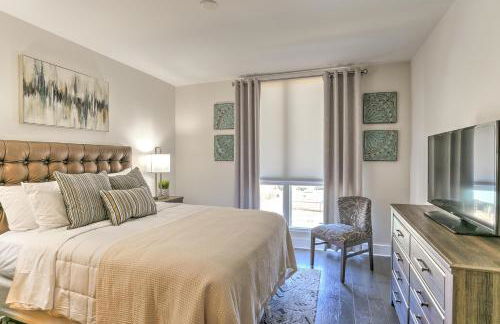
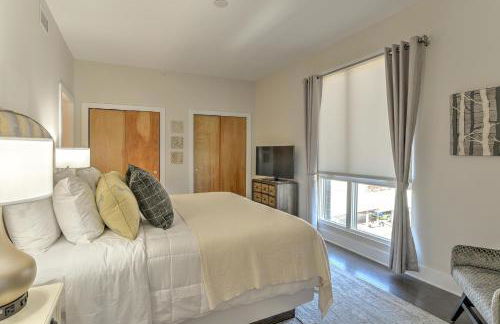
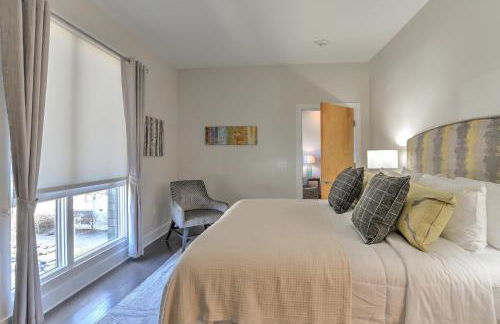
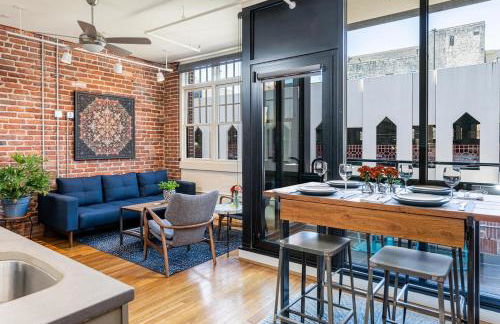
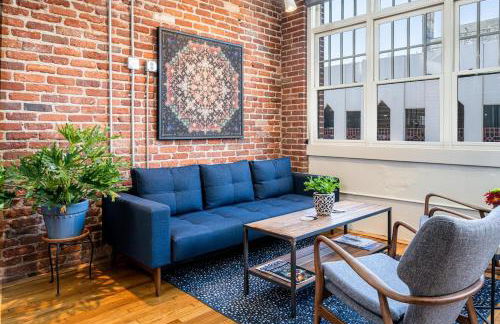
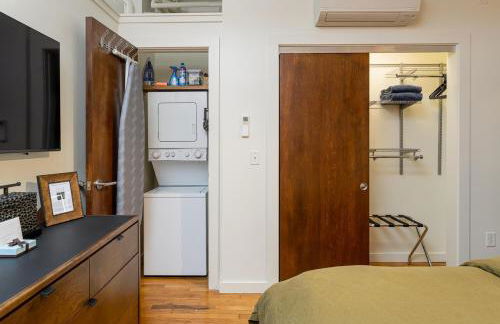
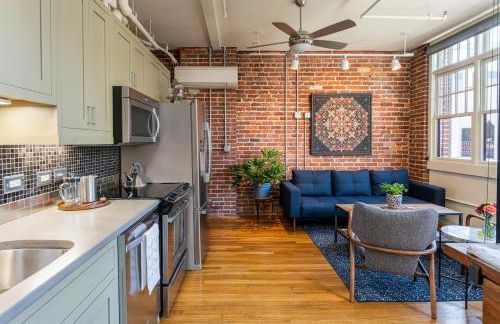
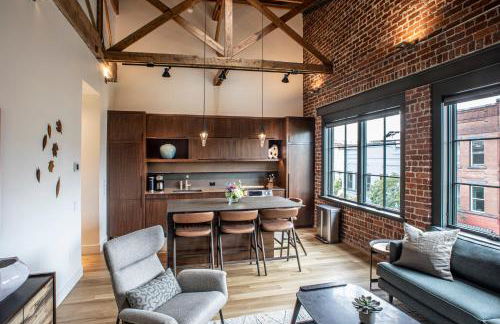
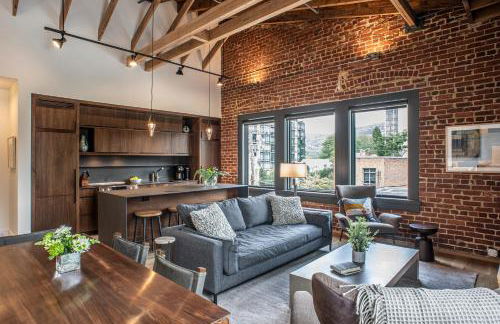
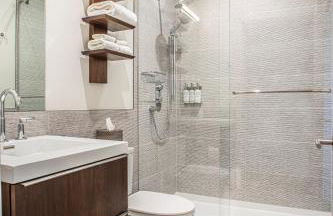
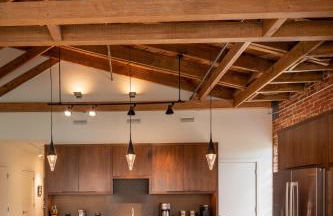
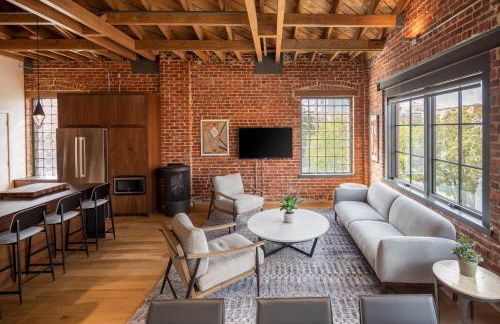
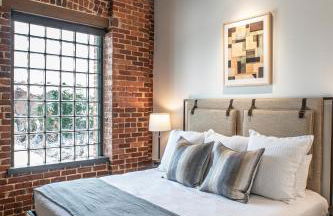
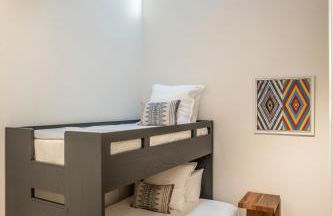
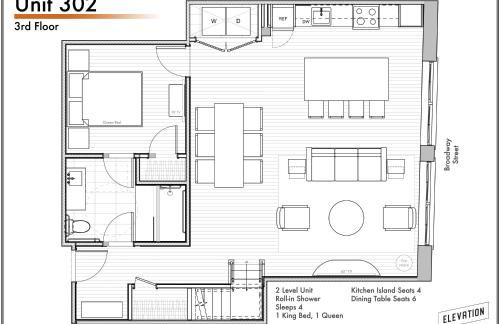
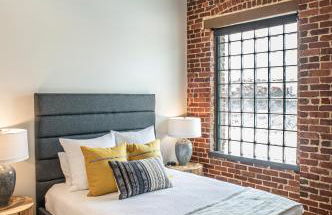
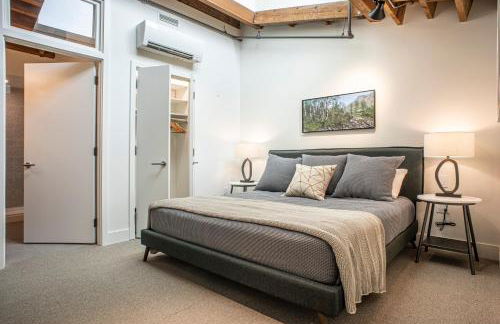
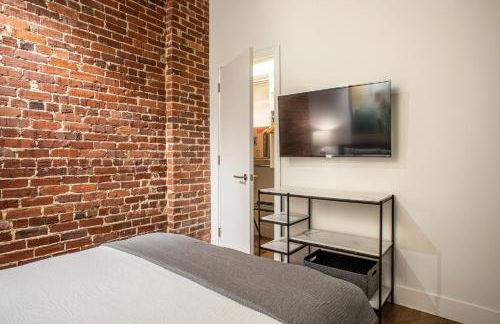
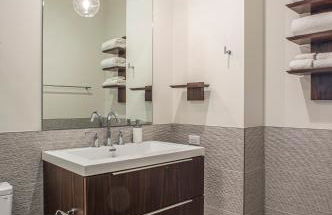
Elevation Lofts Hotel - Foto 2
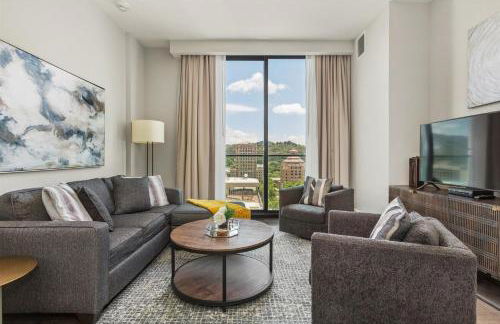
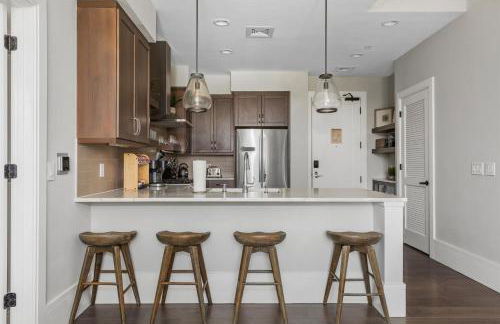
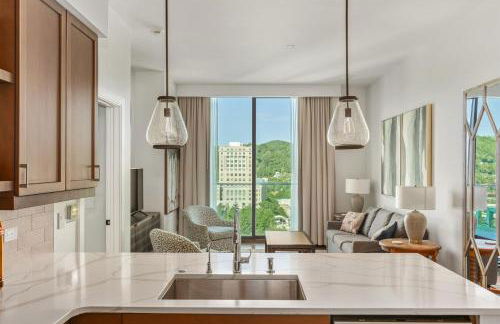
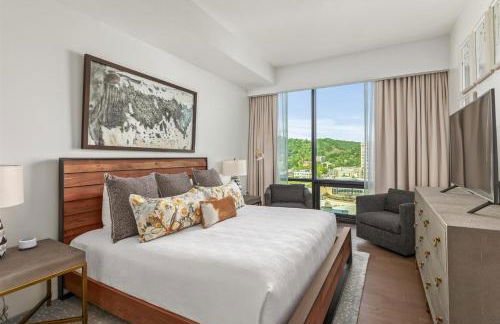
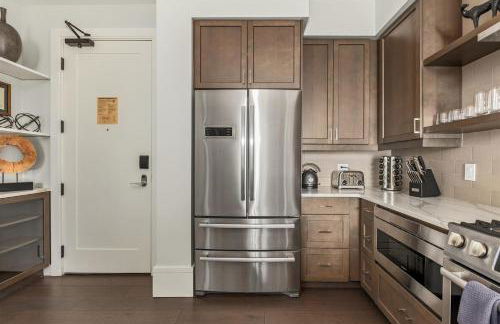
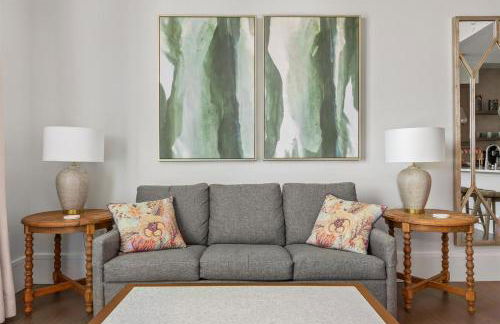
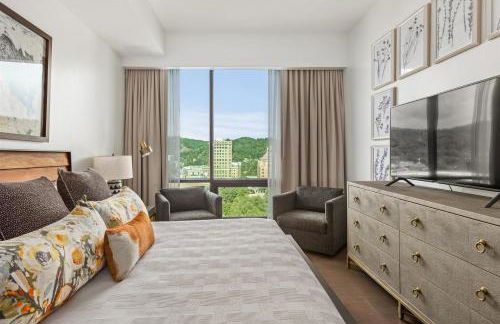
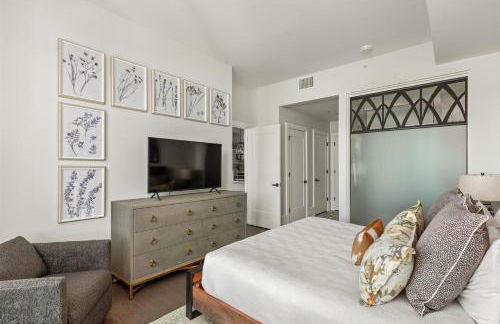
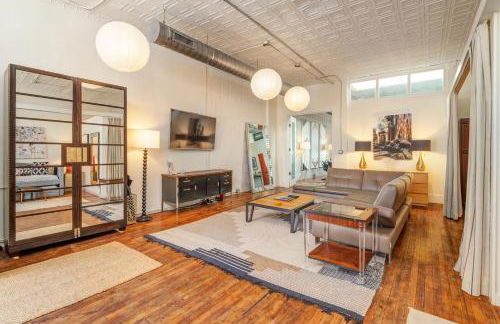
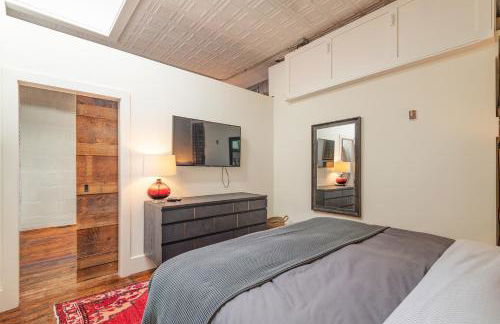
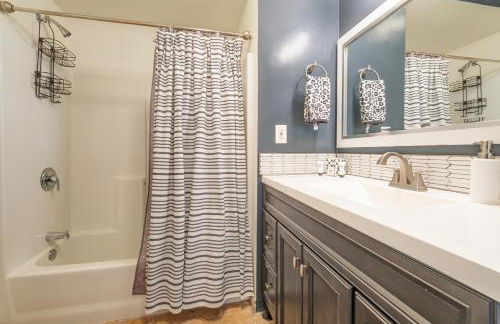
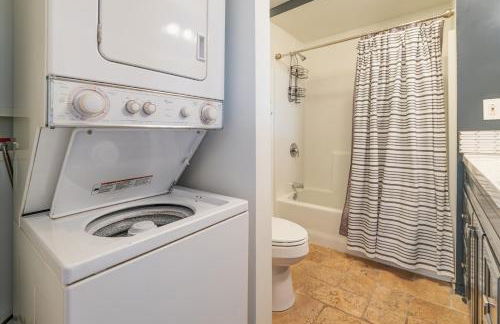
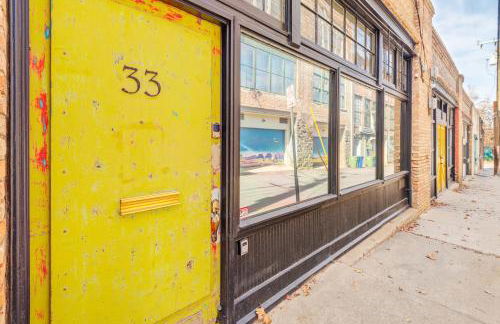
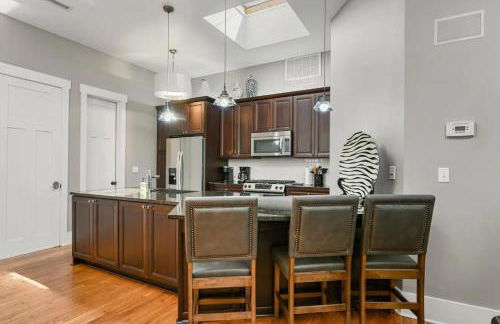
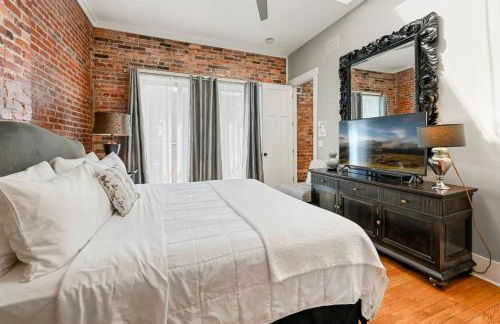
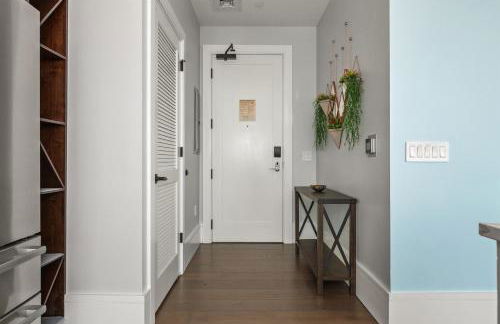
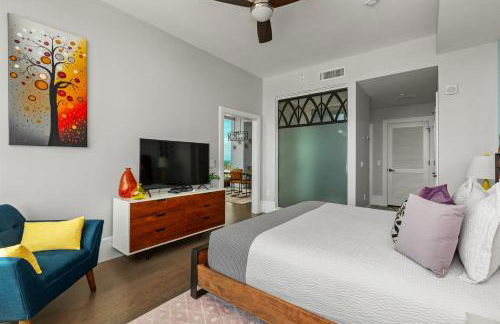
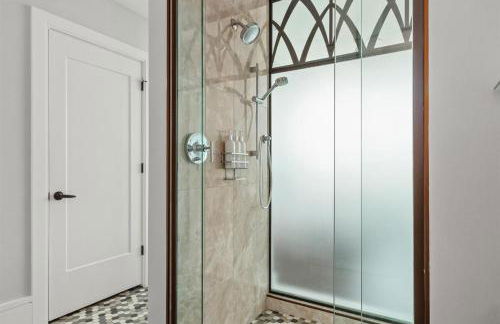
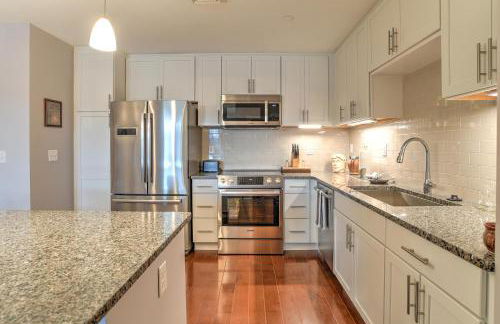
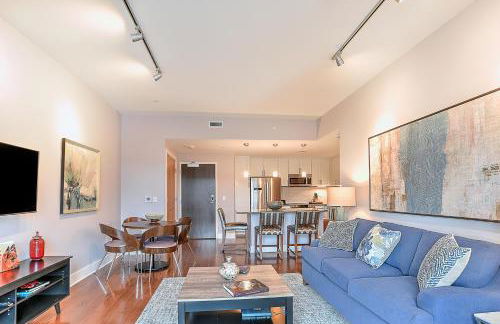
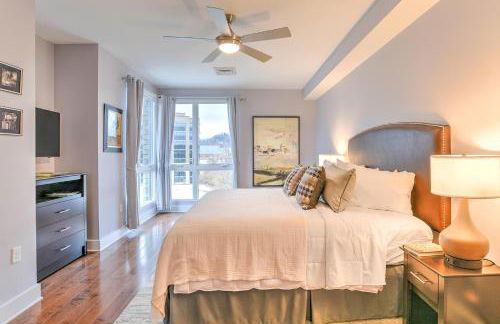
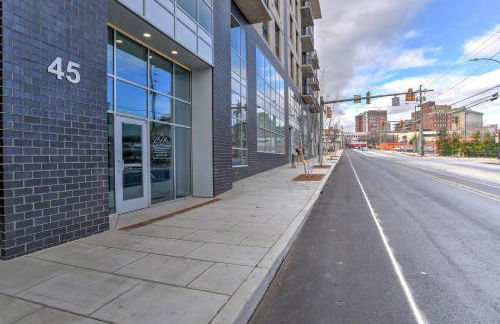
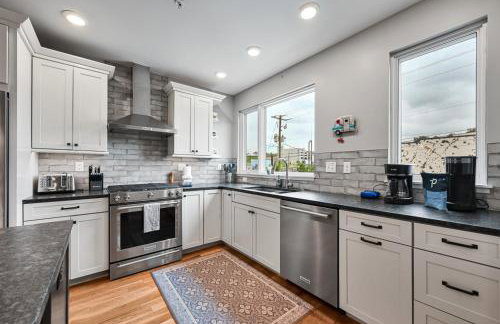
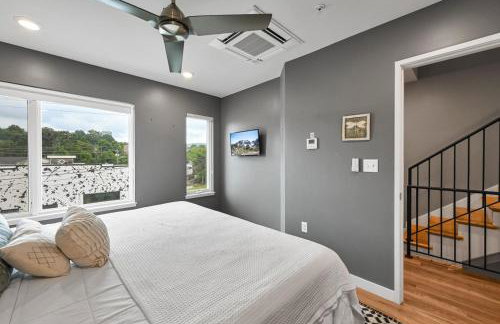
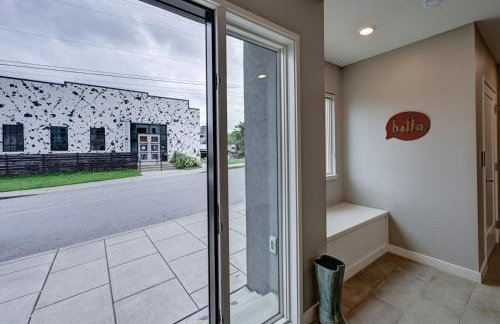
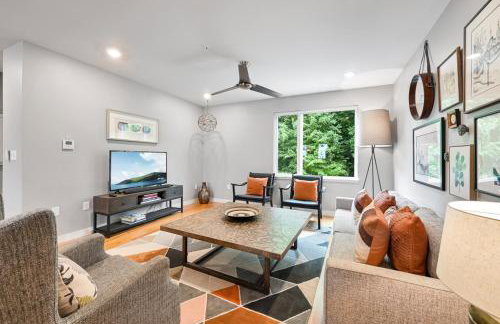
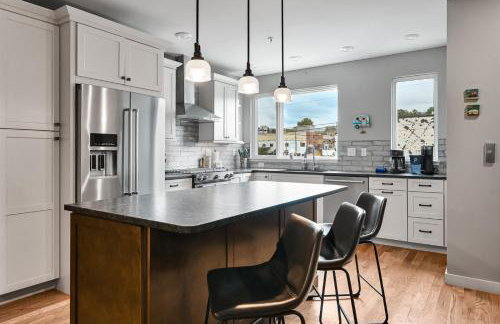
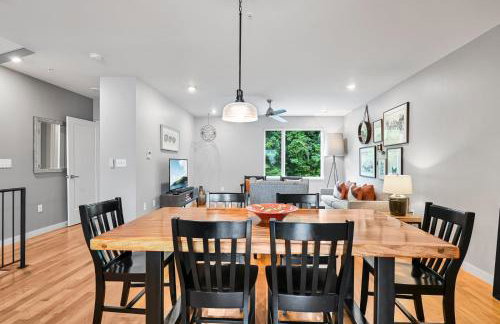
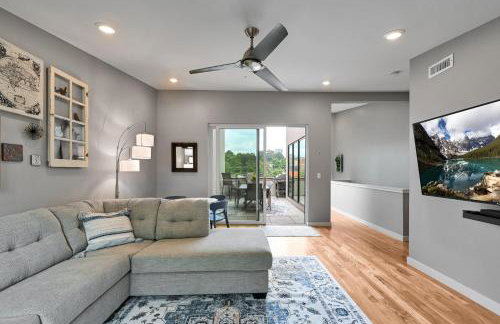
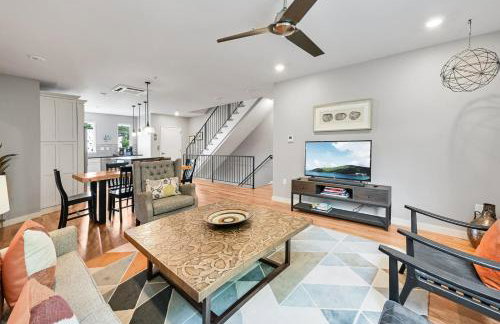
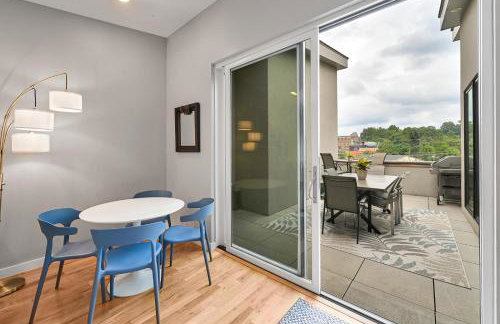
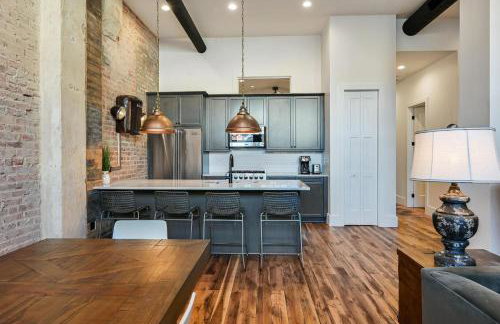
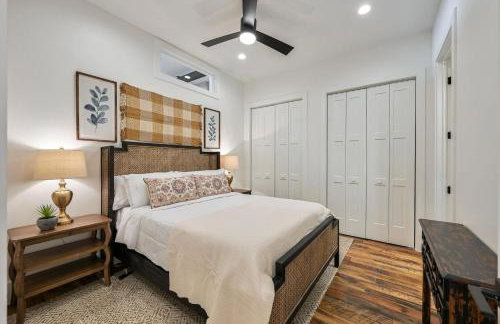
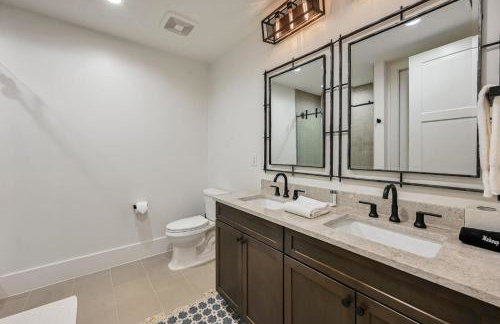
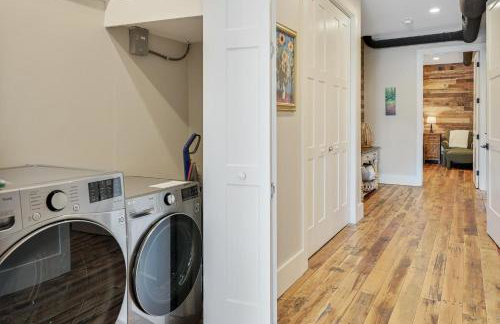
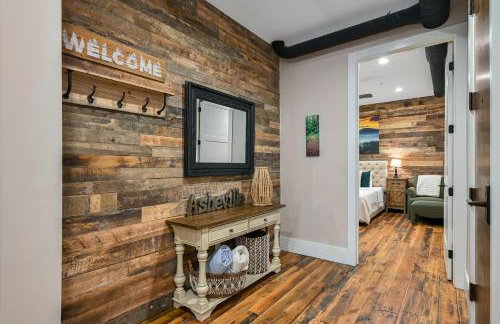
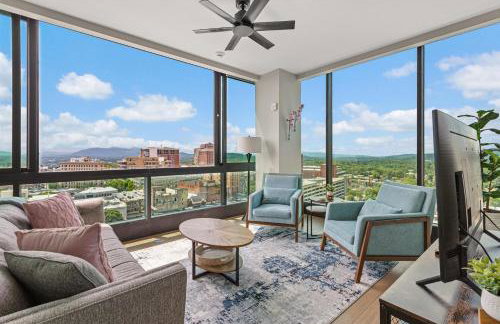
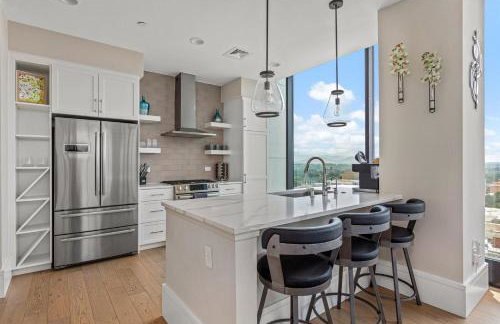
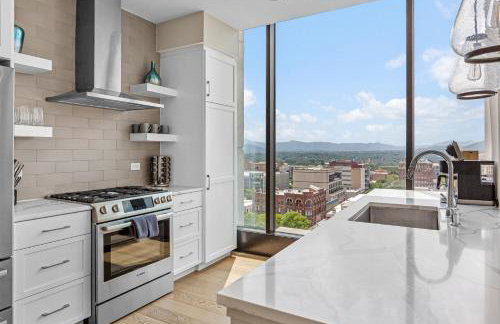
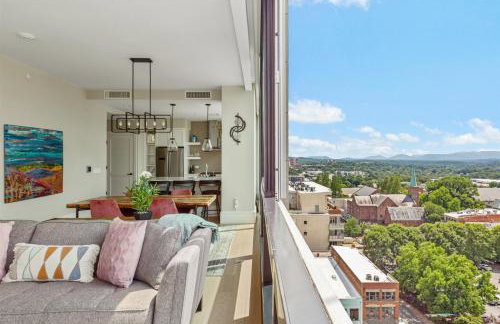
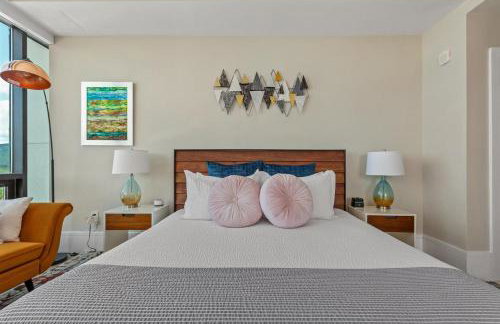
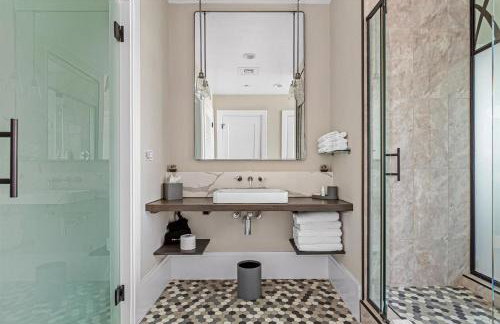
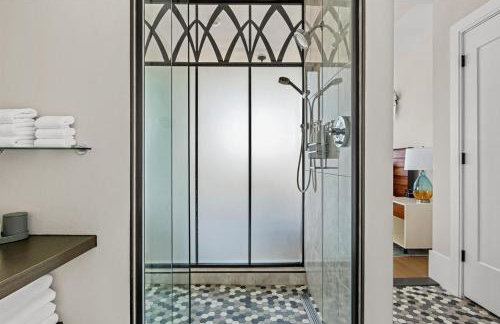
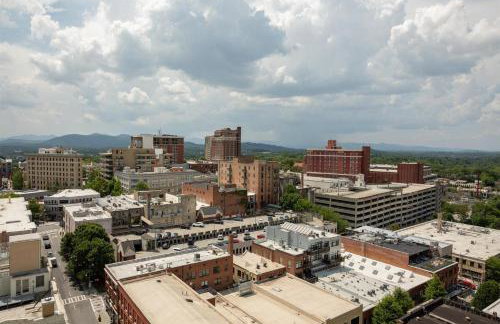
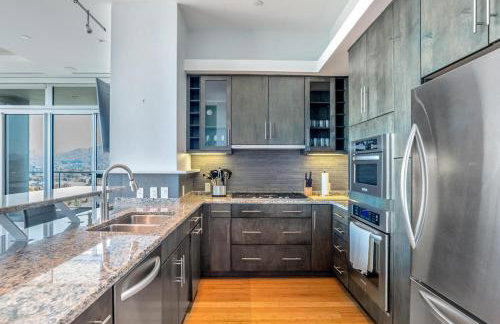
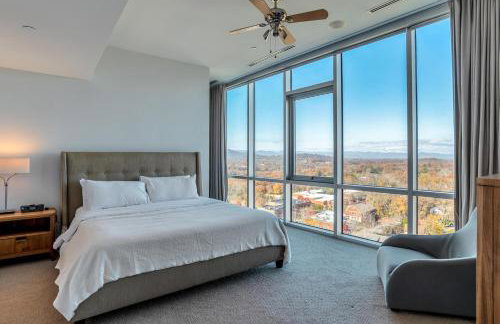
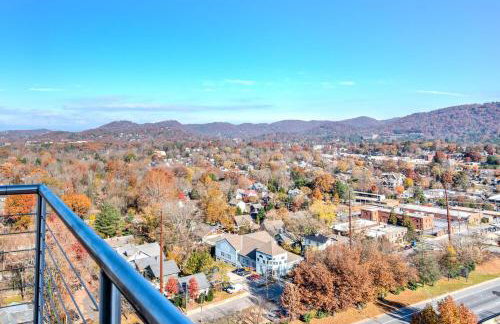
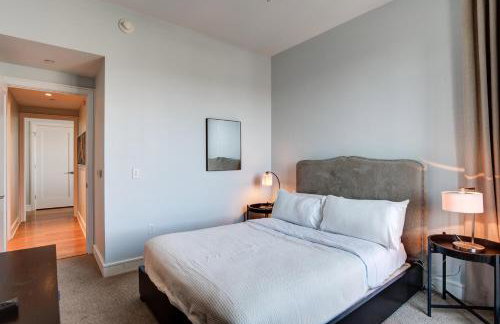
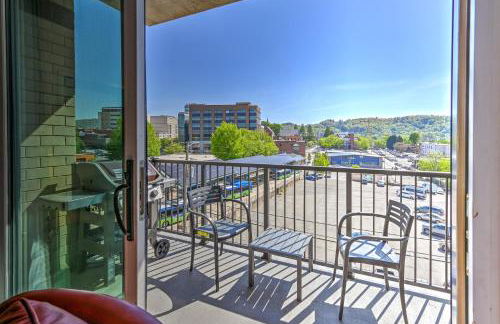
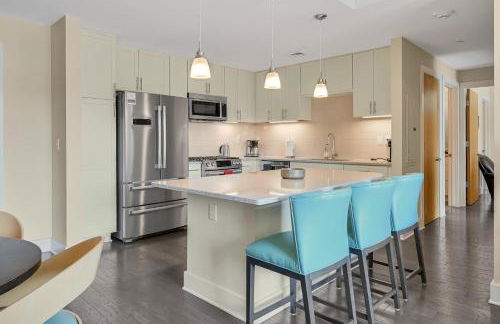
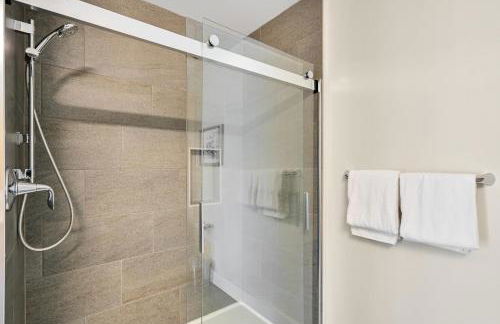
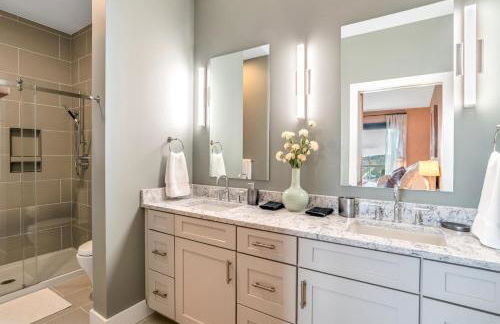
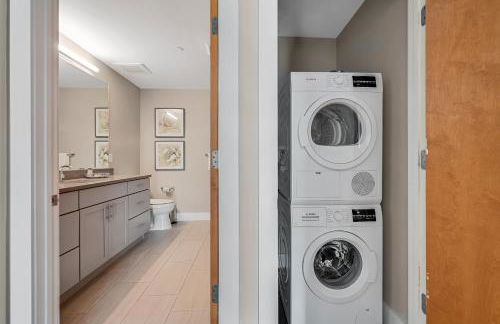
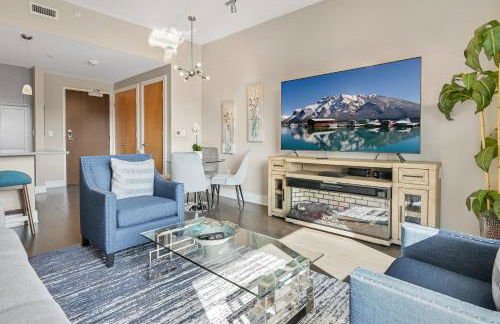
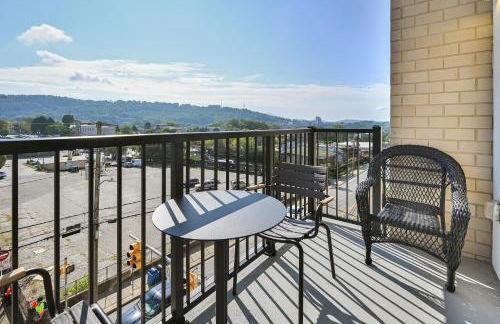
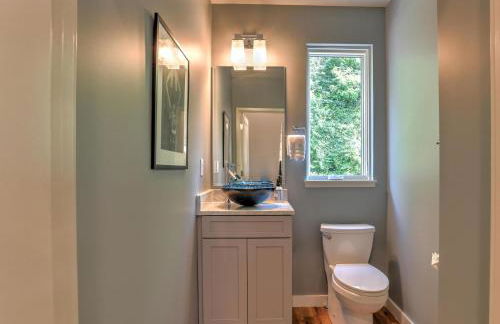
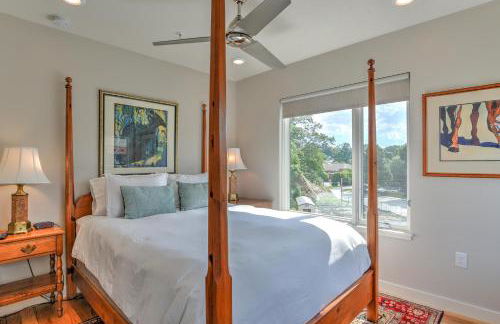
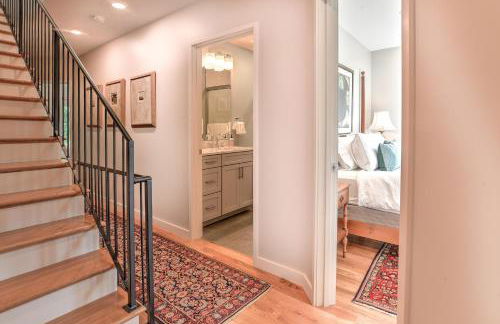
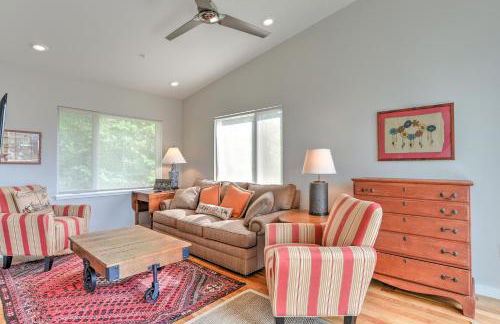
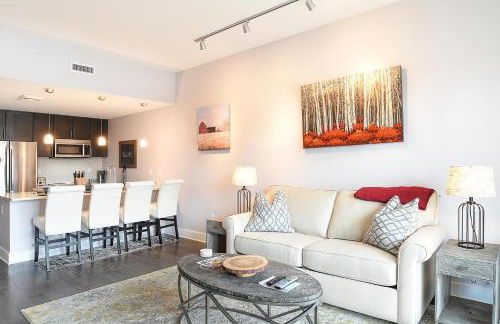
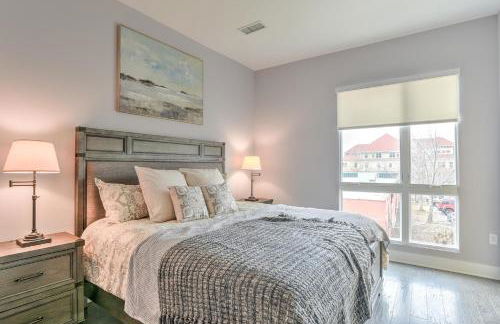
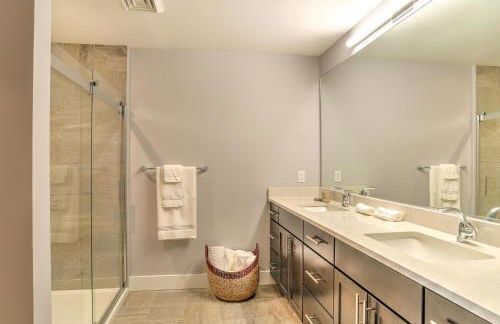
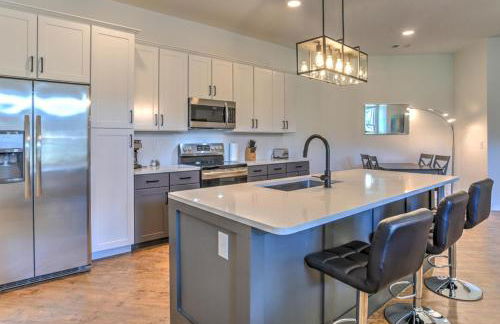
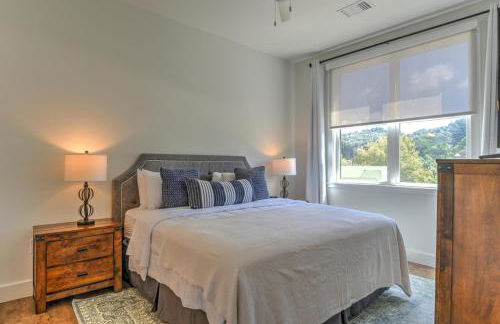
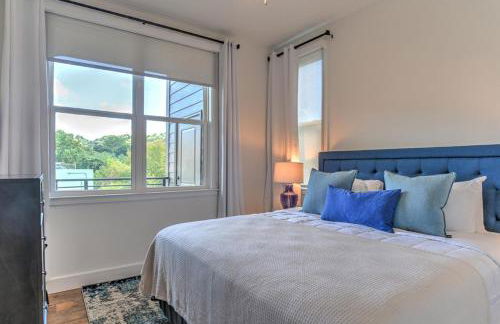
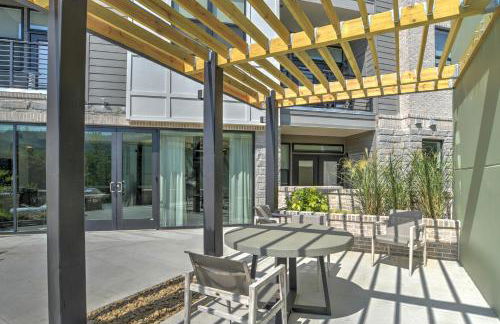
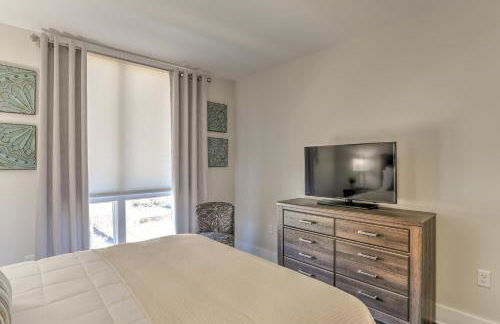
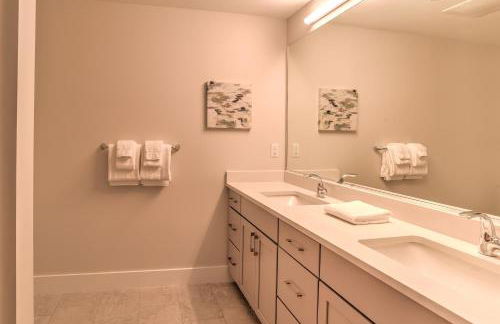
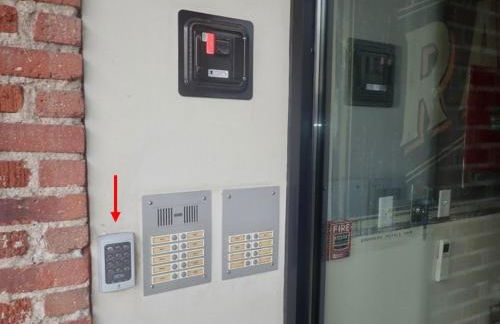
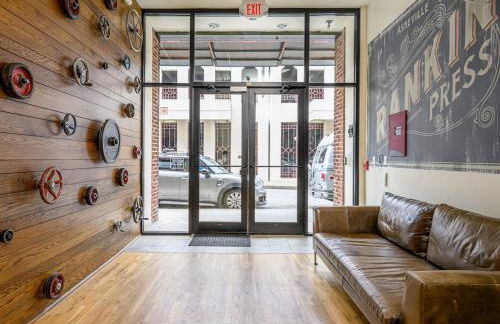
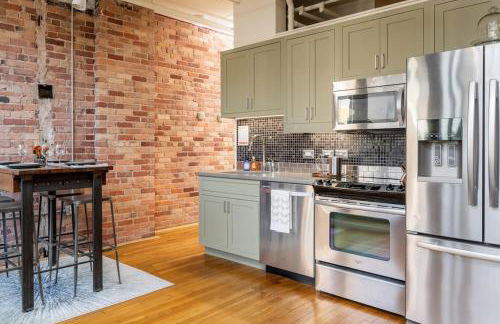
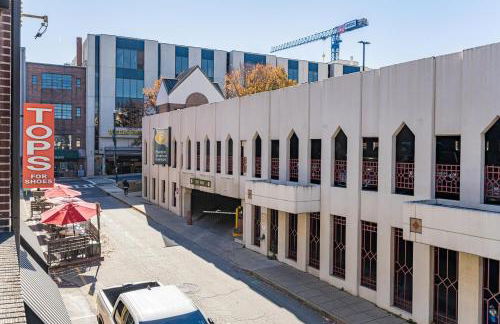
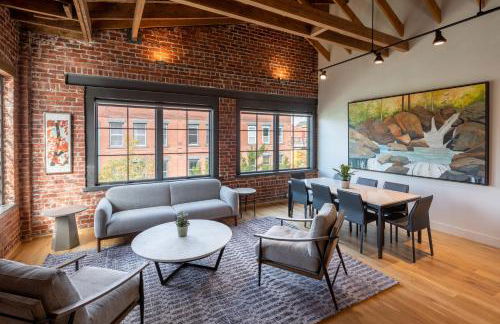
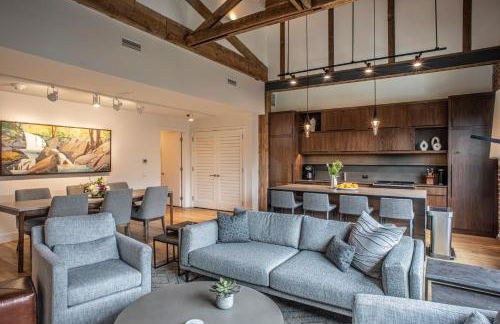
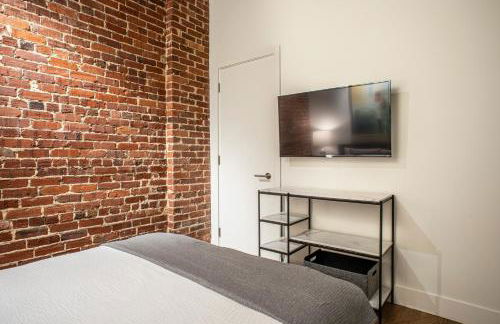
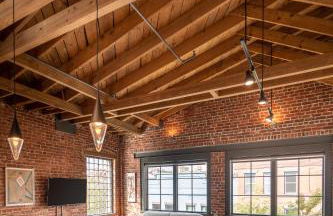
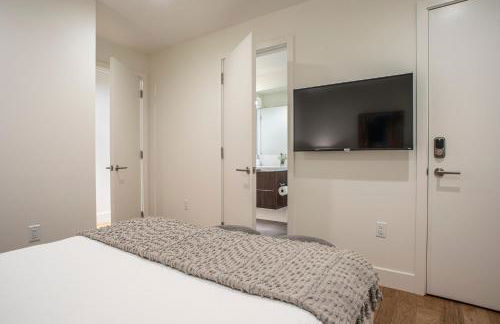
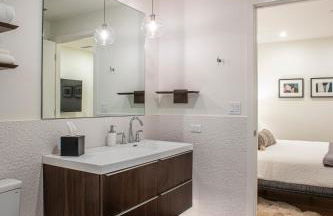
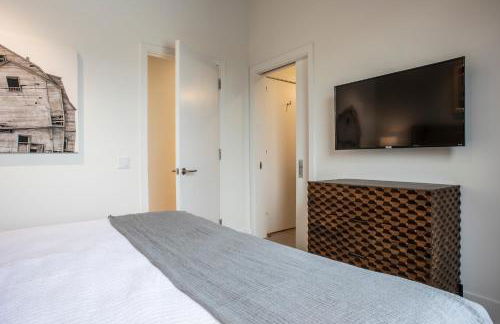
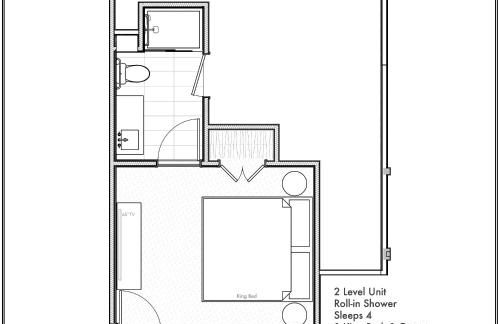
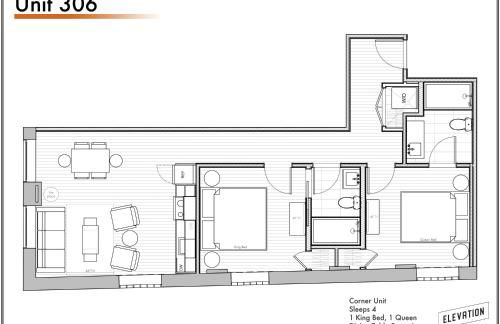
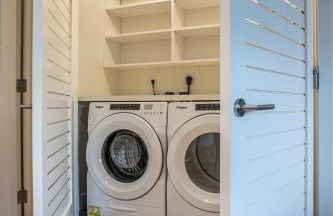
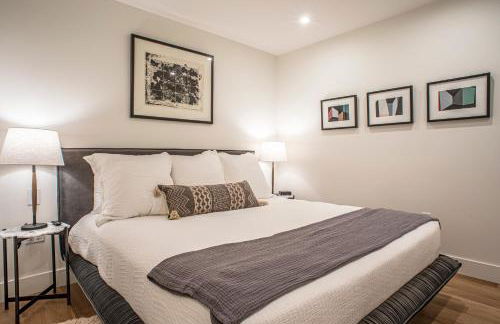
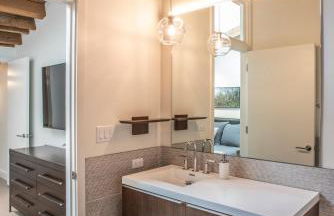
Elevation Lofts Hotel - Foto 3
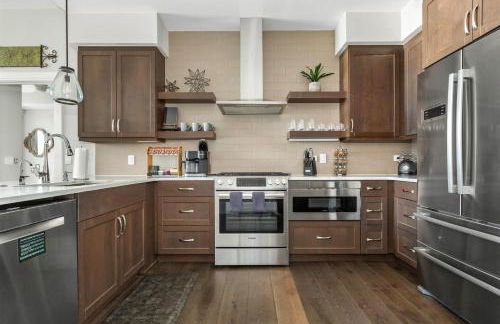
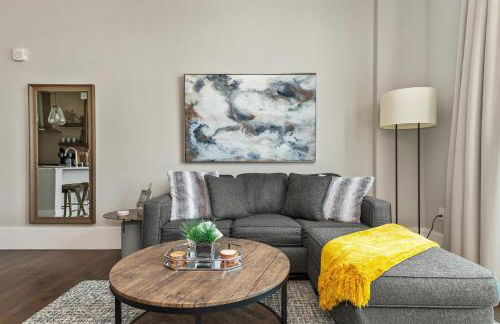
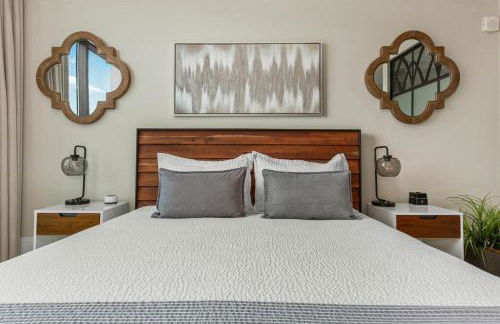
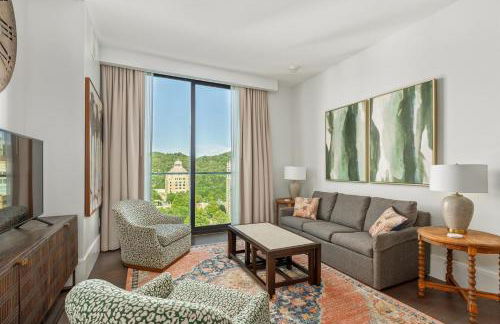
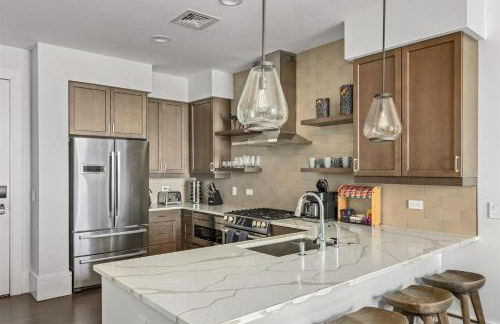
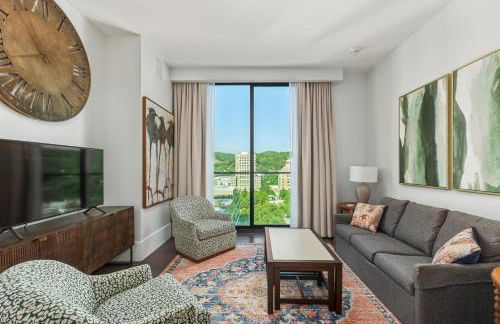
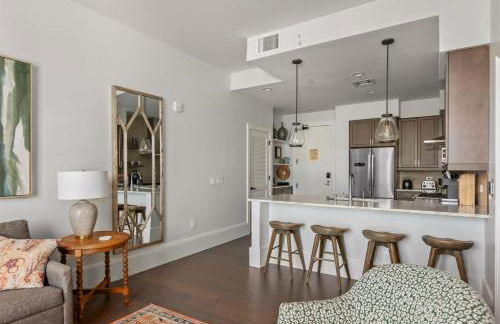
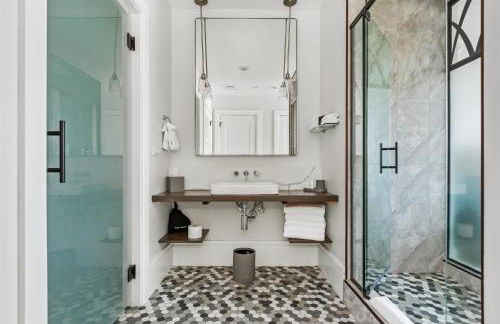
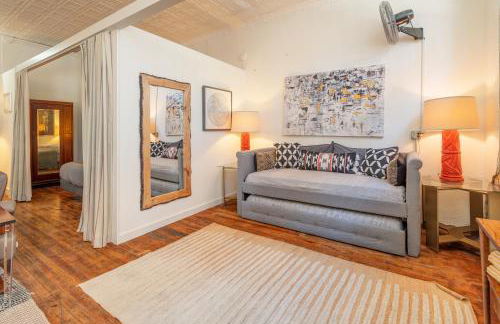
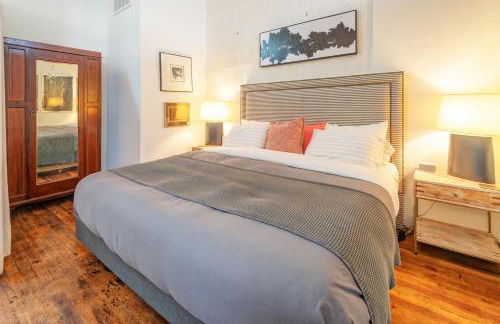
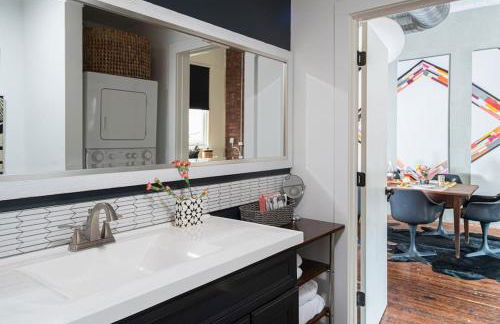
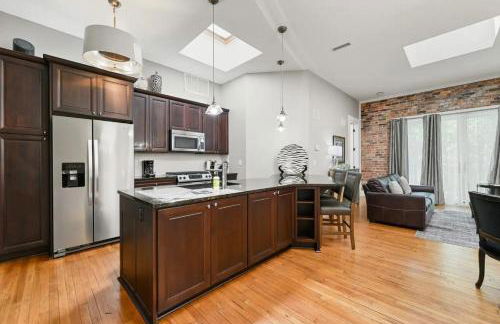
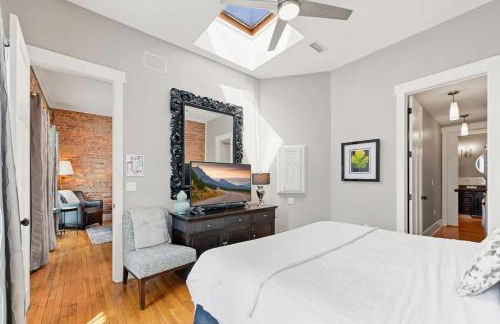
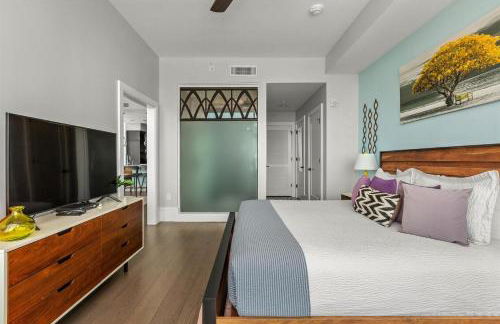
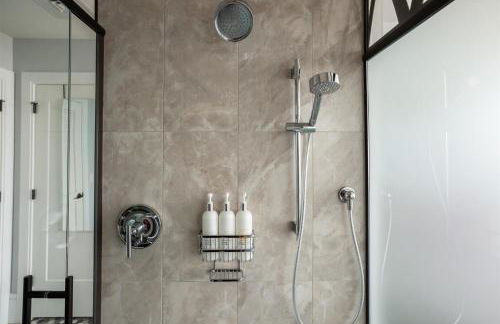
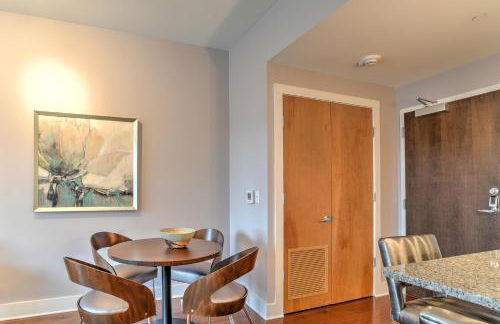
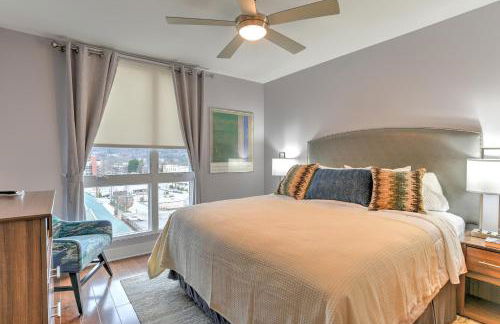
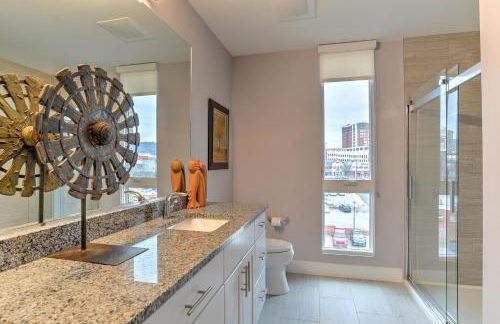
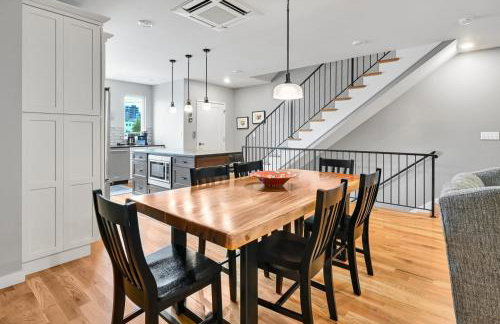
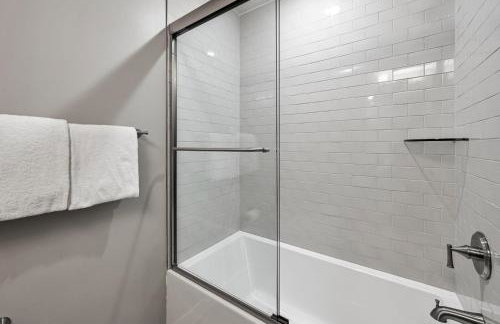
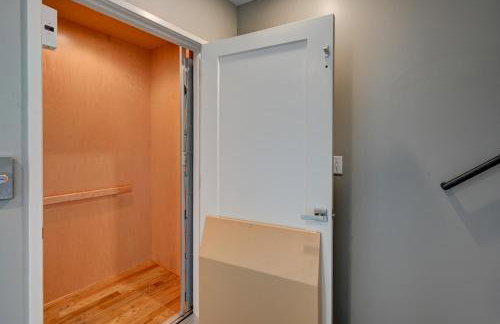
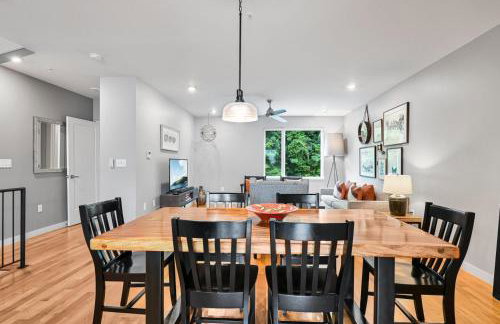
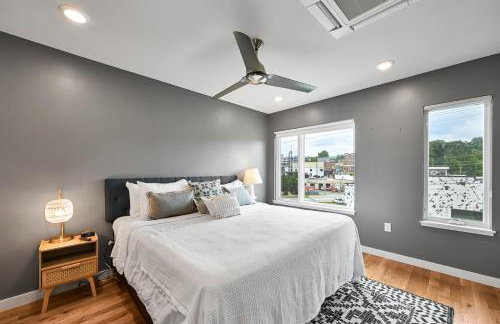
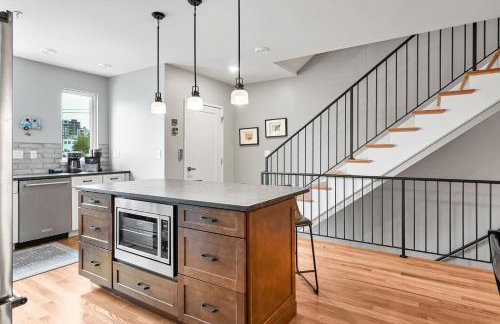
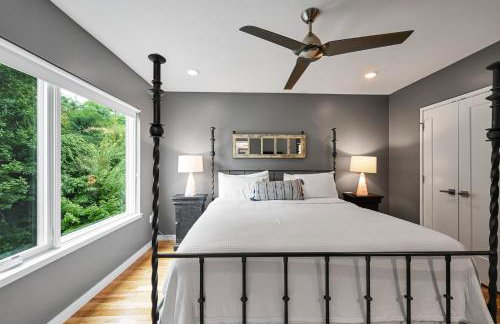
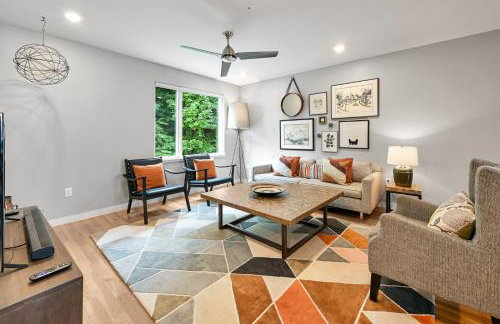
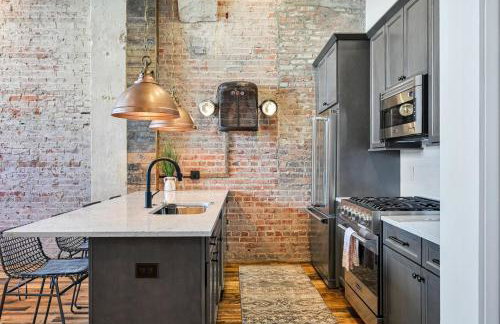
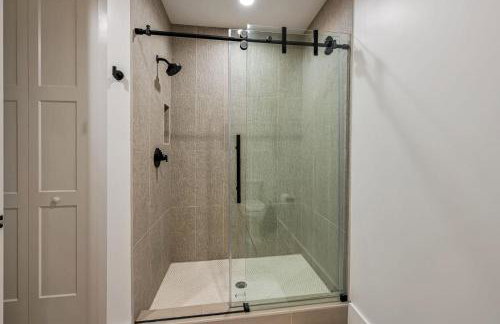
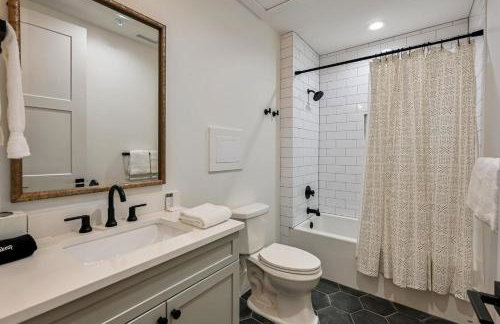
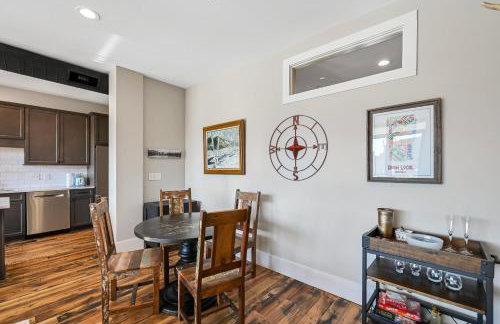
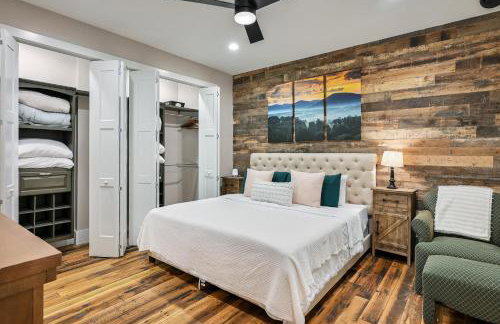
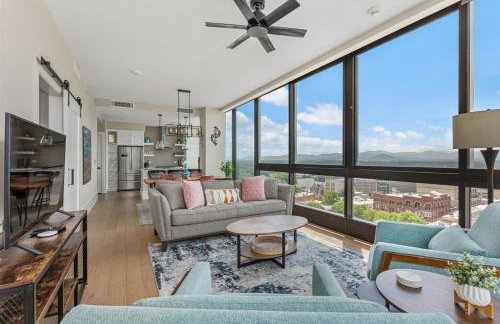
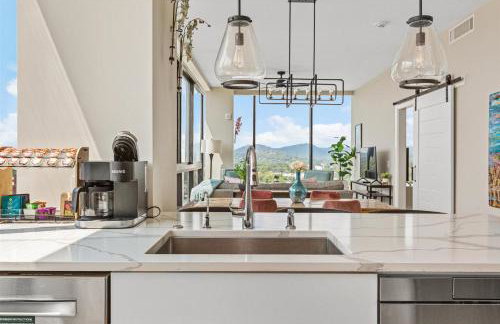
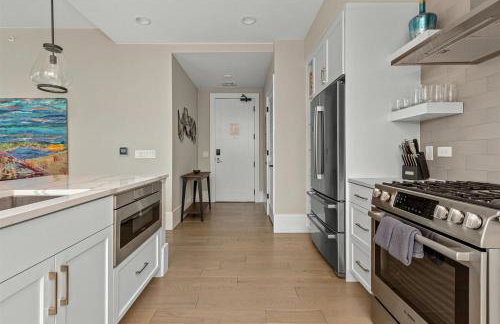
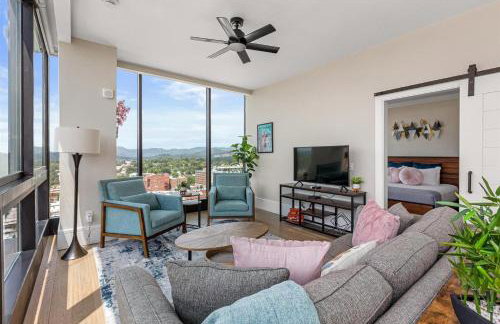
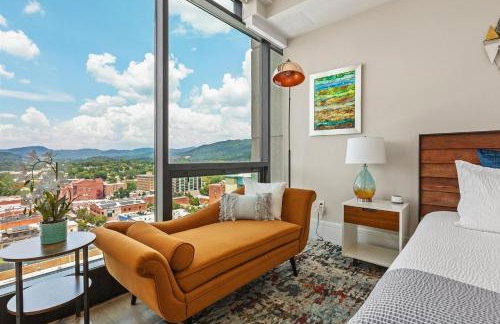
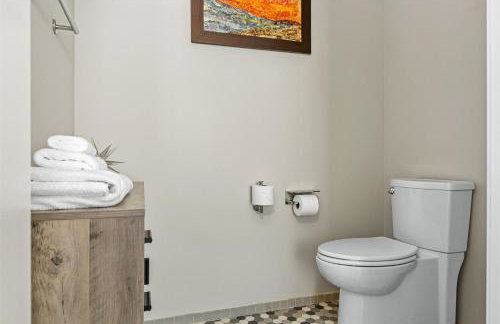
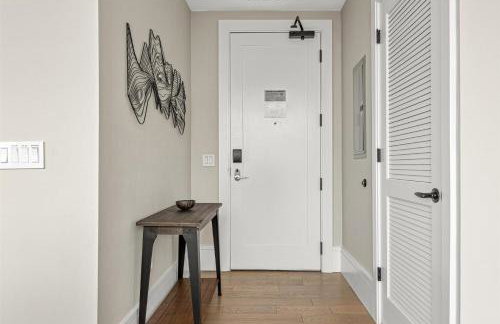
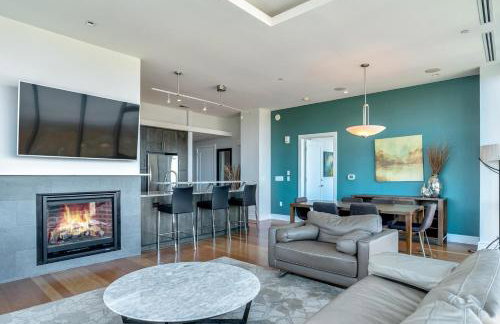
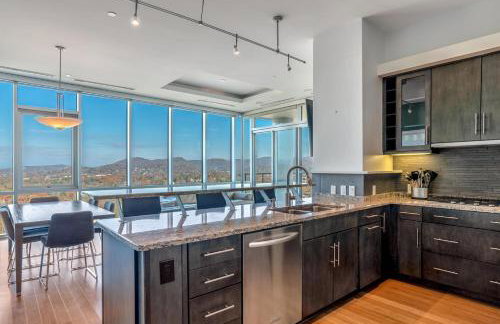
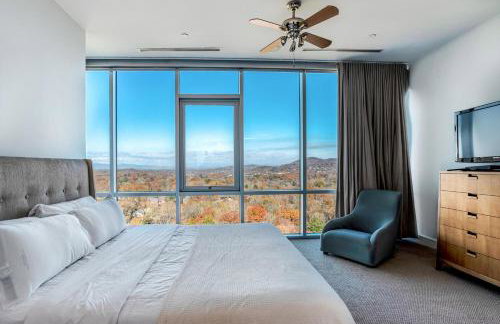
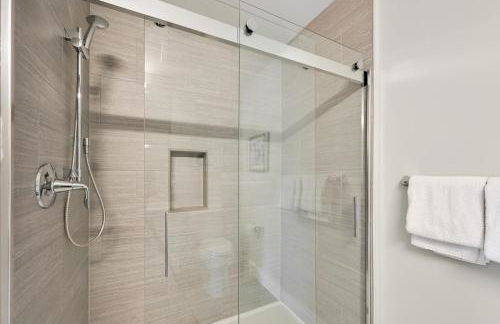
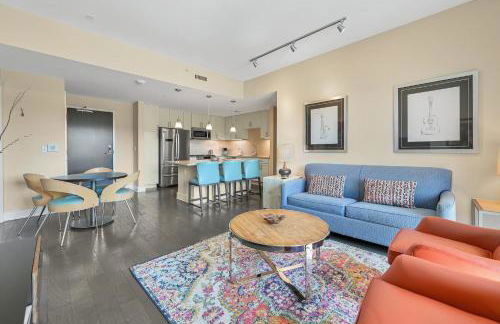
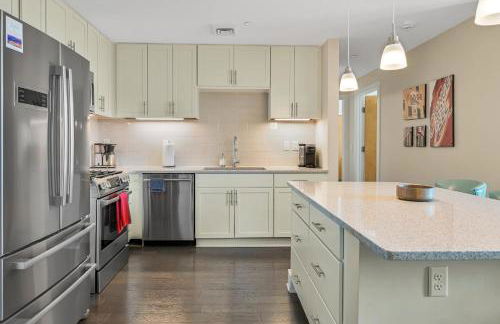
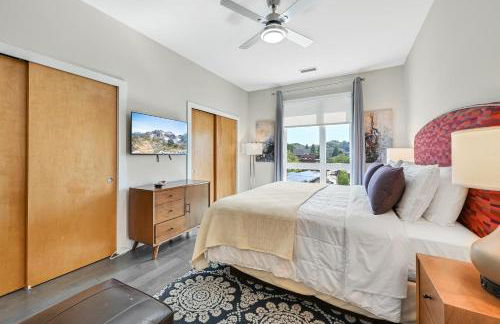
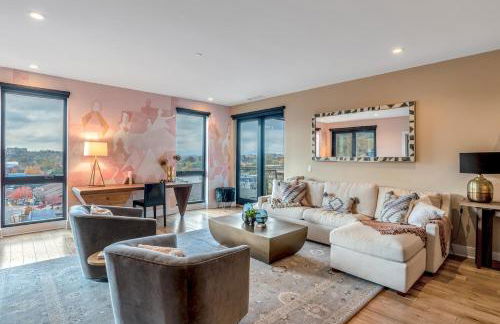
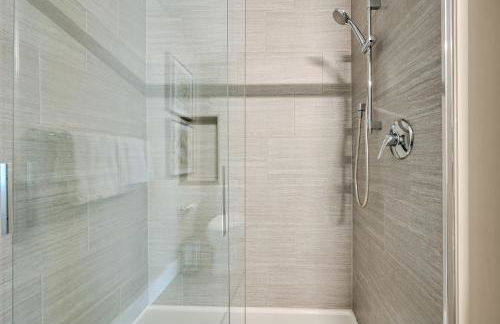
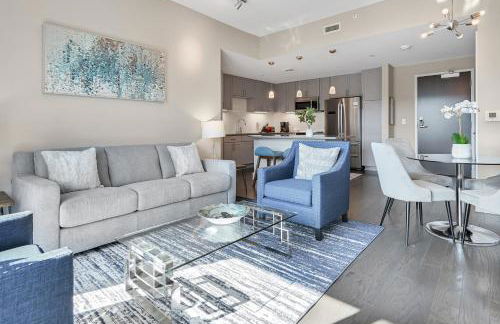
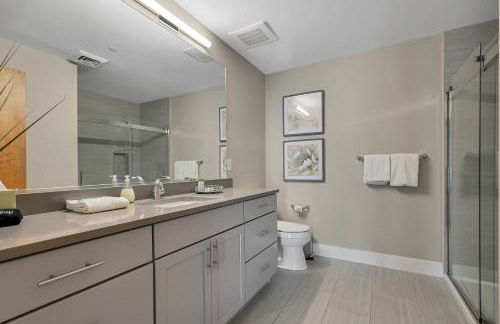
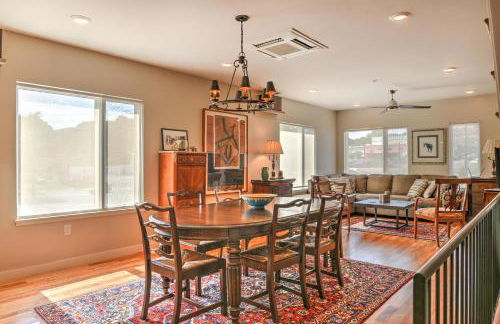
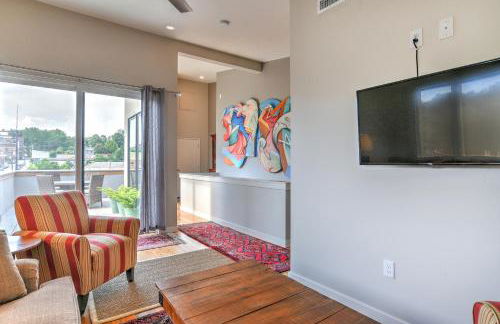
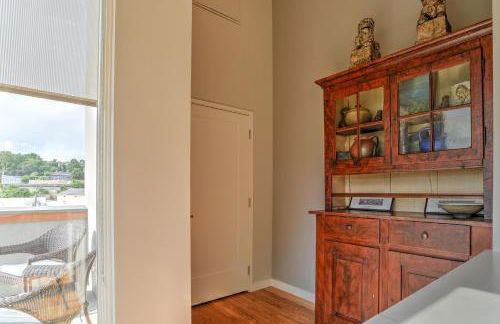
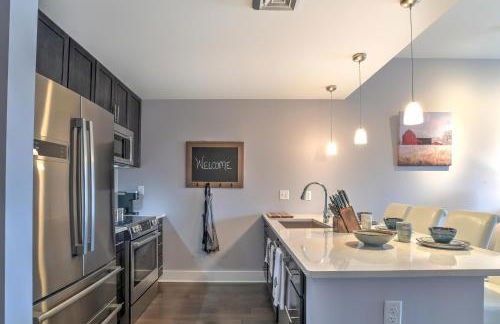
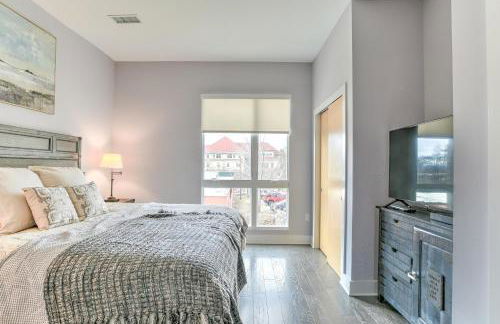
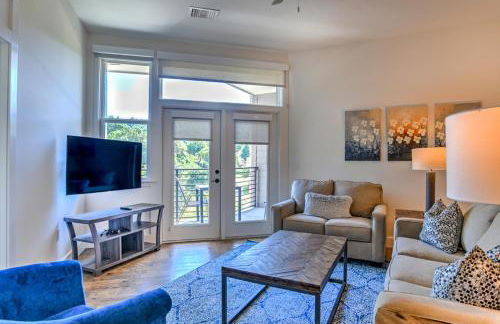
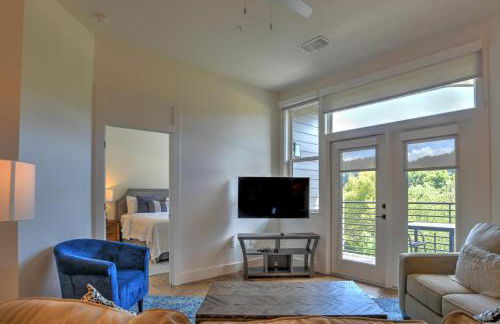
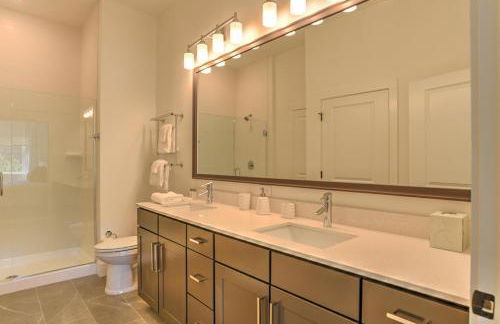
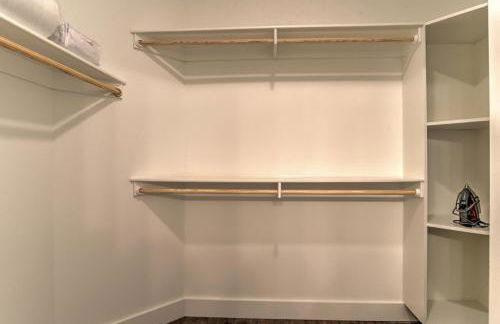
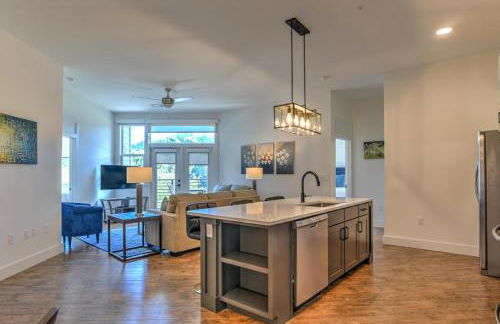
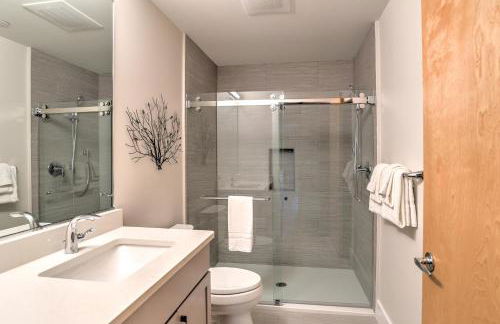
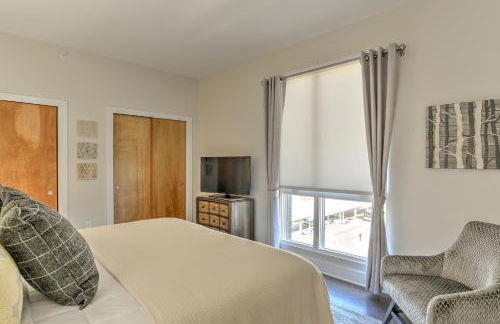
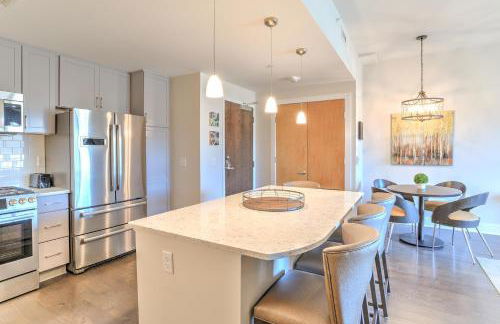
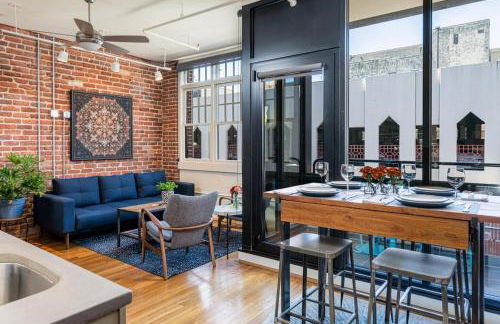
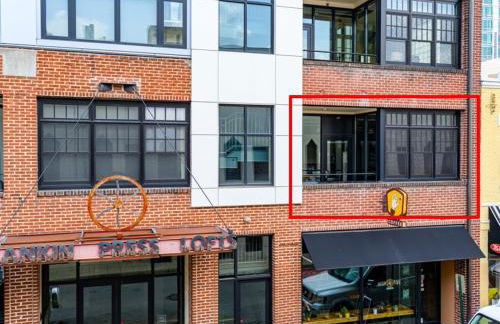
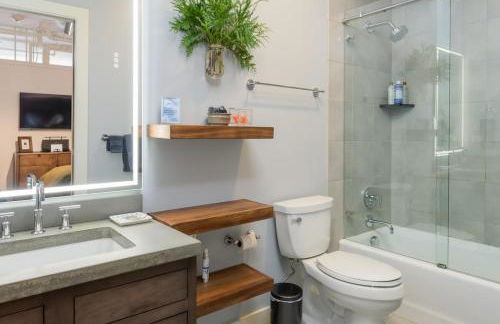
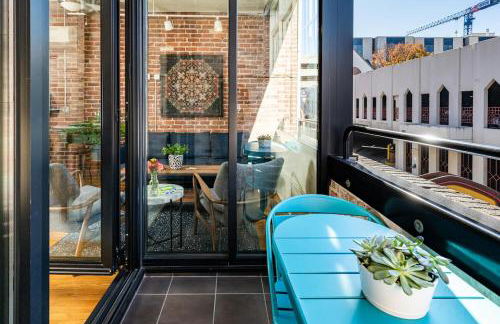
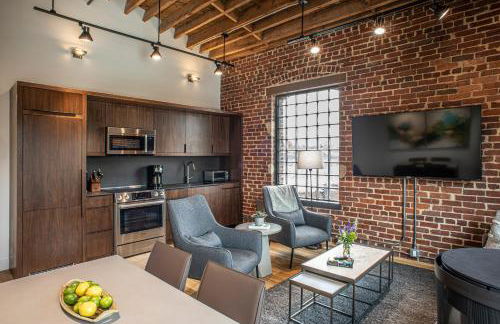
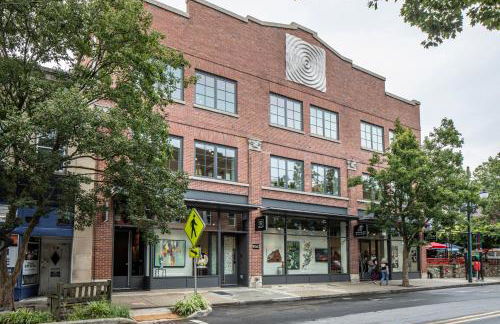
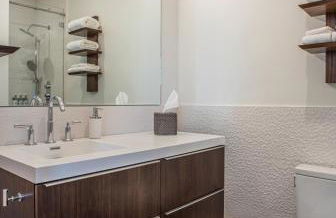
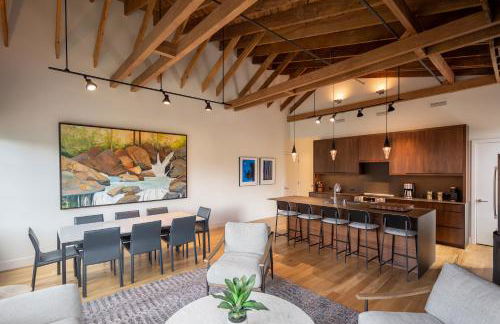
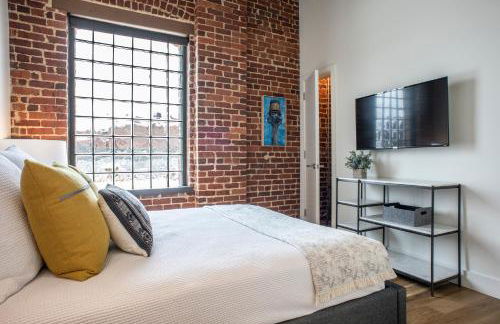
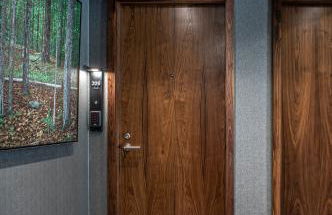
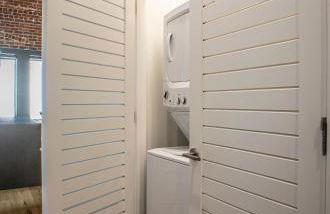
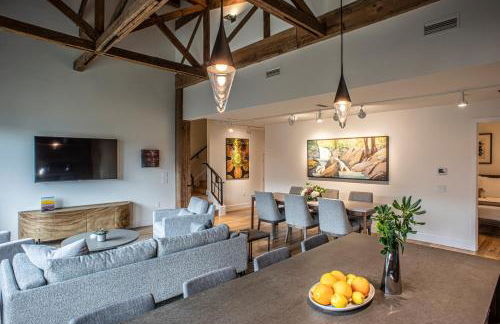
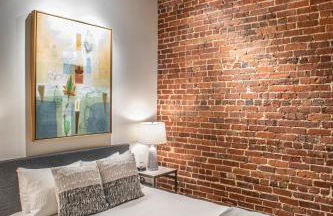
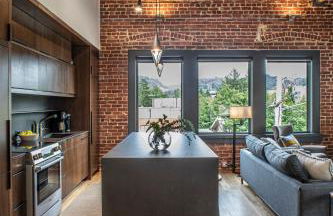
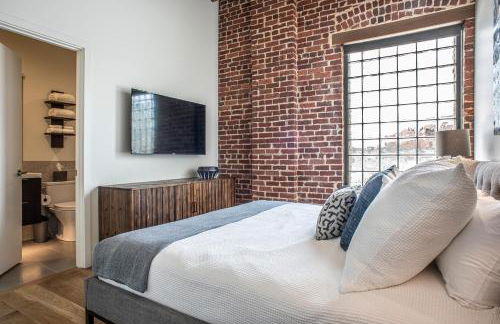
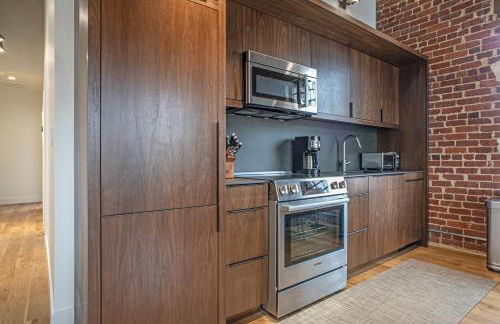
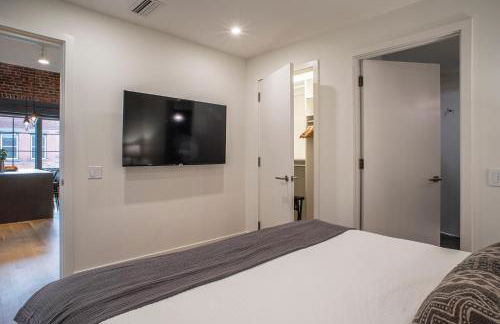
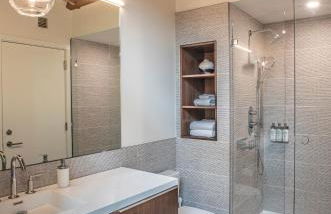
Elevation Lofts Hotel - Foto 4
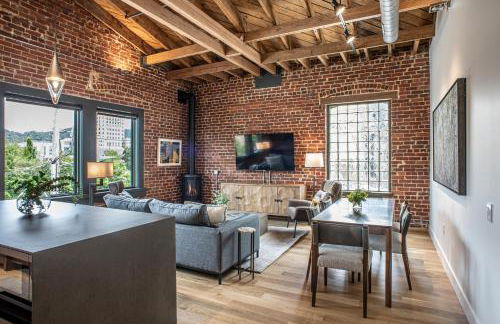
Elevation Lofts Hotel - Foto 5
Elevation Lofts Hotel - Foto 6
Elevation Lofts Hotel - Foto 7
Elevation Lofts Hotel - Foto 8
Elevation Lofts Hotel - Foto 9
Elevation Lofts Hotel - Foto 10
Elevation Lofts Hotel - Foto 11
Elevation Lofts Hotel - Foto 12
Elevation Lofts Hotel - Foto 13
Elevation Lofts Hotel - Foto 14
Elevation Lofts Hotel - Foto 15
Elevation Lofts Hotel - Foto 16
Elevation Lofts Hotel - Foto 17
Elevation Lofts Hotel - Foto 18
Elevation Lofts Hotel - Foto 19
Elevation Lofts Hotel - Foto 20
Elevation Lofts Hotel - Foto 21
Elevation Lofts Hotel - Foto 22
Elevation Lofts Hotel - Foto 23
Elevation Lofts Hotel - Foto 24
Elevation Lofts Hotel - Foto 25
Elevation Lofts Hotel - Foto 26
Elevation Lofts Hotel - Foto 27
Elevation Lofts Hotel - Foto 28
Elevation Lofts Hotel - Foto 29
Elevation Lofts Hotel - Foto 30
Elevation Lofts Hotel - Foto 31
Elevation Lofts Hotel - Foto 32
Elevation Lofts Hotel - Foto 33
Elevation Lofts Hotel - Foto 34
Elevation Lofts Hotel - Foto 35
Elevation Lofts Hotel - Foto 36
Elevation Lofts Hotel - Foto 37
Elevation Lofts Hotel - Foto 38
Elevation Lofts Hotel - Foto 39
Elevation Lofts Hotel - Foto 40
Elevation Lofts Hotel - Foto 41
Elevation Lofts Hotel - Foto 42
Elevation Lofts Hotel - Foto 43
Elevation Lofts Hotel - Foto 44
Elevation Lofts Hotel - Foto 45
Elevation Lofts Hotel - Foto 46
Elevation Lofts Hotel - Foto 47
Elevation Lofts Hotel - Foto 48
Elevation Lofts Hotel - Foto 49
Elevation Lofts Hotel - Foto 50
Elevation Lofts Hotel - Foto 51
Elevation Lofts Hotel - Foto 52
Elevation Lofts Hotel - Foto 53
Elevation Lofts Hotel - Foto 54
Elevation Lofts Hotel - Foto 55
Elevation Lofts Hotel - Foto 56
Elevation Lofts Hotel - Foto 57
Elevation Lofts Hotel - Foto 58
Elevation Lofts Hotel - Foto 59
Elevation Lofts Hotel - Foto 60
Elevation Lofts Hotel - Foto 61
Elevation Lofts Hotel - Foto 62
Elevation Lofts Hotel - Foto 63
Elevation Lofts Hotel - Foto 64
Elevation Lofts Hotel - Foto 65
Elevation Lofts Hotel - Foto 66
Elevation Lofts Hotel - Foto 67
Elevation Lofts Hotel - Foto 68
Elevation Lofts Hotel - Foto 69
Elevation Lofts Hotel - Foto 70
Elevation Lofts Hotel - Foto 71
Elevation Lofts Hotel - Foto 72
Elevation Lofts Hotel - Foto 73
Elevation Lofts Hotel - Foto 74
Elevation Lofts Hotel - Foto 75
Elevation Lofts Hotel - Foto 76
Elevation Lofts Hotel - Foto 77
Elevation Lofts Hotel - Foto 78
Elevation Lofts Hotel - Foto 79
Elevation Lofts Hotel - Foto 80

Elevation Lofts Hotel

Asheville - Downtown Asheville - Al centro

  • 186 M2
  • 4 camere
  • 8 persone
  • Aria condizionata
  • Riscaldamento
  • Parcheggio
  • Ascensore
9.7Eccezionale | 71 recensioni
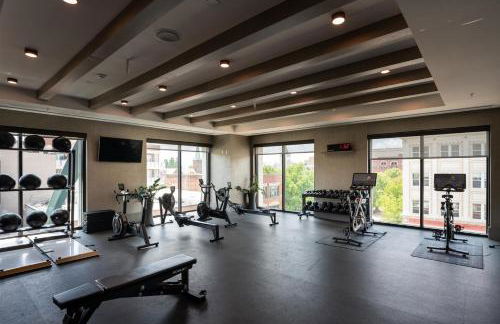
Arras Altitude Adjustment - Foto 1
Arras Altitude Adjustment - Foto 2
Arras Altitude Adjustment - Foto 3
Arras Altitude Adjustment - Foto 4
Arras Altitude Adjustment - Foto 5
Arras Altitude Adjustment - Foto 6
Arras Altitude Adjustment - Foto 7
Arras Altitude Adjustment - Foto 8
Arras Altitude Adjustment - Foto 9
Arras Altitude Adjustment - Foto 10
Arras Altitude Adjustment - Foto 11
Arras Altitude Adjustment - Foto 12
Arras Altitude Adjustment - Foto 13
Arras Altitude Adjustment - Foto 14
Arras Altitude Adjustment - Foto 15
Arras Altitude Adjustment - Foto 16
Arras Altitude Adjustment - Foto 17
Arras Altitude Adjustment - Foto 18
Arras Altitude Adjustment - Foto 19
Arras Altitude Adjustment - Foto 20
Arras Altitude Adjustment - Foto 21
Arras Altitude Adjustment - Foto 22
Arras Altitude Adjustment - Foto 23
Arras Altitude Adjustment - Foto 24
Arras Altitude Adjustment - Foto 25
Arras Altitude Adjustment - Foto 26
Arras Altitude Adjustment - Foto 27
Arras Altitude Adjustment - Foto 28
Arras Altitude Adjustment - Foto 29
Arras Altitude Adjustment - Foto 30
Arras Altitude Adjustment - Foto 31
Arras Altitude Adjustment - Foto 32
Arras Altitude Adjustment - Foto 33
Arras Altitude Adjustment - Foto 34
Arras Altitude Adjustment - Foto 35
Arras Altitude Adjustment - Foto 36

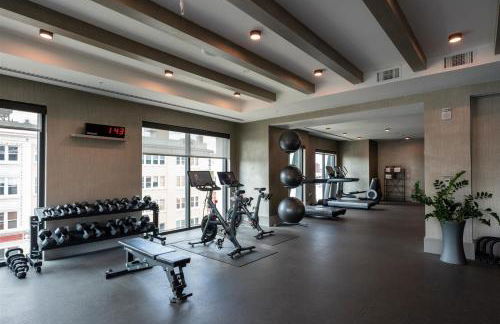
Arras Altitude Adjustment

Asheville - Downtown Asheville - Al centro

  • 77 M2
  • 1 camera
  • 4 persone
  • Riscaldamento
  • Ascensore
9.6Eccezionale | 10 recensioni
The Views Over Pack Square | Arras Vacation Rental - Foto 1
The Views Over Pack Square | Arras Vacation Rental - Foto 2
The Views Over Pack Square | Arras Vacation Rental - Foto 3
The Views Over Pack Square | Arras Vacation Rental - Foto 4
The Views Over Pack Square | Arras Vacation Rental - Foto 5
The Views Over Pack Square | Arras Vacation Rental - Foto 6
The Views Over Pack Square | Arras Vacation Rental - Foto 7
The Views Over Pack Square | Arras Vacation Rental - Foto 8
The Views Over Pack Square | Arras Vacation Rental - Foto 9
The Views Over Pack Square | Arras Vacation Rental - Foto 10
The Views Over Pack Square | Arras Vacation Rental - Foto 11
The Views Over Pack Square | Arras Vacation Rental - Foto 12
The Views Over Pack Square | Arras Vacation Rental - Foto 13
The Views Over Pack Square | Arras Vacation Rental - Foto 14
The Views Over Pack Square | Arras Vacation Rental - Foto 15
The Views Over Pack Square | Arras Vacation Rental - Foto 16
The Views Over Pack Square | Arras Vacation Rental - Foto 17
The Views Over Pack Square | Arras Vacation Rental - Foto 18
The Views Over Pack Square | Arras Vacation Rental - Foto 19
The Views Over Pack Square | Arras Vacation Rental - Foto 20
The Views Over Pack Square | Arras Vacation Rental - Foto 21
The Views Over Pack Square | Arras Vacation Rental - Foto 22
The Views Over Pack Square | Arras Vacation Rental - Foto 23
The Views Over Pack Square | Arras Vacation Rental - Foto 24
The Views Over Pack Square | Arras Vacation Rental - Foto 25
The Views Over Pack Square | Arras Vacation Rental - Foto 26
The Views Over Pack Square | Arras Vacation Rental - Foto 27
The Views Over Pack Square | Arras Vacation Rental - Foto 28
The Views Over Pack Square | Arras Vacation Rental - Foto 29
The Views Over Pack Square | Arras Vacation Rental - Foto 30
The Views Over Pack Square | Arras Vacation Rental - Foto 31
The Views Over Pack Square | Arras Vacation Rental - Foto 32
The Views Over Pack Square | Arras Vacation Rental - Foto 33
The Views Over Pack Square | Arras Vacation Rental - Foto 34
The Views Over Pack Square | Arras Vacation Rental - Foto 35
The Views Over Pack Square | Arras Vacation Rental - Foto 36
The Views Over Pack Square | Arras Vacation Rental - Foto 37
The Views Over Pack Square | Arras Vacation Rental - Foto 38
The Views Over Pack Square | Arras Vacation Rental - Foto 39

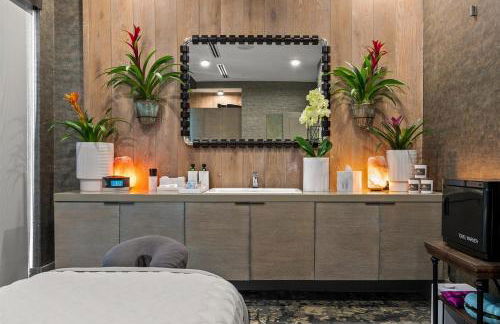
The Views Over Pack Square | Arras Vacation Rental

Asheville - Downtown Asheville - Al centro

  • 77 M2
  • 1 camera
  • 4 persone
  • Riscaldamento
  • Parcheggio
  • Ascensore
9.5Eccezionale | 15 recensioni
High-Design Downtown Loft - Foto 1
High-Design Downtown Loft - Foto 2
High-Design Downtown Loft - Foto 3
High-Design Downtown Loft - Foto 4
High-Design Downtown Loft - Foto 5
High-Design Downtown Loft - Foto 6
High-Design Downtown Loft - Foto 7
High-Design Downtown Loft - Foto 8
High-Design Downtown Loft - Foto 9
High-Design Downtown Loft - Foto 10
High-Design Downtown Loft - Foto 11
High-Design Downtown Loft - Foto 12
High-Design Downtown Loft - Foto 13
High-Design Downtown Loft - Foto 14
High-Design Downtown Loft - Foto 15
High-Design Downtown Loft - Foto 16
High-Design Downtown Loft - Foto 17
High-Design Downtown Loft - Foto 18
High-Design Downtown Loft - Foto 19
High-Design Downtown Loft - Foto 20
High-Design Downtown Loft - Foto 21
High-Design Downtown Loft - Foto 22
High-Design Downtown Loft - Foto 23
High-Design Downtown Loft - Foto 24
High-Design Downtown Loft - Foto 25
High-Design Downtown Loft - Foto 26
High-Design Downtown Loft - Foto 27
High-Design Downtown Loft - Foto 28
High-Design Downtown Loft - Foto 29
High-Design Downtown Loft - Foto 30
High-Design Downtown Loft - Foto 31
High-Design Downtown Loft - Foto 32
High-Design Downtown Loft - Foto 33
High-Design Downtown Loft - Foto 34

High-Design Downtown Loft

Asheville - Downtown Asheville - Al centro

  • 121 M2
  • 2 camere
  • 4 persone
  • Aria condizionata
  • Riscaldamento
  • Parcheggio
9.5Eccezionale | 25 recensioni
Unit 201 - The Lofts at Church St - Foto 1
Unit 201 - The Lofts at Church St - Foto 2
Unit 201 - The Lofts at Church St - Foto 3
Unit 201 - The Lofts at Church St - Foto 4
Unit 201 - The Lofts at Church St - Foto 5
Unit 201 - The Lofts at Church St - Foto 6
Unit 201 - The Lofts at Church St - Foto 7
Unit 201 - The Lofts at Church St - Foto 8
Unit 201 - The Lofts at Church St - Foto 9
Unit 201 - The Lofts at Church St - Foto 10
Unit 201 - The Lofts at Church St - Foto 11
Unit 201 - The Lofts at Church St - Foto 12
Unit 201 - The Lofts at Church St - Foto 13
Unit 201 - The Lofts at Church St - Foto 14
Unit 201 - The Lofts at Church St - Foto 15
Unit 201 - The Lofts at Church St - Foto 16
Unit 201 - The Lofts at Church St - Foto 17
Unit 201 - The Lofts at Church St - Foto 18

Unit 201 - The Lofts at Church St

Asheville - Downtown Asheville - Al centro

  • 65 M2
  • 2 camere
  • 6 persone
  • Aria condizionata
  • Riscaldamento
9.8Eccezionale | 10 recensioni
Endless Sunset Retreat | Arras Vacation Rentals - Foto 1
Endless Sunset Retreat | Arras Vacation Rentals - Foto 2
Endless Sunset Retreat | Arras Vacation Rentals - Foto 3
Endless Sunset Retreat | Arras Vacation Rentals - Foto 4
Endless Sunset Retreat | Arras Vacation Rentals - Foto 5
Endless Sunset Retreat | Arras Vacation Rentals - Foto 6
Endless Sunset Retreat | Arras Vacation Rentals - Foto 7
Endless Sunset Retreat | Arras Vacation Rentals - Foto 8
Endless Sunset Retreat | Arras Vacation Rentals - Foto 9
Endless Sunset Retreat | Arras Vacation Rentals - Foto 10
Endless Sunset Retreat | Arras Vacation Rentals - Foto 11
Endless Sunset Retreat | Arras Vacation Rentals - Foto 12
Endless Sunset Retreat | Arras Vacation Rentals - Foto 13
Endless Sunset Retreat | Arras Vacation Rentals - Foto 14
Endless Sunset Retreat | Arras Vacation Rentals - Foto 15
Endless Sunset Retreat | Arras Vacation Rentals - Foto 16
Endless Sunset Retreat | Arras Vacation Rentals - Foto 17
Endless Sunset Retreat | Arras Vacation Rentals - Foto 18
Endless Sunset Retreat | Arras Vacation Rentals - Foto 19
Endless Sunset Retreat | Arras Vacation Rentals - Foto 20
Endless Sunset Retreat | Arras Vacation Rentals - Foto 21
Endless Sunset Retreat | Arras Vacation Rentals - Foto 22
Endless Sunset Retreat | Arras Vacation Rentals - Foto 23
Endless Sunset Retreat | Arras Vacation Rentals - Foto 24
Endless Sunset Retreat | Arras Vacation Rentals - Foto 25
Endless Sunset Retreat | Arras Vacation Rentals - Foto 26
Endless Sunset Retreat | Arras Vacation Rentals - Foto 27
Endless Sunset Retreat | Arras Vacation Rentals - Foto 28
Endless Sunset Retreat | Arras Vacation Rentals - Foto 29
Endless Sunset Retreat | Arras Vacation Rentals - Foto 30
Endless Sunset Retreat | Arras Vacation Rentals - Foto 31
Endless Sunset Retreat | Arras Vacation Rentals - Foto 32
Endless Sunset Retreat | Arras Vacation Rentals - Foto 33
Endless Sunset Retreat | Arras Vacation Rentals - Foto 34
Endless Sunset Retreat | Arras Vacation Rentals - Foto 35
Endless Sunset Retreat | Arras Vacation Rentals - Foto 36
Endless Sunset Retreat | Arras Vacation Rentals - Foto 37
Endless Sunset Retreat | Arras Vacation Rentals - Foto 38
Endless Sunset Retreat | Arras Vacation Rentals - Foto 39
Endless Sunset Retreat | Arras Vacation Rentals - Foto 40
Endless Sunset Retreat | Arras Vacation Rentals - Foto 41
Endless Sunset Retreat | Arras Vacation Rentals - Foto 42
Endless Sunset Retreat | Arras Vacation Rentals - Foto 43
Endless Sunset Retreat | Arras Vacation Rentals - Foto 44
Endless Sunset Retreat | Arras Vacation Rentals - Foto 45
Endless Sunset Retreat | Arras Vacation Rentals - Foto 46
Endless Sunset Retreat | Arras Vacation Rentals - Foto 47
Endless Sunset Retreat | Arras Vacation Rentals - Foto 48
Endless Sunset Retreat | Arras Vacation Rentals - Foto 49

Endless Sunset Retreat | Arras Vacation Rentals

Asheville - Downtown Asheville - Al centro

  • 89 M2
  • 1 camera
  • 4 persone
  • Riscaldamento
  • Parcheggio
  • Ascensore
10Magnifico | 6 recensioni
45 Asheland Avenue Unit 504 - Foto 1
45 Asheland Avenue Unit 504 - Foto 2
45 Asheland Avenue Unit 504 - Foto 3
45 Asheland Avenue Unit 504 - Foto 4
45 Asheland Avenue Unit 504 - Foto 5
45 Asheland Avenue Unit 504 - Foto 6
45 Asheland Avenue Unit 504 - Foto 7
45 Asheland Avenue Unit 504 - Foto 8
45 Asheland Avenue Unit 504 - Foto 9
45 Asheland Avenue Unit 504 - Foto 10
45 Asheland Avenue Unit 504 - Foto 11
45 Asheland Avenue Unit 504 - Foto 12
45 Asheland Avenue Unit 504 - Foto 13
45 Asheland Avenue Unit 504 - Foto 14
45 Asheland Avenue Unit 504 - Foto 15
45 Asheland Avenue Unit 504 - Foto 16
45 Asheland Avenue Unit 504 - Foto 17
45 Asheland Avenue Unit 504 - Foto 18
45 Asheland Avenue Unit 504 - Foto 19
45 Asheland Avenue Unit 504 - Foto 20
45 Asheland Avenue Unit 504 - Foto 21
45 Asheland Avenue Unit 504 - Foto 22
45 Asheland Avenue Unit 504 - Foto 23

45 Asheland Avenue Unit 504

Asheville - Downtown Asheville - 240 m dal centro

  • 2 camere
  • 6 persone
  • Riscaldamento
  • Parcheggio
  • Ascensore
9.6Eccezionale | 6 recensioni
Rooftop Terrace, Elevator & Sauna Access - Foto 1
Rooftop Terrace, Elevator & Sauna Access - Foto 2
Rooftop Terrace, Elevator & Sauna Access - Foto 3
Rooftop Terrace, Elevator & Sauna Access - Foto 4
Rooftop Terrace, Elevator & Sauna Access - Foto 5
Rooftop Terrace, Elevator & Sauna Access - Foto 6
Rooftop Terrace, Elevator & Sauna Access - Foto 7
Rooftop Terrace, Elevator & Sauna Access - Foto 8
Rooftop Terrace, Elevator & Sauna Access - Foto 9
Rooftop Terrace, Elevator & Sauna Access - Foto 10
Rooftop Terrace, Elevator & Sauna Access - Foto 11
Rooftop Terrace, Elevator & Sauna Access - Foto 12
Rooftop Terrace, Elevator & Sauna Access - Foto 13
Rooftop Terrace, Elevator & Sauna Access - Foto 14
Rooftop Terrace, Elevator & Sauna Access - Foto 15
Rooftop Terrace, Elevator & Sauna Access - Foto 16
Rooftop Terrace, Elevator & Sauna Access - Foto 17
Rooftop Terrace, Elevator & Sauna Access - Foto 18
Rooftop Terrace, Elevator & Sauna Access - Foto 19
Rooftop Terrace, Elevator & Sauna Access - Foto 20
Rooftop Terrace, Elevator & Sauna Access - Foto 21
Rooftop Terrace, Elevator & Sauna Access - Foto 22
Rooftop Terrace, Elevator & Sauna Access - Foto 23
Rooftop Terrace, Elevator & Sauna Access - Foto 24
Rooftop Terrace, Elevator & Sauna Access - Foto 25
Rooftop Terrace, Elevator & Sauna Access - Foto 26
Rooftop Terrace, Elevator & Sauna Access - Foto 27
Rooftop Terrace, Elevator & Sauna Access - Foto 28
Rooftop Terrace, Elevator & Sauna Access - Foto 29
Rooftop Terrace, Elevator & Sauna Access - Foto 30
Rooftop Terrace, Elevator & Sauna Access - Foto 31
Rooftop Terrace, Elevator & Sauna Access - Foto 32
Rooftop Terrace, Elevator & Sauna Access - Foto 33
Rooftop Terrace, Elevator & Sauna Access - Foto 34
Rooftop Terrace, Elevator & Sauna Access - Foto 35
Rooftop Terrace, Elevator & Sauna Access - Foto 36
Rooftop Terrace, Elevator & Sauna Access - Foto 37
Rooftop Terrace, Elevator & Sauna Access - Foto 38
Rooftop Terrace, Elevator & Sauna Access - Foto 39
Rooftop Terrace, Elevator & Sauna Access - Foto 40
Rooftop Terrace, Elevator & Sauna Access - Foto 41
Rooftop Terrace, Elevator & Sauna Access - Foto 42
Rooftop Terrace, Elevator & Sauna Access - Foto 43
Rooftop Terrace, Elevator & Sauna Access - Foto 44
Rooftop Terrace, Elevator & Sauna Access - Foto 45
Rooftop Terrace, Elevator & Sauna Access - Foto 46
Rooftop Terrace, Elevator & Sauna Access - Foto 47
Rooftop Terrace, Elevator & Sauna Access - Foto 48
Rooftop Terrace, Elevator & Sauna Access - Foto 49
Rooftop Terrace, Elevator & Sauna Access - Foto 50
Rooftop Terrace, Elevator & Sauna Access - Foto 51
Rooftop Terrace, Elevator & Sauna Access - Foto 52
Rooftop Terrace, Elevator & Sauna Access - Foto 53
Rooftop Terrace, Elevator & Sauna Access - Foto 54
Rooftop Terrace, Elevator & Sauna Access - Foto 55
Rooftop Terrace, Elevator & Sauna Access - Foto 56
Rooftop Terrace, Elevator & Sauna Access - Foto 57
Rooftop Terrace, Elevator & Sauna Access - Foto 58
Rooftop Terrace, Elevator & Sauna Access - Foto 59
Rooftop Terrace, Elevator & Sauna Access - Foto 60
Rooftop Terrace, Elevator & Sauna Access - Foto 61
Rooftop Terrace, Elevator & Sauna Access - Foto 62
Rooftop Terrace, Elevator & Sauna Access - Foto 63
Rooftop Terrace, Elevator & Sauna Access - Foto 64
Rooftop Terrace, Elevator & Sauna Access - Foto 65
Rooftop Terrace, Elevator & Sauna Access - Foto 66
Rooftop Terrace, Elevator & Sauna Access - Foto 67
Rooftop Terrace, Elevator & Sauna Access - Foto 68
Rooftop Terrace, Elevator & Sauna Access - Foto 69
Rooftop Terrace, Elevator & Sauna Access - Foto 70
Rooftop Terrace, Elevator & Sauna Access - Foto 71
Rooftop Terrace, Elevator & Sauna Access - Foto 72
Rooftop Terrace, Elevator & Sauna Access - Foto 73
Rooftop Terrace, Elevator & Sauna Access - Foto 74
Rooftop Terrace, Elevator & Sauna Access - Foto 75
Rooftop Terrace, Elevator & Sauna Access - Foto 76
Rooftop Terrace, Elevator & Sauna Access - Foto 77
Rooftop Terrace, Elevator & Sauna Access - Foto 78
Rooftop Terrace, Elevator & Sauna Access - Foto 79

Rooftop Terrace, Elevator & Sauna Access

Asheville - Downtown Asheville - 880 m dal centro

  • 2 camere
  • 6 persone
  • Riscaldamento
  • Parcheggio
  • Ascensore
9.3Eccezionale | 4 recensioni
Impressive 2 bed 2 and a half bath City Center Condo with EV Charger - Foto 1
Impressive 2 bed 2 and a half bath City Center Condo with EV Charger - Foto 2
Impressive 2 bed 2 and a half bath City Center Condo with EV Charger - Foto 3
Impressive 2 bed 2 and a half bath City Center Condo with EV Charger - Foto 4
Impressive 2 bed 2 and a half bath City Center Condo with EV Charger - Foto 5
Impressive 2 bed 2 and a half bath City Center Condo with EV Charger - Foto 6
Impressive 2 bed 2 and a half bath City Center Condo with EV Charger - Foto 7
Impressive 2 bed 2 and a half bath City Center Condo with EV Charger - Foto 8
Impressive 2 bed 2 and a half bath City Center Condo with EV Charger - Foto 9
Impressive 2 bed 2 and a half bath City Center Condo with EV Charger - Foto 10
Impressive 2 bed 2 and a half bath City Center Condo with EV Charger - Foto 11
Impressive 2 bed 2 and a half bath City Center Condo with EV Charger - Foto 12
Impressive 2 bed 2 and a half bath City Center Condo with EV Charger - Foto 13
Impressive 2 bed 2 and a half bath City Center Condo with EV Charger - Foto 14
Impressive 2 bed 2 and a half bath City Center Condo with EV Charger - Foto 15
Impressive 2 bed 2 and a half bath City Center Condo with EV Charger - Foto 16

Impressive 2 bed 2 and a half bath City Center Condo with EV Charger

Asheville - Downtown Asheville - Al centro

  • 2 camere
  • 4 persone
  • Riscaldamento
  • Parcheggio
  • Ascensore
9.3Eccezionale | 6 recensioni
Downtown Condo with Two Ensuite Kings - Foto 1
Downtown Condo with Two Ensuite Kings - Foto 2
Downtown Condo with Two Ensuite Kings - Foto 3
Downtown Condo with Two Ensuite Kings - Foto 4
Downtown Condo with Two Ensuite Kings - Foto 5
Downtown Condo with Two Ensuite Kings - Foto 6
Downtown Condo with Two Ensuite Kings - Foto 7
Downtown Condo with Two Ensuite Kings - Foto 8
Downtown Condo with Two Ensuite Kings - Foto 9
Downtown Condo with Two Ensuite Kings - Foto 10
Downtown Condo with Two Ensuite Kings - Foto 11
Downtown Condo with Two Ensuite Kings - Foto 12
Downtown Condo with Two Ensuite Kings - Foto 13
Downtown Condo with Two Ensuite Kings - Foto 14
Downtown Condo with Two Ensuite Kings - Foto 15
Downtown Condo with Two Ensuite Kings - Foto 16
Downtown Condo with Two Ensuite Kings - Foto 17
Downtown Condo with Two Ensuite Kings - Foto 18

Downtown Condo with Two Ensuite Kings

Asheville - Downtown Asheville - Al centro

  • 2 camere
  • 4 persone
  • Riscaldamento
  • Parcheggio
  • Ascensore
10Magnifico | 2 recensioni
Blue Ridge Escape - Foto 1
Blue Ridge Escape - Foto 2
Blue Ridge Escape - Foto 3
Blue Ridge Escape - Foto 4
Blue Ridge Escape - Foto 5
Blue Ridge Escape - Foto 6
Blue Ridge Escape - Foto 7
Blue Ridge Escape - Foto 8
Blue Ridge Escape - Foto 9
Blue Ridge Escape - Foto 10
Blue Ridge Escape - Foto 11
Blue Ridge Escape - Foto 12
Blue Ridge Escape - Foto 13
Blue Ridge Escape - Foto 14
Blue Ridge Escape - Foto 15
Blue Ridge Escape - Foto 16
Blue Ridge Escape - Foto 17
Blue Ridge Escape - Foto 18
Blue Ridge Escape - Foto 19
Blue Ridge Escape - Foto 20
Blue Ridge Escape - Foto 21
Blue Ridge Escape - Foto 22
Blue Ridge Escape - Foto 23
Blue Ridge Escape - Foto 24
Blue Ridge Escape - Foto 25
Blue Ridge Escape - Foto 26
Blue Ridge Escape - Foto 27
Blue Ridge Escape - Foto 28
Blue Ridge Escape - Foto 29
Blue Ridge Escape - Foto 30
Blue Ridge Escape - Foto 31
Blue Ridge Escape - Foto 32
Blue Ridge Escape - Foto 33
Blue Ridge Escape - Foto 34
Blue Ridge Escape - Foto 35
Blue Ridge Escape - Foto 36
Blue Ridge Escape - Foto 37
Blue Ridge Escape - Foto 38
Blue Ridge Escape - Foto 39
Blue Ridge Escape - Foto 40
Blue Ridge Escape - Foto 41
Blue Ridge Escape - Foto 42
Blue Ridge Escape - Foto 43
Blue Ridge Escape - Foto 44
Blue Ridge Escape - Foto 45
Blue Ridge Escape - Foto 46

Blue Ridge Escape

Asheville - Downtown Asheville - Al centro

  • 89 M2
  • 1 camera
  • 4 persone
  • Riscaldamento
  • Parcheggio
  • Ascensore
10Magnifico | 2 recensioni
The Asheville Club at 151 - Foto 1
The Asheville Club at 151 - Foto 2
The Asheville Club at 151 - Foto 3
The Asheville Club at 151 - Foto 4
The Asheville Club at 151 - Foto 5
The Asheville Club at 151 - Foto 6
The Asheville Club at 151 - Foto 7
The Asheville Club at 151 - Foto 8
The Asheville Club at 151 - Foto 9
The Asheville Club at 151 - Foto 10
The Asheville Club at 151 - Foto 11
The Asheville Club at 151 - Foto 12
The Asheville Club at 151 - Foto 13
The Asheville Club at 151 - Foto 14
The Asheville Club at 151 - Foto 15
The Asheville Club at 151 - Foto 16
The Asheville Club at 151 - Foto 17
The Asheville Club at 151 - Foto 18
The Asheville Club at 151 - Foto 19
The Asheville Club at 151 - Foto 20
The Asheville Club at 151 - Foto 21
The Asheville Club at 151 - Foto 22
The Asheville Club at 151 - Foto 23
The Asheville Club at 151 - Foto 24
The Asheville Club at 151 - Foto 25
The Asheville Club at 151 - Foto 26
The Asheville Club at 151 - Foto 27
The Asheville Club at 151 - Foto 28
The Asheville Club at 151 - Foto 29
The Asheville Club at 151 - Foto 30
The Asheville Club at 151 - Foto 31
The Asheville Club at 151 - Foto 32

The Asheville Club at 151

Asheville - Downtown Asheville - Al centro

  • 2 camere
  • 4 persone
  • Riscaldamento
  • Parcheggio
  • Ascensore
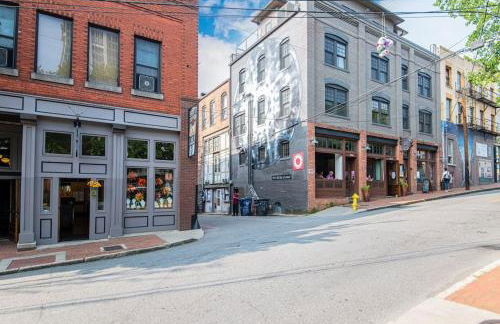
10Magnifico | 2 recensioni
45 Asheland Avenue Unit 406 - Foto 1
45 Asheland Avenue Unit 406 - Foto 2
45 Asheland Avenue Unit 406 - Foto 3
45 Asheland Avenue Unit 406 - Foto 4
45 Asheland Avenue Unit 406 - Foto 5
45 Asheland Avenue Unit 406 - Foto 6
45 Asheland Avenue Unit 406 - Foto 7
45 Asheland Avenue Unit 406 - Foto 8
45 Asheland Avenue Unit 406 - Foto 9
45 Asheland Avenue Unit 406 - Foto 10
45 Asheland Avenue Unit 406 - Foto 11
45 Asheland Avenue Unit 406 - Foto 12
45 Asheland Avenue Unit 406 - Foto 13
45 Asheland Avenue Unit 406 - Foto 14
45 Asheland Avenue Unit 406 - Foto 15
45 Asheland Avenue Unit 406 - Foto 16
45 Asheland Avenue Unit 406 - Foto 17
45 Asheland Avenue Unit 406 - Foto 18
45 Asheland Avenue Unit 406 - Foto 19
45 Asheland Avenue Unit 406 - Foto 20
45 Asheland Avenue Unit 406 - Foto 21
45 Asheland Avenue Unit 406 - Foto 22
45 Asheland Avenue Unit 406 - Foto 23
45 Asheland Avenue Unit 406 - Foto 24
45 Asheland Avenue Unit 406 - Foto 25
45 Asheland Avenue Unit 406 - Foto 26

45 Asheland Avenue Unit 406

Asheville - Downtown Asheville - 240 m dal centro

  • 2 camere
  • 6 persone
  • Riscaldamento
  • Parcheggio
  • Ascensore
10Magnifico | 3 recensioni
Outstanding Luxury Downtown Condo - Foto 1
Outstanding Luxury Downtown Condo - Foto 2
Outstanding Luxury Downtown Condo - Foto 3
Outstanding Luxury Downtown Condo - Foto 4
Outstanding Luxury Downtown Condo - Foto 5
Outstanding Luxury Downtown Condo - Foto 6
Outstanding Luxury Downtown Condo - Foto 7
Outstanding Luxury Downtown Condo - Foto 8
Outstanding Luxury Downtown Condo - Foto 9
Outstanding Luxury Downtown Condo - Foto 10
Outstanding Luxury Downtown Condo - Foto 11
Outstanding Luxury Downtown Condo - Foto 12
Outstanding Luxury Downtown Condo - Foto 13
Outstanding Luxury Downtown Condo - Foto 14
Outstanding Luxury Downtown Condo - Foto 15
Outstanding Luxury Downtown Condo - Foto 16
Outstanding Luxury Downtown Condo - Foto 17
Outstanding Luxury Downtown Condo - Foto 18

Outstanding Luxury Downtown Condo

Asheville - Downtown Asheville - 490 m dal centro

  • 2 camere
  • 4 persone
  • Riscaldamento
  • Parcheggio
  • Ascensore
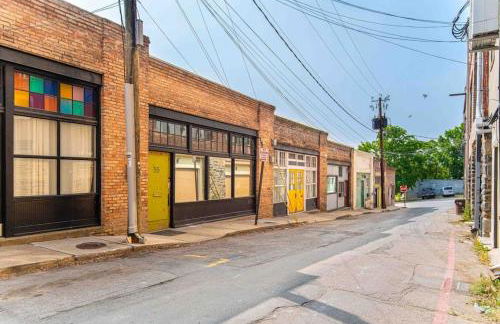
10Magnifico | 2 recensioni
45 Asheland Avenue Unit 405 - Foto 1
45 Asheland Avenue Unit 405 - Foto 2
45 Asheland Avenue Unit 405 - Foto 3
45 Asheland Avenue Unit 405 - Foto 4
45 Asheland Avenue Unit 405 - Foto 5
45 Asheland Avenue Unit 405 - Foto 6
45 Asheland Avenue Unit 405 - Foto 7
45 Asheland Avenue Unit 405 - Foto 8
45 Asheland Avenue Unit 405 - Foto 9
45 Asheland Avenue Unit 405 - Foto 10
45 Asheland Avenue Unit 405 - Foto 11
45 Asheland Avenue Unit 405 - Foto 12
45 Asheland Avenue Unit 405 - Foto 13
45 Asheland Avenue Unit 405 - Foto 14
45 Asheland Avenue Unit 405 - Foto 15
45 Asheland Avenue Unit 405 - Foto 16
45 Asheland Avenue Unit 405 - Foto 17
45 Asheland Avenue Unit 405 - Foto 18
45 Asheland Avenue Unit 405 - Foto 19
45 Asheland Avenue Unit 405 - Foto 20
45 Asheland Avenue Unit 405 - Foto 21

45 Asheland Avenue Unit 405

Asheville - Downtown Asheville - 240 m dal centro

  • 2 camere
  • 6 persone
  • Riscaldamento
  • Parcheggio
  • Ascensore
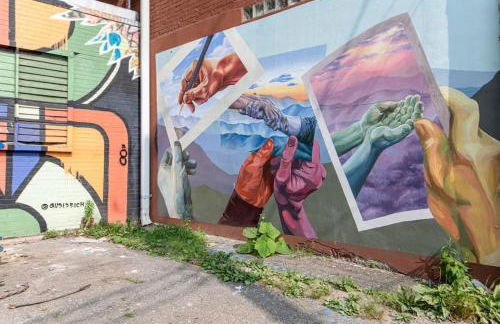
10Magnifico | 3 recensioni
Luxe Townhouse with Garage and Terrace - Foto 1
Luxe Townhouse with Garage and Terrace - Foto 2
Luxe Townhouse with Garage and Terrace - Foto 3
Luxe Townhouse with Garage and Terrace - Foto 4
Luxe Townhouse with Garage and Terrace - Foto 5
Luxe Townhouse with Garage and Terrace - Foto 6
Luxe Townhouse with Garage and Terrace - Foto 7
Luxe Townhouse with Garage and Terrace - Foto 8
Luxe Townhouse with Garage and Terrace - Foto 9
Luxe Townhouse with Garage and Terrace - Foto 10
Luxe Townhouse with Garage and Terrace - Foto 11
Luxe Townhouse with Garage and Terrace - Foto 12
Luxe Townhouse with Garage and Terrace - Foto 13
Luxe Townhouse with Garage and Terrace - Foto 14
Luxe Townhouse with Garage and Terrace - Foto 15
Luxe Townhouse with Garage and Terrace - Foto 16
Luxe Townhouse with Garage and Terrace - Foto 17
Luxe Townhouse with Garage and Terrace - Foto 18
Luxe Townhouse with Garage and Terrace - Foto 19
Luxe Townhouse with Garage and Terrace - Foto 20
Luxe Townhouse with Garage and Terrace - Foto 21
Luxe Townhouse with Garage and Terrace - Foto 22
Luxe Townhouse with Garage and Terrace - Foto 23
Luxe Townhouse with Garage and Terrace - Foto 24
Luxe Townhouse with Garage and Terrace - Foto 25
Luxe Townhouse with Garage and Terrace - Foto 26
Luxe Townhouse with Garage and Terrace - Foto 27
Luxe Townhouse with Garage and Terrace - Foto 28
Luxe Townhouse with Garage and Terrace - Foto 29
Luxe Townhouse with Garage and Terrace - Foto 30
Luxe Townhouse with Garage and Terrace - Foto 31
Luxe Townhouse with Garage and Terrace - Foto 32
Luxe Townhouse with Garage and Terrace - Foto 33
Luxe Townhouse with Garage and Terrace - Foto 34
Luxe Townhouse with Garage and Terrace - Foto 35
Luxe Townhouse with Garage and Terrace - Foto 36

Luxe Townhouse with Garage and Terrace

Asheville - Downtown Asheville - 890 m dal centro

  • 2 camere
  • 6 persone
  • Riscaldamento
  • Parcheggio
  • Ascensore
10Magnifico | 2 recensioni
Your Downtown Asheville Pet-Friendly Oasis - Foto 1
Your Downtown Asheville Pet-Friendly Oasis - Foto 2
Your Downtown Asheville Pet-Friendly Oasis - Foto 3
Your Downtown Asheville Pet-Friendly Oasis - Foto 4
Your Downtown Asheville Pet-Friendly Oasis - Foto 5
Your Downtown Asheville Pet-Friendly Oasis - Foto 6
Your Downtown Asheville Pet-Friendly Oasis - Foto 7
Your Downtown Asheville Pet-Friendly Oasis - Foto 8
Your Downtown Asheville Pet-Friendly Oasis - Foto 9
Your Downtown Asheville Pet-Friendly Oasis - Foto 10
Your Downtown Asheville Pet-Friendly Oasis - Foto 11
Your Downtown Asheville Pet-Friendly Oasis - Foto 12
Your Downtown Asheville Pet-Friendly Oasis - Foto 13
Your Downtown Asheville Pet-Friendly Oasis - Foto 14
Your Downtown Asheville Pet-Friendly Oasis - Foto 15

Your Downtown Asheville Pet-Friendly Oasis

Asheville - Downtown Asheville - 240 m dal centro

  • 1 camera
  • 4 persone
  • Riscaldamento
  • Parcheggio
  • Ascensore
10Magnifico | 2 recensioni
55 South Market Condo 201 - Foto 1
55 South Market Condo 201 - Foto 2
55 South Market Condo 201 - Foto 3
55 South Market Condo 201 - Foto 4
55 South Market Condo 201 - Foto 5
55 South Market Condo 201 - Foto 6
55 South Market Condo 201 - Foto 7
55 South Market Condo 201 - Foto 8
55 South Market Condo 201 - Foto 9
55 South Market Condo 201 - Foto 10
55 South Market Condo 201 - Foto 11
55 South Market Condo 201 - Foto 12
55 South Market Condo 201 - Foto 13
55 South Market Condo 201 - Foto 14
55 South Market Condo 201 - Foto 15
55 South Market Condo 201 - Foto 16
55 South Market Condo 201 - Foto 17
55 South Market Condo 201 - Foto 18
55 South Market Condo 201 - Foto 19
55 South Market Condo 201 - Foto 20
55 South Market Condo 201 - Foto 21
55 South Market Condo 201 - Foto 22
55 South Market Condo 201 - Foto 23
55 South Market Condo 201 - Foto 24
55 South Market Condo 201 - Foto 25

55 South Market Condo 201

Asheville - Downtown Asheville - Al centro

  • 2 camere
  • 6 persone
  • Riscaldamento
  • Parcheggio
  • Ascensore
9.2Eccezionale | 6 recensioni
45 Asheland Avenue Unit 507 - Foto 1
45 Asheland Avenue Unit 507 - Foto 2
45 Asheland Avenue Unit 507 - Foto 3
45 Asheland Avenue Unit 507 - Foto 4
45 Asheland Avenue Unit 507 - Foto 5
45 Asheland Avenue Unit 507 - Foto 6
45 Asheland Avenue Unit 507 - Foto 7
45 Asheland Avenue Unit 507 - Foto 8
45 Asheland Avenue Unit 507 - Foto 9
45 Asheland Avenue Unit 507 - Foto 10
45 Asheland Avenue Unit 507 - Foto 11
45 Asheland Avenue Unit 507 - Foto 12
45 Asheland Avenue Unit 507 - Foto 13
45 Asheland Avenue Unit 507 - Foto 14
45 Asheland Avenue Unit 507 - Foto 15
45 Asheland Avenue Unit 507 - Foto 16
45 Asheland Avenue Unit 507 - Foto 17
45 Asheland Avenue Unit 507 - Foto 18
45 Asheland Avenue Unit 507 - Foto 19
45 Asheland Avenue Unit 507 - Foto 20
45 Asheland Avenue Unit 507 - Foto 21
45 Asheland Avenue Unit 507 - Foto 22
45 Asheland Avenue Unit 507 - Foto 23
45 Asheland Avenue Unit 507 - Foto 24
45 Asheland Avenue Unit 507 - Foto 25
45 Asheland Avenue Unit 507 - Foto 26
45 Asheland Avenue Unit 507 - Foto 27
45 Asheland Avenue Unit 507 - Foto 28

45 Asheland Avenue Unit 507

Asheville - Downtown Asheville - 240 m dal centro

  • 3 camere
  • 8 persone
  • Riscaldamento
  • Parcheggio
  • Ascensore
9.8Eccezionale | 5 recensioni
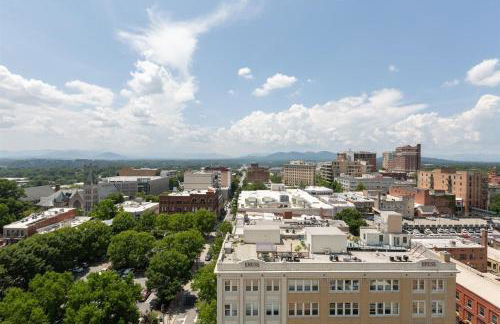
Bright Downtown Asheville Apt with Balcony, Walk Everywhere - Foto 1
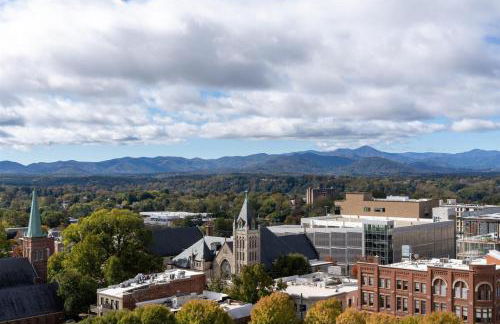
Bright Downtown Asheville Apt with Balcony, Walk Everywhere - Foto 2
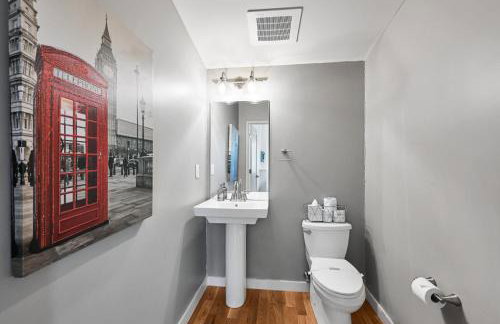
Bright Downtown Asheville Apt with Balcony, Walk Everywhere - Foto 3
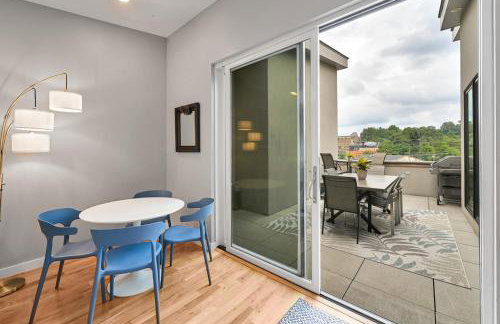
Bright Downtown Asheville Apt with Balcony, Walk Everywhere - Foto 4
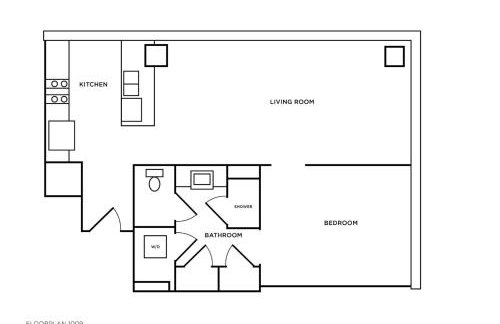
Bright Downtown Asheville Apt with Balcony, Walk Everywhere - Foto 5
Bright Downtown Asheville Apt with Balcony, Walk Everywhere - Foto 6
Bright Downtown Asheville Apt with Balcony, Walk Everywhere - Foto 7
Bright Downtown Asheville Apt with Balcony, Walk Everywhere - Foto 8
Bright Downtown Asheville Apt with Balcony, Walk Everywhere - Foto 9
Bright Downtown Asheville Apt with Balcony, Walk Everywhere - Foto 10
Bright Downtown Asheville Apt with Balcony, Walk Everywhere - Foto 11
Bright Downtown Asheville Apt with Balcony, Walk Everywhere - Foto 12
Bright Downtown Asheville Apt with Balcony, Walk Everywhere - Foto 13
Bright Downtown Asheville Apt with Balcony, Walk Everywhere - Foto 14
Bright Downtown Asheville Apt with Balcony, Walk Everywhere - Foto 15
Bright Downtown Asheville Apt with Balcony, Walk Everywhere - Foto 16
Bright Downtown Asheville Apt with Balcony, Walk Everywhere - Foto 17
Bright Downtown Asheville Apt with Balcony, Walk Everywhere - Foto 18
Bright Downtown Asheville Apt with Balcony, Walk Everywhere - Foto 19
Bright Downtown Asheville Apt with Balcony, Walk Everywhere - Foto 20
Bright Downtown Asheville Apt with Balcony, Walk Everywhere - Foto 21
Bright Downtown Asheville Apt with Balcony, Walk Everywhere - Foto 22
Bright Downtown Asheville Apt with Balcony, Walk Everywhere - Foto 23
Bright Downtown Asheville Apt with Balcony, Walk Everywhere - Foto 24
Bright Downtown Asheville Apt with Balcony, Walk Everywhere - Foto 25
Bright Downtown Asheville Apt with Balcony, Walk Everywhere - Foto 26
Bright Downtown Asheville Apt with Balcony, Walk Everywhere - Foto 27
Bright Downtown Asheville Apt with Balcony, Walk Everywhere - Foto 28
Bright Downtown Asheville Apt with Balcony, Walk Everywhere - Foto 29
Bright Downtown Asheville Apt with Balcony, Walk Everywhere - Foto 30
Bright Downtown Asheville Apt with Balcony, Walk Everywhere - Foto 31
Bright Downtown Asheville Apt with Balcony, Walk Everywhere - Foto 32
Bright Downtown Asheville Apt with Balcony, Walk Everywhere - Foto 33
Bright Downtown Asheville Apt with Balcony, Walk Everywhere - Foto 34
Bright Downtown Asheville Apt with Balcony, Walk Everywhere - Foto 35
Bright Downtown Asheville Apt with Balcony, Walk Everywhere - Foto 36

Bright Downtown Asheville Apt with Balcony, Walk Everywhere

Asheville - Downtown Asheville - Al centro

  • 46 M2
  • 2 persone
  • Aria condizionata
  • Terrazza
  • Parcheggio
9.8Eccezionale | 5 recensioni