
442 Appartamenti a Denver


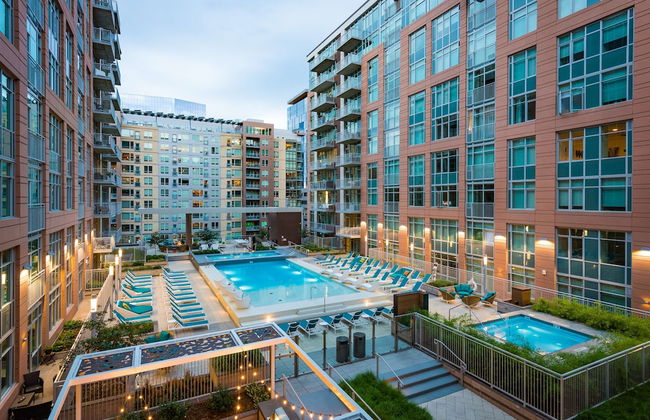
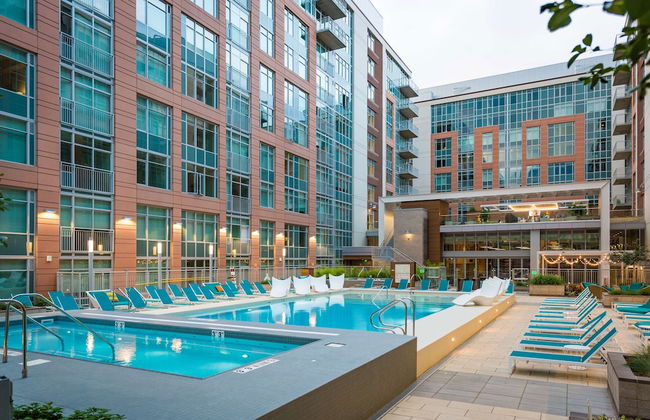
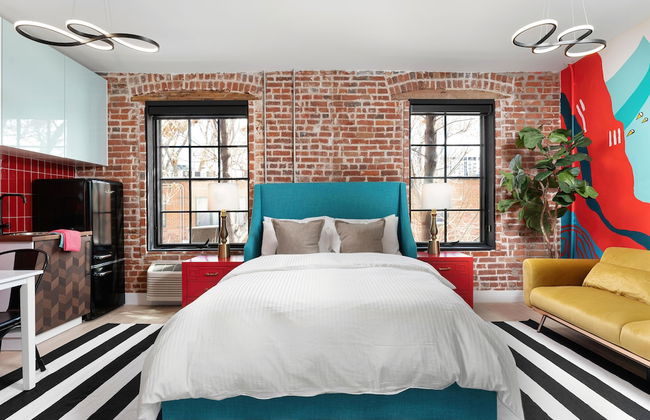
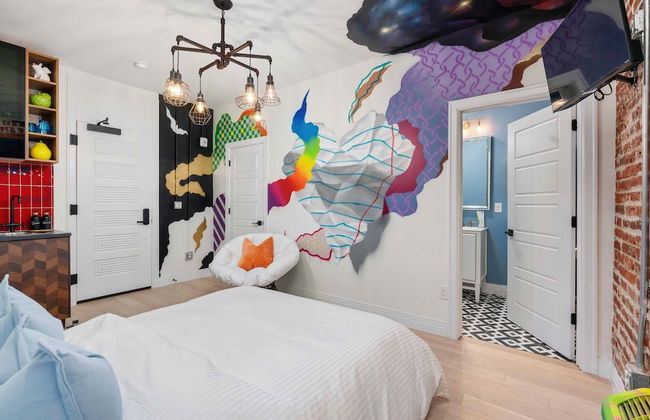
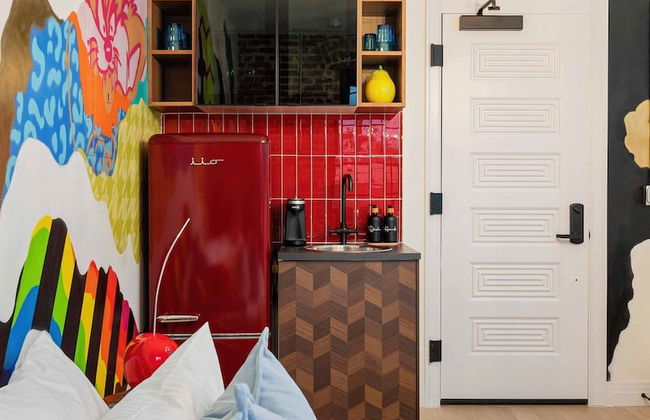
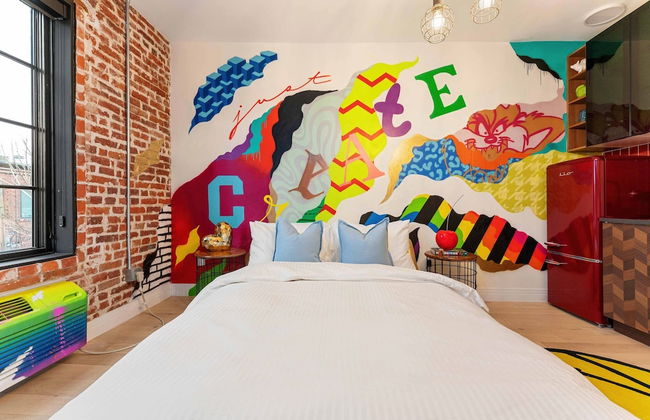
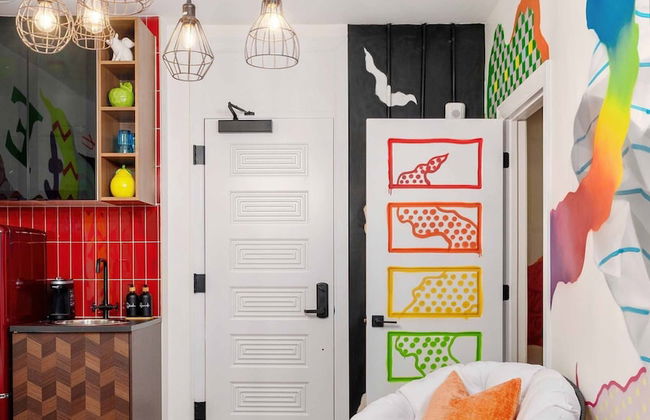
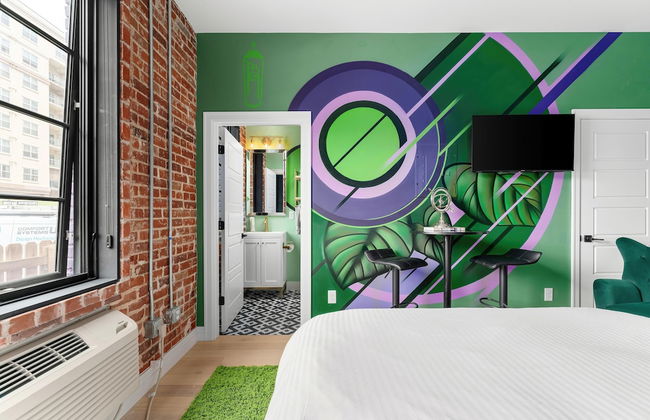
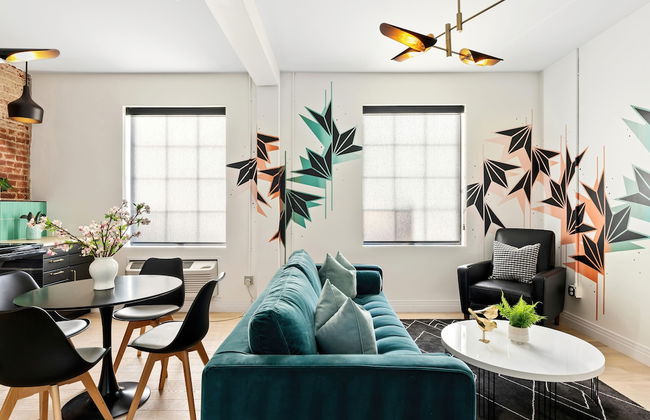
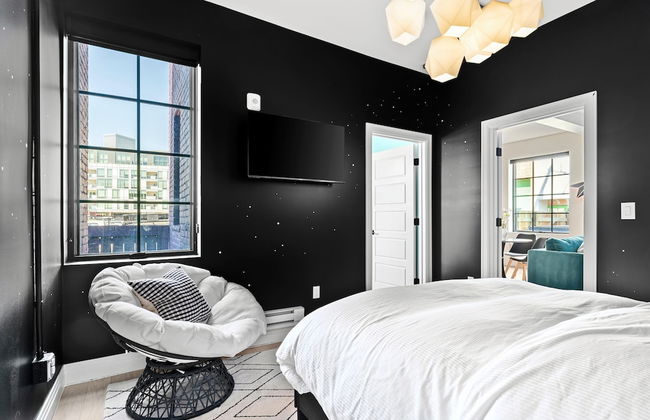
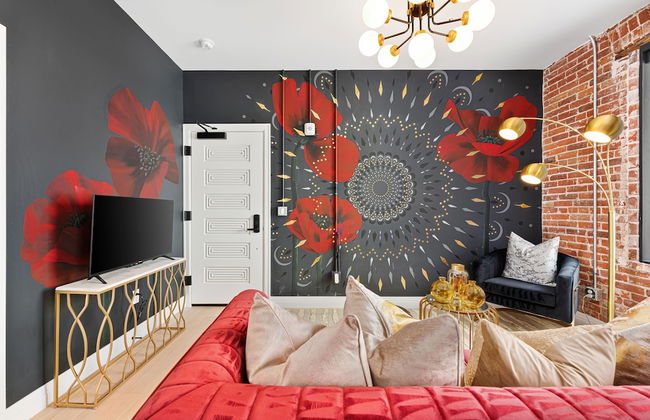
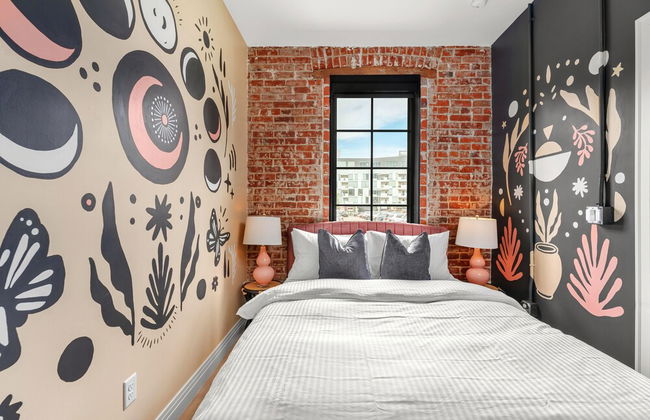
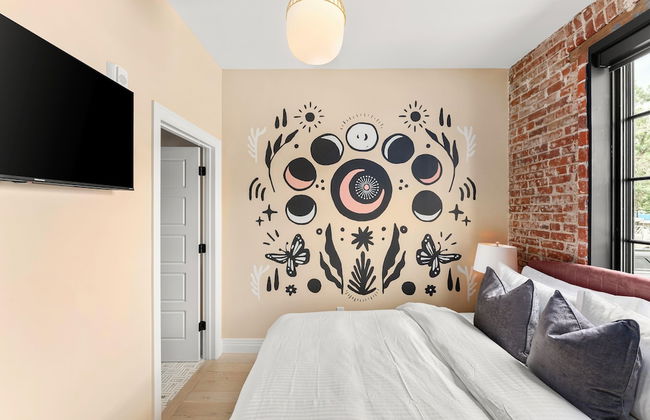
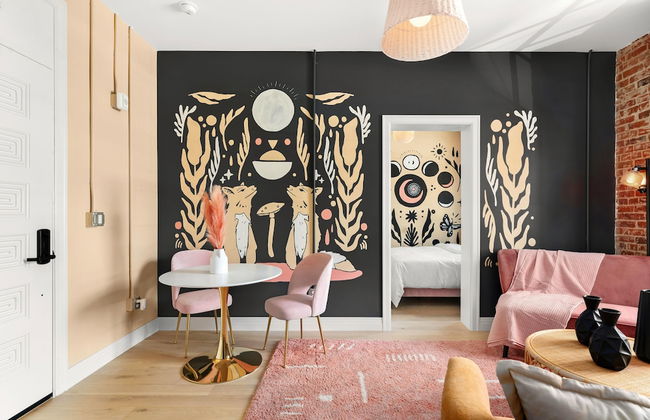
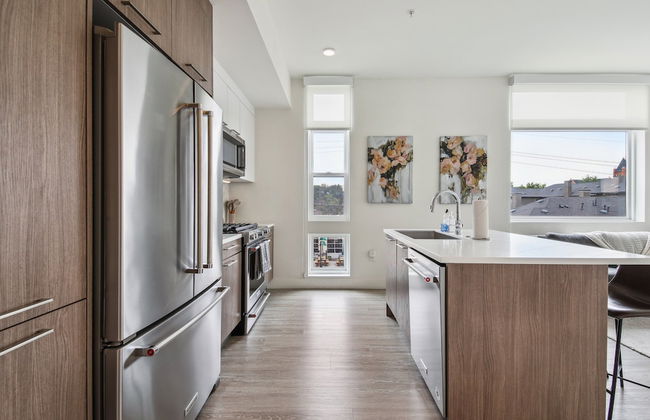
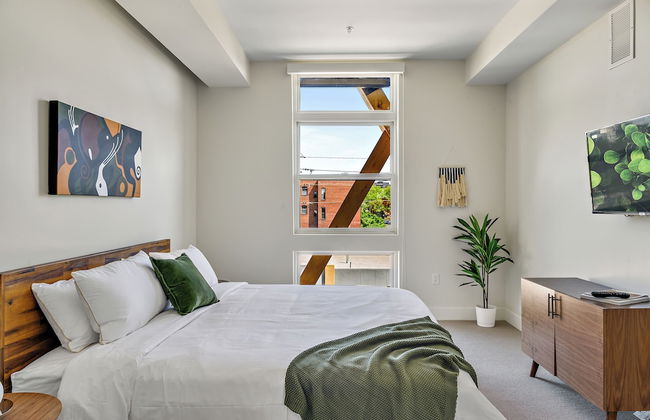
Kasa Union Station Denver
Denver - Union Station - 1.7 km dal centro
- 111 M2
- 5 persone
- Aria condizionata
- Riscaldamento
- Terrazza
- Piscina
- Parcheggio
- Ascensore
- Balcone
- Giardino
- Tv
- Lavatrice
- Focolare
- Barbecue
- Lino da bagno
- Lino da letto
910 recensioni


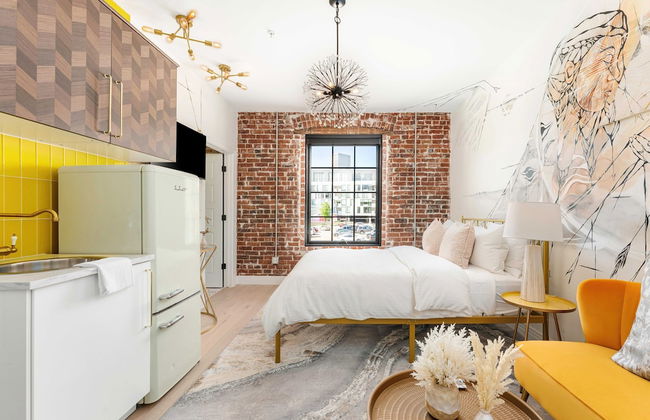
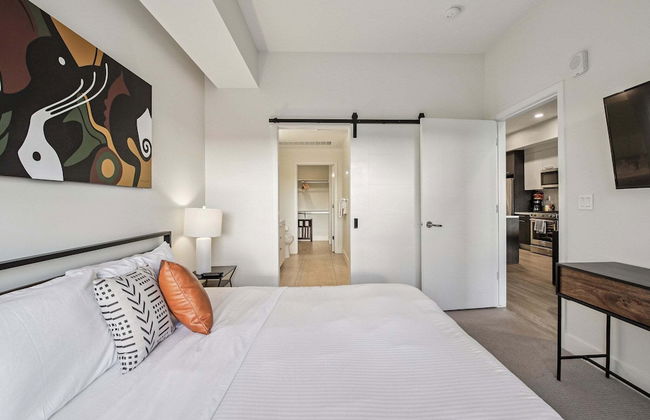
Union Station Penthouse 408
Denver - Union Station - 1.4 km dal centro
- 119 M2
- 6 persone
- Aria condizionata
- Riscaldamento
- Terrazza
- Parcheggio
- Balcone
- Tv
- Lavatrice
- Barbecue
- Lino da bagno
16 recensioni


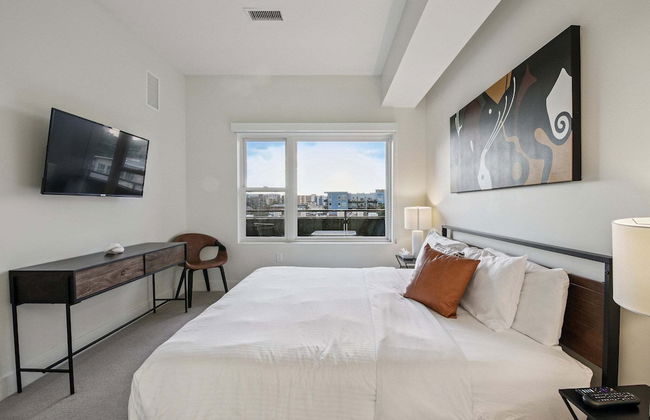
Union Station Executive Suite
Denver - Union Station - 1.4 km dal centro
- 70 M2
- 4 persone
- Aria condizionata
- Riscaldamento
- Terrazza
- Parcheggio
- Ascensore
- Tv
- Lavatrice
- Barbecue
- Lino da bagno
- Lino da letto
19 recensioni


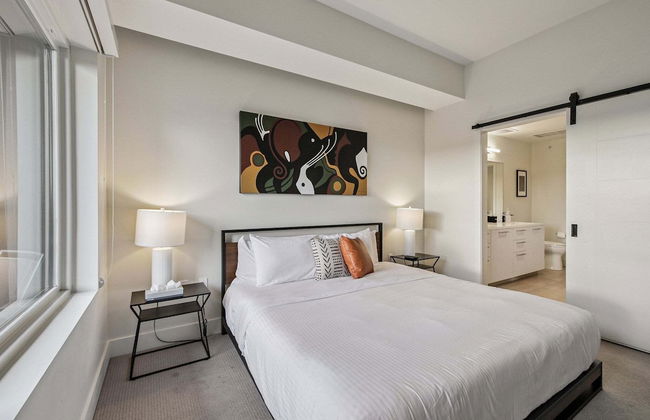
Sentral Union Station
Denver - Union Station - 1.4 km dal centro
- 105 M2
- 4 persone
- Aria condizionata
- Riscaldamento
- Piscina
- Parcheggio
- Ascensore
- Tv
- Lavatrice
- Focolare
- Lino da bagno
- Lino da letto
946 recensioni
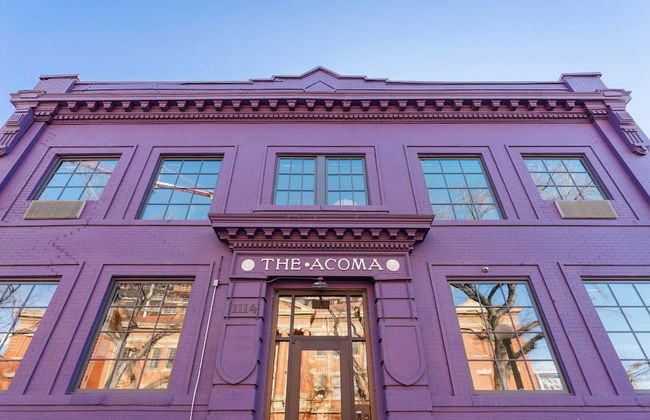

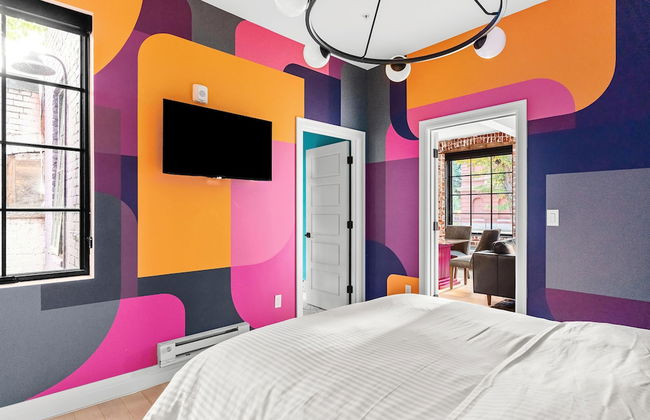


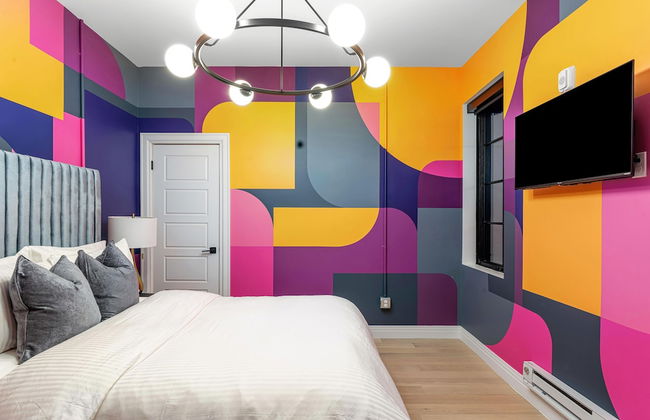


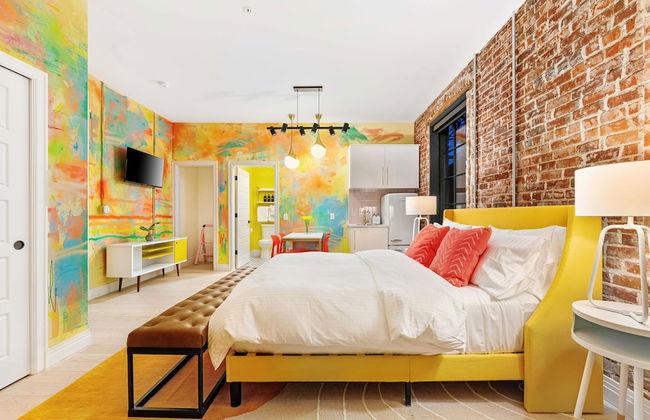


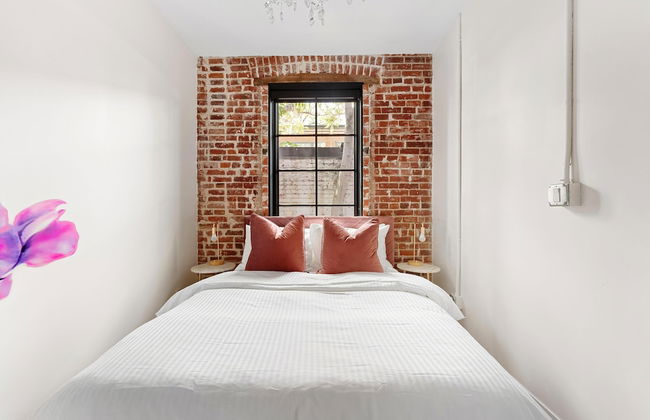


The Acoma House
Denver - Civic Center - 210 m dal centro
- 56 M2
- 1 camera
- 2 persone
- Cucinino
- Aria condizionata
- Riscaldamento
- Parcheggio
- Tv
- Lino da bagno
- Lino da letto
71 recensioni


Kasa Rino Denver
Denver - Five - 2.2 km dal centro
- 132 M2
- 3 camere
- 6 persone
- Aria condizionata
- Riscaldamento
- Terrazza
- Piscina
- Parcheggio
- Ascensore
- Balcone
- Giardino
- Tv
- Lavatrice
- Focolare
- Barbecue
- Lino da bagno
- Lino da letto
240 recensioni


The Berkeley Hotel
Denver - Berkeley - 5.3 km dal centro
- 6 persone
- Aria condizionata
- Riscaldamento
- Parcheggio
- Ascensore
- Balcone
- Tv
- Lavatrice
- Focolare
- Barbecue
- Lino da bagno
- Lino da letto
69 recensioni


Espadin Condos II
Denver - Highland - 2.4 km dal centro
- 72 M2
- 11 persone
- Aria condizionata
- Riscaldamento
- Parcheggio
- Ascensore
- Balcone
- Tv
- Lavatrice
- Lino da bagno
- Lino da letto
11 recensioni


Pineapple House, Spacious 1st Floor Apartment! City Center! 96 Walk Score! FREE parking!
Denver - Cheeseman Park - 2 km dal centro
- 84 M2
- 1 camera
- 4 persone
- Aria condizionata
- Riscaldamento
- Parcheggio
- Giardino
85 recensioni


Gameday Oasis - Private Balcony - Jefferson Park - Tesoro
Denver - Jefferson - 2.1 km dal centro
- 130 M2
- 2 camere
- 4 persone
- Aria condizionata
- Riscaldamento
- Parcheggio
- Ascensore
- Giardino
14 recensioni


Espadin Condos I
Denver - Highland - 2.4 km dal centro
- 119 M2
- 9 persone
- Aria condizionata
- Riscaldamento
- Parcheggio
- Ascensore
- Balcone
- Tv
- Lavatrice
- Lino da bagno
- Lino da letto
6 recensioni


Luxe 4 bed 5 bath with Parking Walk to Capitol, Convention Center, museums and shops
Denver - Civic Center - Al centro
- 595 M2
- 4 camere
- Aria condizionata
- Riscaldamento
- Terrazza
- Parcheggio
- Ascensore
- Giardino
- Barbecue
2 recensioni


Rooftop Deck & City Views: Denver Abode!
Denver - Five - 1.4 km dal centro
- 132 M2
- 2 camere
- 4 persone
- Riscaldamento
- Terrazza
- Parcheggio
13 recensioni


Victorian Manor 1 mile from Downtown Denver!
Denver - Five - 1.6 km dal centro
- 204 M2
- 3 camere
- 6 persone
- Aria condizionata
- Riscaldamento
- Terrazza
- Parcheggio
- Giardino
- Barbecue
14 recensioni


The Highland Square Experience Lohi Townhome With Hot Tub
Denver - Highland - 2.3 km dal centro
- 8 persone
- Parcheggio
- Tv
- Lavatrice
- Lino da bagno
3 recensioni


Skyline Blue Modern Loft - Zuni Lofts
Denver - Highland - 2.3 km dal centro
- 77 M2
- 1 camera
- 4 persone
- Riscaldamento
- Parcheggio
- Ascensore
23 recensioni


4 Mi to Coors Field: Charming Apartment w/ Patio
Denver - 5.8 km dal centro
- 88 M2
- 2 camere
- 4 persone
- Riscaldamento
- Parcheggio
- Giardino
16 recensioni


Luxury Living in the city
Denver - Montclair - 6.3 km dal centro
- 46 M2
- 2 persone
- Aria condizionata
- Riscaldamento
- Terrazza
- Parcheggio
3 recensioni


2 BR Condo Heart of LoDo w/Great View/Amenities
Denver - Union Station - 740 m dal centro
- 102 M2
- 2 camere
- 6 persone
- Aria condizionata
- Parcheggio
- Ascensore
- Barbecue
35 recensioni


Luxurious Escape - Walk to Empower Field - Tesoro
Denver - Jefferson - 2.1 km dal centro
- 130 M2
- 2 camere
- 4 persone
- Aria condizionata
- Riscaldamento
- Parcheggio
- Ascensore
- Giardino
34 recensioni