


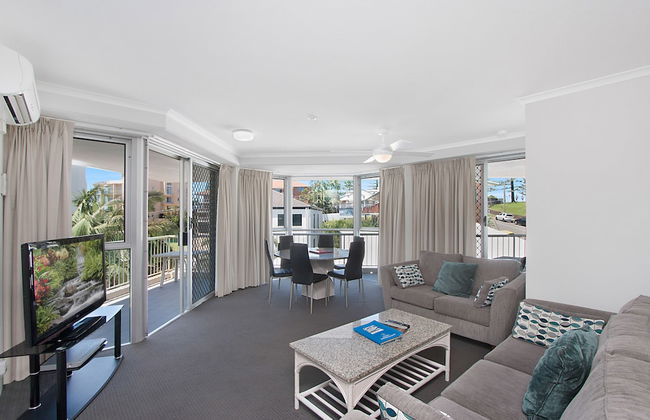
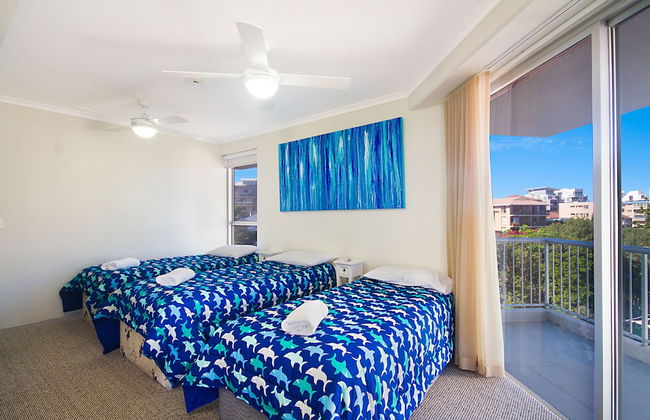
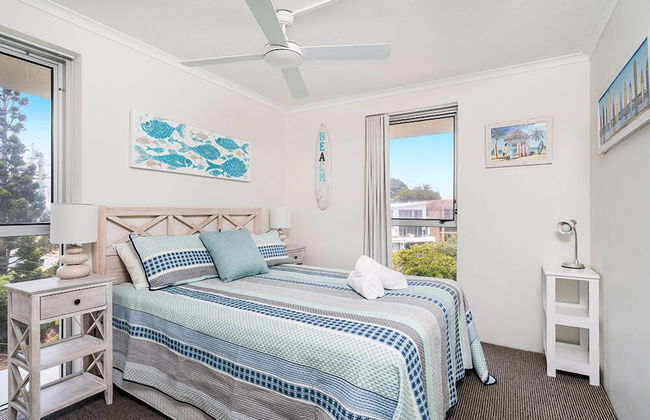
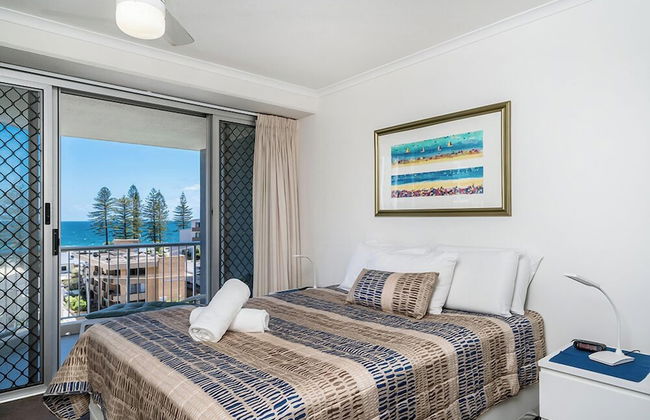
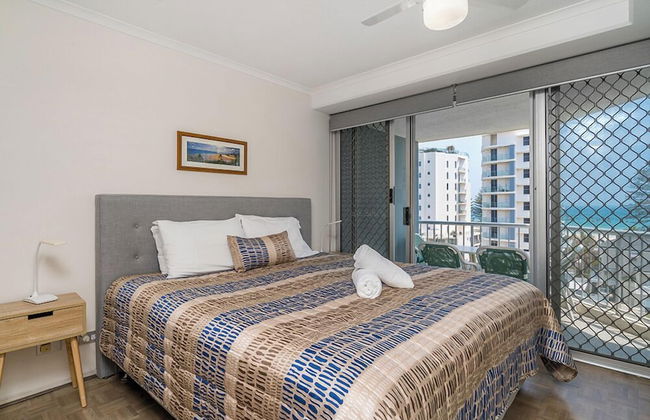
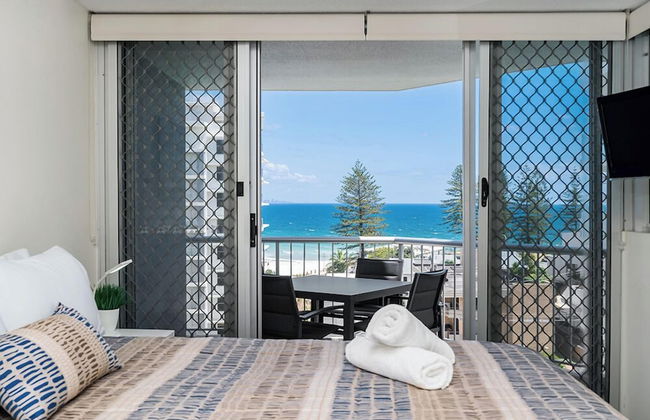
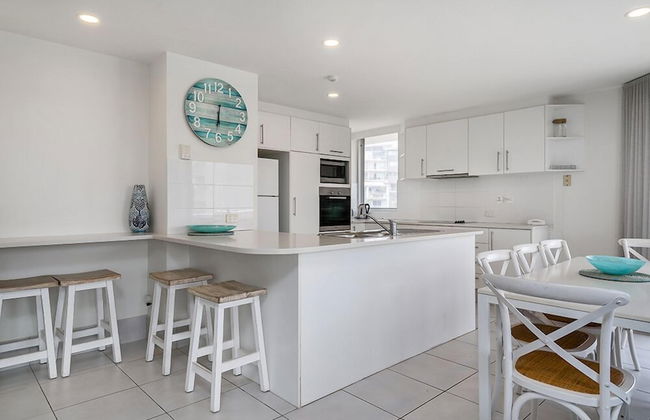
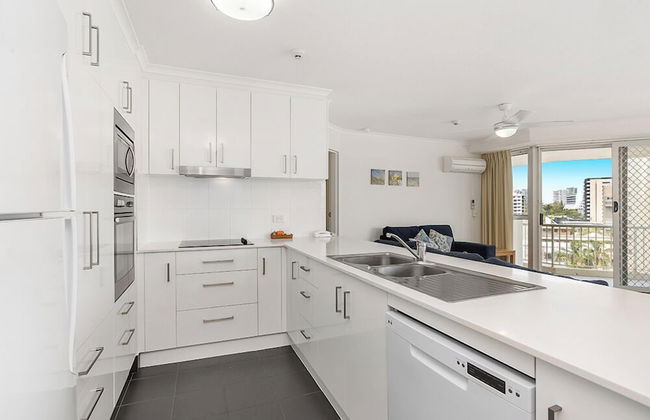
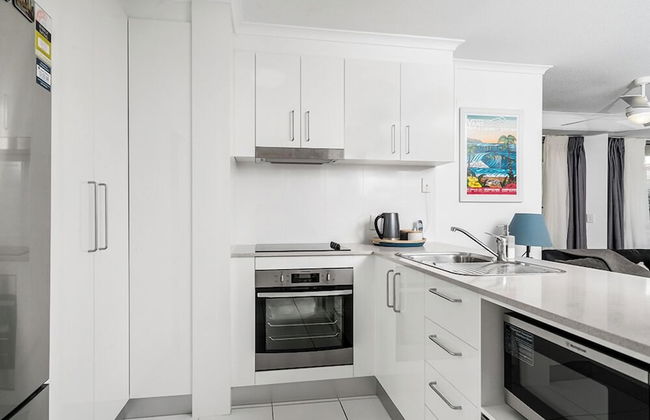
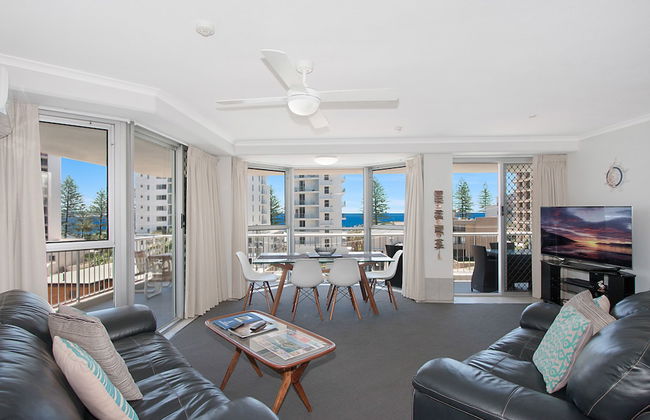
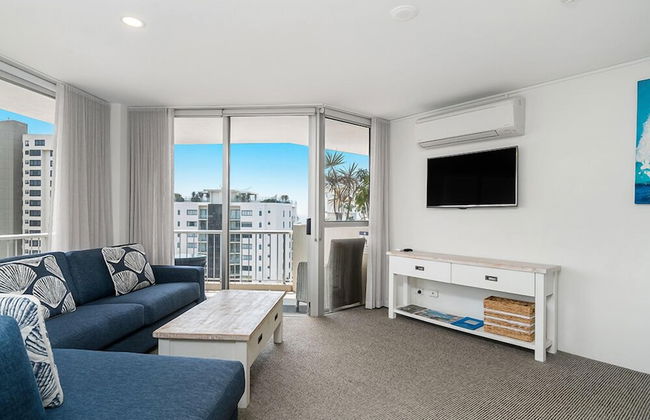
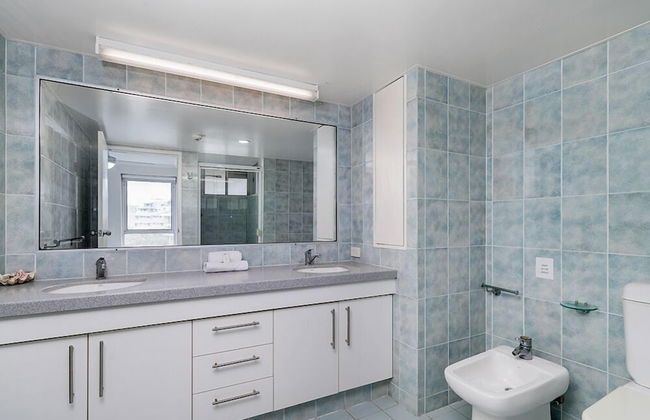
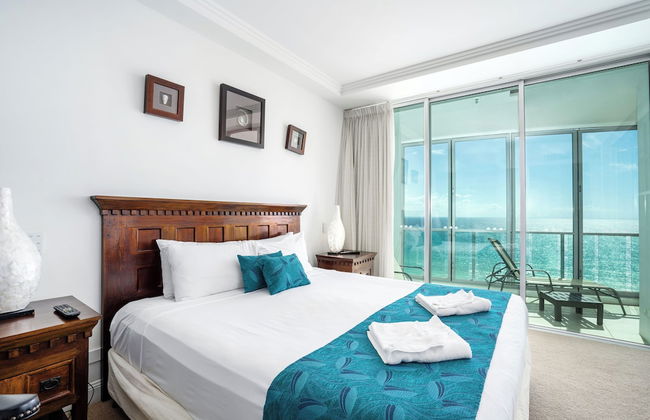
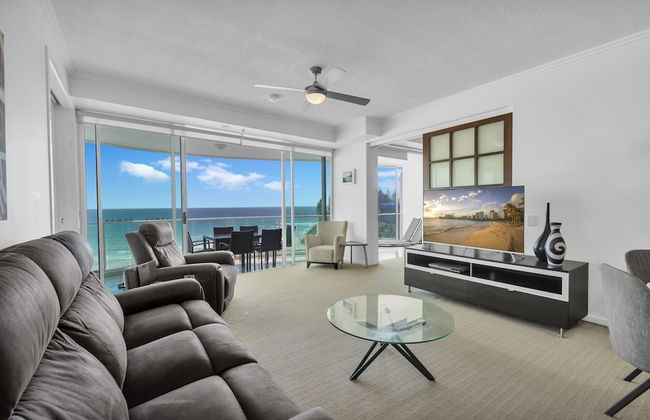
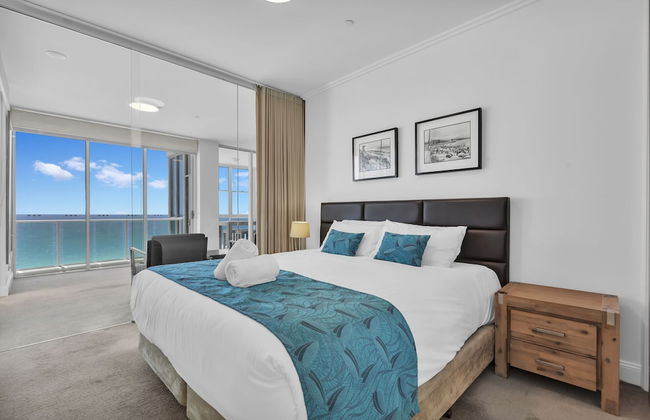
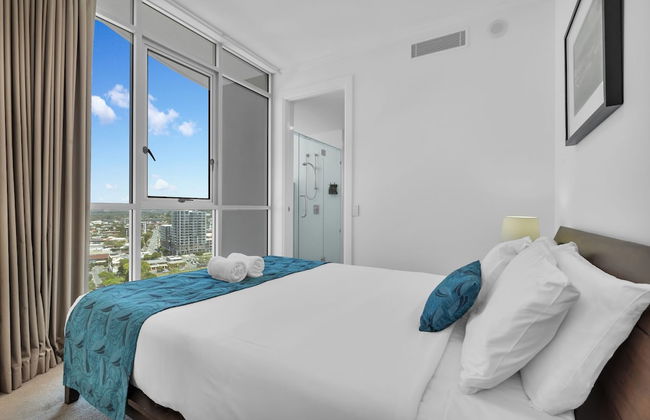
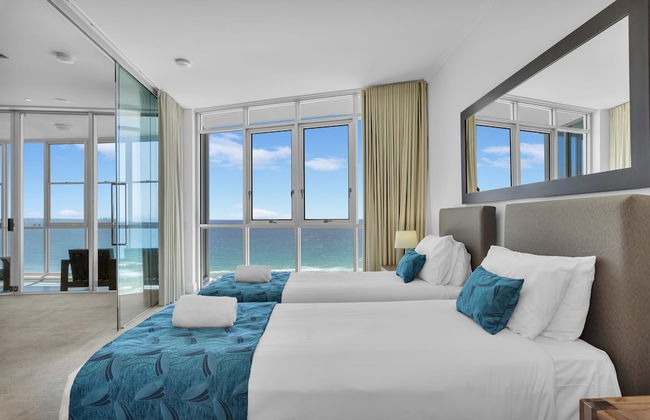
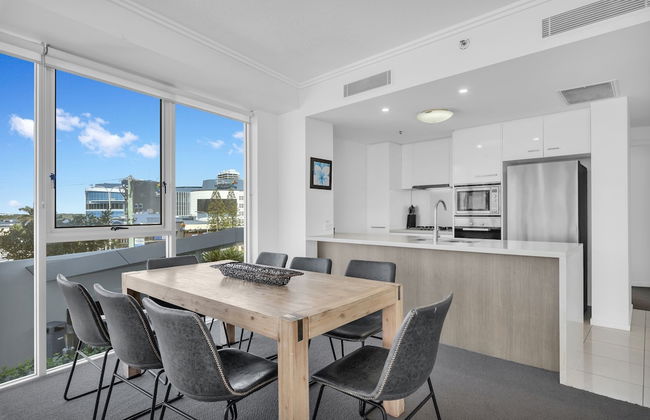
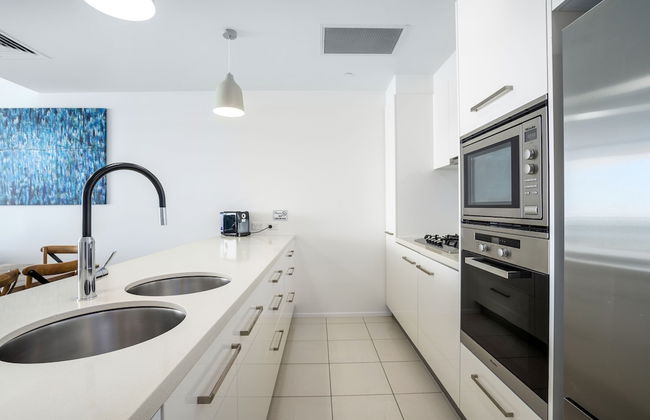
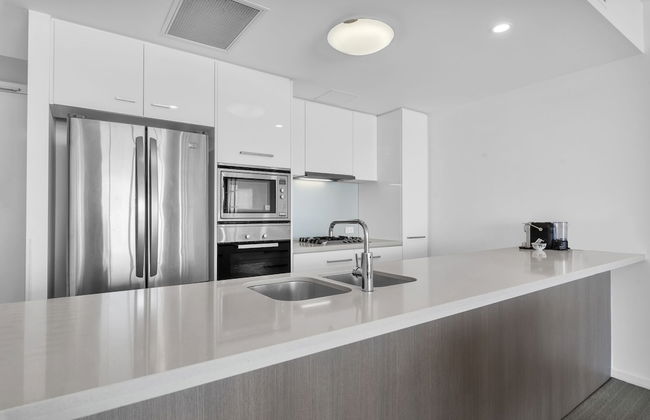
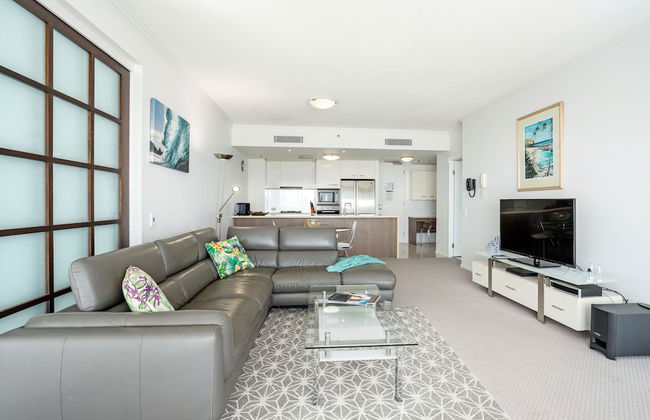
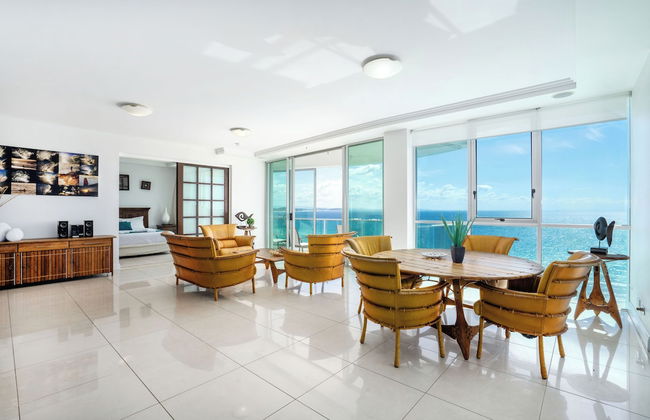
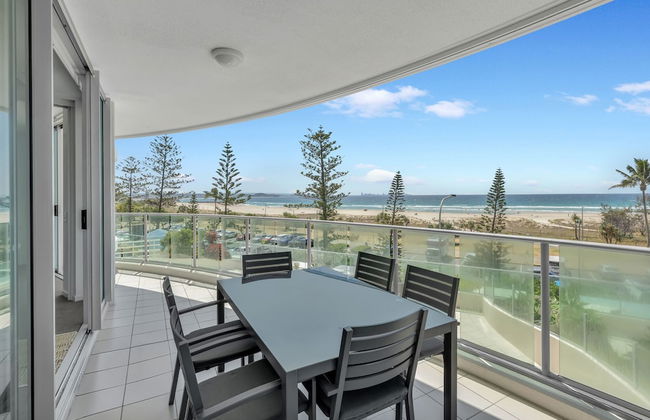
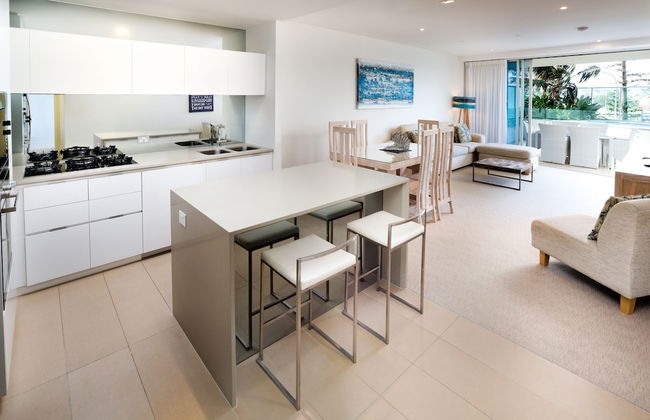
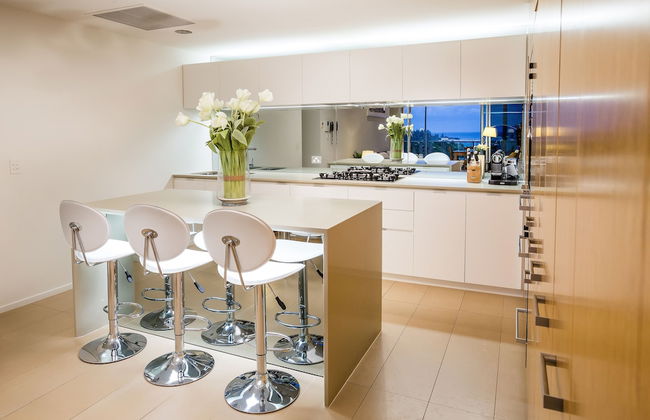
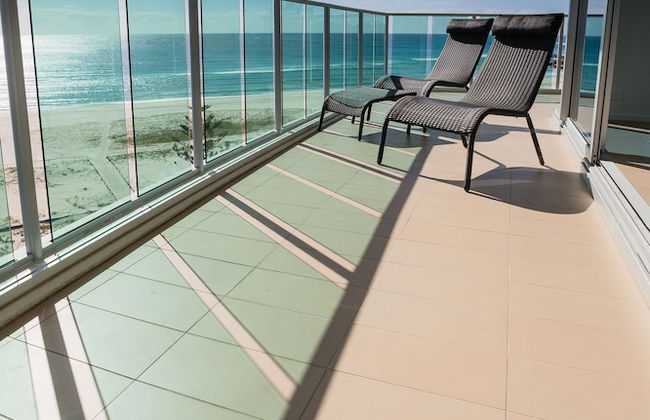
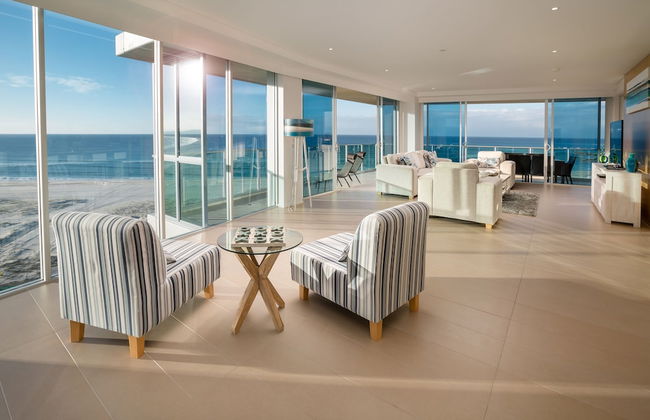
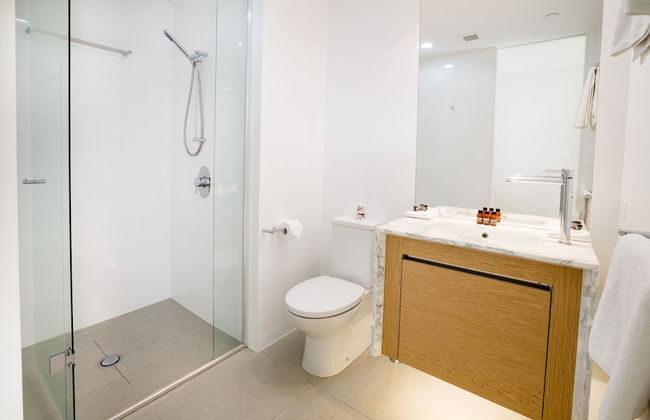
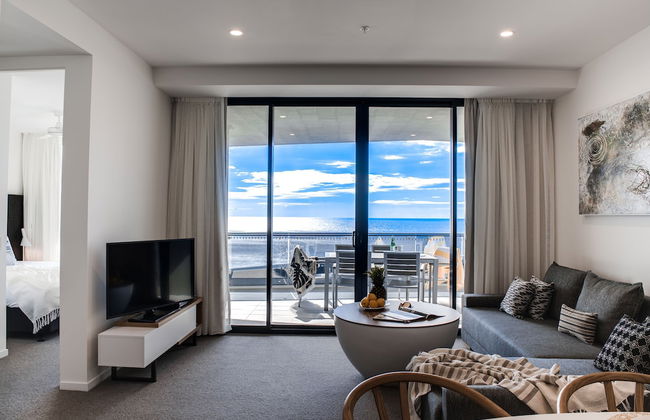
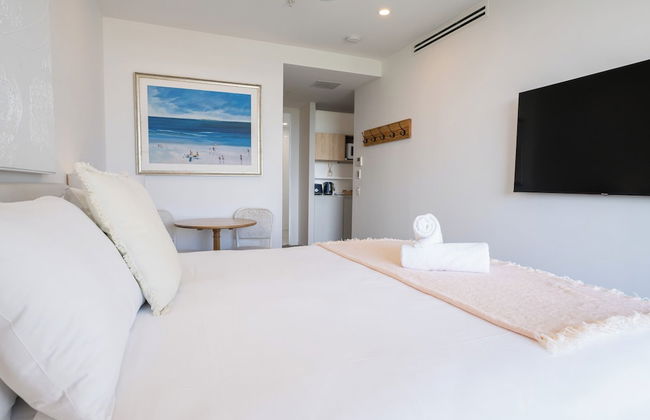
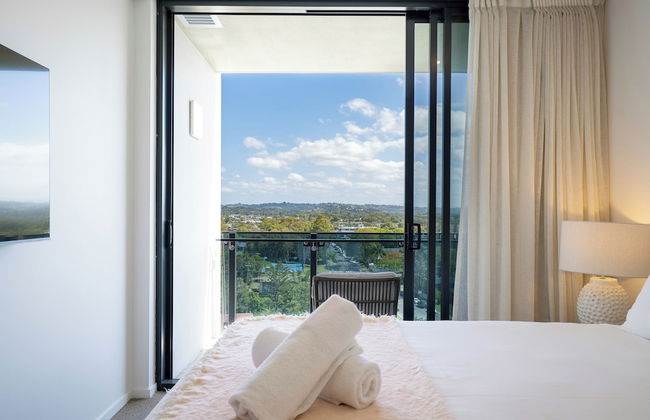
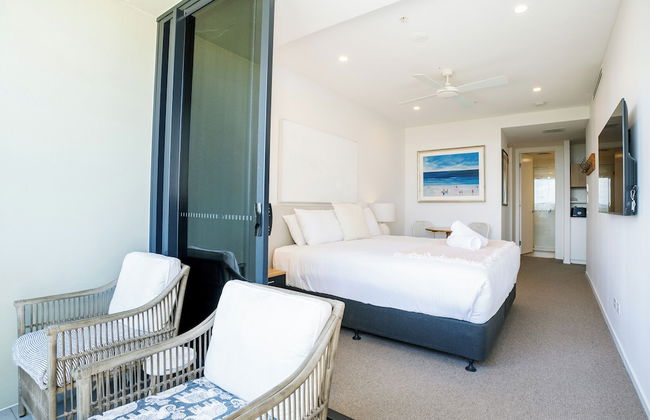
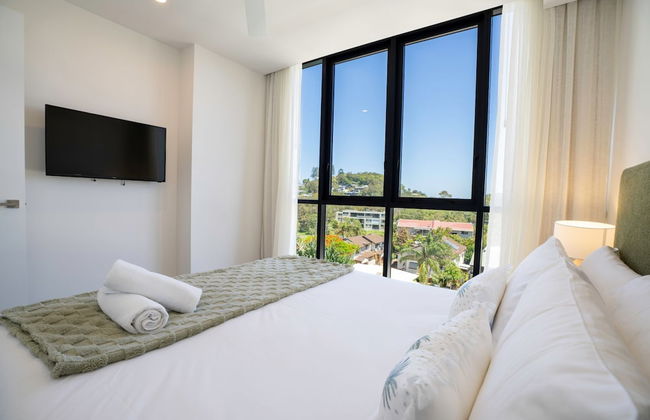
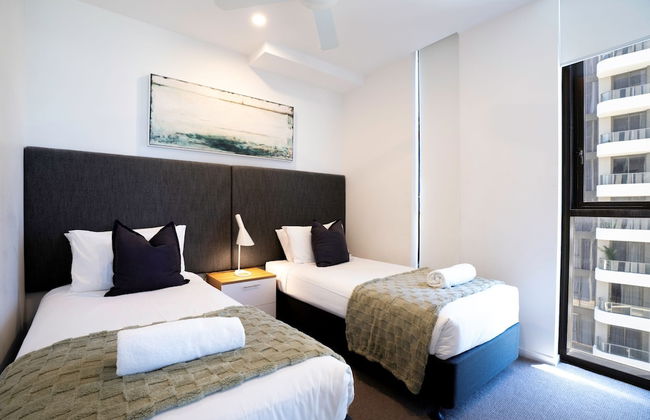
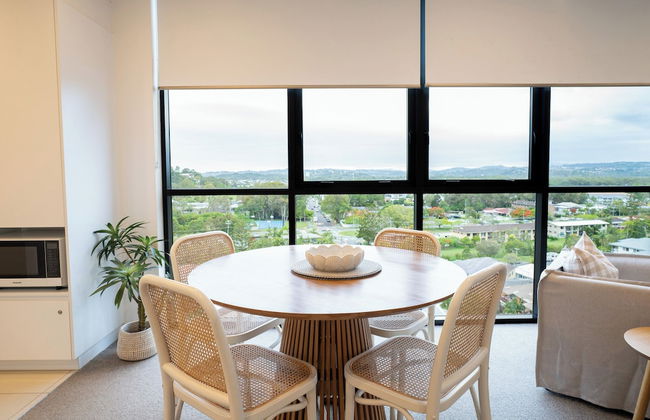
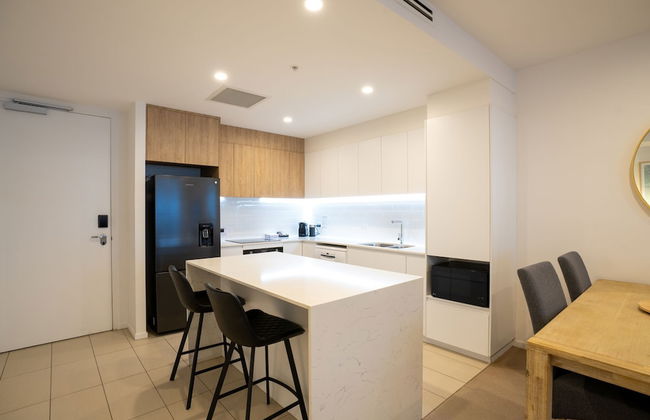
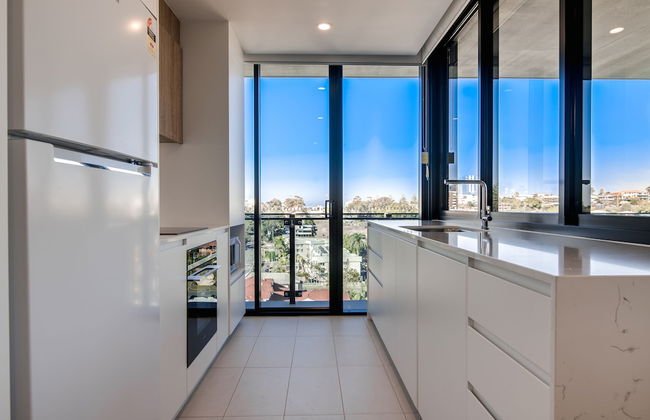
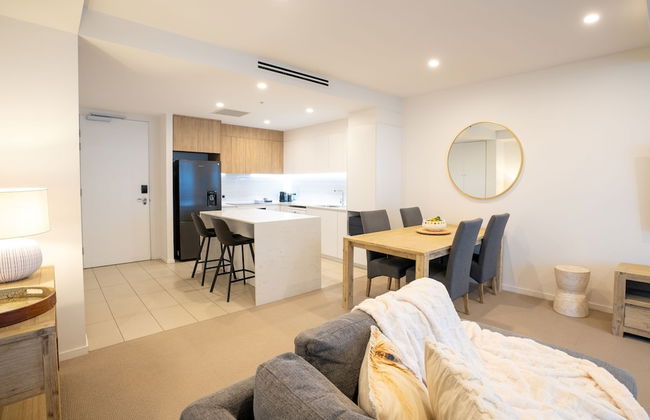
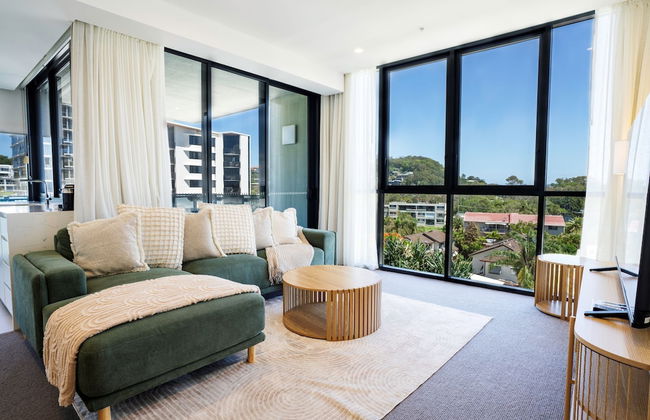
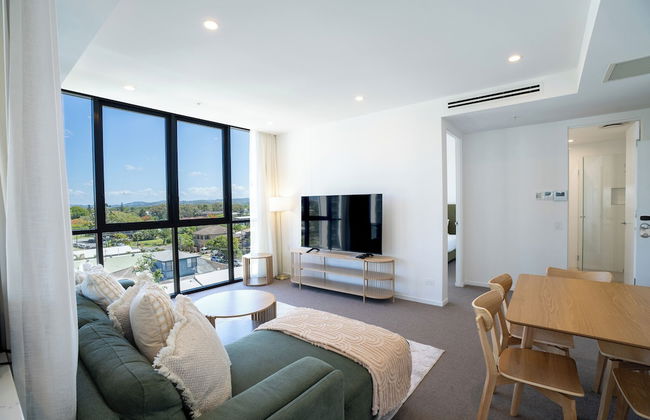
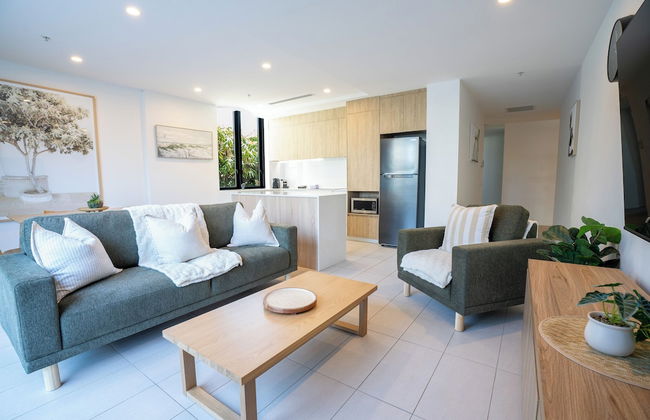
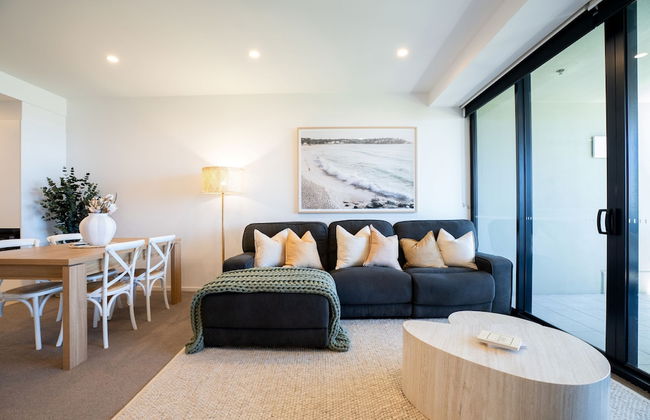
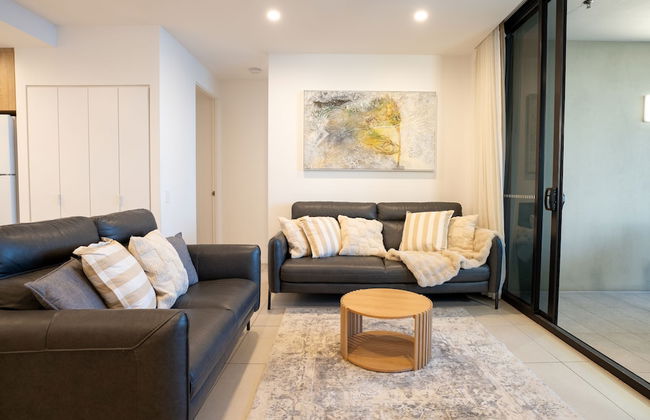
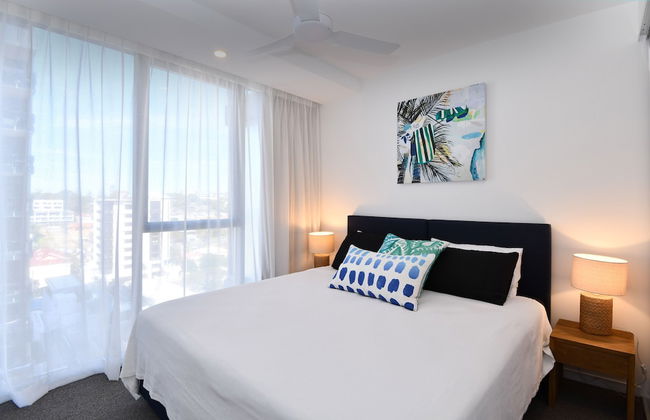
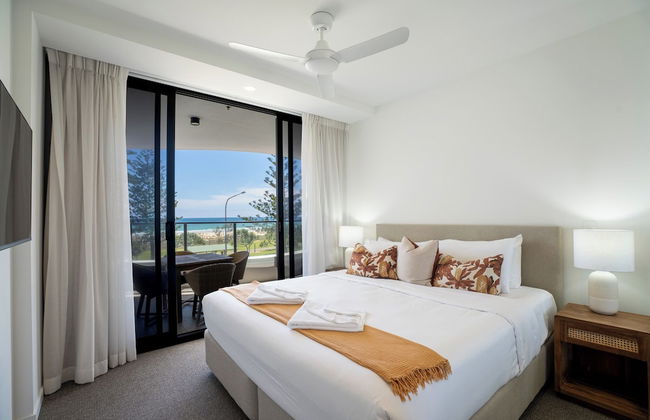
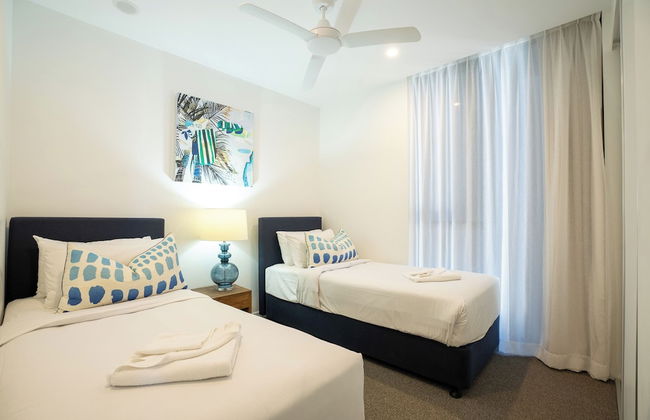
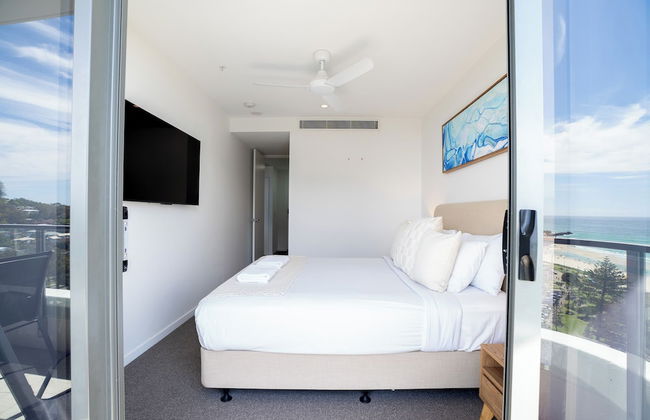
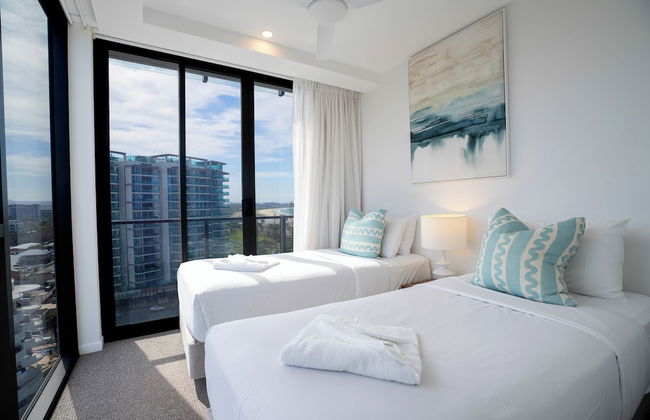
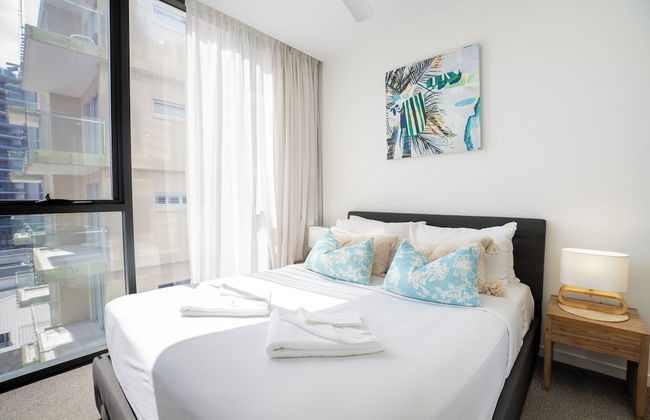
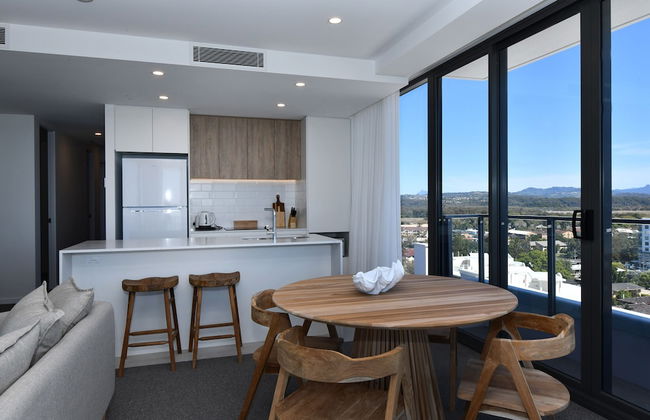
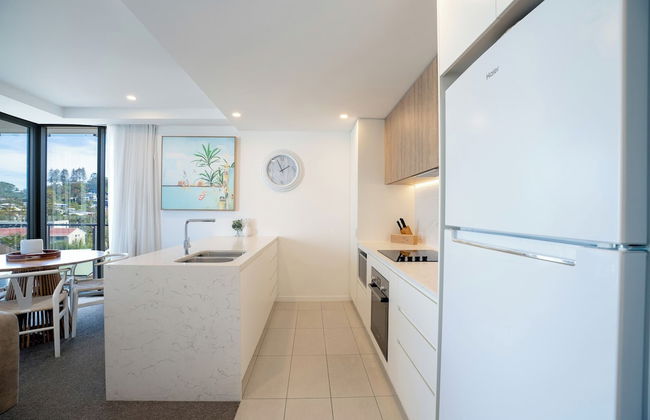
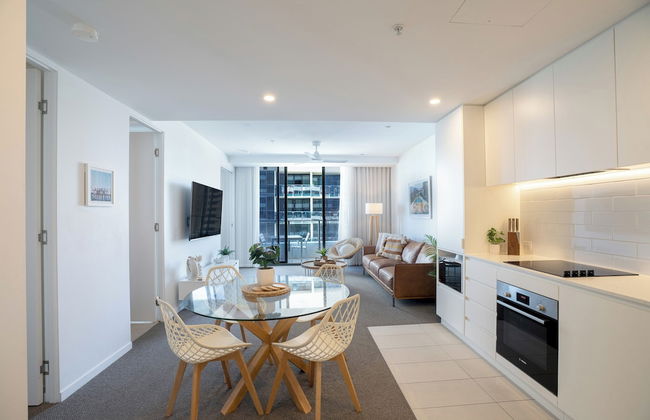
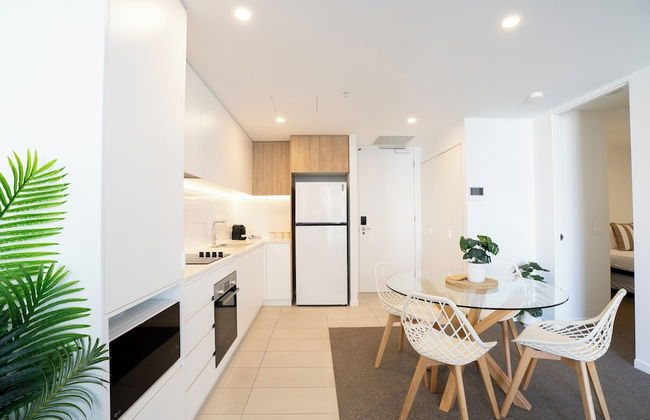
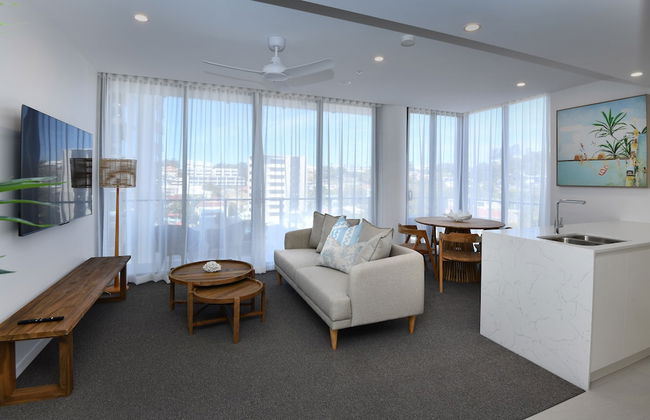
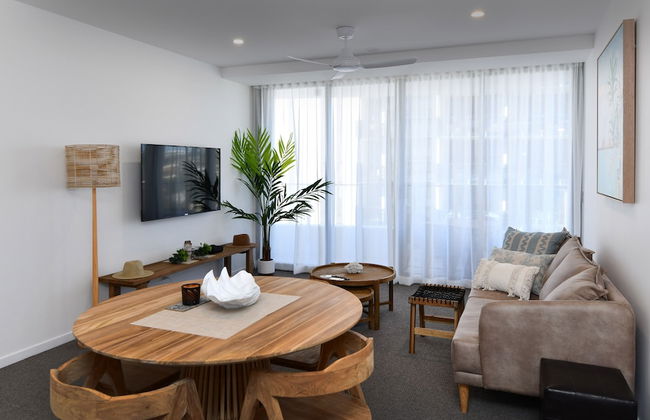
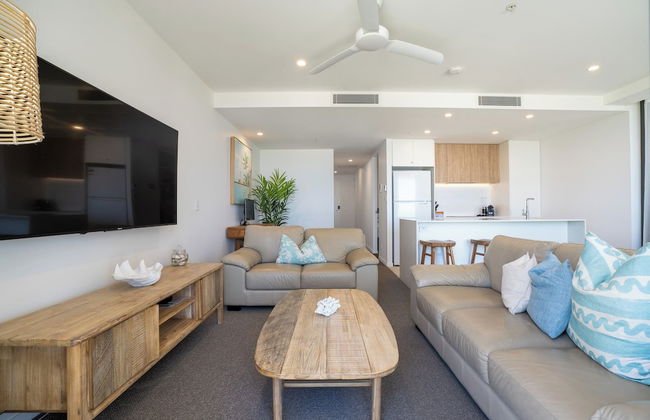
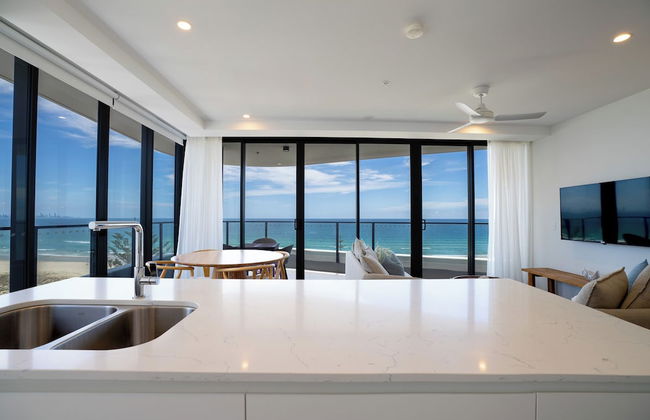
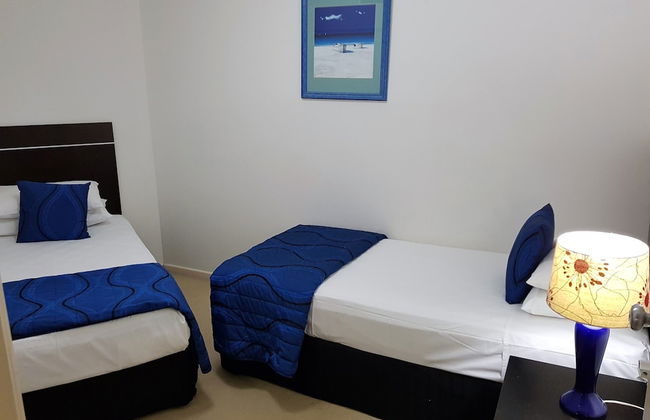
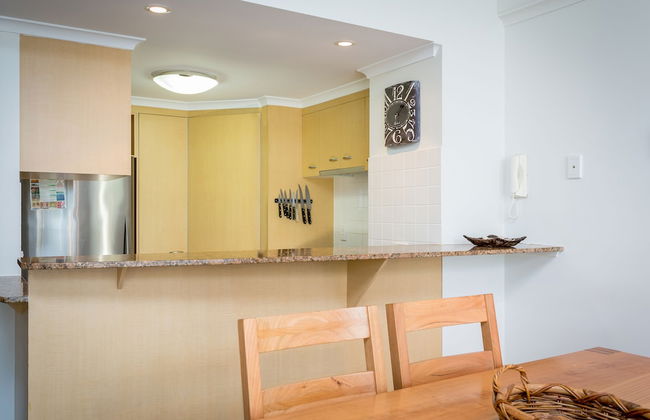
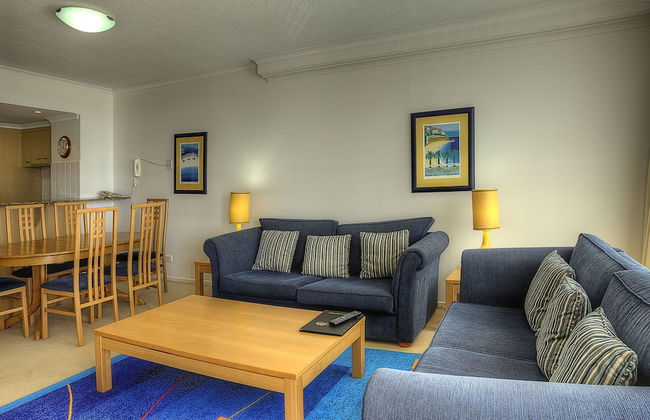
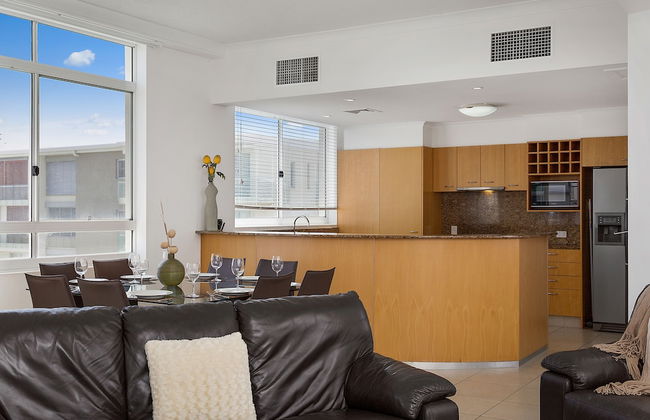
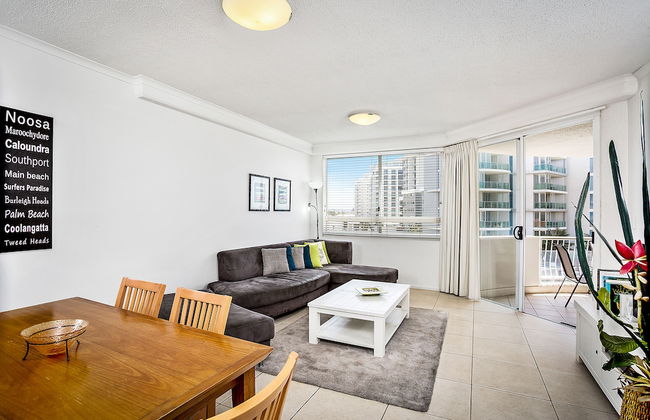
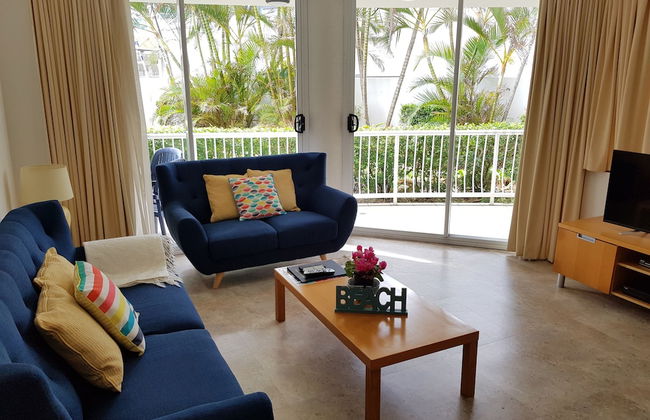
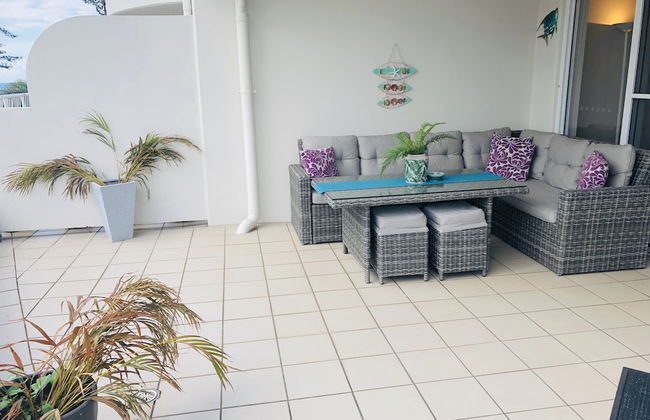
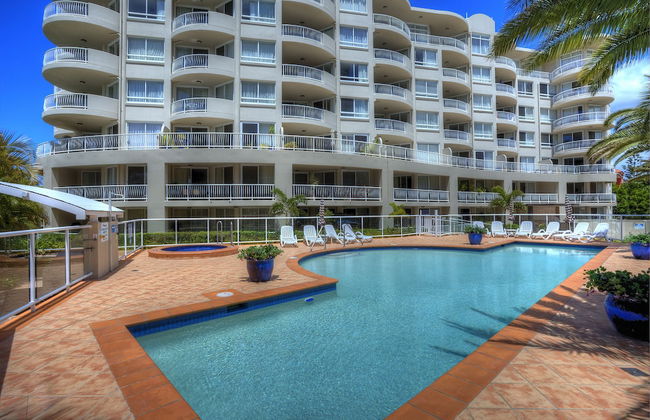
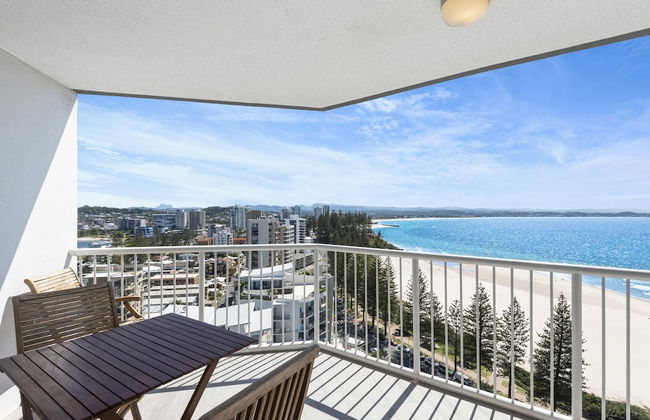
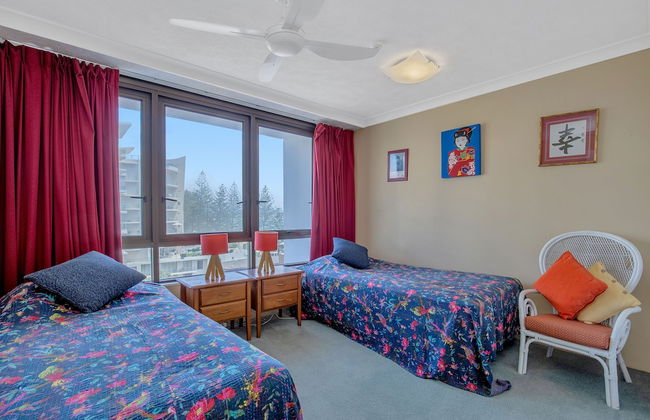
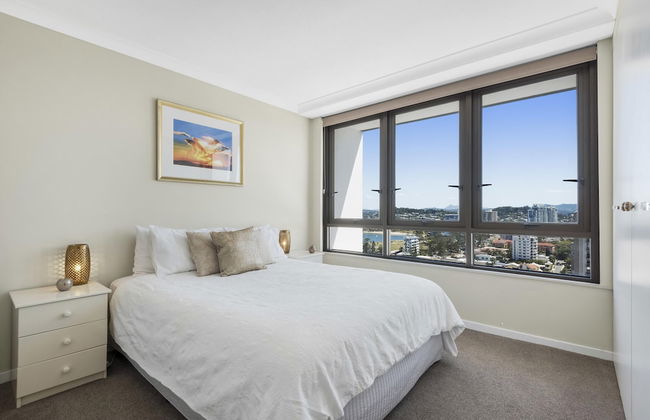
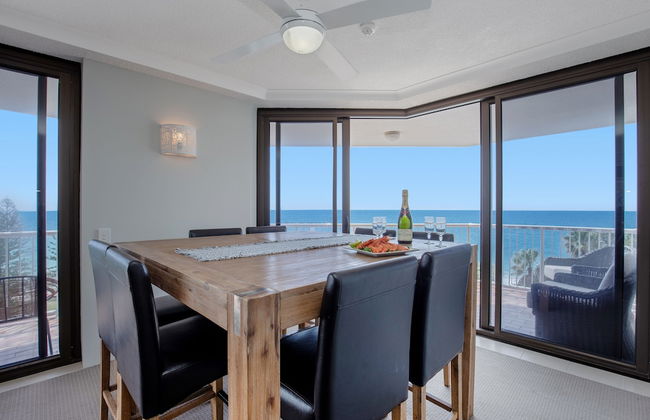
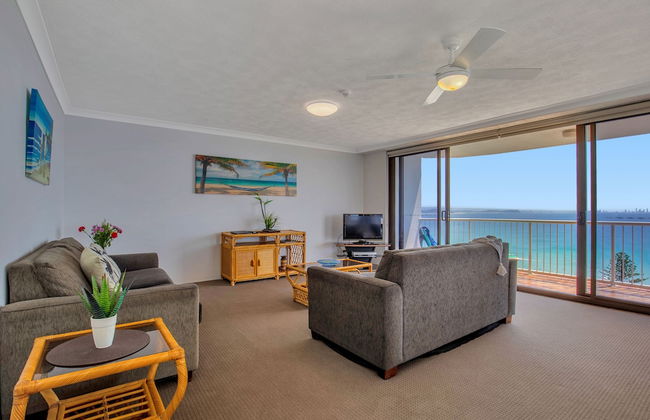
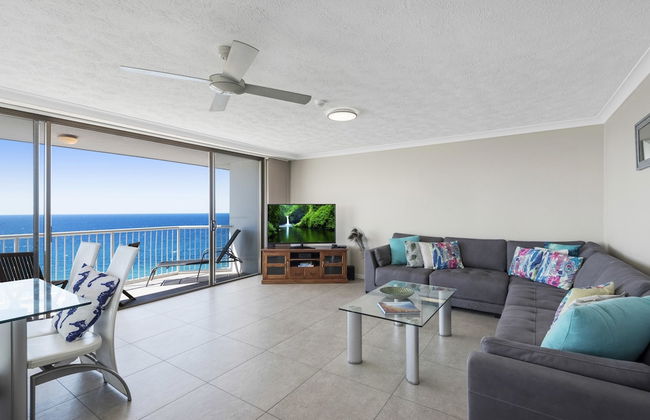
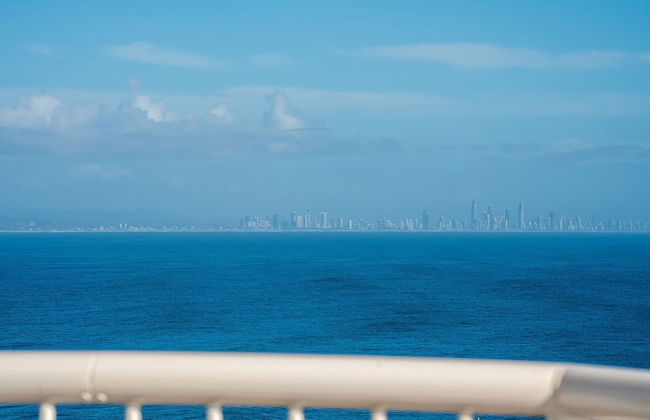
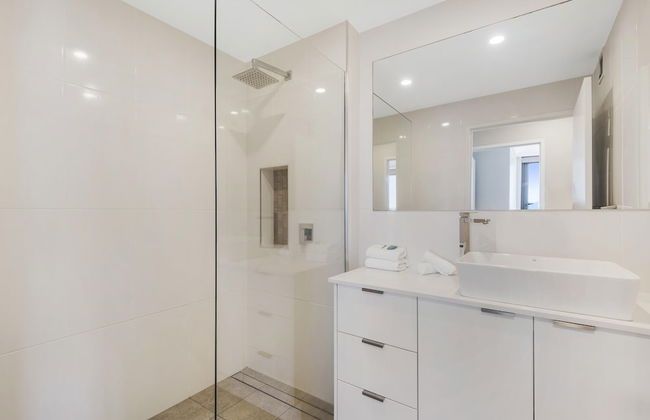
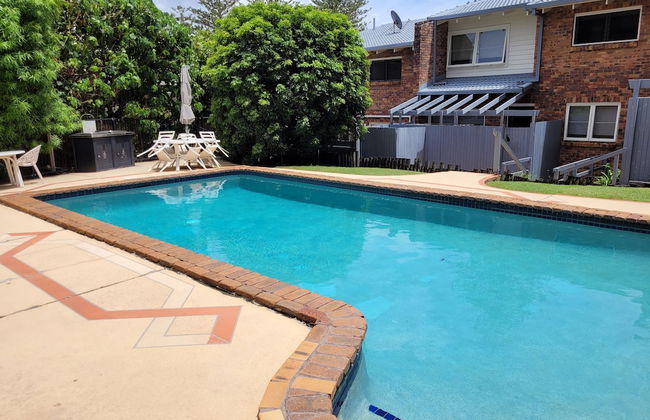
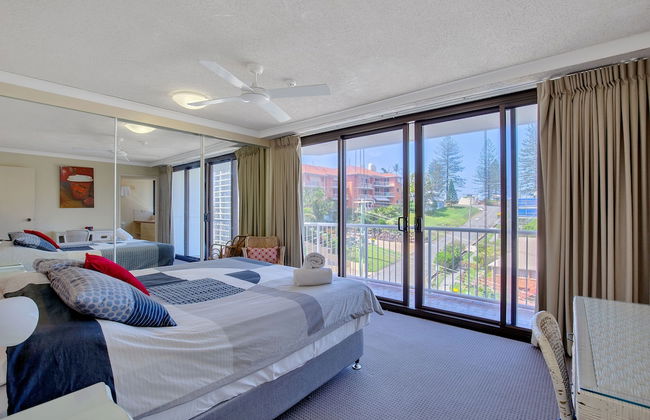
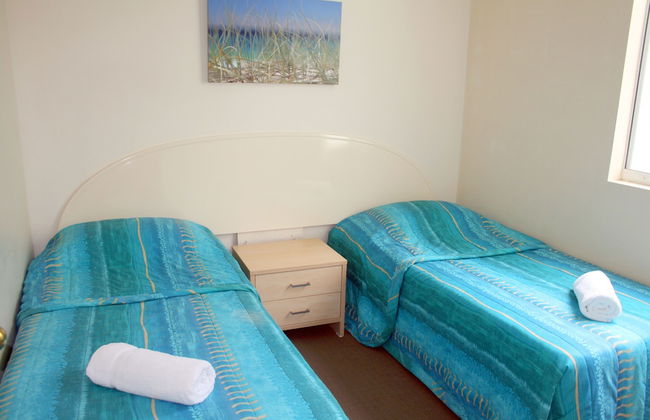
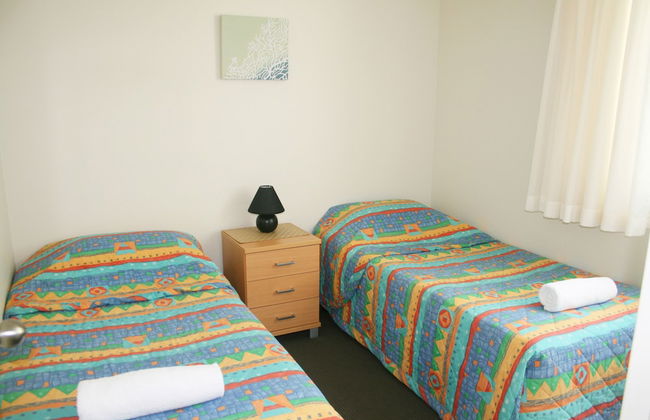
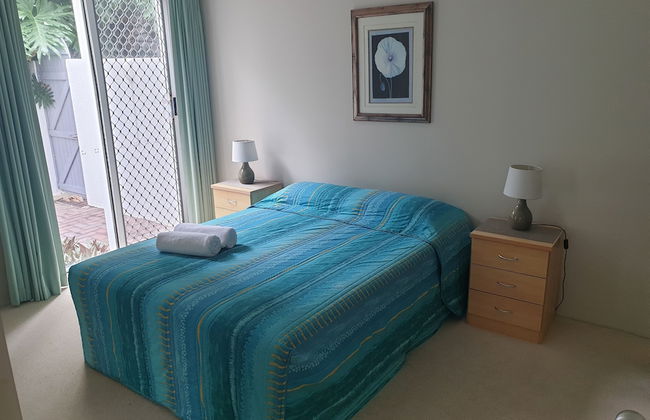
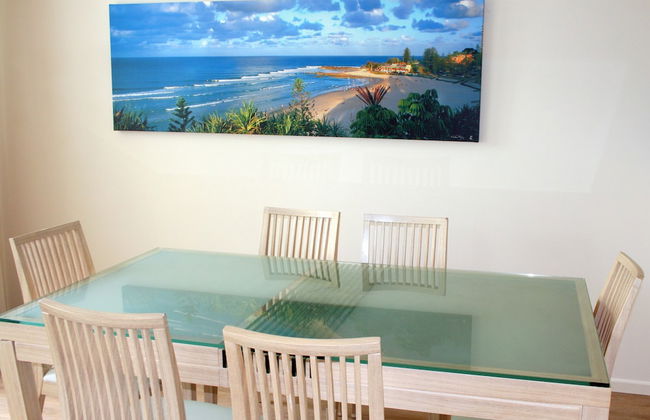
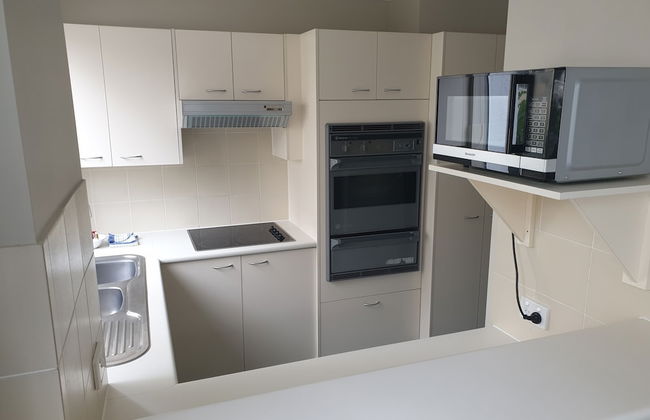
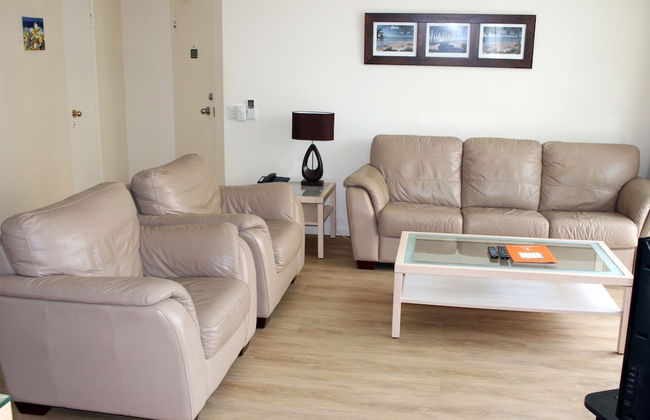
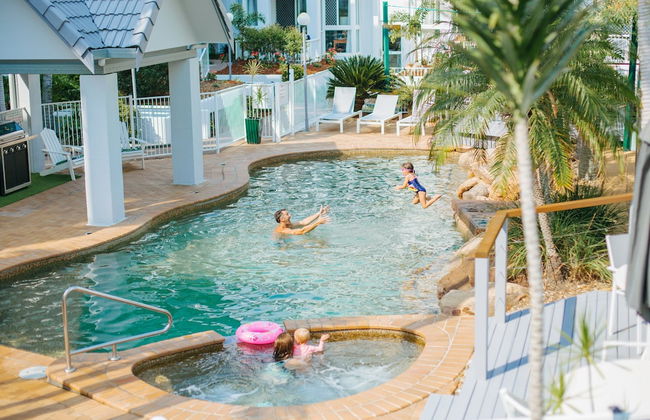
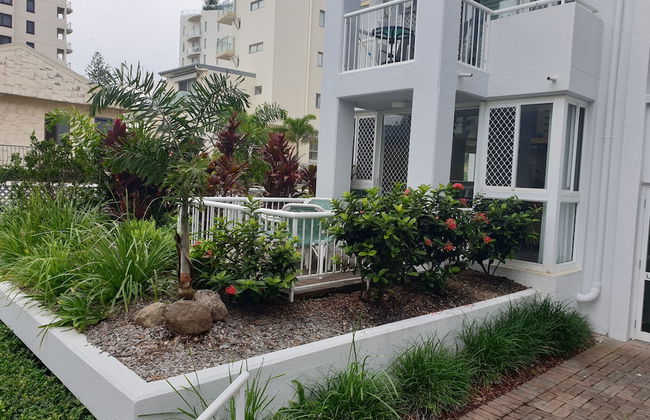
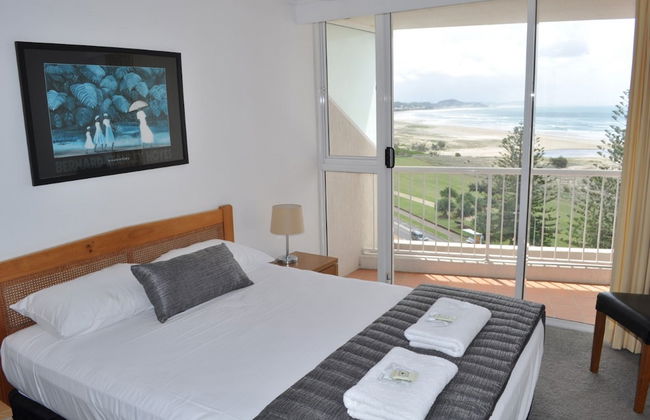
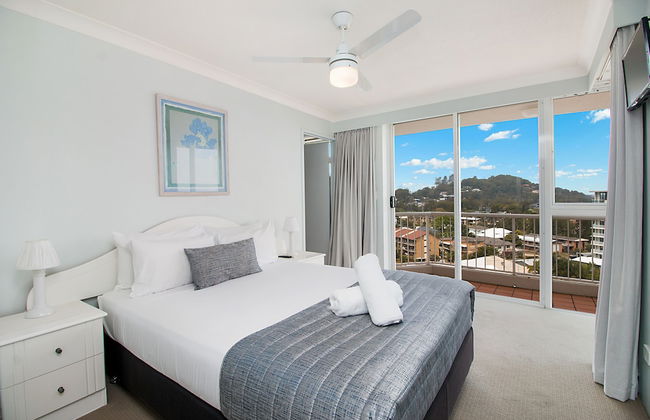
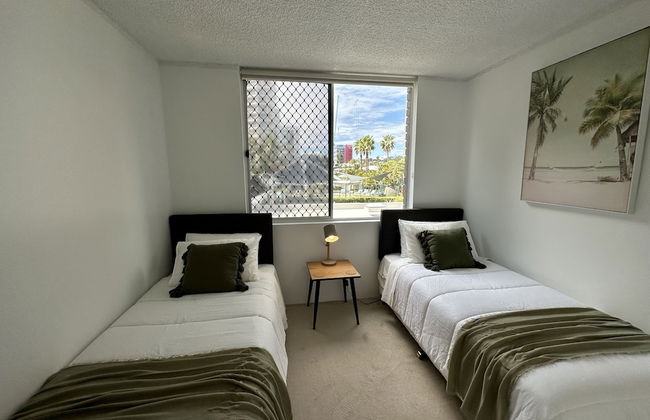
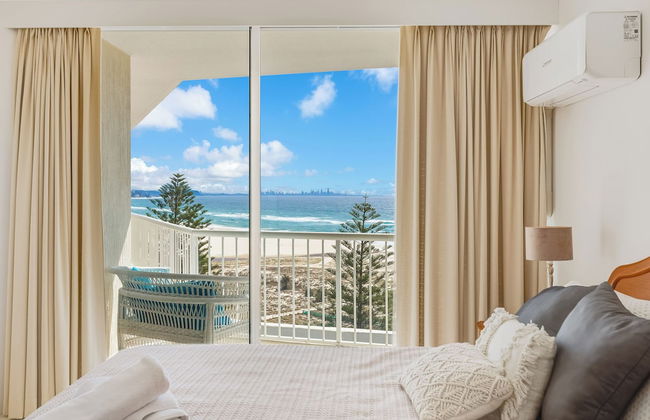
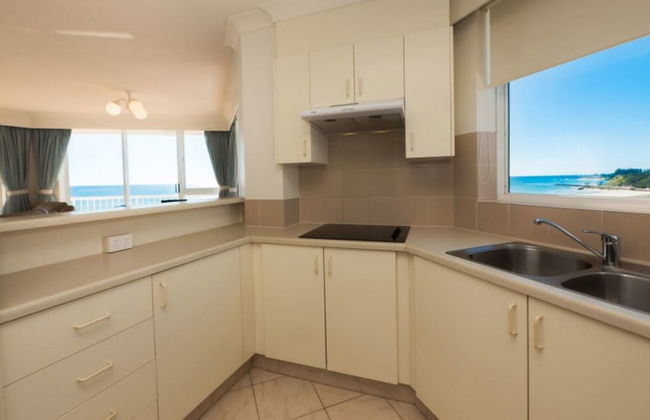
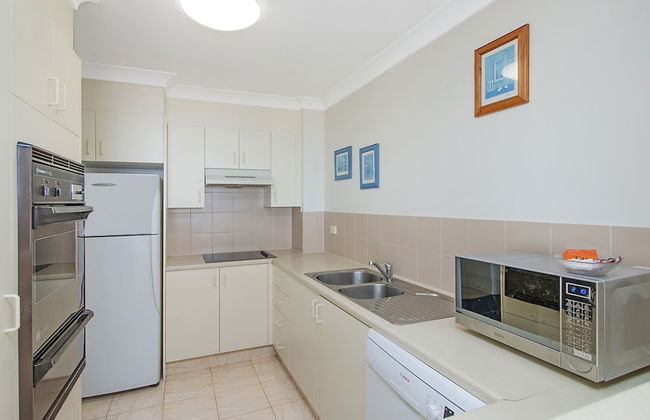
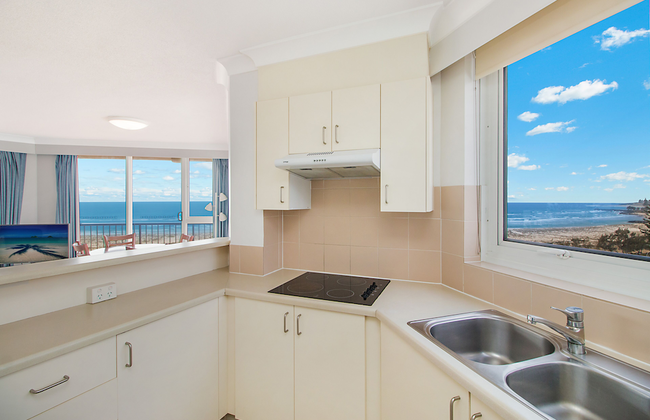
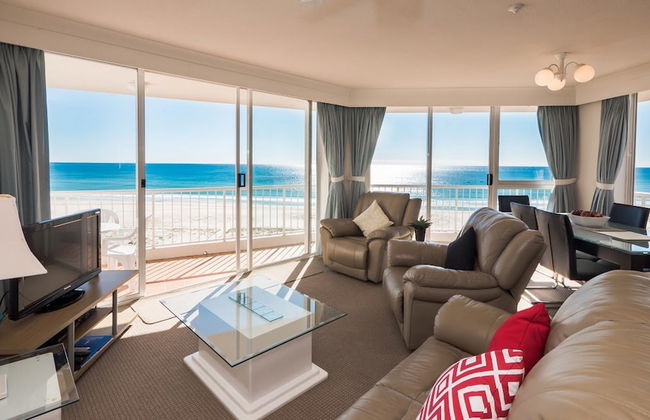
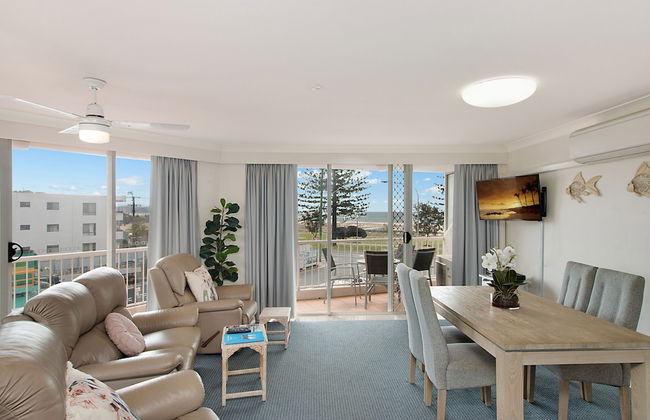
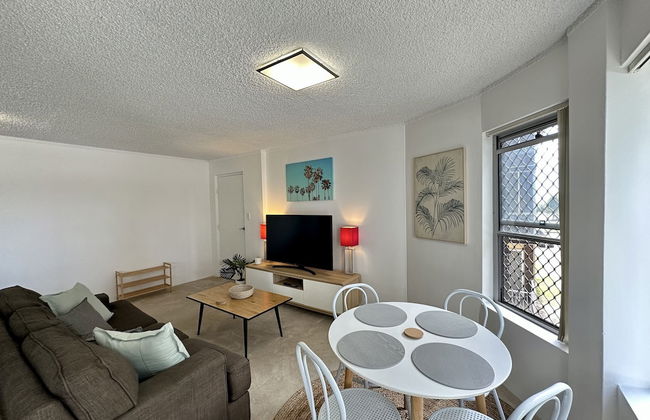
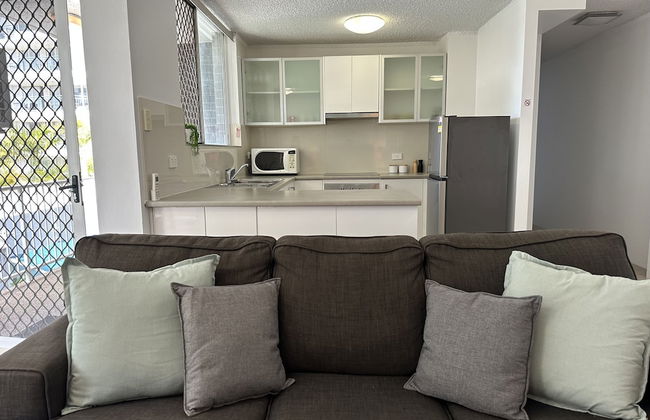
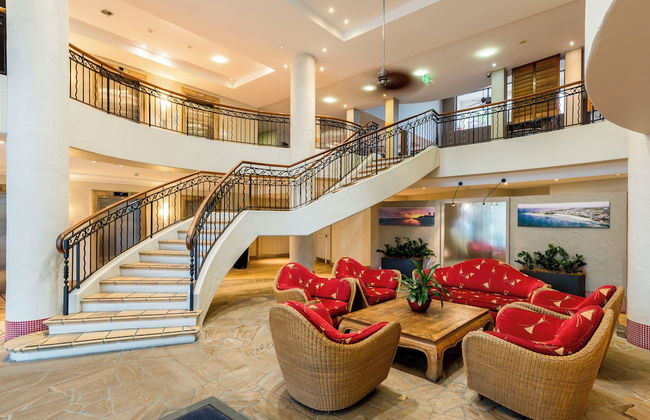
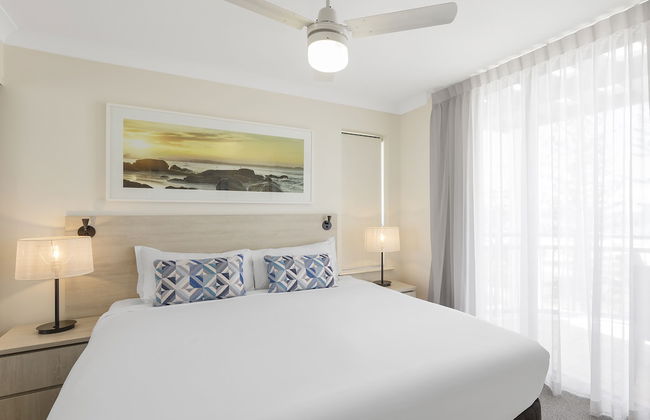
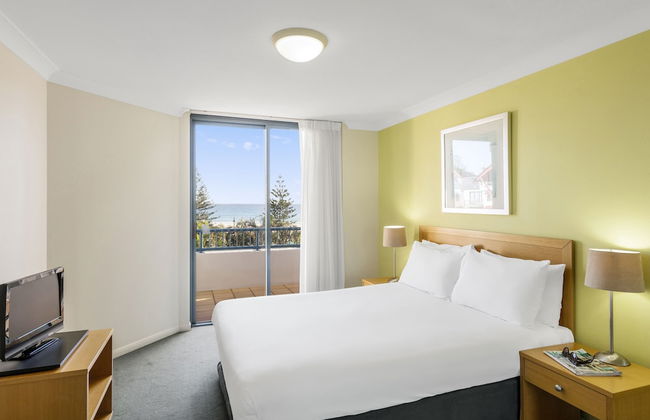
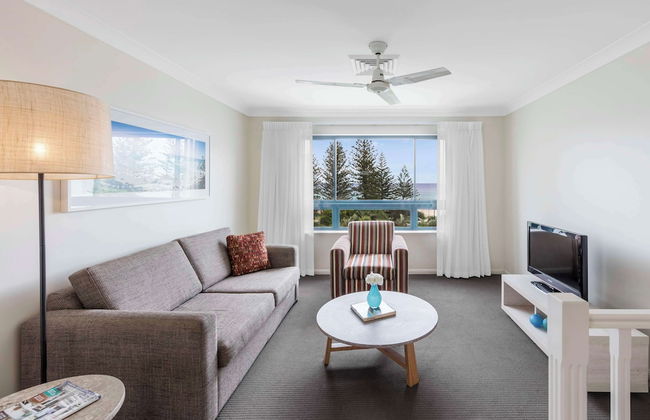
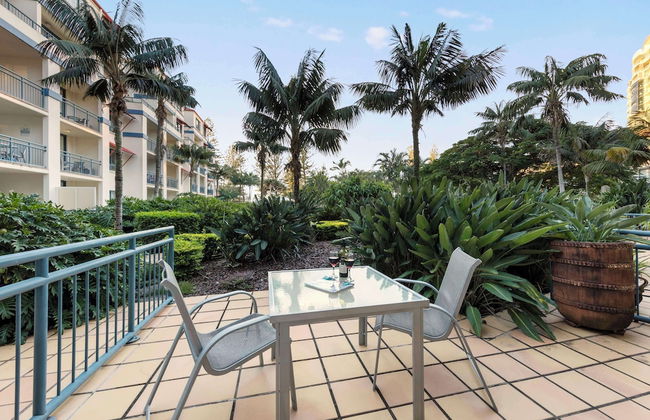
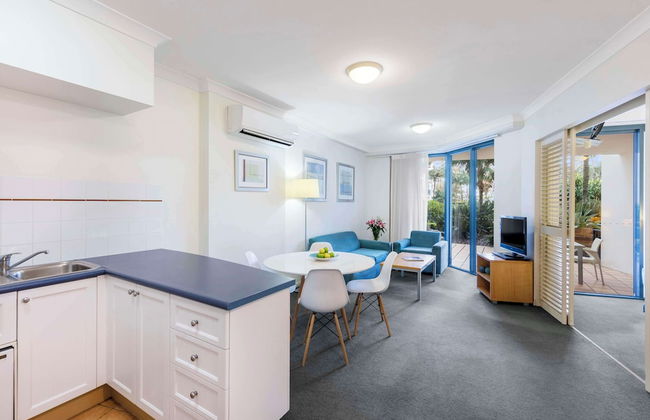
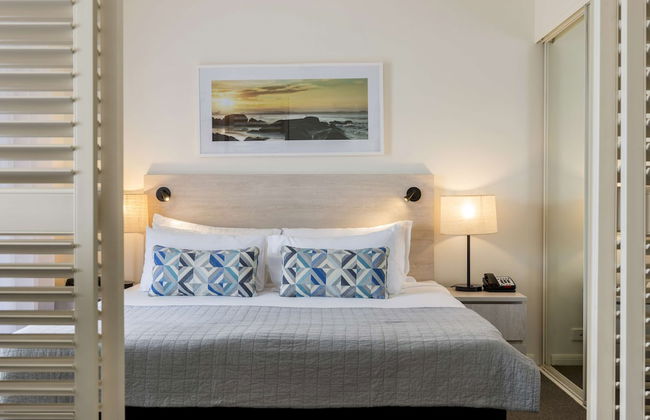
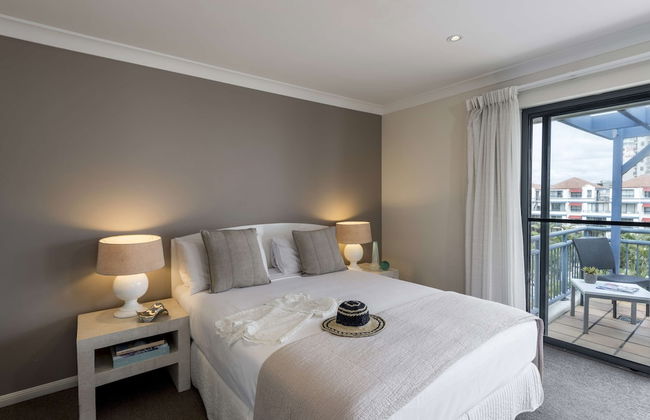
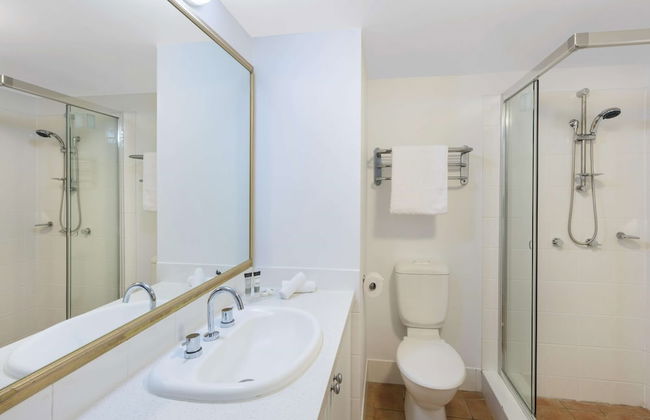
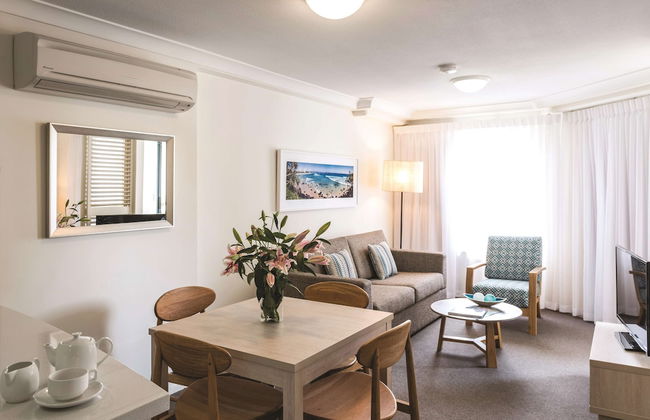
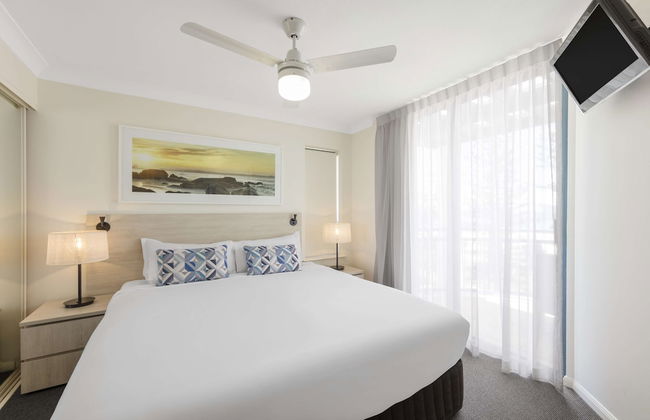
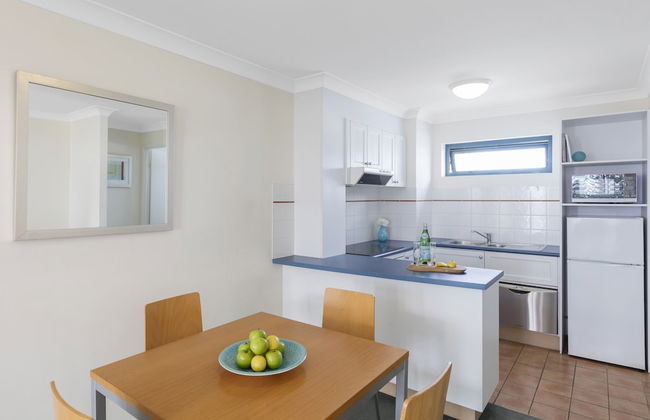
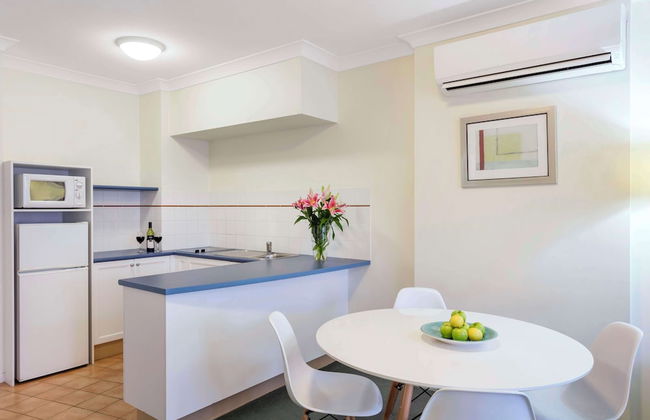
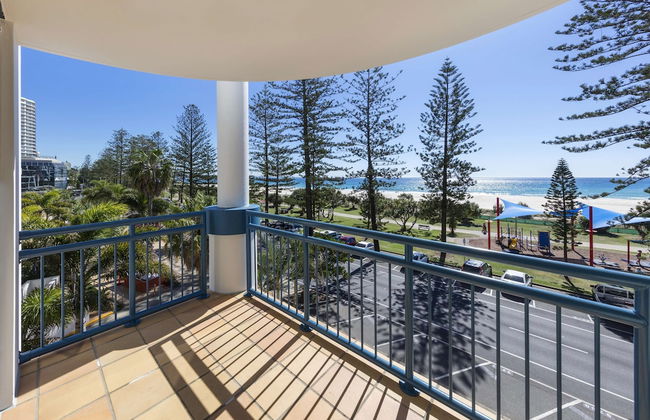
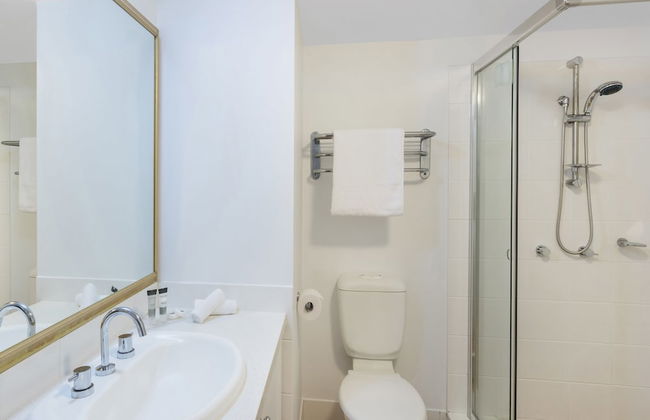
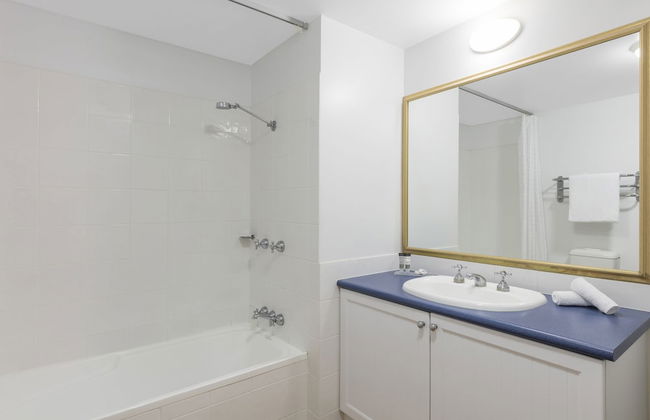
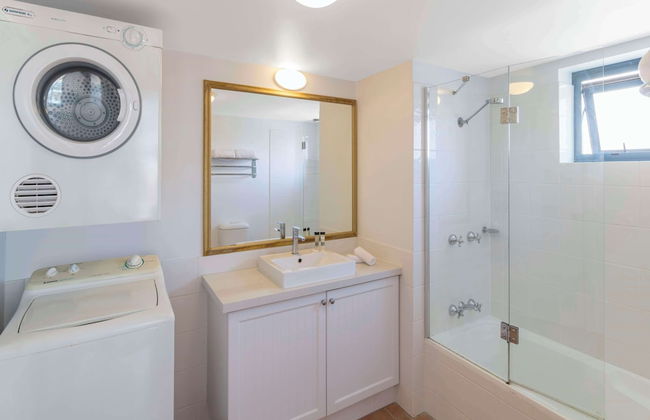
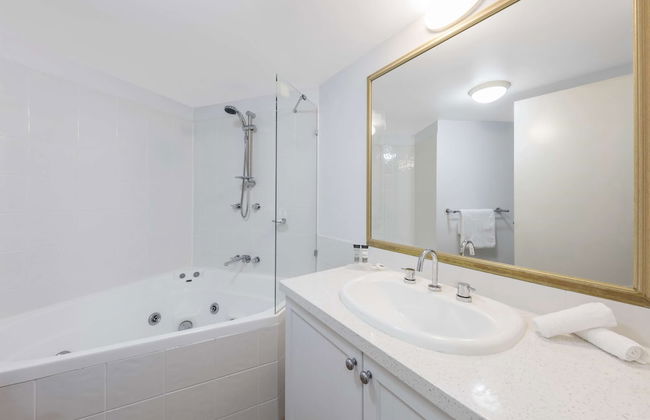
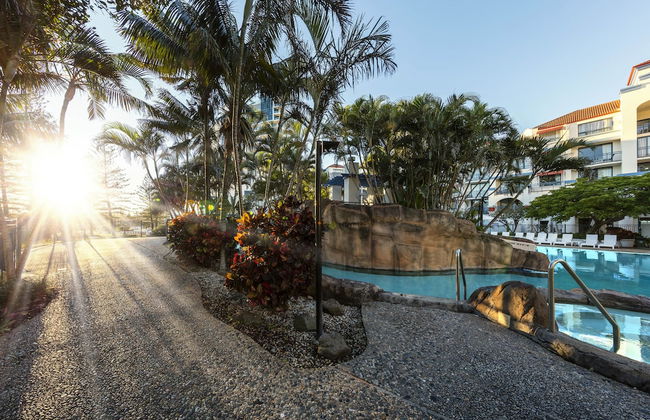
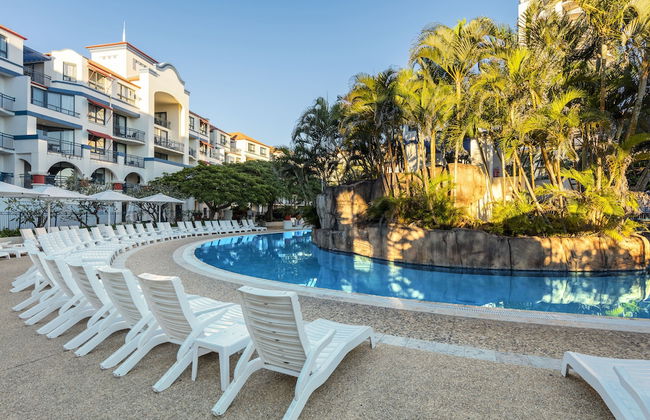
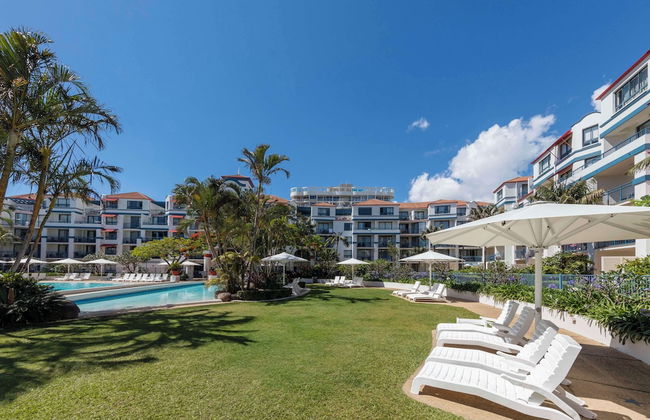
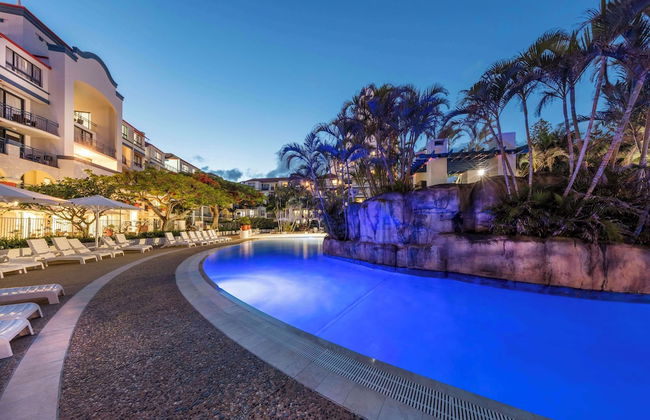
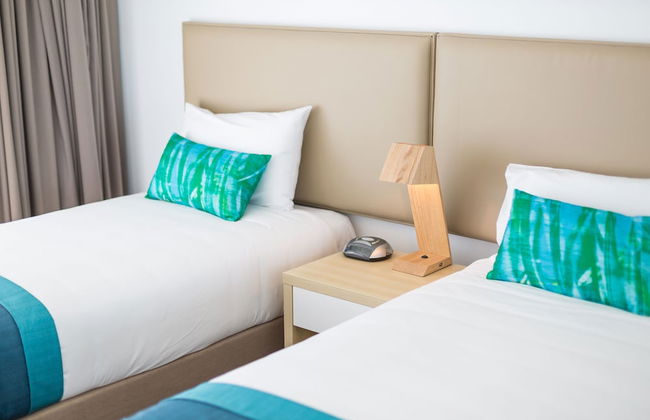
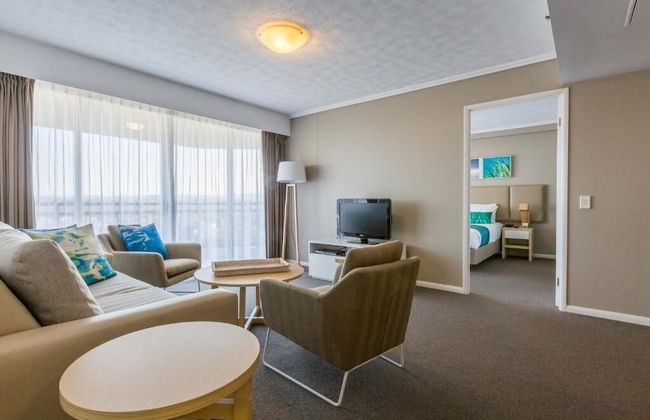
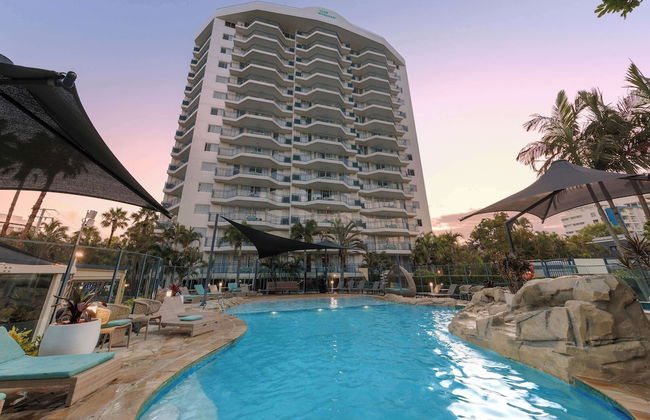
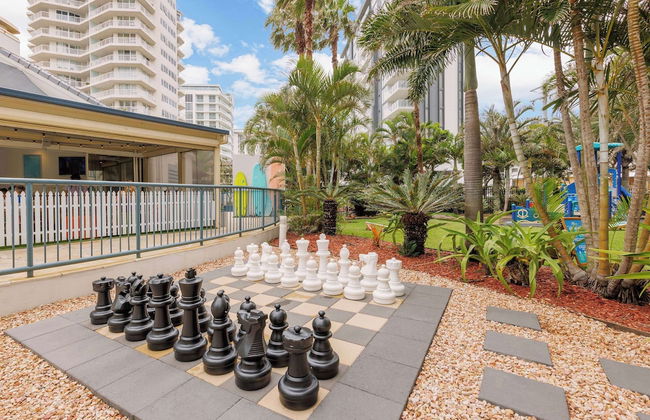
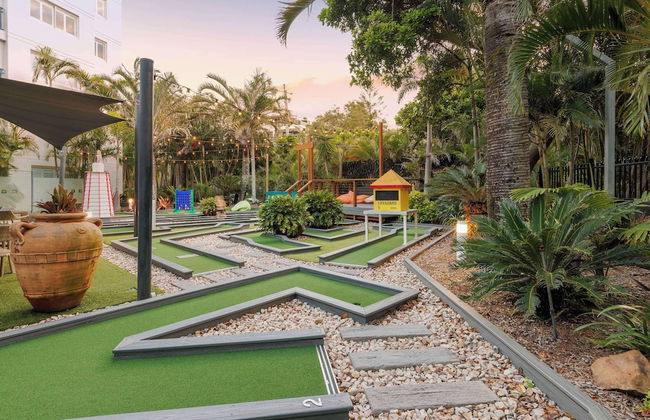
Kirra Point Holiday Apartments
Gold Coast - Coolangatta - 20.5 km dal centro
- 6 persone
- Aria condizionata
- Riscaldamento
- Piscina
- Parcheggio
- Balcone
- Tv
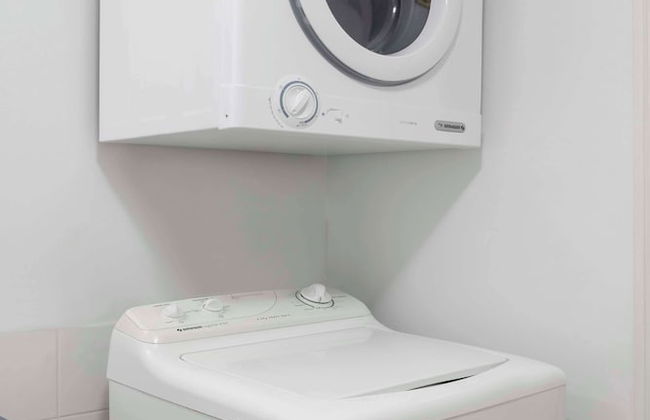
- Lavatrice
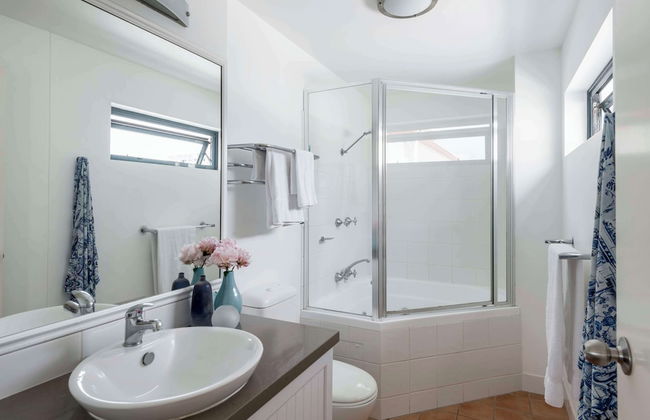
- Lino da bagno
- Lino da letto


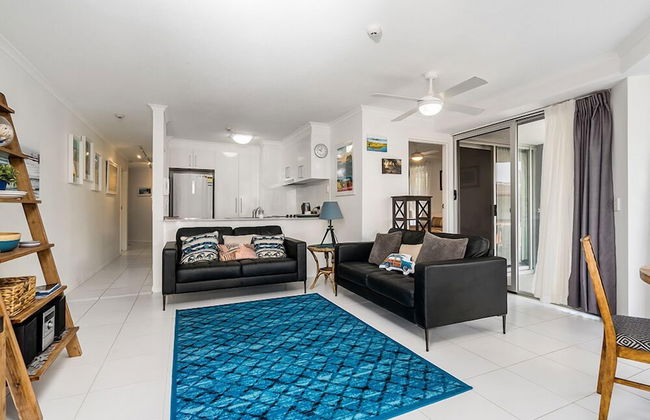


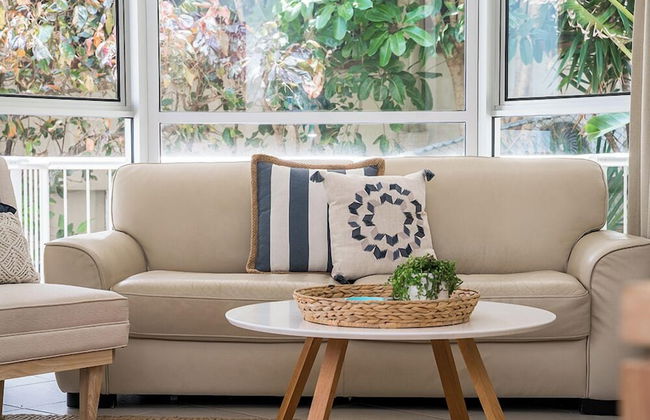


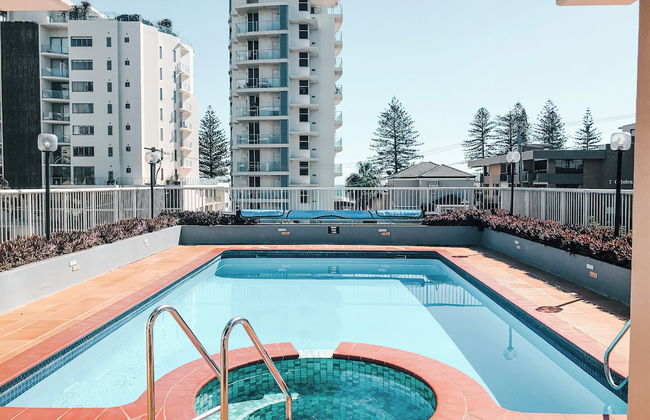


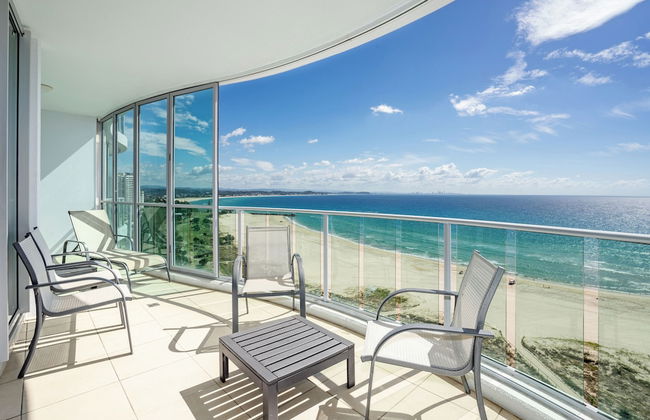
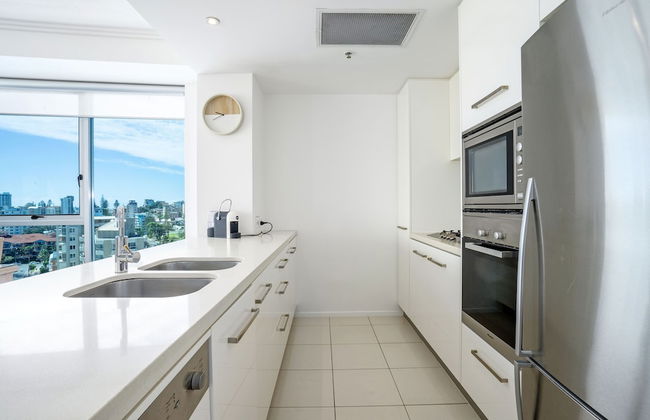
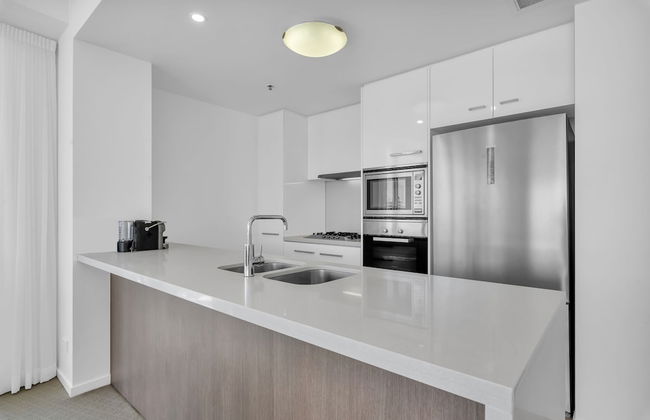
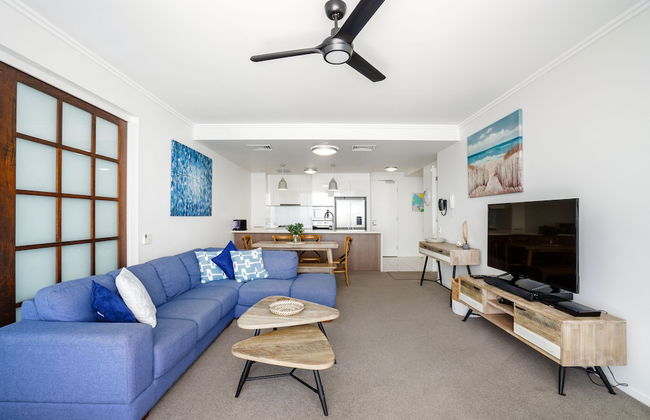
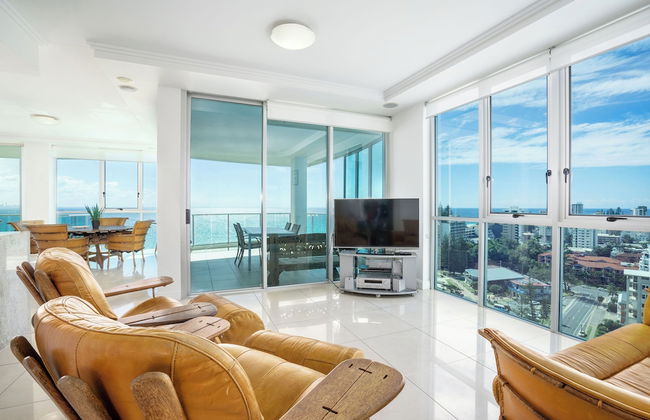
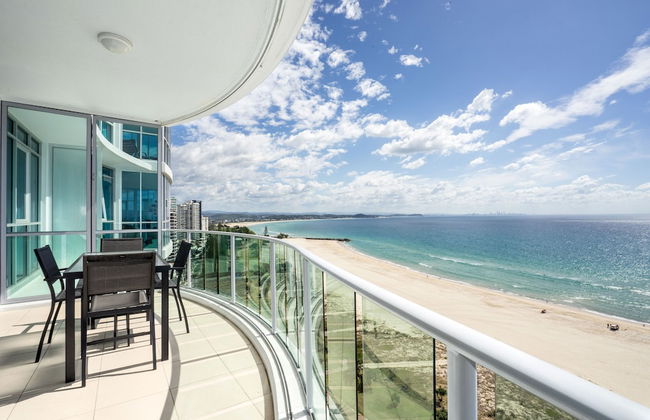
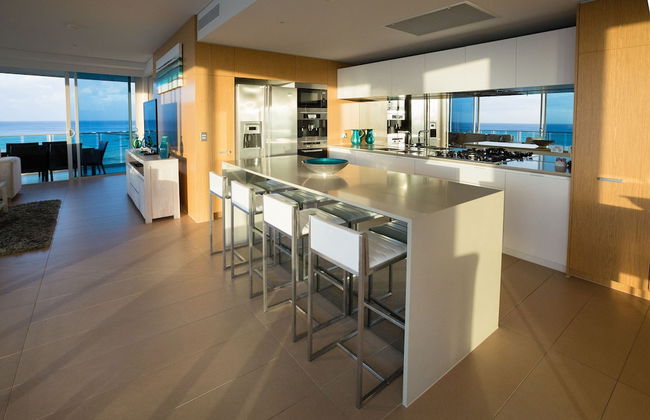
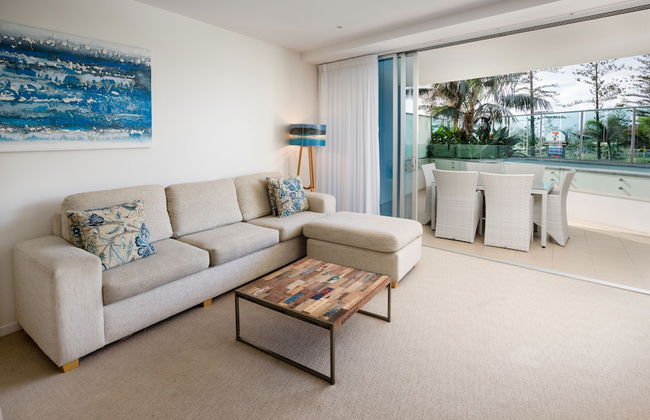
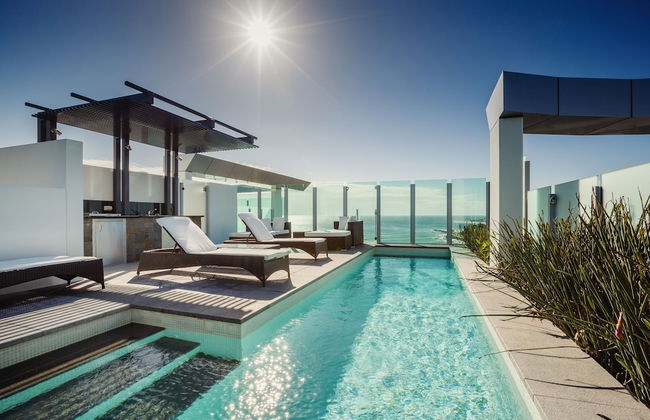
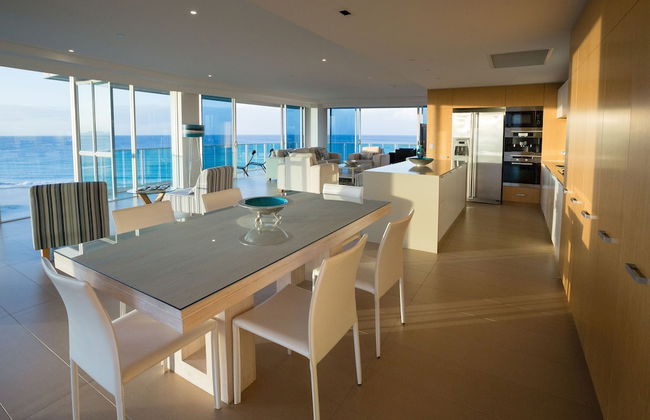
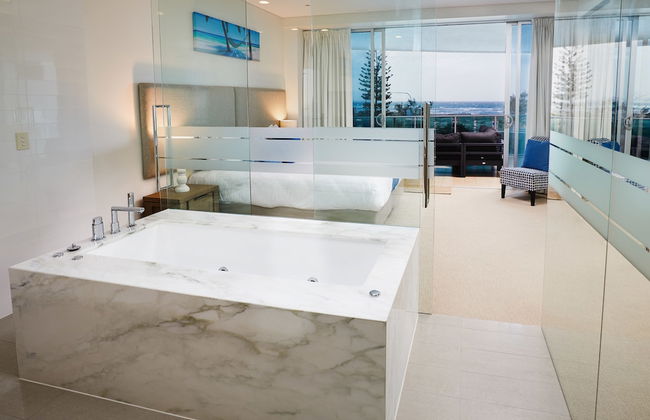
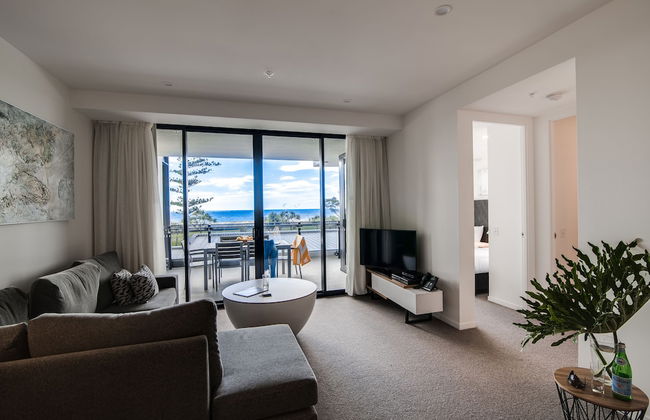
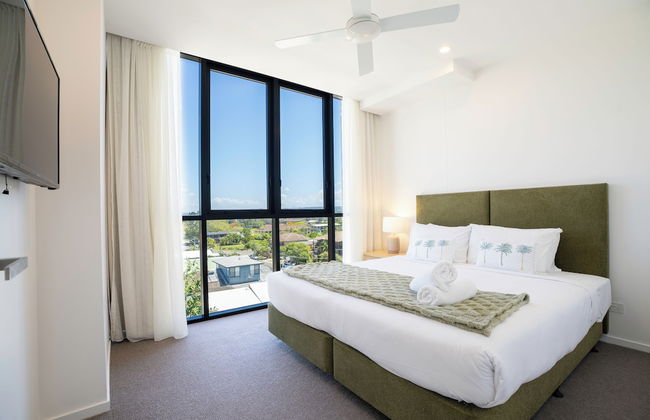
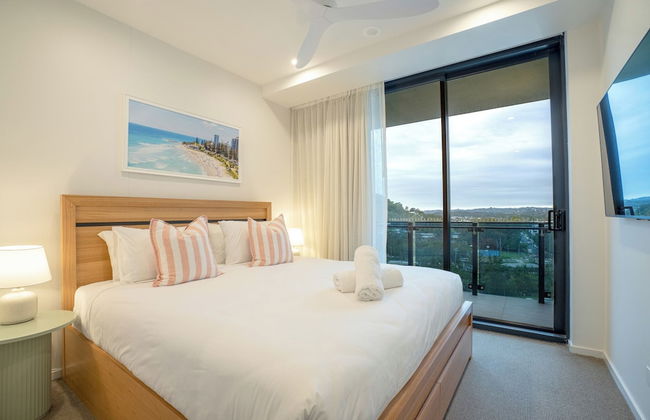
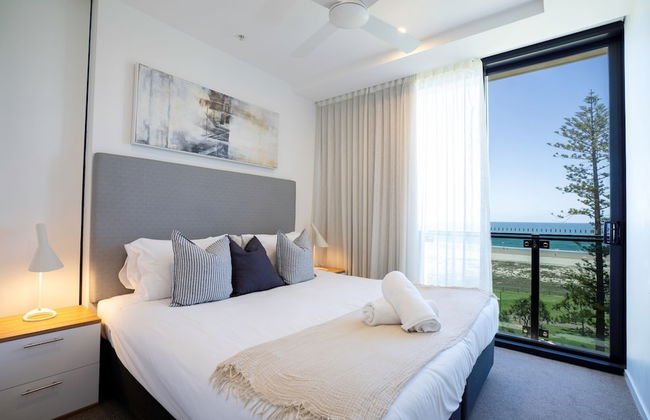
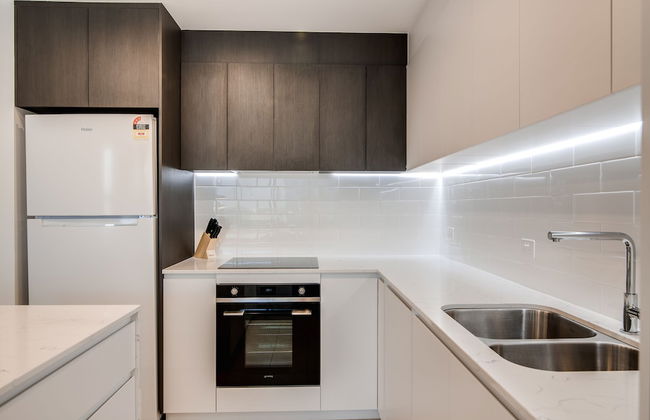
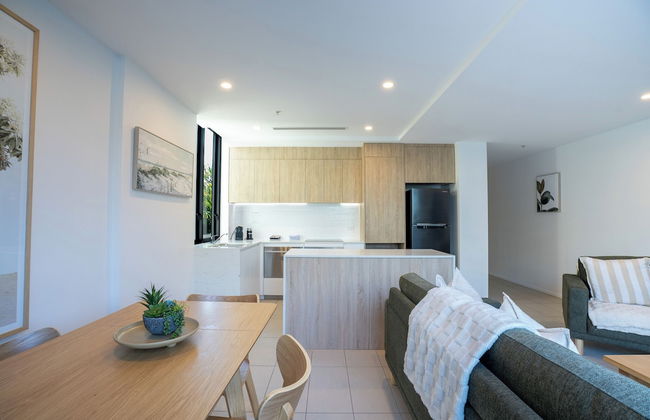
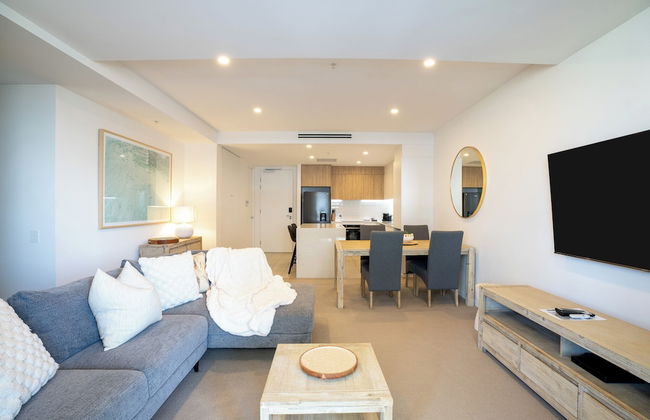
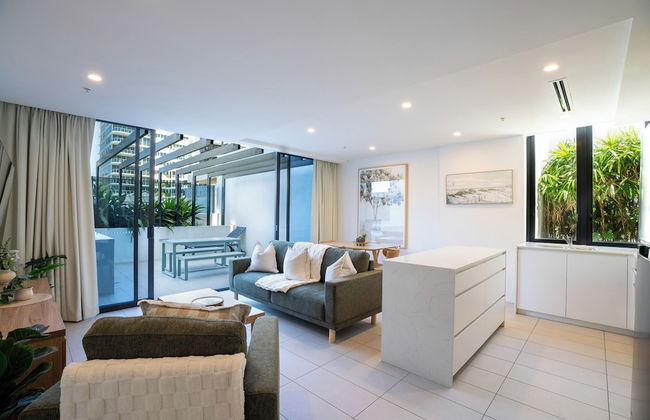
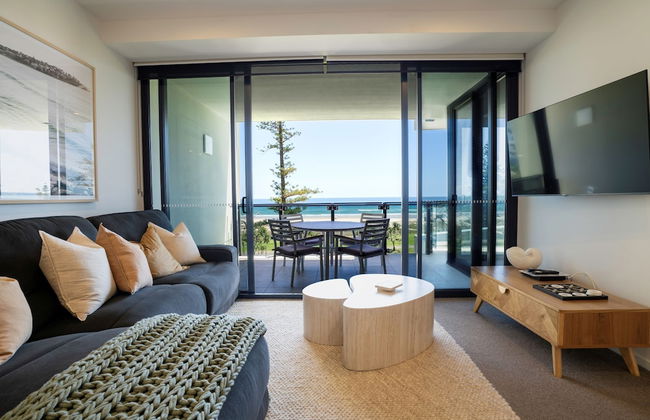
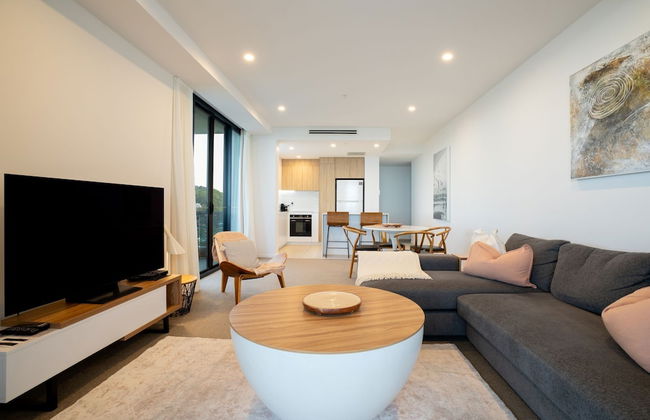
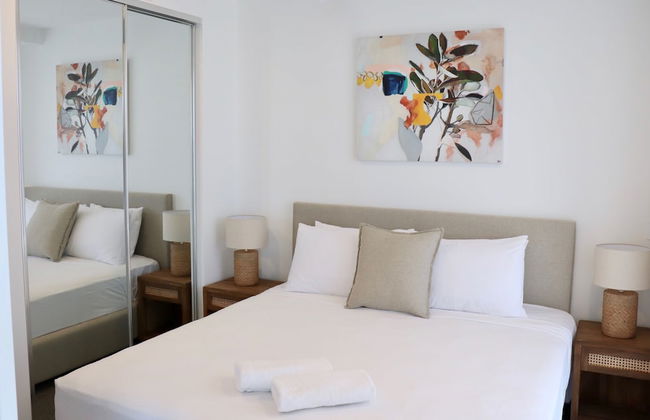
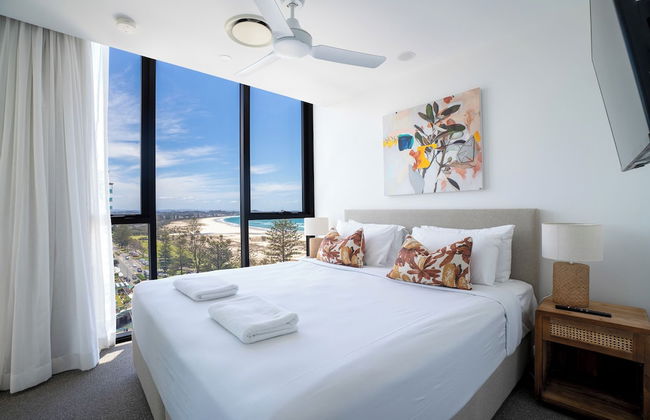
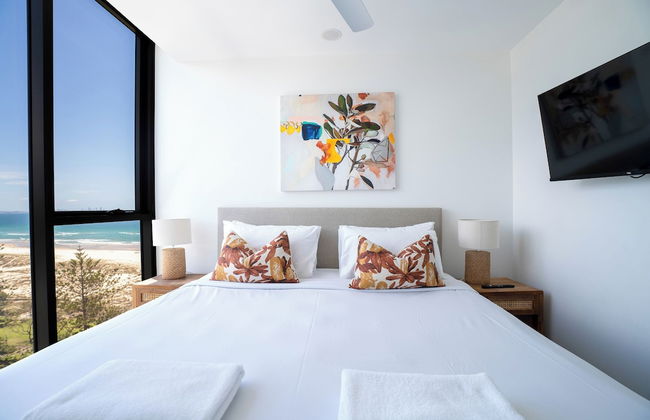
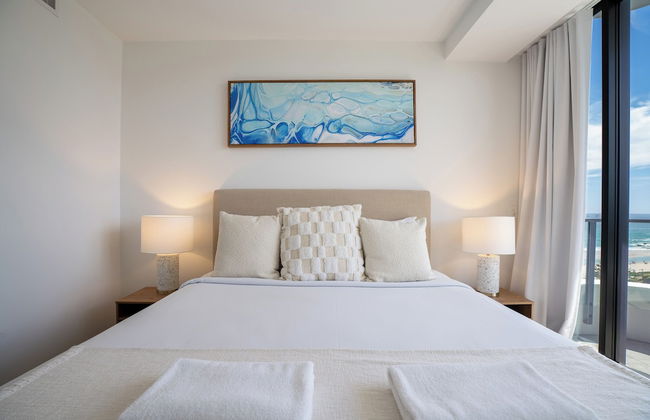
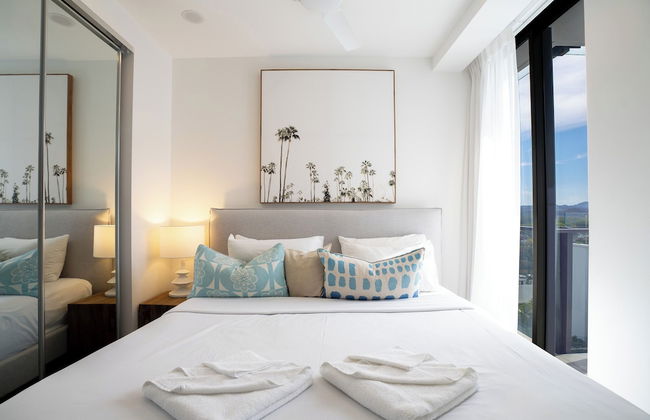
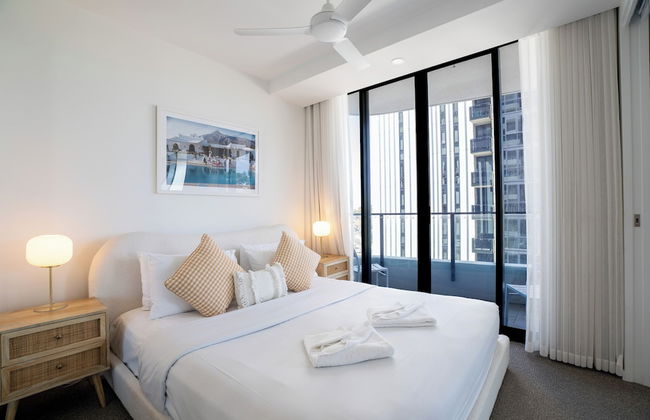
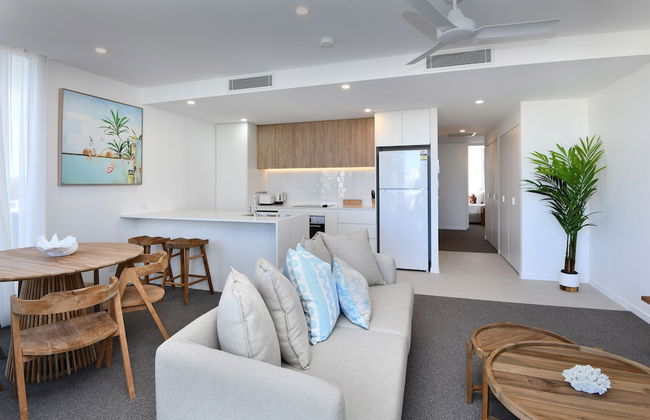
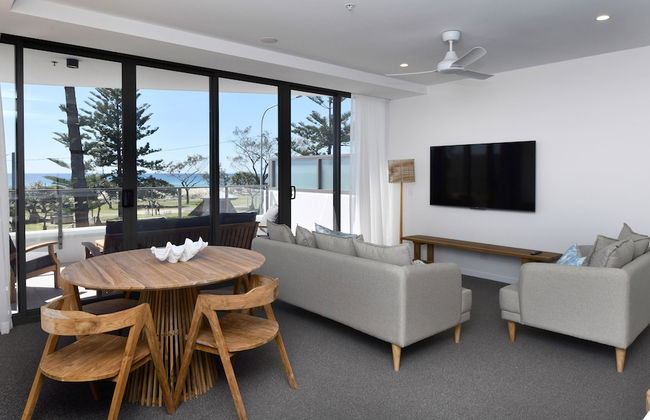
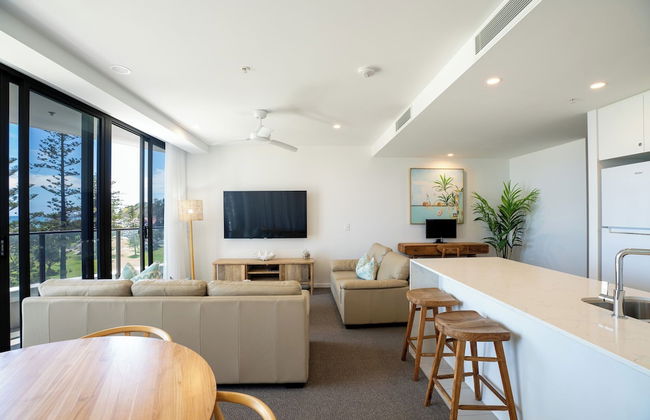
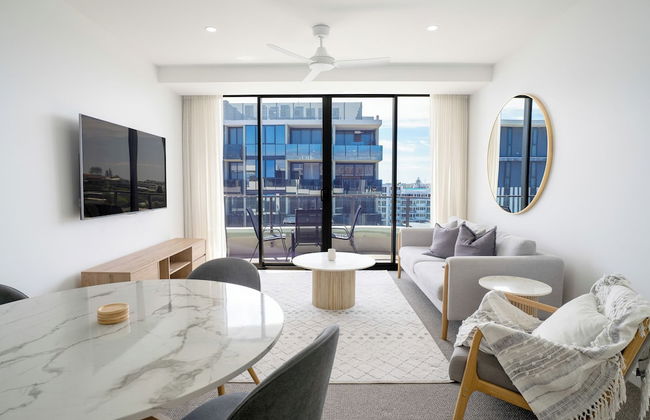
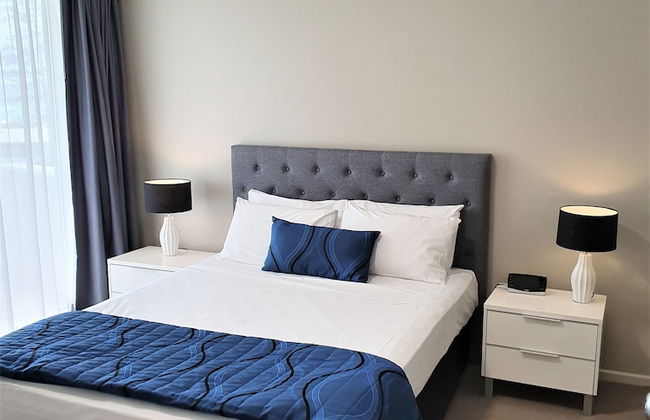
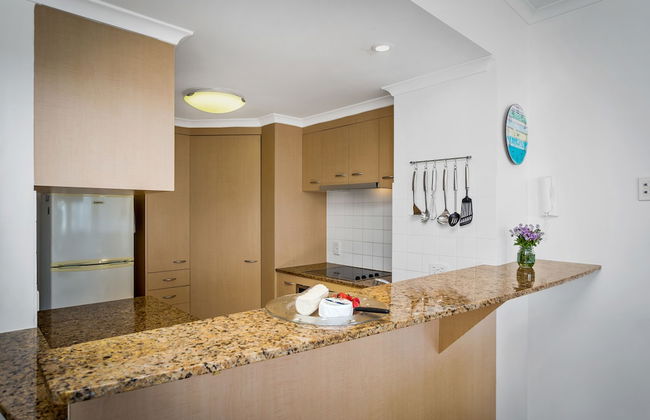
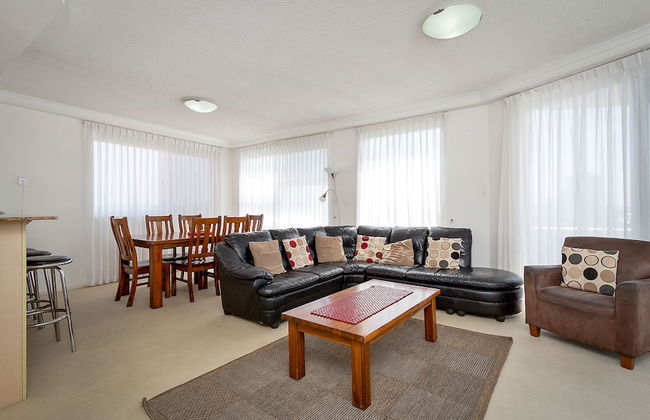
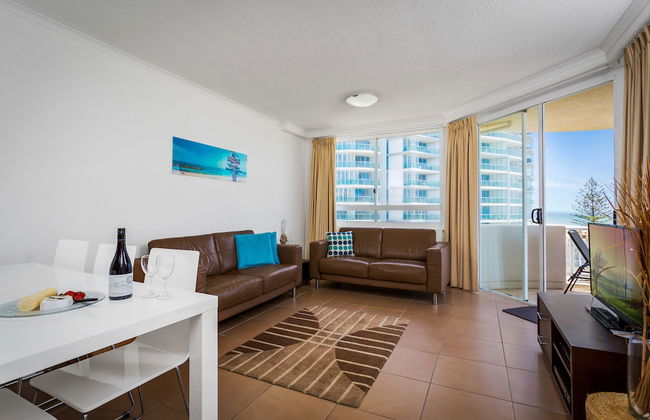
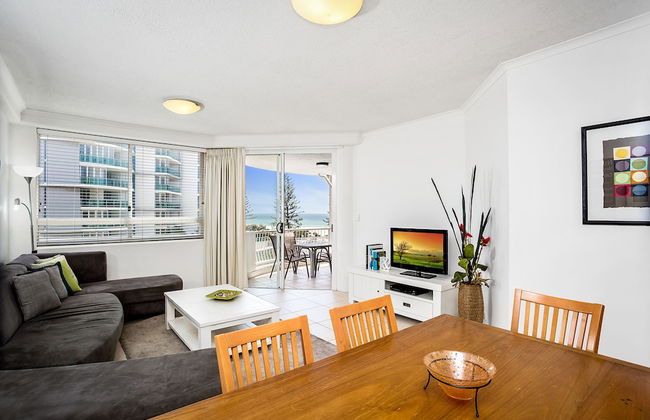
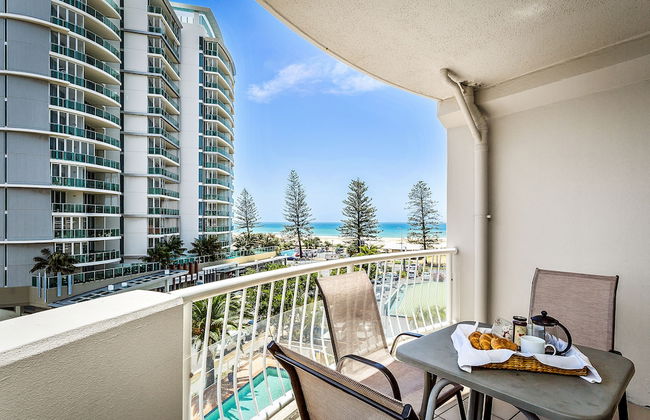
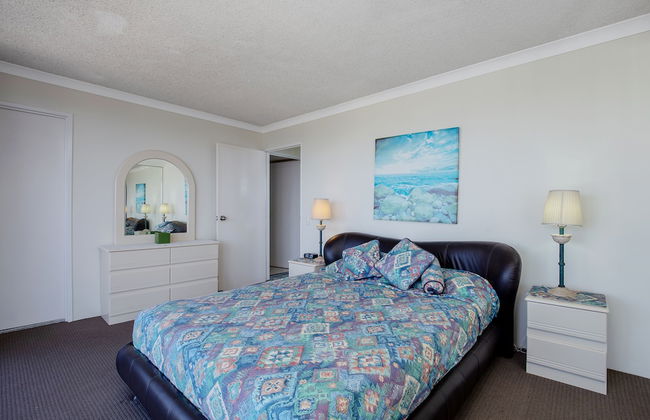
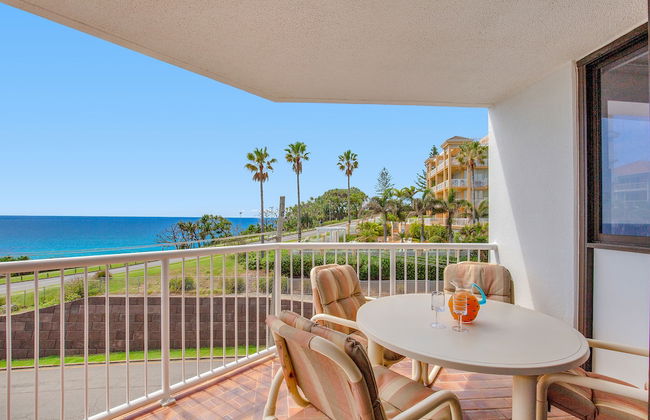
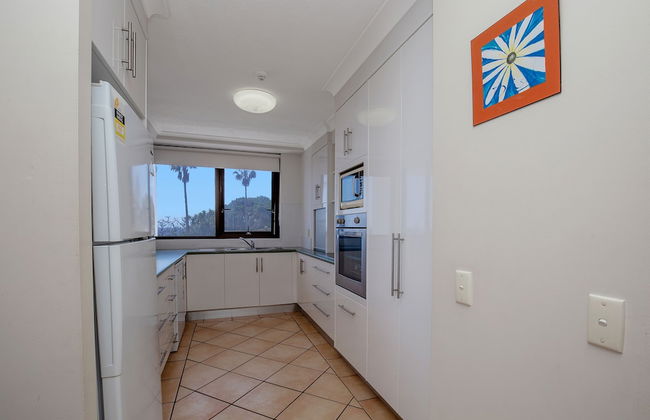
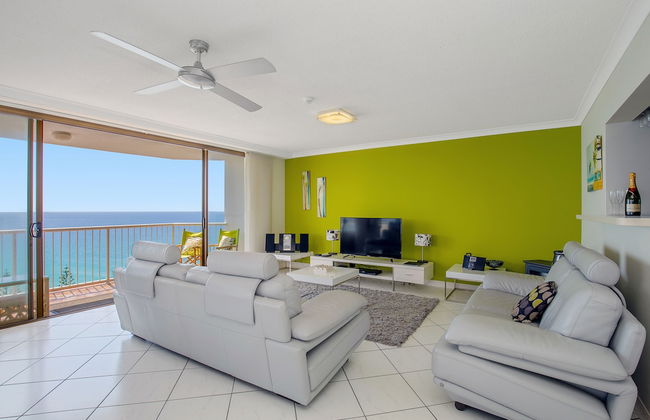
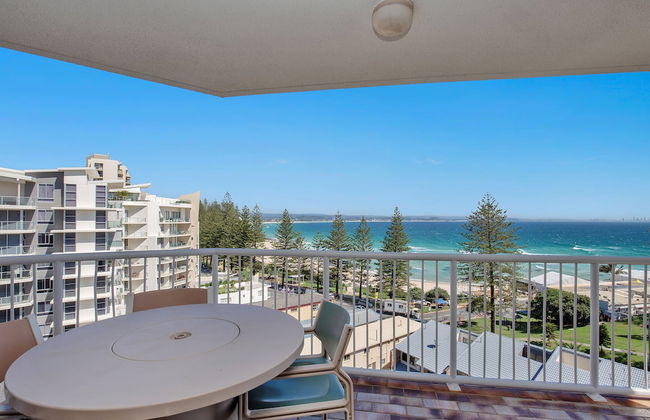
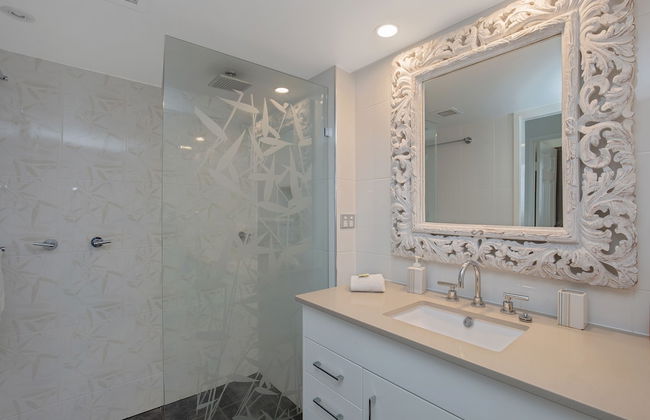
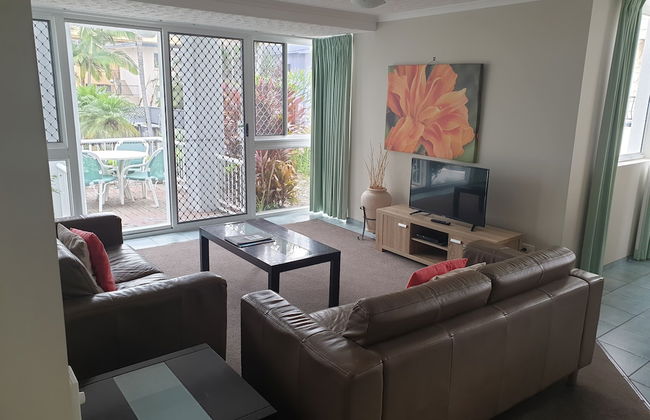
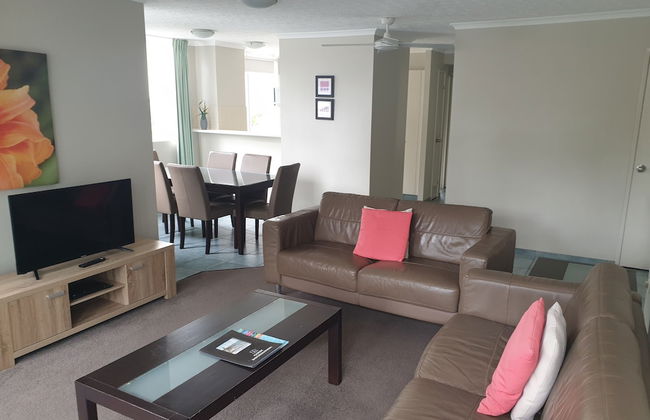
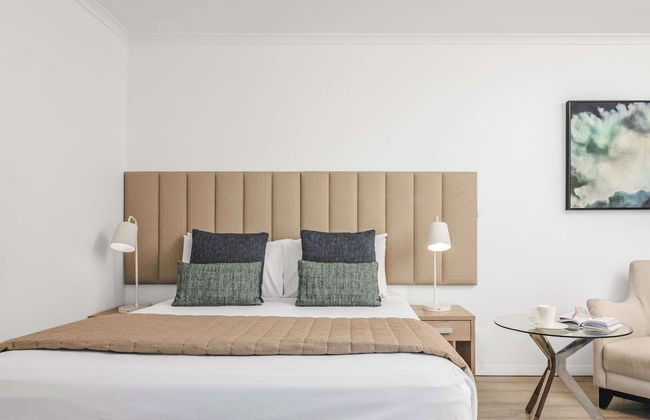
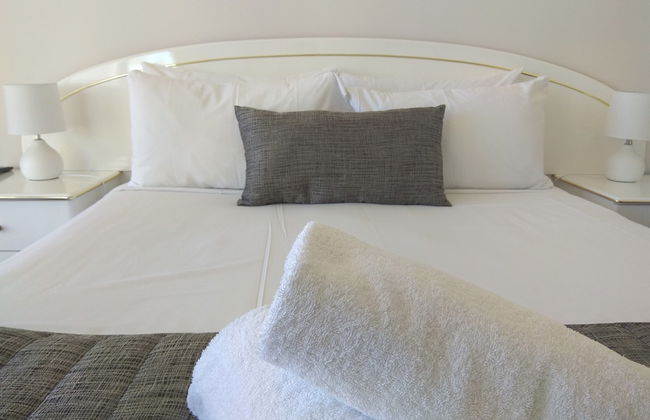
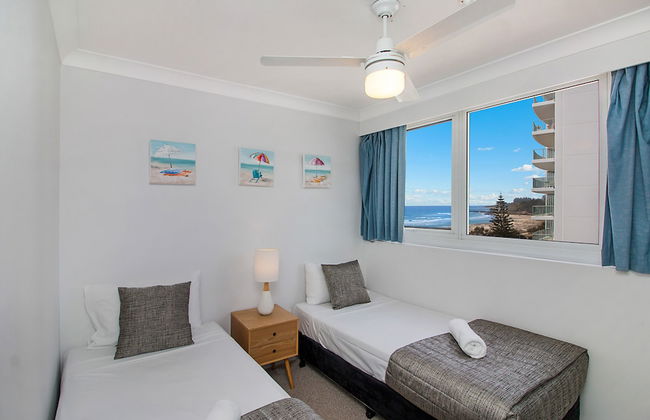
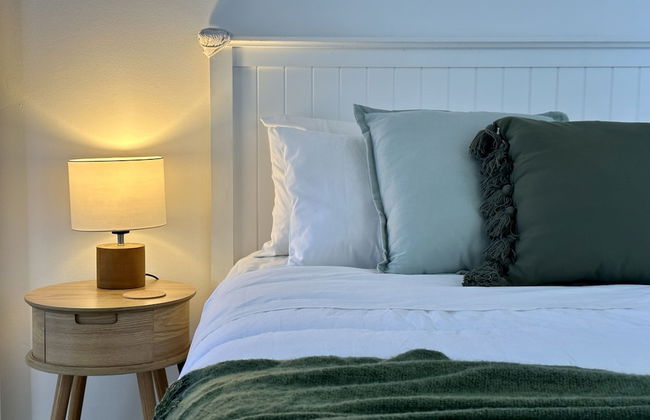
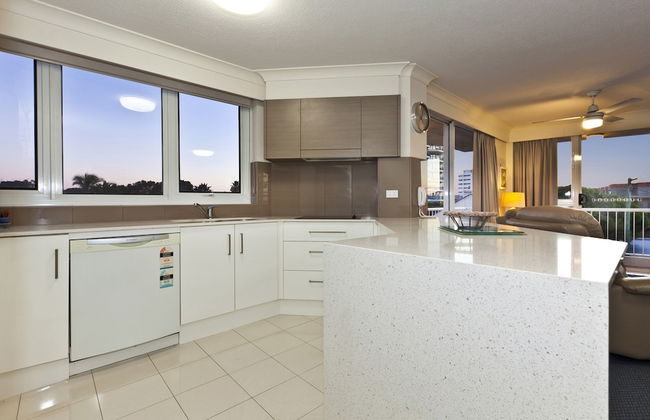
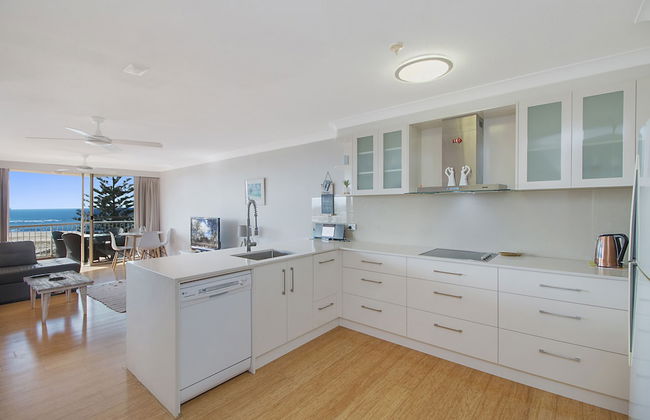
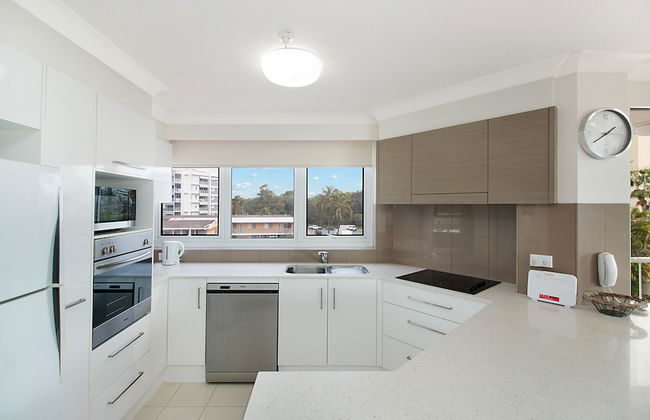
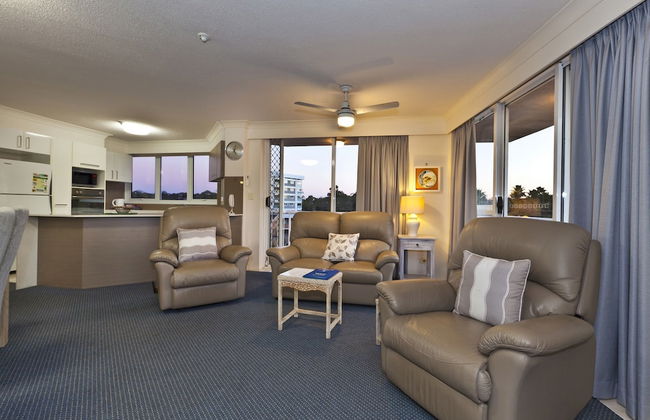
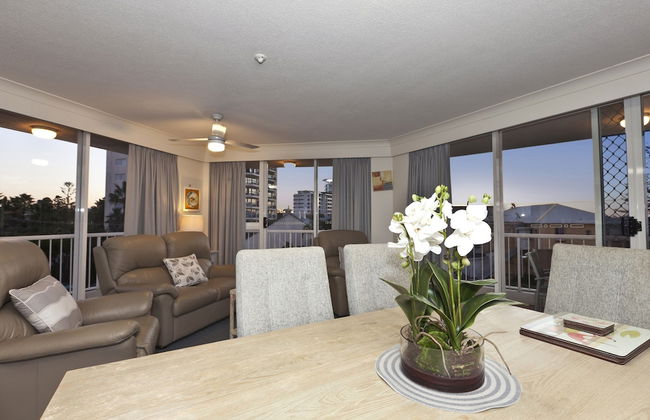
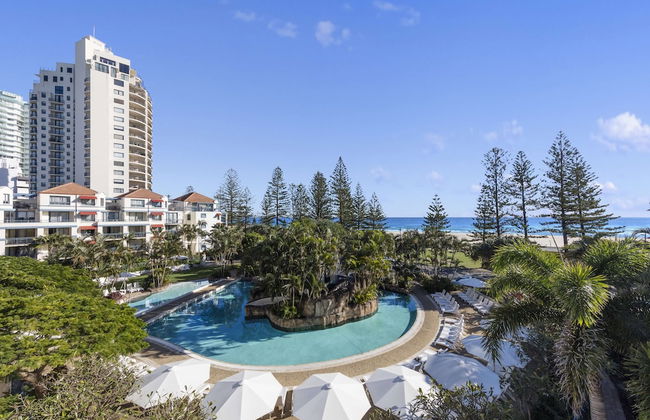
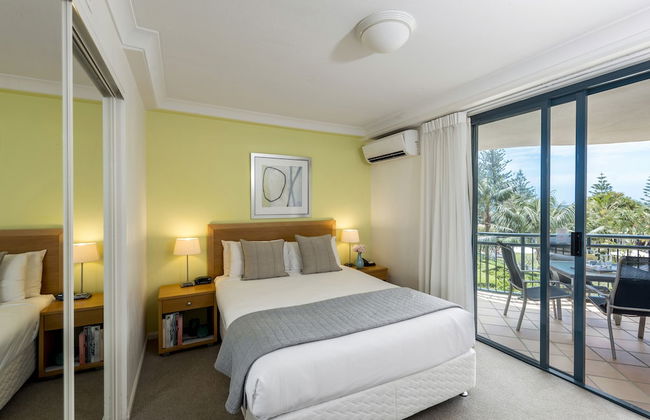
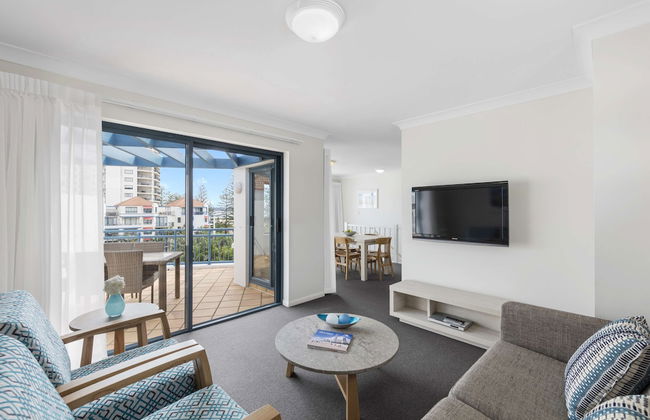
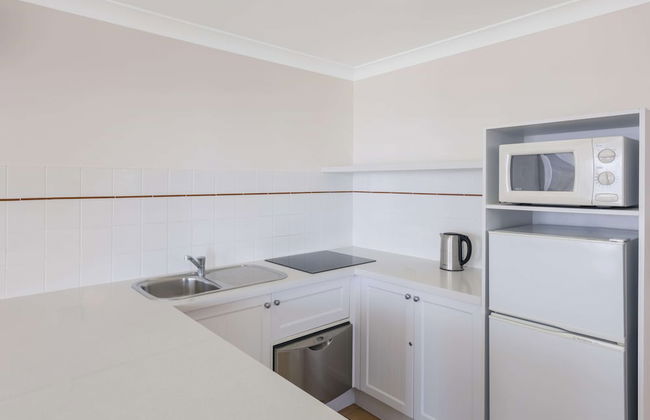
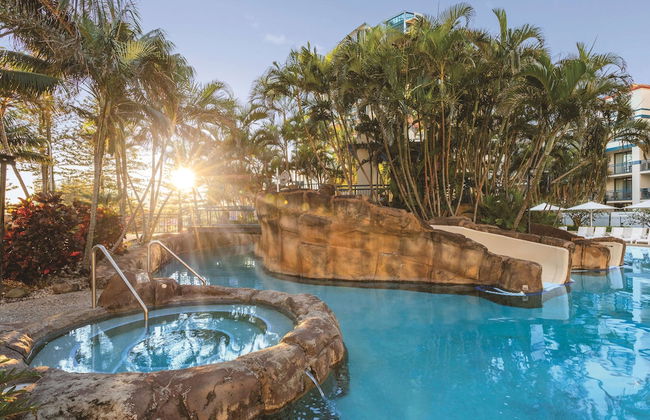
Rainbow Bay Resort
Gold Coast - Coolangatta - 21.2 km dal centro
- 322 M2
- 6 persone
- Aria condizionata
- Riscaldamento
- Terrazza
- Piscina
- Parcheggio
- Ascensore
- Balcone
- Giardino
- Tv
- Lavatrice
- Barbecue
- Lino da bagno
- Lino da letto


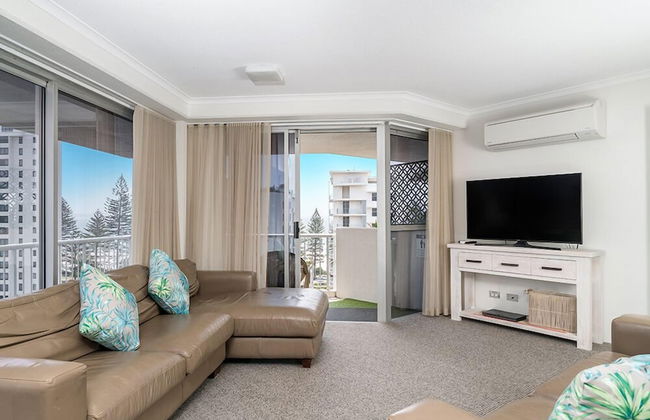
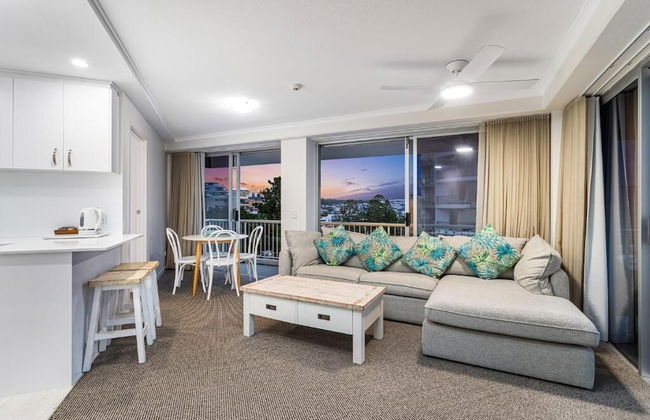
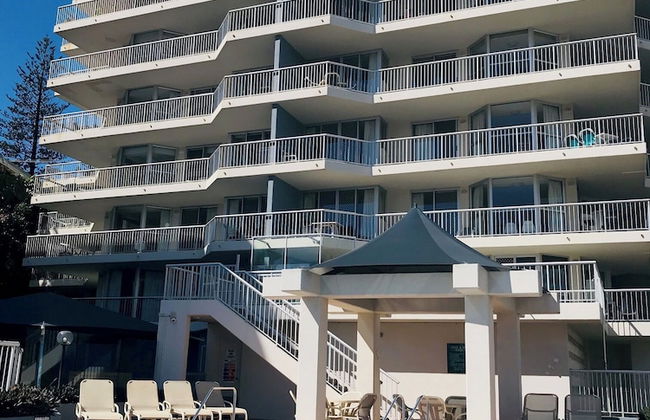
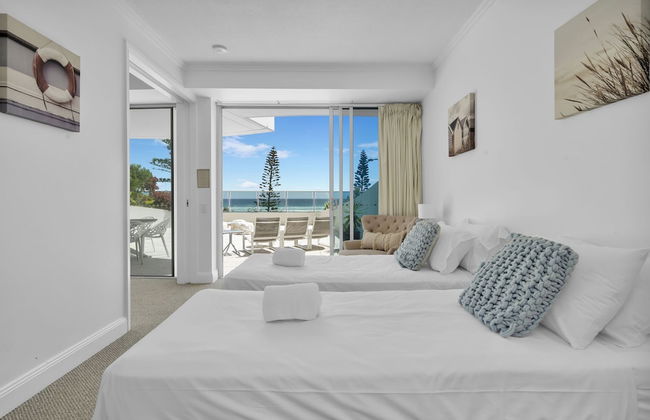
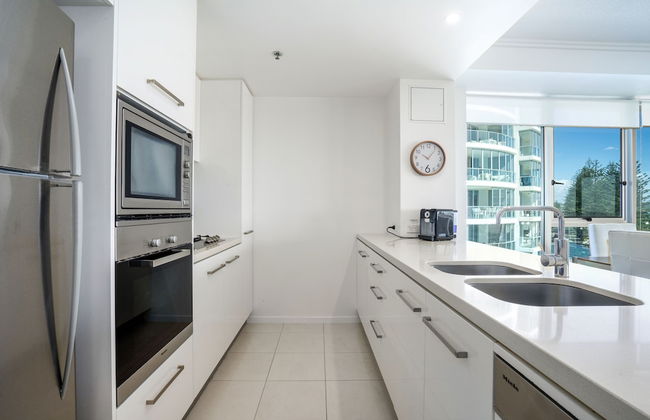
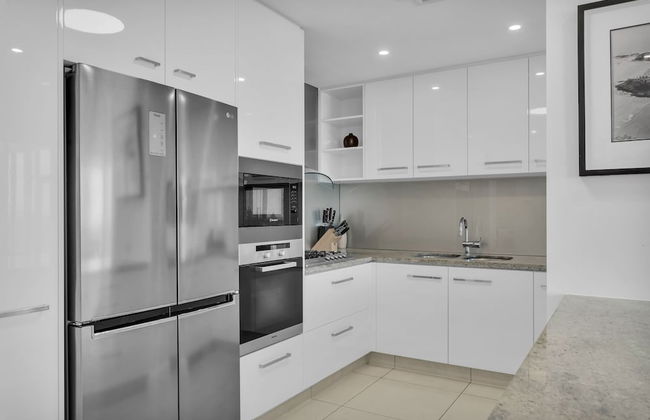
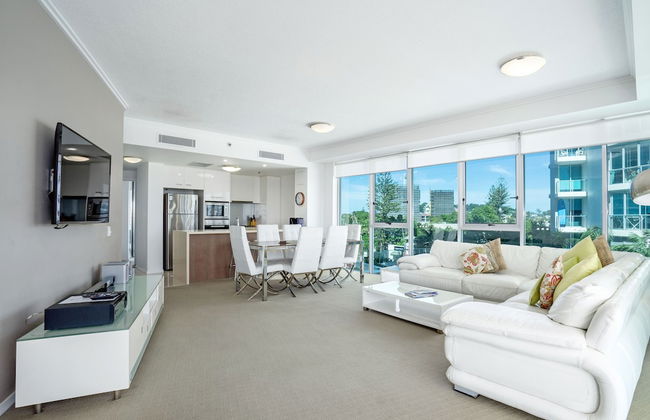
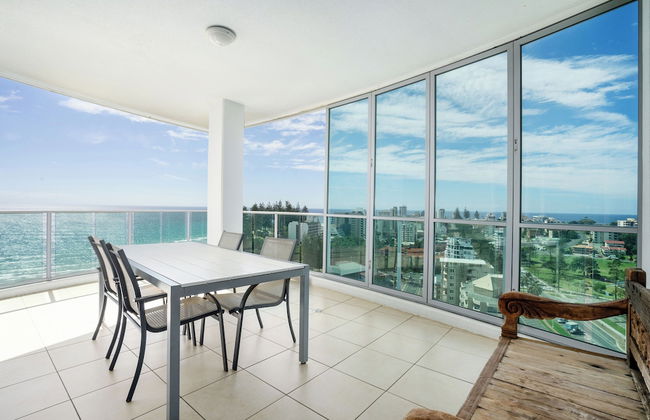
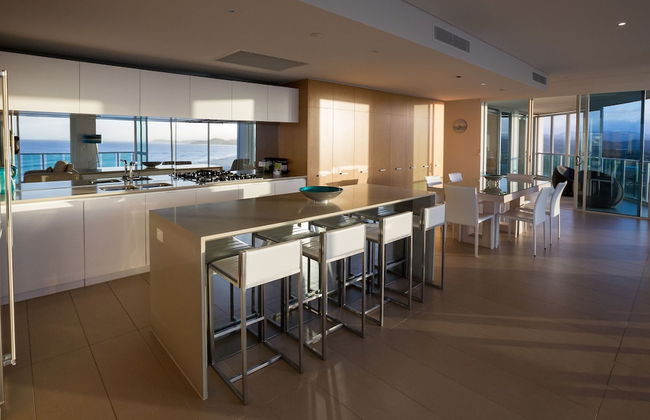
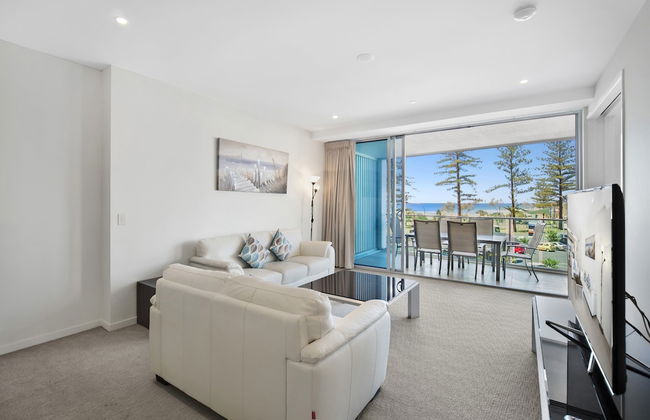
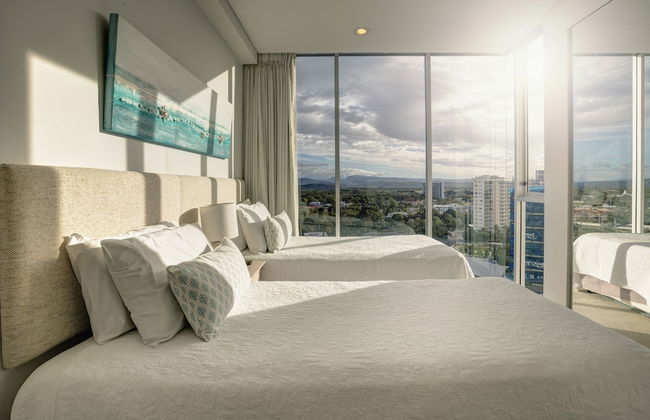
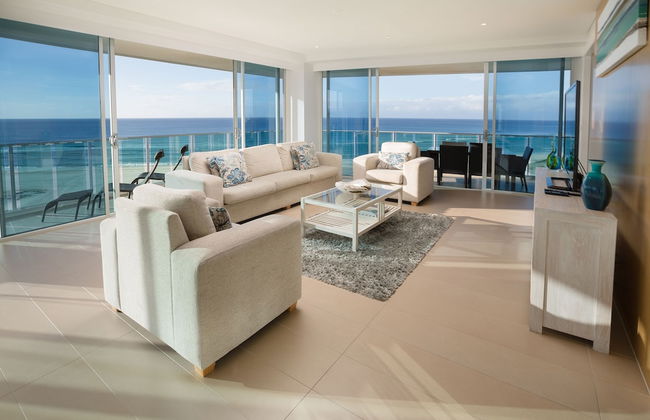
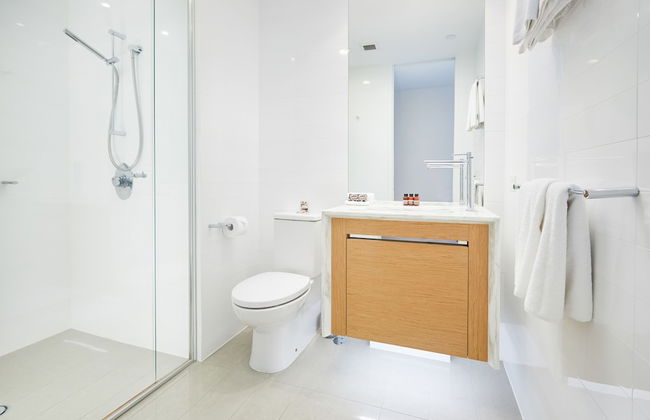
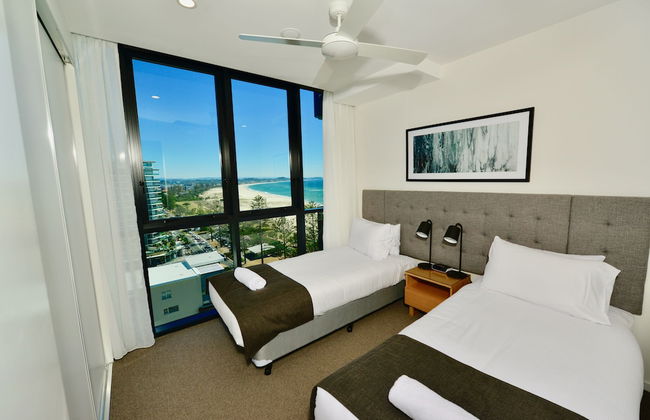
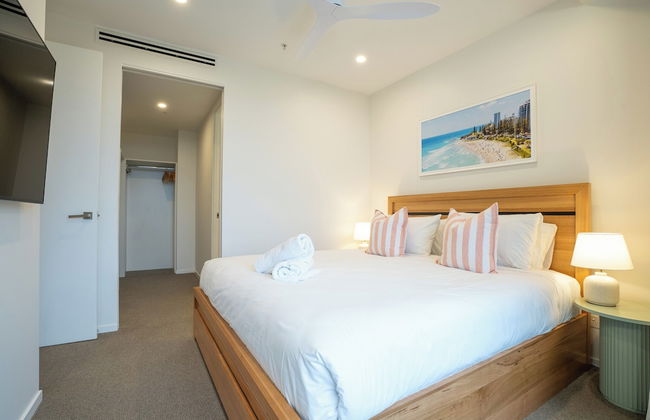
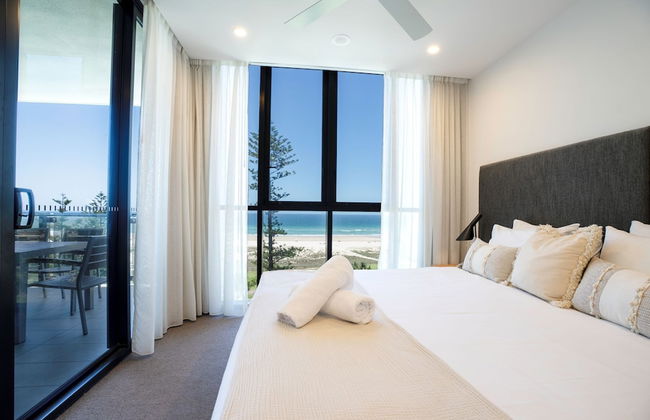
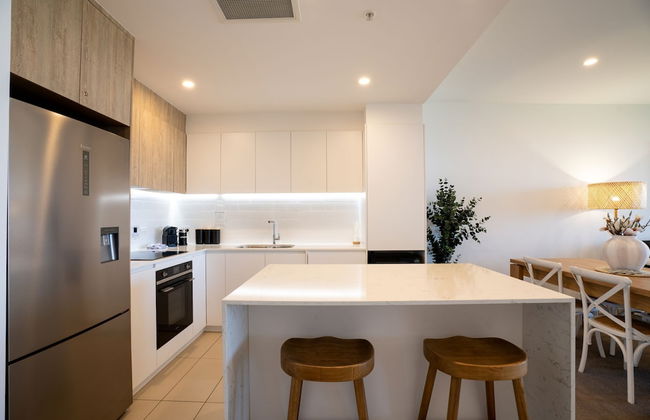
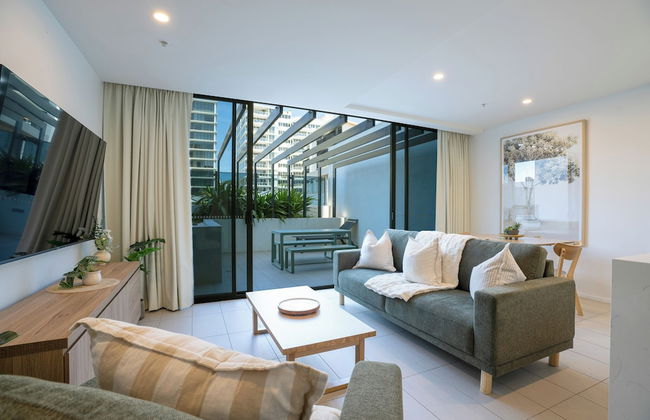
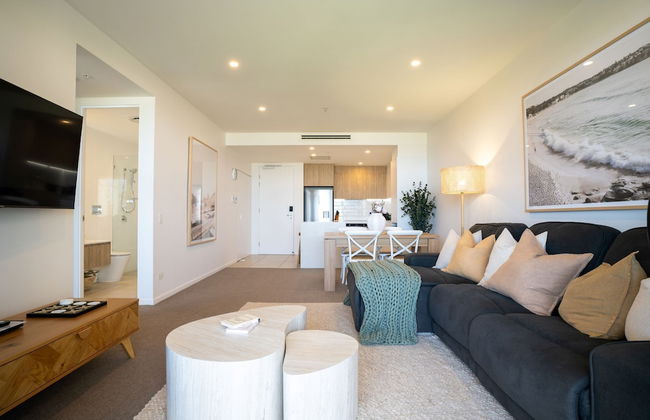
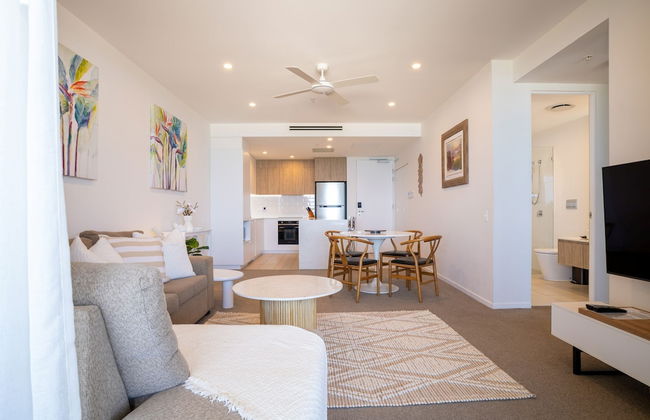
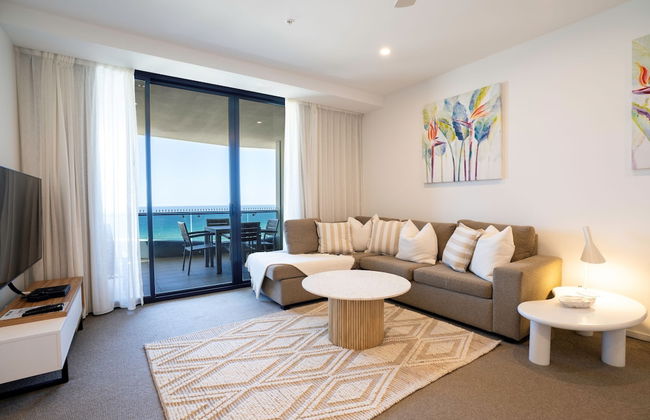
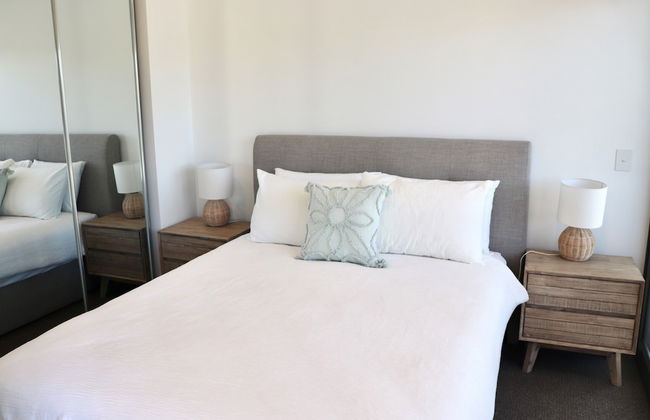
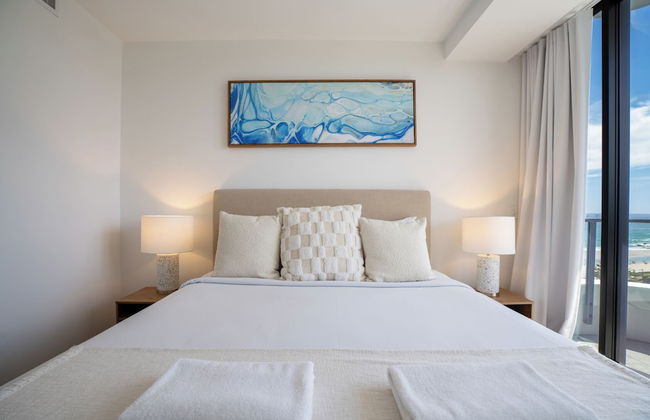
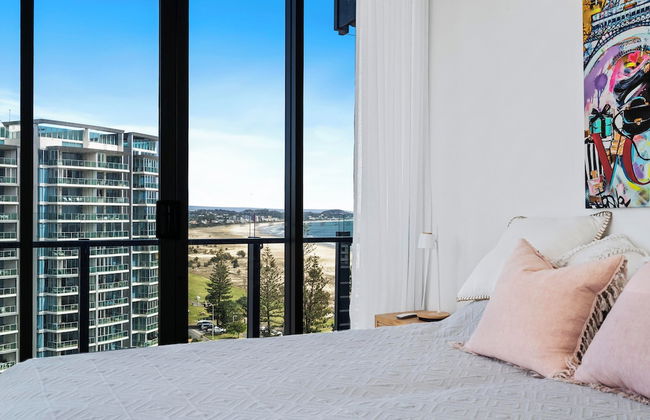
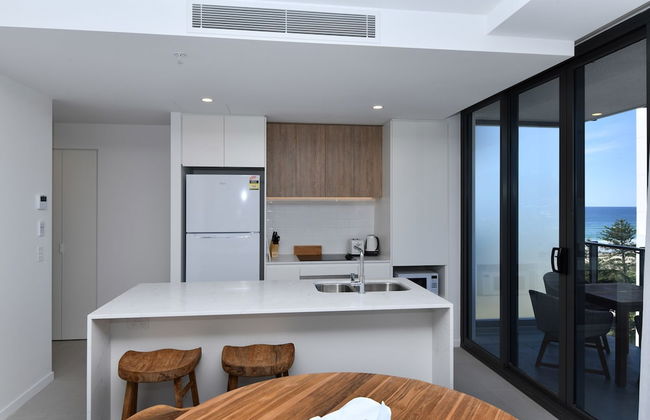
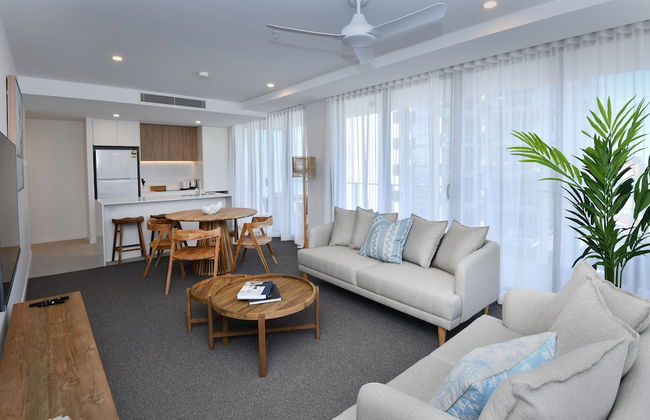
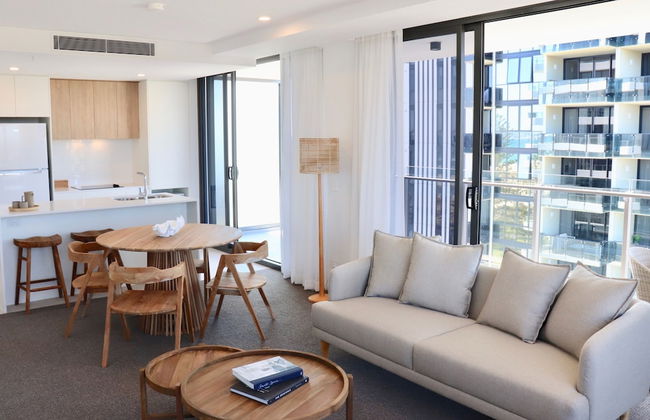
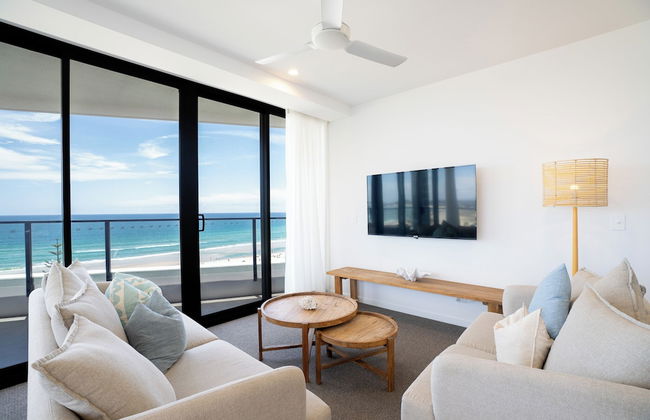
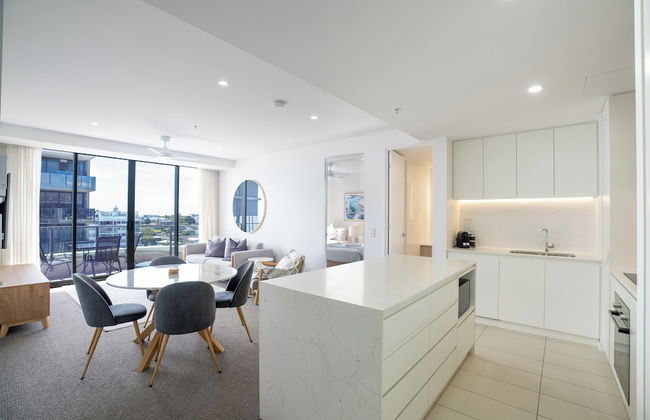
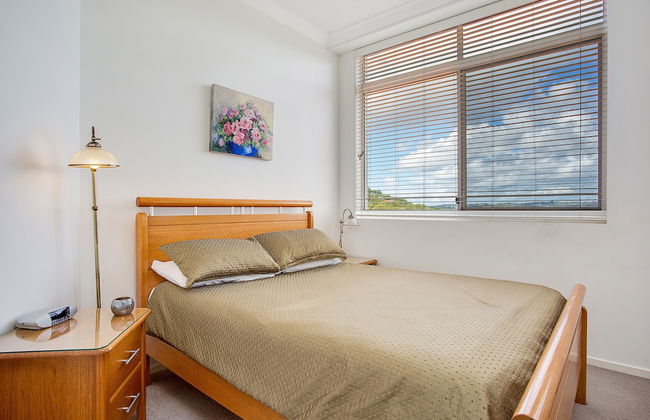
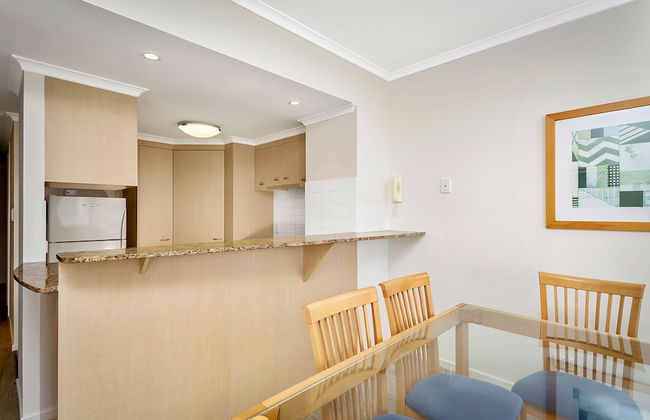
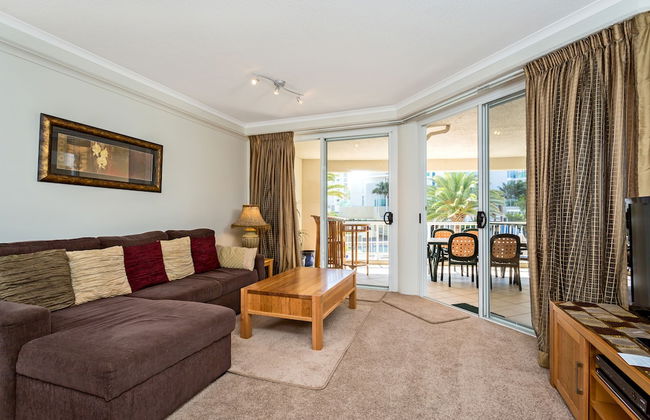
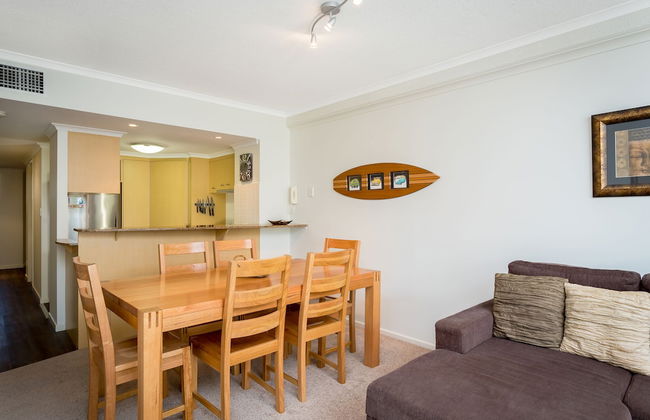
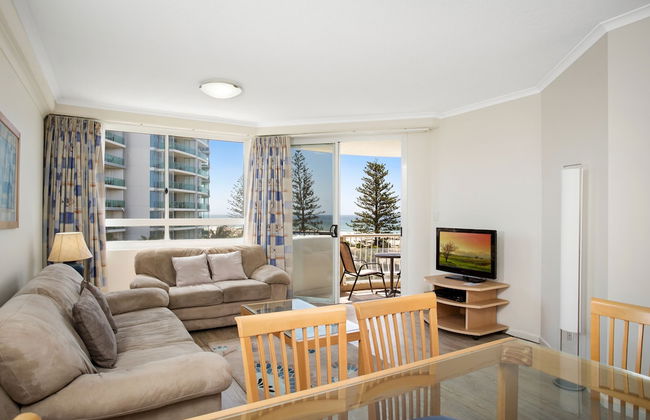
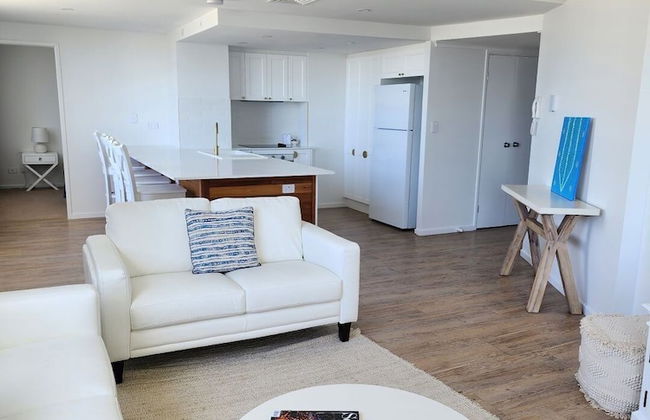
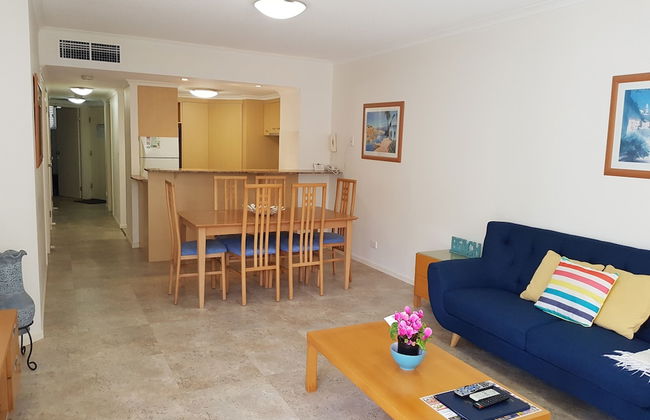
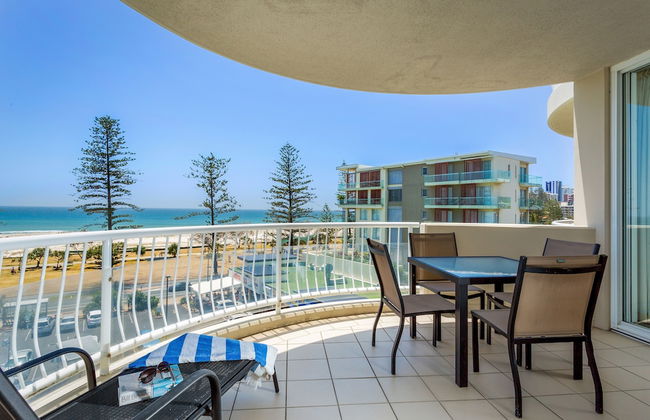
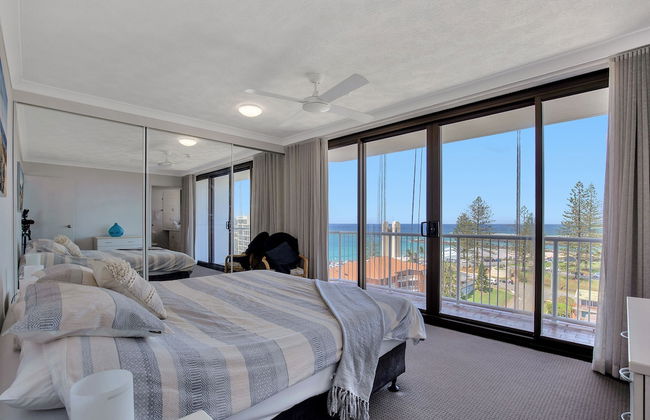
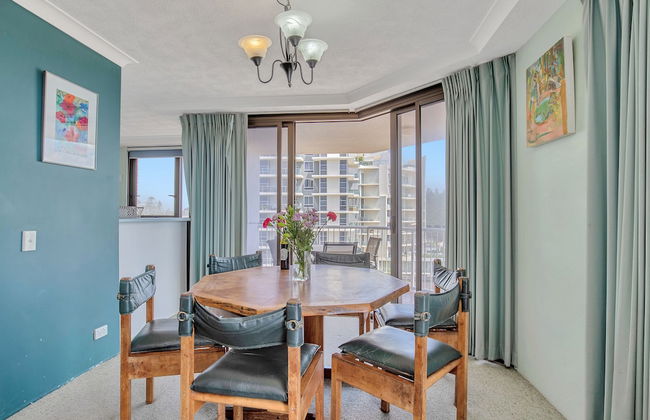
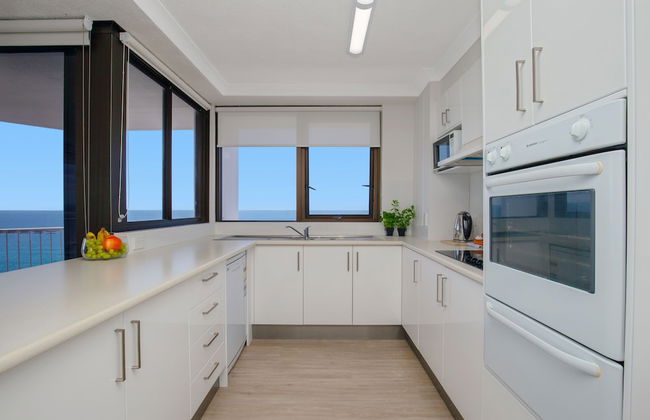
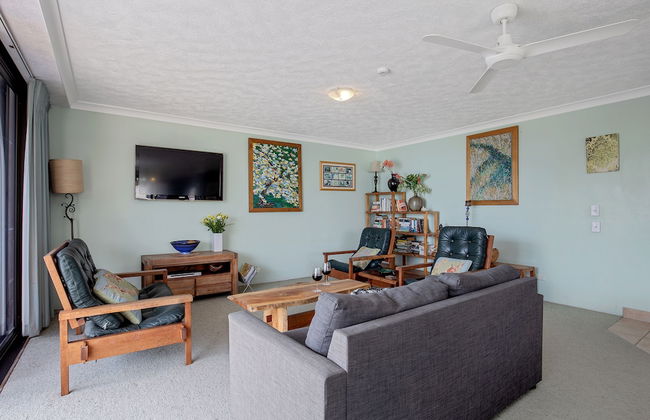
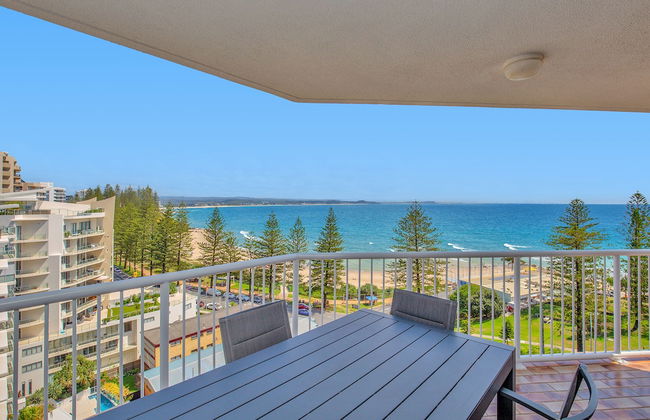
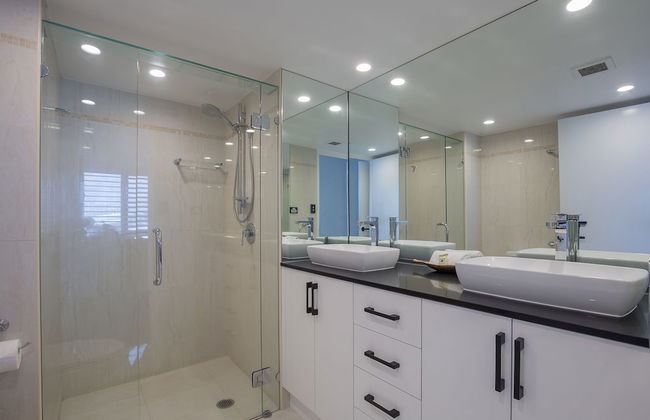
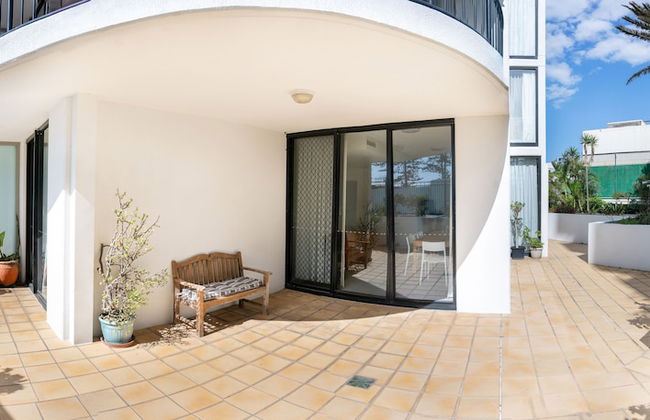
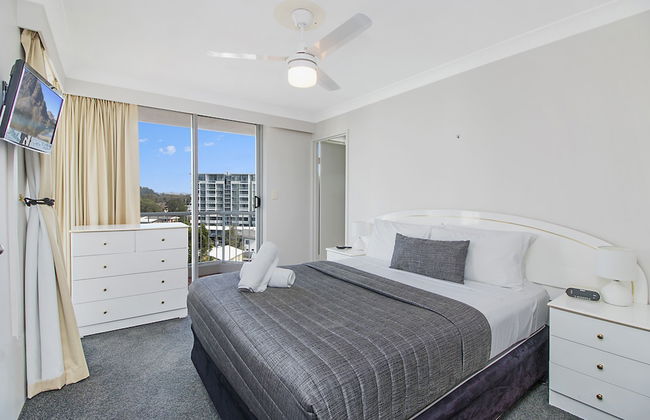
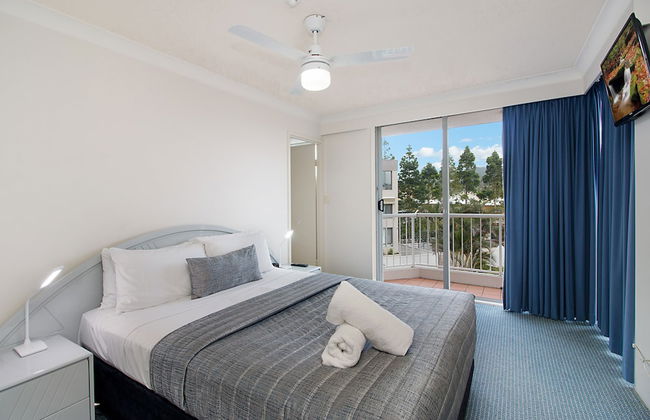
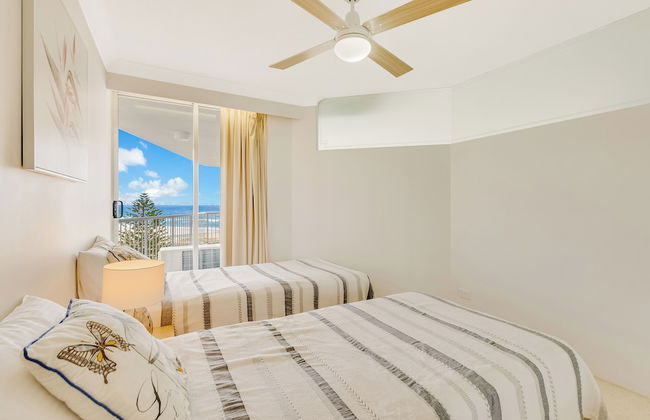
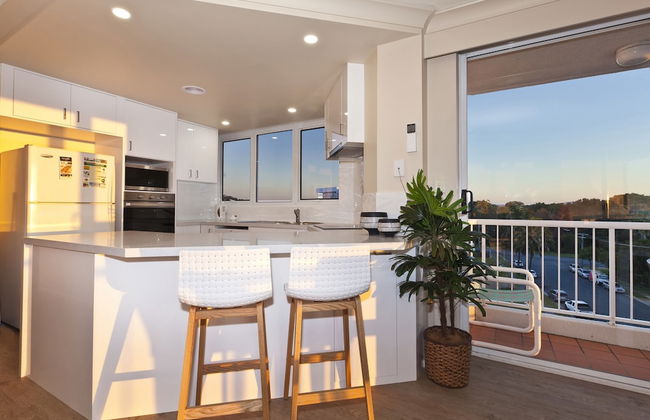
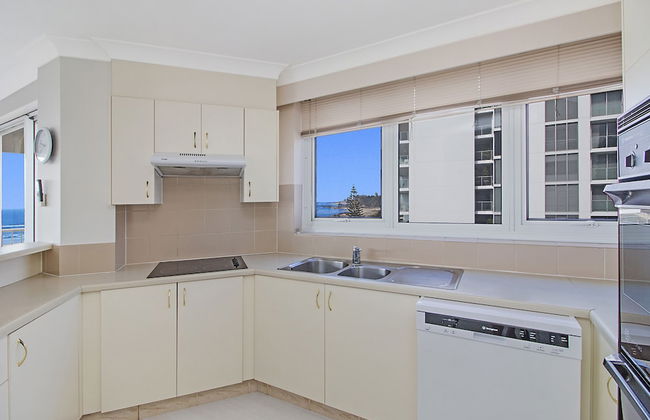
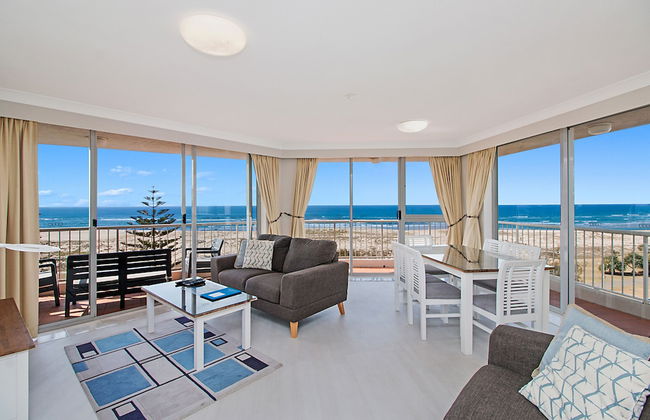
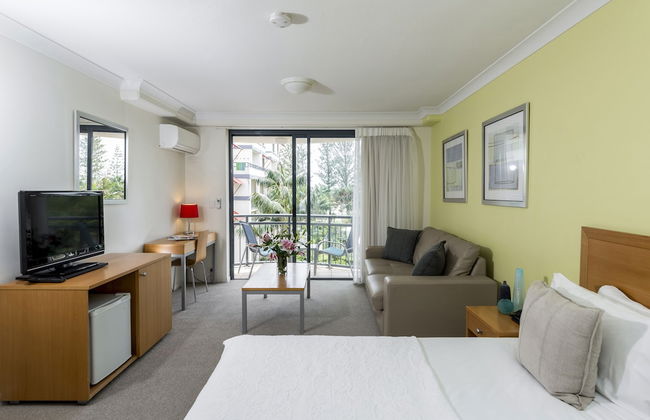
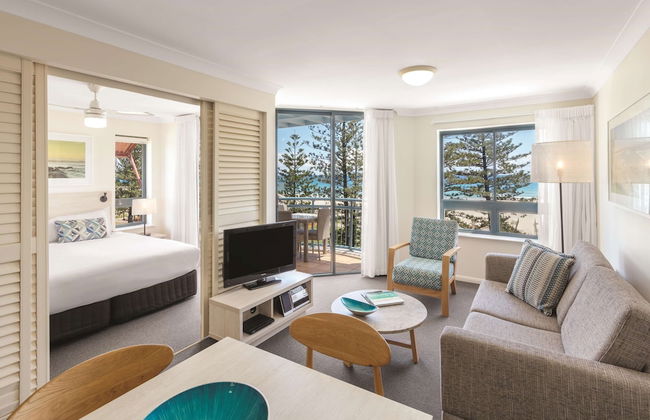
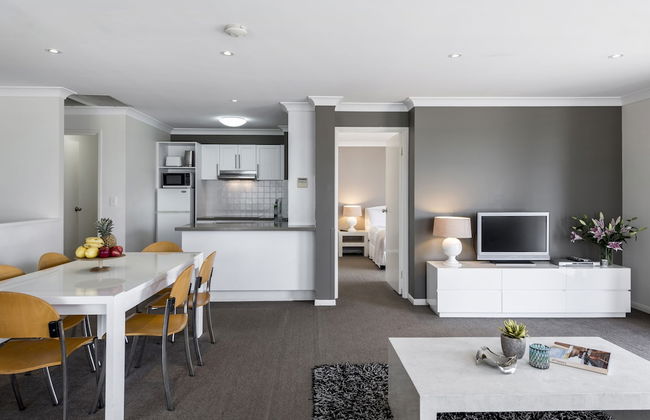
Pure Kirra
Gold Coast - Coolangatta - 20.3 km dal centro
- 131 M2
- 6 persone
- Aria condizionata
- Riscaldamento
- Piscina
- Parcheggio
- Ascensore
- Balcone
- Tv
- Lavatrice
- Barbecue
- Lino da bagno
- Lino da letto
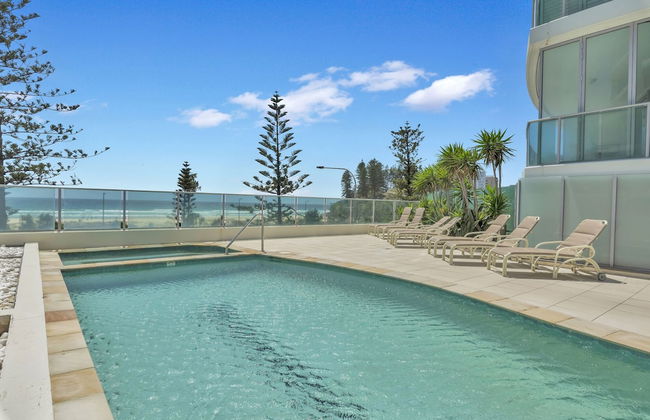


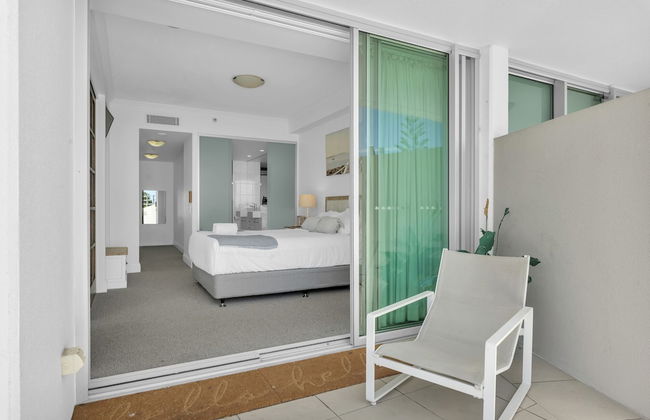


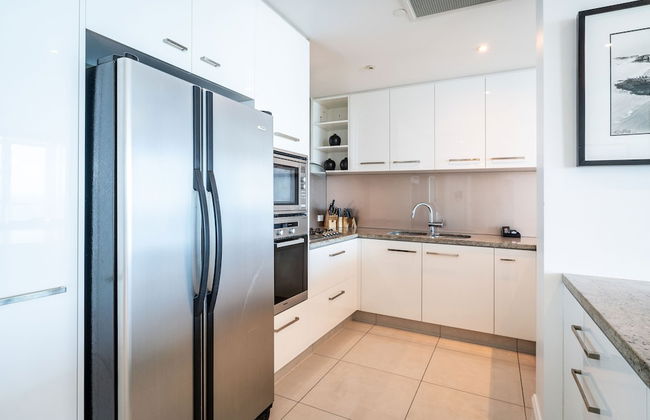


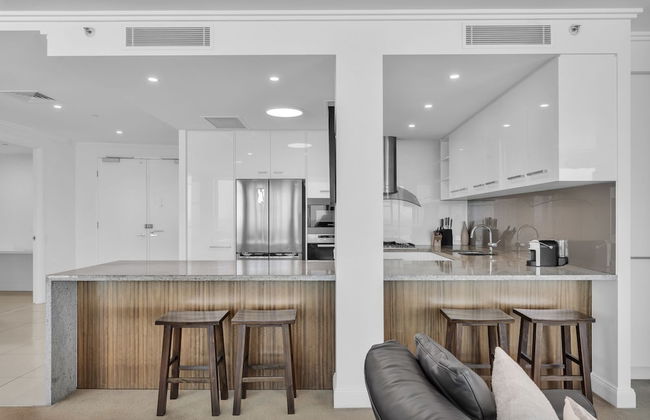


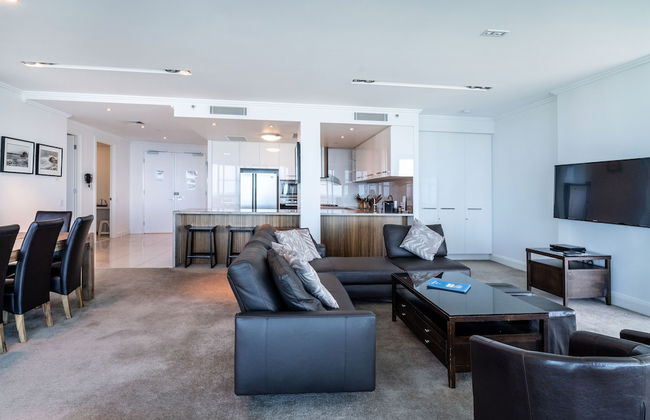


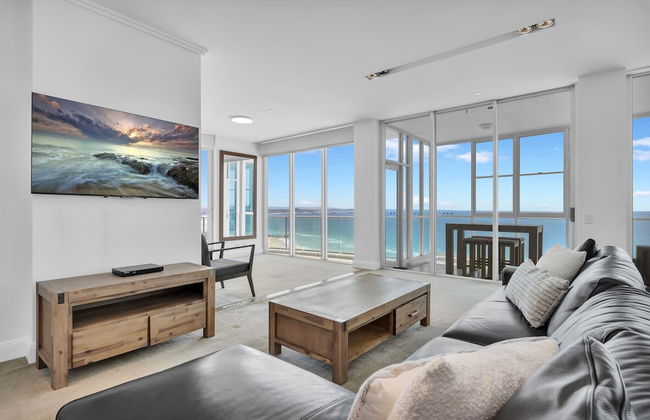


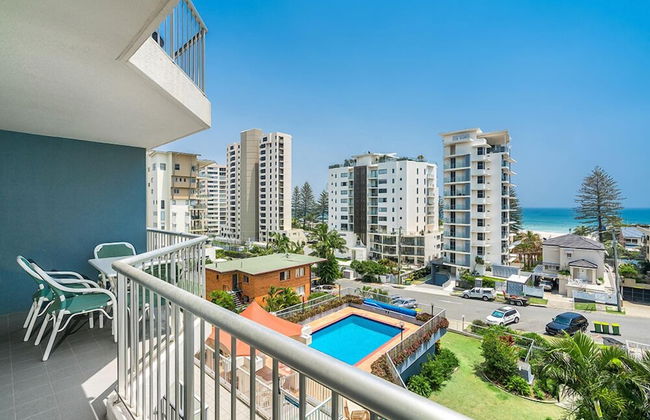
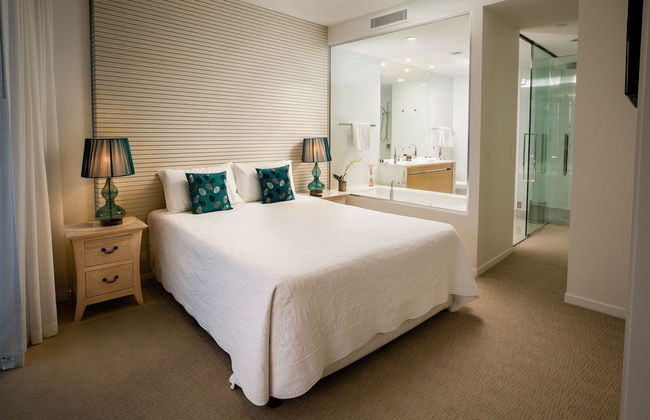
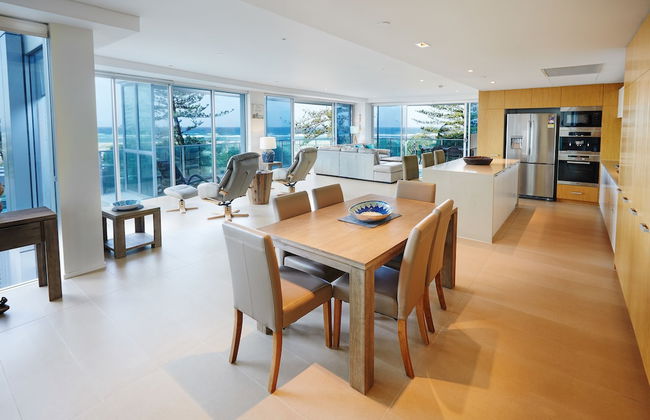
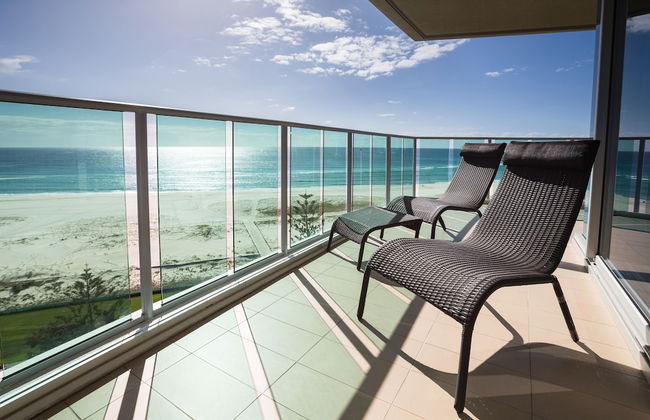
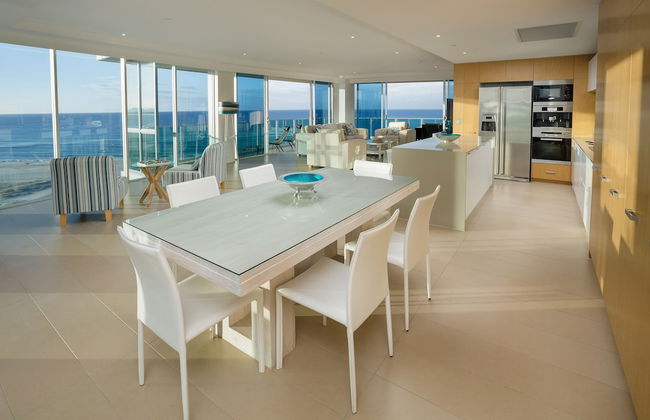
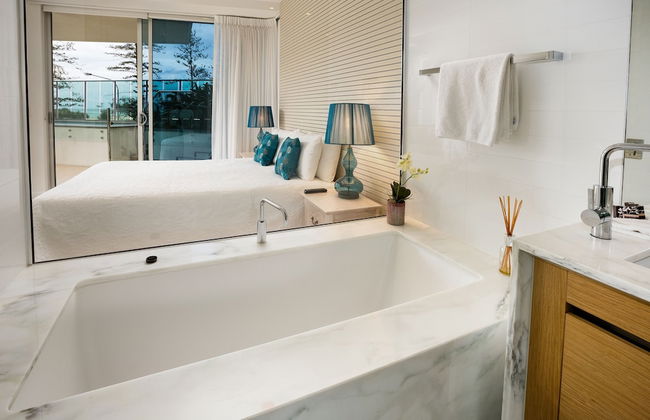
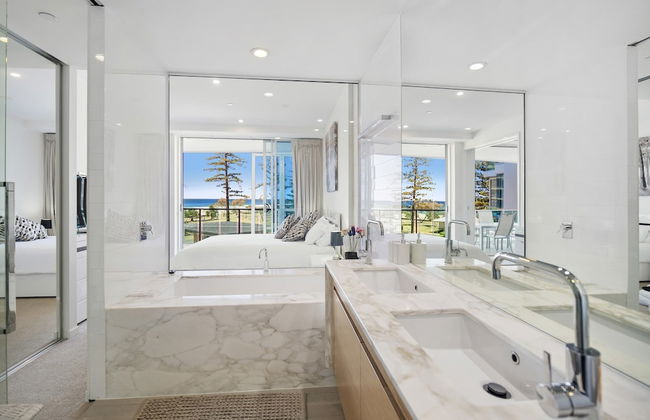
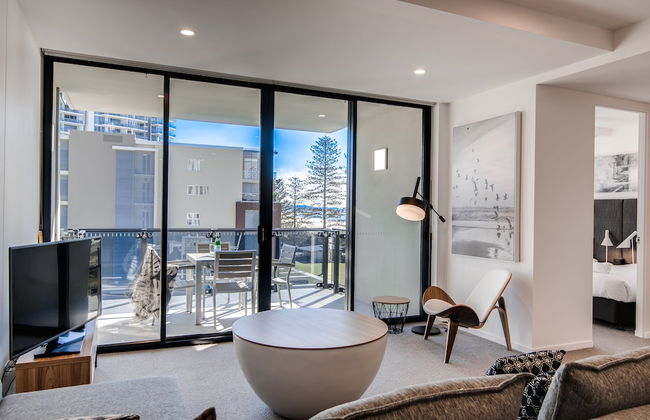
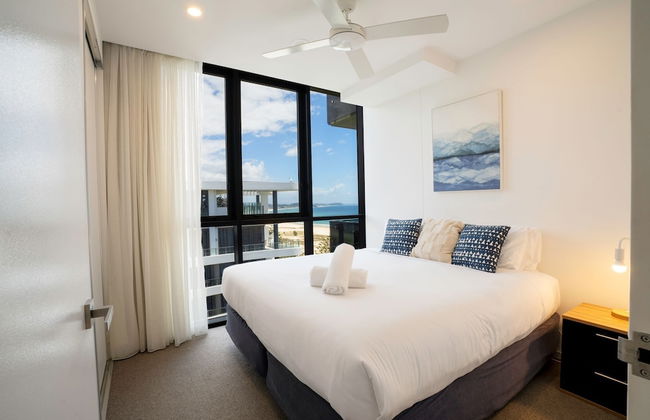
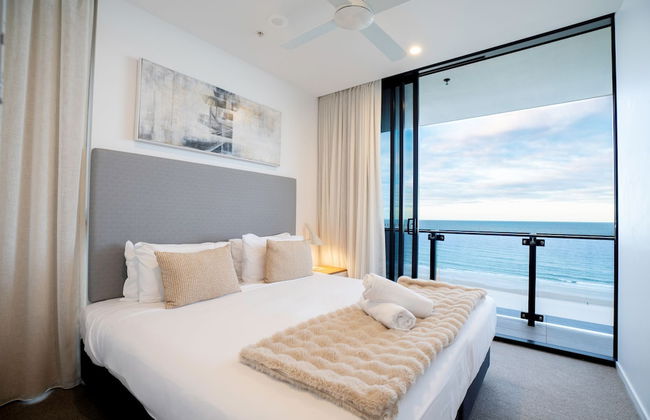
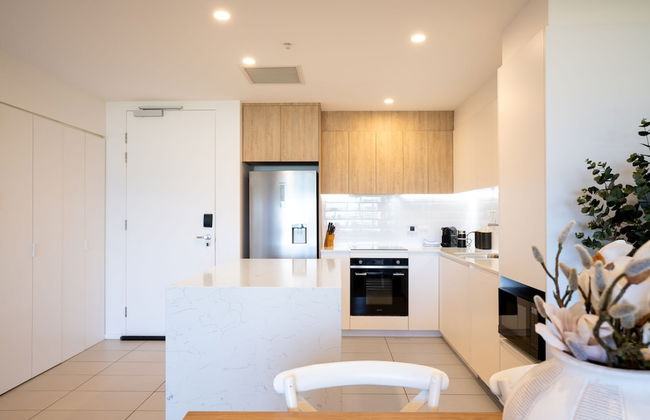
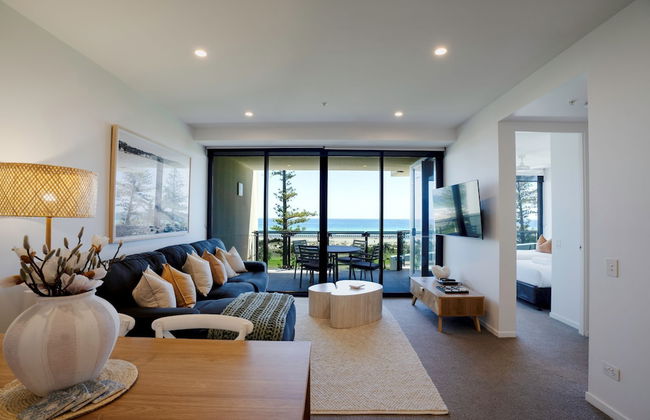
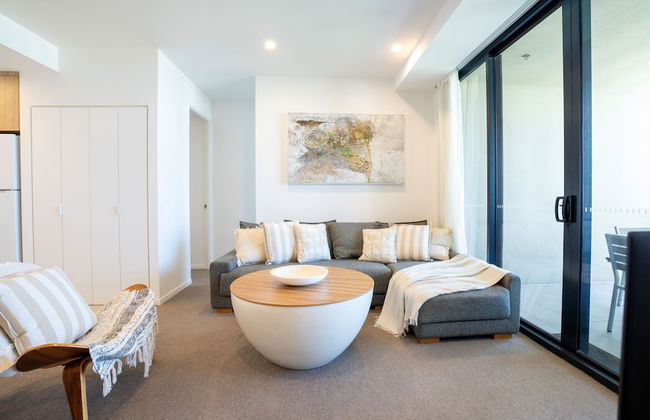
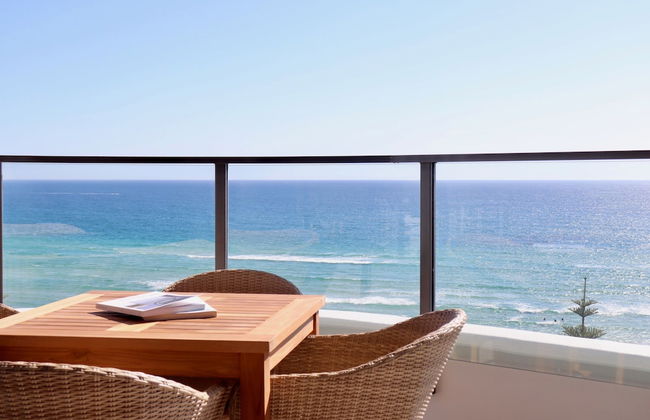
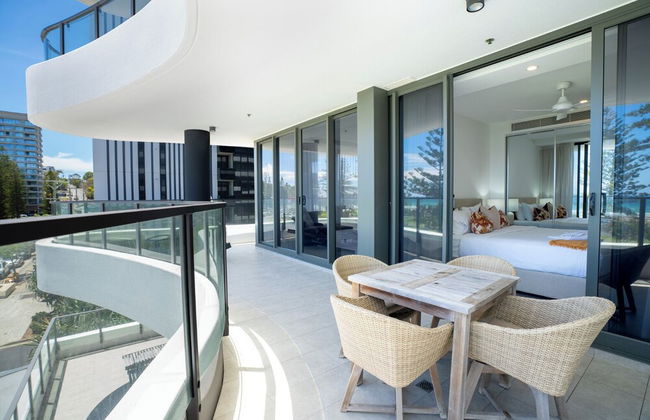
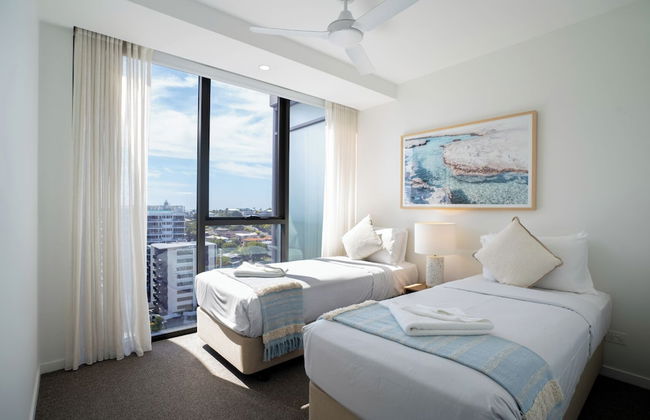
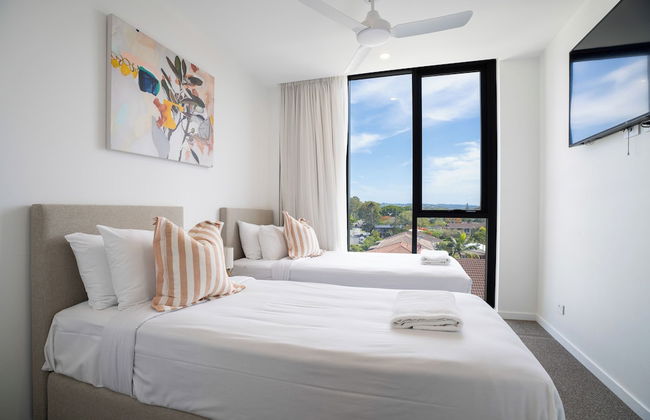
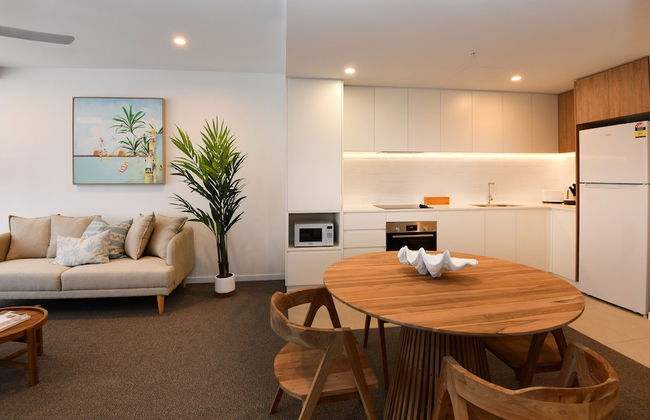
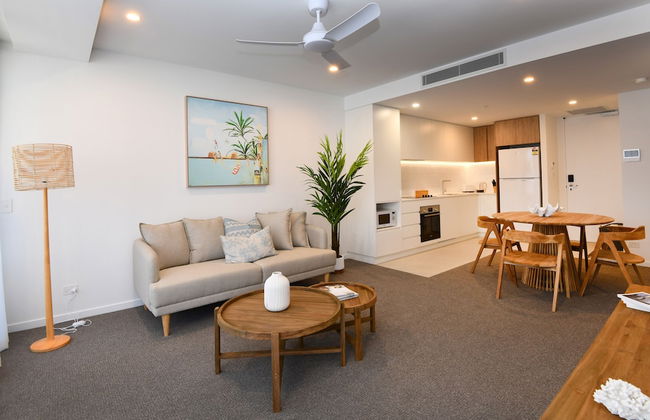
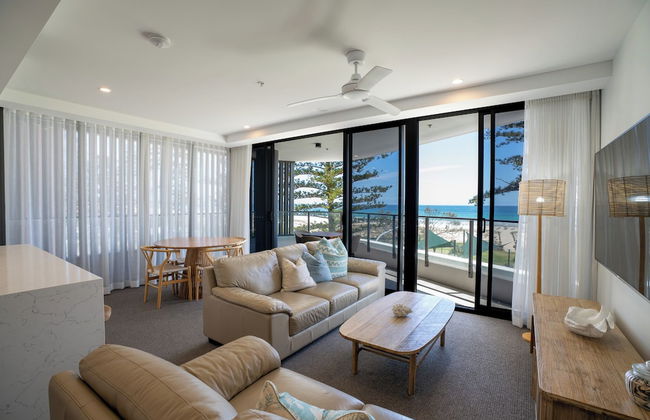
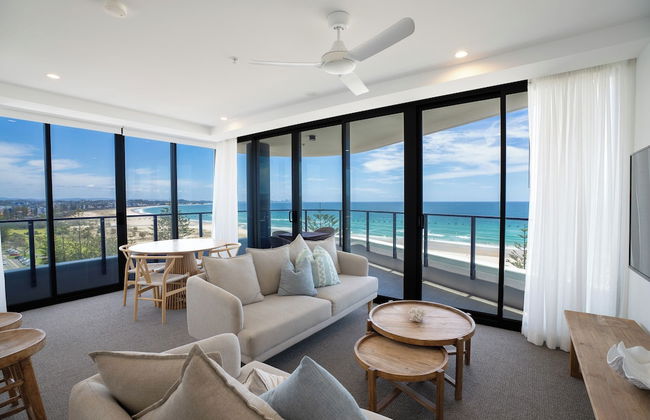
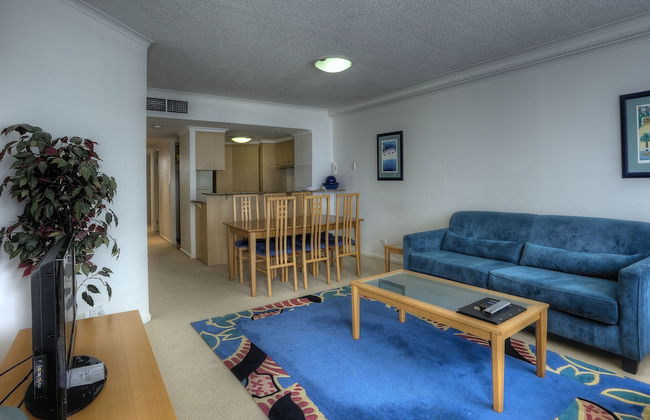
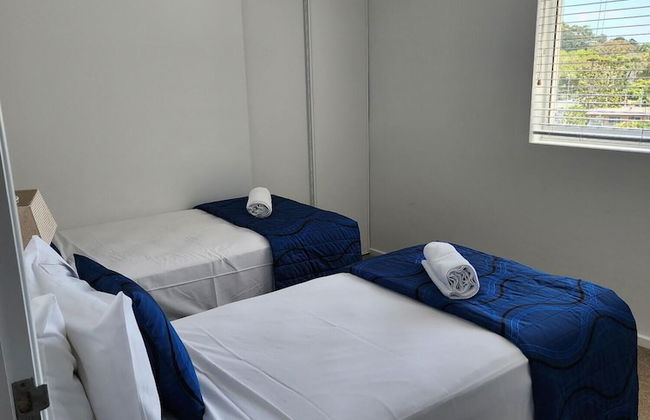
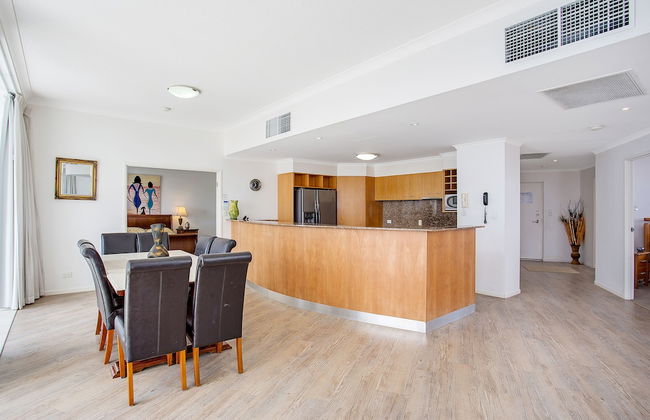
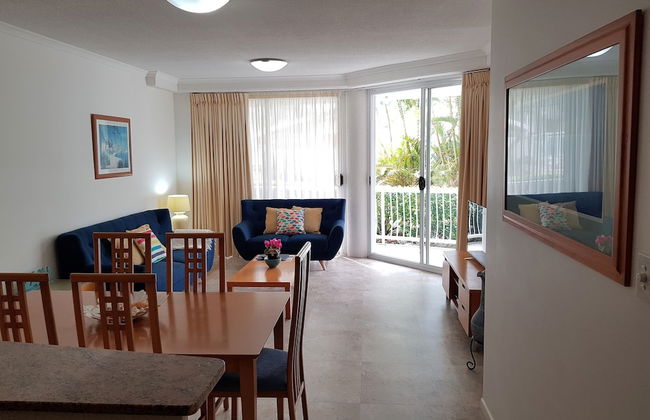
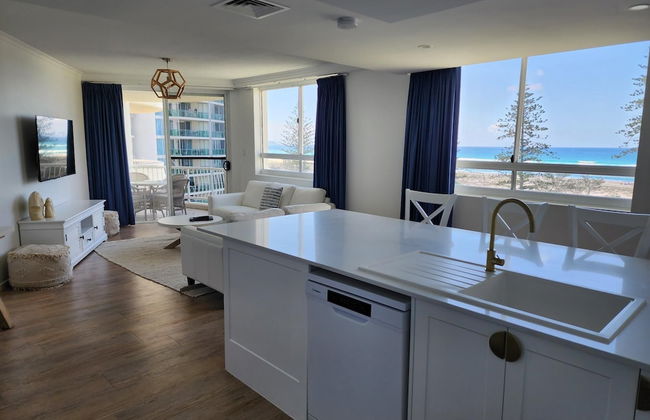
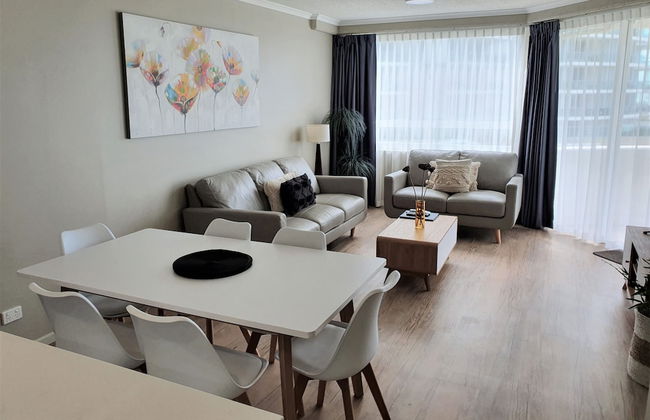
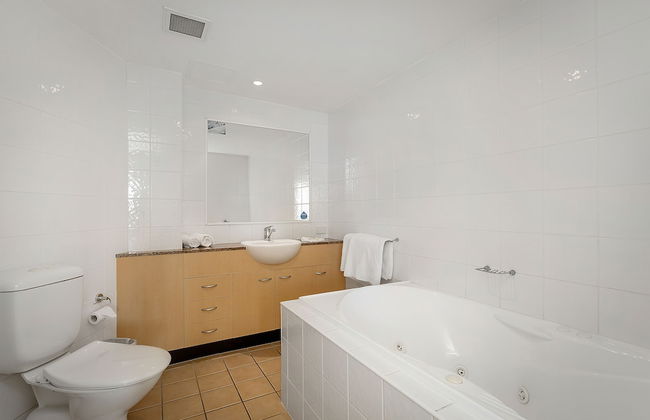
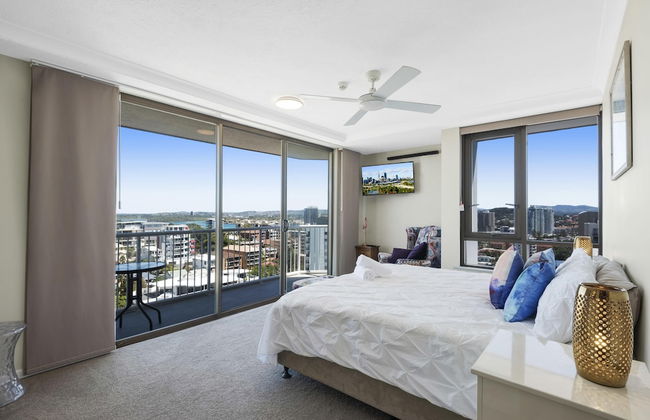
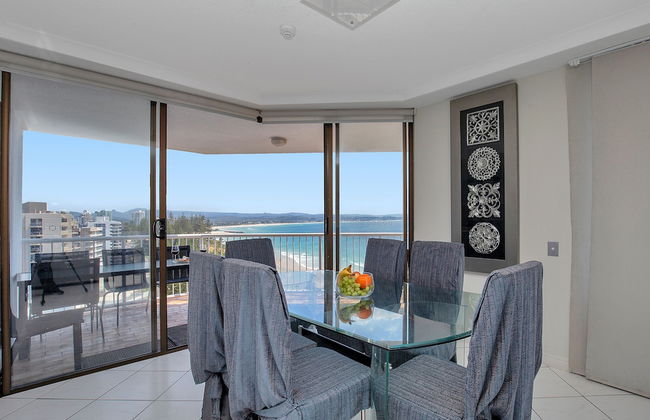
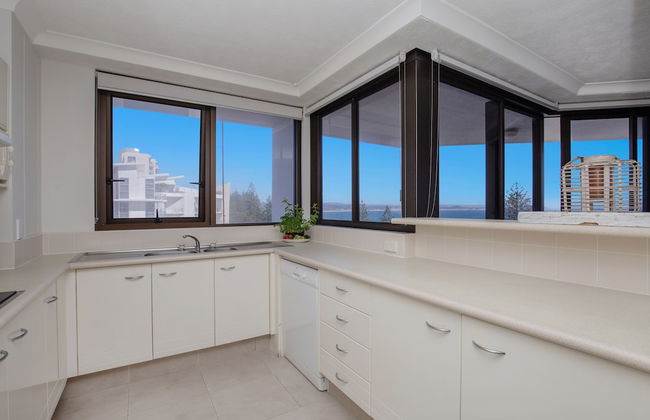
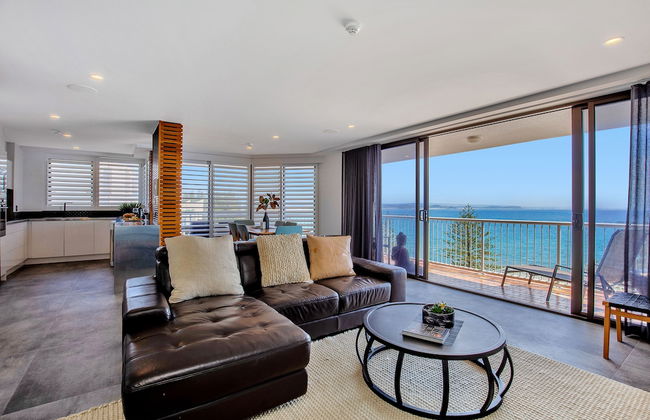
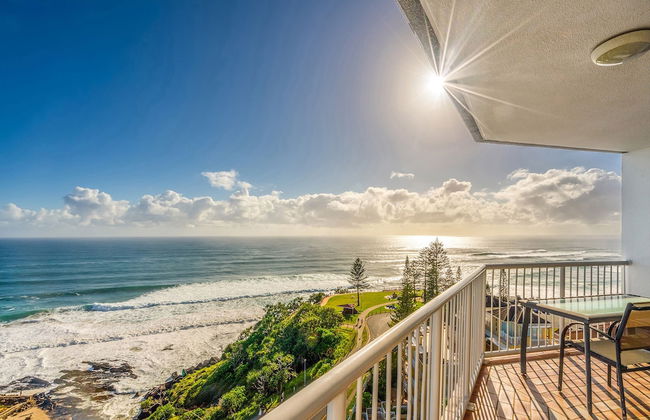
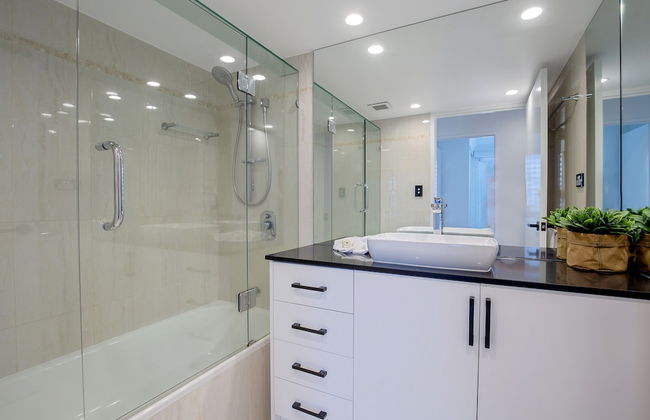
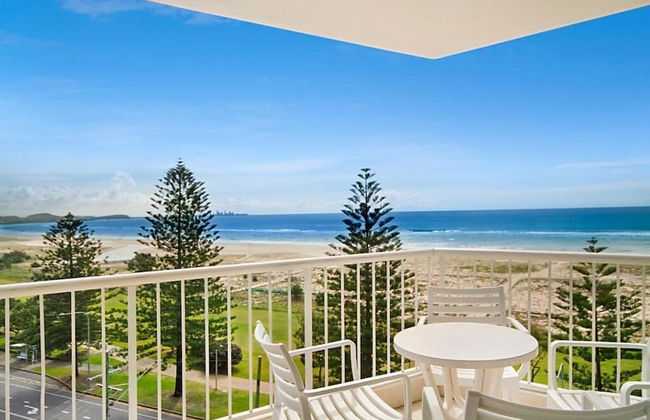
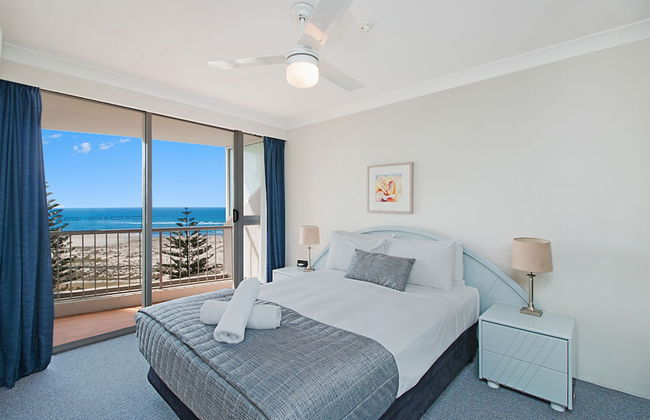
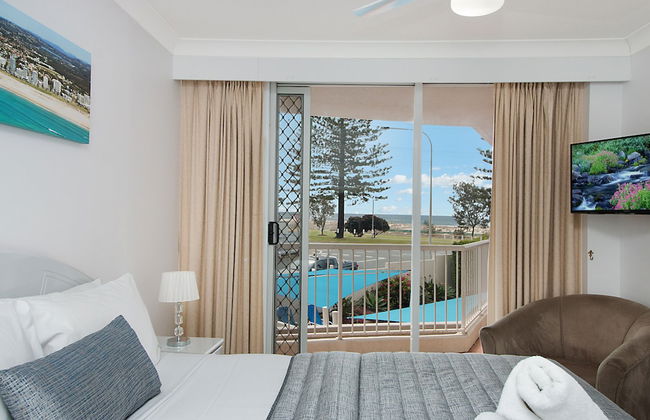
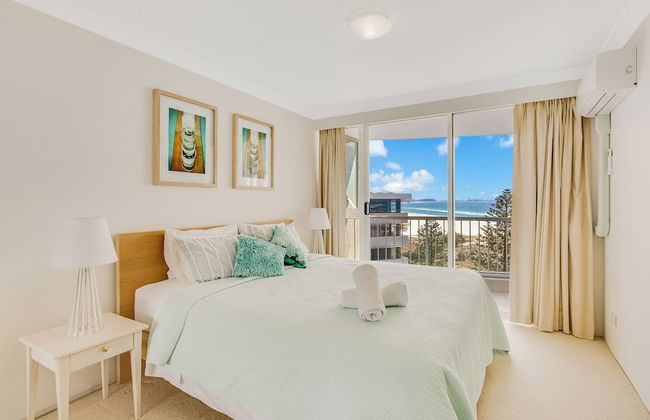
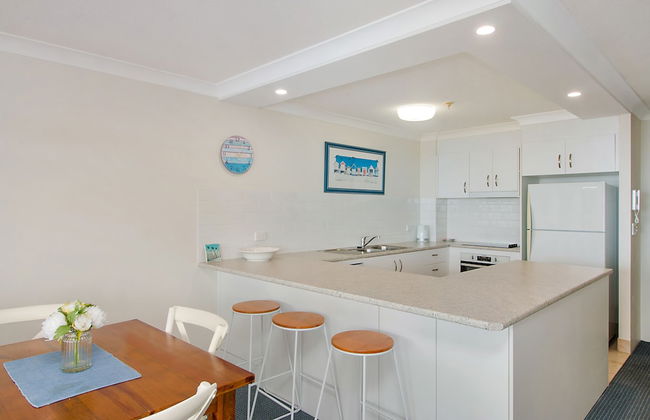
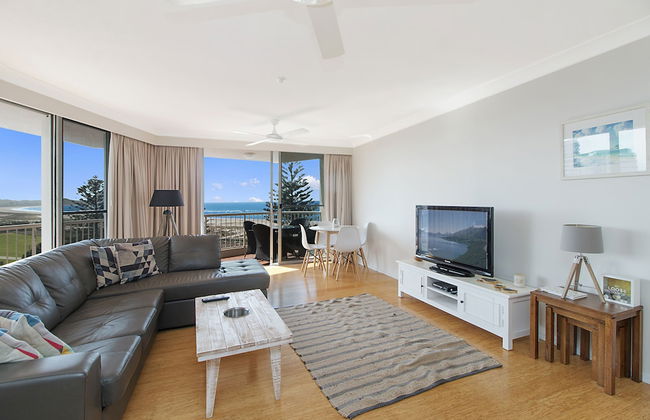
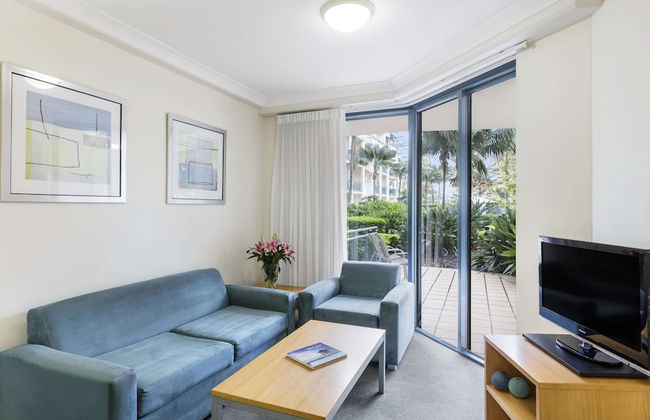
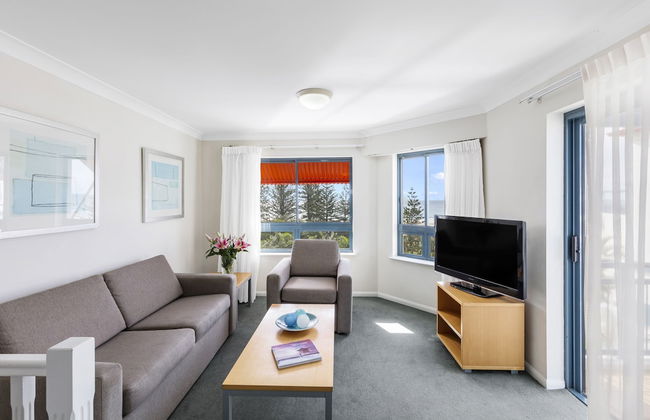
Reflection on the Sea
Gold Coast - Coolangatta - 21.1 km dal centro
- 153 M2
- 8 persone
- Aria condizionata
- Riscaldamento
- Piscina
- Parcheggio
- Ascensore
- Balcone
- Giardino
- Tv
- Lavatrice
- Barbecue
- Lino da bagno
- Lino da letto


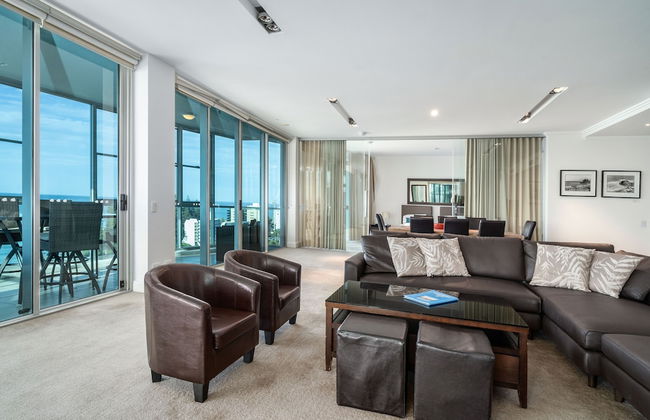
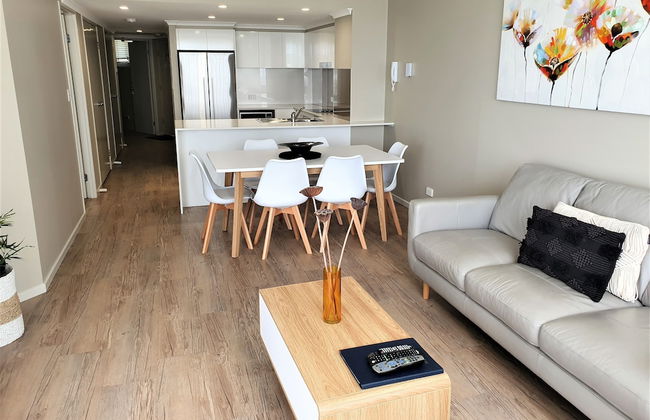
Nirvana By The Sea
Gold Coast - Coolangatta - 20.4 km dal centro
- 300 M2
- 7 persone
- Aria condizionata
- Riscaldamento
- Piscina
- Parcheggio
- Ascensore
- Balcone
- Giardino
- Tv
- Lavatrice
- Barbecue
- Lino da bagno
- Lino da letto


Blue C Coolangatta
Gold Coast - Coolangatta - 20.7 km dal centro
- 490 M2
- 9 persone
- Aria condizionata
- Riscaldamento
- Terrazza
- Piscina
- Parcheggio
- Ascensore
- Balcone
- Giardino
- Tv
- Lavatrice
- Barbecue
- Lino da bagno
- Lino da letto


Iconic Kirra Beach Resort
Gold Coast - Coolangatta - 20.5 km dal centro
- 110 M2
- 6 persone
- Aria condizionata
- Riscaldamento
- Terrazza
- Piscina
- Ascensore
- Balcone
- Giardino
- Tv
- Lavatrice
- Barbecue
- Lino da bagno
- Lino da letto


X Kirra Apartments
Gold Coast - Coolangatta - 20.4 km dal centro
- 101 M2
- 5 persone
- Aria condizionata
- Piscina
- Parcheggio
- Ascensore
- Tv
- Lavatrice
- Lino da bagno
- Lino da letto


Kirra Beach Apartments
Gold Coast - Coolangatta - 20.4 km dal centro
- 112 M2
- 9 persone
- Aria condizionata
- Terrazza
- Piscina
- Parcheggio
- Ascensore
- Balcone
- Giardino
- Tv
- Lavatrice
- Barbecue
- Lino da bagno
- Lino da letto


Carool Apartments
Gold Coast - Coolangatta - 21.1 km dal centro
- 152 M2
- 8 persone
- Riscaldamento
- Piscina
- Parcheggio
- Ascensore
- Balcone
- Giardino
- Tv
- Lavatrice
- Barbecue
- Lino da bagno
- Lino da letto


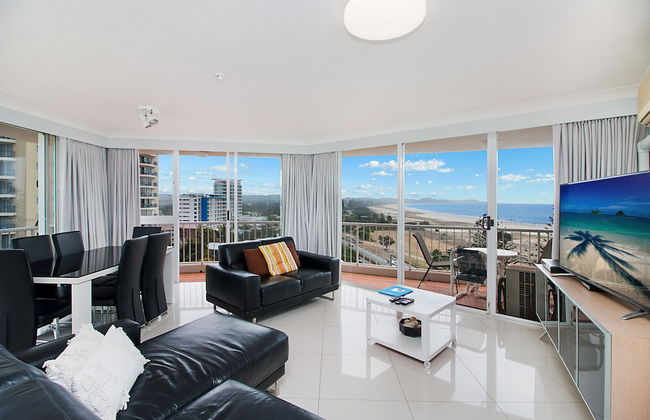
Reflection Tower Two
Gold Coast - Coolangatta - 21 km dal centro
- 140 M2
- 9 persone
- Aria condizionata
- Piscina
- Ascensore
- Balcone
- Giardino
- Tv
- Lavatrice
- Barbecue
- Lino da bagno
- Lino da letto


The Bay Apartments
Gold Coast - Coolangatta - 21.2 km dal centro
- 4 persone
- Aria condizionata
- Riscaldamento
- Terrazza
- Piscina
- Parcheggio
- Balcone
- Giardino
- Tv
- Lavatrice
- Barbecue
- Lino da bagno
- Lino da letto


Mantra Coolangatta Beach
Gold Coast - Coolangatta - 20.9 km dal centro
- 7 persone
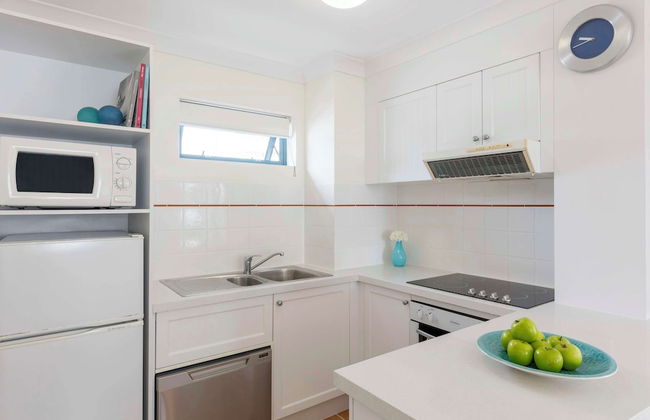
- Cucinino
- Aria condizionata
- Riscaldamento
- Terrazza
- Piscina
- Parcheggio
- Ascensore
- Balcone
- Giardino
- Tv
- Lavatrice
- Barbecue
- Lino da bagno
- Lino da letto


Meridian Tower
Gold Coast - Coolangatta - 20.2 km dal centro
- 6 persone
- Aria condizionata
- Riscaldamento
- Terrazza
- Piscina
- Parcheggio
- Ascensore
- Balcone
- Giardino
- Tv
- Lavatrice
- Barbecue
- Lino da bagno
- Lino da letto


Oaks Gold Coast Calypso Plaza Suites
Gold Coast - Coolangatta - 21 km dal centro
- 97 M2
- 5 persone
- Cucinino
- Aria condizionata
- Piscina
- Parcheggio
- Ascensore
- Balcone
- Tv
- Lavatrice
- Lino da bagno
- Lino da letto

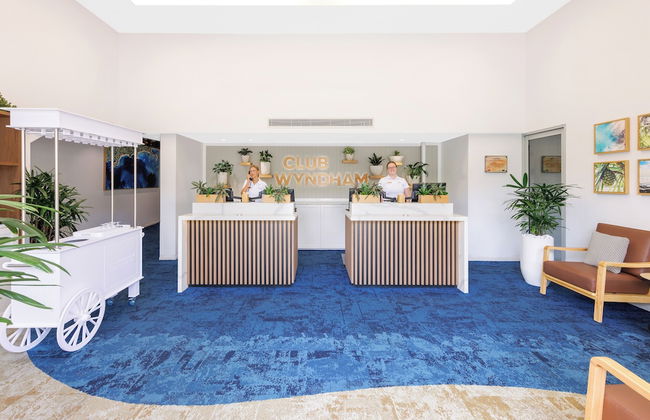
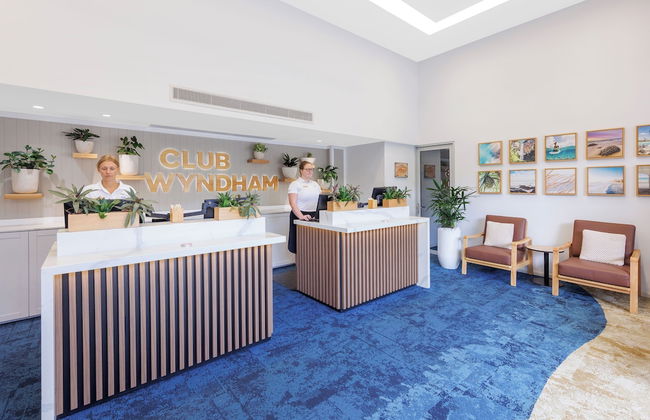

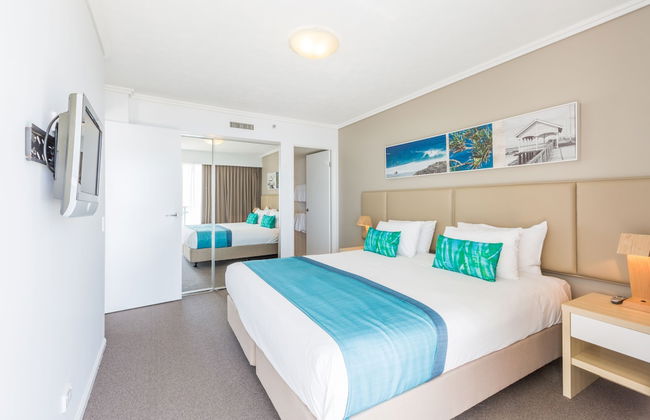


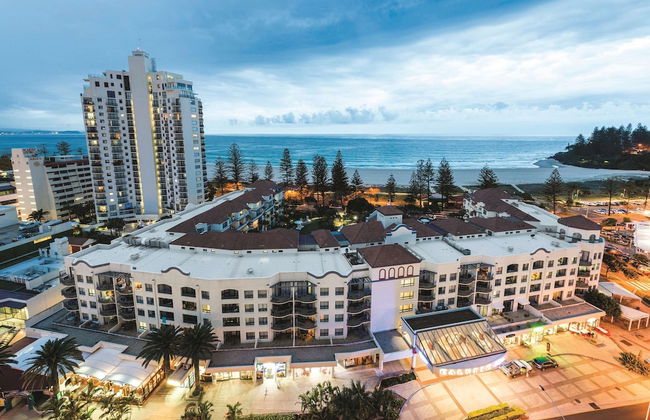
Club Wyndham Kirra Beach, Trademark Collection by Wyndham
Gold Coast - Coolangatta - 20.2 km dal centro
- 6 persone
- Aria condizionata
- Riscaldamento
- Piscina
- Parcheggio
- Ascensore
- Balcone
- Giardino
- Tv
- Lavatrice
- Barbecue
- Lino da bagno
- Lino da letto


Bella Mare Beachside Apartments
Gold Coast - Coolangatta - 21.1 km dal centro
- 155 M2
- 6 persone
- Aria condizionata
- Riscaldamento
- Parcheggio
- Balcone
- Giardino
- Tv
- Lavatrice
- Barbecue
- Lino da bagno
- Lino da letto


Lovely 1 Bedroom Apartment Steps to the Beach
Gold Coast - Coolangatta - 20.4 km dal centro
- 44 M2
- 4 persone
- Parcheggio
- Balcone
- Tv
- Lavatrice
- Lino da bagno
- Lino da letto


Luxury Beachfront Stay in Kirra
Gold Coast - Coolangatta - 20.3 km dal centro
- 112 M2
- 5 persone
- Aria condizionata
- Riscaldamento
- Piscina
- Parcheggio
- Balcone
- Giardino
- Tv
- Lavatrice
- Barbecue
- Lino da bagno
- Lino da letto


