


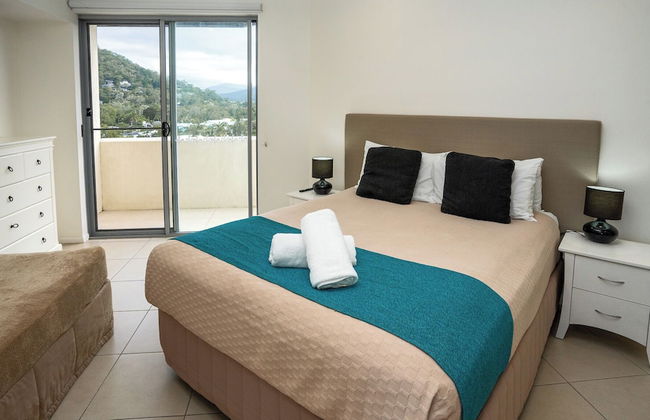
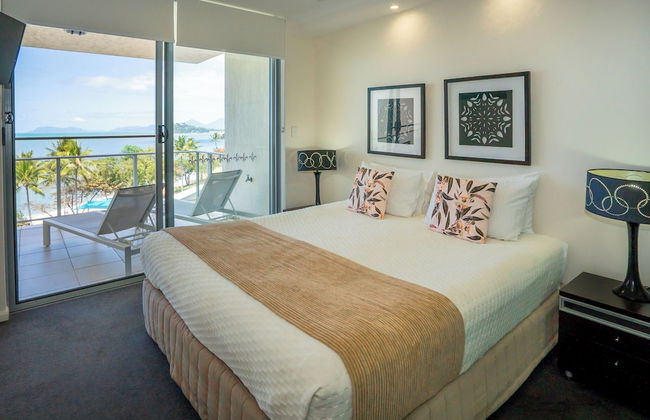
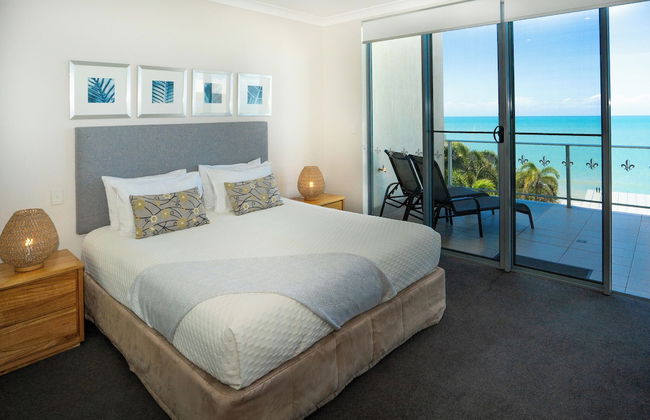
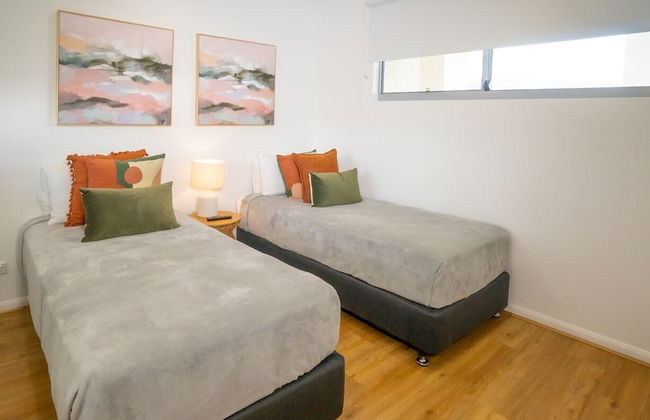
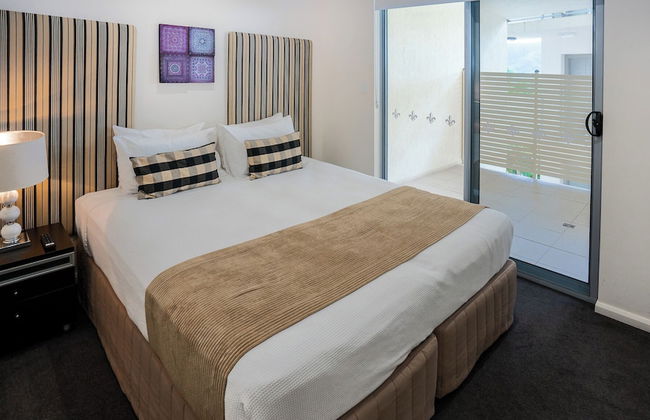
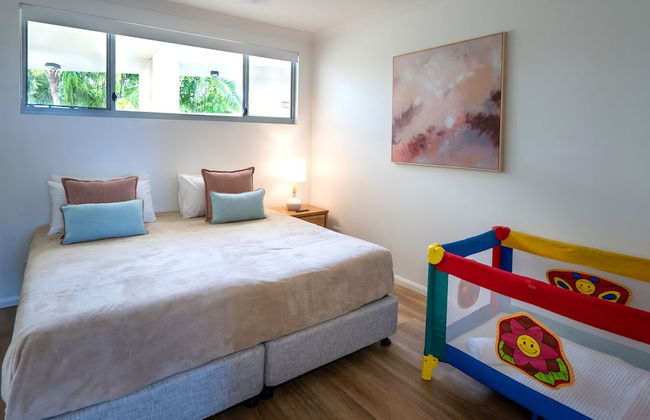
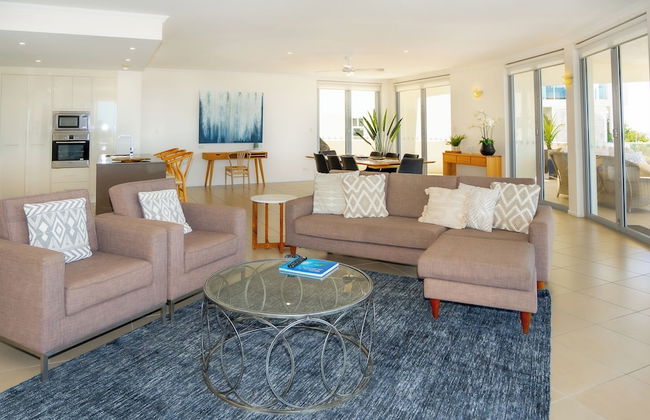
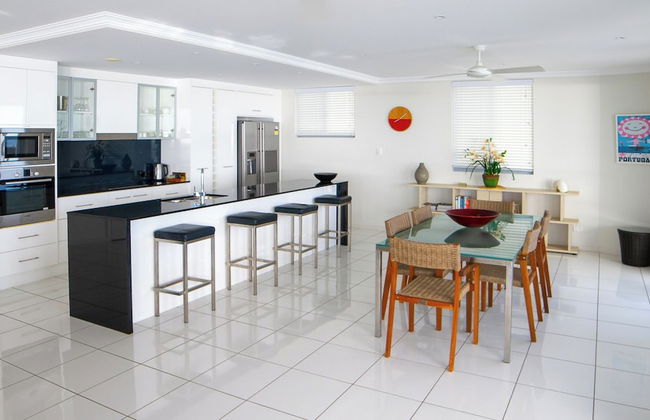
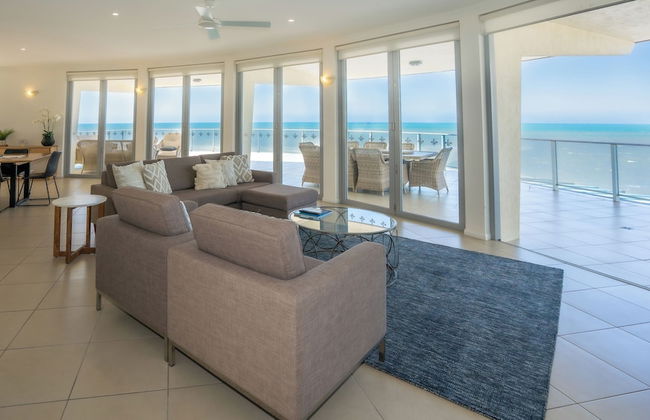
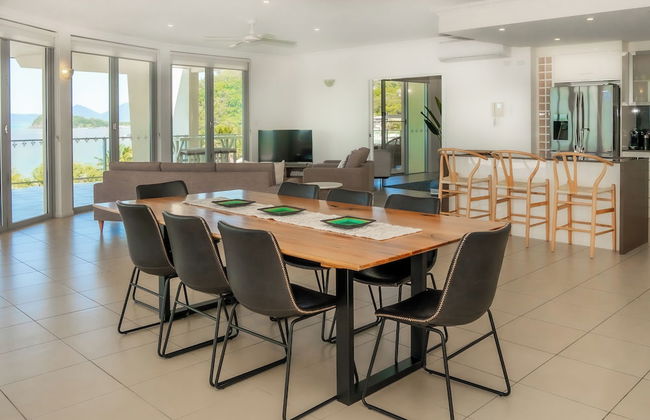
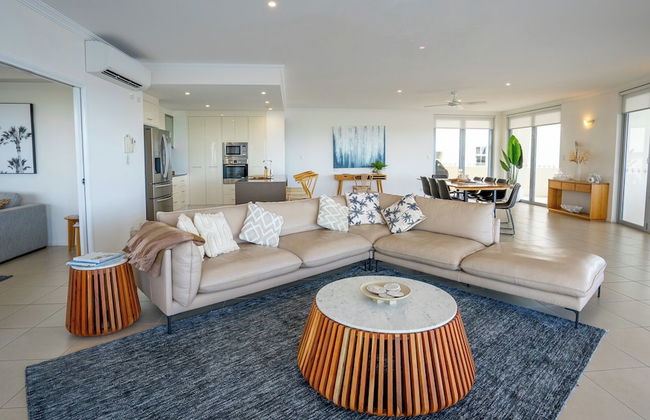
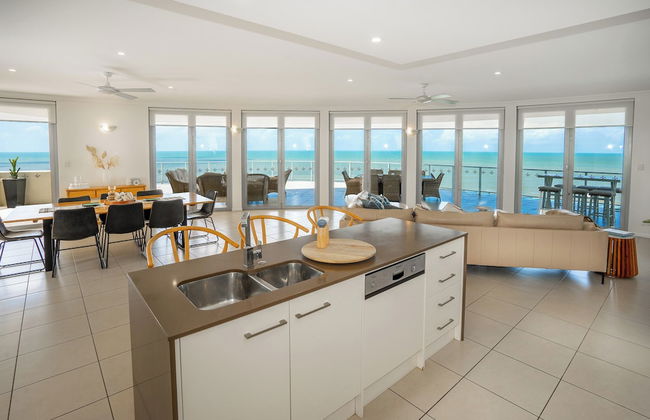
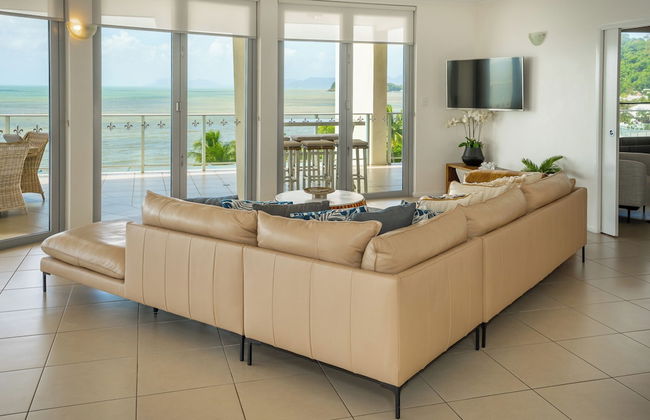
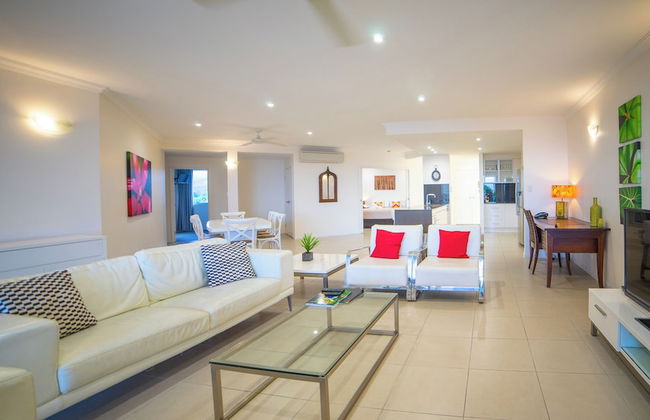
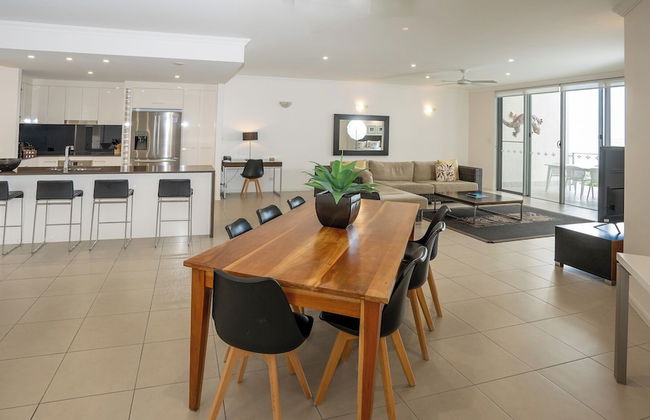
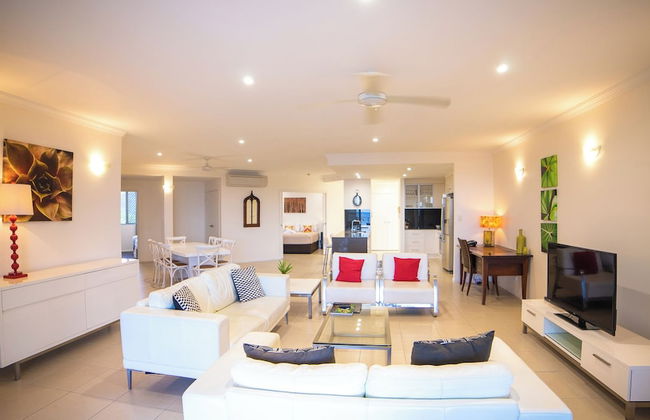
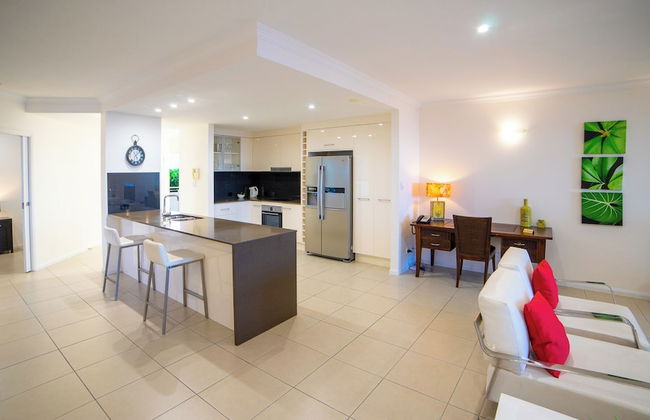
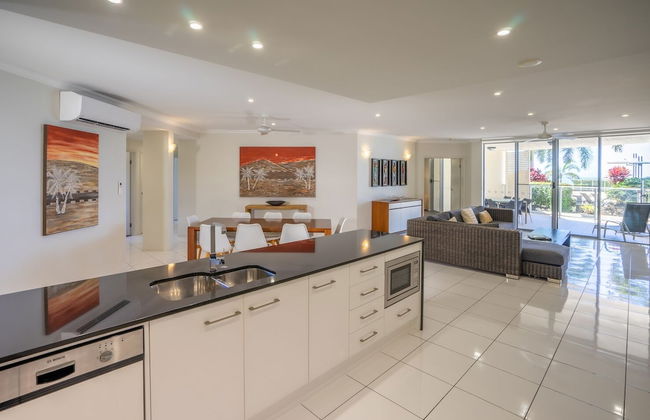
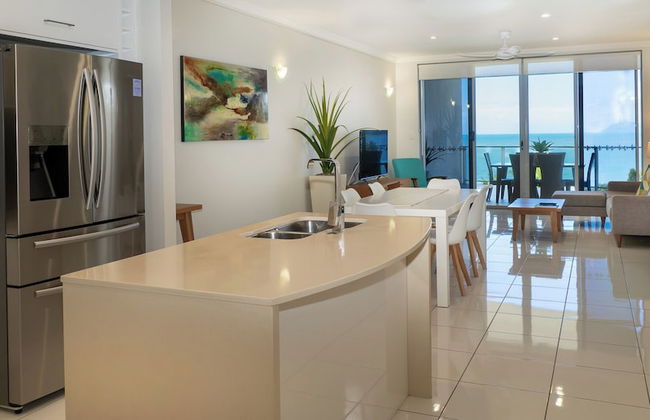
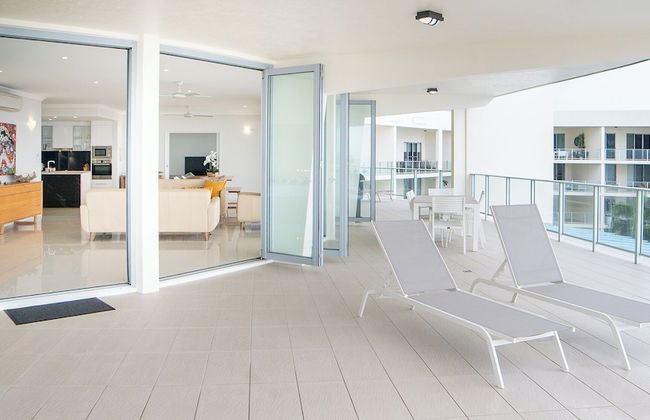
Villa Beach Palm Cove
Cairns - Clifton - 20.3 km dal centro
- 144 M2
- 6 persone
- Aria condizionata
- Riscaldamento
- Terrazza
- Piscina
- Parcheggio
- Ascensore
- Giardino
- Tv
- Lavatrice
- Barbecue
- Lino da bagno
- Lino da letto


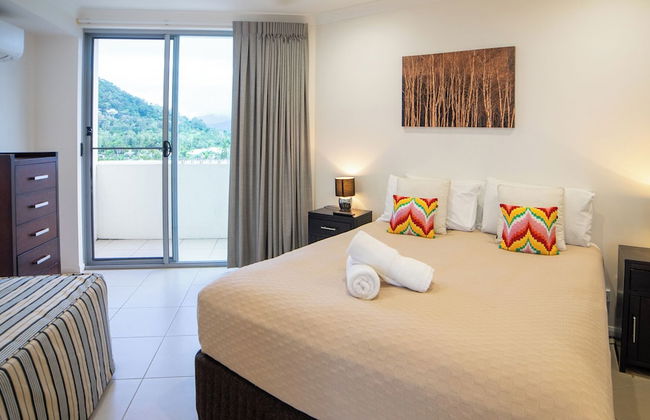
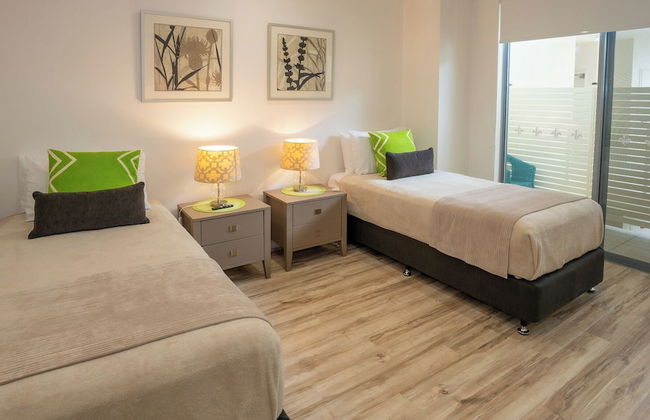
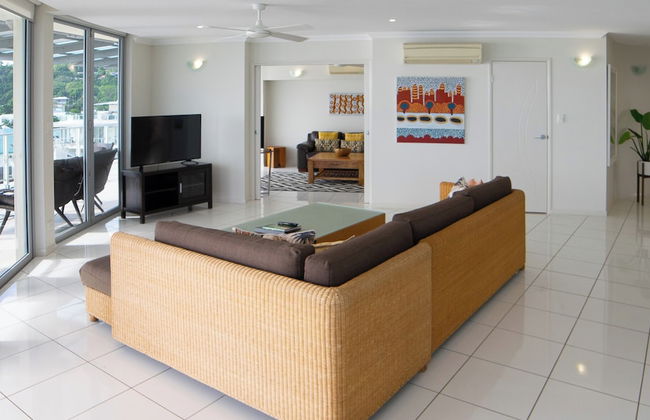
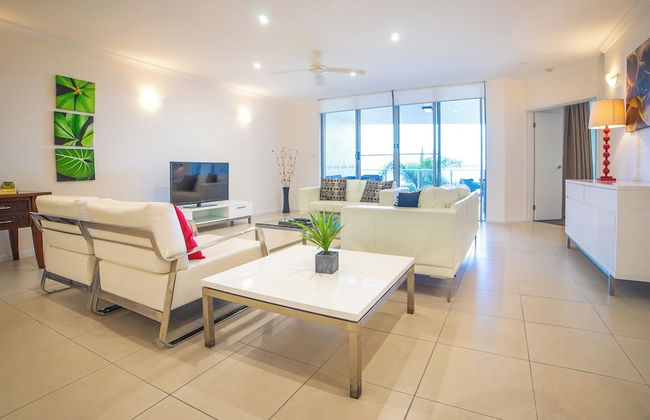
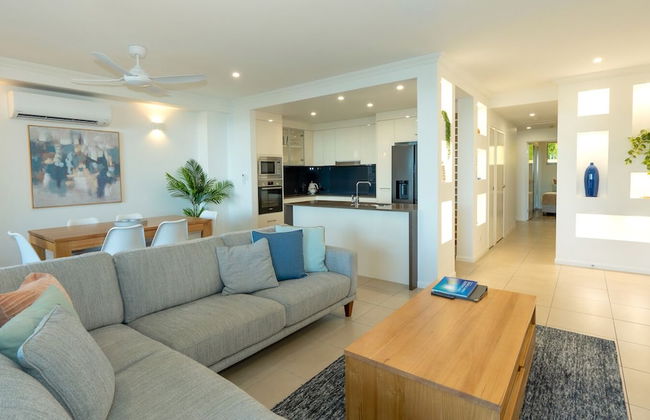
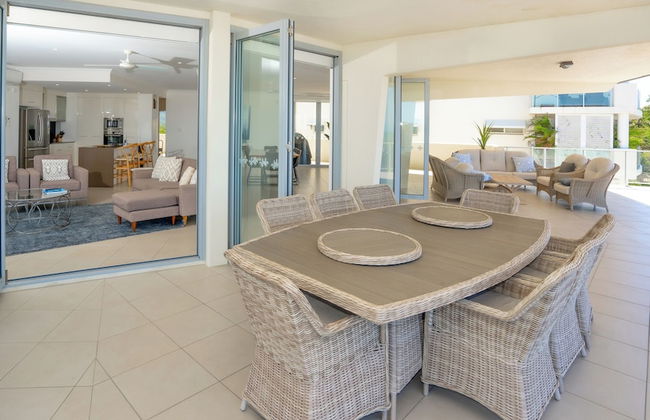
Albatross North Apartments
Gold Coast - Mermaid Beach - 5.2 km dal centro
- 7 persone
- Aria condizionata
- Riscaldamento
- Terrazza
- Piscina
- Parcheggio
- Ascensore
- Balcone
- Giardino
- Tv
- Lavatrice
- Barbecue
- Lino da bagno
- Lino da letto


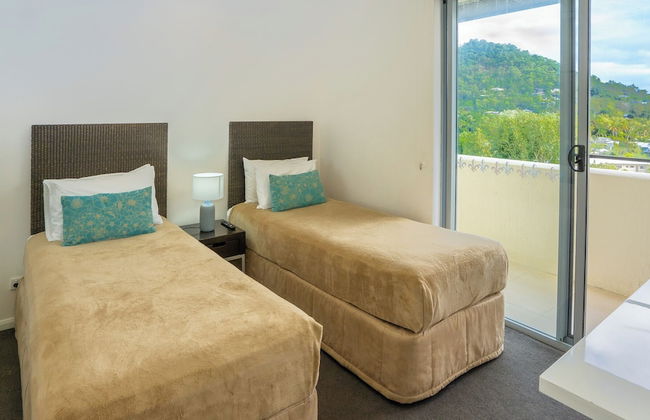
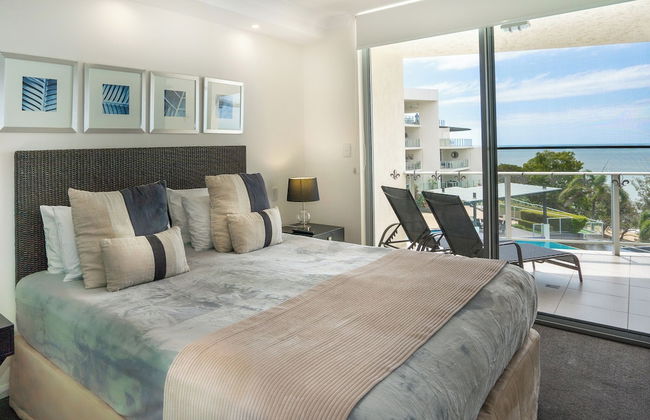
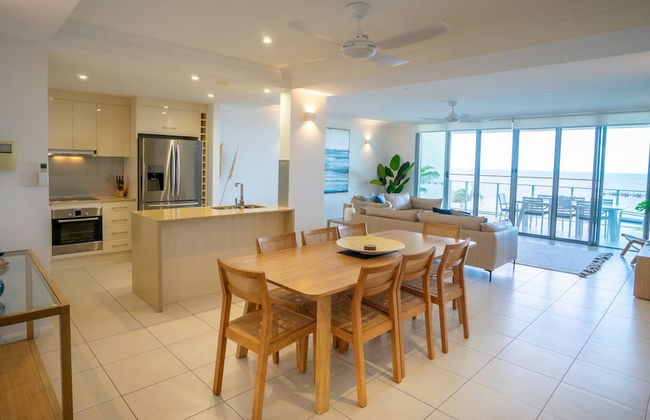
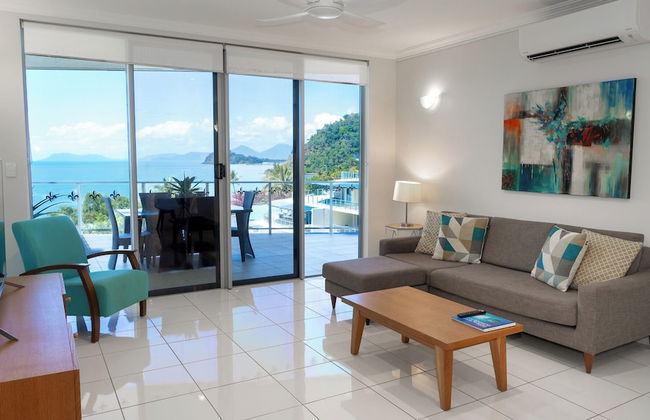
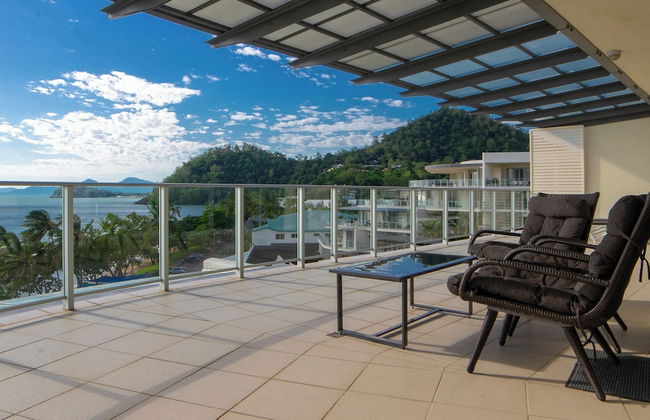
Trinity Collective
Cairns - Trinity Park - 14.6 km dal centro
- 122 M2
- 6 persone
- Cucinino
- Aria condizionata
- Riscaldamento
- Terrazza
- Piscina
- Parcheggio
- Ascensore
- Balcone
- Giardino
- Tv
- Lavatrice
- Barbecue
- Lino da bagno
- Lino da letto


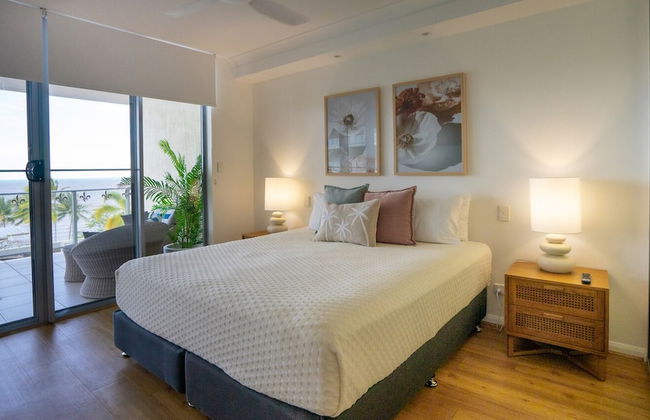
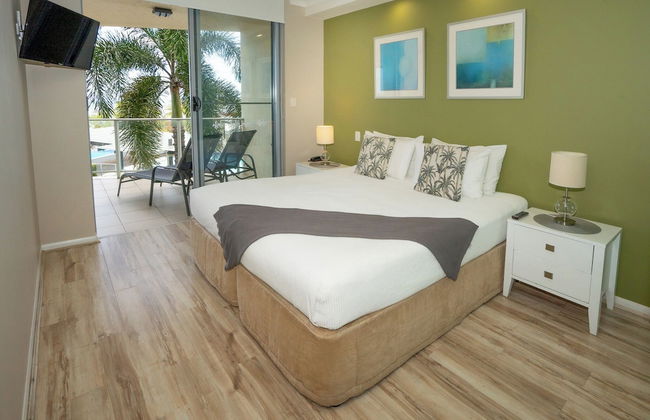
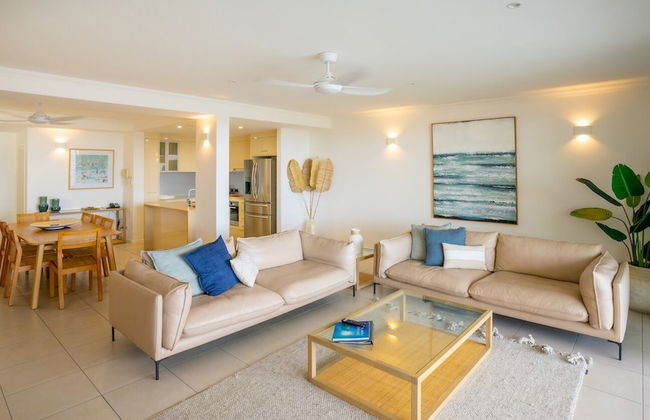
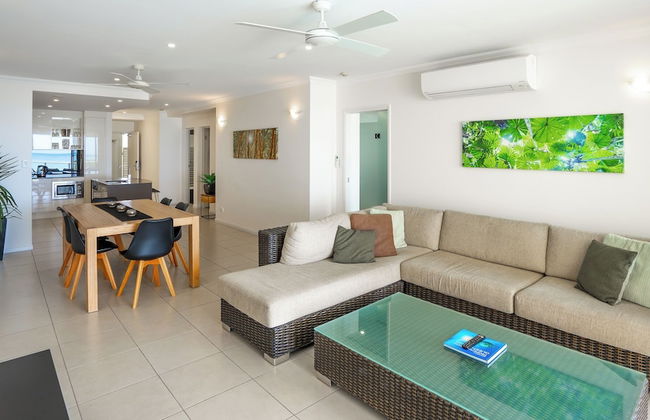
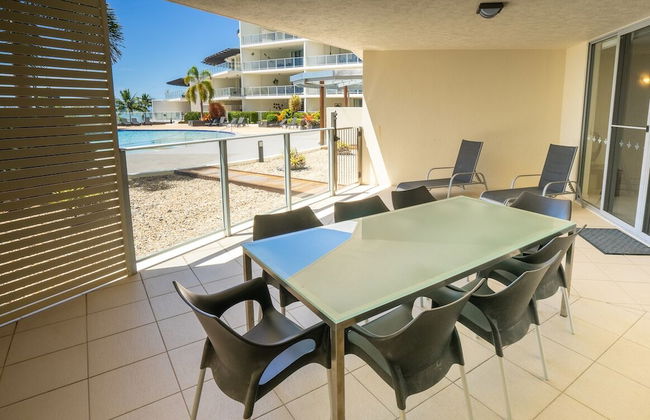
Valle Vista Luxury Apartments
Cairns - Redlynch - 8.4 km dal centro
- 174 M2
- 6 persone
- Aria condizionata
- Riscaldamento
- Terrazza
- Piscina
- Parcheggio
- Ascensore
- Balcone
- Giardino
- Tv
- Lavatrice
- Barbecue
- Lino da bagno
- Lino da letto


Beachfront Apartments on Trinity Beach
Cairns - Trinity - 16.5 km dal centro
- 135 M2
- 5 persone
- Aria condizionata
- Riscaldamento
- Terrazza
- Piscina
- Parcheggio
- Ascensore
- Balcone
- Giardino
- Tv
- Lavatrice
- Barbecue
- Lino da bagno
- Lino da letto


Picture Point Terraces
Sunshine Coast - Noosa Heads - 28.6 km dal centro
- 148 M2
- 9 persone
- Aria condizionata
- Riscaldamento
- Terrazza
- Piscina
- Parcheggio
- Ascensore
- Giardino
- Tv
- Lavatrice
- Barbecue
- Lino da bagno
- Lino da letto


Seclude Rainforest Retreat
Palm Grove - 3.5 km dal centro
- 49 M2
- 2 persone
- Aria condizionata
- Riscaldamento
- Terrazza
- Piscina
- Parcheggio
- Balcone
- Giardino
- Tv
- Barbecue
- Lino da bagno
- Lino da letto


Kirra Point Holiday Apartments
Gold Coast - Coolangatta - 20.5 km dal centro
- 186 M2
- 6 persone
- Aria condizionata
- Riscaldamento
- Piscina
- Parcheggio
- Ascensore
- Balcone
- Tv
- Lavatrice
- Lino da bagno
- Lino da letto


Sea Change Beachfront Apartments
Cairns - Trinity - 16 km dal centro
- 186 M2
- 8 persone
- Aria condizionata
- Terrazza
- Piscina
- Parcheggio
- Ascensore
- Balcone
- Giardino
- Tv
- Lavatrice
- Barbecue
- Lino da bagno
- Lino da letto


Bellevue At Trinity Beach
Cairns - Trinity - 16.6 km dal centro
- 190 M2
- 6 persone
- Aria condizionata
- Terrazza
- Piscina
- Parcheggio
- Ascensore
- Balcone
- Giardino
- Tv
- Lavatrice
- Barbecue
- Lino da bagno
- Lino da letto


Coconut Grove
Port Douglas
- 309 M2
- 10 persone
- Aria condizionata
- Terrazza
- Piscina
- Parcheggio
- Ascensore
- Balcone
- Giardino
- Tv
- Lavatrice
- Barbecue
- Lino da bagno
- Lino da letto


Sea Pearl Resort Mooloolaba
Sunshine Coast - Mooloolaba - 5.6 km dal centro
- 9 persone
- Aria condizionata
- Terrazza
- Piscina
- Parcheggio
- Ascensore
- Balcone
- Tv
- Lavatrice
- Lino da bagno
- Lino da letto


The Duporth Riverside
Sunshine Coast - Maroochydore - 2.1 km dal centro
- 6 persone
- Aria condizionata
- Riscaldamento
- Terrazza
- Piscina
- Parcheggio
- Ascensore
- Balcone
- Giardino
- Tv
- Lavatrice
- Lino da bagno
- Lino da letto


The Waterford on Main Beach
Gold Coast - Main Beach - 1.5 km dal centro
- 256 M2
- 7 persone
- Aria condizionata
- Riscaldamento
- Terrazza
- Piscina
- Parcheggio
- Ascensore
- Balcone
- Giardino
- Tv
- Lavatrice
- Barbecue
- Lino da bagno
- Lino da letto


Allure Mooloolaba
Sunshine Coast - Mooloolaba - 5.4 km dal centro
- 102 M2
- 6 persone
- Aria condizionata
- Riscaldamento
- Terrazza
- Piscina
- Parcheggio
- Ascensore
- Balcone
- Tv
- Lavatrice
- Lino da bagno
- Lino da letto


Alcyone Hotel Residences
Brisbane - Hamilton - 5.1 km dal centro
- 67 M2
- 4 persone
- Aria condizionata
- Riscaldamento
- Terrazza
- Piscina
- Parcheggio
- Ascensore
- Balcone
- Giardino
- Tv
- Lavatrice
- Barbecue
- Lino da bagno
- Lino da letto


Roydon Beachfront Apartments
Cairns - Trinity - 16.5 km dal centro
- 200 M2
- 7 persone
- Aria condizionata
- Riscaldamento
- Terrazza
- Piscina
- Parcheggio
- Ascensore
- Giardino
- Tv
- Lavatrice
- Barbecue
- Lino da bagno
- Lino da letto
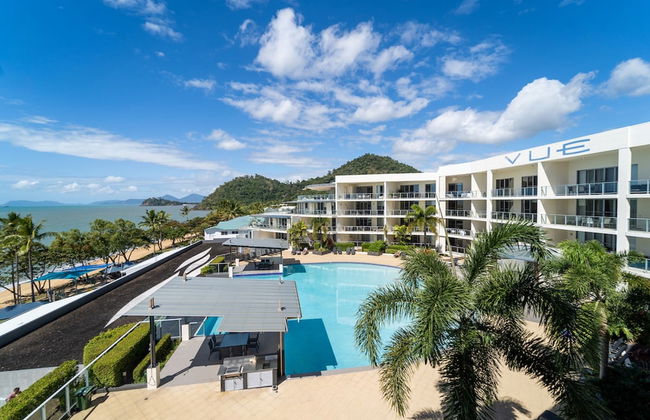
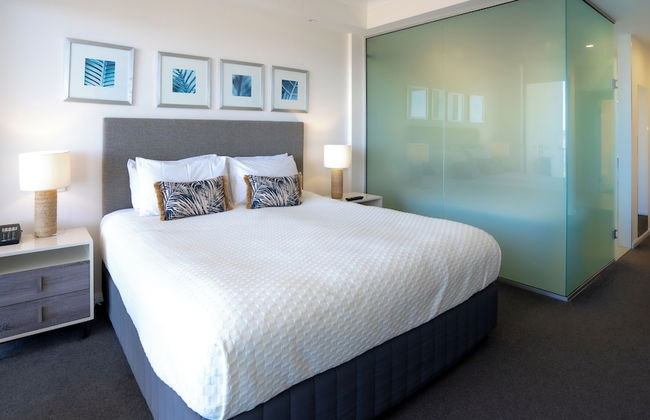
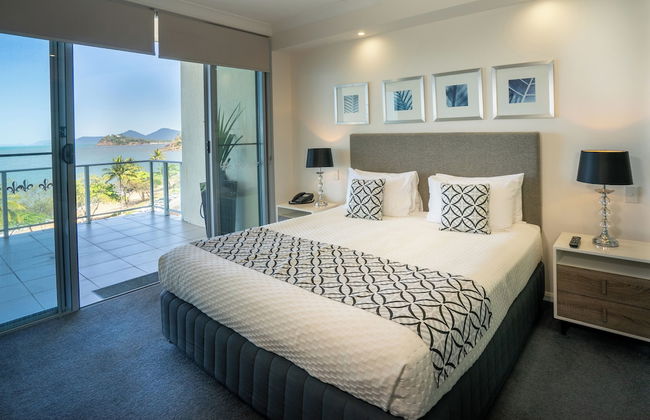
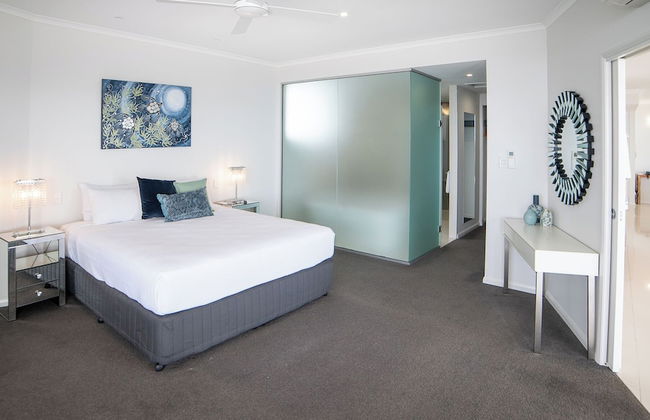


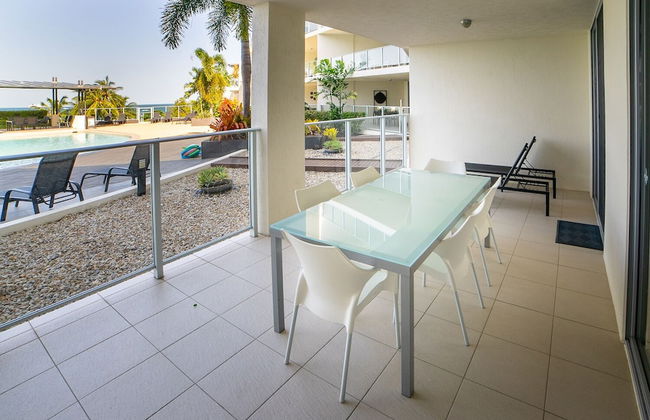
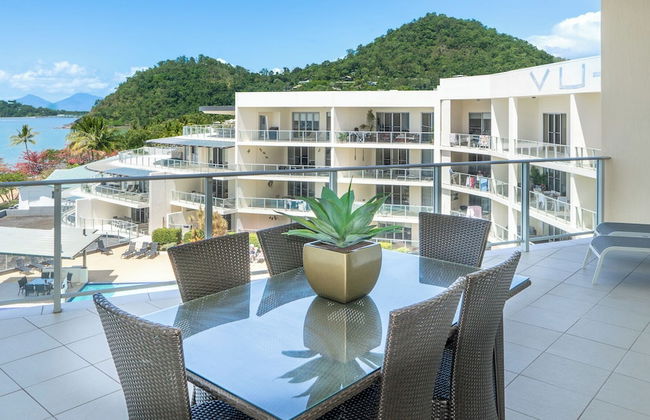
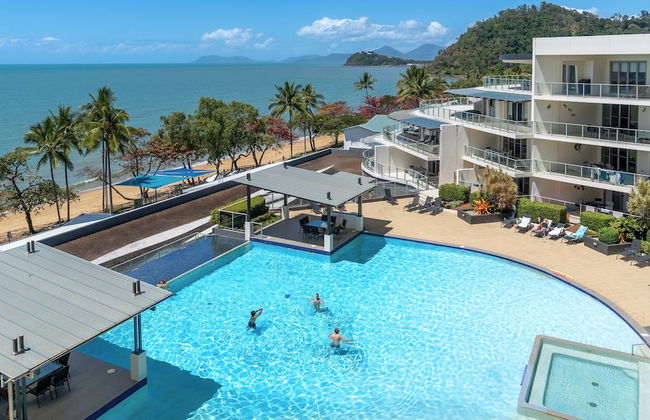
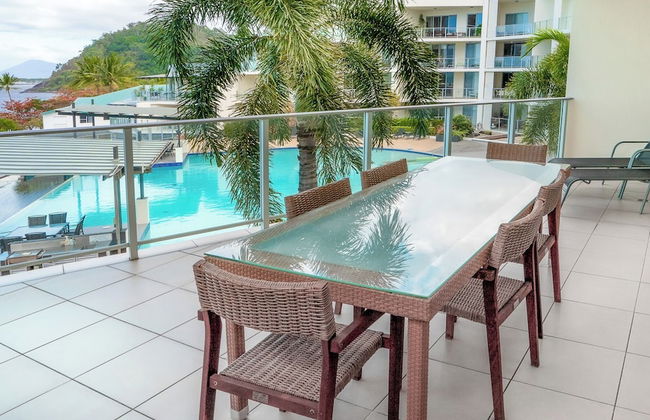


Vue Apartments Trinity Beach
Cairns - Trinity - 16.6 km dal centro
- 209 M2
- 8 persone
- Aria condizionata
- Riscaldamento
- Terrazza
- Piscina
- Parcheggio
- Ascensore
- Balcone
- Giardino
- Tv
- Lavatrice
- Barbecue
- Lino da bagno
- Lino da letto


Quest Cannon Hill
Brisbane - Cannon Hill - 5.9 km dal centro
- 63 M2
- 4 persone
- Cucinino
- Aria condizionata
- Riscaldamento
- Terrazza
- Piscina
- Parcheggio
- Ascensore
- Balcone
- Giardino
- Tv
- Lavatrice
- Barbecue
- Lino da bagno
- Lino da letto


Pandanus Mooloolaba
Sunshine Coast - Mooloolaba - 5.7 km dal centro
- 200 M2
- 8 persone
- Aria condizionata
- Riscaldamento
- Terrazza
- Piscina
- Parcheggio
- Ascensore
- Balcone
- Giardino
- Tv
- Lavatrice
- Lino da bagno
- Lino da letto