
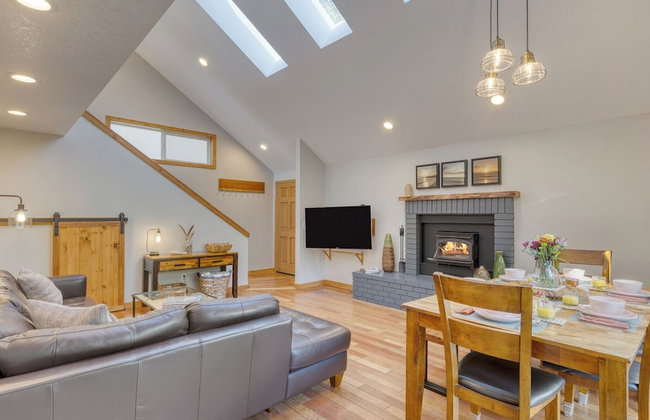
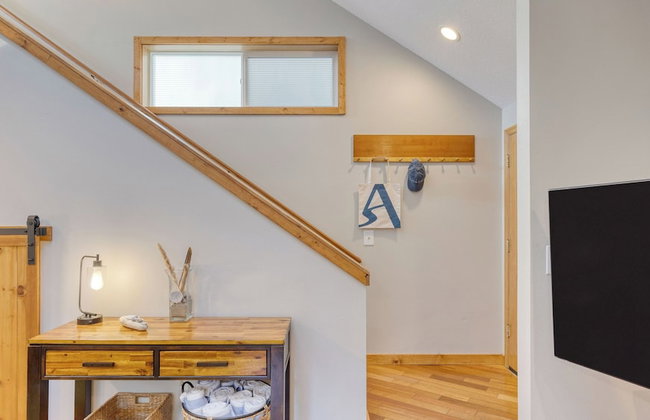
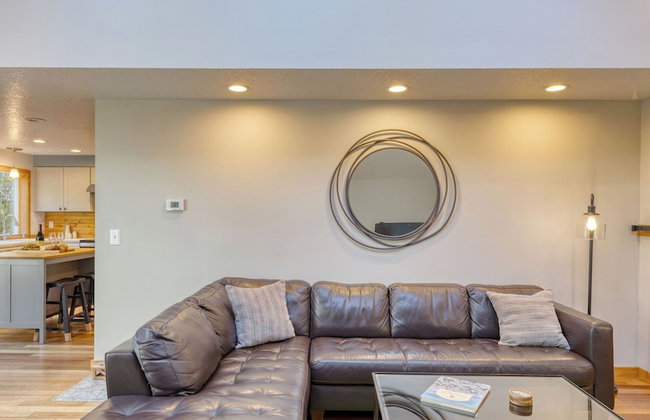
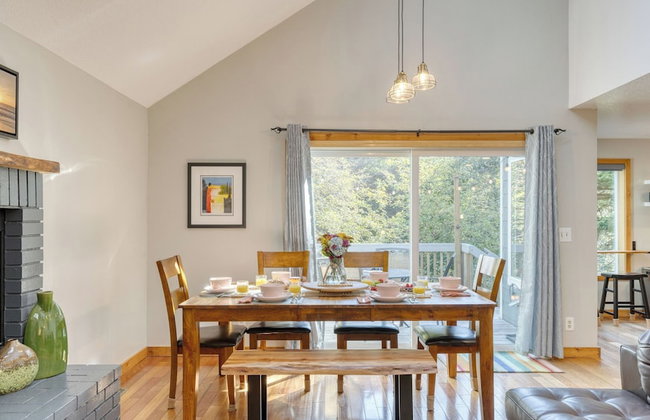
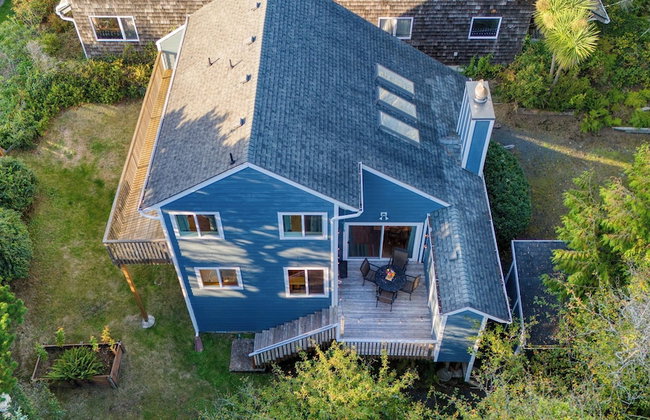
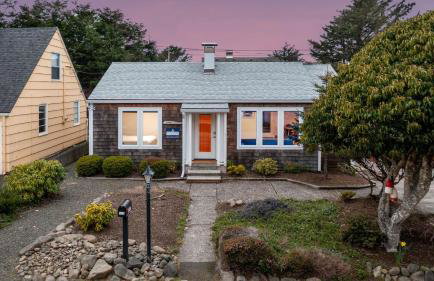
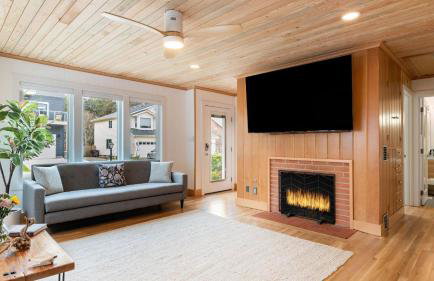
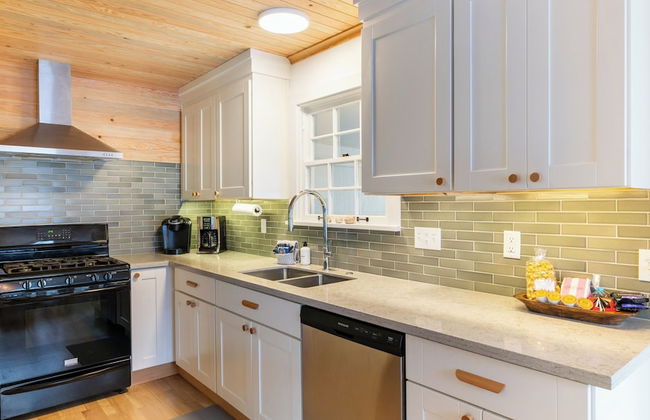
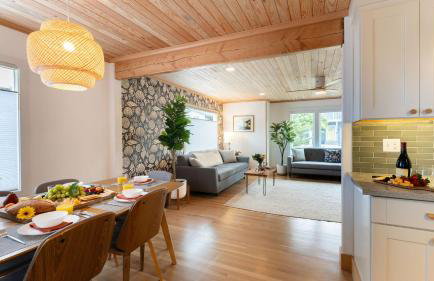
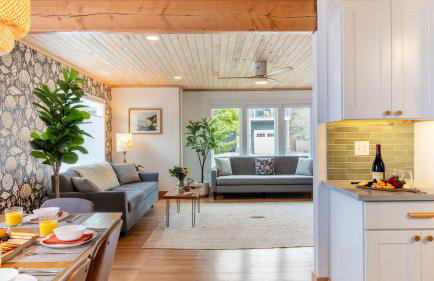
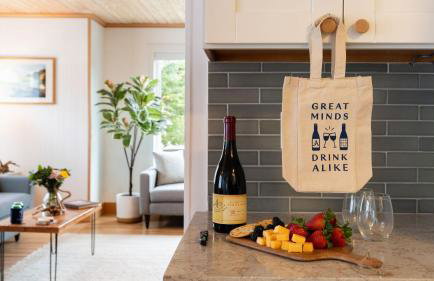
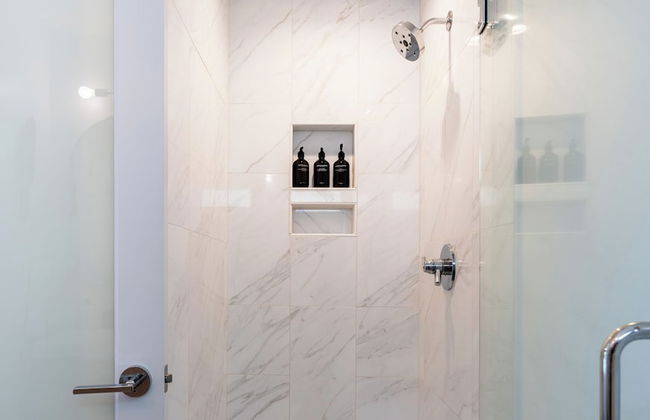
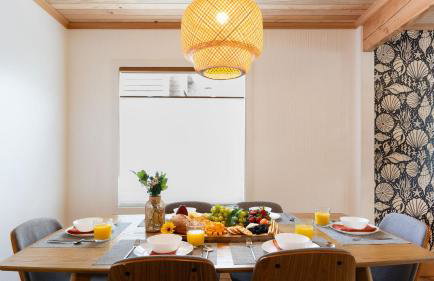
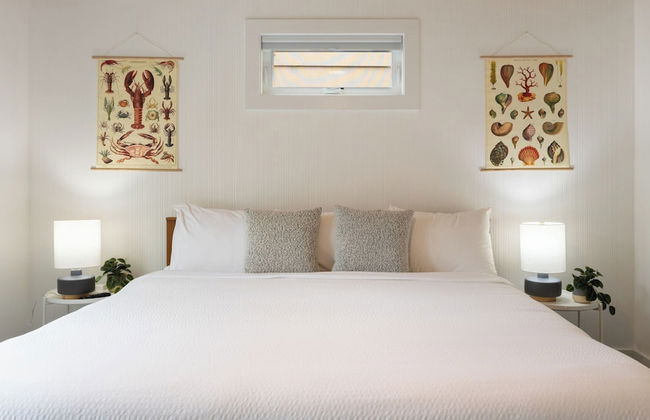
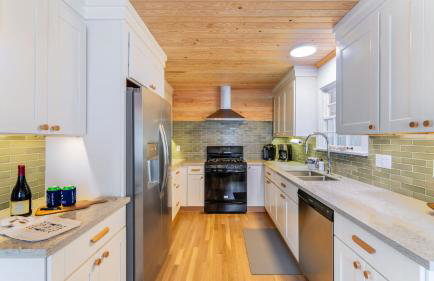
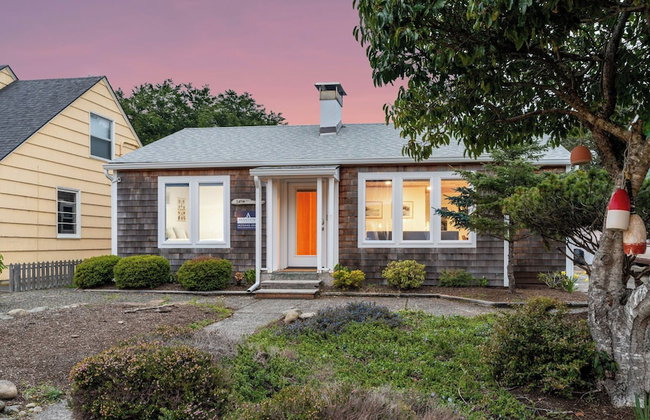
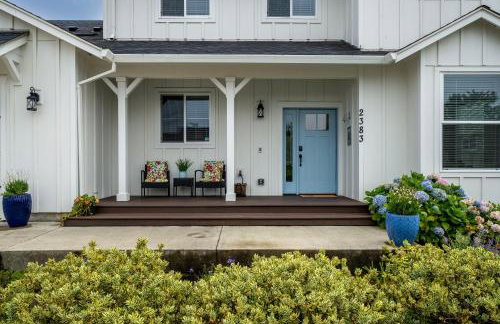
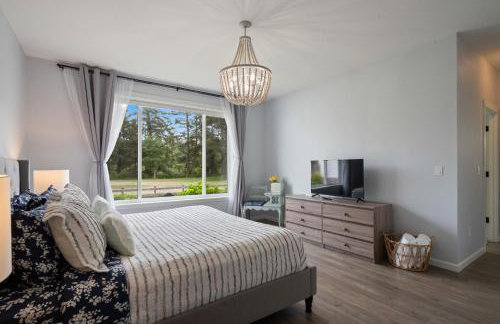
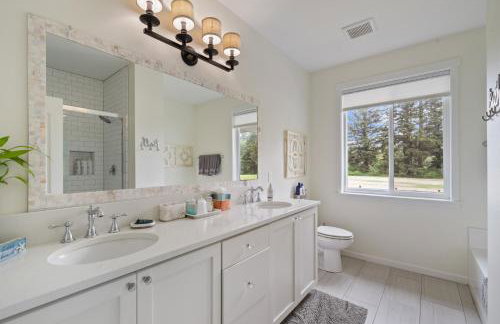
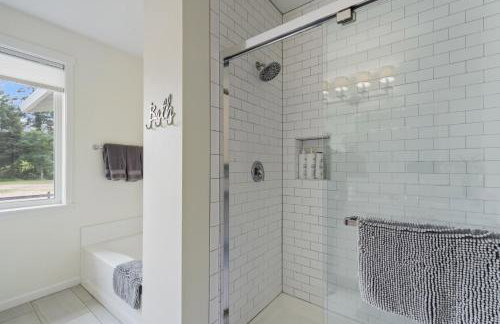
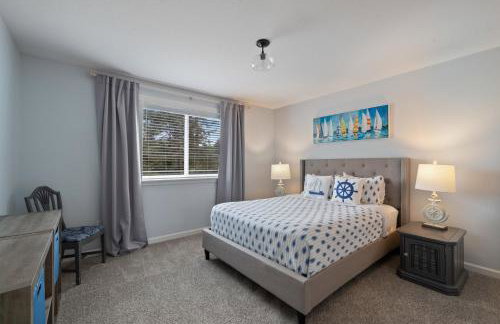
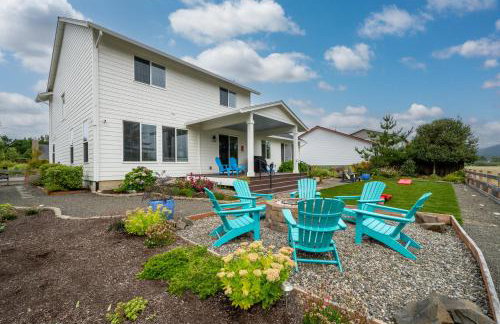
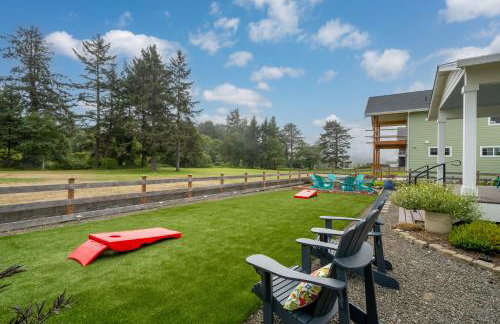
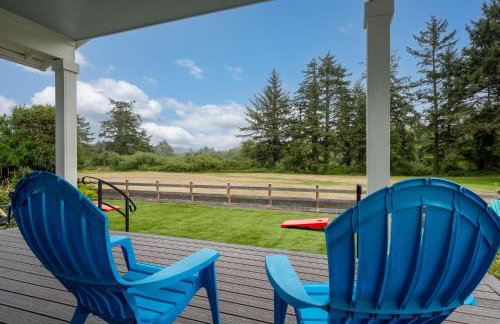
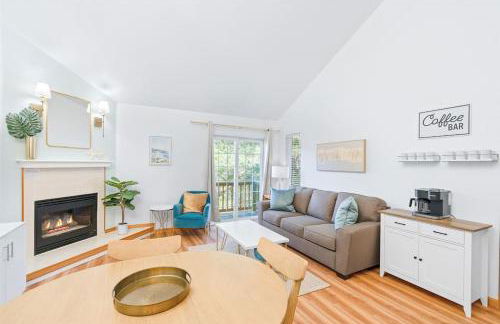
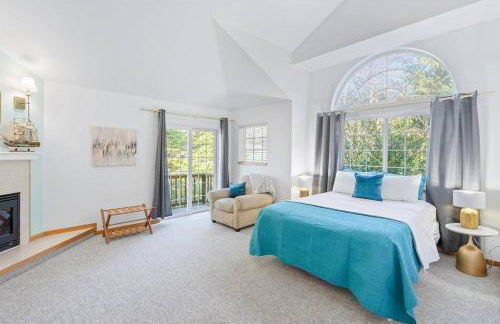
213 Appartamenti a Clatsop

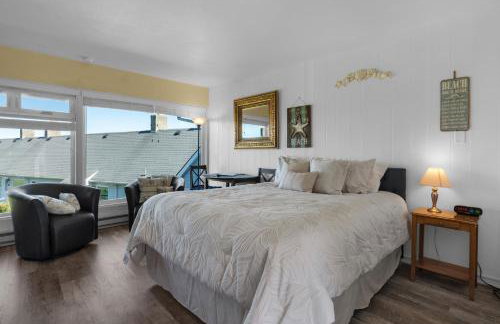


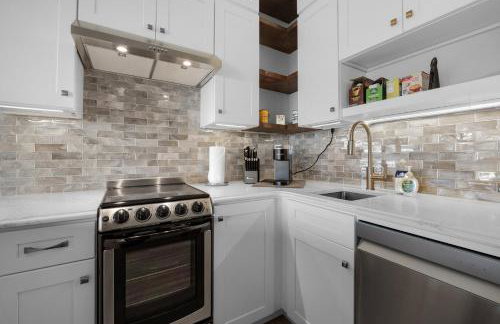


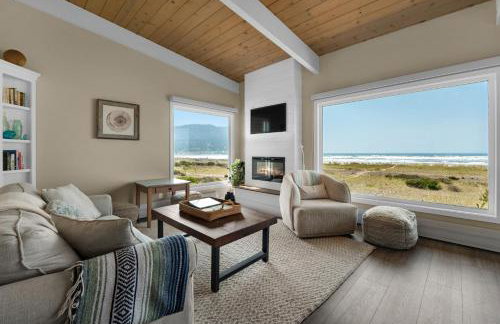


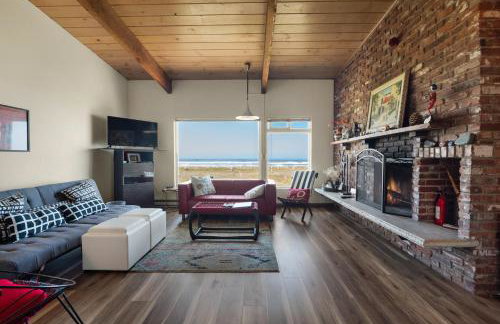


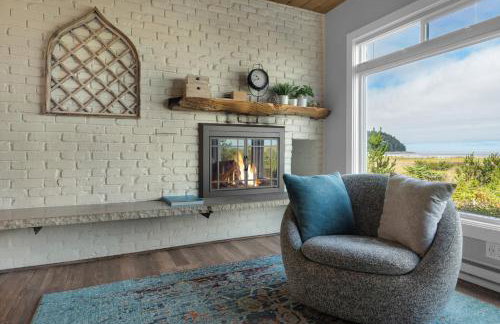


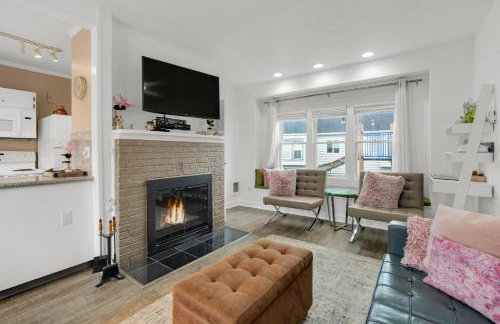


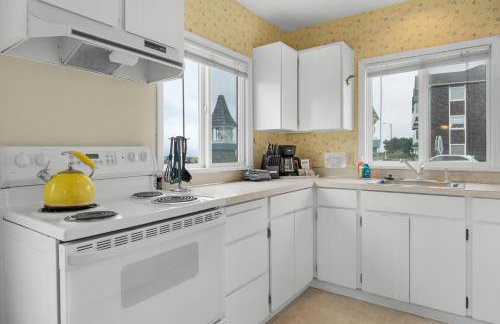

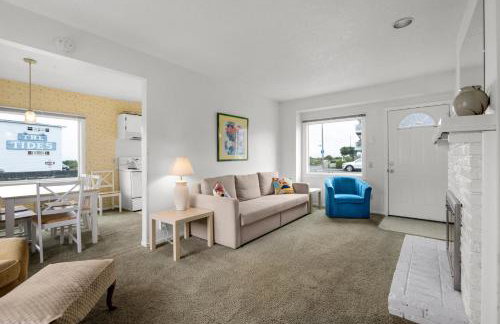

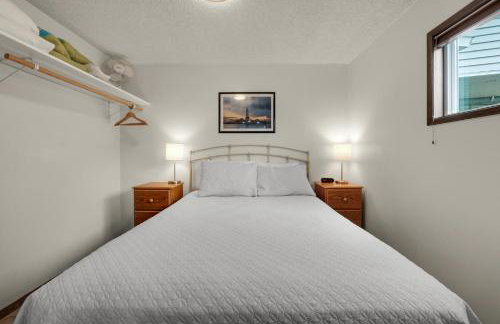


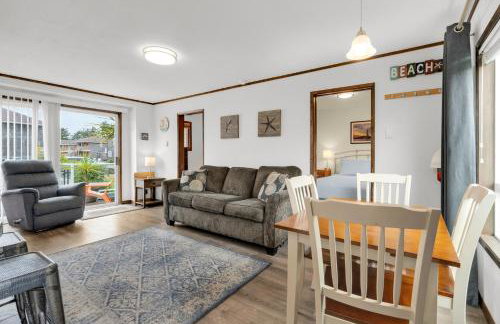


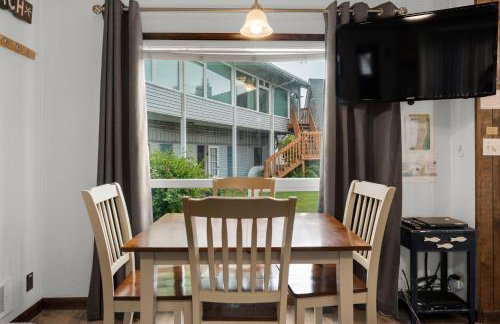

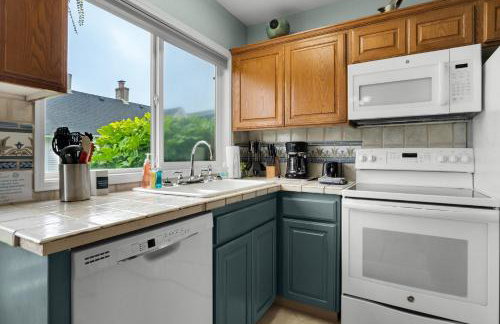

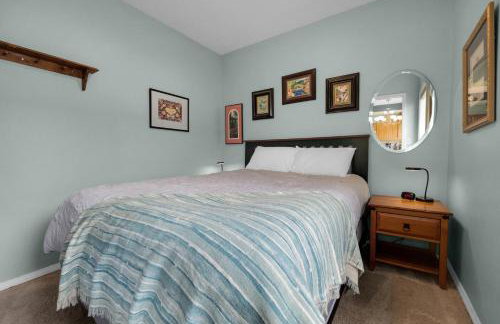


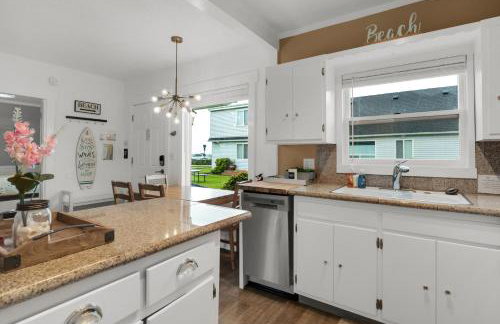


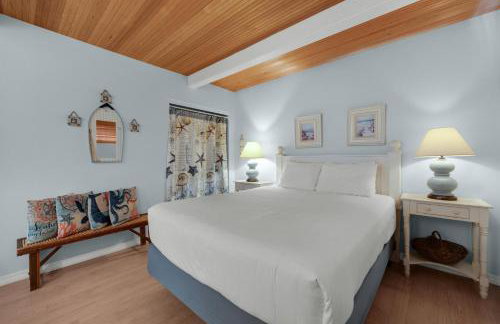

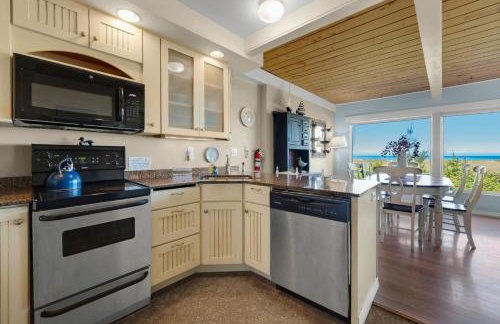

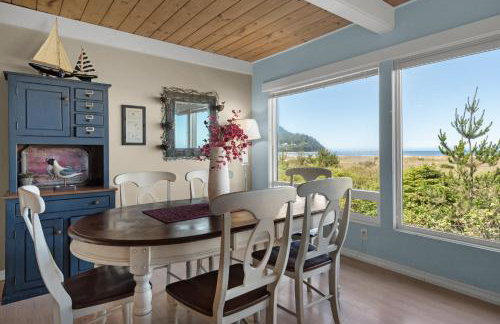

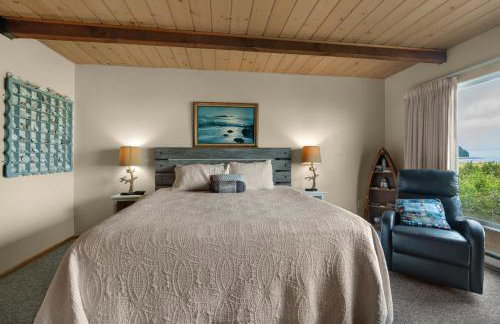


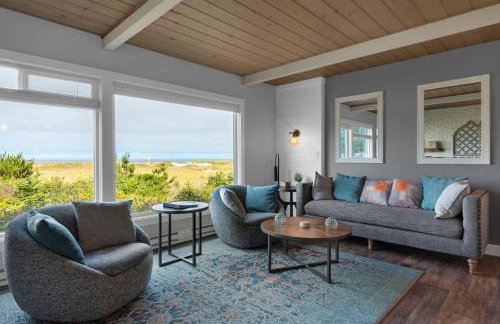


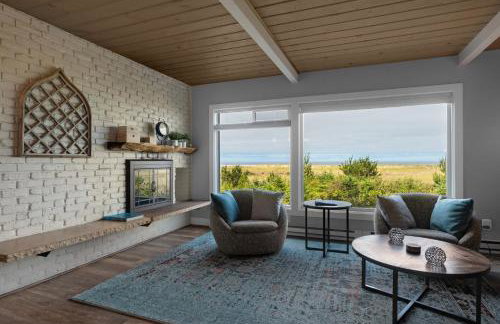


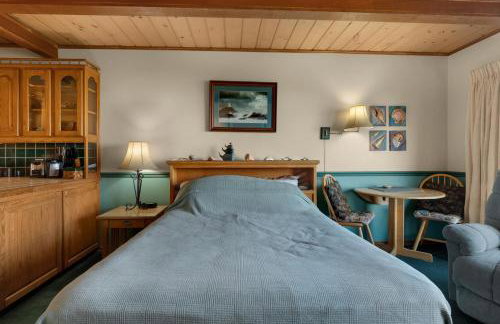


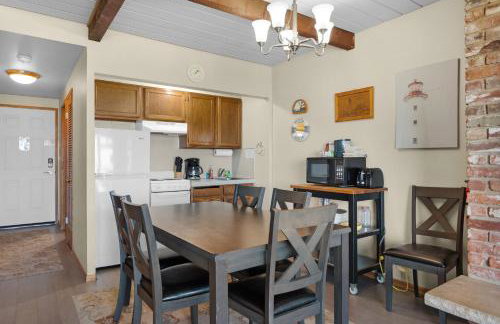

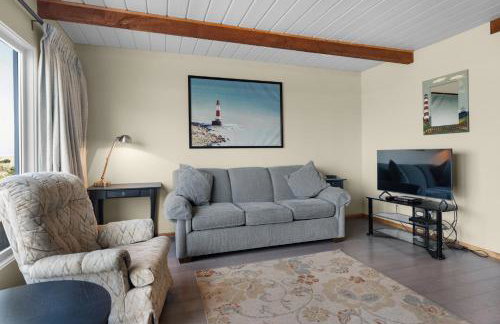

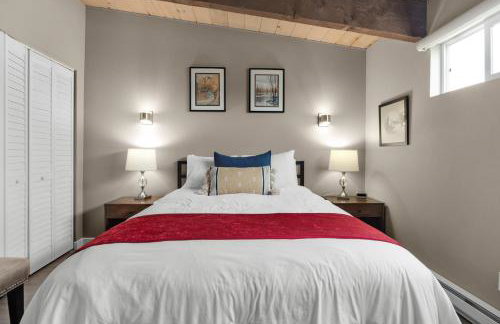

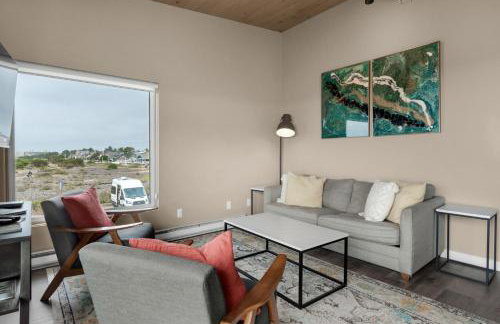

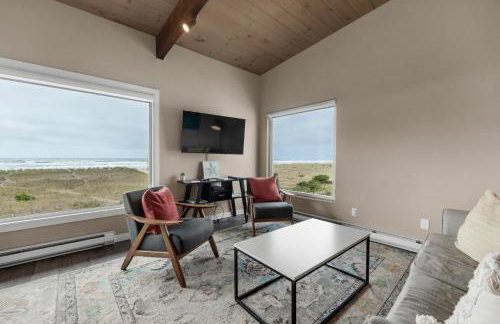


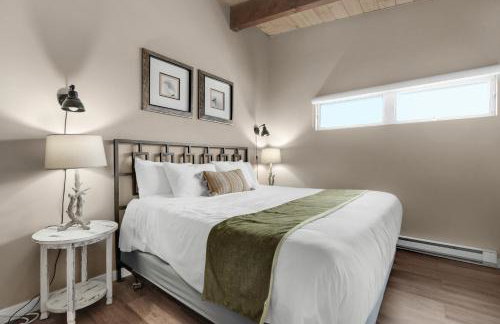

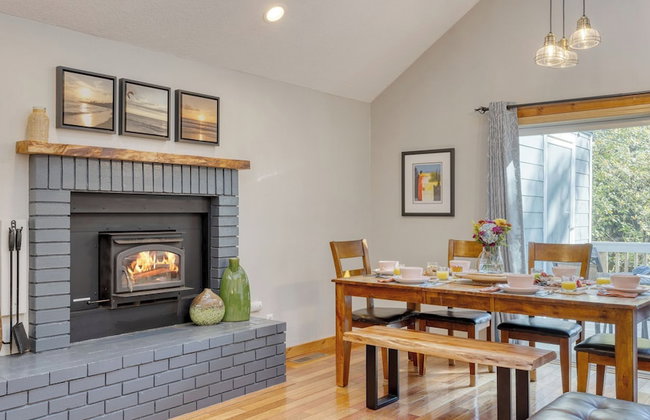
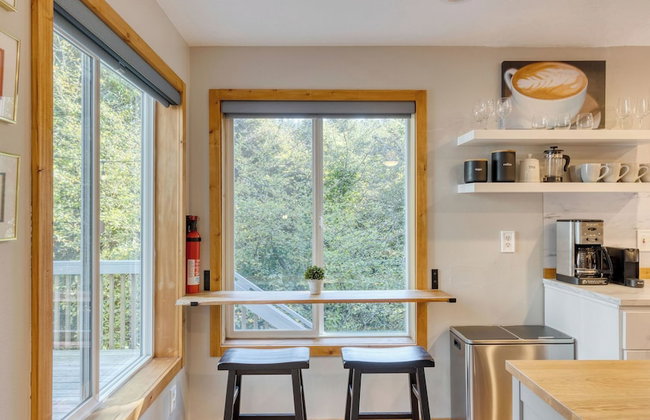
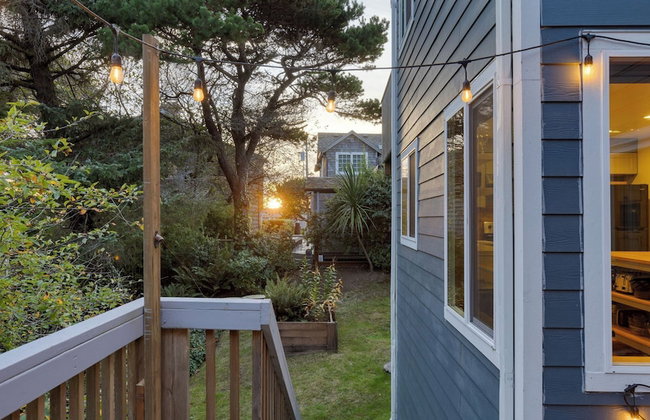
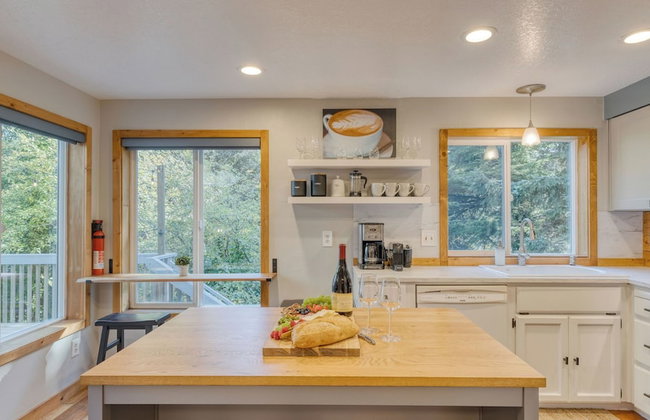
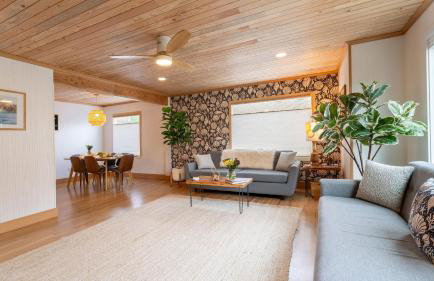
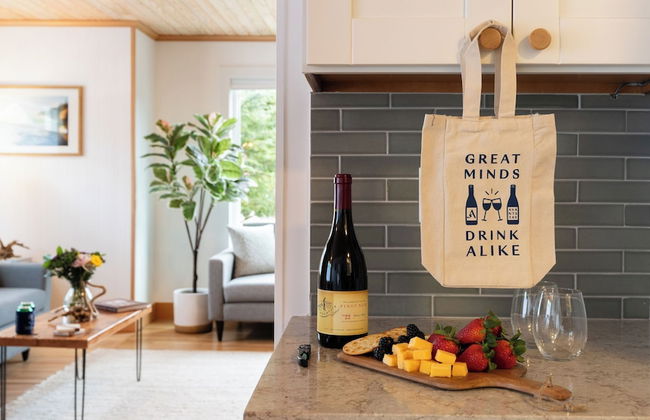
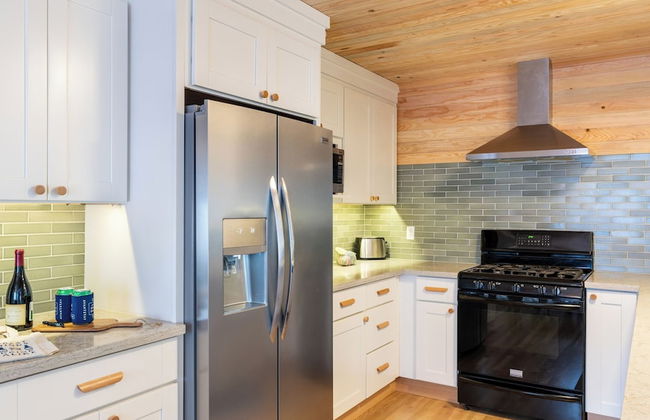
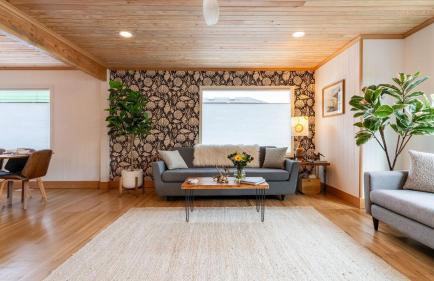
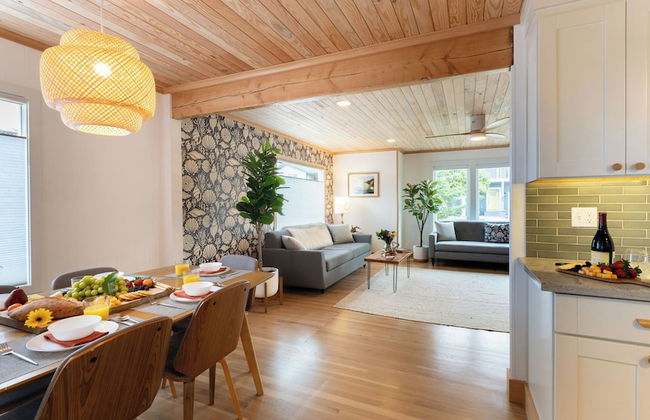
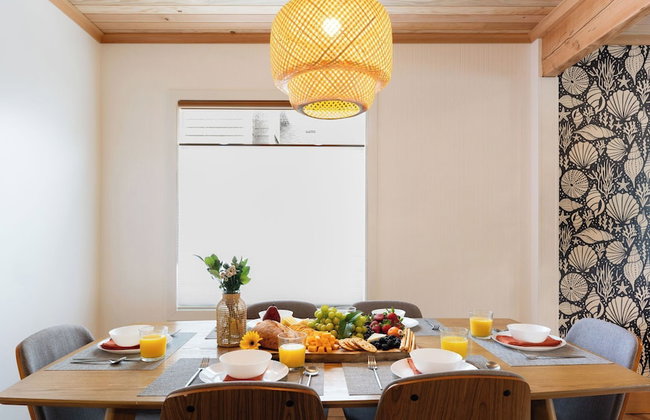
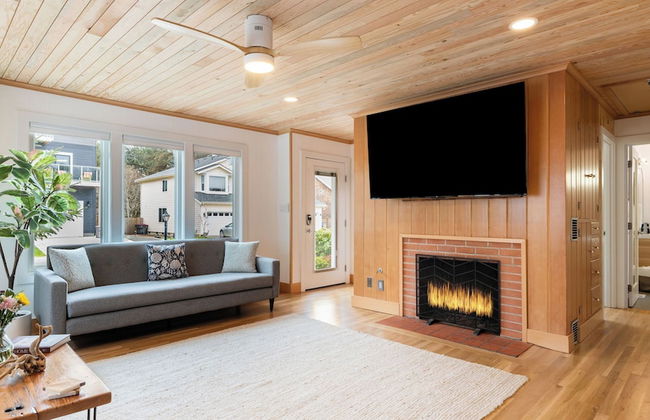
The Tides by the Sea
Seaside
- 88 M2
- 2 camere
- 8 persone
- Riscaldamento
- Terrazza
- Piscina
- Parcheggio
- Giardino
- Tv
- Focolare
- Barbecue
- Lino da bagno
- Lino da letto
32 recensioni


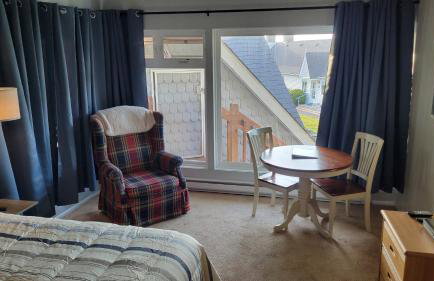
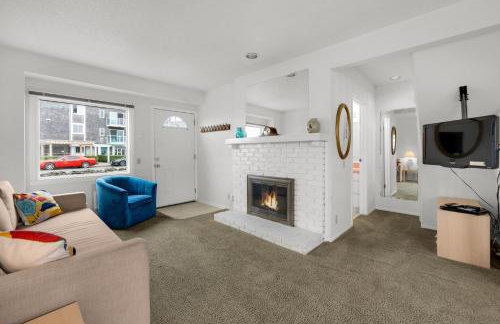
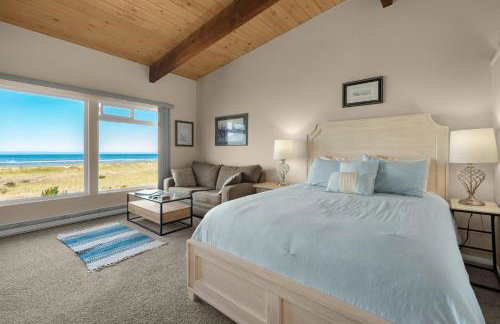
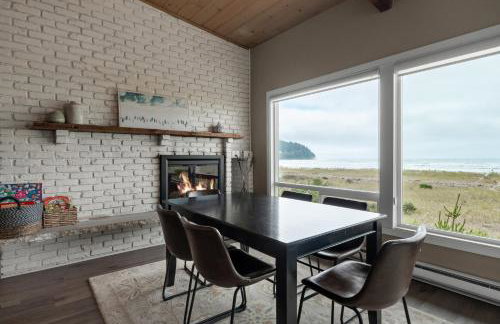
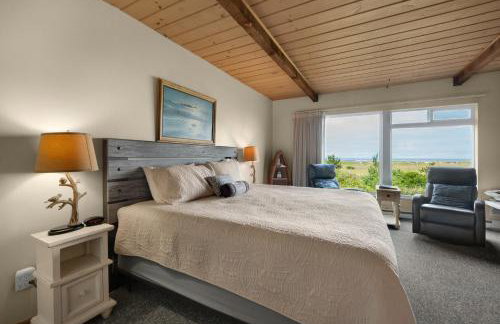
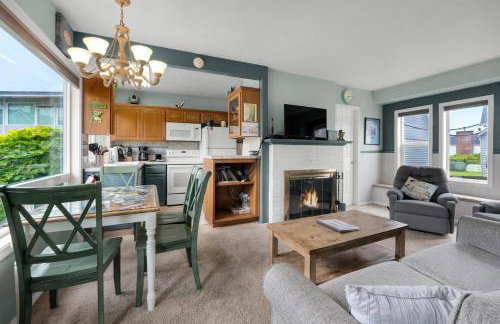
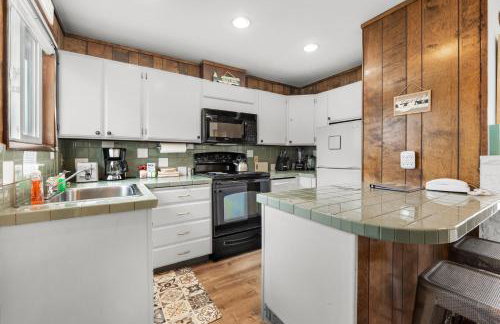
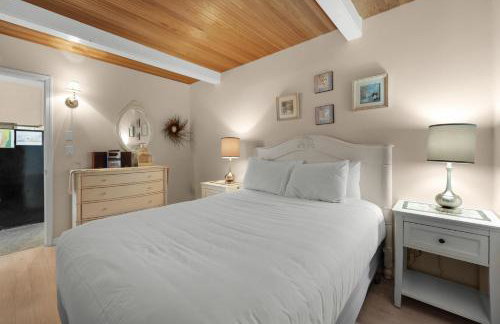
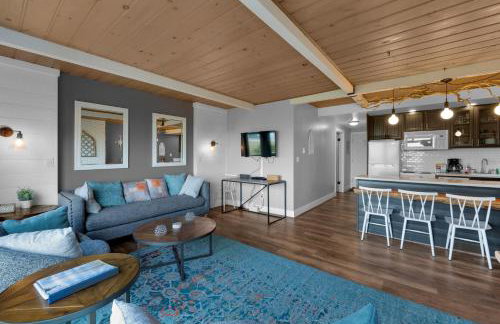
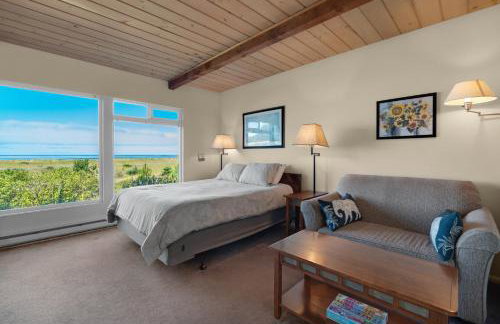
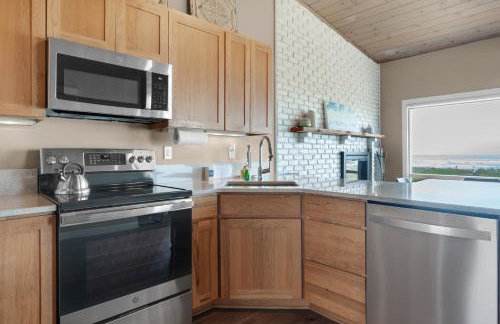
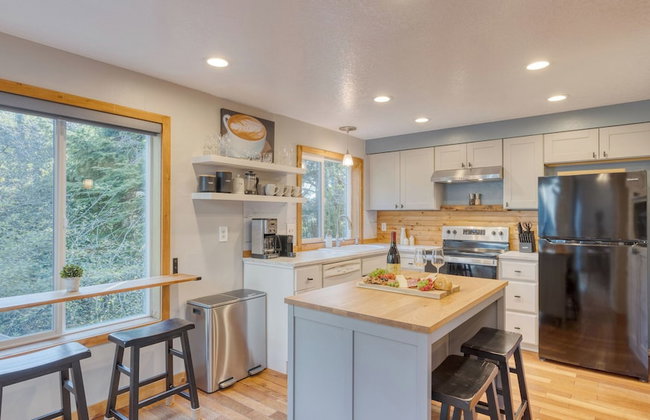
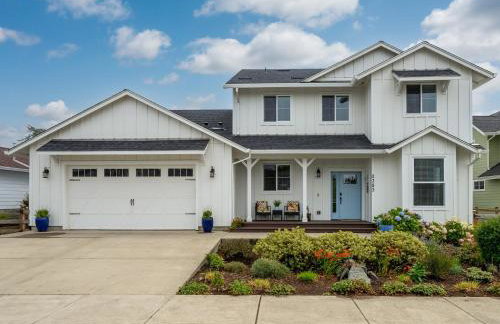
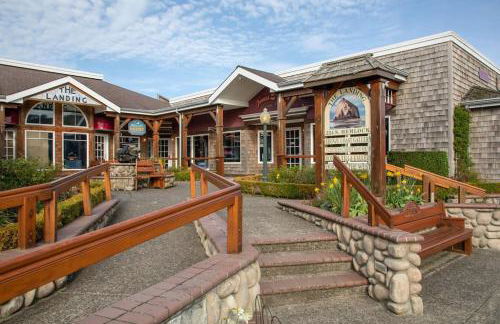
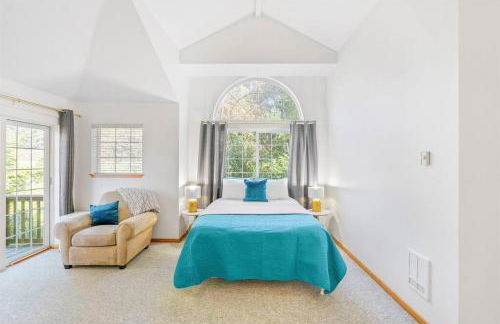
Resort at Seaside
Seaside
- 98 M2
- 8 persone
- Riscaldamento
- Terrazza
- Piscina
- Parcheggio
- Ascensore
- Balcone
- Giardino
- Tv
- Lavatrice
- Focolare
- Barbecue
- Lino da bagno
- Lino da letto
100 recensioni


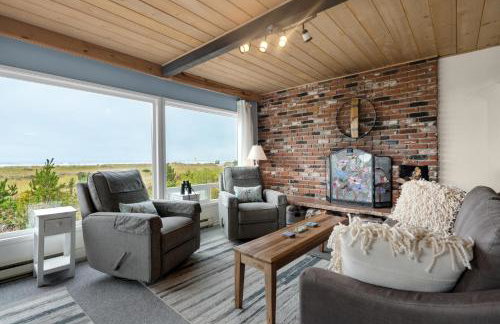
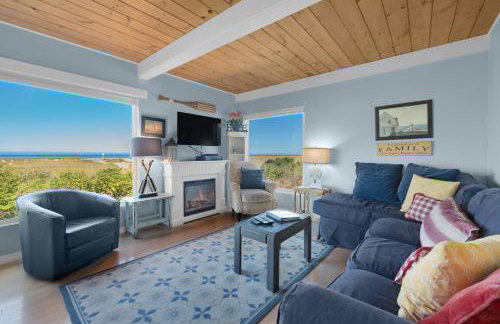
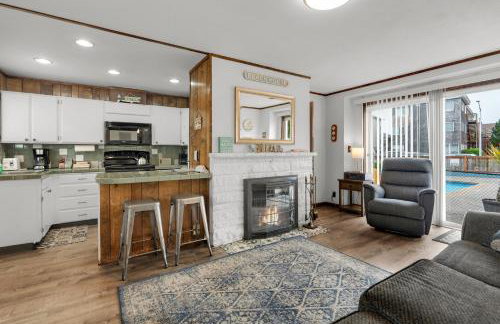
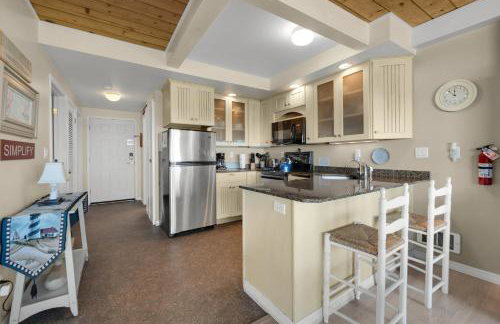
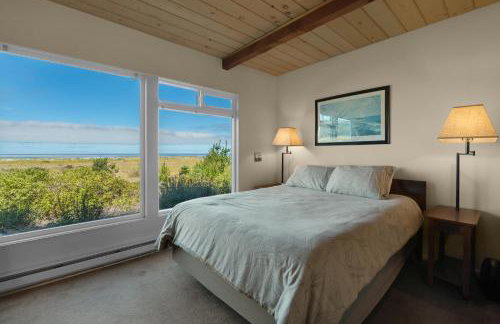
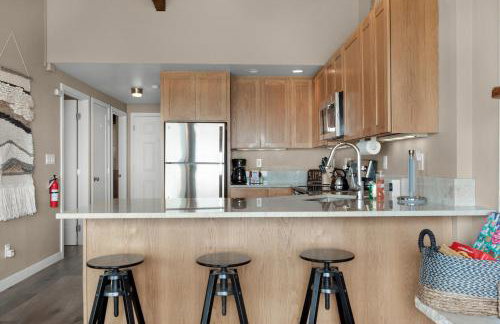
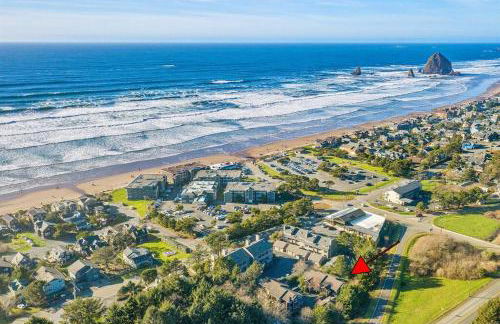
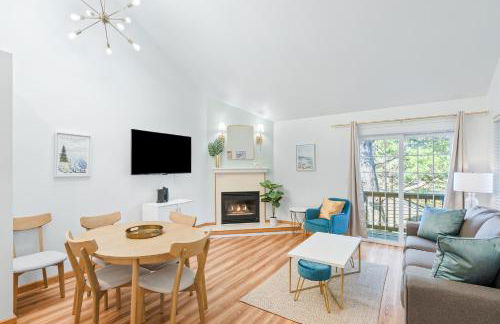
Sand Dollar Haven at Seaside Beach Club Unit 306
Seaside
- 79 M2
- 1 camera
- 6 persone
- Riscaldamento
- Terrazza
- Parcheggio
- Ascensore
- Giardino
25 recensioni


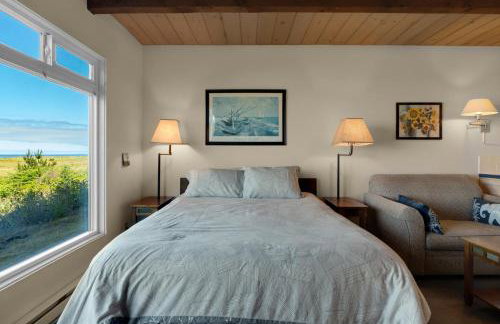
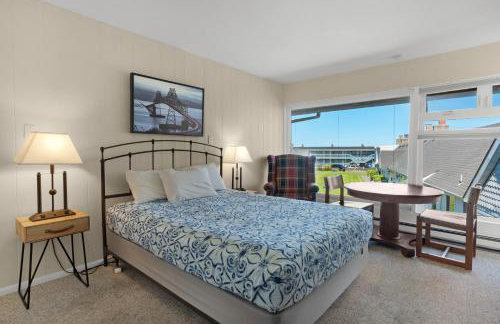
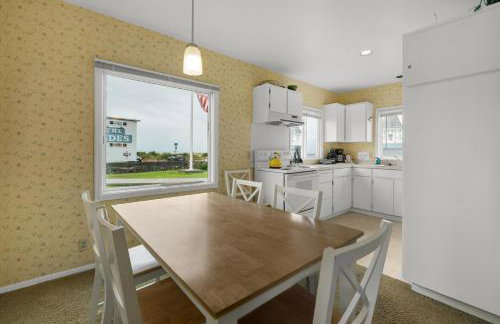
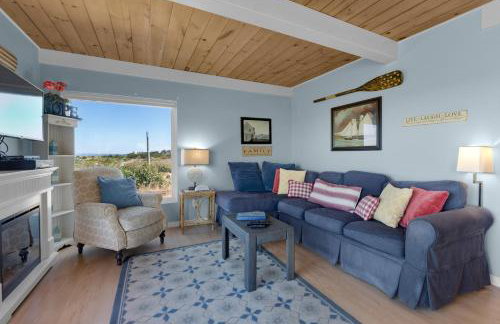
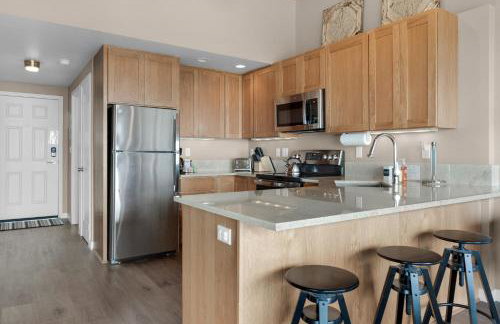
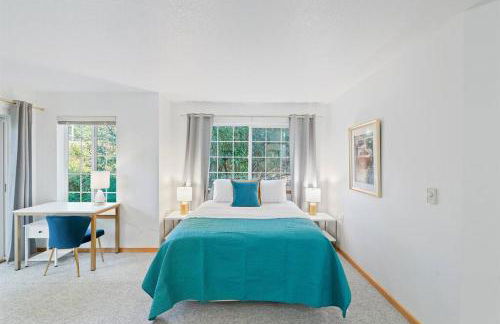
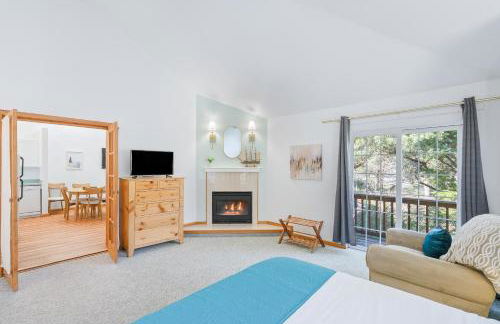
Seaside Waterfront condo walking to downtown and beach
Seaside
- 121 M2
- 2 camere
- 6 persone
- Aria condizionata
- Riscaldamento
- Parcheggio
- Ascensore
- Giardino
13 recensioni


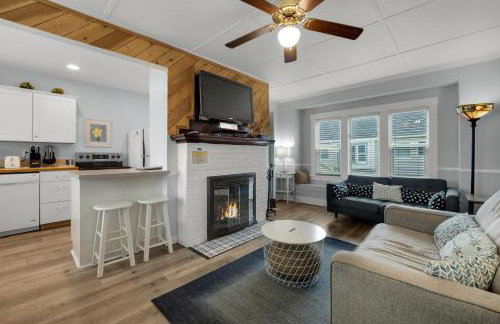
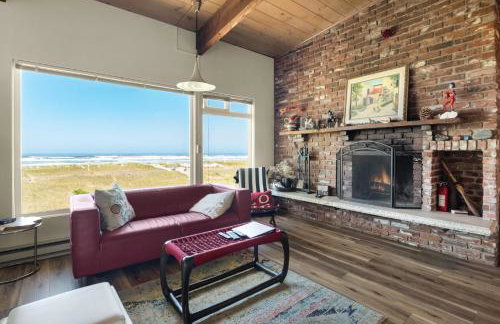
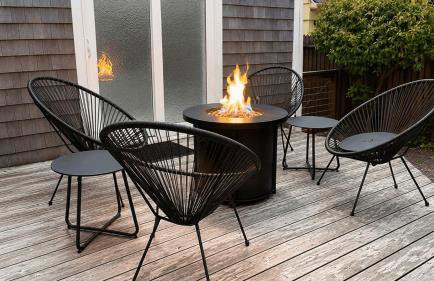
Royal Canoe by Avantstay Walk to the Shore + Cozy Fireplace
Arch Cape
- 120 M2
- 3 camere
- 8 persone
- Riscaldamento
- Terrazza
- Parcheggio
- Balcone
- Lavatrice
- Focolare
- Barbecue
- Lino da bagno
- Lino da letto
2 recensioni


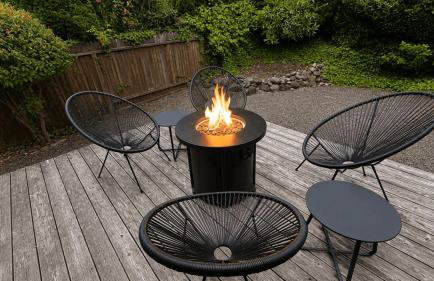


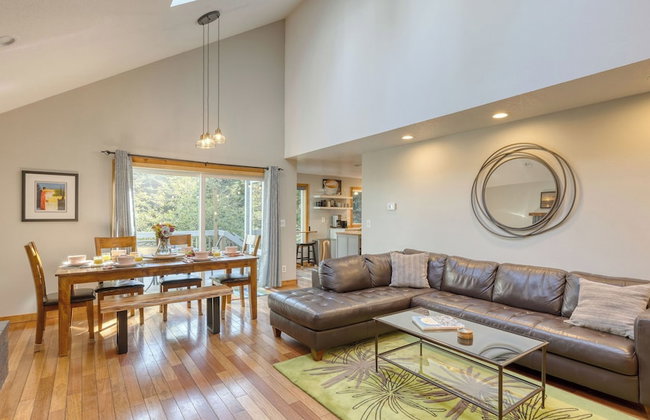
Grey Oak by Avantstay Surfers Retreat Walk to Cove Beach + Golf + Firepit
Seaside
- 99 M2
- 2 camere
- 6 persone
- Riscaldamento
- Terrazza
- Parcheggio
- Tv
- Lavatrice
- Focolare
- Barbecue
- Lino da bagno
- Lino da letto
3 recensioni


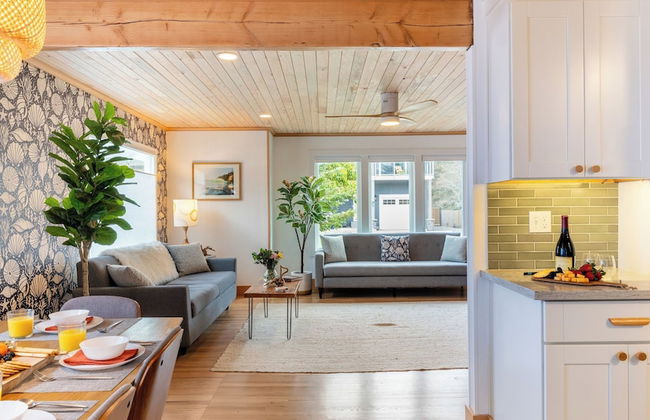
Seaside Vacation Homes
Seaside
- 6 persone
- Riscaldamento
- Parcheggio
- Tv
- Barbecue
- Lino da bagno
- Lino da letto
12 recensioni


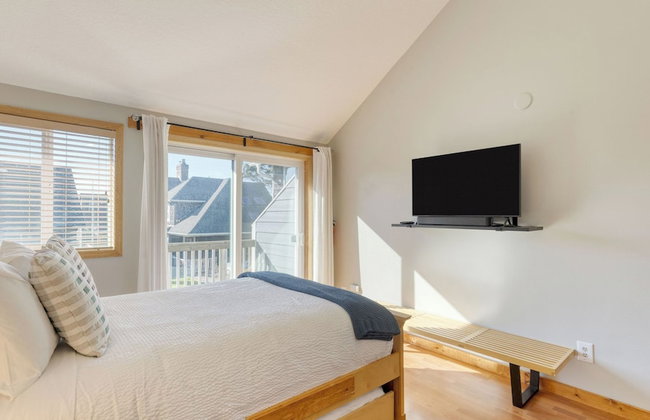
Herons View at Bridgeport - Meredith Lodging
Seaside
- 115 M2
- 2 camere
- 6 persone
- Aria condizionata
- Riscaldamento
- Terrazza
- Parcheggio
- Ascensore
9 recensioni


Gearhart Highlands • Hot Tub • Golf • Dog Friendly
Seaside
- 223 M2
- 4 camere
- 8 persone
- Riscaldamento
- Parcheggio
- Giardino
- Barbecue
10 recensioni


Lallybroch Cottage
Seaside
- 257 M2
- 4 camere
- 10 persone
- Aria condizionata
- Riscaldamento
- Parcheggio
- Giardino
- Barbecue
3 recensioni


2BR Astoria Escape Surrounded by Water Views
Astoria - South Slope - 1.5 km dal centro
- 92 M2
- 2 camere
- 4 persone
- Riscaldamento
- Parcheggio
- Barbecue
11 recensioni


Park Haven on the Hill
Astoria - Central - 440 m dal centro
- 167 M2
- 2 camere
- 5 persone
- Riscaldamento
- Parcheggio
- Giardino
4 recensioni


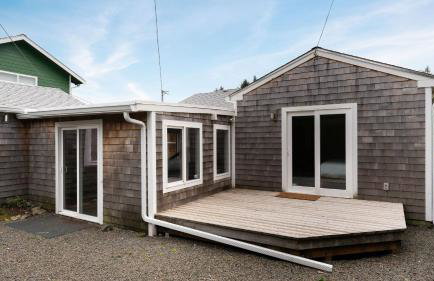
Cannon beach vibes, steps to the beach,WIFI,3 full bedroom en suites with 3 fireplaces,Near Downtown
Cannon Beach
- 130 M2
- 3 camere
- 8 persone
- Riscaldamento
- Parcheggio
- Barbecue
19 recensioni


Sand and Sea Condos
Seaside
- 260 M2
- 4 camere
- 12 persone
- Aria condizionata
- Riscaldamento
- Terrazza
- Piscina
- Parcheggio
- Ascensore
- Giardino
51 recensioni


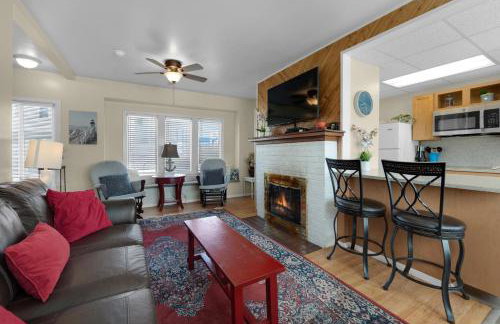
Seaside Serenade
Seaside
- 149 M2
- 3 camere
- 8 persone
- Aria condizionata
- Riscaldamento
- Giardino
- Barbecue
13 recensioni


By The Sea-Seaside - Meredith Lodging
Seaside
- 146 M2
- 3 camere
- 9 persone
- Riscaldamento
- Terrazza
- Parcheggio
- Barbecue
8 recensioni