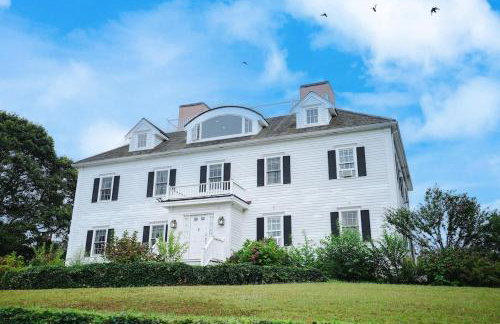
21 Appartamenti a Buzzards Bay

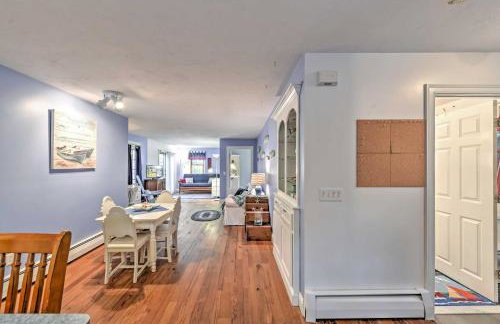
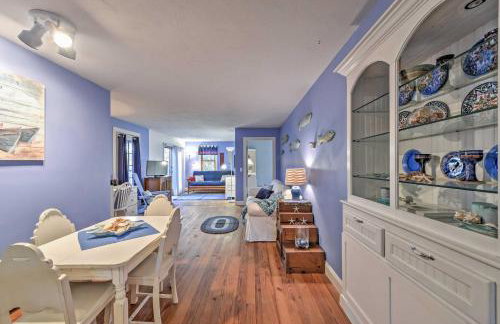

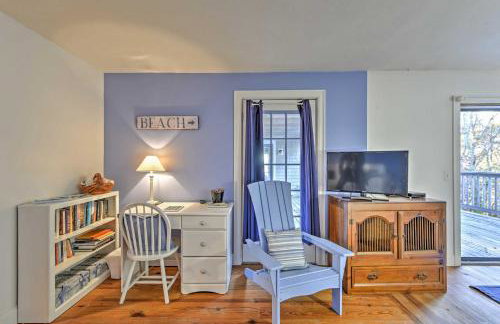
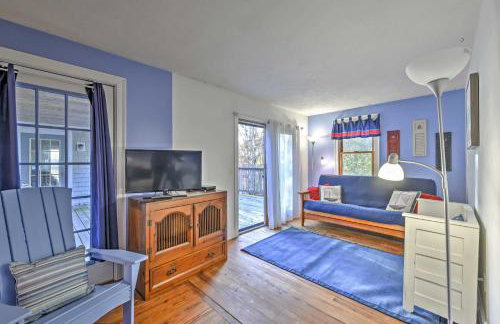
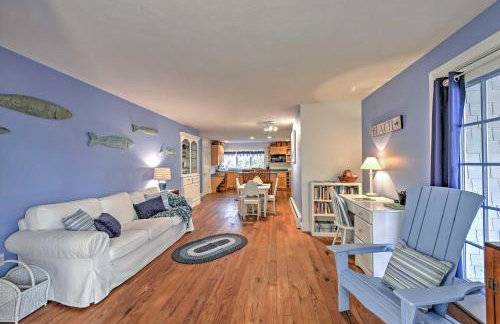
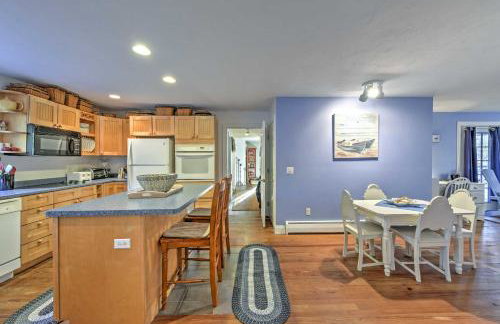
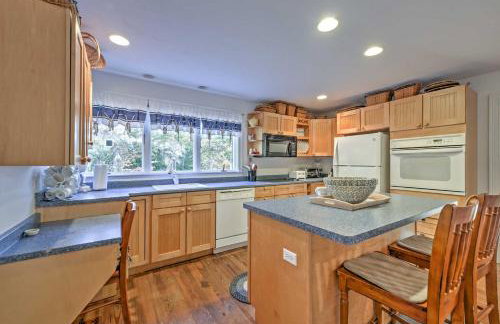
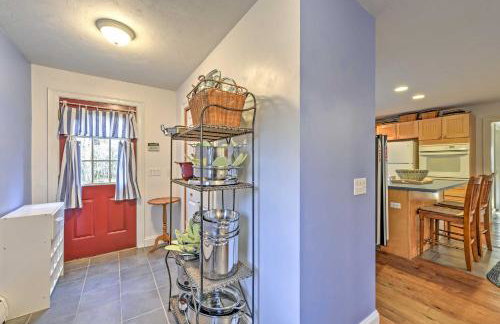

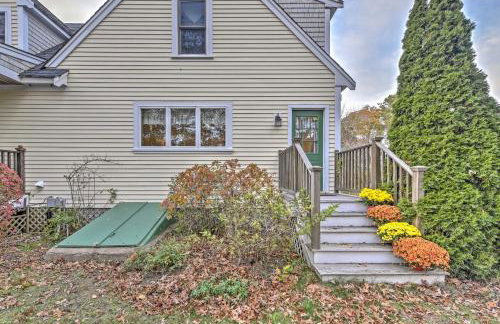

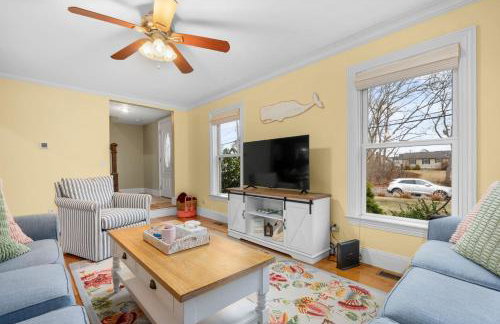
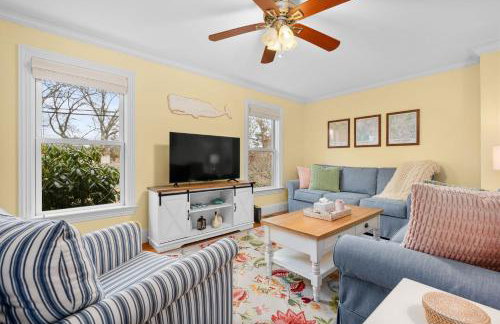
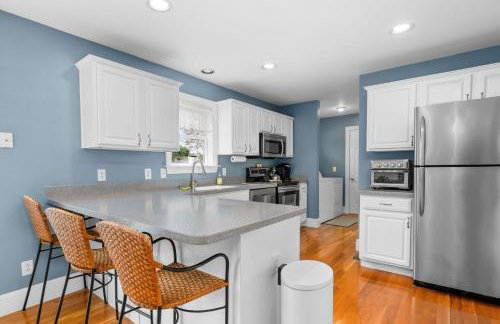
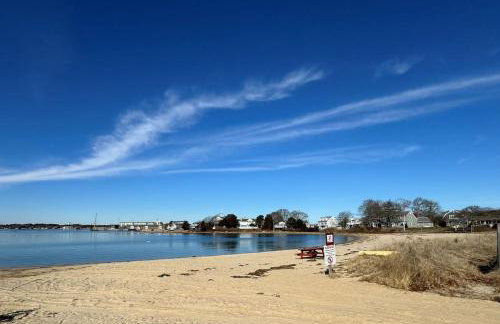
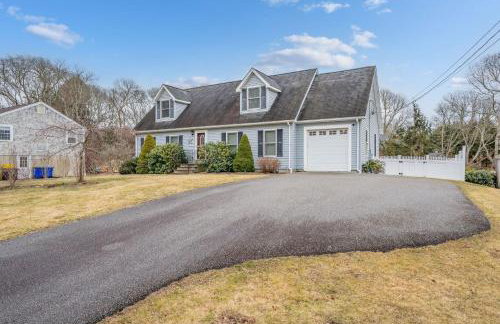
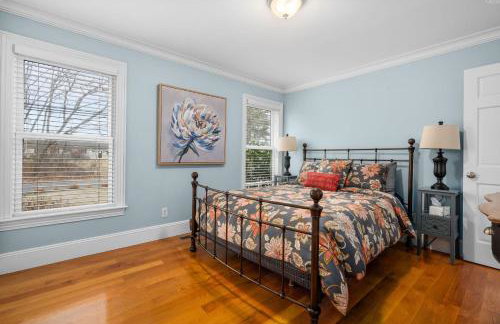
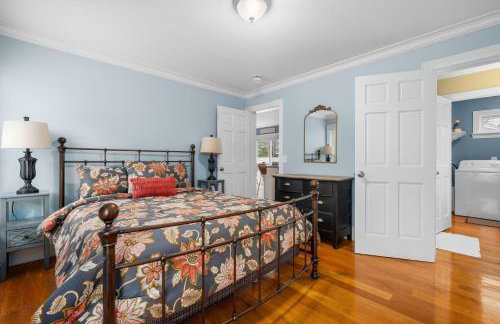
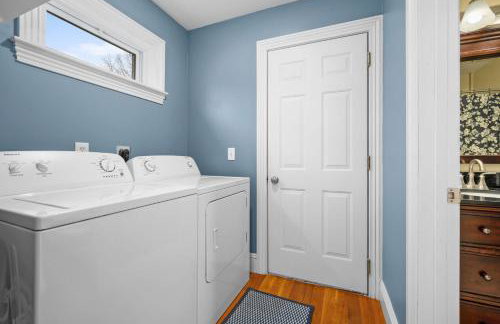
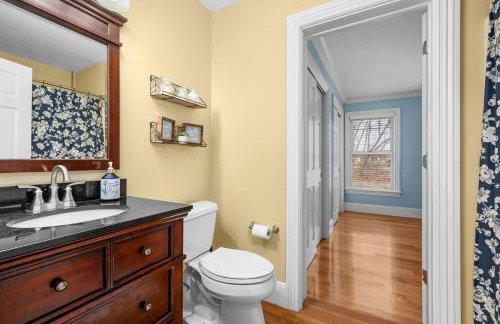
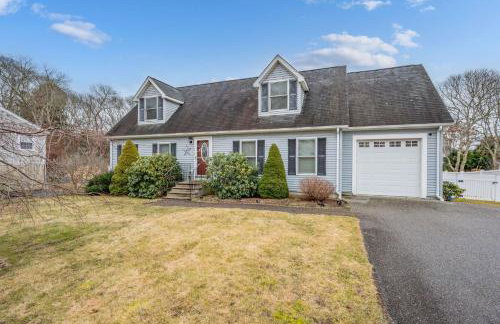
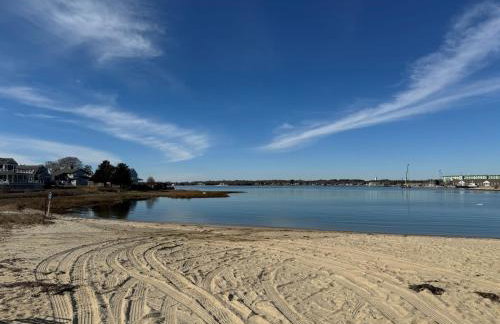
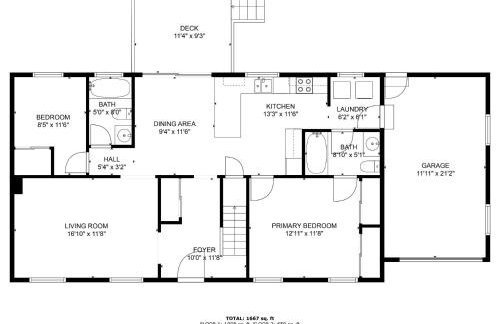
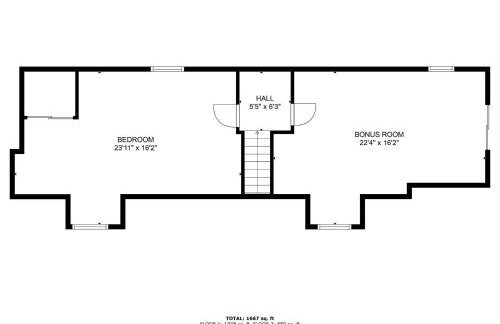
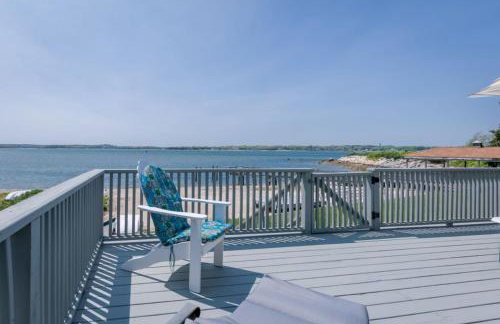
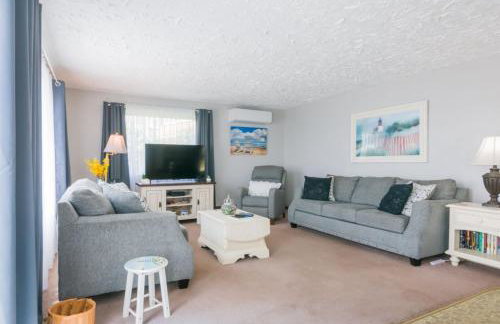
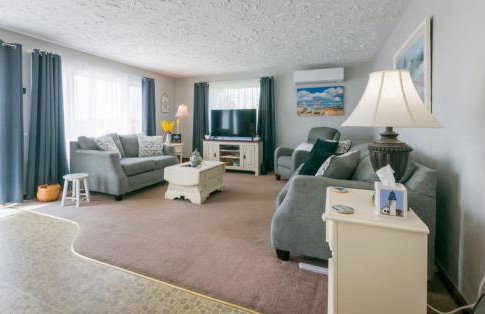
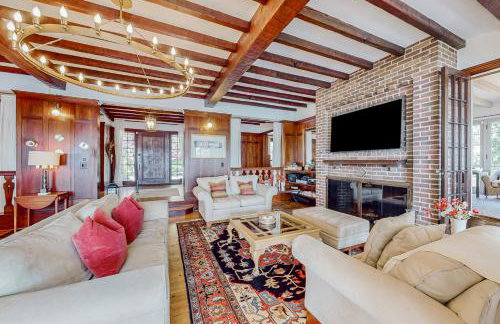
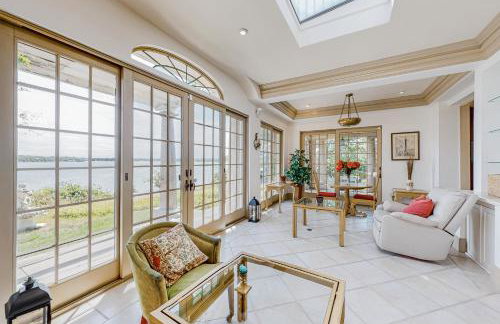
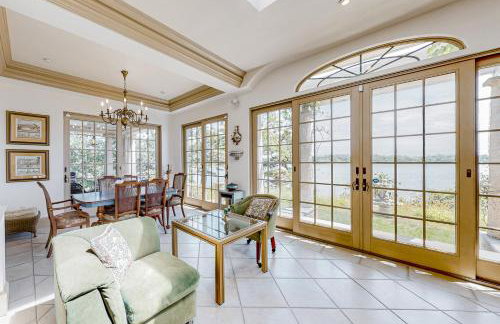
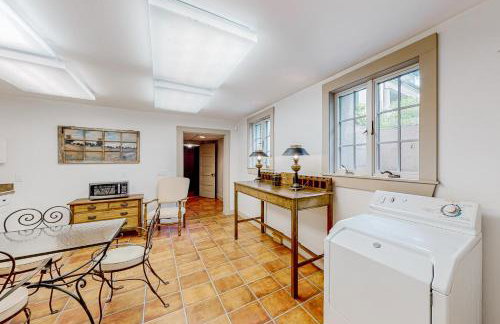
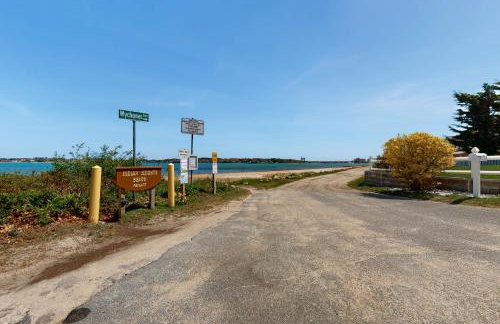
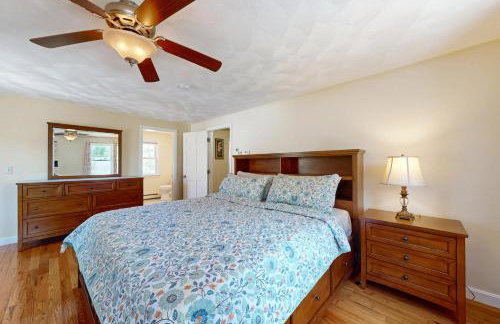
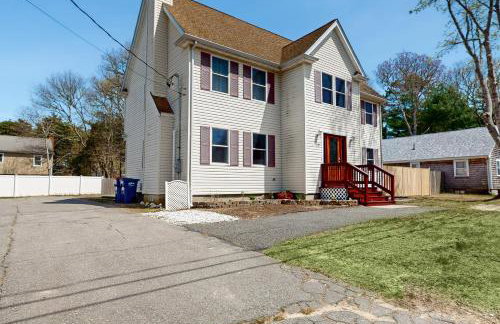
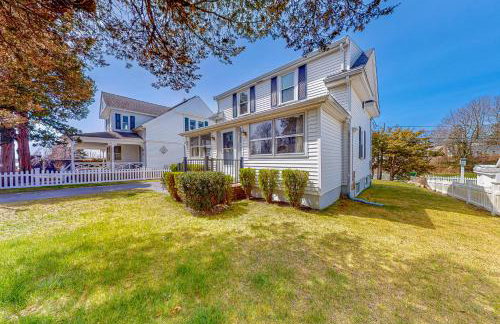
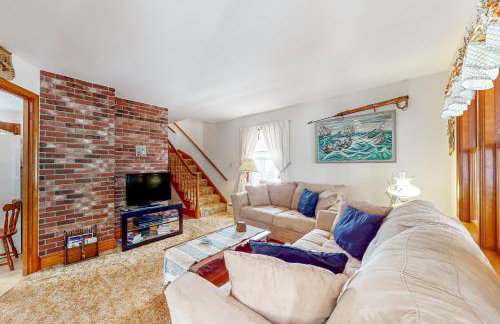
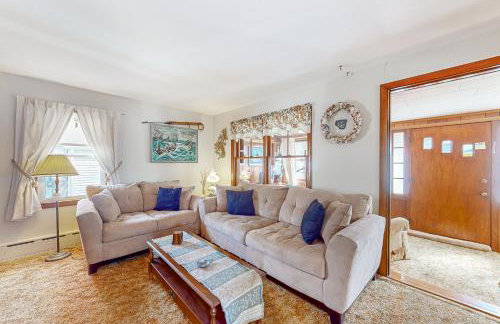
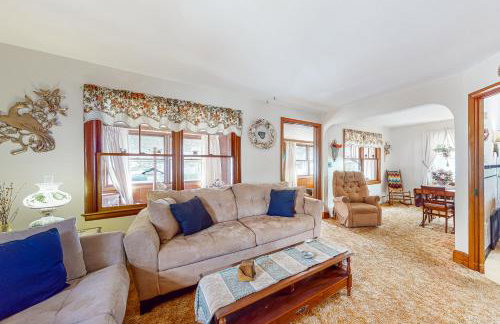
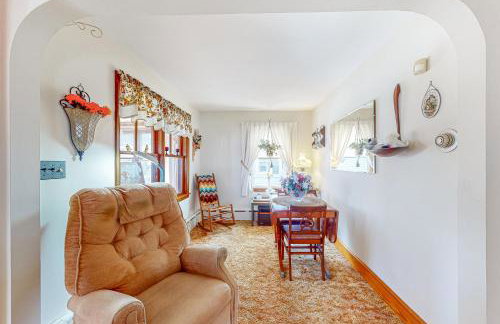
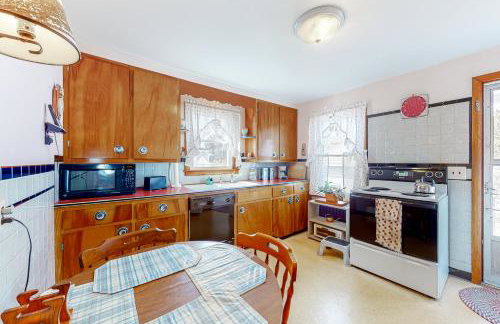
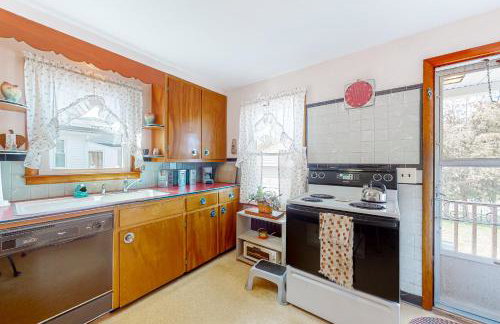
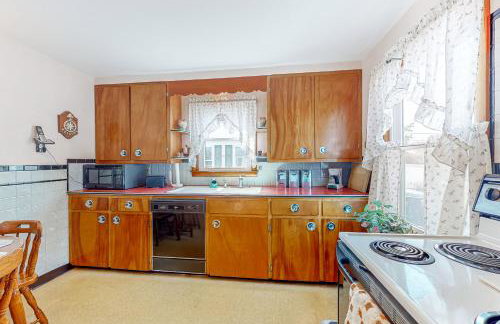
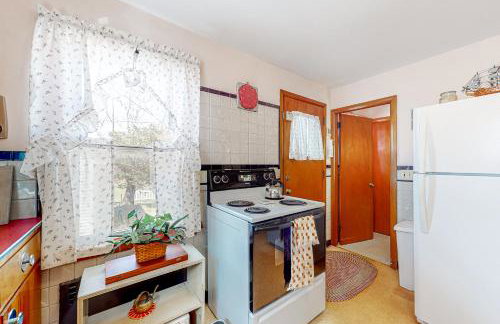
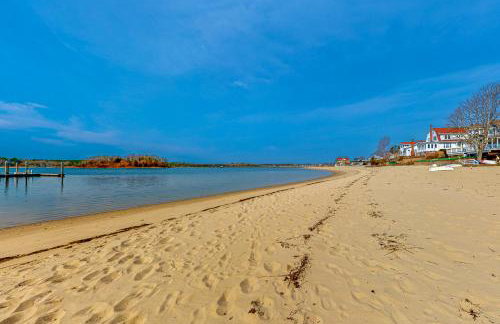
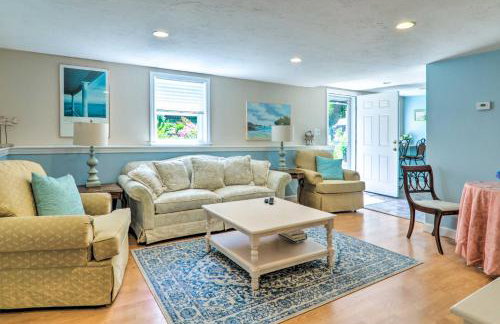
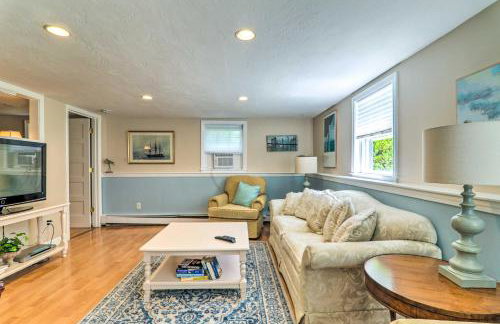
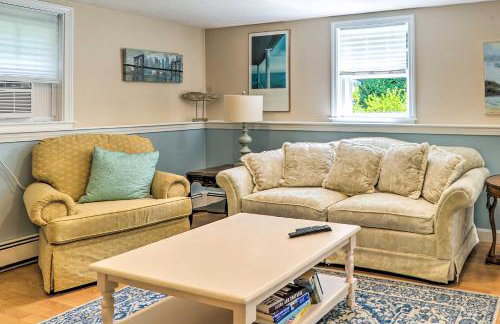
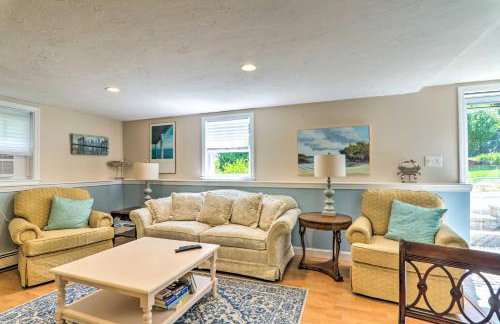
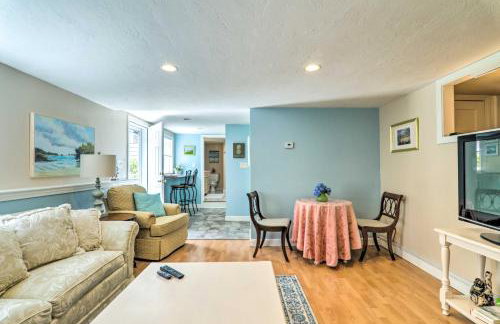
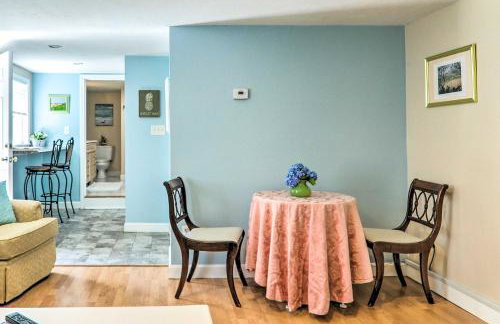
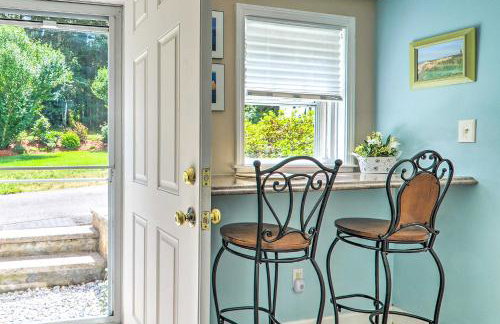
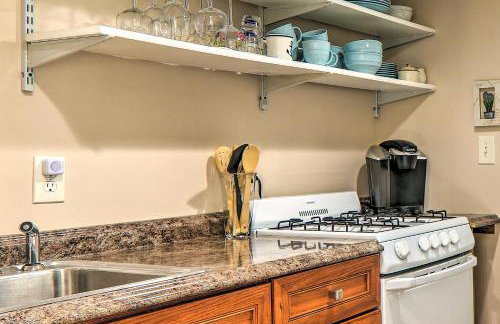
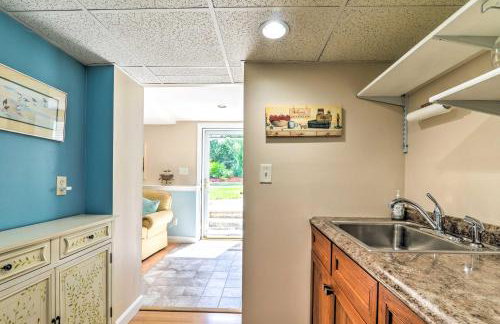
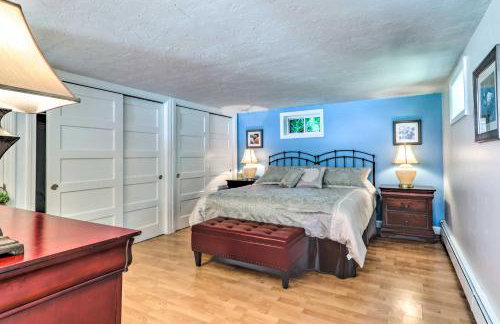
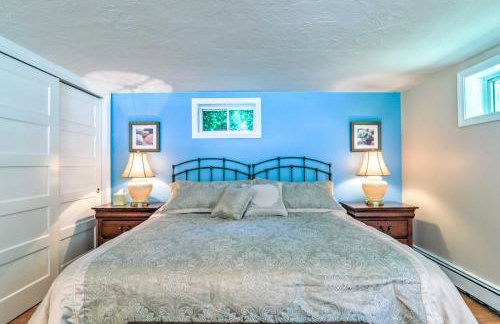
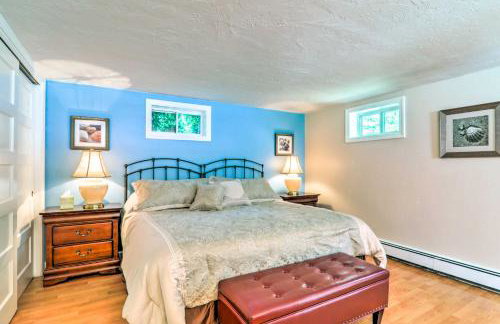
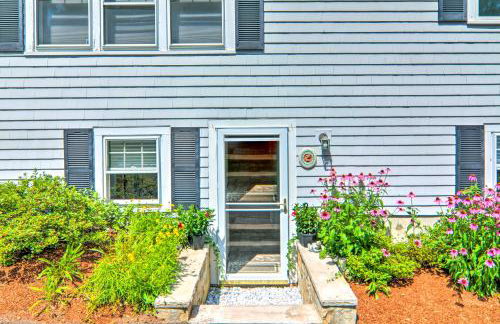
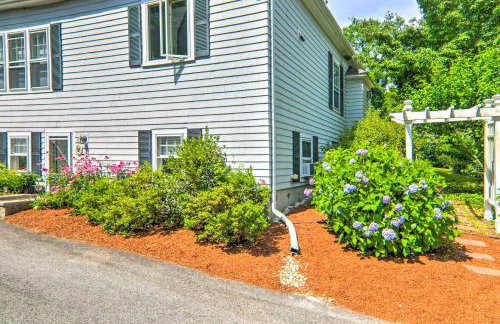
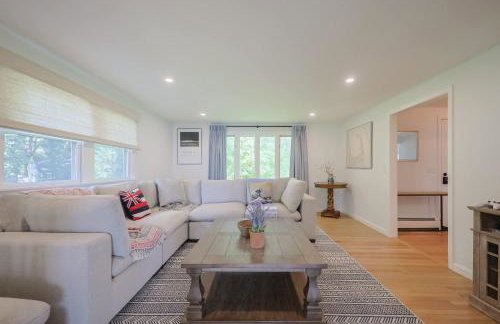
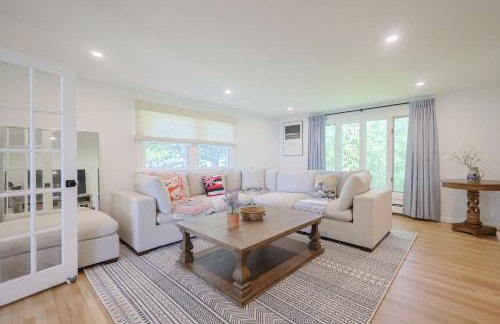
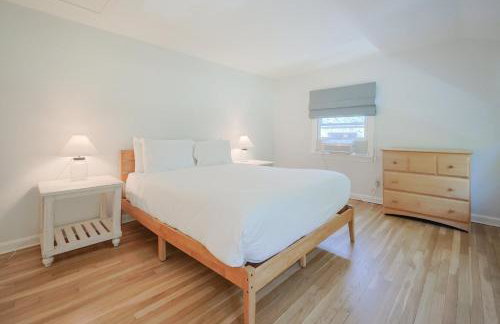
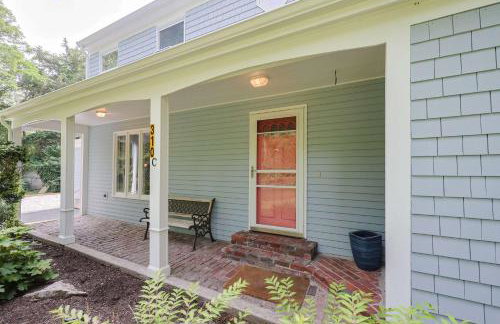
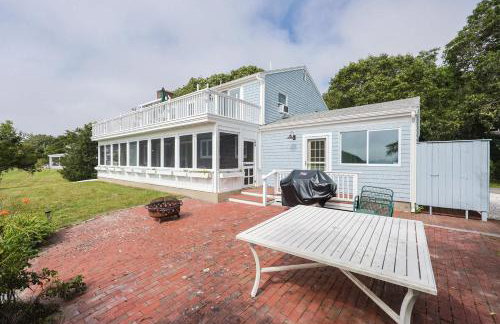
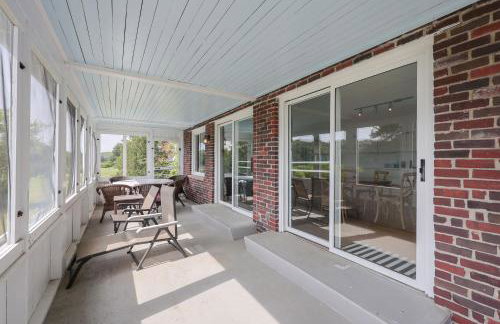
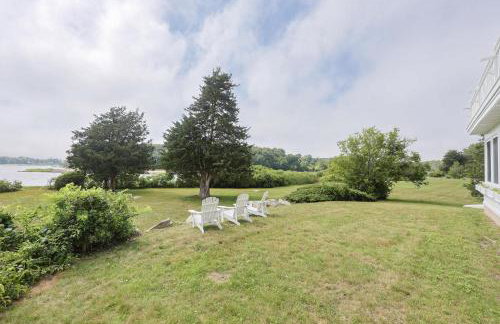
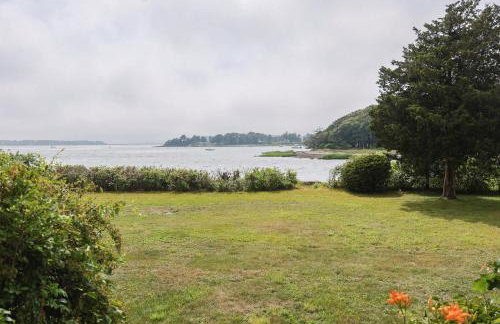
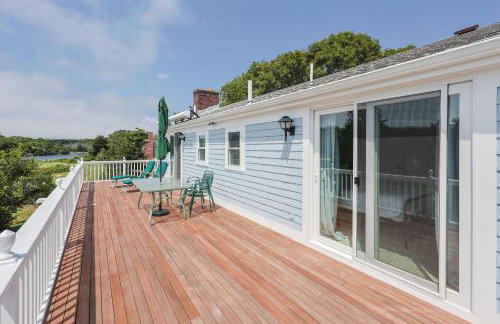
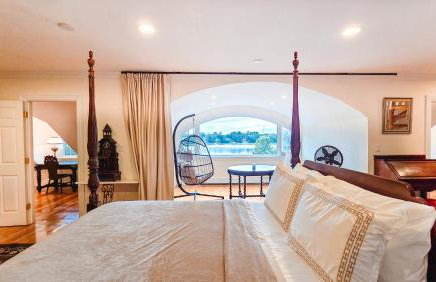
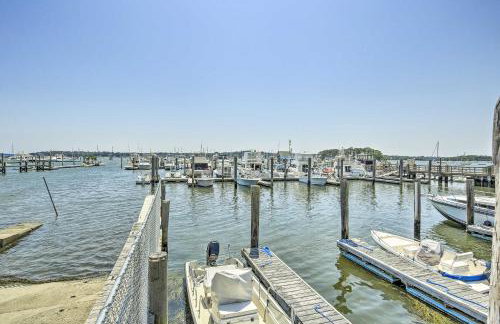
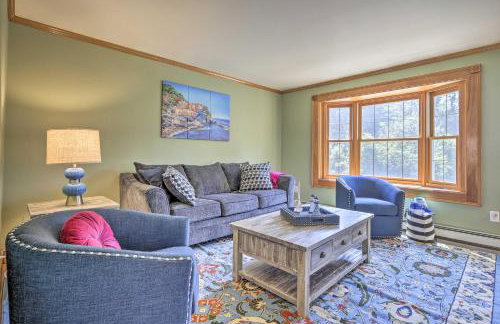
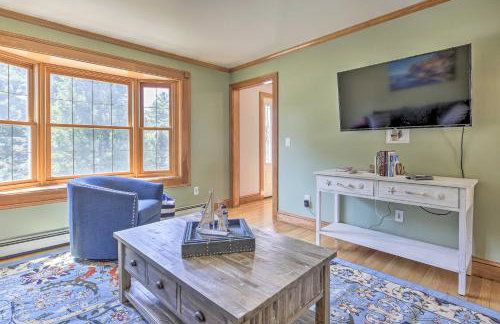
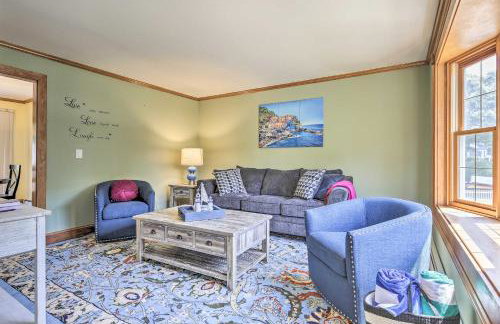
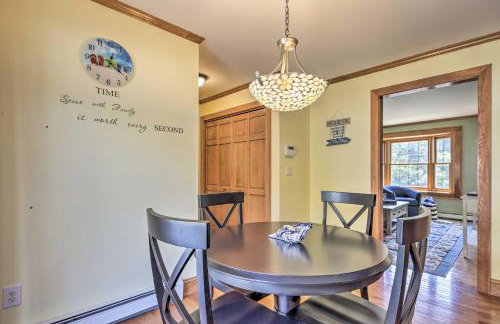
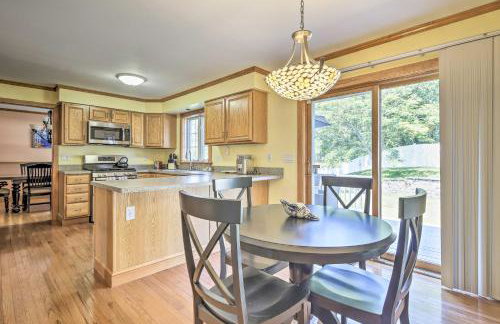
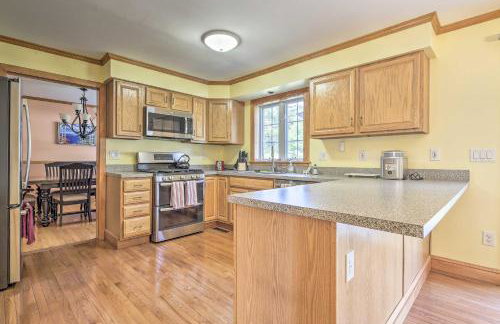
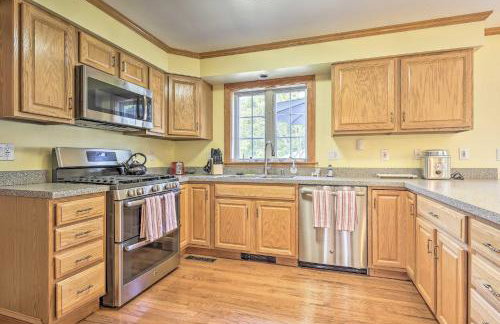
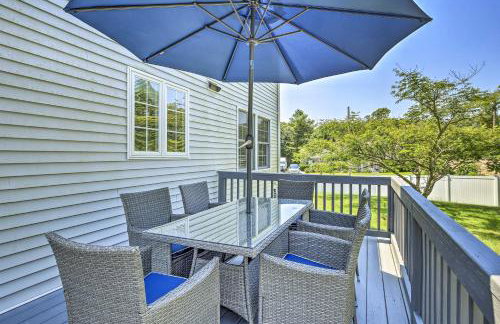
Estuary View! Couples Haven 2 Mi to Monument Beach
Buzzards Bay
- 93 M2
- 1 camera
- 4 persone
- Riscaldamento
- Parcheggio
8 recensioni


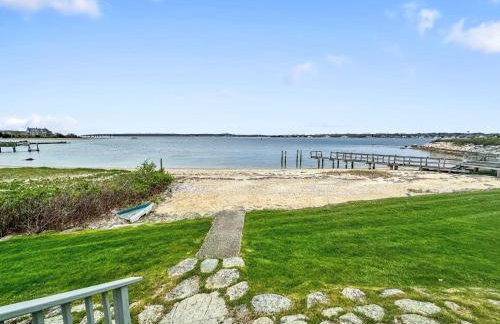
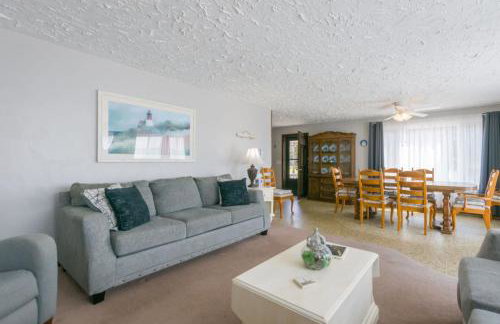
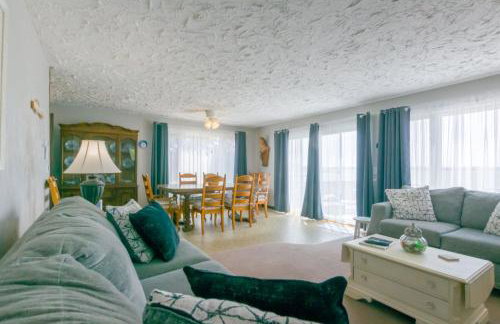
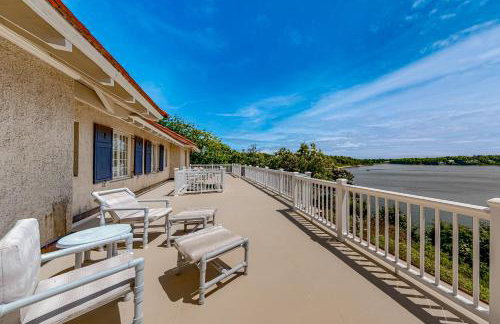
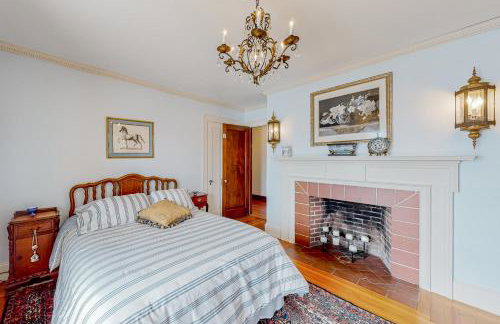
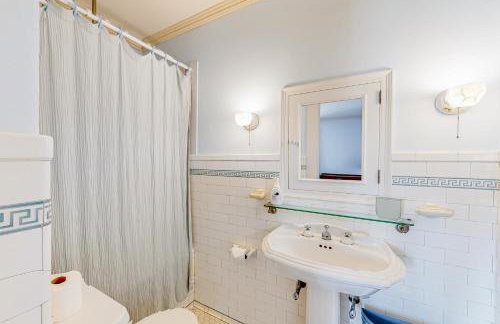
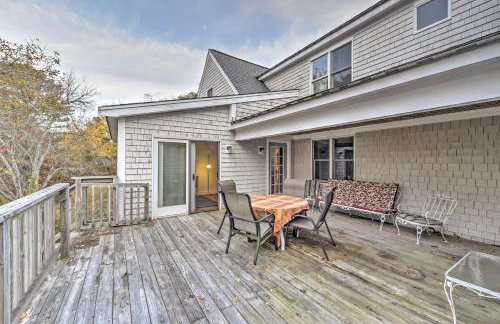
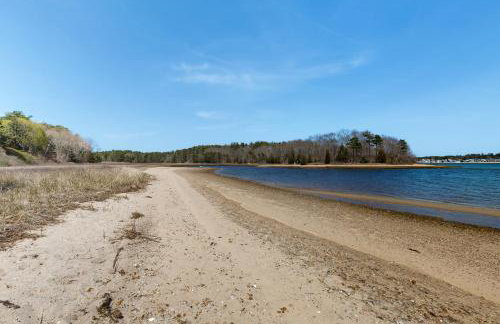
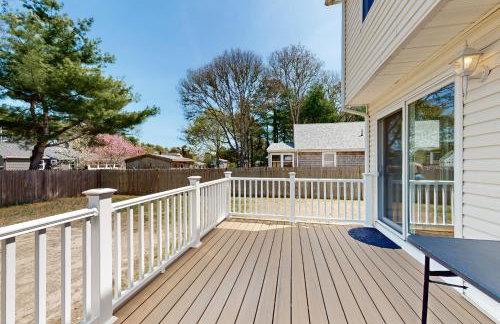
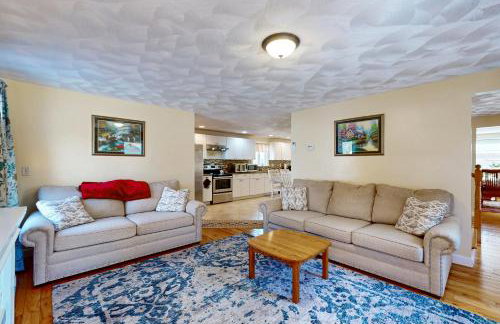
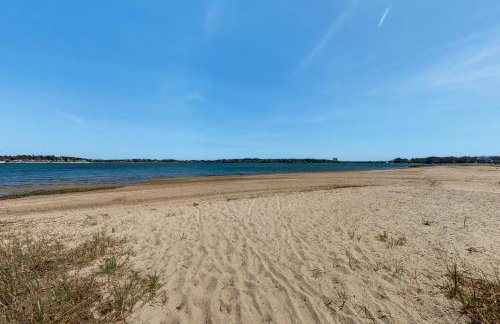
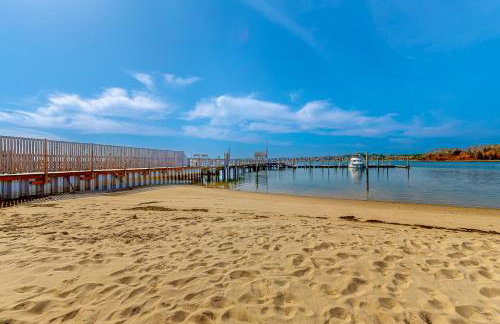
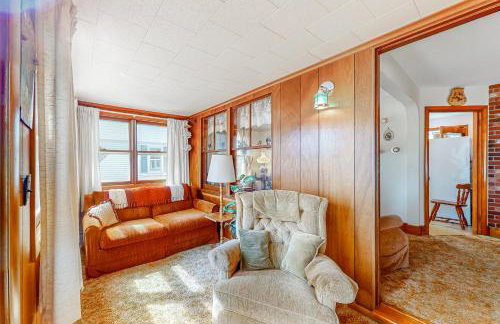
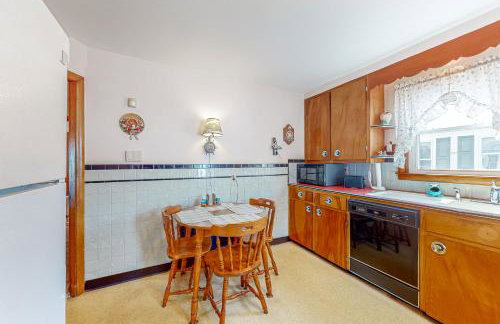
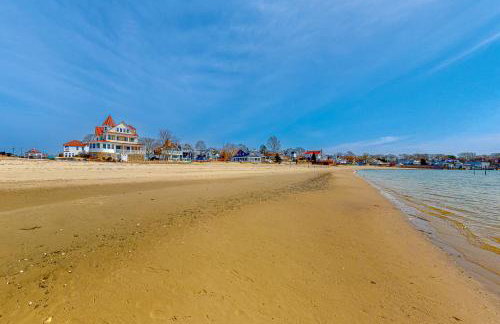
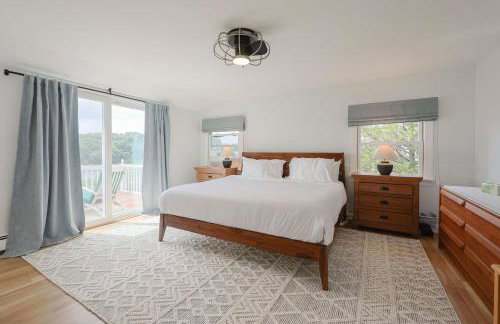
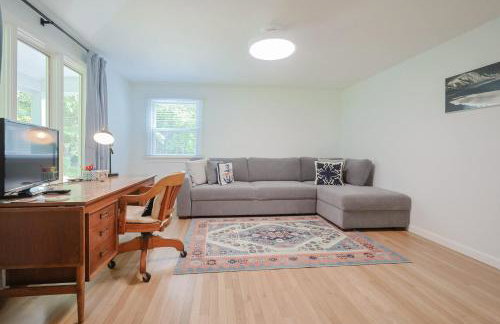
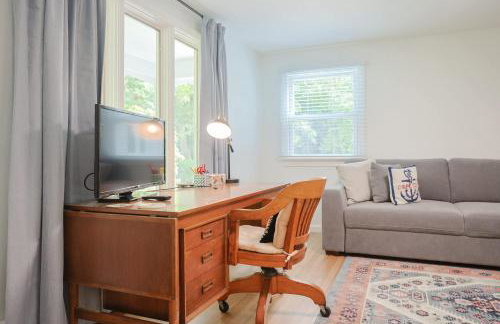
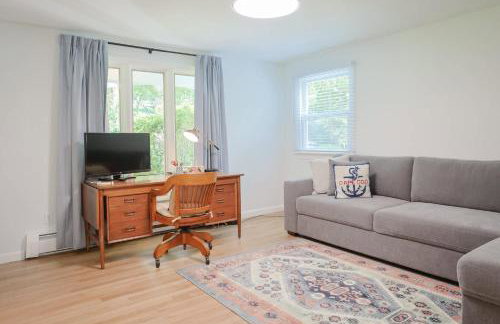
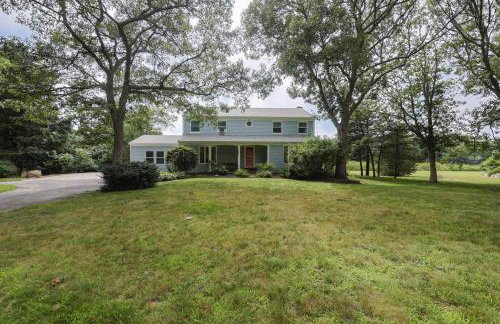
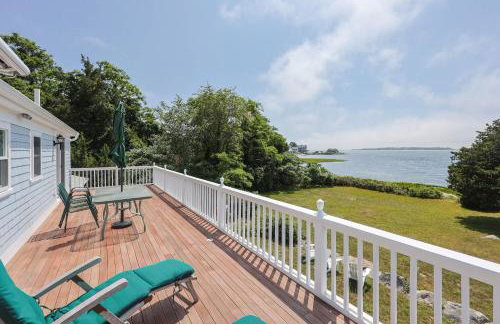
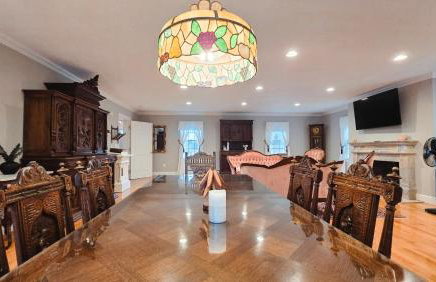
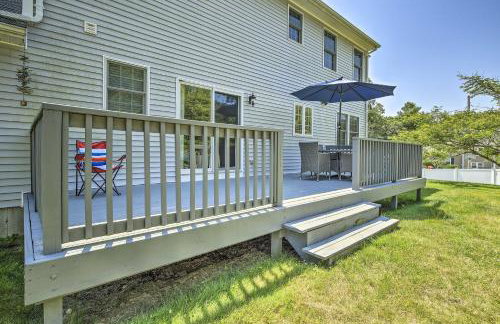
3 Mi to Beaches Tranquil Cape Cod Escape with Deck
Buzzards Bay
- 130 M2
- 2 camere
- 4 persone
- Riscaldamento
- Parcheggio
3 recensioni


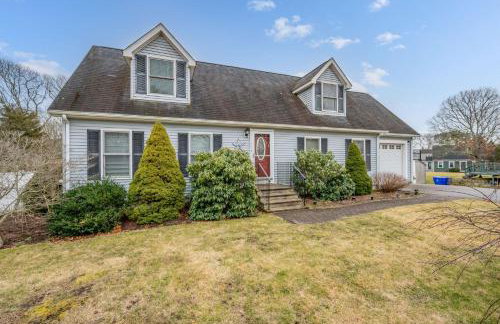
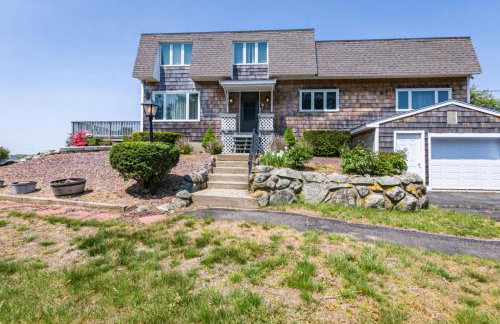
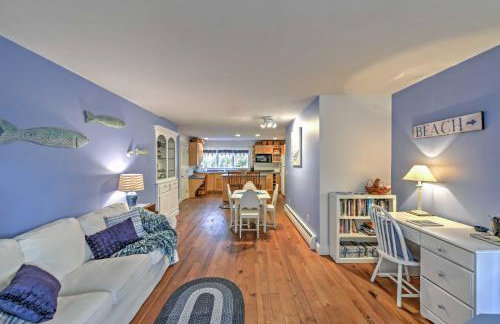
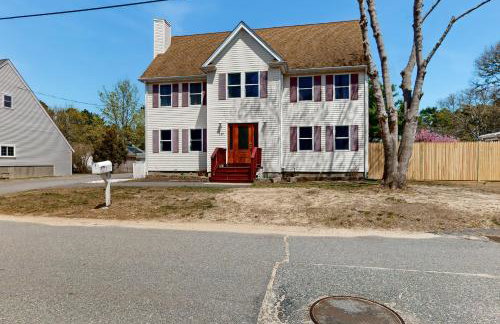
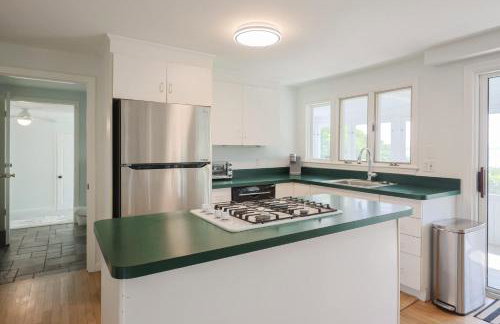
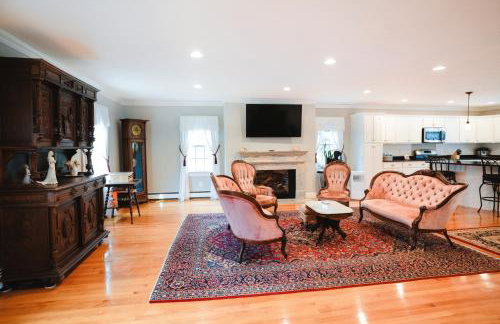
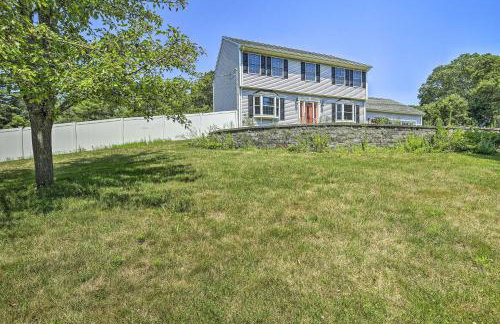
Walk to Shore Updated Buzzards Bay Cottage!
Buzzards Bay
- 84 M2
- 2 camere
- 3 persone
- Riscaldamento
- Parcheggio
11 recensioni


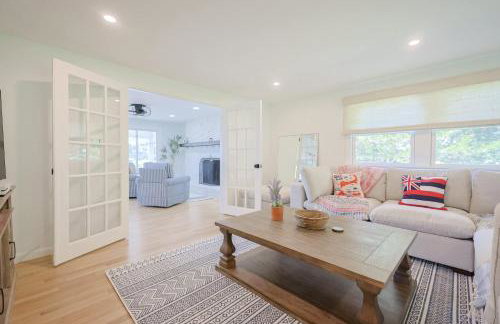
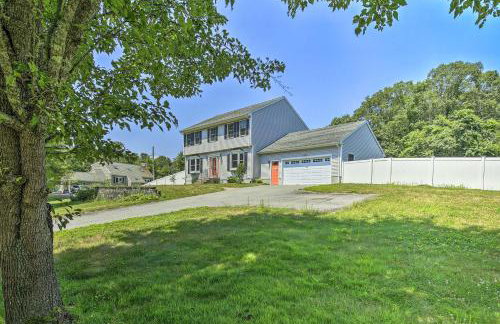
Steps to Cape Cod Canal Pet-Friendly Home
Buzzards Bay
- 121 M2
- 2 camere
- 6 persone
- Riscaldamento
- Parcheggio
- Giardino
6 recensioni


Coastal Comfort Near the Bay! Buttermilk Cottage
Buzzards Bay
- 81 M2
- 3 camere
- 7 persone
- Riscaldamento
- Parcheggio
- Giardino
1 recensione


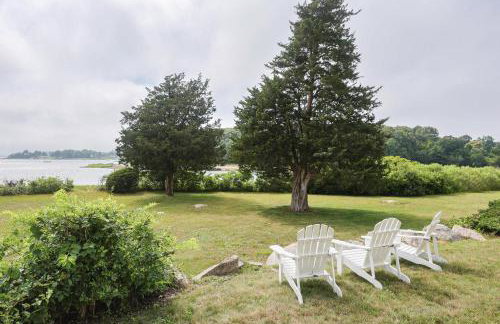


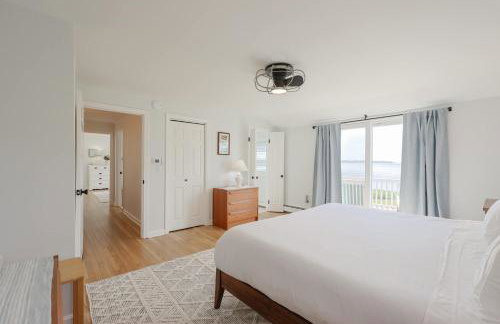

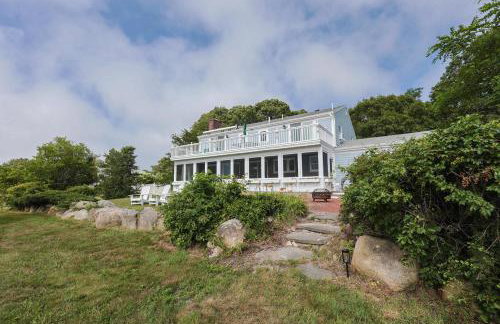

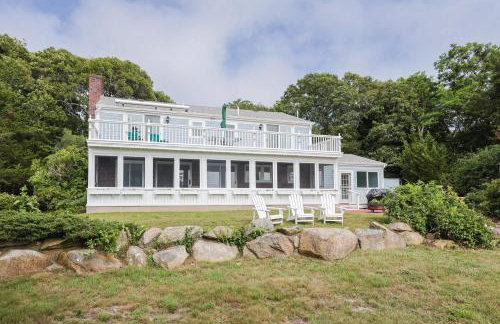
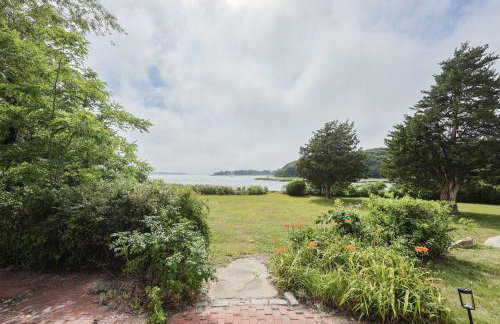
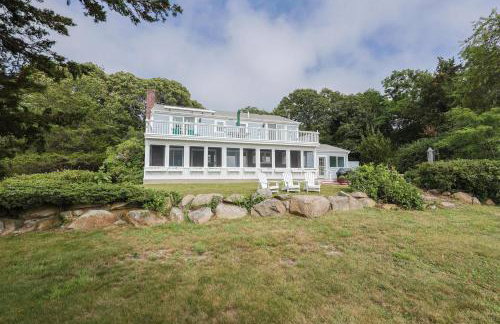
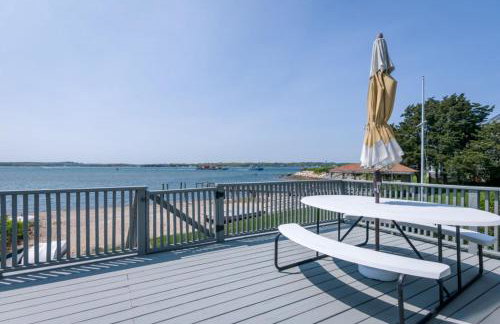
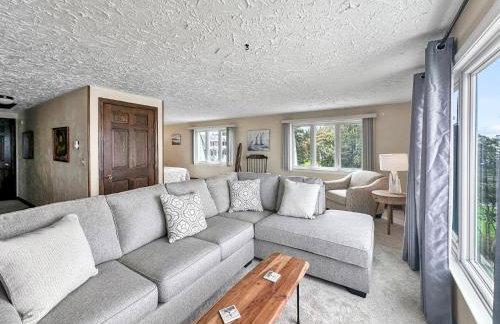
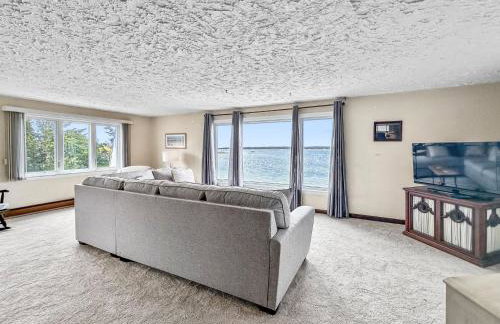
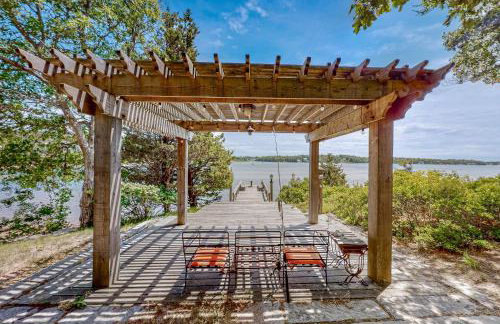
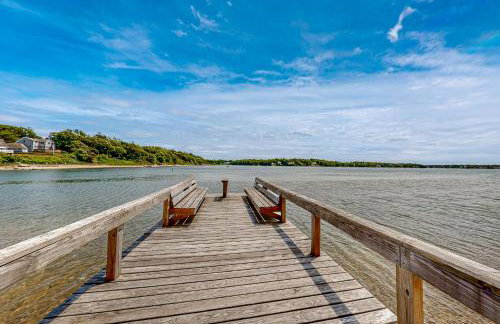
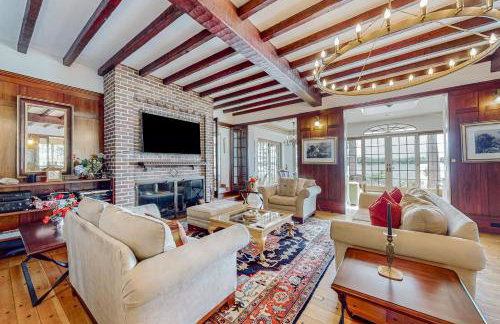
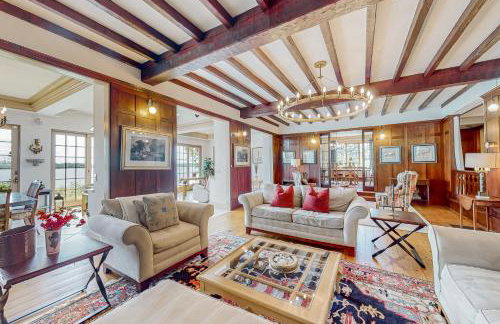
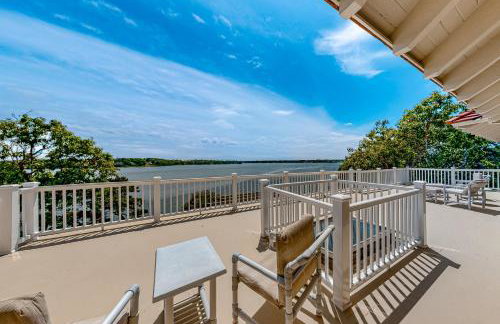
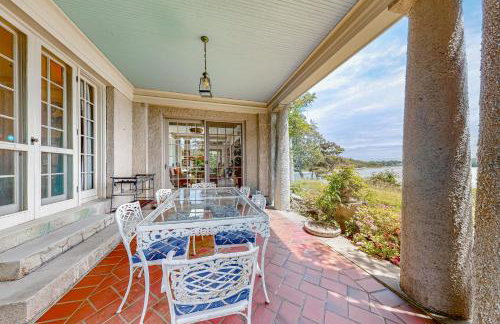
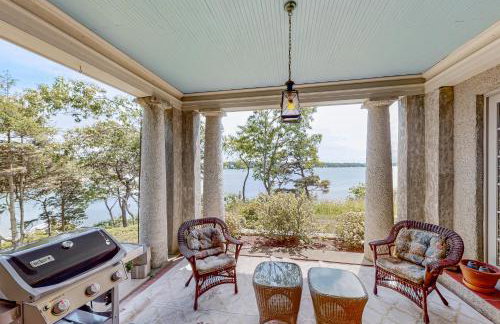
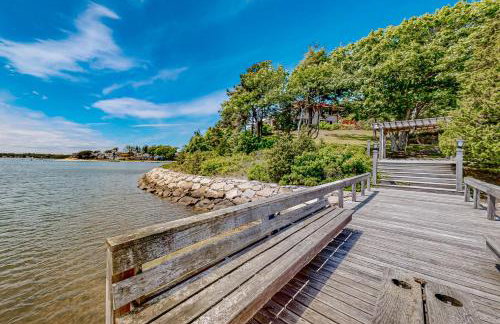
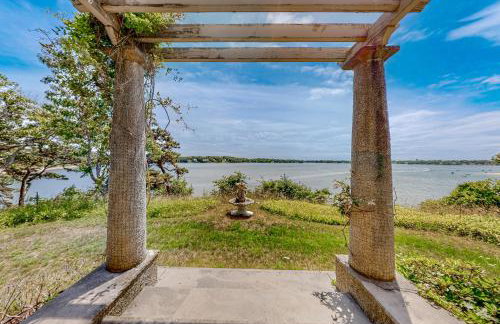
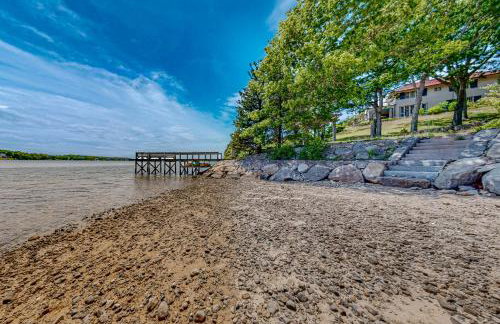
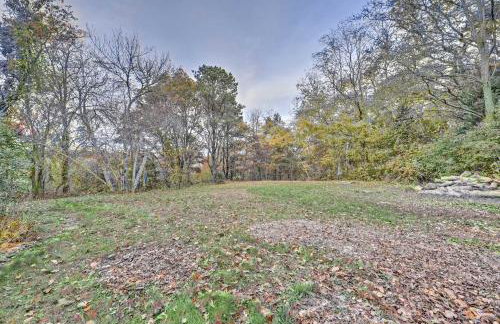
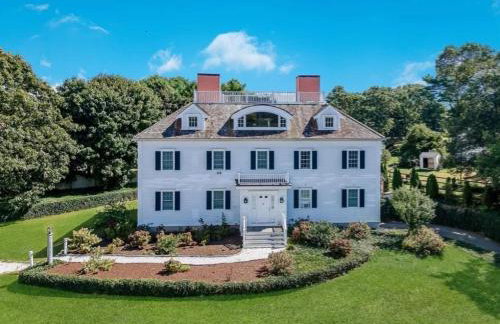
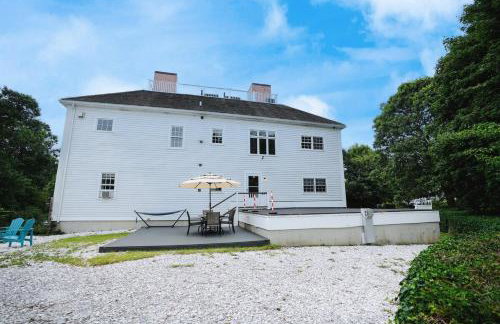
Tranquil Waterfront Getaway
Buzzards Bay
- 251 M2
- 4 camere
- 10 persone
- Aria condizionata
- Riscaldamento
- Parcheggio
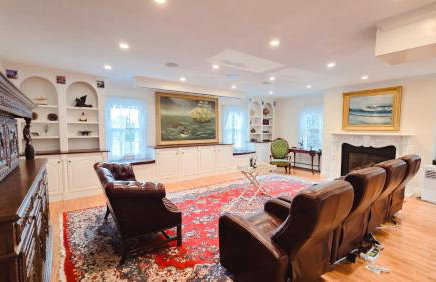


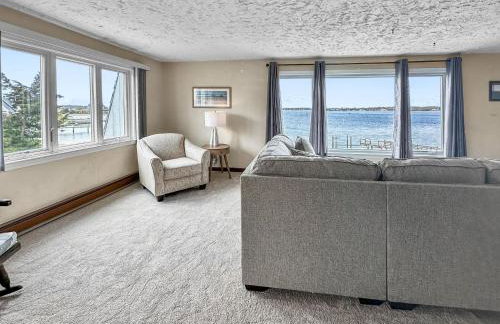
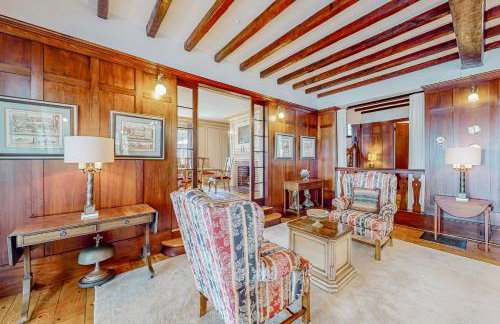
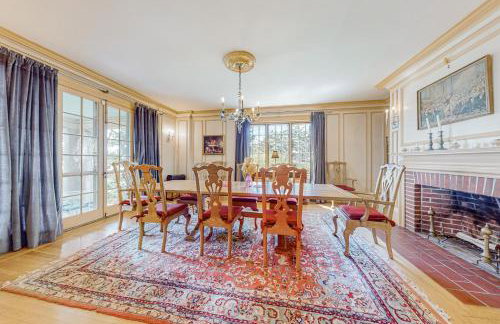
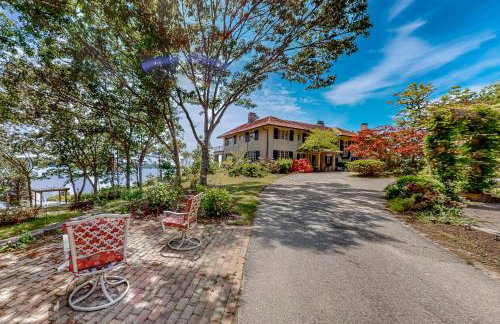
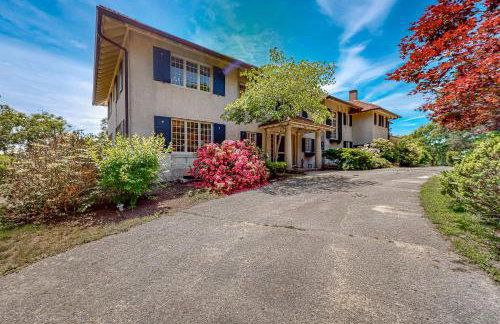
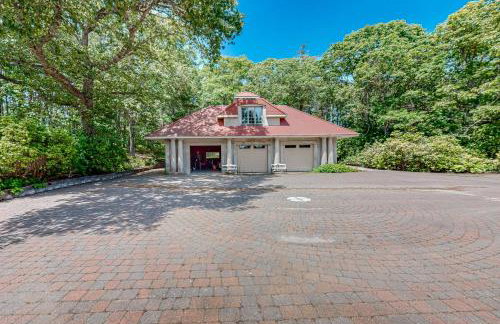
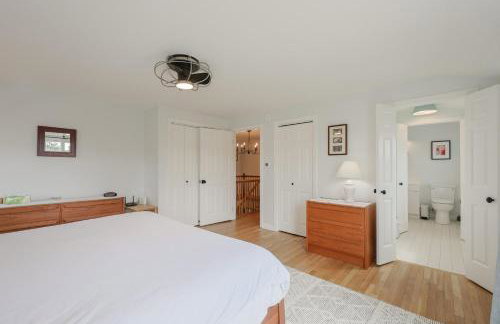
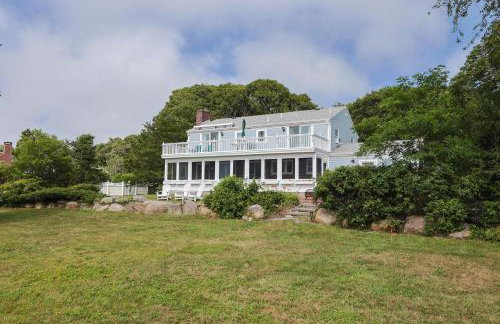
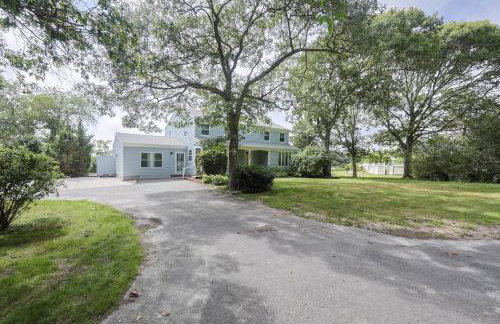
Snow Circle Retreat
Buzzards Bay
- 557 M2
- 4 camere
- 10 persone
- Aria condizionata
- Riscaldamento
- Parcheggio
- Giardino


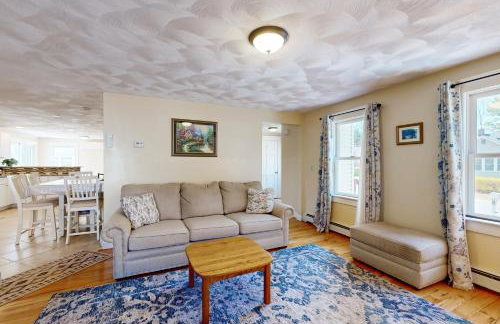
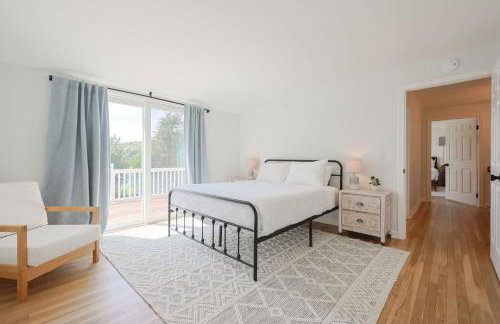
Spacious 4BR Home near Water Park, Pond & Beaches
Buzzards Bay
- 158 M2
- 4 camere
- 8 persone
- Aria condizionata
- Parcheggio


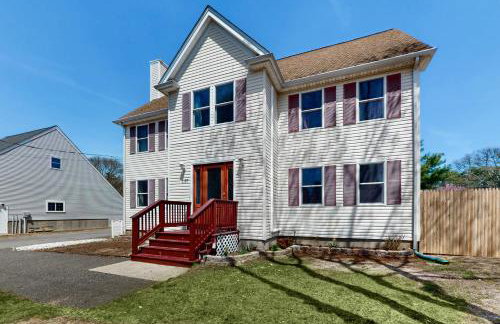
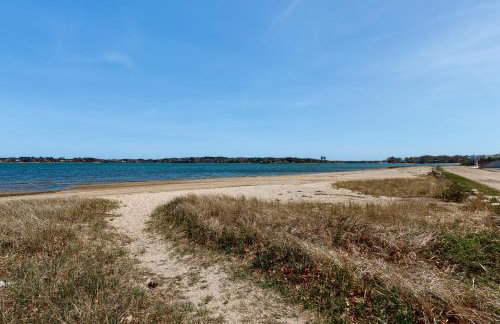
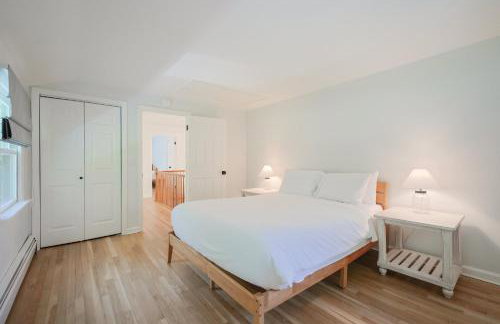
Walk to Buzzards Bay Beach Spacious Onset Home
Buzzards Bay
- 186 M2
- 5 camere
- 8 persone
- Riscaldamento
- Parcheggio
- Giardino