
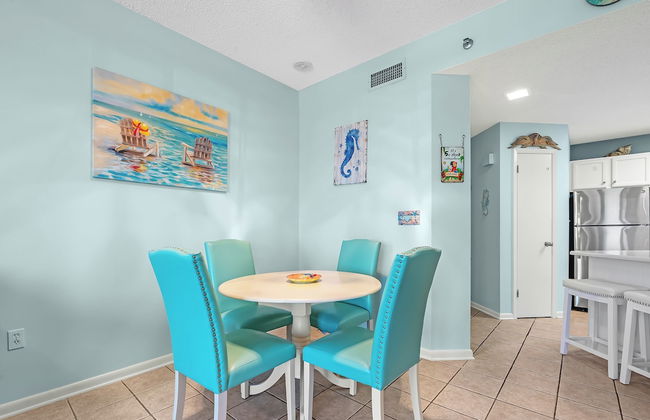
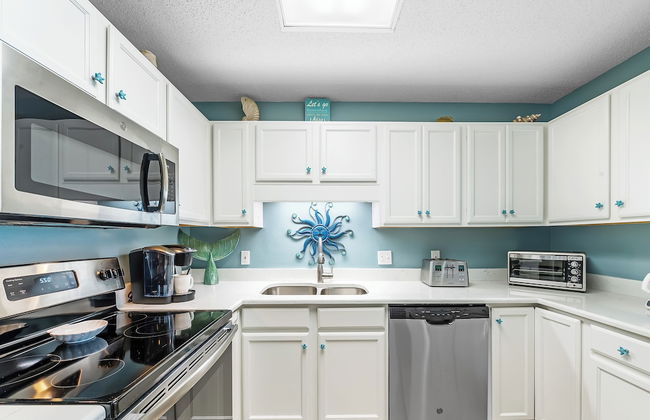
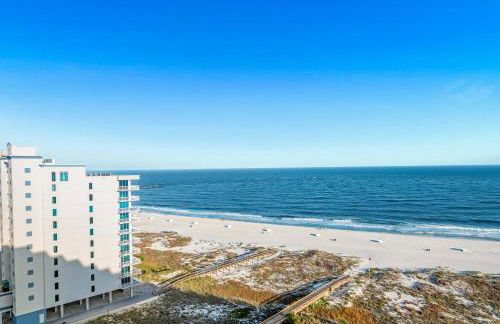
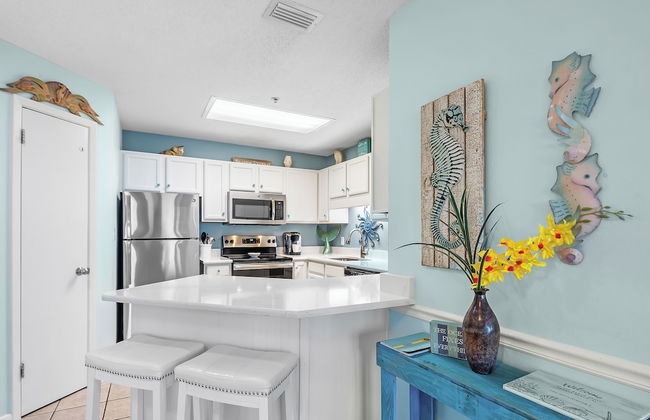
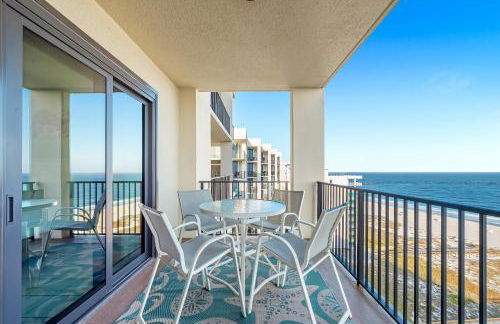
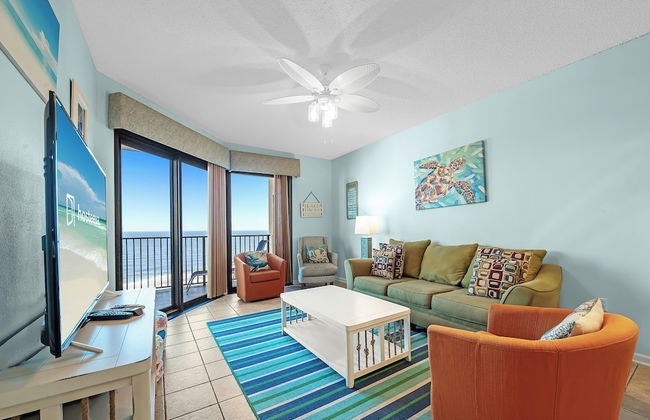
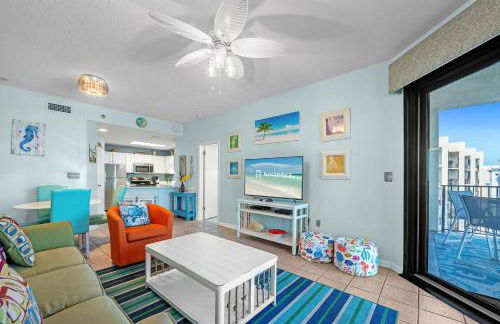
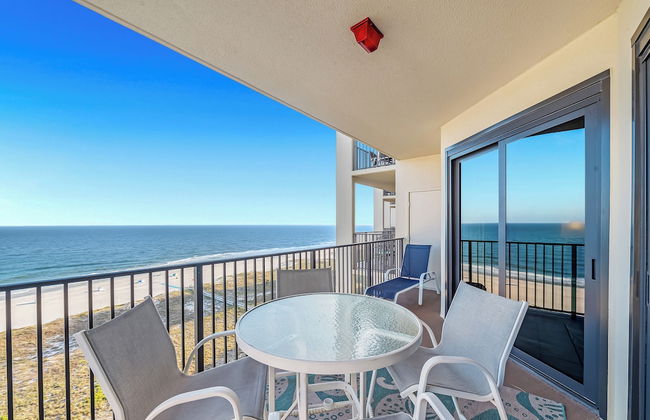
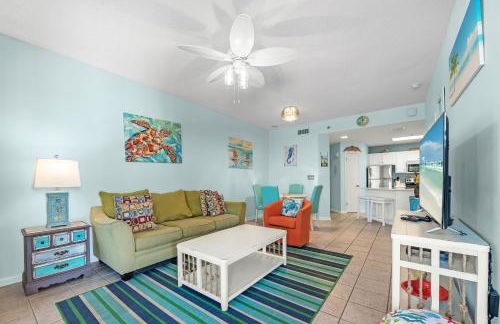
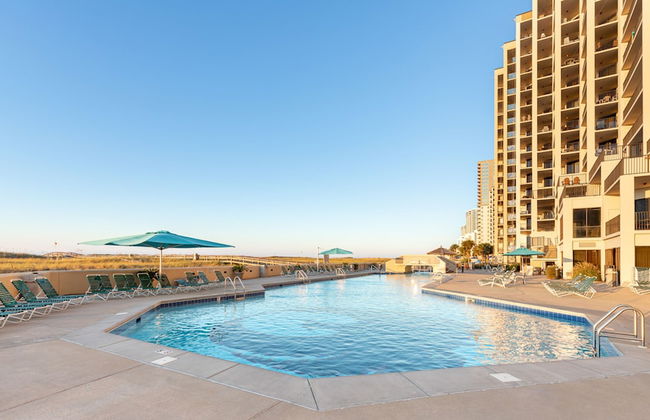
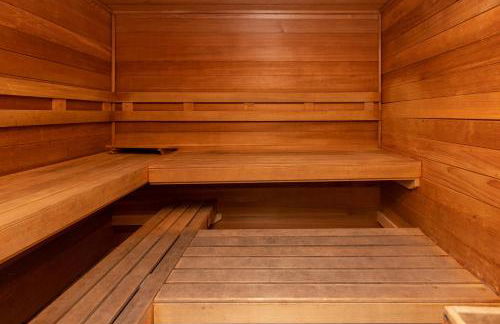
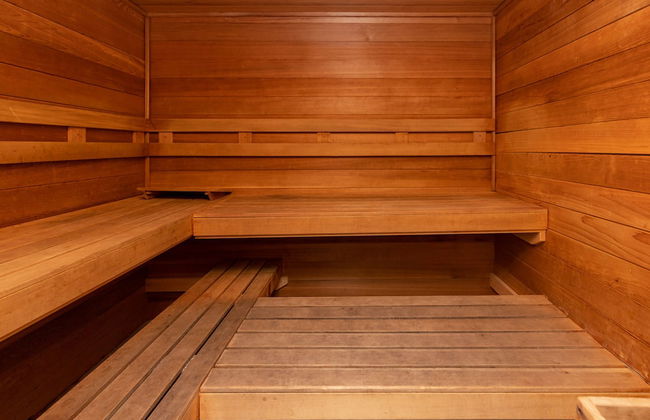
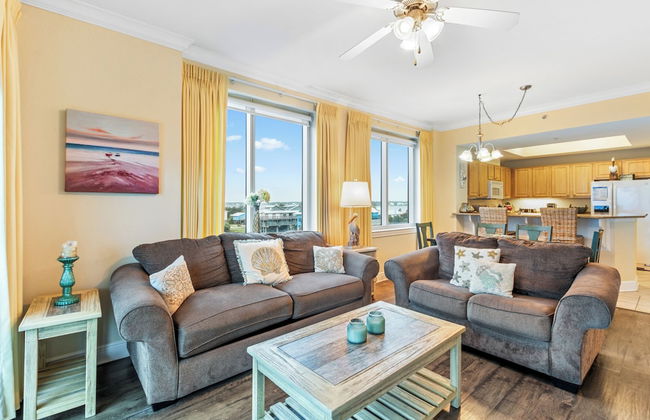
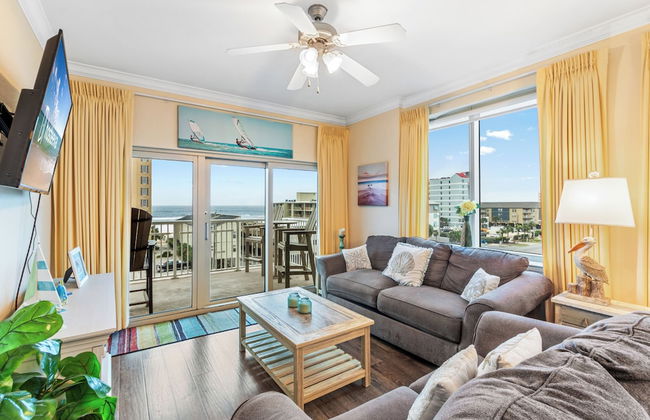
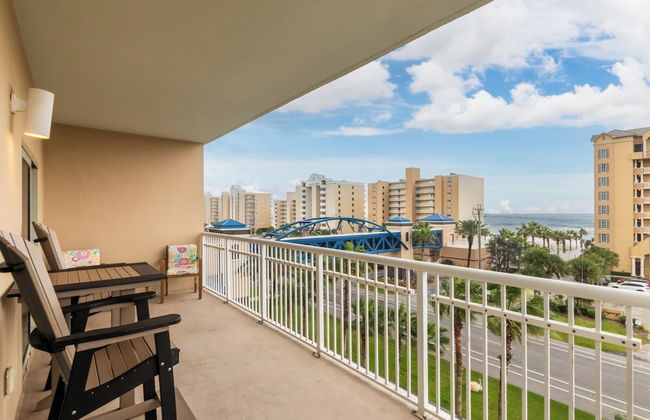
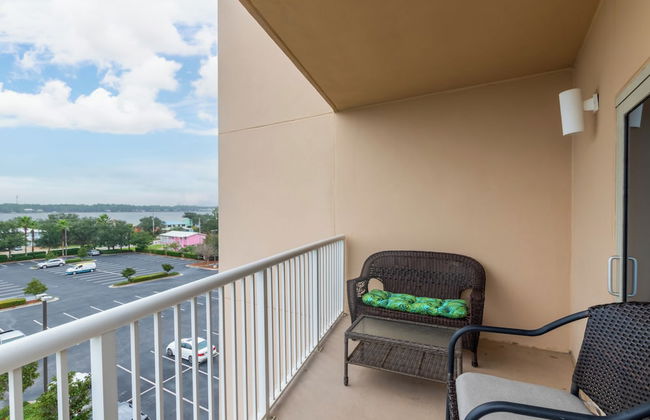
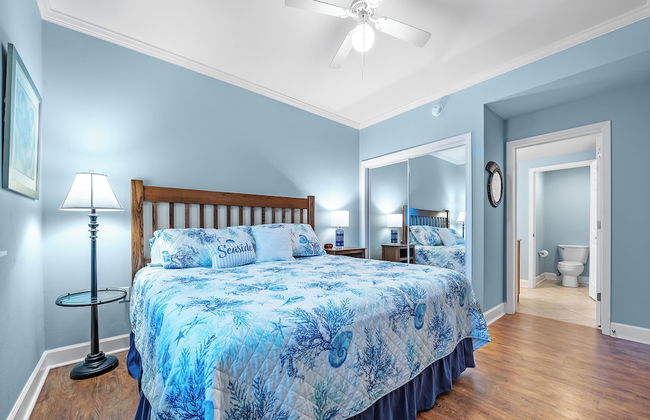
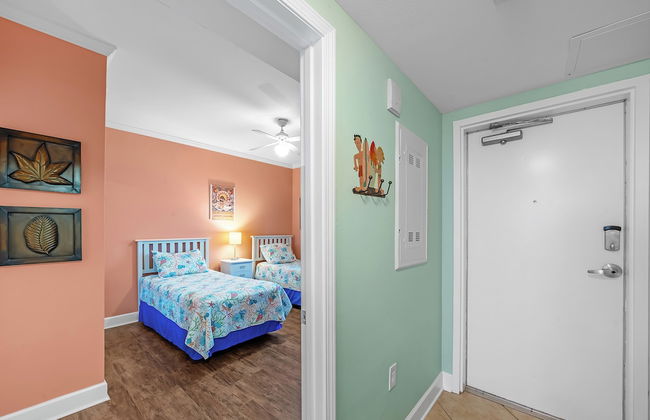
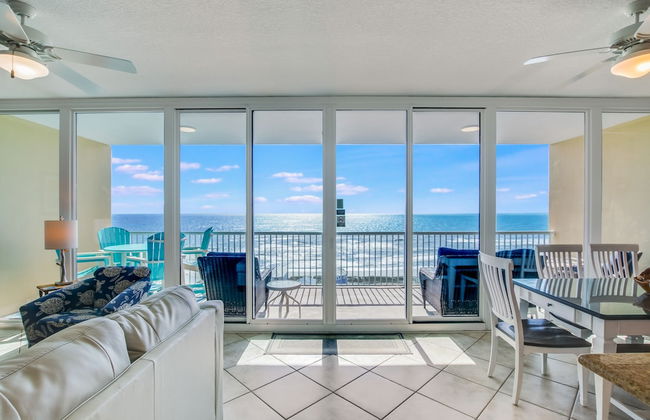
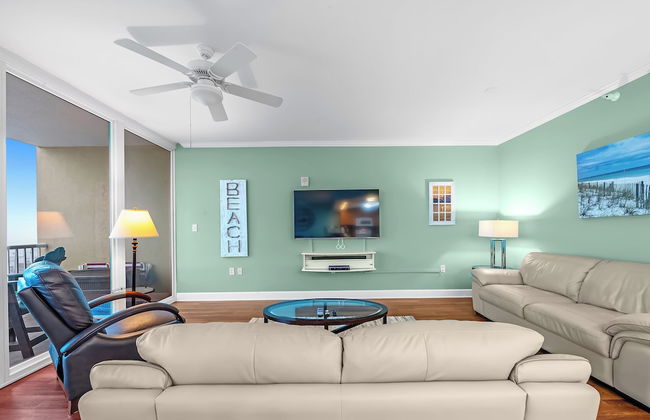
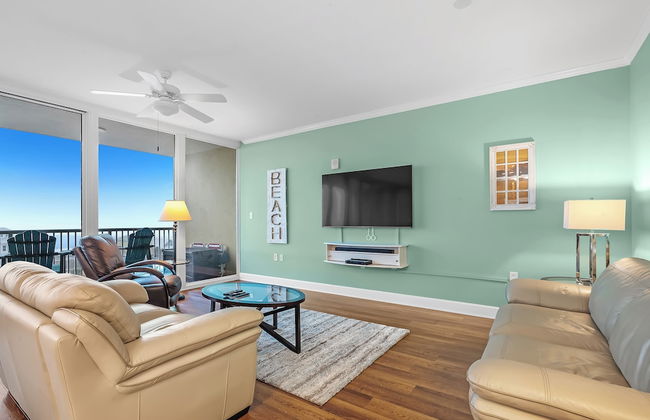
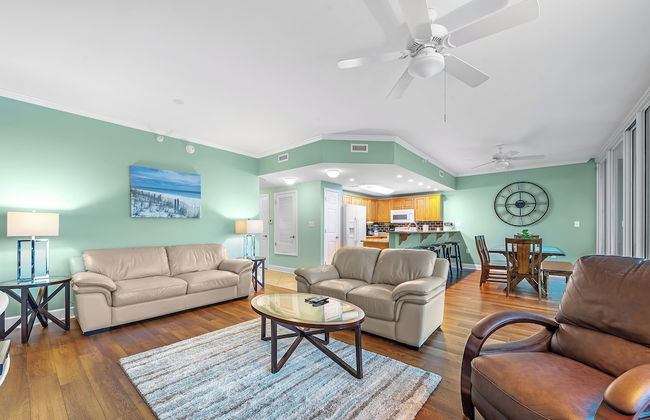
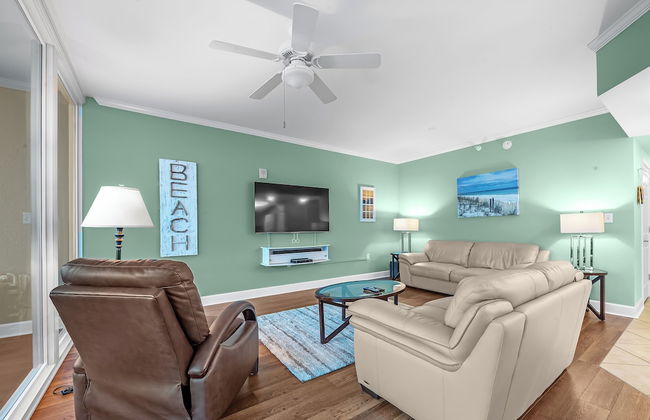
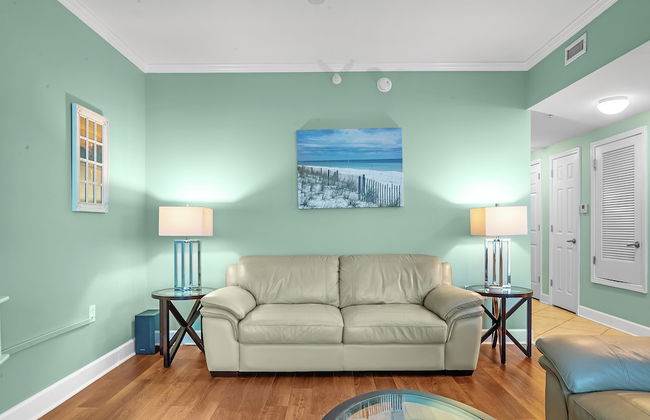
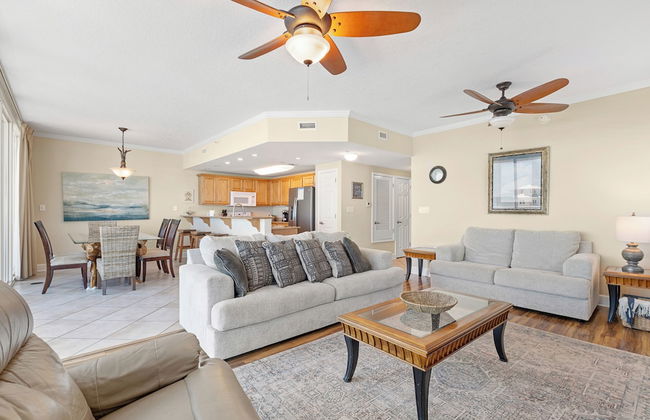
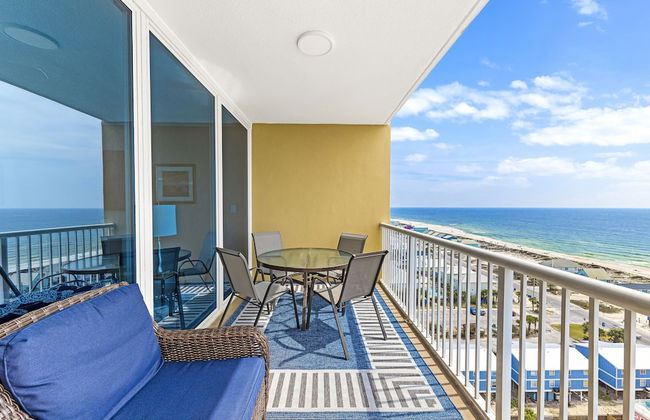
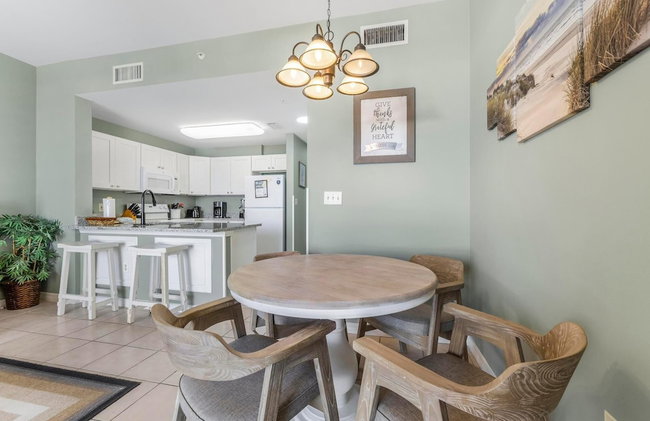
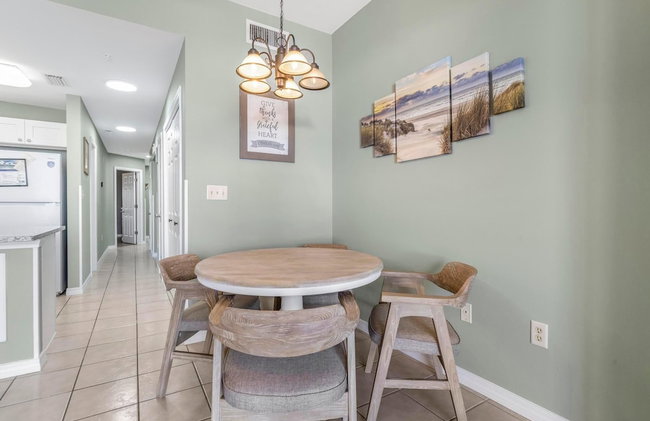
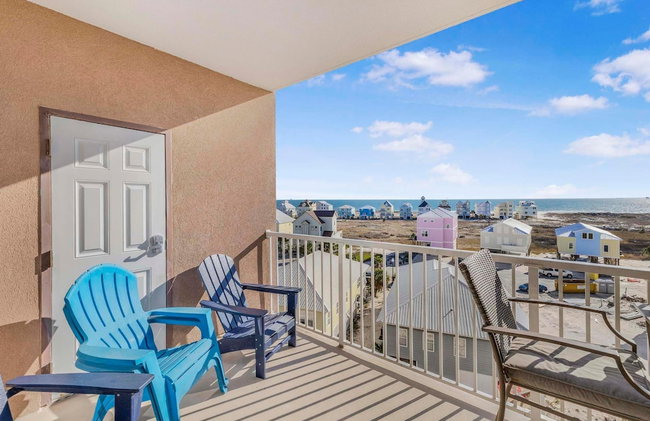
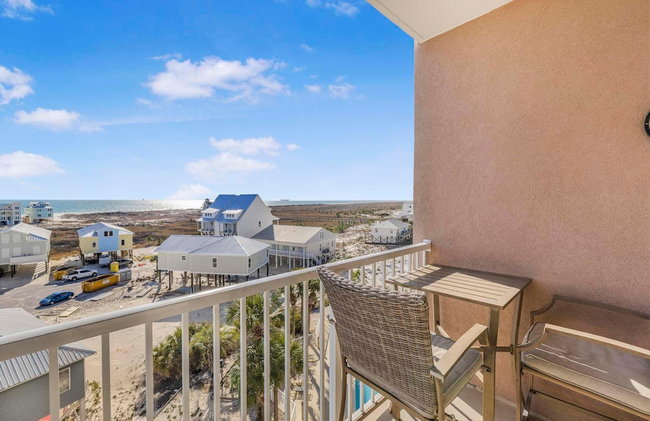
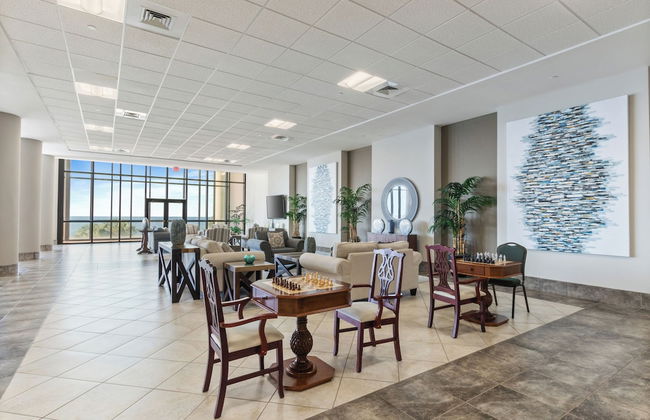
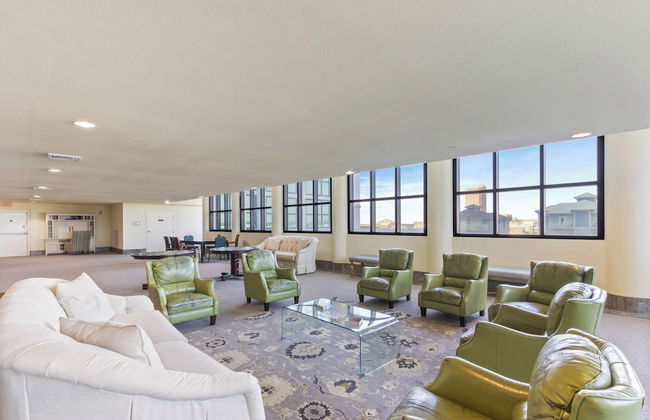
3659 Appartamenti a Baldwin


Tidewater Orange Beach by Southern Vacation Rentals
Orange Beach - 2 km dal centro
- 115 M2
- 3 camere
- 10 persone
- Aria condizionata
- Riscaldamento
- Piscina
- Parcheggio
- Ascensore
- Balcone
- Tv
- Lavatrice
- Barbecue
- Lino da bagno
- Lino da letto
12 recensioni


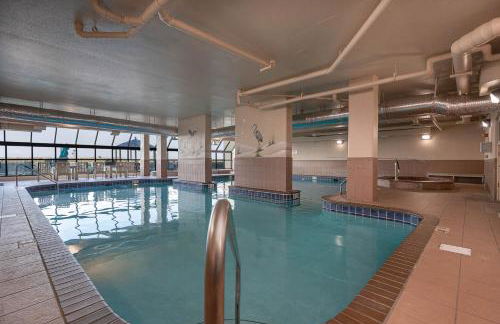


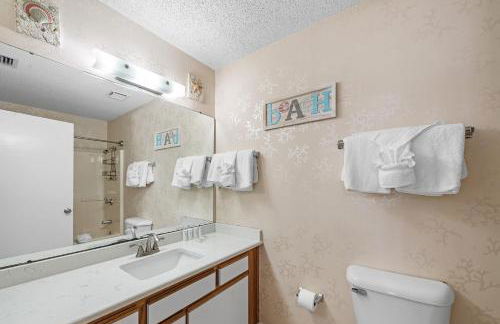


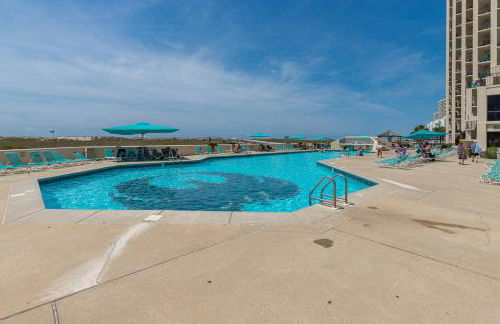
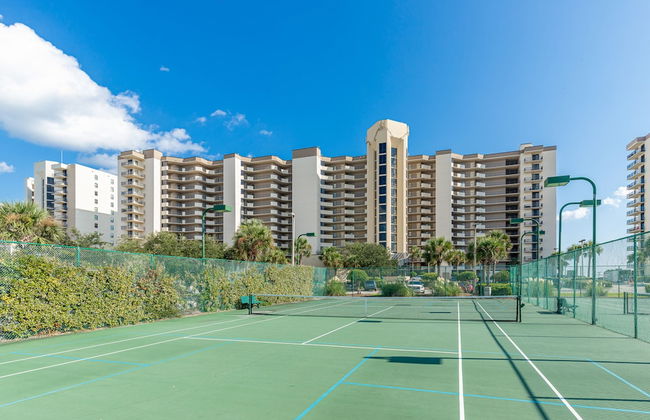


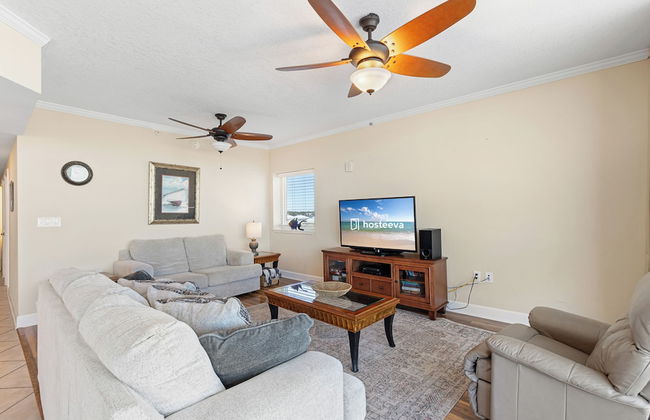
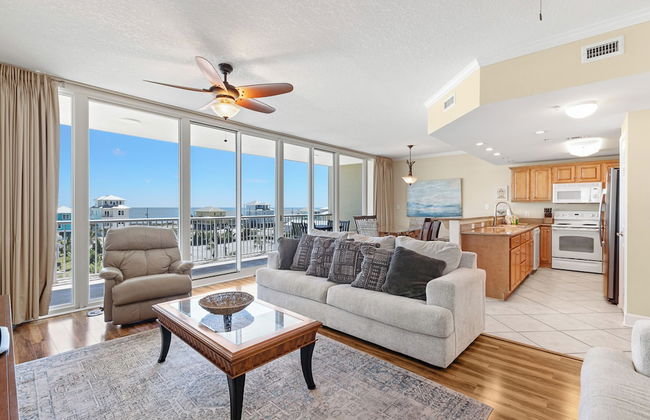
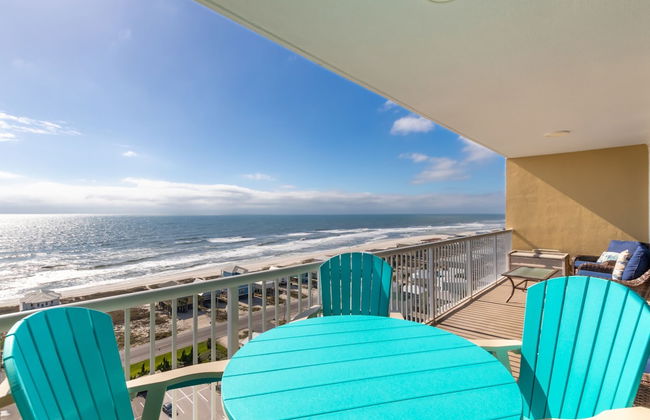
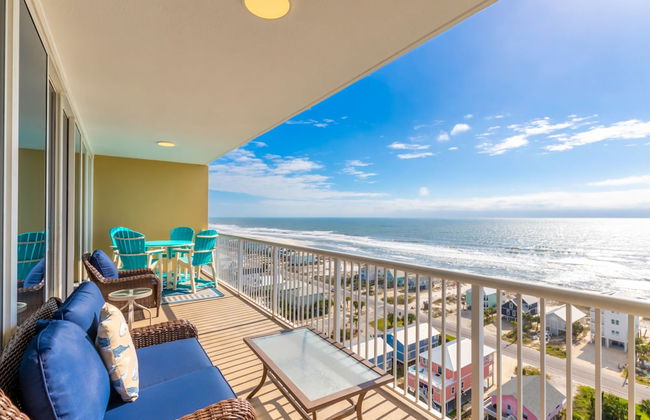
Phoenix VII 1416
Orange Beach - 2.2 km dal centro
- 111 M2
- 2 camere
- 8 persone
- Aria condizionata
- Riscaldamento
- Piscina
- Parcheggio
- Ascensore
- Balcone
- Giardino
- Tv
- Lavatrice
- Barbecue
- Lino da bagno
- Lino da letto
12 recensioni


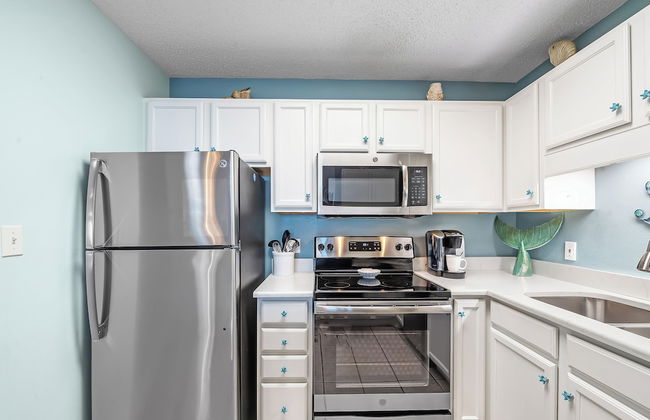
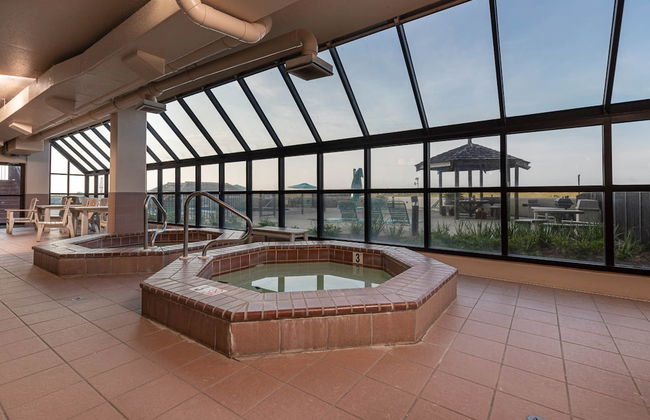
The Cabins at Gulf State Park
Gulf Shores - 740 m dal centro
- 149 M2
- 8 persone
- Cucinino
- Aria condizionata
- Riscaldamento
- Piscina
- Parcheggio
- Balcone
- Tv
- Focolare
- Barbecue
- Lino da bagno
- Lino da letto
57 recensioni


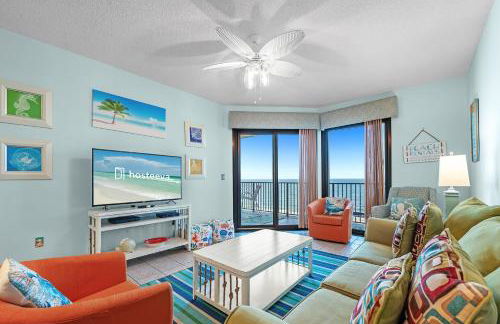
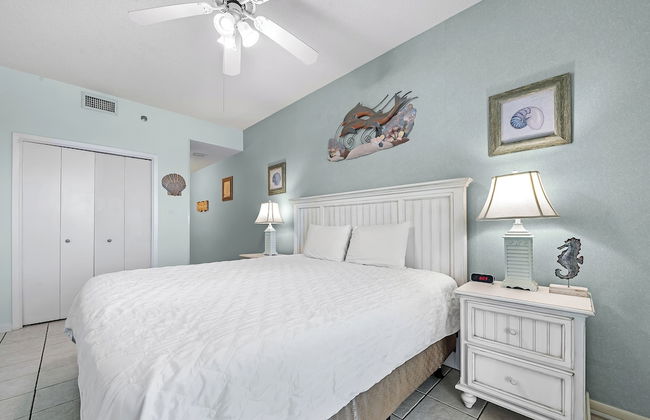
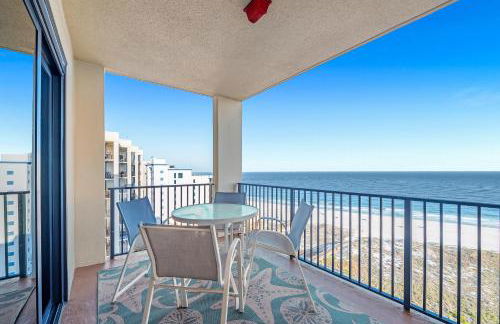
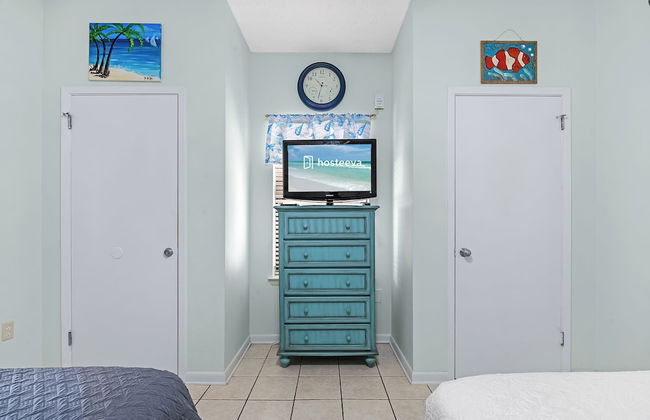
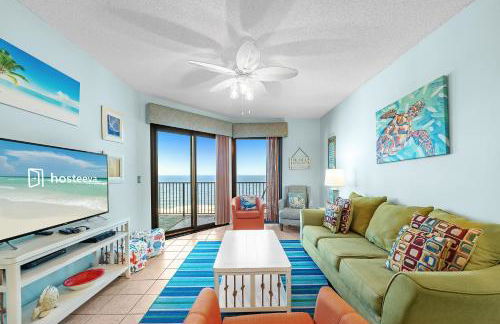
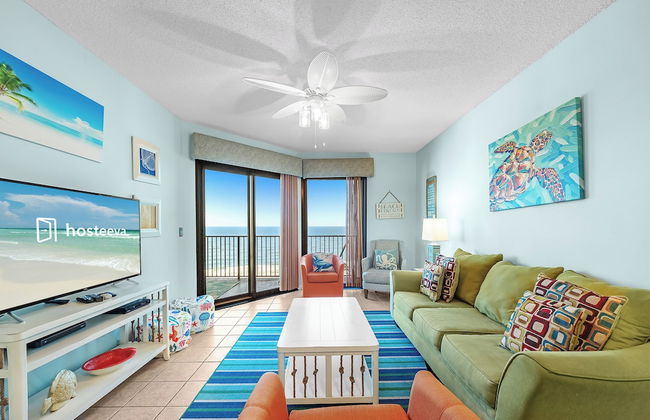
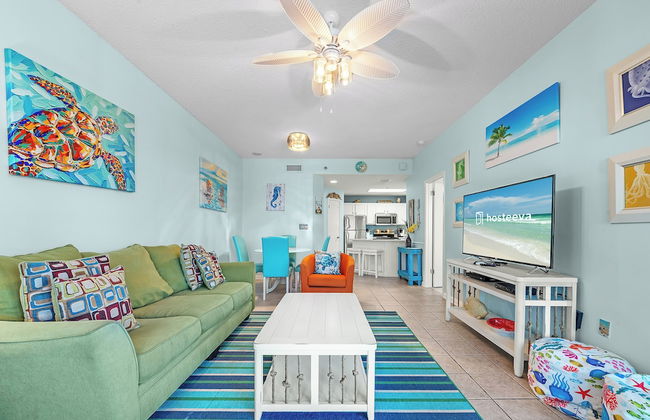
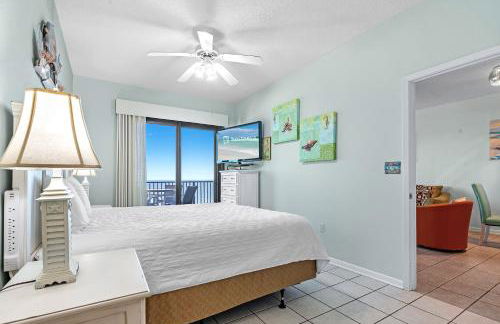
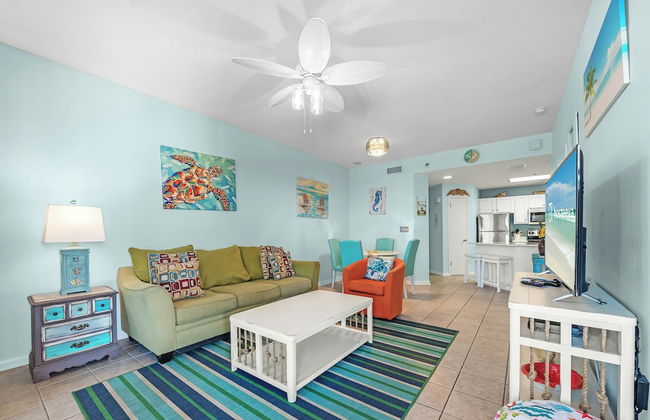
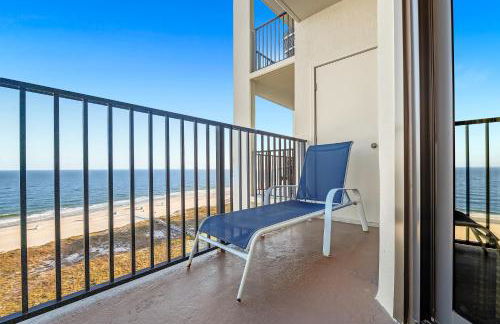
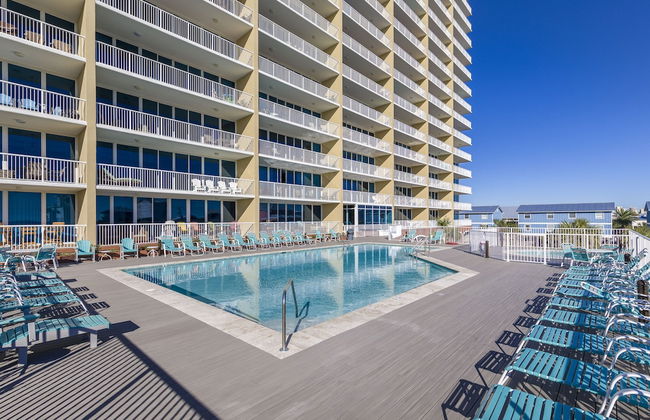
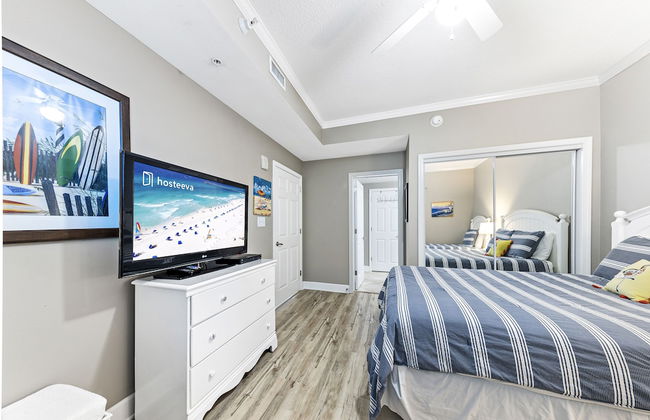
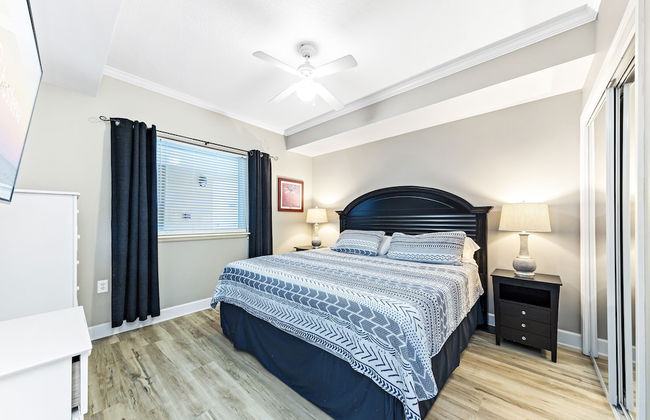
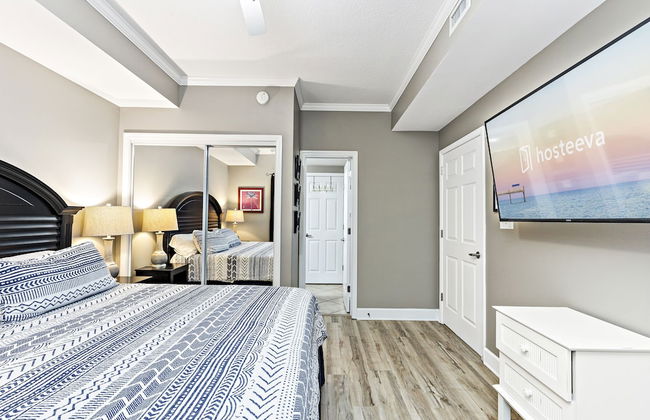
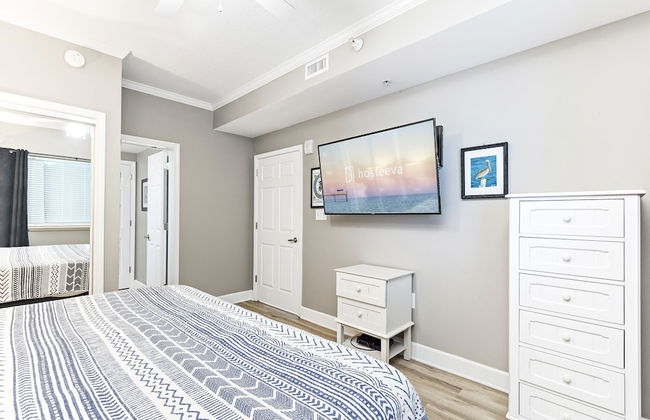
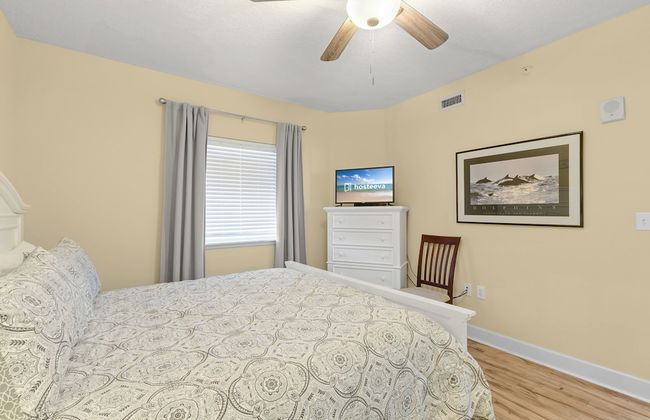
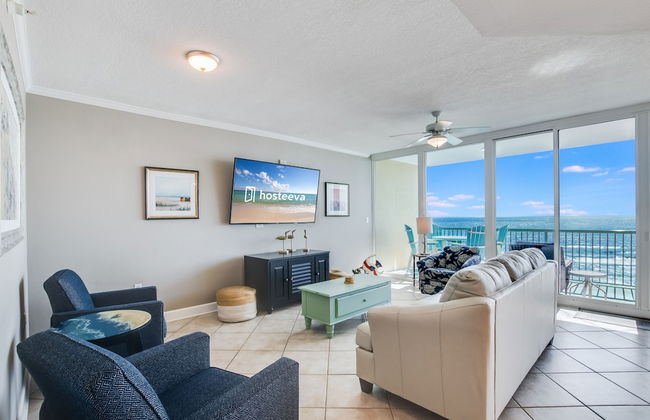
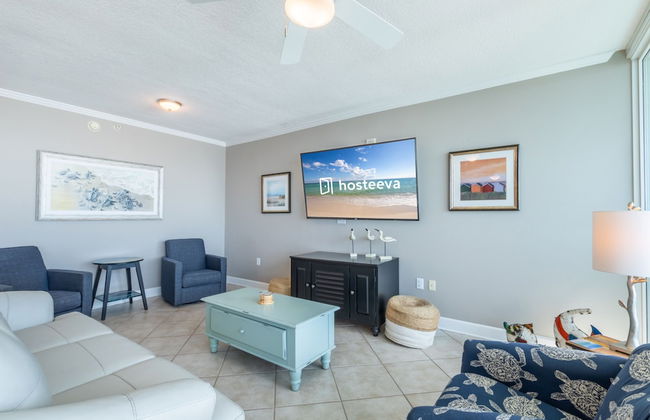
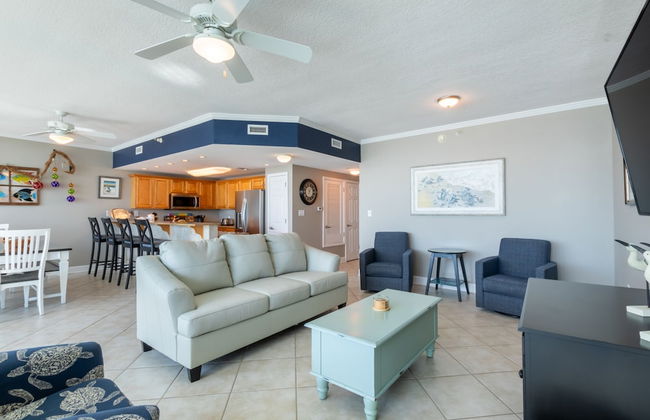
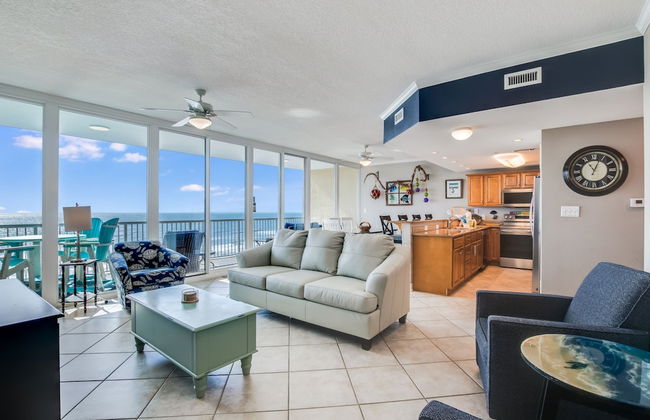
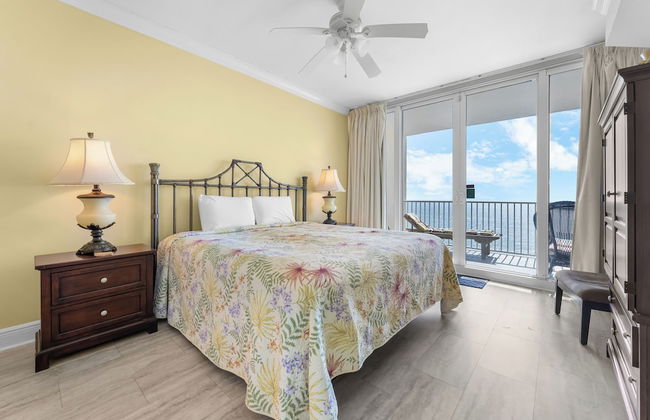
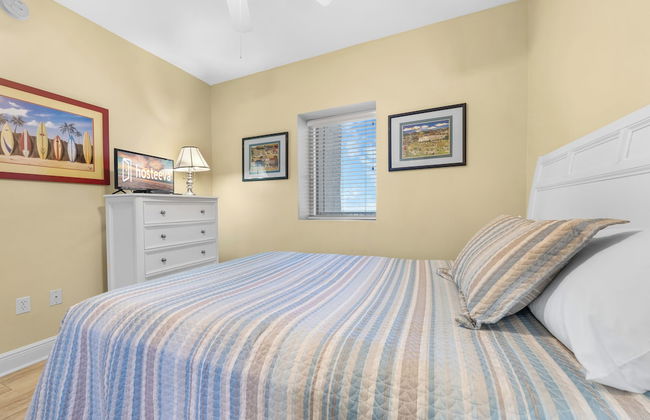
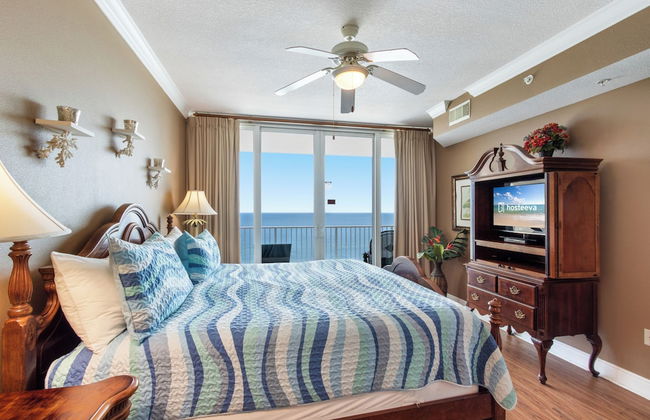
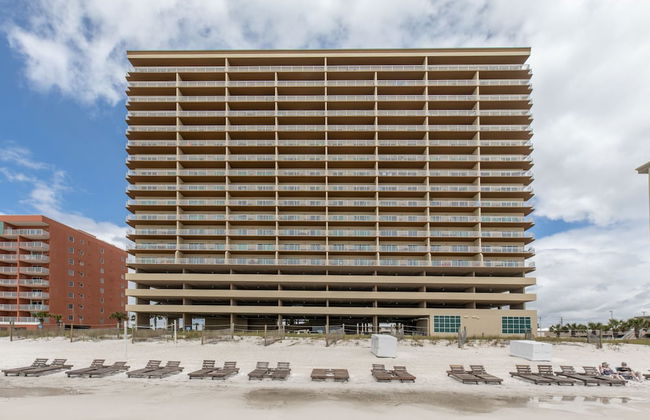
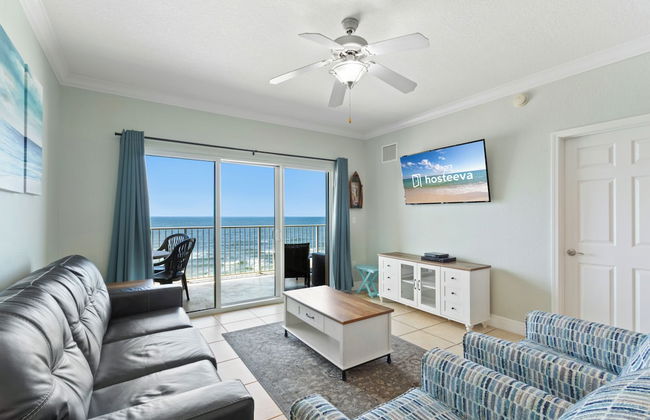
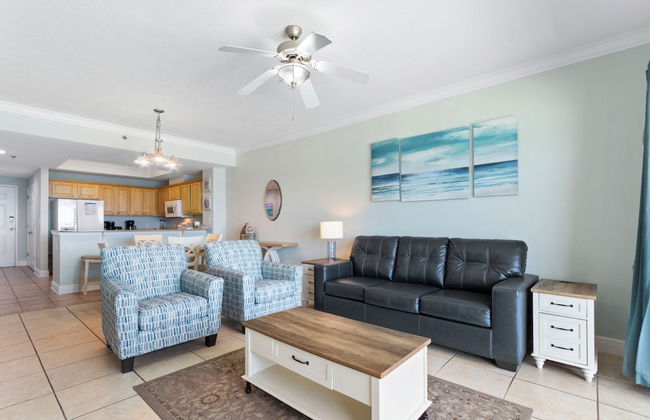
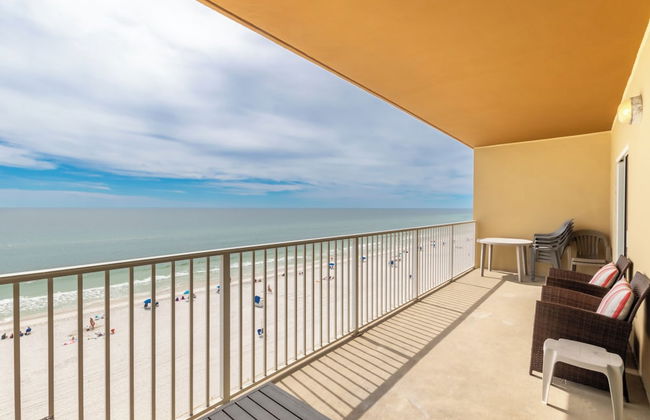
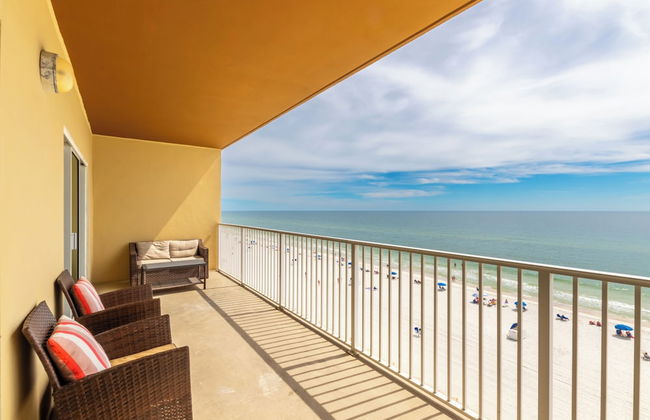
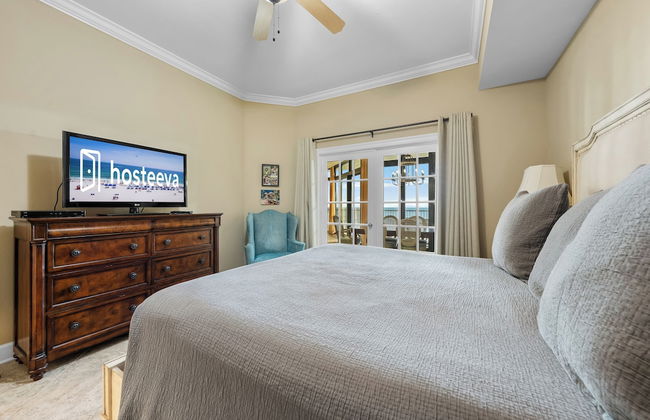
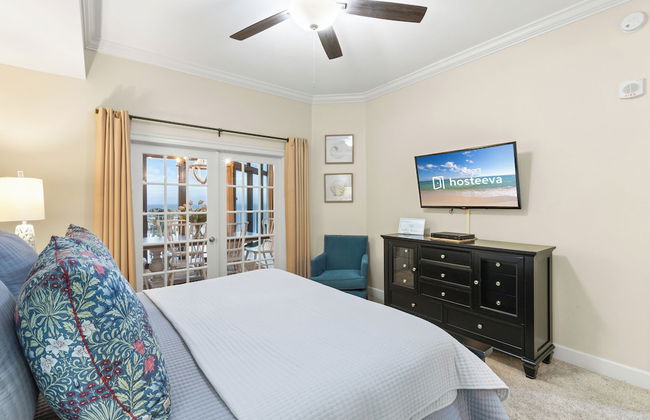
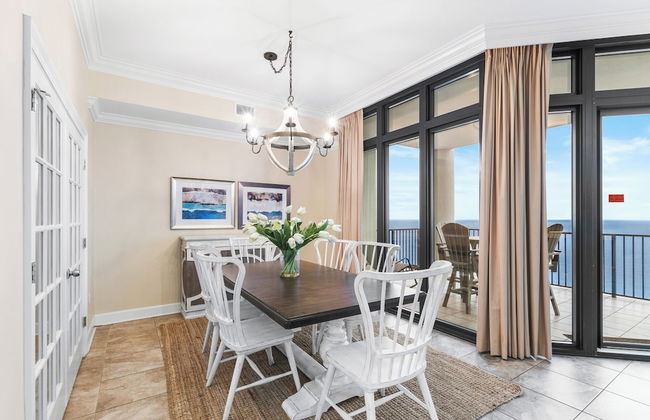
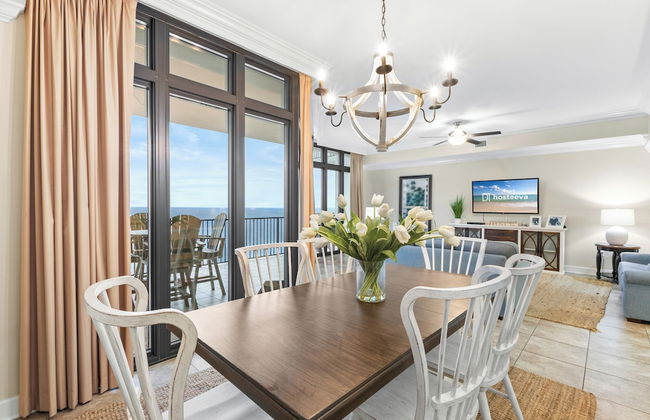
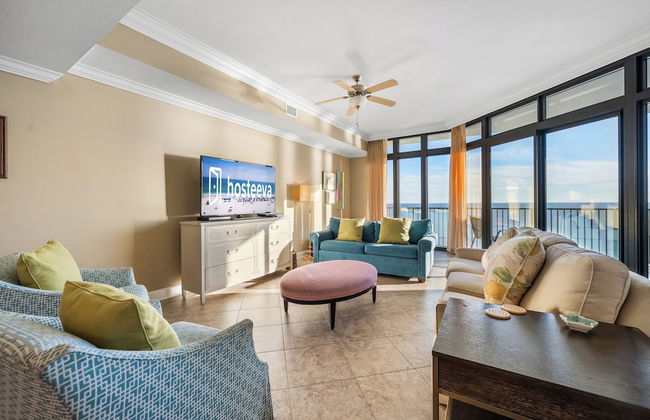
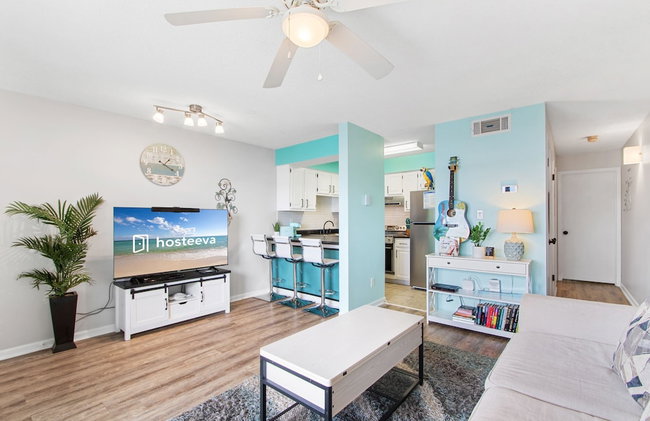
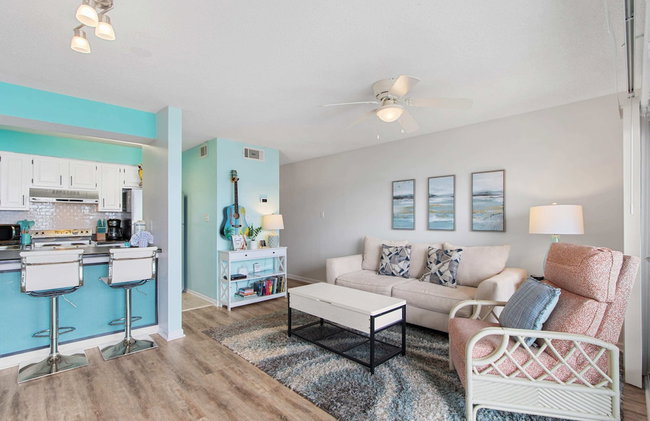
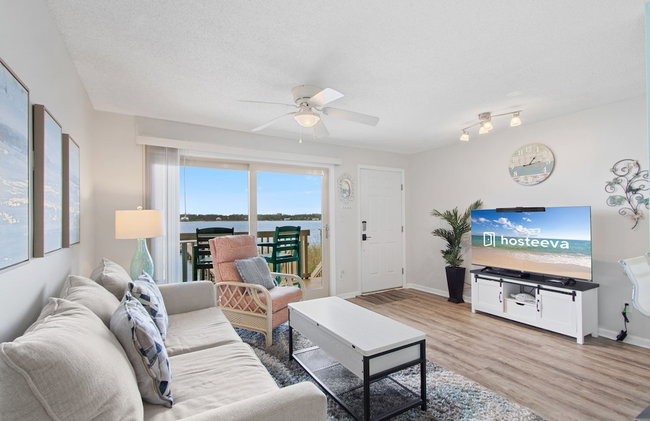
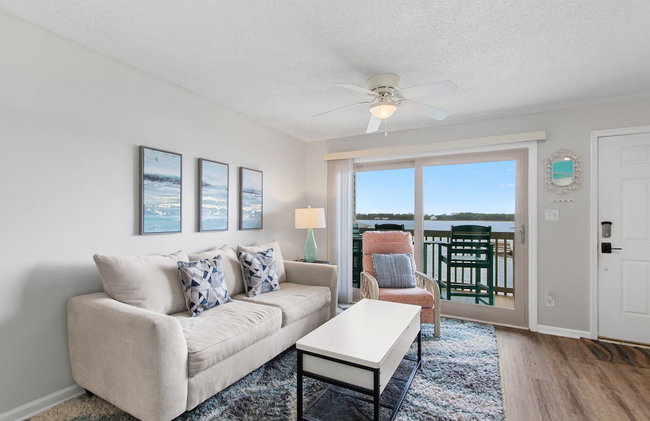
Crystal Tower Comfort Condos by Hosteeva
Gulf Shores - 4 km dal centro
- 97 M2
- 2 camere
- 9 persone
- Aria condizionata
- Riscaldamento
- Piscina
- Parcheggio
- Ascensore
- Balcone
- Giardino
- Tv
- Lavatrice
- Barbecue
- Lino da bagno
- Lino da letto
42 recensioni


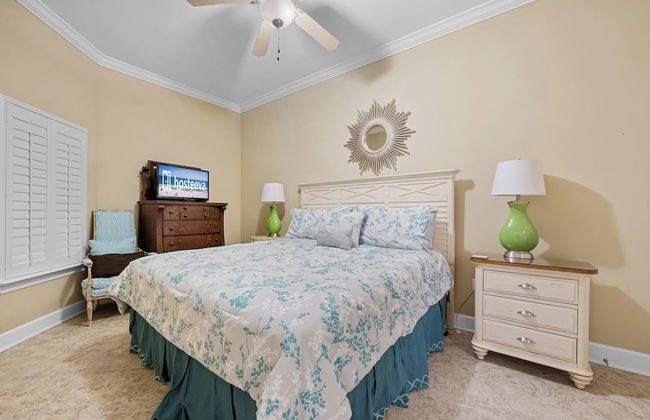
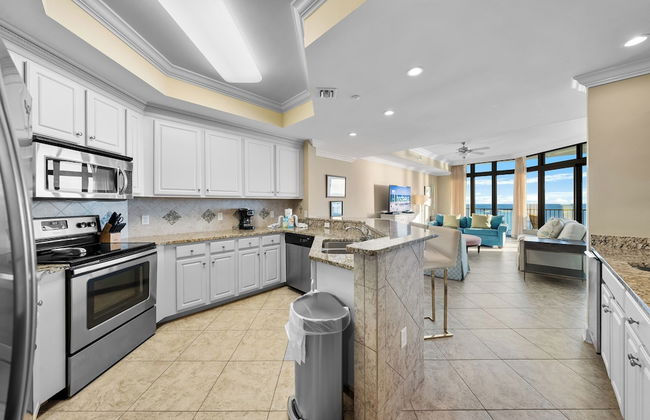
Sanibel Condos by Hosteeva
Gulf Shores - 5.6 km dal centro
- 143 M2
- 3 camere
- 8 persone
- Aria condizionata
- Riscaldamento
- Piscina
- Parcheggio
- Ascensore
- Balcone
- Giardino
- Tv
- Lavatrice
- Barbecue
- Lino da bagno
- Lino da letto
13 recensioni


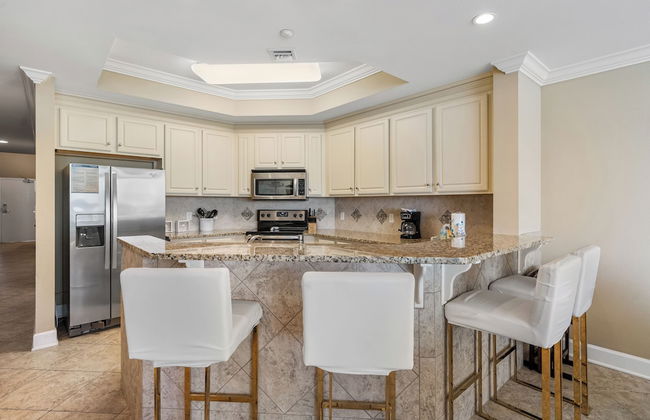
Crystal Shores by Southern Vacation Rentals
Gulf Shores - 3.7 km dal centro
- 120 M2
- 2 camere
- 6 persone
- Aria condizionata
- Riscaldamento
- Piscina
- Parcheggio
- Ascensore
- Balcone
- Tv
- Lavatrice
- Lino da bagno
- Lino da letto
18 recensioni


San Carlos Condos
Gulf Shores - 2.7 km dal centro
- 139 M2
- 3 camere
- 11 persone
- Aria condizionata
- Riscaldamento
- Piscina
- Parcheggio
- Ascensore
- Balcone
- Giardino
- Tv
- Lavatrice
- Barbecue
- Lino da bagno
- Lino da letto
12 recensioni


San Carlos Condominiums by Wyndham Vacation Rentals
Gulf Shores - 2.7 km dal centro
- 128 M2
- 6 persone
- Aria condizionata
- Terrazza
- Piscina
- Parcheggio
- Ascensore
- Balcone
- Tv
- Lavatrice
- Barbecue
- Lino da bagno
38 recensioni


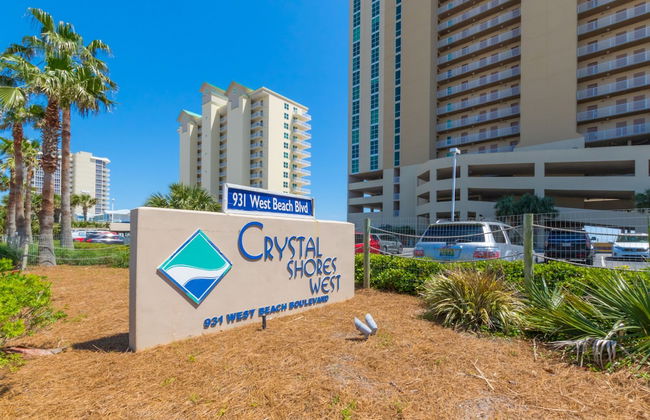


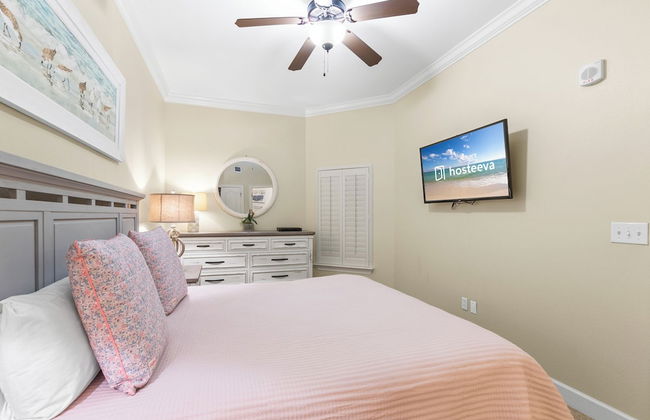
Crystal Shores West Condos by Hosteeva
Gulf Shores - 3.7 km dal centro
- 101 M2
- 2 camere
- 7 persone
- Aria condizionata
- Riscaldamento
- Piscina
- Parcheggio
- Ascensore
- Balcone
- Tv
- Lavatrice
- Barbecue
- Lino da bagno
- Lino da letto
30 recensioni


Lighthouse by Wyndham Vacation Rentals
Gulf Shores - 2.6 km dal centro
- 139 M2
- 8 persone
- Aria condizionata
- Riscaldamento
- Piscina
- Ascensore
- Balcone
- Tv
- Lavatrice
- Barbecue
- Lino da bagno
19 recensioni


Phoenix V Vacation Rental Condominiums
Orange Beach - 3.6 km dal centro
- 102 M2
- 2 camere
- 8 persone
- Aria condizionata
- Riscaldamento
- Piscina
- Parcheggio
- Ascensore
- Balcone
- Giardino
- Tv
- Lavatrice
- Barbecue
- Lino da bagno
- Lino da letto
23 recensioni


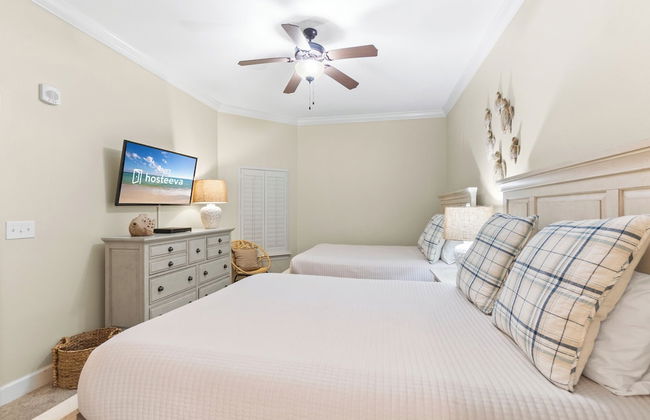
Lighthouse Condos by Hosteeva
Gulf Shores - 2.7 km dal centro
- 108 M2
- 3 camere
- 8 persone
- Aria condizionata
- Riscaldamento
- Piscina
- Parcheggio
- Ascensore
- Balcone
- Giardino
- Tv
- Lavatrice
- Barbecue
- Lino da bagno
- Lino da letto
18 recensioni


My Beach Retreat by Nick
Gulf Shores - 19.9 km dal centro
- 785 M2
- 2 camere
- 6 persone
- Aria condizionata
- Riscaldamento
- Terrazza
- Piscina
- Parcheggio
- Ascensore
- Giardino
- Barbecue
17 recensioni


The Dunes 502
Gulf Shores - 30.1 km dal centro
- 68 M2
- 6 persone
- Aria condizionata
- Piscina
- Parcheggio
- Ascensore
- Balcone
- Giardino
- Tv
- Lavatrice
8 recensioni


Sea Glass by Southern Vacation Rentals
Gulf Shores - 3.6 km dal centro
- 120 M2
- 7 persone
- Aria condizionata
- Riscaldamento
- Ascensore
- Balcone
- Tv
- Lavatrice
- Lino da bagno
17 recensioni


The Oasis at Orange Beach by Hosteeva
Orange Beach - 4.9 km dal centro
- 182 M2
- 3 camere
- 12 persone
- Aria condizionata
- Riscaldamento
- Piscina
- Parcheggio
- Ascensore
- Balcone
- Giardino
- Tv
- Lavatrice
- Barbecue
- Lino da bagno
- Lino da letto
25 recensioni


Crystal Shores West by Southern Vacation Rentals
Gulf Shores - 3.7 km dal centro
- 185 M2
- 4 camere
- 10 persone
- Aria condizionata
- Riscaldamento
- Piscina
- Parcheggio
- Ascensore
- Balcone
- Tv
- Lavatrice
- Barbecue
- Lino da bagno
- Lino da letto
16 recensioni


Palm Beach Resort Orange Beach a Ramada by Wyndham
Orange Beach - 5.8 km dal centro
- 8 persone
- Aria condizionata
- Riscaldamento
- Piscina
- Parcheggio
- Ascensore
- Balcone
- Tv
- Lavatrice
- Lino da bagno
- Lino da letto
414 recensioni


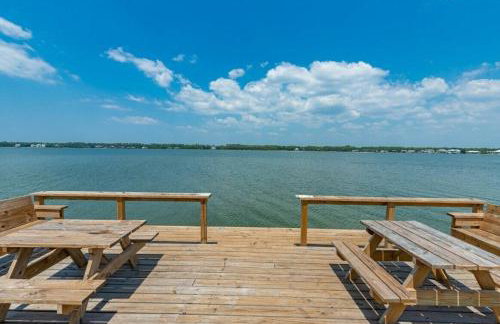

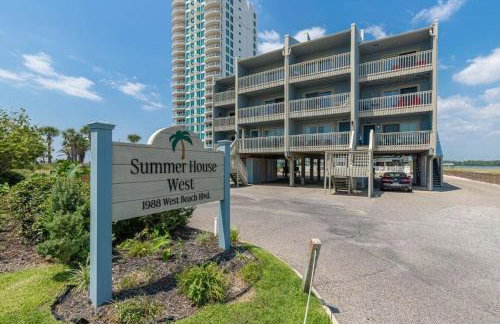

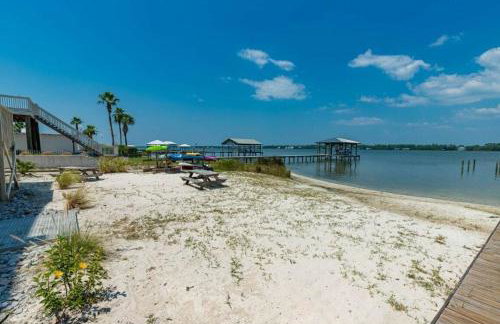
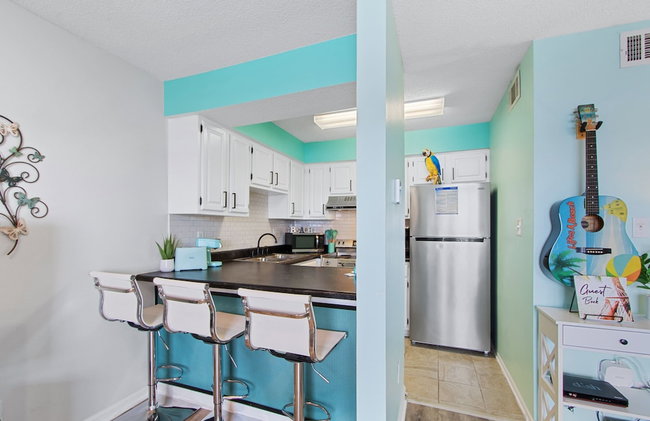


Summer House West Condos
Gulf Shores - 7.2 km dal centro
- 74 M2
- 1 camera
- 8 persone
- Aria condizionata
- Riscaldamento
- Piscina
- Parcheggio
- Balcone
- Giardino
- Tv
- Lavatrice
- Barbecue
- Lino da bagno
- Lino da letto
6 recensioni


Beach Please condo 2 bedroom 2 bath sleeps 6
Gulf Shores - 20 km dal centro
- 73 M2
- 2 camere
- 6 persone
- Aria condizionata
- Riscaldamento
- Terrazza
- Piscina
- Giardino
18 recensioni