


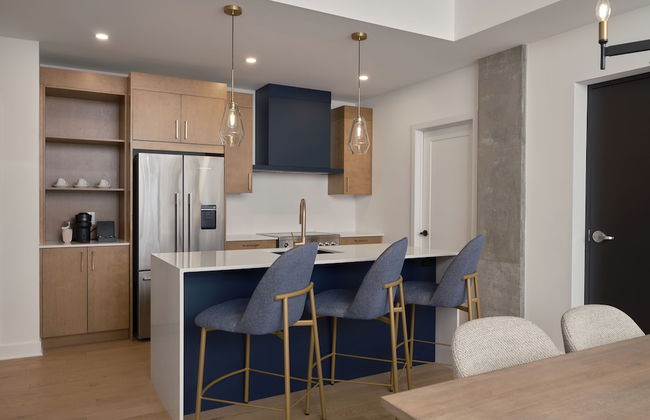
Richview Gardens Suite
Toronto - The Westway - À 13.7 km du centre
- 101 M2
- 6 personnes
- Air conditionné
- Le chauffage
- Terrasse
- Parking
- Ascenseur
- Jardin
- Tv
- Barbecue
- Serviettes
- Feuilles


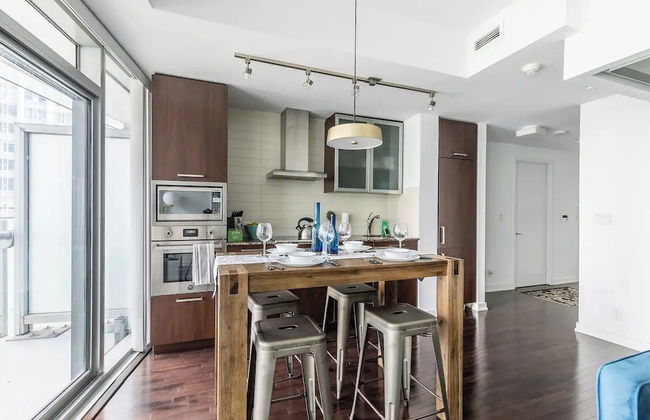
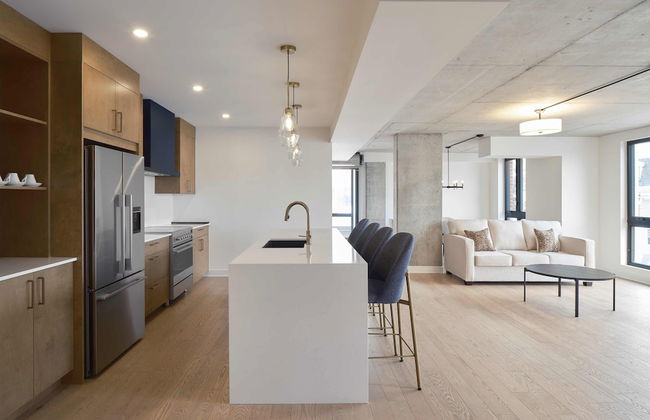
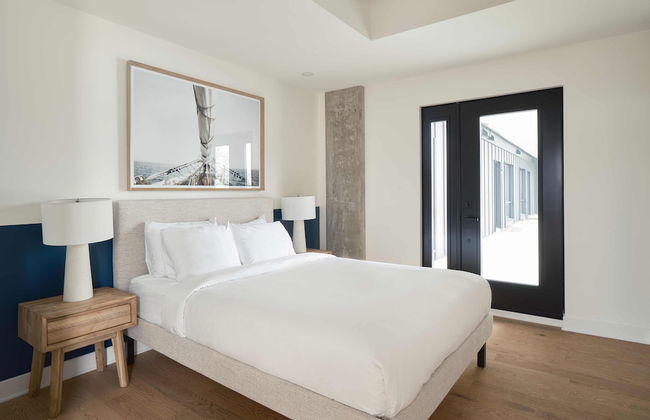
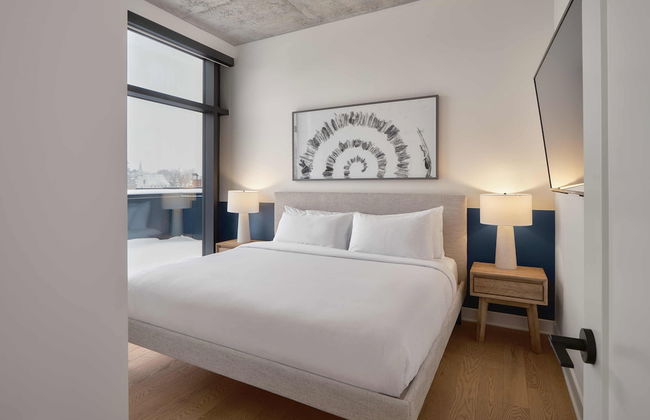
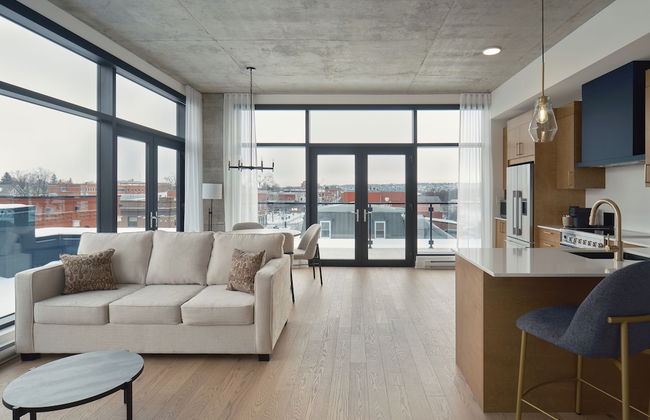
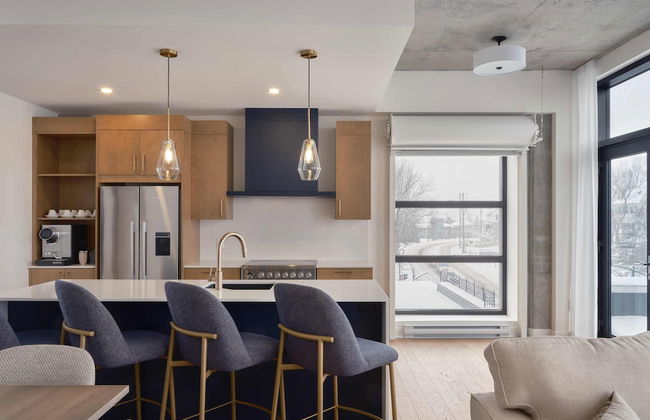
Le Square Phillips Hotel And Suites
Montreal - Centre-Ville - À 910 m du centre
- 104 M2
- 6 personnes
- Air conditionné
- Le chauffage
- Terrasse
- Piscine
- Parking
- Ascenseur
- Tv
- Serviettes
- Feuilles


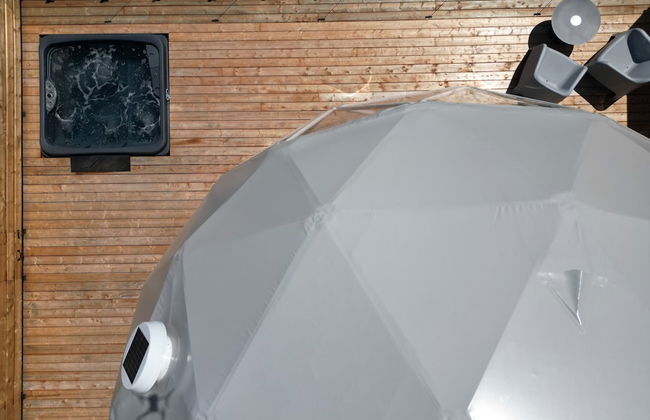
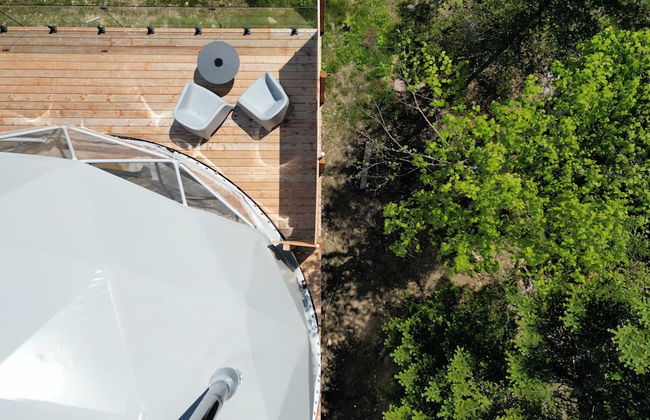
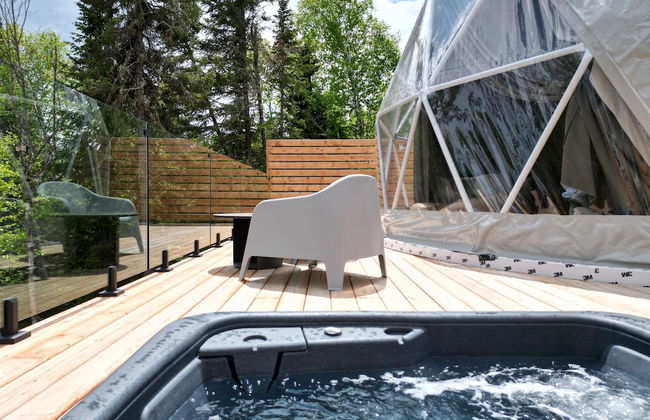
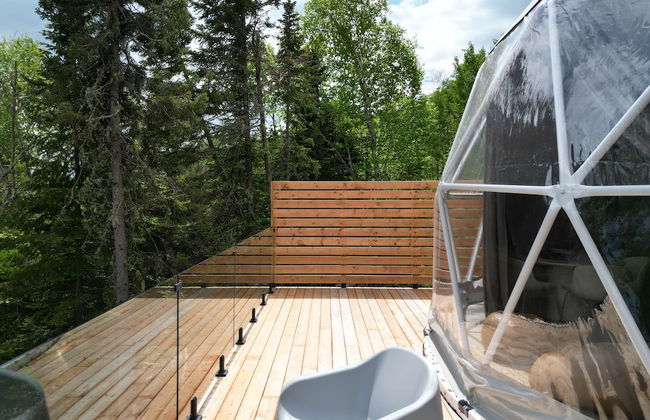
Borealis - RVMT
Mont-Tremblant - À 7 km du centre
- 153 M2
- 9 personnes
- Air conditionné
- Le chauffage
- Terrasse
- Piscine
- Parking
- Balcon
- Jardin
- Tv
- Machine à laver
- Cheminée
- Barbecue
- Serviettes
- Feuilles


Horseshoe Valley Suites - The Azure
Oro-Medonte - À 13.1 km du centre
- 8 personnes
- Air conditionné
- Le chauffage
- Terrasse
- Piscine
- Parking
- Jardin
- Tv
- Machine à laver
- Cheminée
- Serviettes
- Feuilles


Appartement Luxe | Incredible Sunset View - Pool - Parking - Near Old Québec
Quebec City - Faubourgs - Dans le centre
- 54 M2
- 6 personnes
- Air conditionné
- Le chauffage
- Piscine
- Parking
- Ascenseur
- Tv
- Machine à laver
- Serviettes
- Feuilles


Margarita Vacation Getaway
Oro-Medonte - À 13.1 km du centre
- 51 M2
- 4 personnes
- Cuisinette
- Air conditionné
- Le chauffage
- Terrasse
- Piscine
- Parking
- Balcon
- Tv
- Cheminée
- Barbecue
- Serviettes
- Feuilles


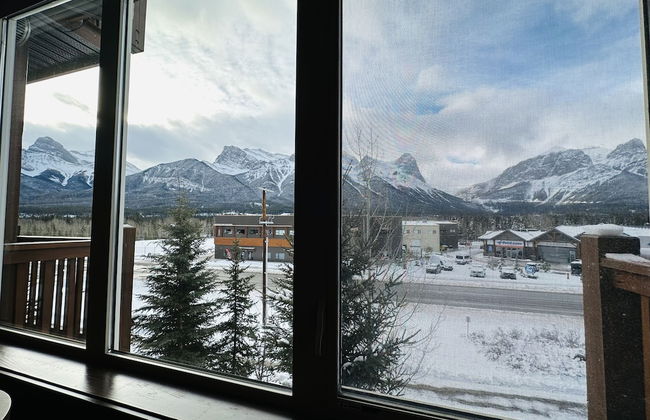
Mountain Retreat - Heated Pool & Hot-tub & Sauna
Canmore - À 1.1 km du centre
- 63 M2
- 4 personnes
- Air conditionné
- Le chauffage
- Piscine
- Parking
- Ascenseur
- Balcon
- Tv
- Machine à laver
- Cheminée
- Barbecue
- Serviettes
- Feuilles


SOHO Residences Lisgar
Ottawa - Centretown-Downtown - Dans le centre
- 81 M2
- 4 personnes
- Air conditionné
- Le chauffage
- Terrasse
- Piscine
- Parking
- Ascenseur
- Jardin
- Tv
- Machine à laver
- Barbecue
- Serviettes
- Feuilles


Nørdika Charlevoix
Baie-St-Paul - À 5.5 km du centre
- 49 M2
- 4 personnes
- Cuisinette
- Air conditionné
- Le chauffage
- Terrasse
- Parking
- Balcon
- Jardin
- Cheminée
- Serviettes


The Selkirk House by Revelstoke Vacations
Revelstoke - À 4.2 km du centre
- 102 M2
- 6 personnes
- Air conditionné
- Le chauffage
- Parking
- Ascenseur
- Tv
- Machine à laver
- Barbecue
- Serviettes
- Feuilles


Villa 23 Cabot Peaks Revelstoke Vacation
Revelstoke - À 4.3 km du centre
- 91 M2
- 4 personnes
- Air conditionné
- Le chauffage
- Parking
- Ascenseur
- Tv
- Machine à laver
- Serviettes
- Feuilles


Suites On King
Niagara-on-the-Lake - Dans le centre
- 74 M2
- 4 personnes
- Cuisinette
- Air conditionné
- Le chauffage
- Terrasse
- Parking
- Balcon
- Tv
- Machine à laver
- Cheminée
- Serviettes
- Feuilles


Vieux-Old Farnham Appart Condotel1
Farnham - Dans le centre
- 37 M2
- 4 personnes
- Air conditionné
- Le chauffage
- Terrasse
- Parking
- Balcon
- Tv
- Machine à laver
- Cheminée
- Serviettes
- Feuilles


Station Chêne Rouge
Hatley - À 5.5 km du centre
- 4 personnes
- Cuisinette
- Le chauffage
- Terrasse
- Piscine
- Parking
- Jardin
- Cheminée
- Barbecue
- Serviettes


Chalet et condos Mont Sainte-Anne
Beaupré - À 1.7 km du centre
- 102 M2
- 6 personnes
- Air conditionné
- Le chauffage
- Terrasse
- Piscine
- Ascenseur
- Tv
- Machine à laver
- Cheminée
- Serviettes
- Feuilles


The Yorkville Suites
Toronto - Annex - À 1.9 km du centre
- 121 M2
- 6 personnes
- Air conditionné
- Le chauffage
- Piscine
- Parking
- Ascenseur
- Tv
- Machine à laver
- Serviettes
- Feuilles


Champlain Condo 202
Bromont - À 1.4 km du centre
- 6 personnes
- Air conditionné
- Le chauffage
- Terrasse
- Piscine
- Parking
- Tv
- Machine à laver
- Cheminée
- Barbecue
- Serviettes
- Feuilles


The Harbour Toronto
Toronto - Waterfront Communities-the Island - À 310 m du centre
- 111 M2
- 7 personnes
- Cuisinette
- Air conditionné
- Le chauffage
- Piscine
- Parking
- Ascenseur
- Balcon
- Tv
- Machine à laver
- Serviettes
- Feuilles


Quartier des Marinas - Hôtel Expérience
Magog - Dans le centre
- 6 personnes
- Air conditionné
- Le chauffage
- Terrasse
- Parking
- Ascenseur
- Balcon
- Tv
- Machine à laver
- Cheminée
- Serviettes
- Feuilles


NAPA Furnished Suites & Apartments
Toronto - Waterfront Communities-the Island - À 350 m du centre
- 102 M2
- 6 personnes
- Air conditionné
- Terrasse
- Piscine
- Parking
- Ascenseur
- Balcon
- Jardin
- Tv
- Machine à laver
- Serviettes
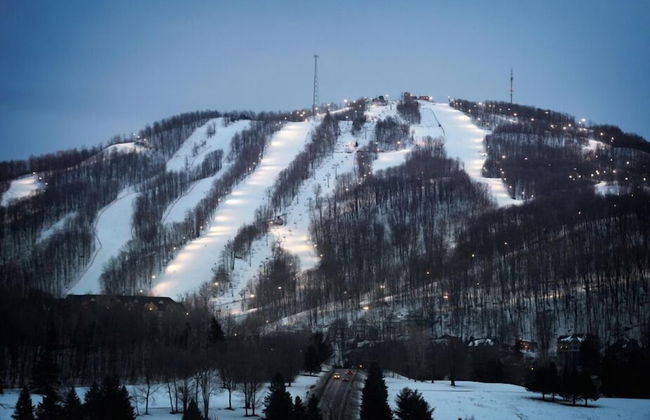
Le Canada est le deuxième pays le plus grand du monde occupant prés de la moitié du territoire d'Amérique du Nord. Son principal attrait est son vaste patrimoine naturel: des centaines de parcs, plus de deux millions de lacs, des montagnes spectaculaires et des milliers de kilomètres de nature vierge... Le Canada est le pays parfait pour les fans de sport, spécialement de ski. En hiver, les villes telles que Alberta, Québec ou Notario son des paradis blancs. Pour celui qui préfère les grandes urbanisations: Ottawa, Vancouver ou Toronto mélangent le tapage de New Cork à la saveur de l'Europe.